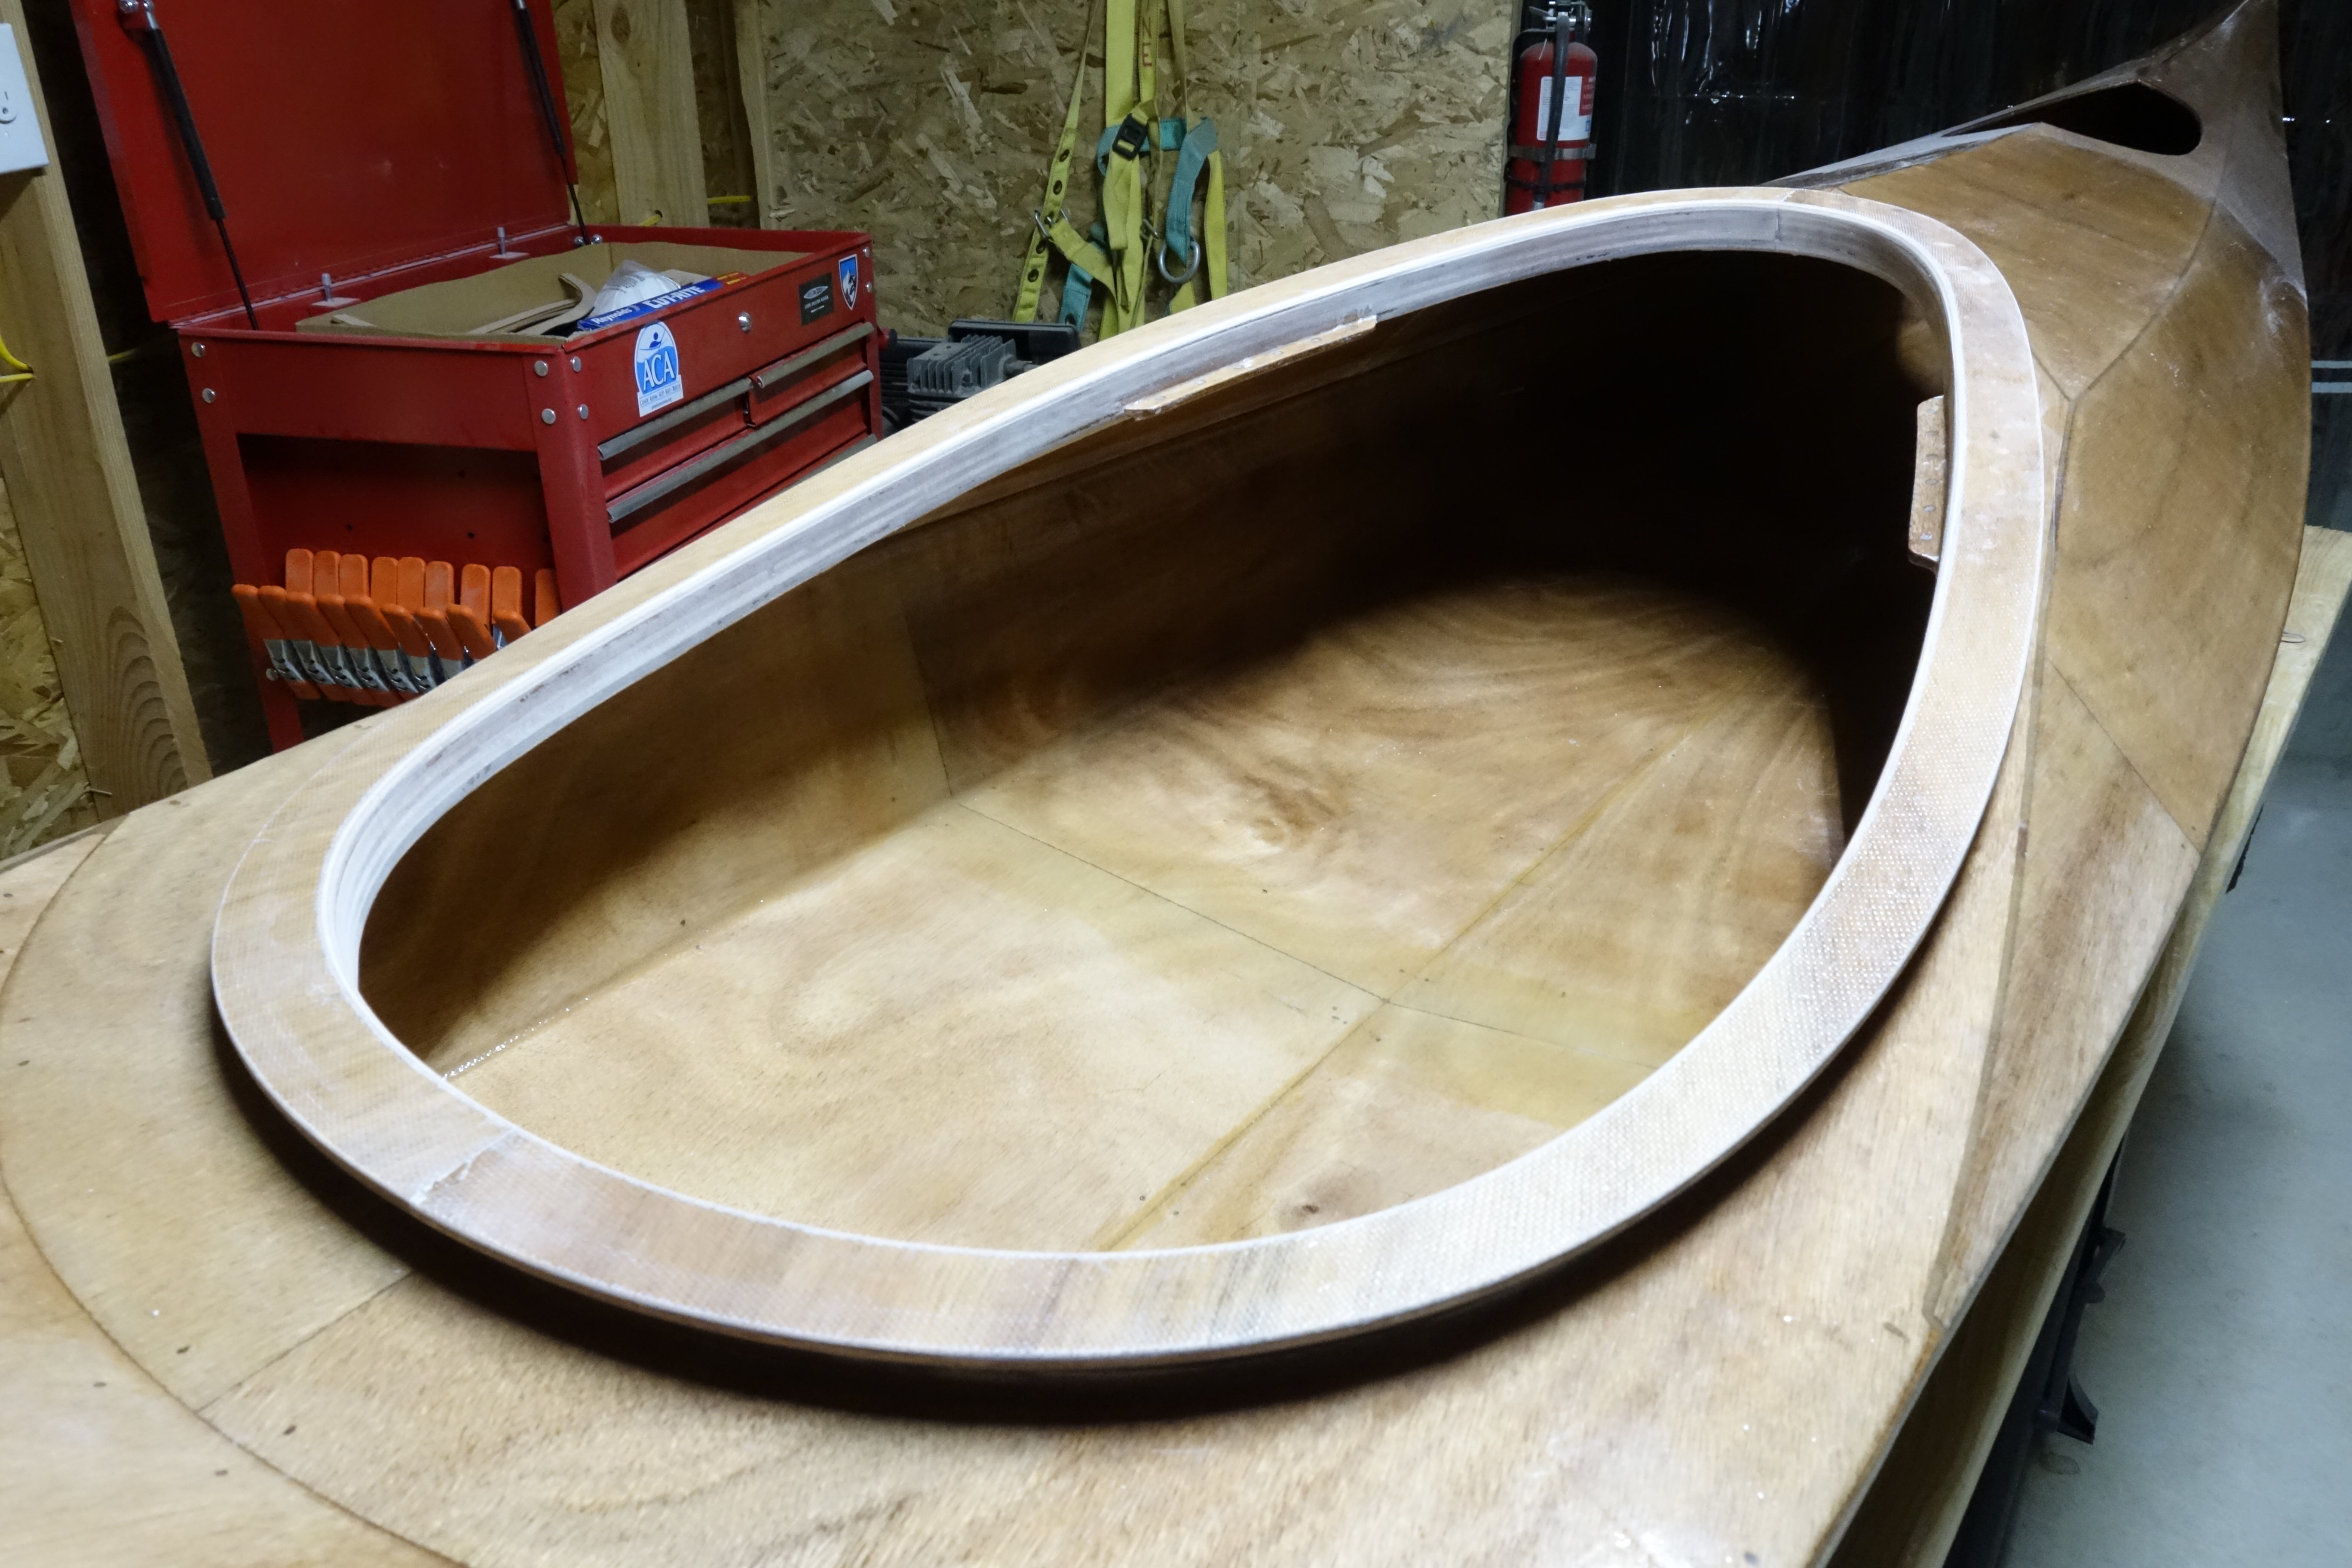
Filing and rough sanding done on the cockpit coaming. The upper coaming didn’t go together quite the way that I would have liked, but it turned out fine. There is probably something about fitting a fairly rigid curved piece of wood to another complex curve that eluded me, but would have been simple for someone else. Anyway, there have only been a couple of stages/processes in the entire build where I have wished that I could go back in time a day or two and try again and this was one of them. What happened in this case is that is that as I glued the upper coaming pieces, there were places that I couldn’t flex the upper pieces enough to make them “flush” everywhere with the inside of the lower coaming. In a couple of spots I thought that the upper pieces were only hanging over the inside of the coaming by an 1/16″ or so, but after the epoxy had cured and the clamps were removed, I found that in at least one section it was hanging over the inside edge as much as 3/16″, which is a lot when the overall width of the upper coaming piece is 1.25″. That meant that by sanding the insides of the upper coaming flush with the lower coaming, I was making the upper coaming narrower in a couple of places by nearly a 1/4″. This is definitely visible to the naked eye. I did my best to adjust both sides so that the kayak would have “bilateral symmetry”, but it isn’t perfect. Initially I was worried that maybe I really screwed up and actually made the outside of the coaming too shallow to hold a spray skirt securely, but I tested it and it’s fine. I may be the only one to ever notice this, but still…
Oh well, it’s not a Swiss watch. It just didn’t quite go to plan. I’m sure that before the kayak is completely finished there will be something else that bugs me as much, or more than this.
:^)
Next steps are to epoxy and fiberglass tape the shear seams inside the kayak. After that, installation of the bulkheads and hip braces, then end pours, then finishing the hatch openings and hatch covers and drilling the holes at the bow and stern for hand toggles. At that point, the kayak construction will be complete. All that will need to be done after that is hours of sanding and varnishing. Then deck rigging. Then paddling!
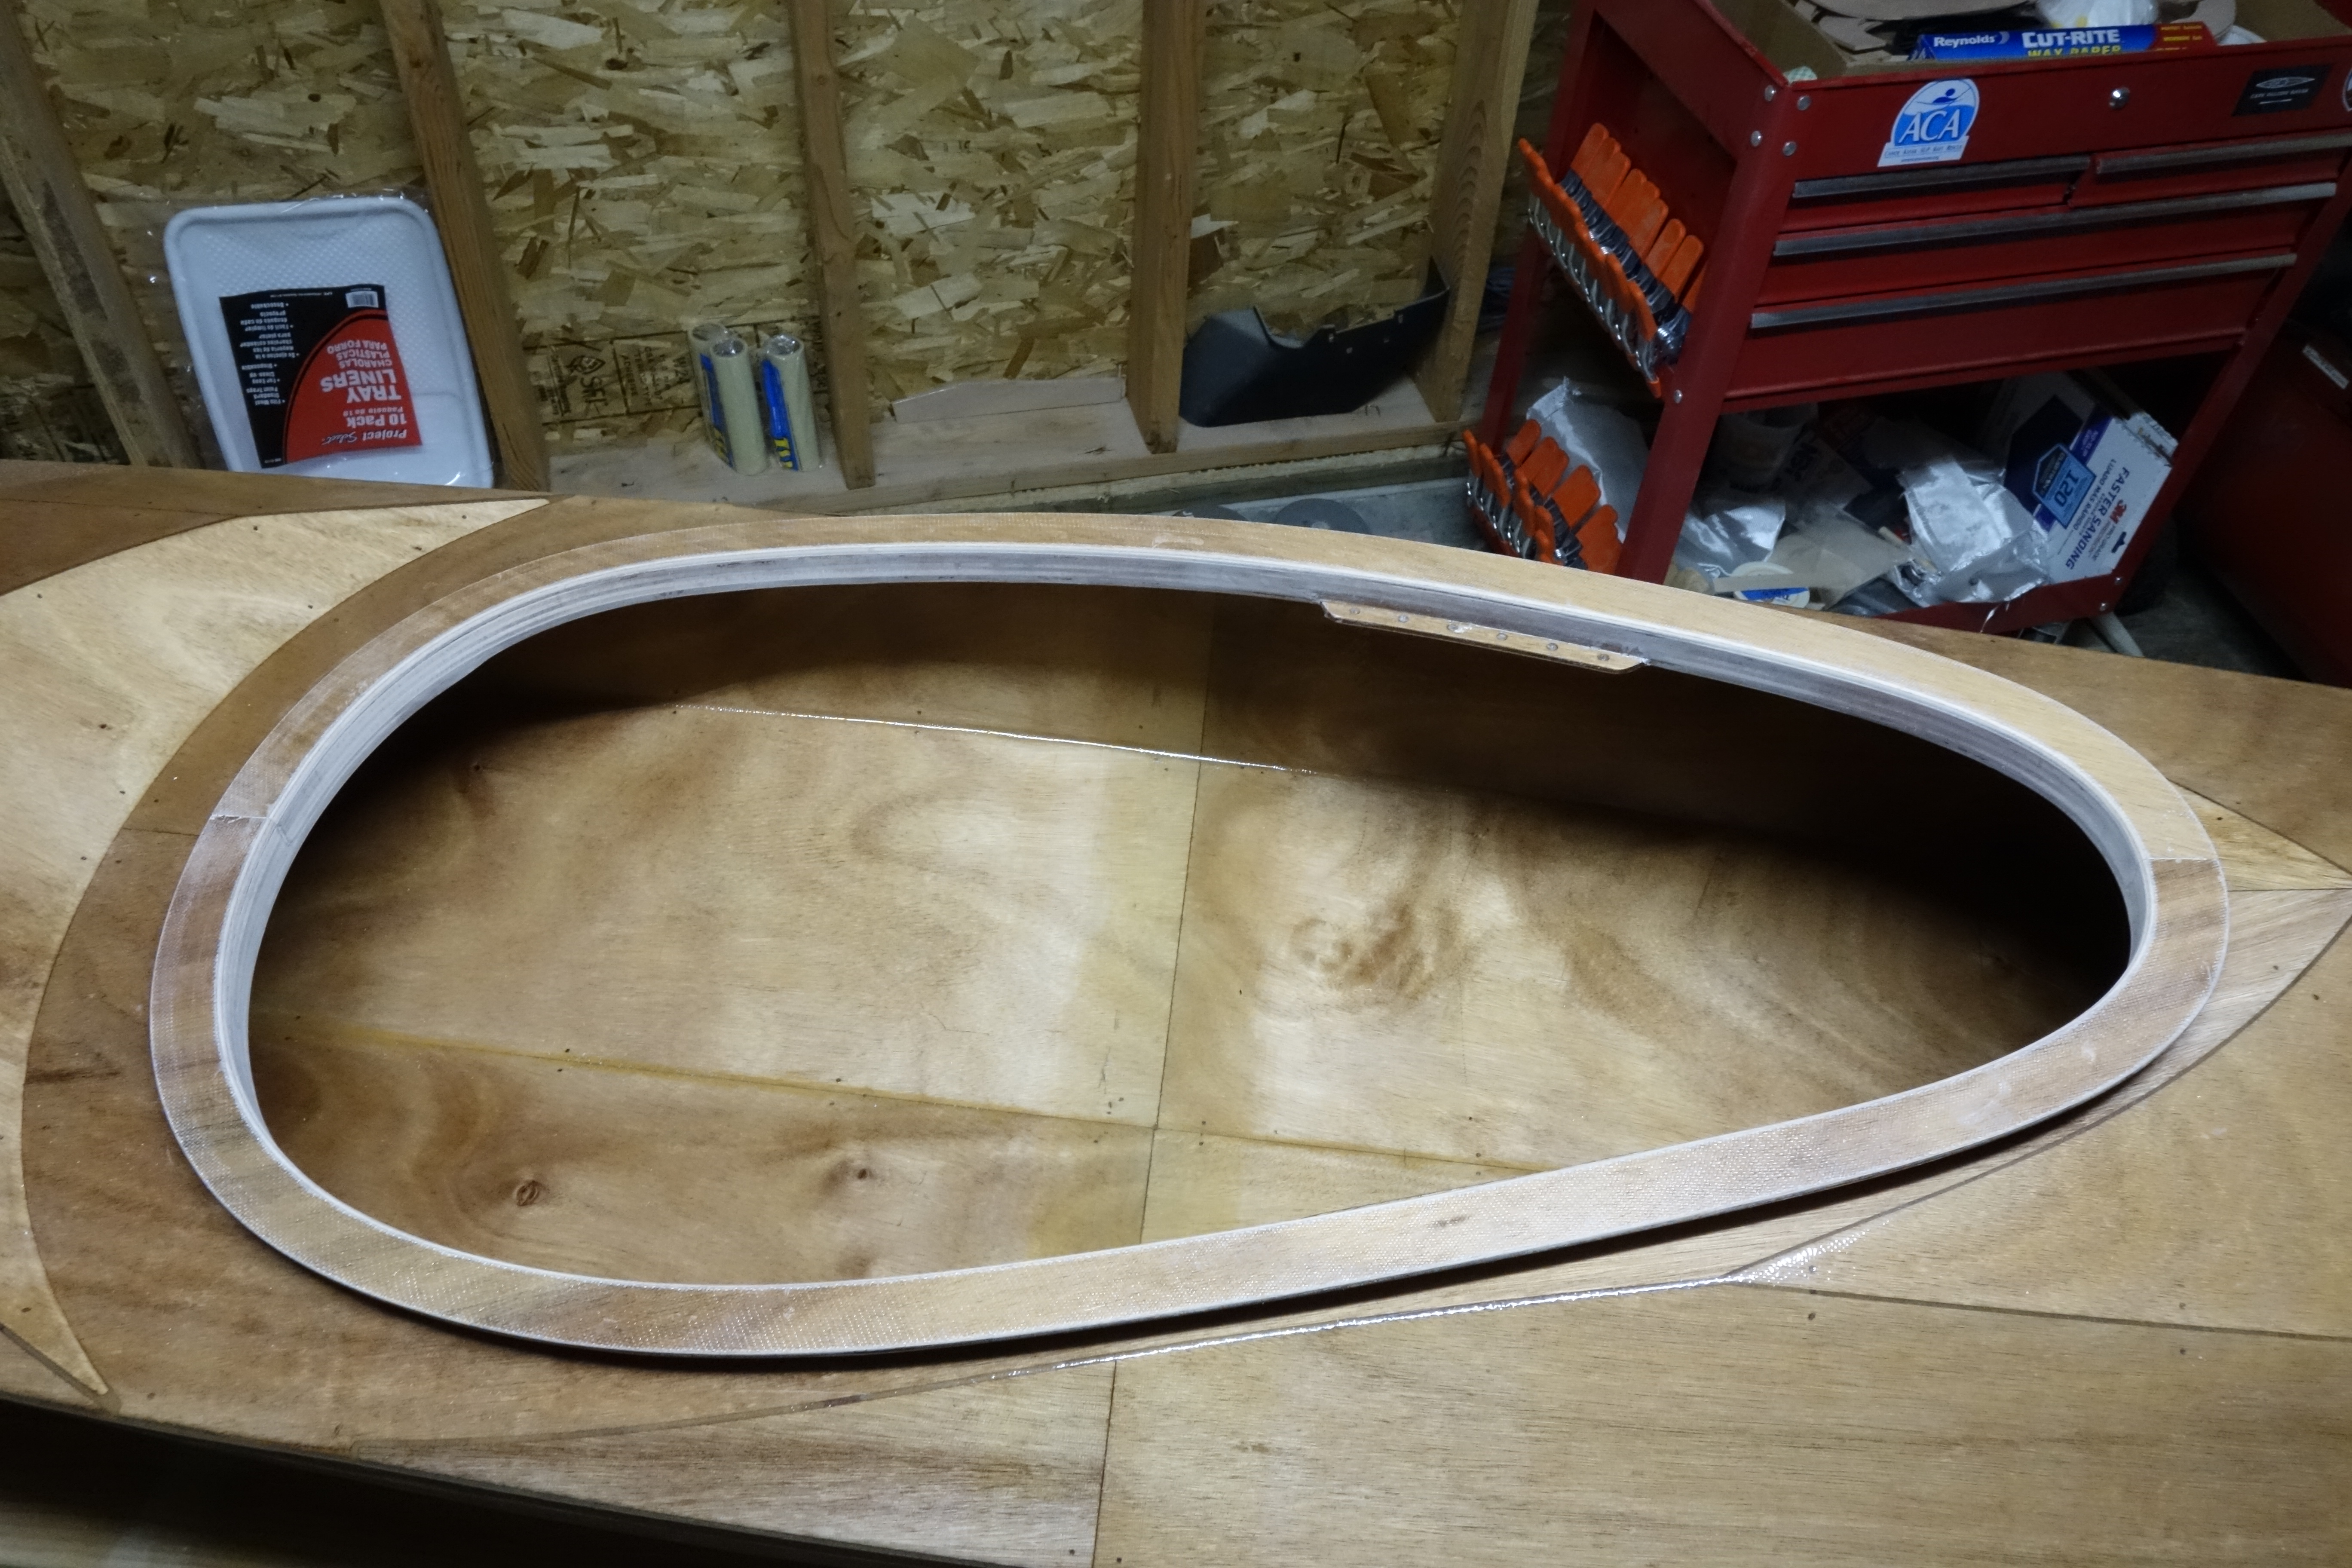
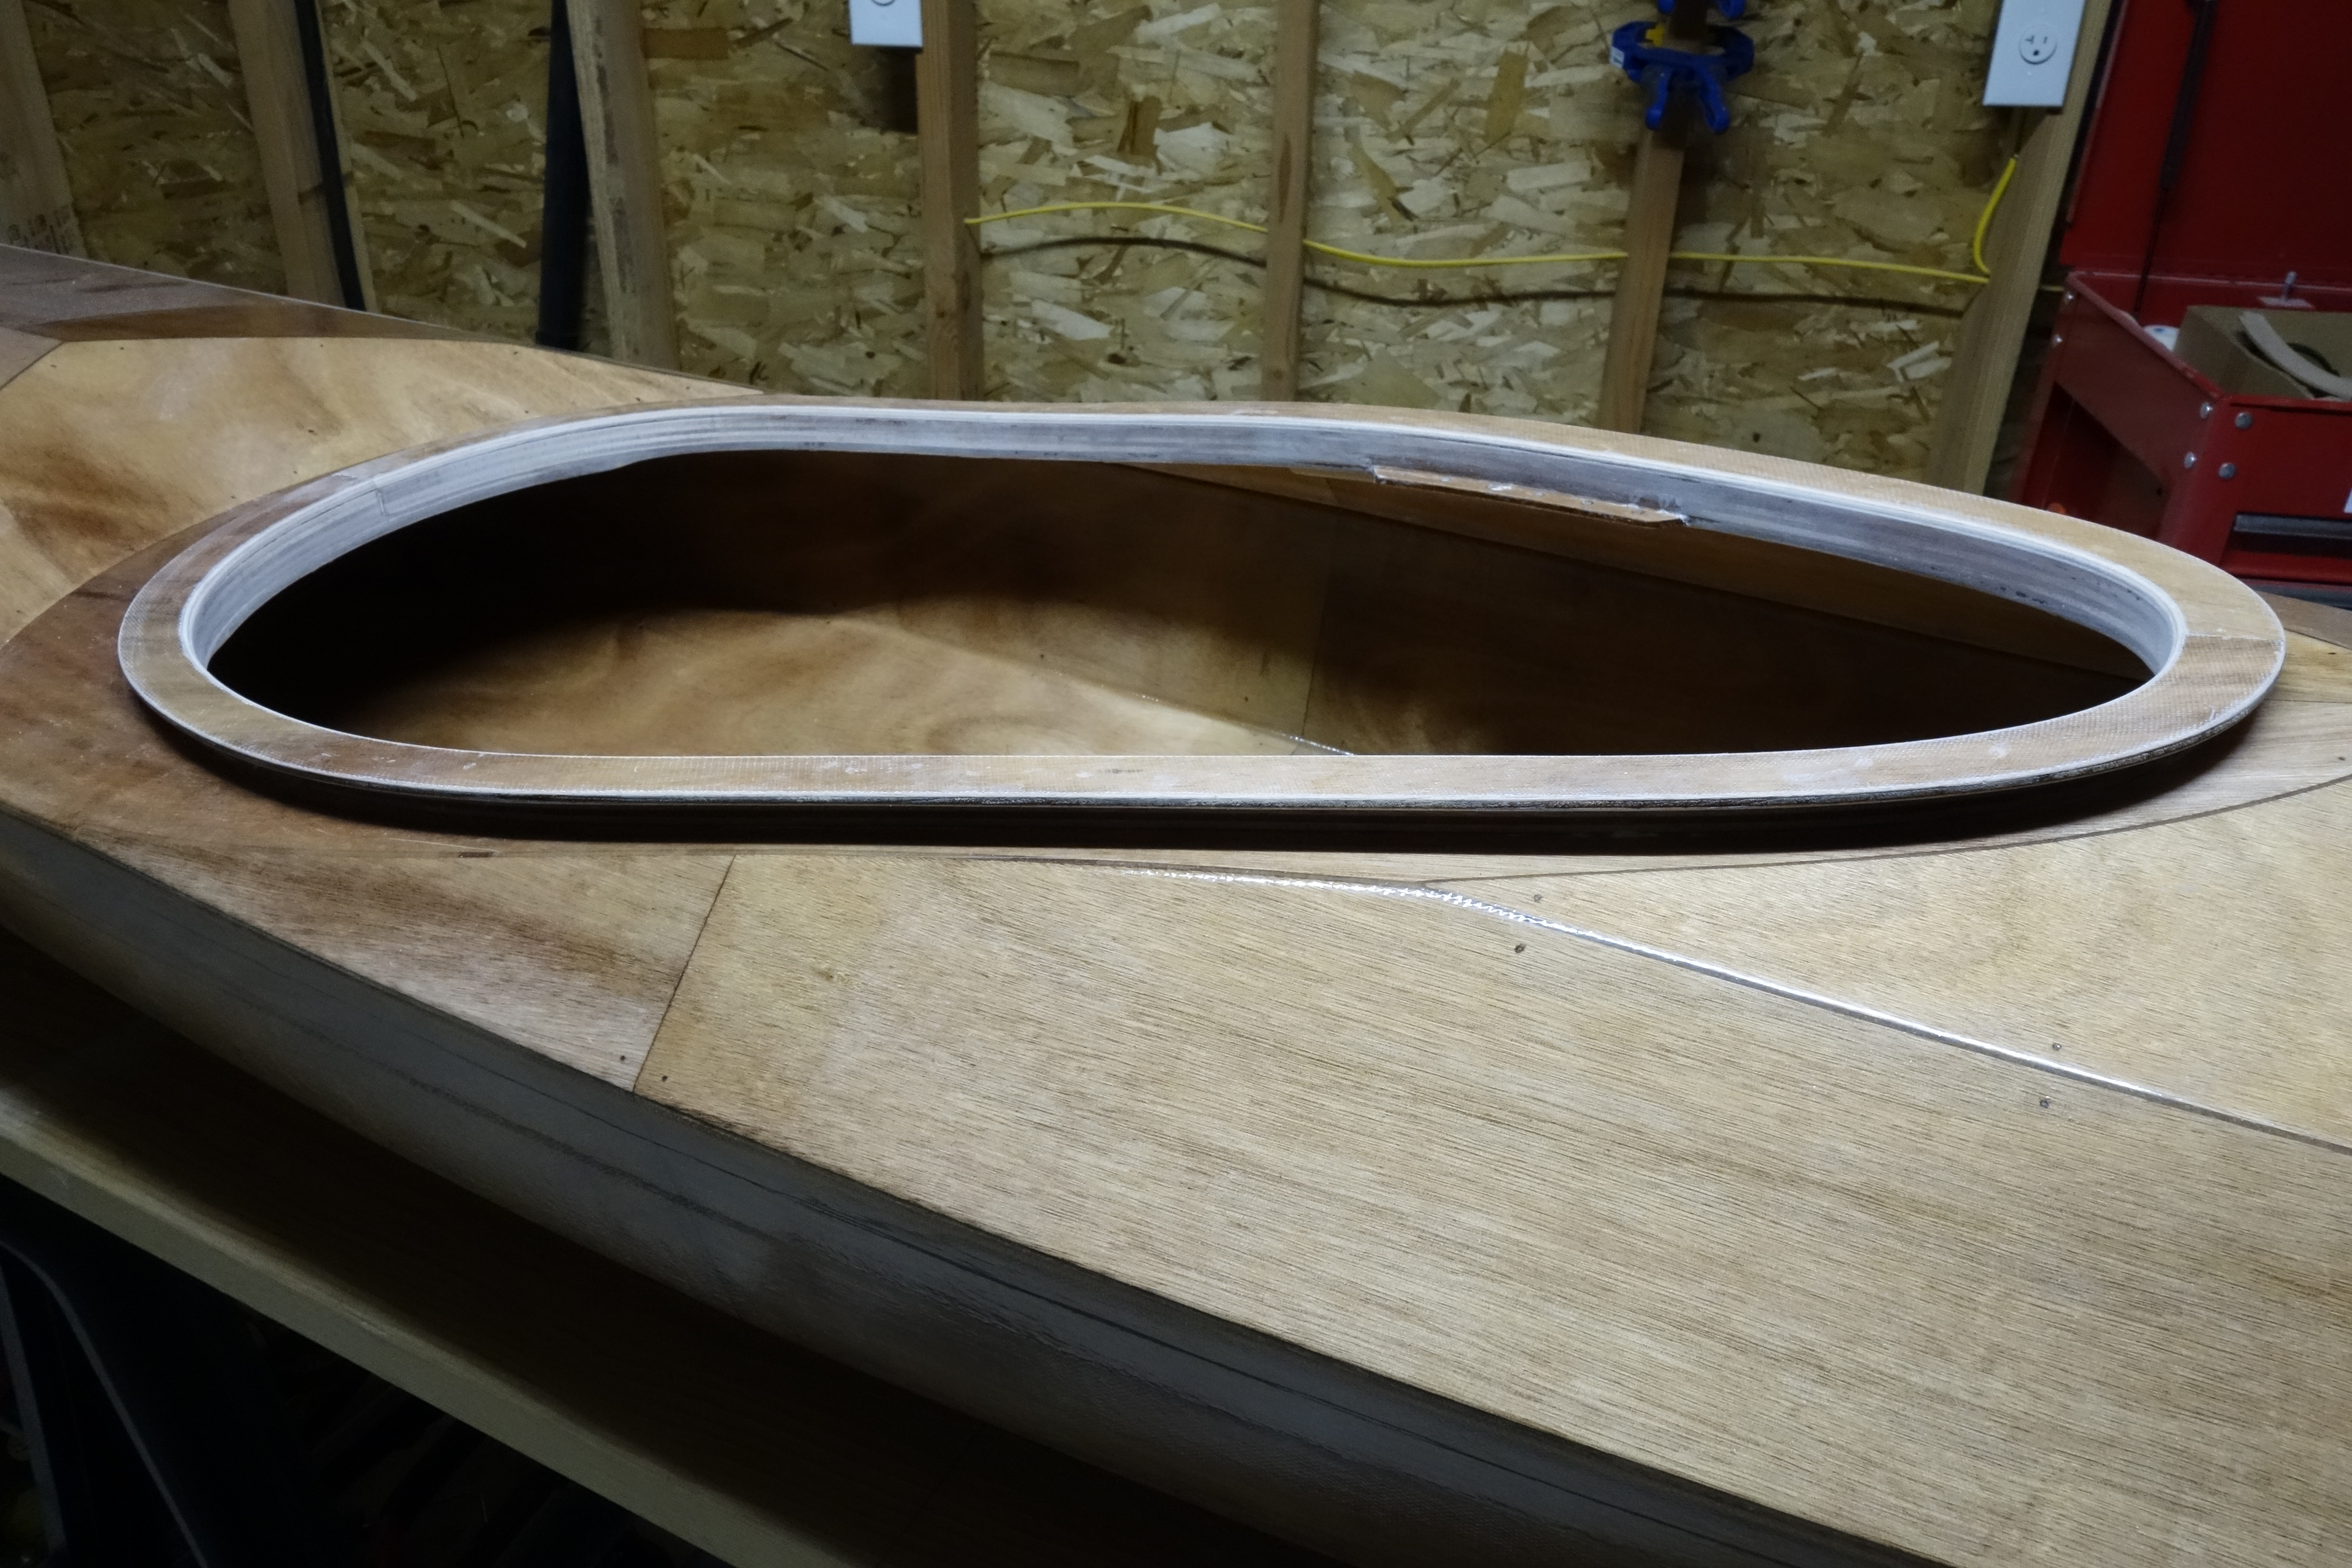
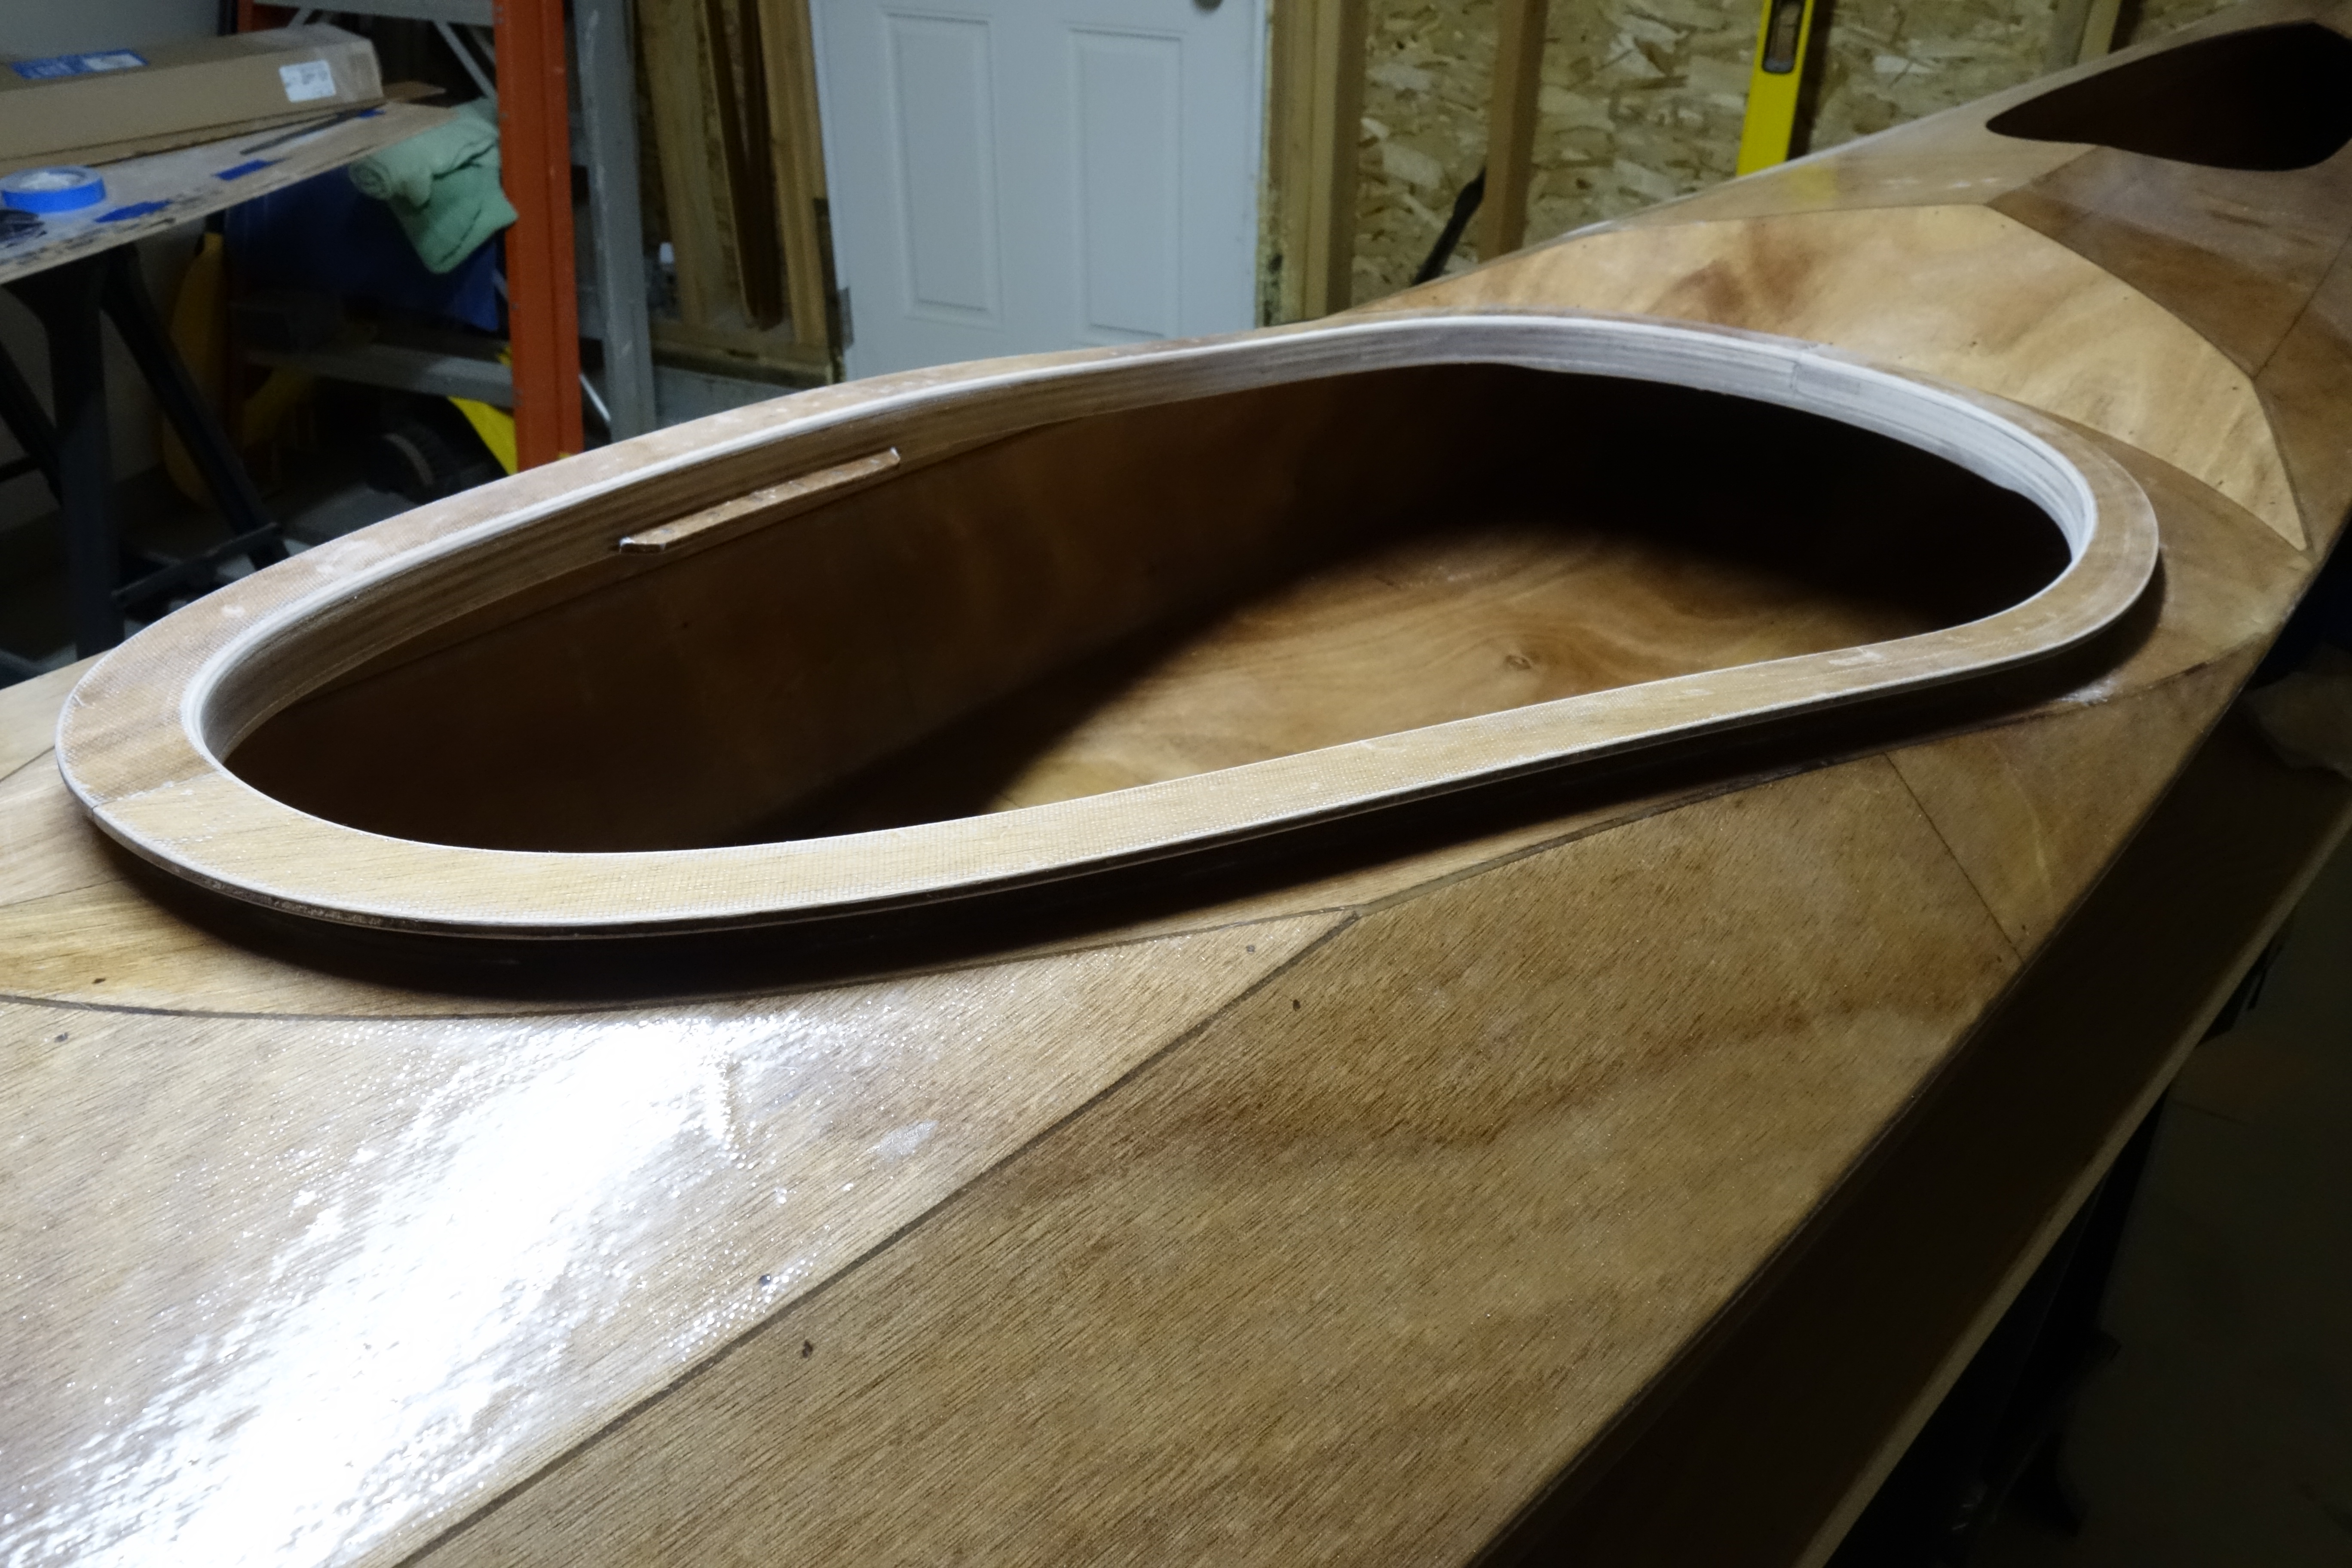
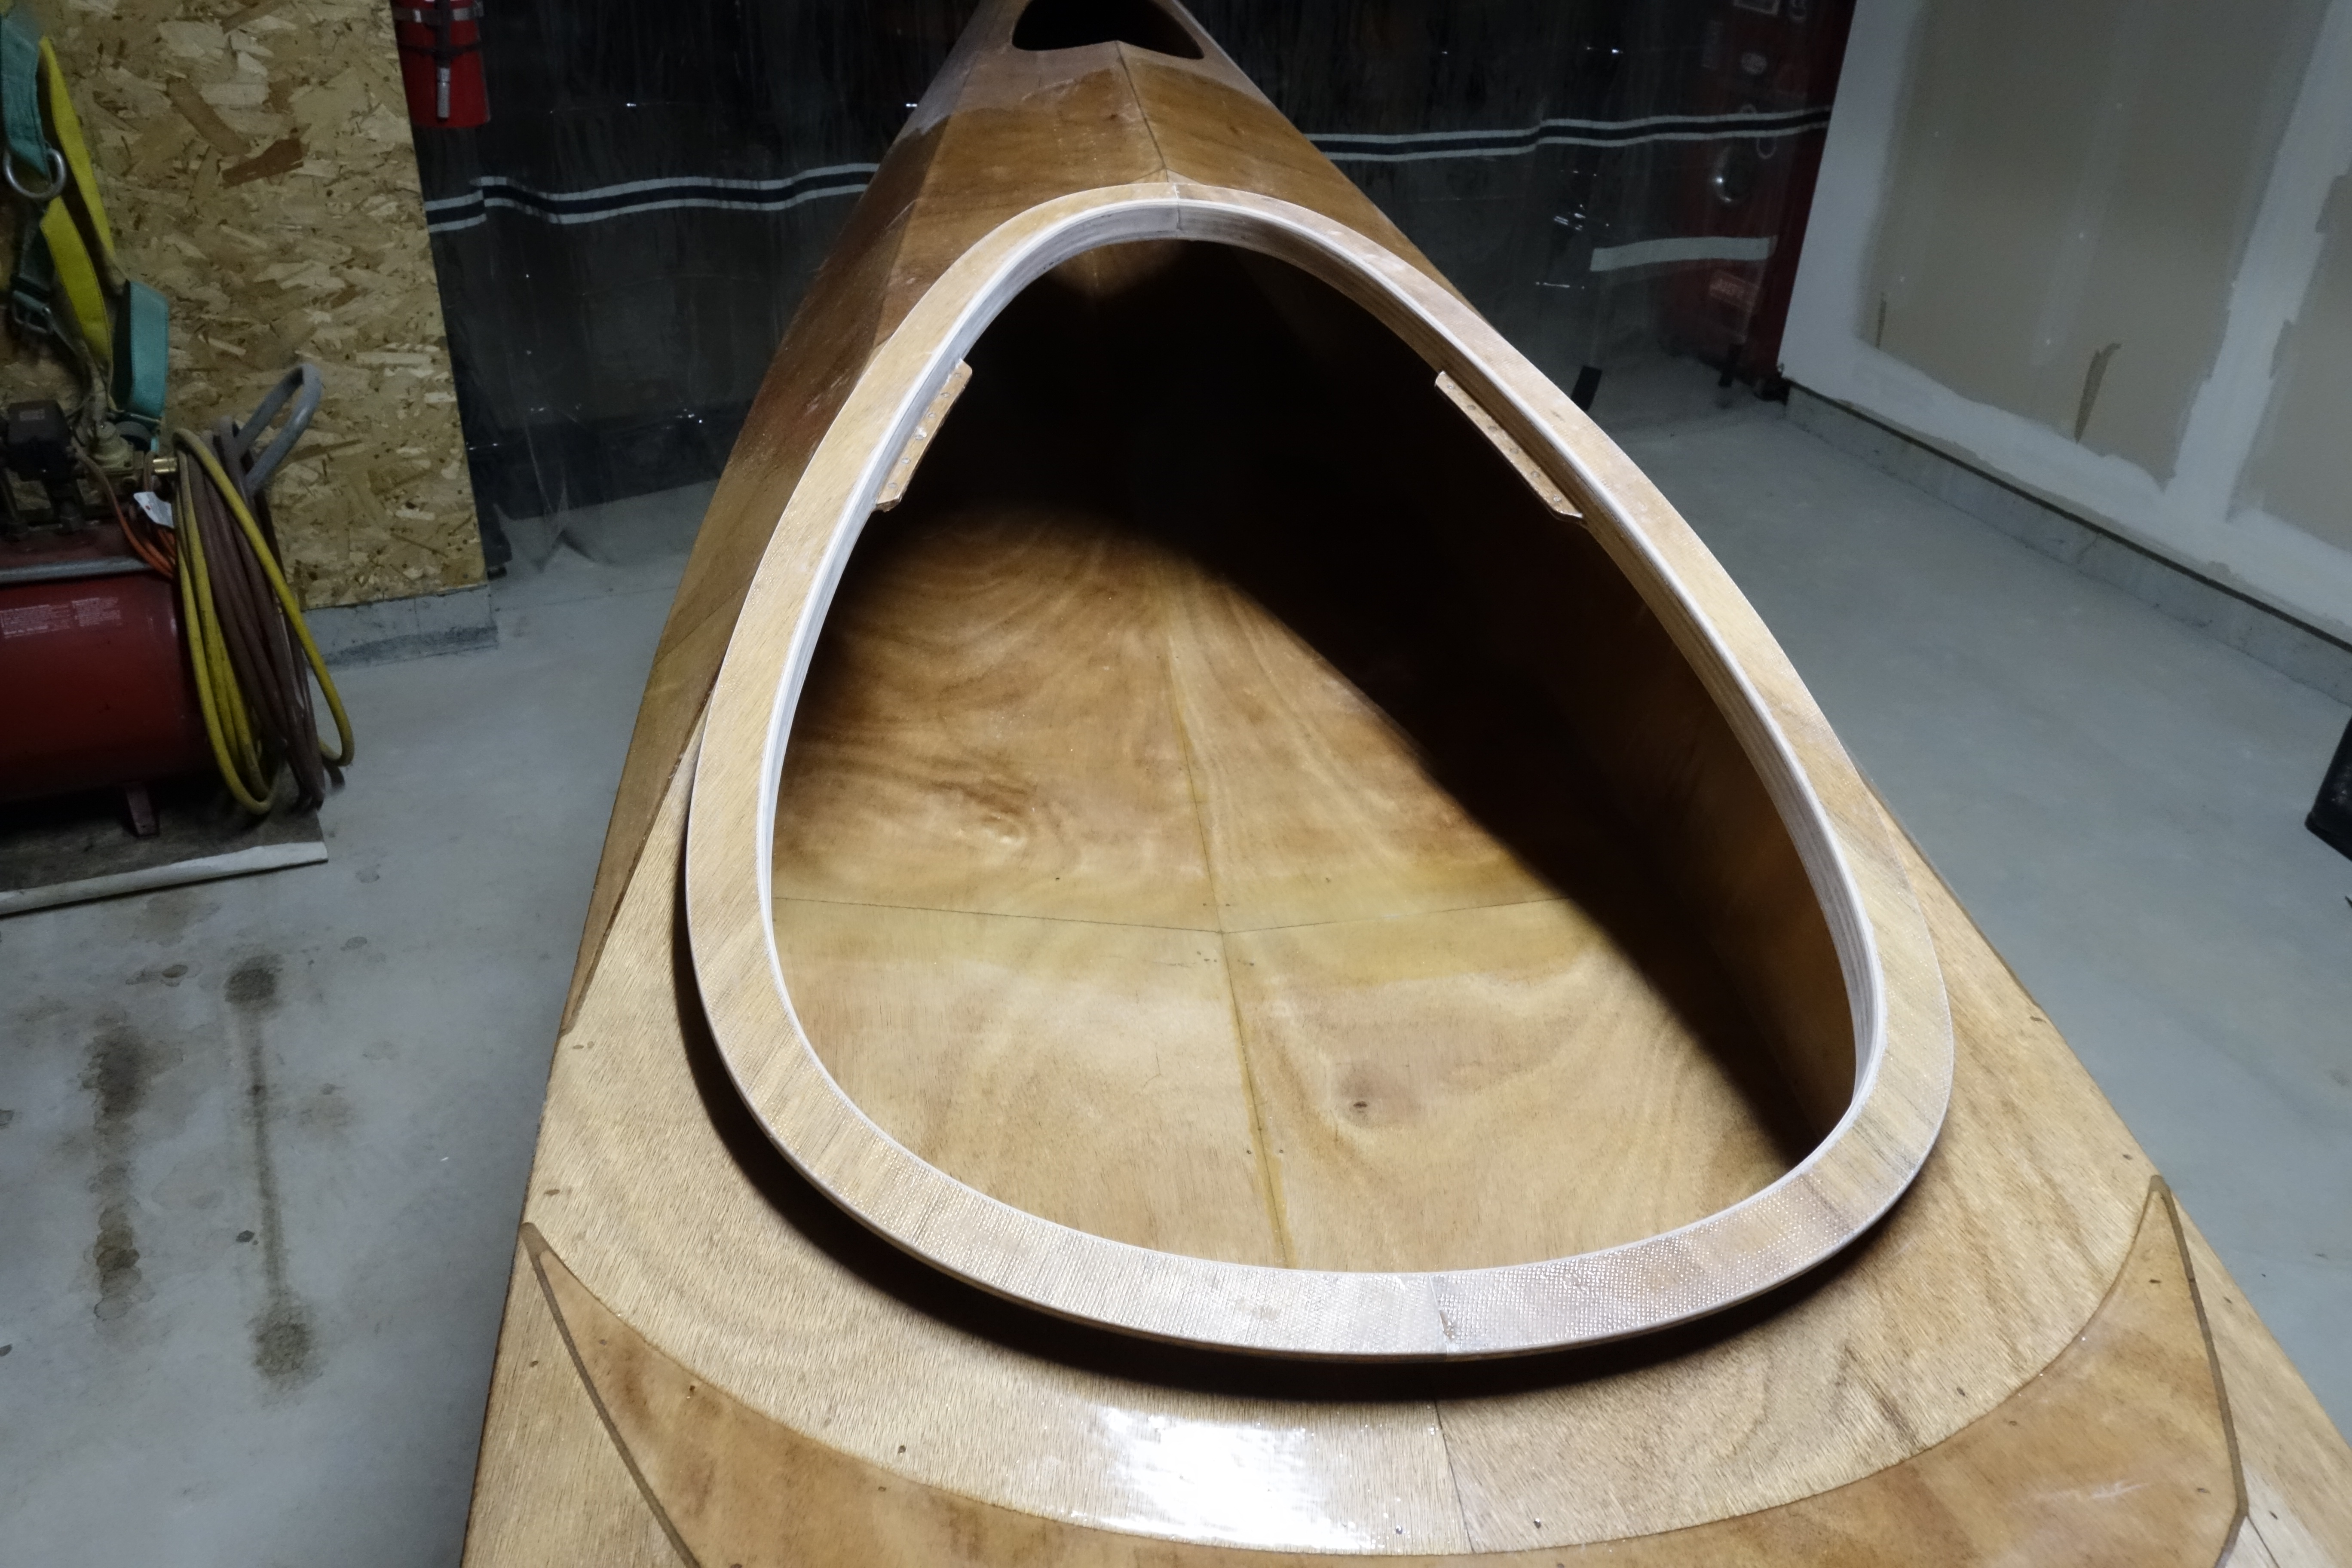
From these camera angles (photos above and below) the coaming looks great! I’ll just have to make sure that everyone looks at the kayak from these angles.
:^)