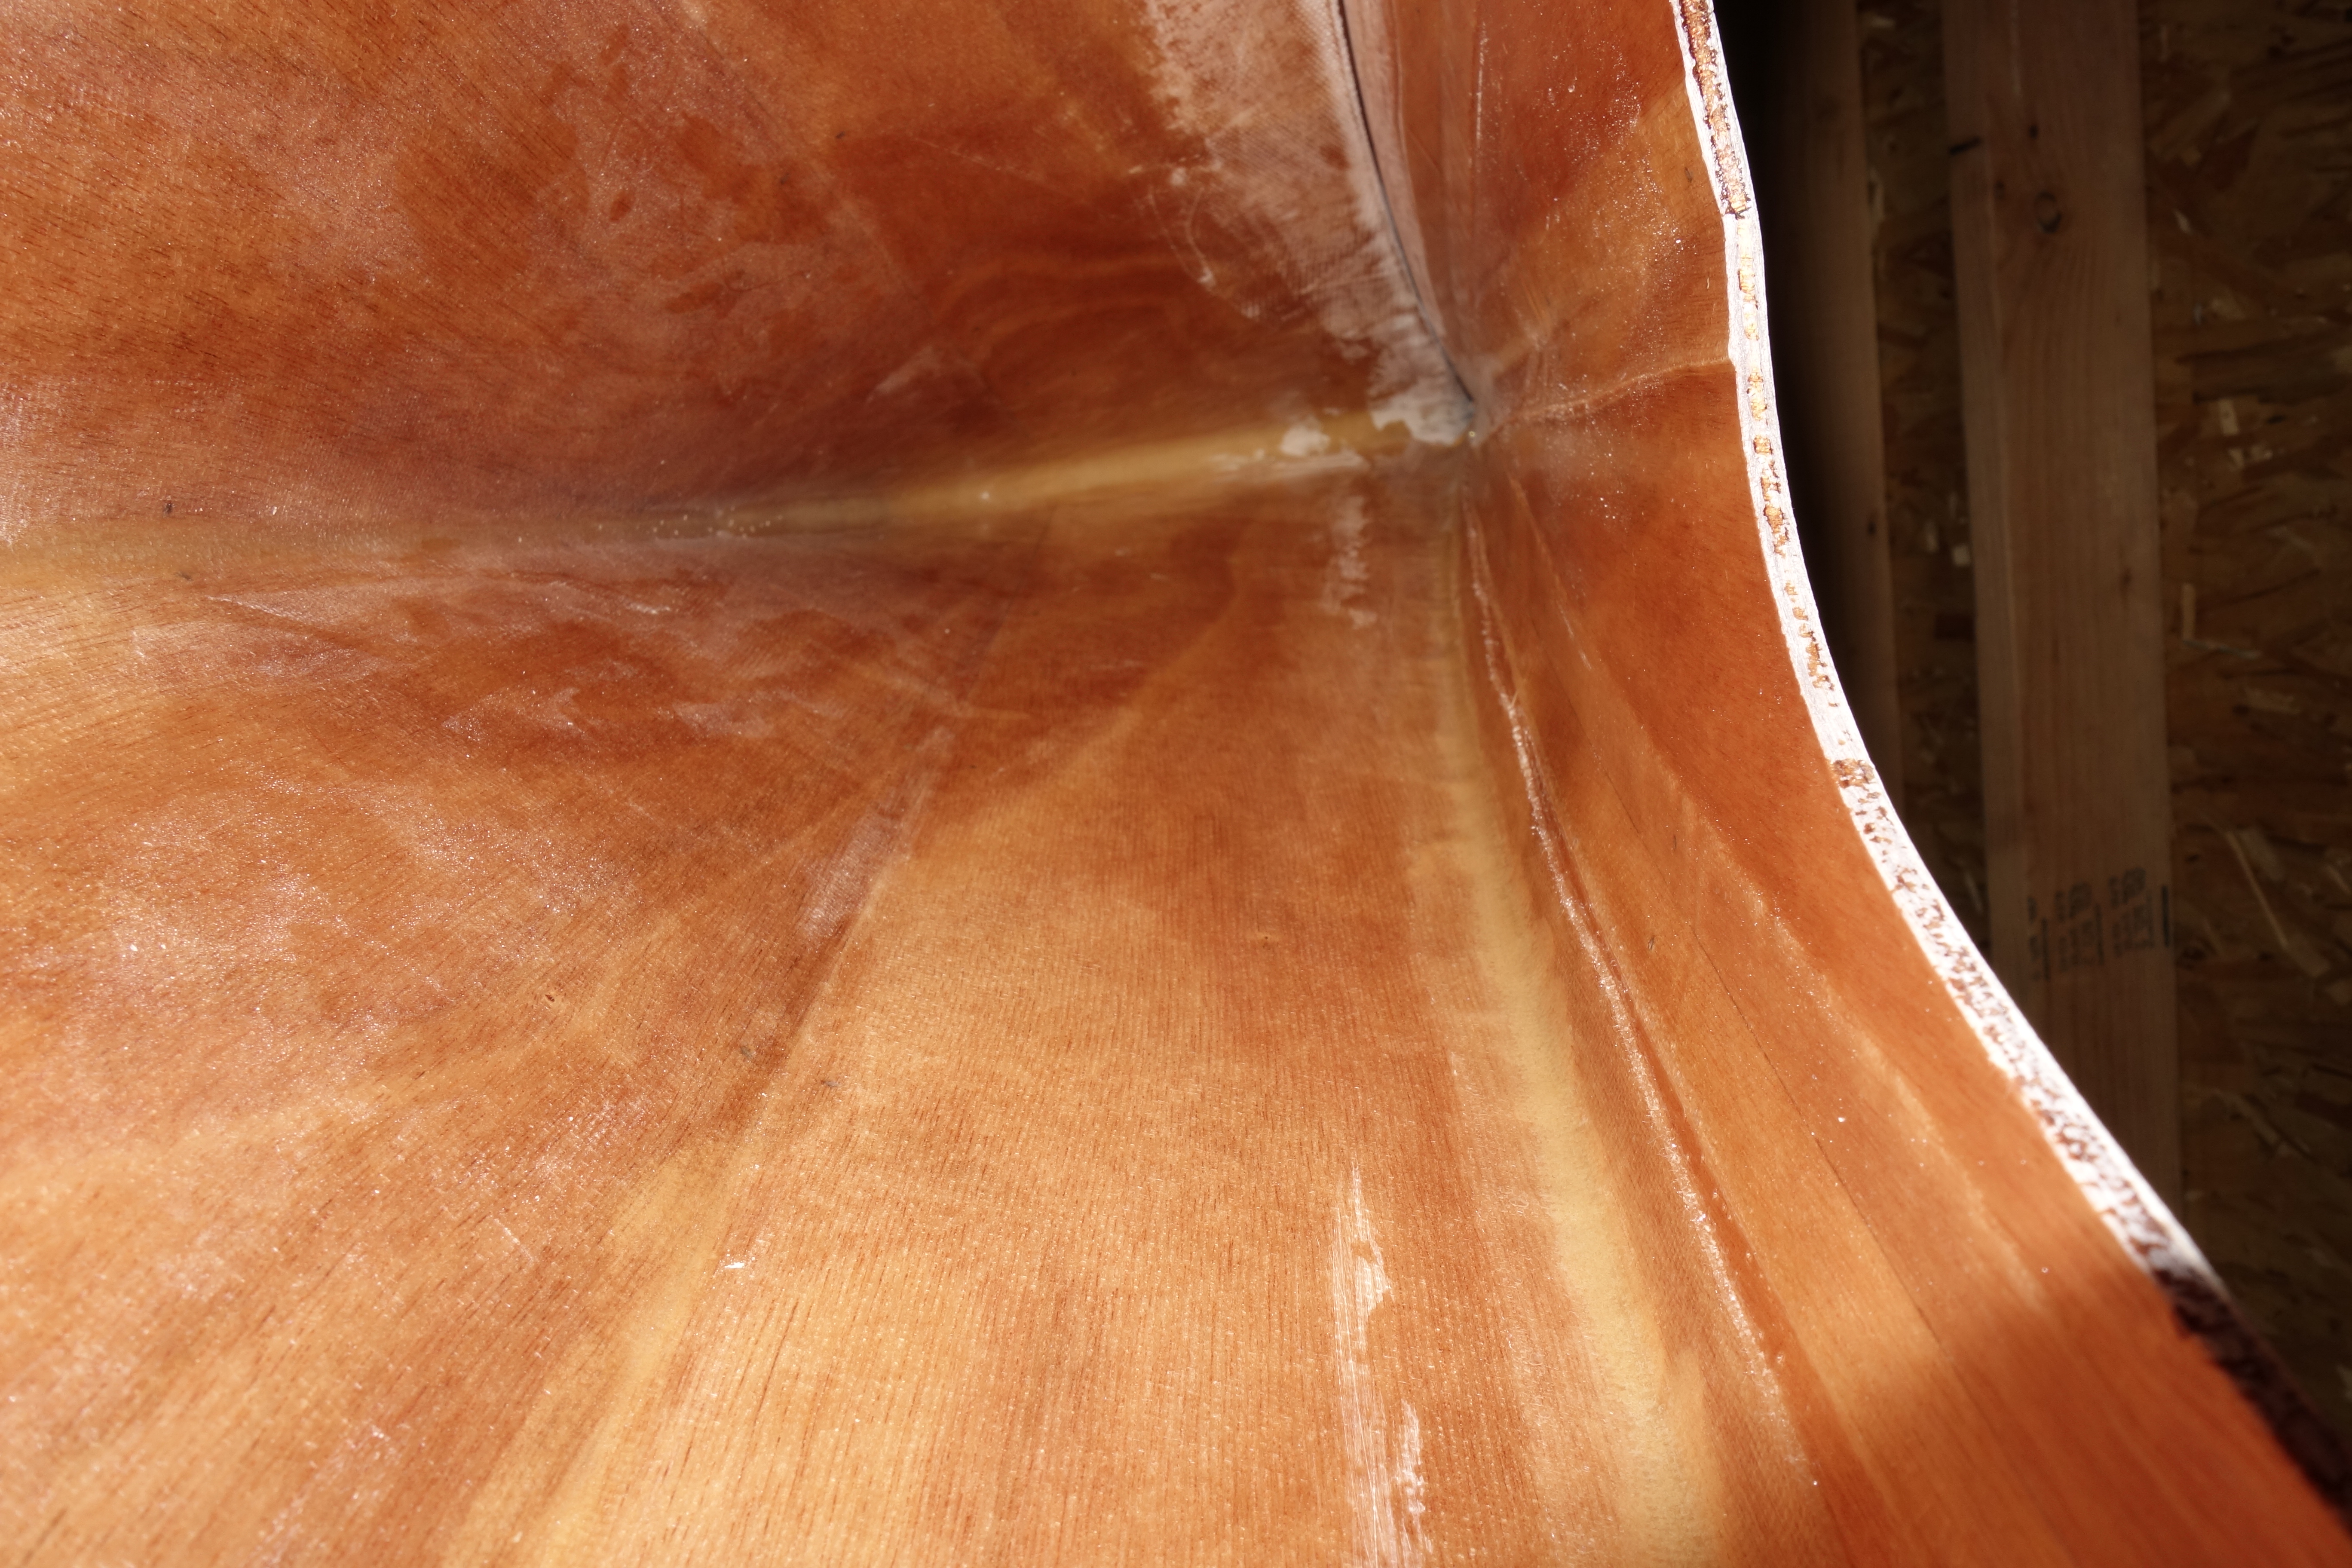
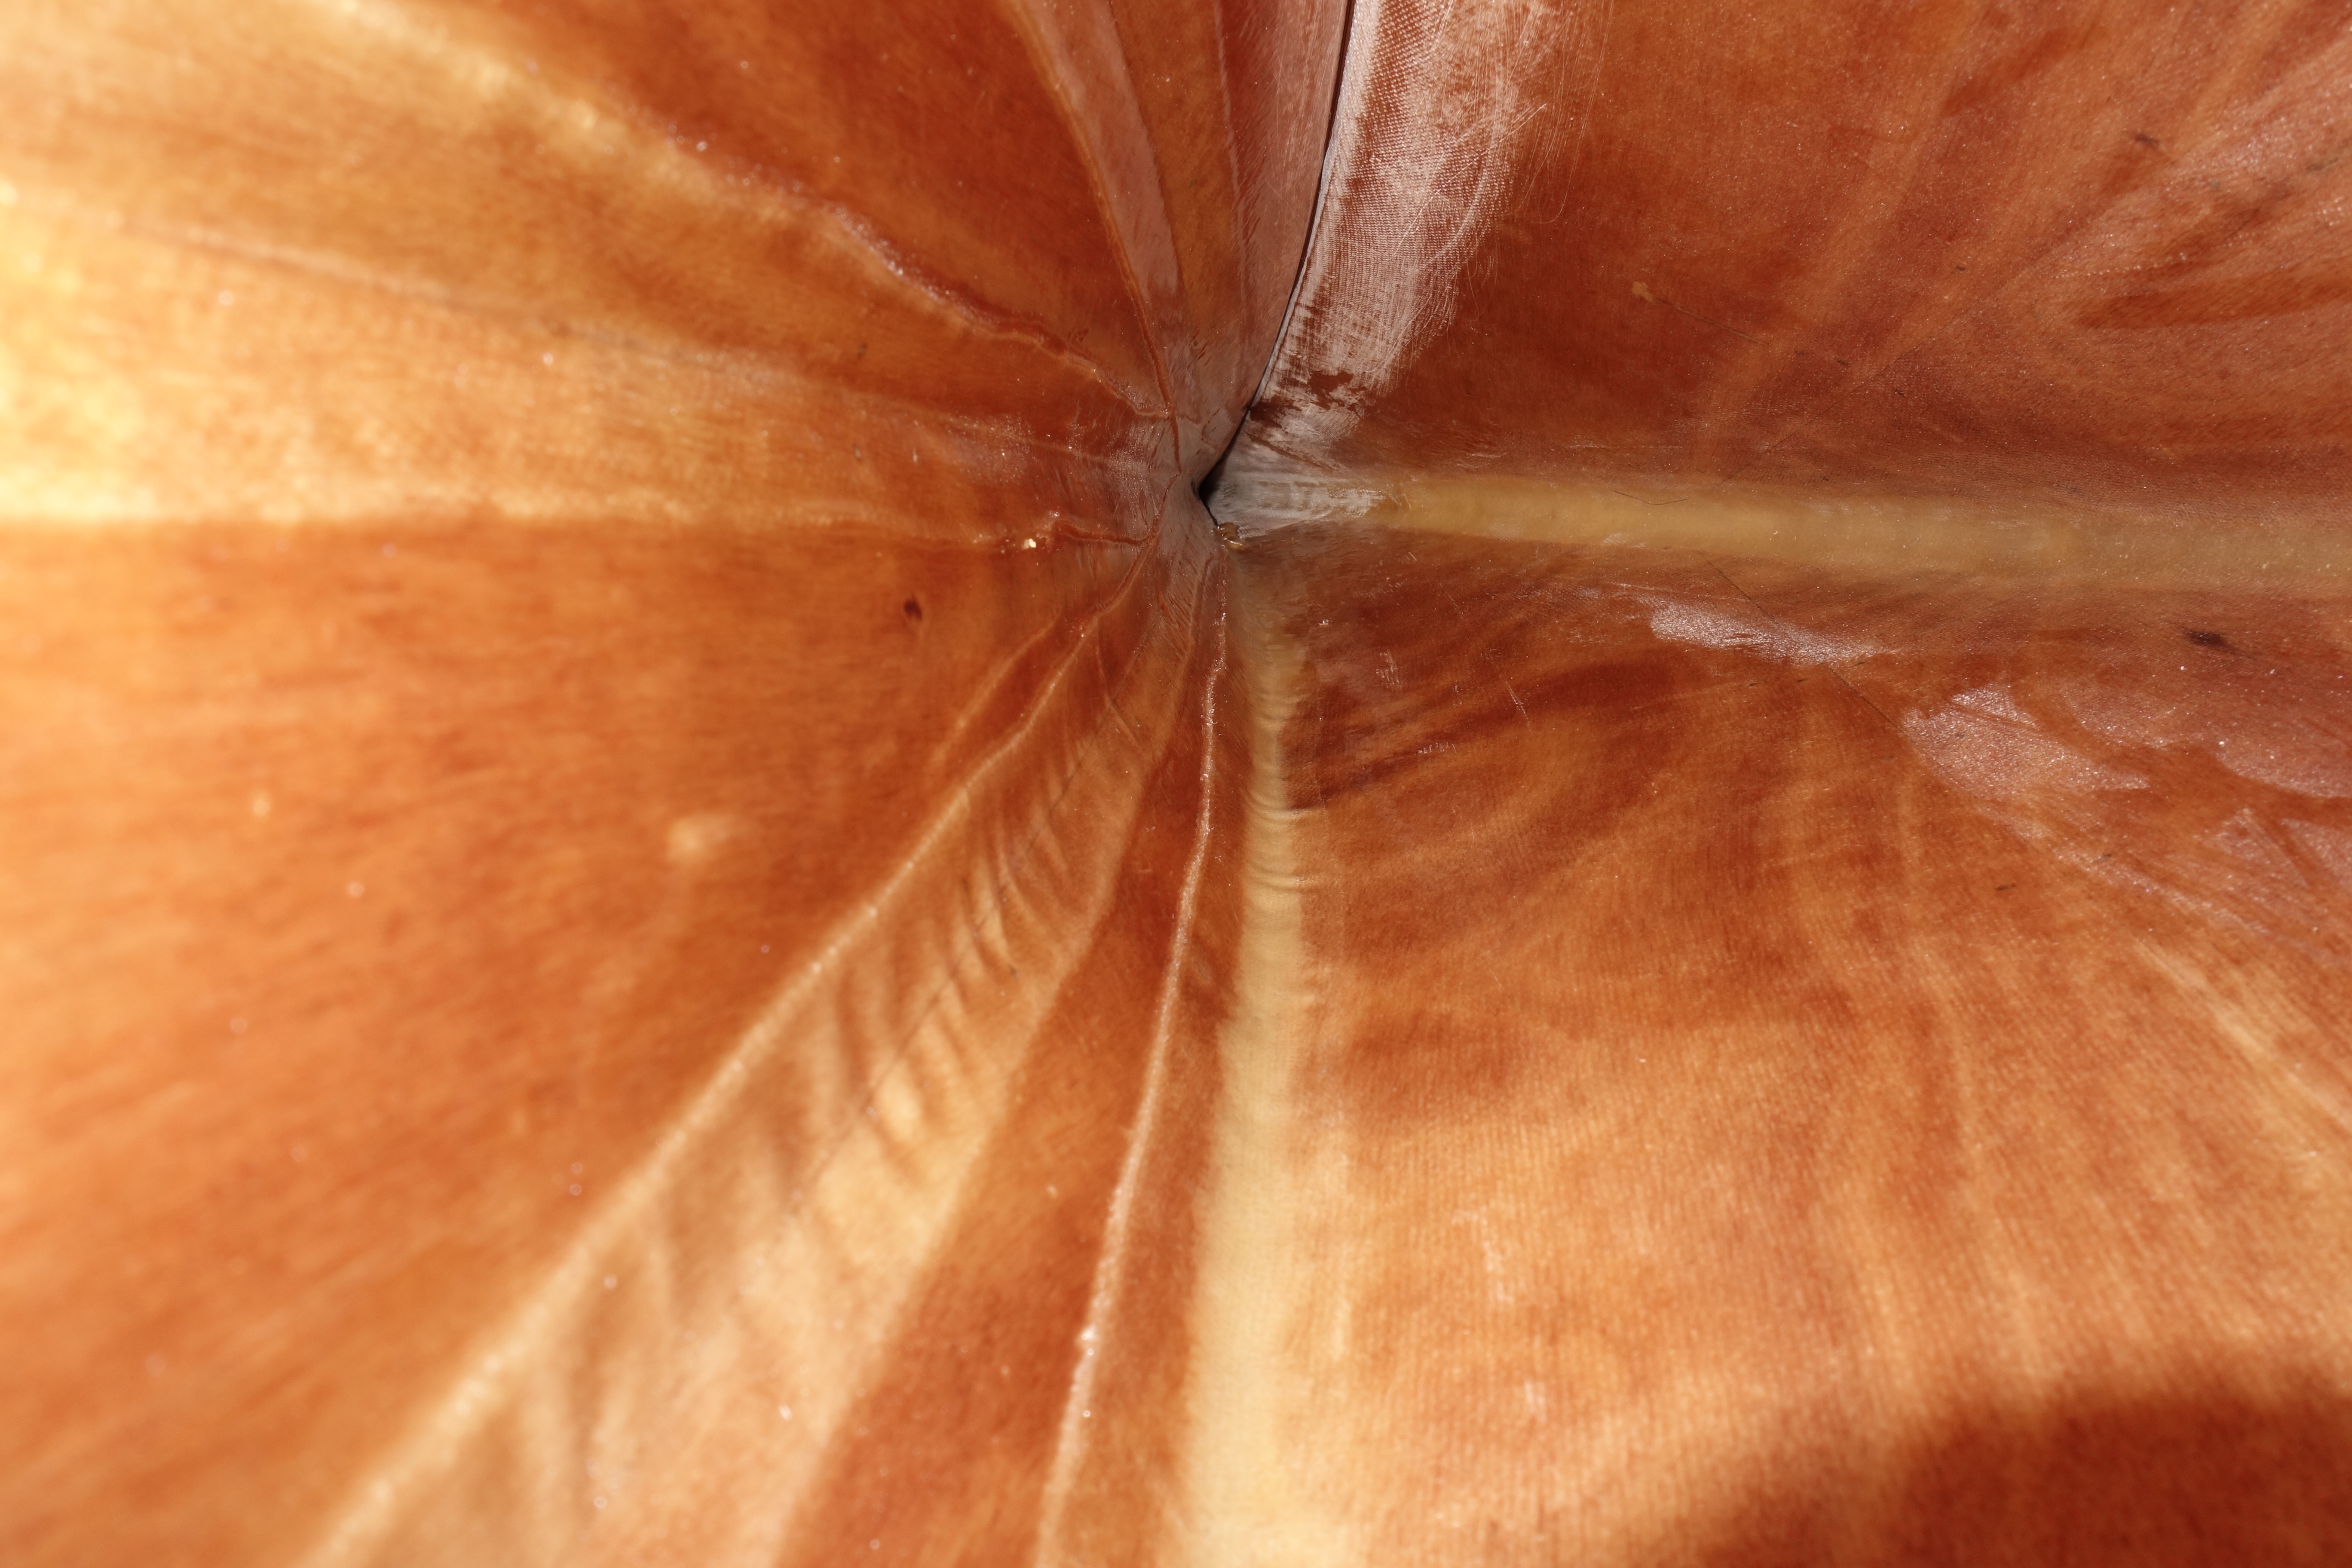
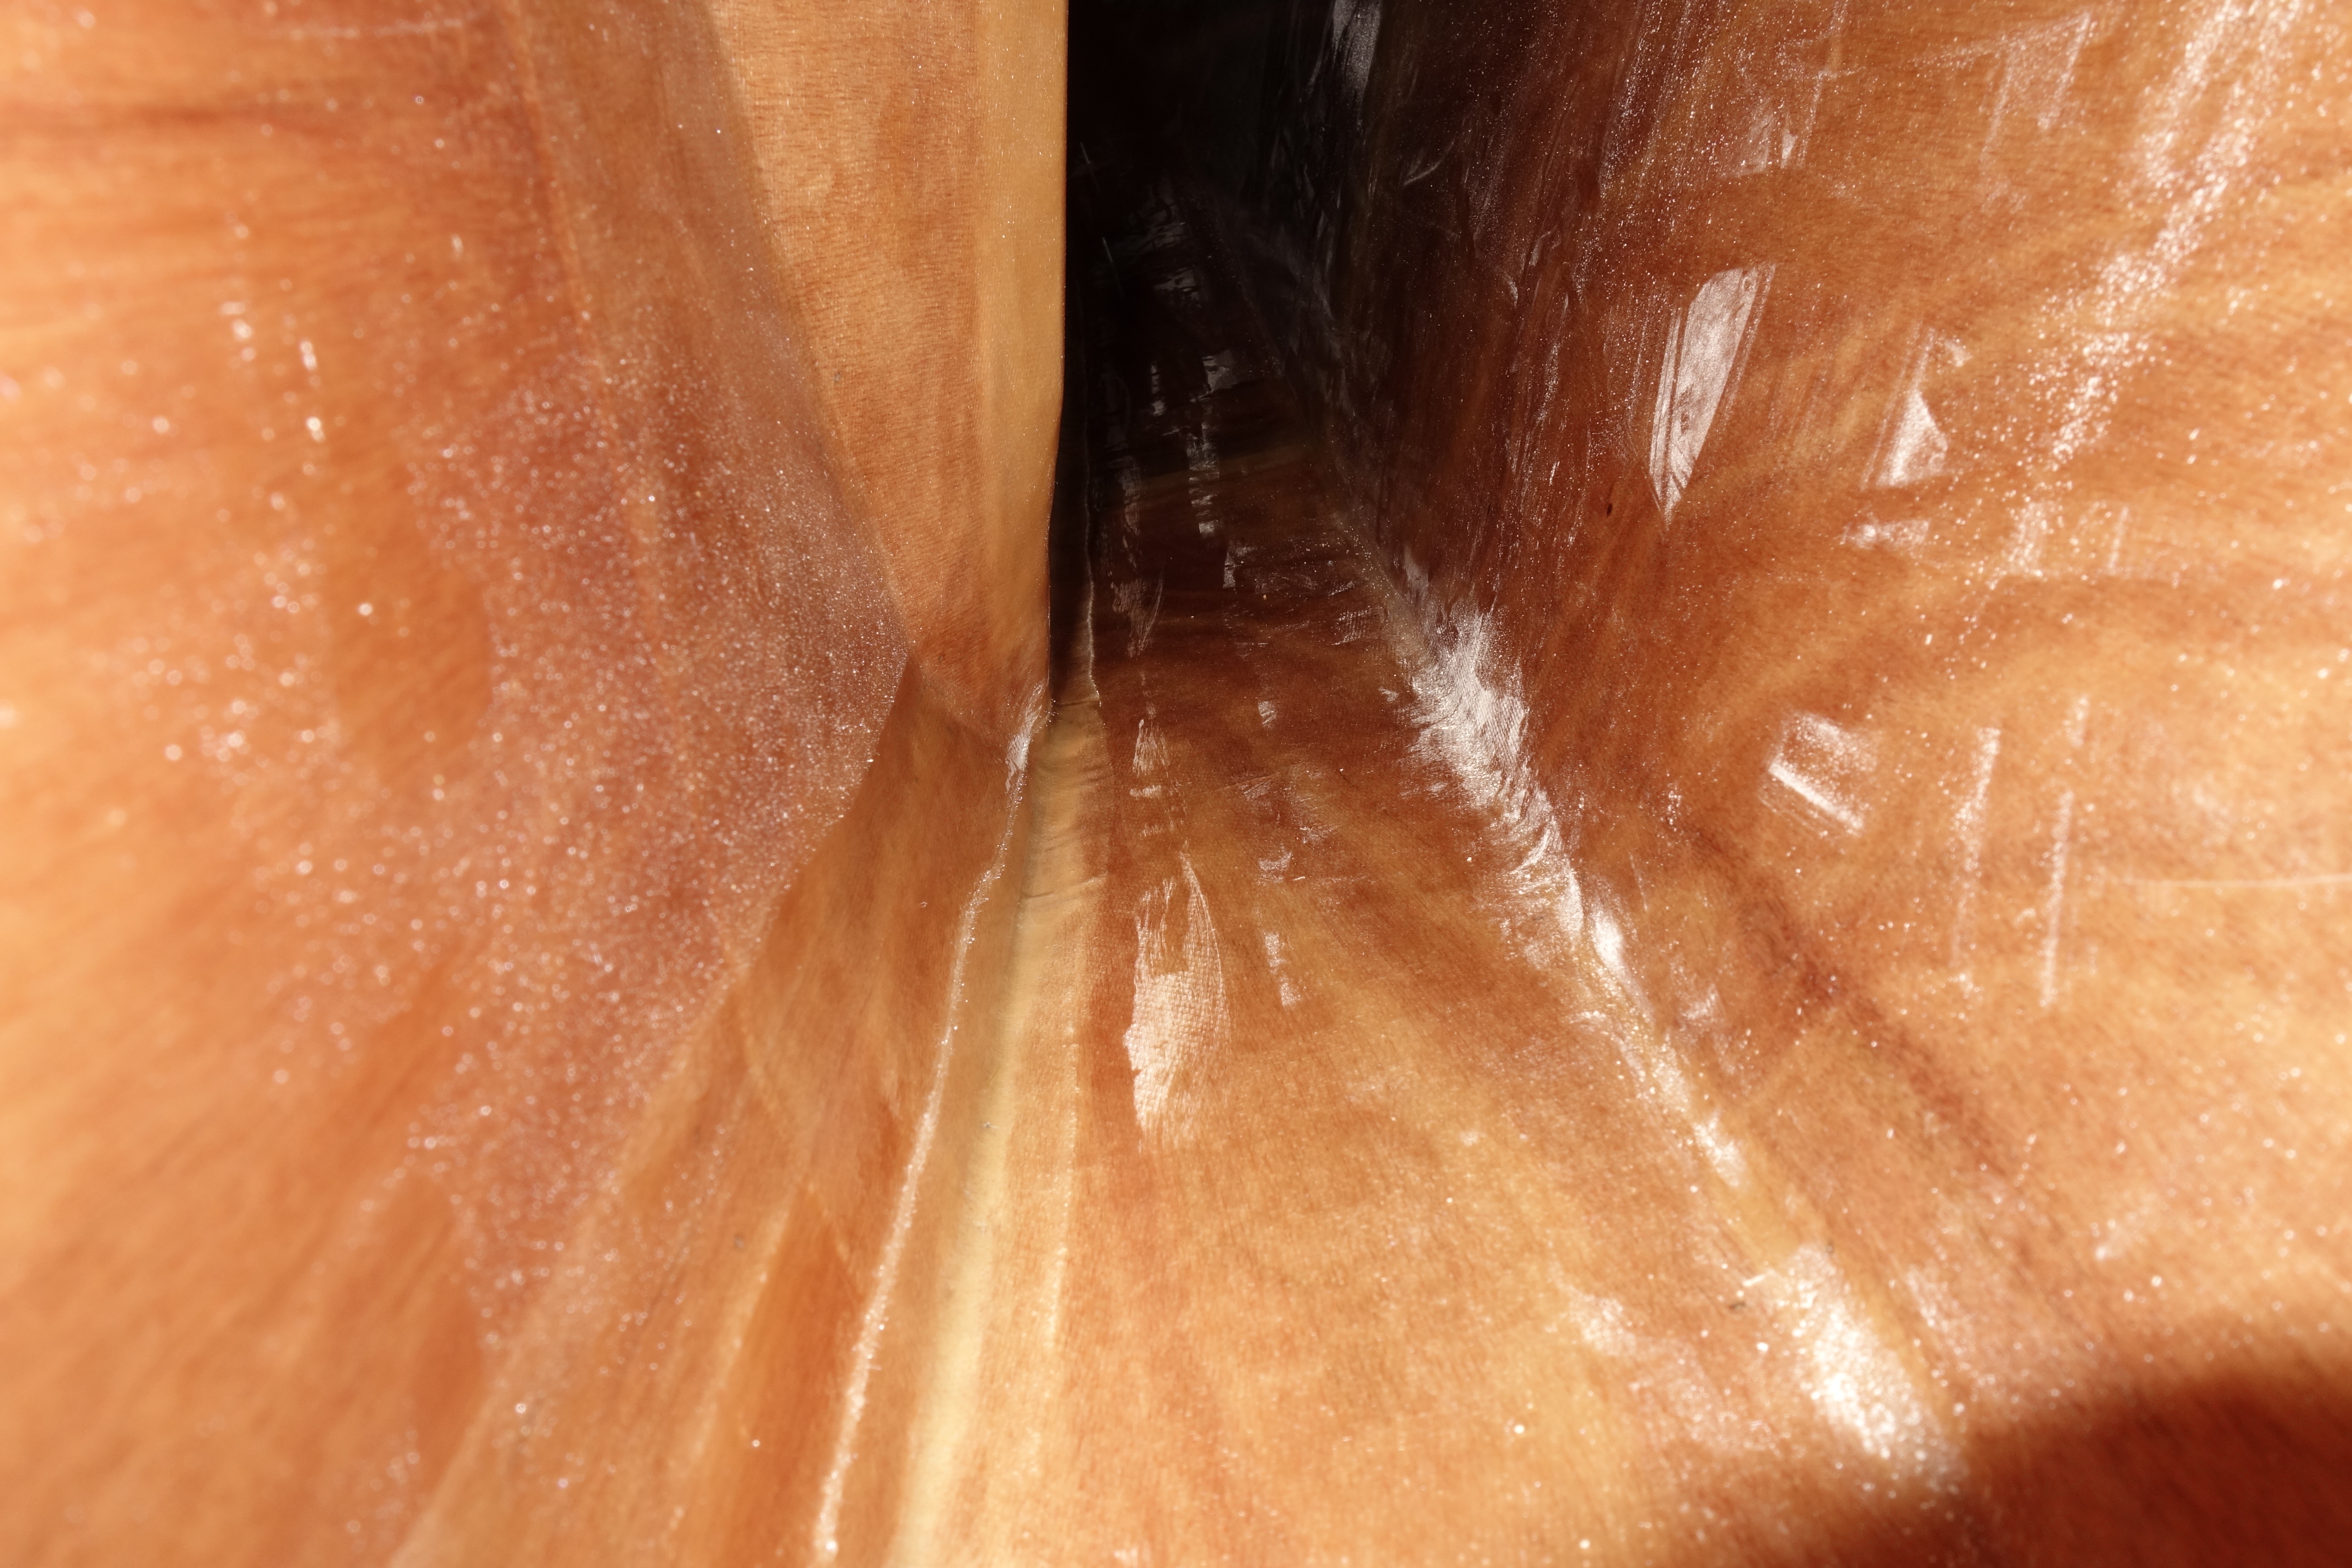
Now is the time to fillet and tape the insides of the shear seams. The first shear seam I worked on (on the port side) was challenging for me. The instructions for this process say to thicken epoxy with wood flour until it will sag, but not run and make a fillet down the seam, and to then bed the tape in the wet fillet and wet it out with epoxy, with a bristle brush. Seems simple enough, but I had some trouble getting the tape to lay down smoothly, etc. The good news is that because I waited until I cut the hatches before I did the shear seams I was able to get epoxy and tape almost all the way to the bow and stern tips, and the “end pours” that I will do later will definitely reach the rest of the way. I’ll do the starboard side tomorrow after work. When I am finished with the starboard side I will try to pass on any helpful advice I have (if I have any) about how to complete these seams with less stress and difficulty than I had on this first side of the kayak.