
If anyone is curious about how I am applying the varnish, I am using a technique used by Nick Schade at Guillemot Kayaks. Essentially, after preparing the surface I am using a 3″ foam brush and varnishing approximately one foot sections of the surface I am working on and then moving on to the adjacent section while maintaining the wet edge of the previous section. Switching back and forth, from one side of the kayak to the other, and repeating until the entire kayak deck or hull (whichever I am working on at the time) is finished. The video that I linked to above shows the method in much greater detail than I can easily describe here. I greatly admire Mr. Schade’s kayaks and he has wonderfully detailed videos on YouTube (that can be found through his web site or by searching YouTube itself). I found the videos on preparing for varnishing and applying varnish to be an outstanding resource. Thank you Mr. Schade! Since this is my first attempt at building a kayak, if the finish on my Ronan turns out to be half as beautiful as Mr. Schade’s kayaks I will be very happy indeed. I am going to use two different types of varnish, both made by the same manufacturer. I will apply two coats of Pettit Flagship Varnish, which has the highest UV protection, because UV breaks down epoxy. I will follow with two coats of Pettit Captains Varnish, which I am told by Pygmy Boats, has good UV protection, but is also very durable. I hope that in this way I will get the best of both worlds, very high UV protection and a durable finish that will take sea kayaking levels of abuse.


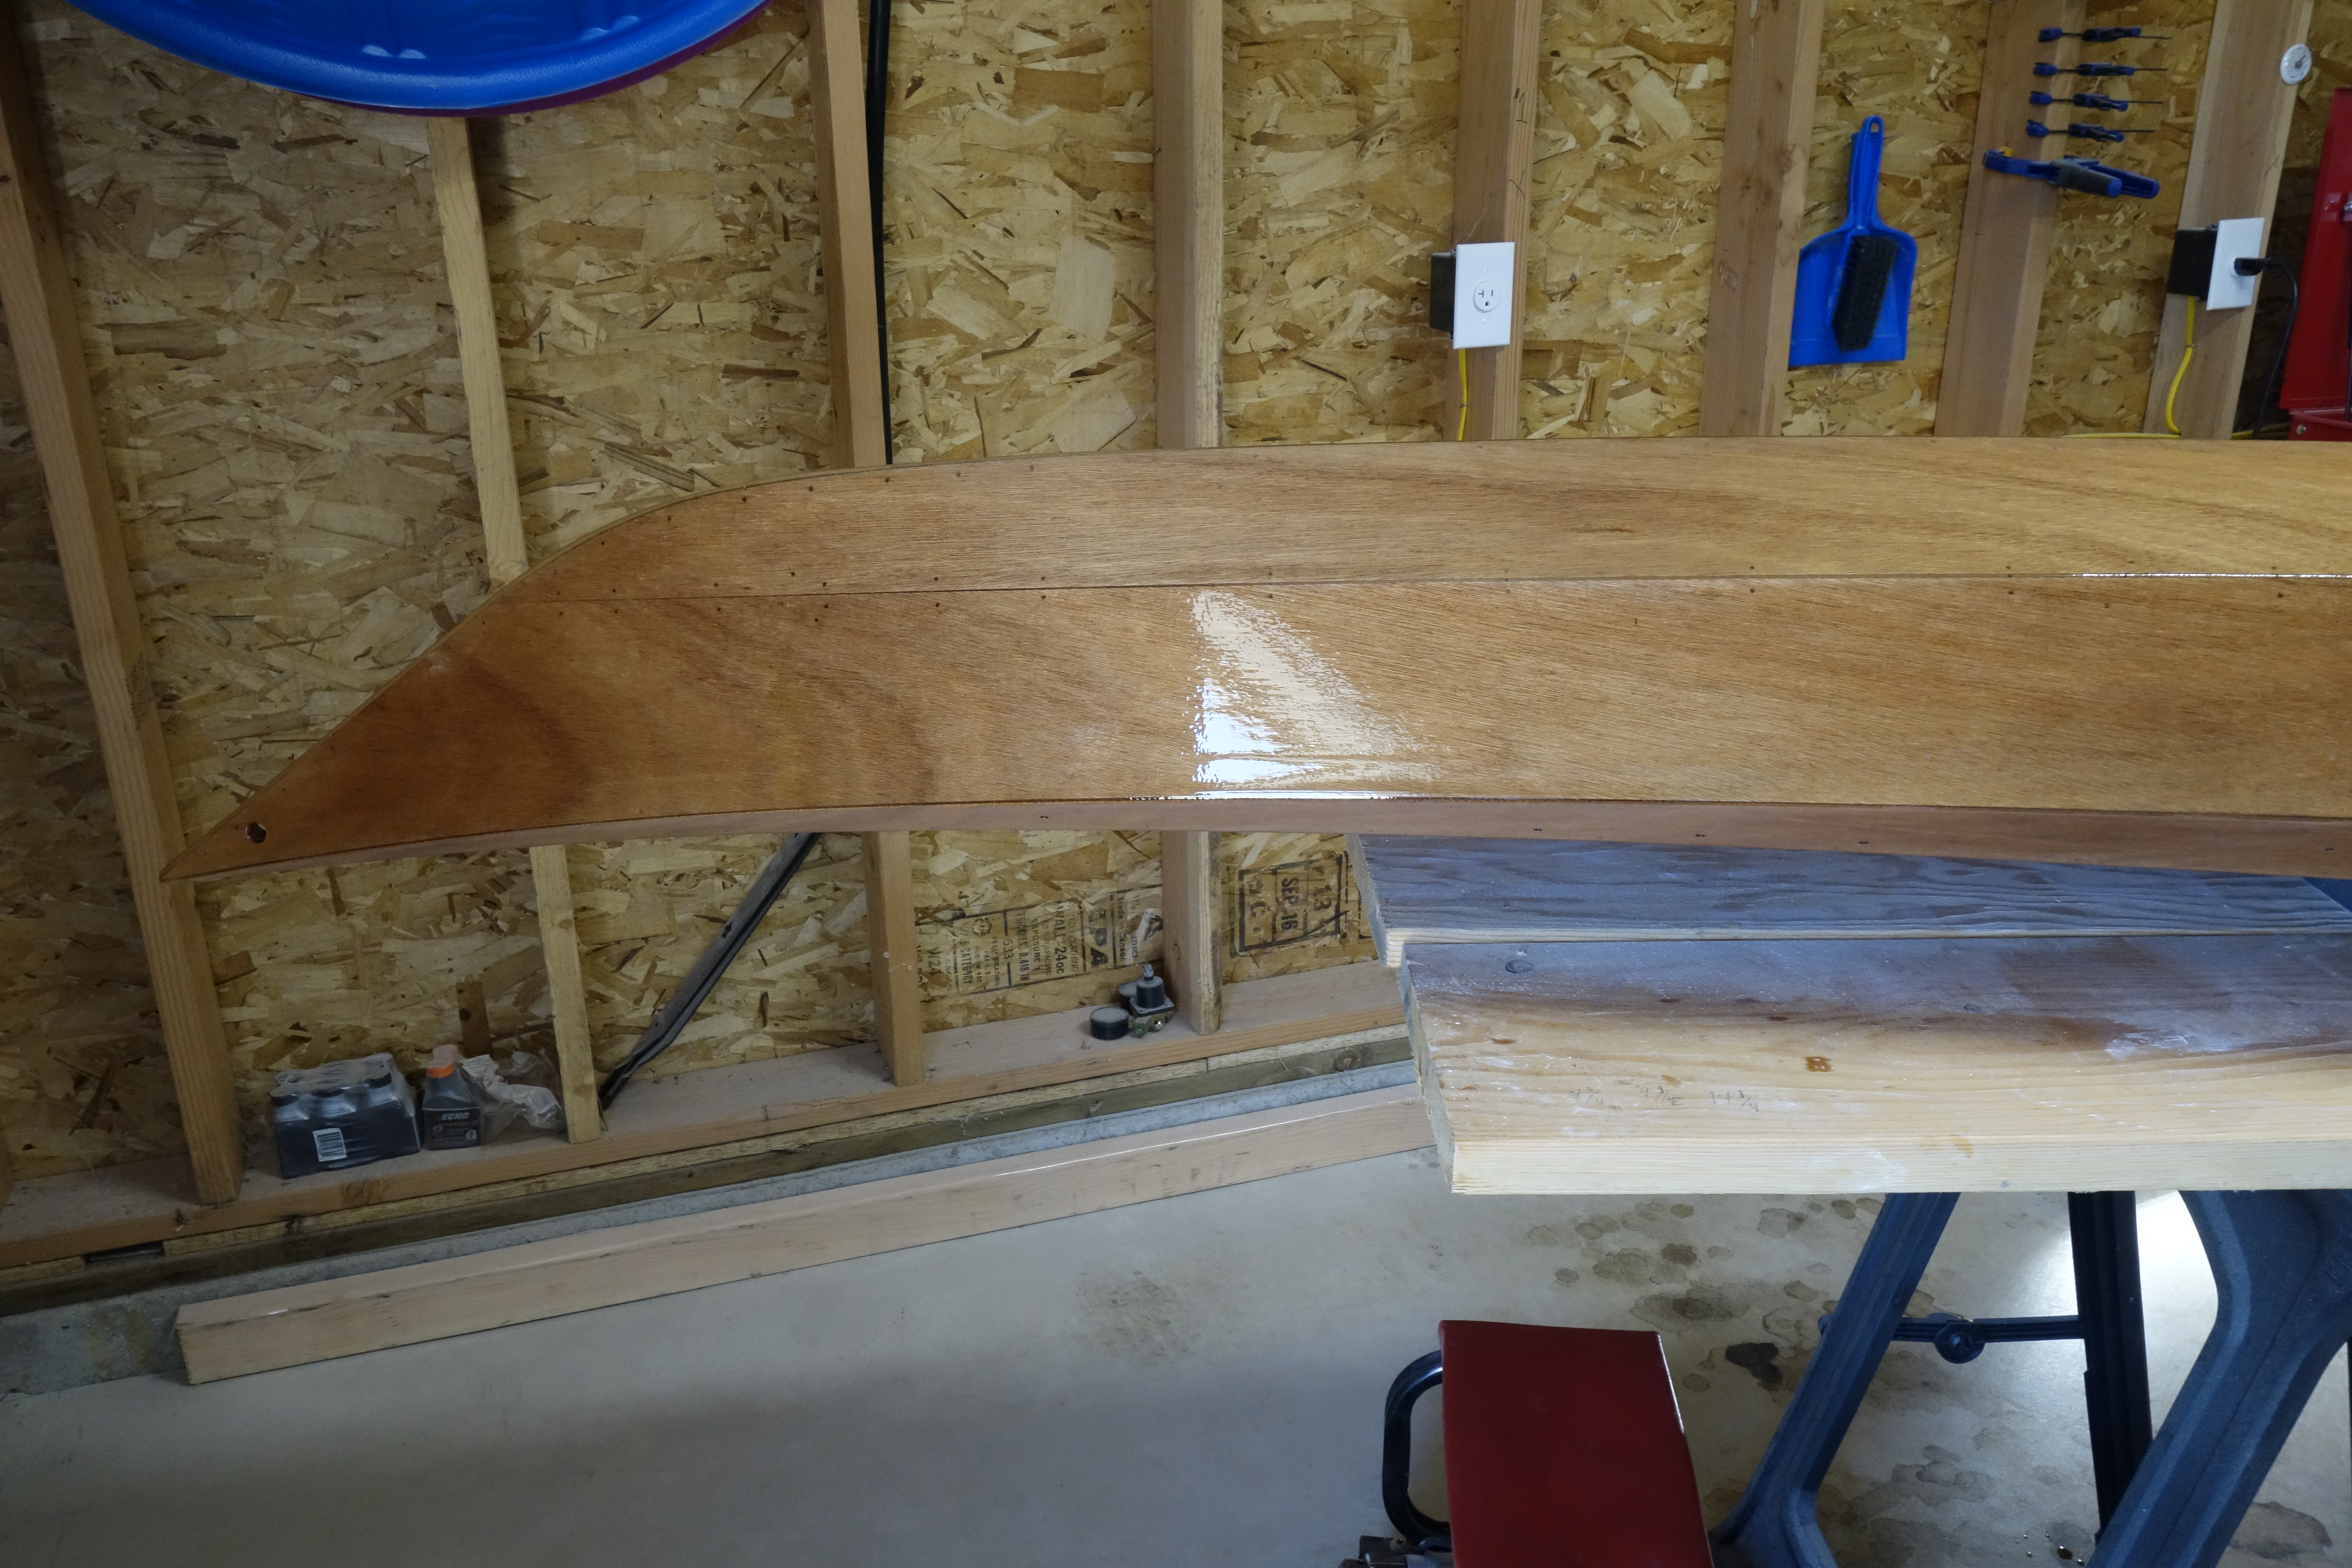
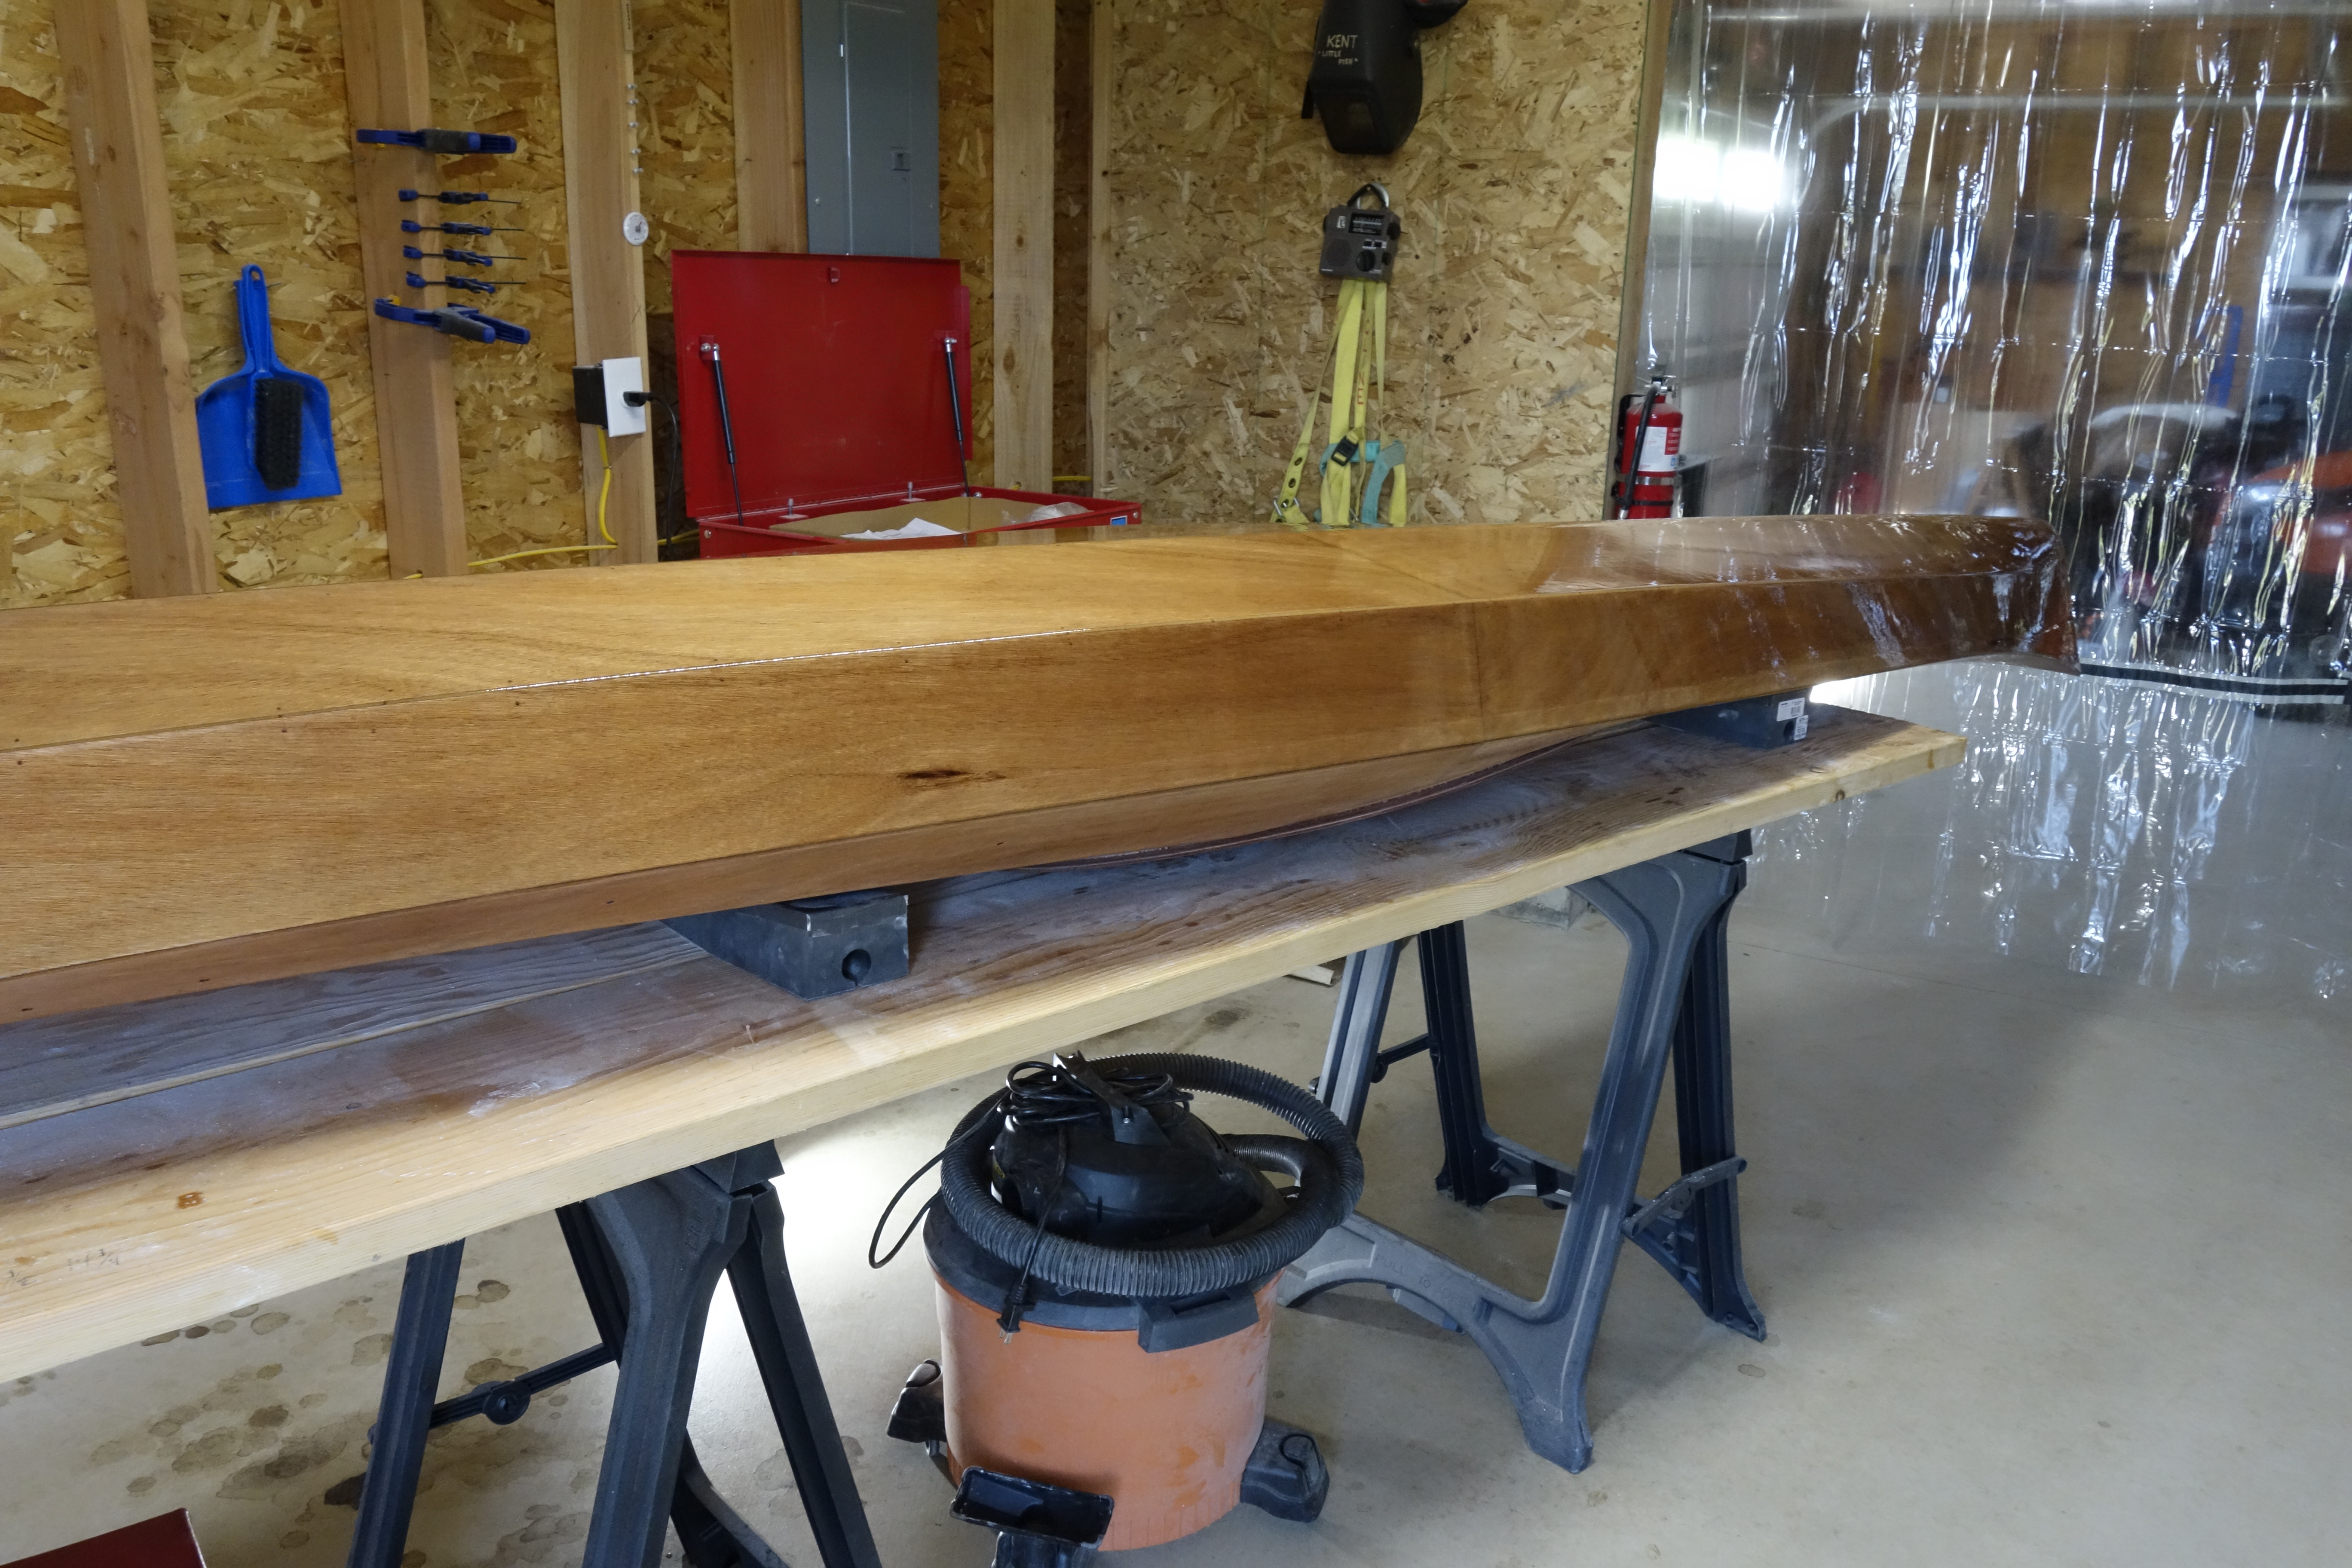
It looks pretty good. There are a couple of little sags that I didn’t see until it was too late to do anything about them, but I have to sand between each coat anyway. I’ll learn as I go. Tomorrow the kayak gets flipped over and the deck gets the first coat of varnish. Then sanding, then varnishing, then sanding, then varnishing, then sanding, then varnishing…
