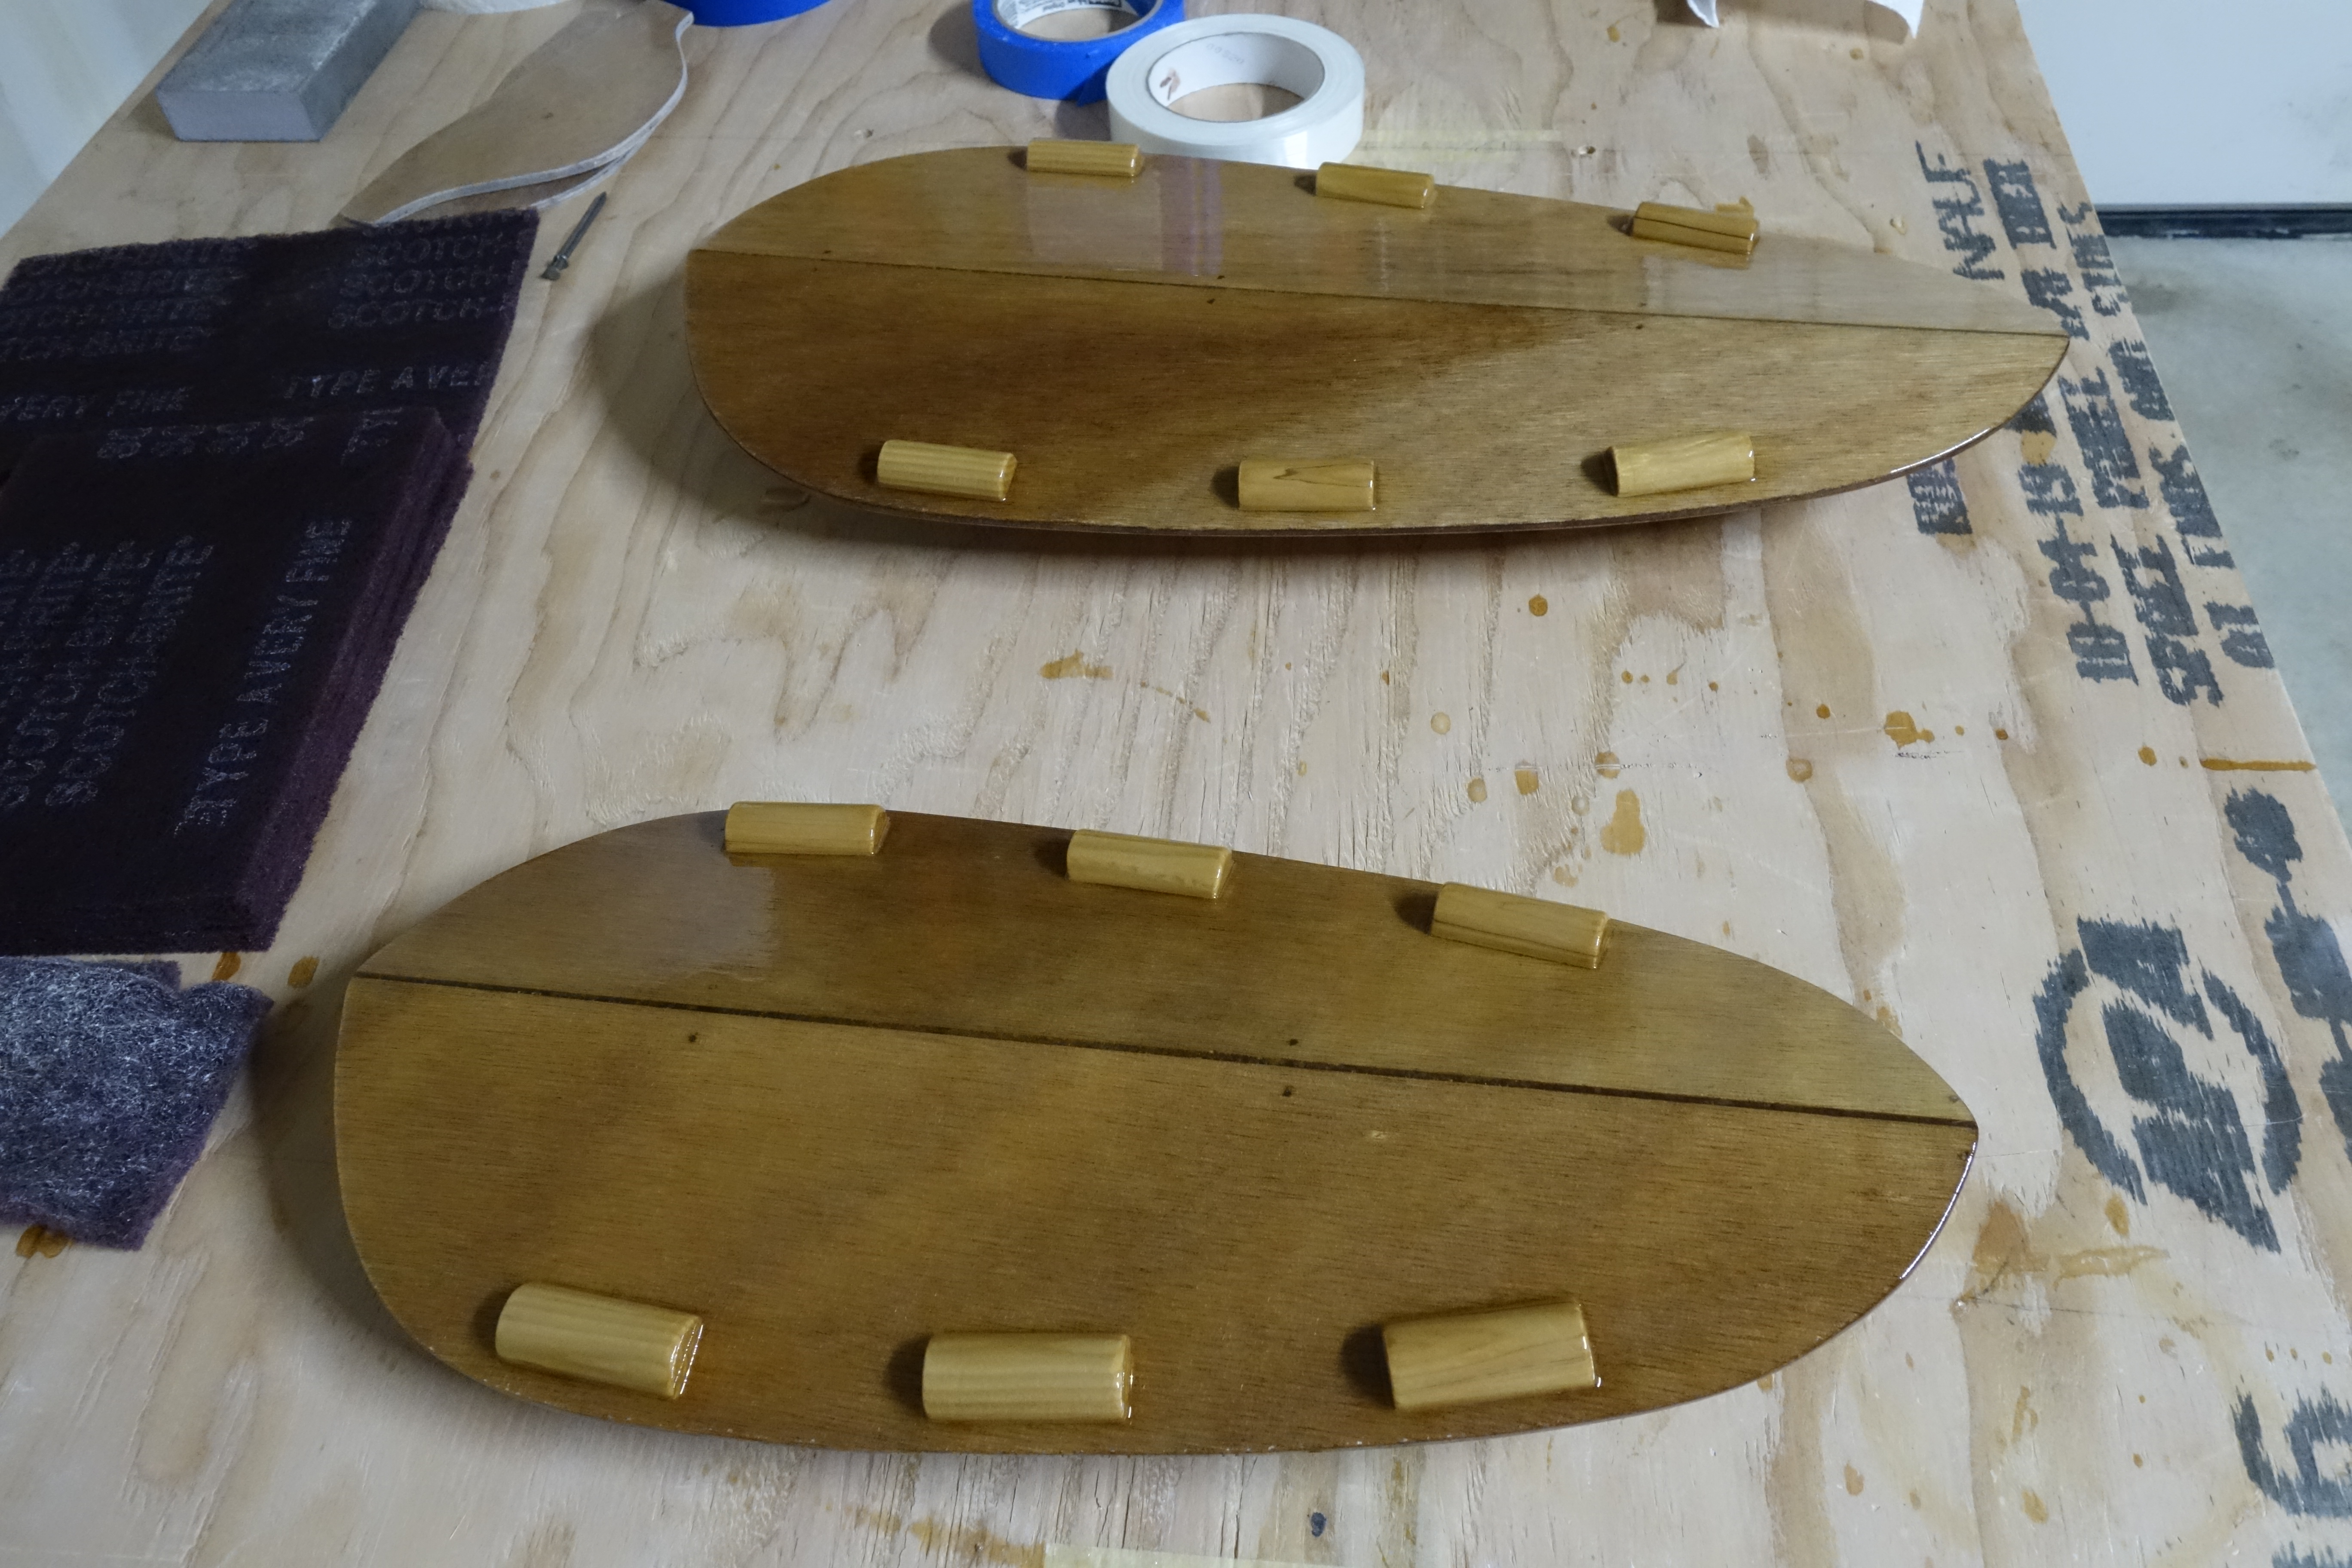
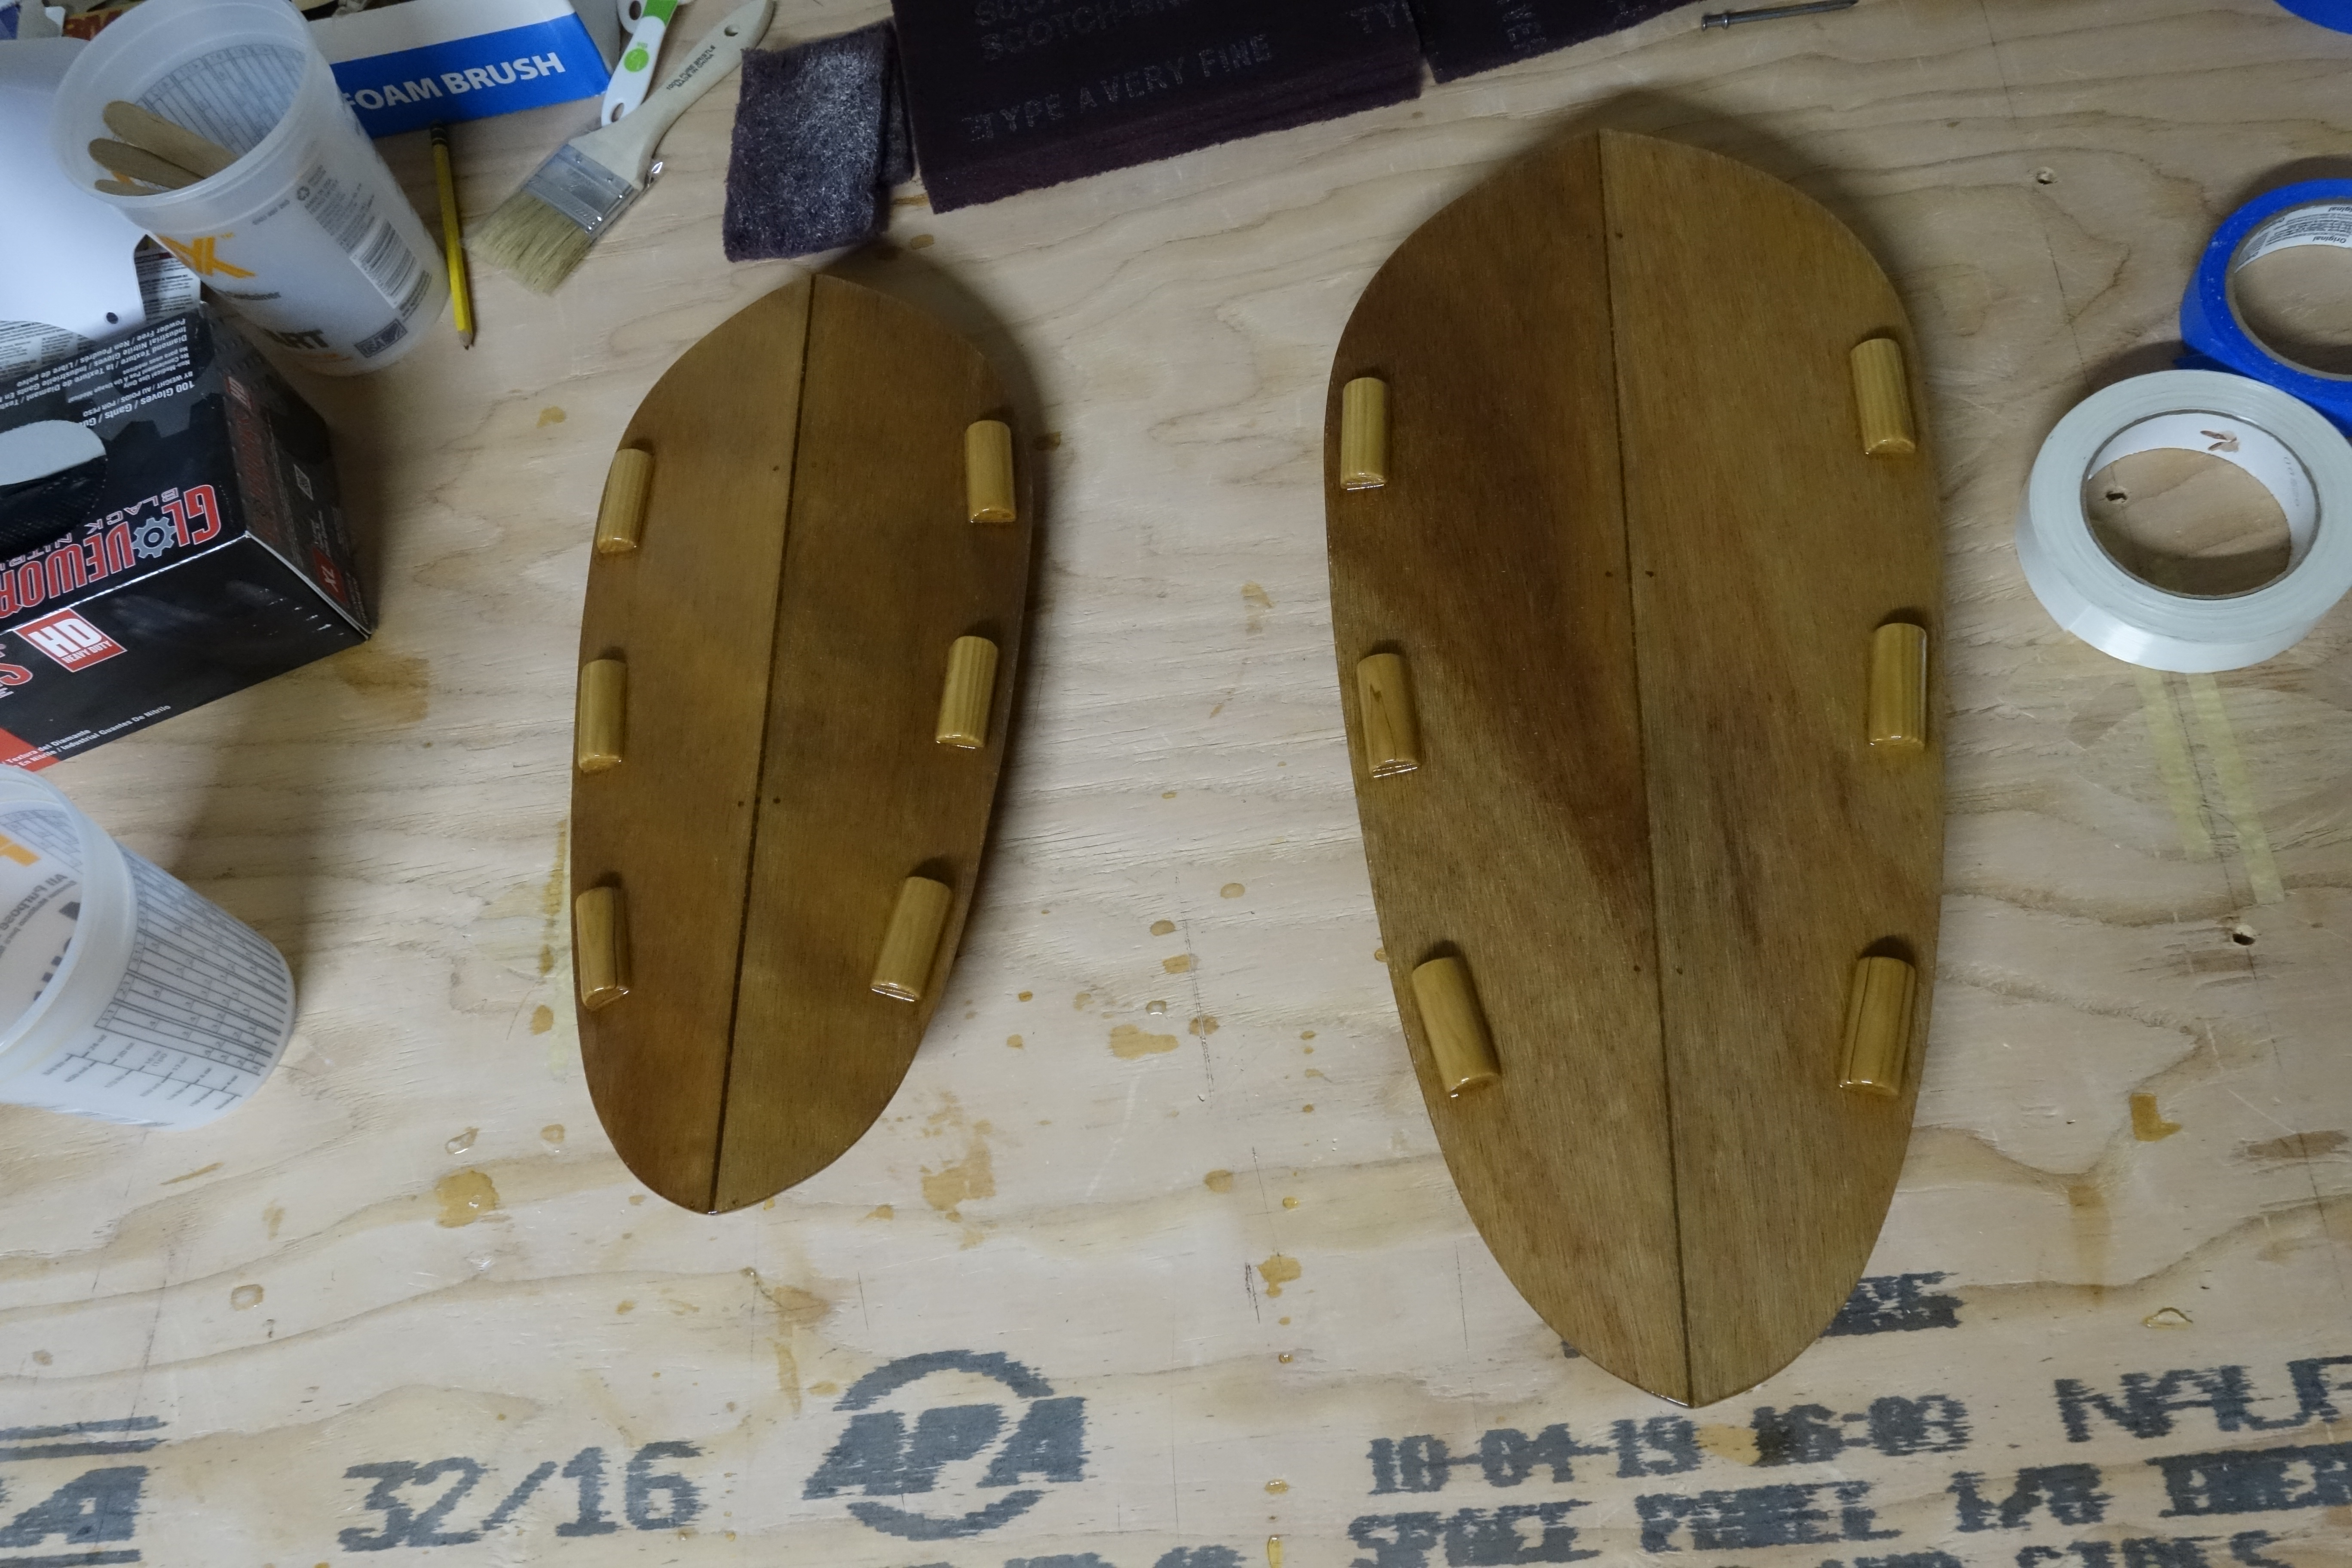
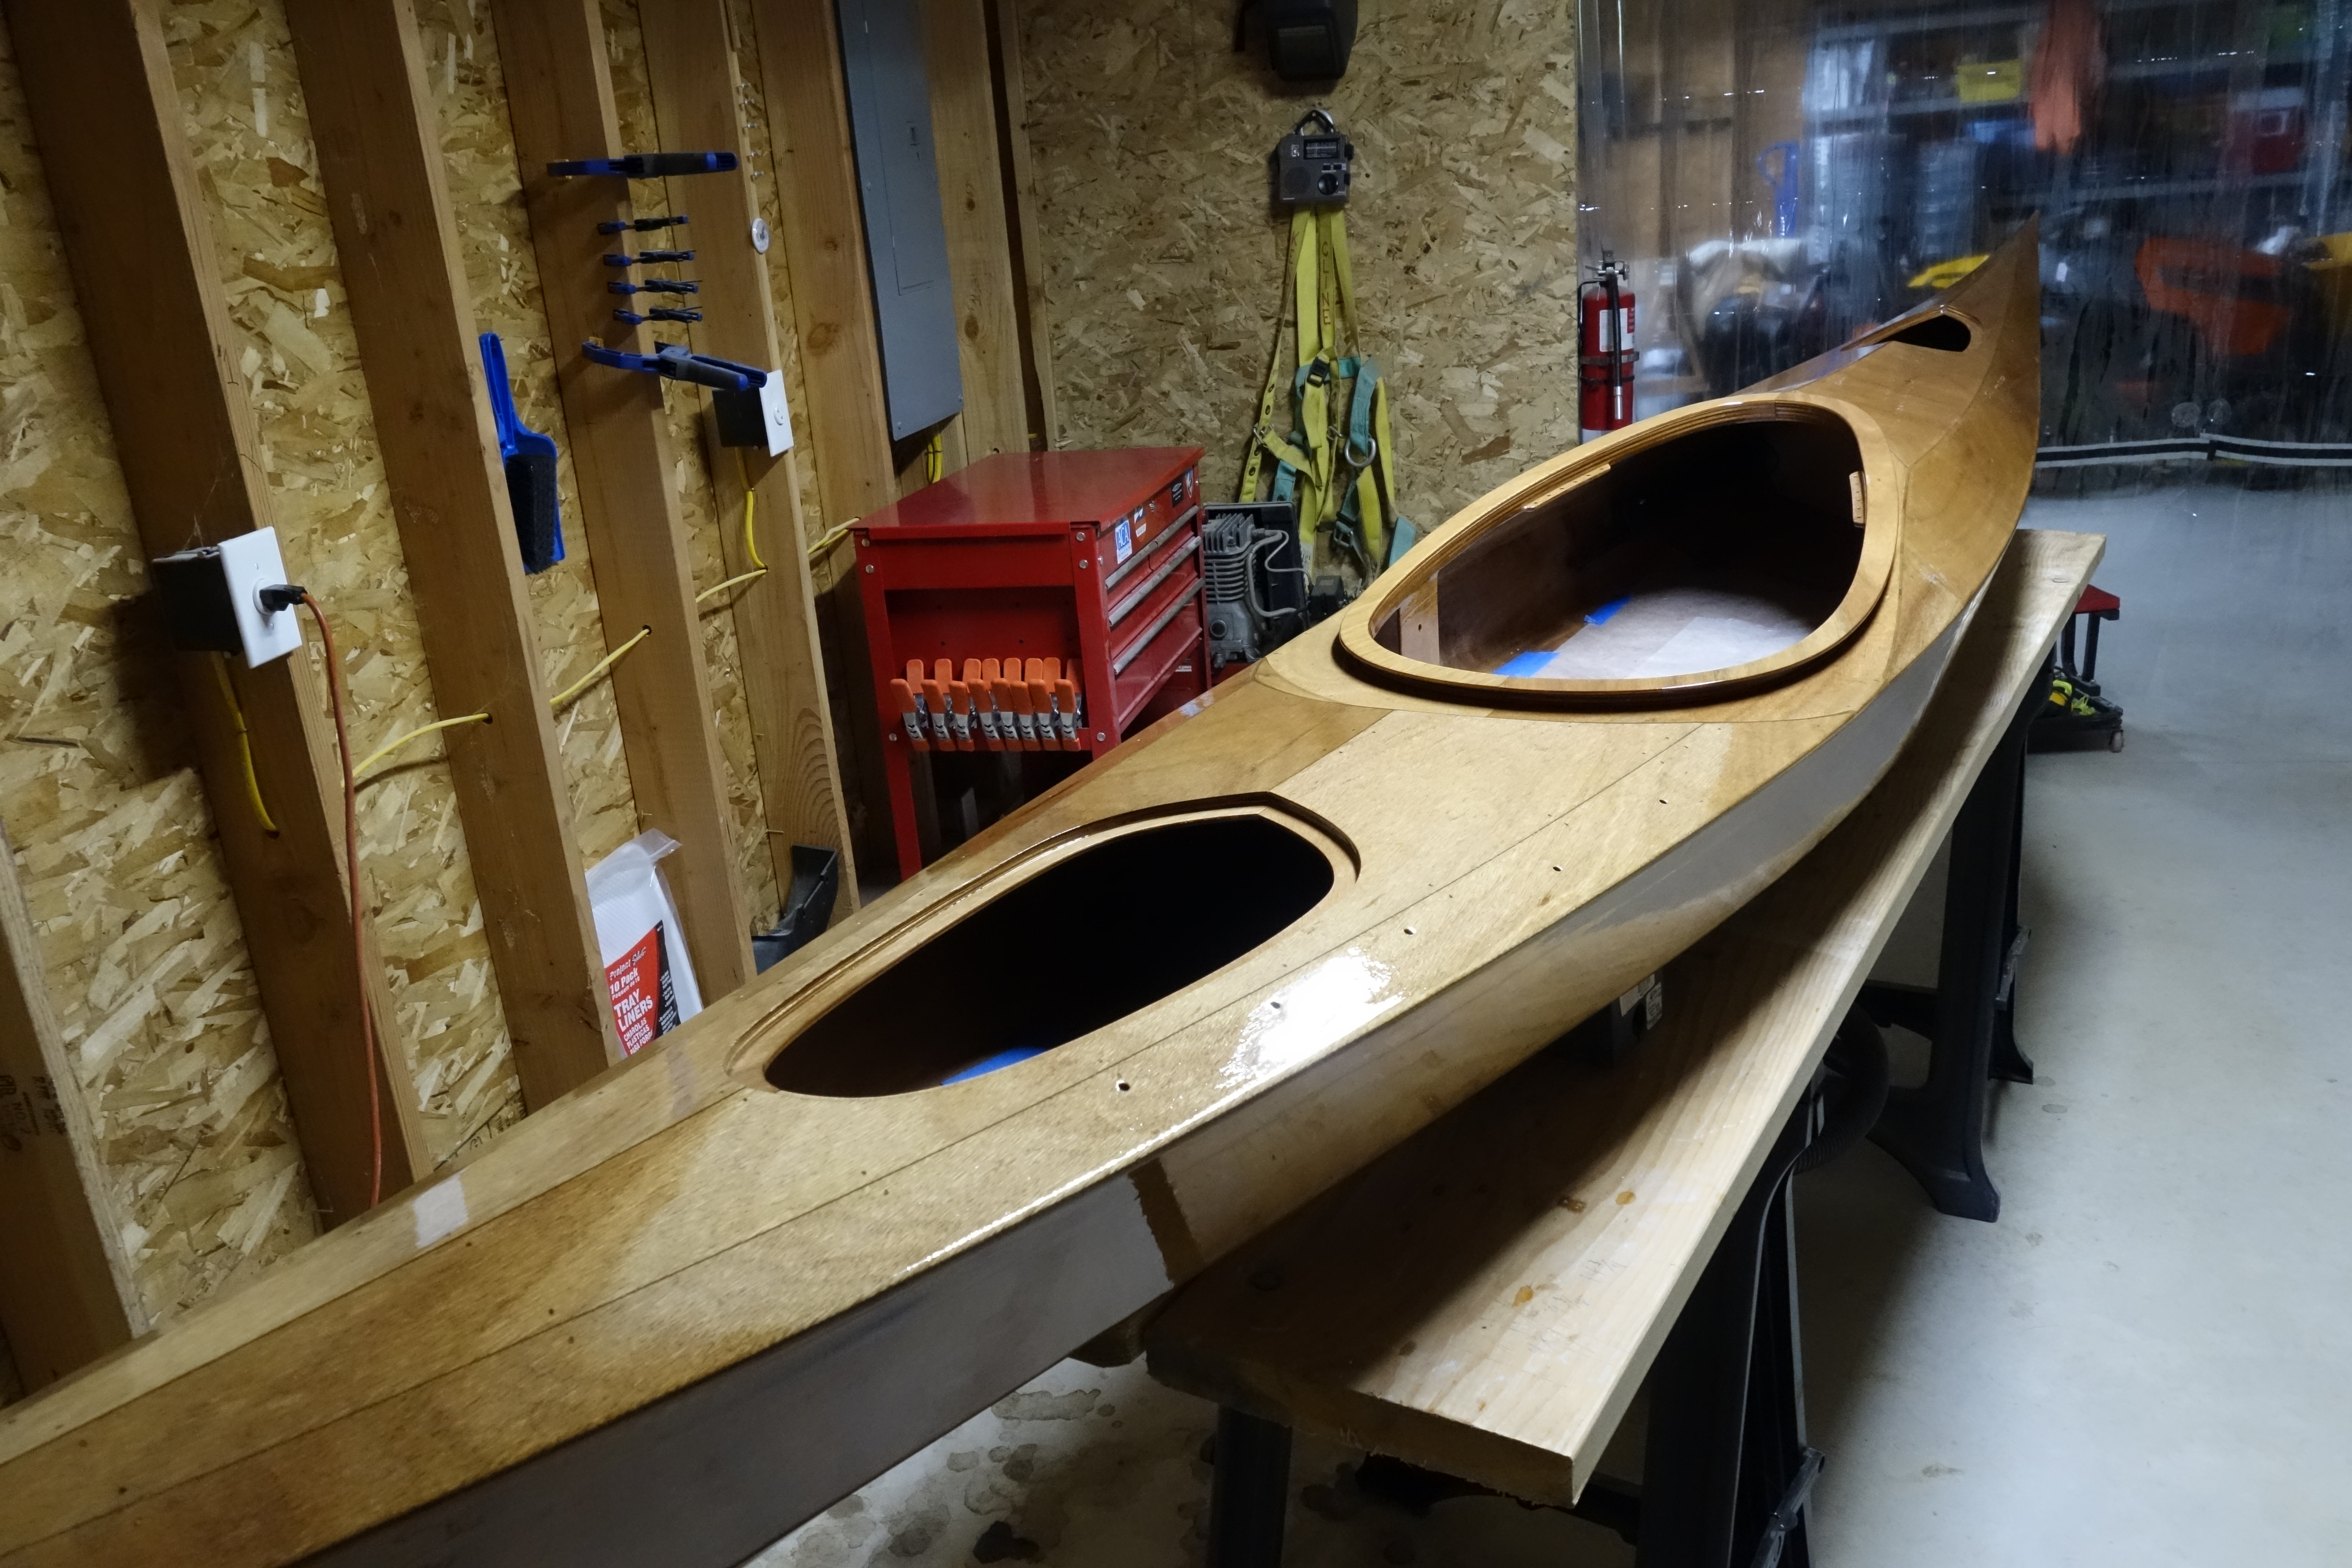
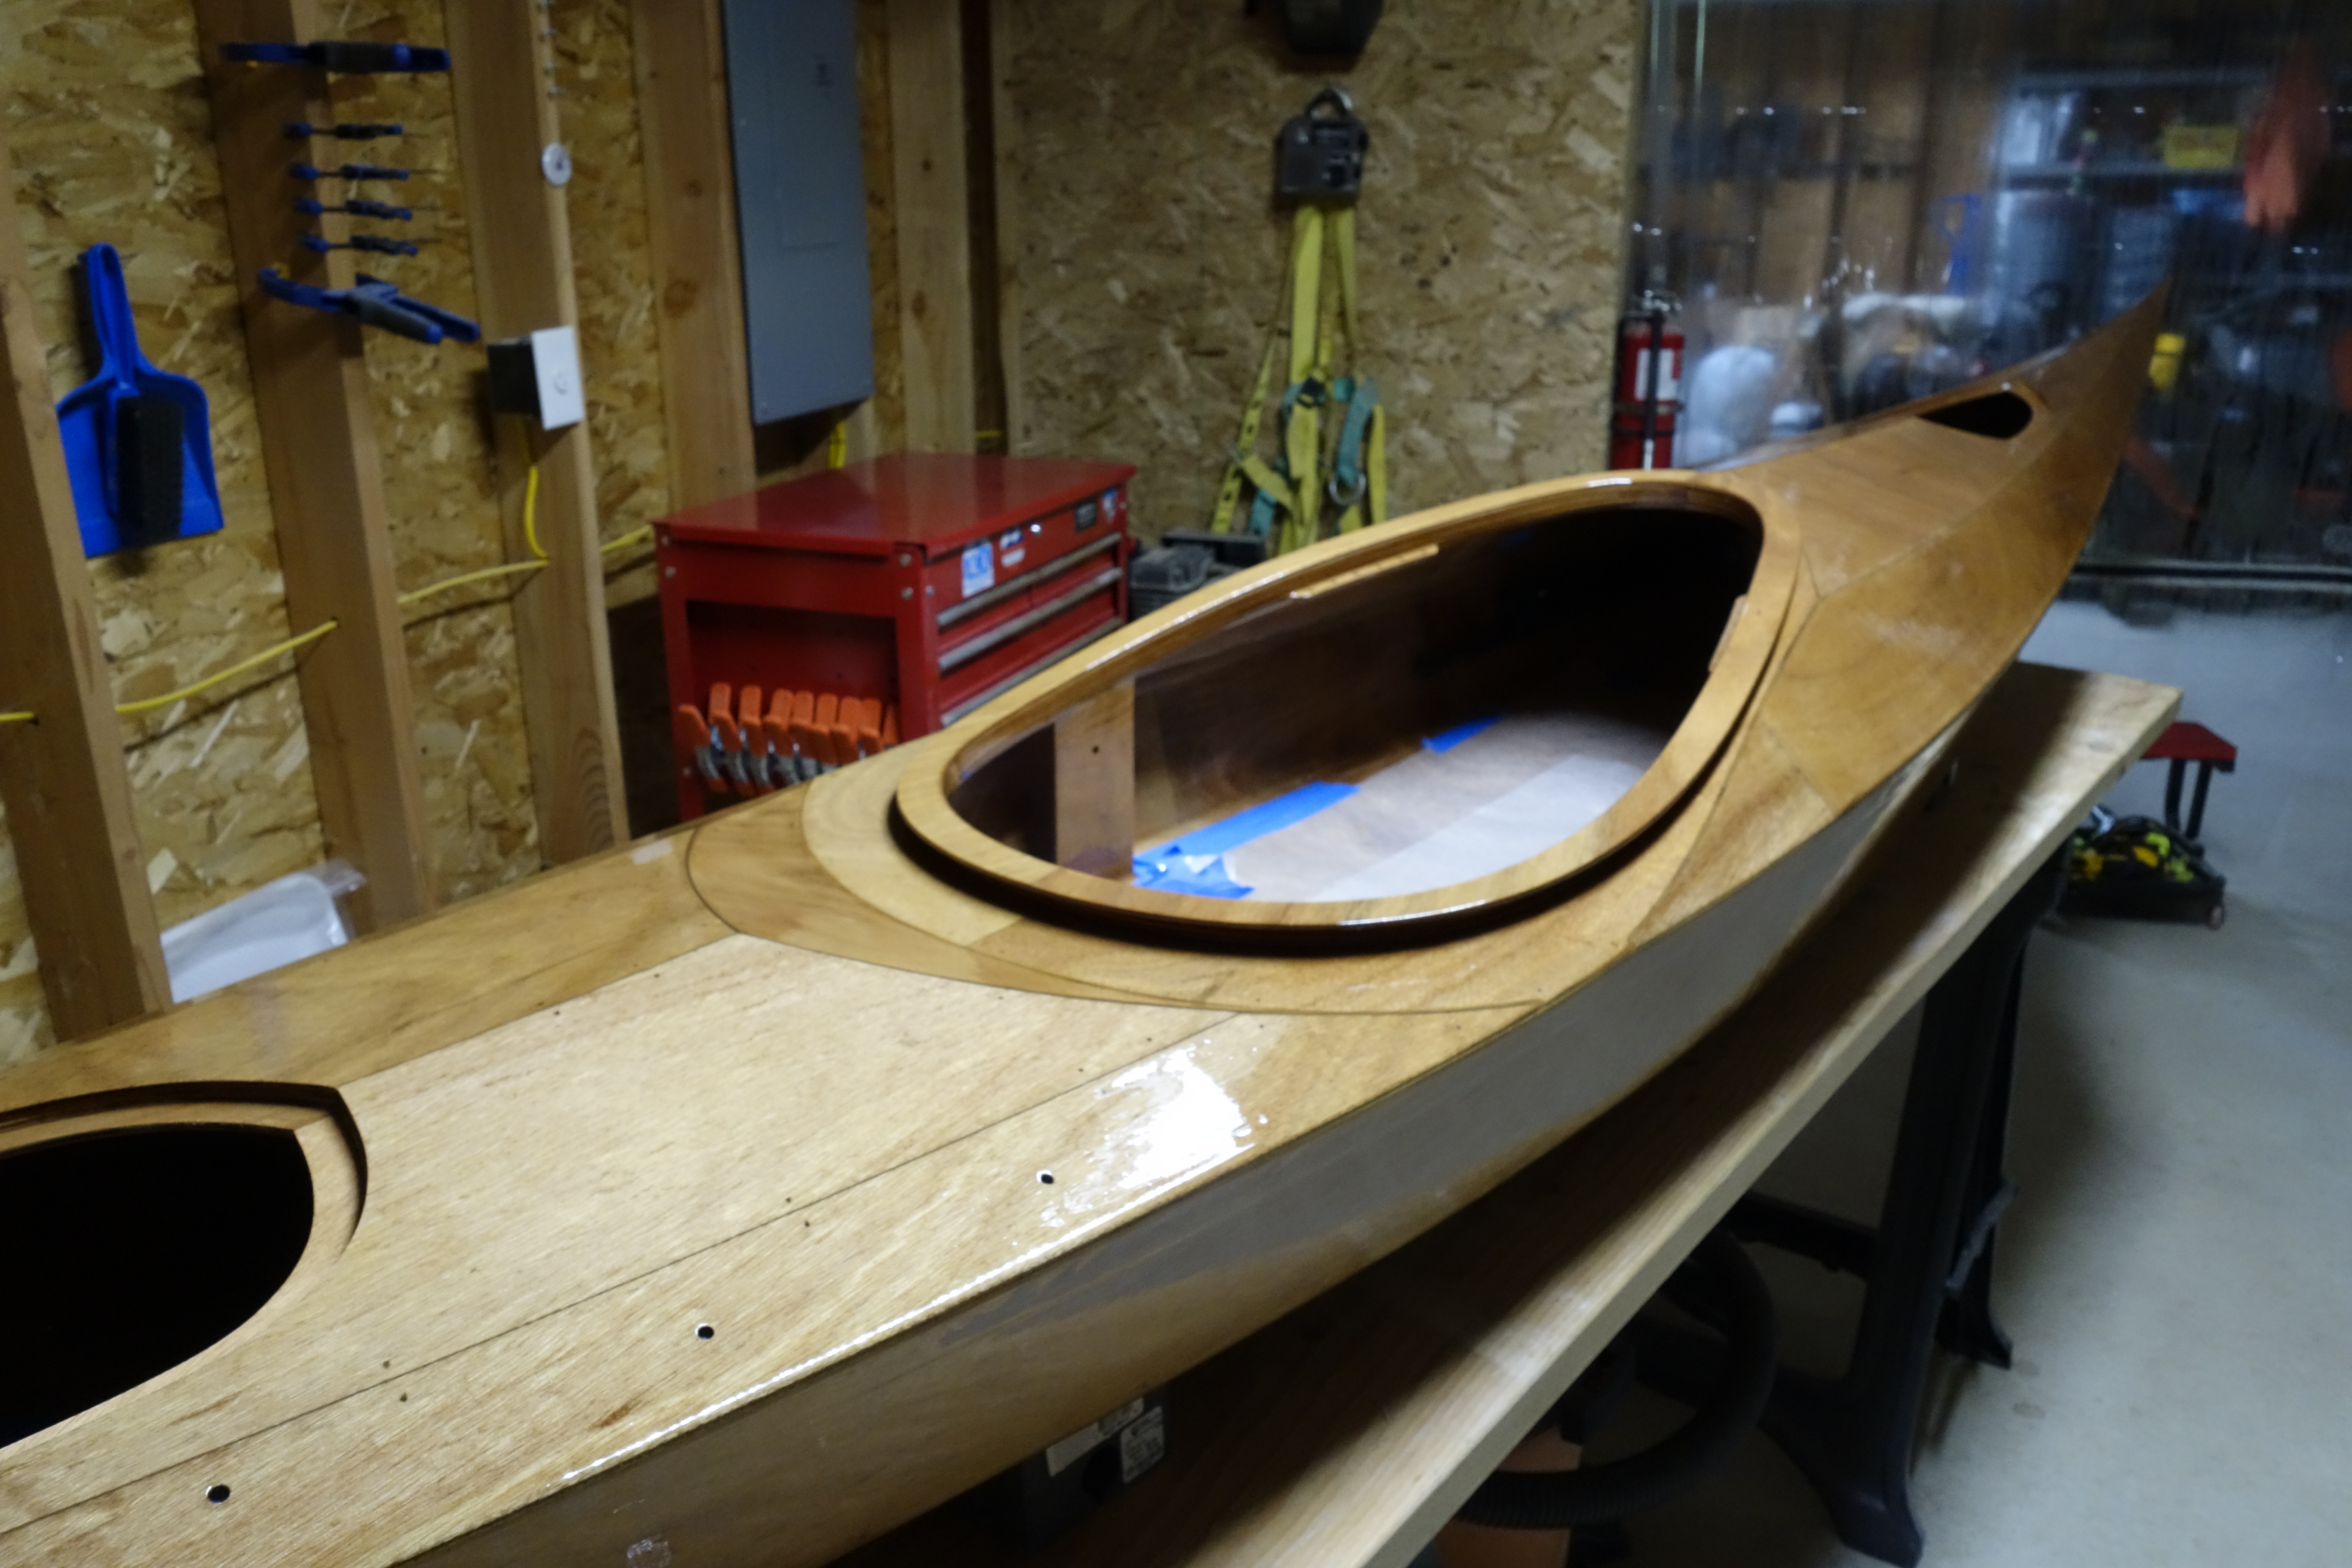
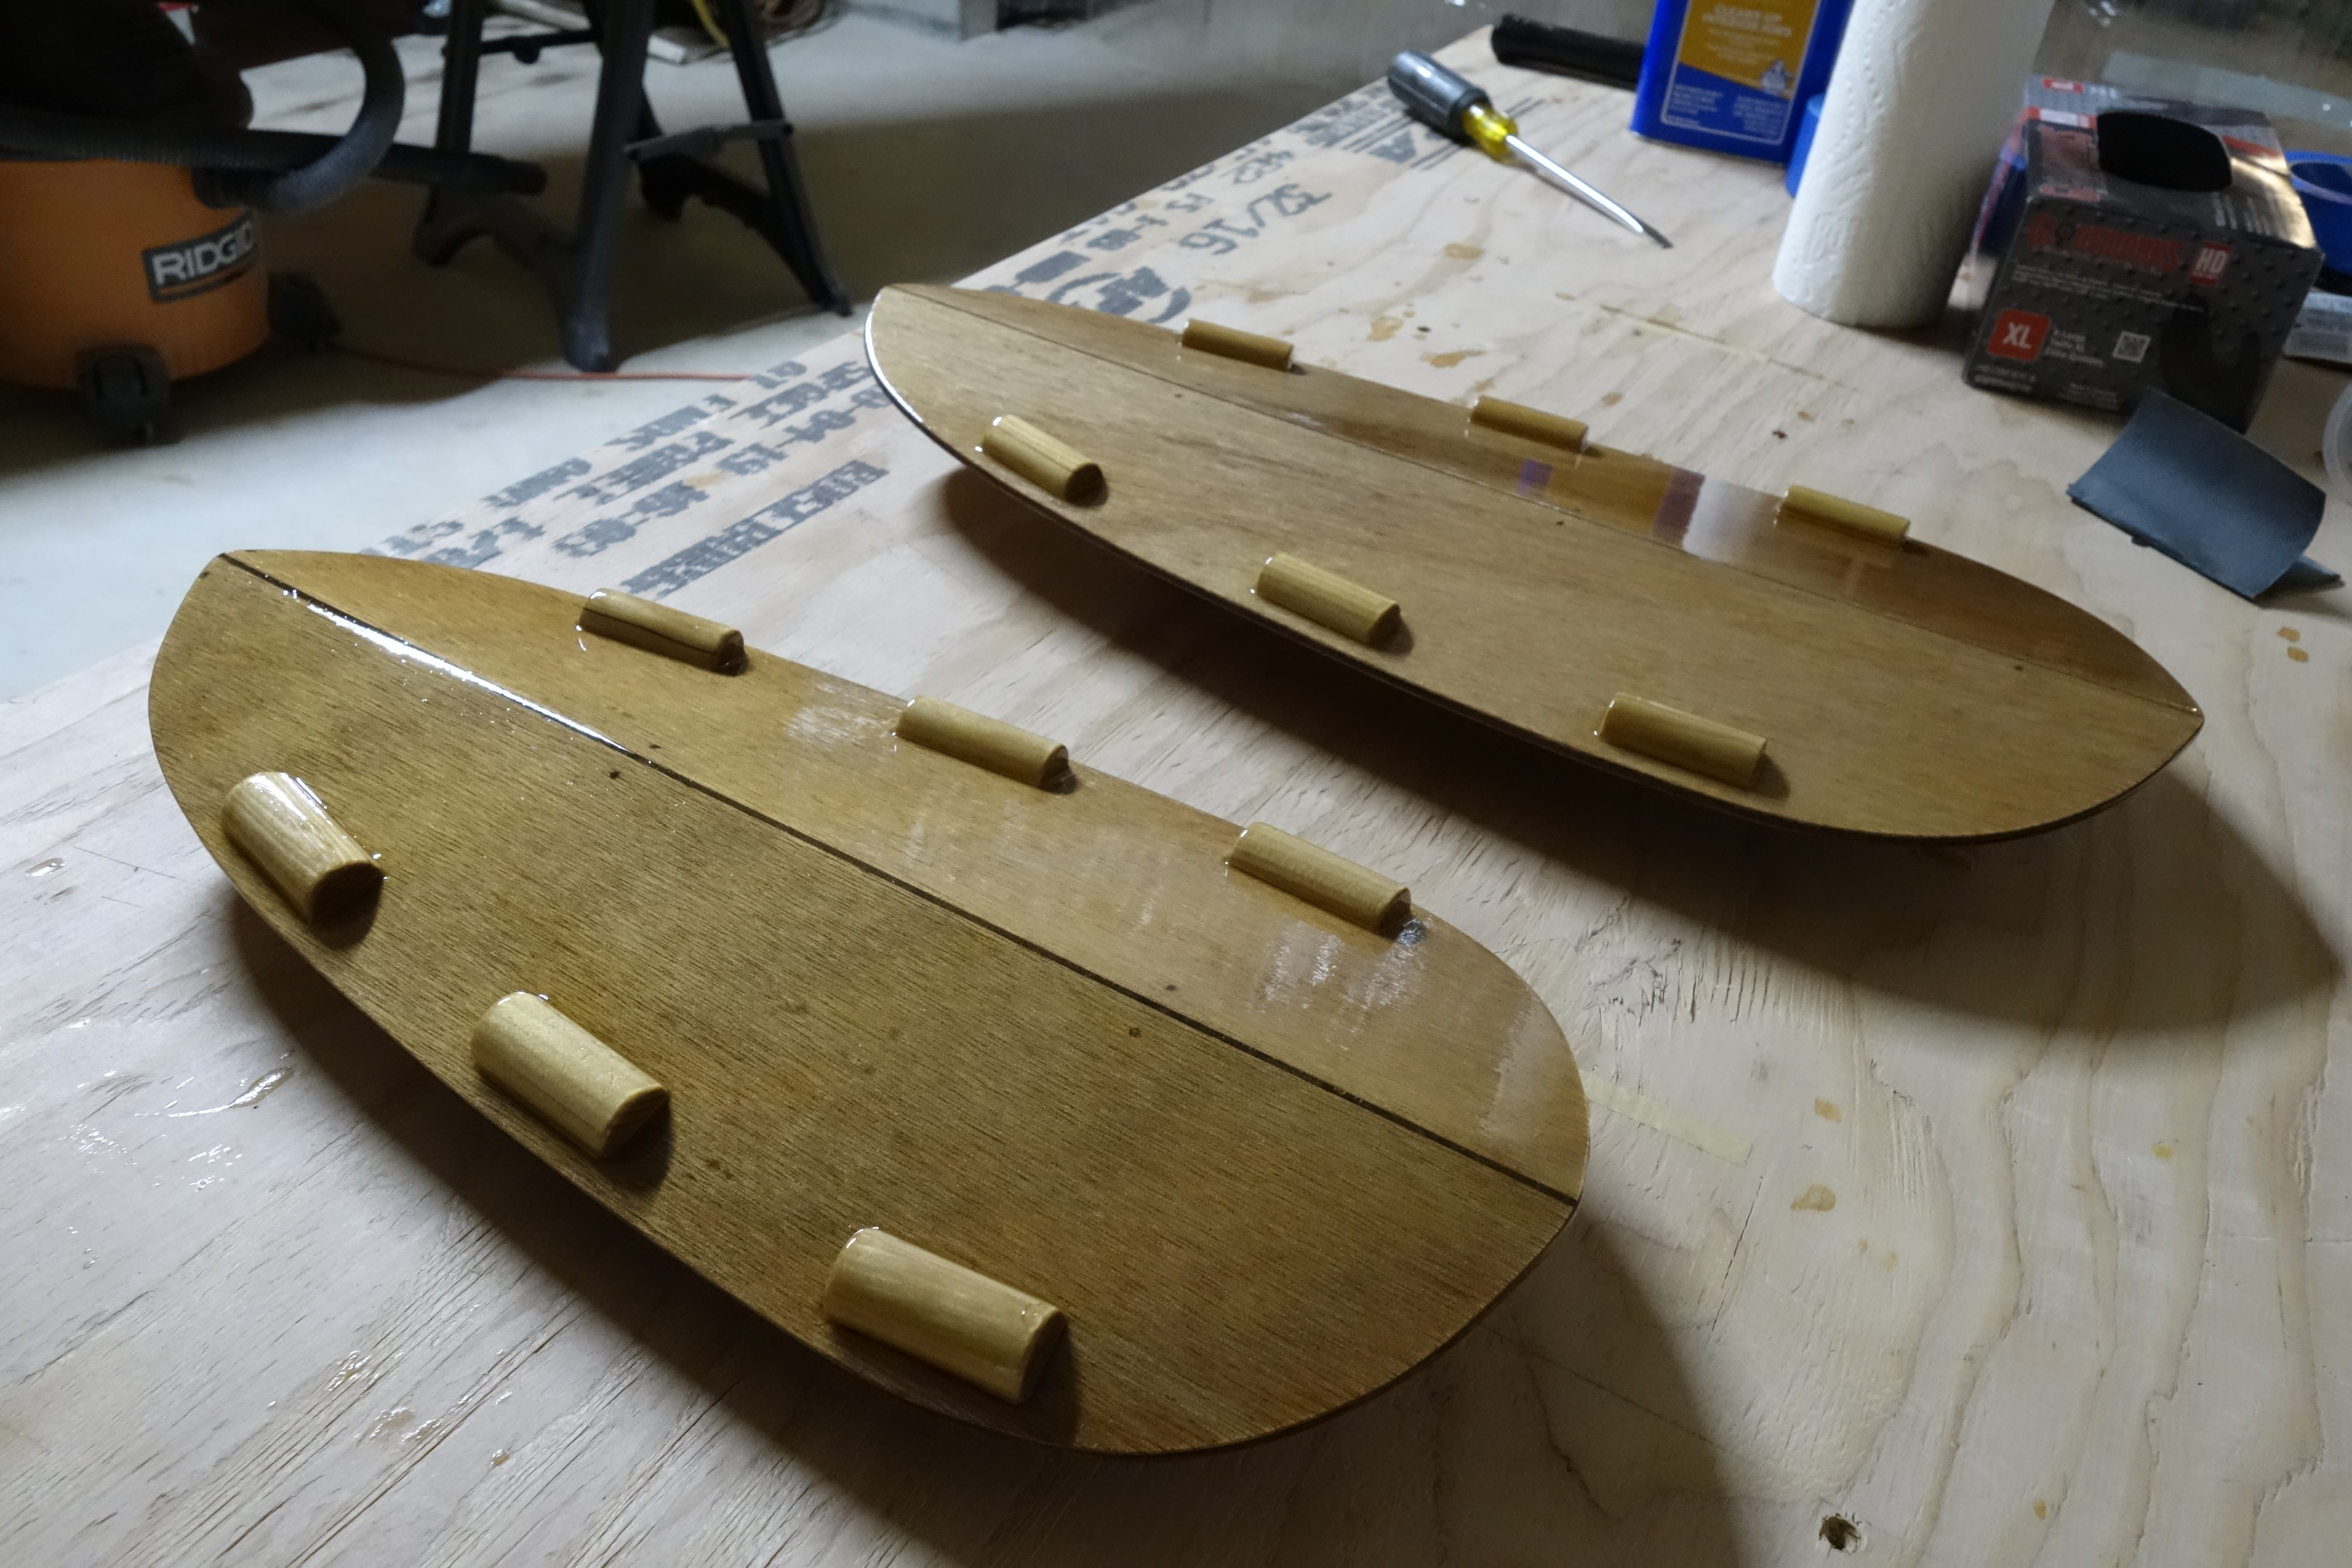
Today at lunchtime I got the final coat of varnish on the hatch covers. So like the rest of the kayak, they have gotten two coats of Pettit Flagship Varnish, and one coat of Pettit Captain’s Varnish. Right now they look pretty good. As I have mentioned several times already, I usually make these photos right after I varnish so the varnish hasn’t had a chance to level out yet. The other edge of that sword is that there hasn’t been time for sags or runs to develop yet either. I’ll know how the final finish is going to look in a couple of hours.
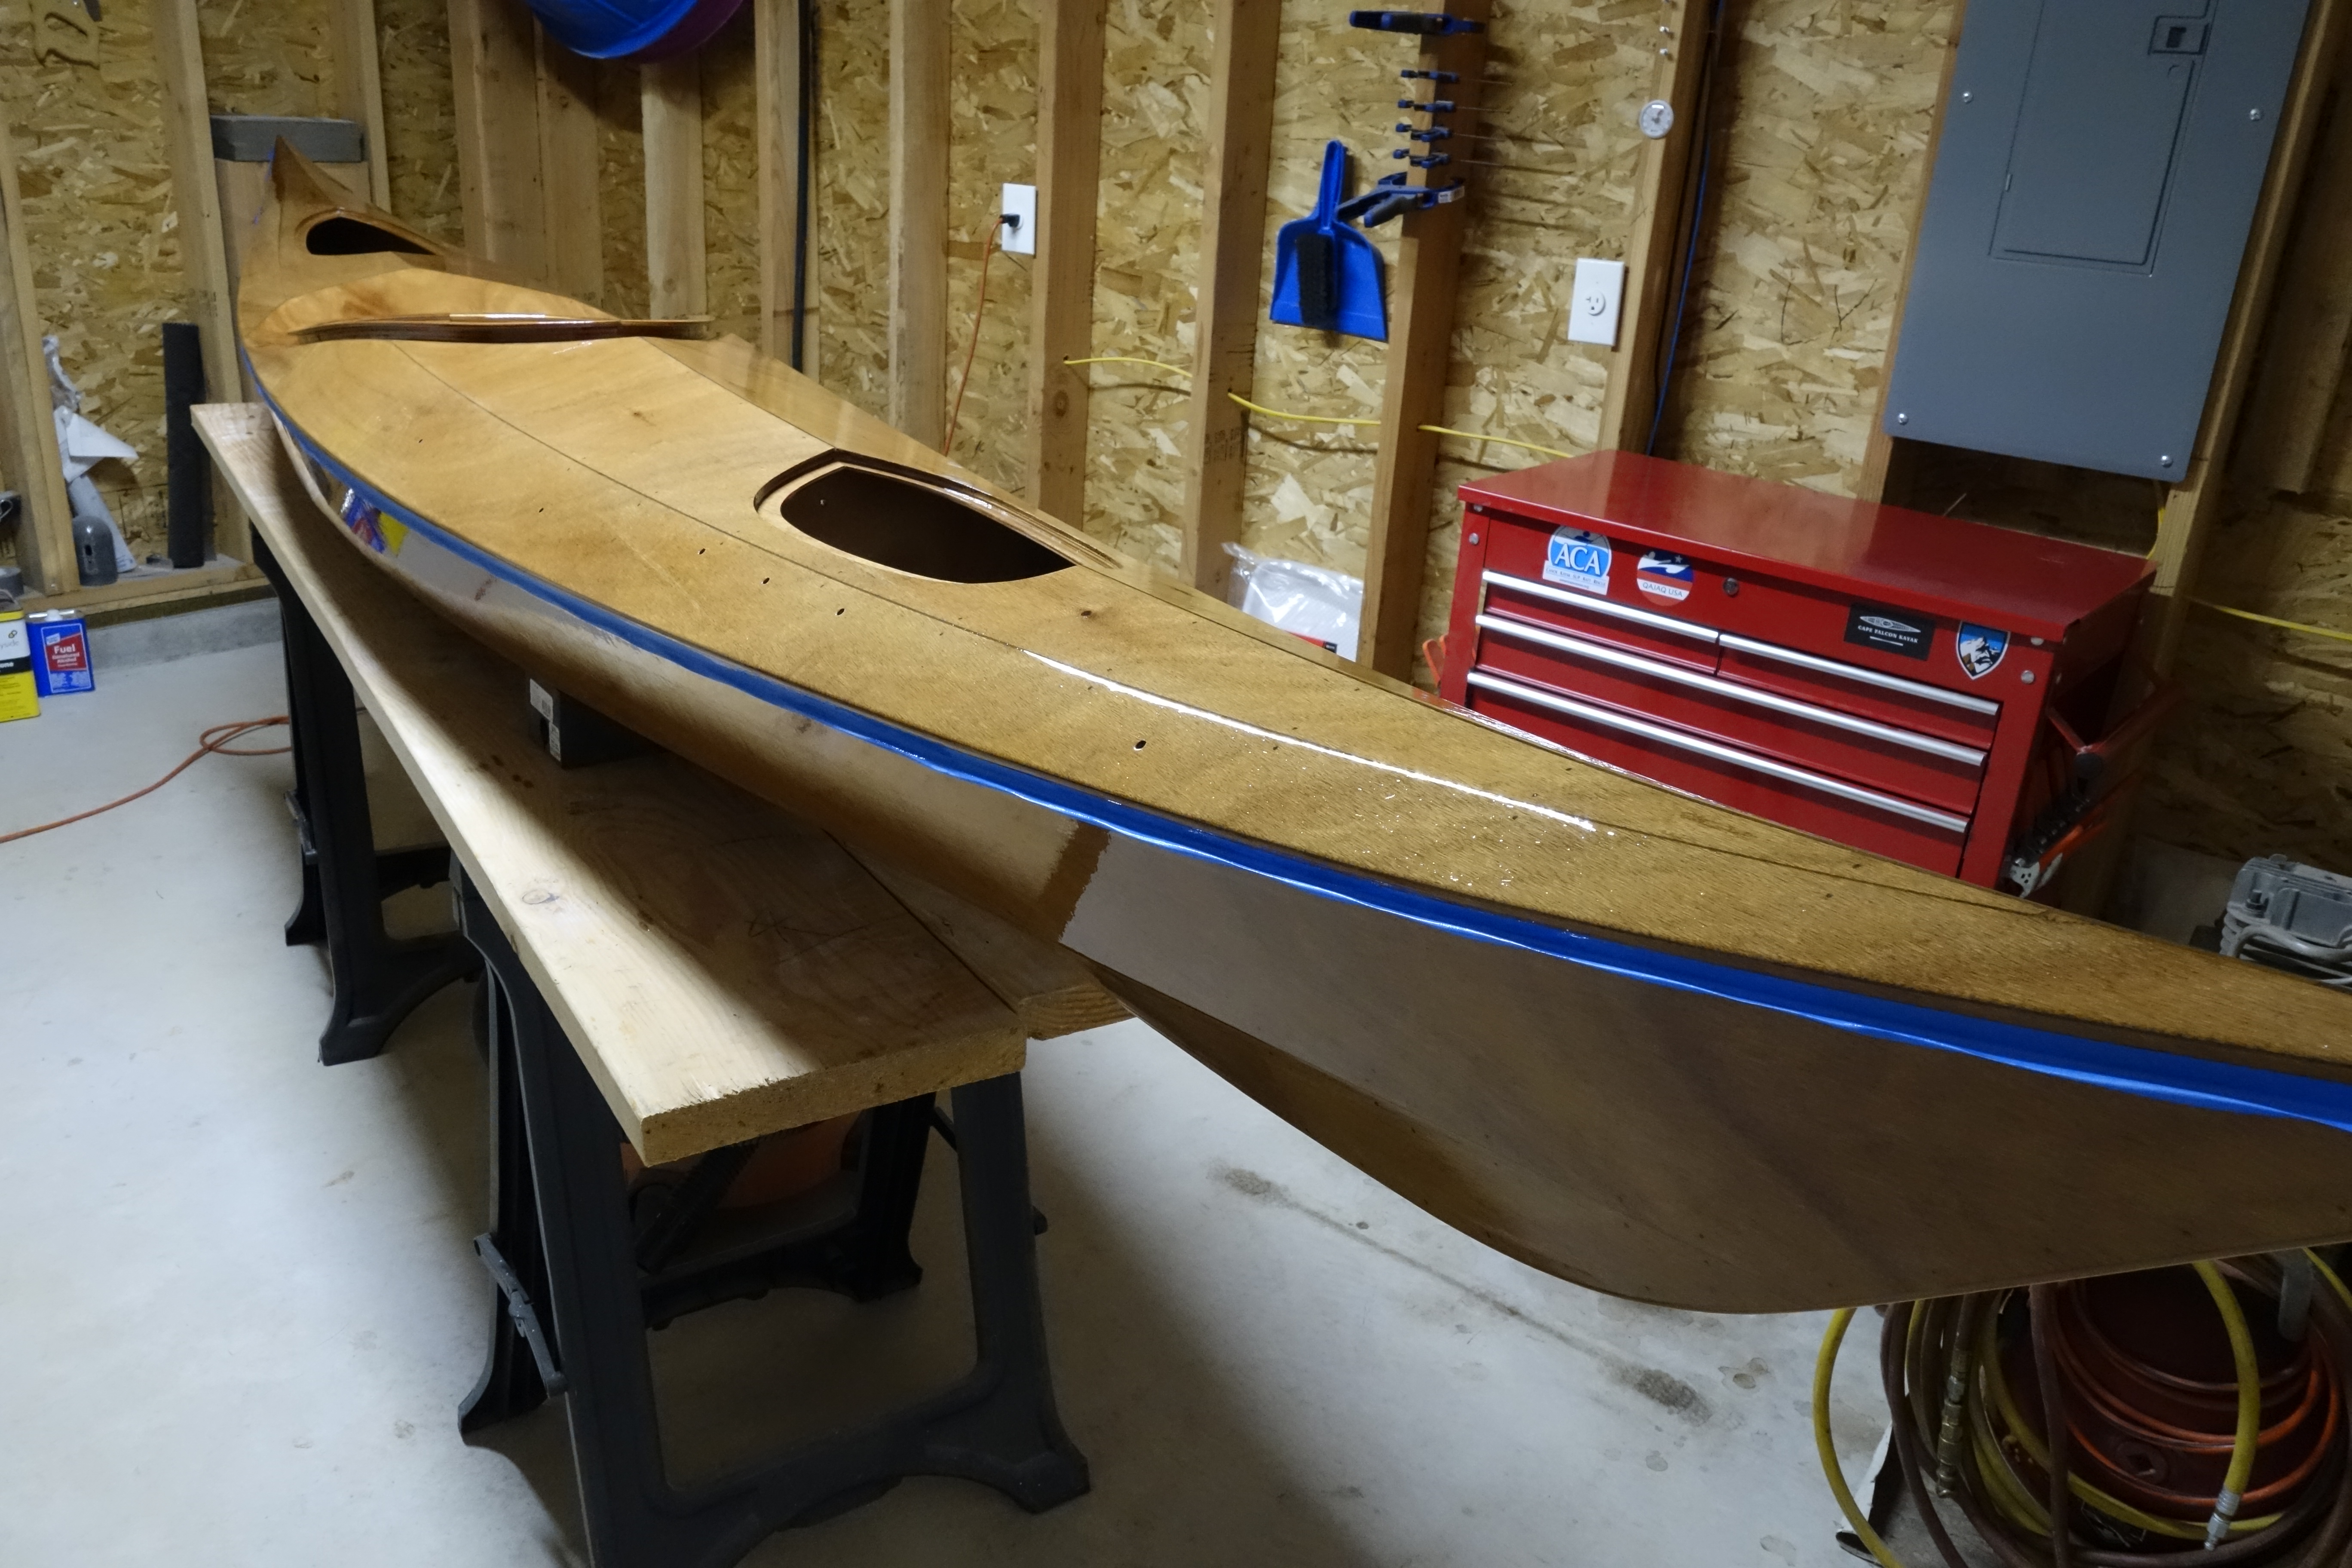
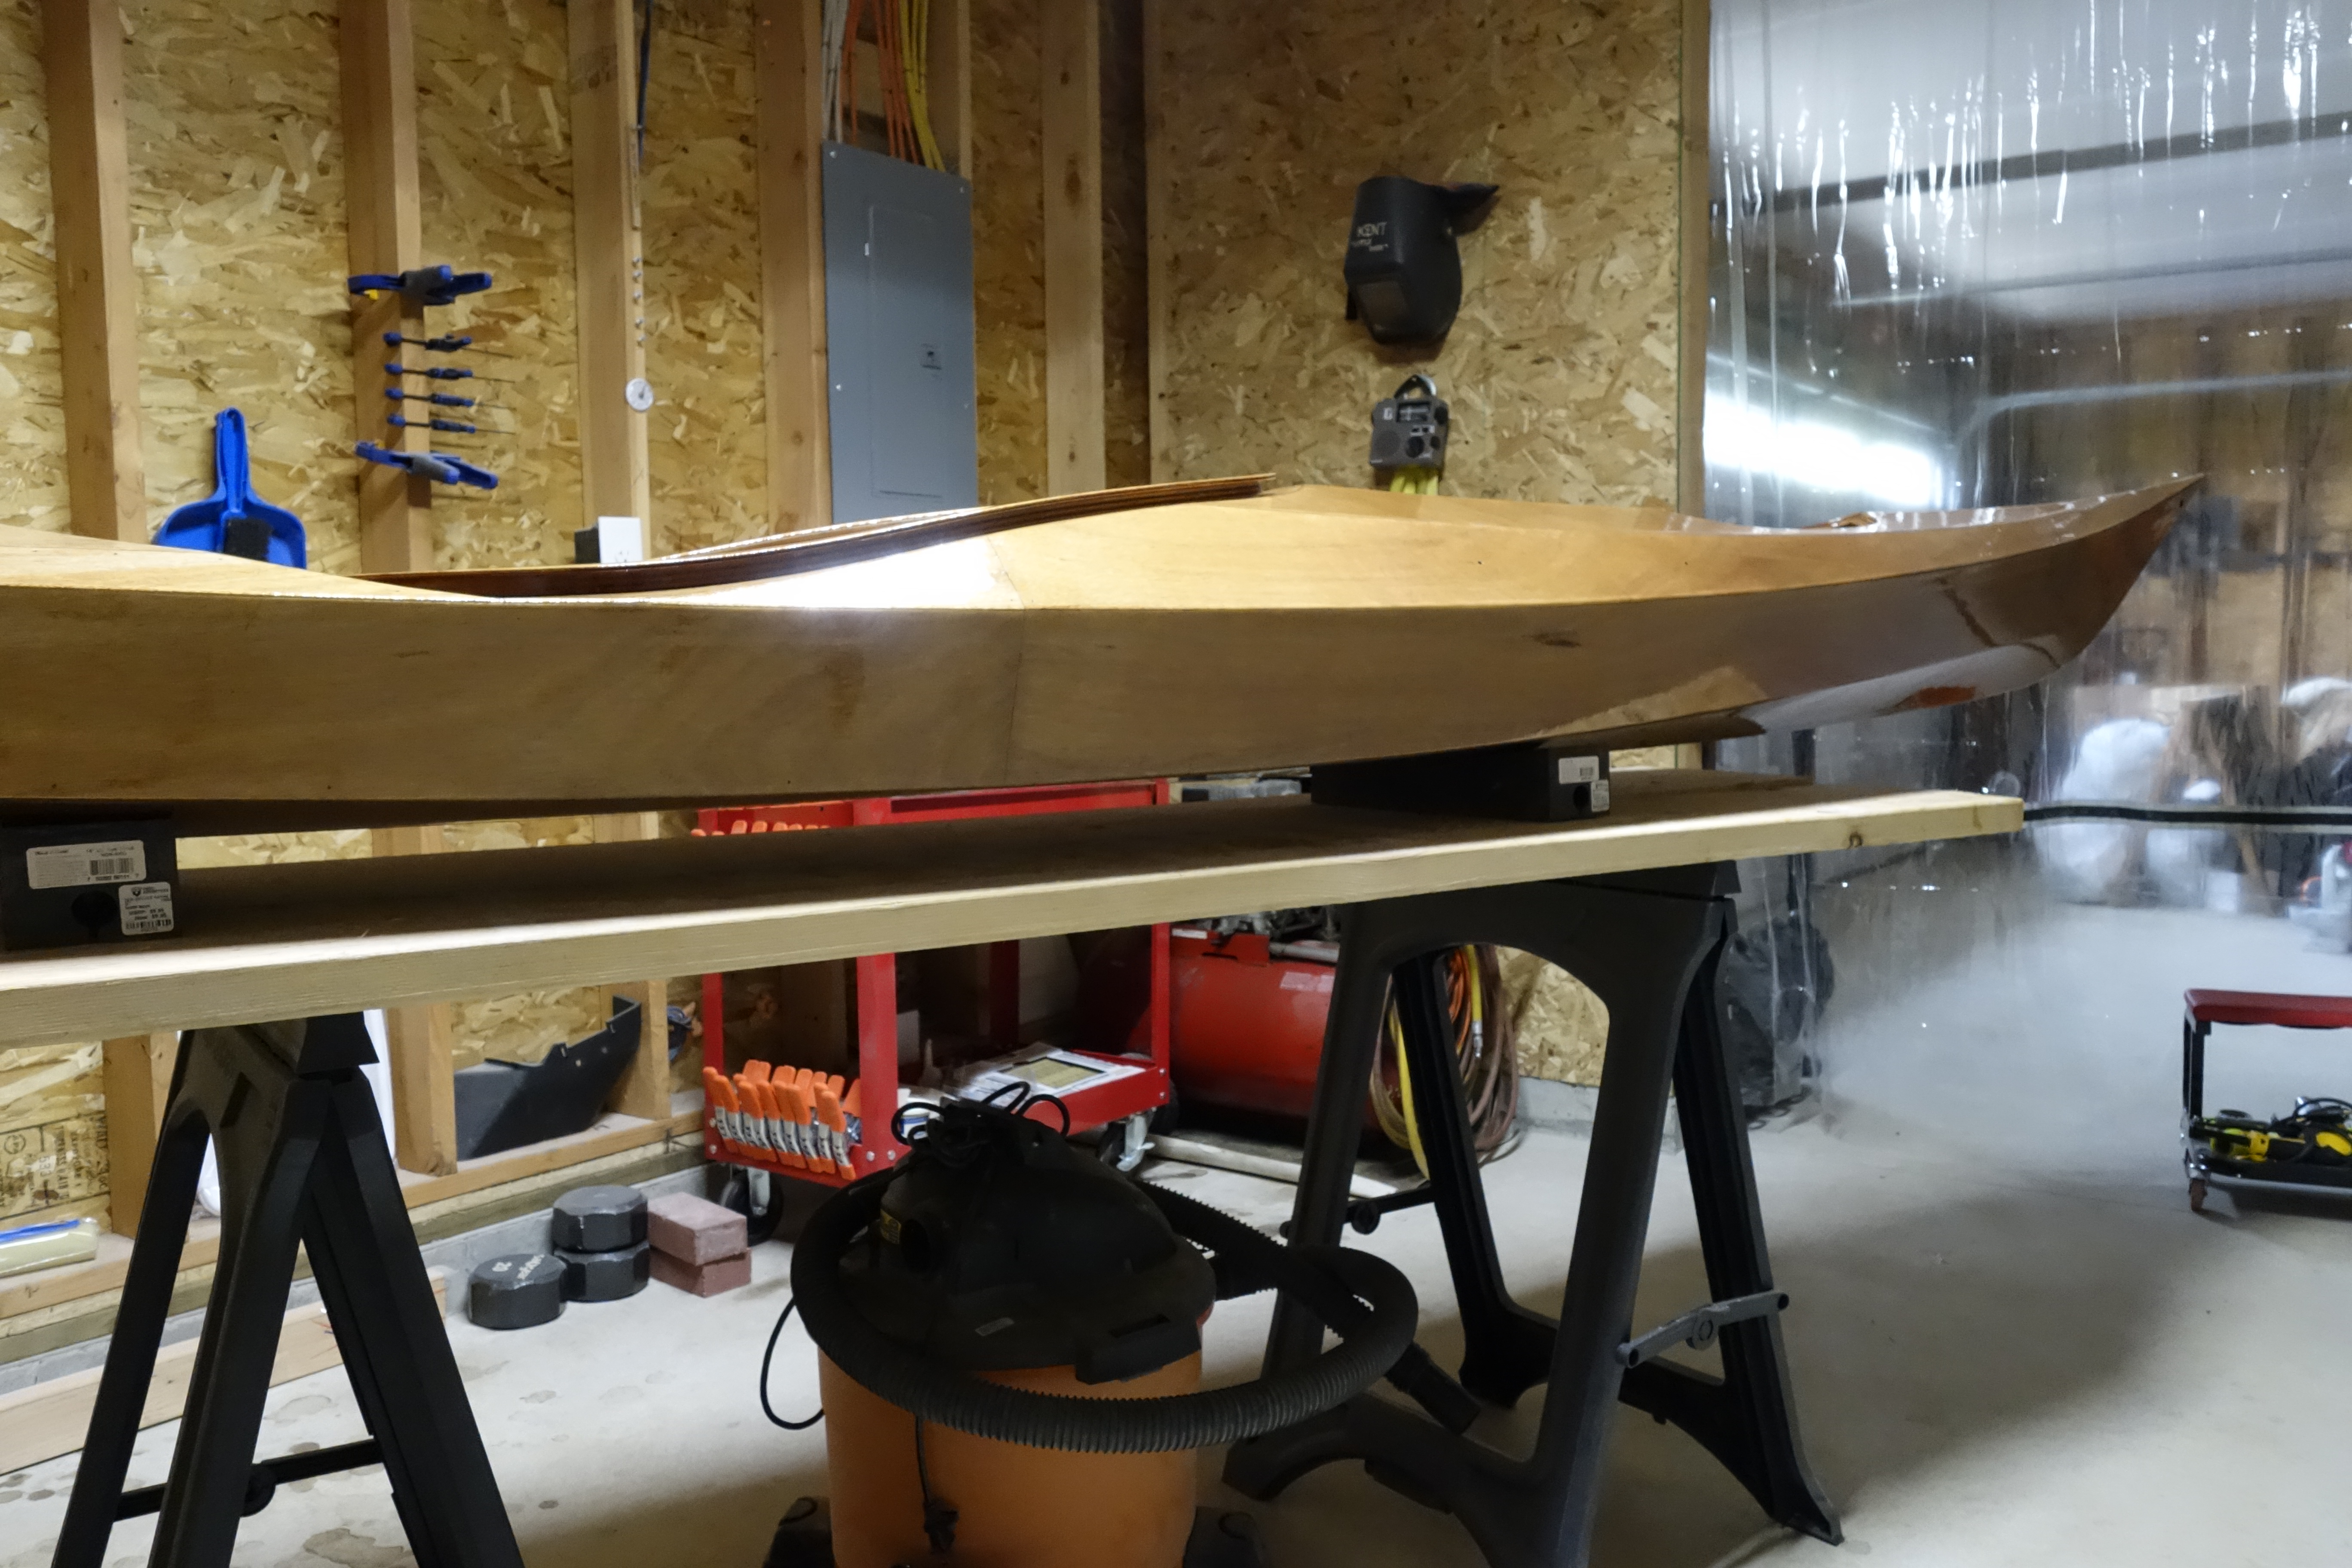
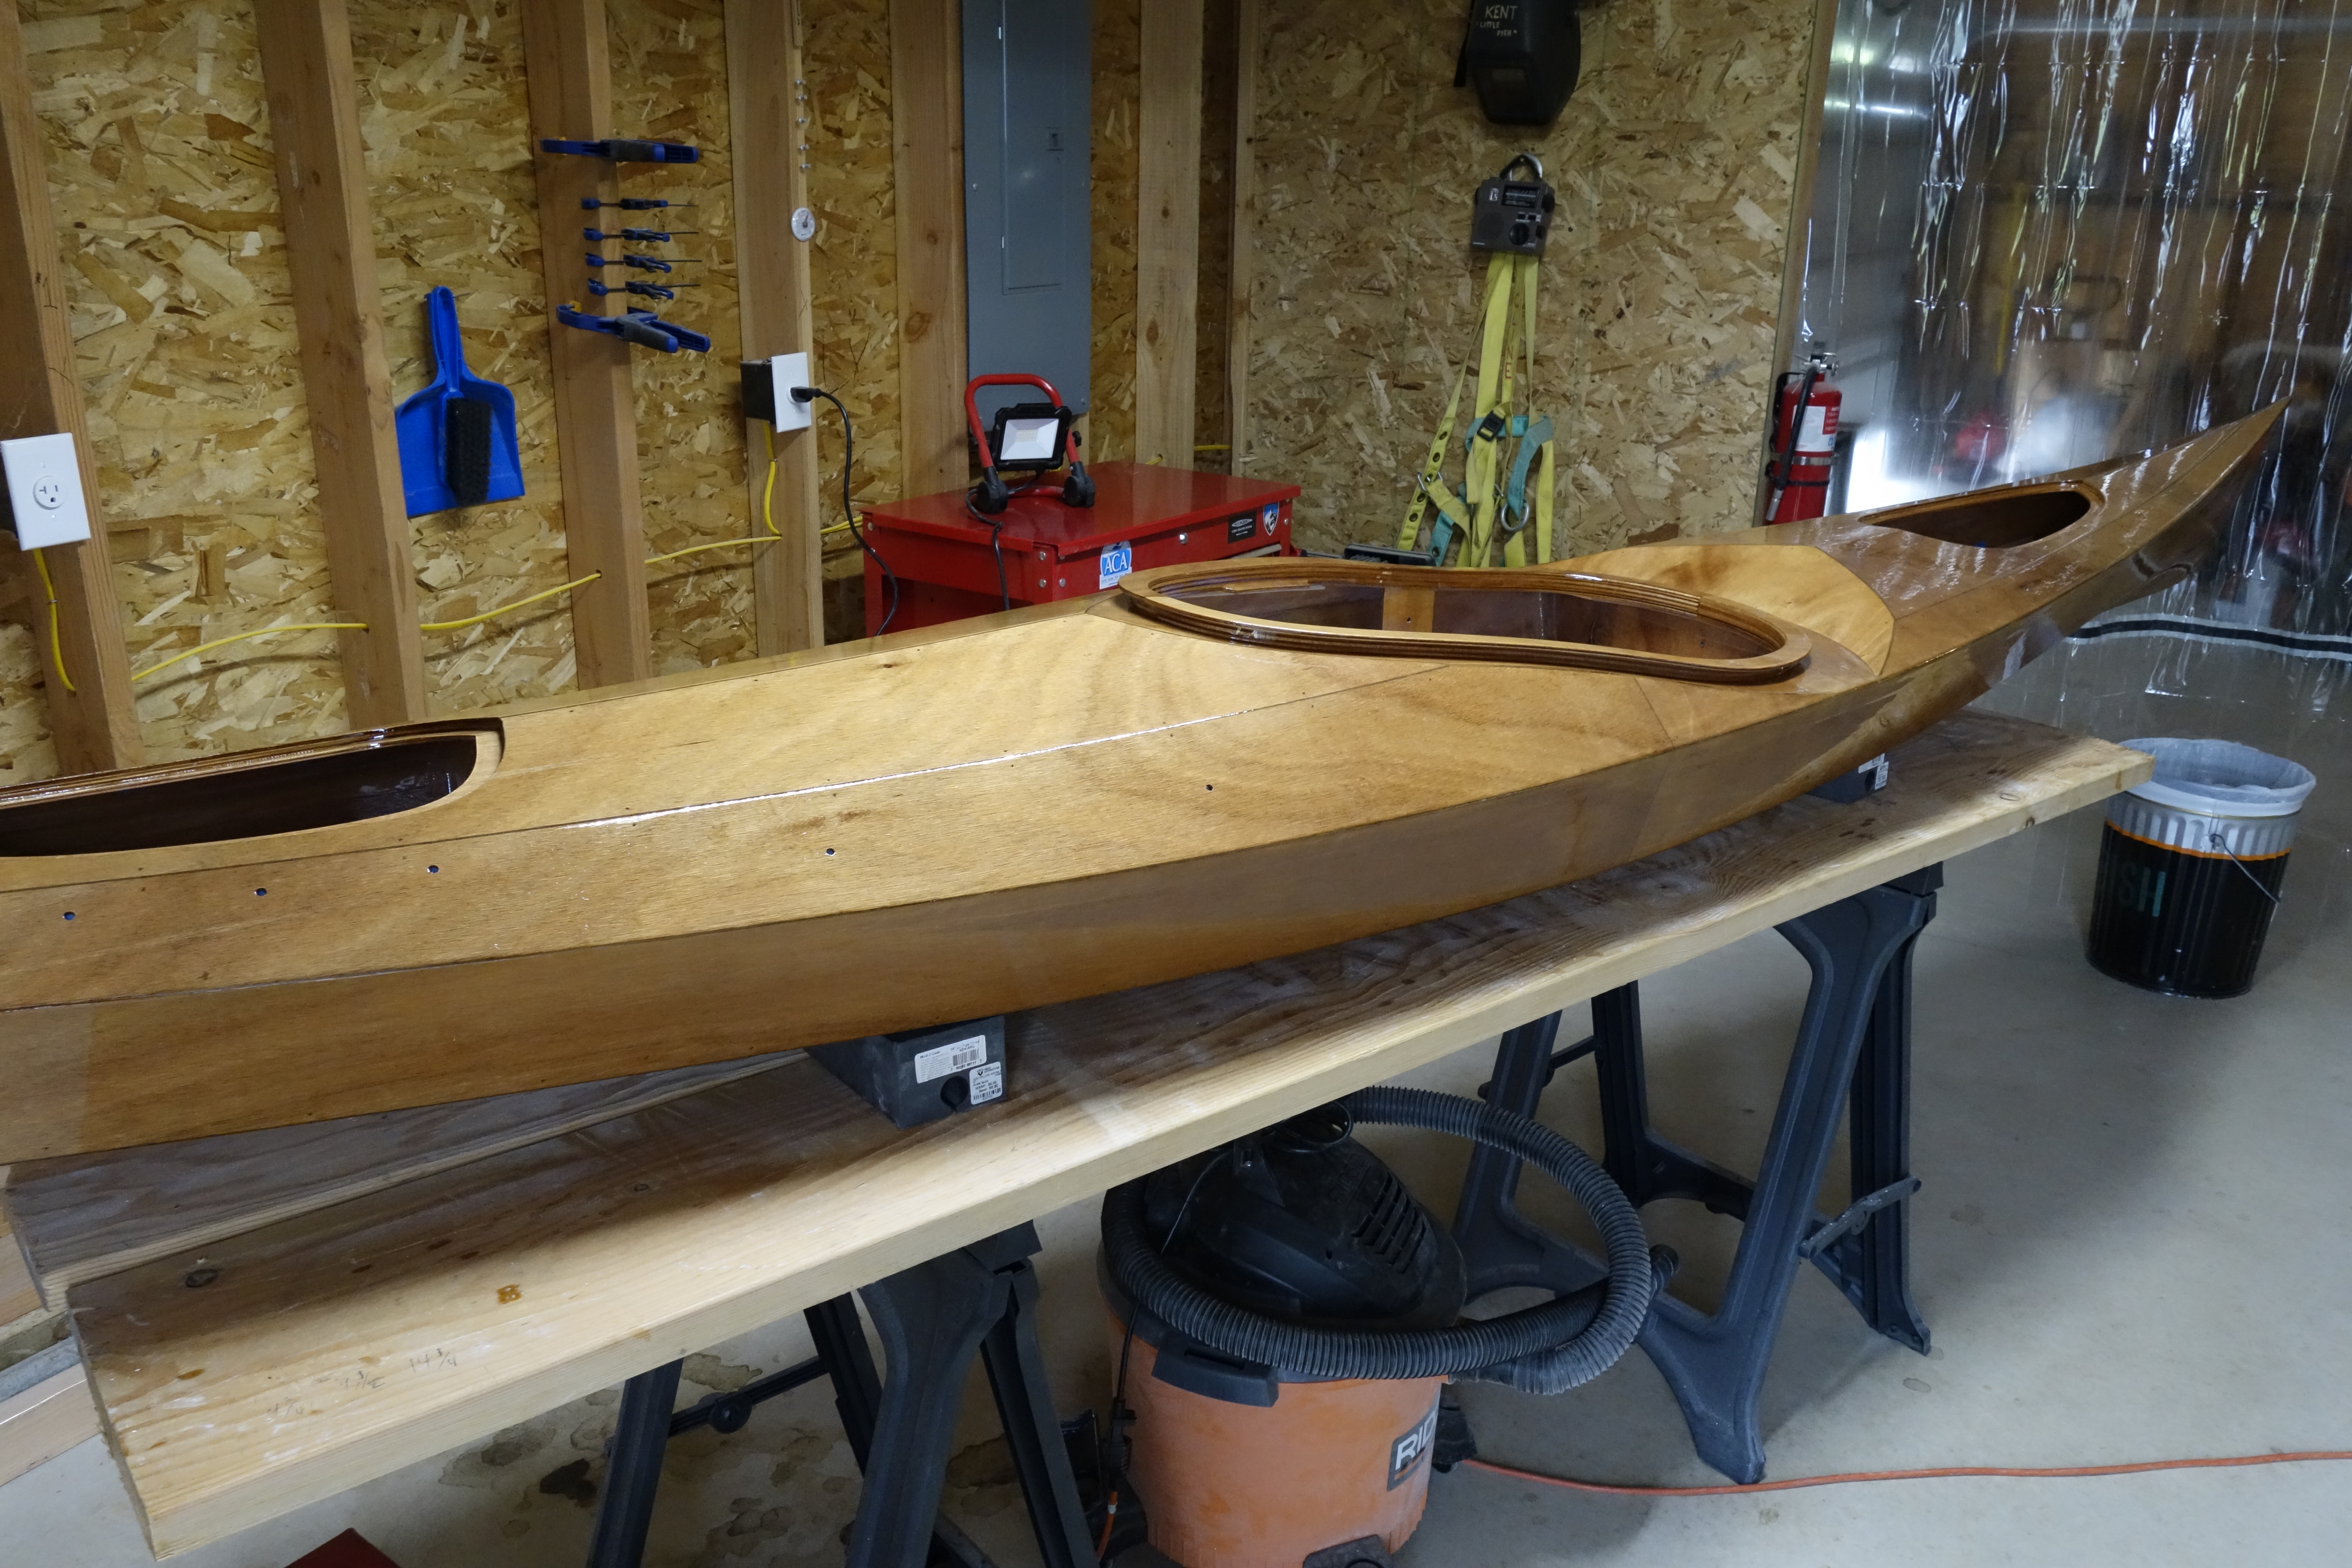
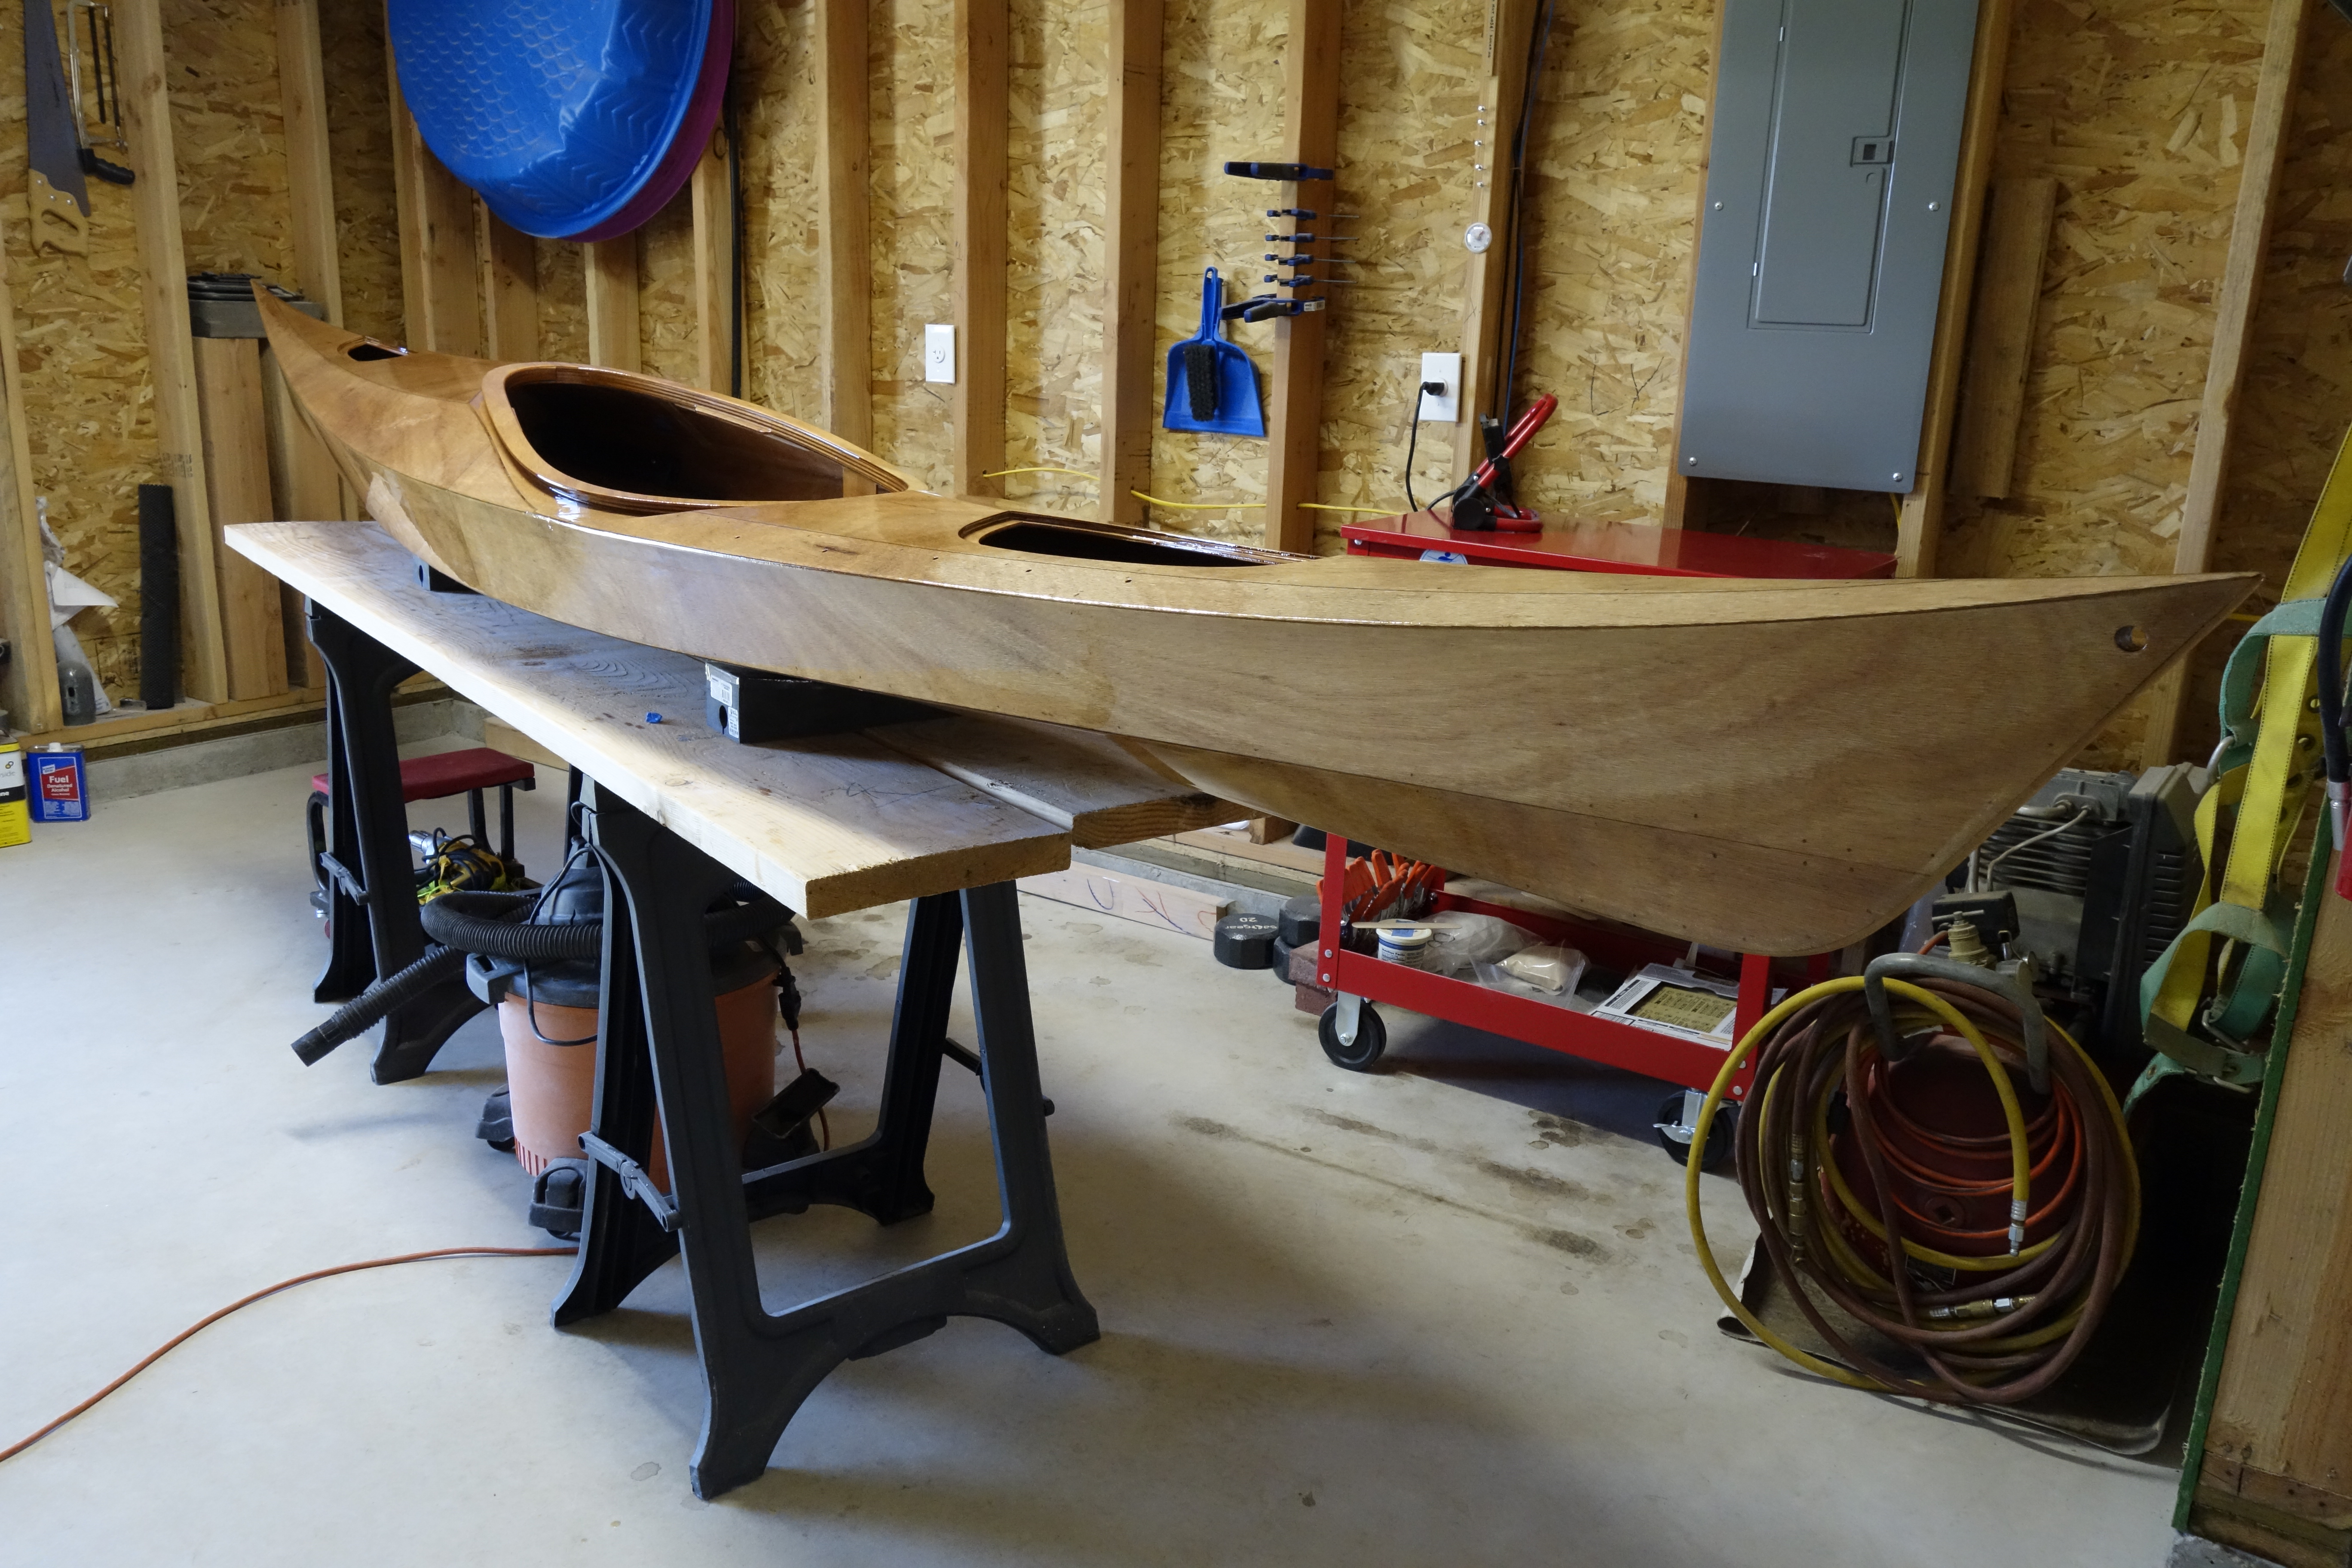
That’s two coats of Pettit Flagship Varnish, and one coat of Pettit Captain’s Varnish on the kayak. I still have the last coat of Captain’s Varnish to put on the hatch covers, but the Ronan construction is otherwise complete. I describe in detail the method I used to apply all of the varnish, in the earlier post about the first coat of varnish on the hull. I was going to do one more coat of the Captain’s Varnish so that the Ronan would have a total of four coats of varnish, but I just don’t have it in me. Pygmy says that three coats is sufficient for UV protection, and while I usually don’t stop at “sufficient”, this time I will. I figure that I’ll paddle it for a year or two as is, and then it will be time to re-varnish anyway. I’ll give this a couple of days to cure really well and then start putting on the deck rigging, foam on the hatch lips, back band and seat, etc. Exciting!
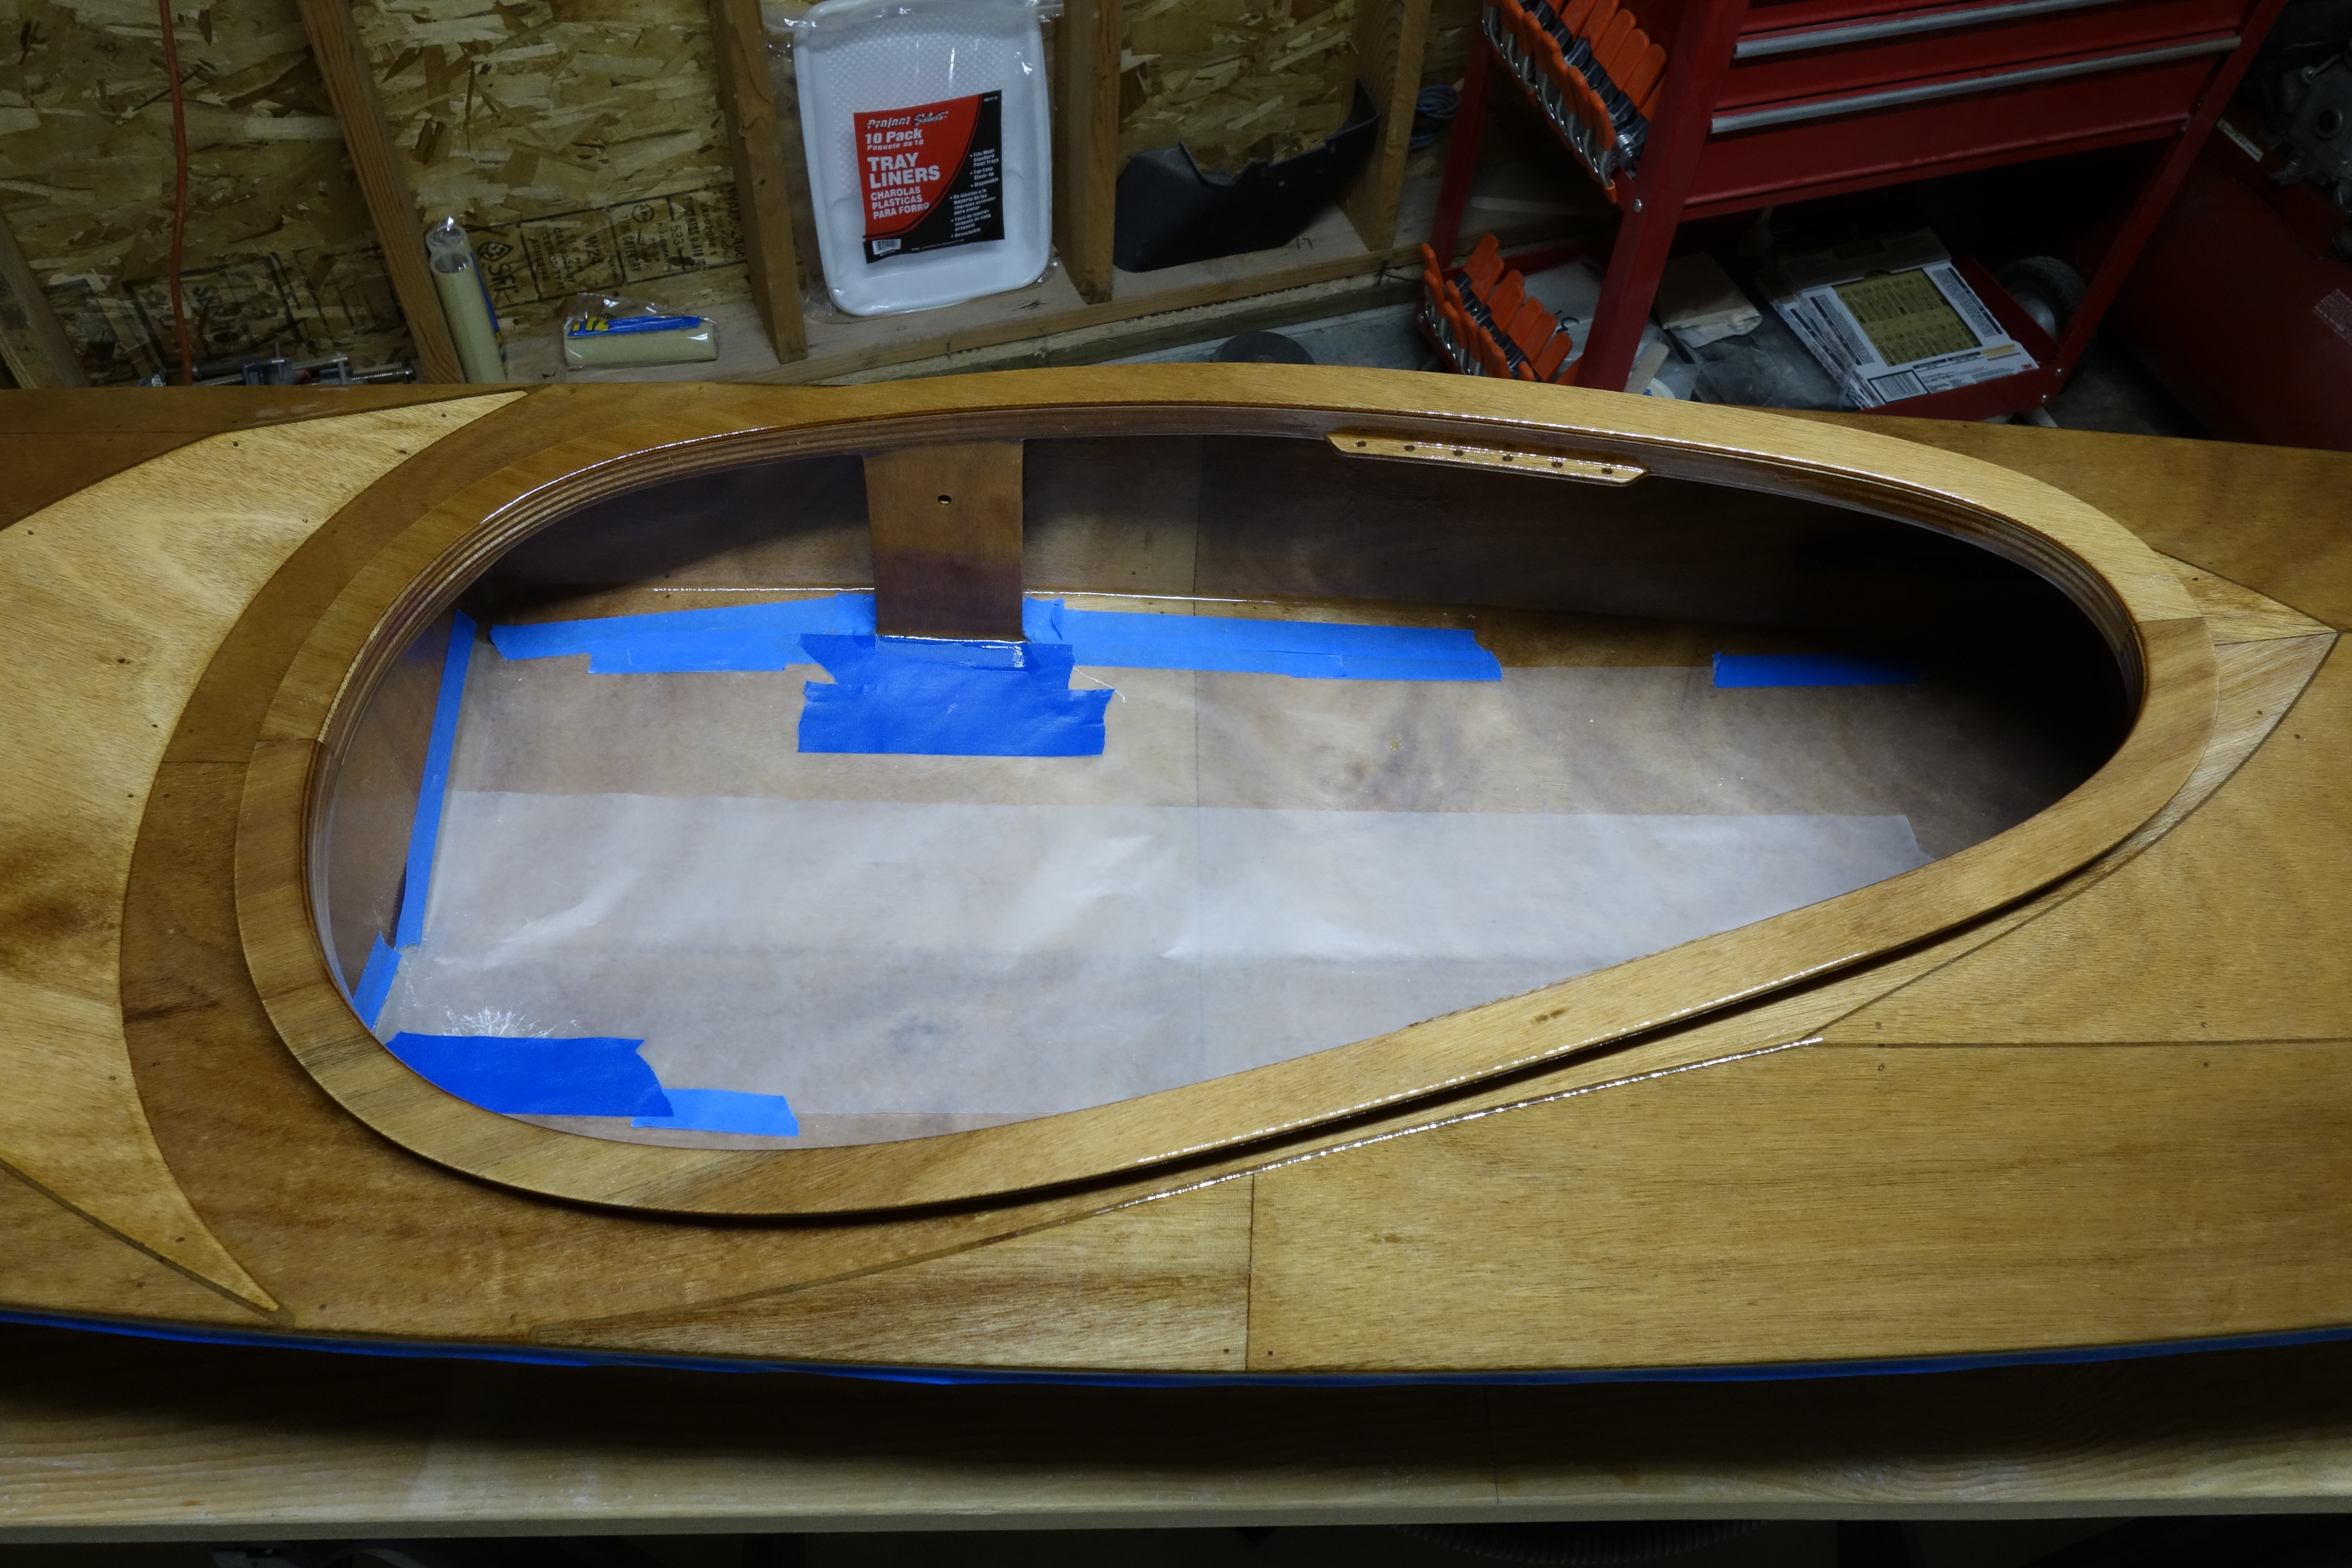
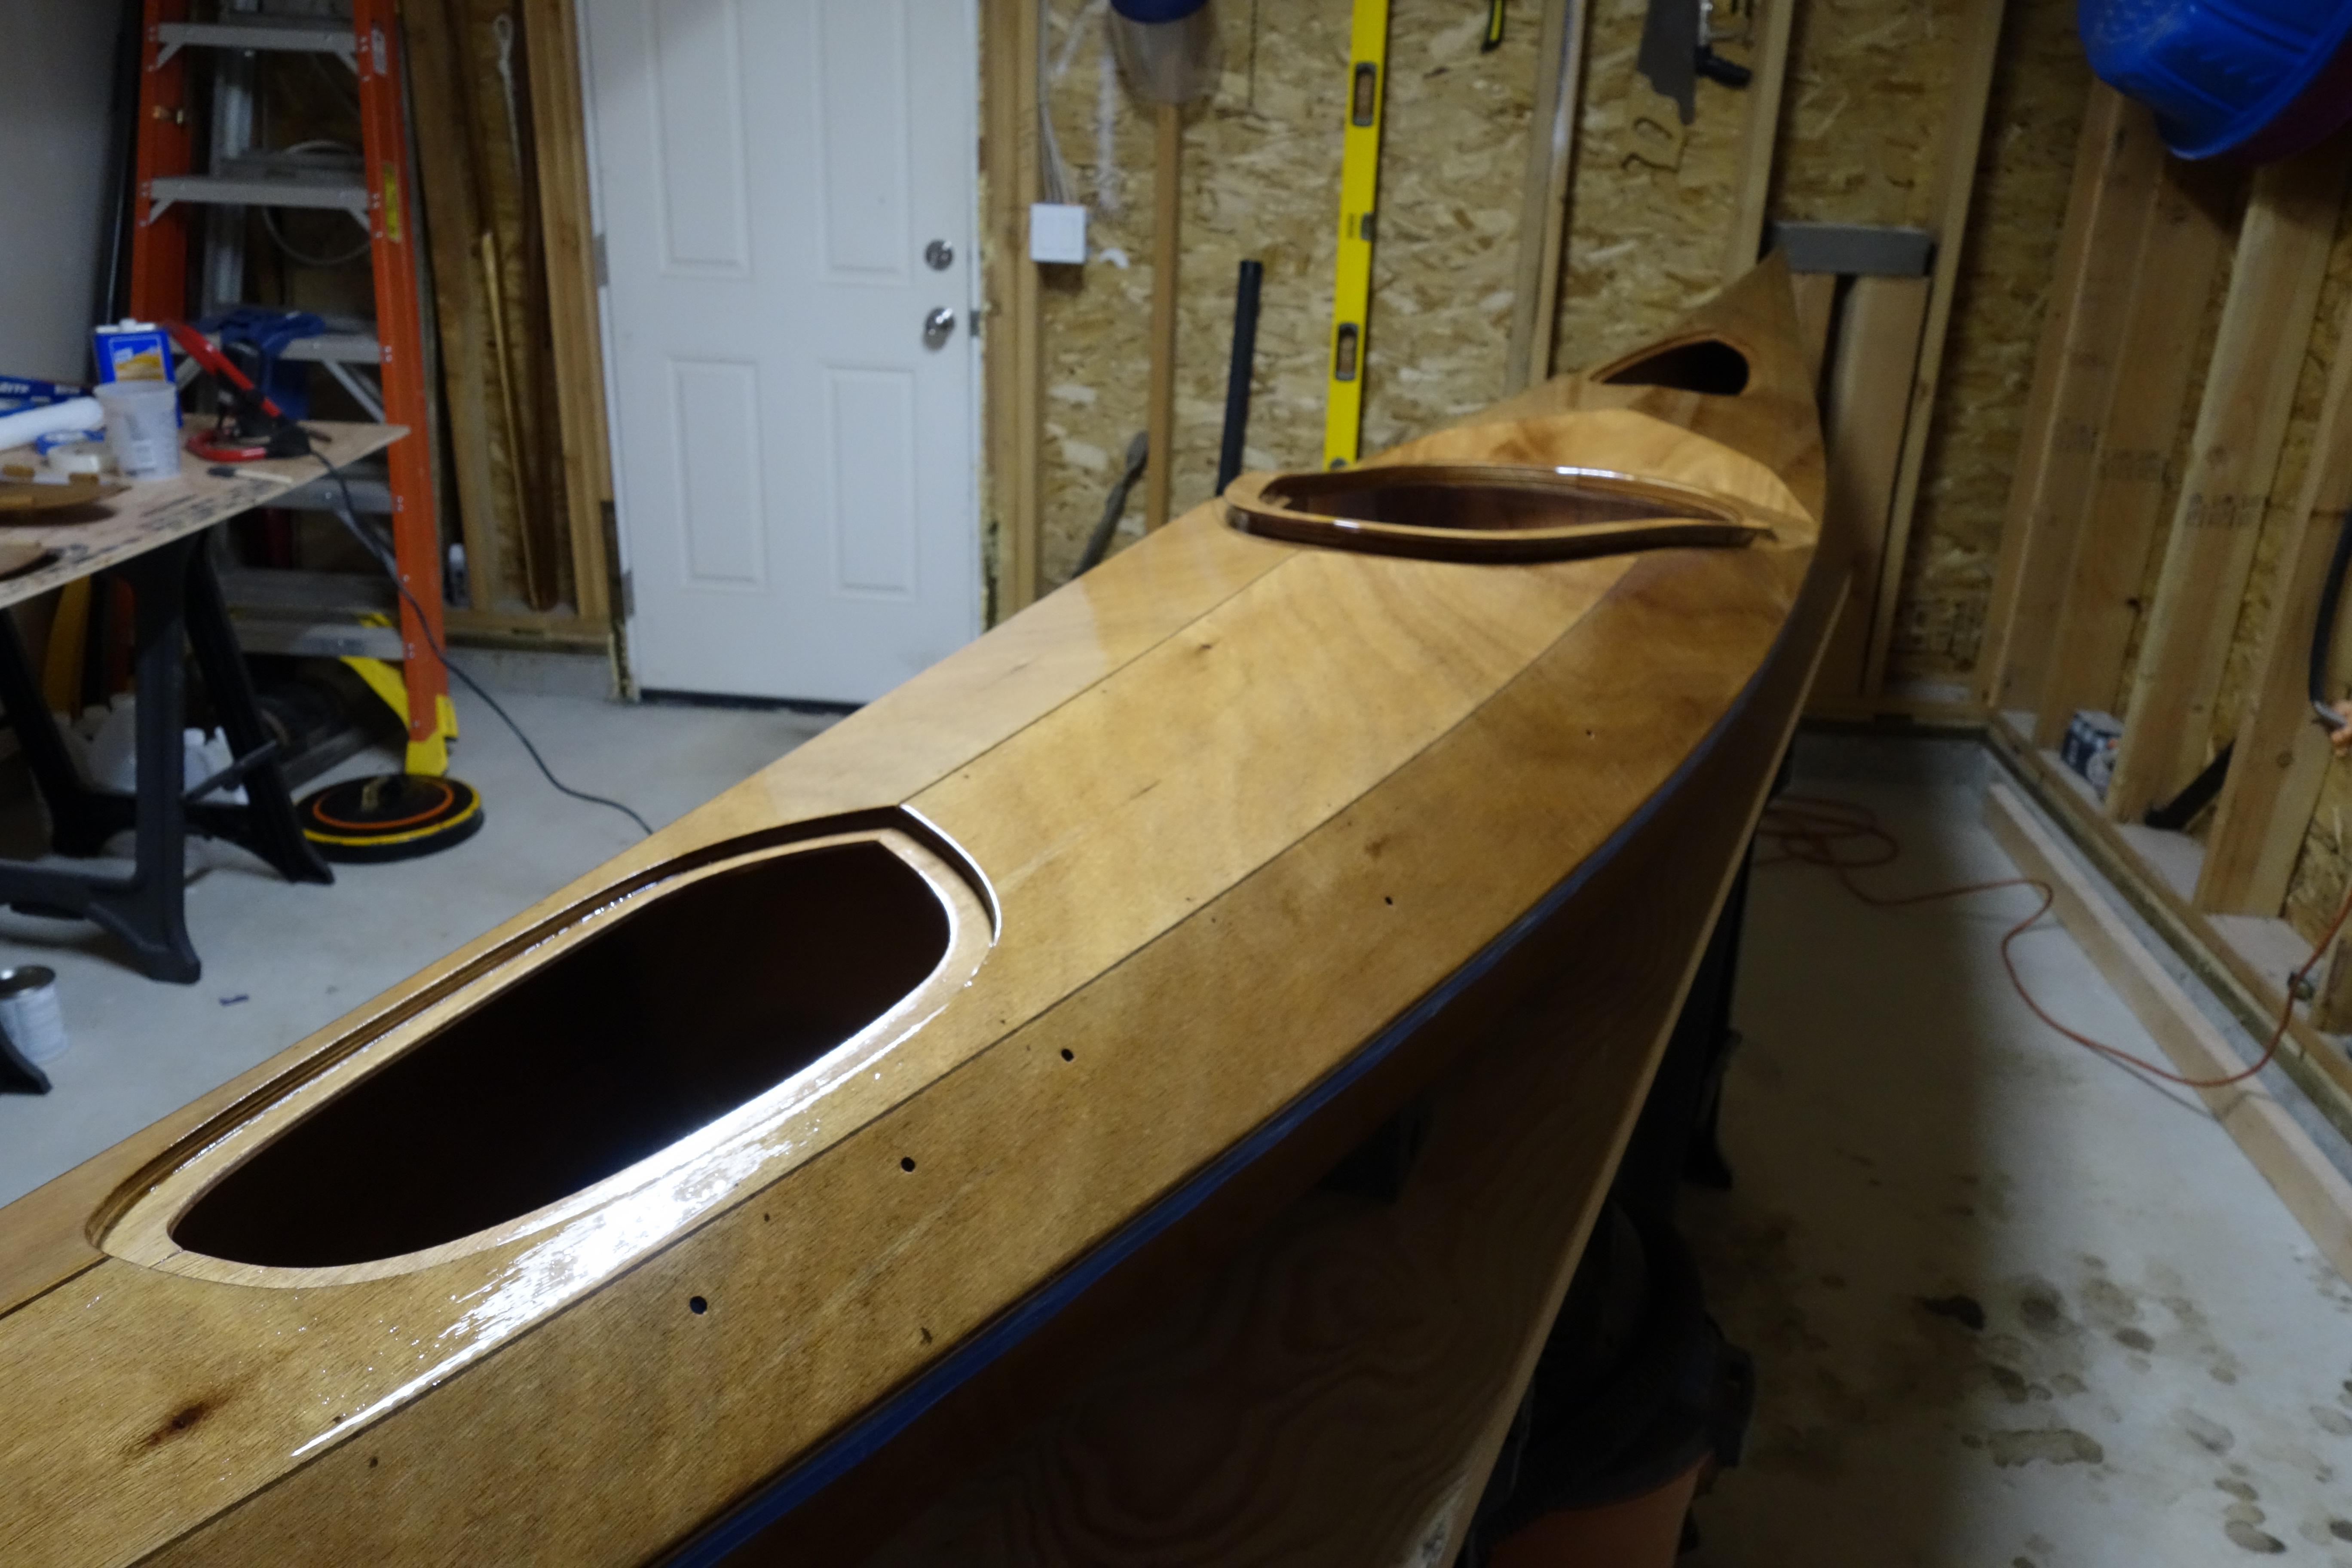
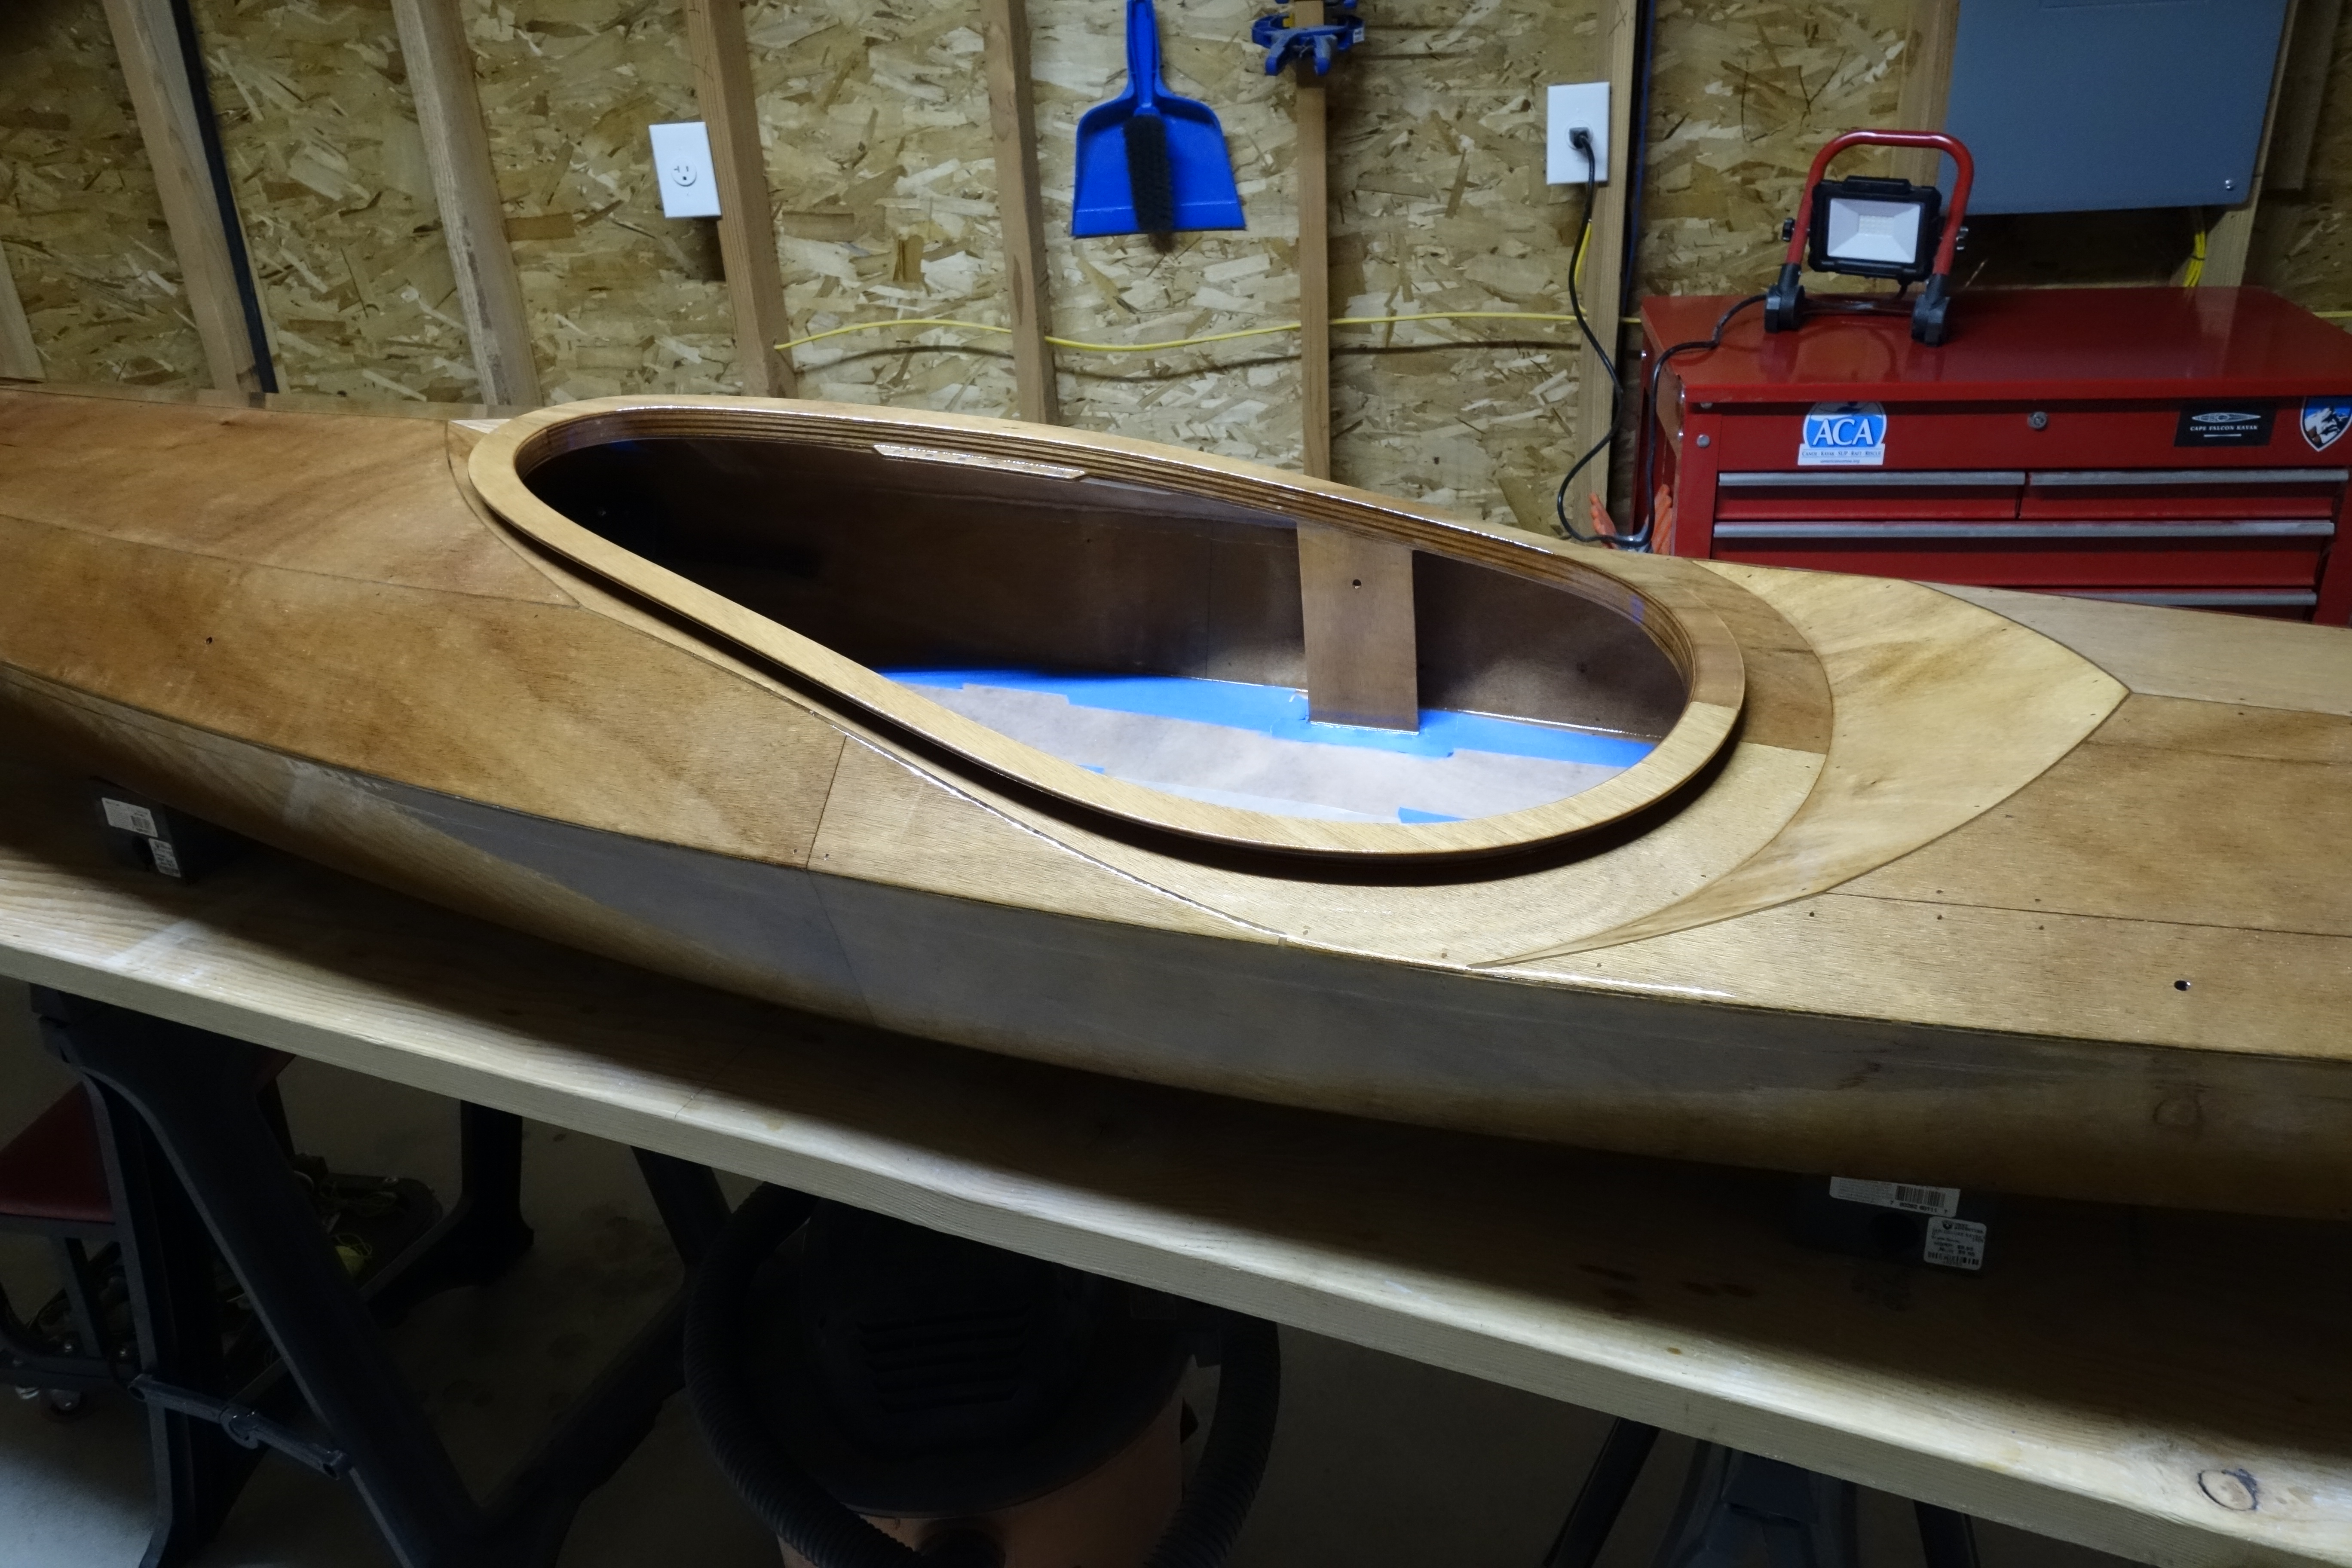
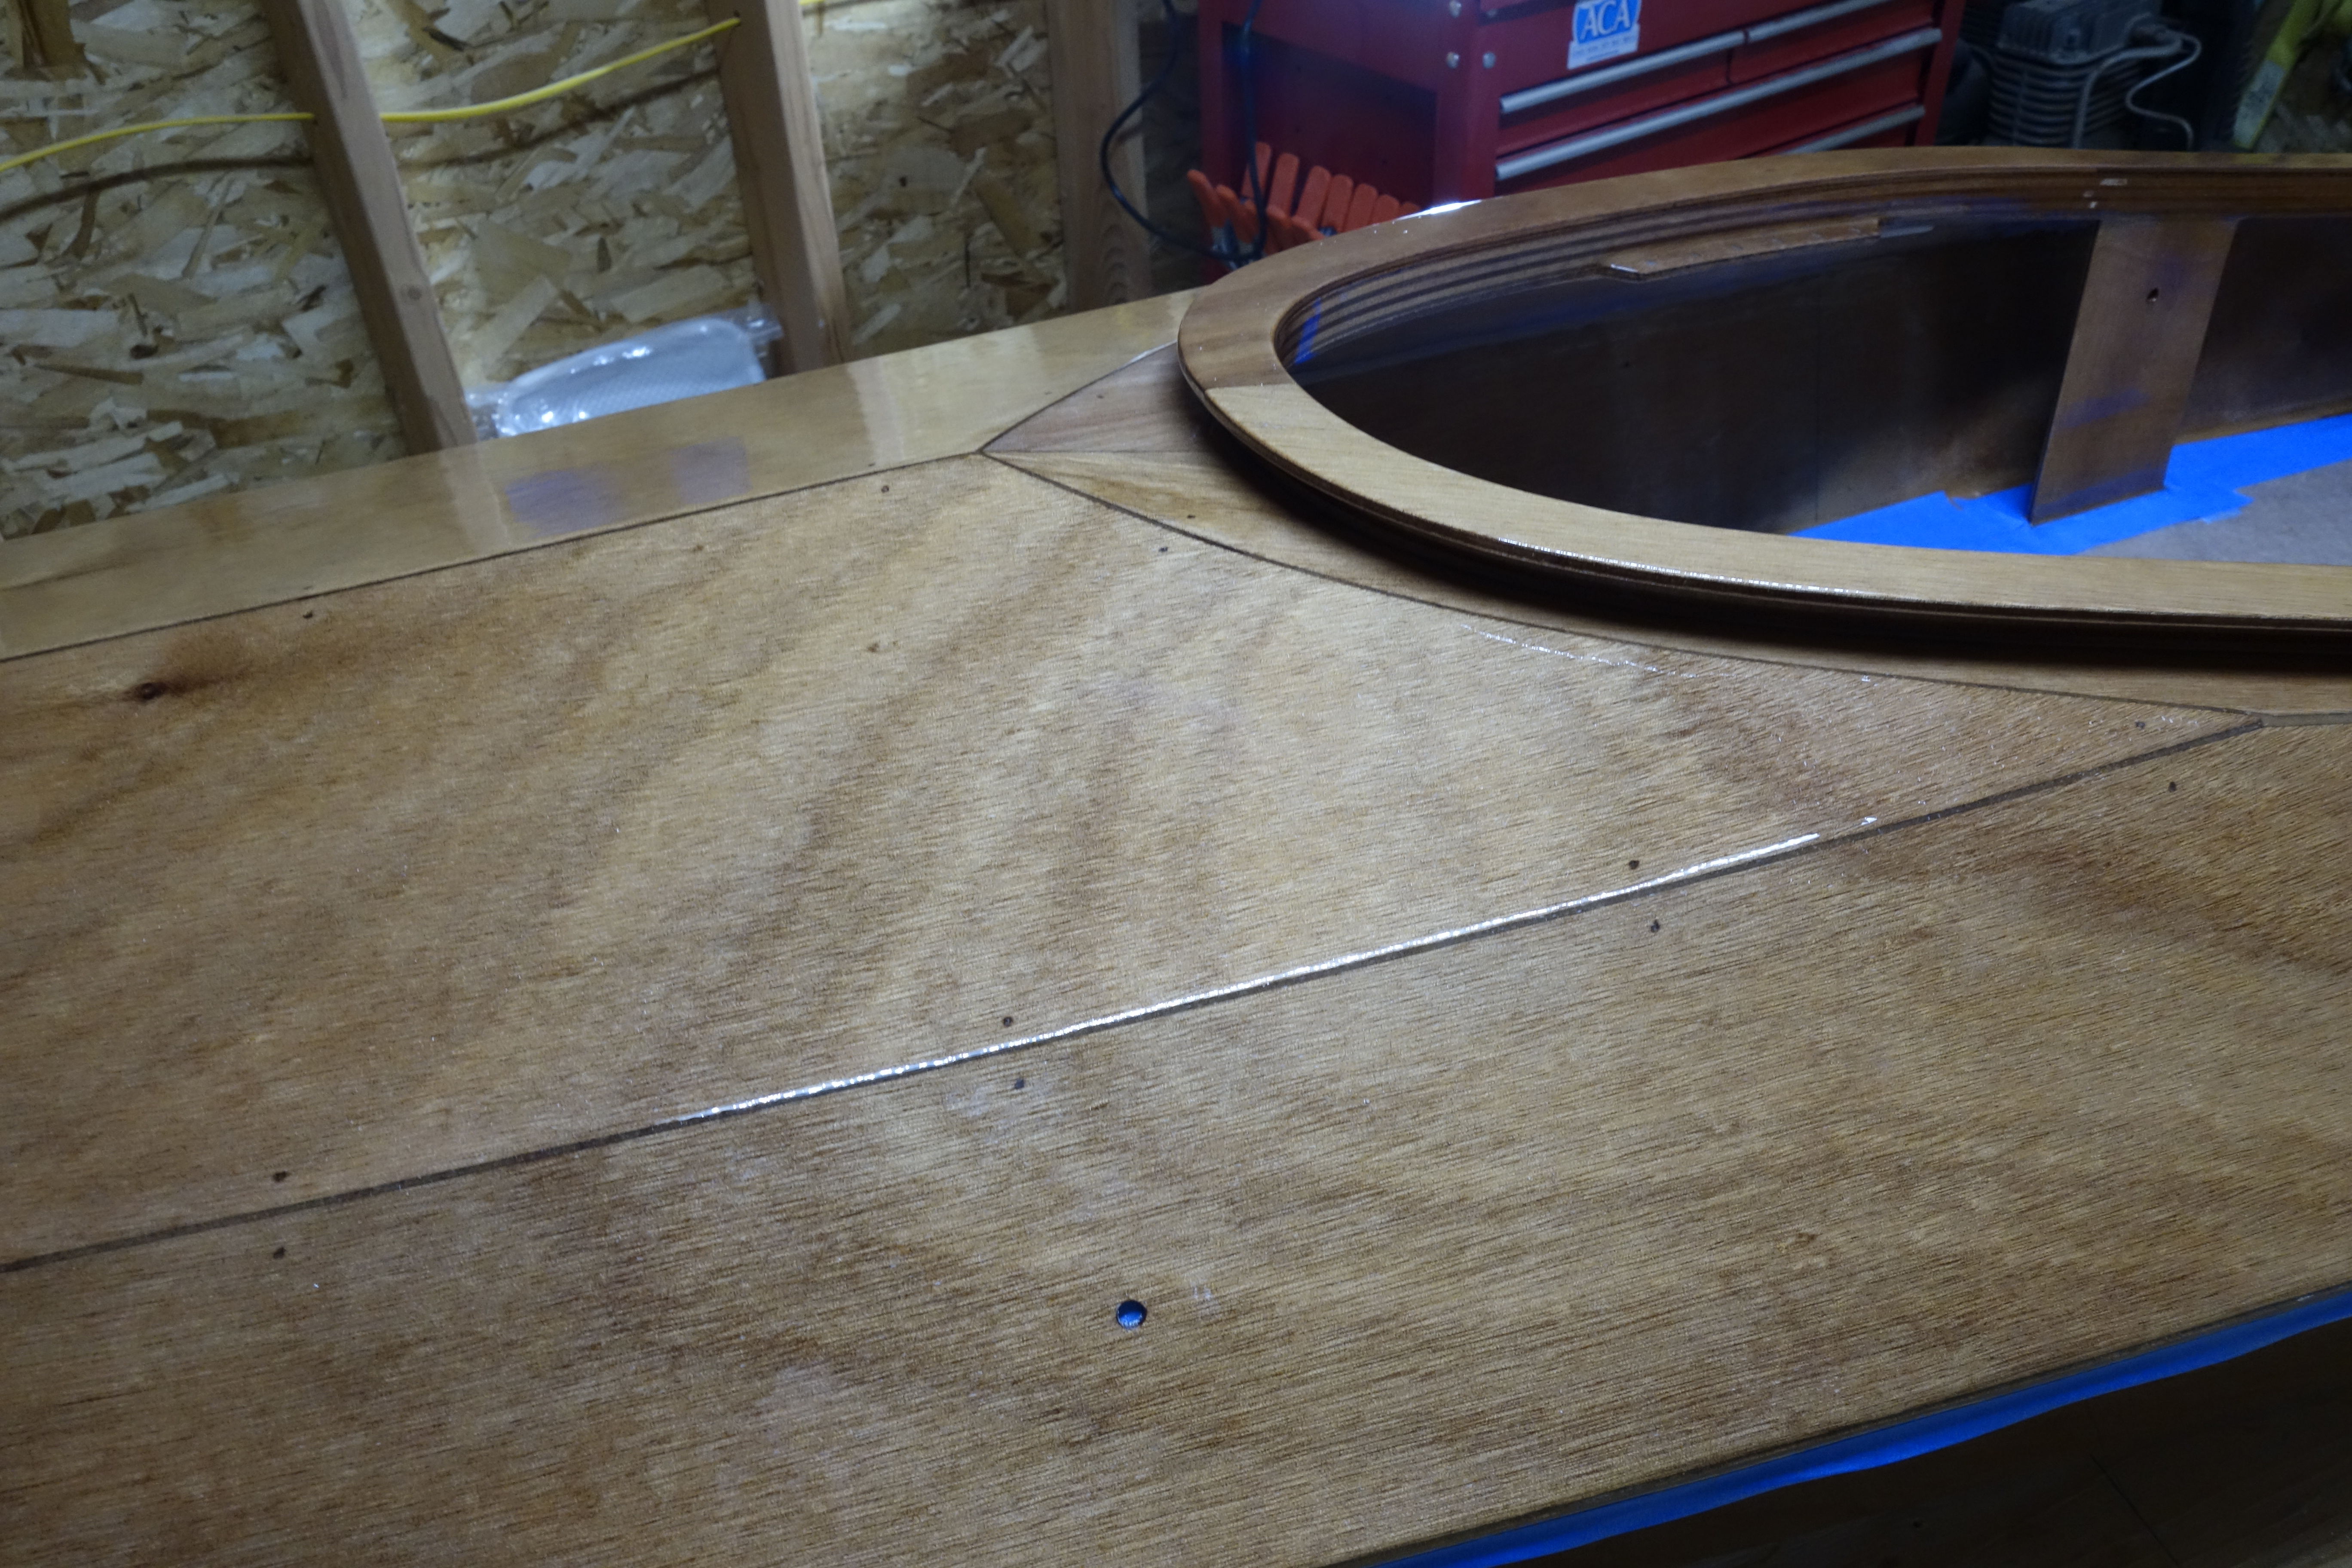
Same reminder as with the hull, the varnish will self-level over the next couple of hours and will look much smoother than it does in these photos, which were made immediately after I finished varnishing. There are a couple of little runs/sags around the cockpit coaming, but I have to let them go. I’ve done my best.
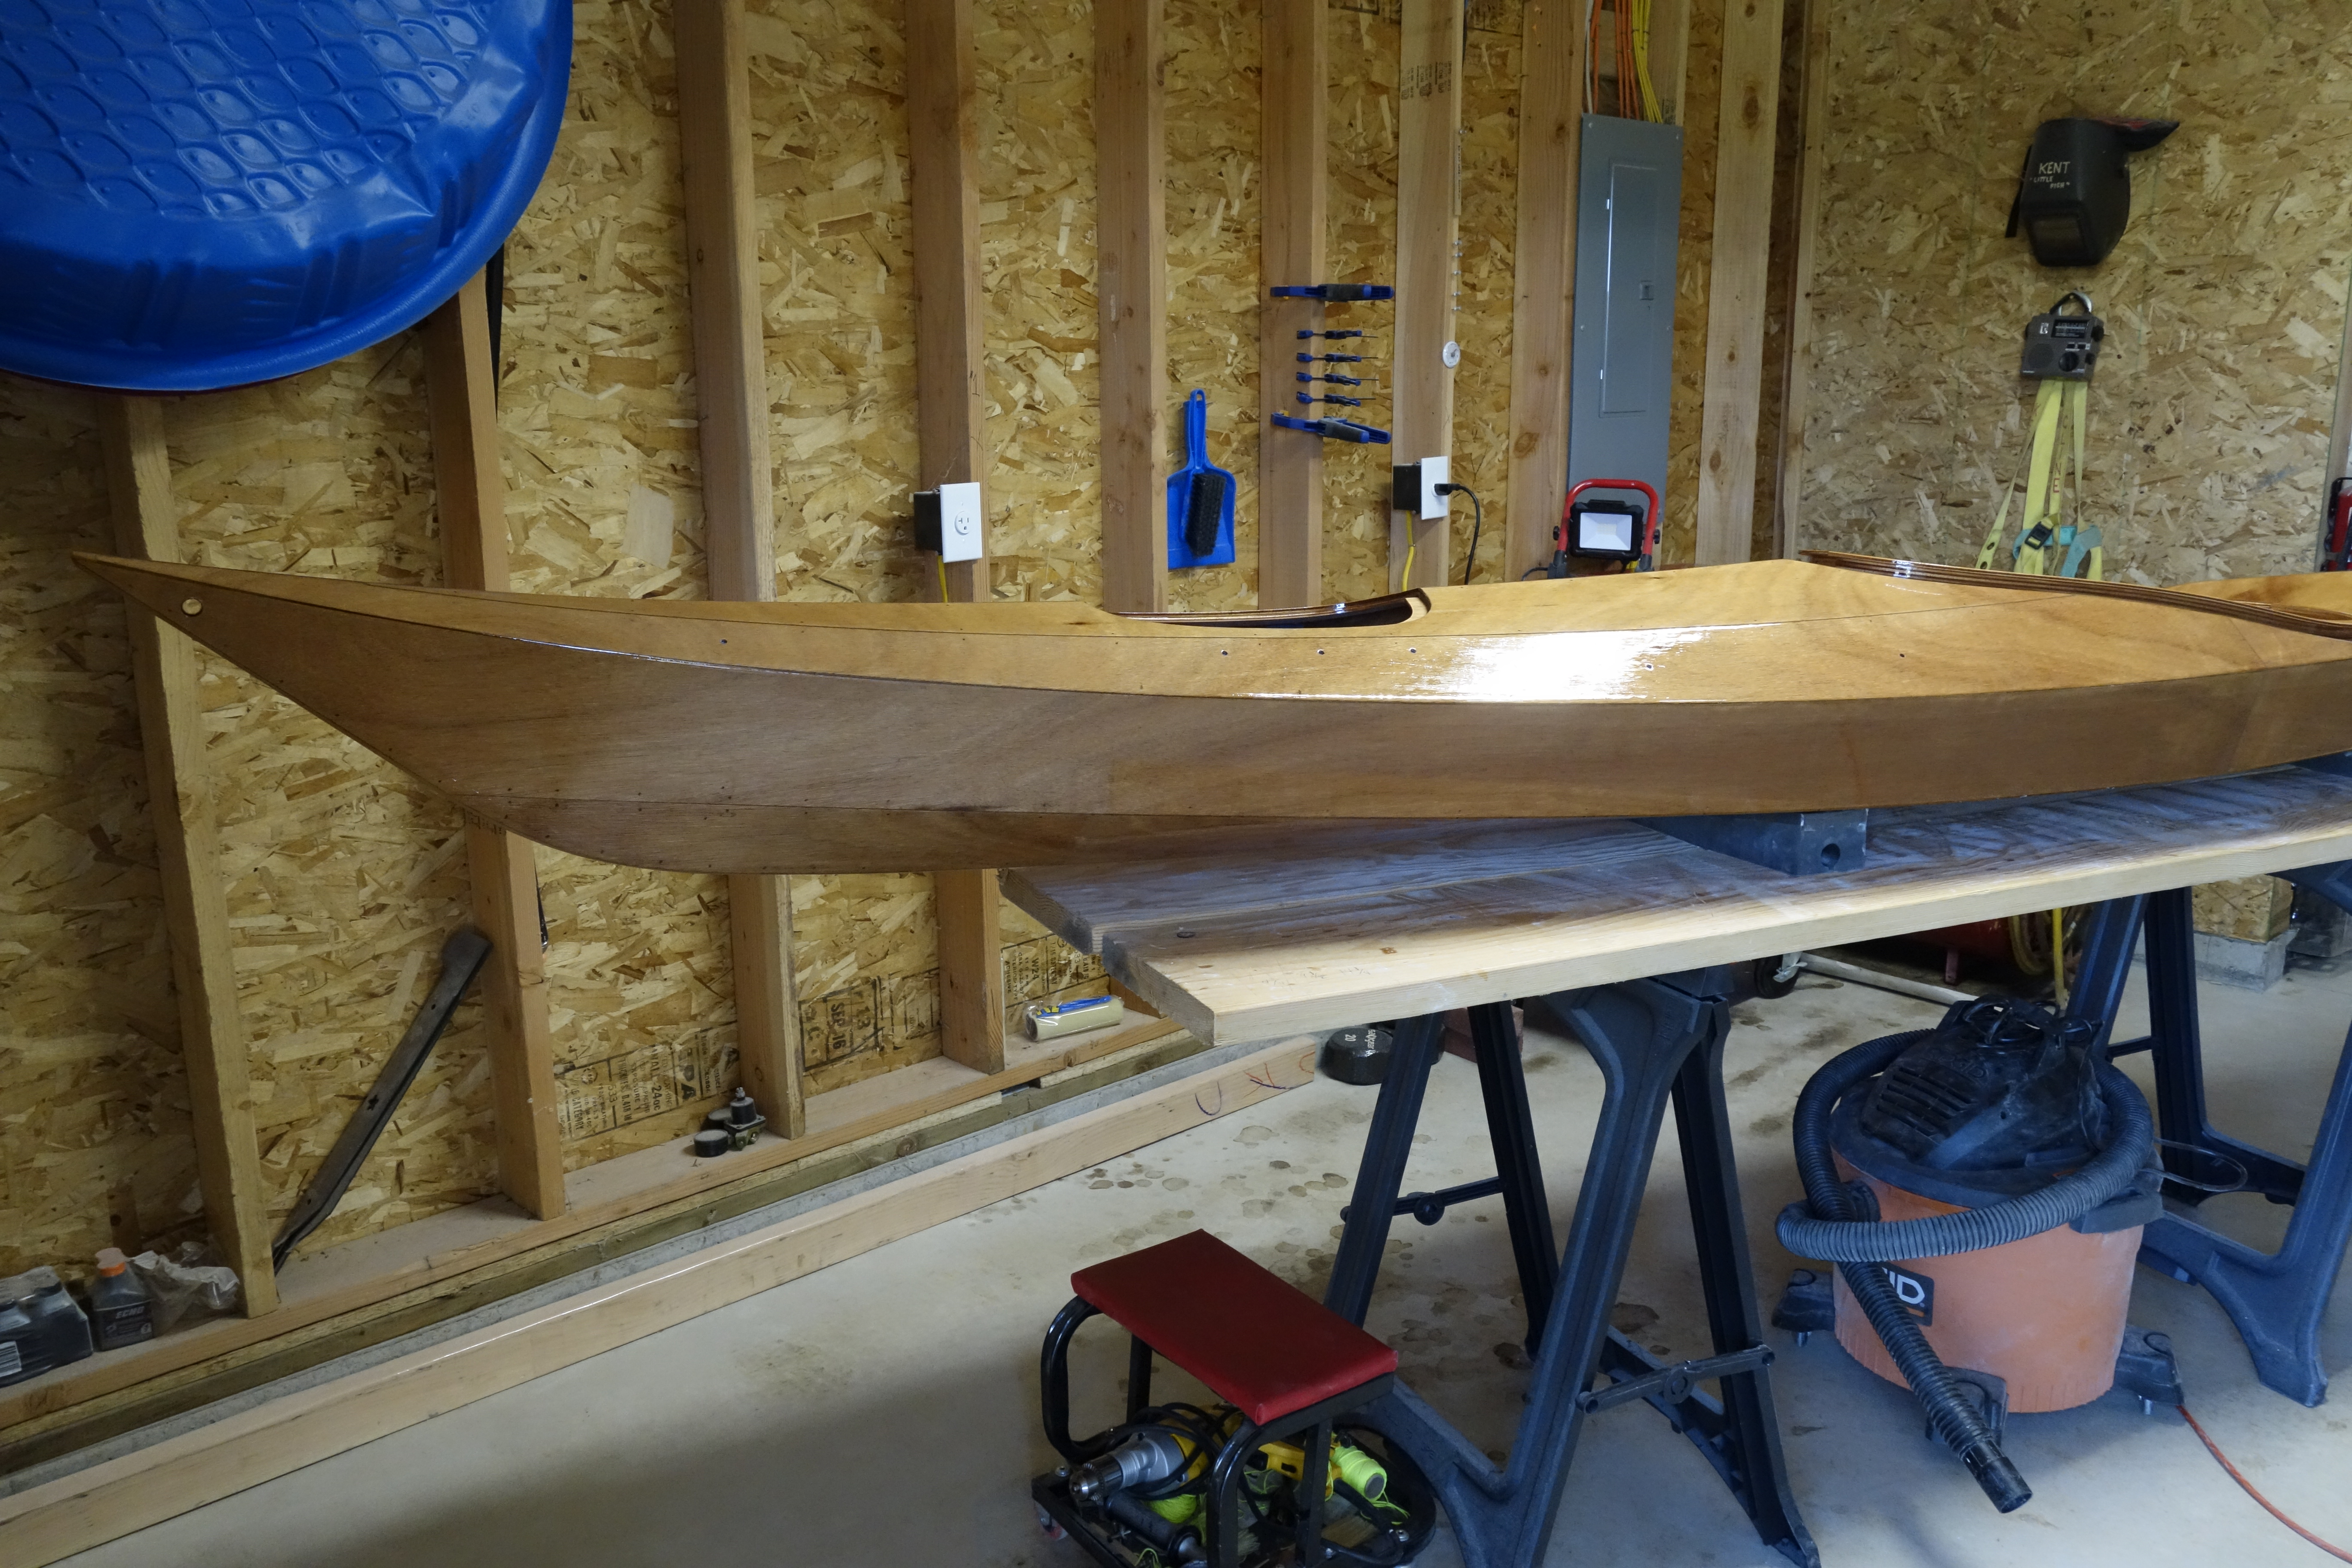
Because this is the last coat of varnish that I am going to put on the Ronan I was very careful to try to avoid sags and runs, and to get good coverage over the entire hull. I walked around kayak several times with a bright LED shop light, and so far, so good. Of course, after I was finished I did a ridiculously boneheaded thing. I was cleaning up my varnish cup and I was putting the paper towels that I wiped the cup out with into the small, steel rubbish bin that I keep in the shop, and seeing that the can was pretty full, shoved everything down into the bin to compact it. Of course, it didn’t occur to me until I was in the act of smashing the stuff down that it would almost certainly to force a bunch of dust out of the can and into the air around my freshly varnished kayak!
Pro tip: If you are building a kayak, DON’T DO THAT!
The kayak still looks fine, but I’m sure there would be fewer dust specks in the varnish if I hadn’t done that.
A reminder that these photos were taken immediately after I finished varnishing. The varnish will self-level and be much smoother in a few hours.
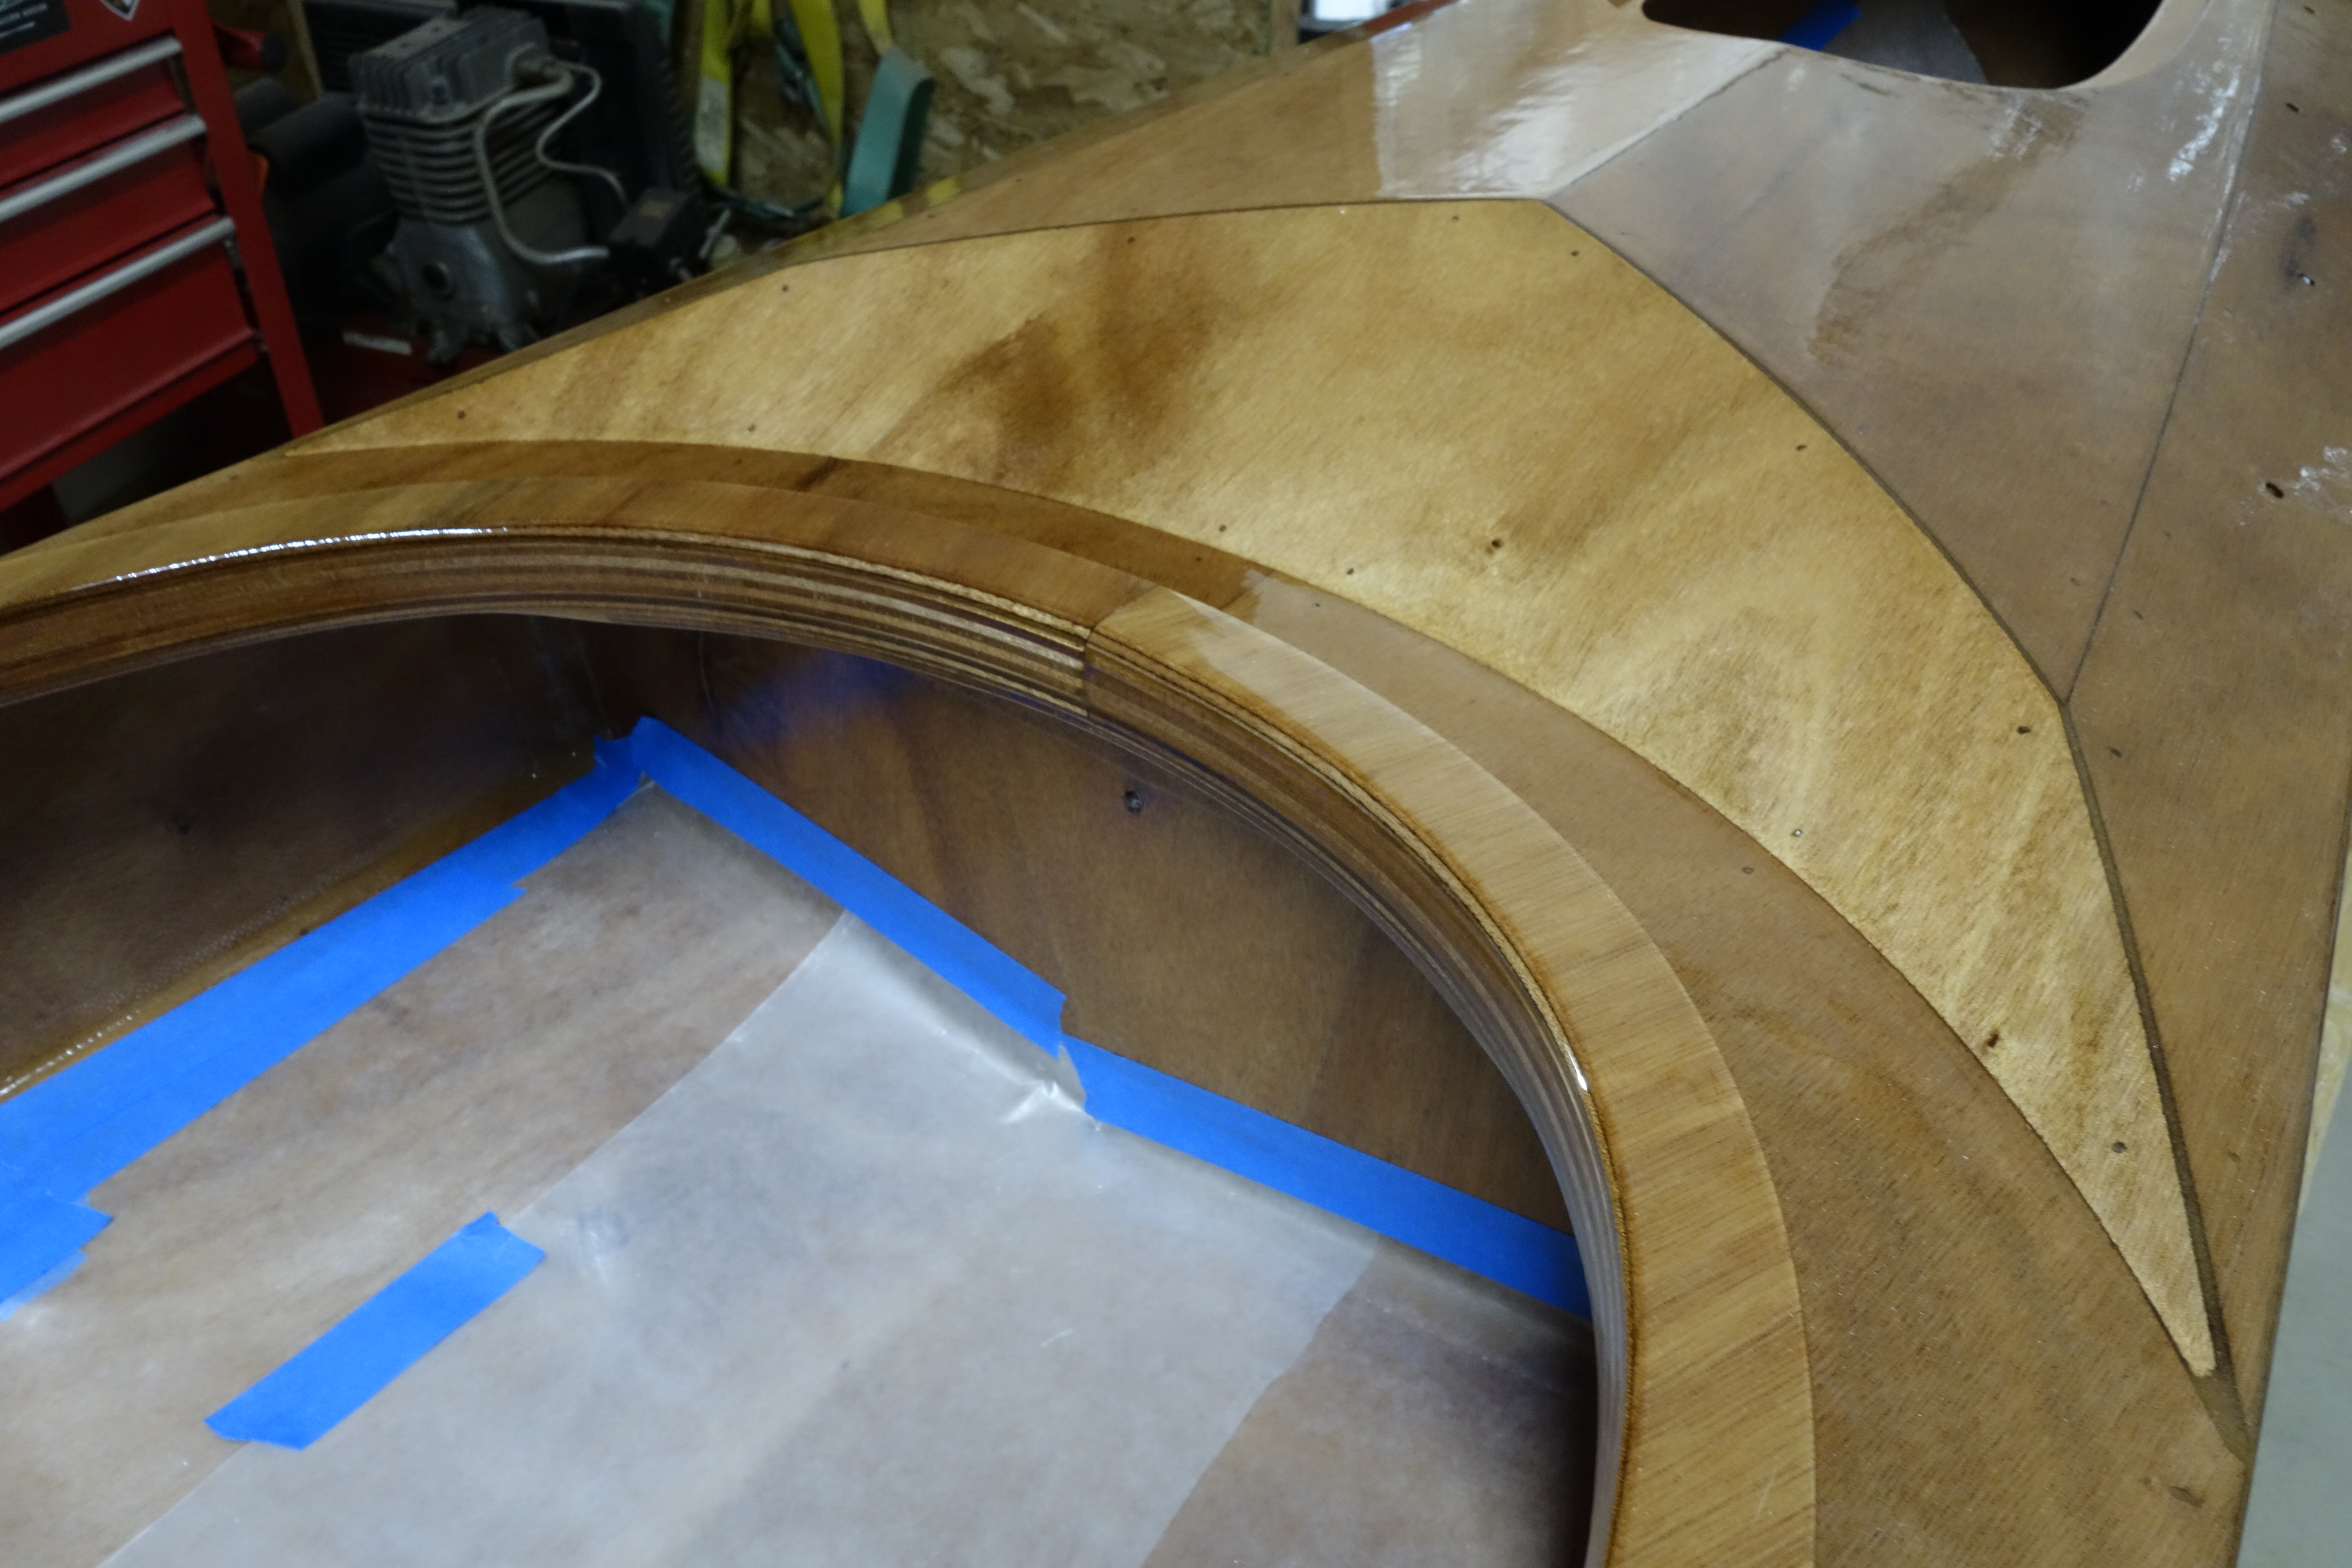
I was able to get the second coat of varnish on the deck this morning. There were a couple of small areas that I didn’t get great coverage on. The hatch covers have also been challenging for me to varnish so far. The varnish wants to pool around the stand-off blocks, no matter how careful I am when I am tipping the varnish off. This makes sanding for the next coat a real chore. The best advice I can offer about how to avoid this is that after you have carefully varnished on and around the stand-off blocks and the rest of the hatch covers, go back and tip off with a new (completely dry) foam brush. This helped suck up the excess varnish that pools around the blocks and makes a more uniform finish overall. I still didn’t get perfect results, but I certainly got better results than when I used the same brush to apply the varnish and tip it off. I have also found that it is really easy to be too aggressive when sanding the small strip between the stand-off blocks and the edge of the cover. Anyone reading this who has any advice for me that would make this easier, I’m all ears. Please leave a comment and let me know. I am considering revising my original plan to use two coats of the Flagship Varnish, followed by two coats of the Captain’s Varnish. The sanding is giving me enough trouble that I am worried that I am going to screw up my finish in a way that will be hard (or impossible) to fix. So much so that I am considering just putting on one coat of the Captain’s Varnish. We’ll see how the next round of sanding and the first coat of Captain’s Varnish goes on I guess, and I’ll decide then if I want to follow with a fourth coat. Pygmy says that “three coats are generally sufficient for protection”, but I know that more coats are better. That said, I also need to finish the kayak with my sanity intact, so…
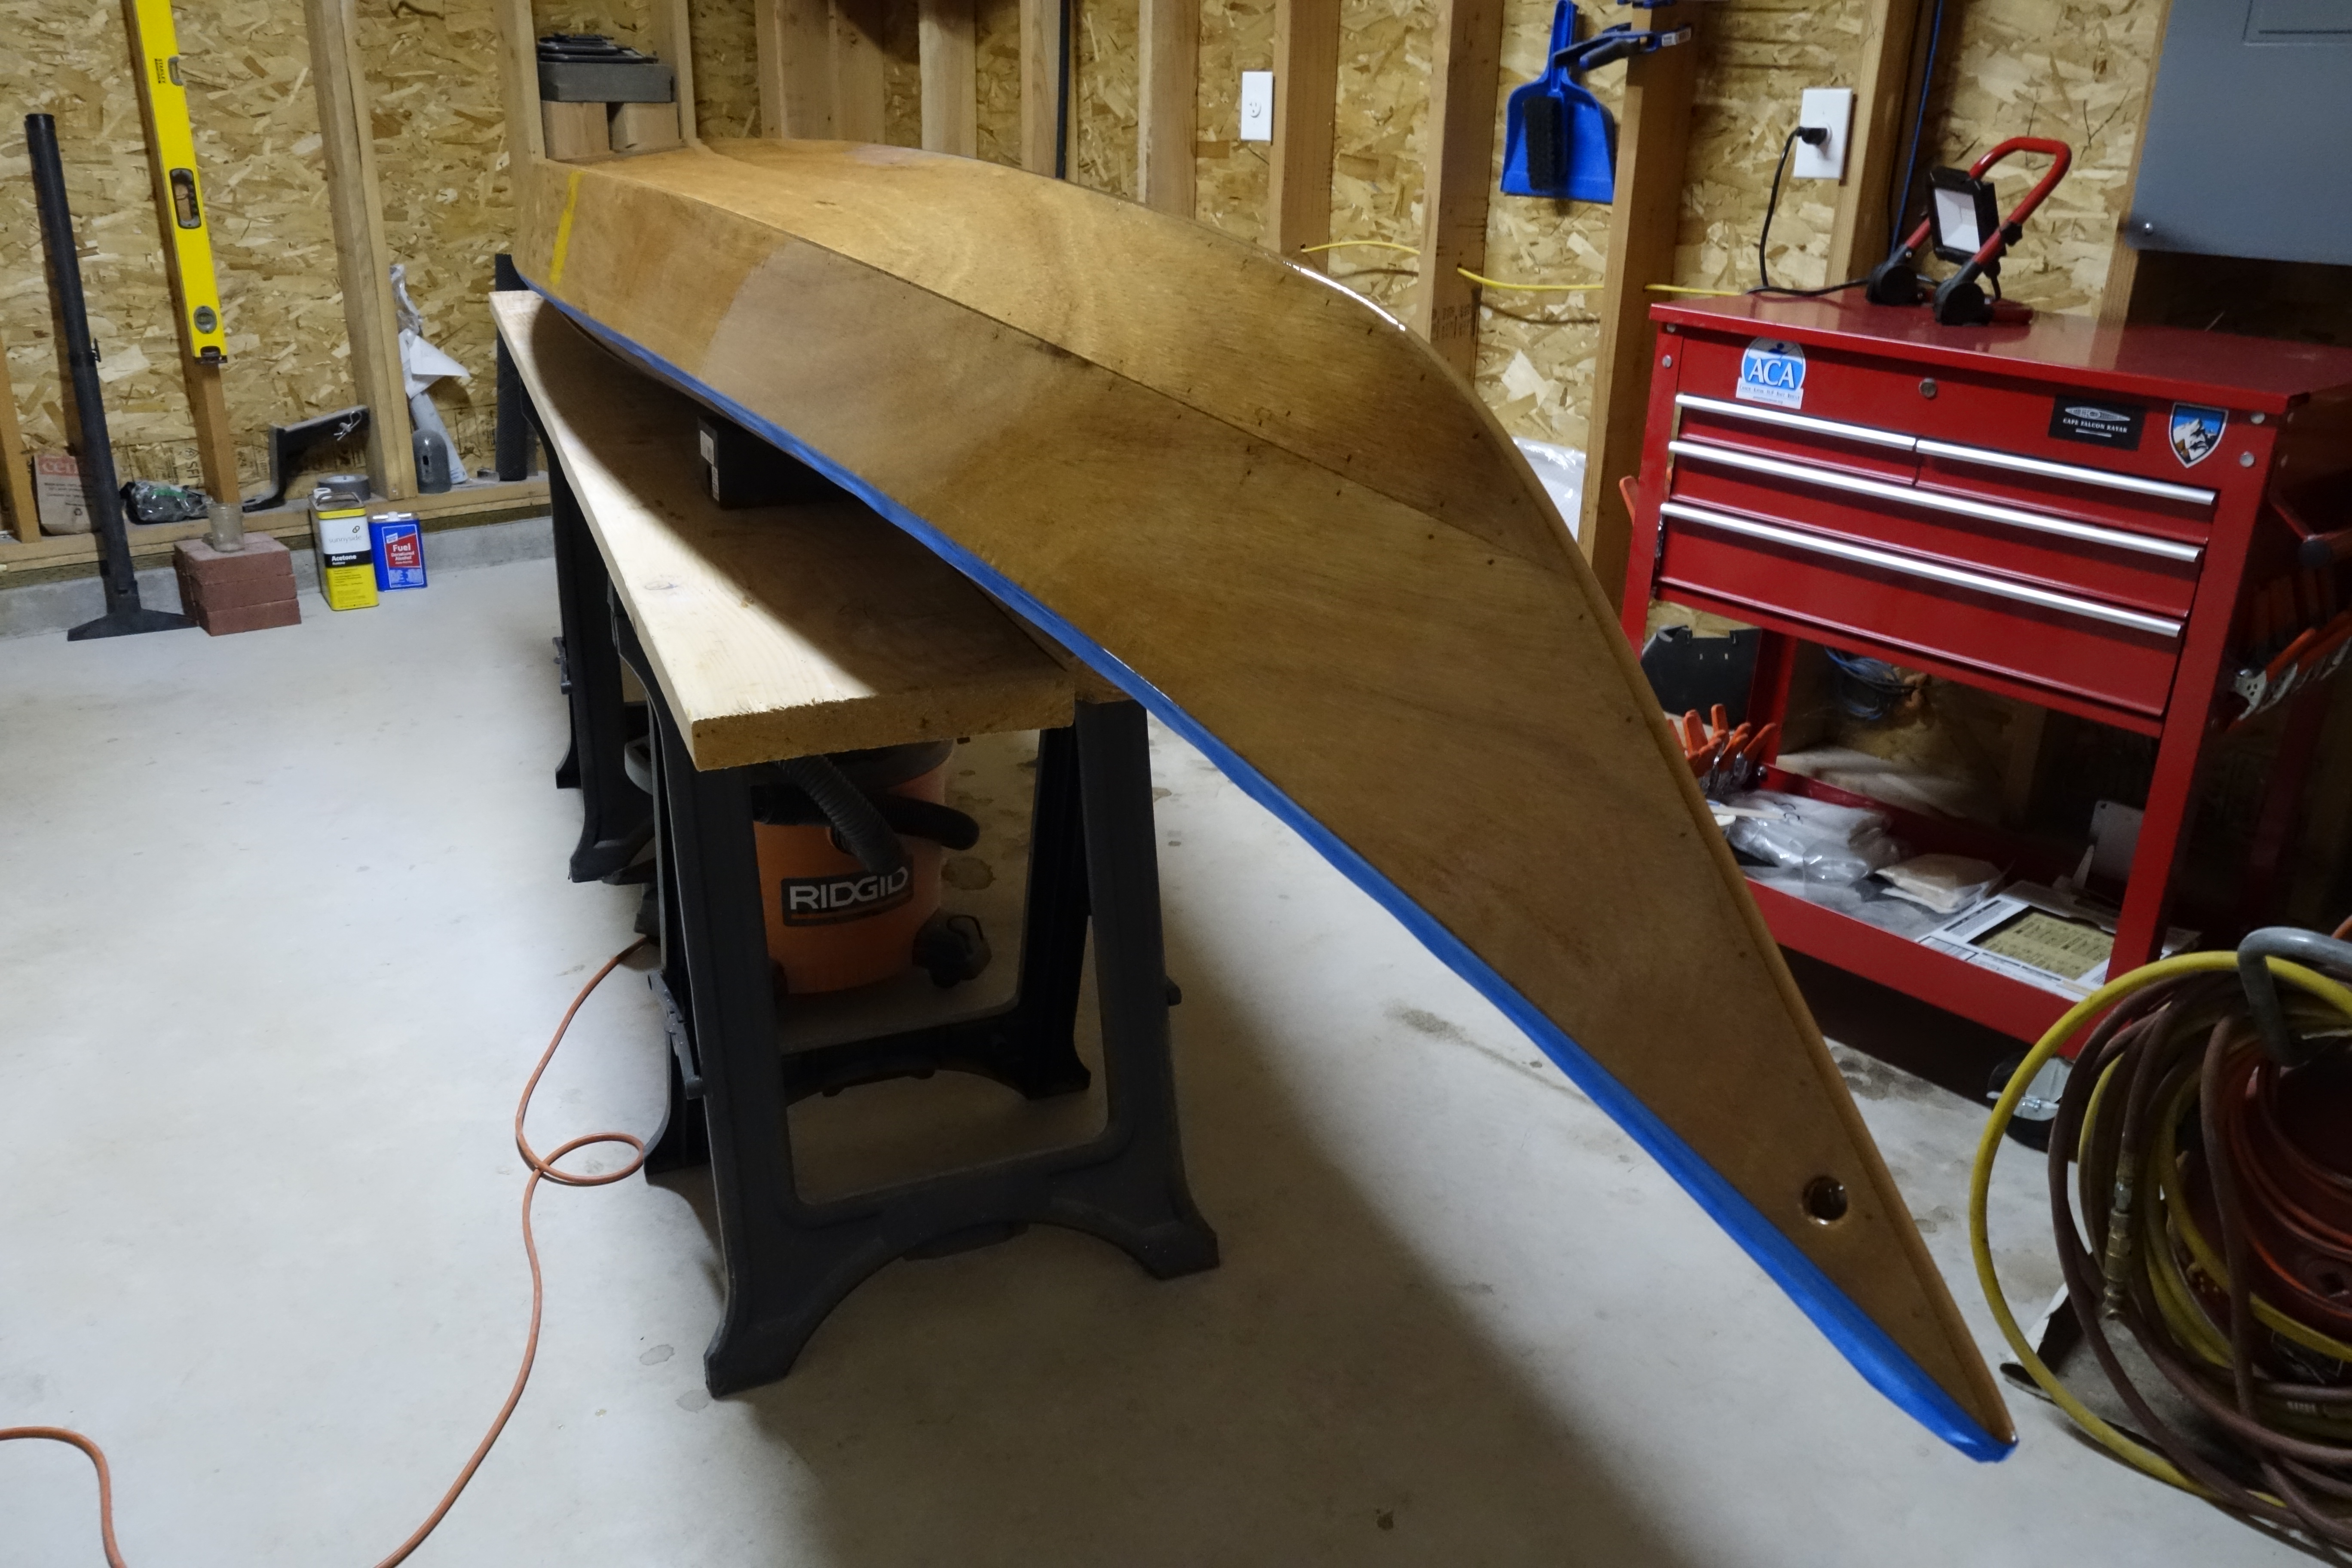
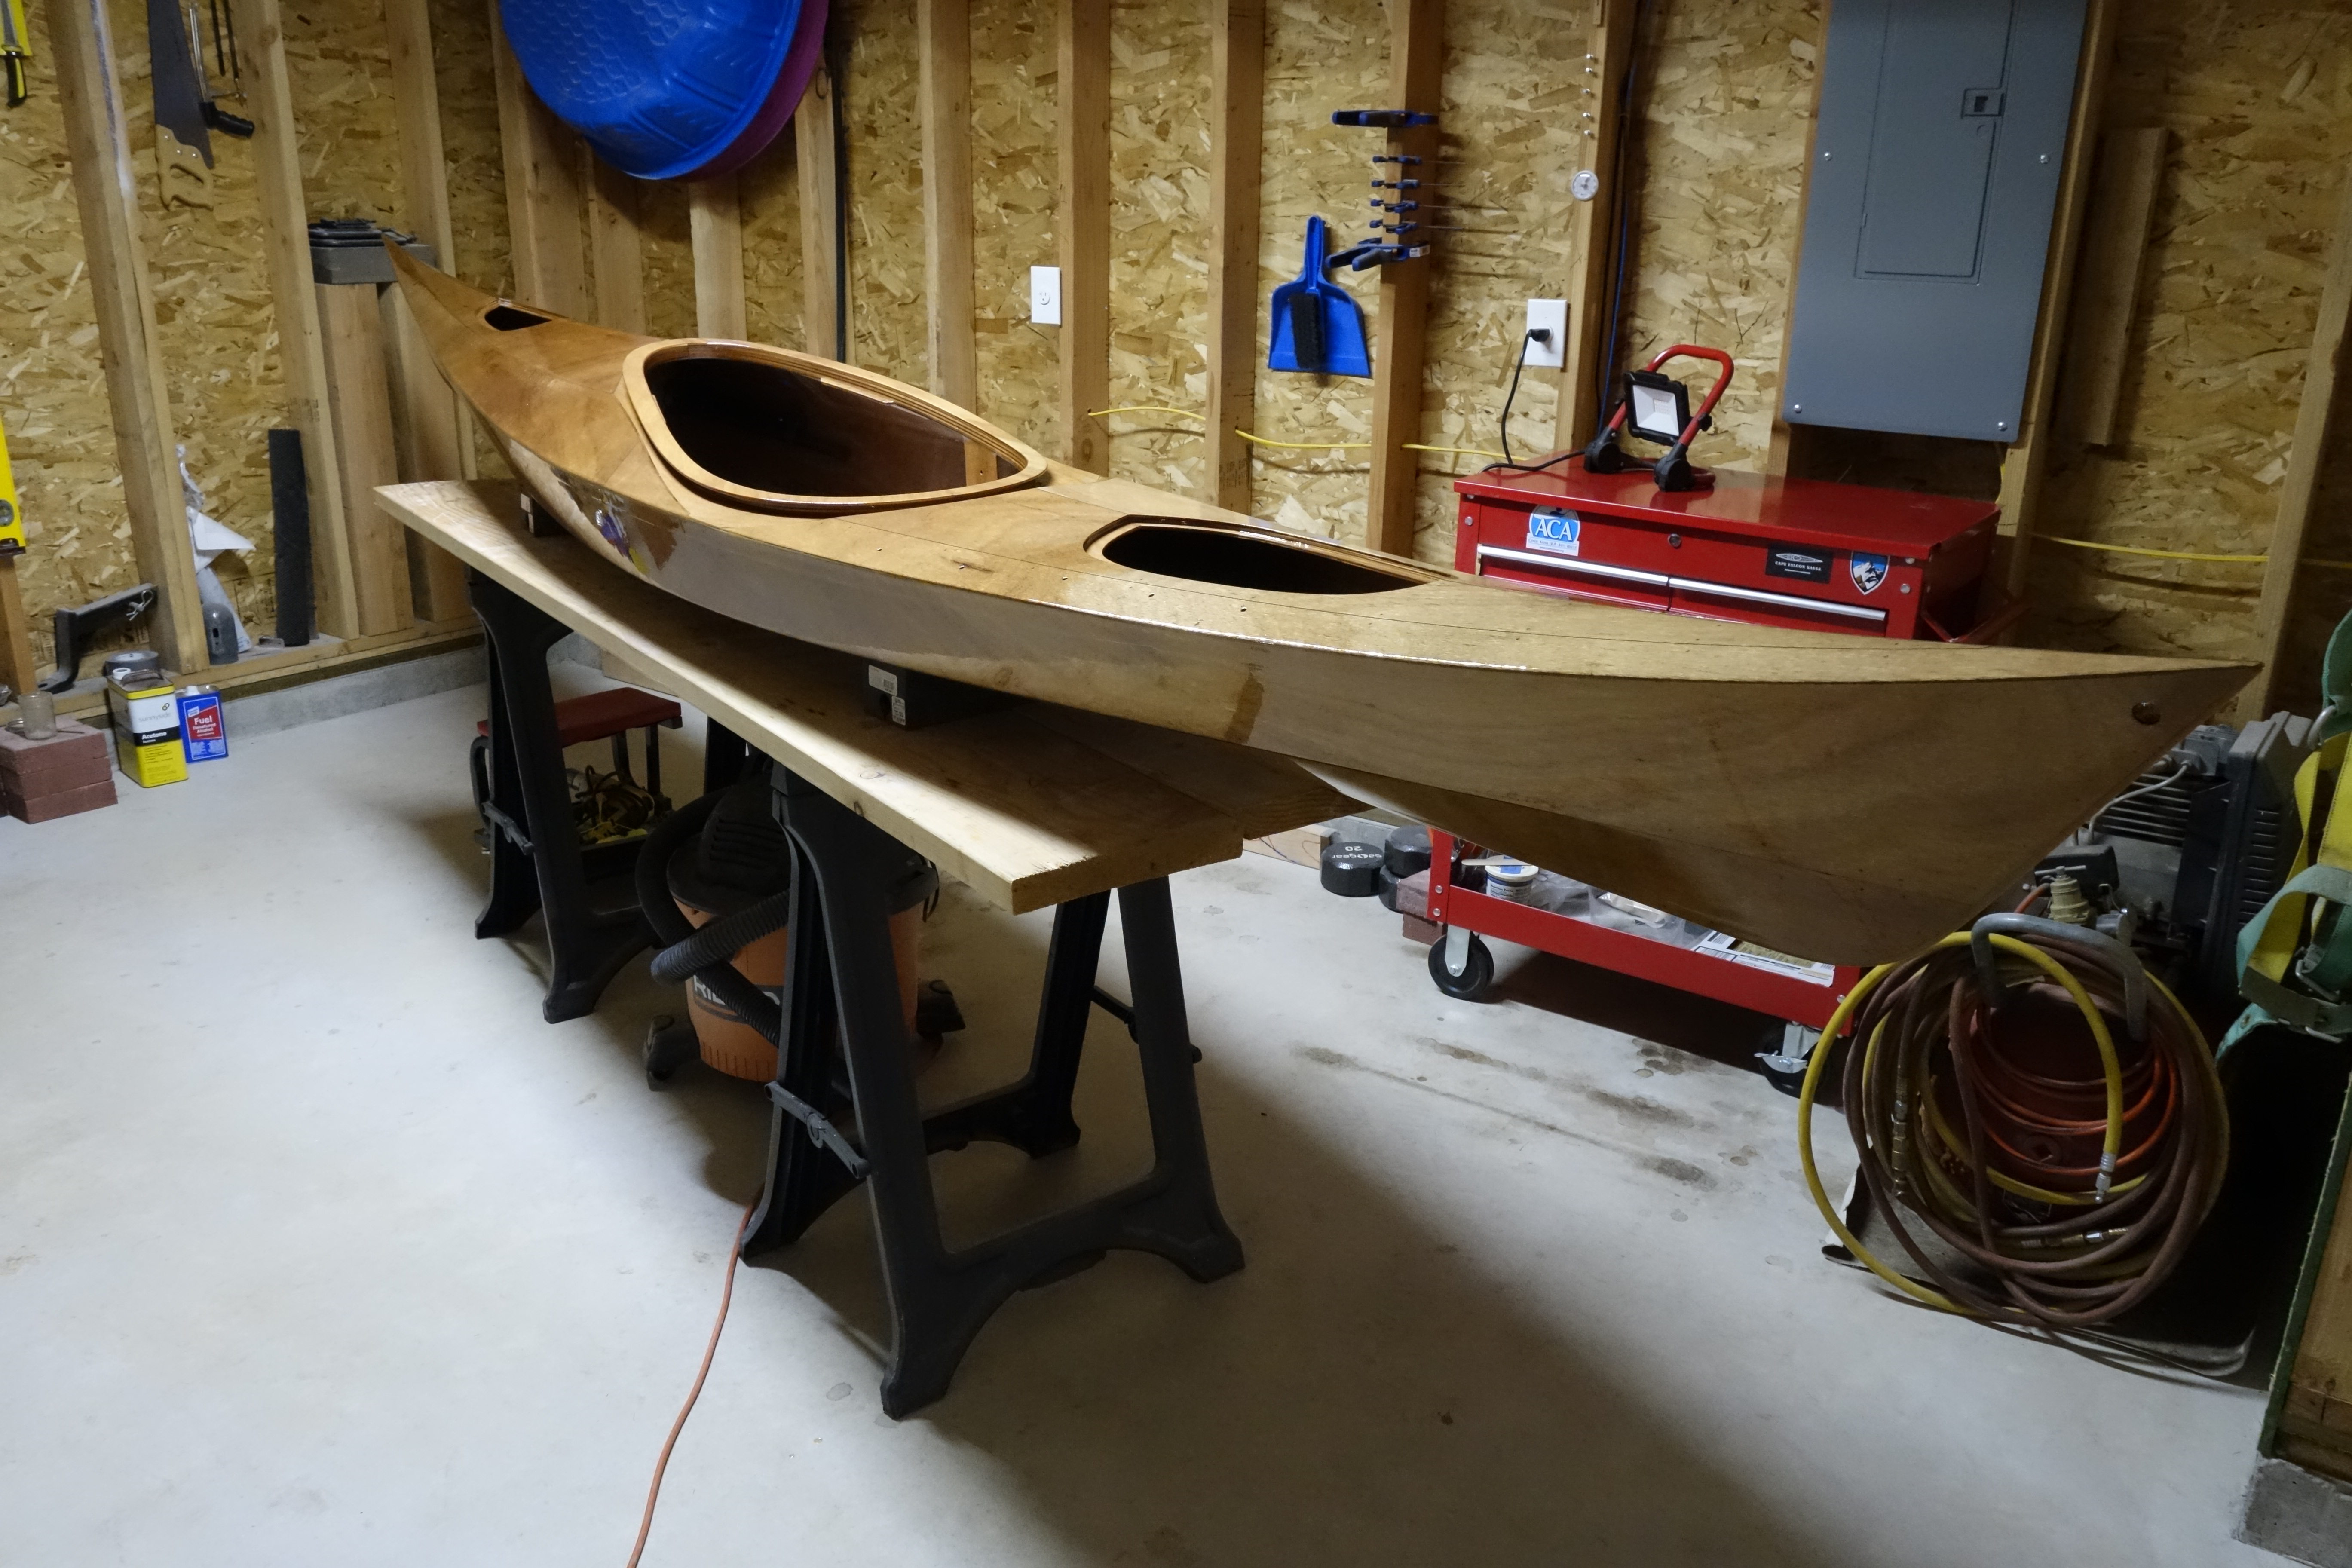
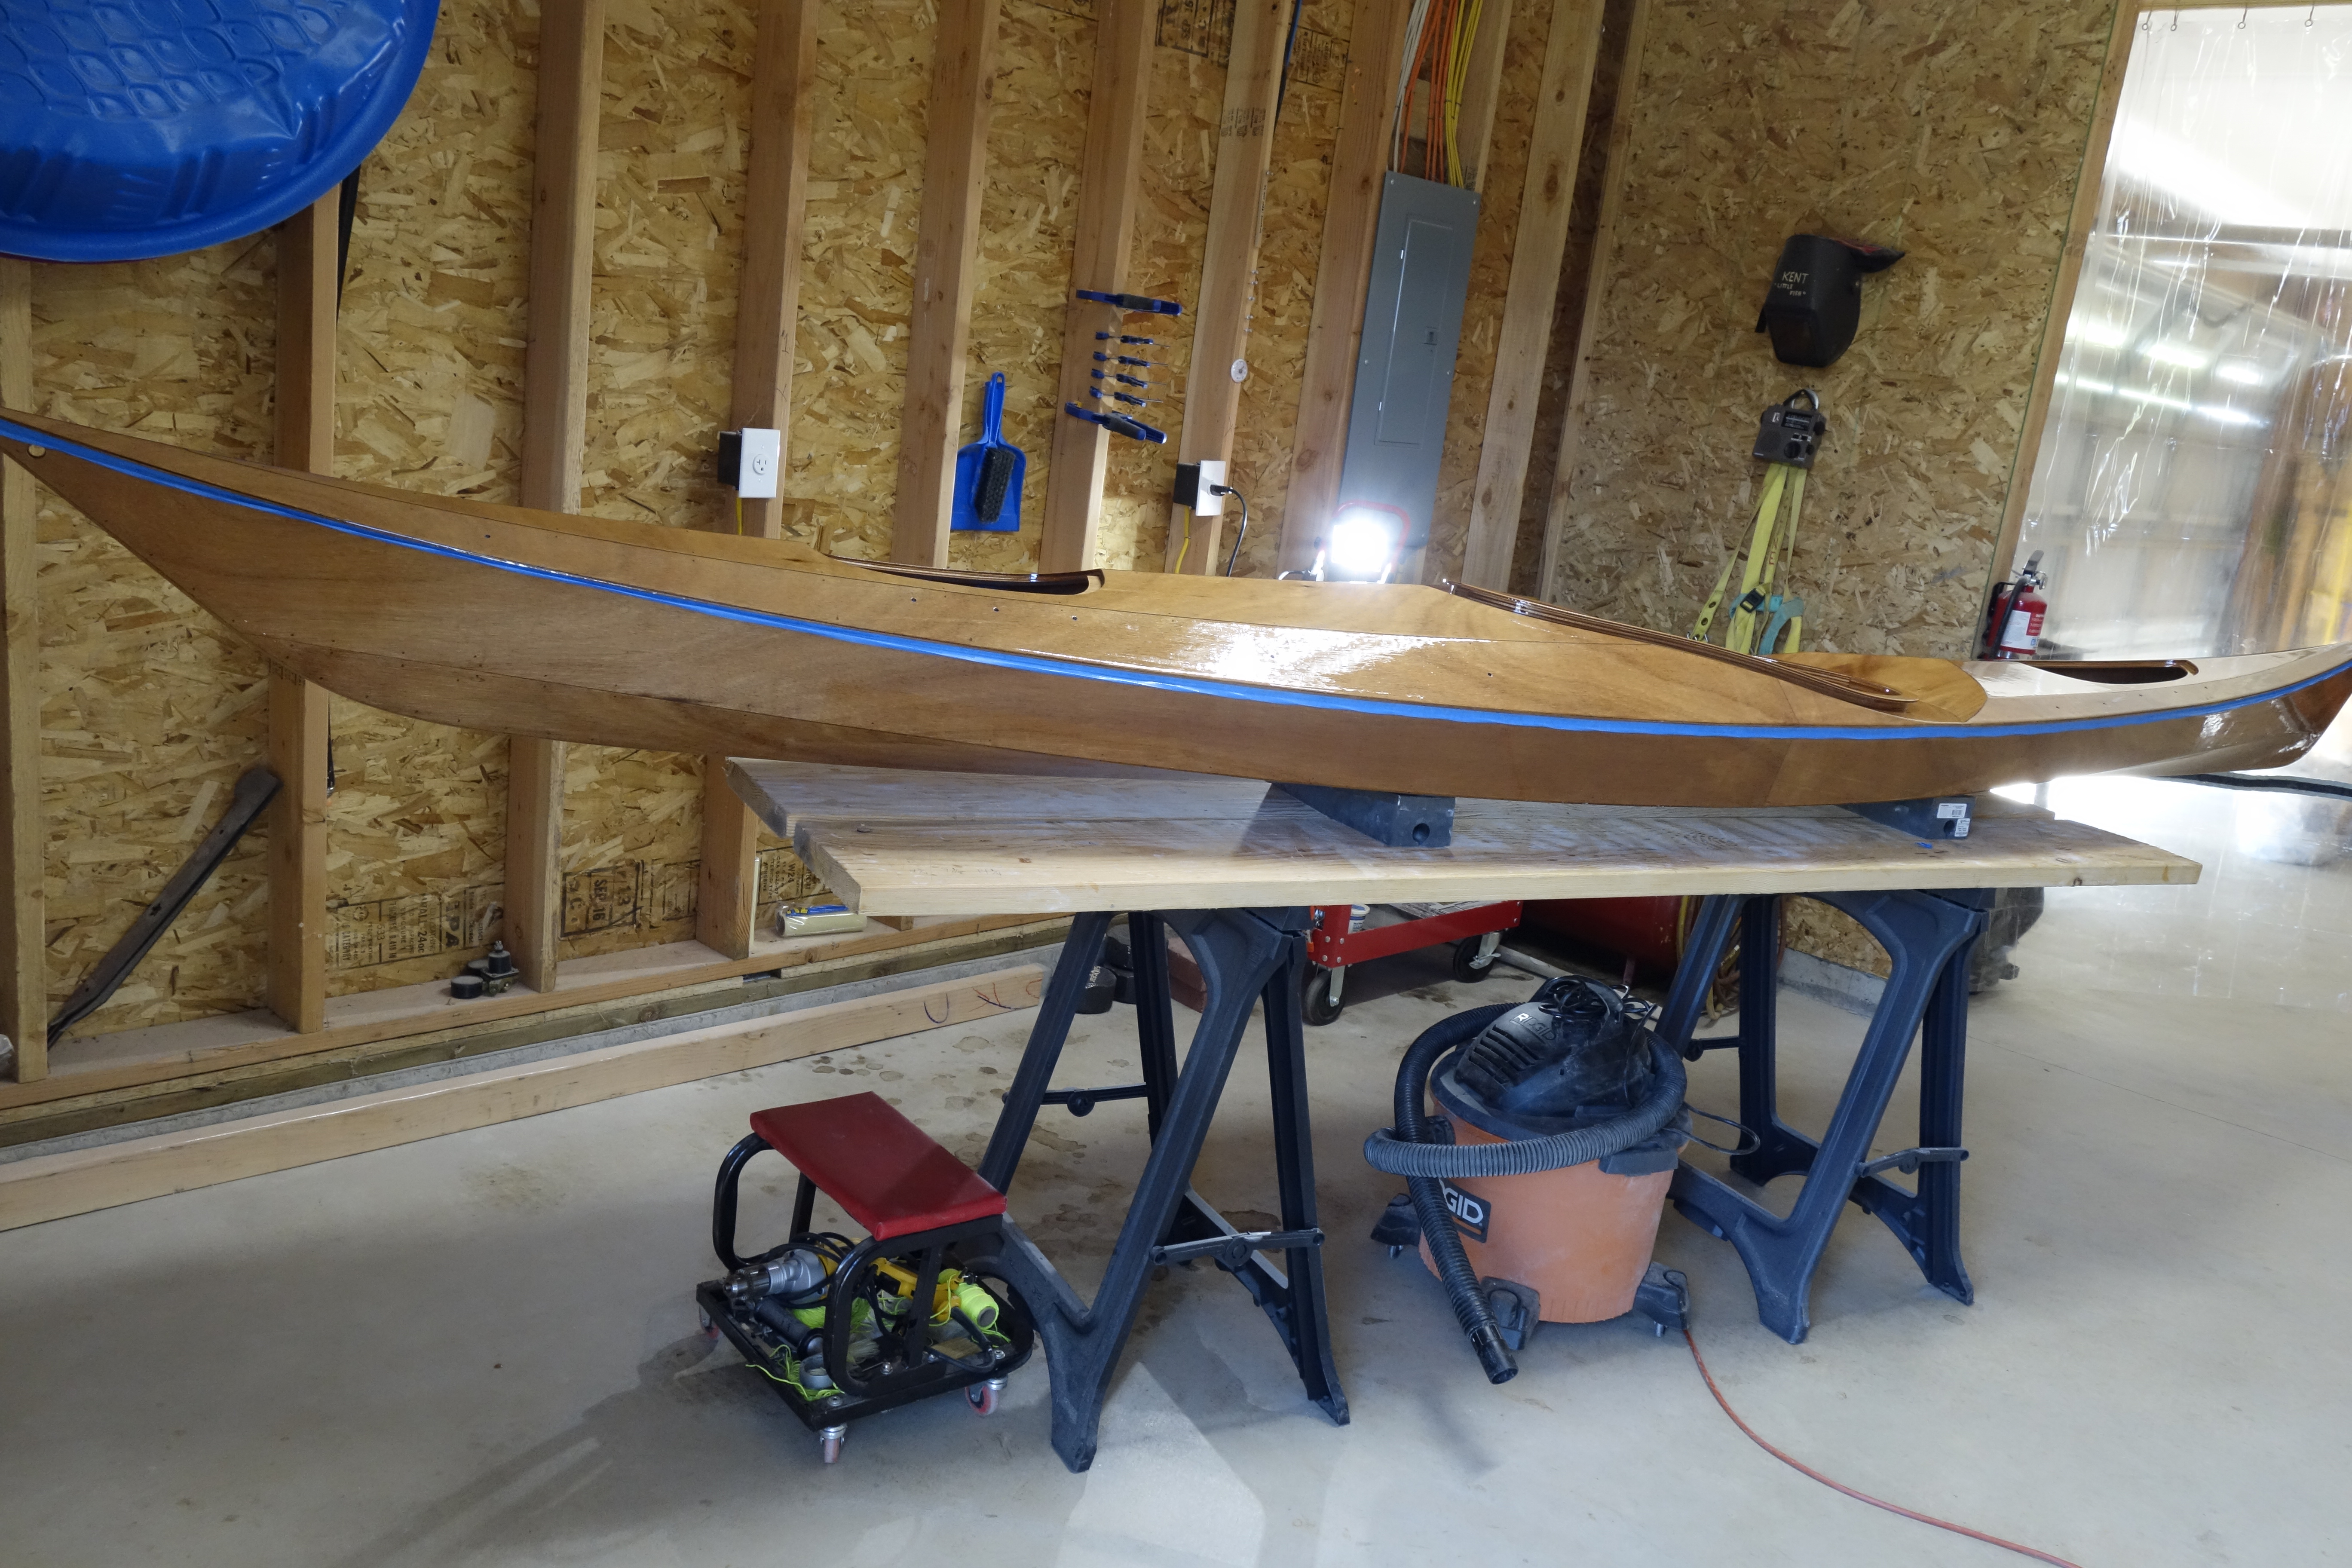
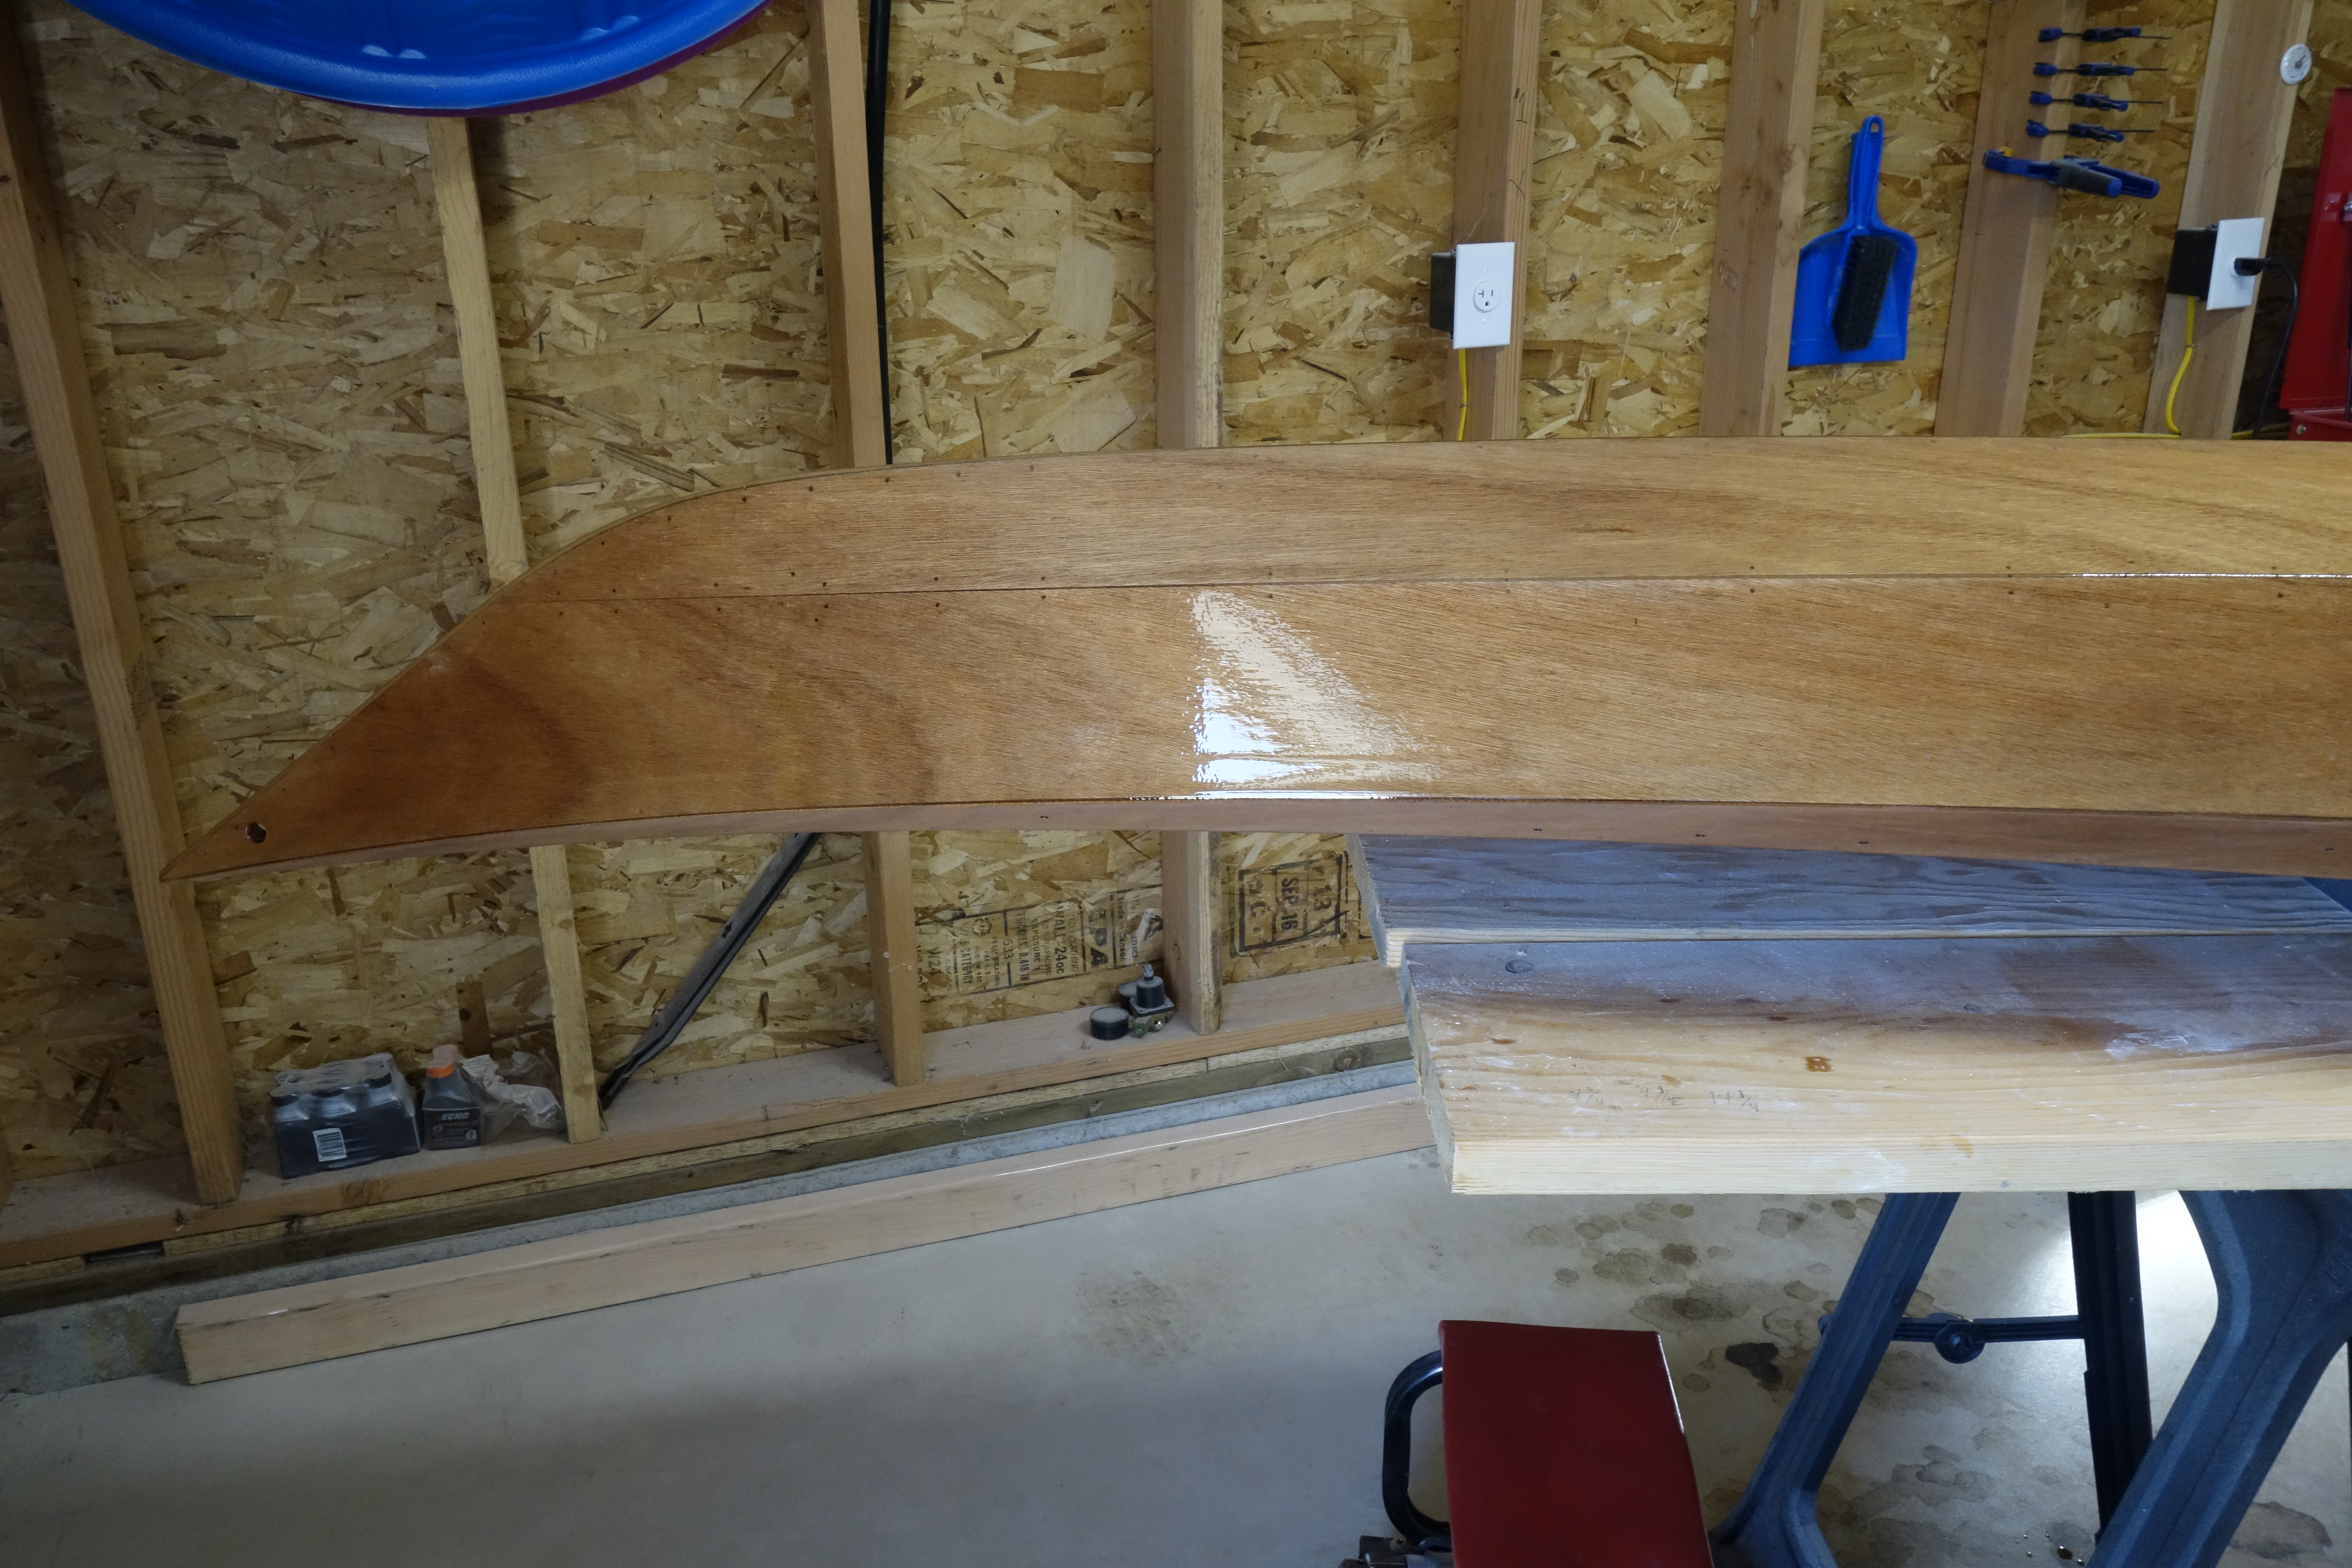
Round two for the hull. Sanded at lunchtime today and varnished this evening after work.
These photos were taken right after I applied the varnish. It hadn’t smoothed out yet. It will self-level as it dries and will look much better tomorrow.
I sanded the sags that I made in the first coat, and made at least one more sag in the second coat. *sigh* That’s ok. More sanding to come before I apply the third coat.
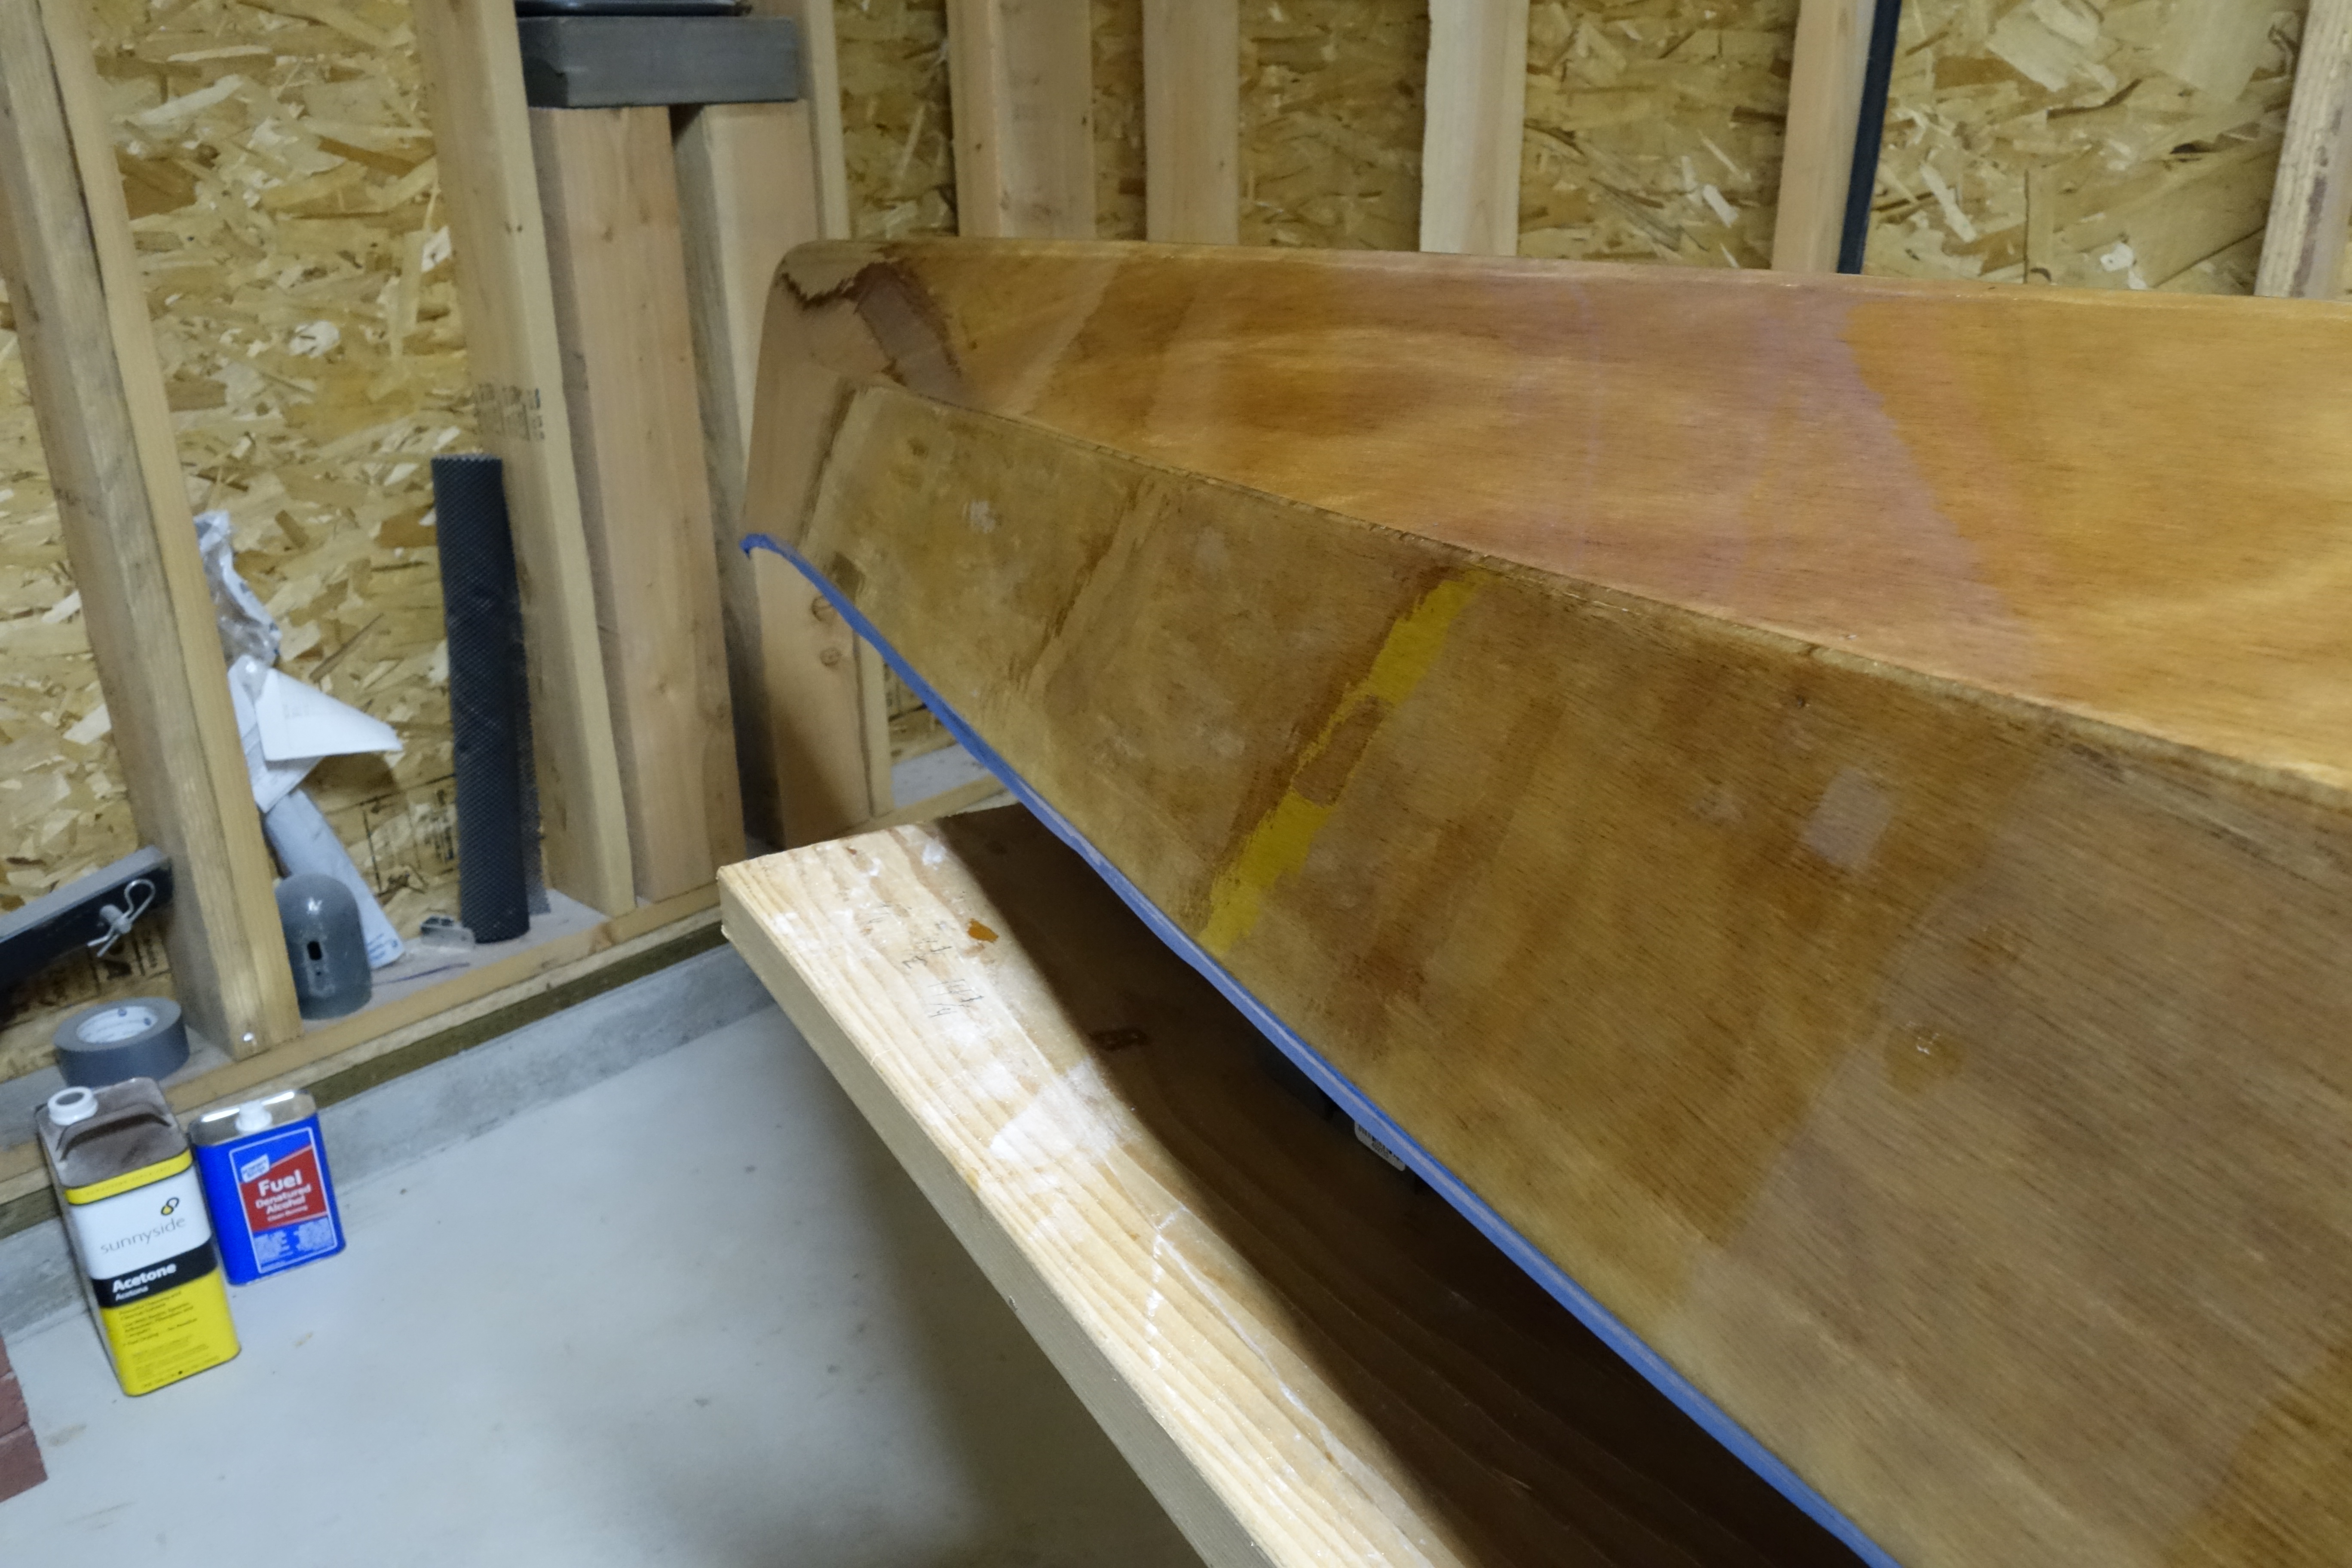
It’s not perfect, but again, I have to sand between each coat of varnish anyway and I’m learning how to apply varnish as I go.
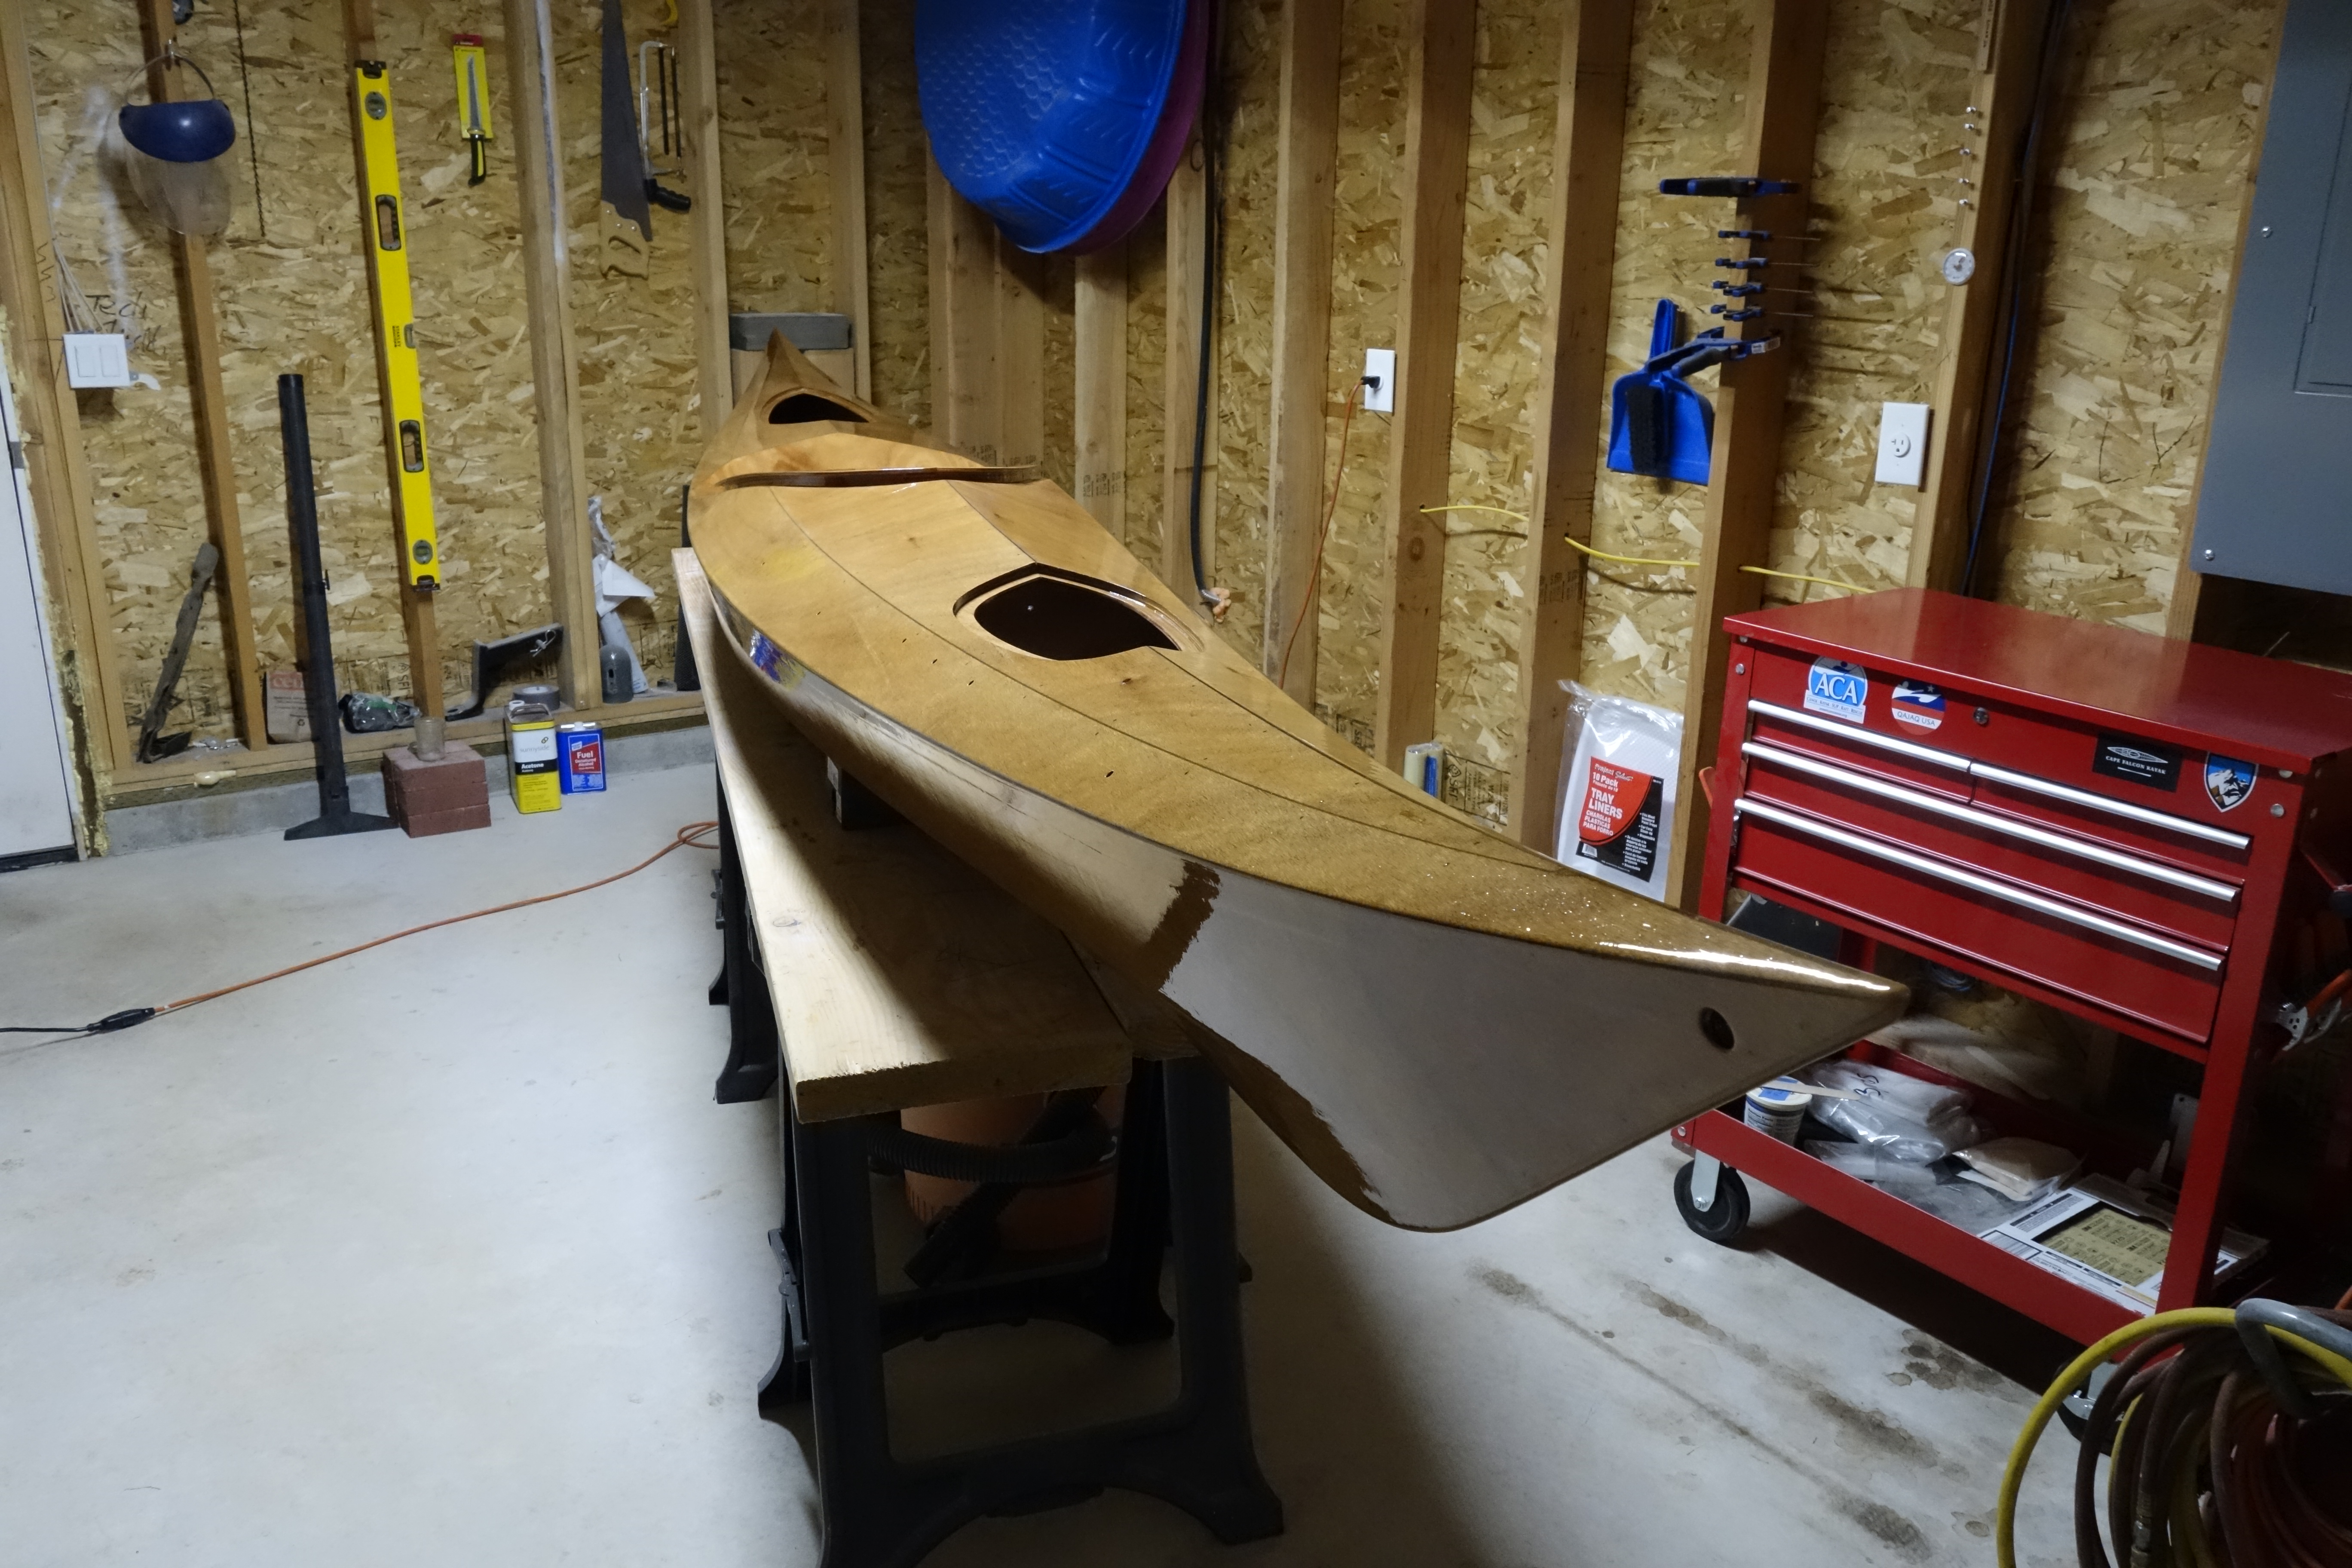
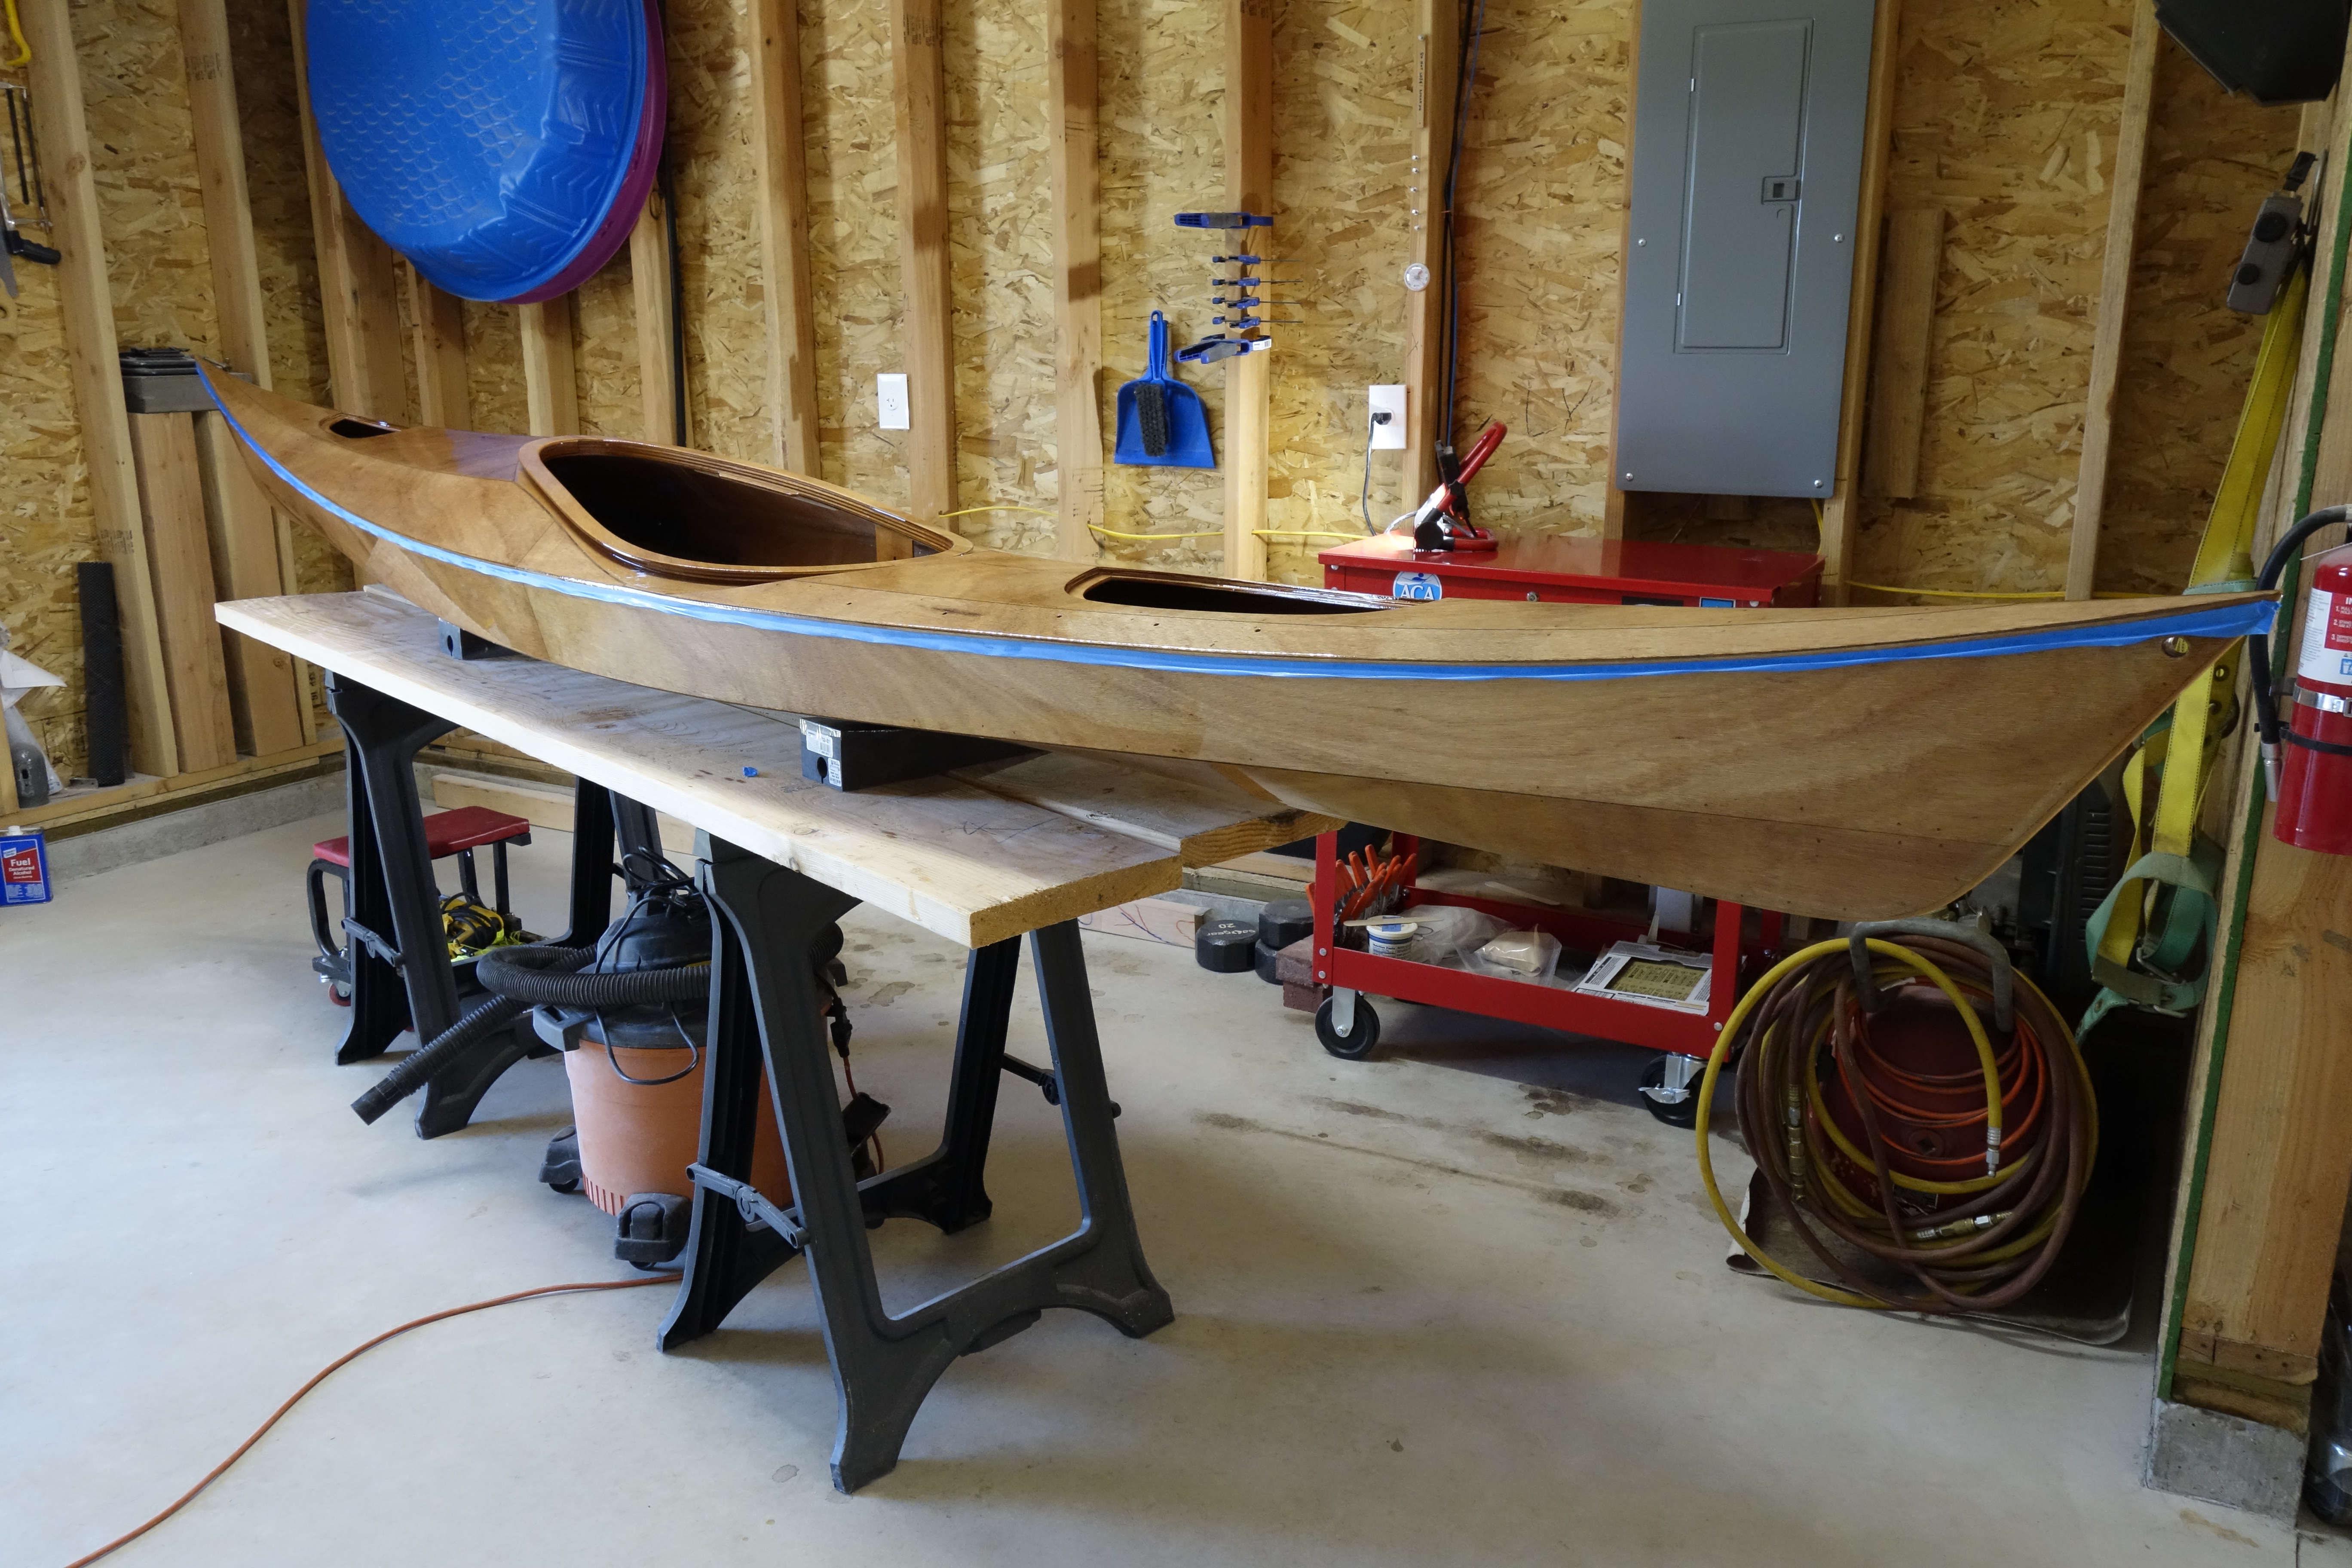
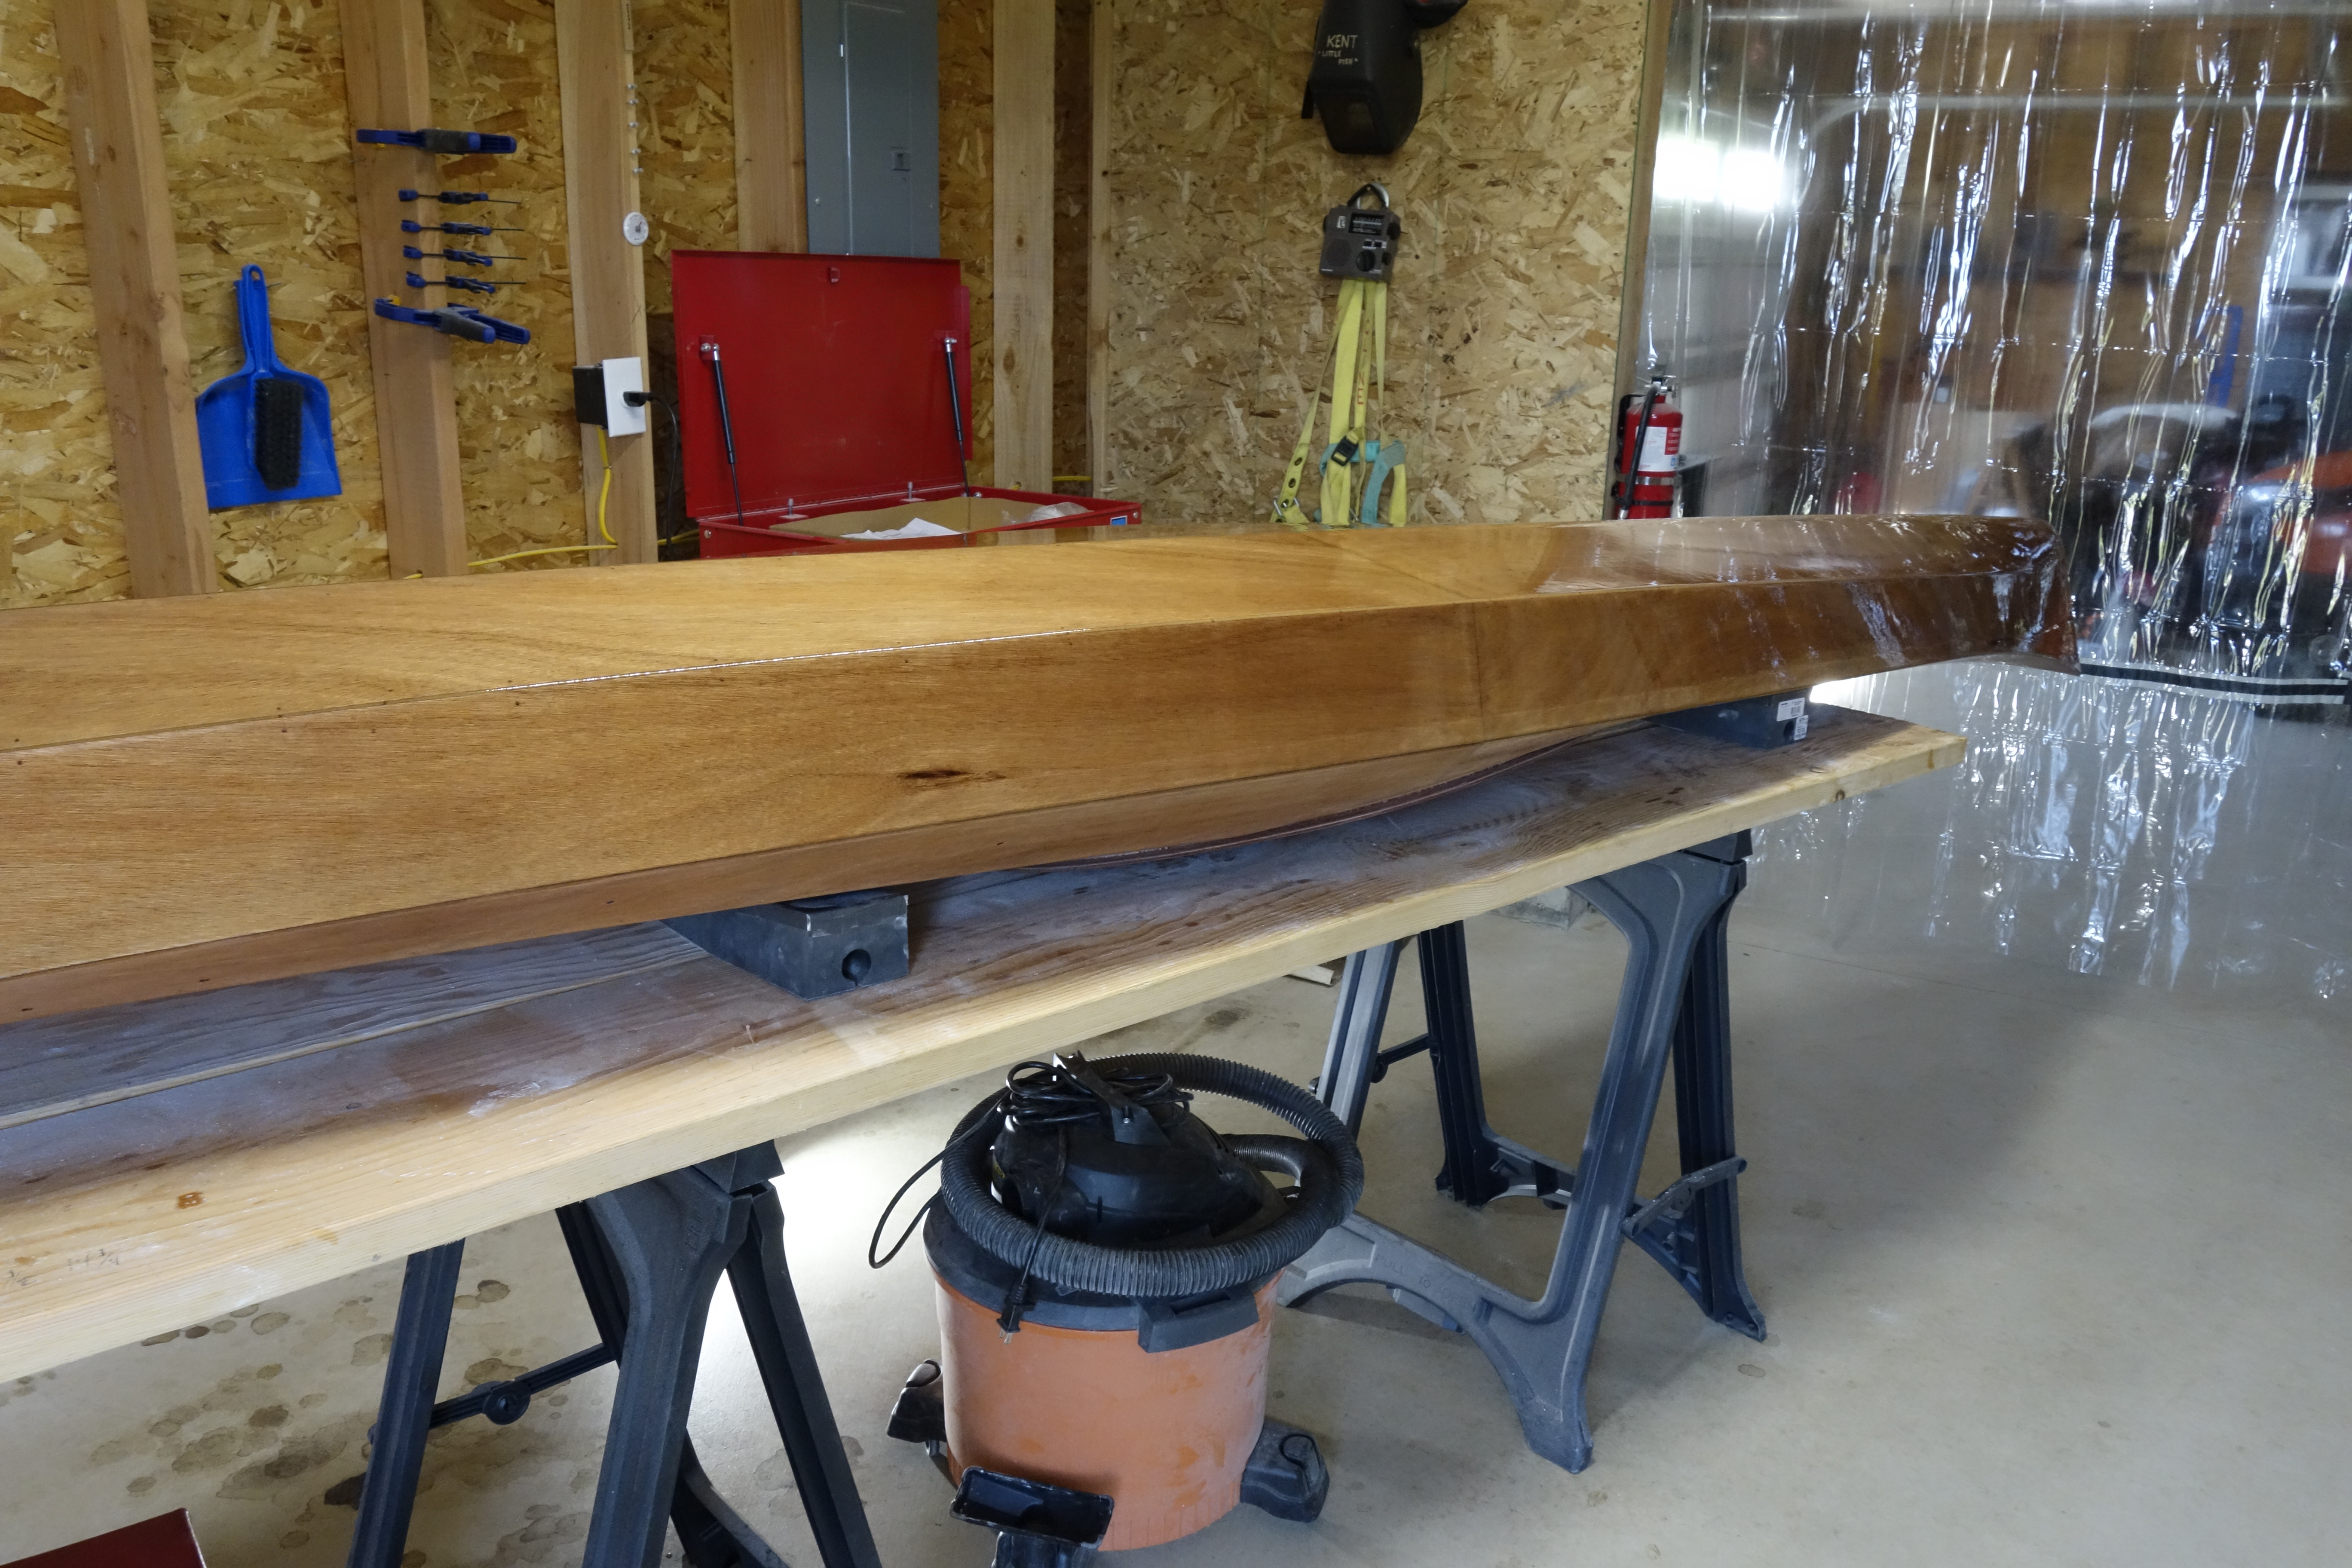
You can see right under the forward hatch that I didn’t get very good coverage. That’s ok. I’ll consider the first two coats practice and worry about the final finish as I get closer to the last coat(s).Again, you can see in this photo that the varnish is a little thin right under the forward hatch. No worries. It’s the first coat. Plenty of sanding and more coats of varnish to follow.
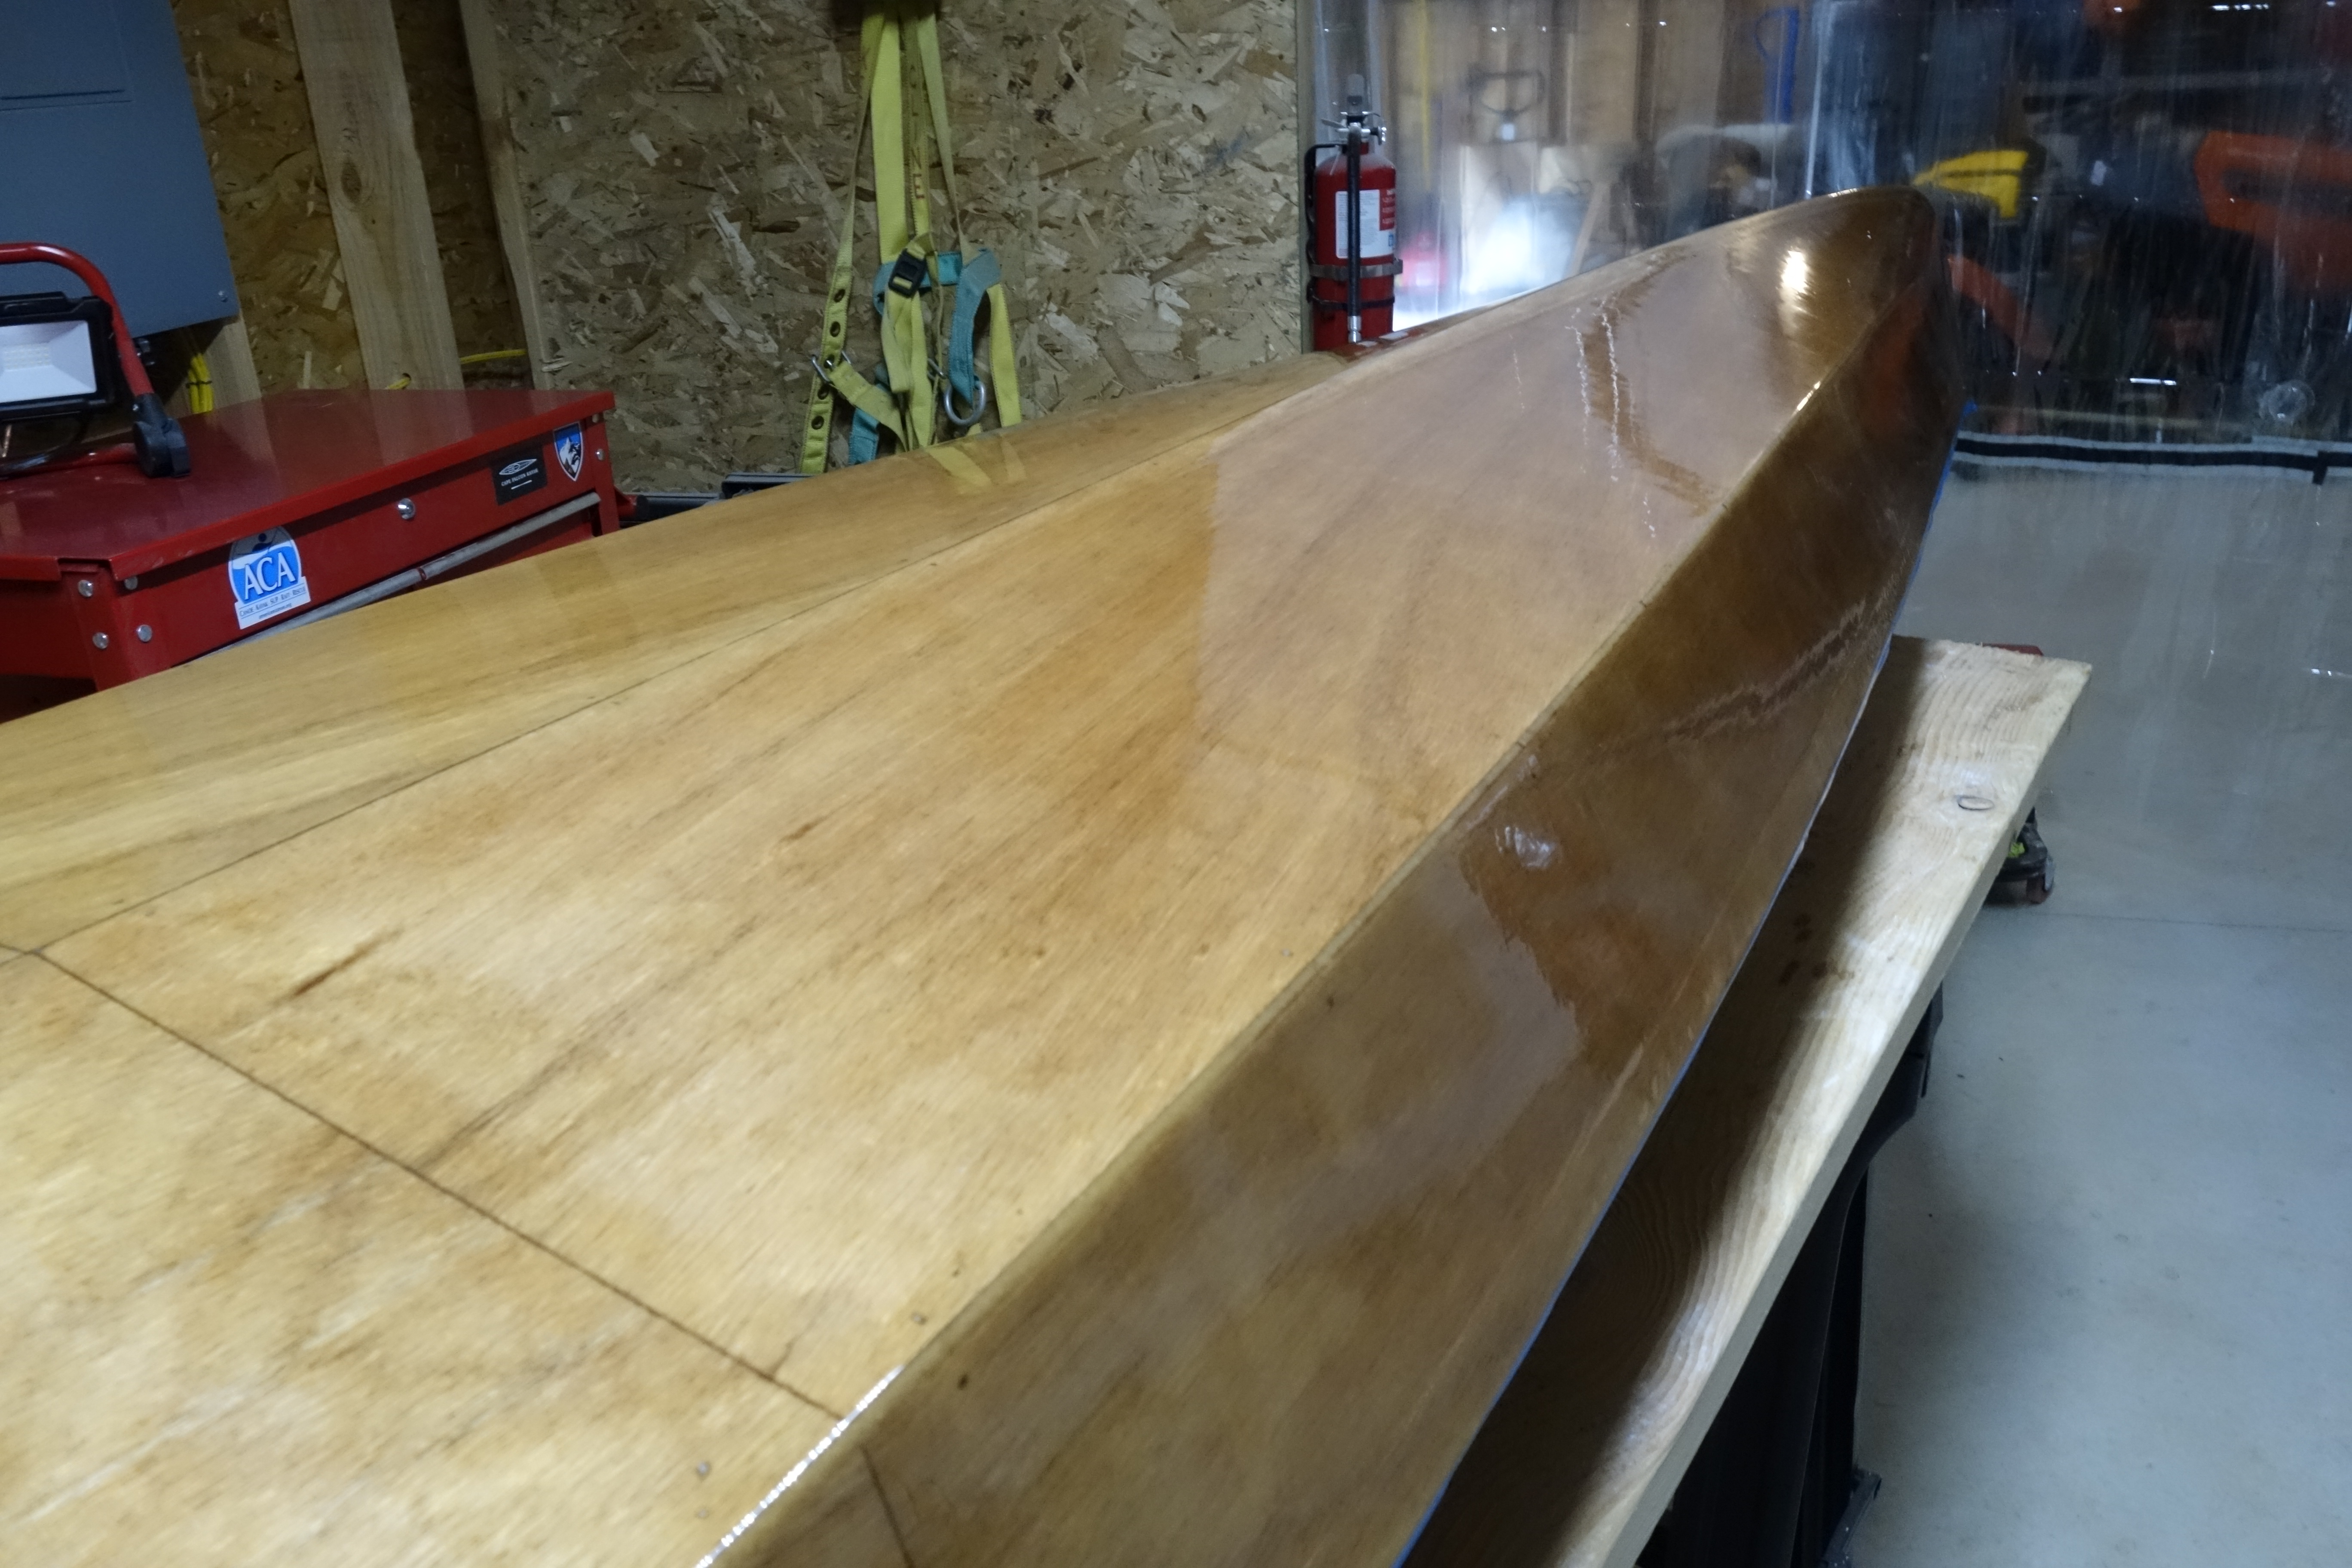
If anyone is curious about how I am applying the varnish, I am using a technique used by Nick Schade at Guillemot Kayaks. Essentially, after preparing the surface I am using a 3″ foam brush and varnishing approximately one foot sections of the surface I am working on and then moving on to the adjacent section while maintaining the wet edge of the previous section. Switching back and forth, from one side of the kayak to the other, and repeating until the entire kayak deck or hull (whichever I am working on at the time) is finished. The video that I linked to above shows the method in much greater detail than I can easily describe here. I greatly admire Mr. Schade’s kayaks and he has wonderfully detailed videos on YouTube (that can be found through his web site or by searching YouTube itself). I found the videos on preparing for varnishing and applying varnish to be an outstanding resource. Thank you Mr. Schade! Since this is my first attempt at building a kayak, if the finish on my Ronan turns out to be half as beautiful as Mr. Schade’s kayaks I will be very happy indeed. I am going to use two different types of varnish, both made by the same manufacturer. I will apply two coats of Pettit Flagship Varnish, which has the highest UV protection, because UV breaks down epoxy. I will follow with two coats of Pettit Captains Varnish, which I am told by Pygmy Boats, has good UV protection, but is also very durable. I hope that in this way I will get the best of both worlds, very high UV protection and a durable finish that will take sea kayaking levels of abuse.
It looks pretty good. There are a couple of little sags that I didn’t see until it was too late to do anything about them, but I have to sand between each coat anyway. I’ll learn as I go. Tomorrow the kayak gets flipped over and the deck gets the first coat of varnish. Then sanding, then varnishing, then sanding, then varnishing, then sanding, then varnishing…