Finishing the inside of the hull.

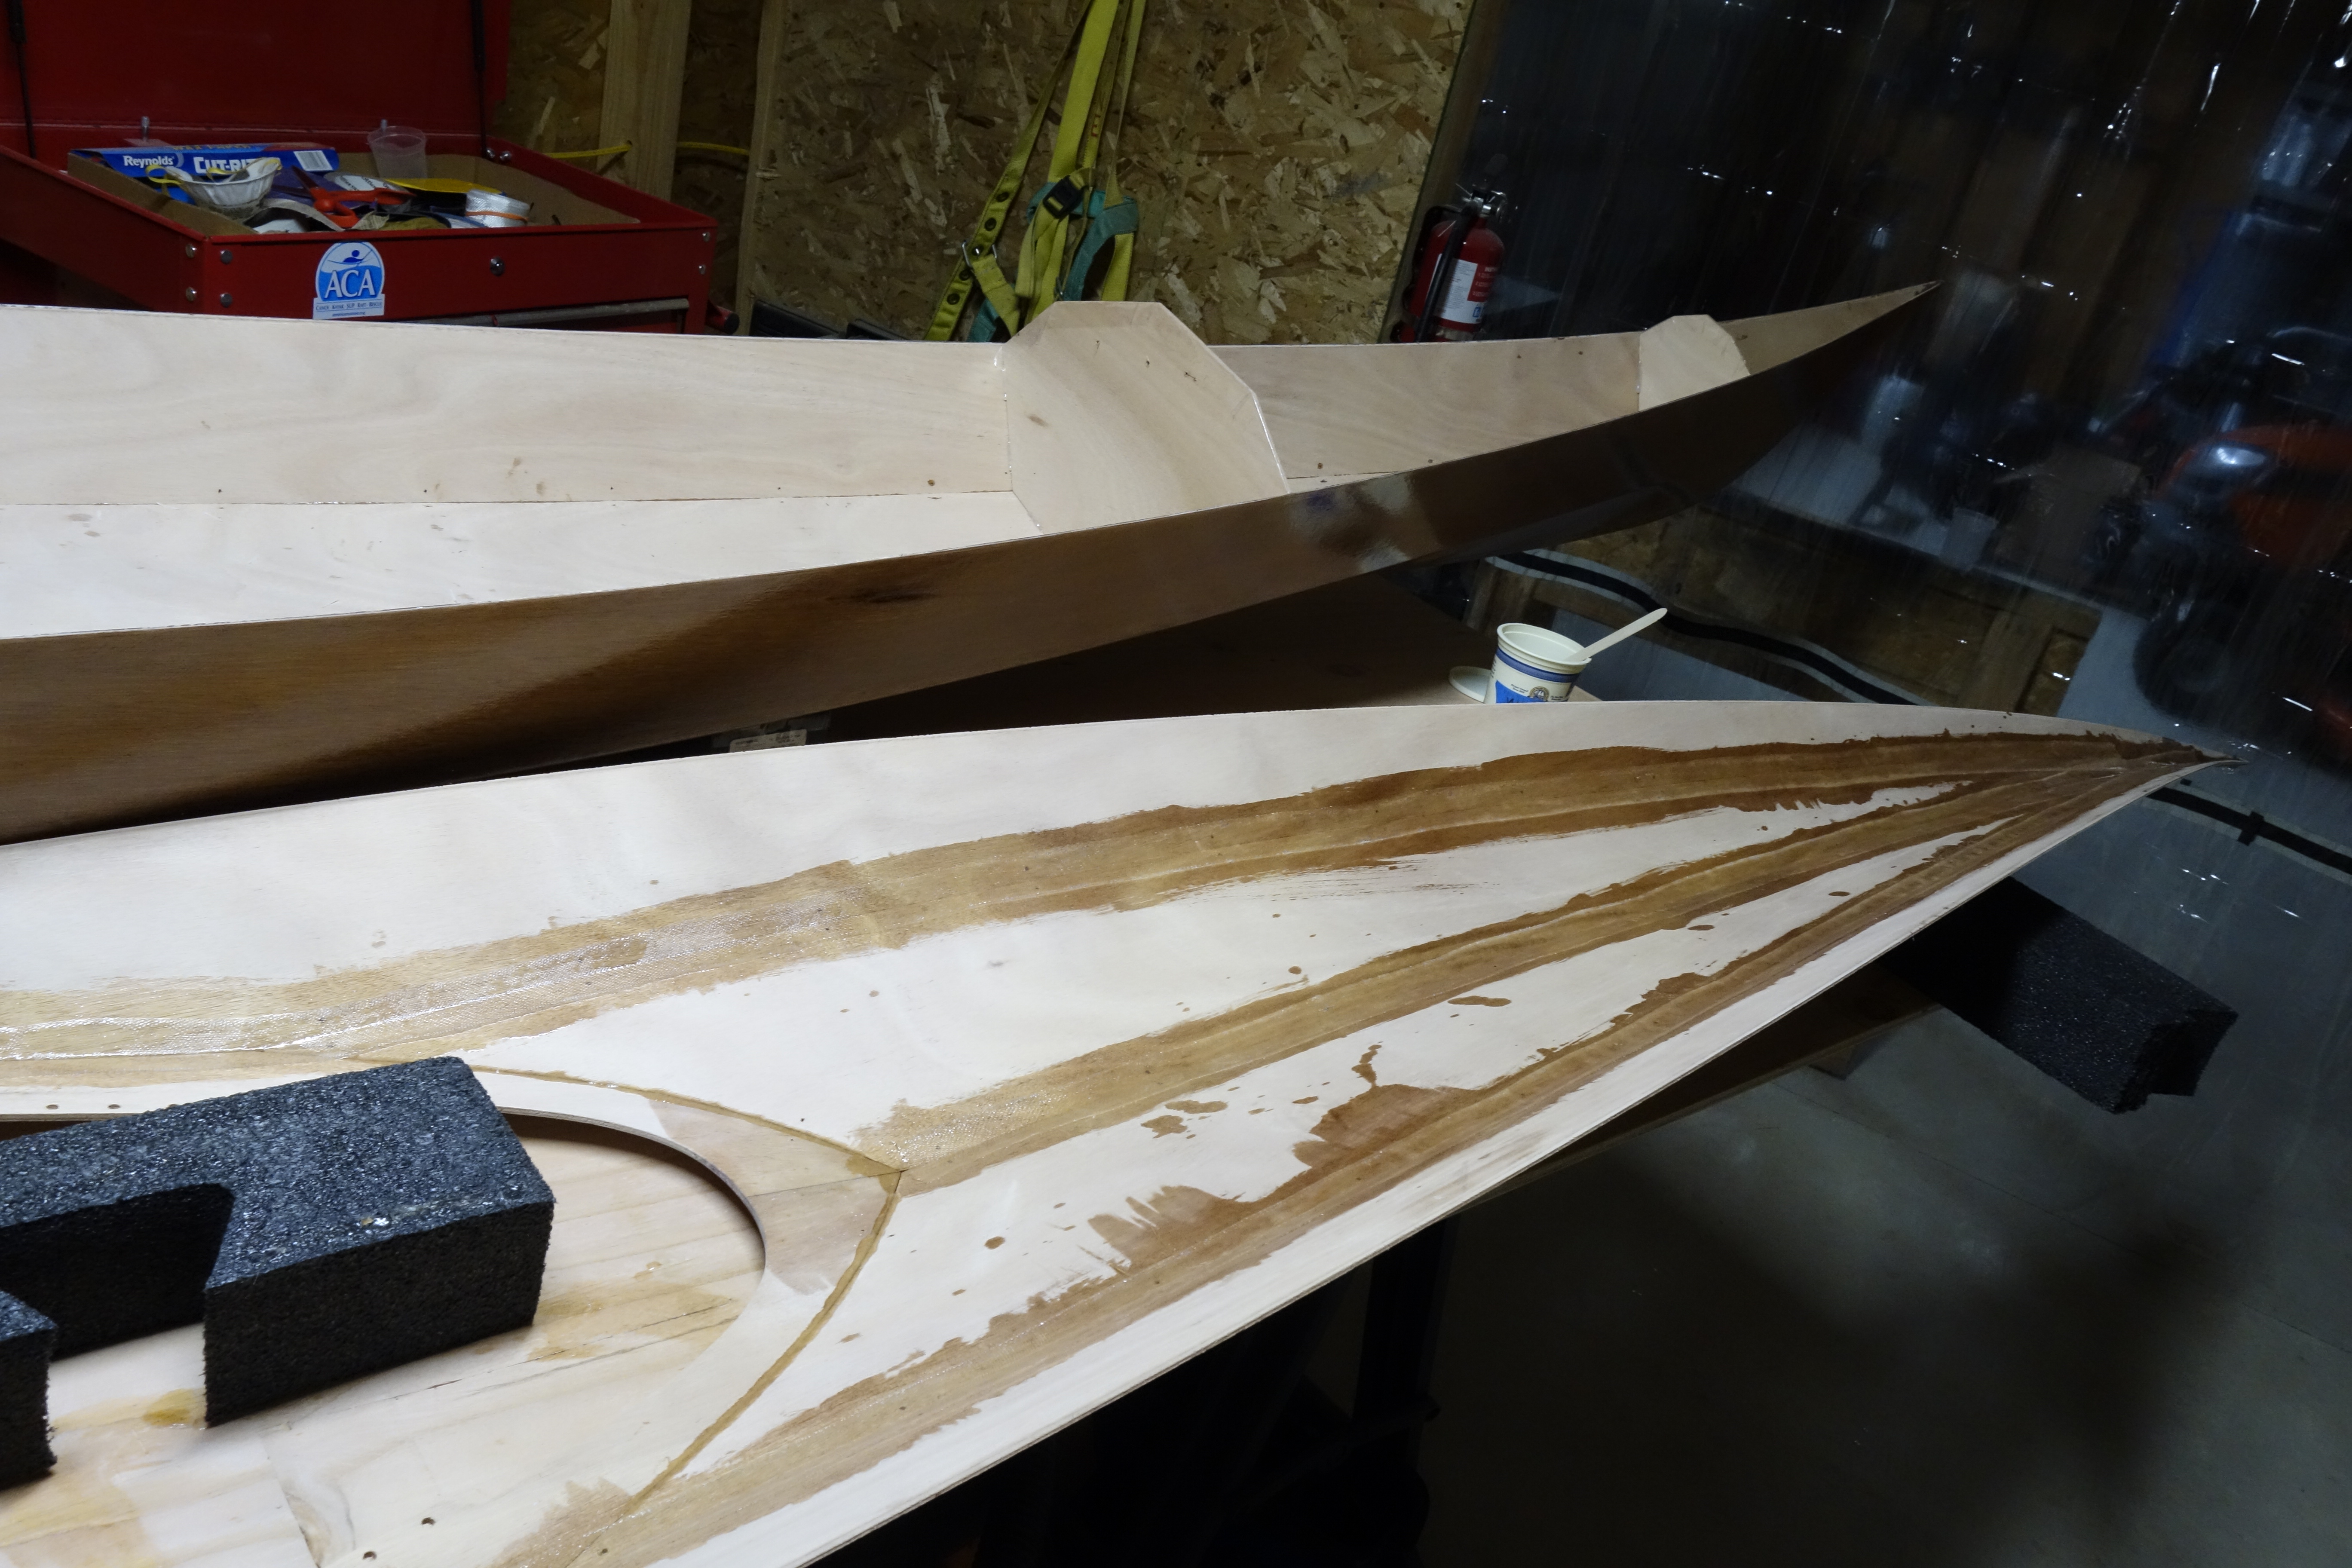
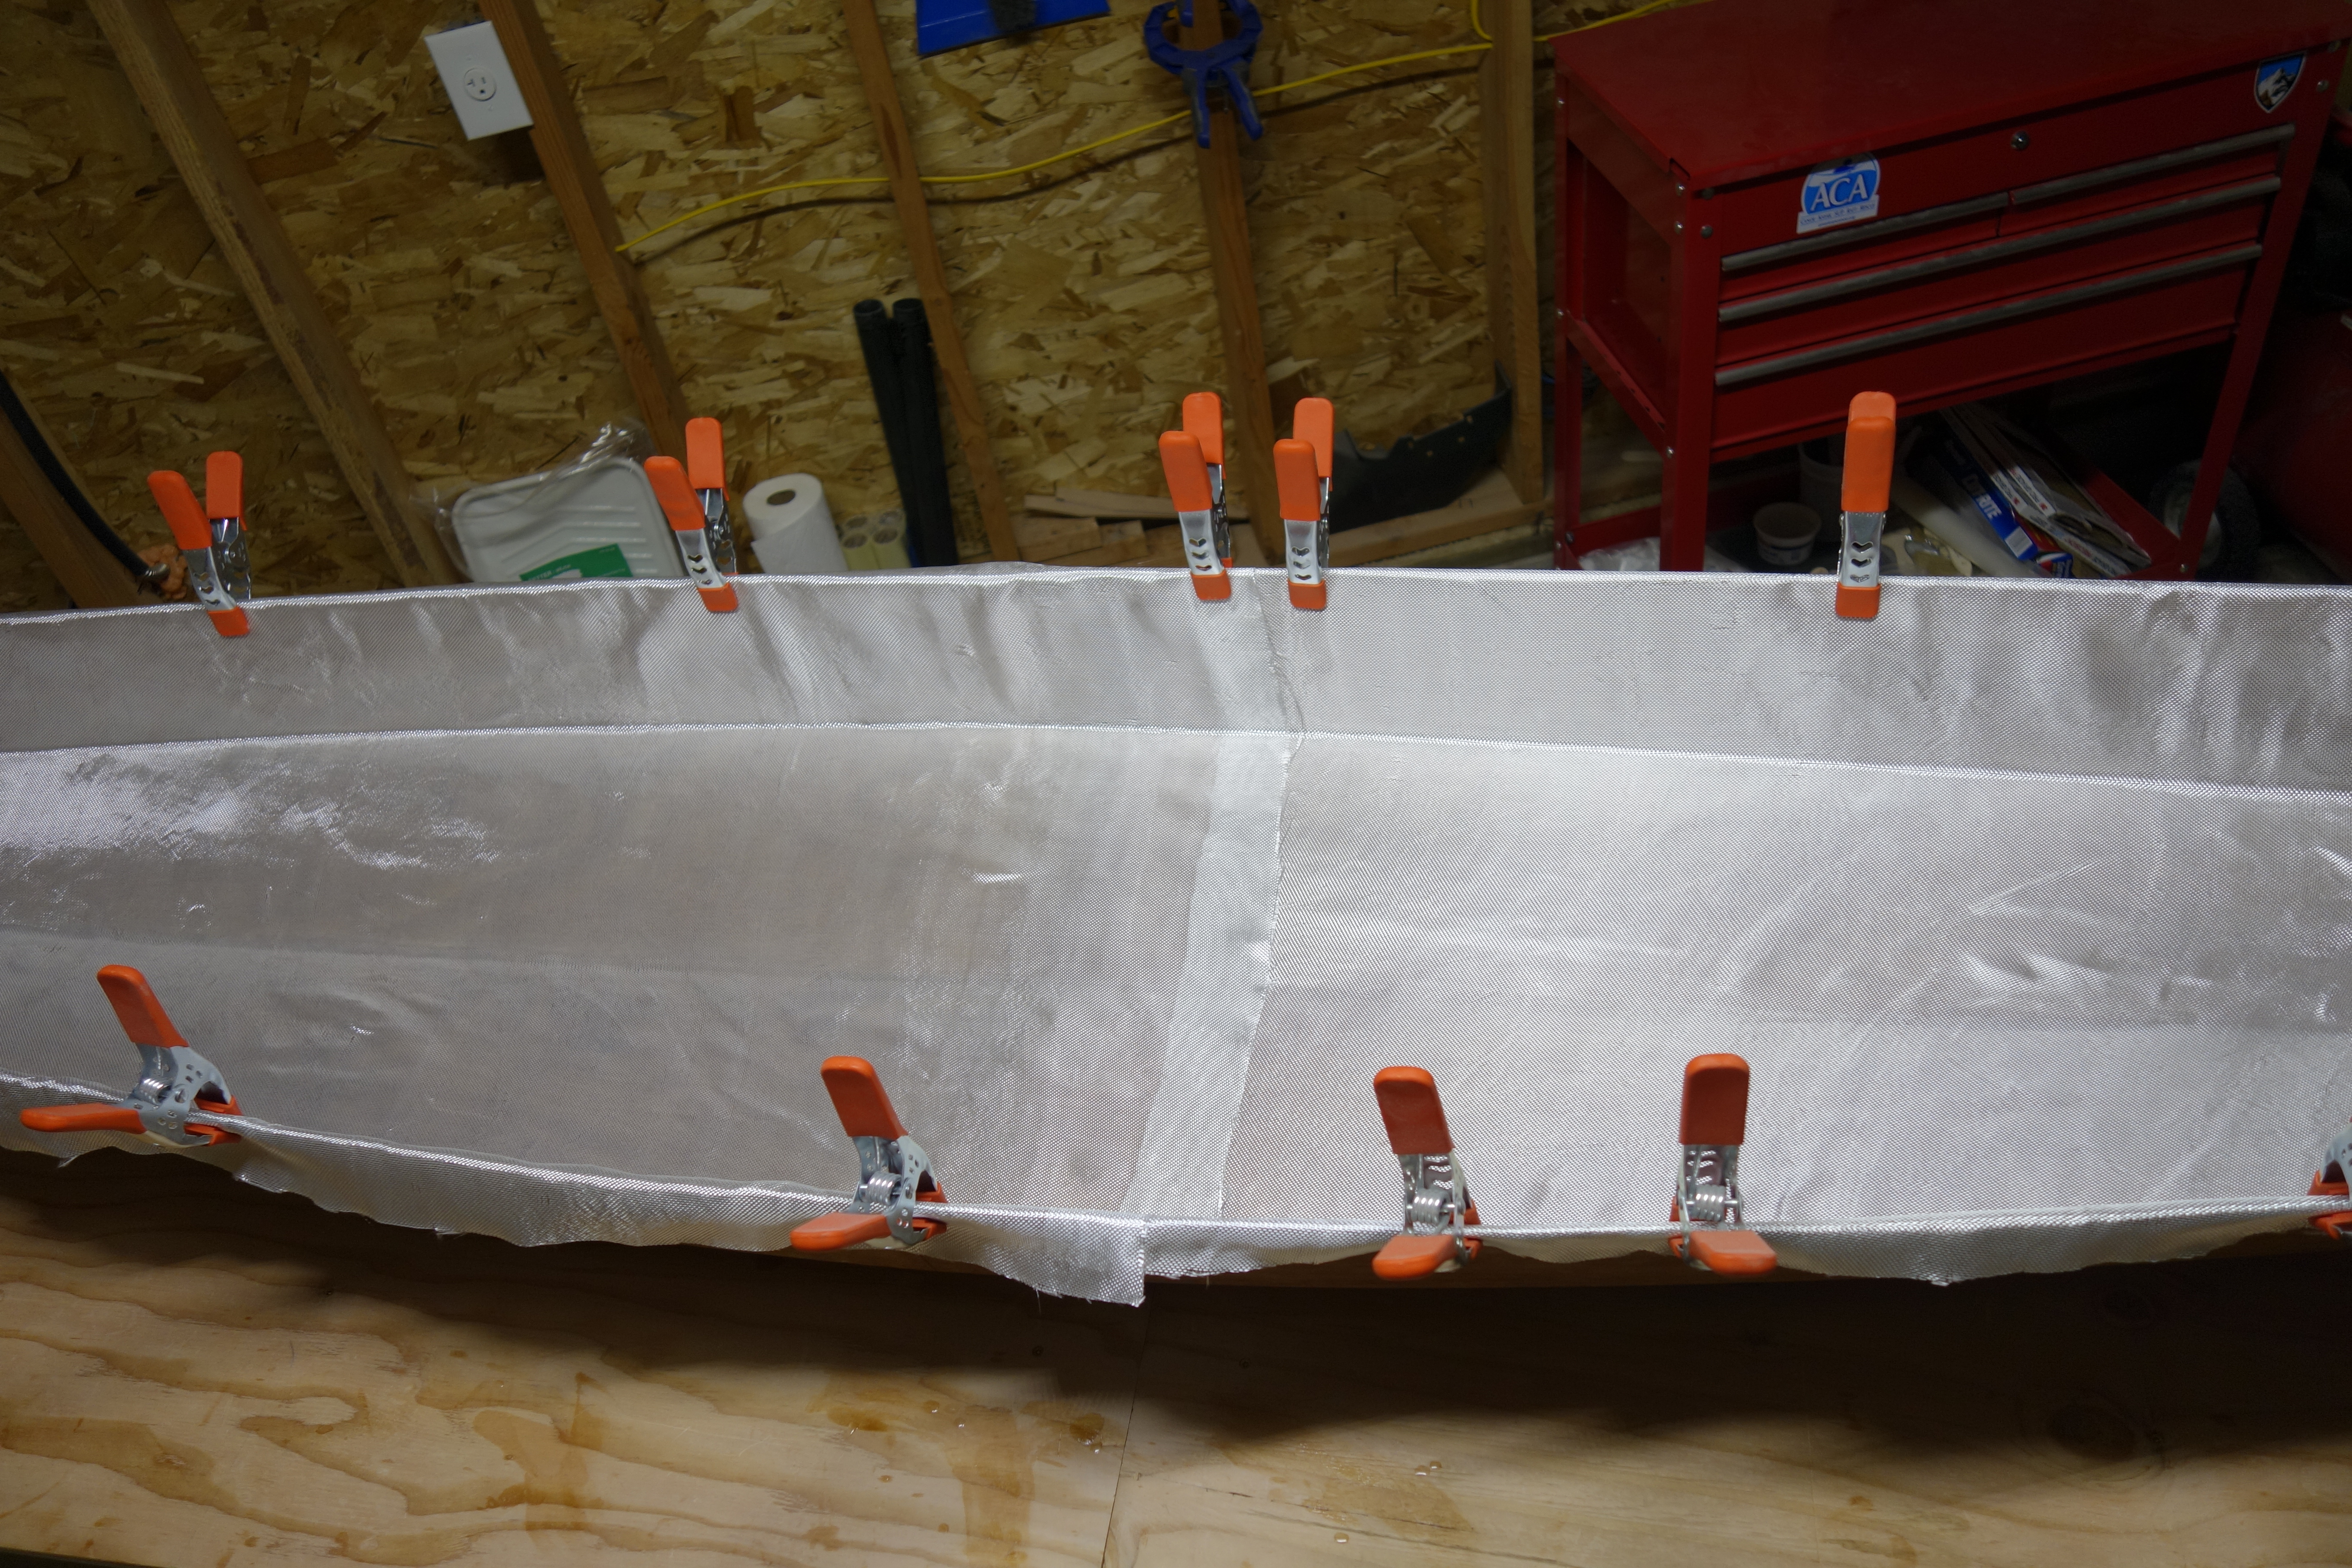
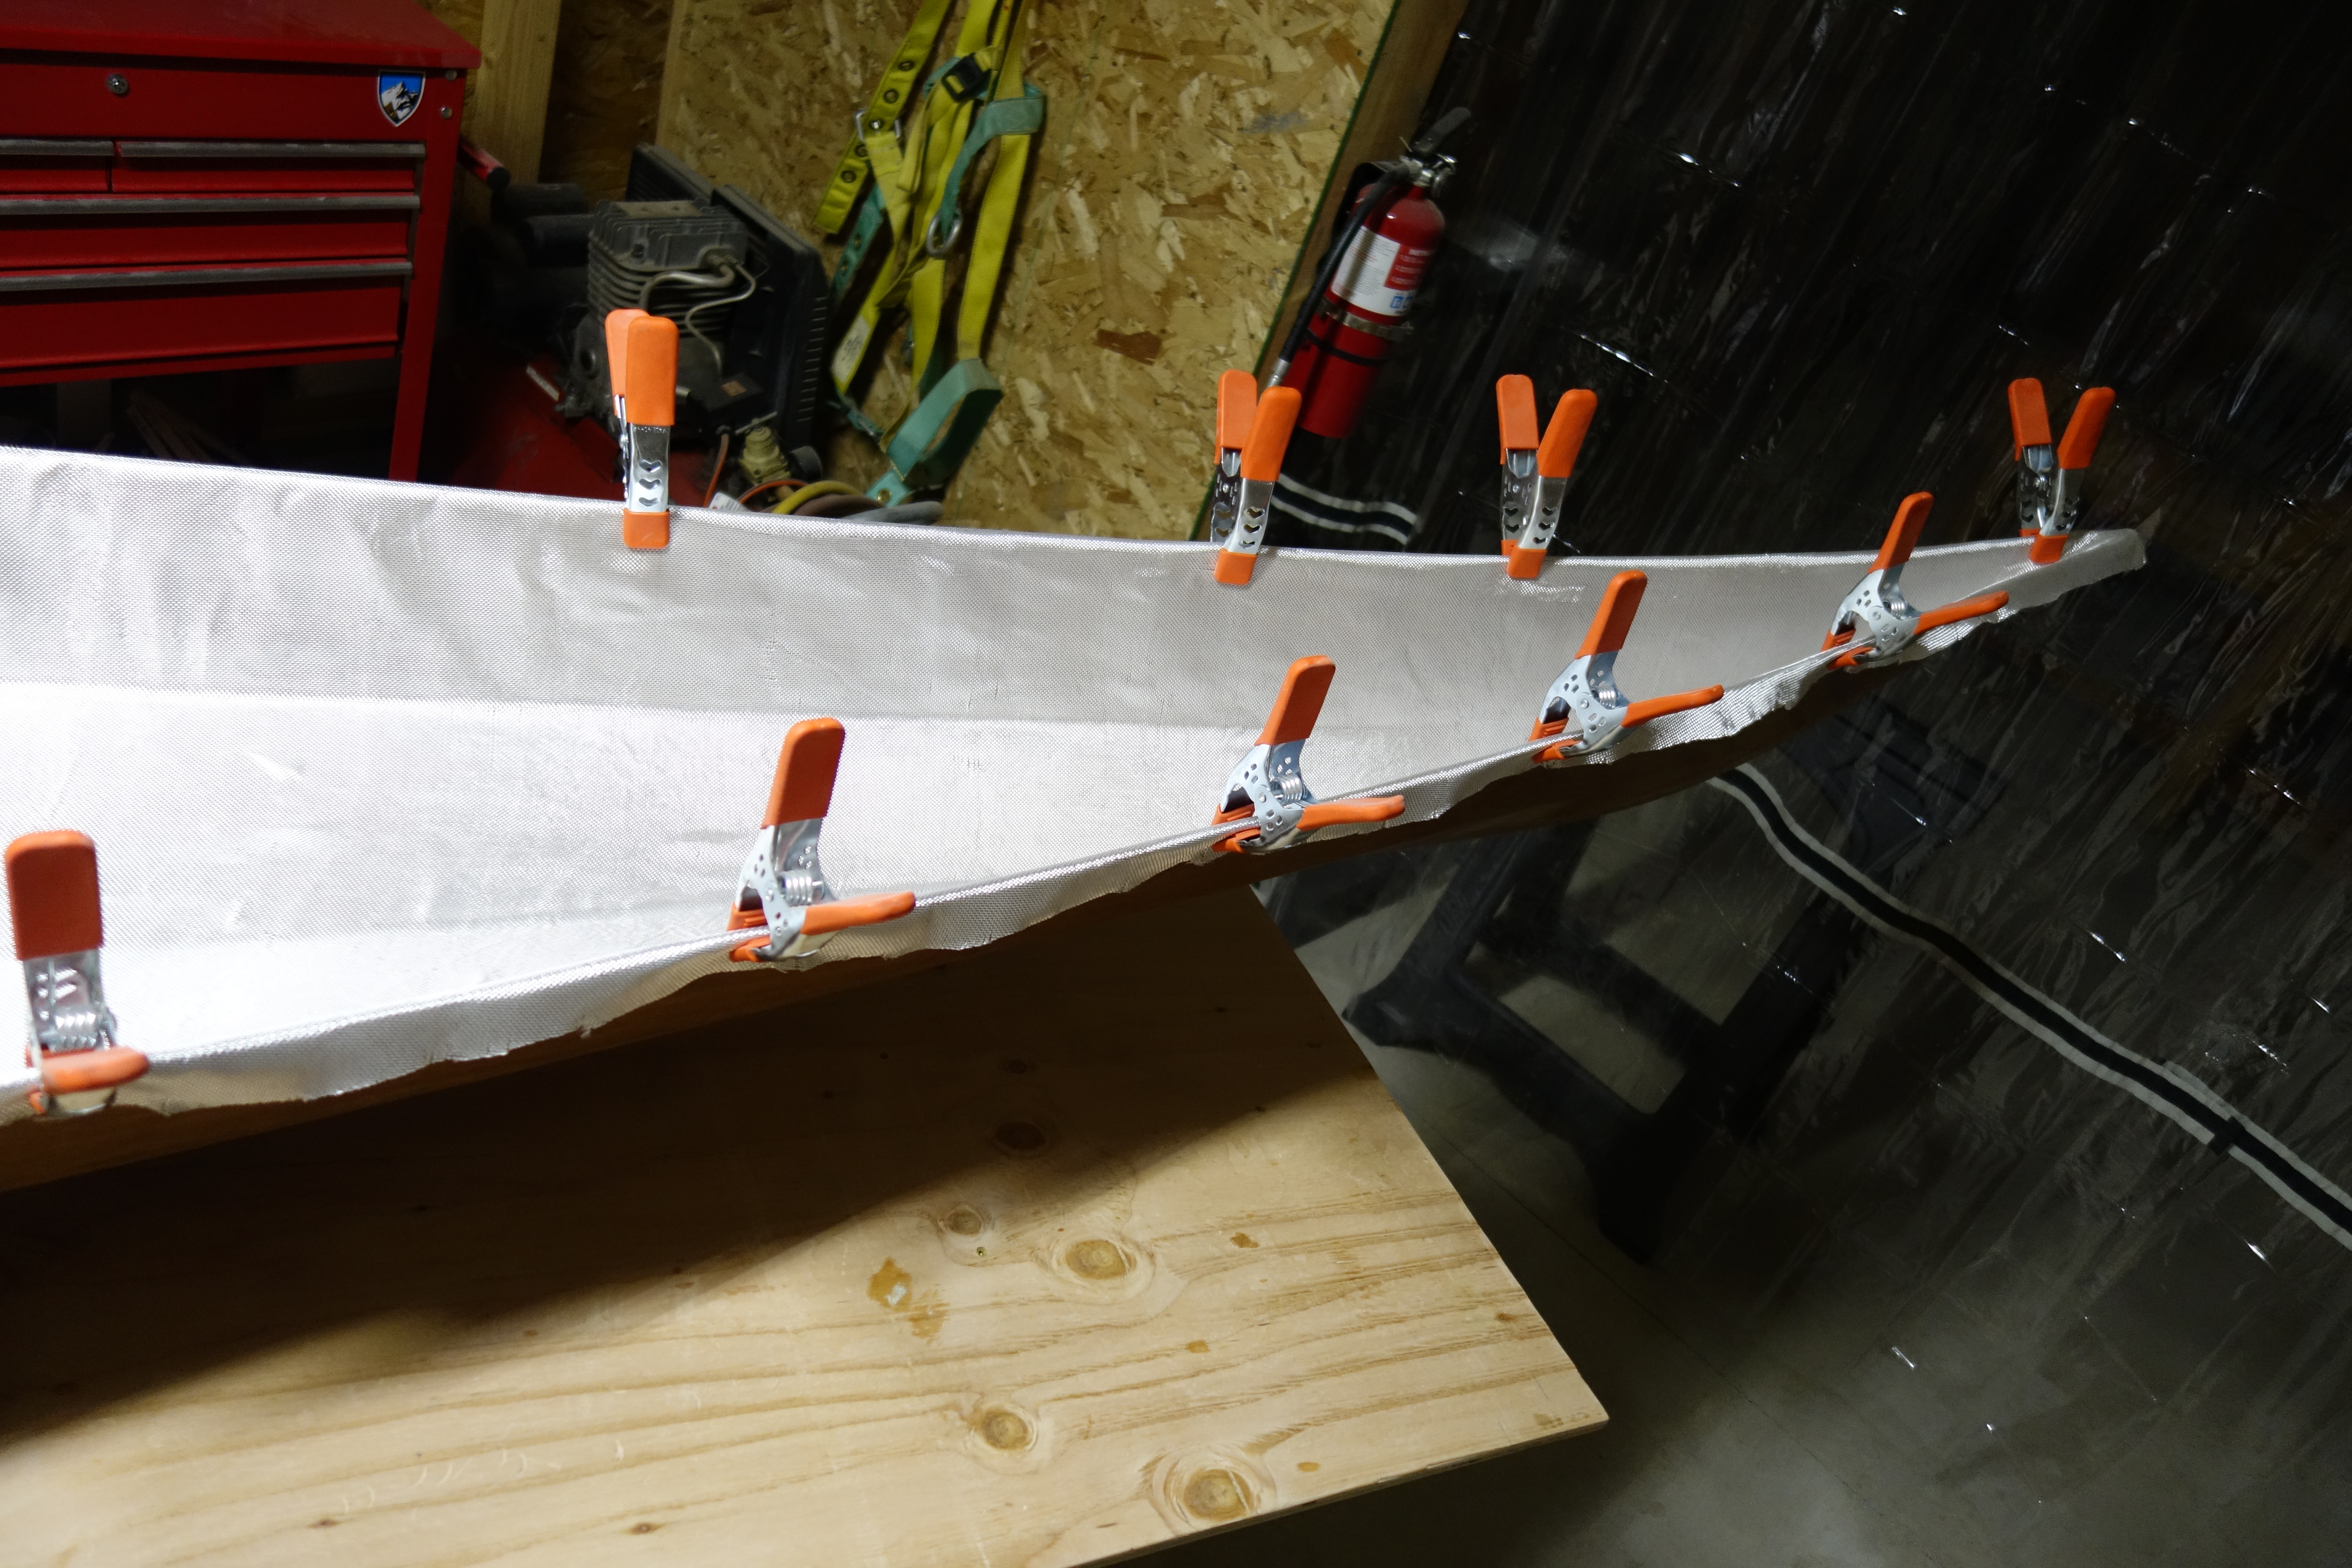
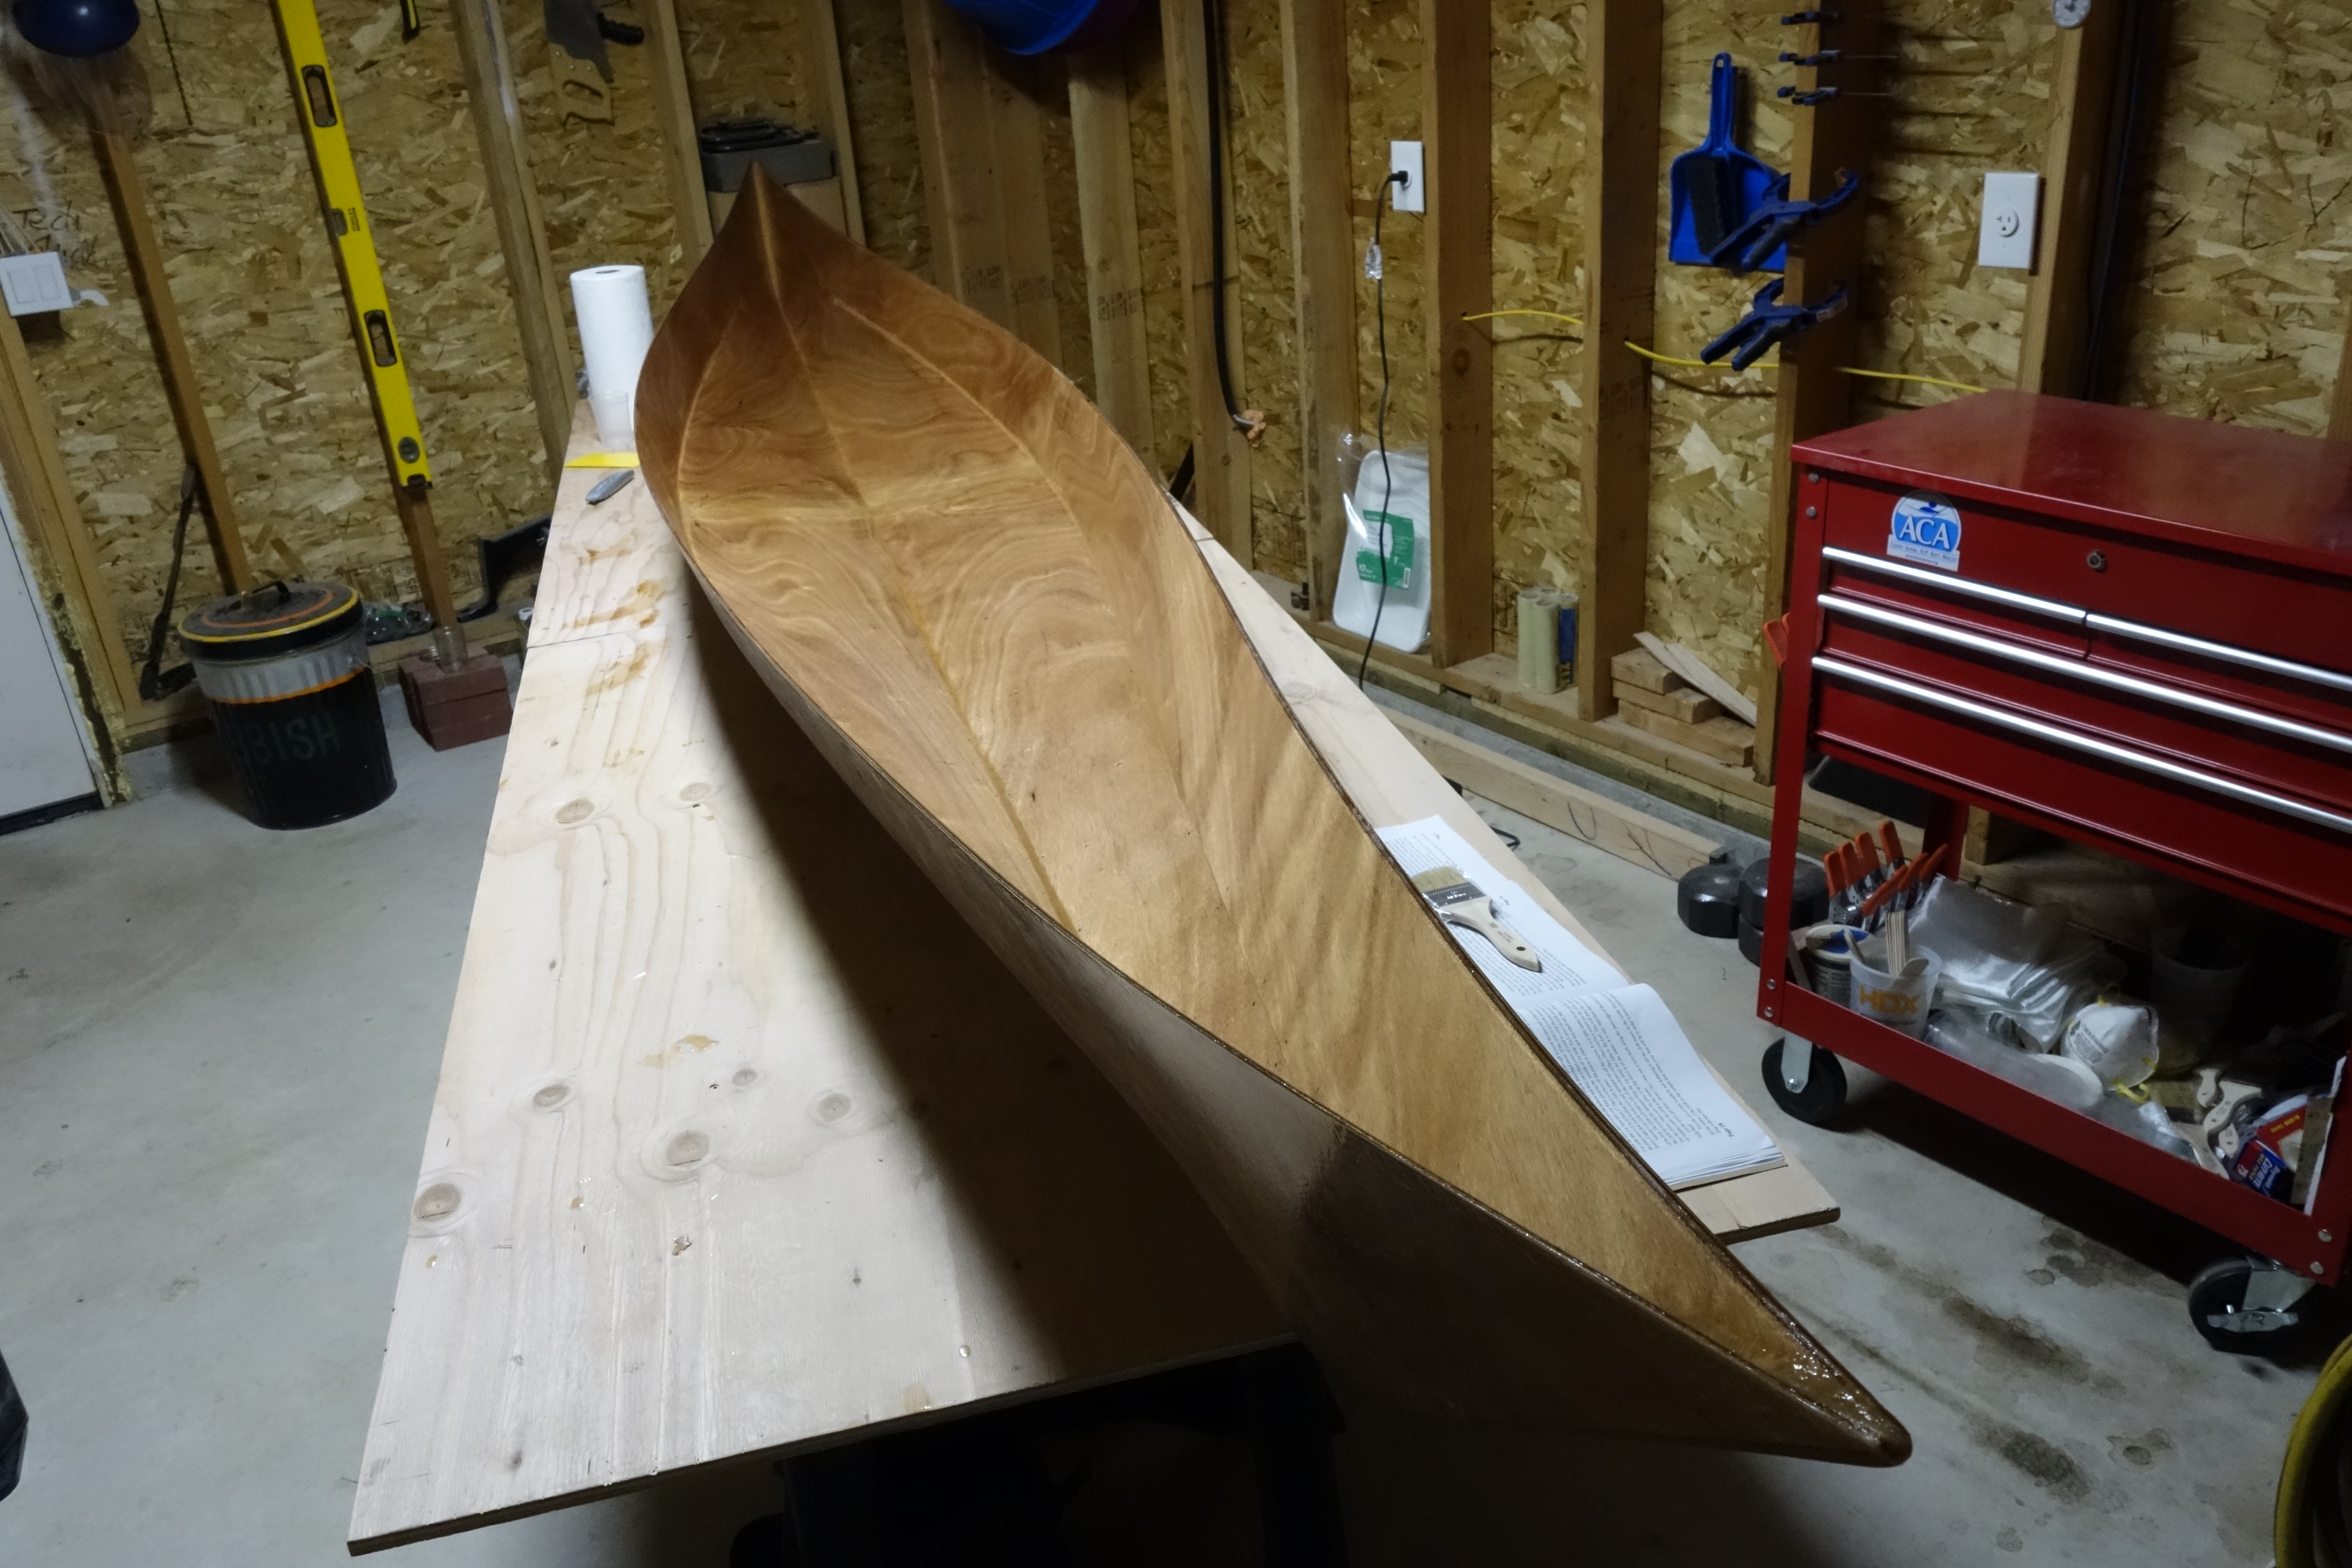
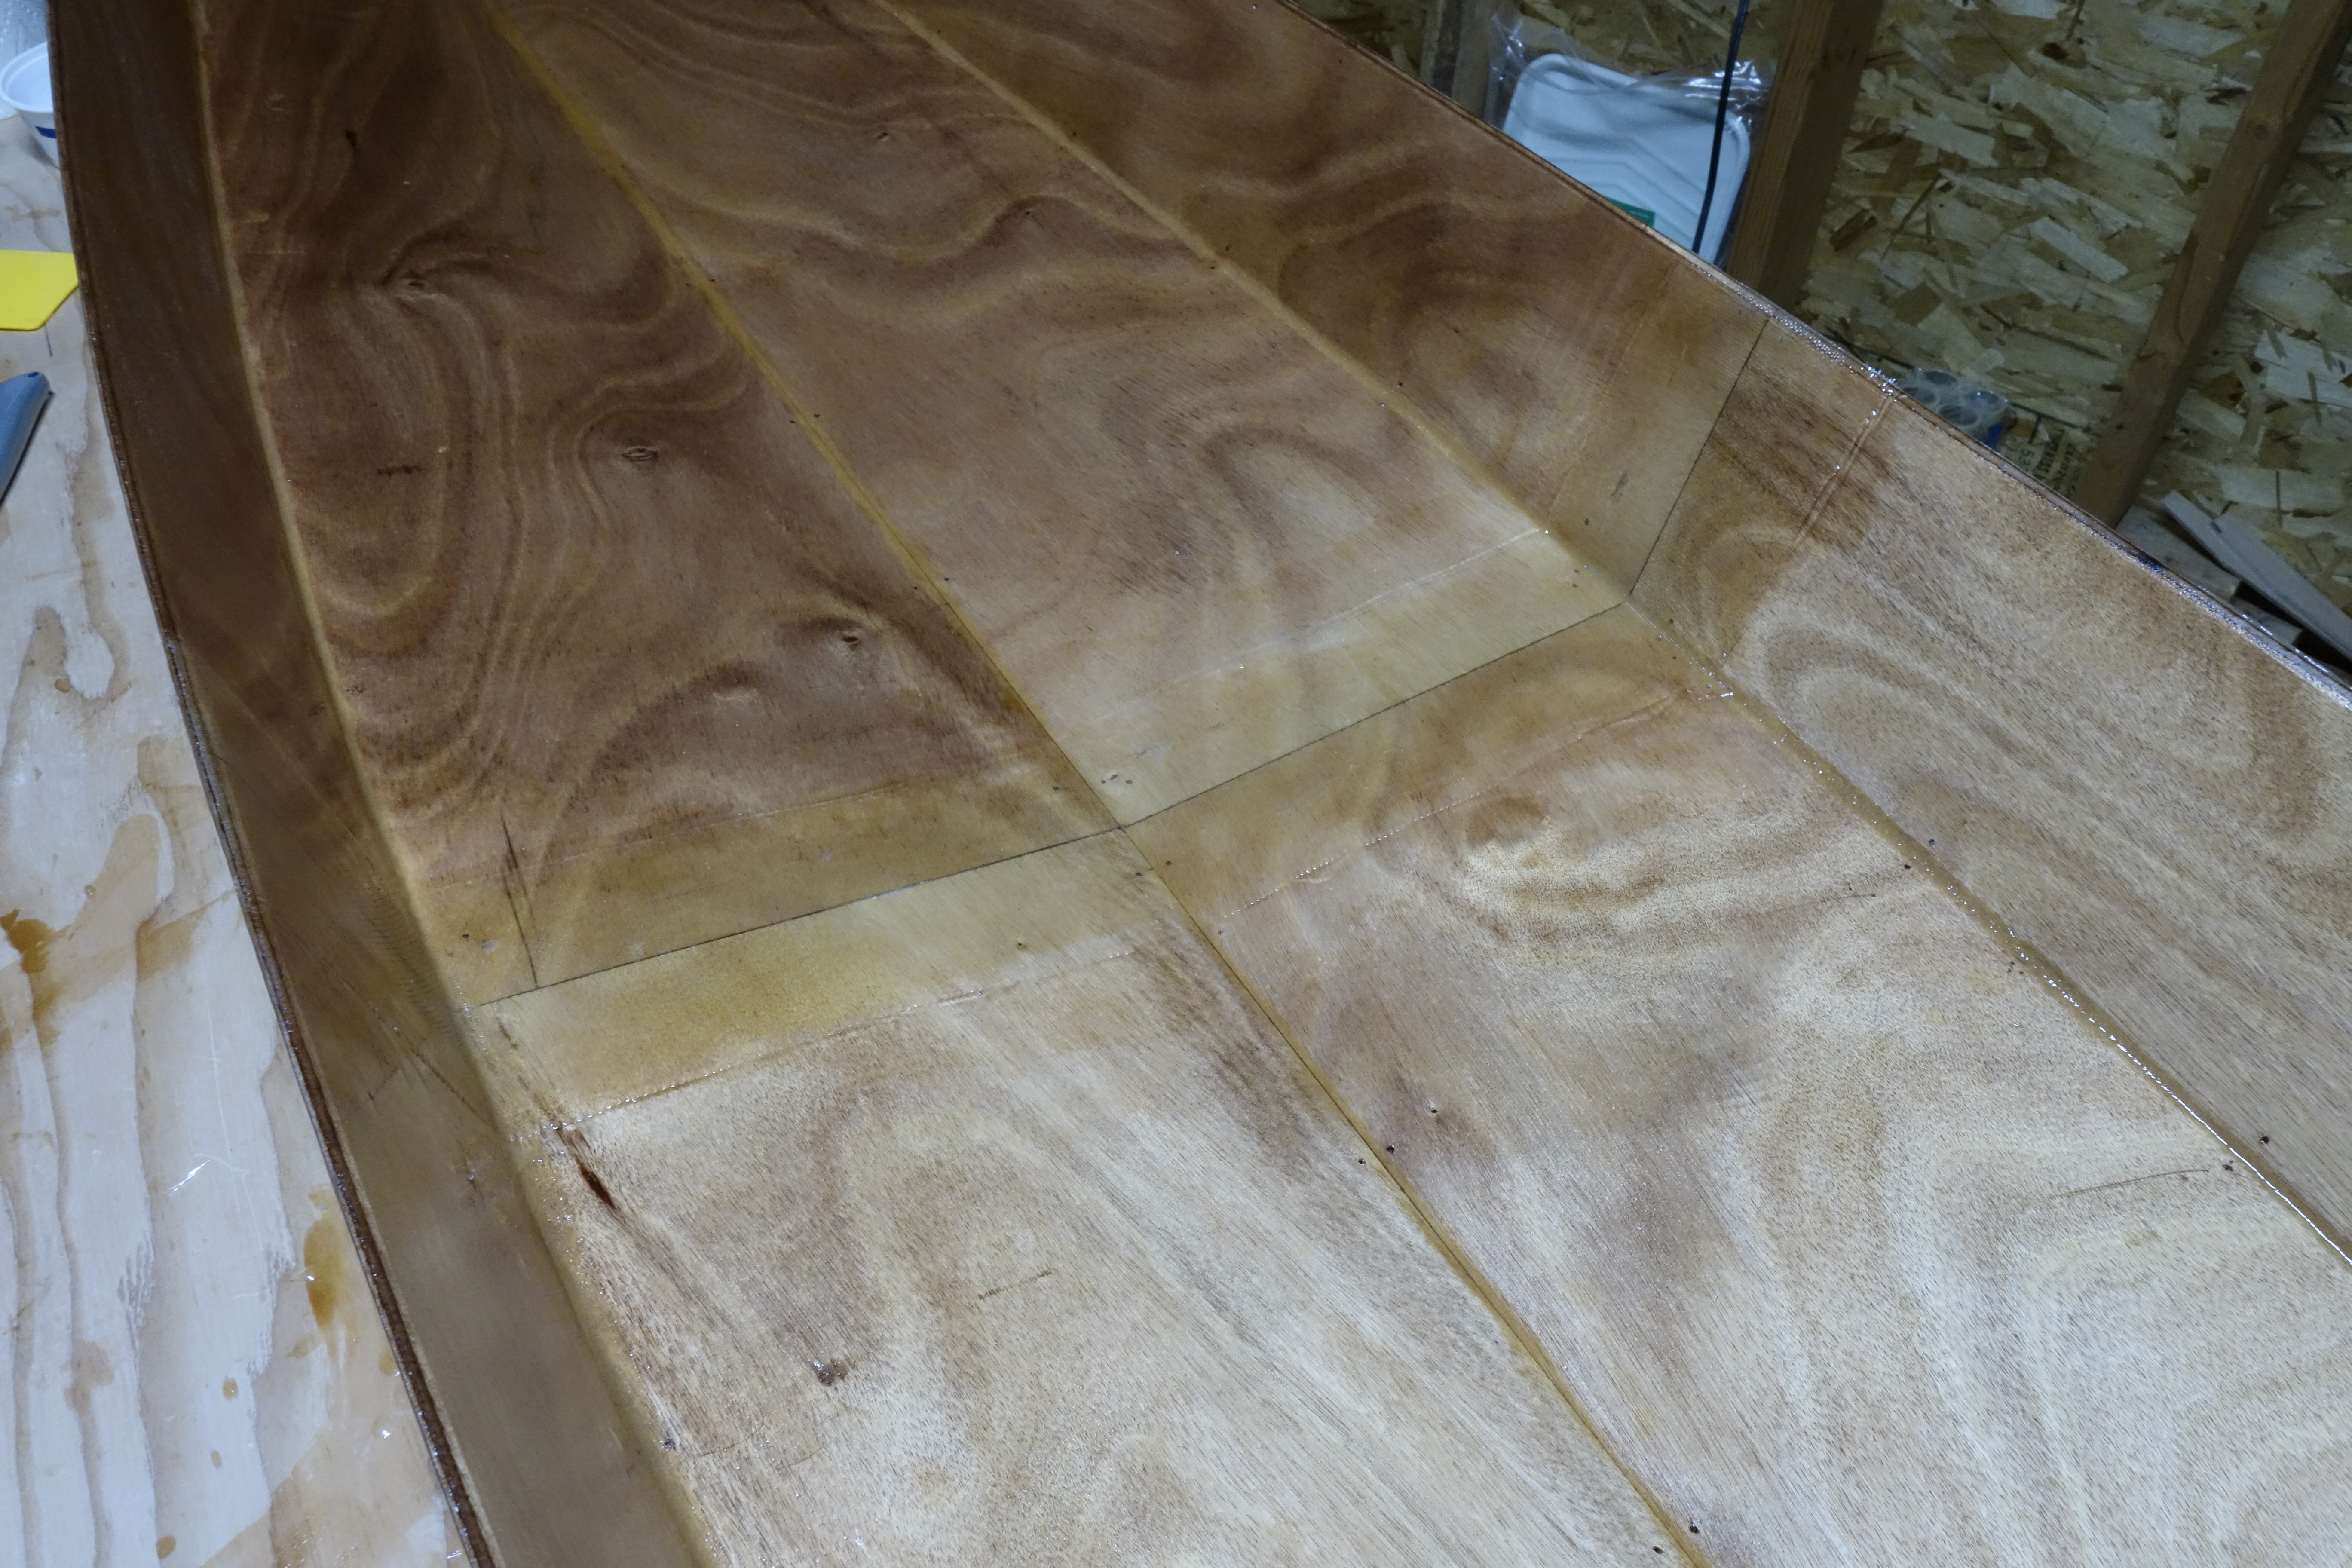
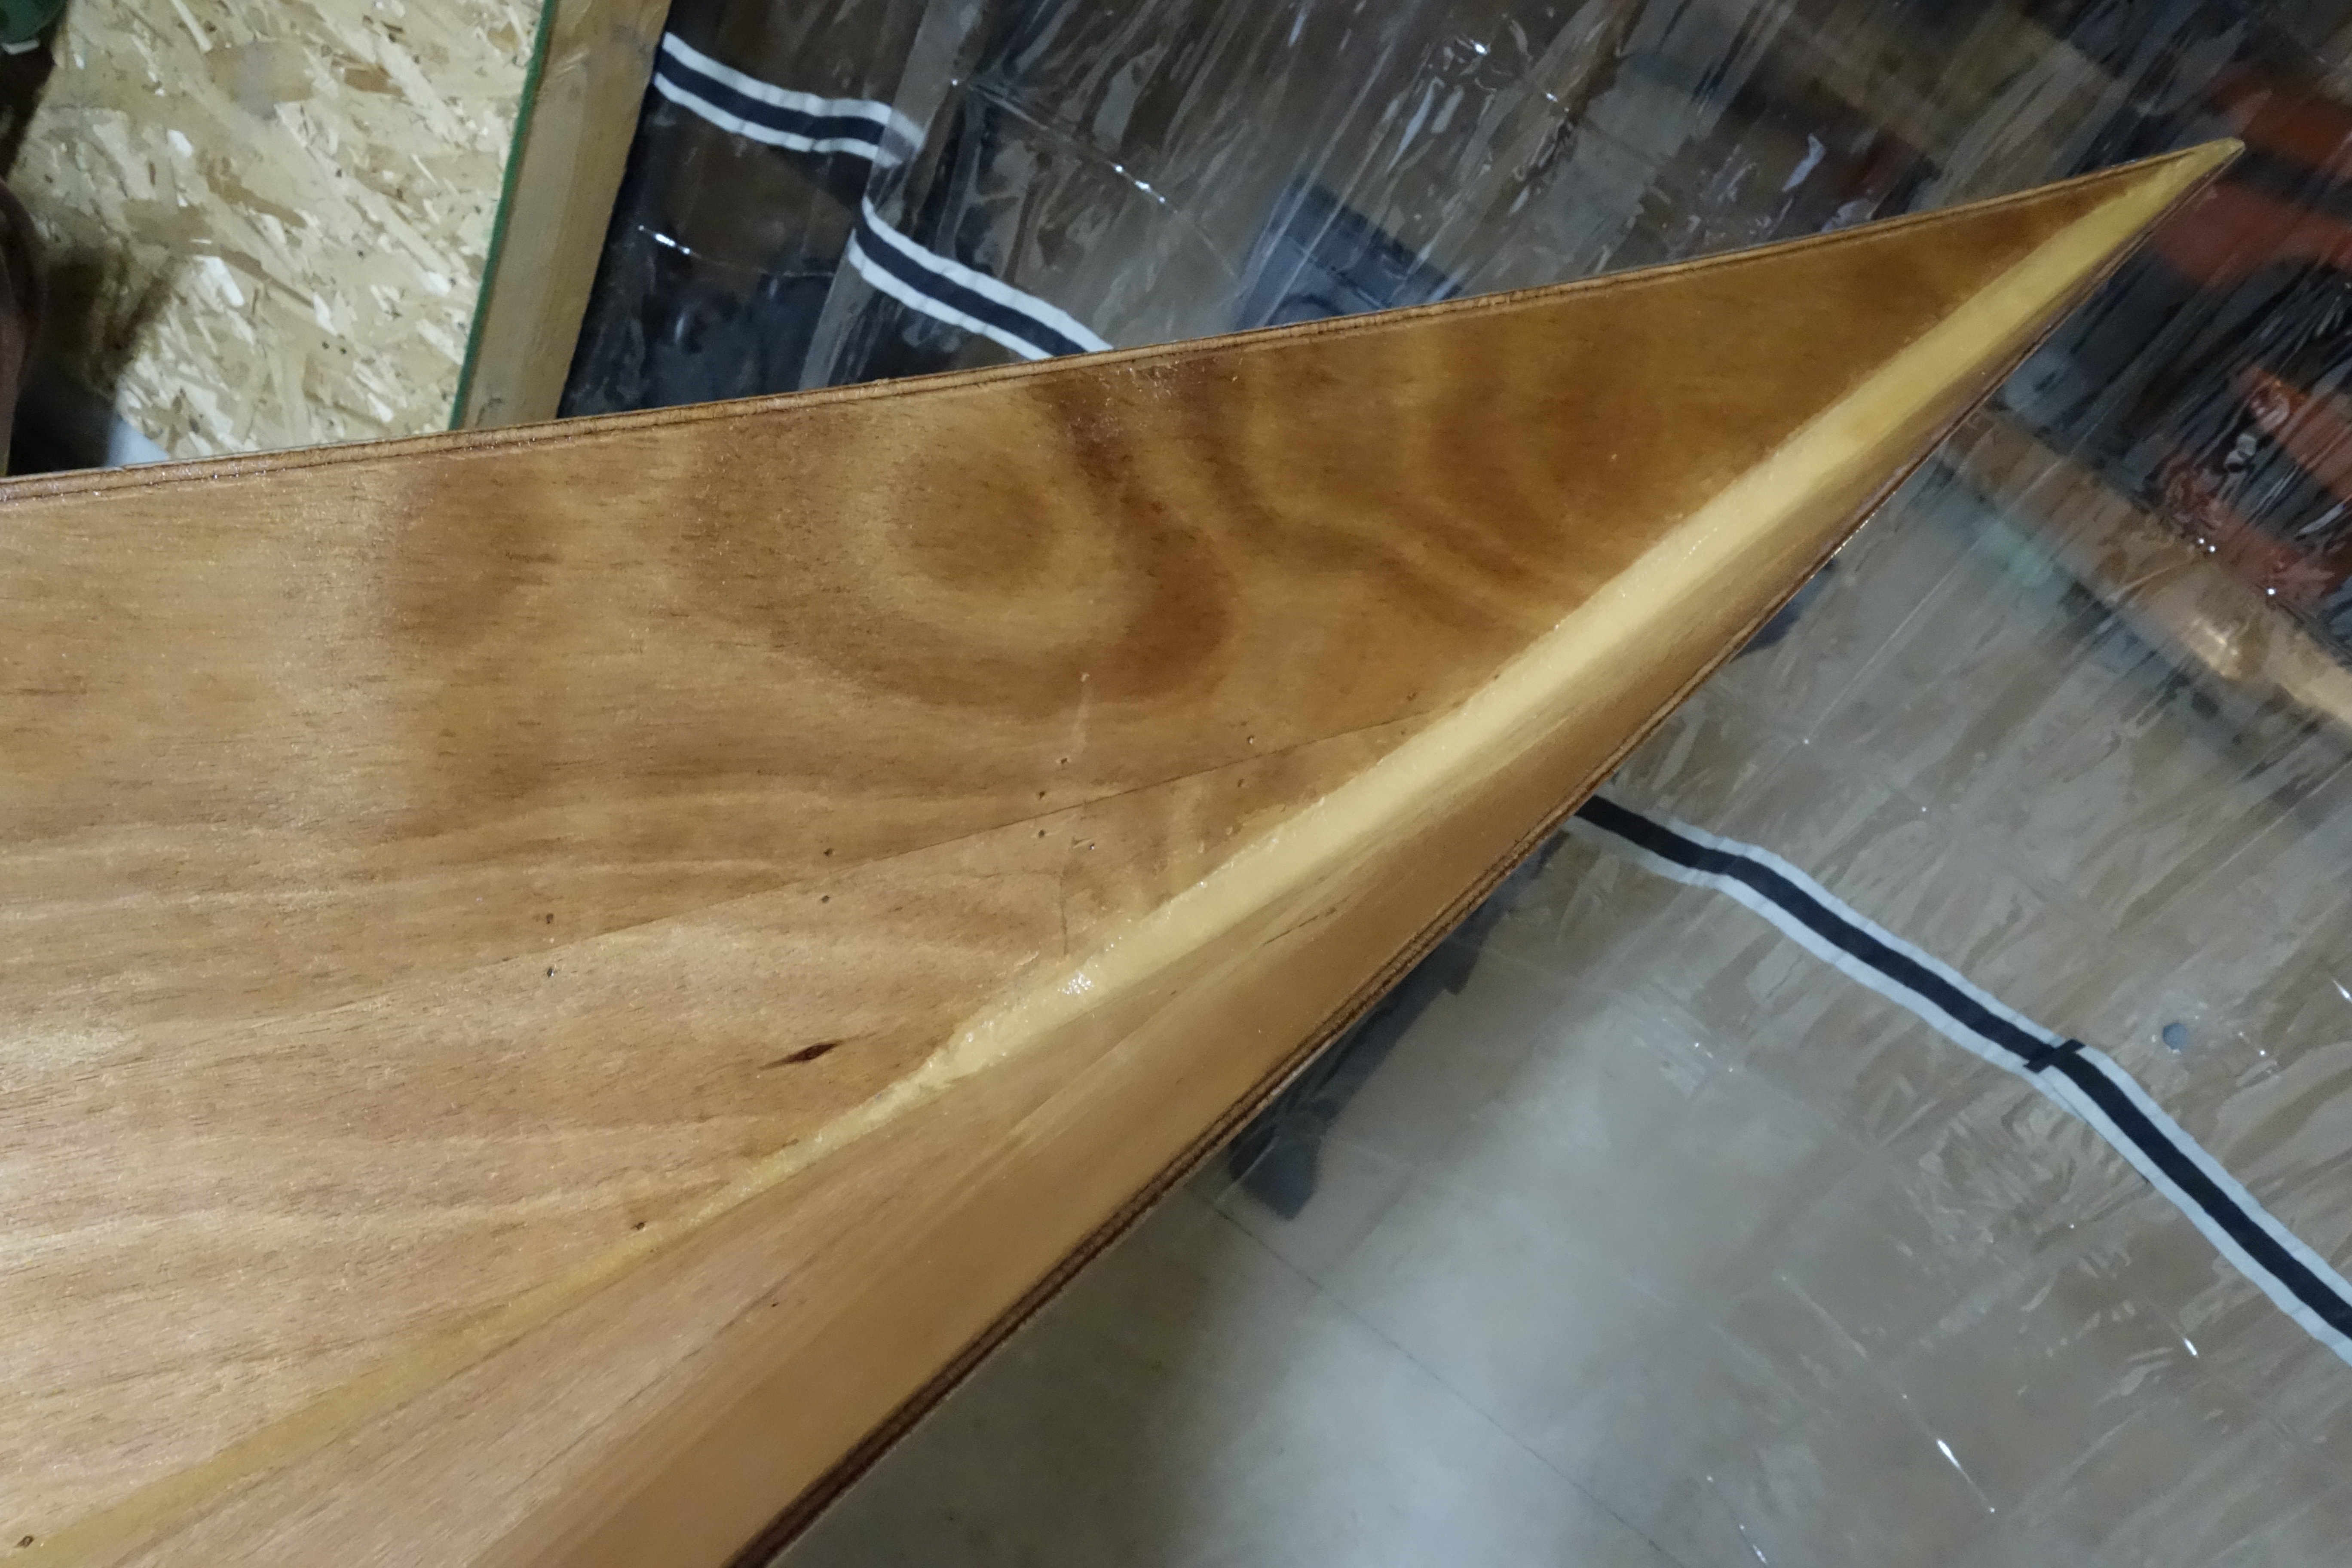
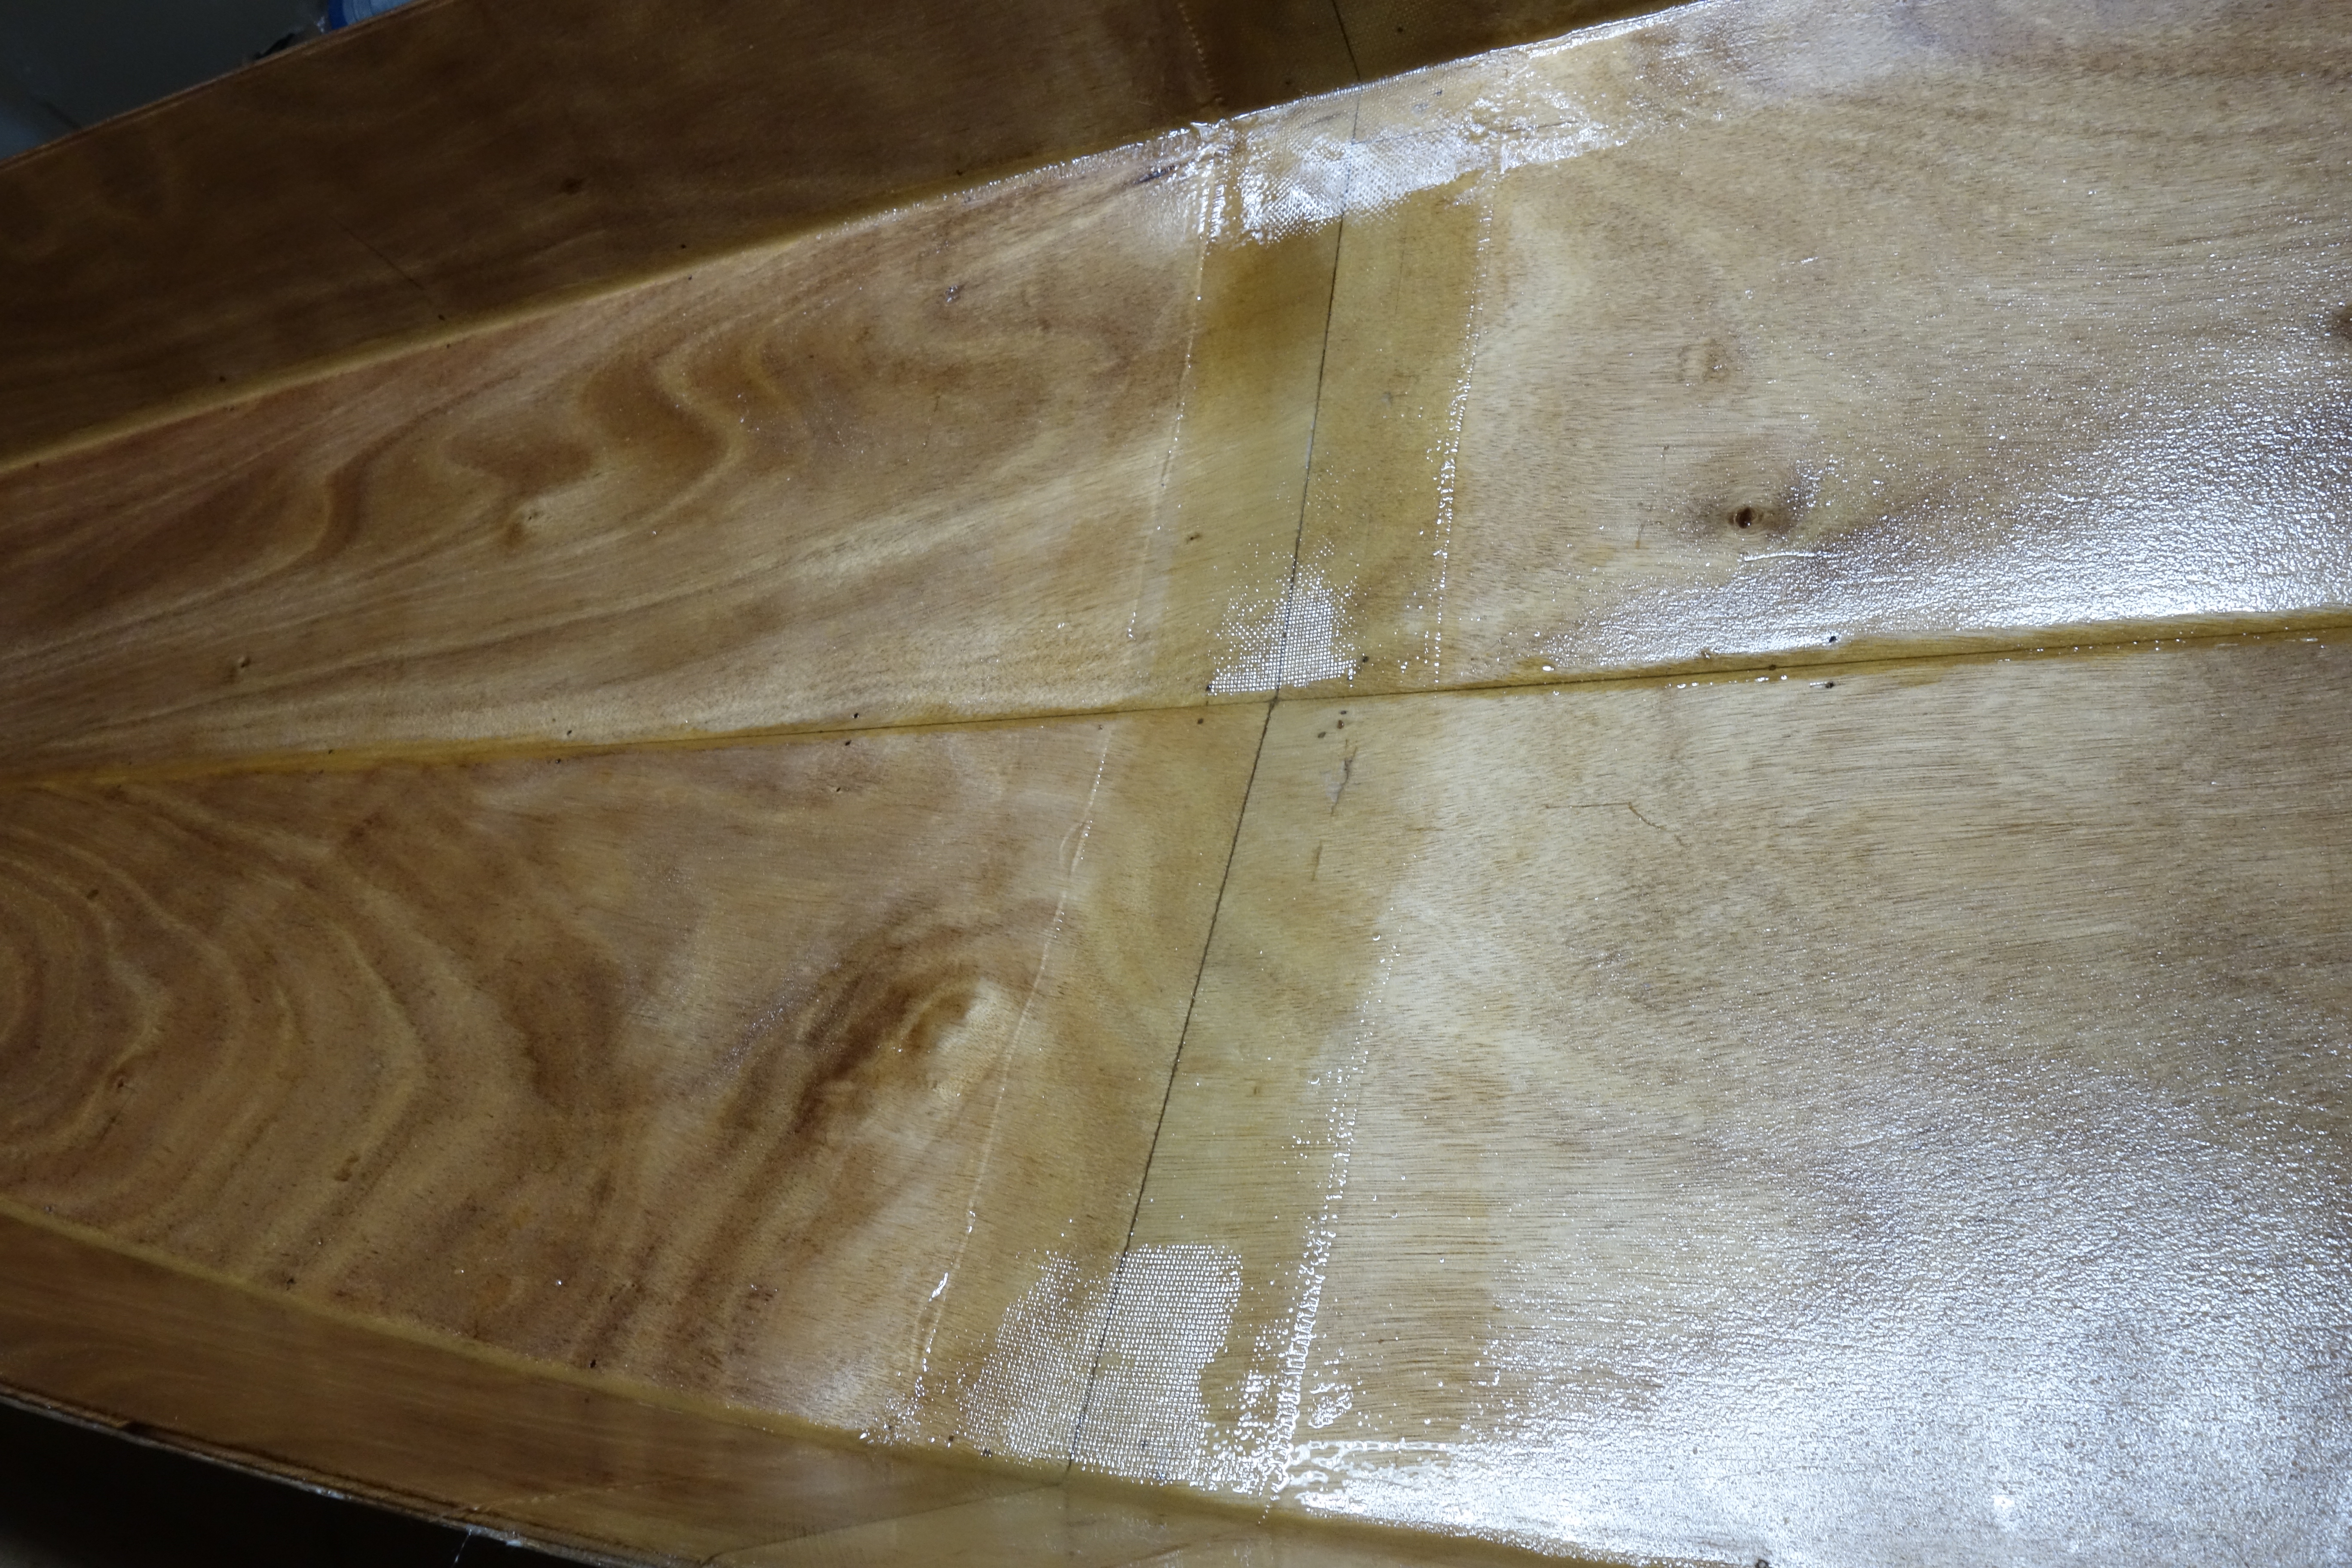
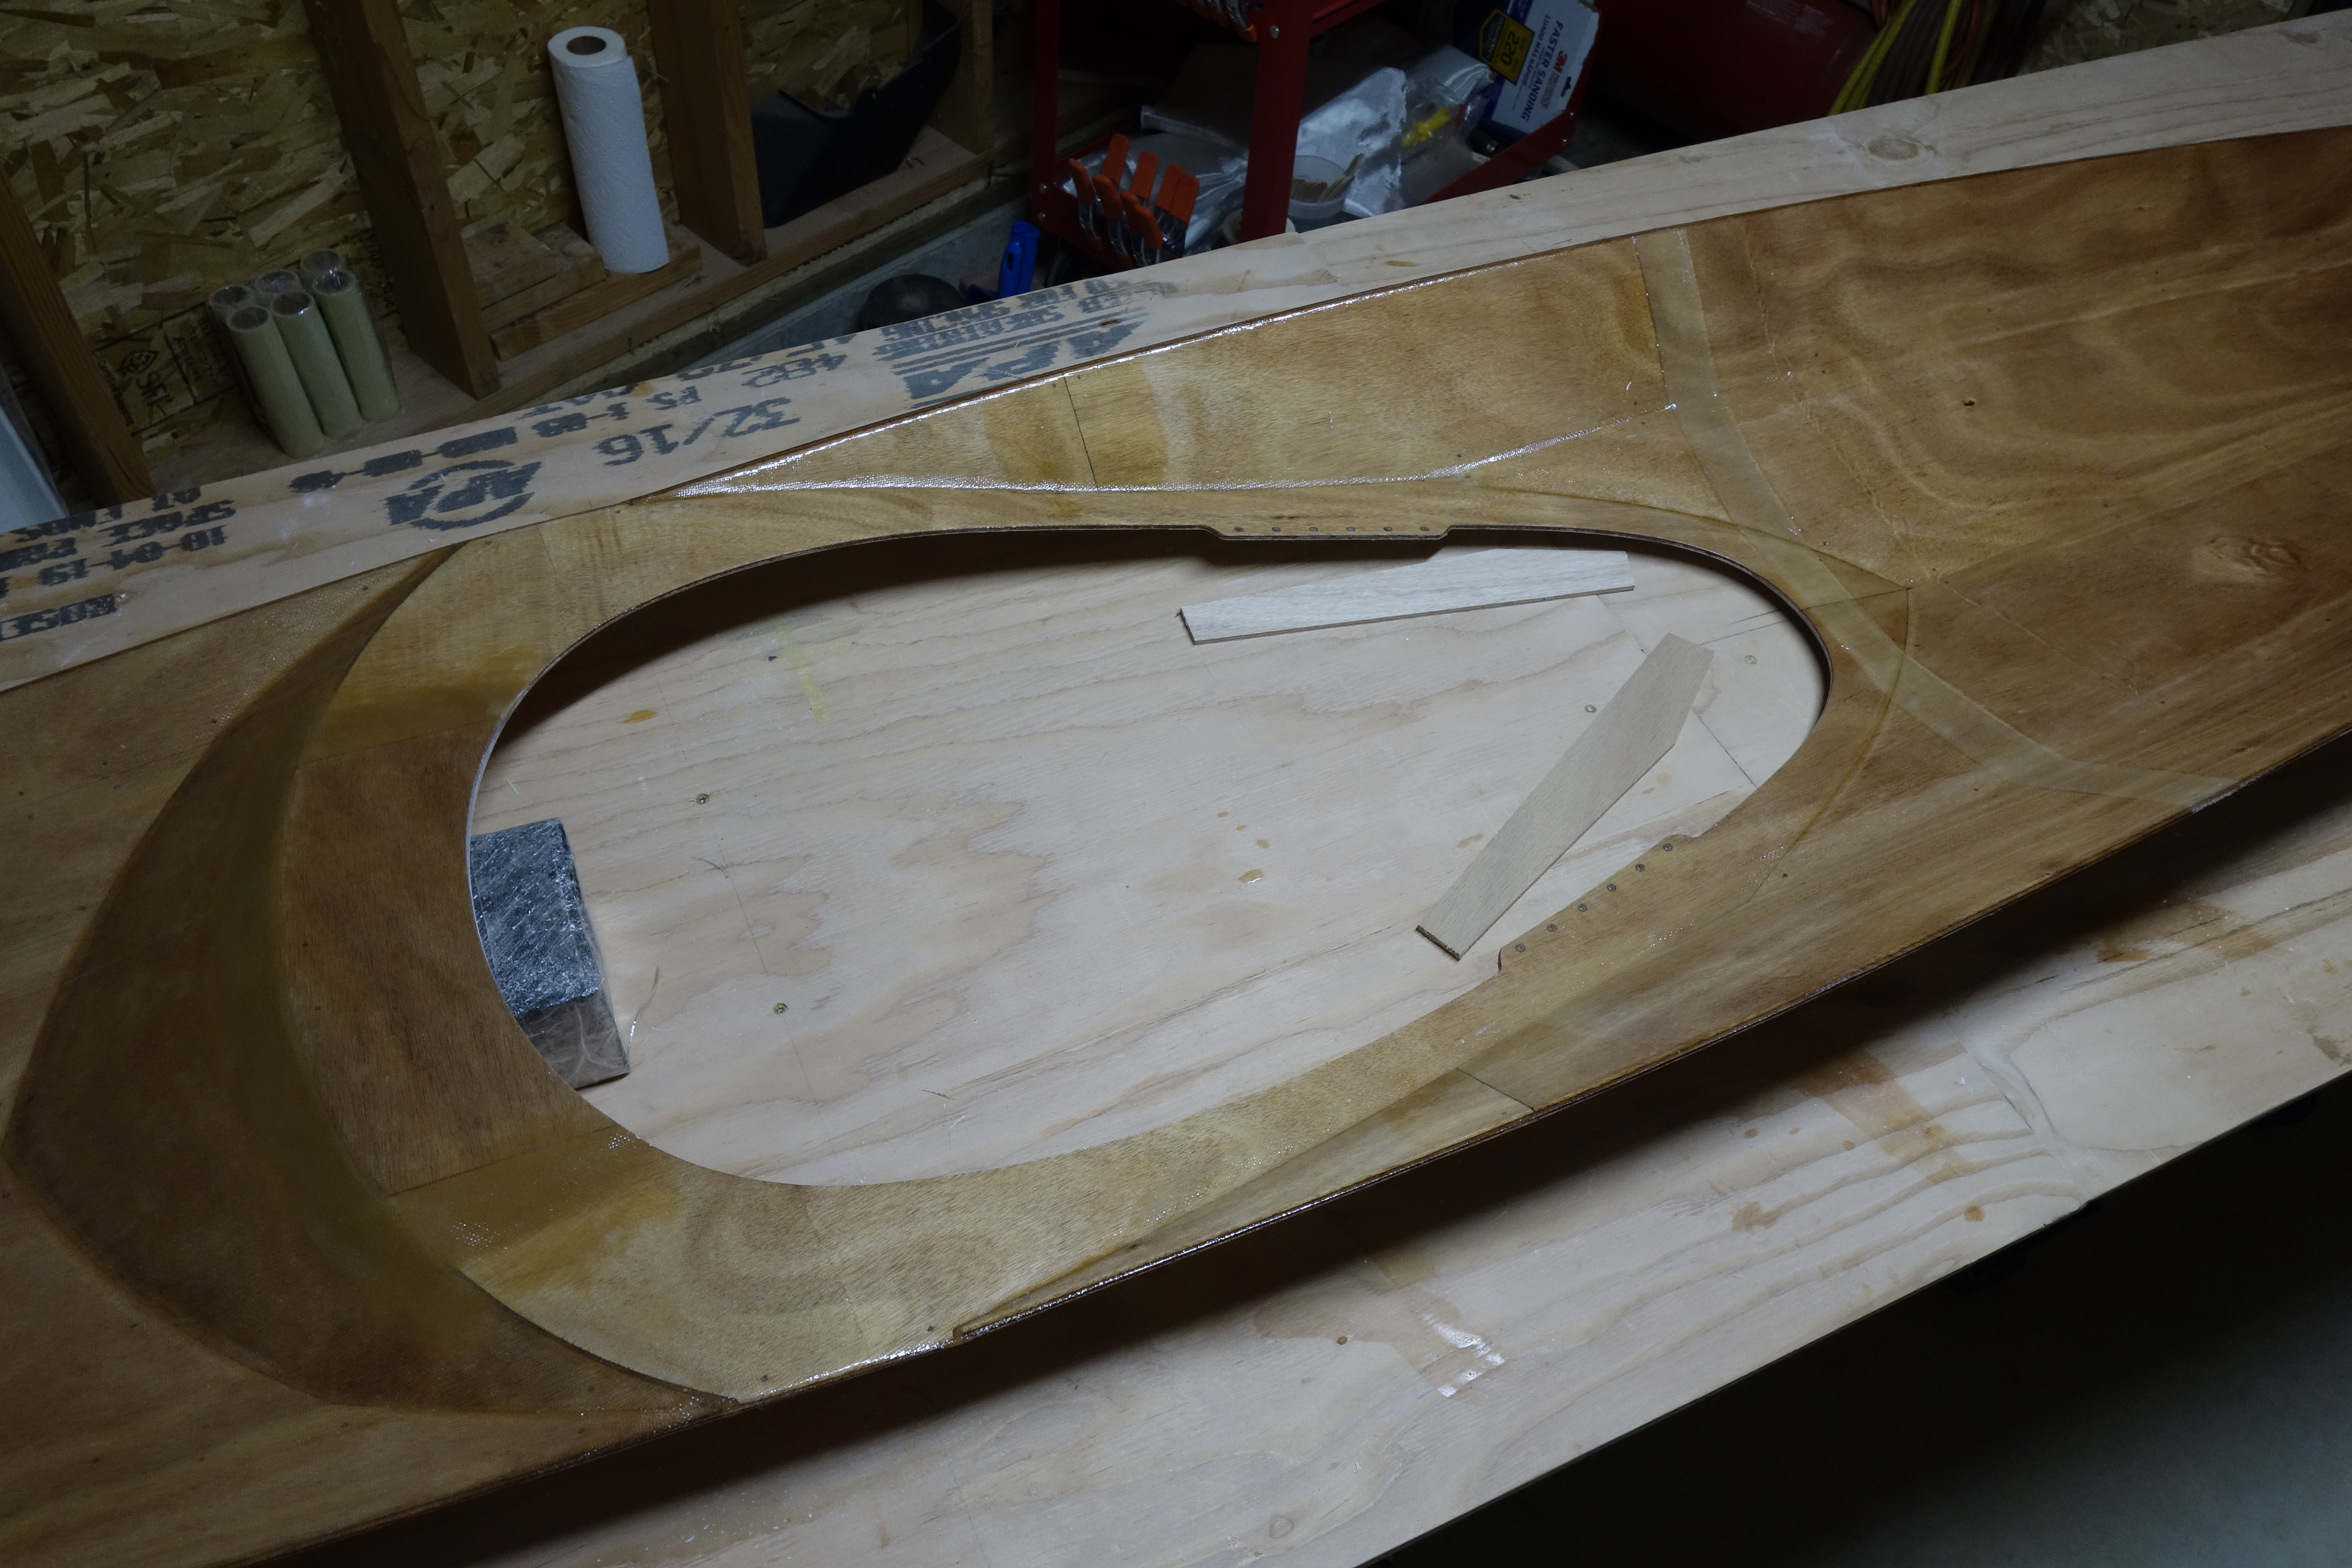
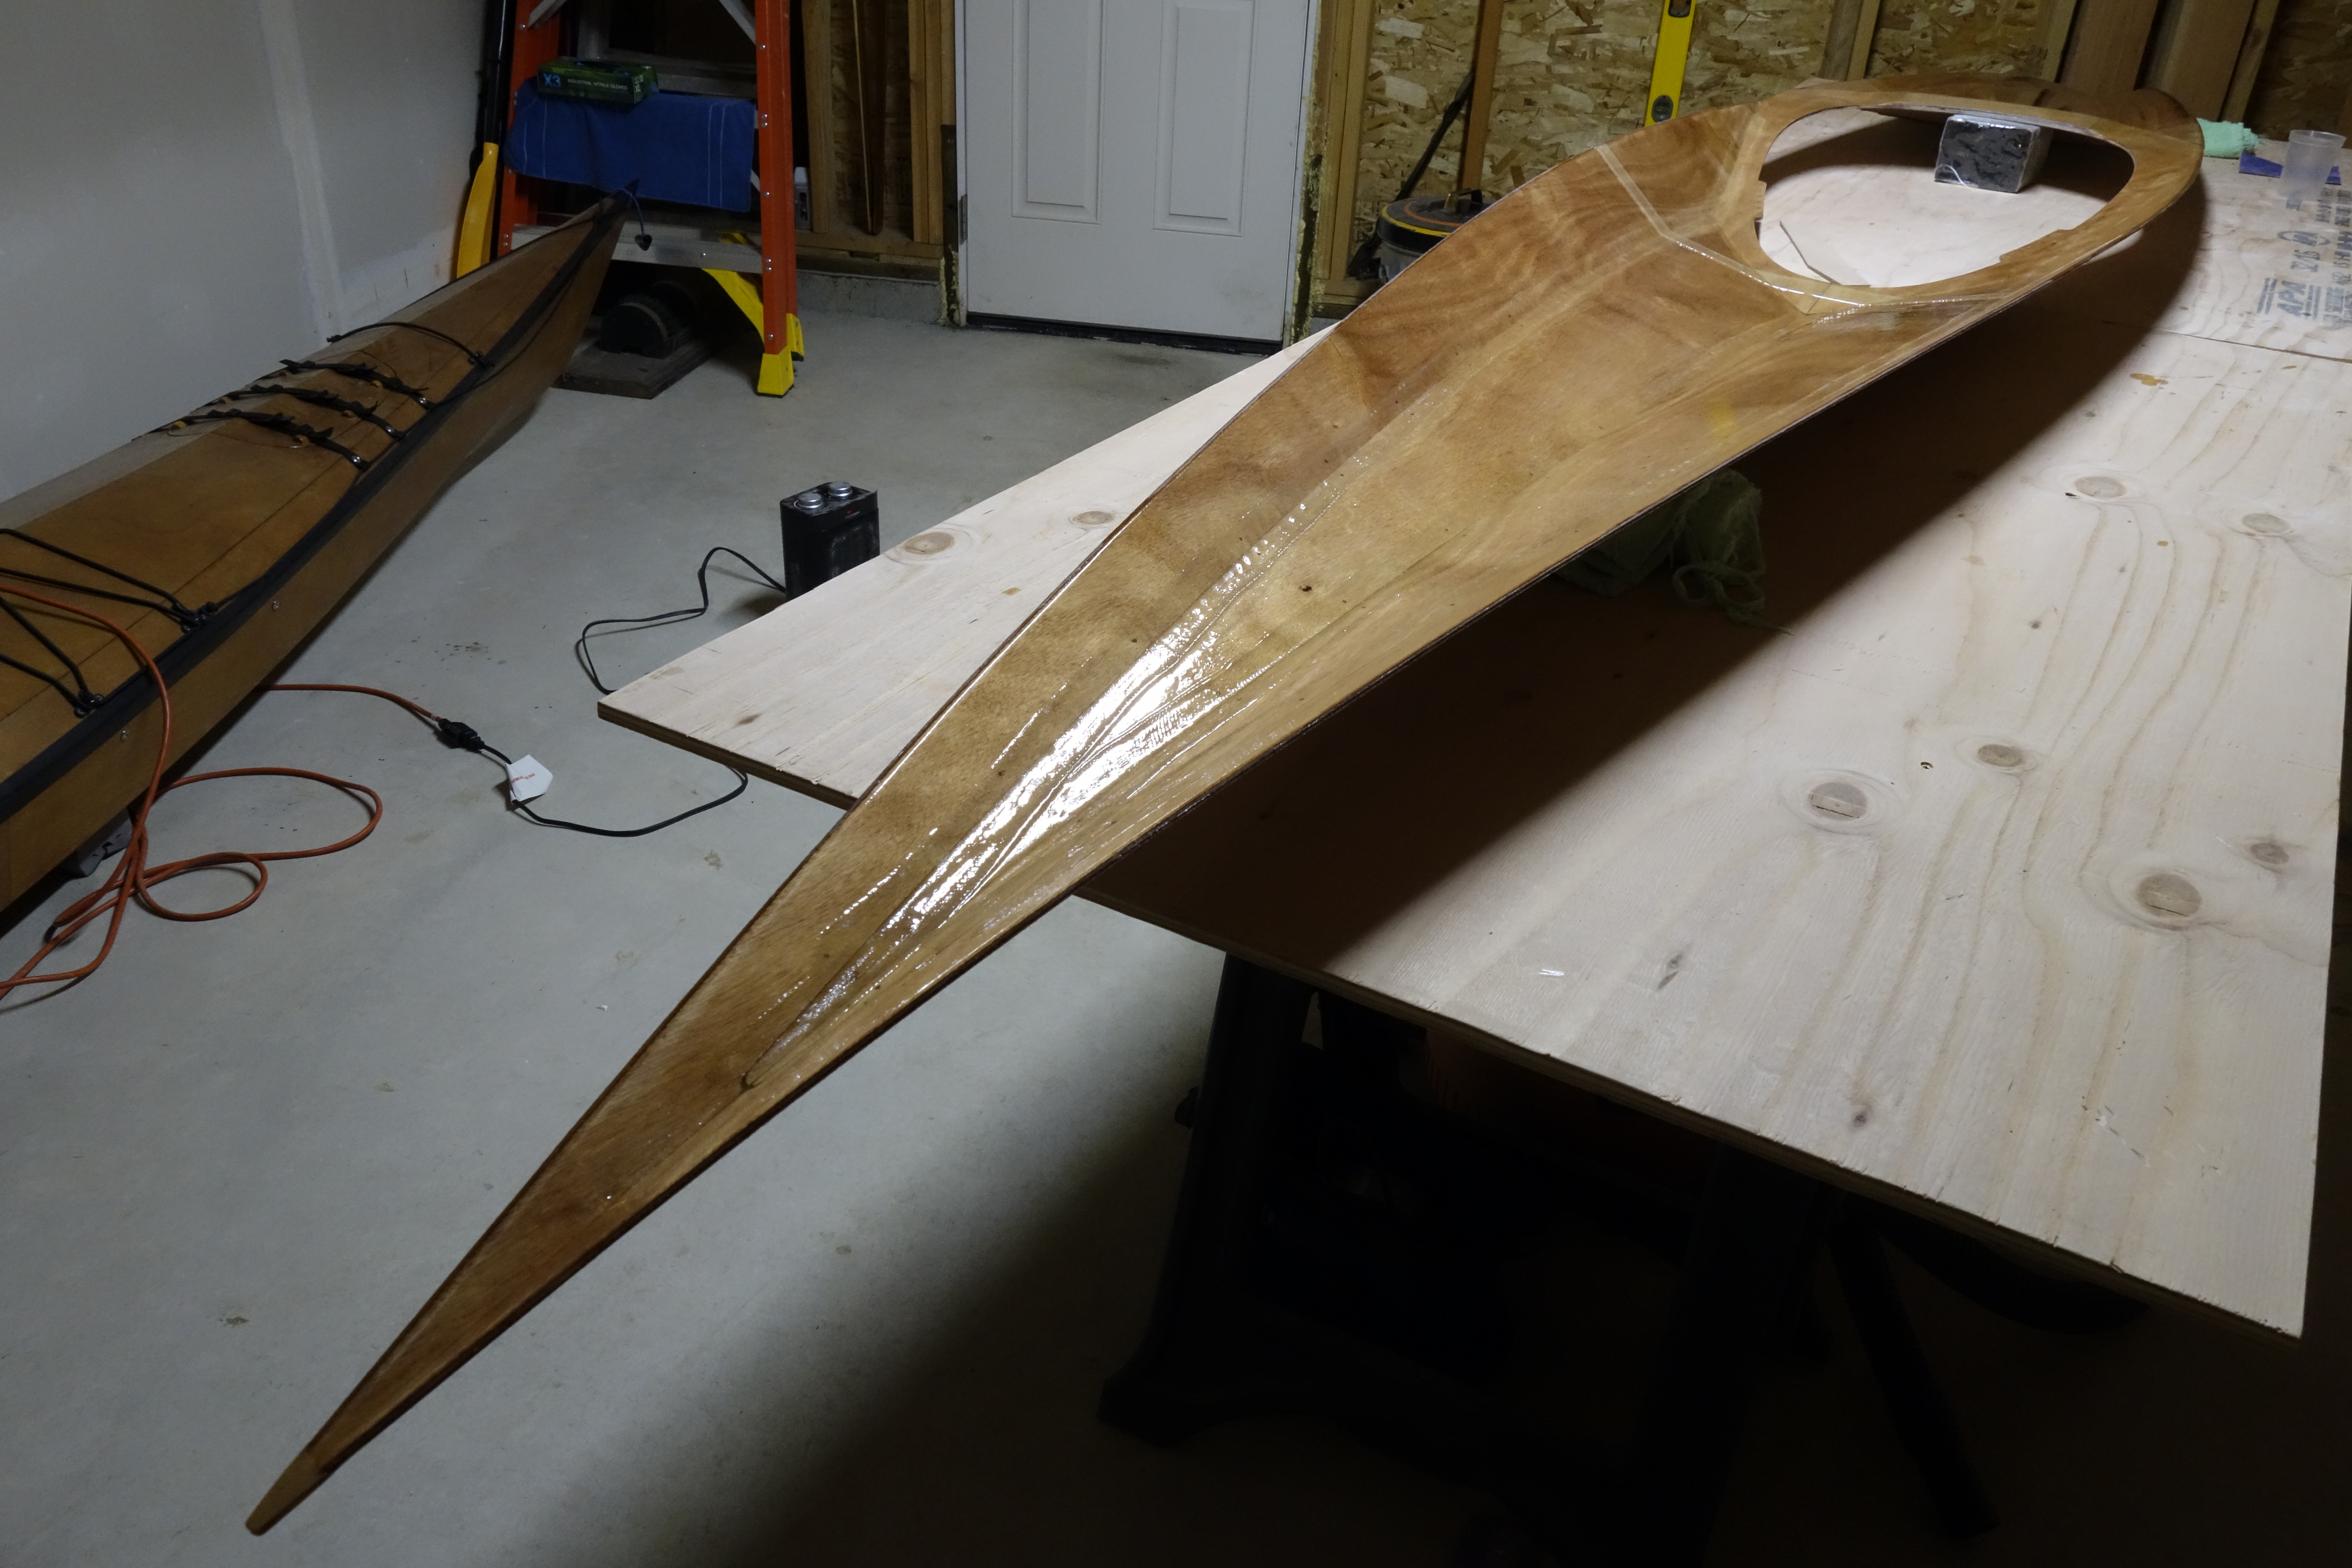
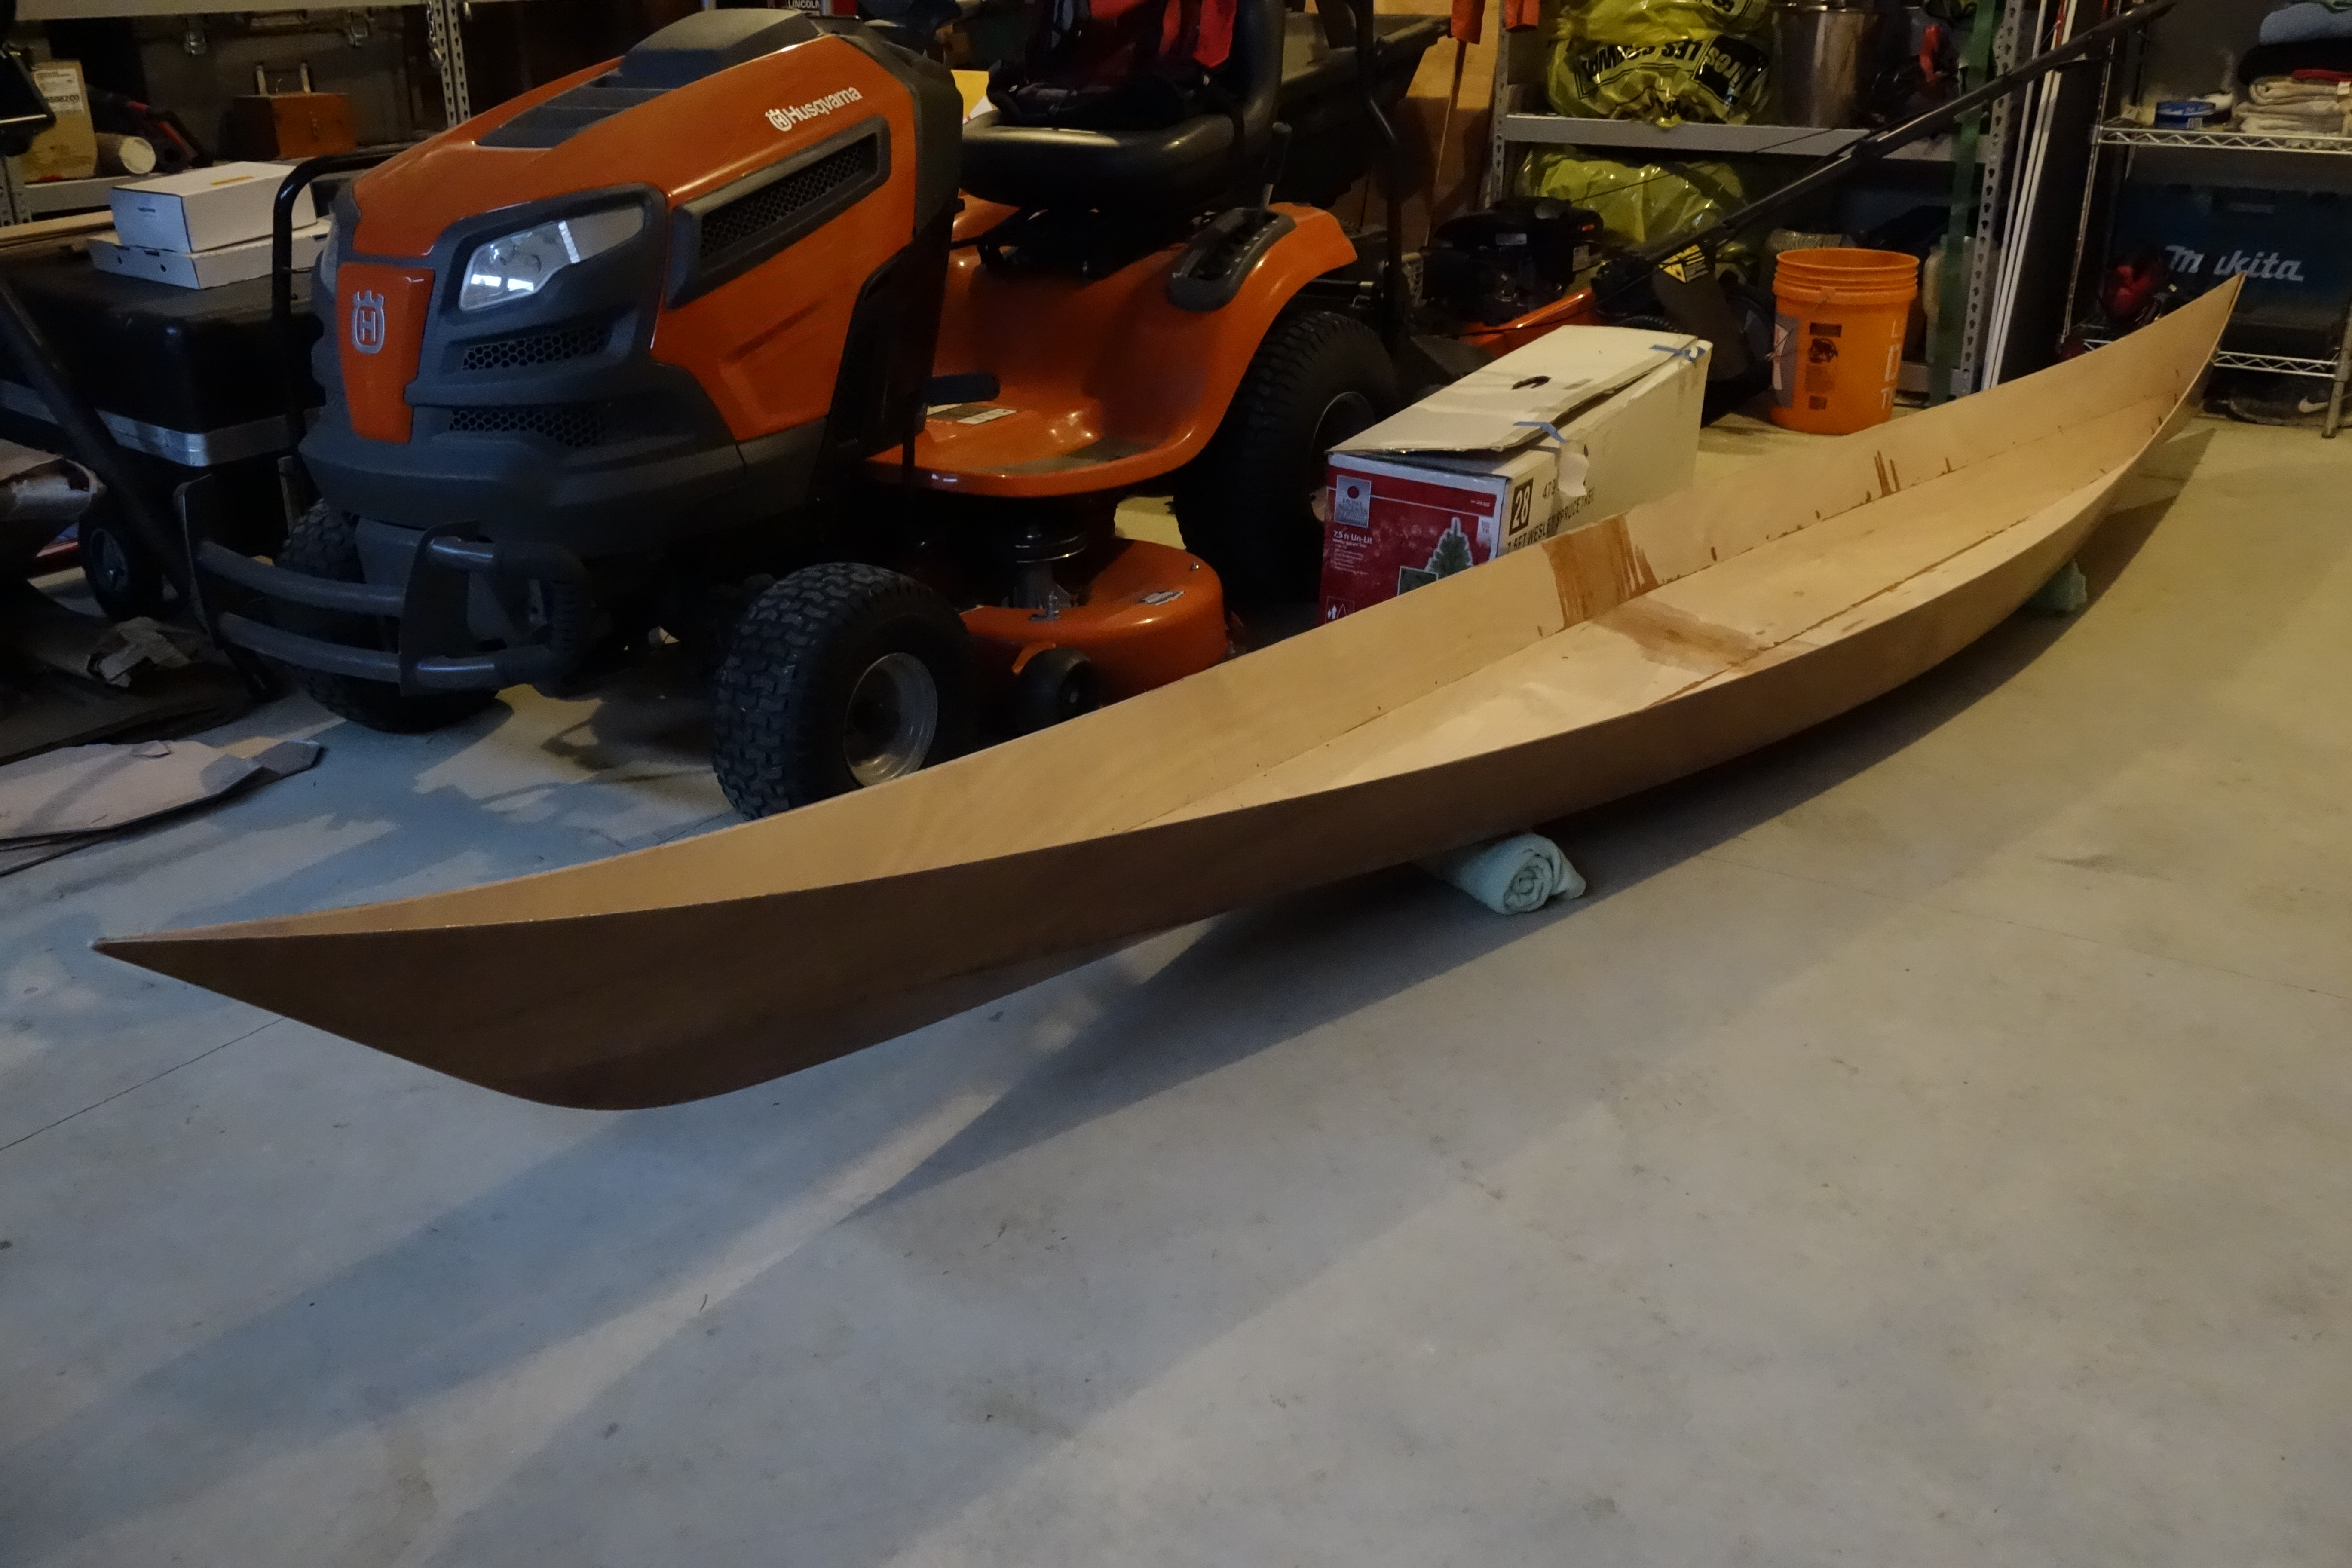
Time to finish gluing the seams inside the hull and create the fillets in the bow and stern stems so that the fiberglass cloth will lay smoothly in the hull and not trap air. I will also reinforce the butt seams in the middle of the hull, and then do the saturation coat before fiberglassing the inside of the hull.

Three strips of fiberglass cloth, one 2″ wide, one 3″ wide, and one 4″ wide, laminated atop each other to reinforce the butt seam where the panels were glued to their full lengths. This will add great strength as it will be trapped between the fiberglass on the outside of the hull, then the wooden hull itself, and then the fiberglass on the inside of the hull. The wooden hull will be completely encapsulated in fiberglass.
Epoxy and wood flour fillet in the bow.
Epoxy and wood flour fillet in the stern.
Reinforcement fiberglass completely wetted out. Edges will be feathered in before inside of hull is fiberglassed.

Building fiberglass slots for adjustable thigh braces.

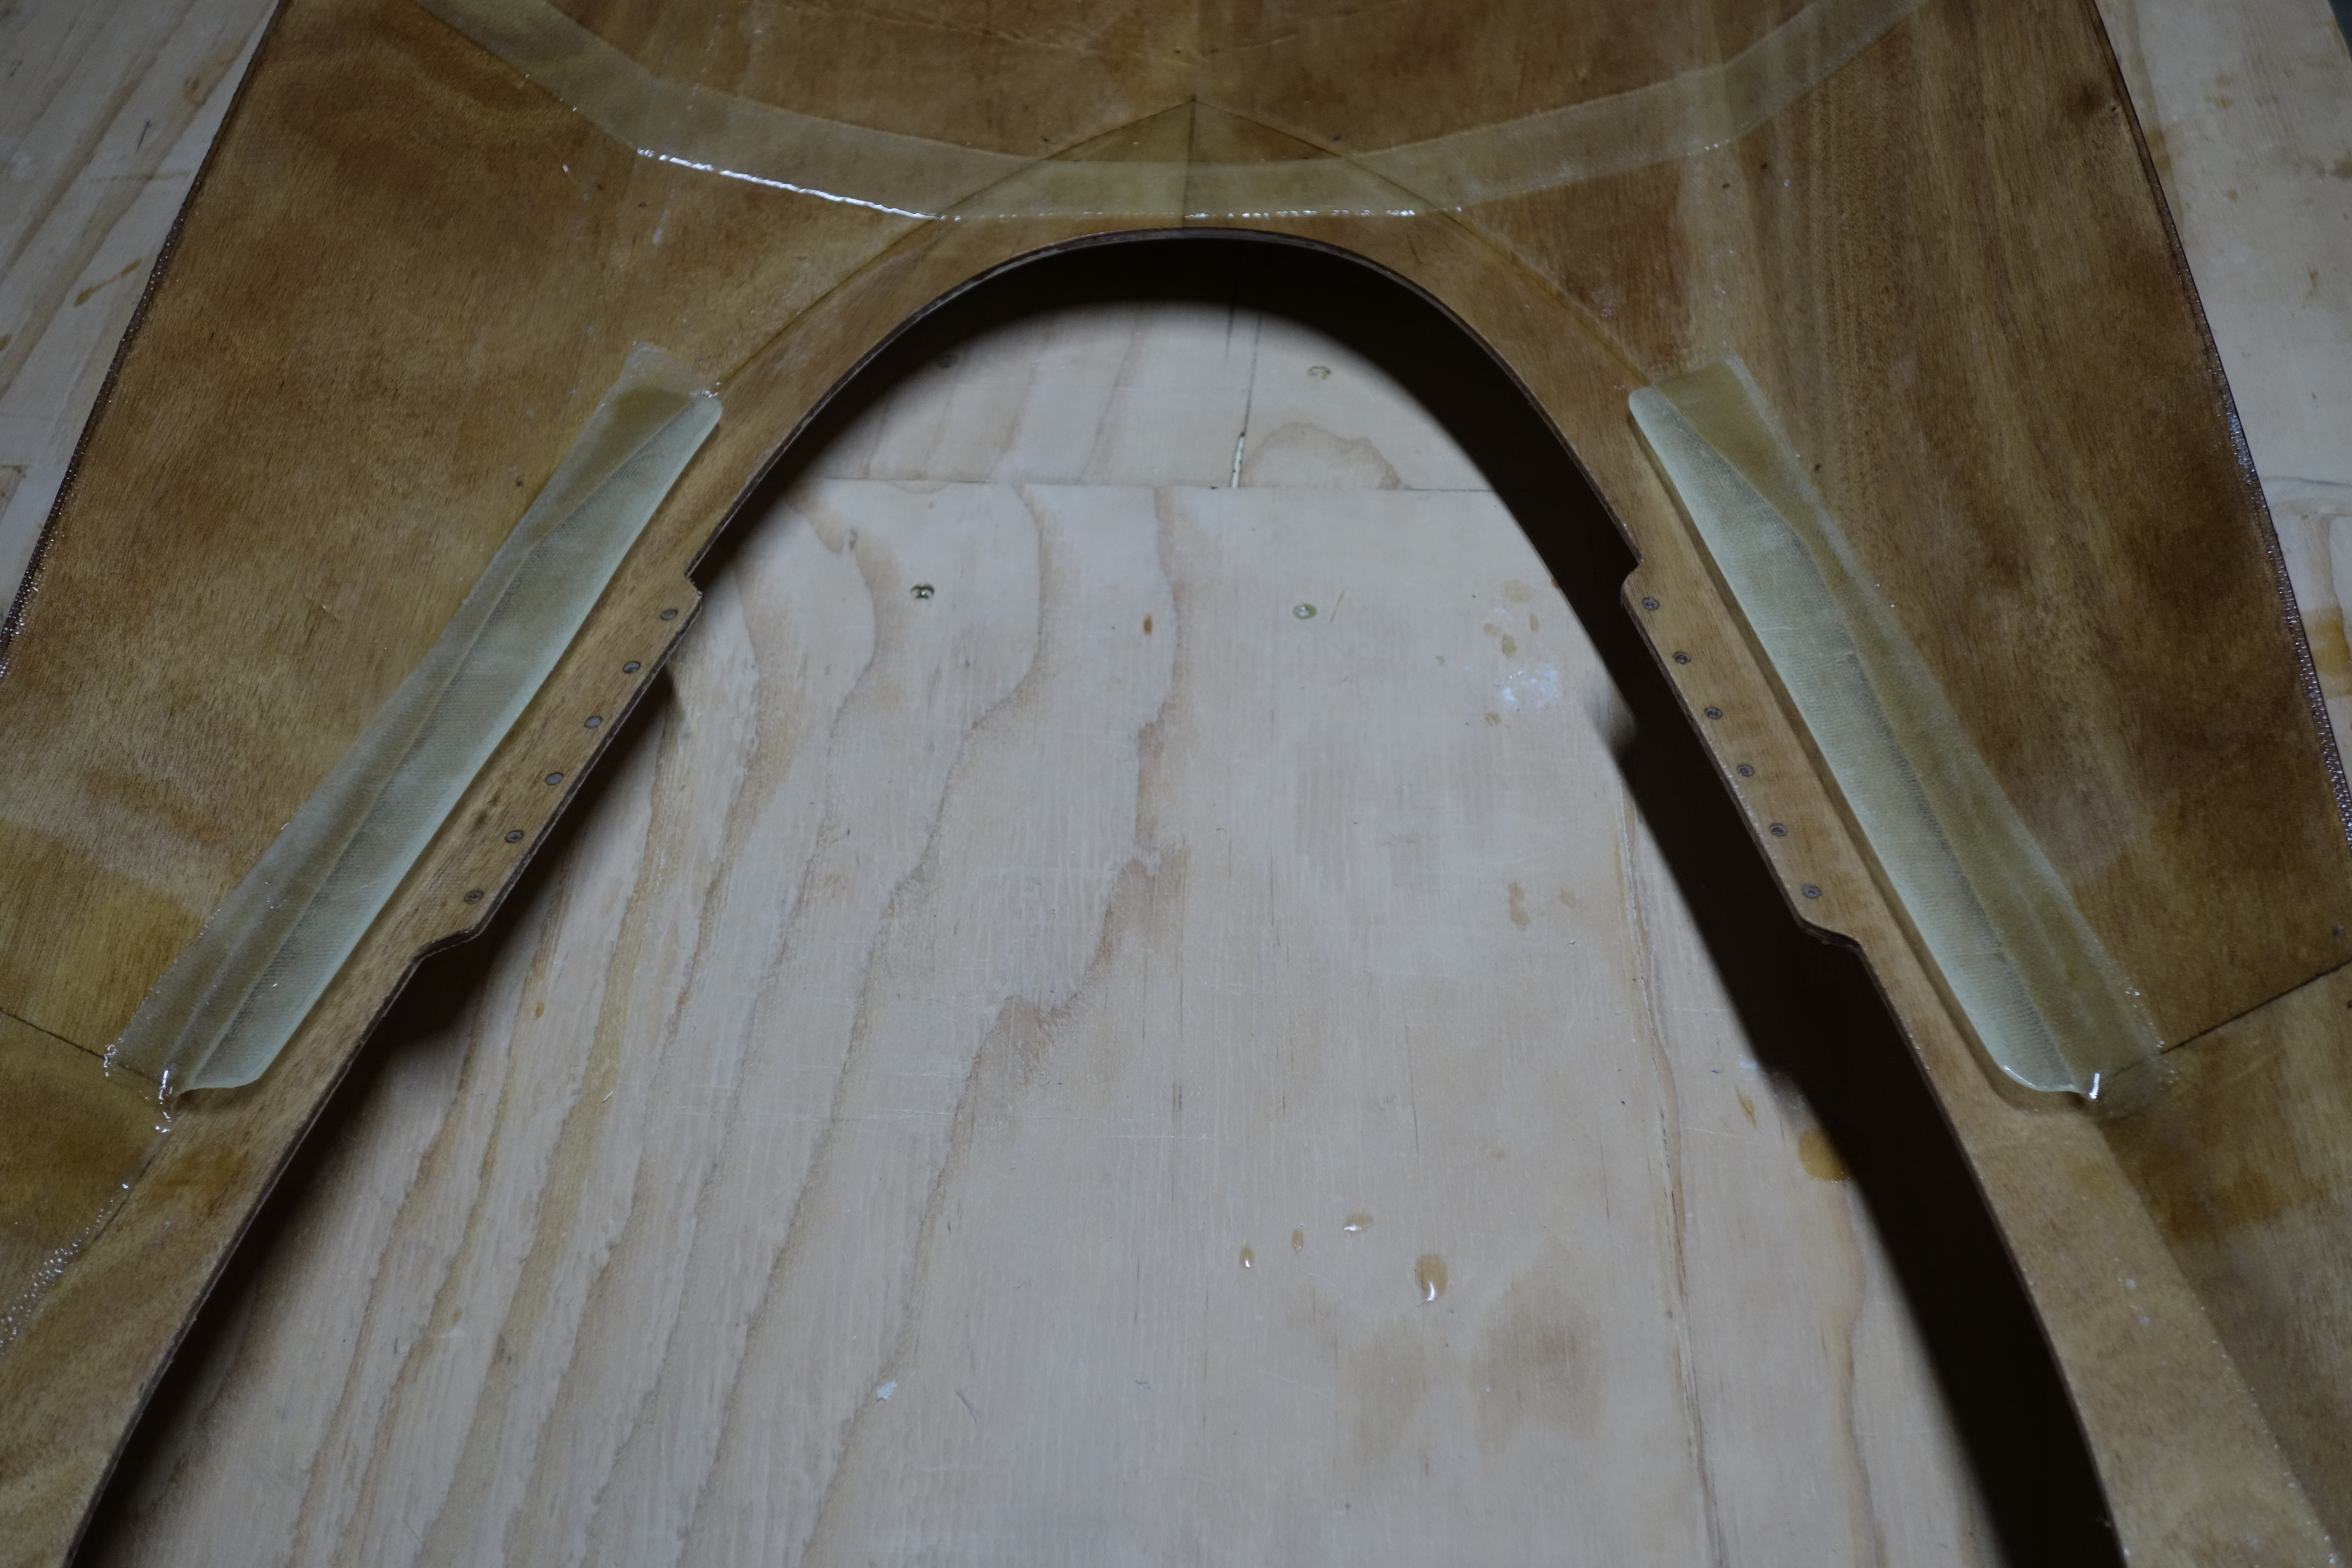
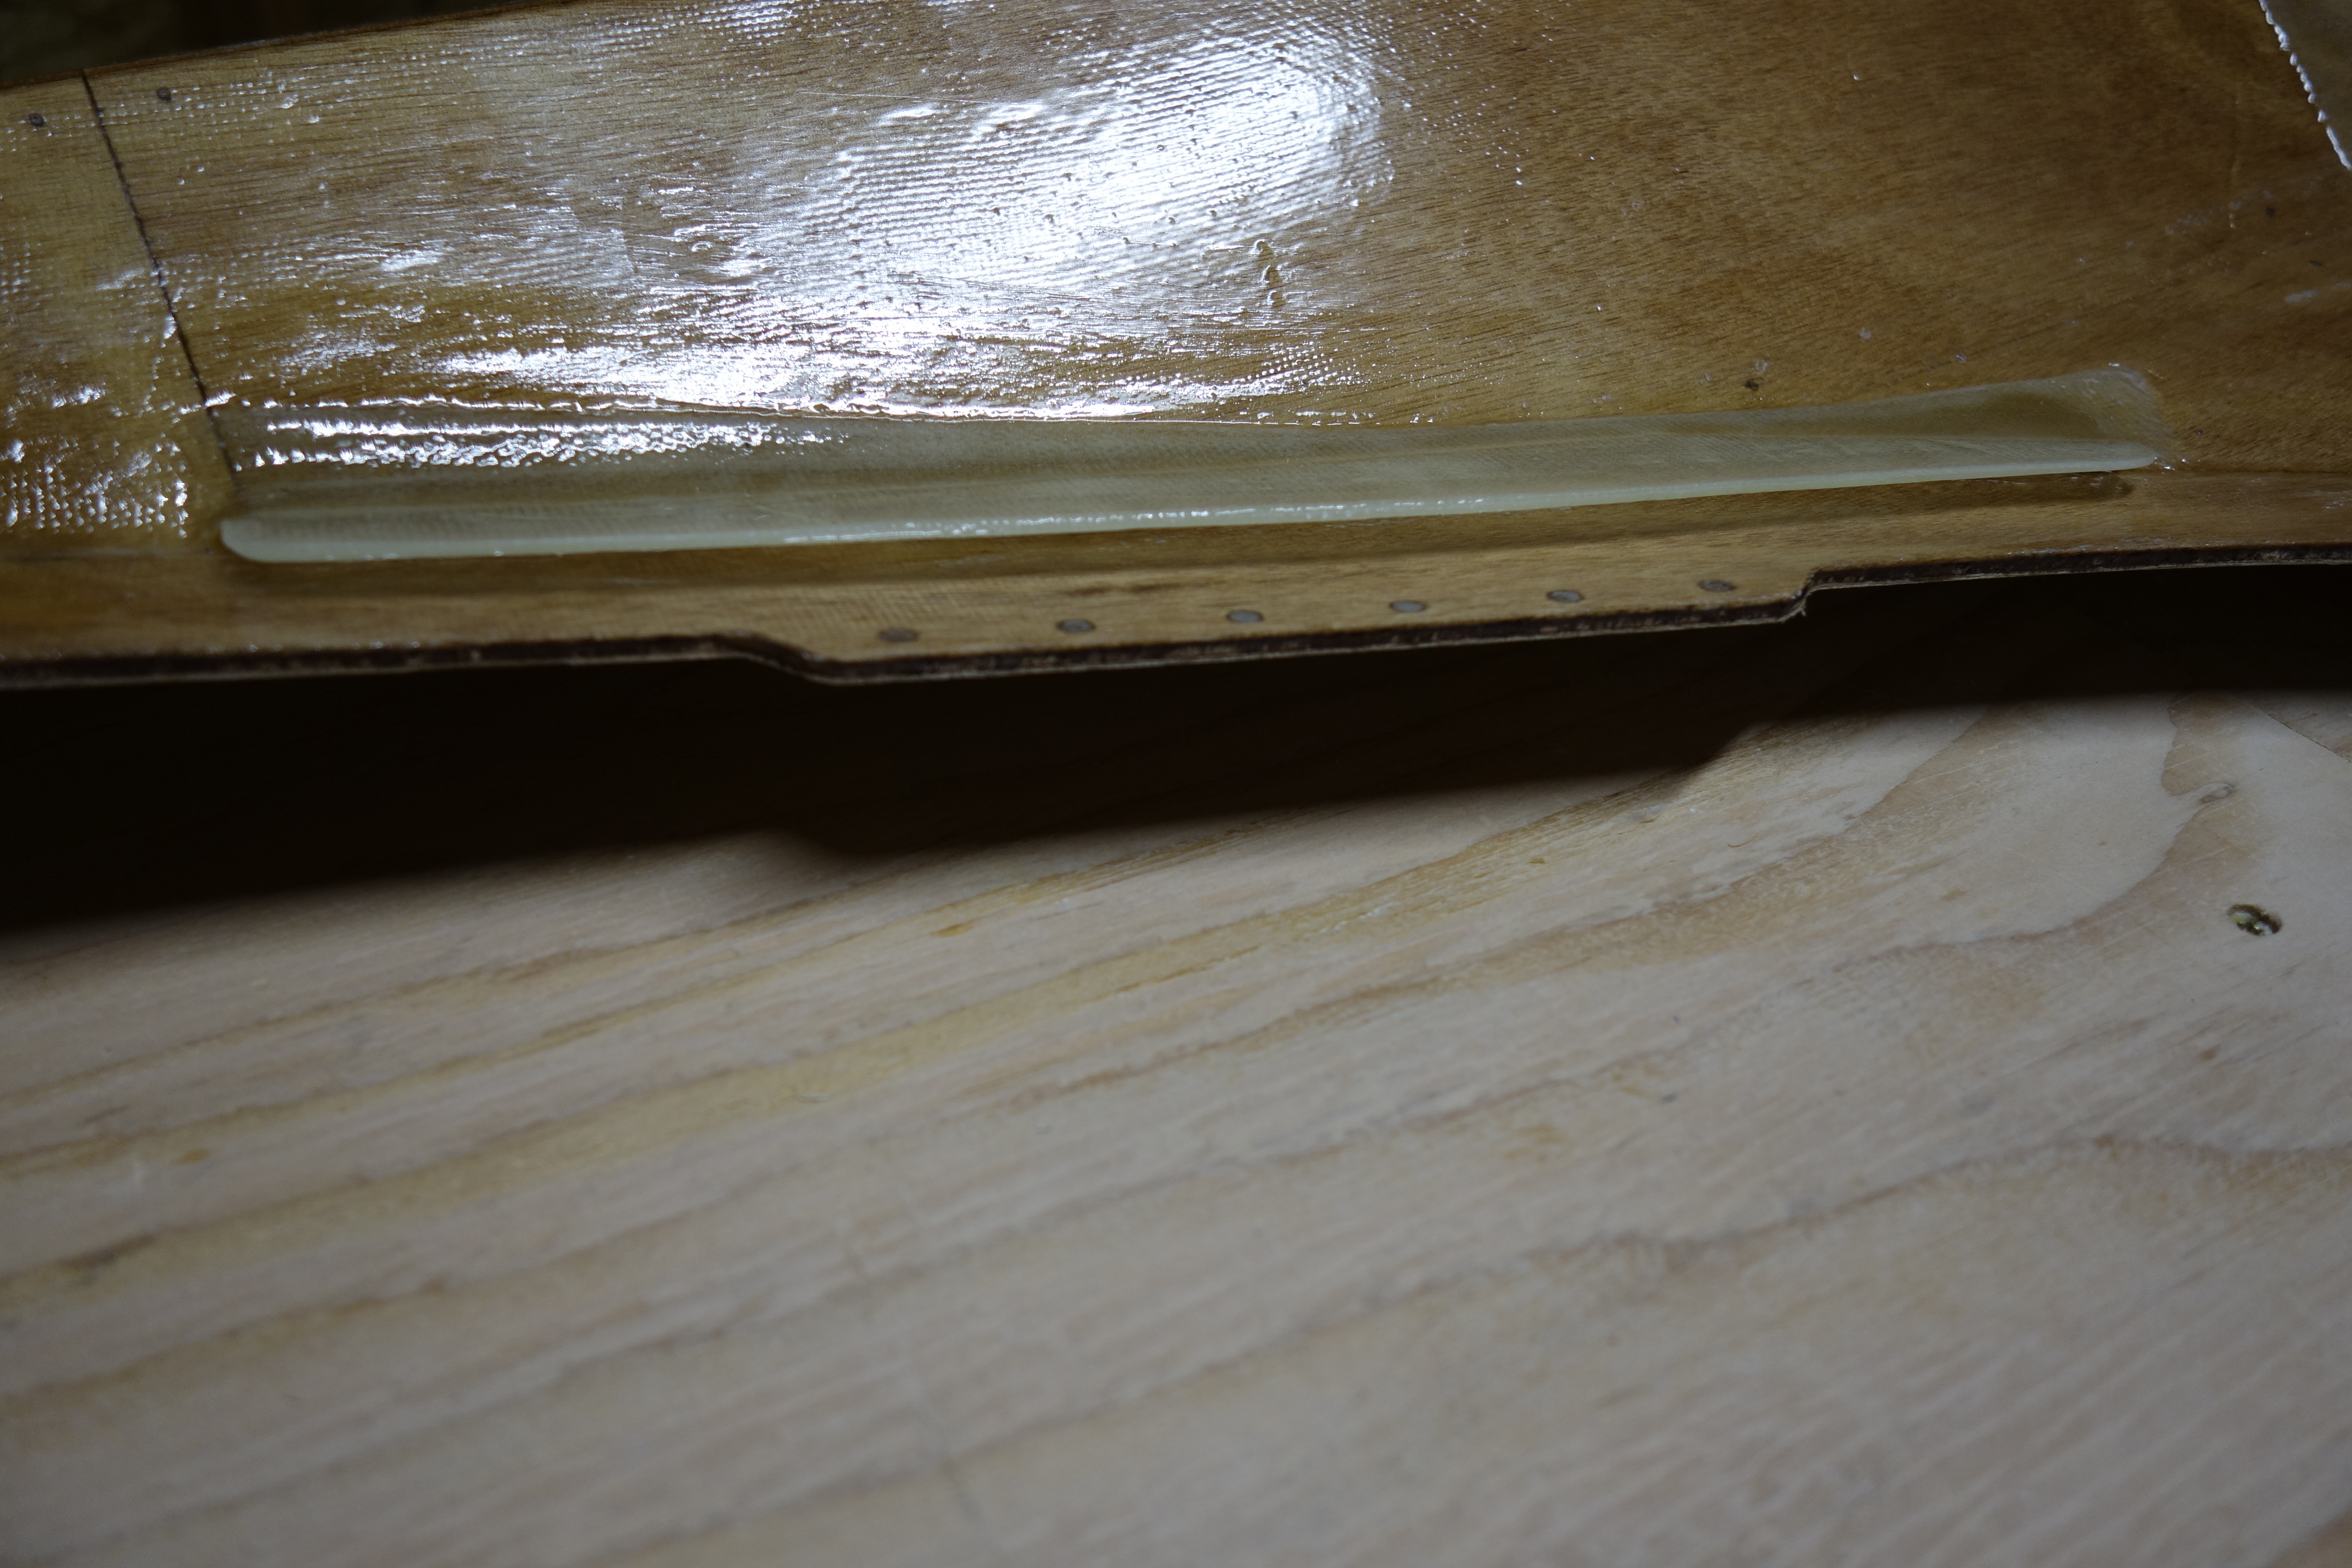
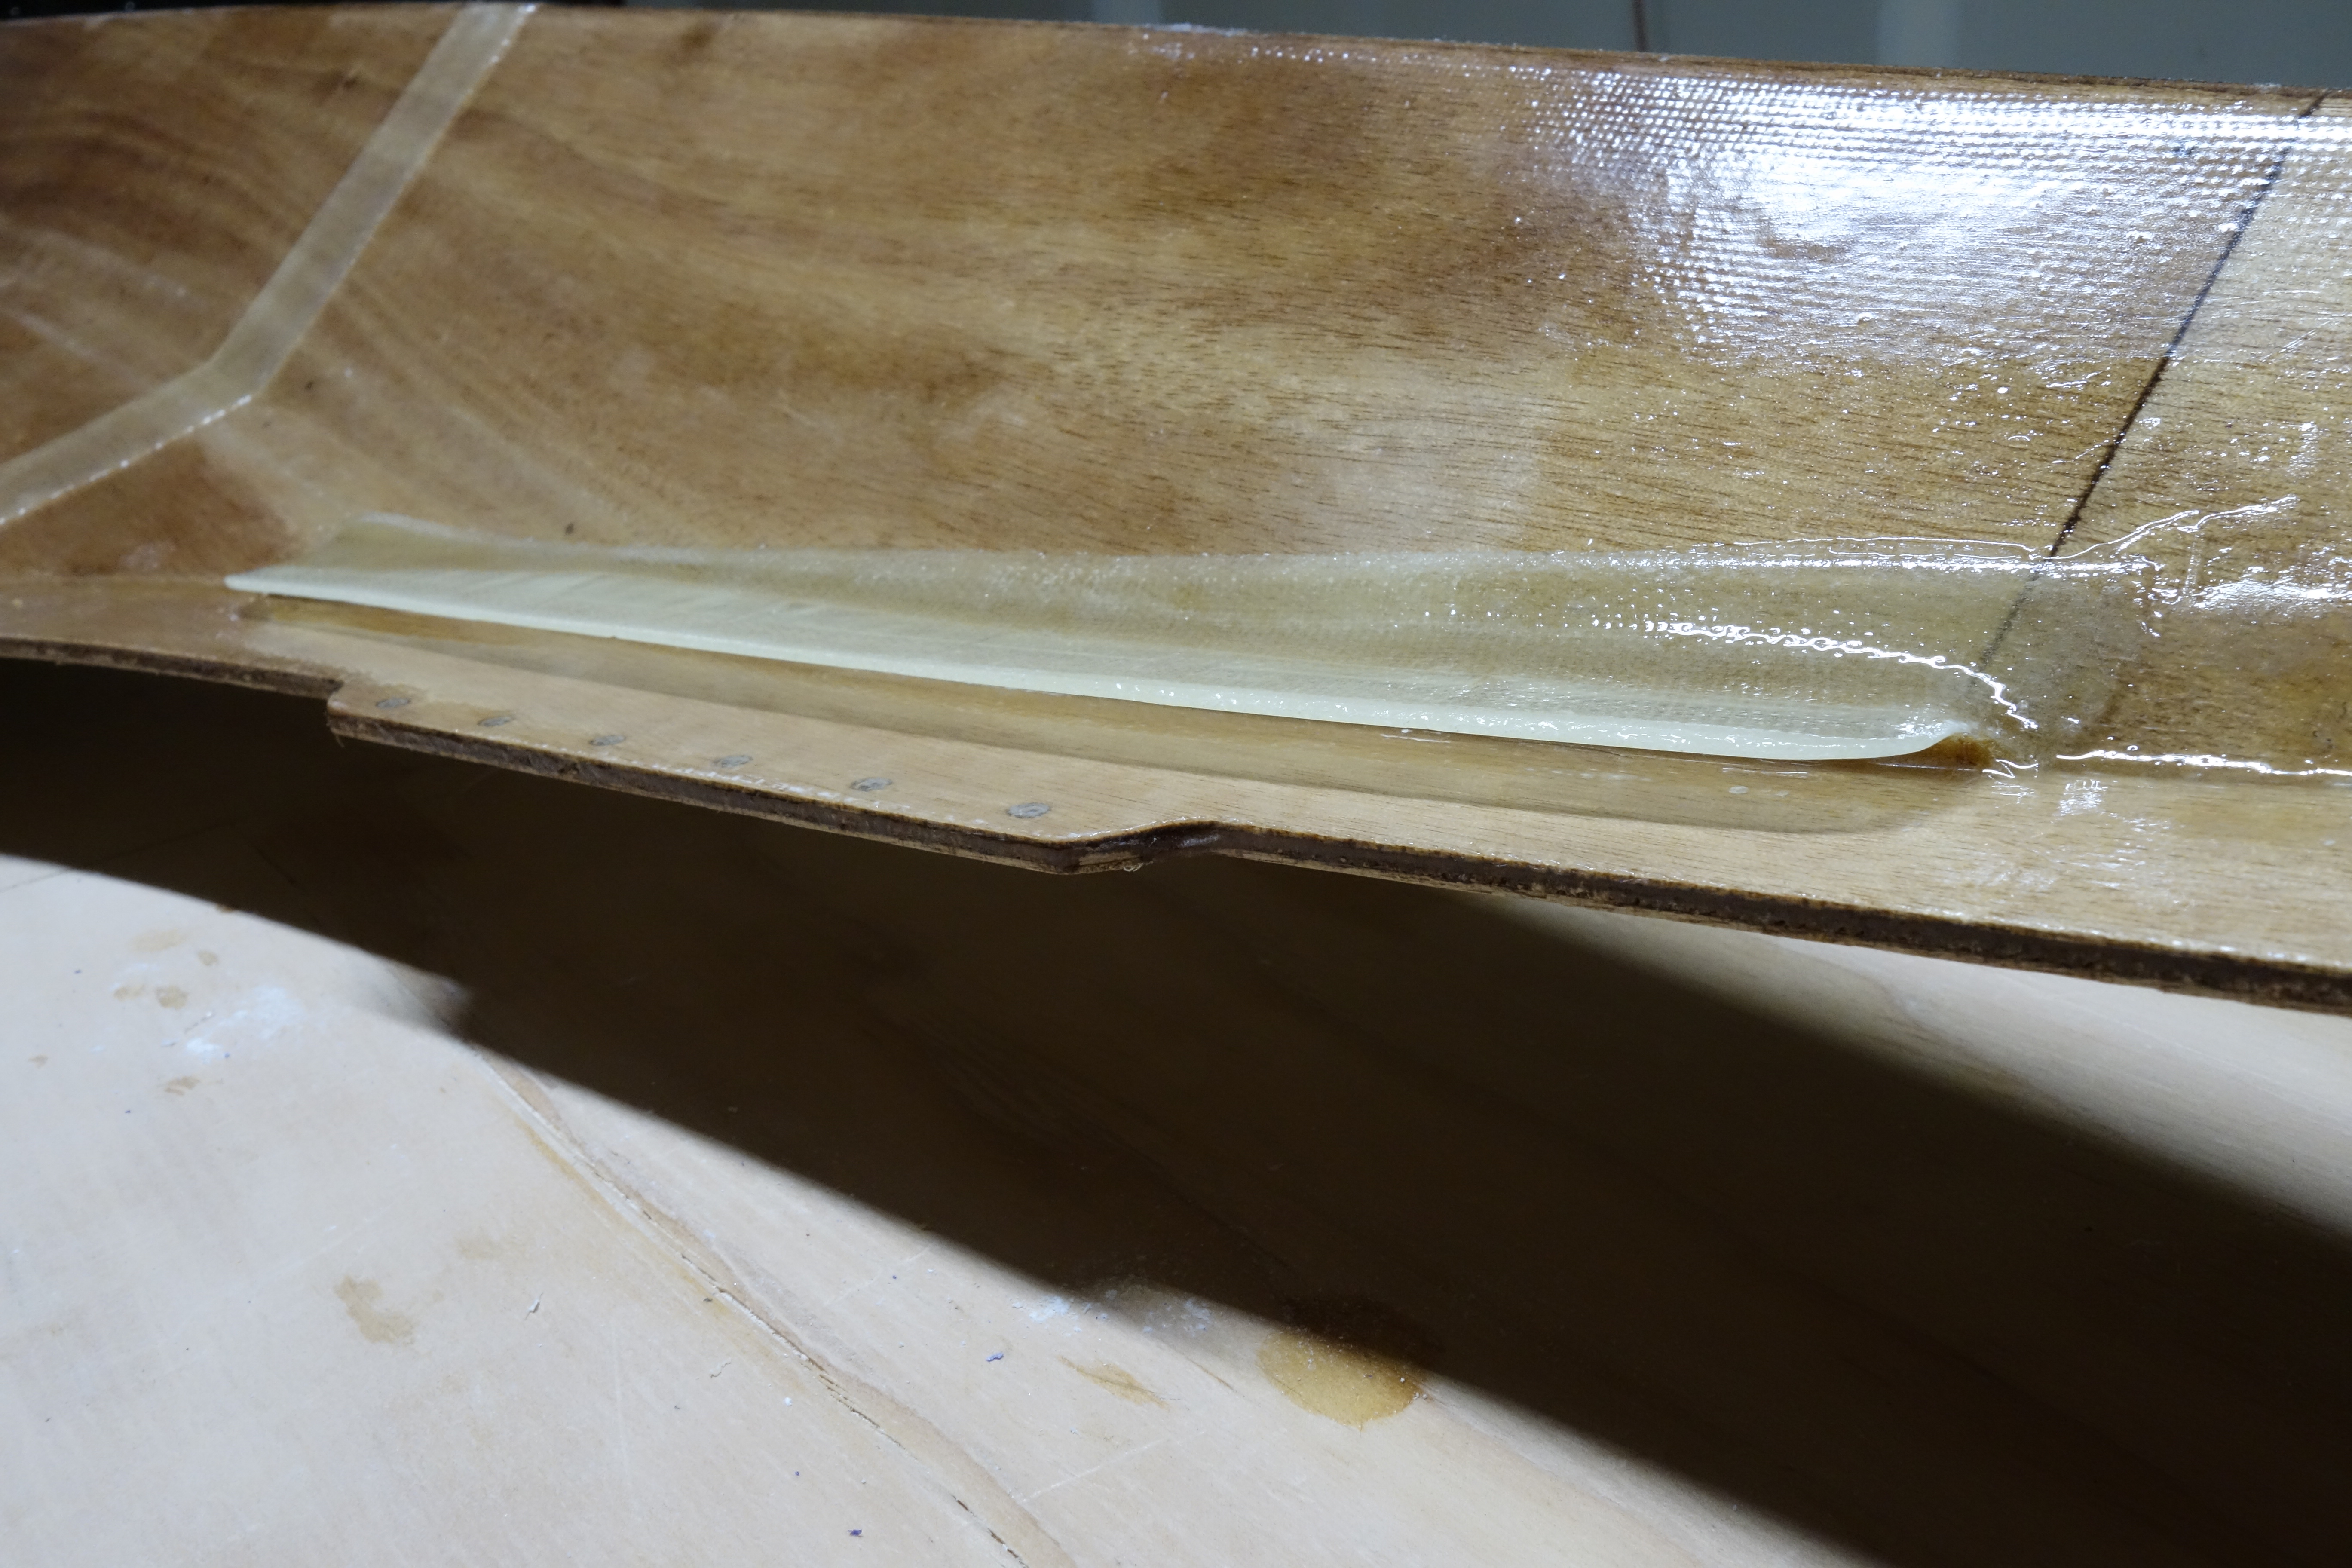
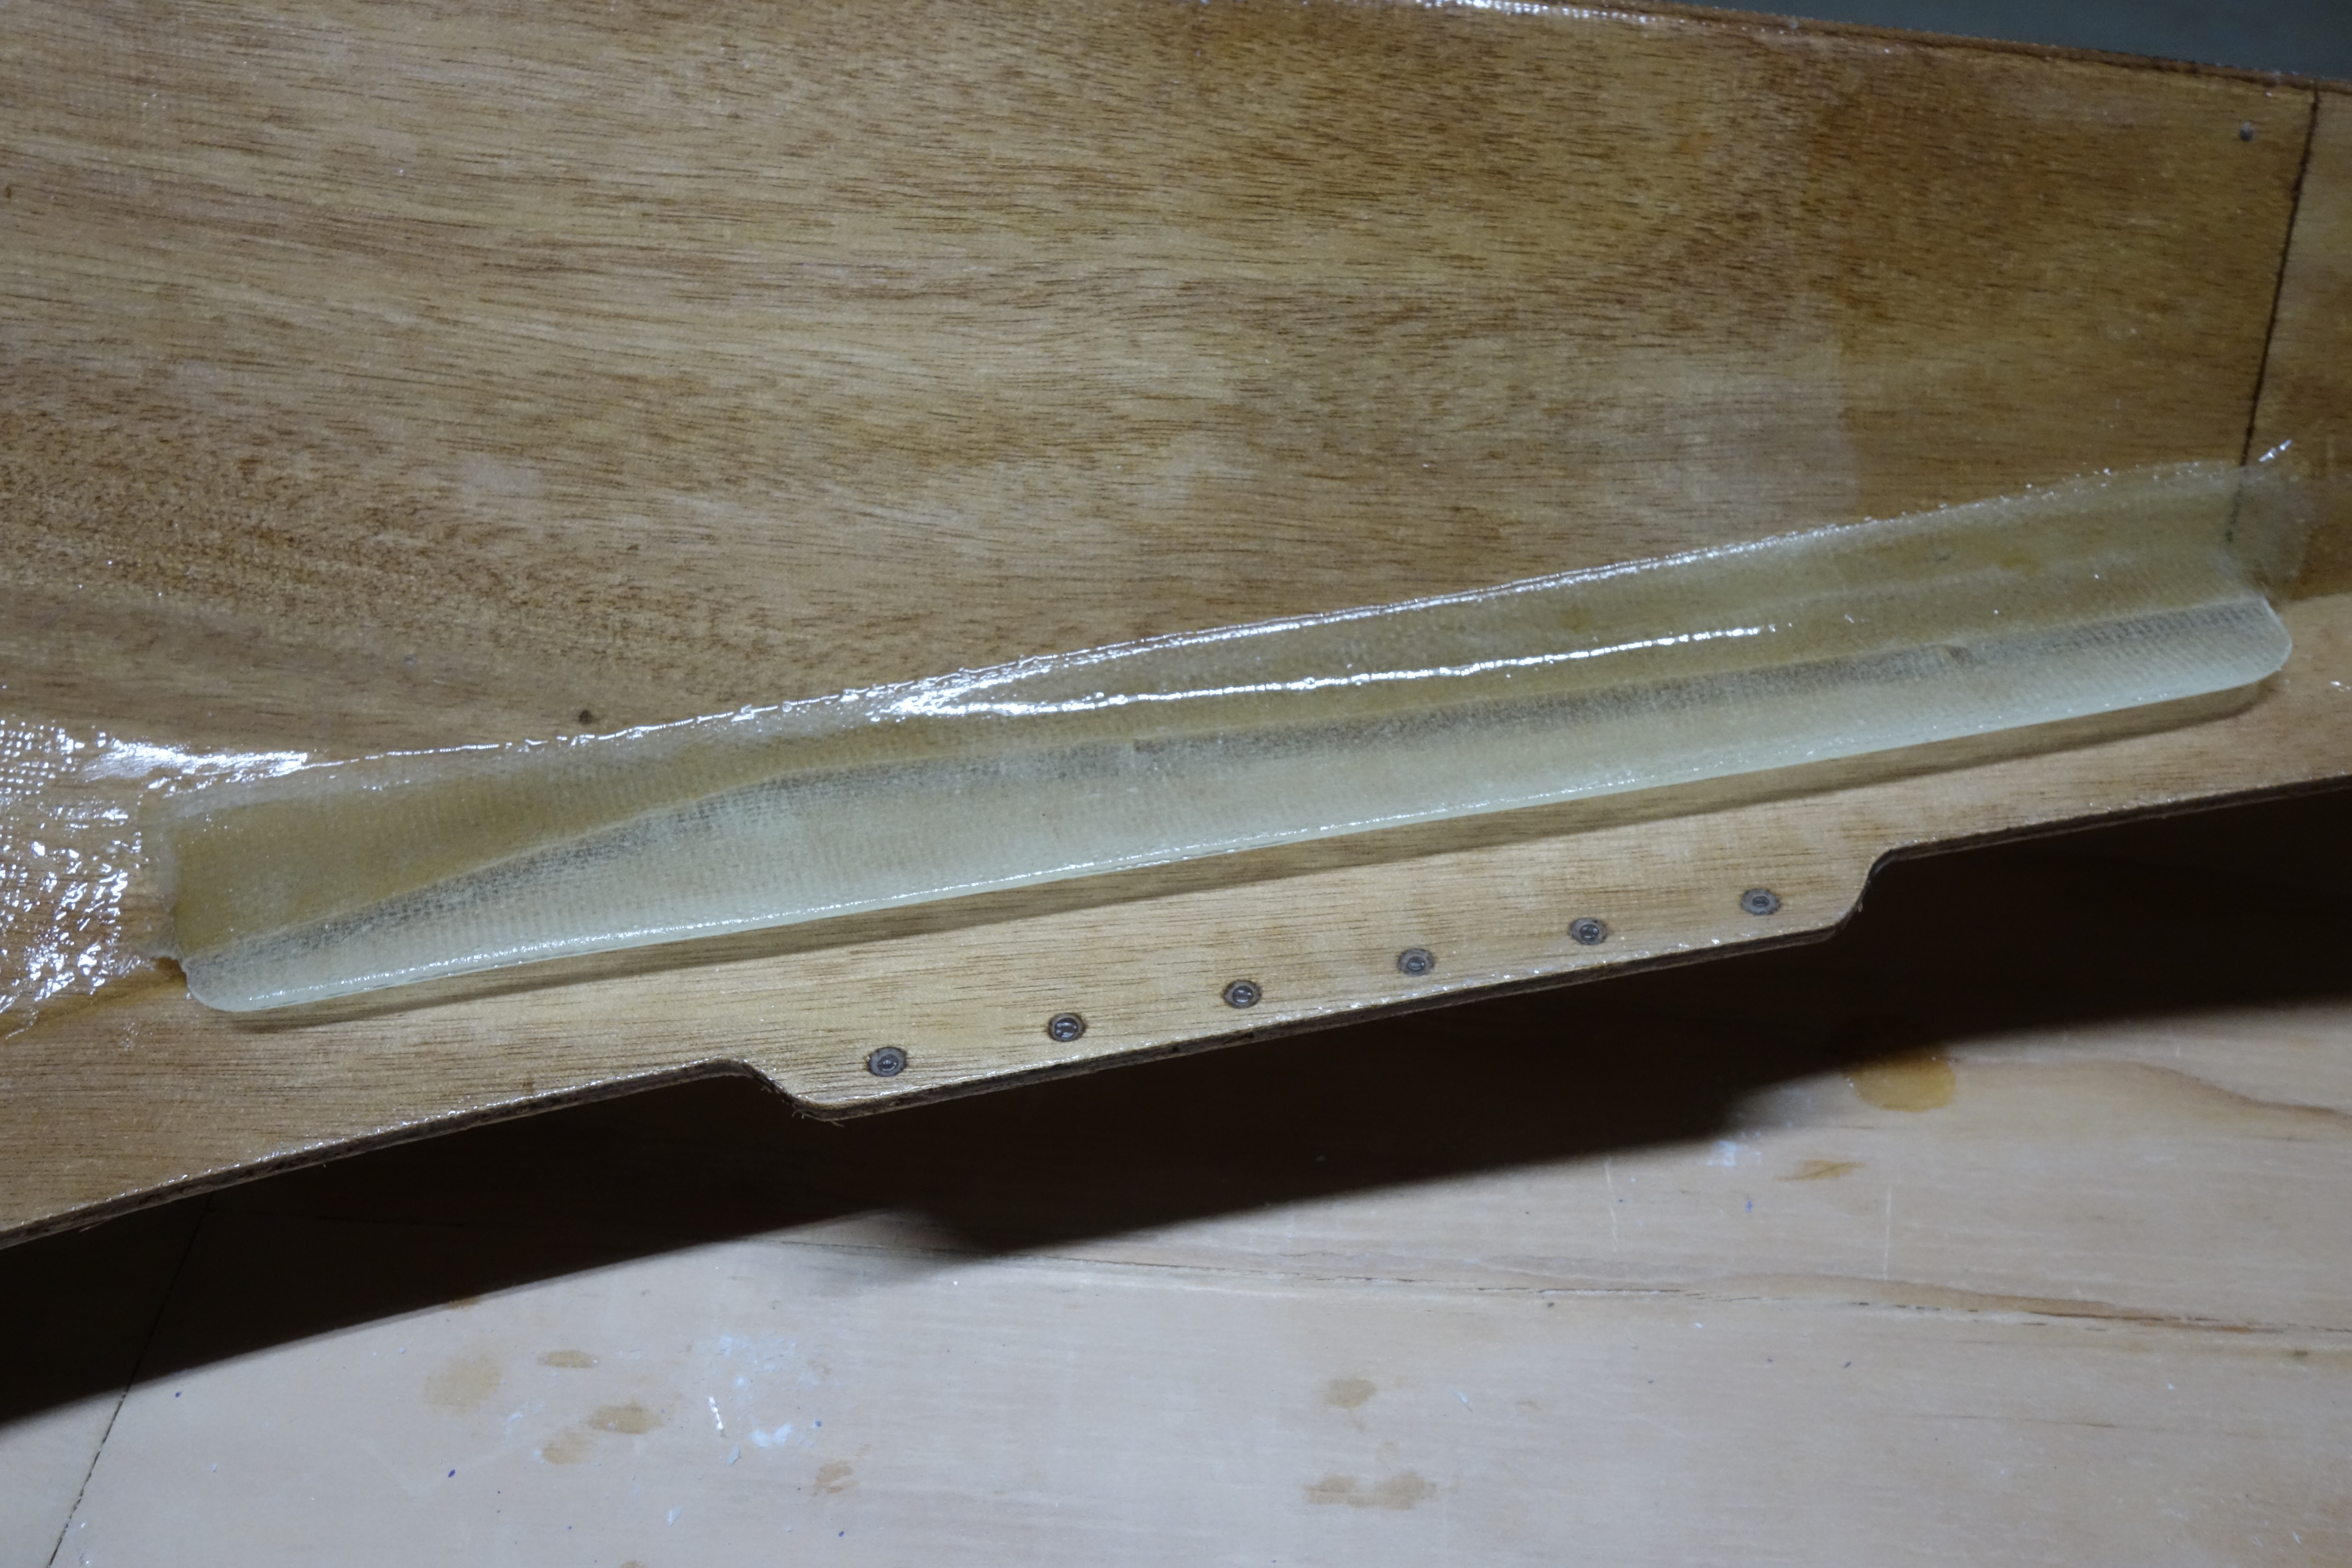
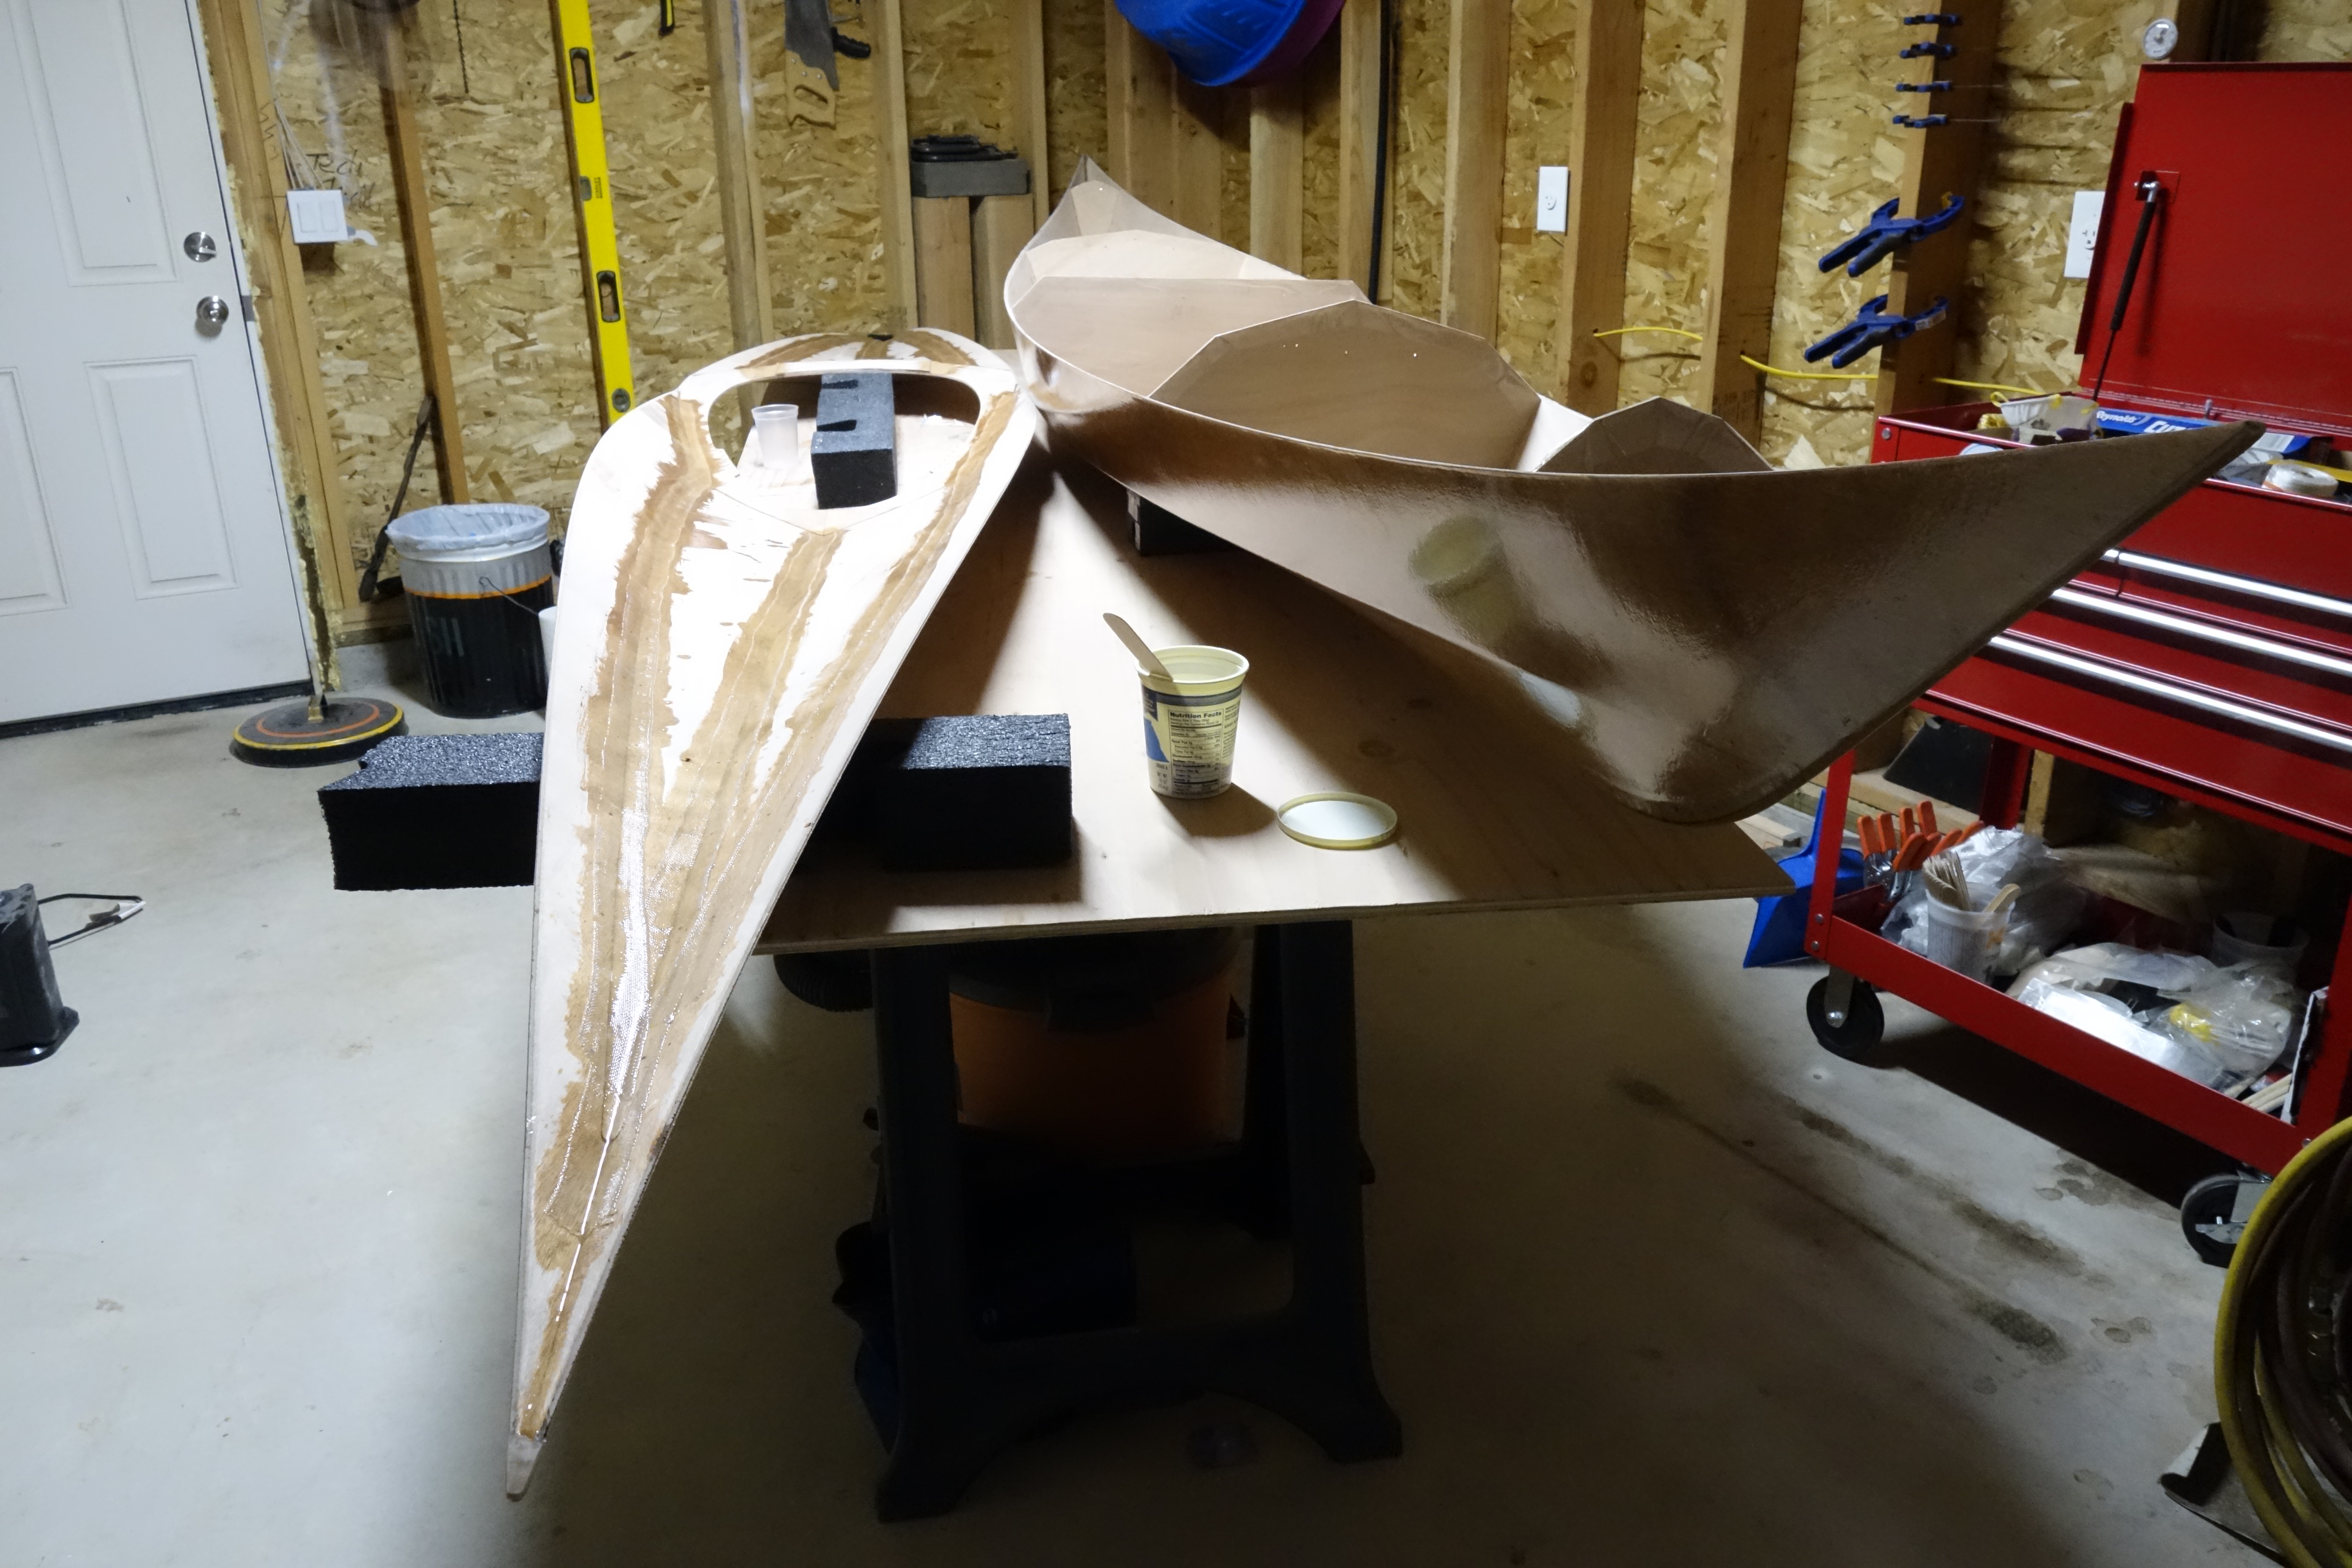
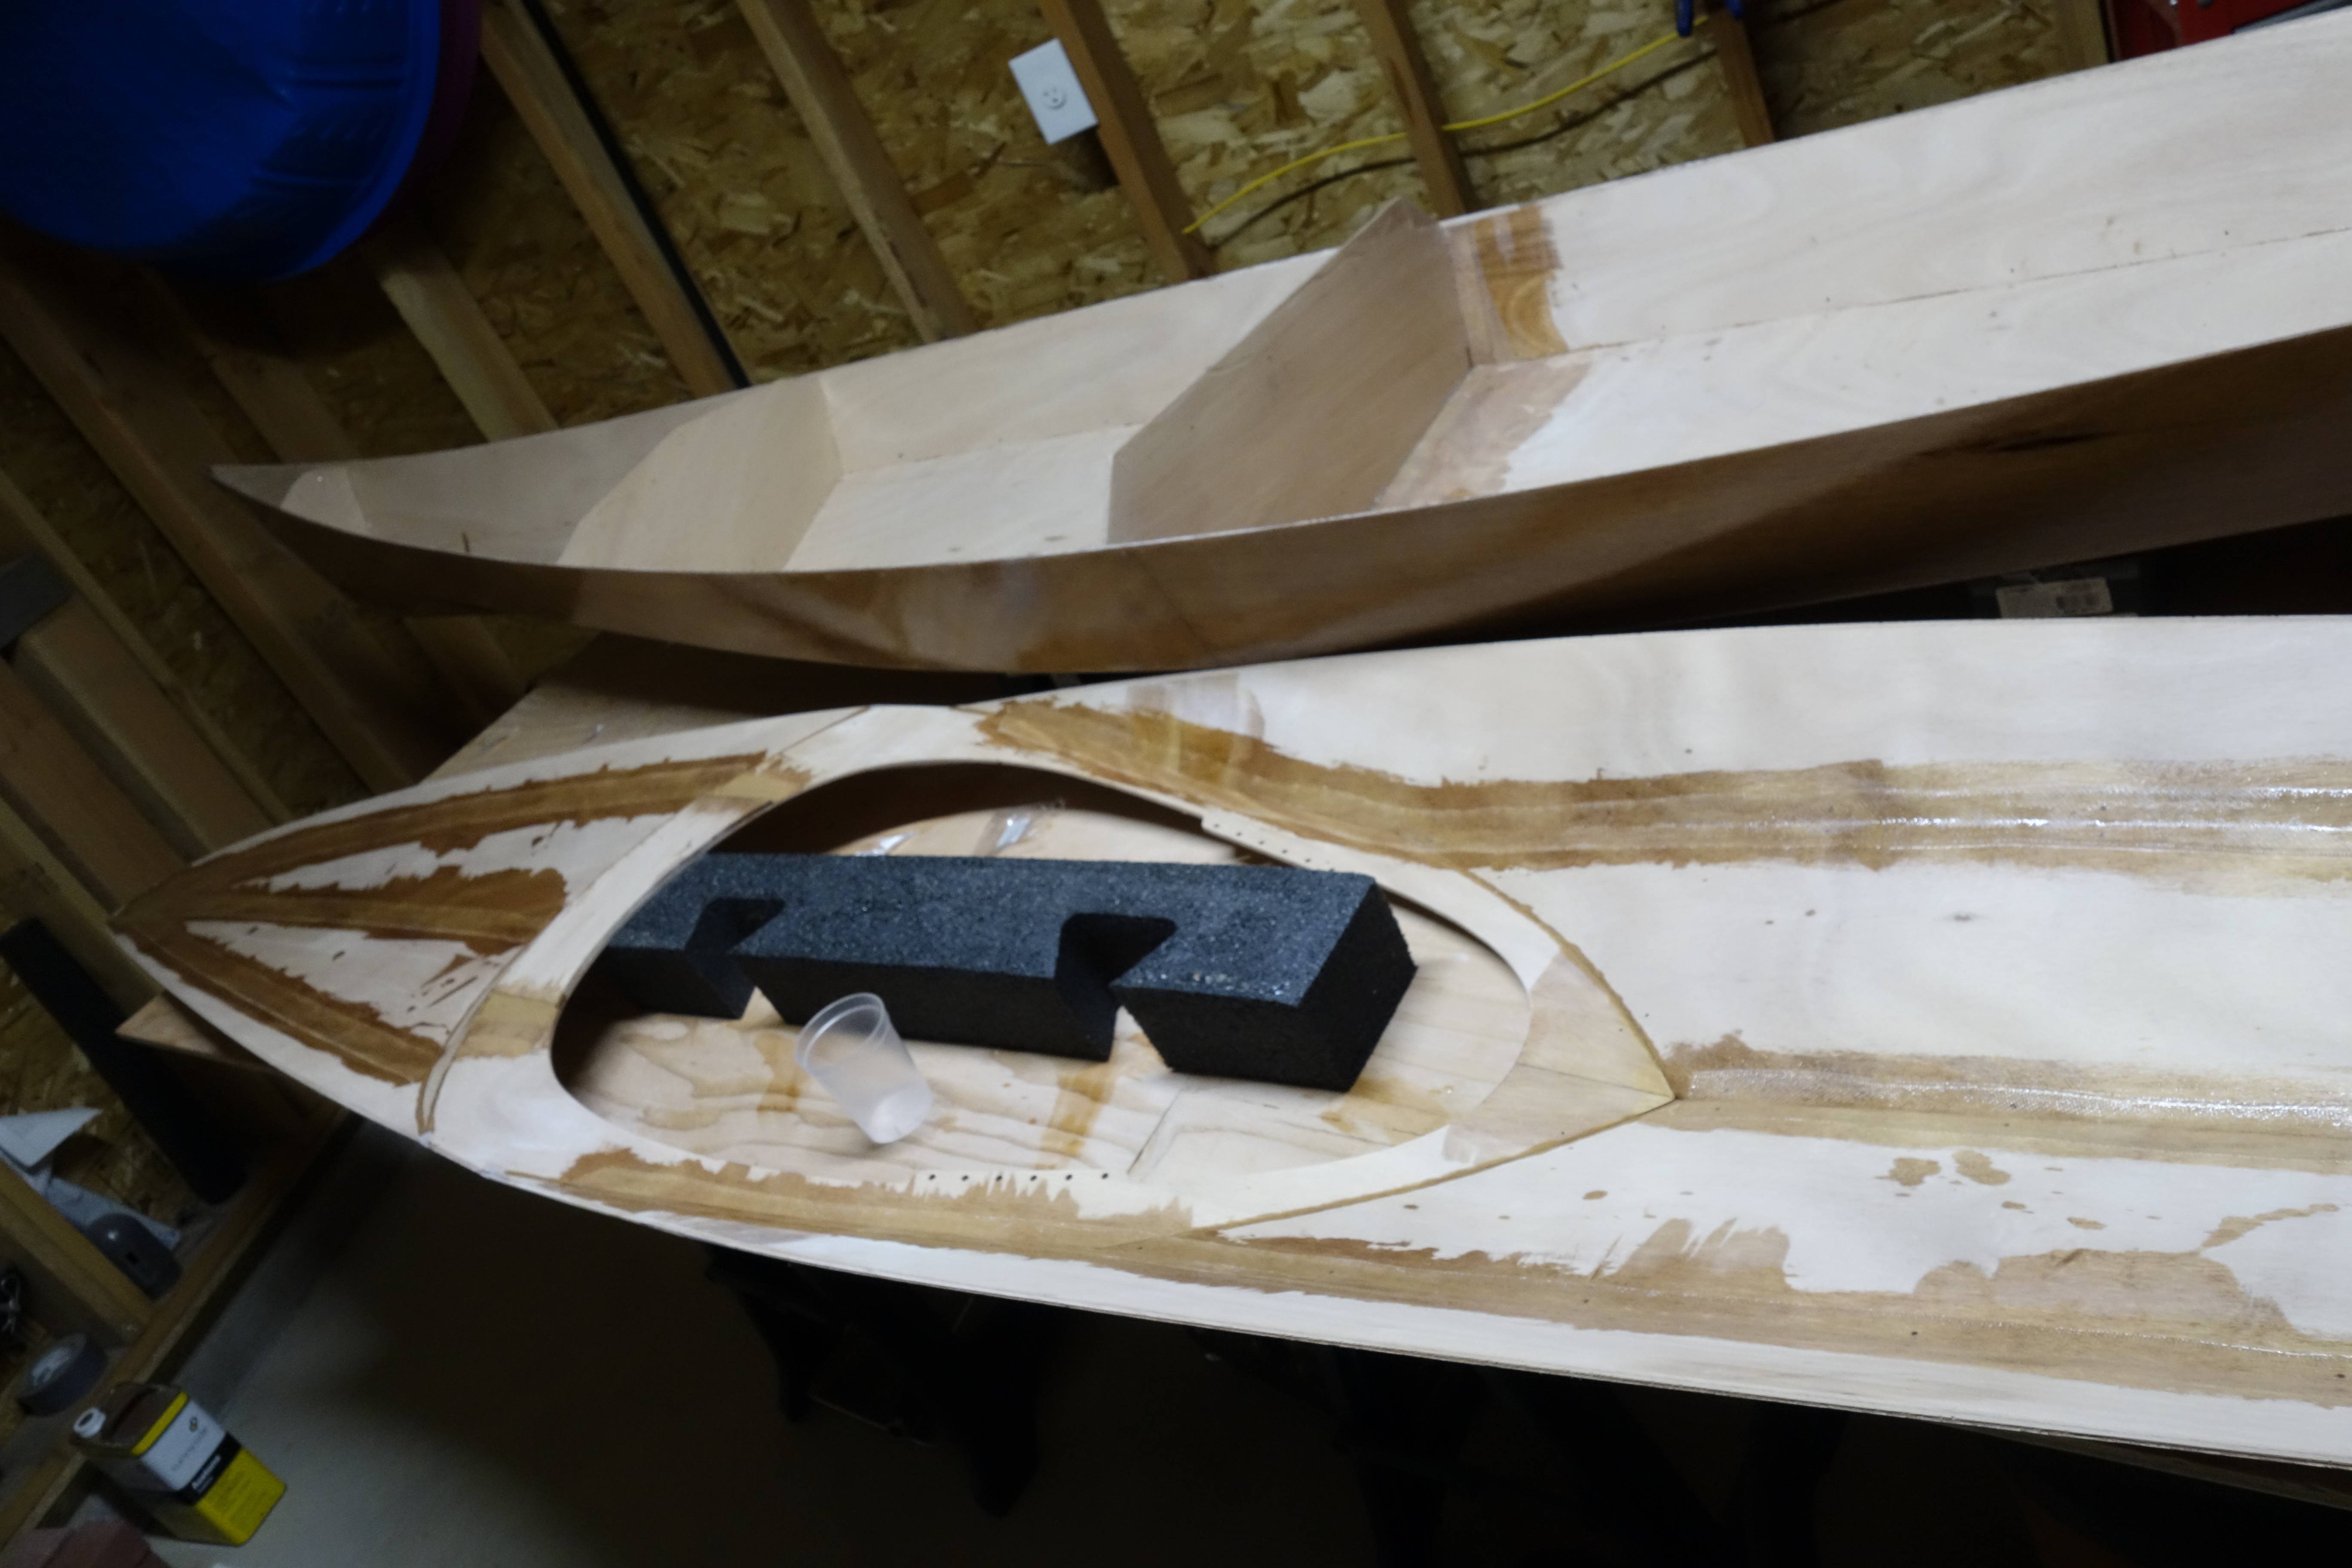
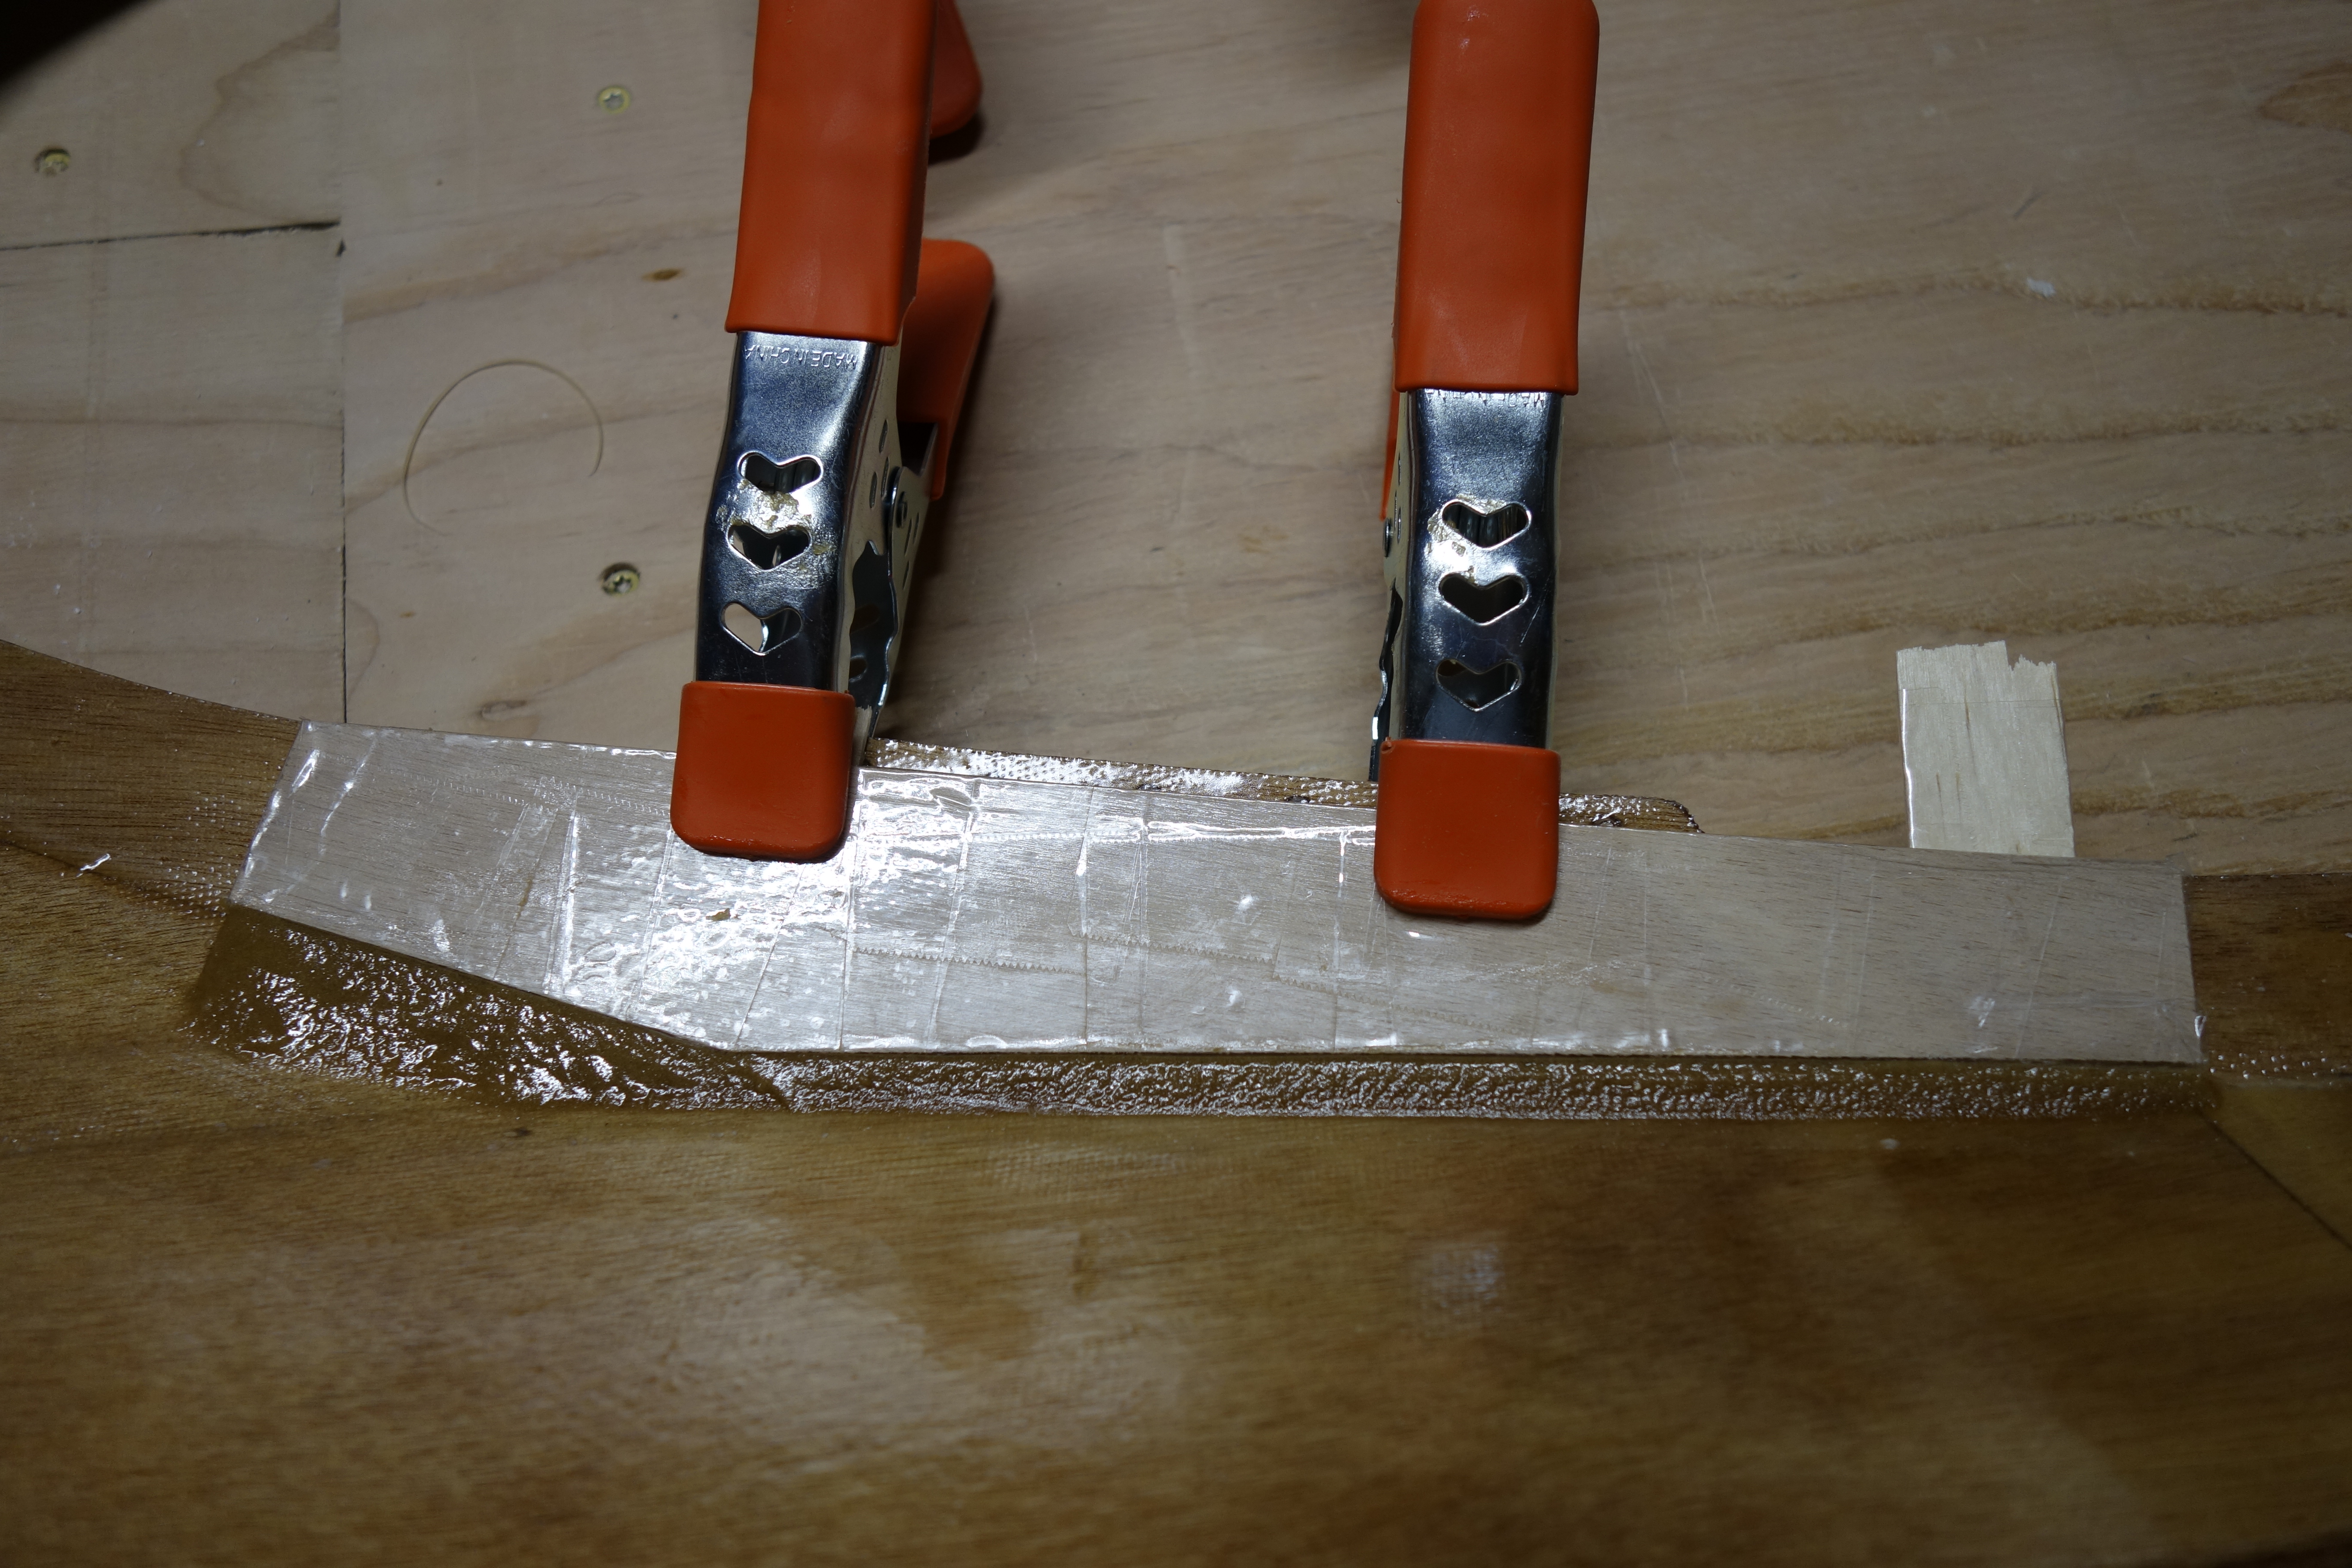
The last process on the inside of the deck is to build permanent fiberglass slots for the adjustable thigh braces. This is accomplished by using wooden forms covered in packing tape (so that the epoxy won’t stick to them) to create fillets and shape fiberglass tape into the necessary shape.

Epoxy thickened with wood flour is used to create the “platform” that the fiberglass tape will sit on to create the slots.
Fiberglass tape applied. It’s funny what a slight camera angle can do. Of course, the slots on both sides of the kayak are exactly the same size, but this photo makes the left one look much smaller than the right one. Funny!
There are four layers of fiberglass tape laminated one atop the other, to create the slots.

Reinforcement at the rear of the cockpit and deck recess.

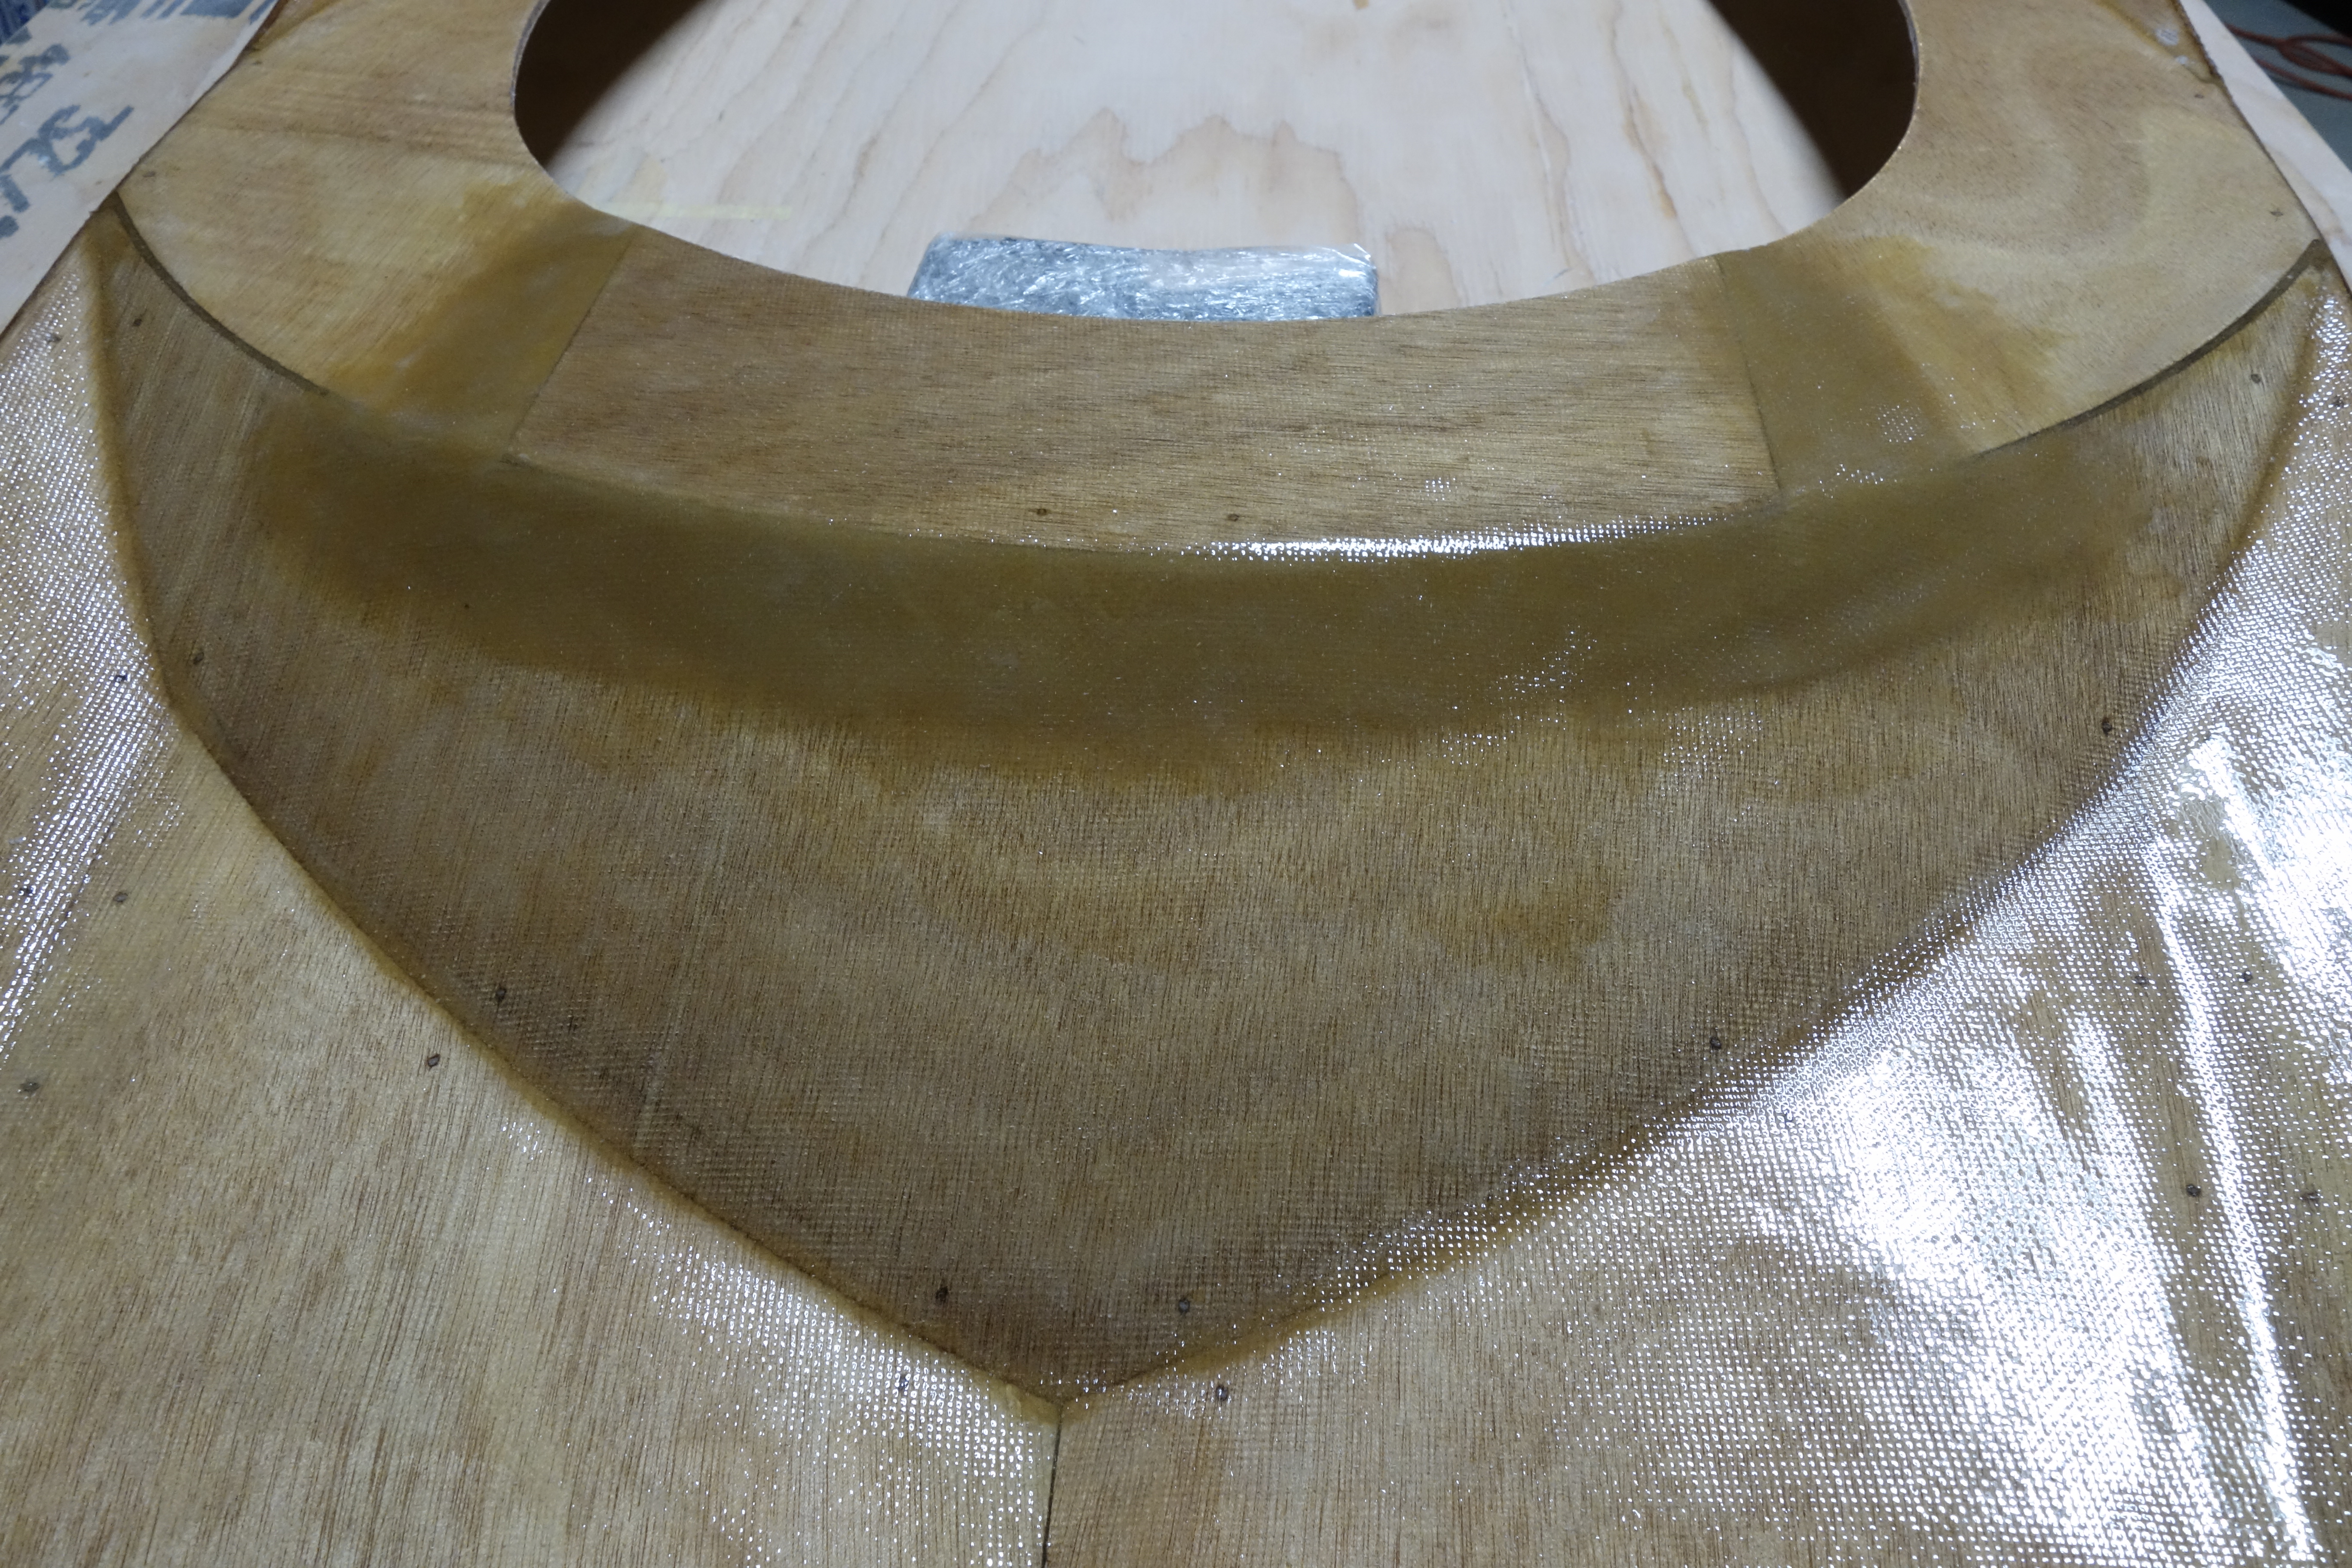
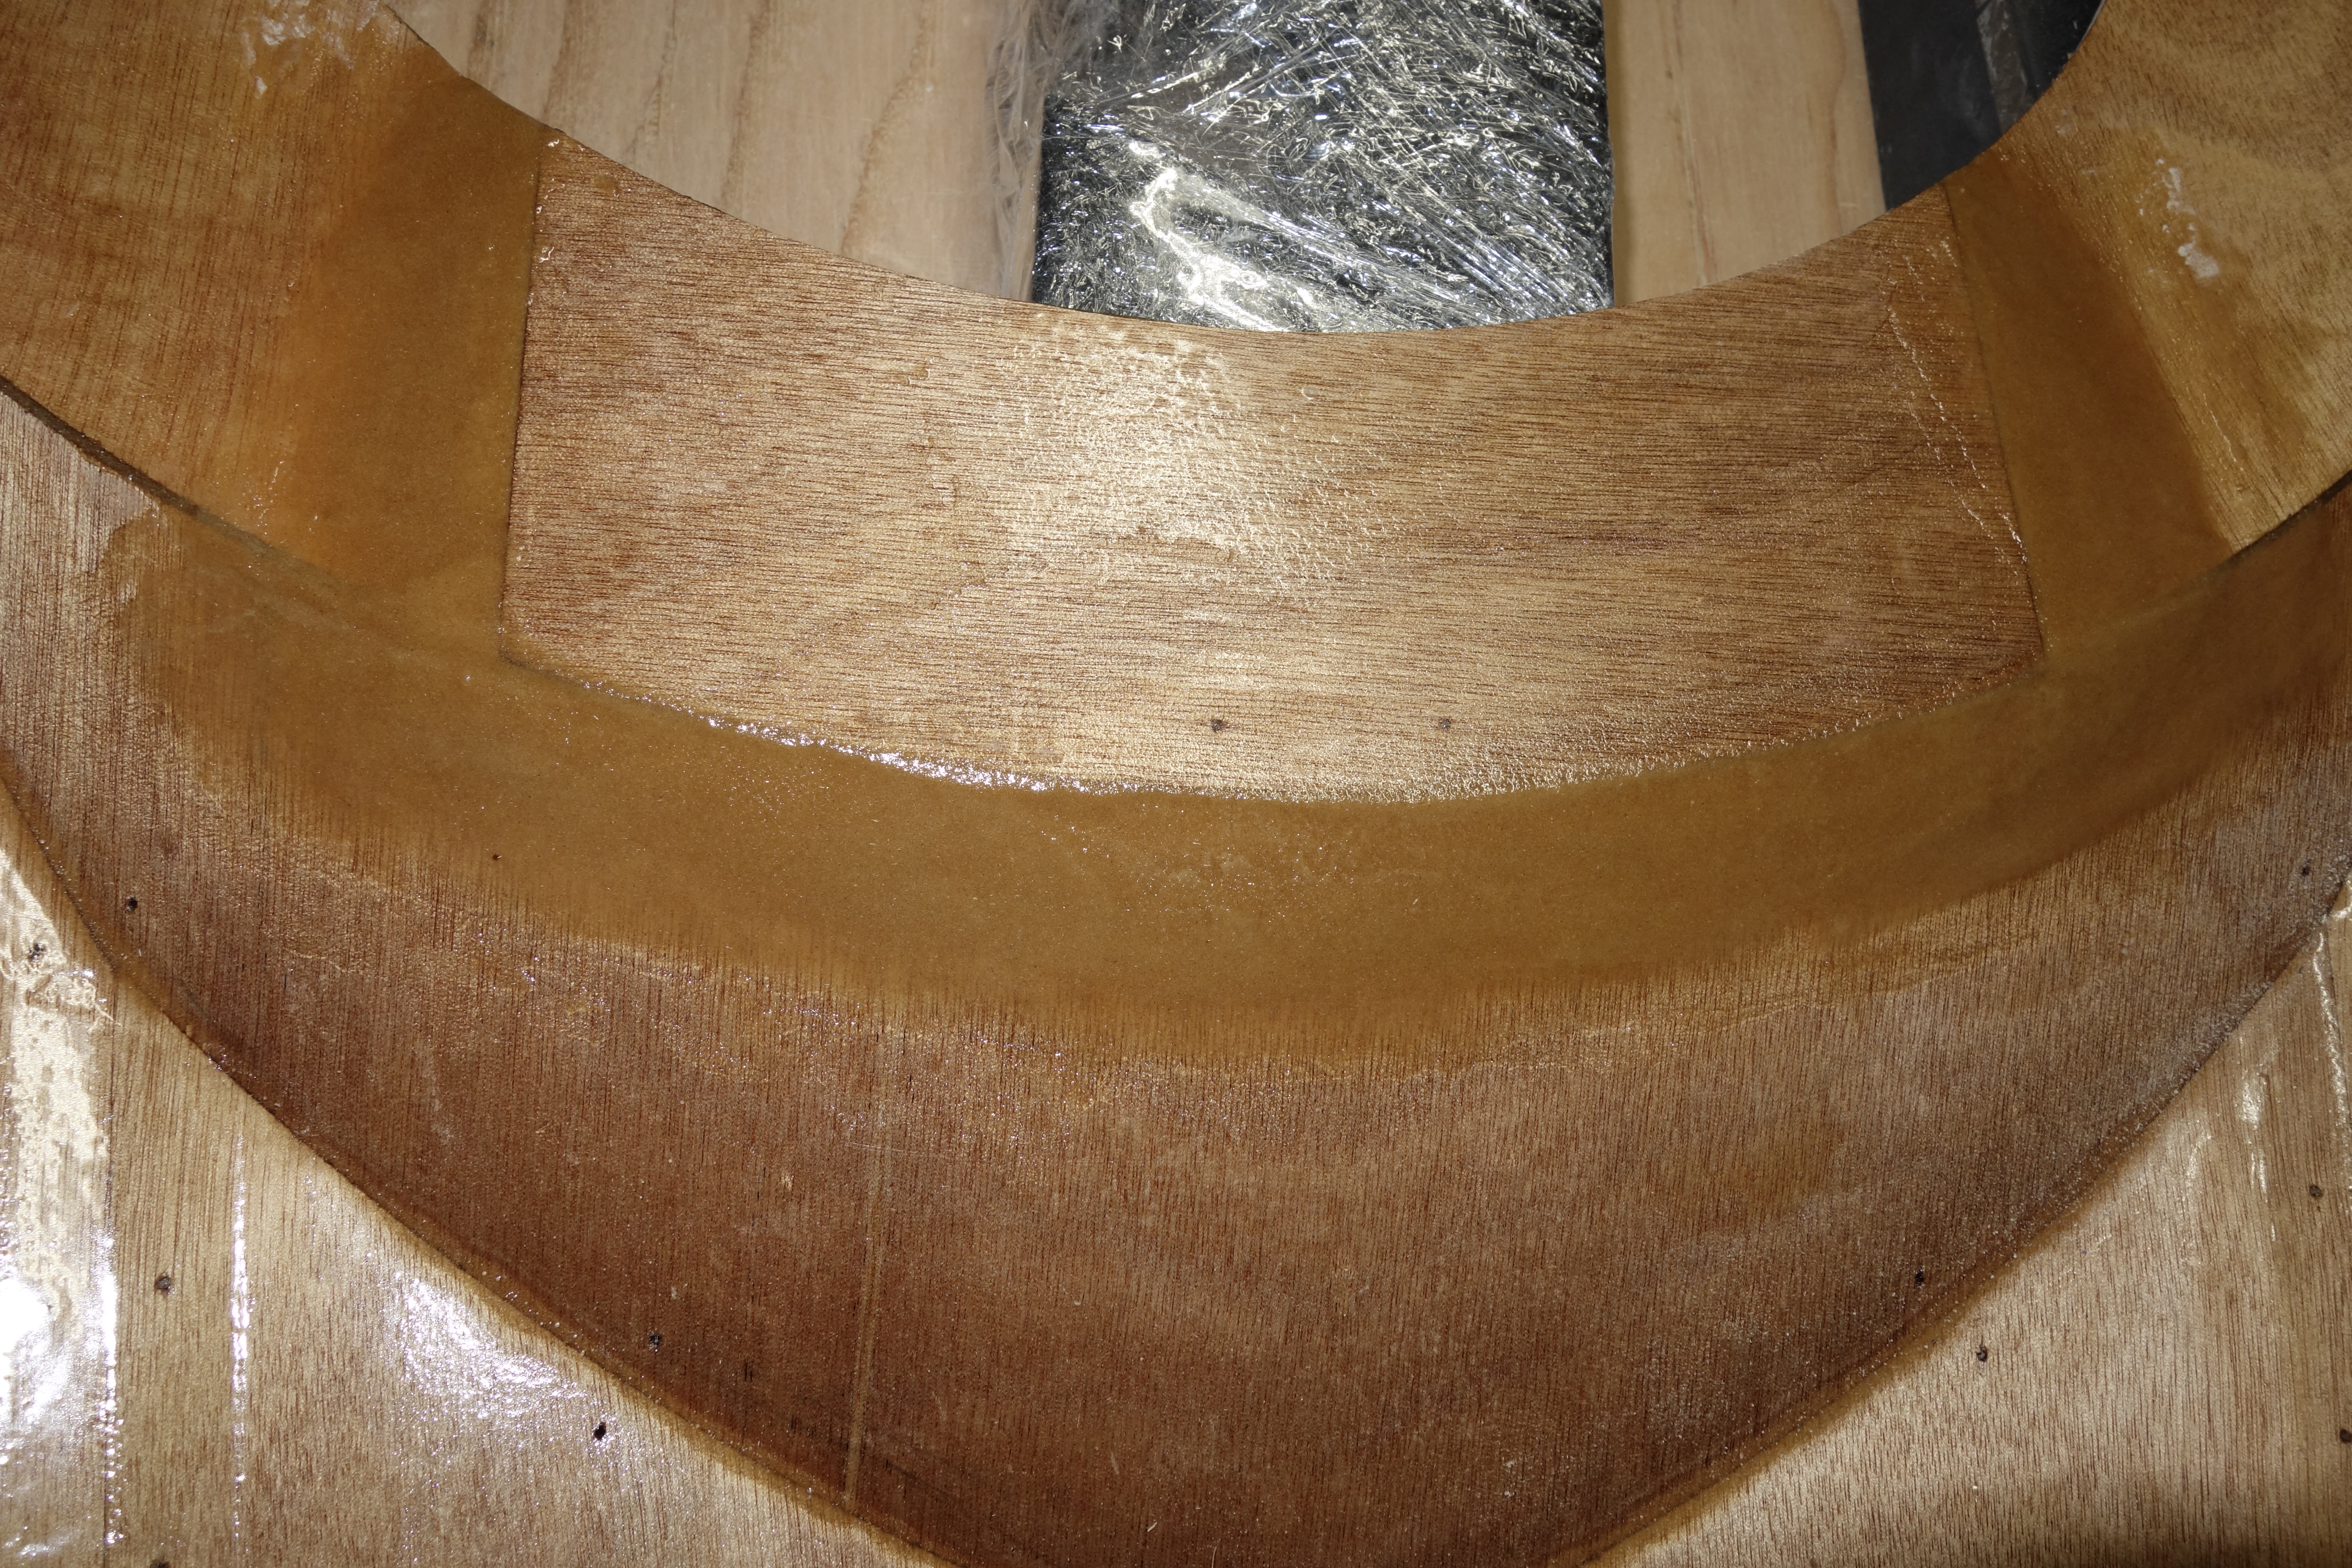
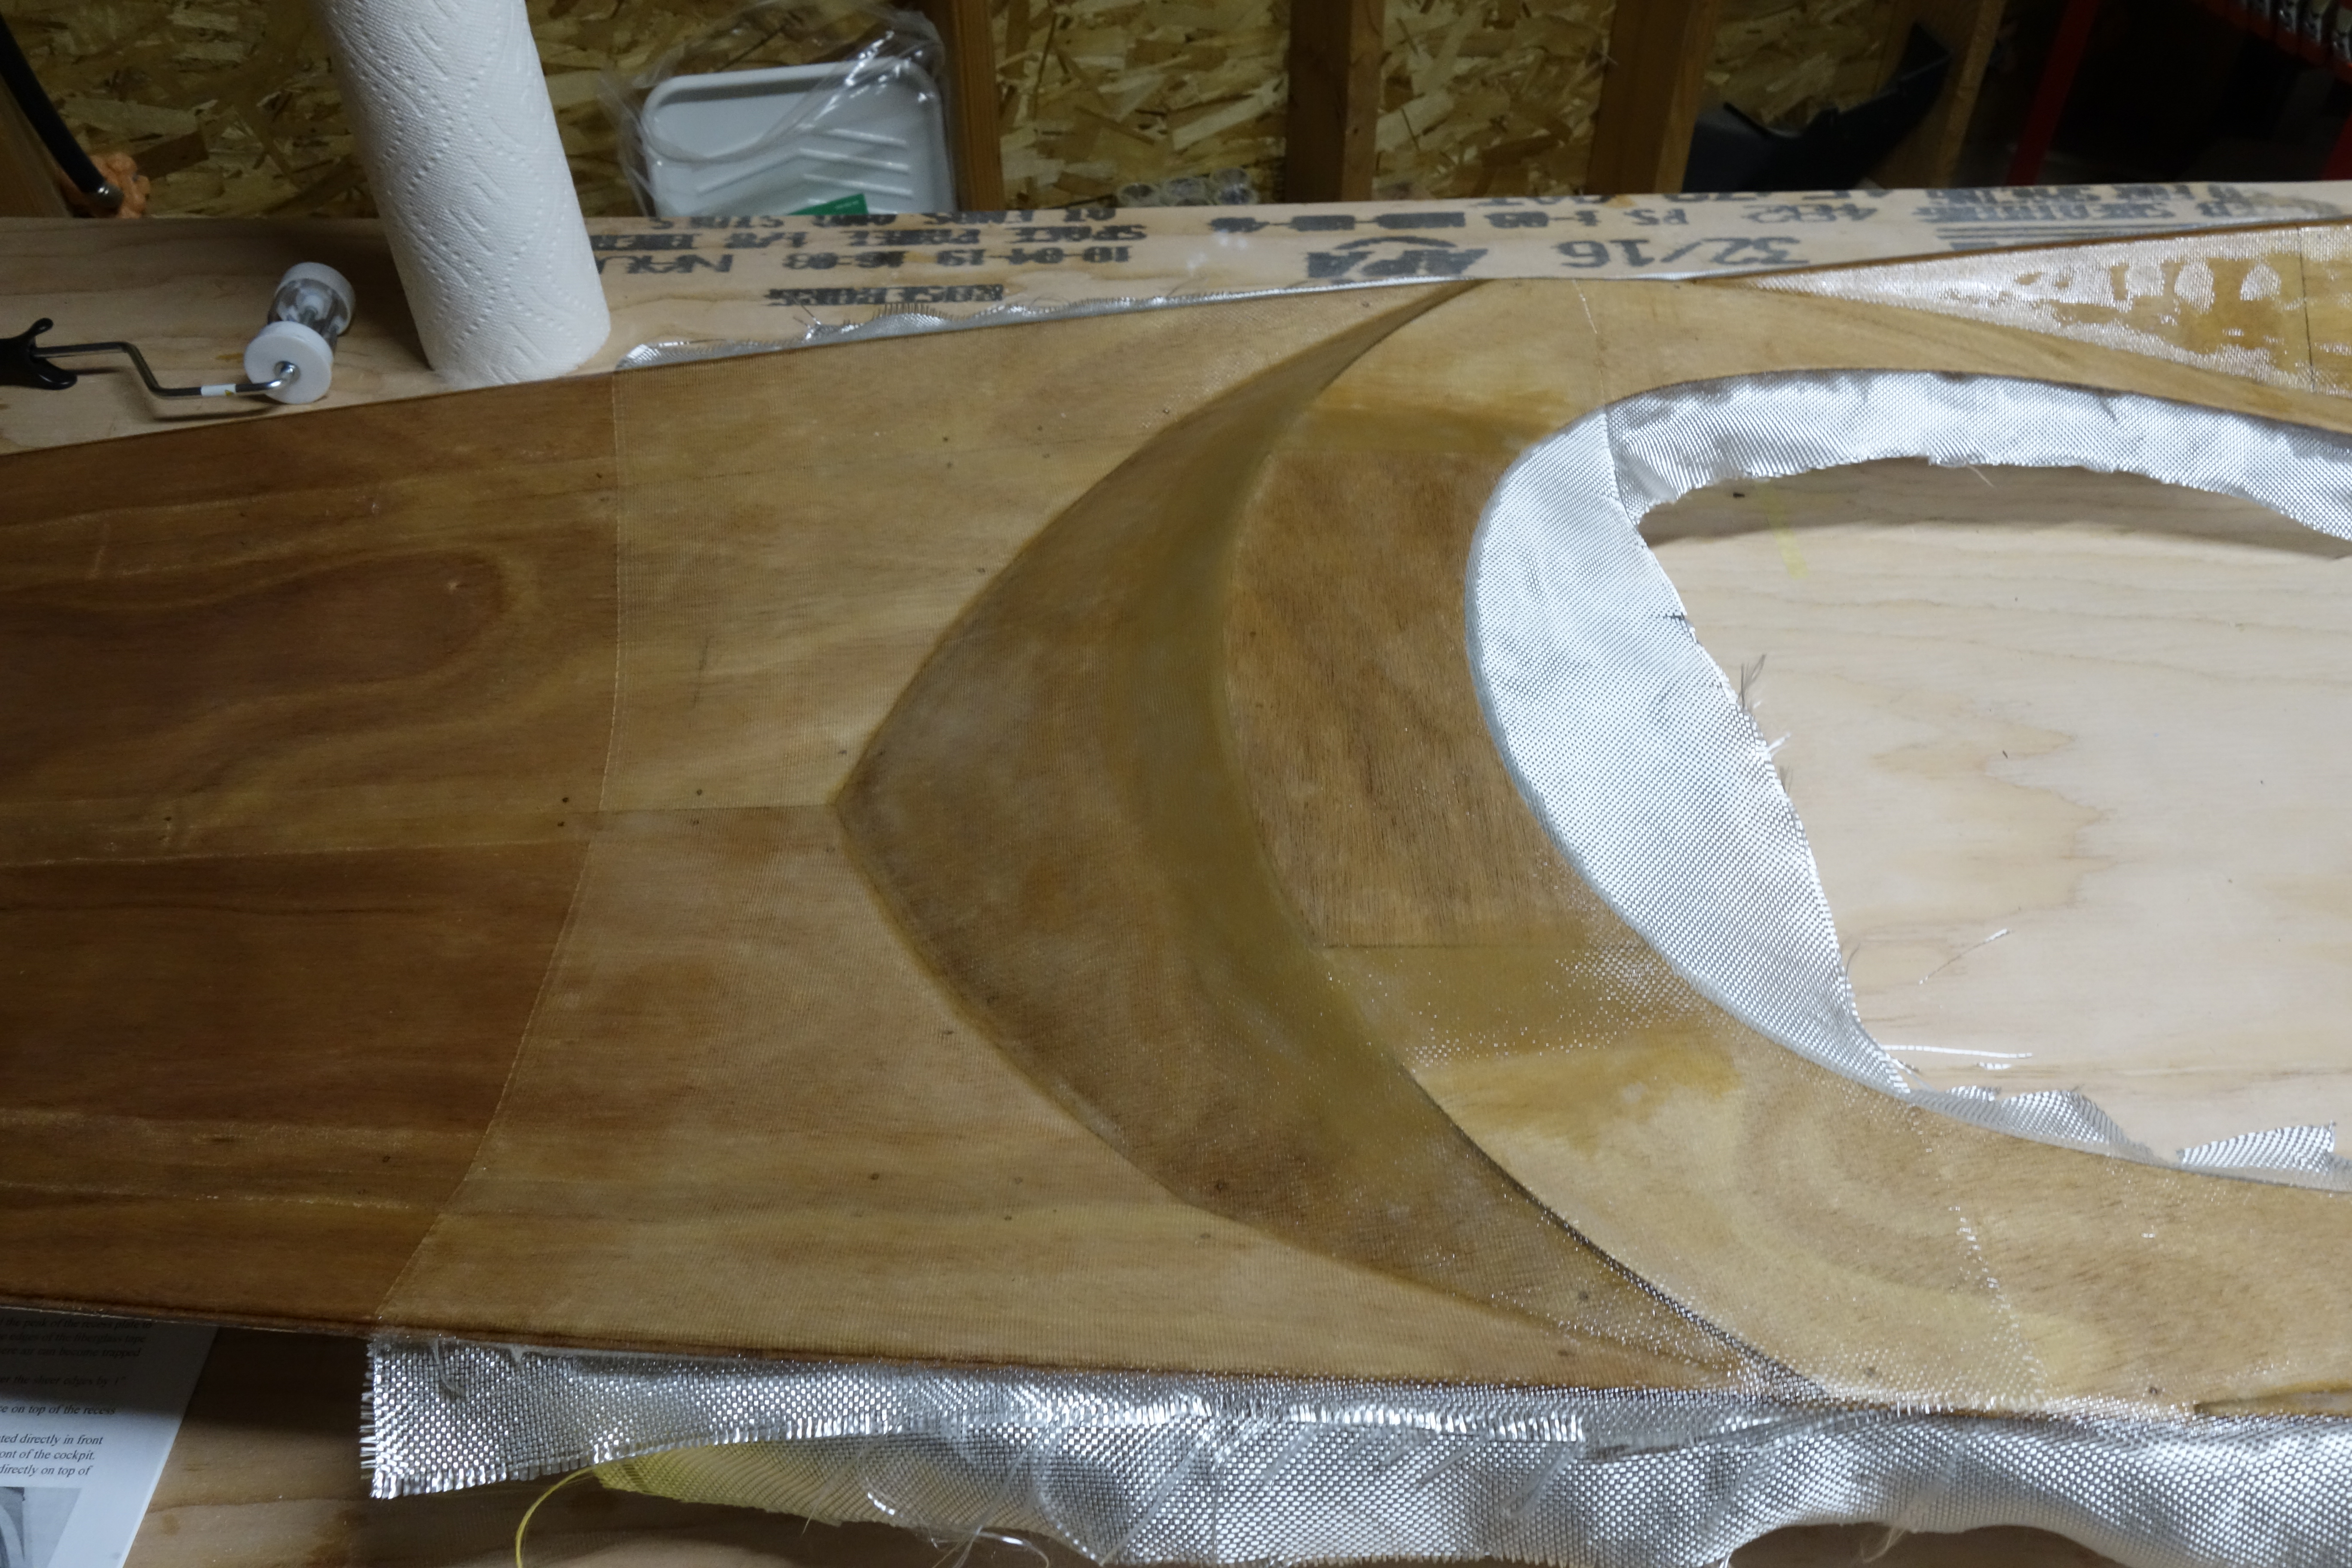
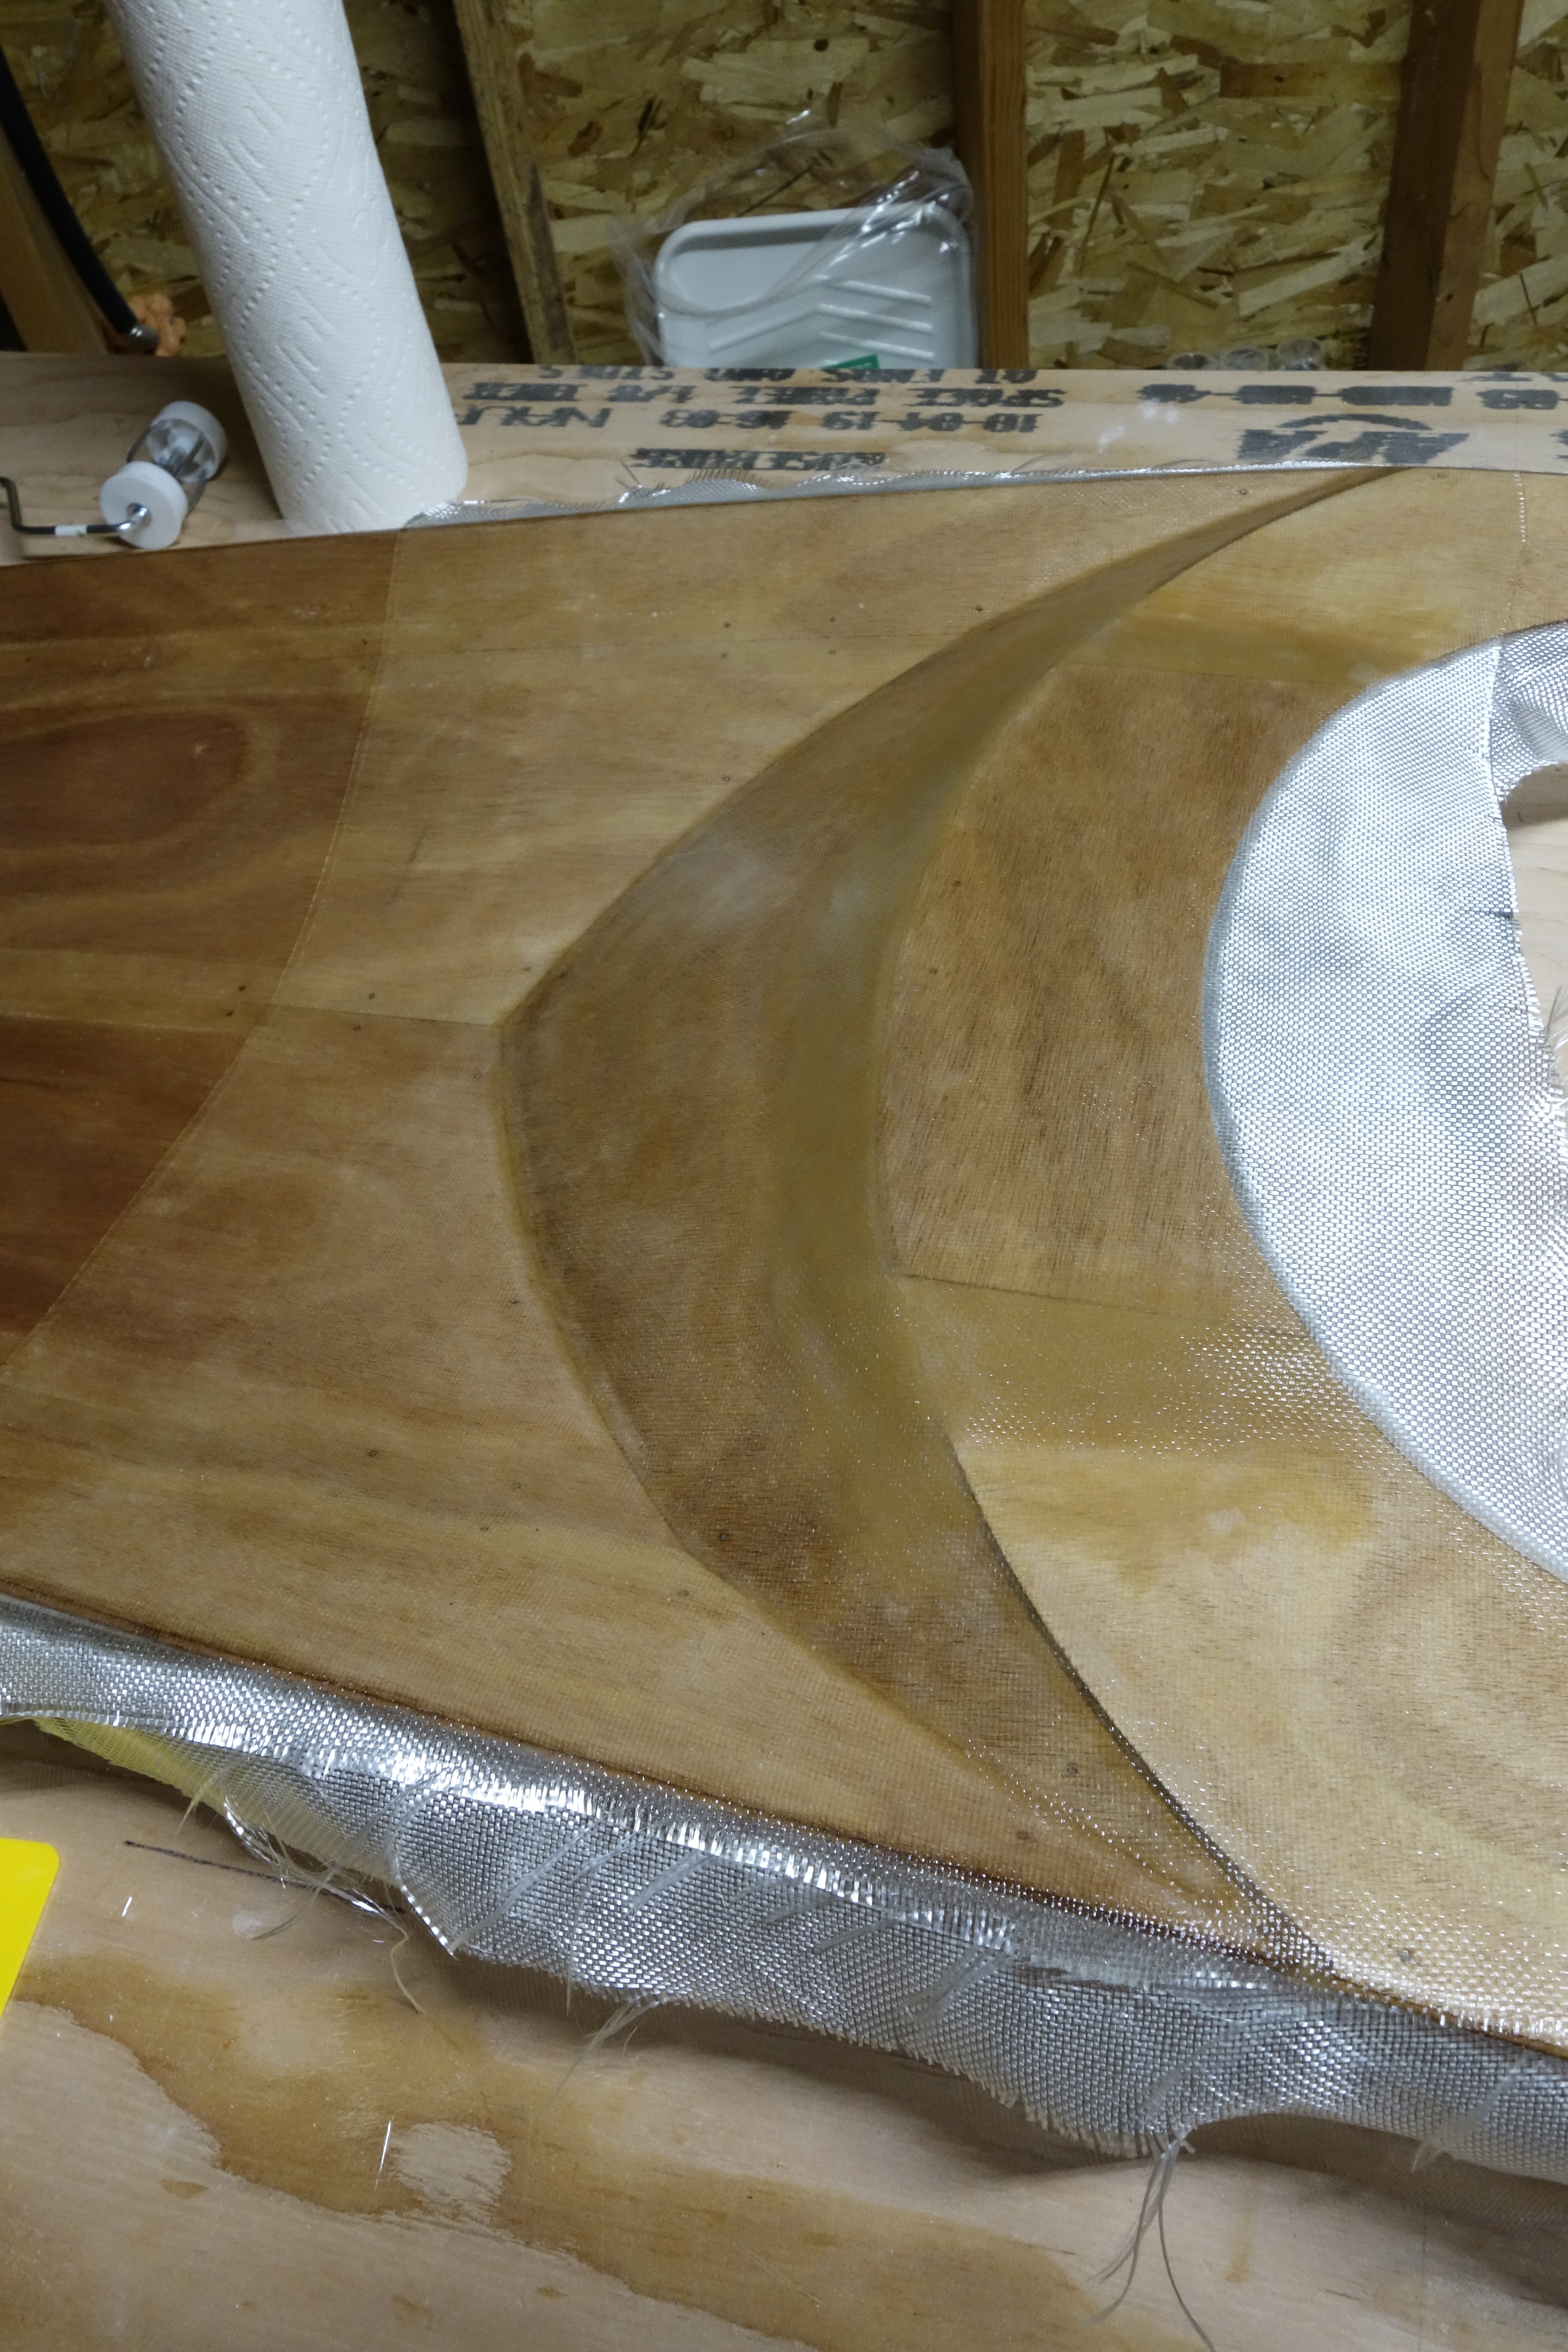
The cockpit area gets reinforced with four feet of fiberglass cloth covering the entire cockpit area, then an additional 22″ X 13″ piece of fiberglass cloth goes over the deck recess area. Also, three layers of fiberglass are laminated across the underside of the deck, right in front of the cockpit opening to reinforce the deck.

This is the epoxy fillet around the butt plate that reinforces the underside of the cockpit apron. The fillet is necessary so that the fiberglass cloth will not trap air beneath it, which would weaken the lamination and cause problems.
Same as above except this photo has fill-in flash so that it is a bit easier to see the fillet. This fillet gave me a lot of trouble. The instructions said to thicken the epoxy with wood flour until it was thicker than peanut butter. When I did that, it was impossible for me to get it smooth enough to take the fiberglass cloth smoothly. It took me three attempts and a phone call to Pygmy Boats to get it right. Having never done most of this before, some of these processes are not intuitive. That is especially true when it comes to thickening the epoxy for specific applications. In the case of this process (the butt plate fillet) Pygmy did provide thickening advice, but it didn’t work out very well for me. On a general note: If there is one thing I would change in the instruction manual, it would be to add specific advice about how thick to make the epoxy for each step that calls for epoxy (e.g. thicken epoxy with wood flour until it is as thick as molasses, or, thicken epoxy with wood flour until it is consistency of toothpaste). Since I assume that the vast majority of people reading the instructions have never used epoxy in this way before, just a couple of additional sentences in the manual could potentially save the builder hours of frustration.
Here is all of the fiberglass cloth and tape that I discussed above, finished. As with all of the fiberglass, after the epoxy cures to the green stage (I usually wait 4-5 hours, or even overnight) the excess cloth trims off easily with a utility knife.
Here are the three strips of fiberglass tape laminated across the front of the cockpit to reinforce it. The edges of these will be feathered in a bit so that they are not sharp and after everything gets sanded a bit, then another fill coat of epoxy will eventually go over the inside of the deck.

Temporary frames removed from the hull.

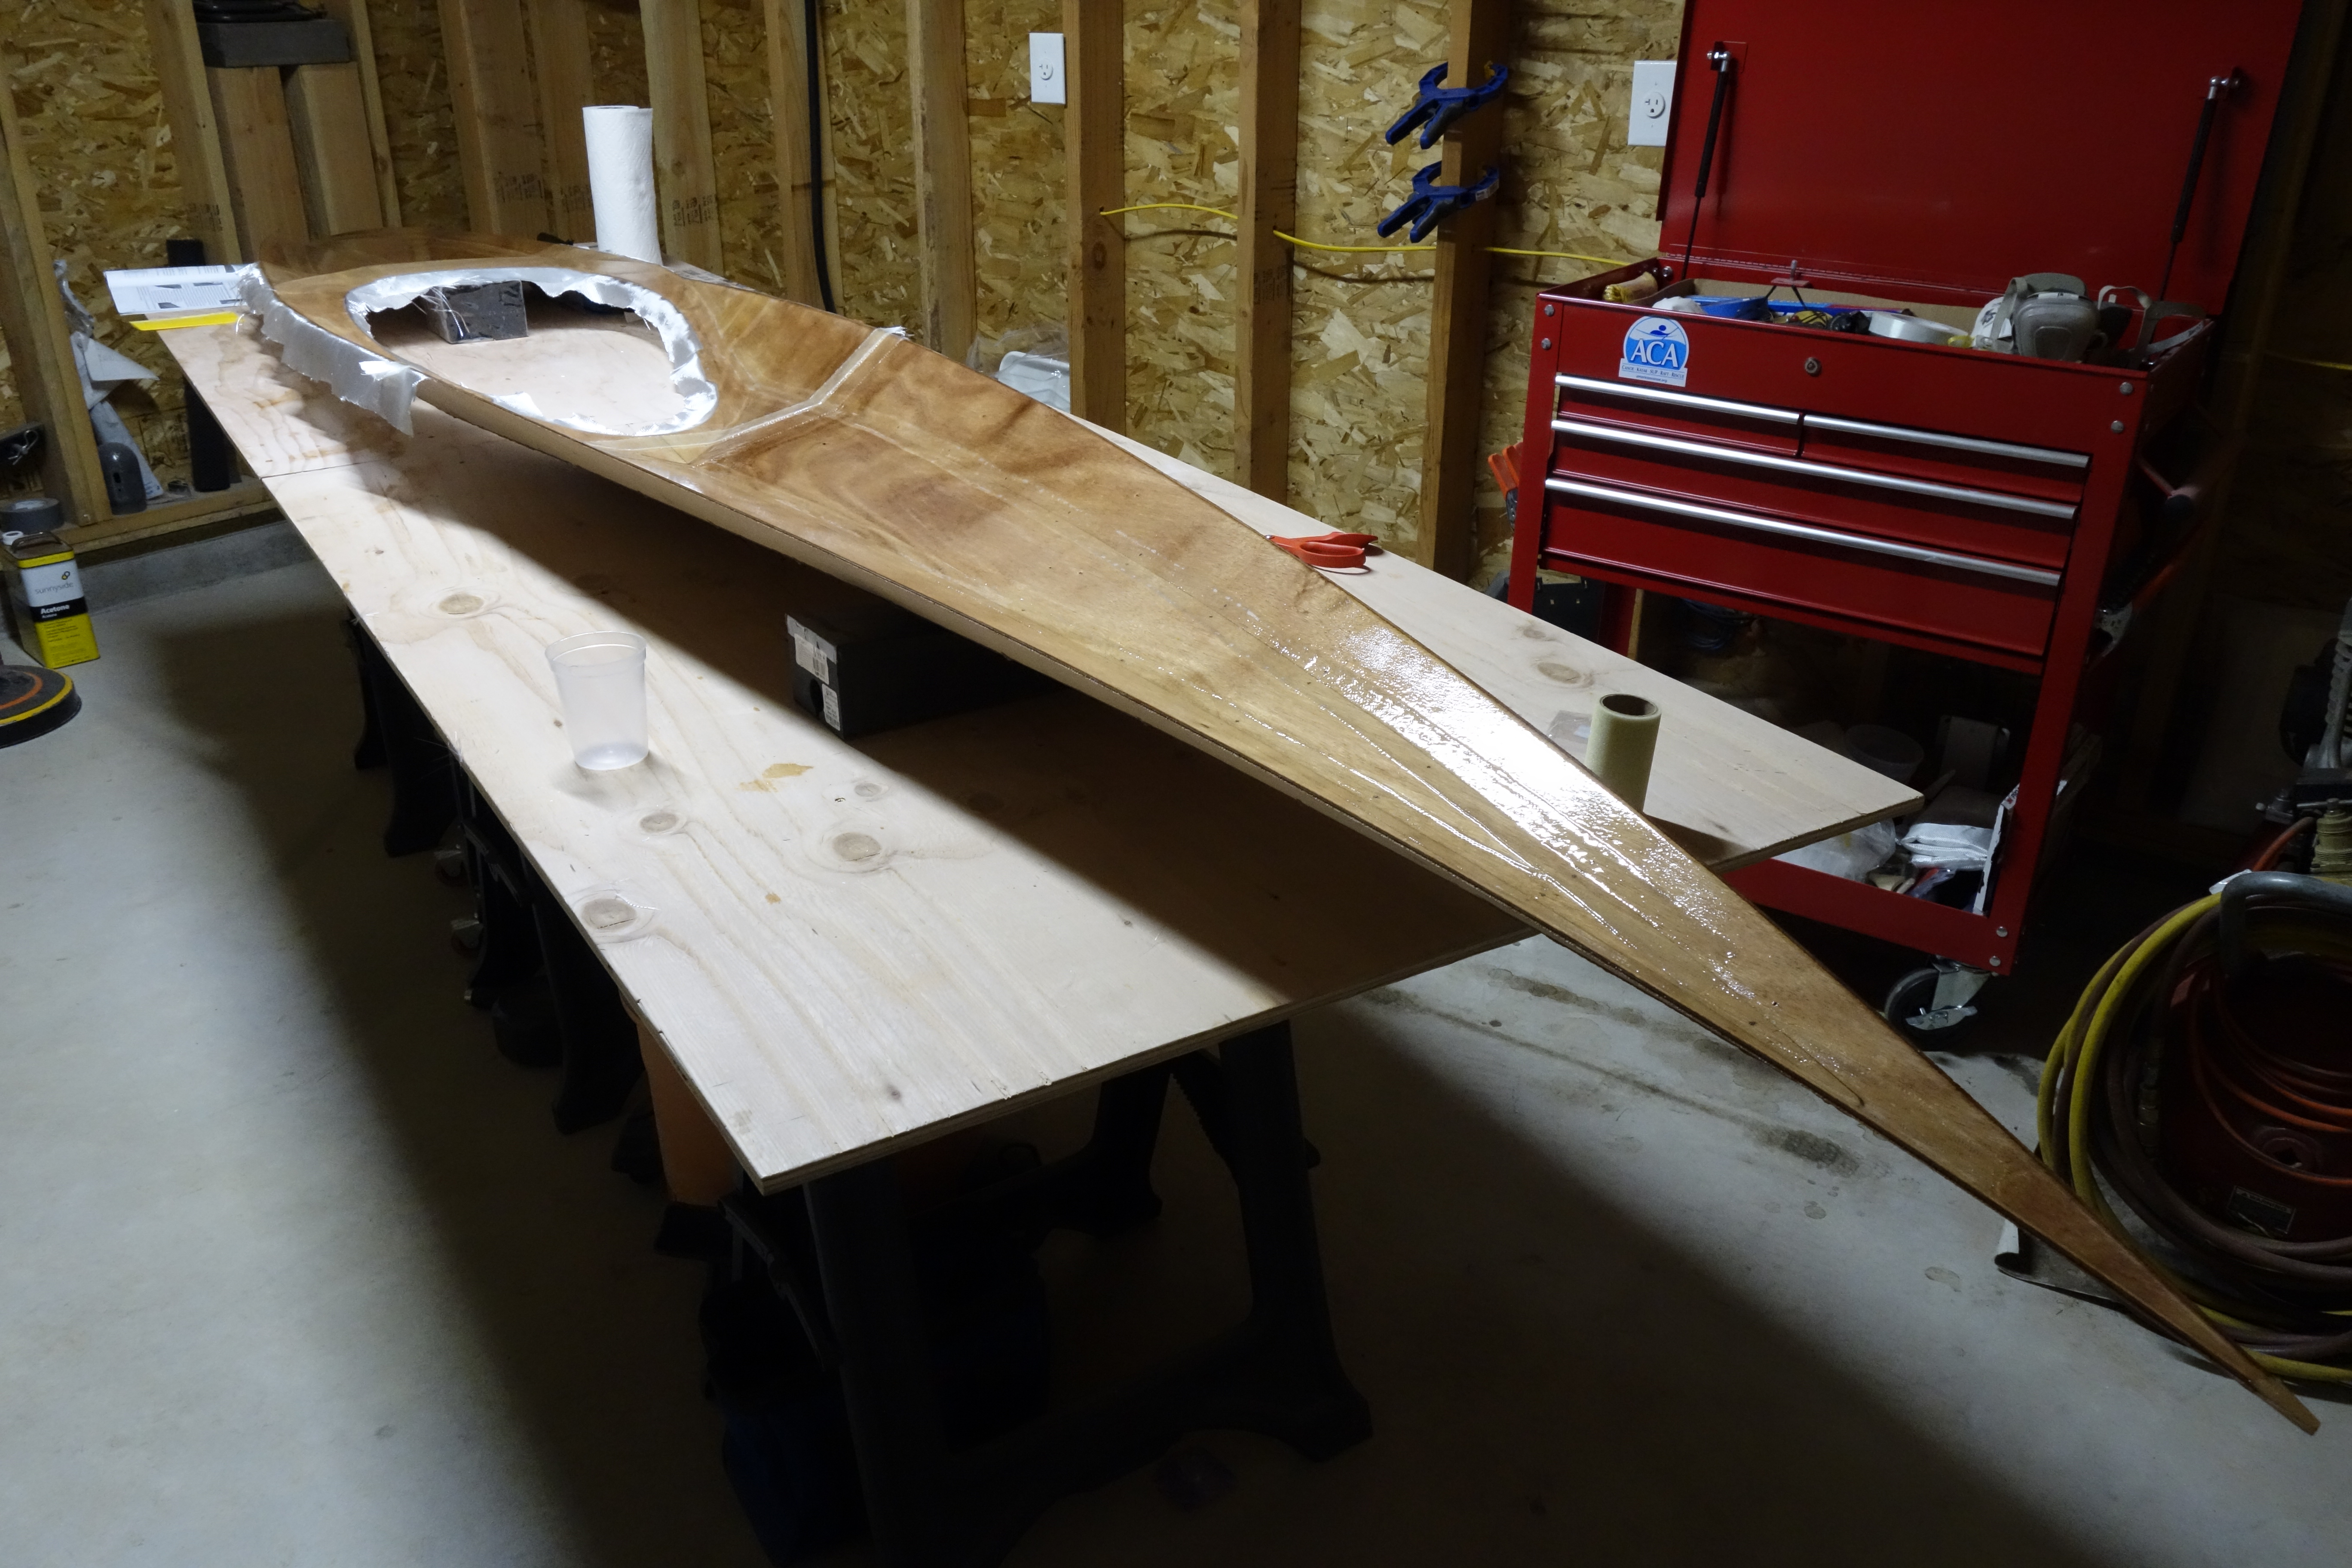
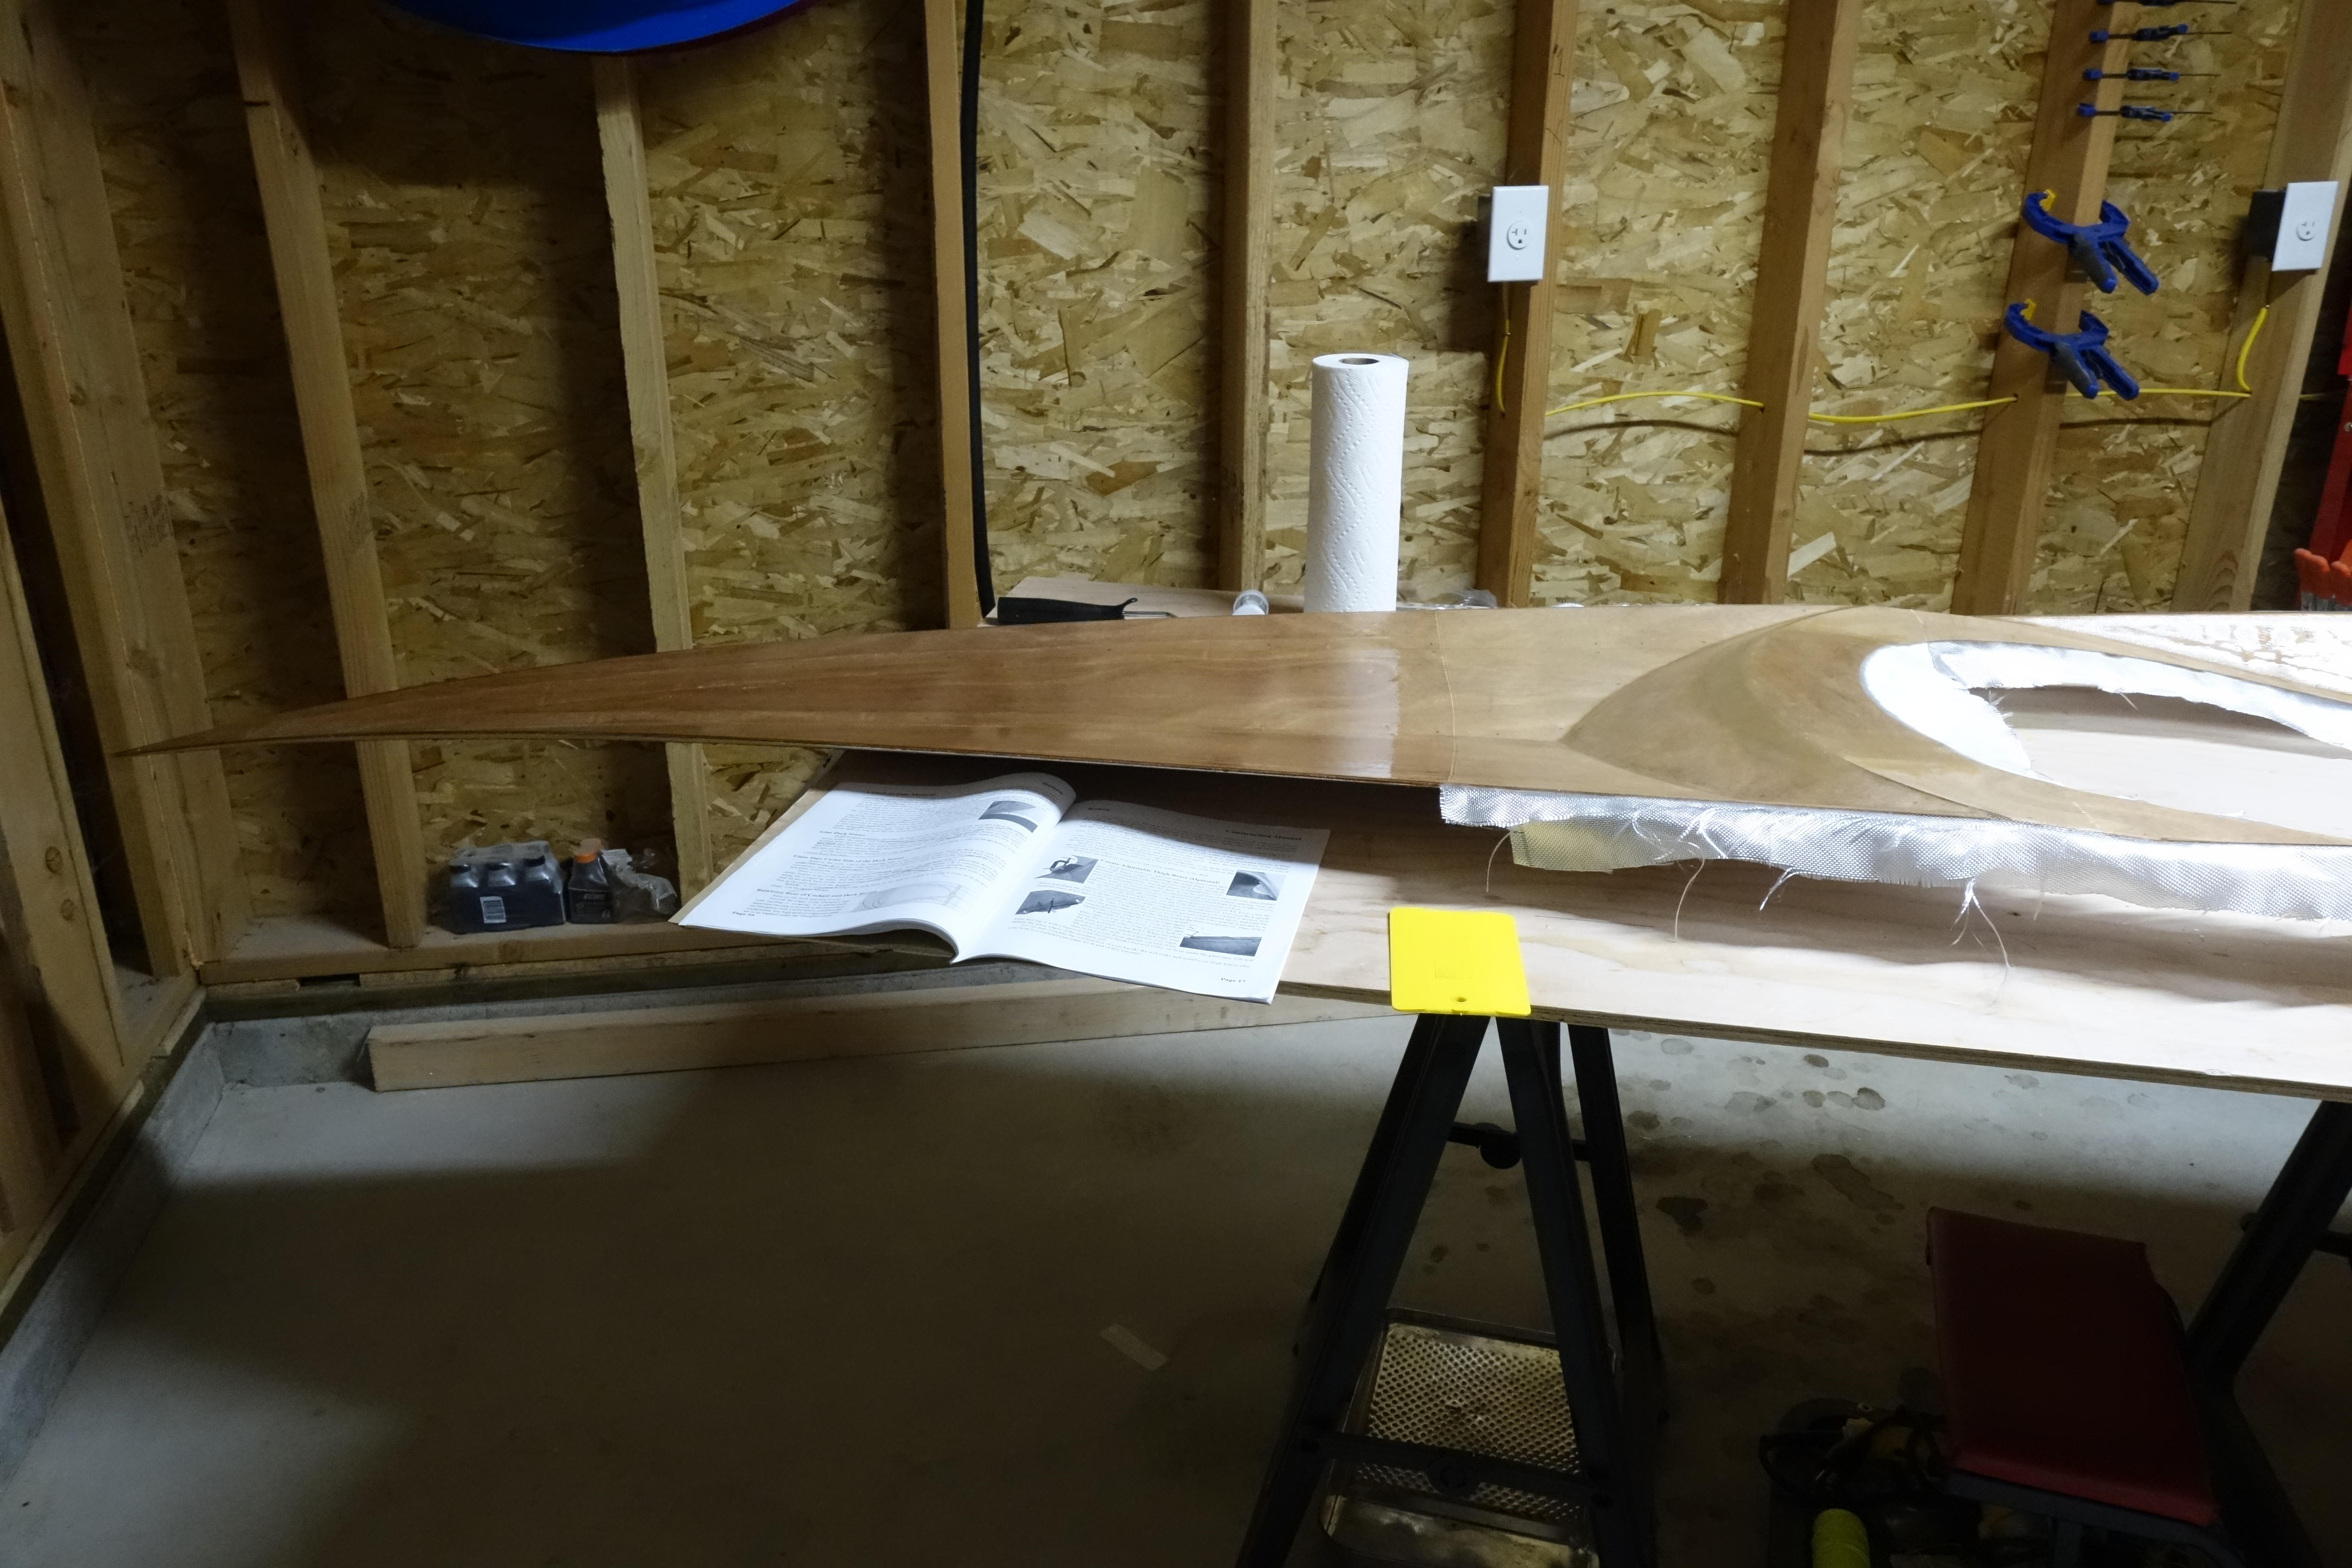
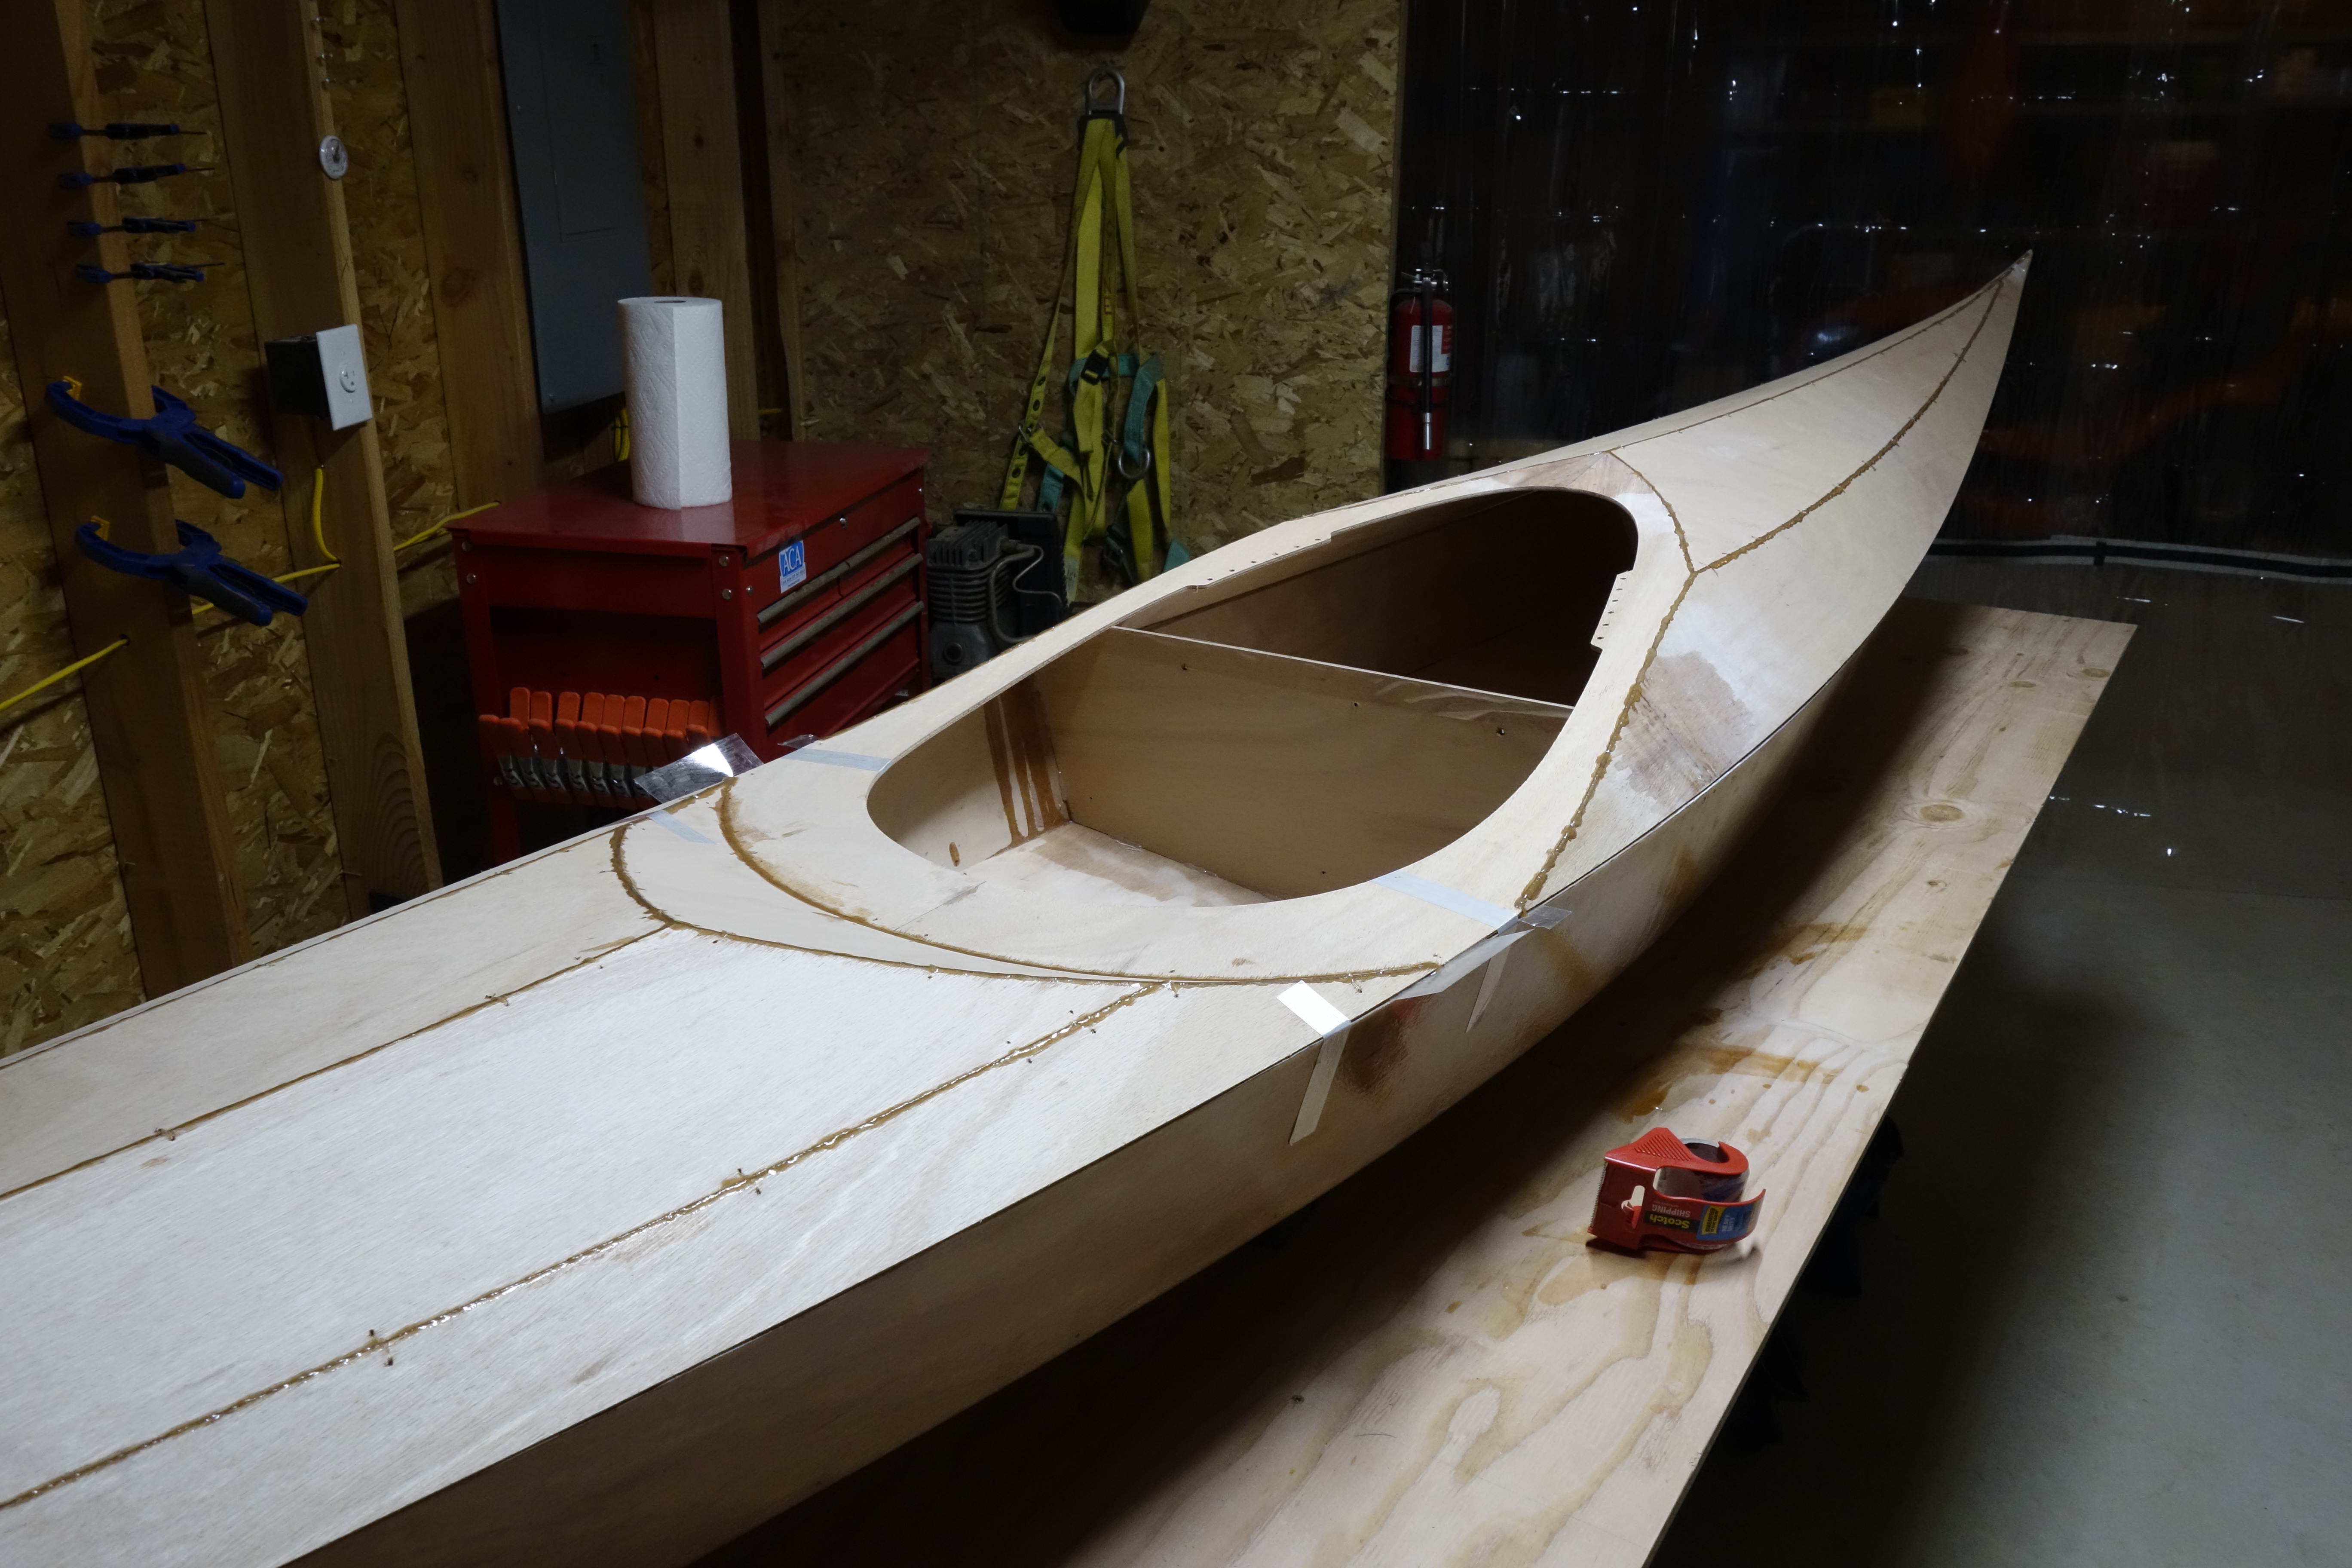
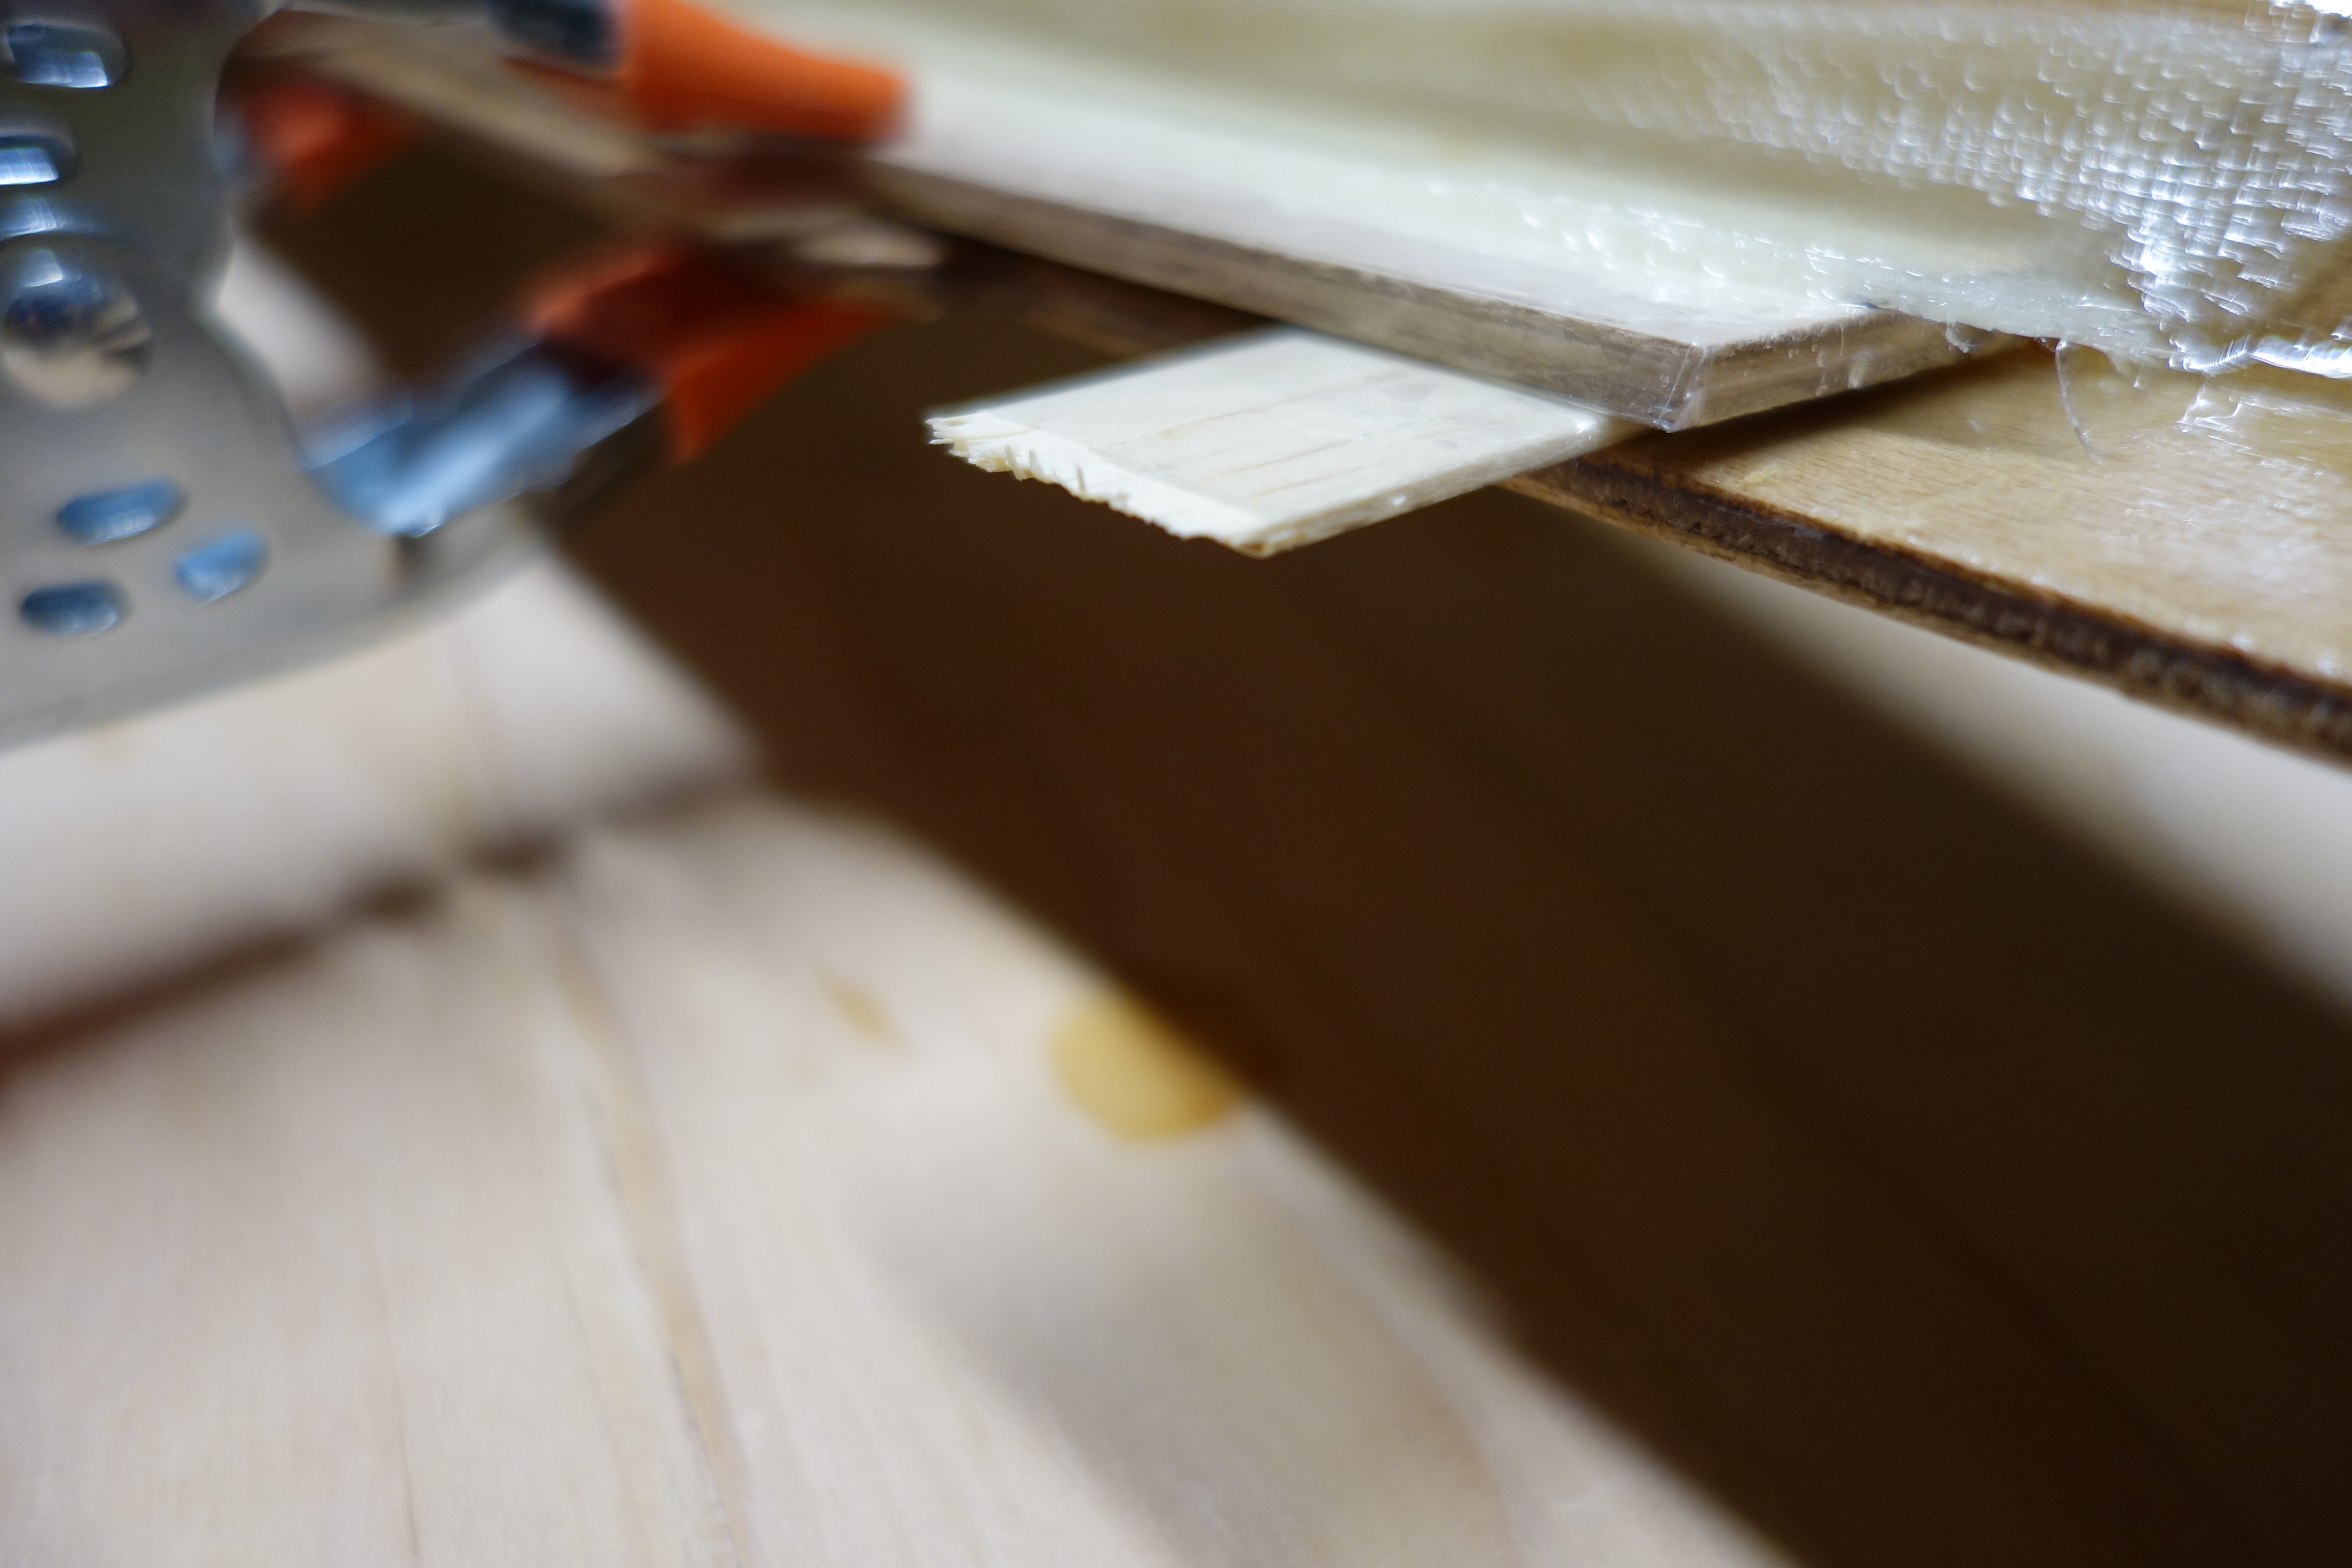
The manual said the the easiest way to remove the temporary frames, which had been glued into the hull with a hot glue gun before the wires were removed, was to reheat the glue with the gun or a soldering iron. I tried that on a couple of the beads of glue and found it to be kind-of time consuming and messy. So instead, I used a sharp utility knife and carefully ran the tip of the blade between the hull and the bead of glue. I then gave the frames a little wiggle, and hey presto!, the frames came out. The residual glue on the hull easily came off with a putty knife. MUCH easier than reheating the glue if you ask me. The next steps for the hull will be filling the seams, and encasing the inside of the hull in fiberglass in the same way that the outside was done.
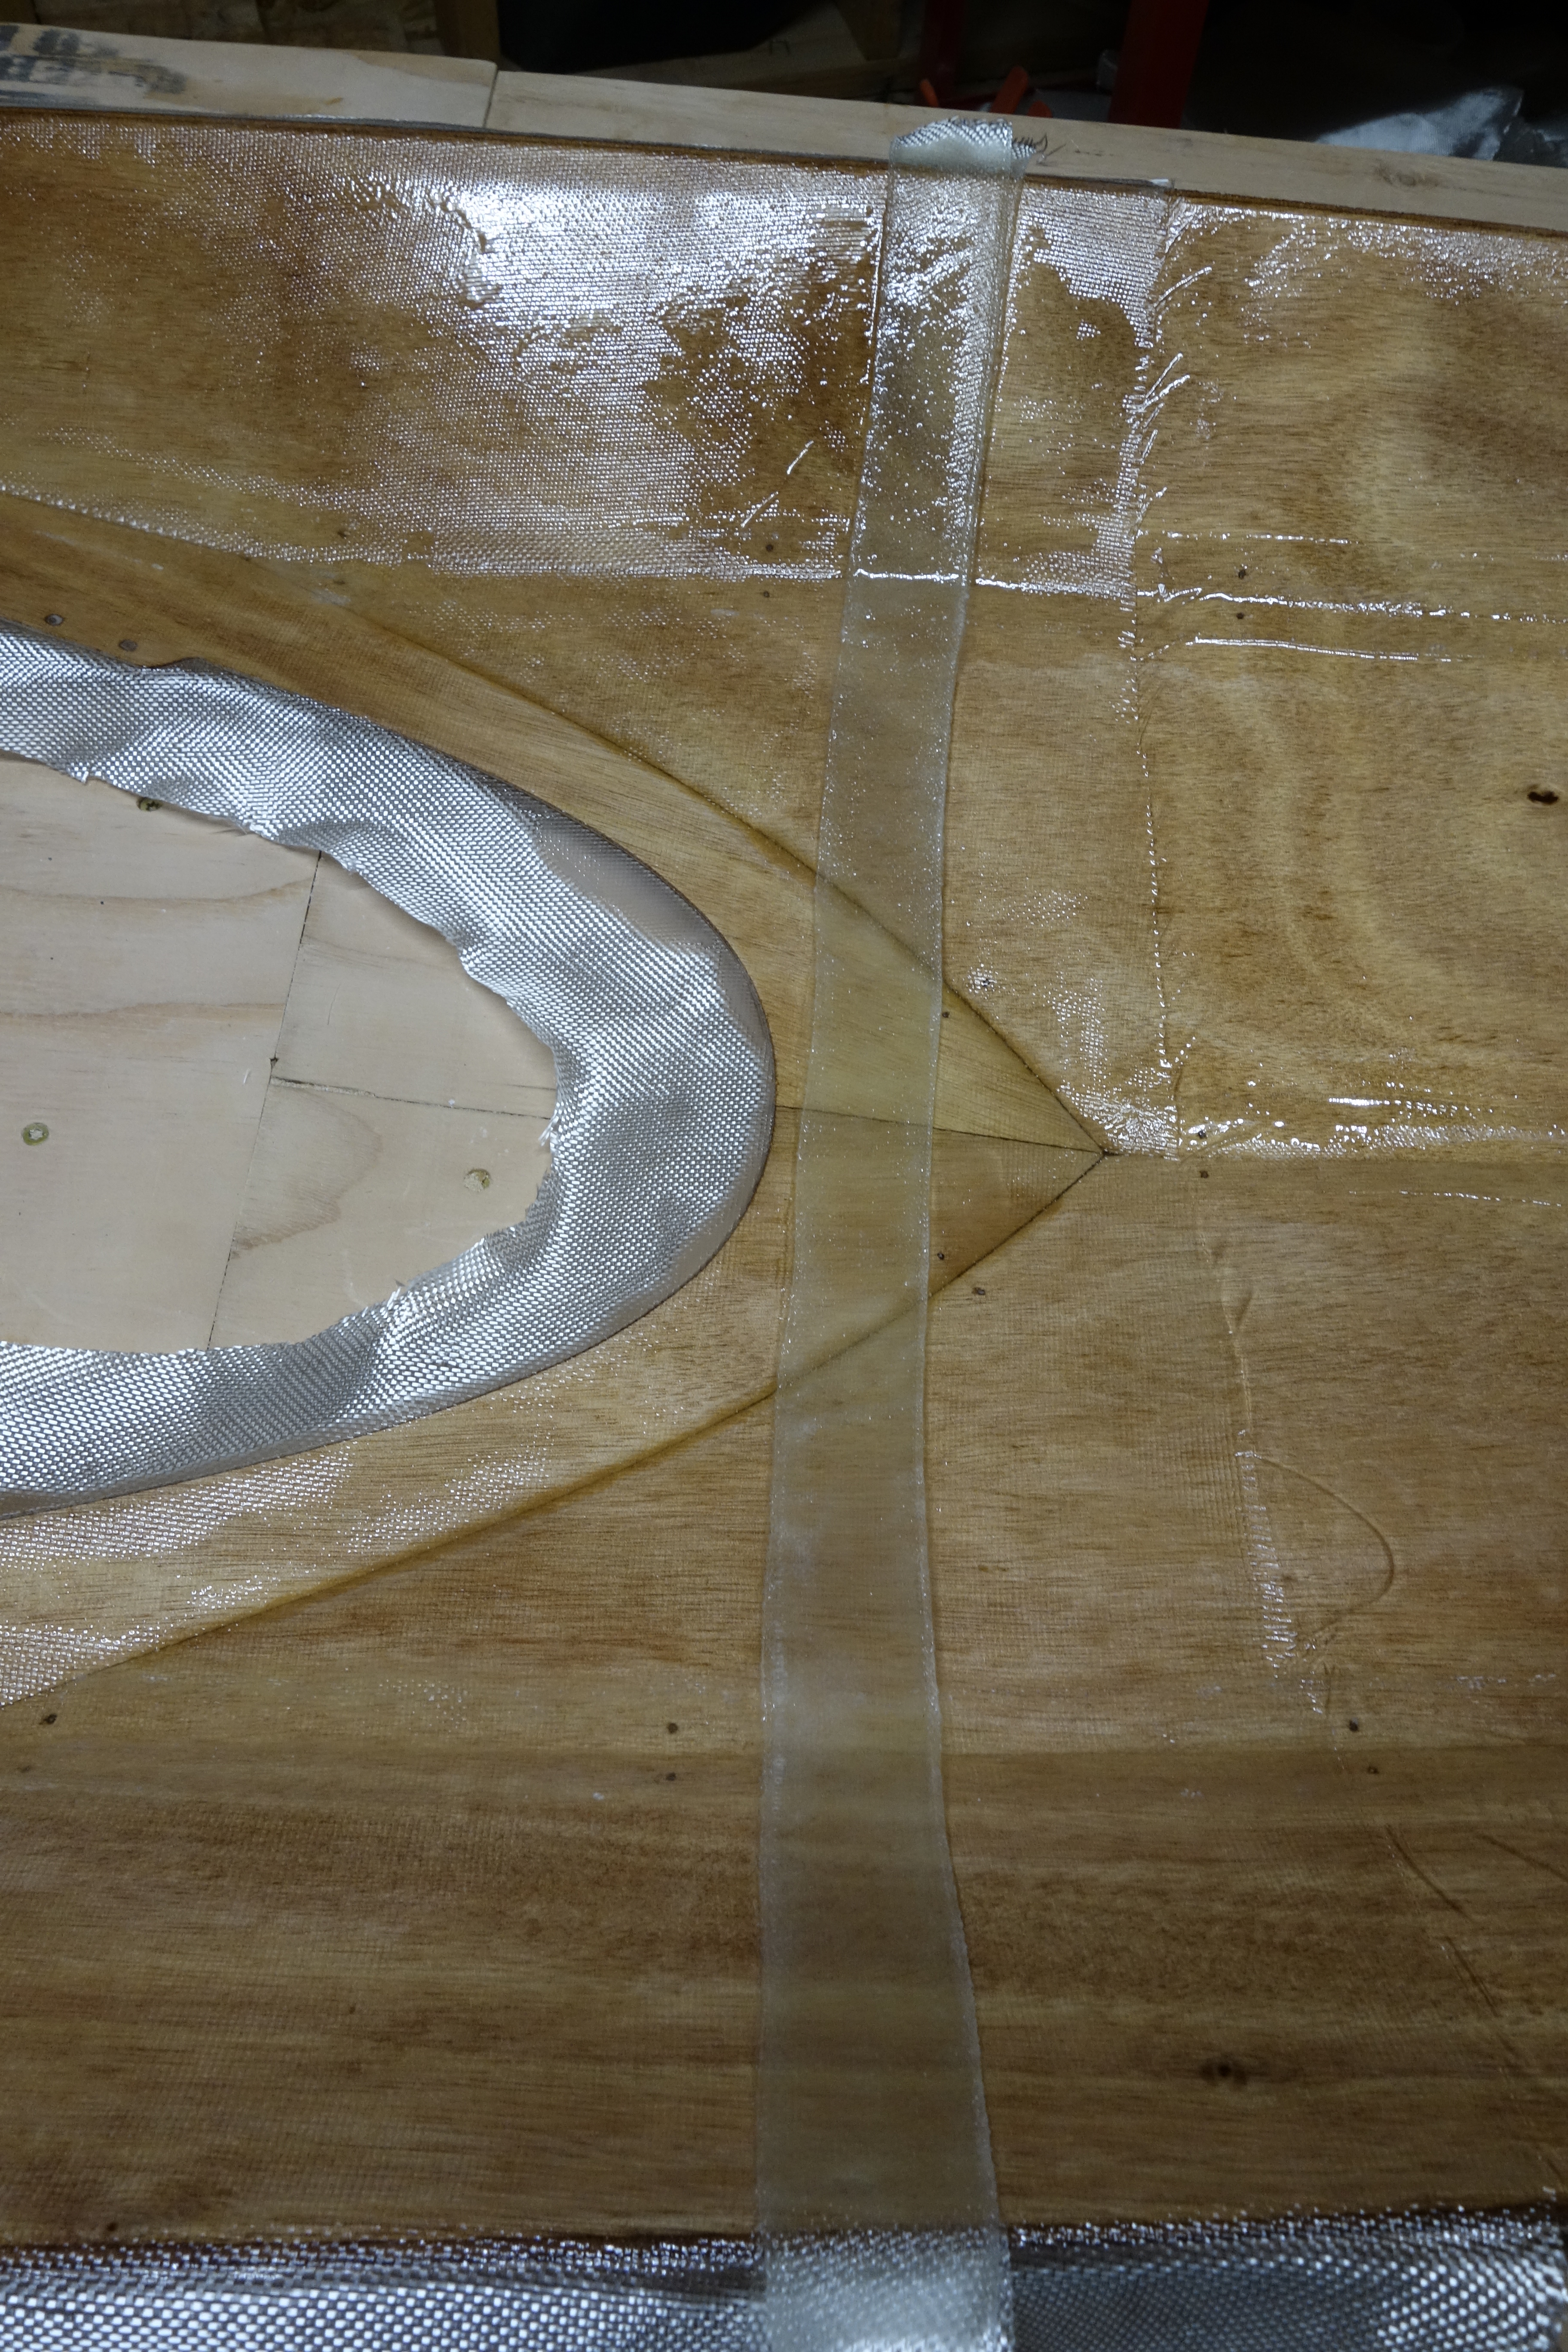