First deck fill coat after fiberglassing.

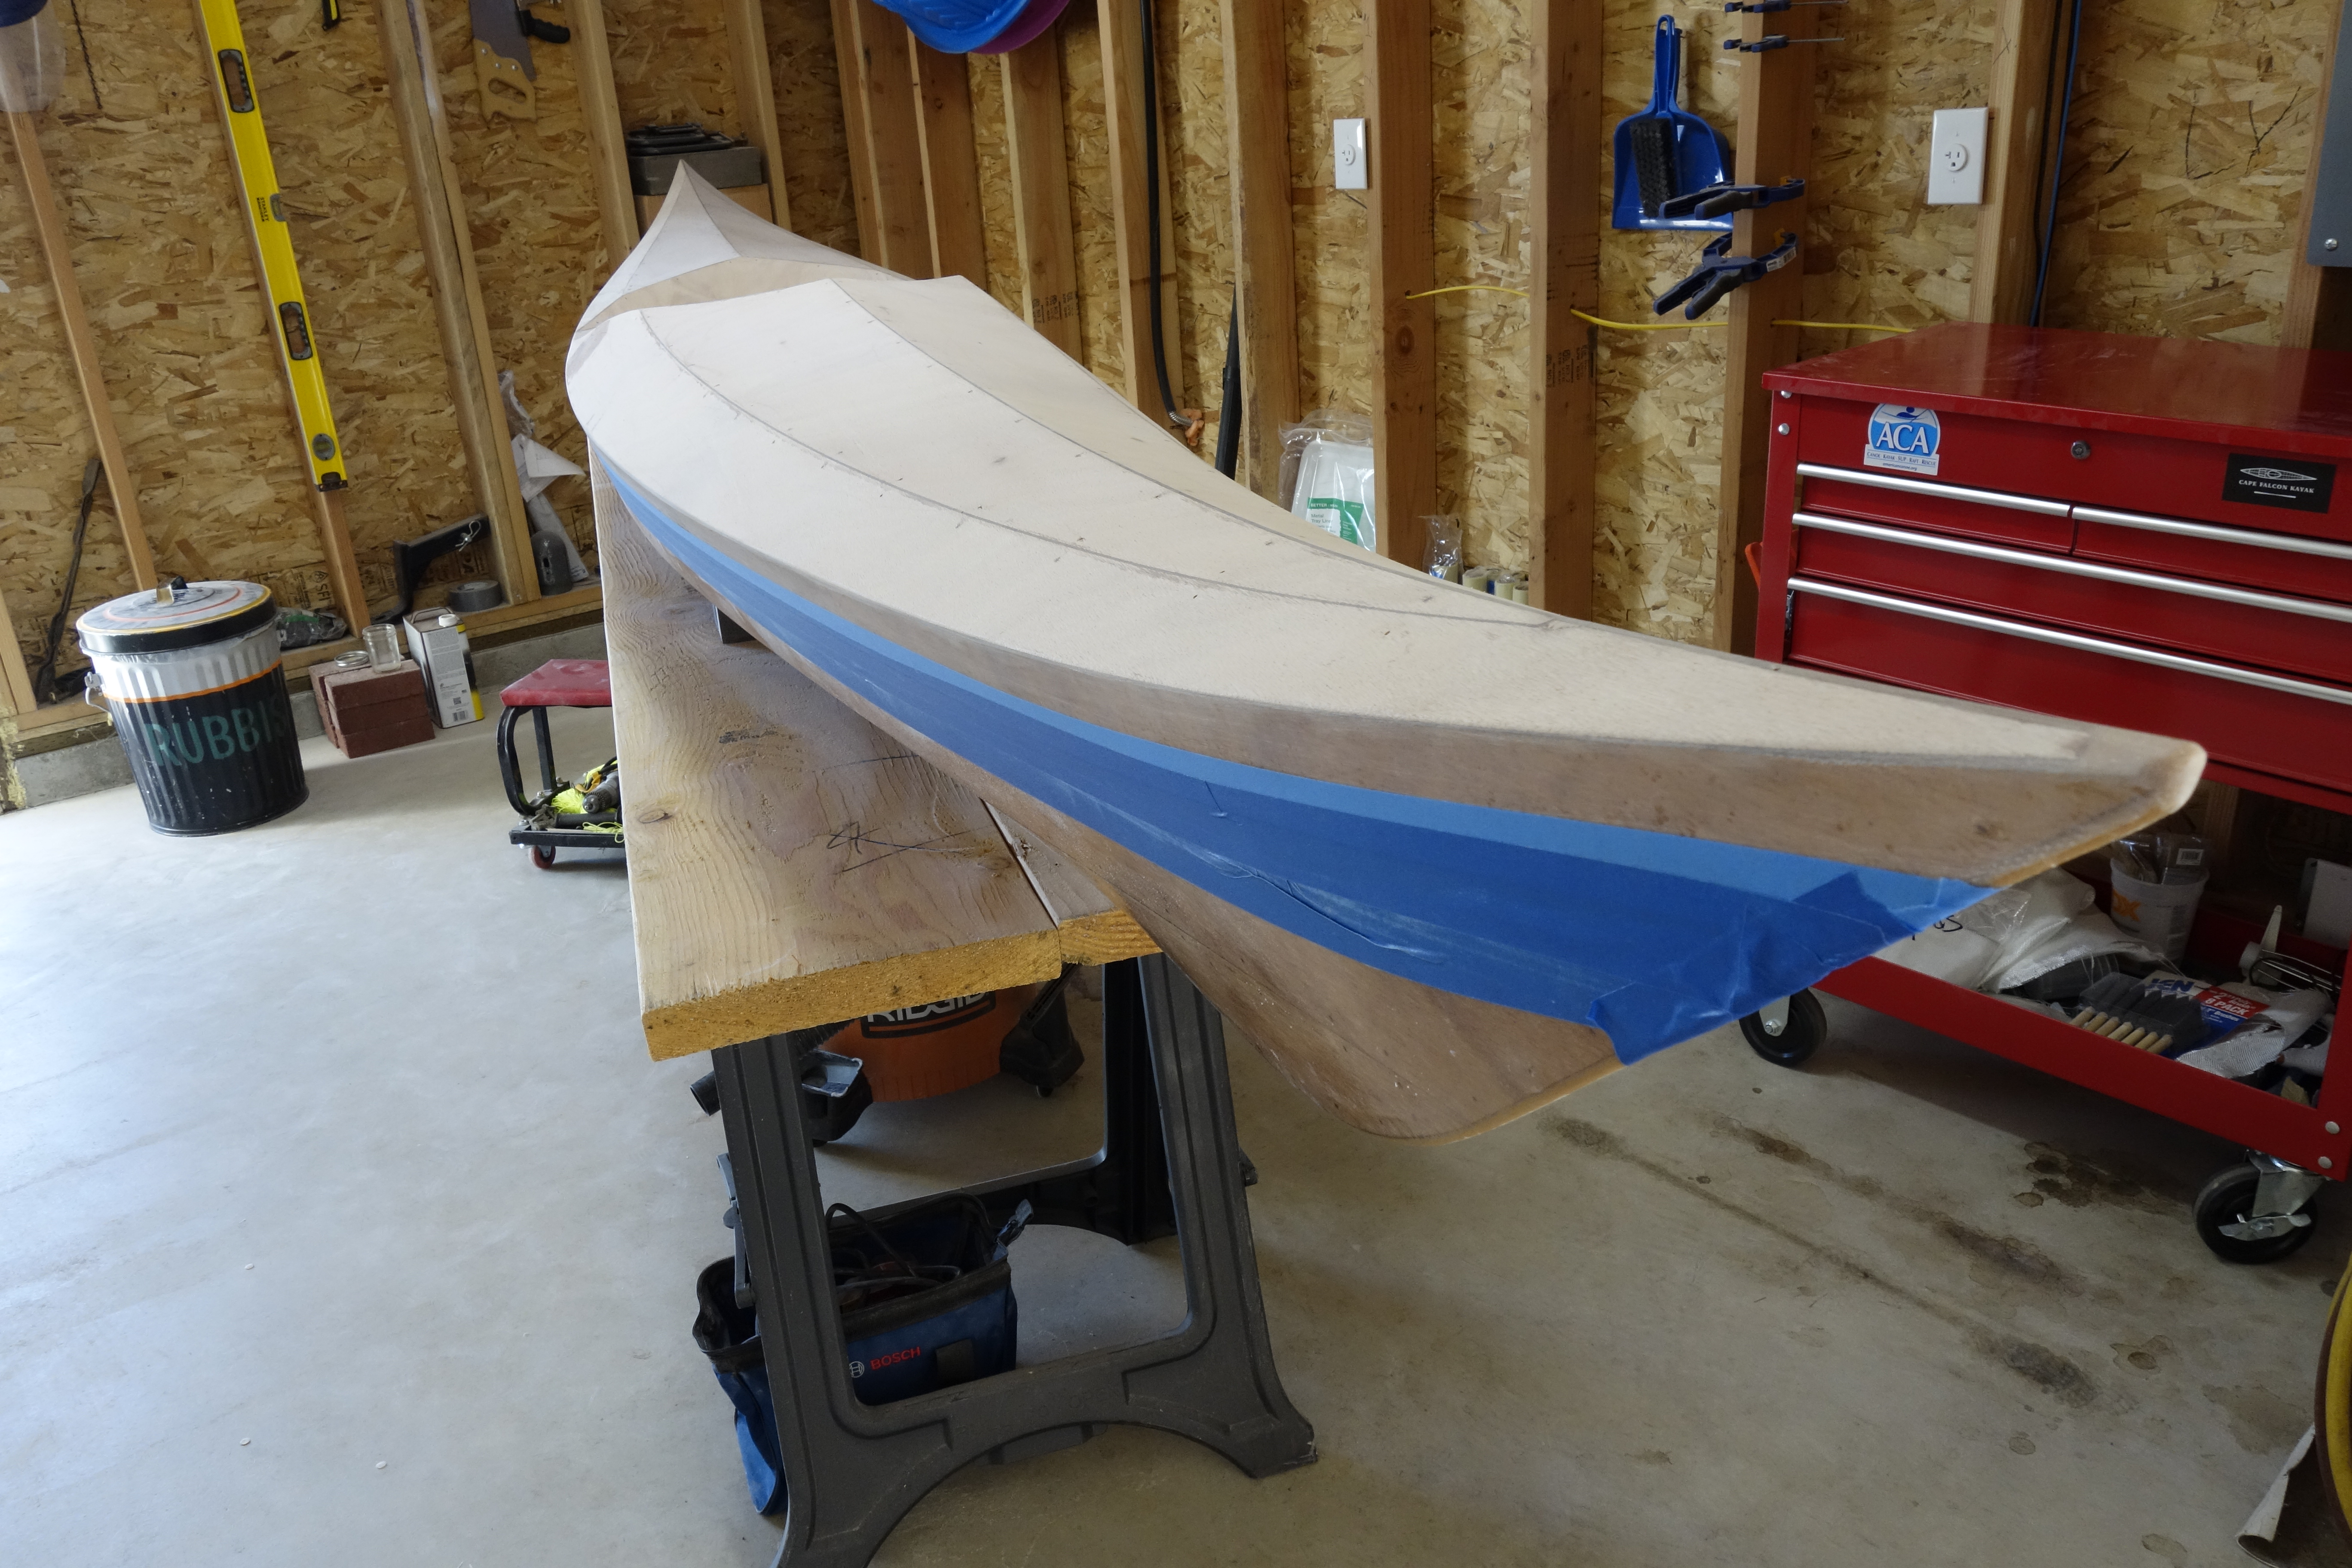
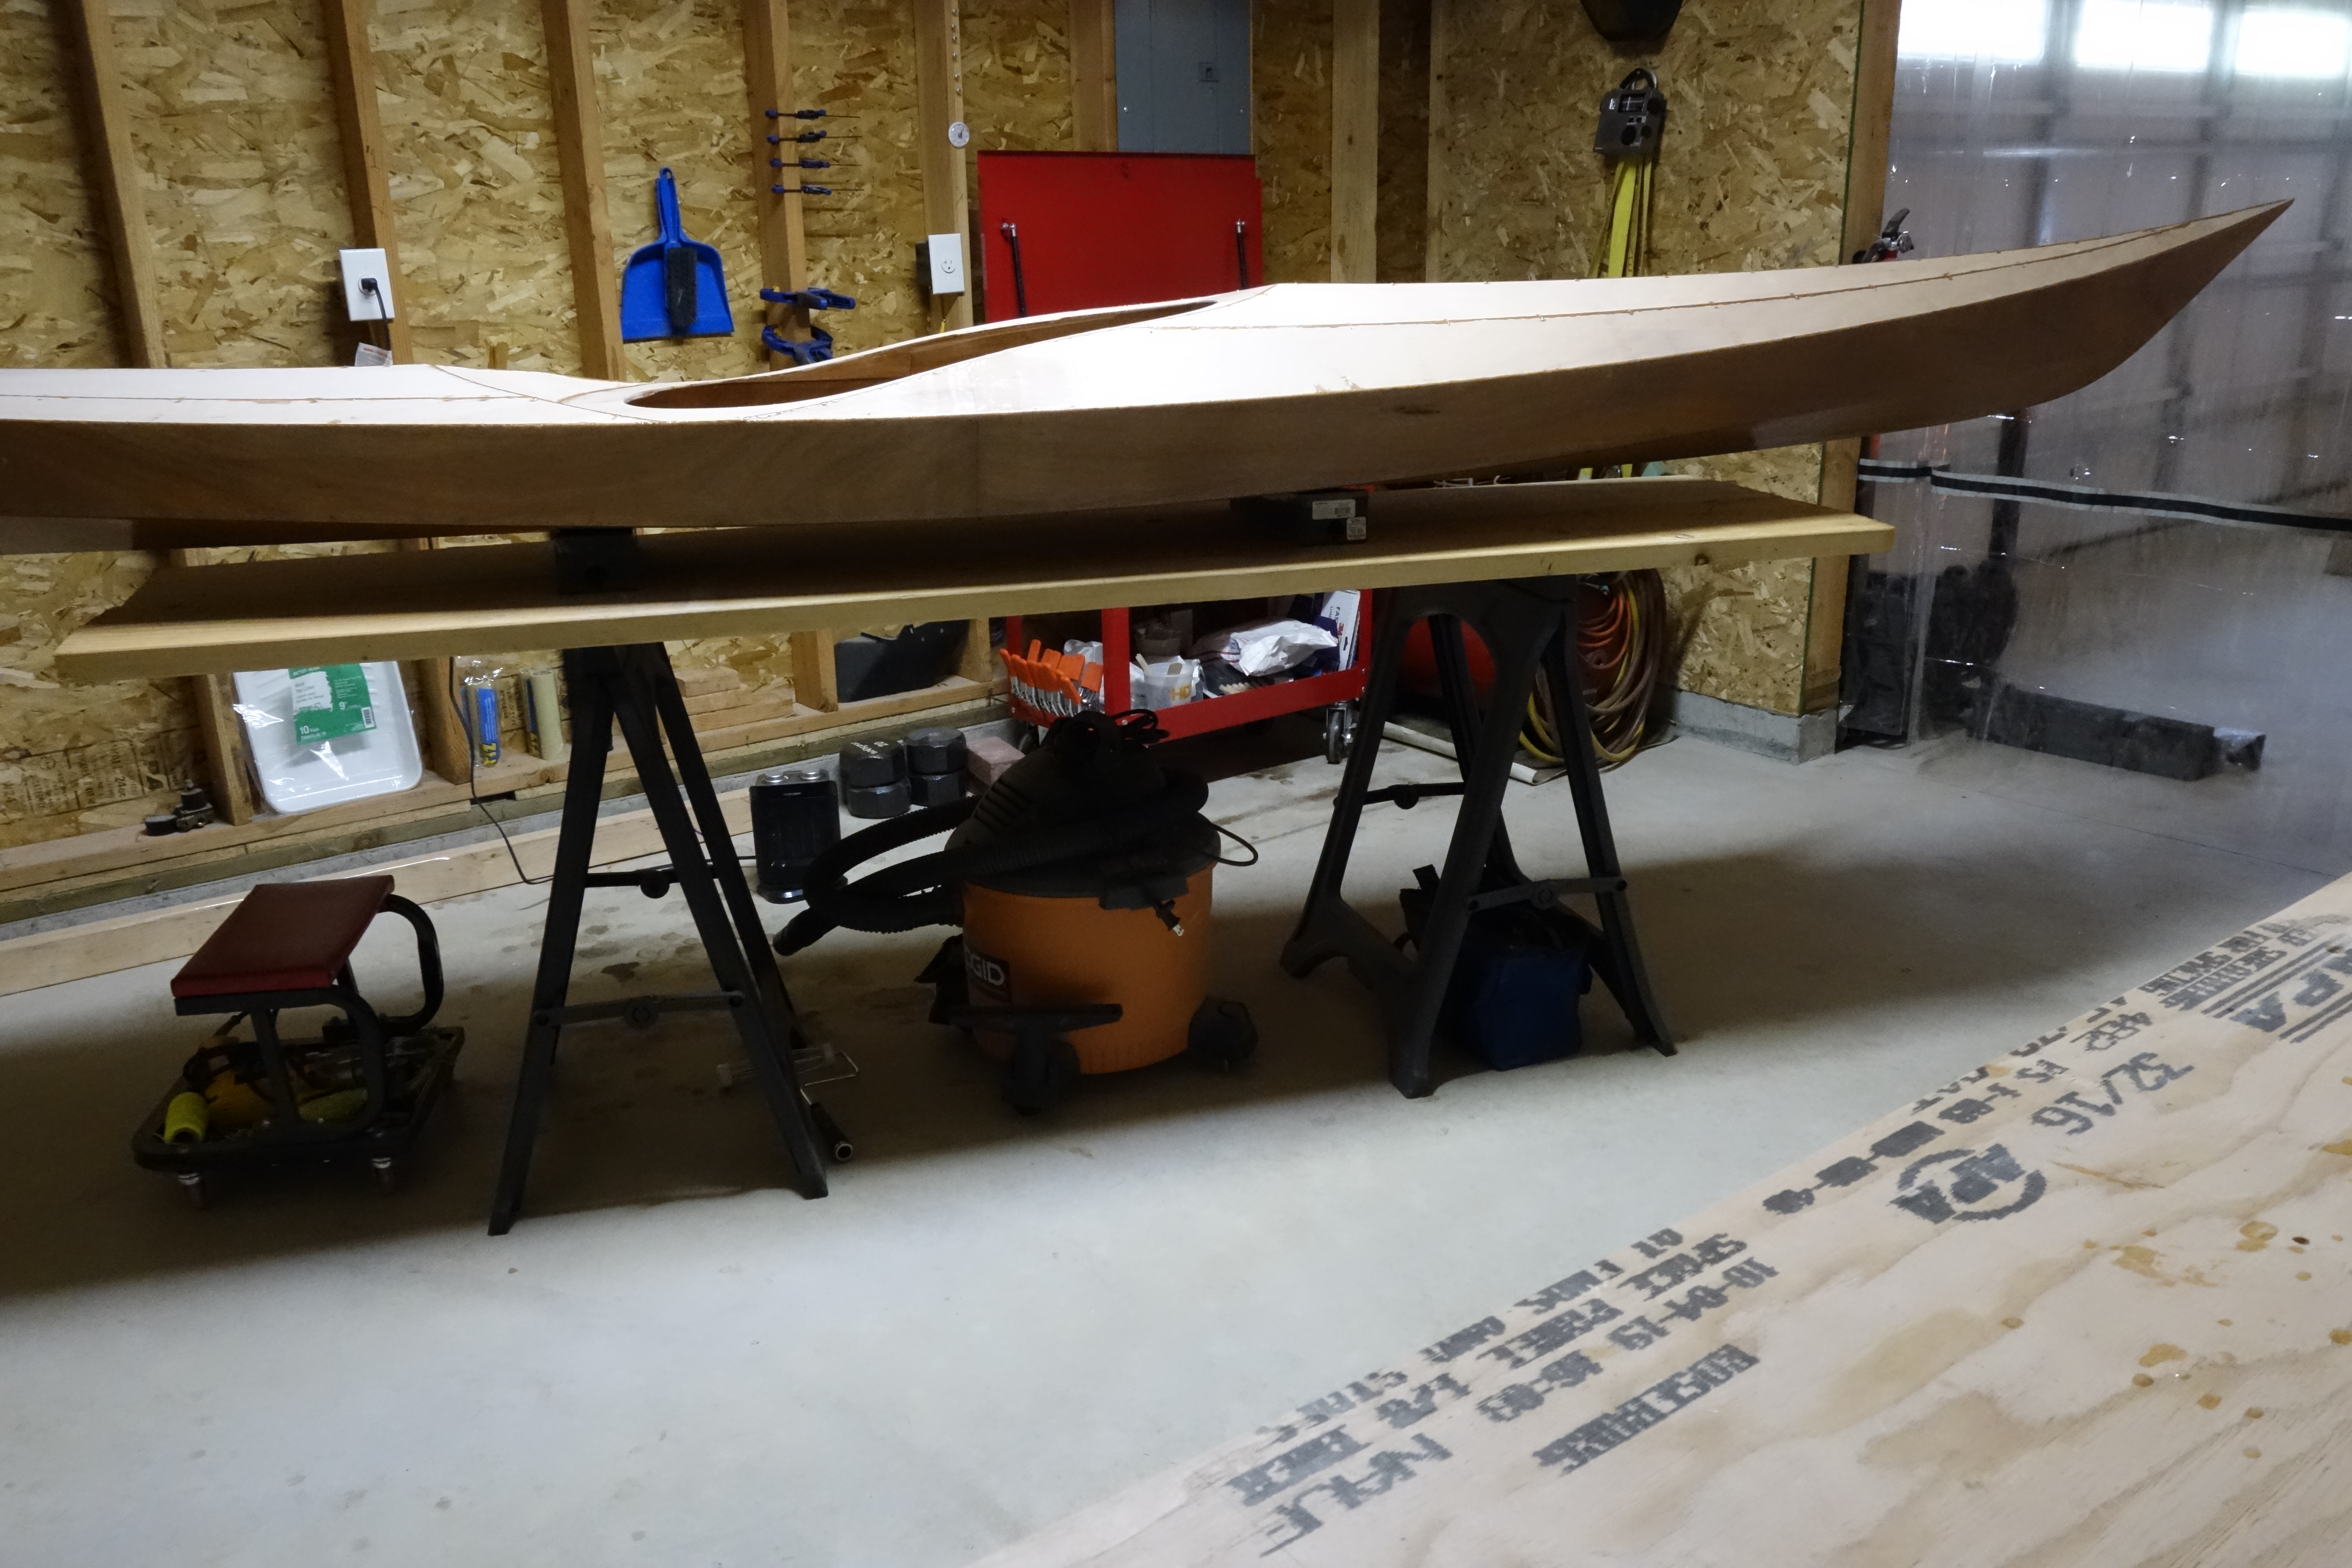
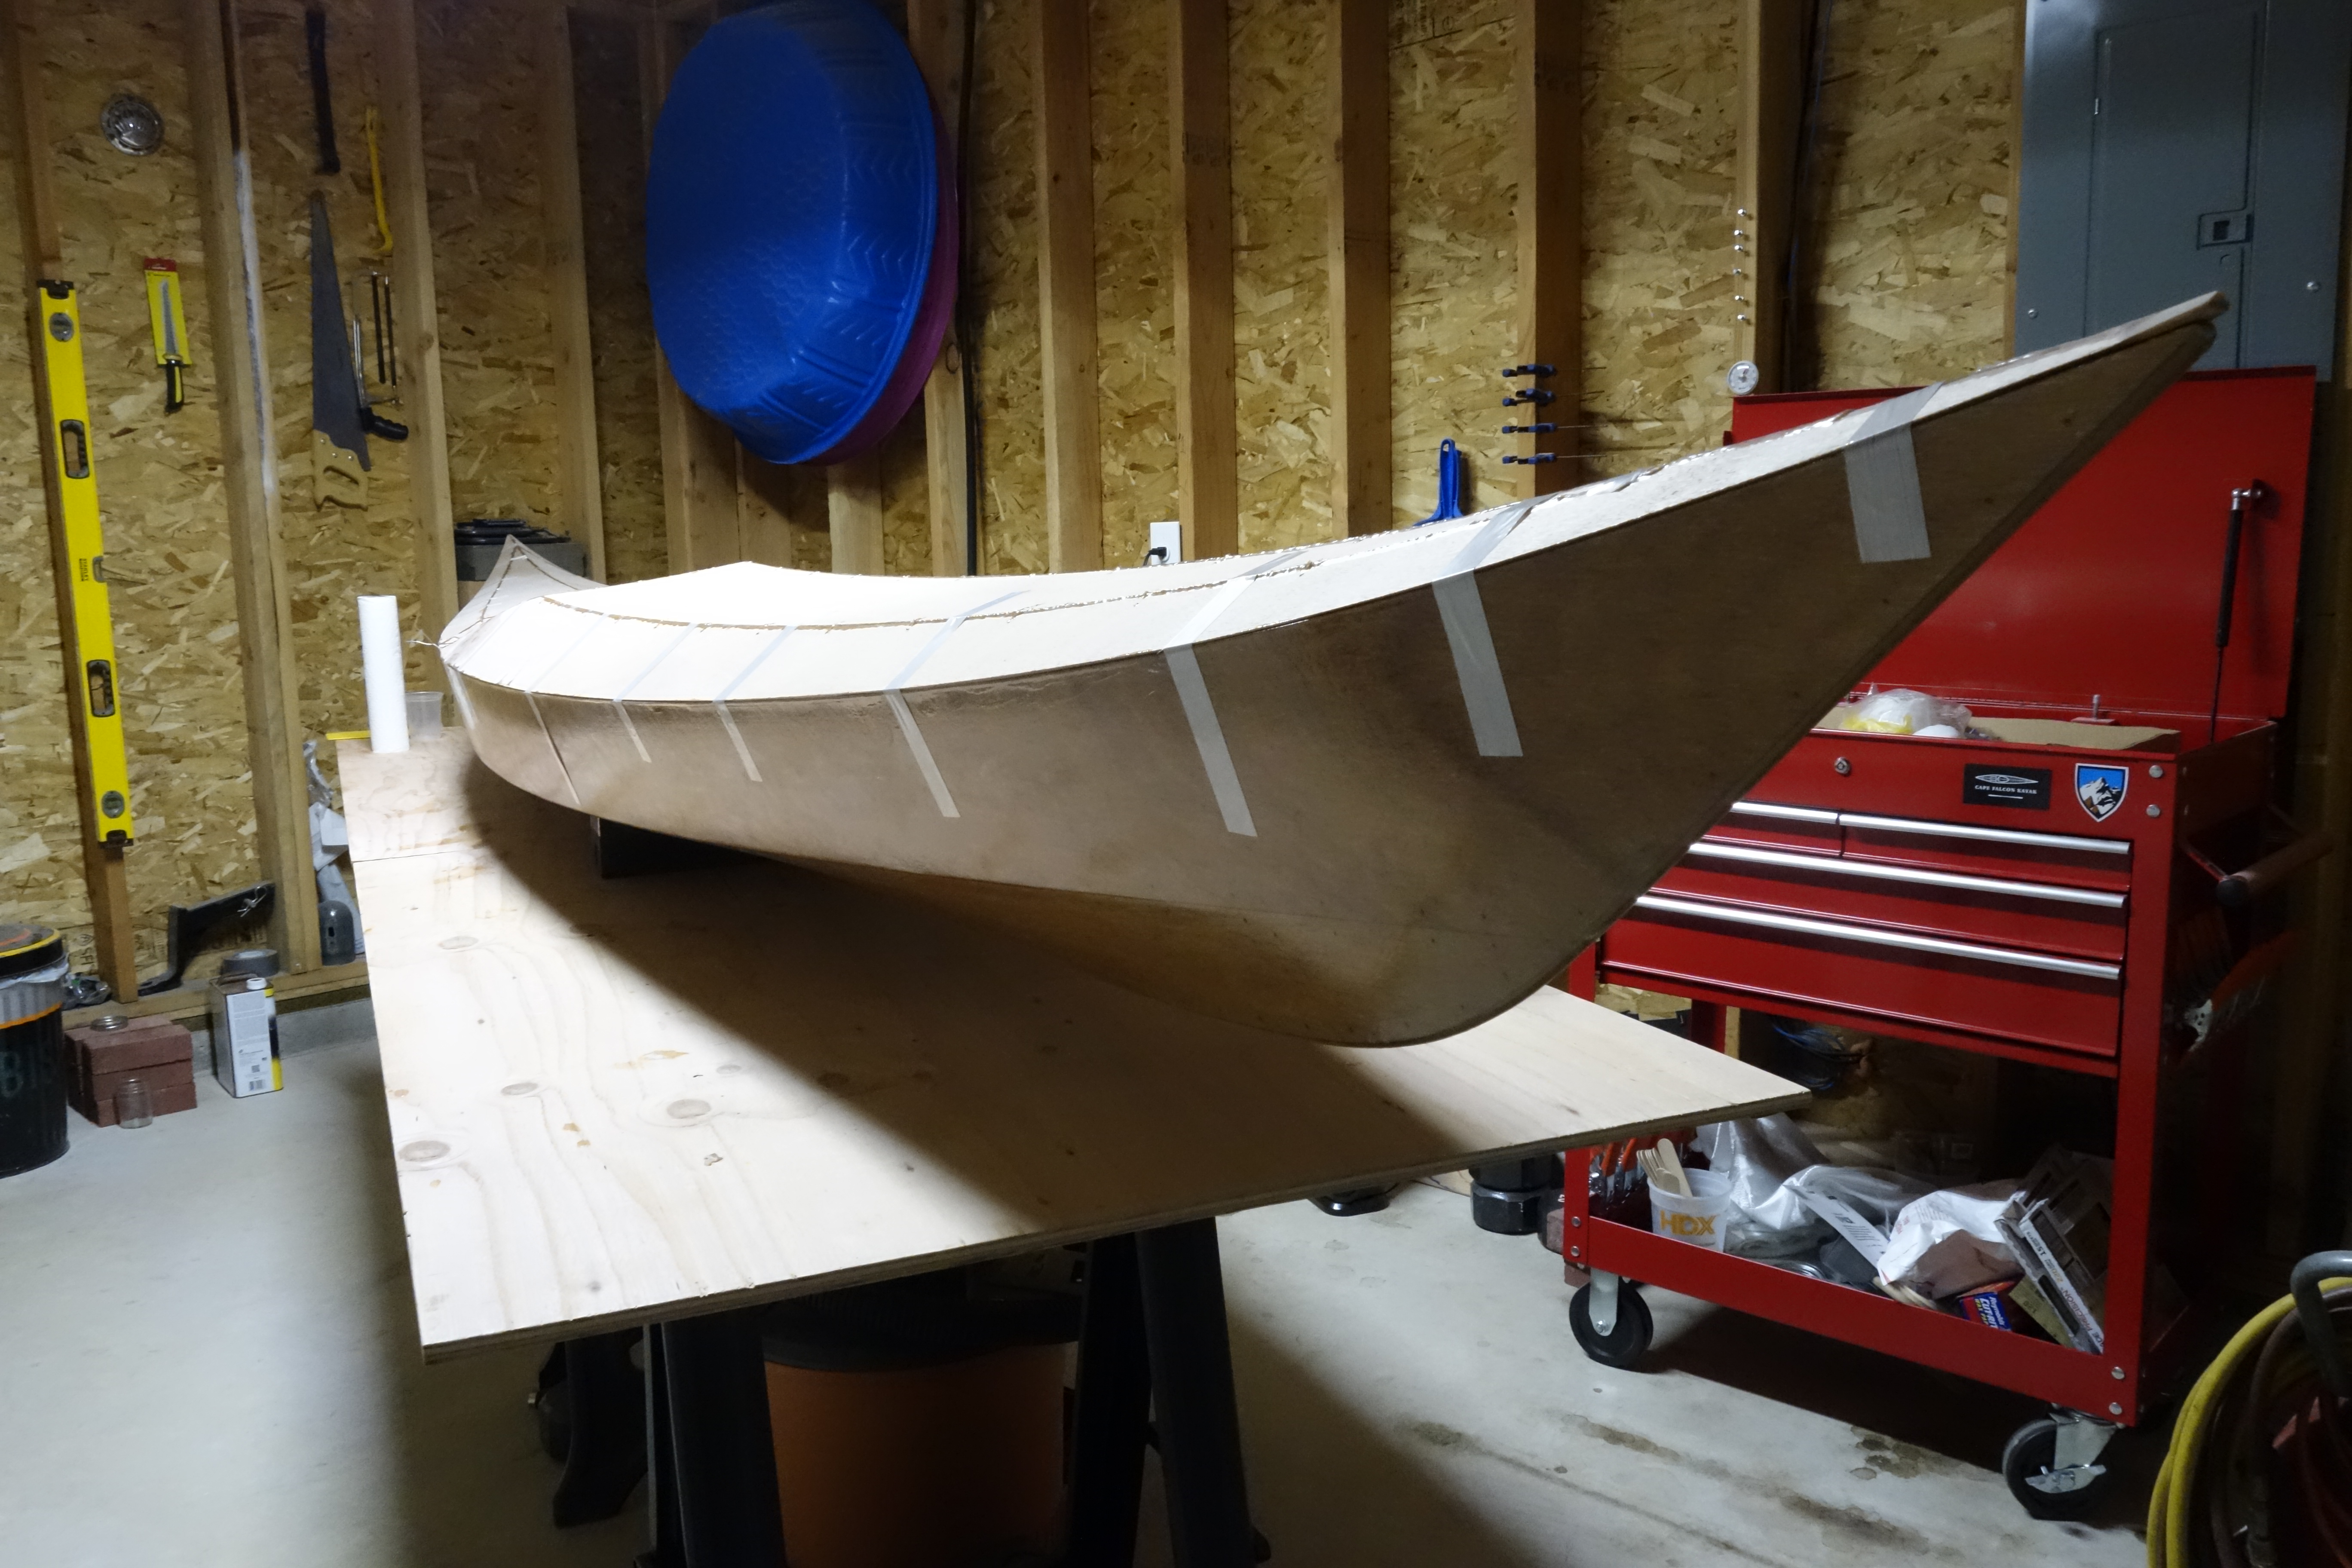
A quick word about building a kayak during winter in the Pacific Northwest in an unheated garage. I have done everything I can to isolate my workspace so that I can use a couple of space heaters to get the temperature up enough for the epoxy to cure, but it has its challenges. I can’t leave the space heaters on 24/7, and would worry if they were left on overnight, or while I am at work, etc. As a result, when the heaters are on it’s 60-65 degrees Fahrenheit in the shop, but when the heaters are turned off, it quickly drops to close to whatever the temperature is outside (averaging around 45 degrees F this time of year). So far, it usually takes a couple of days on average for epoxy to cure enough for me to sand it without it being “gummy” and clogging my sandpaper and risking causing bigger problems. I have read with envy, when other builders say that they built their kayaks in a few weeks from start to finish, and can only imagine that either they know something about epoxy resin that I don’t, or they have a nice heated space in which they can epoxy one day and sand the next. I’ll be lucky if I can finish my boat in 16 weeks, and for me, that’s all down to waiting for epoxy to cure enough to move on to the next step (whatever that happens to be).

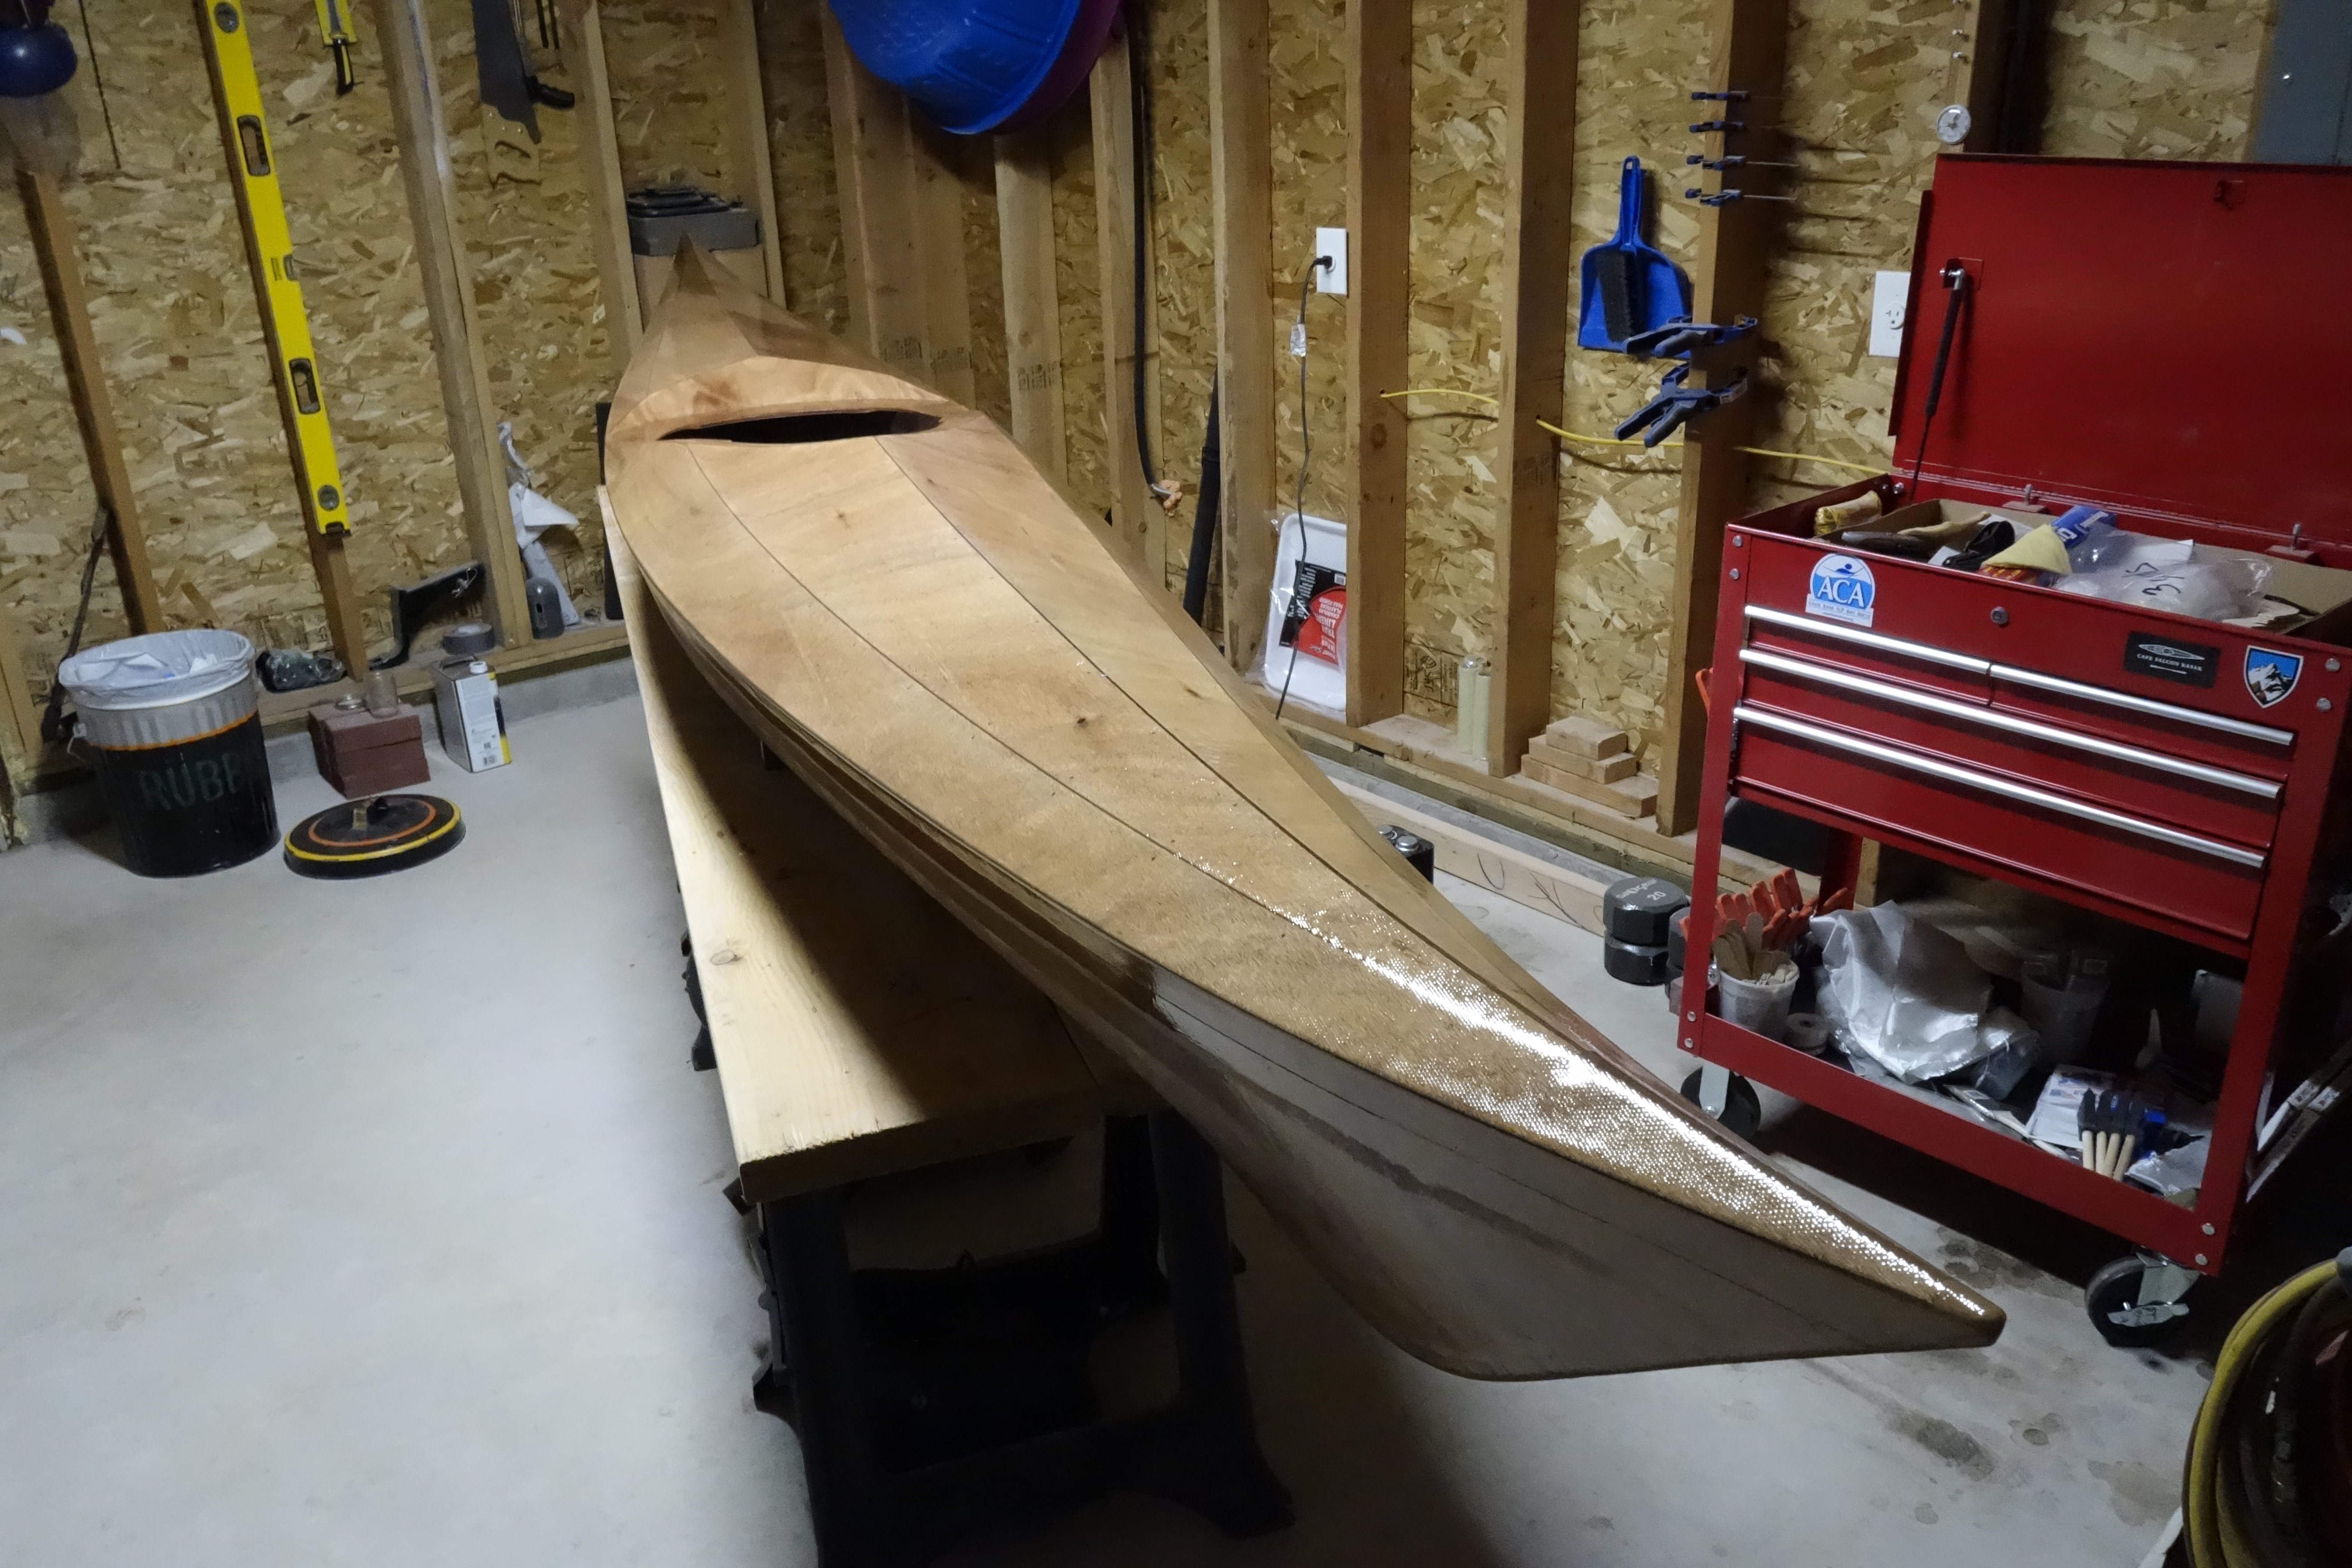
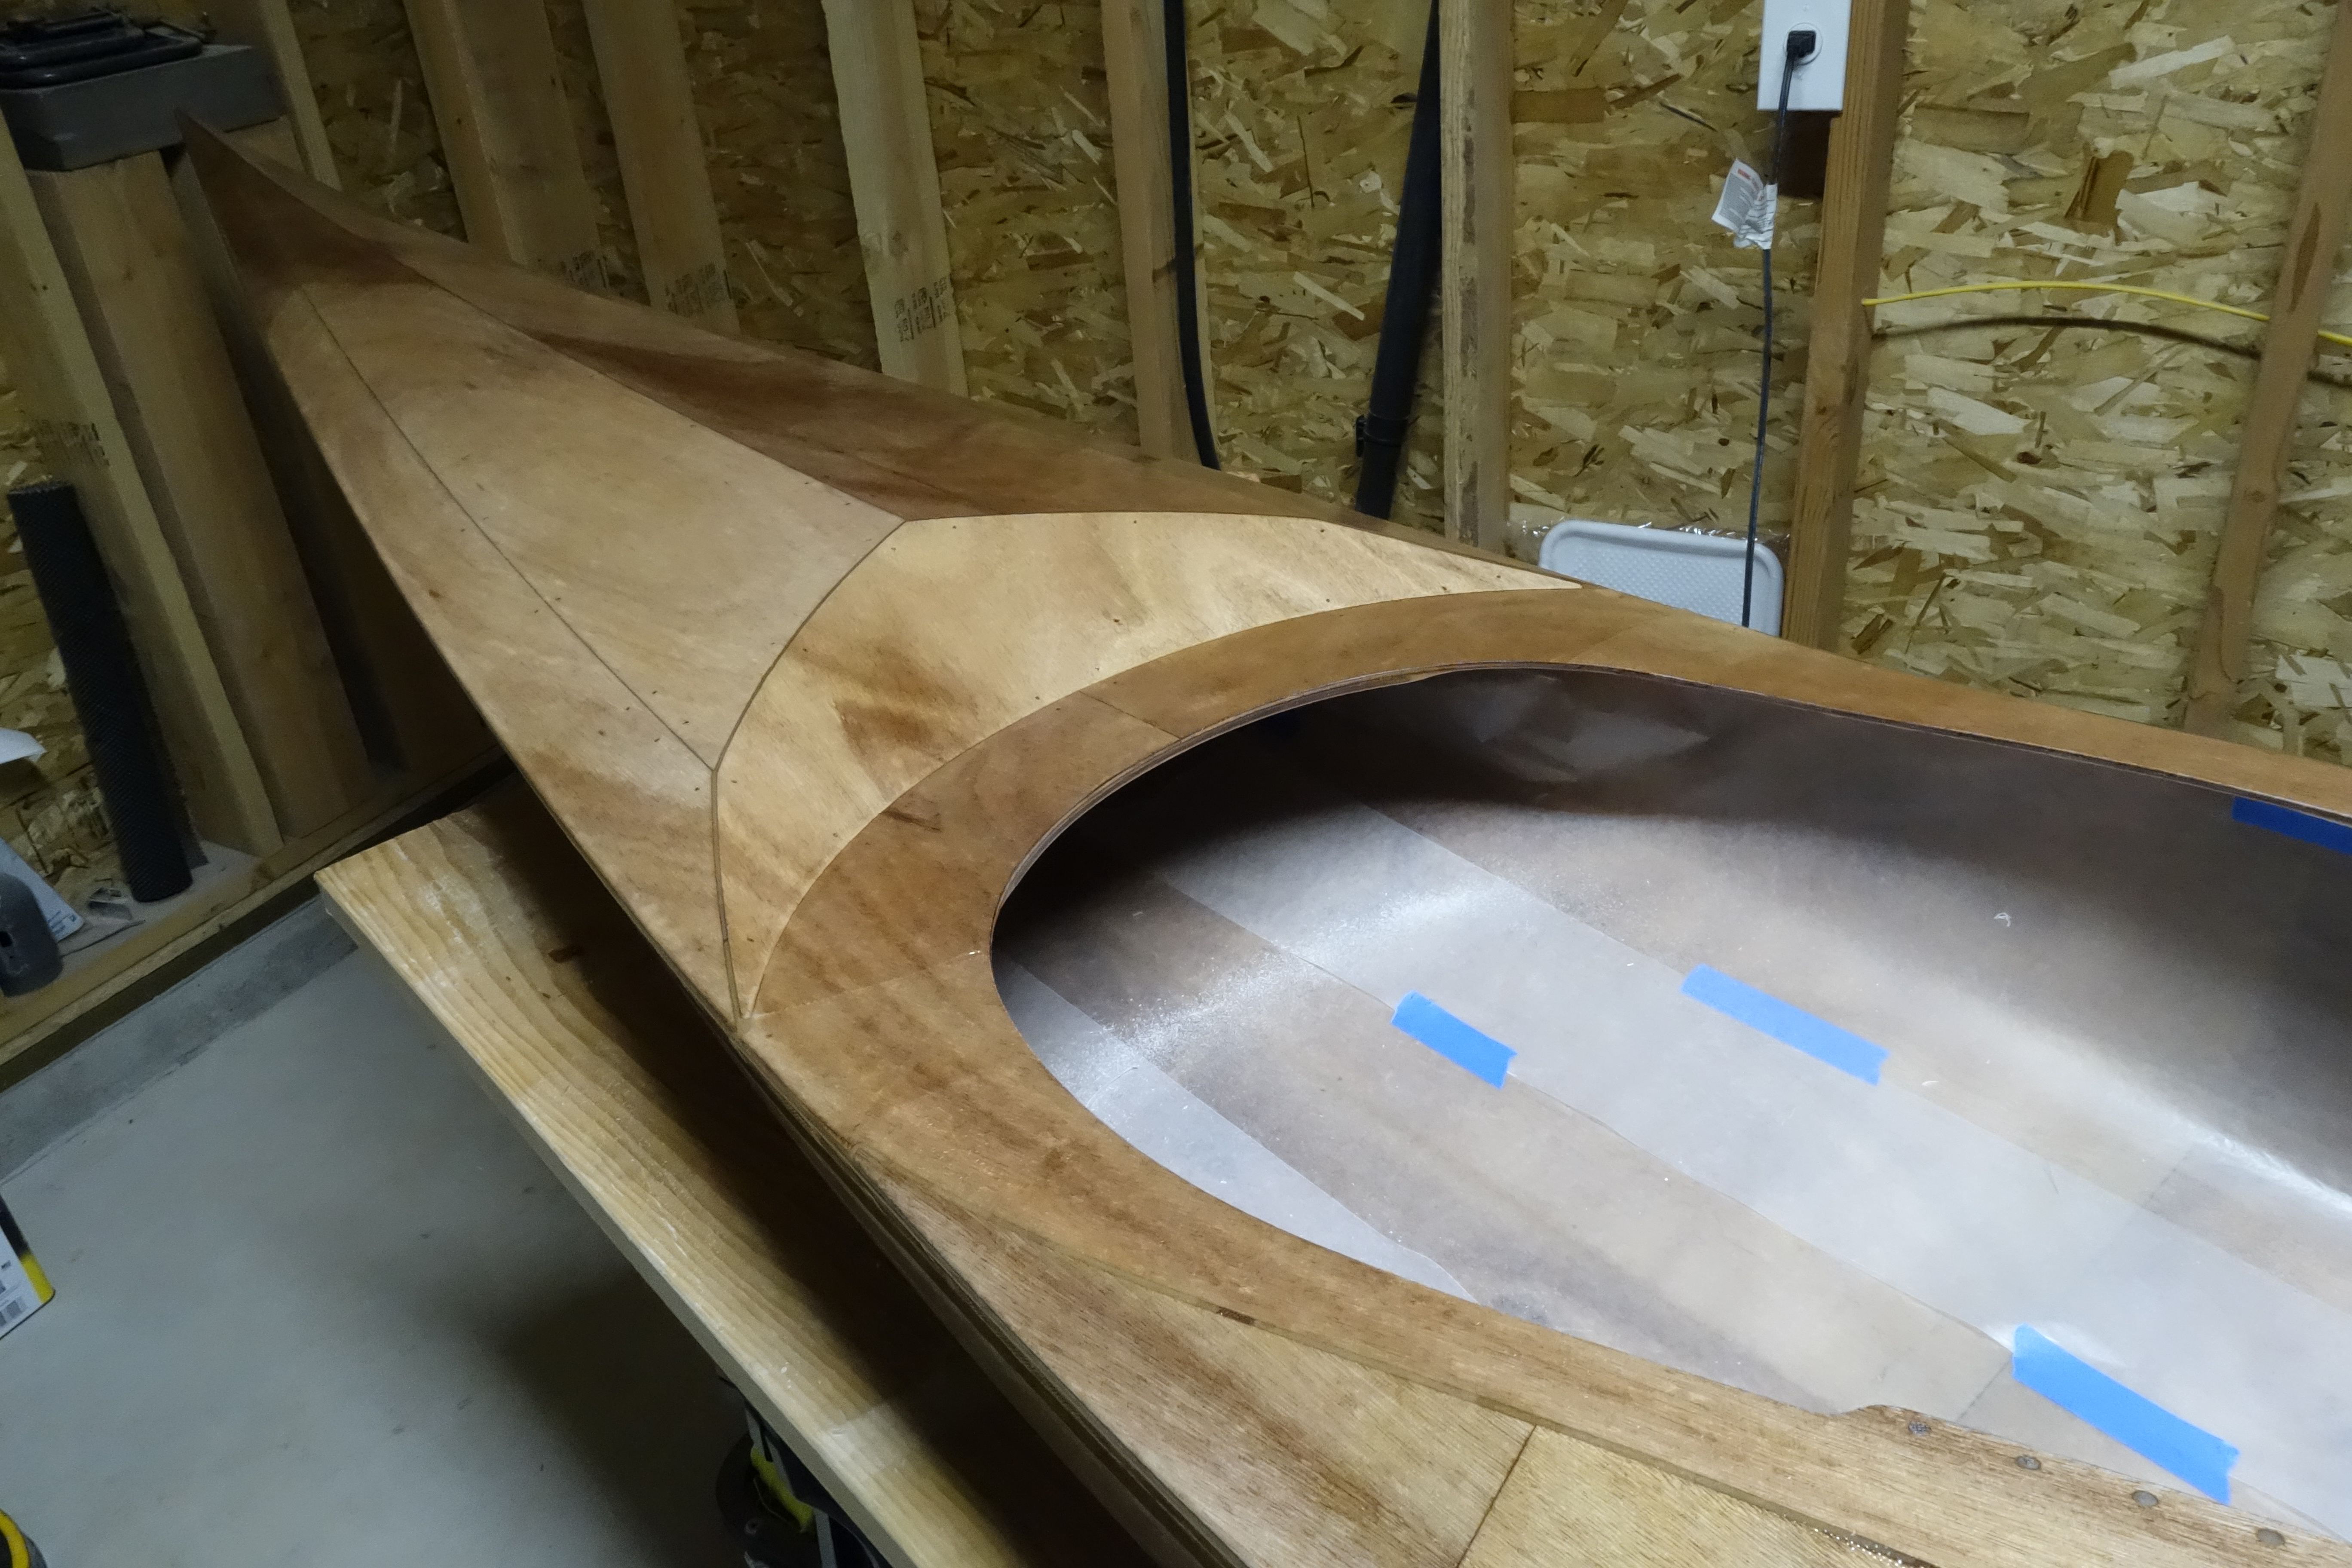
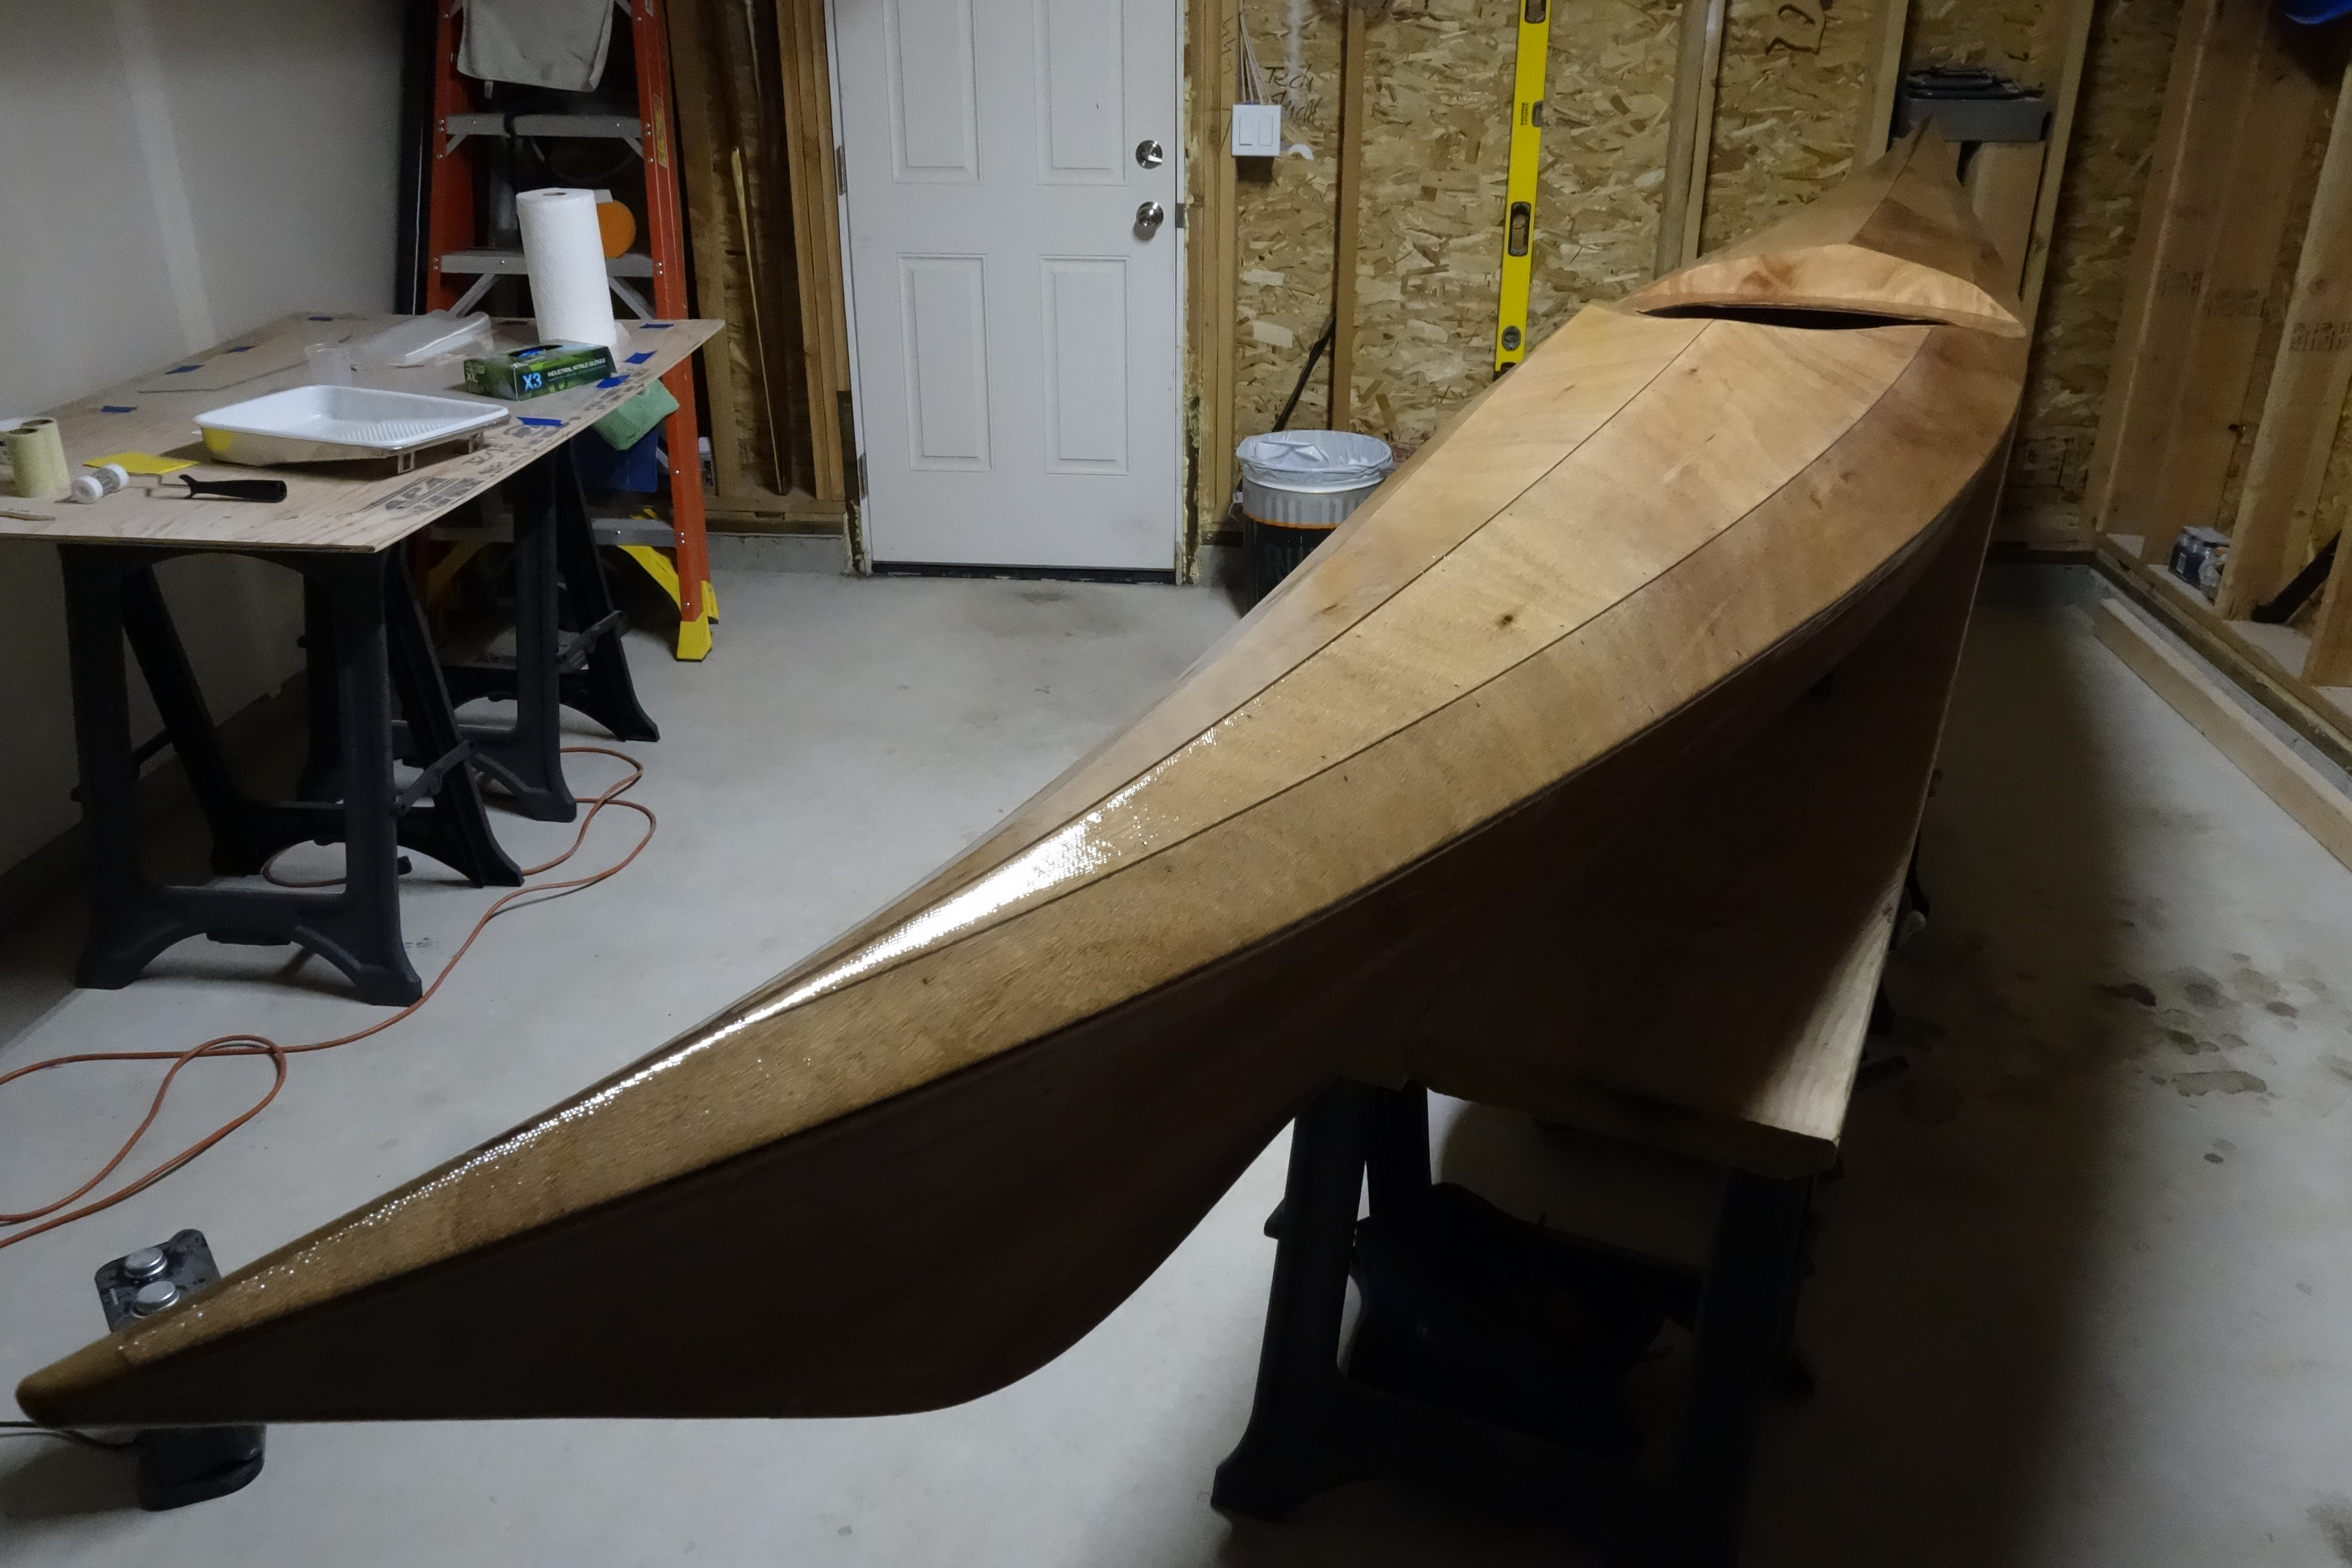
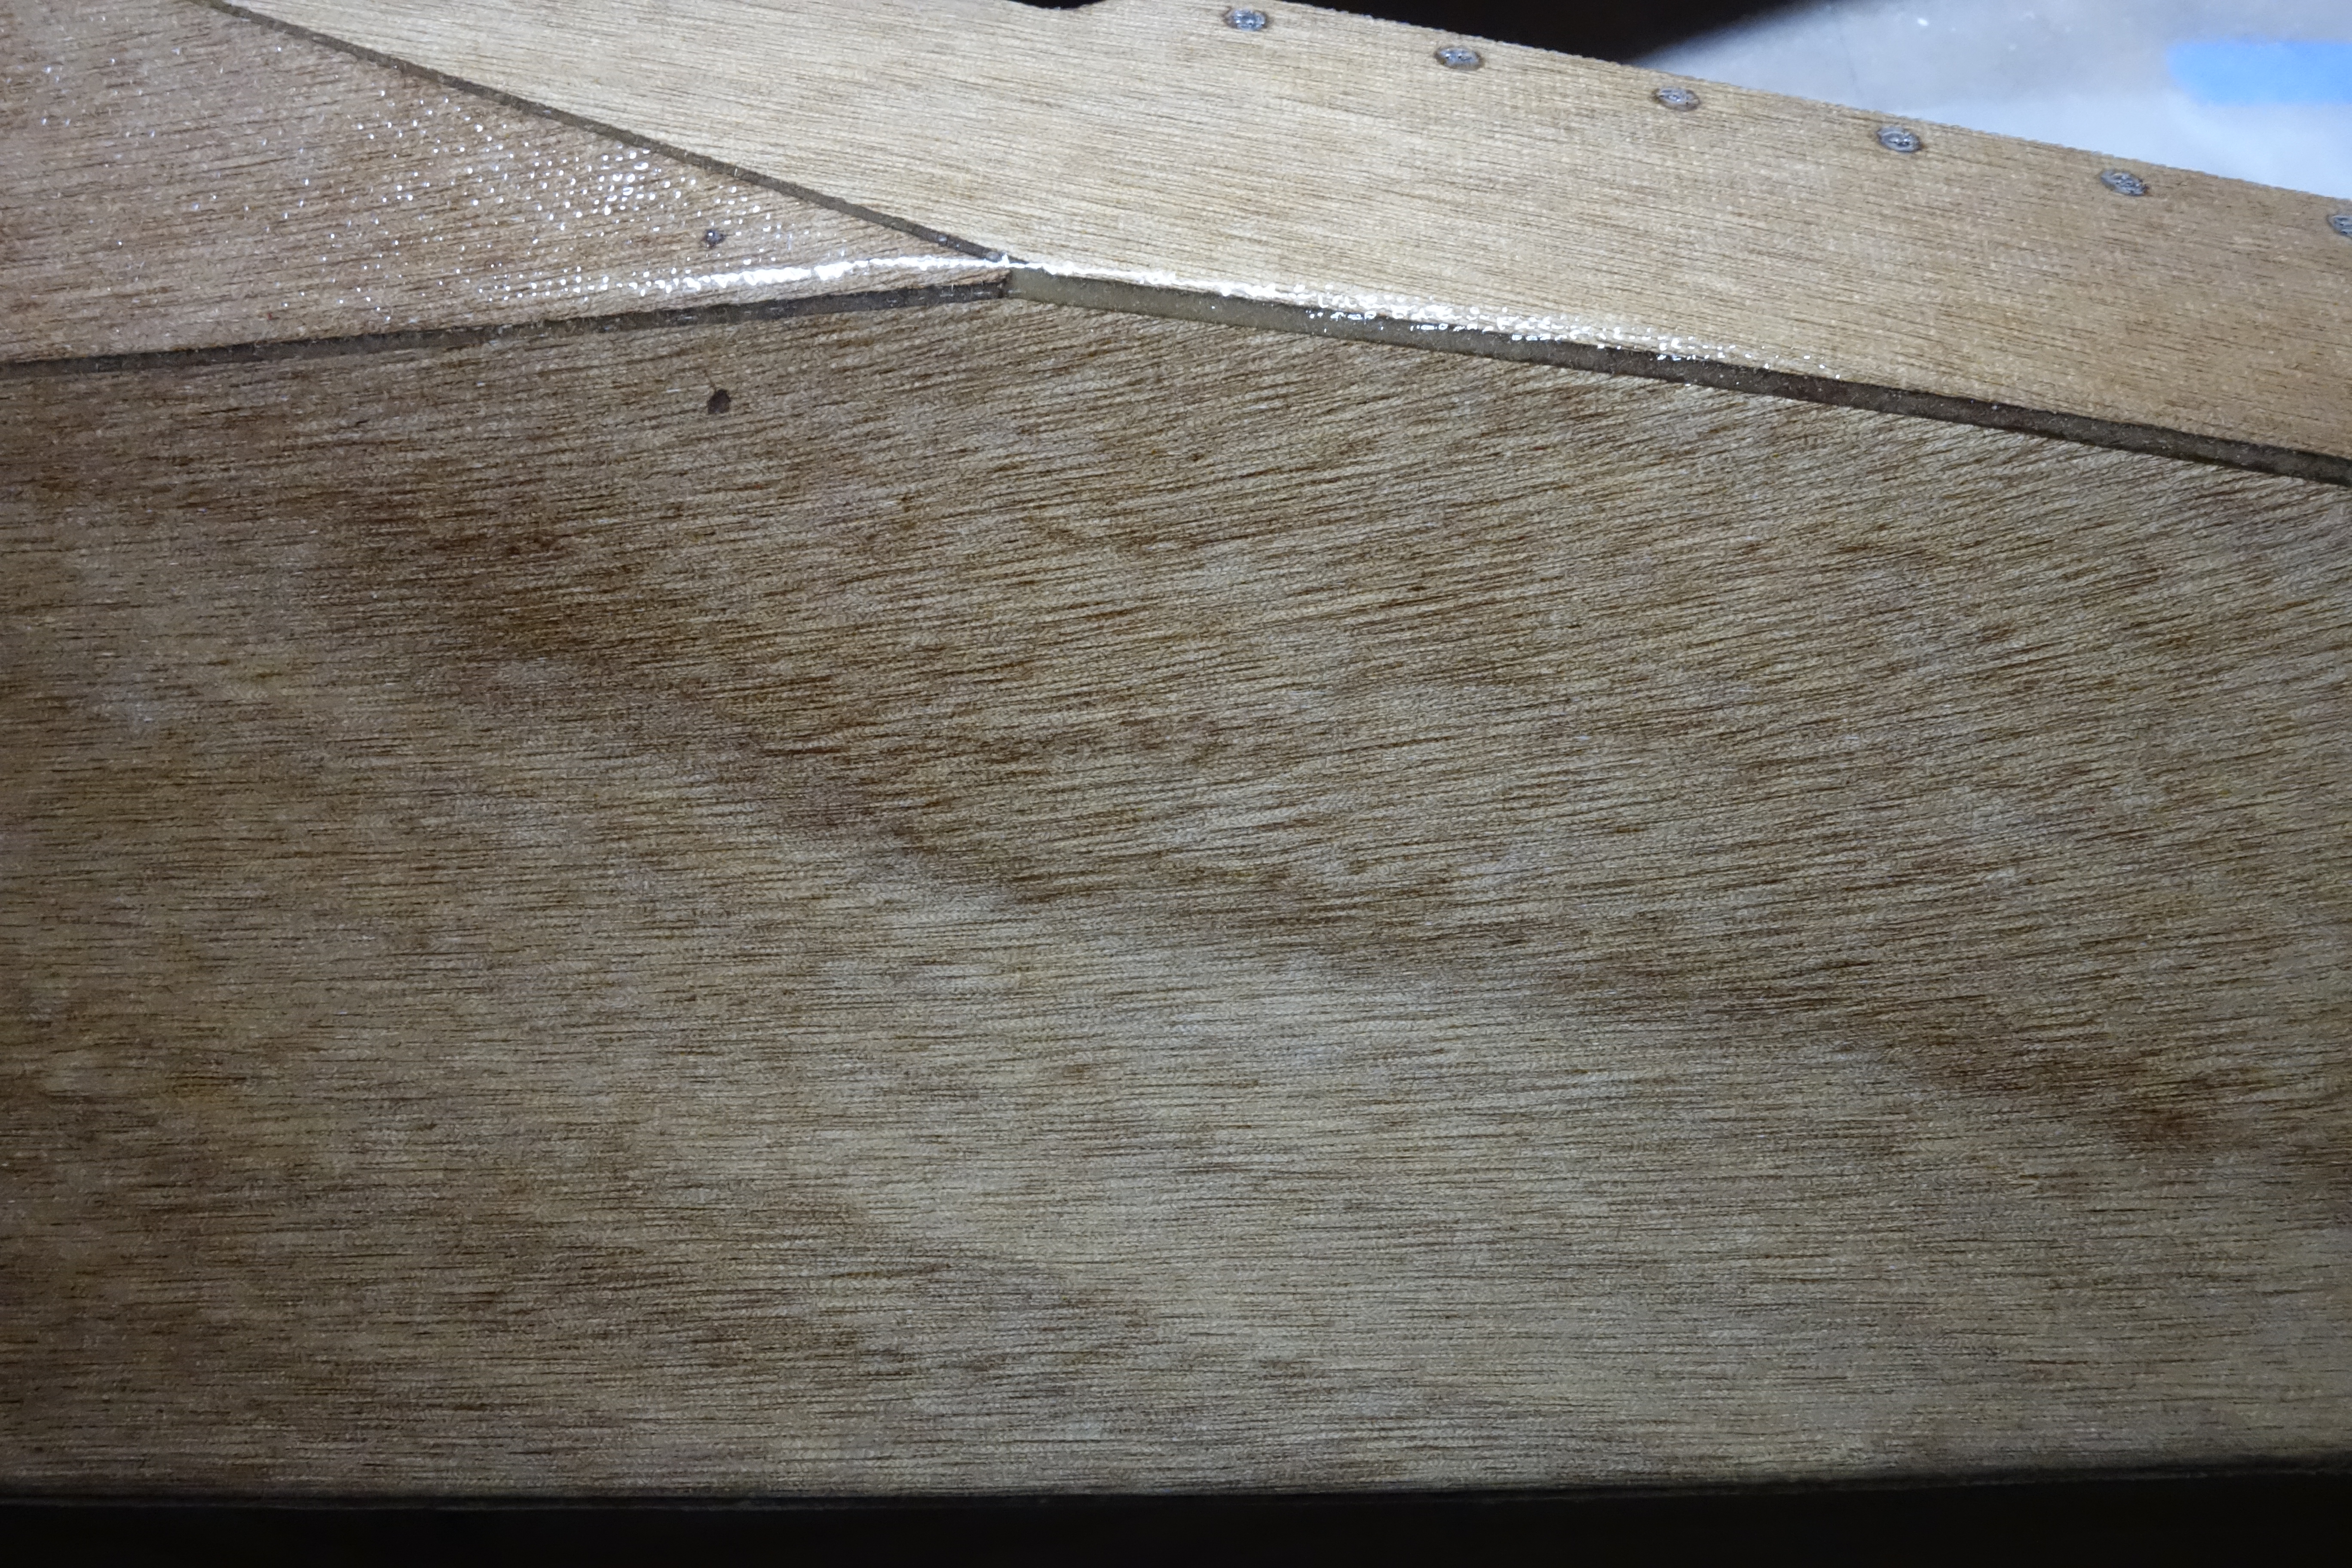
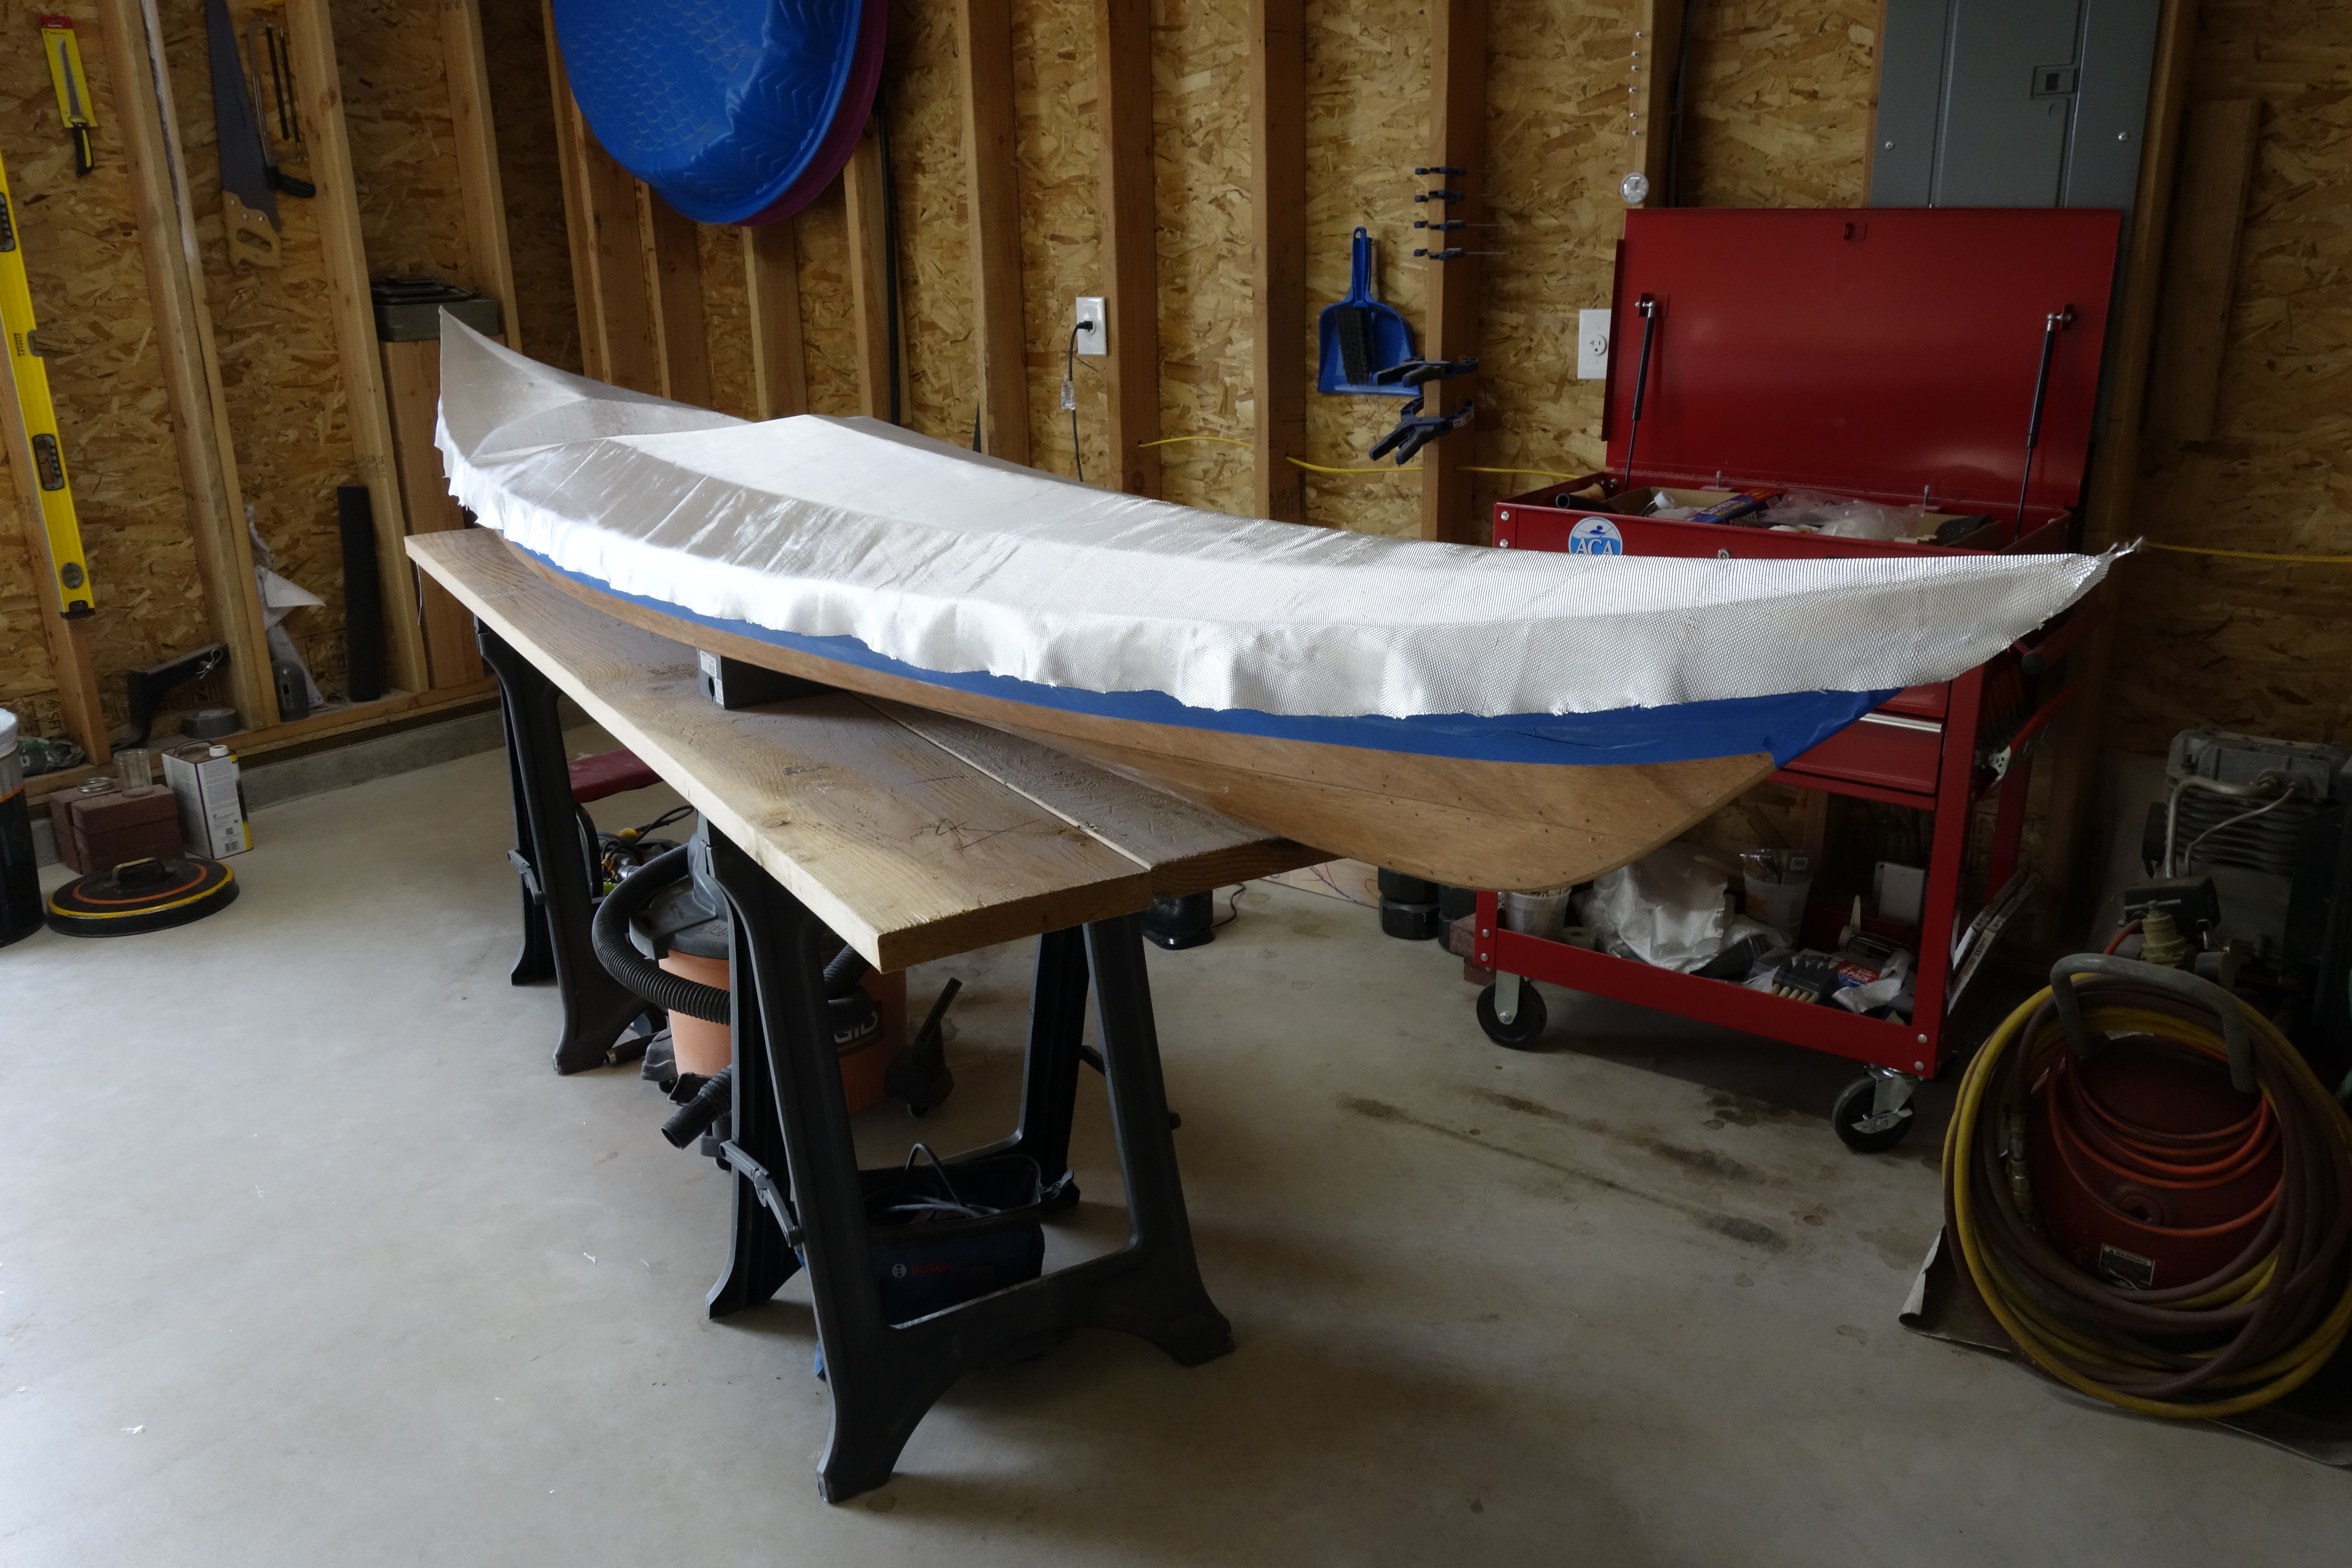
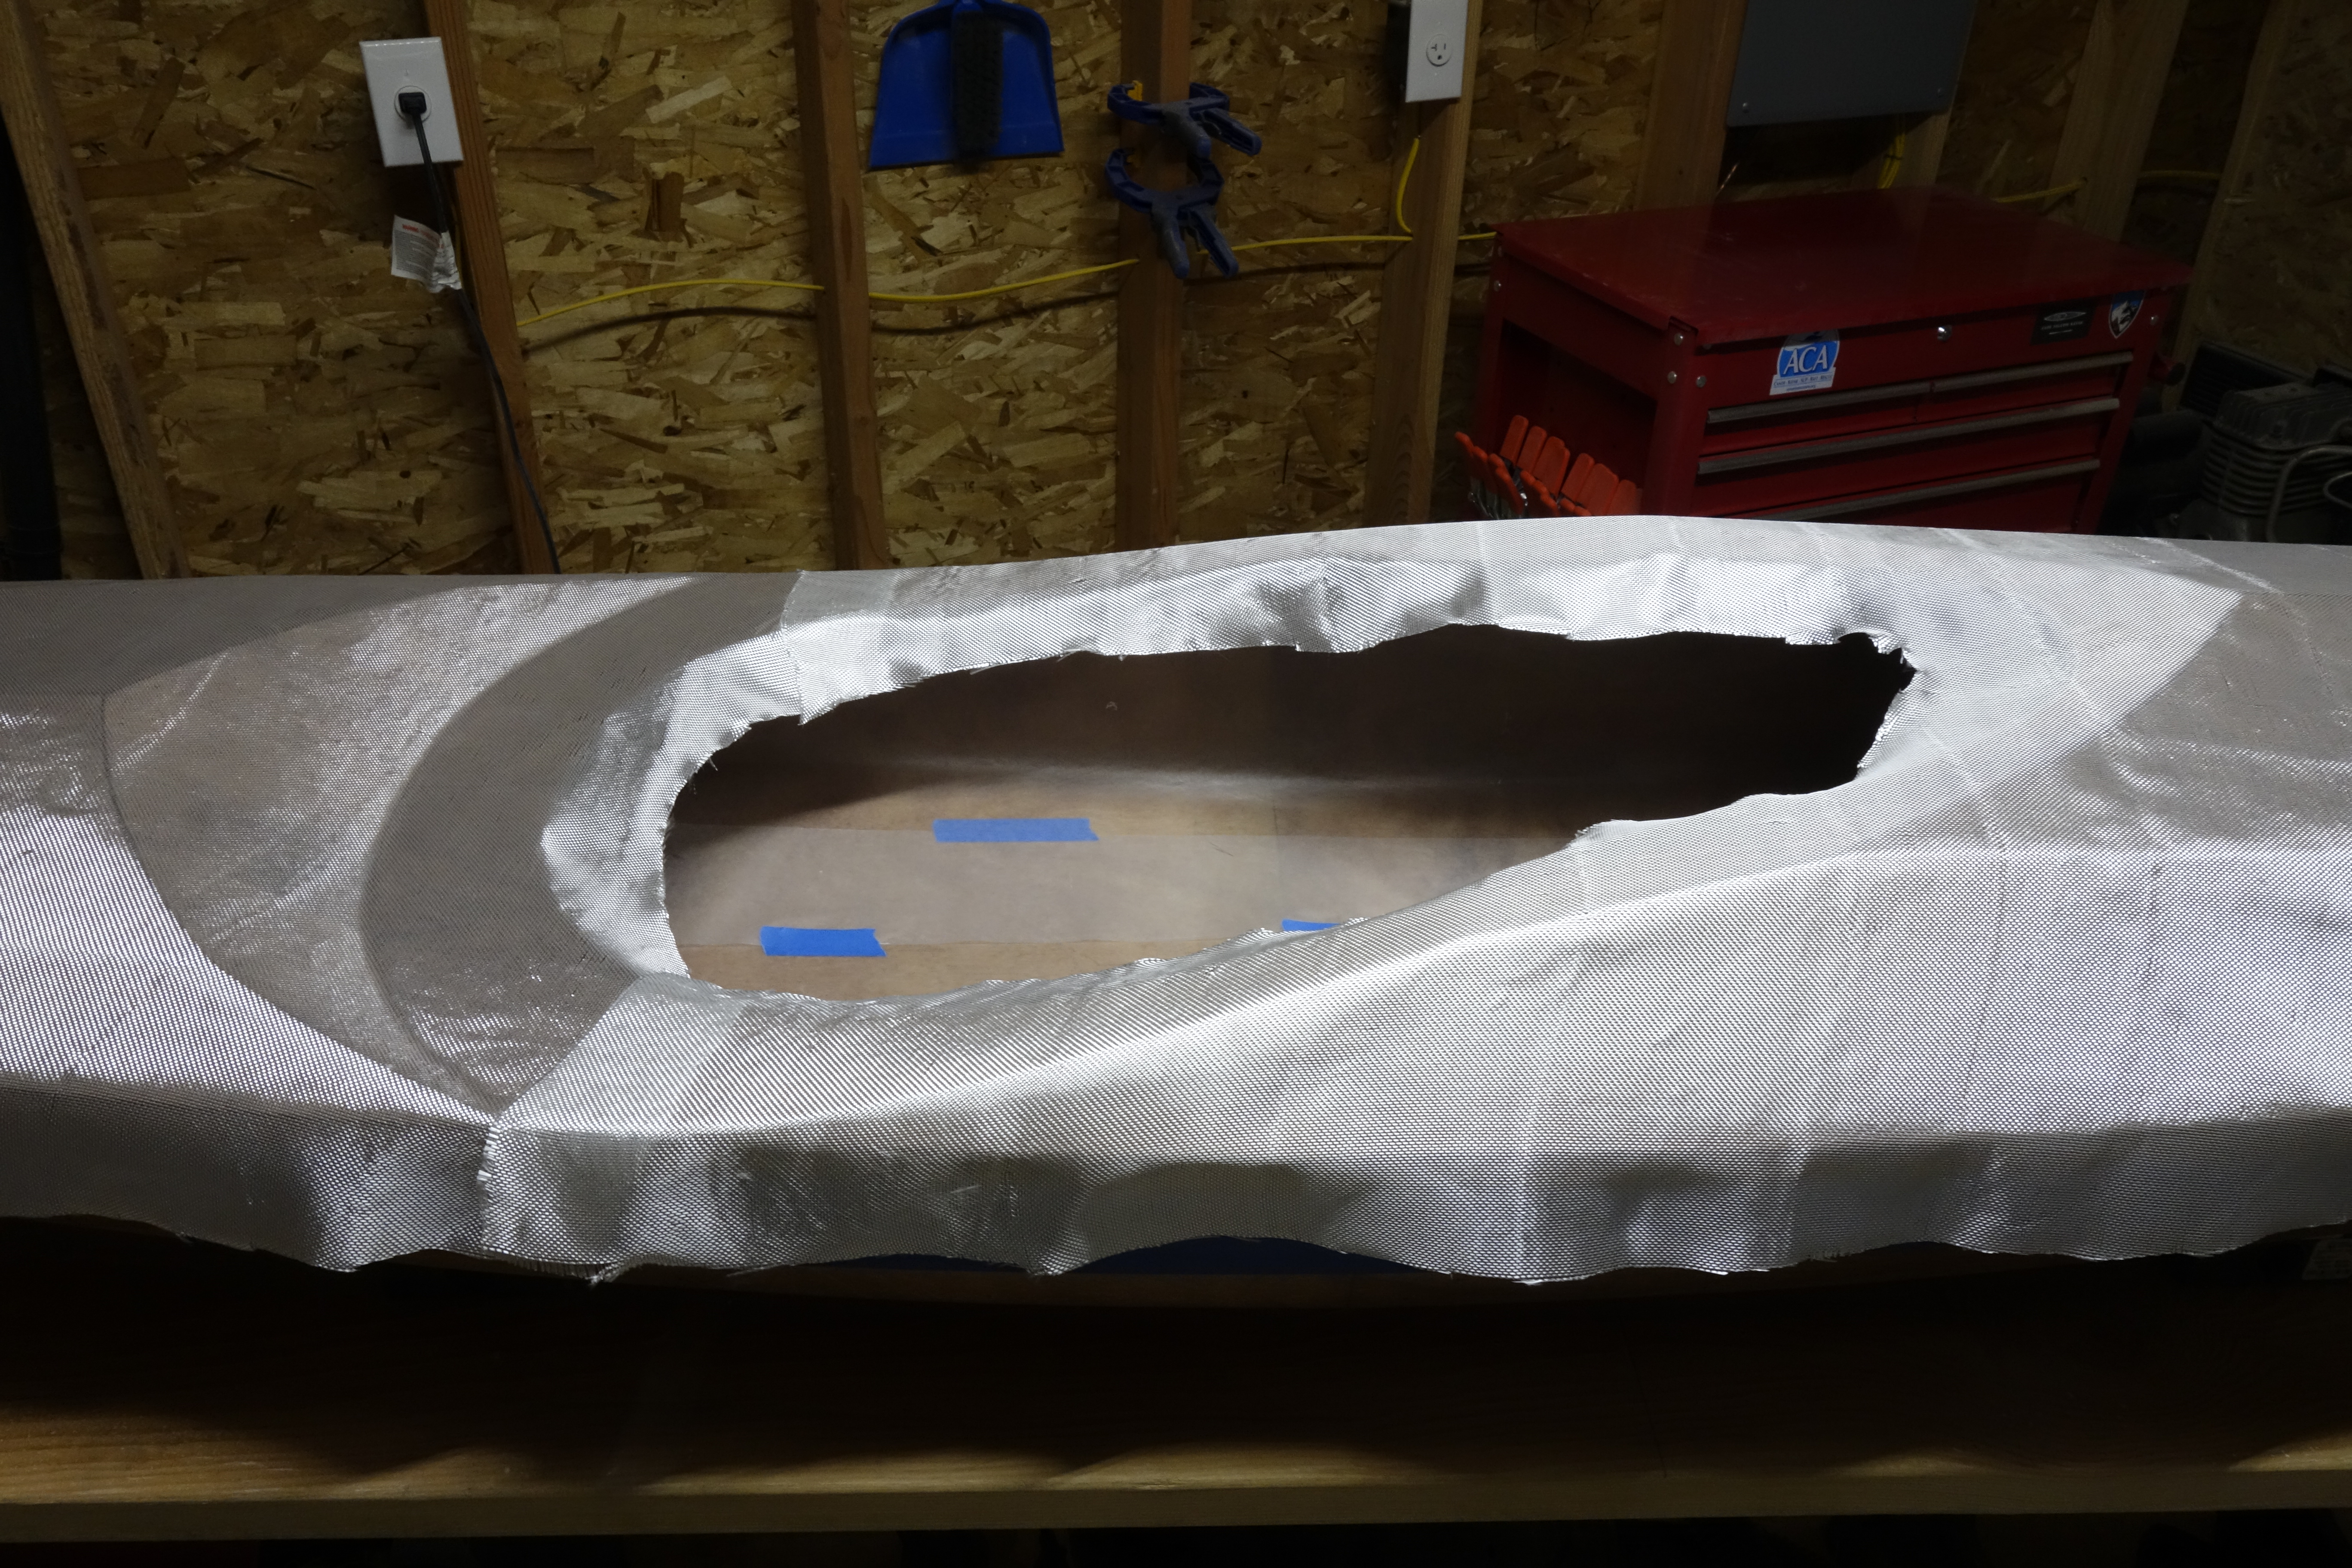
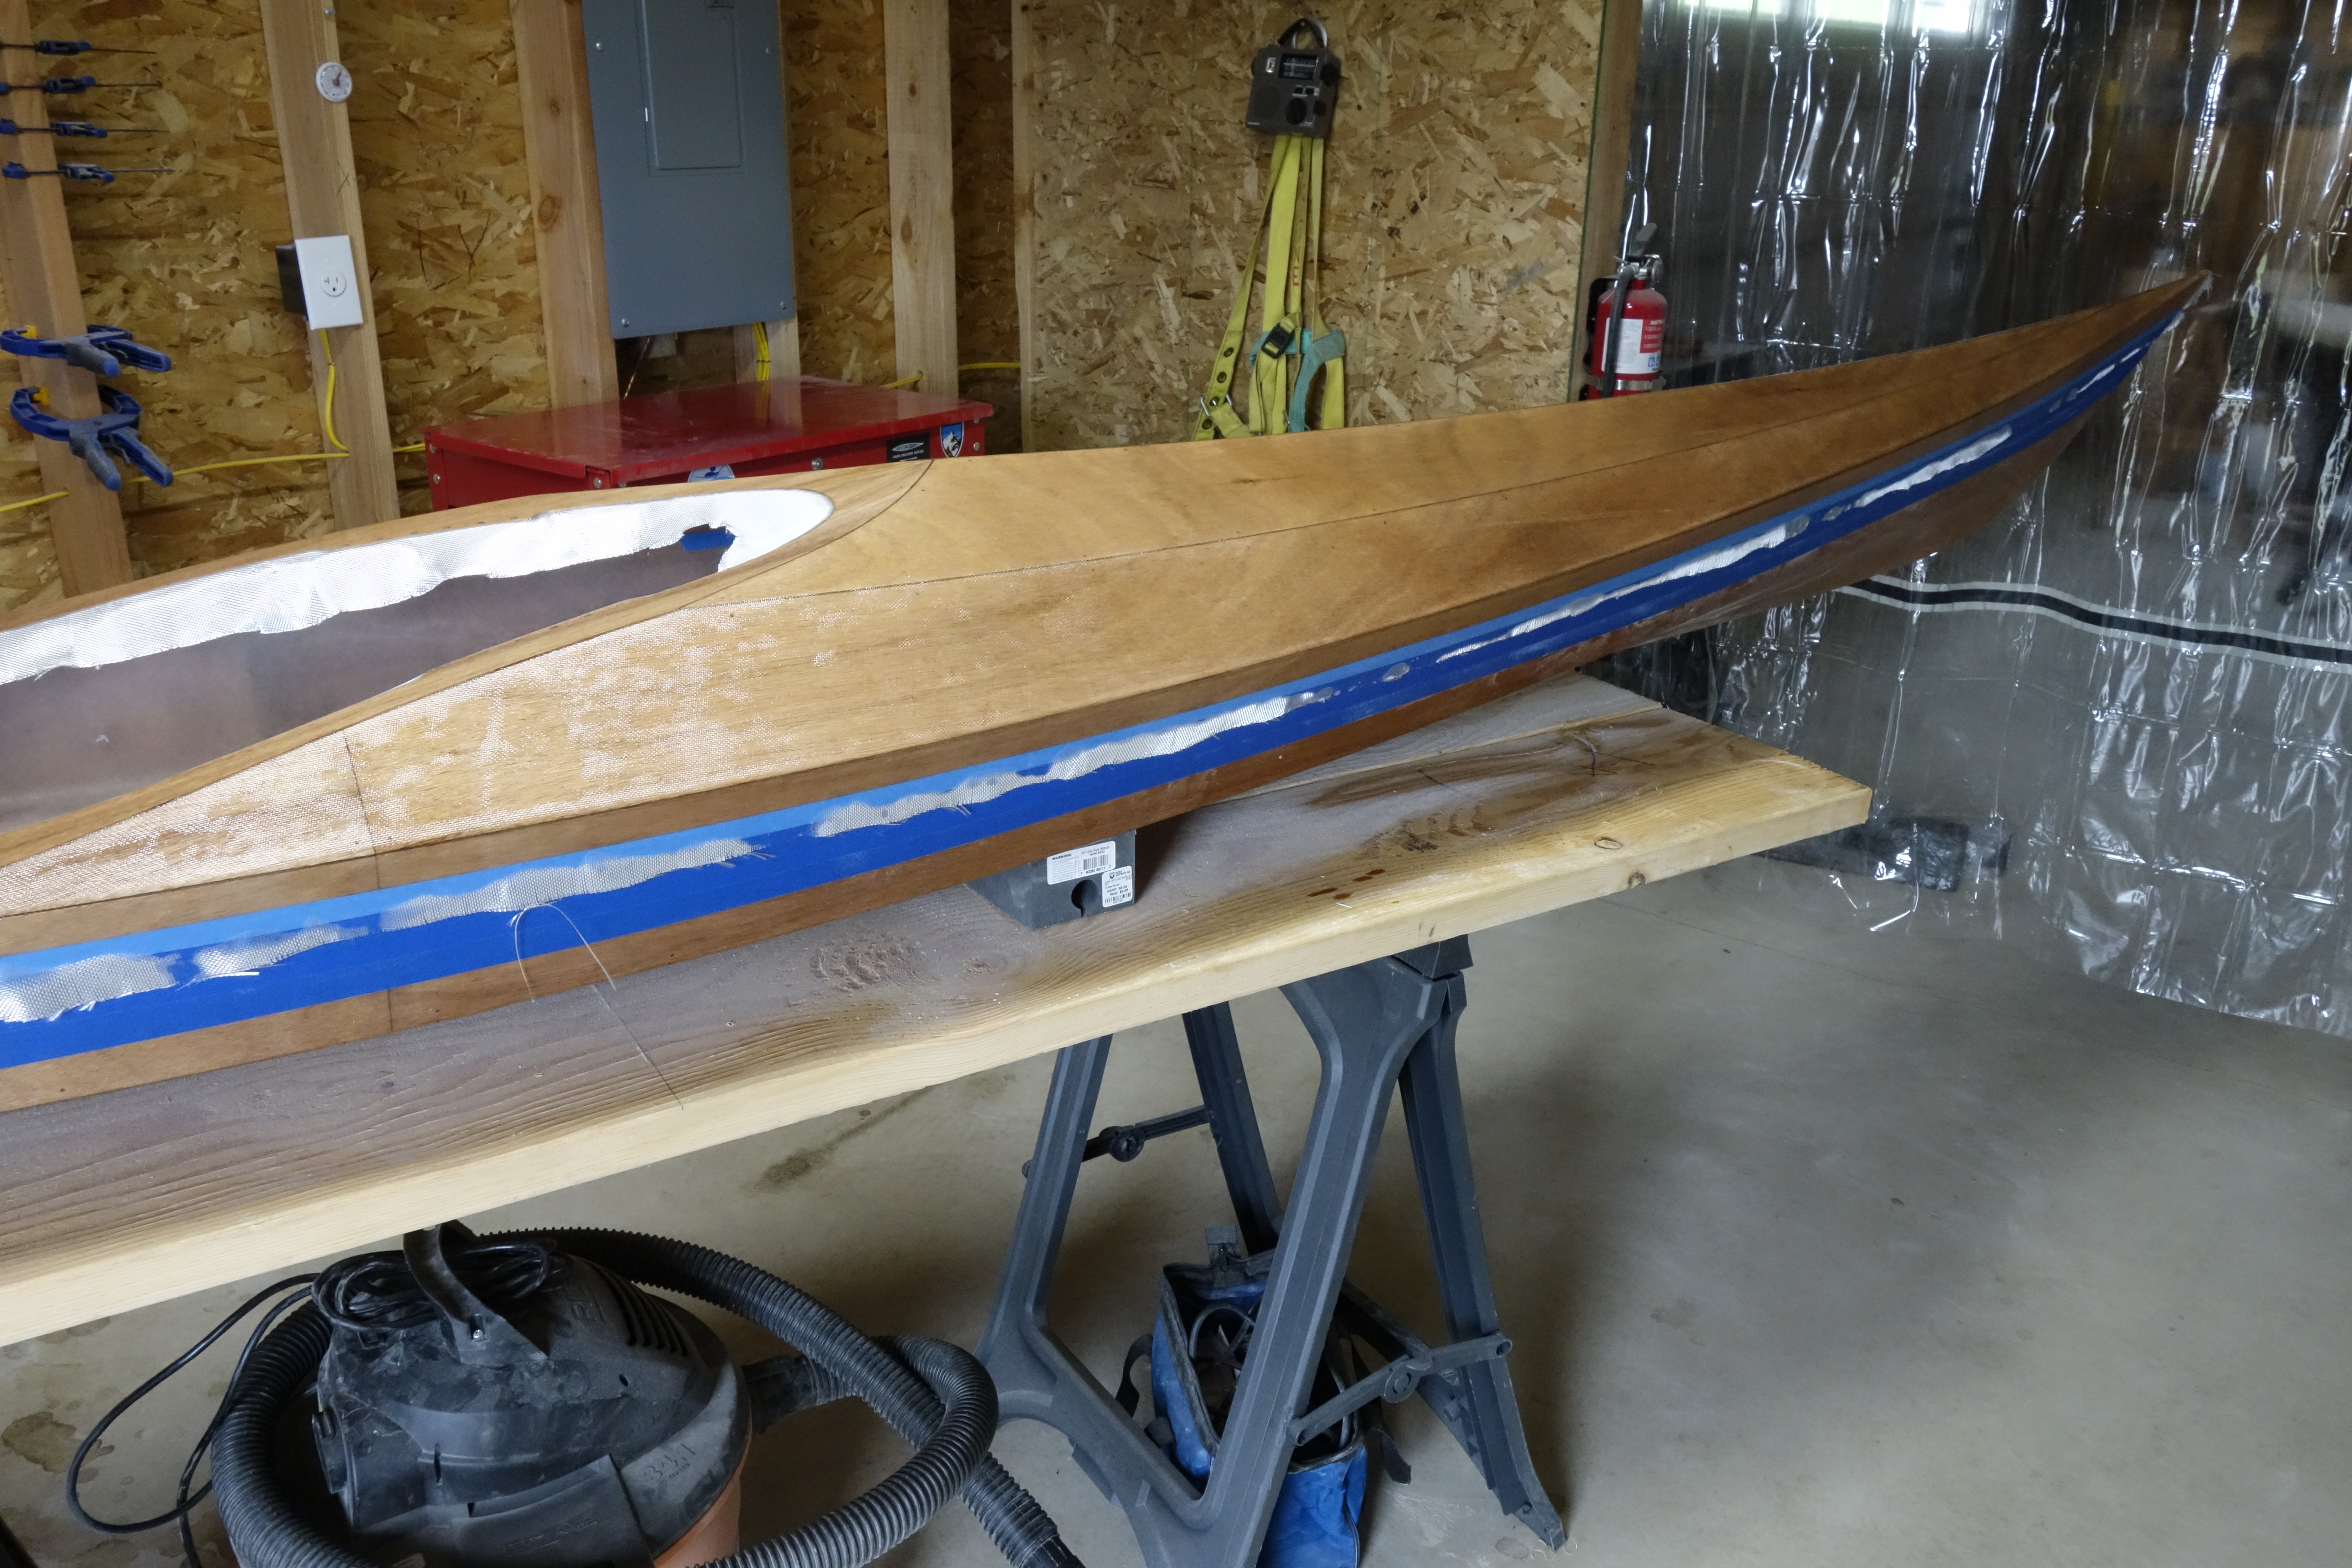
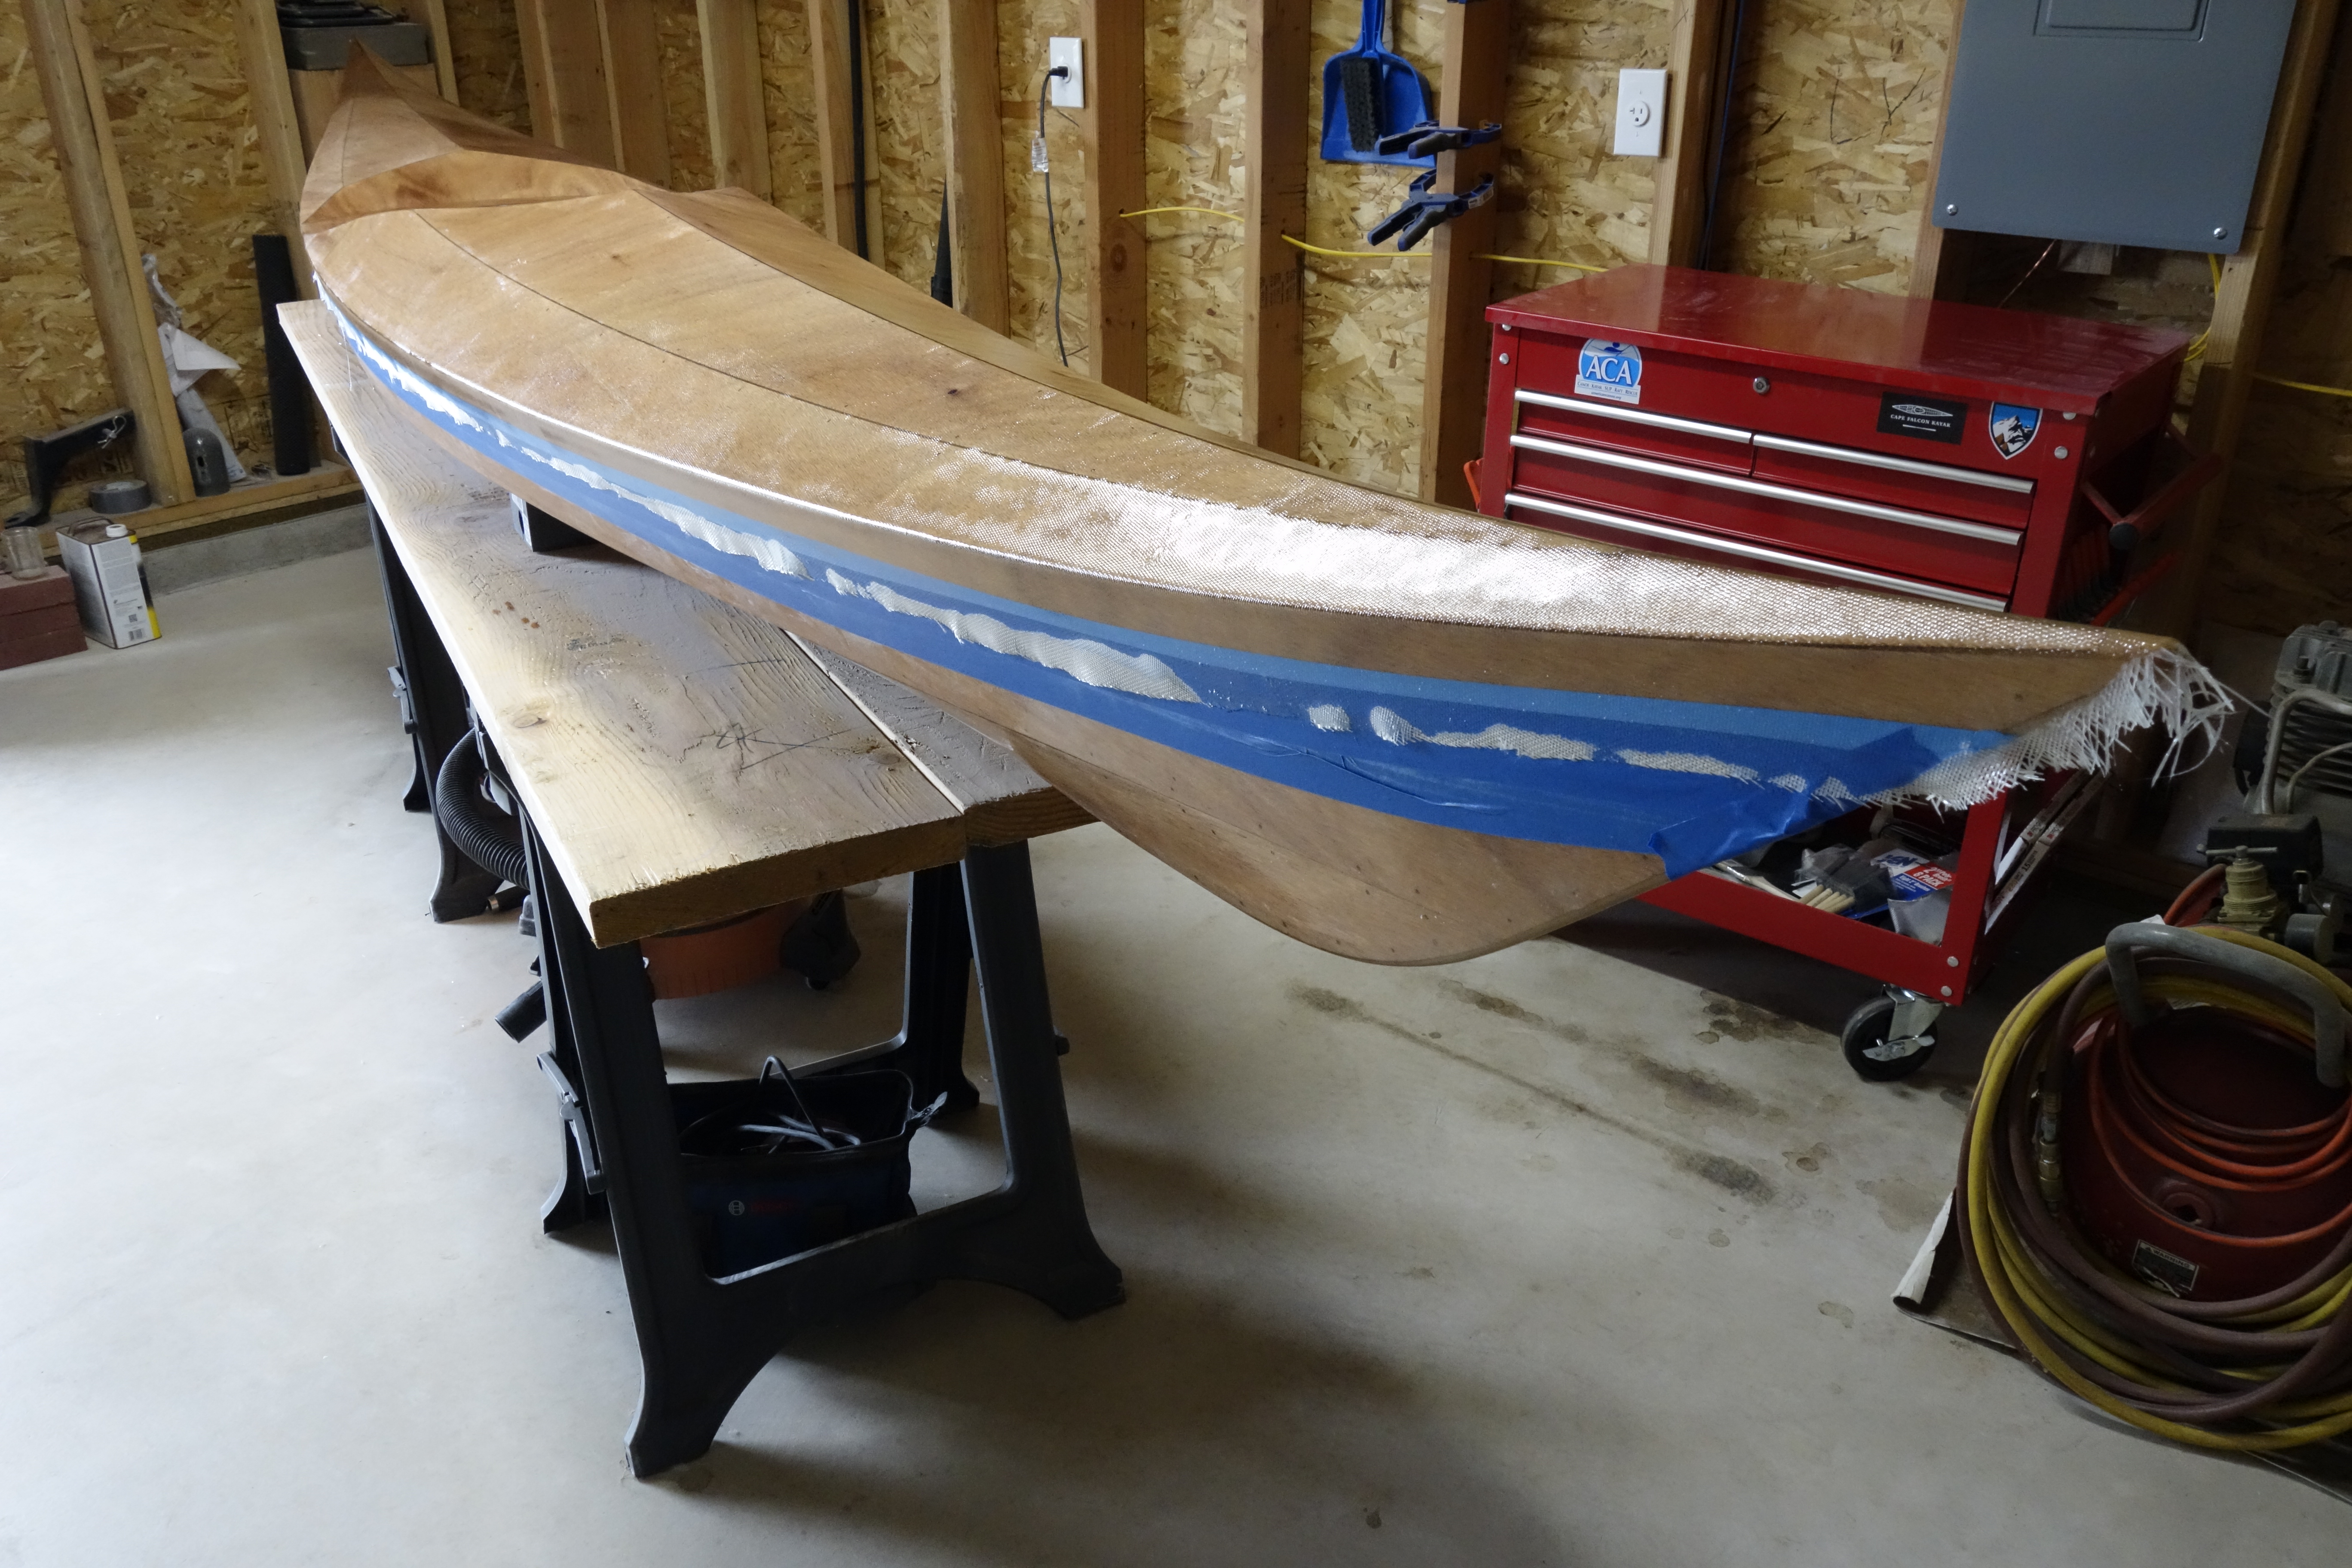
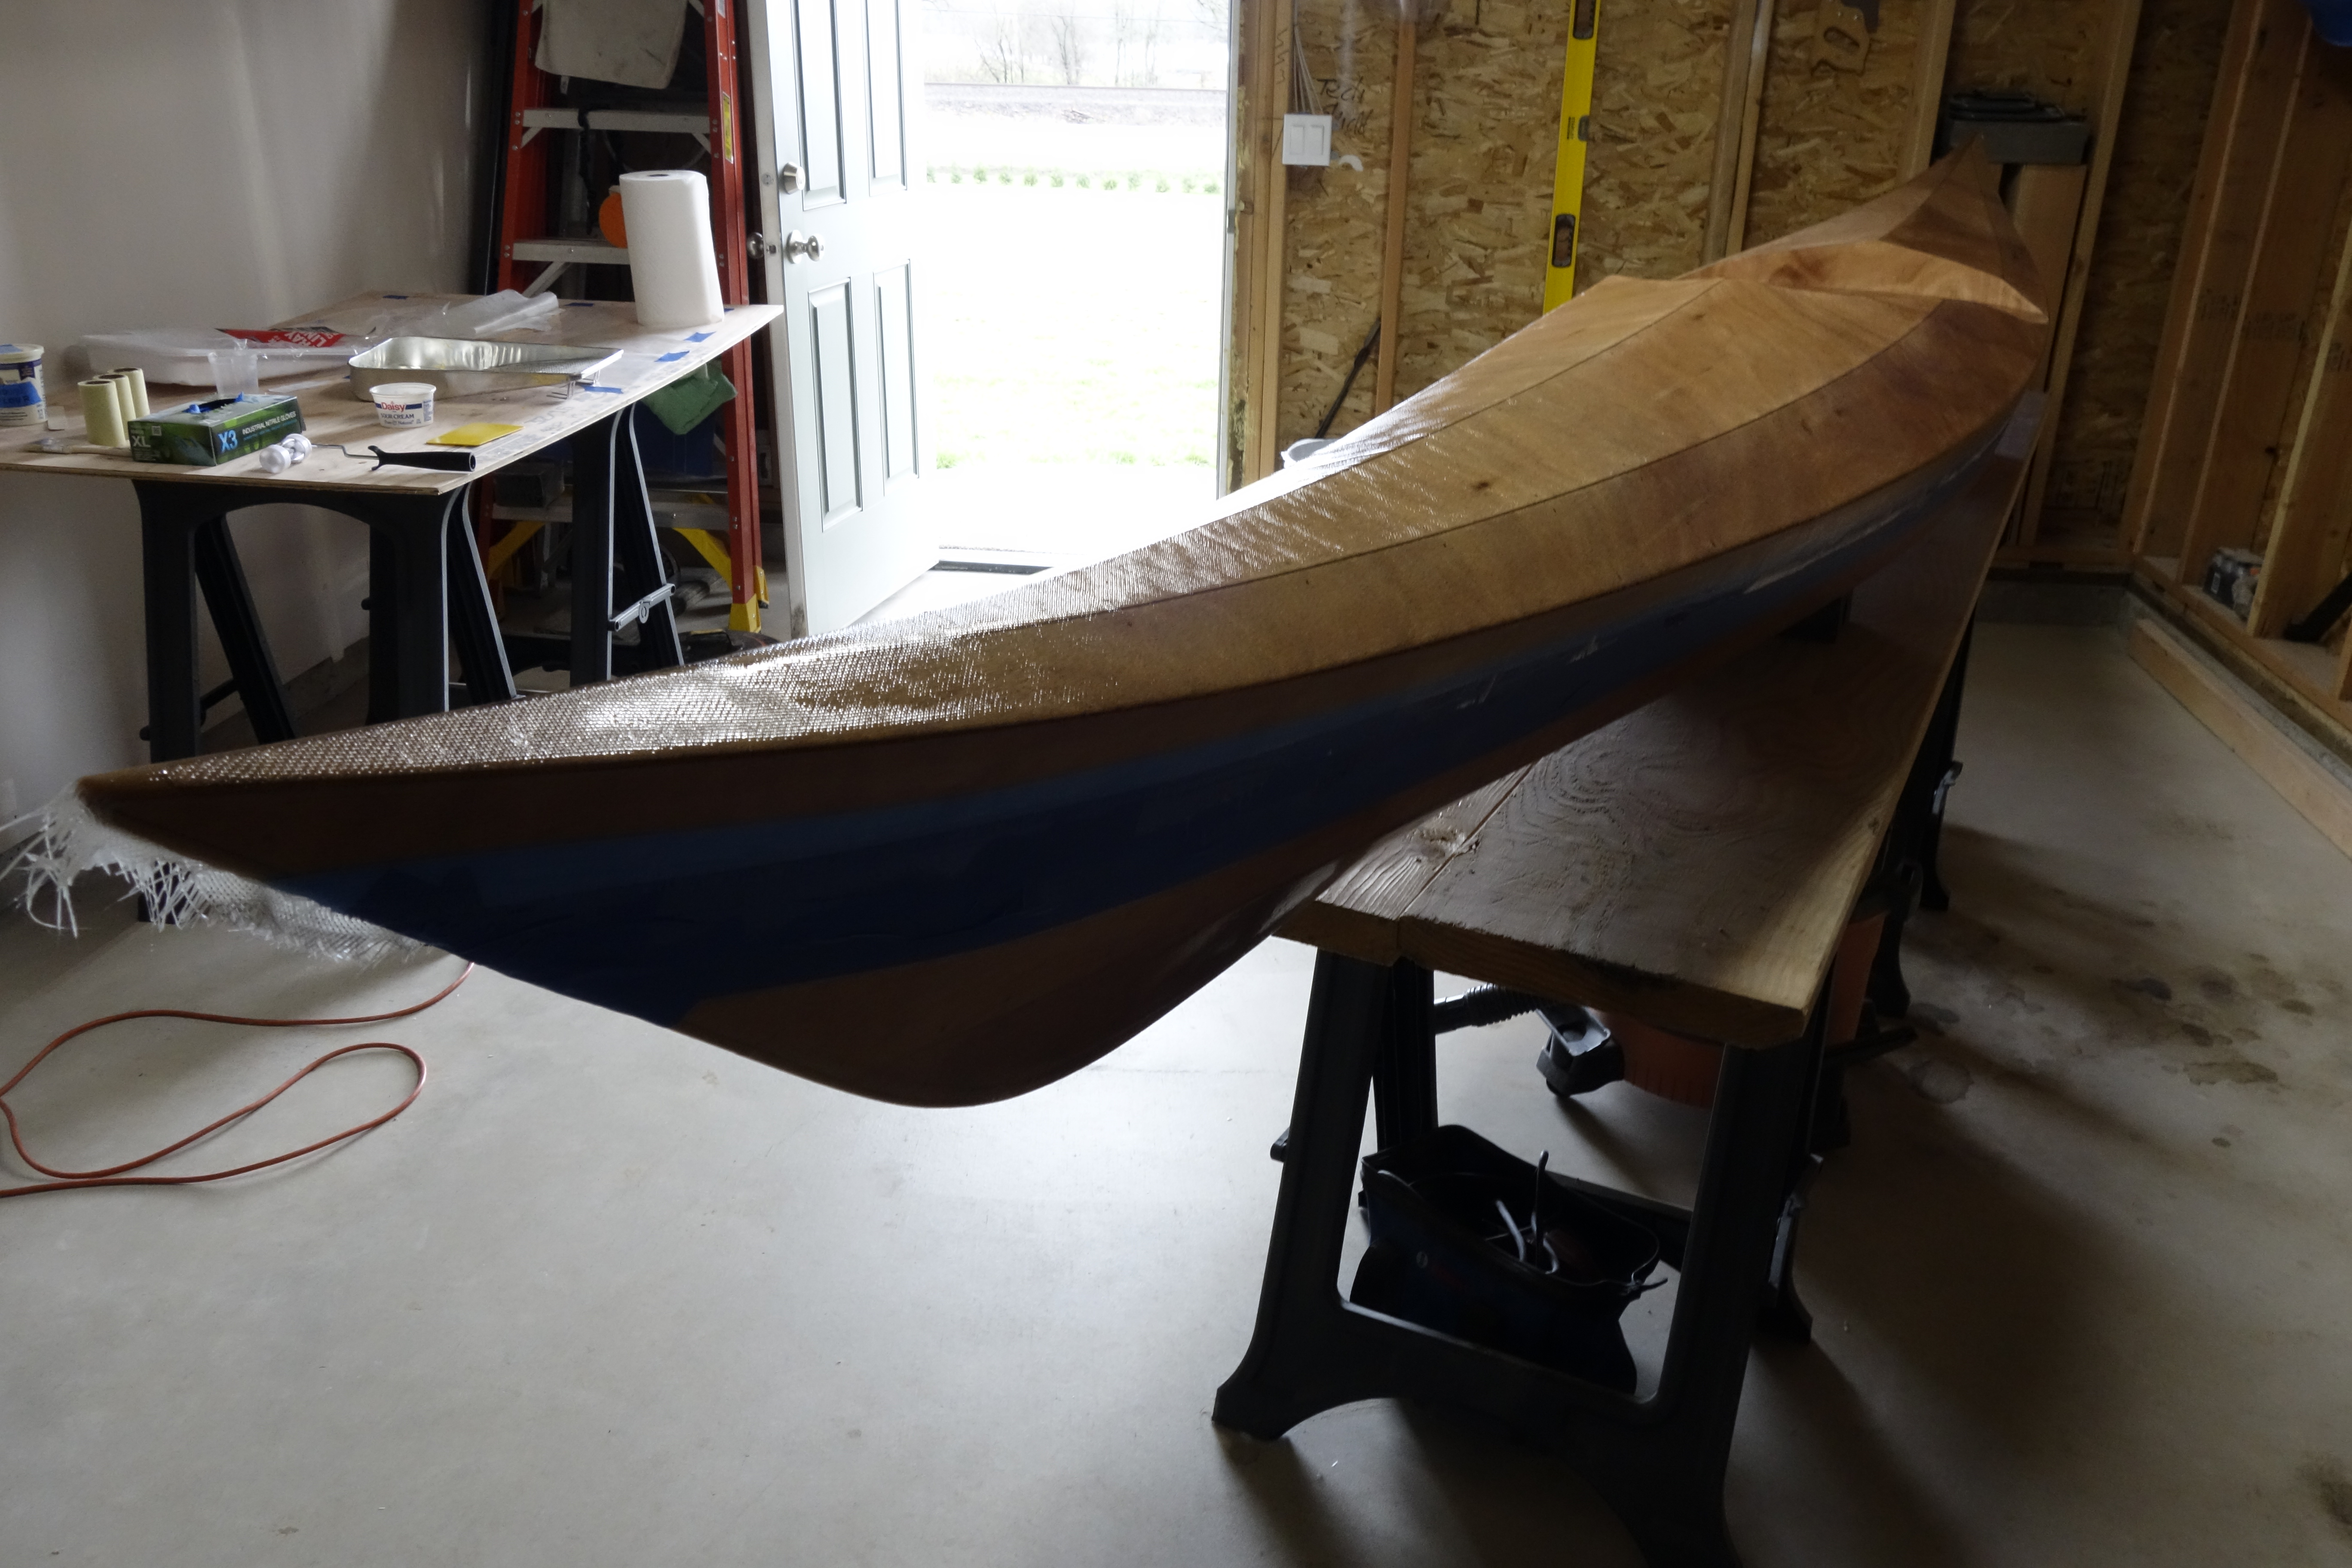
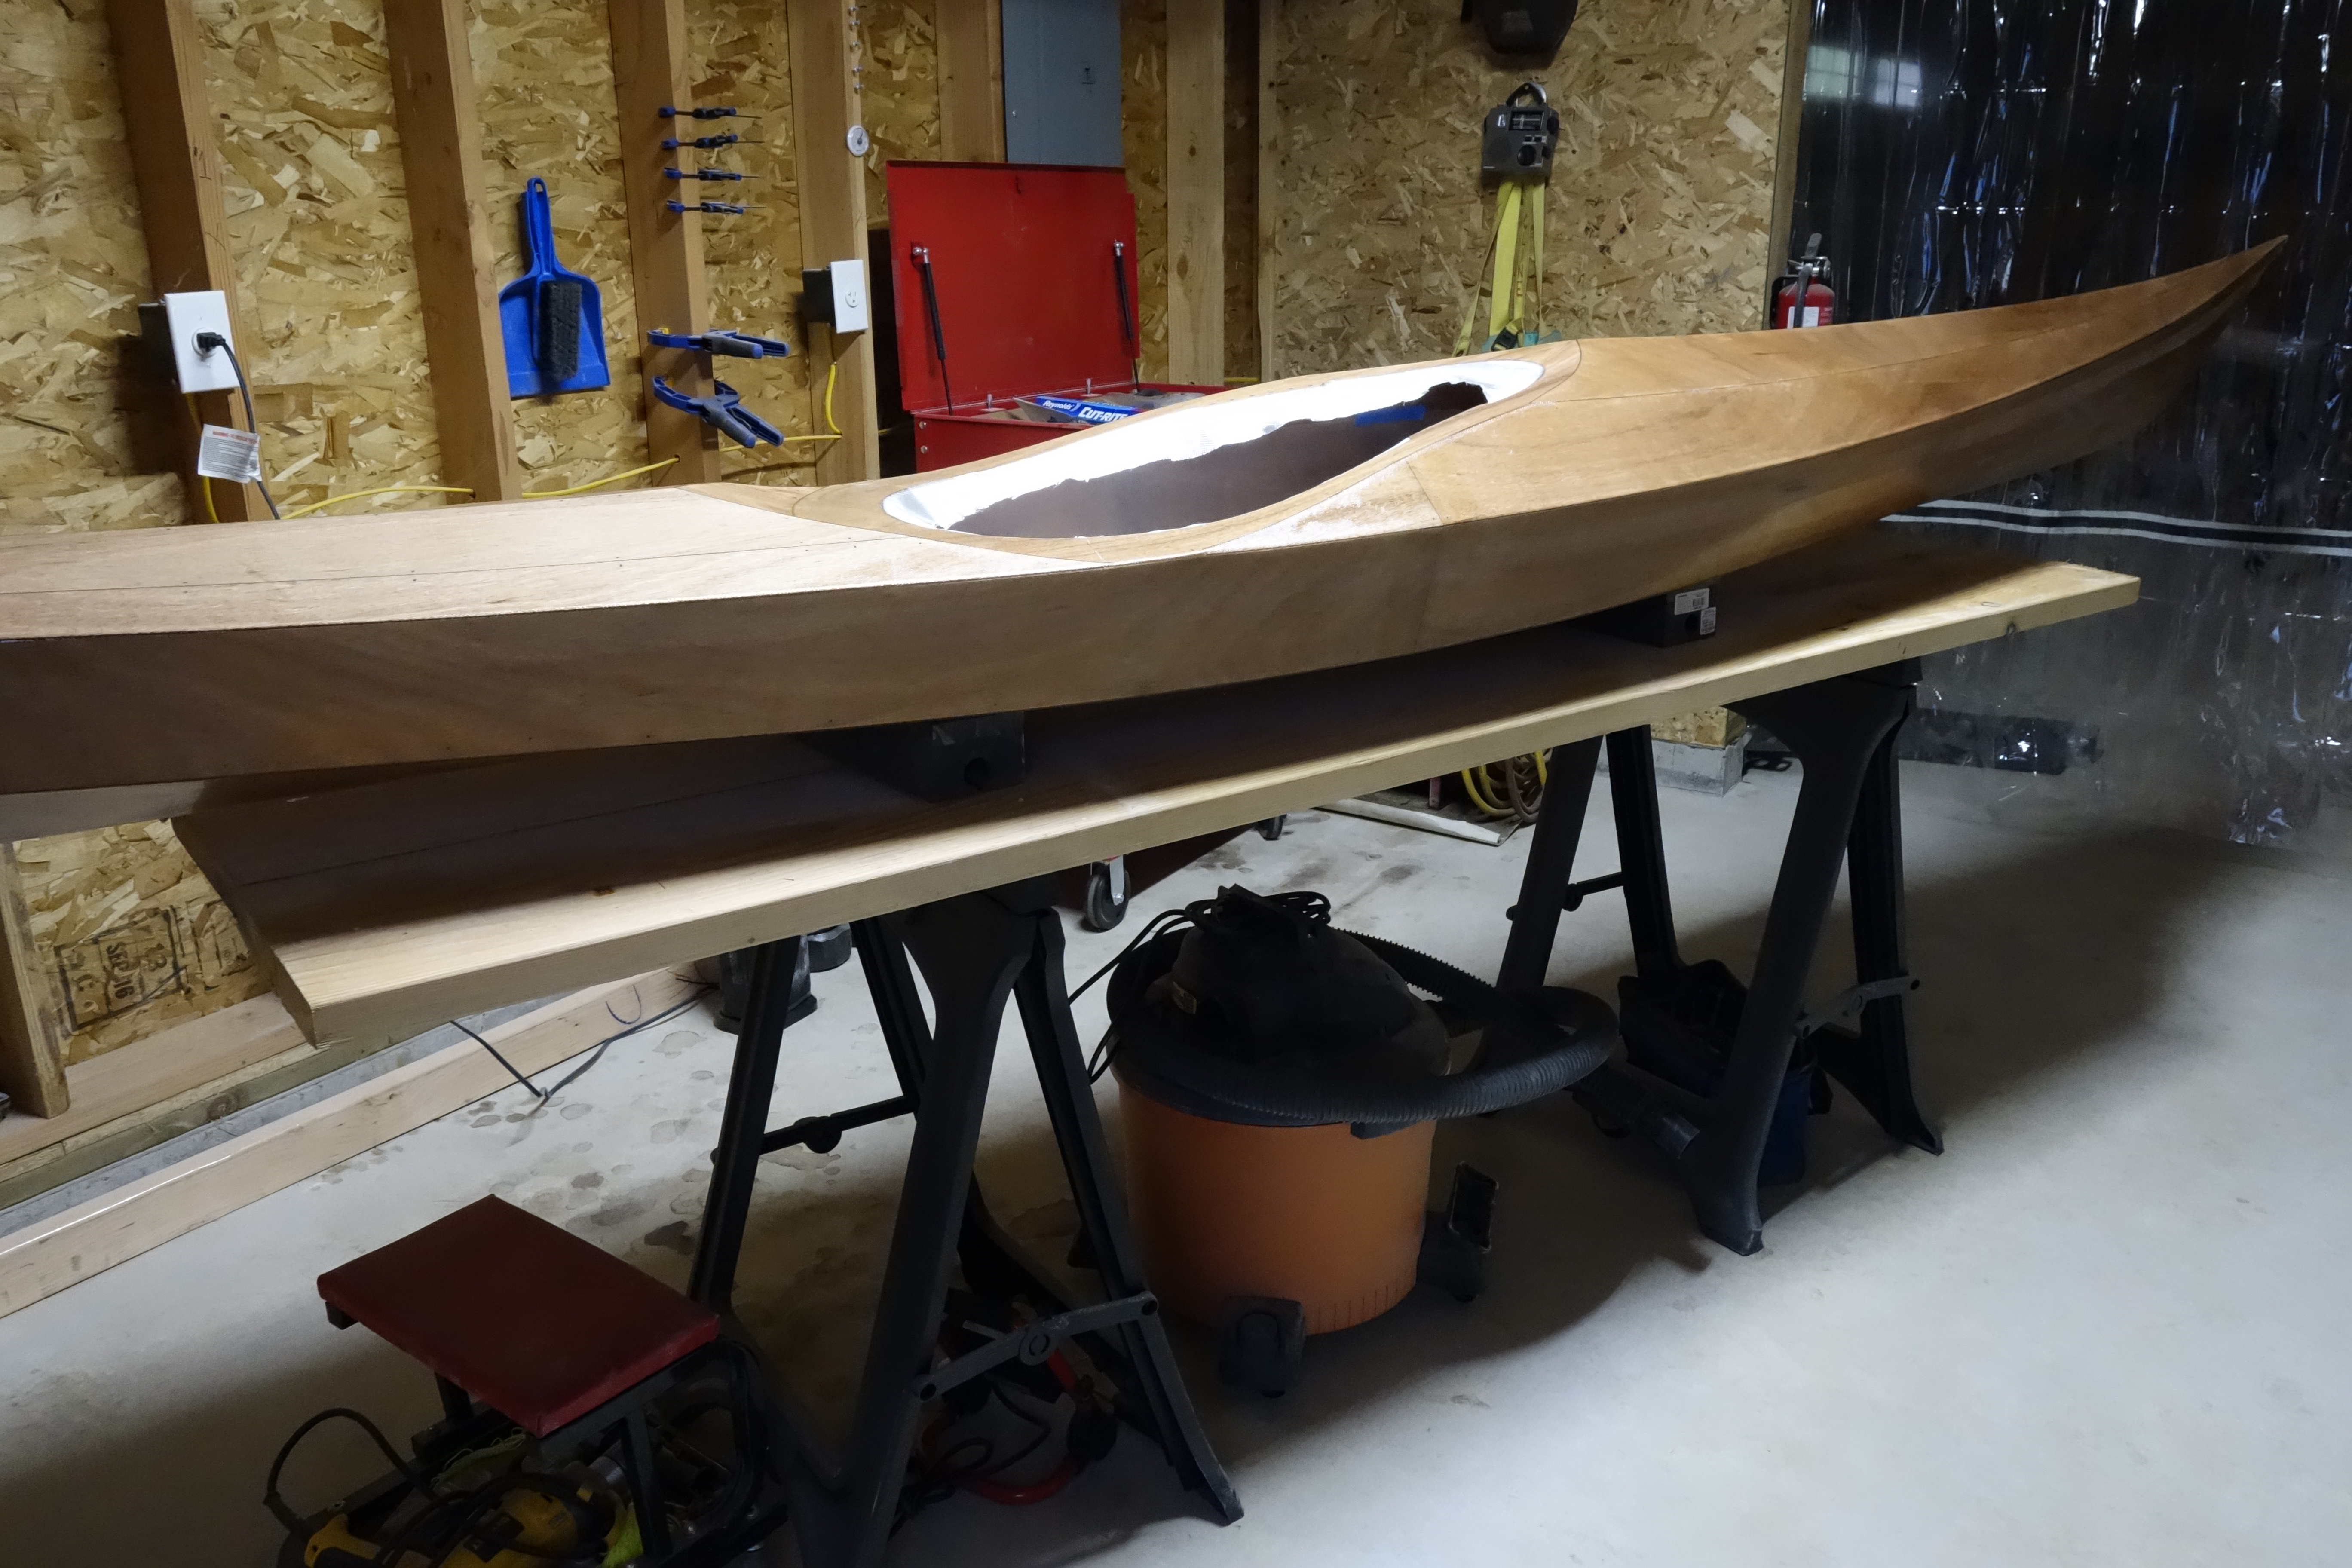
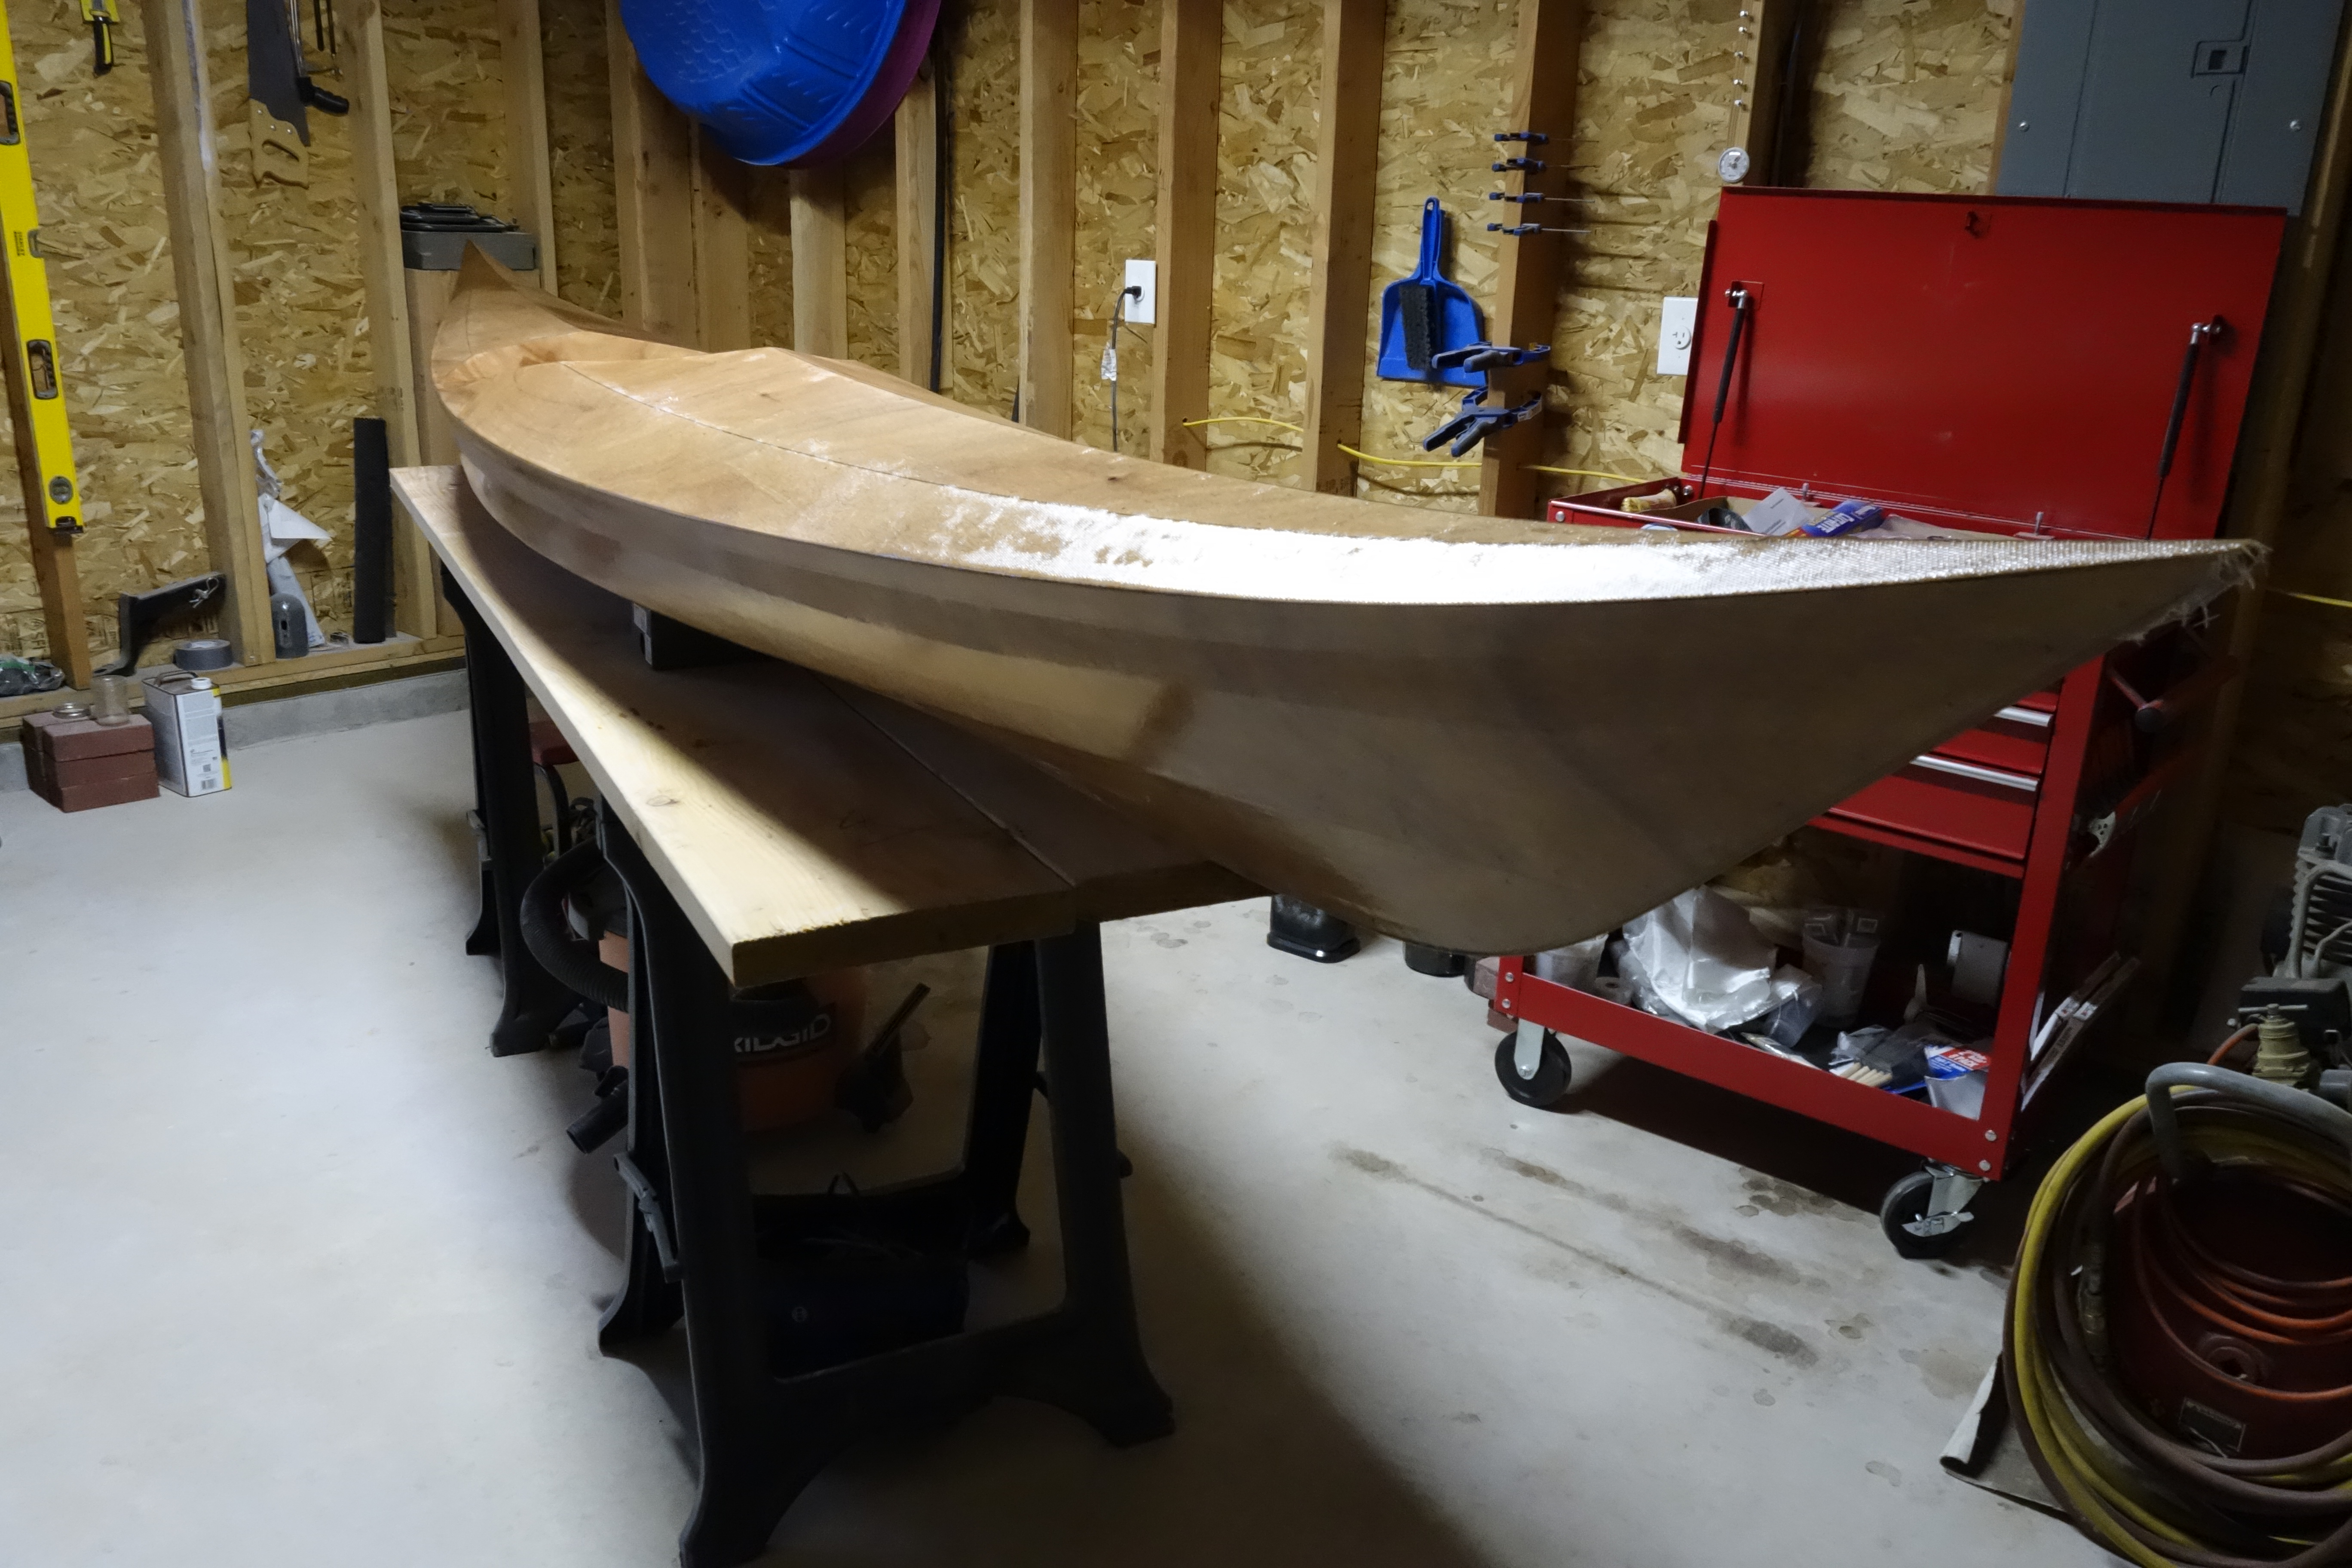
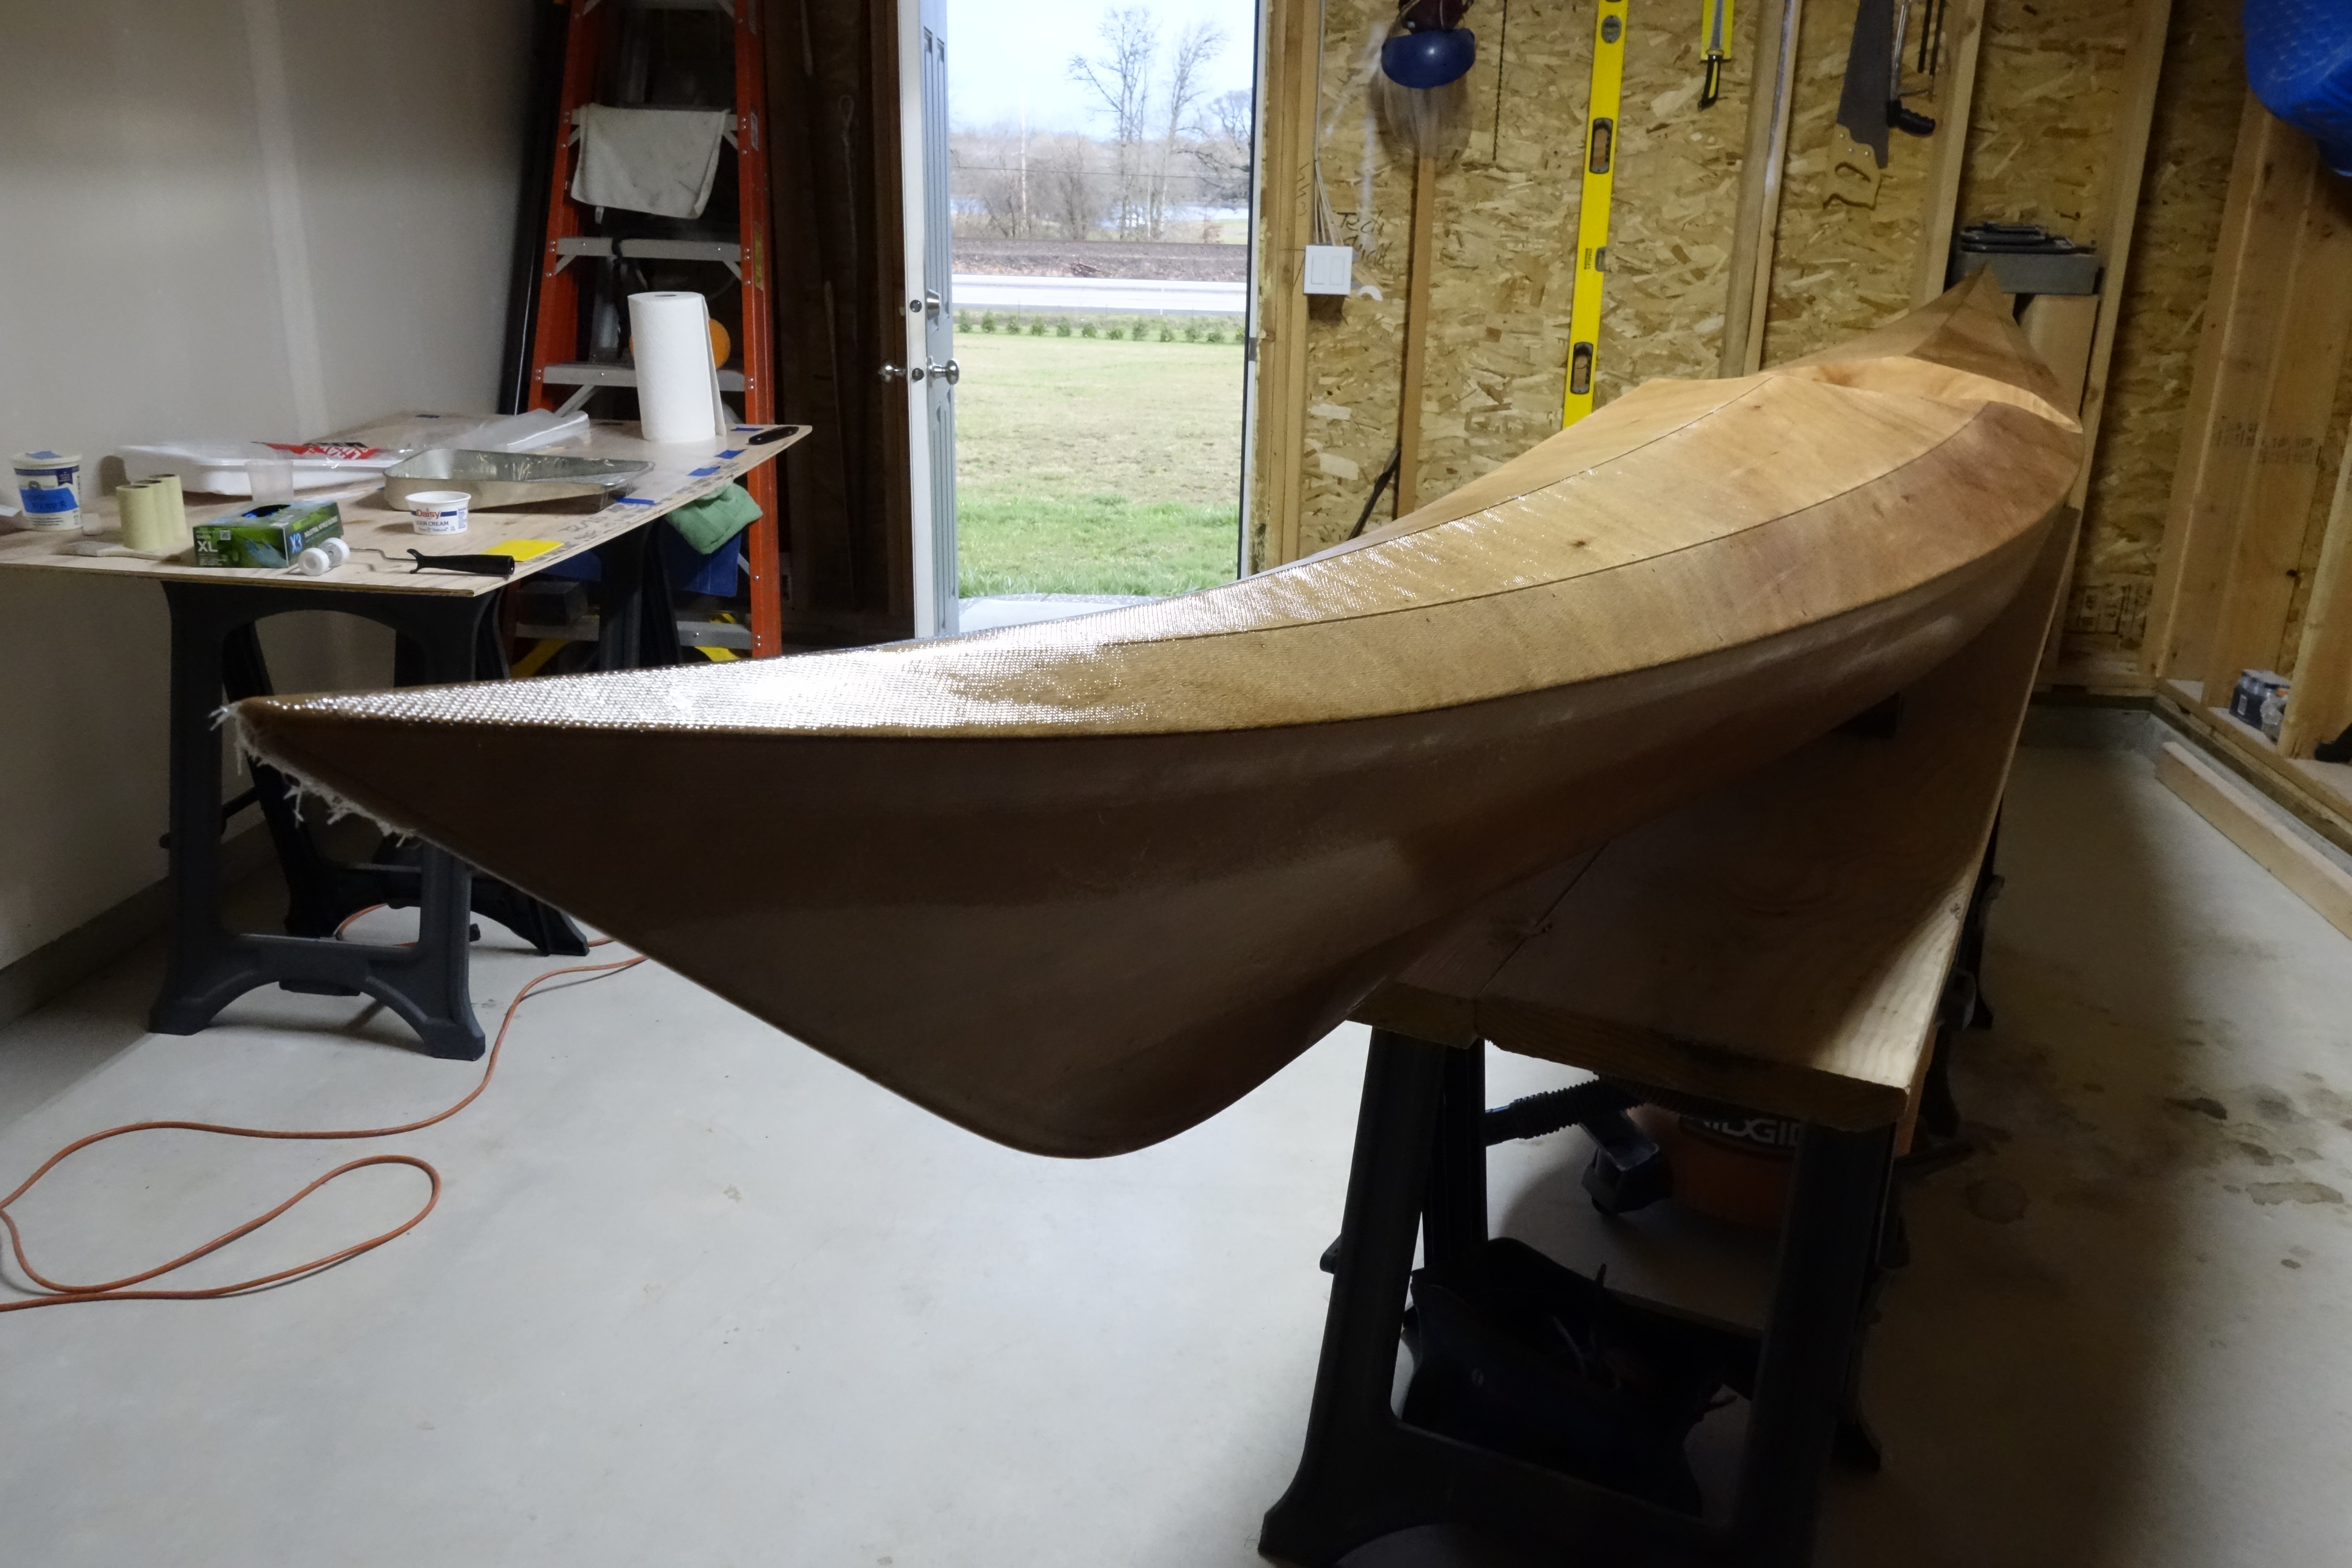
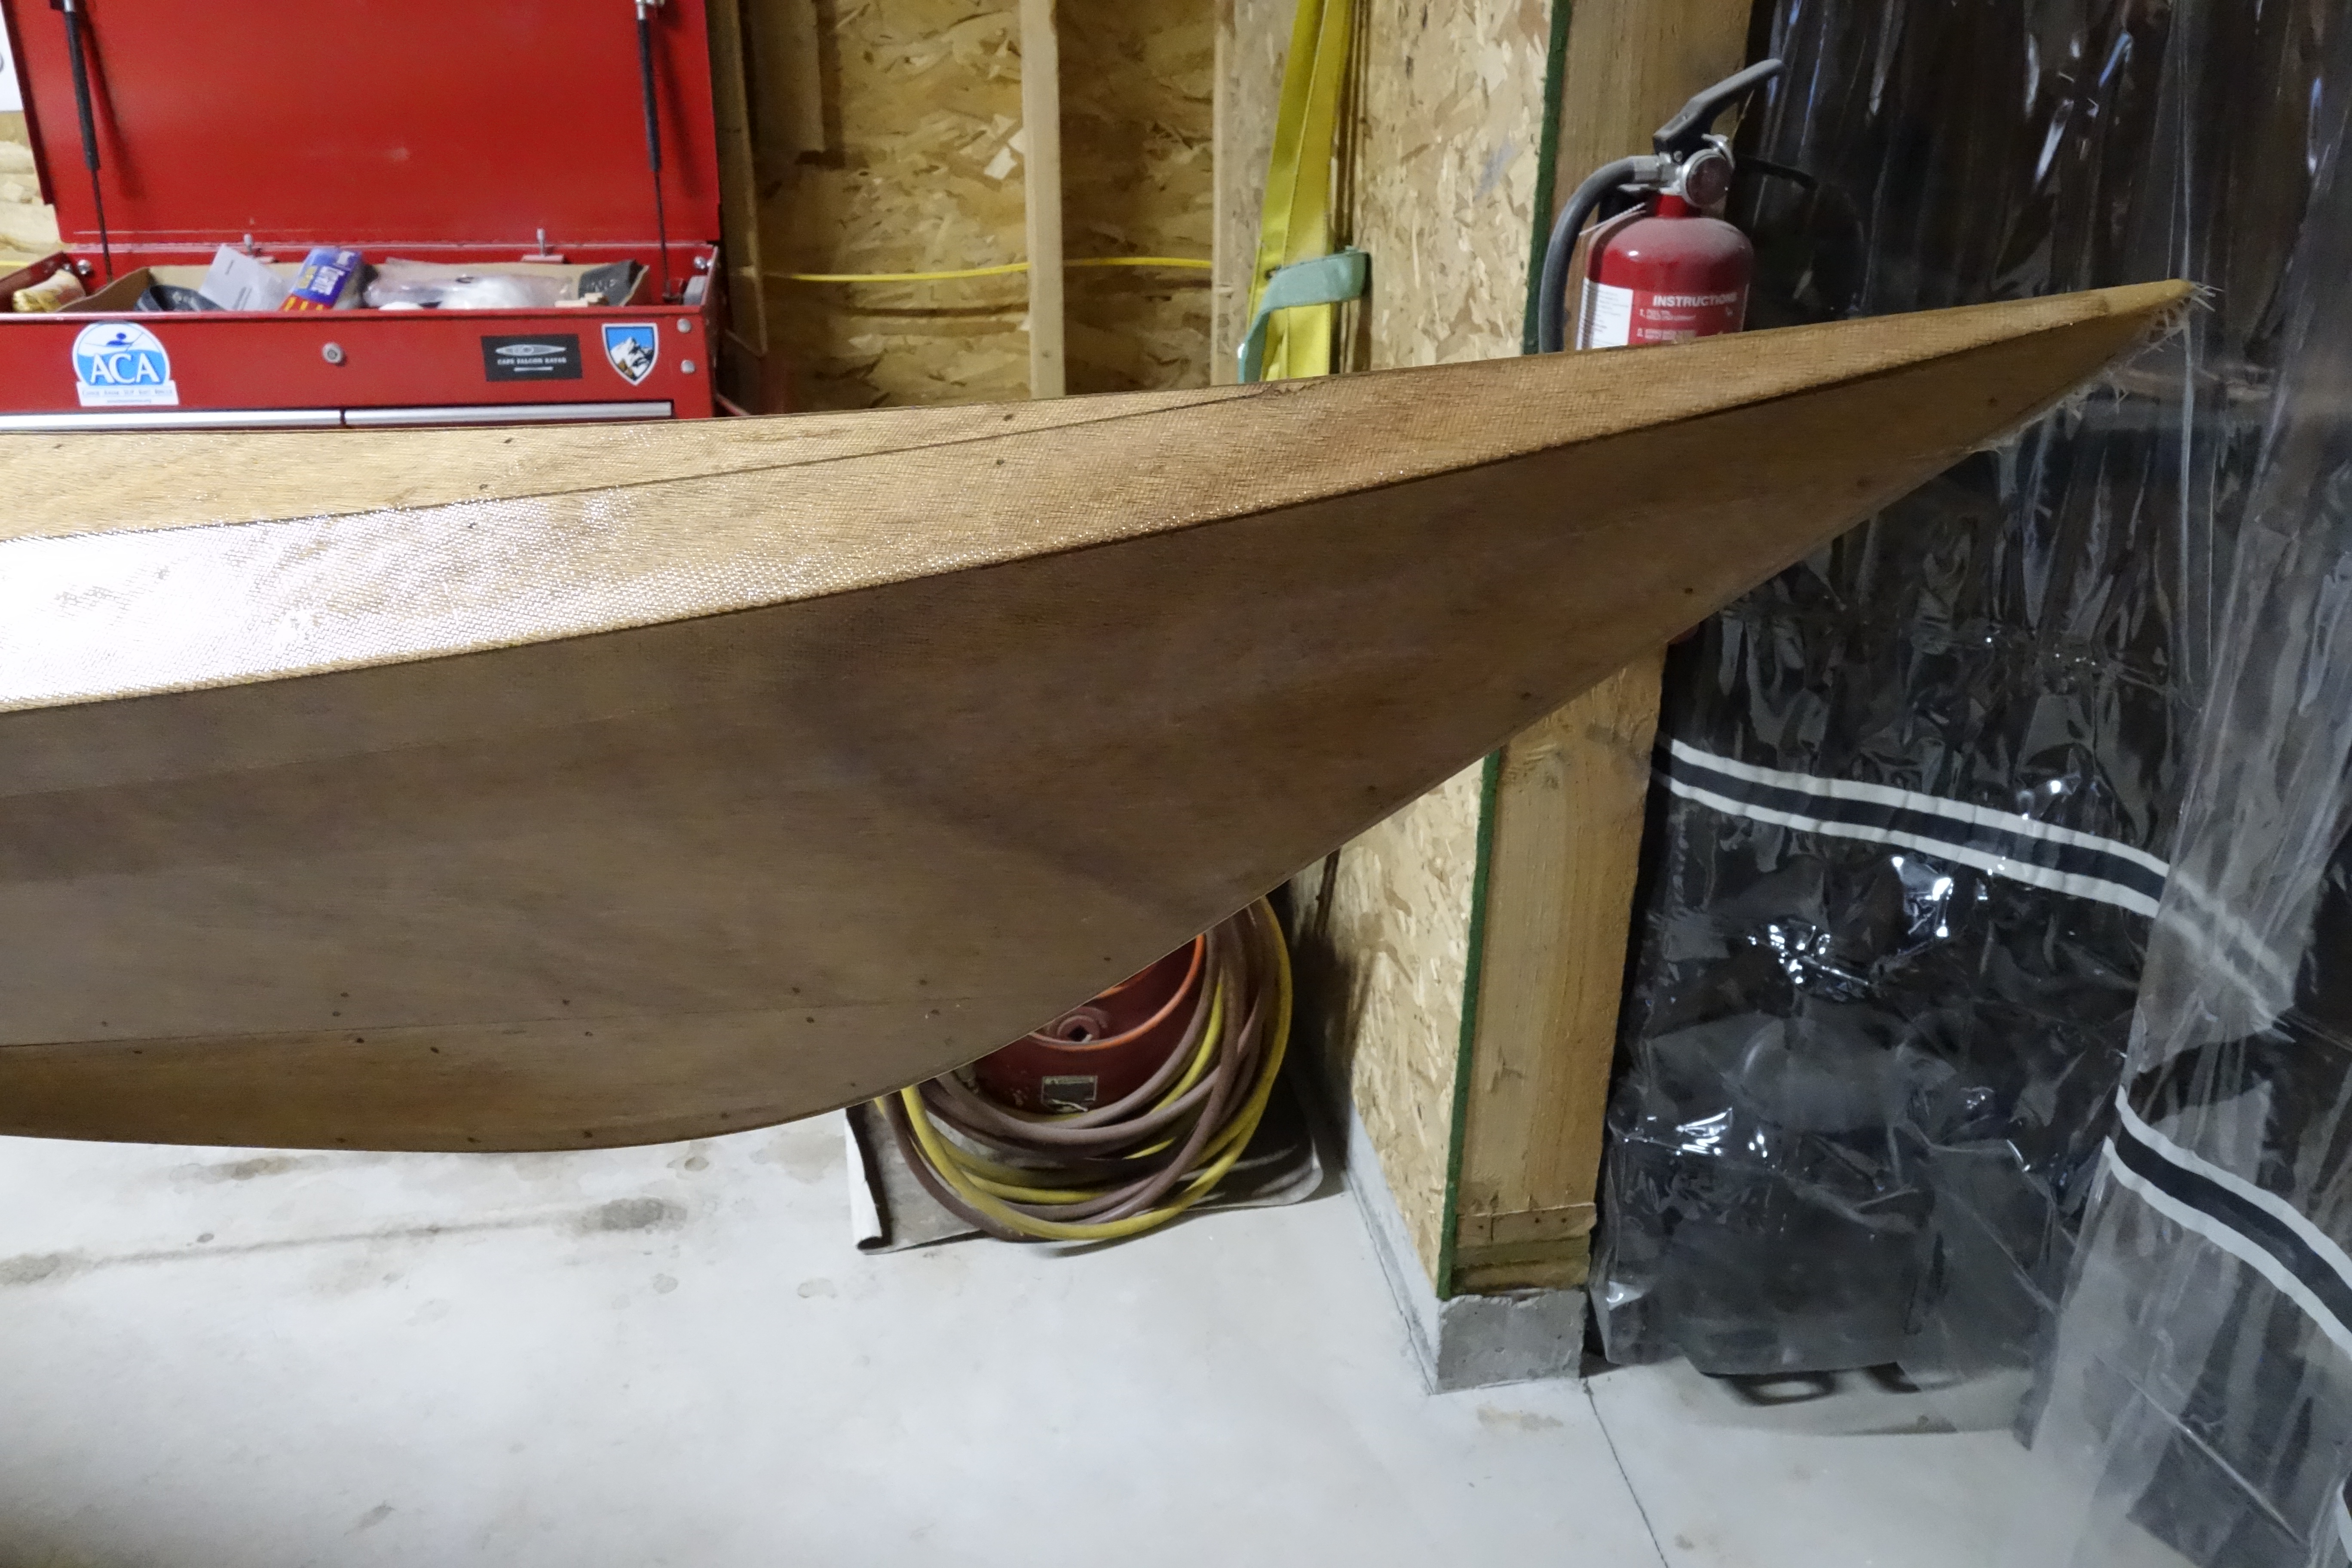
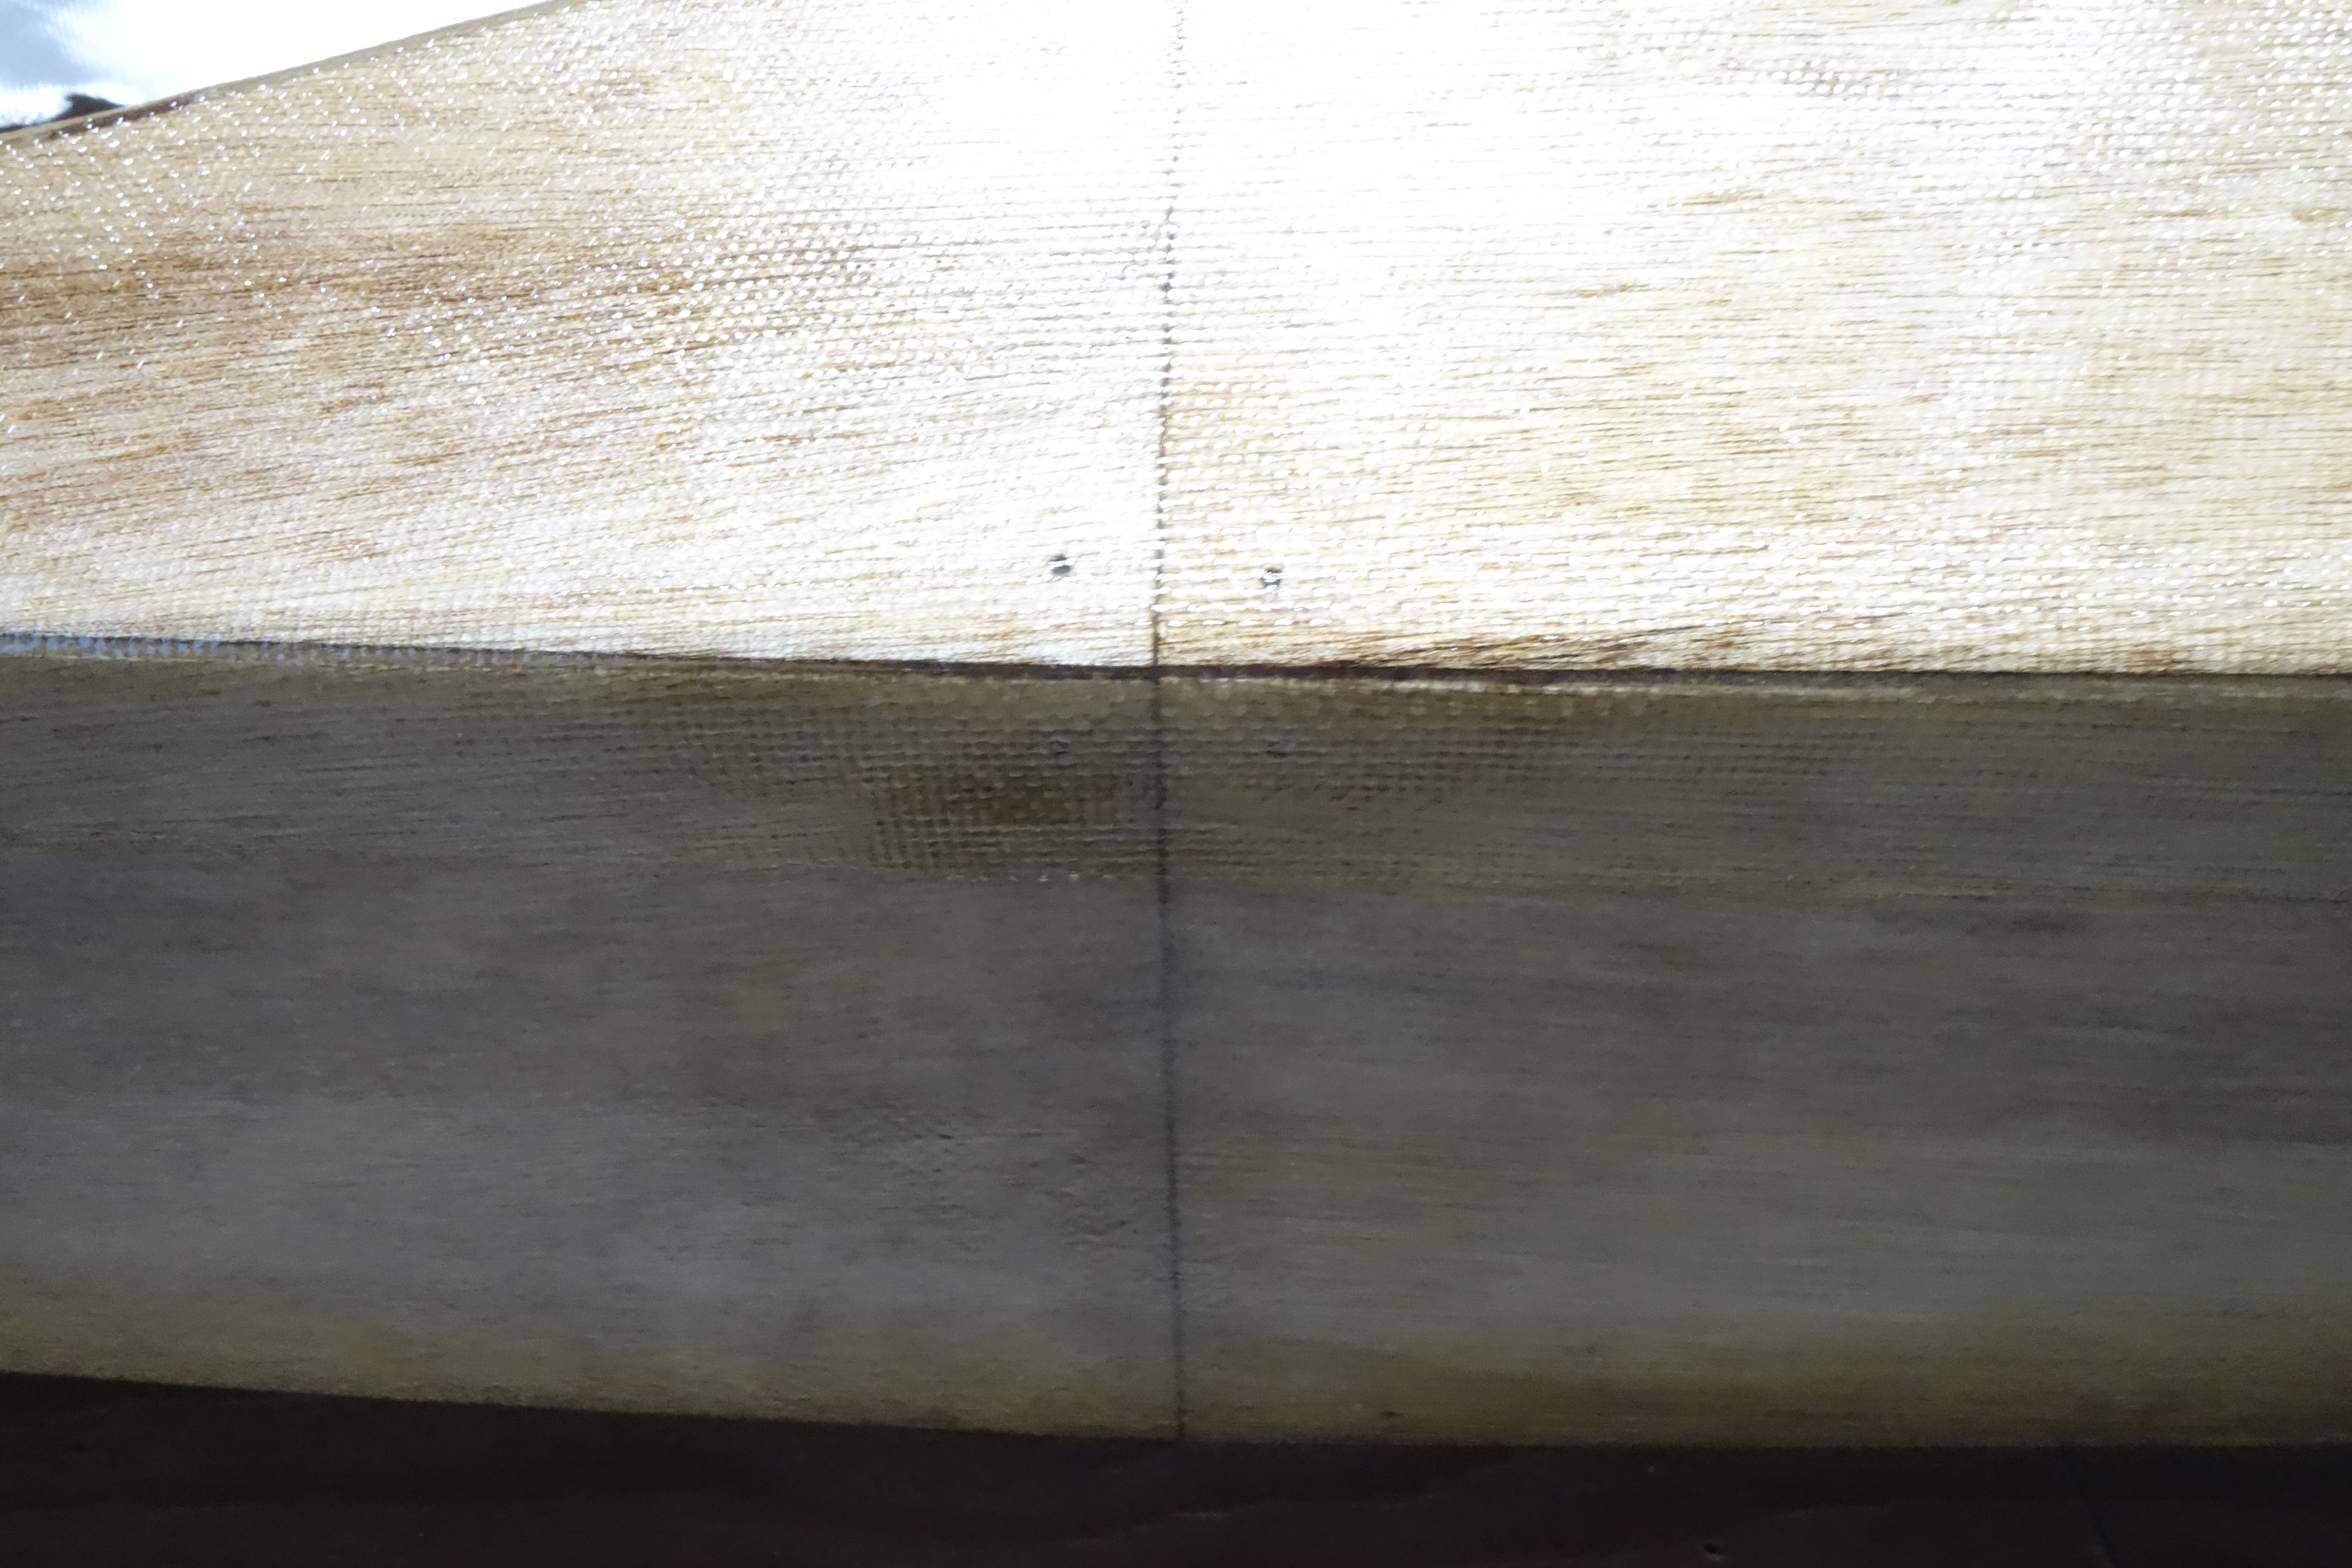
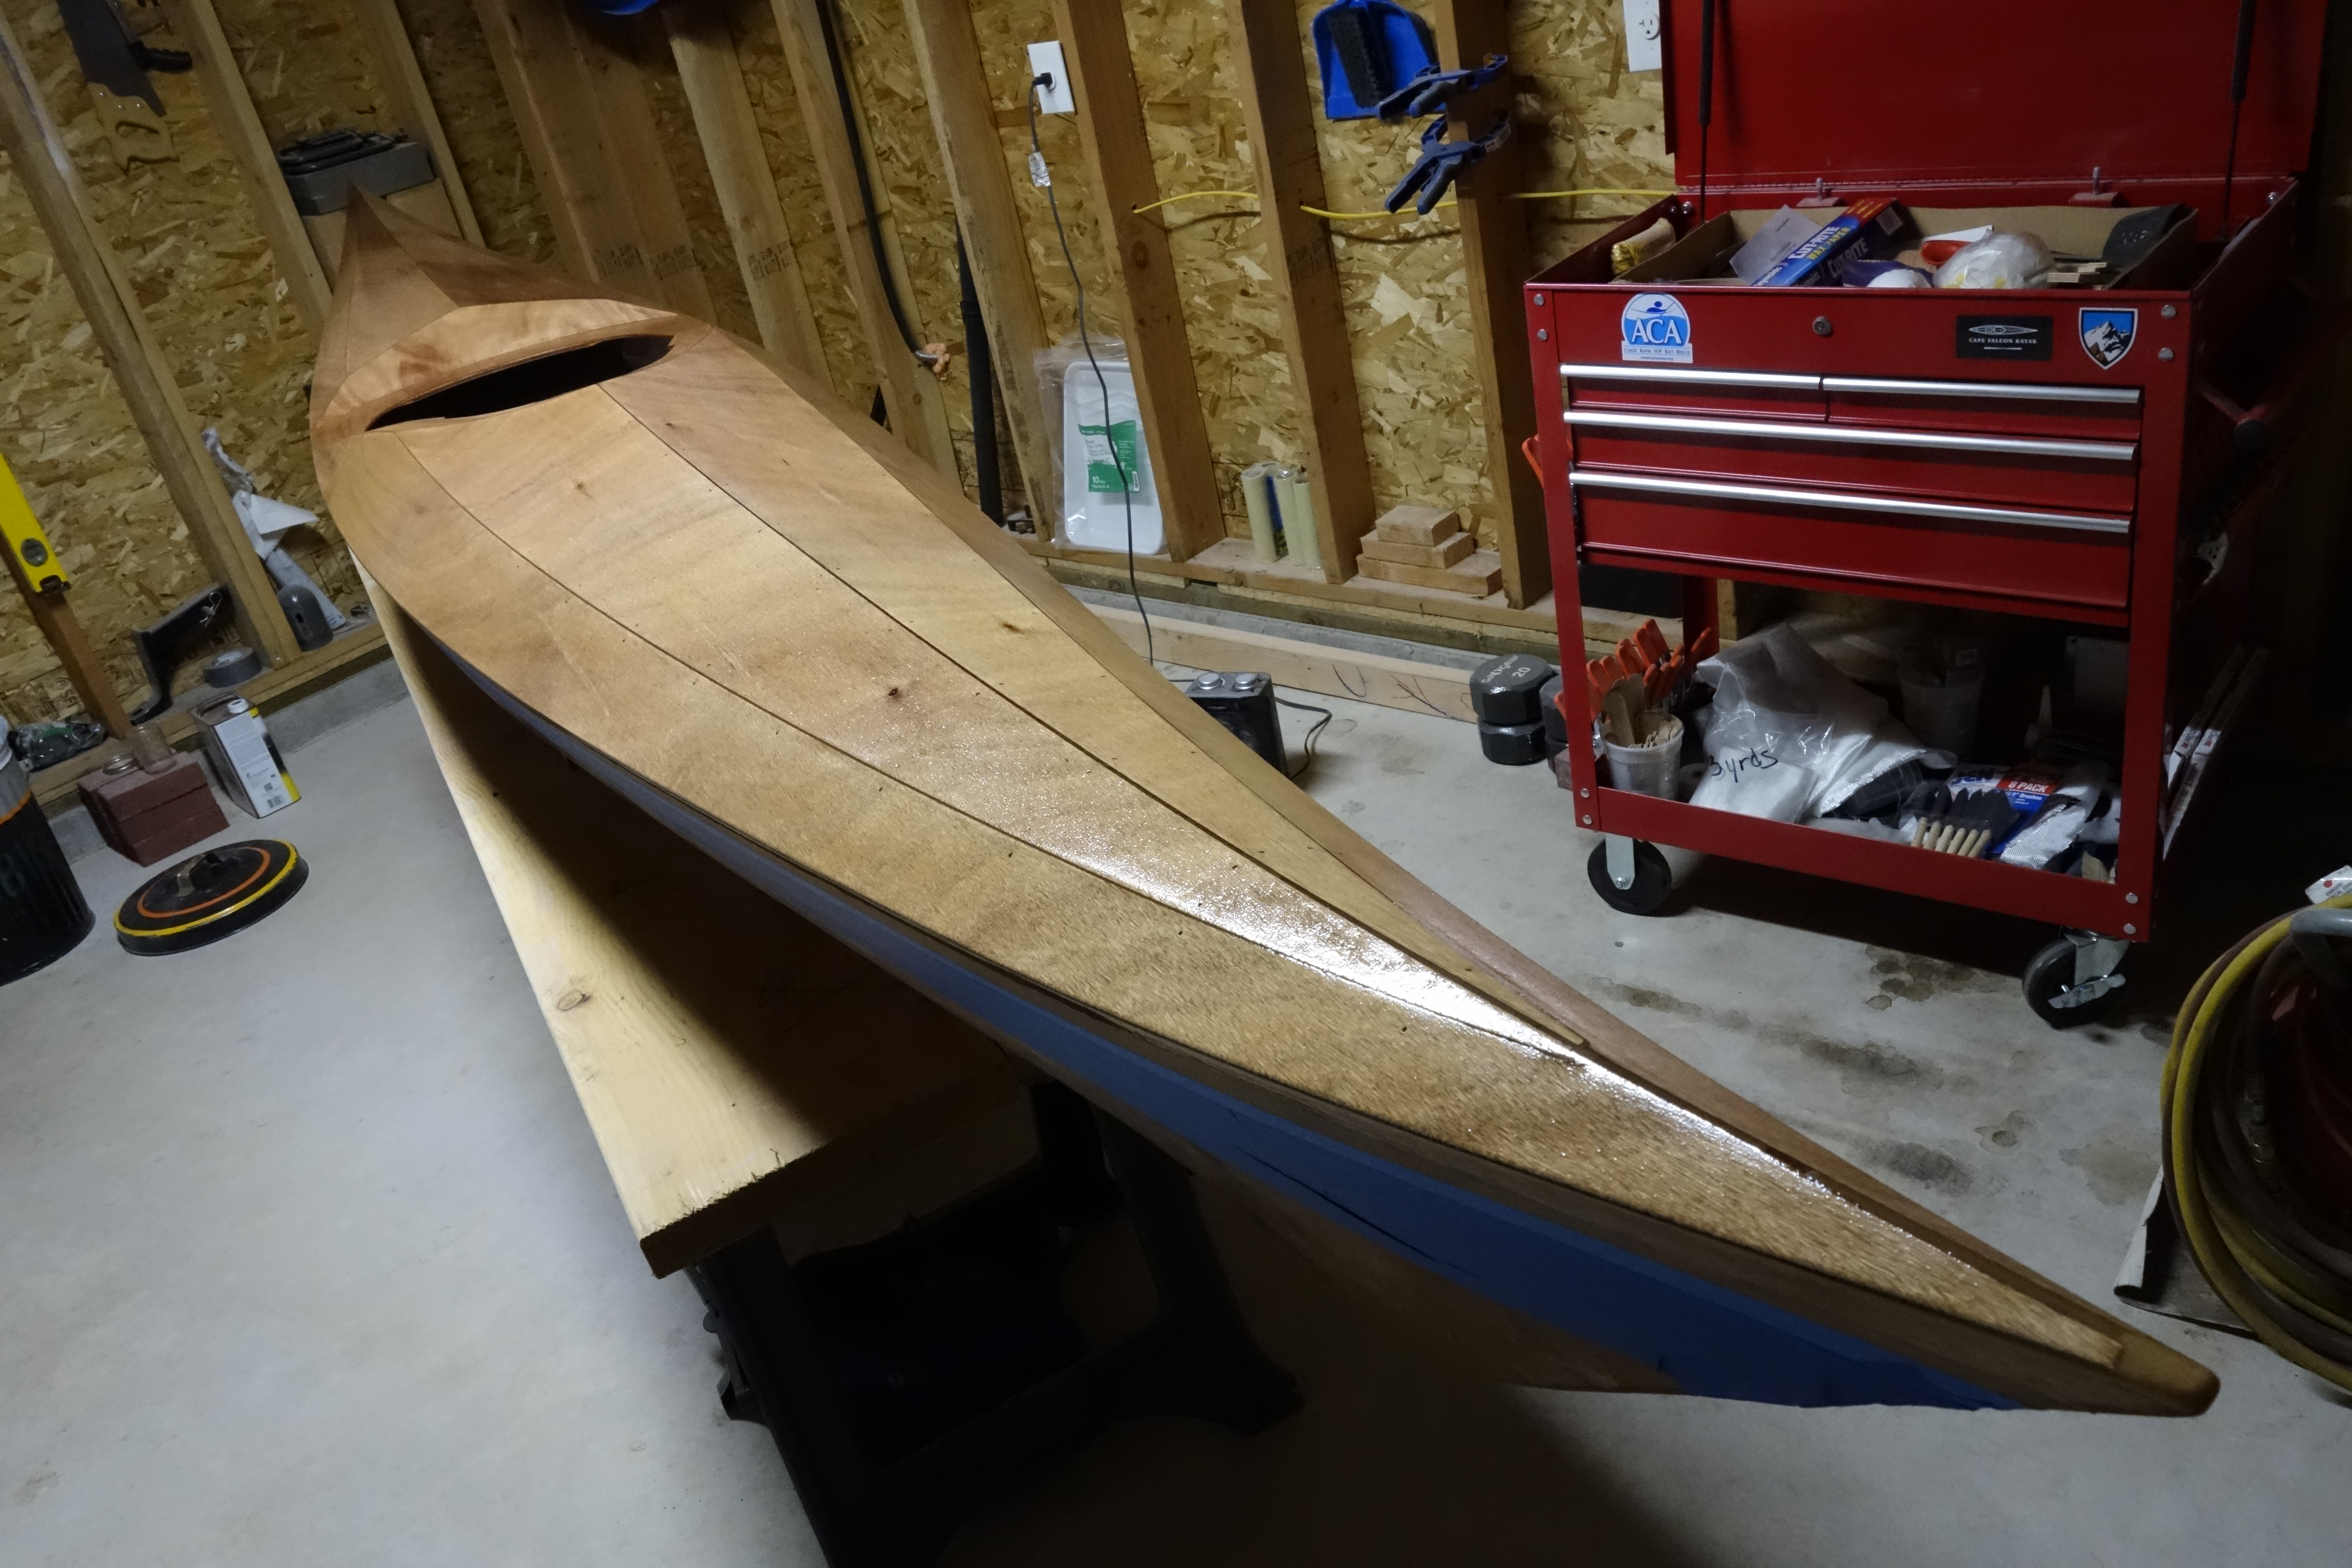
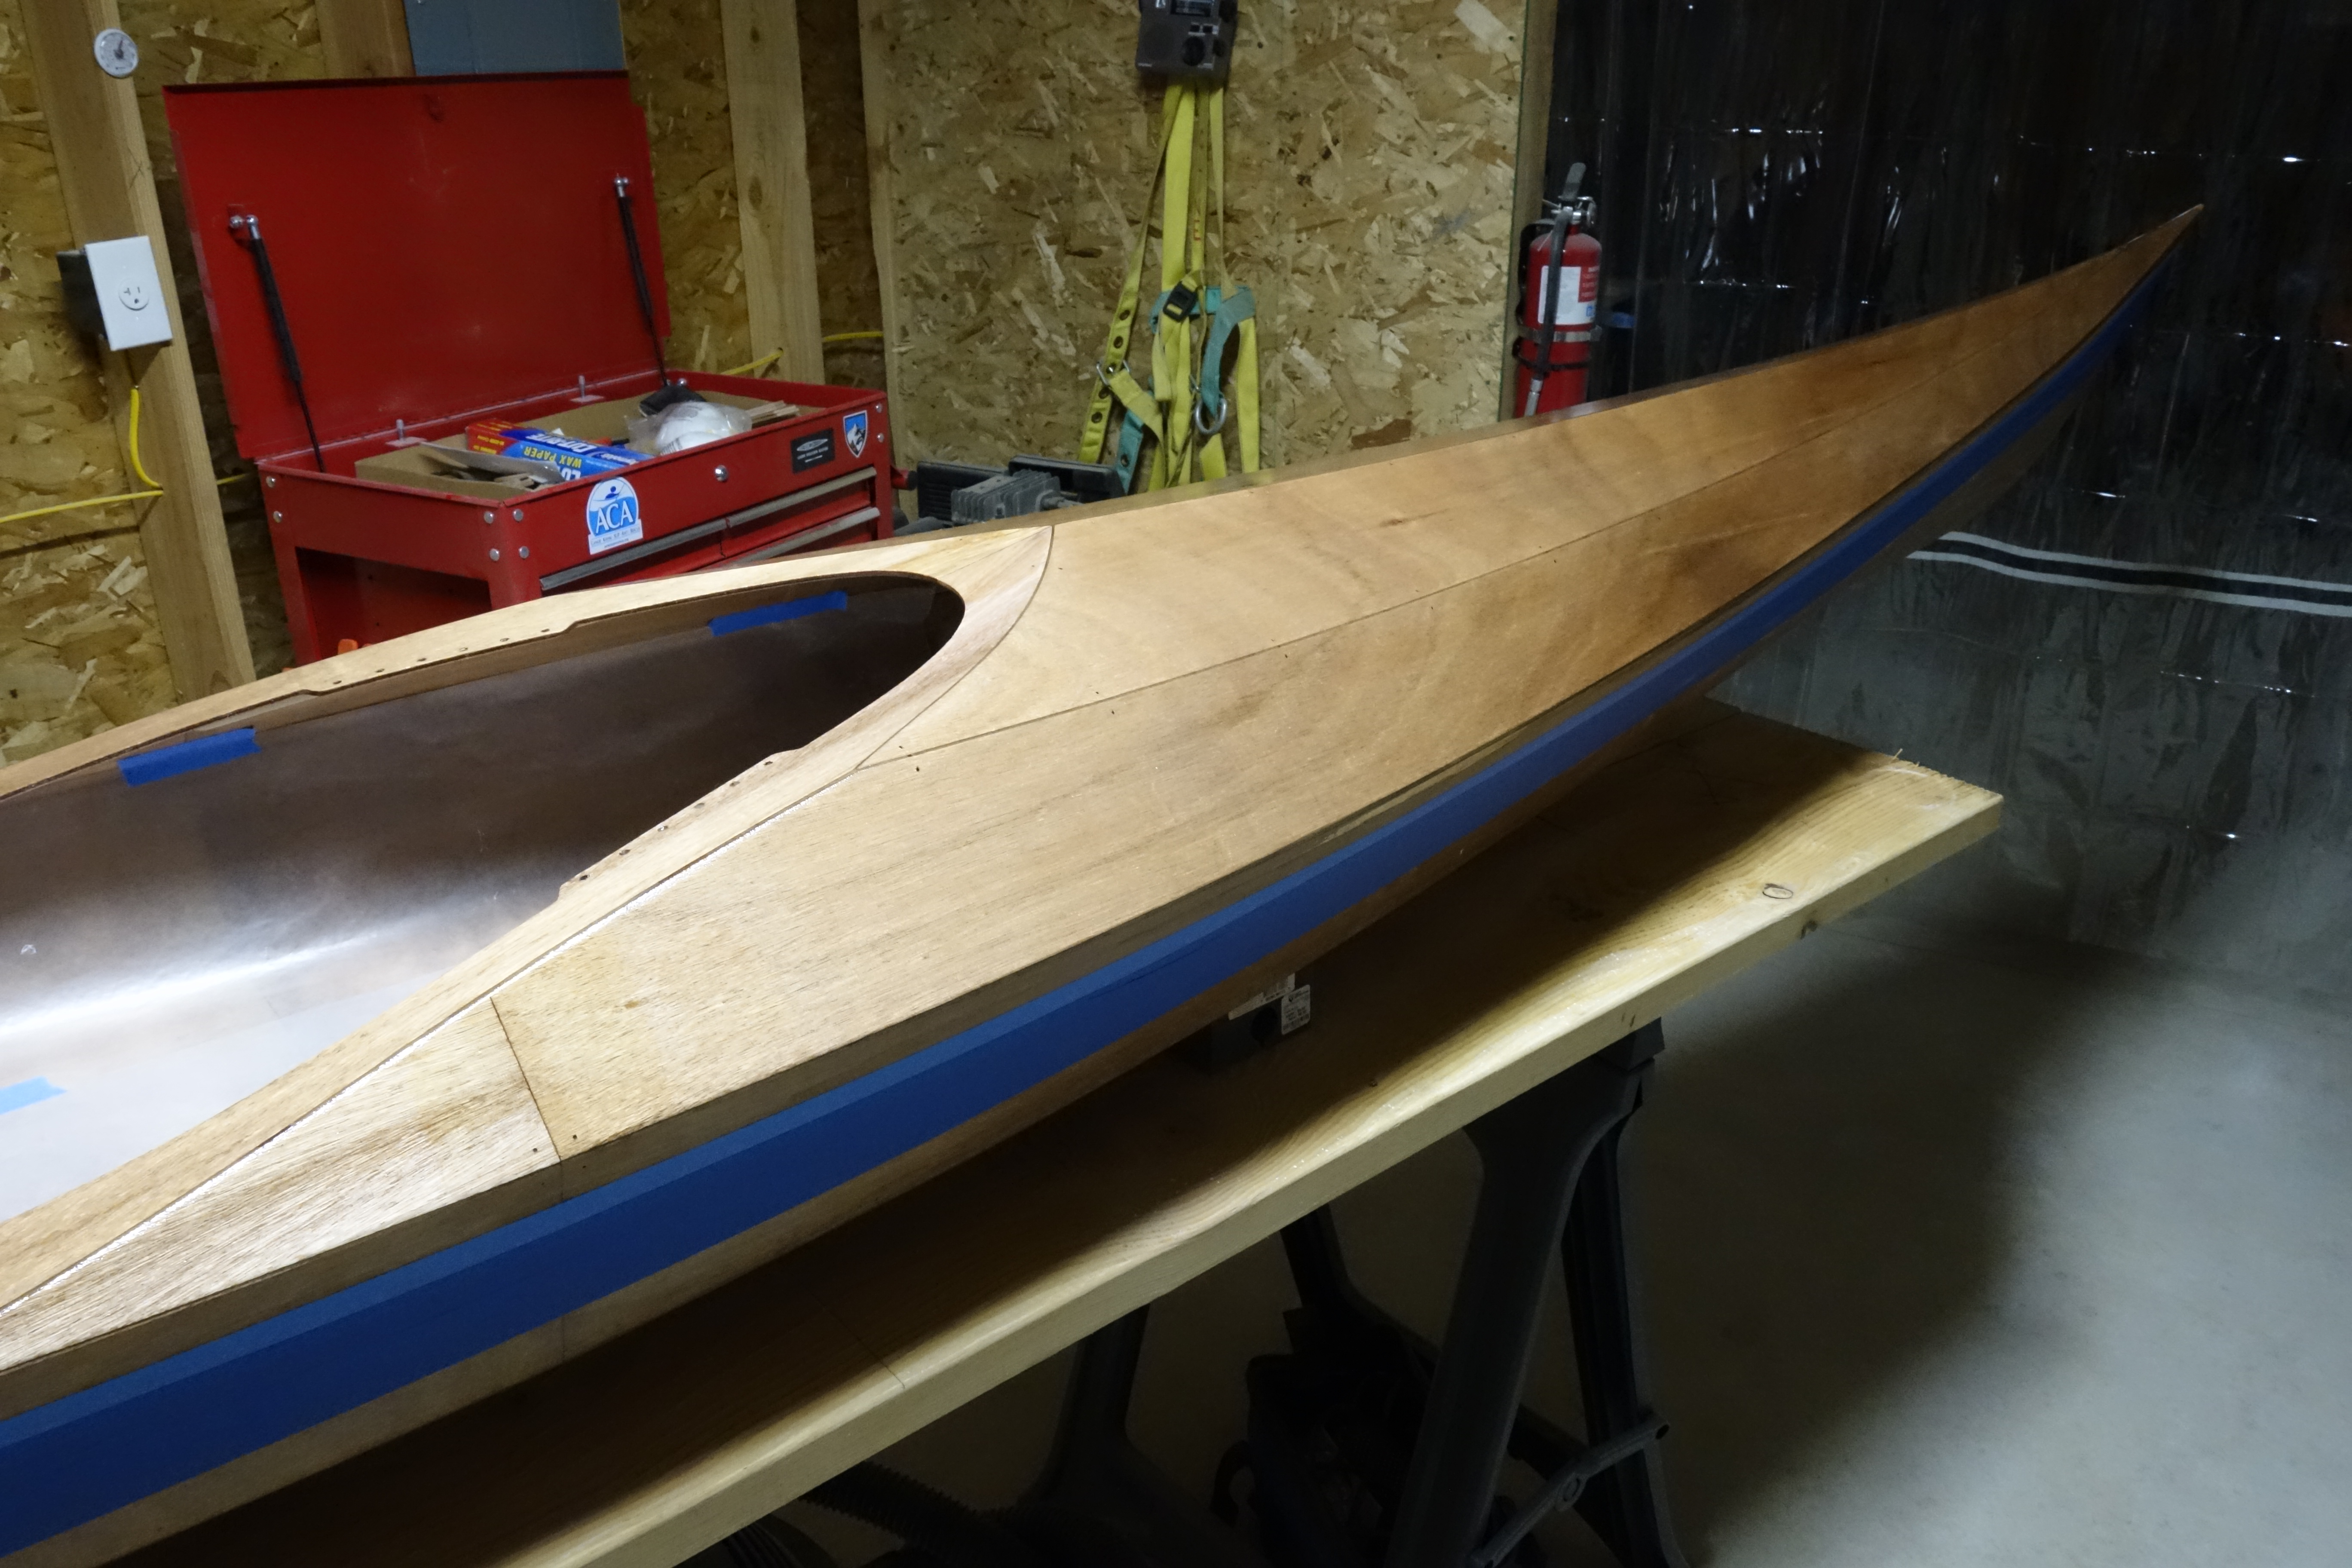
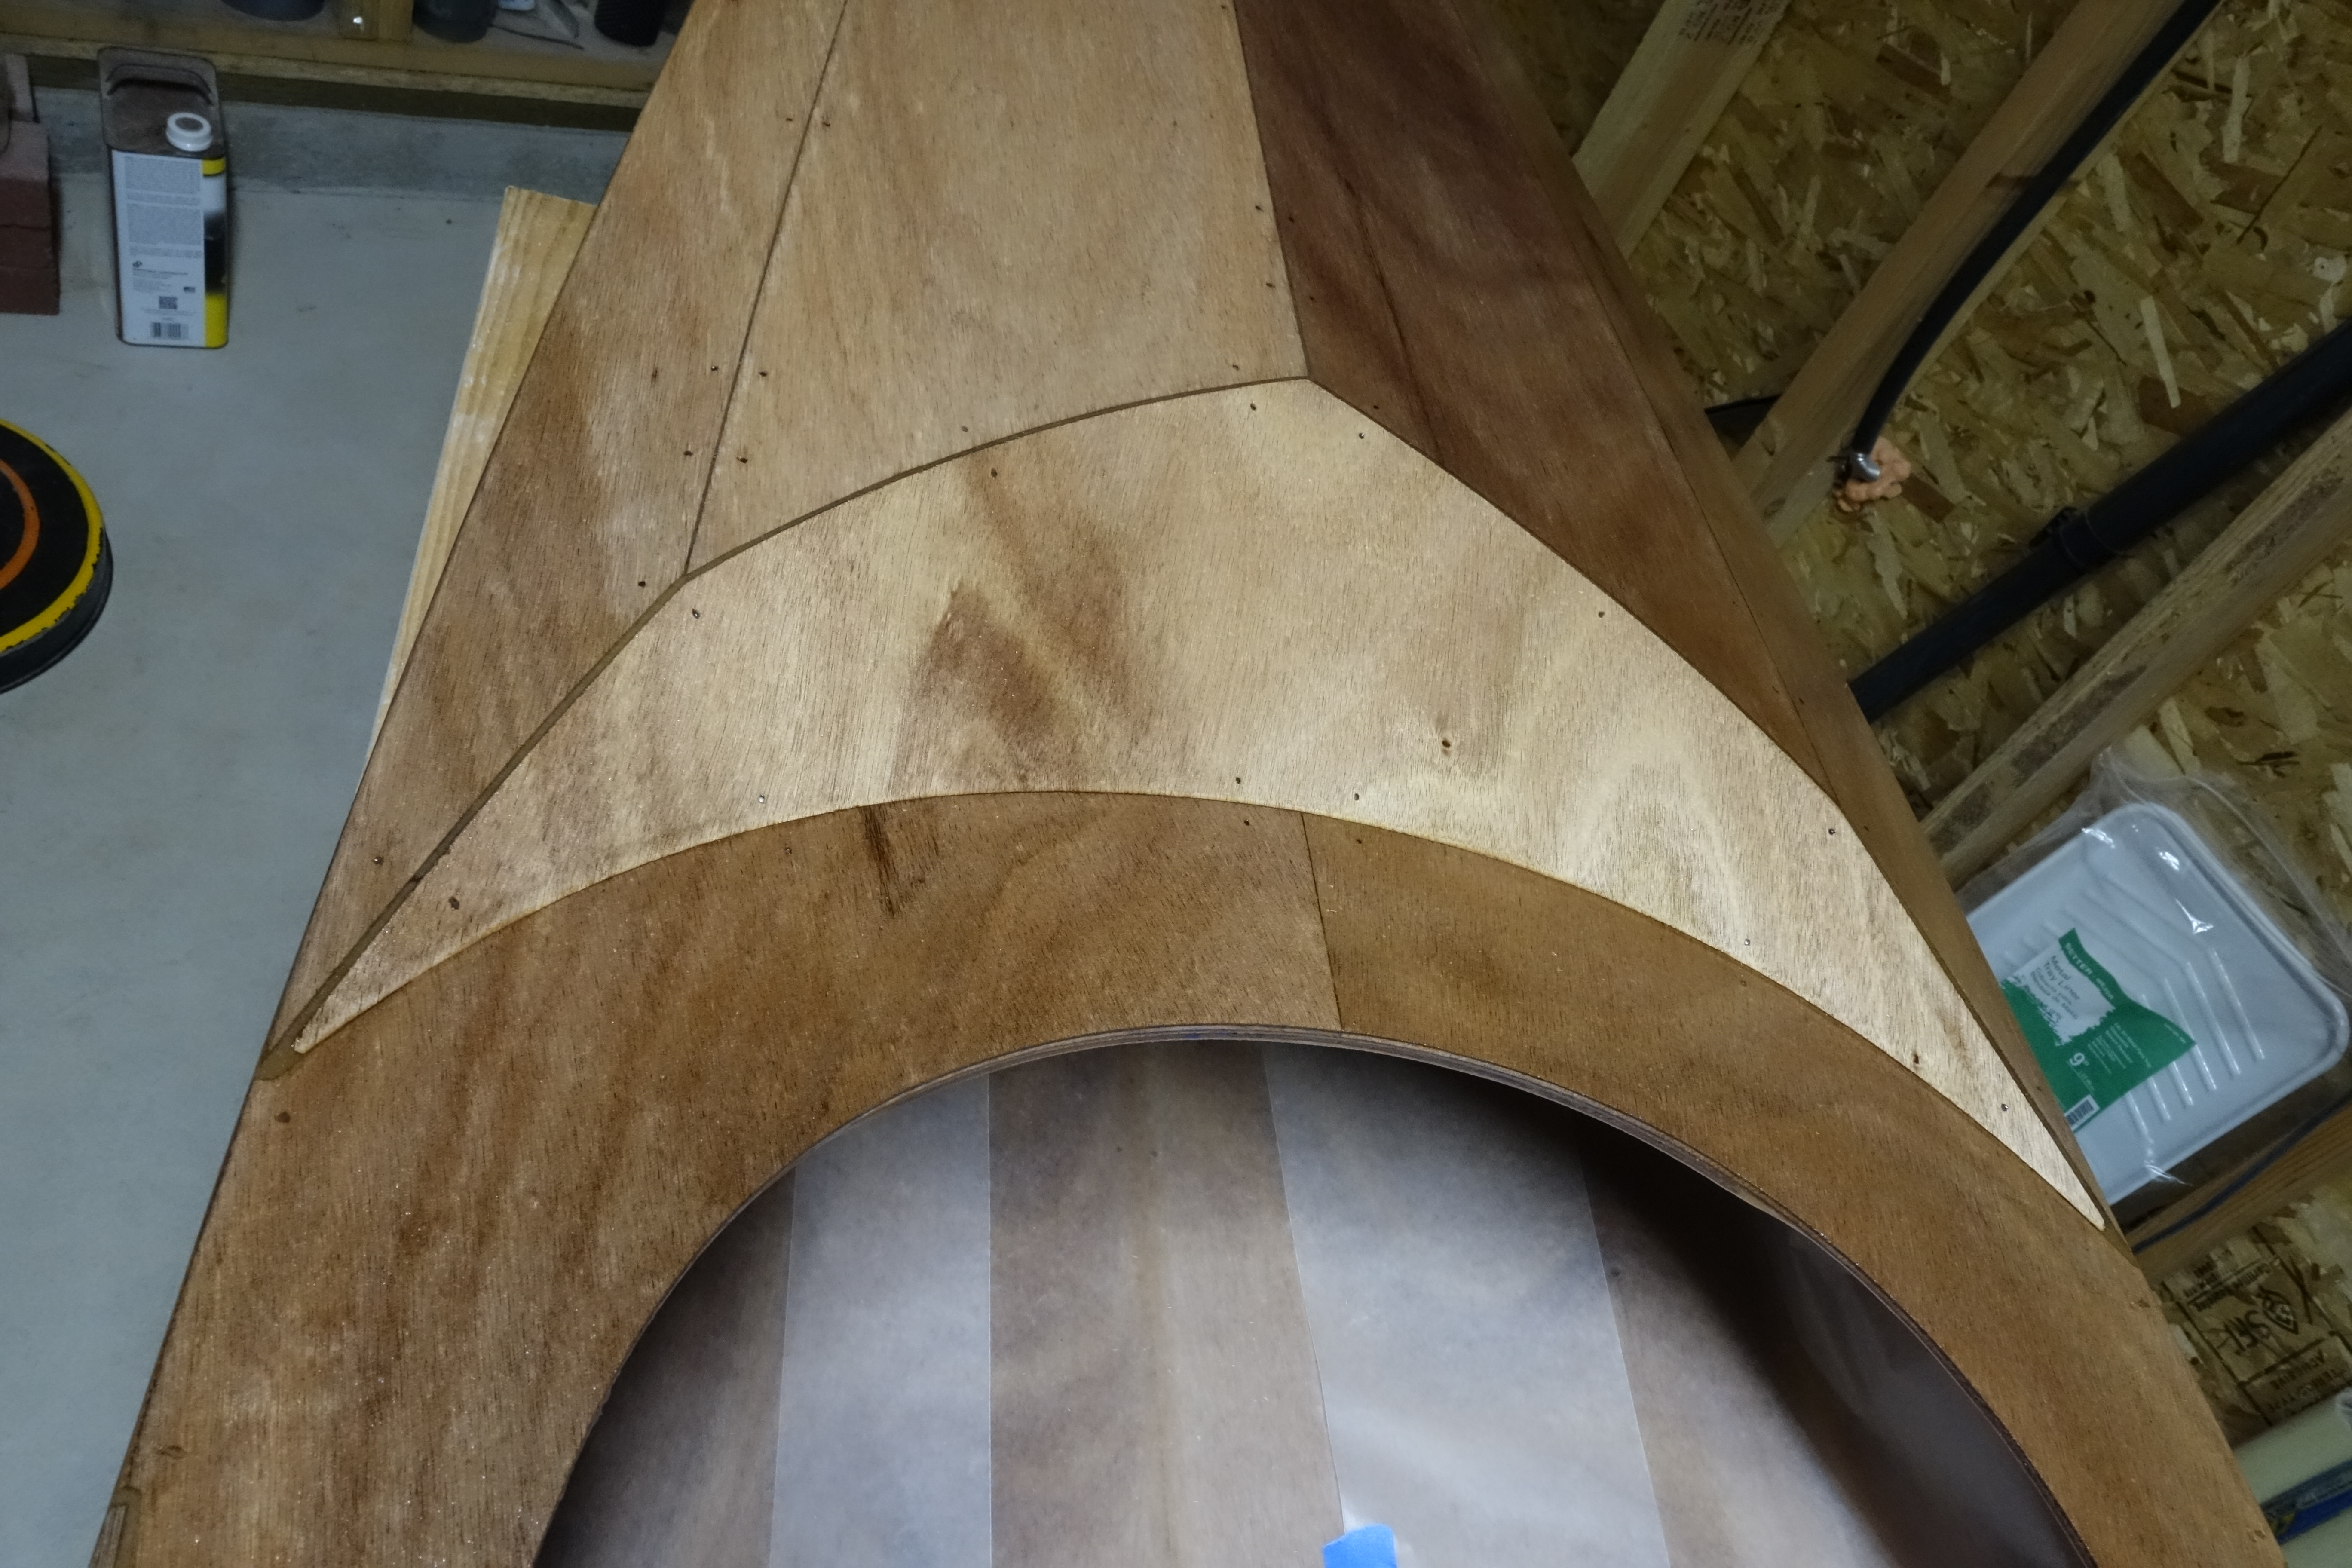
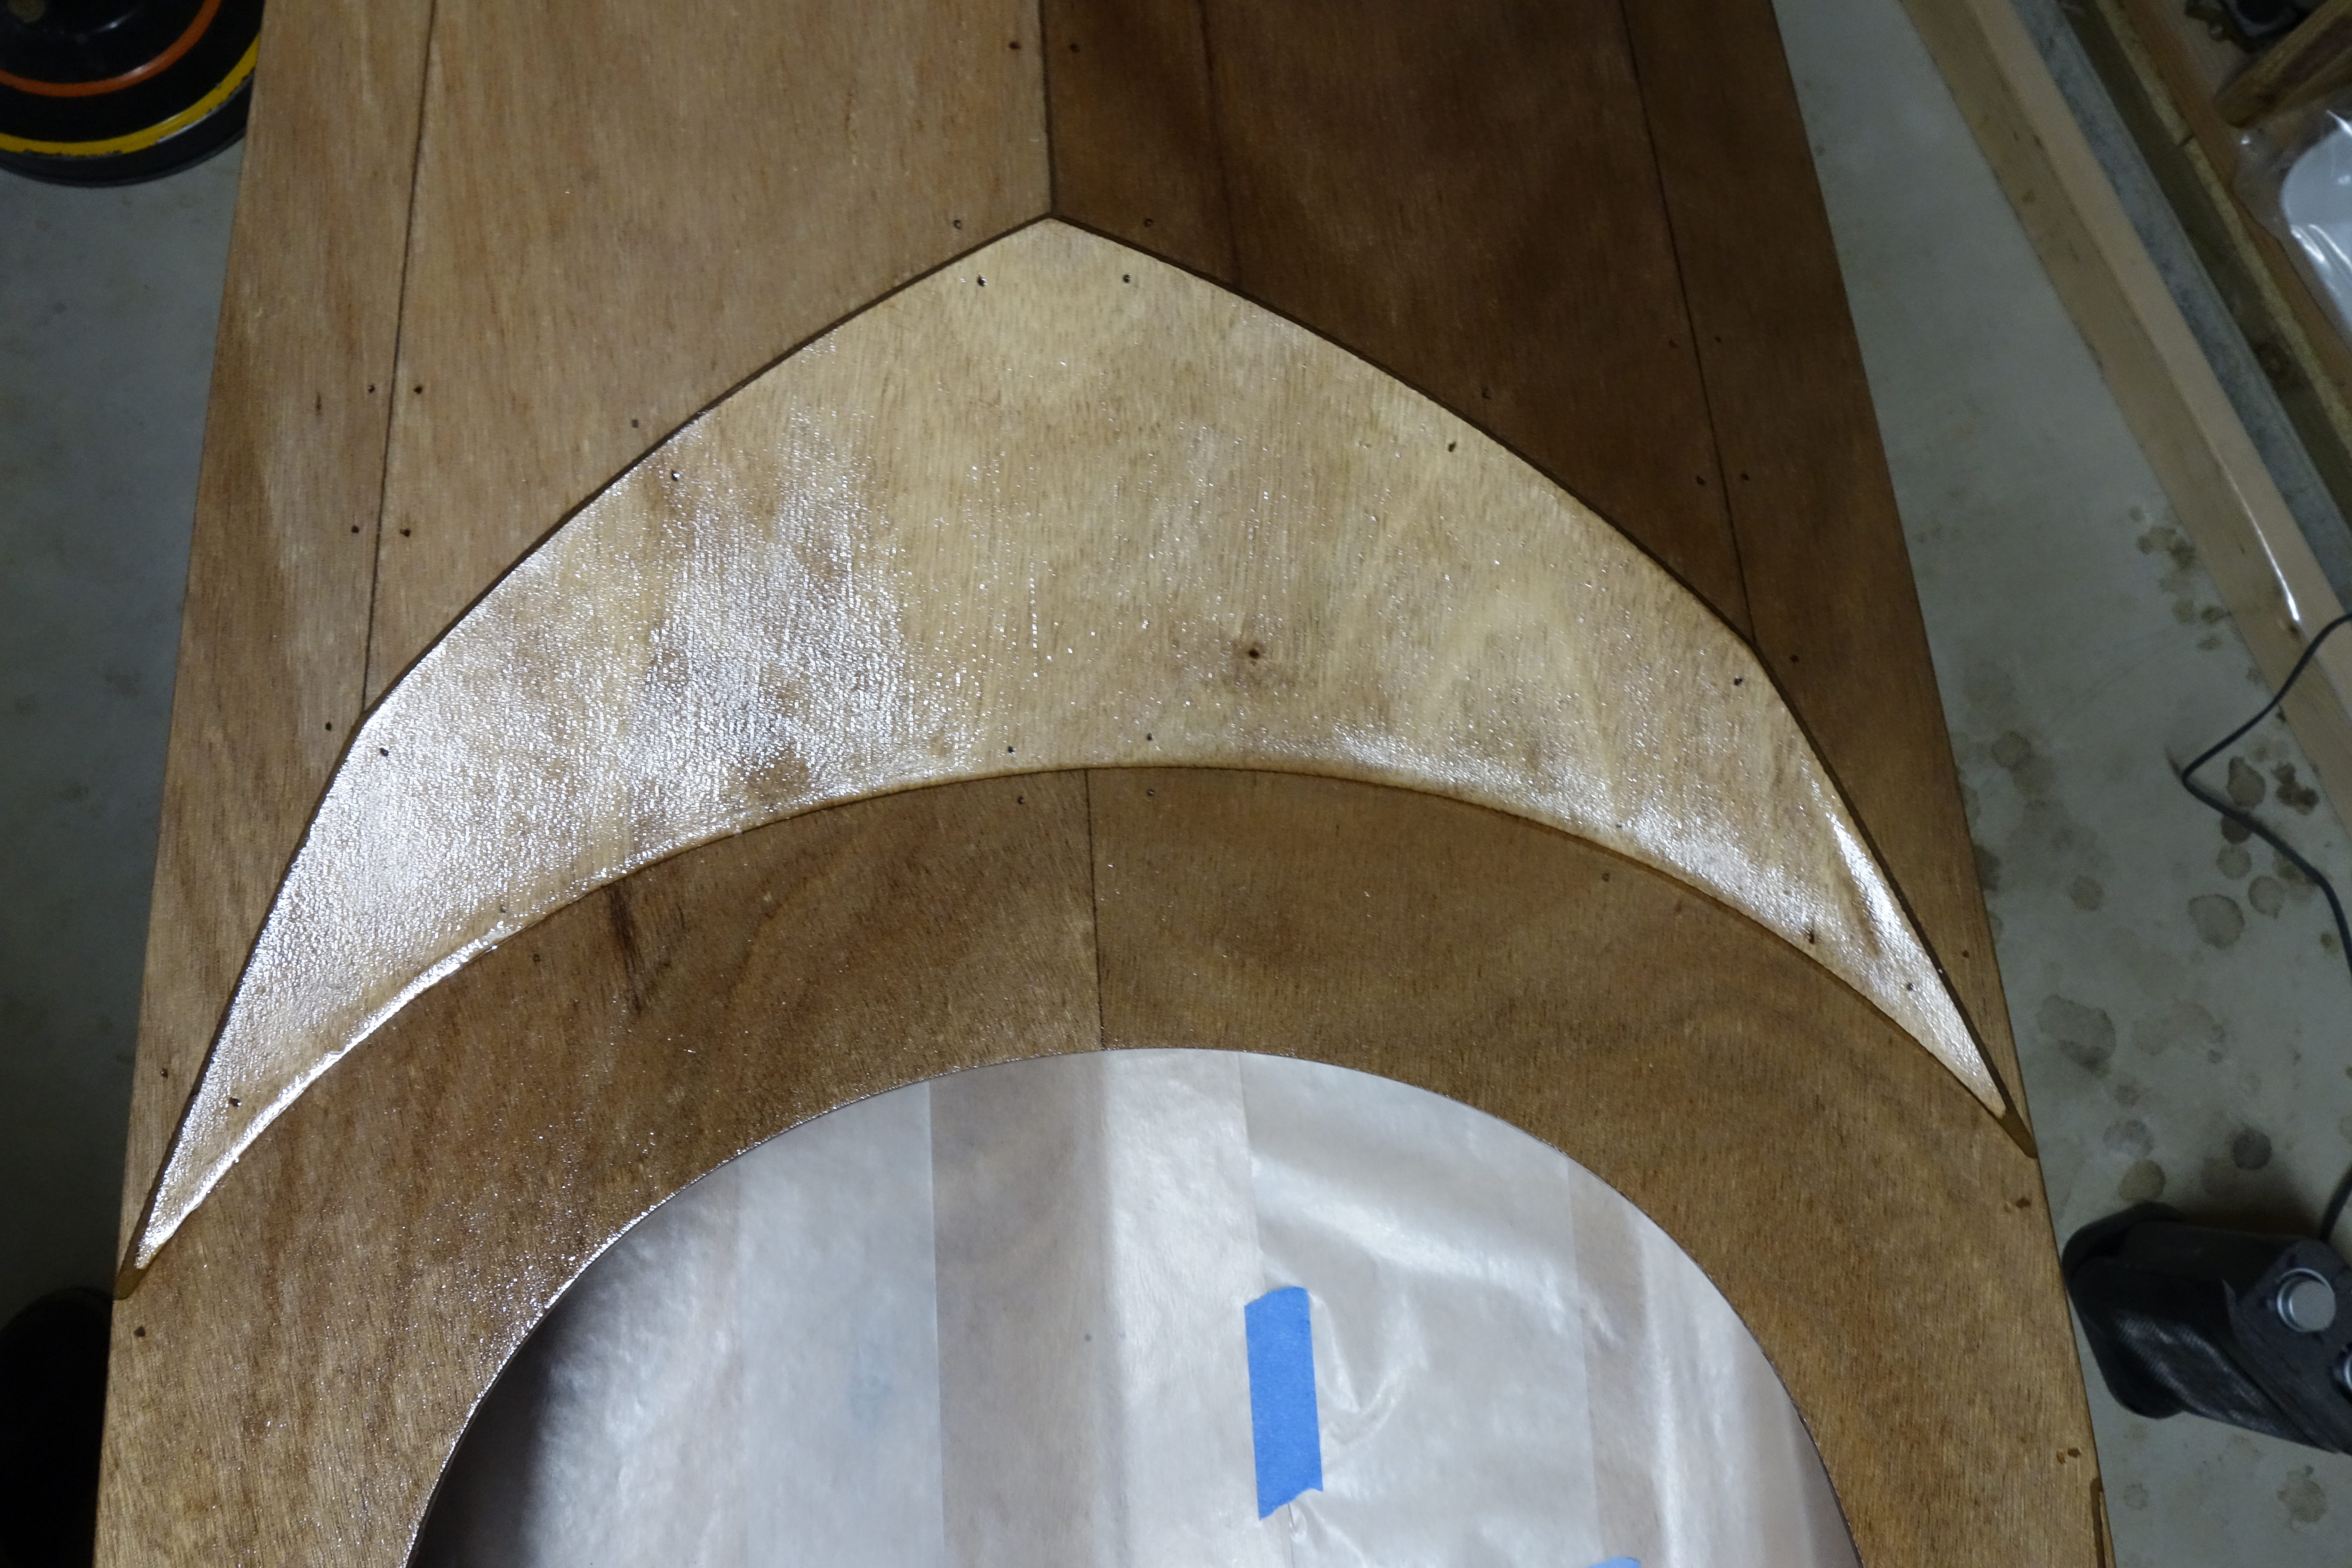
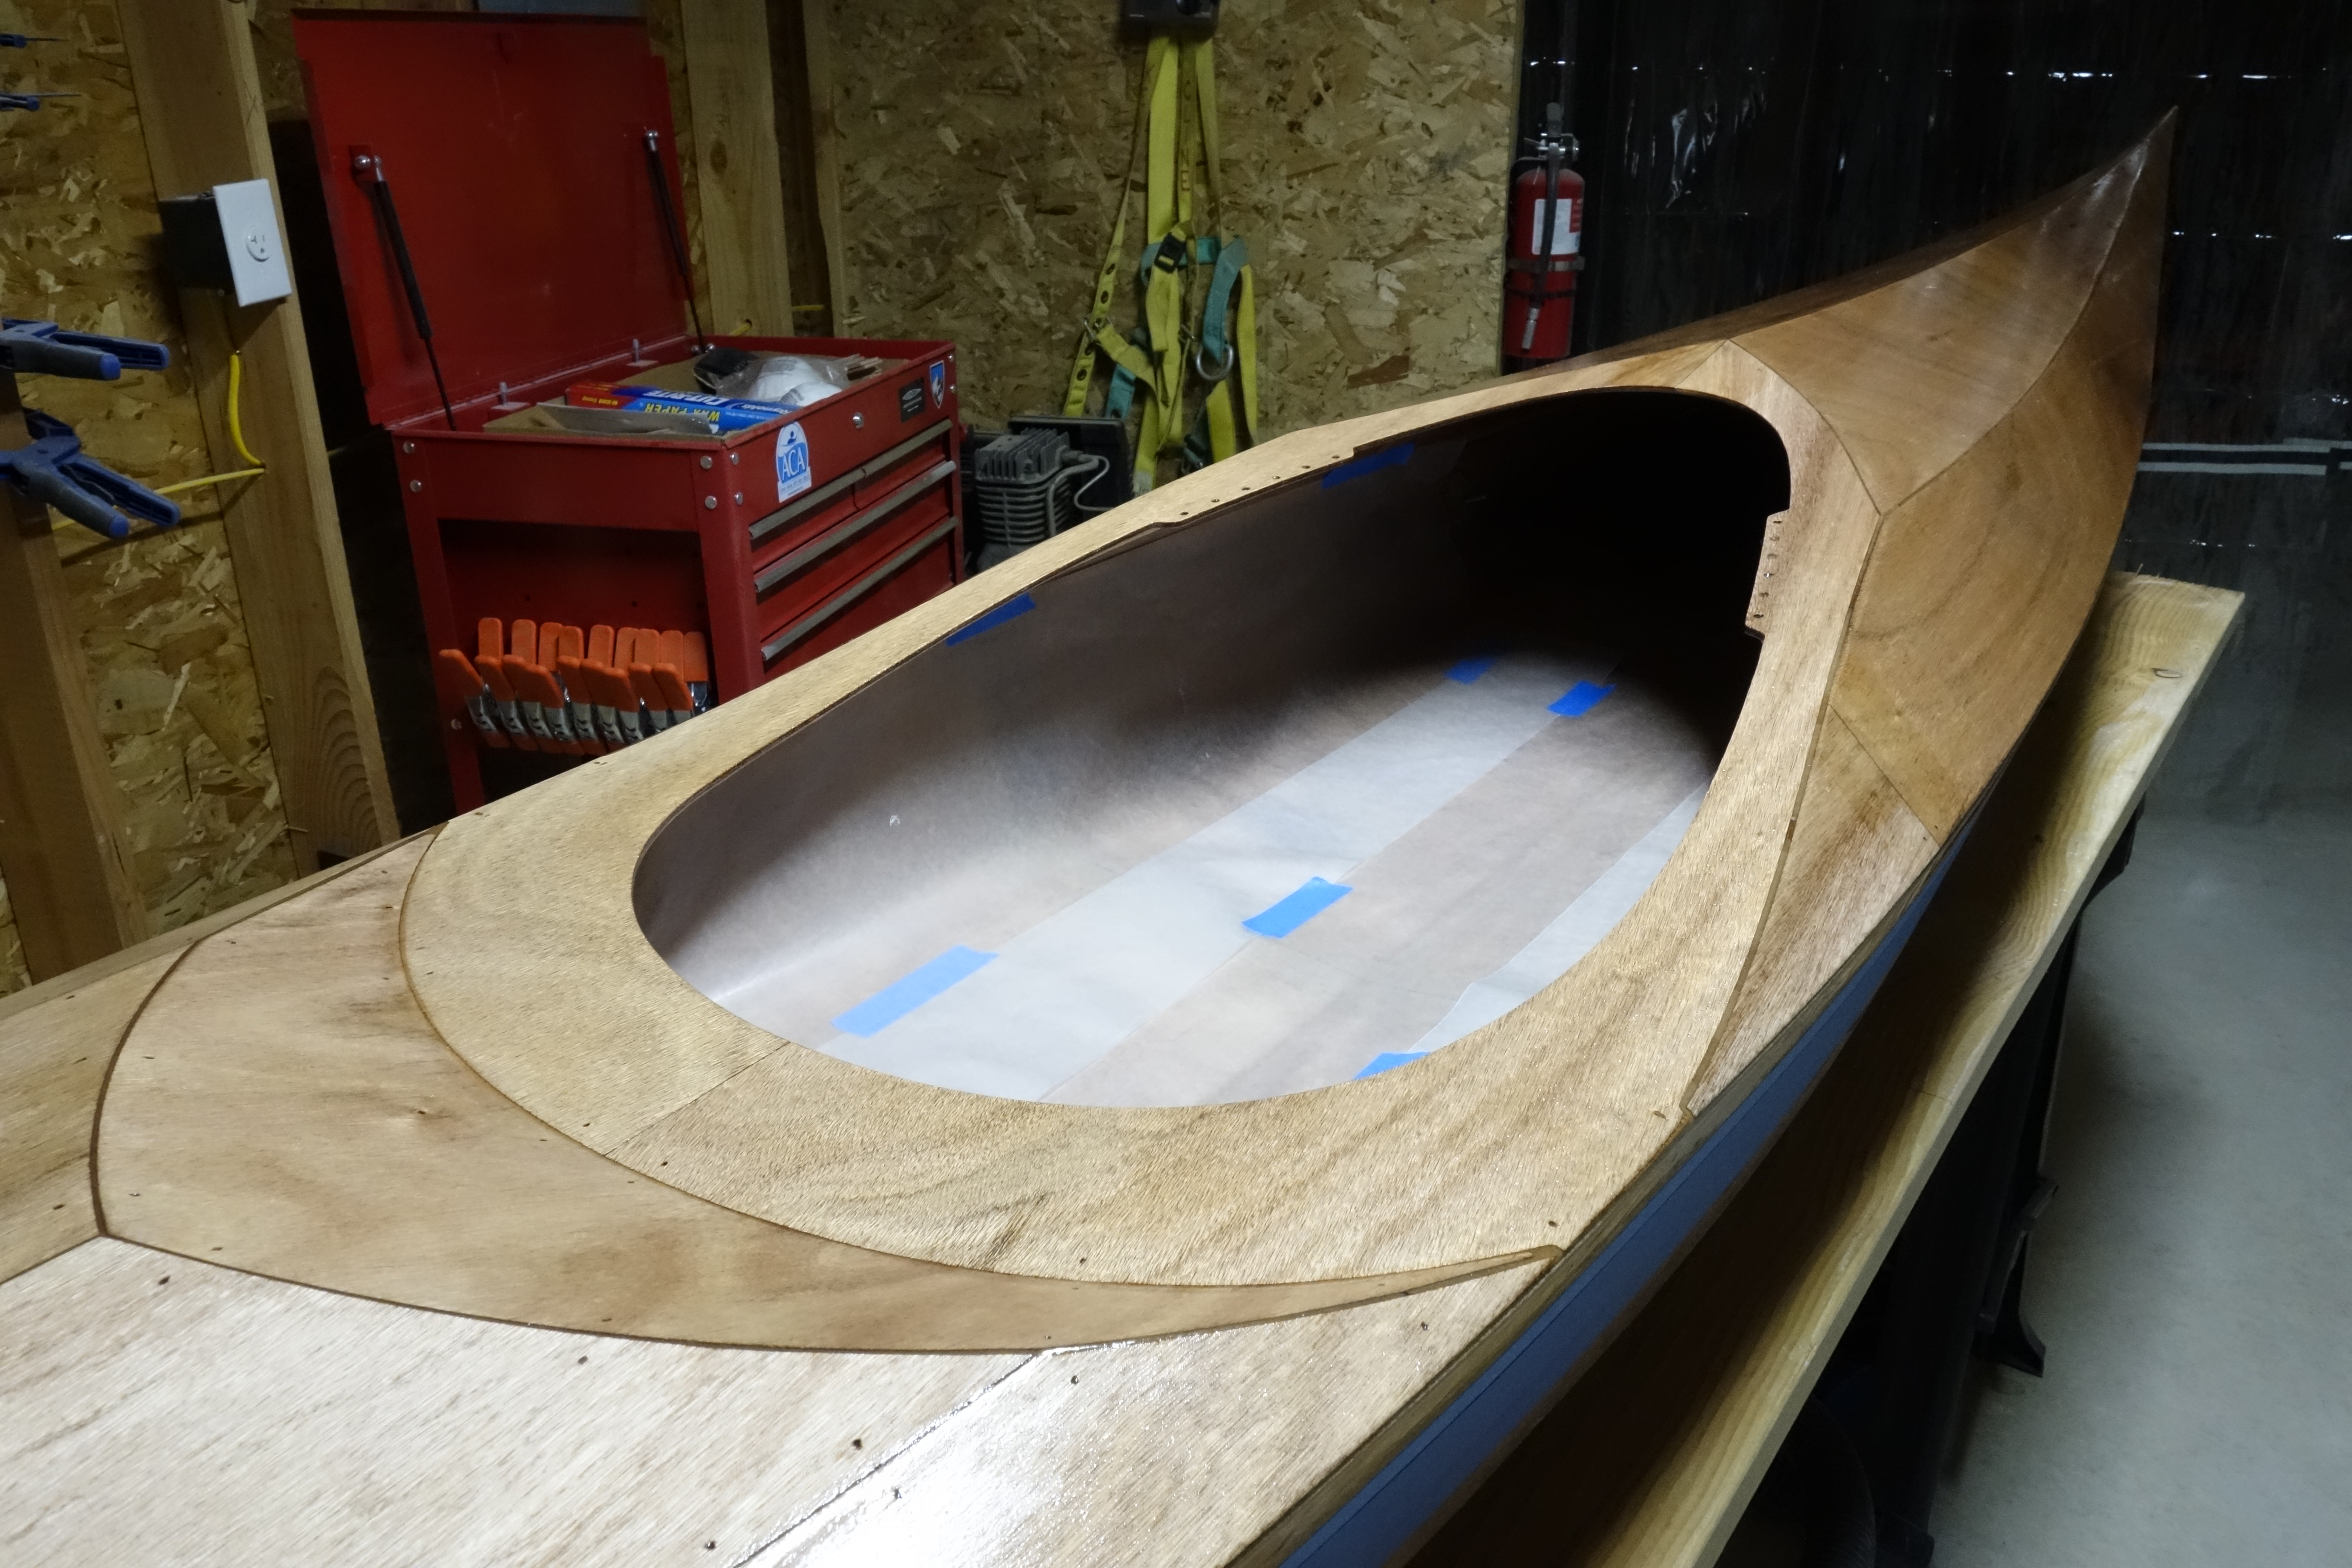
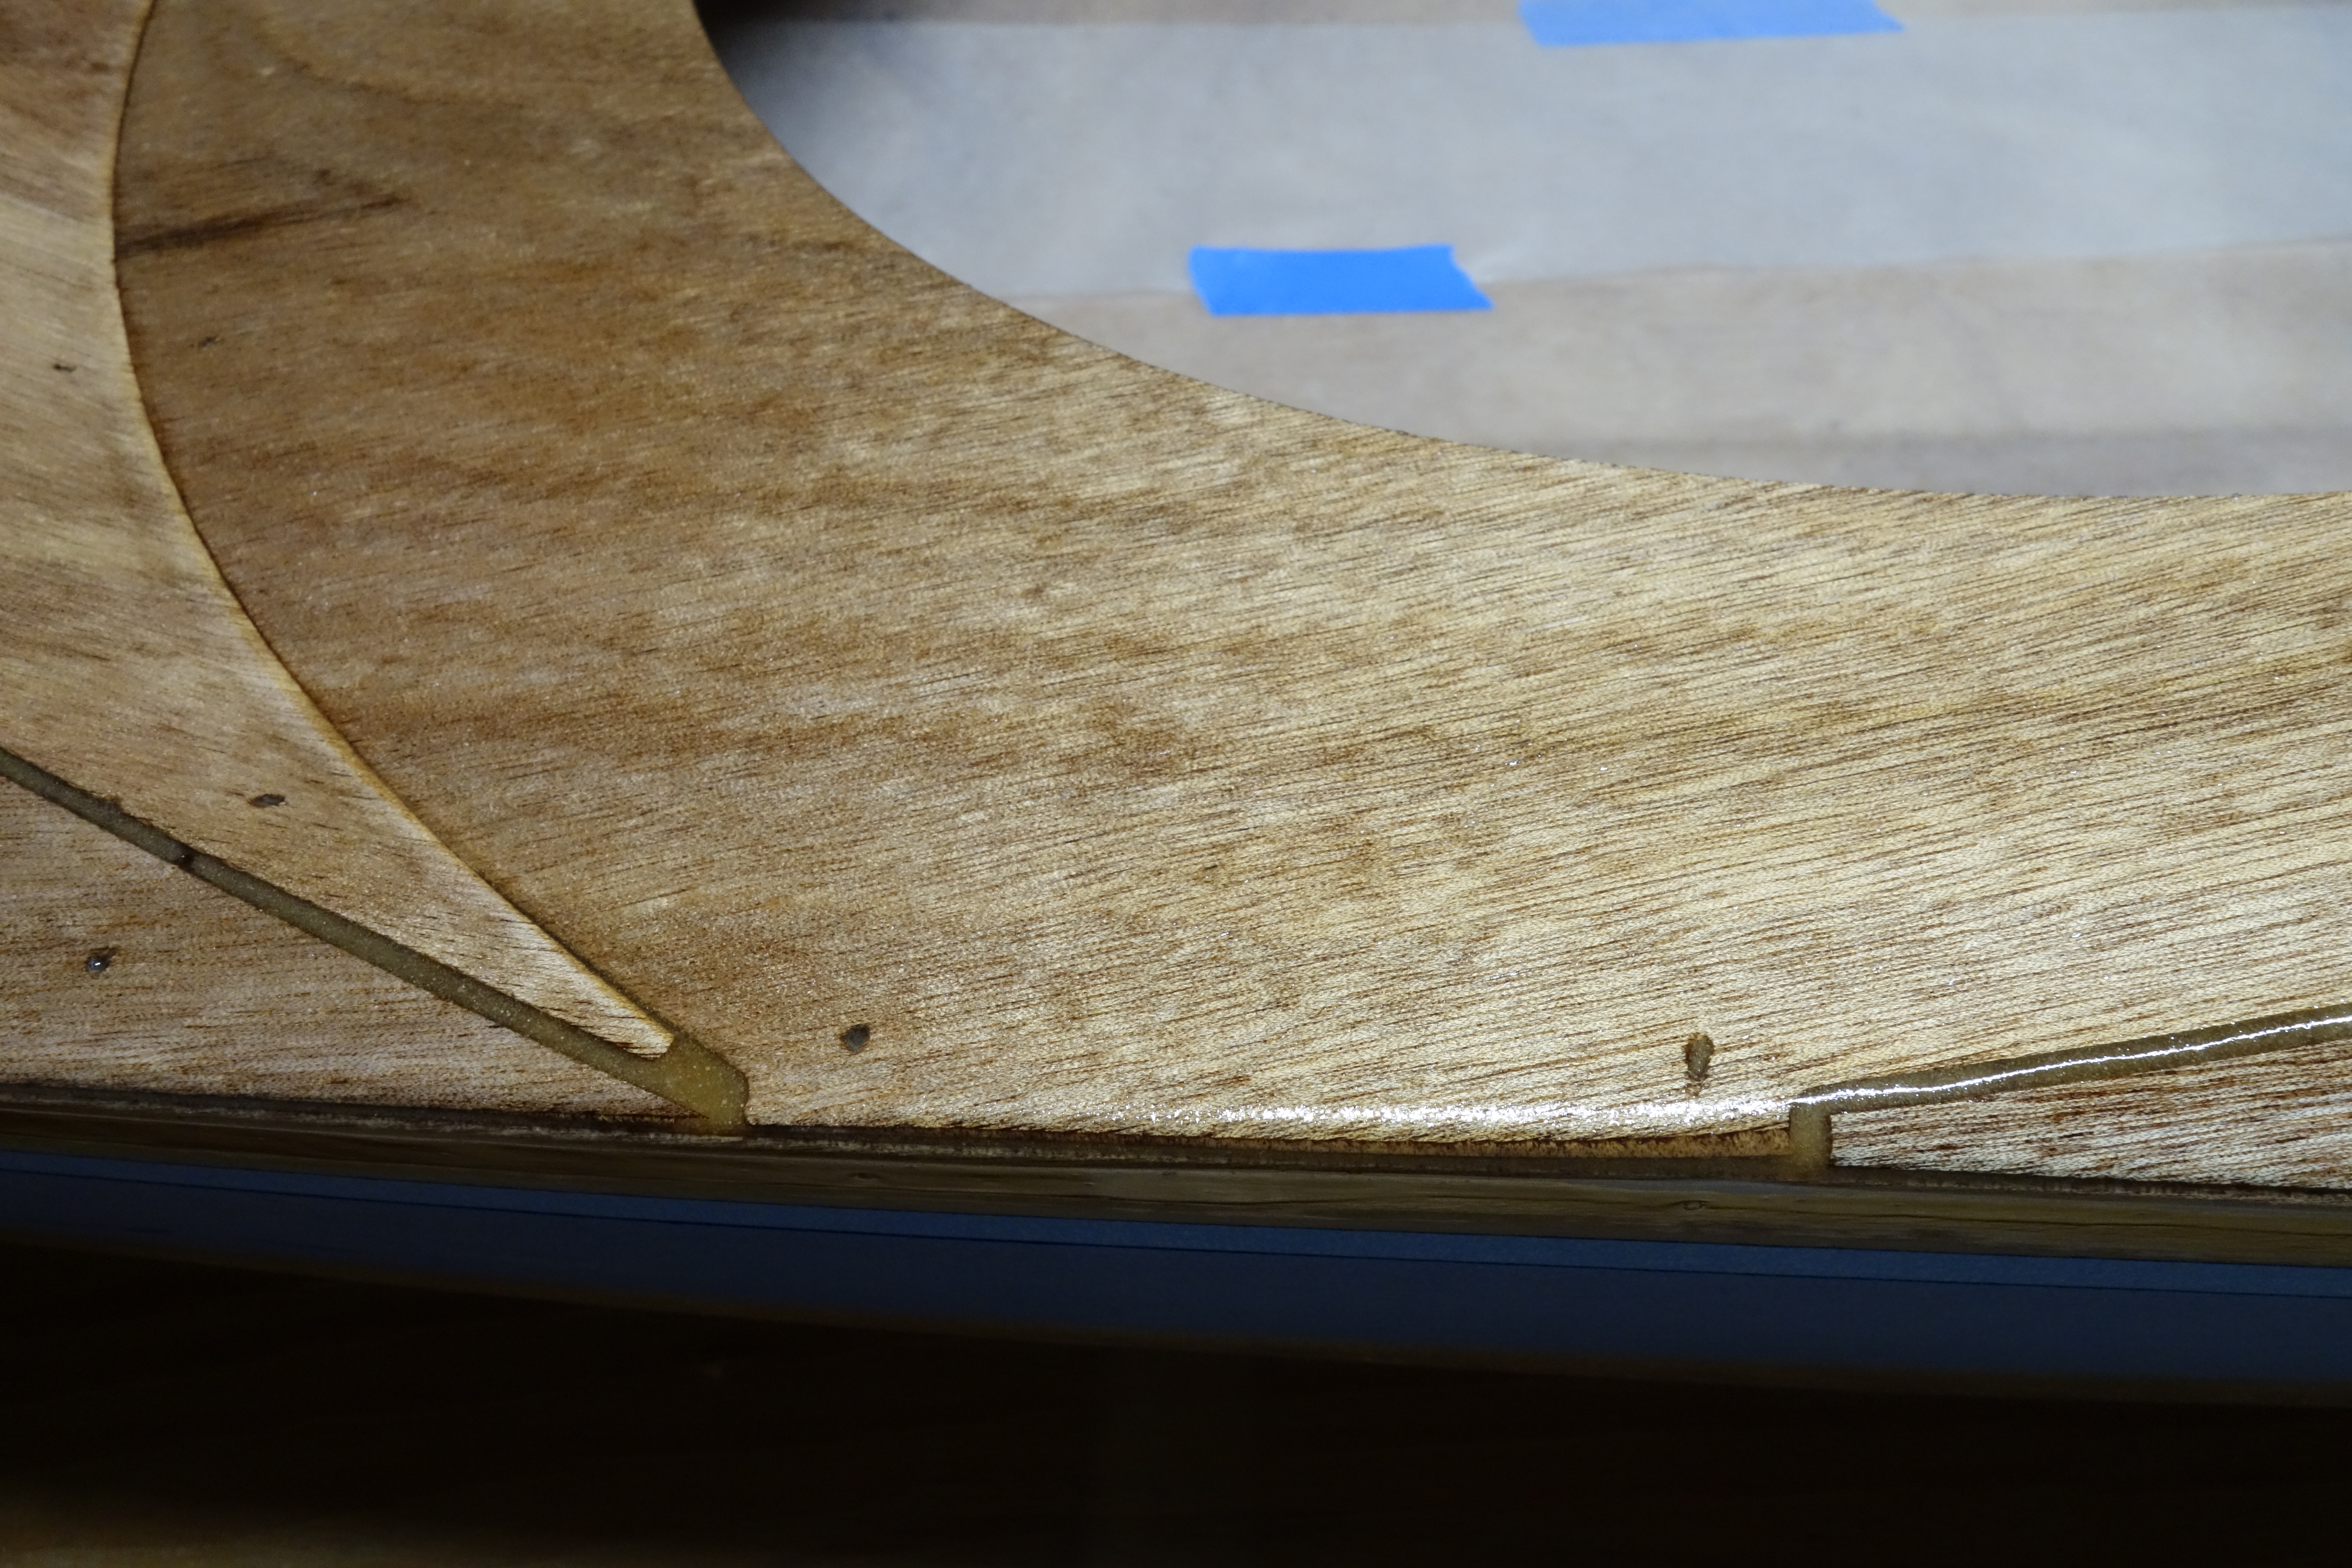
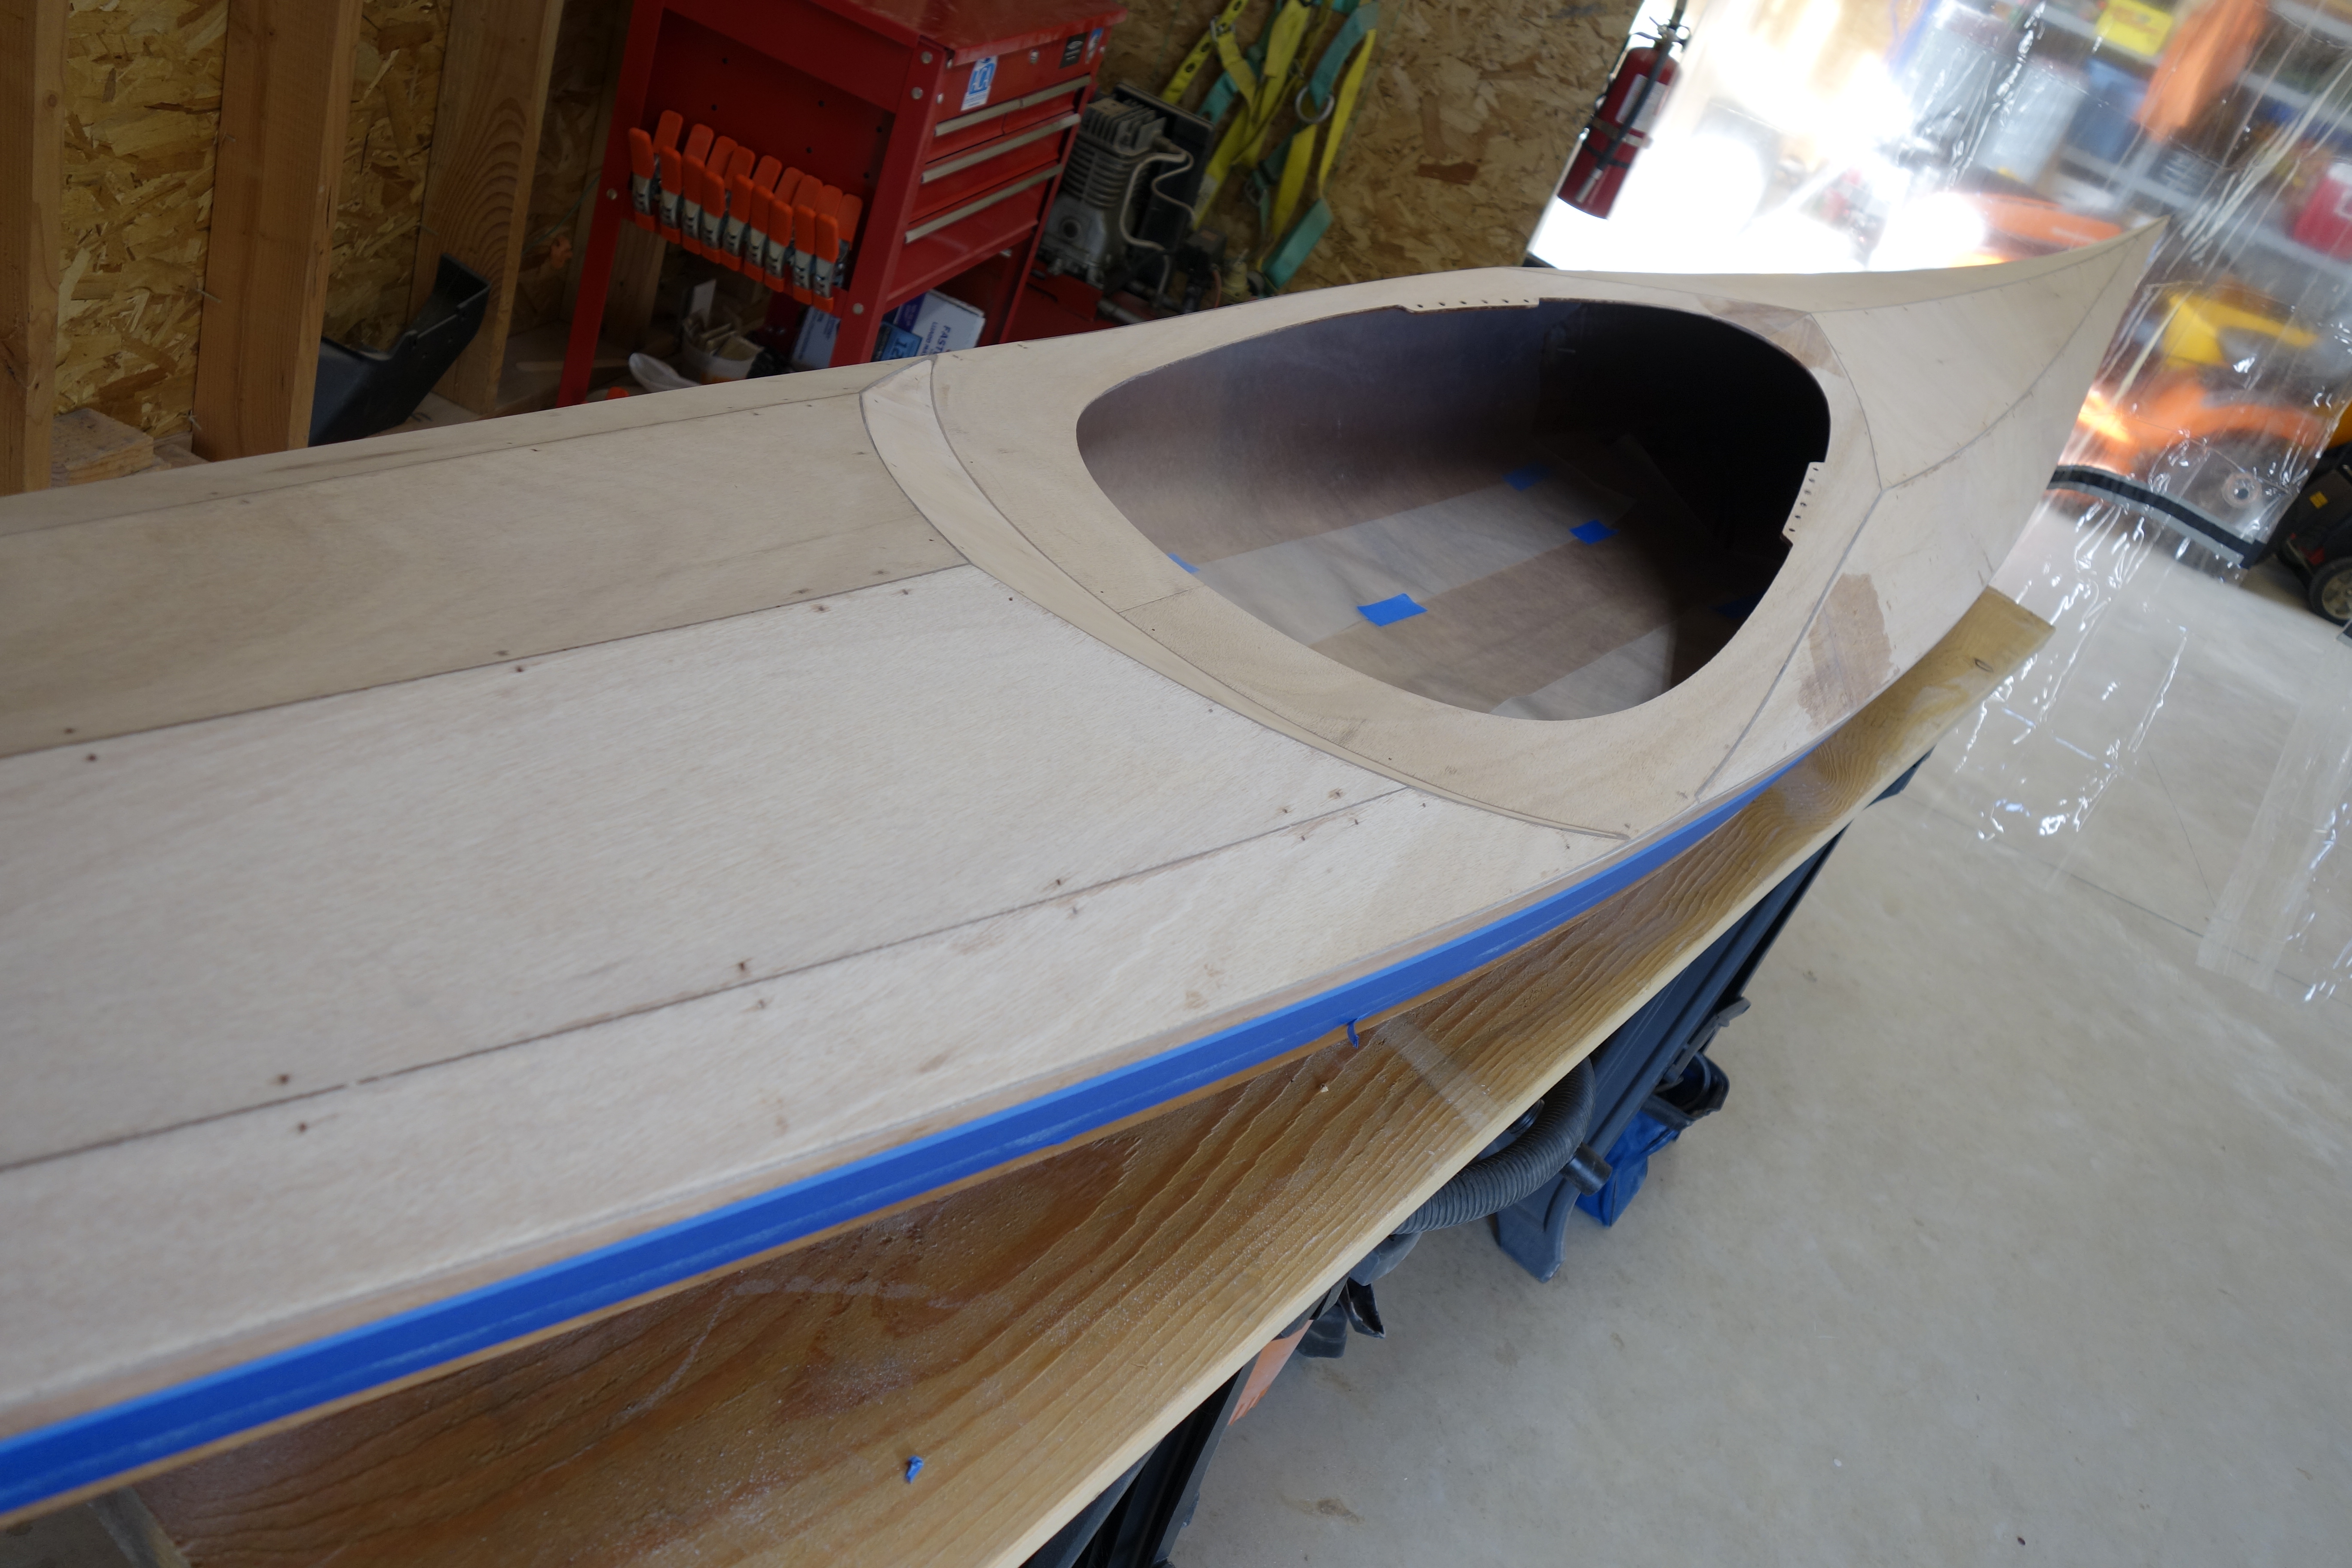
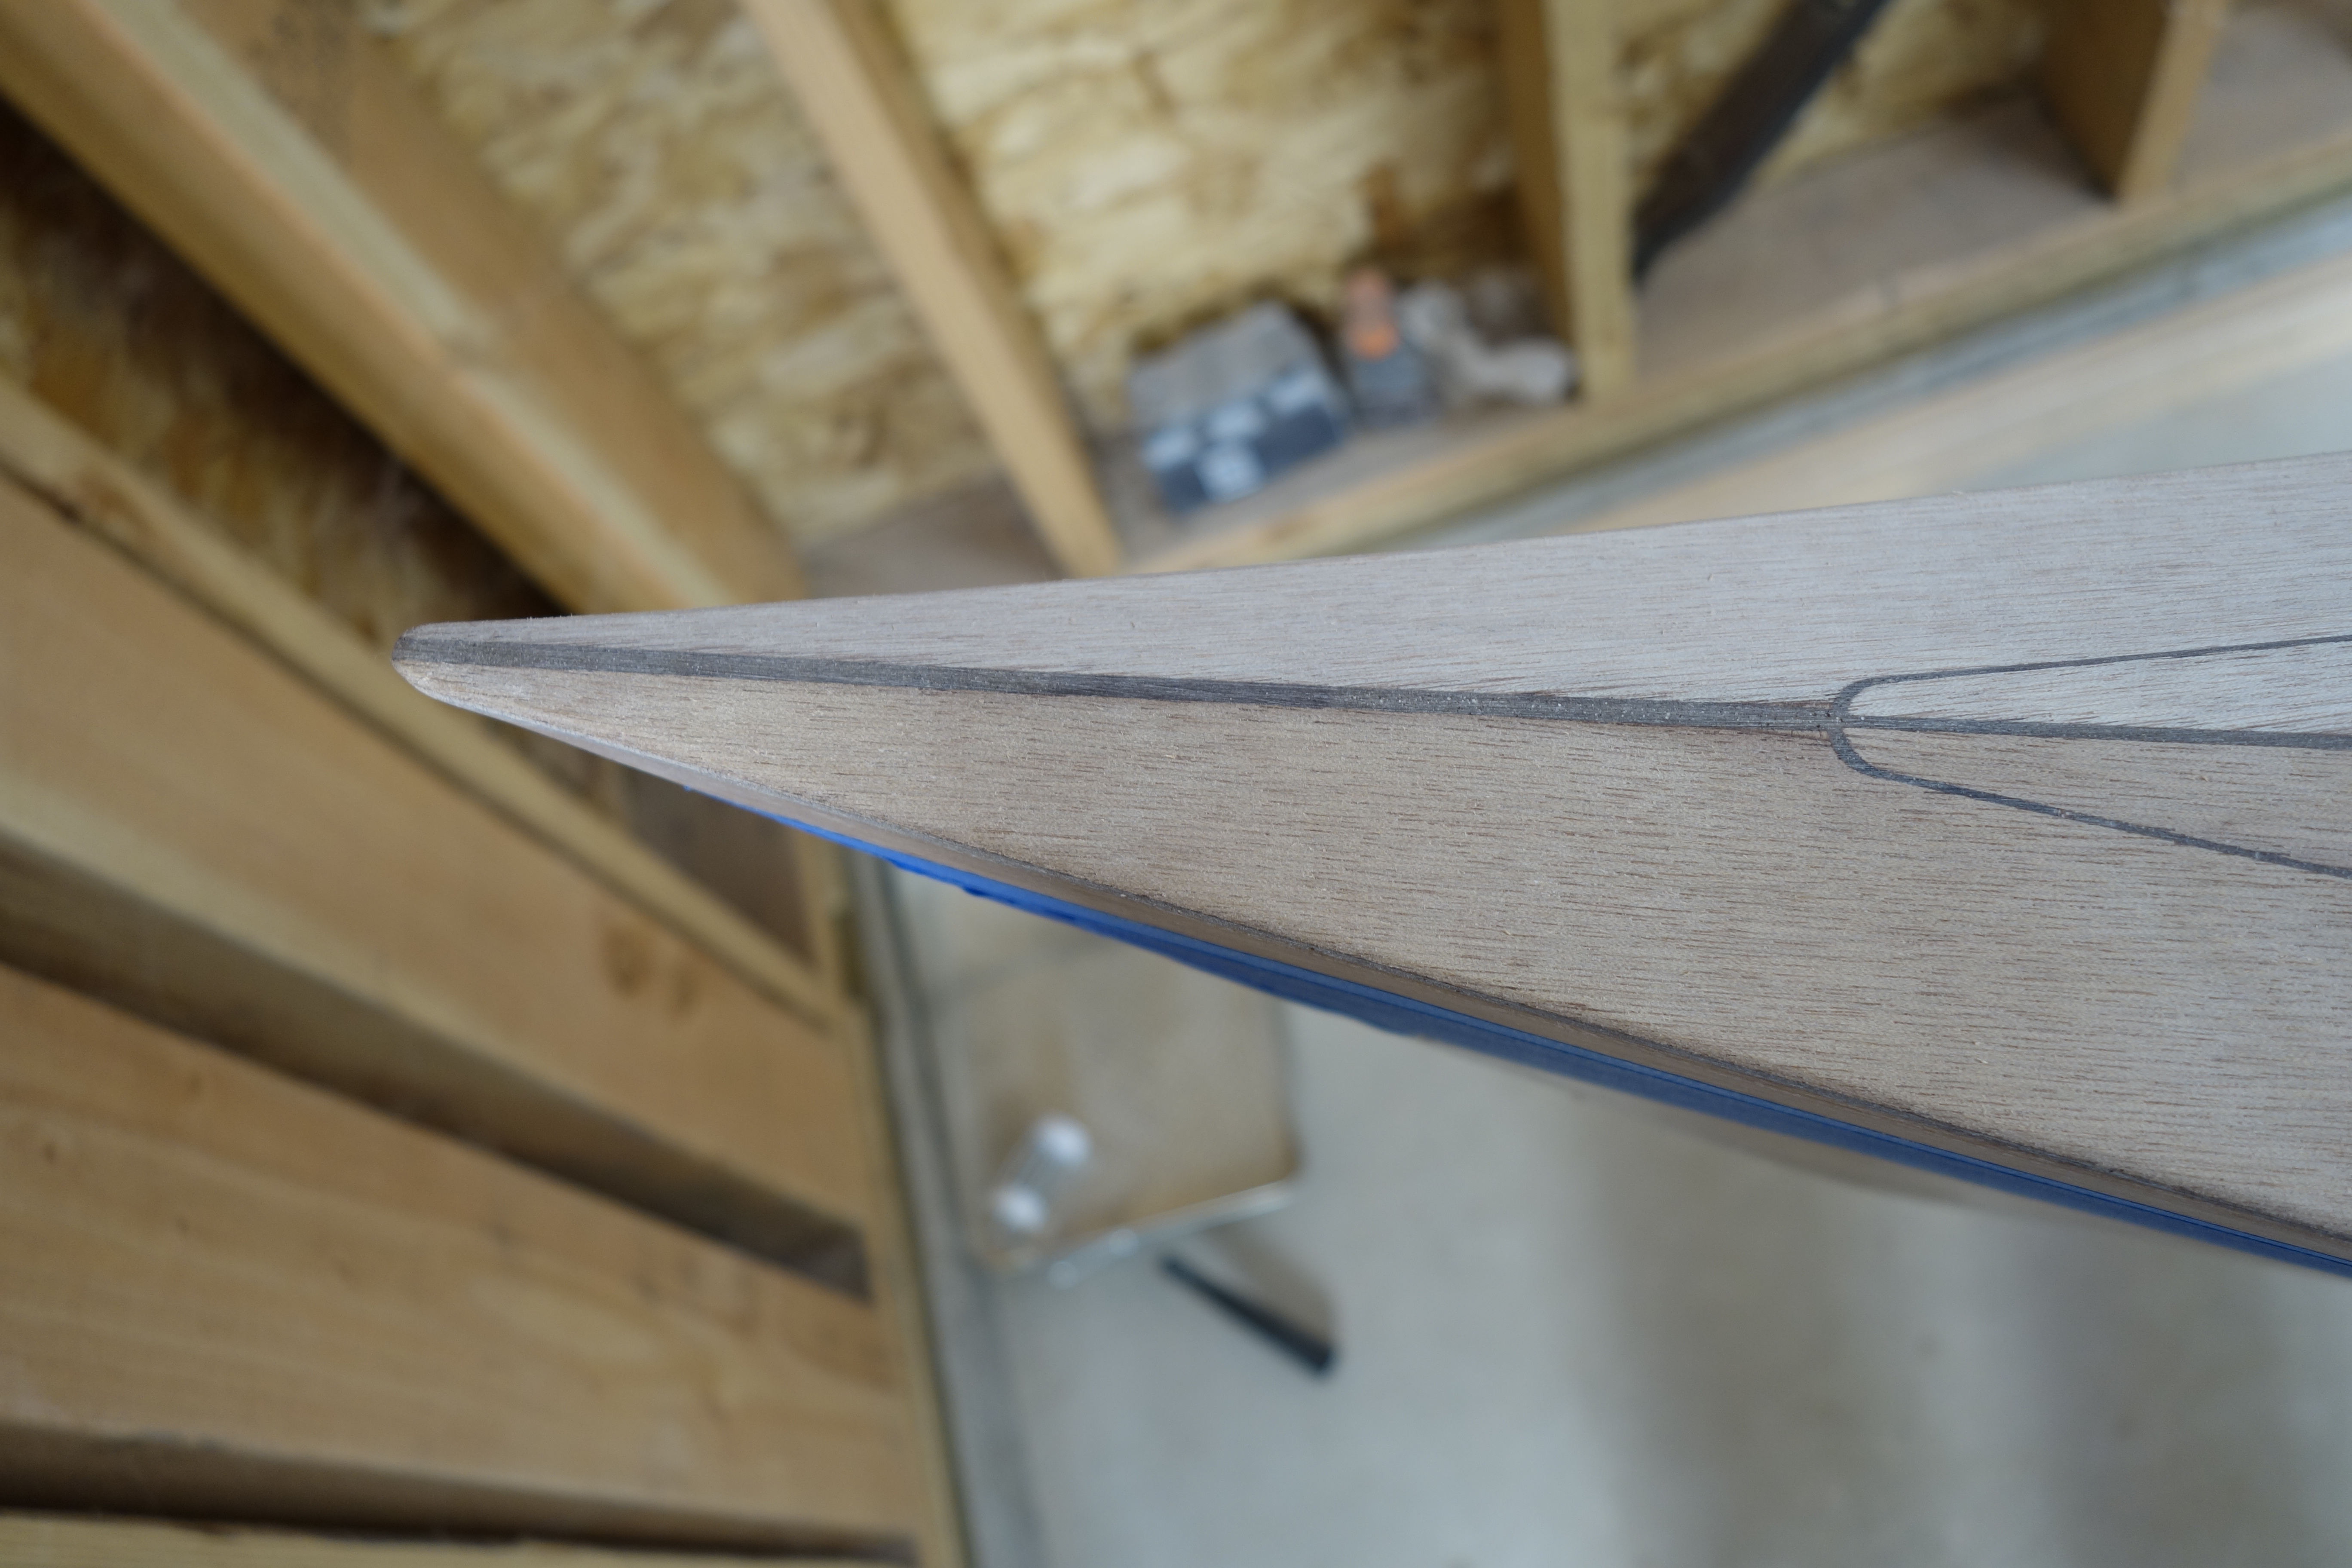
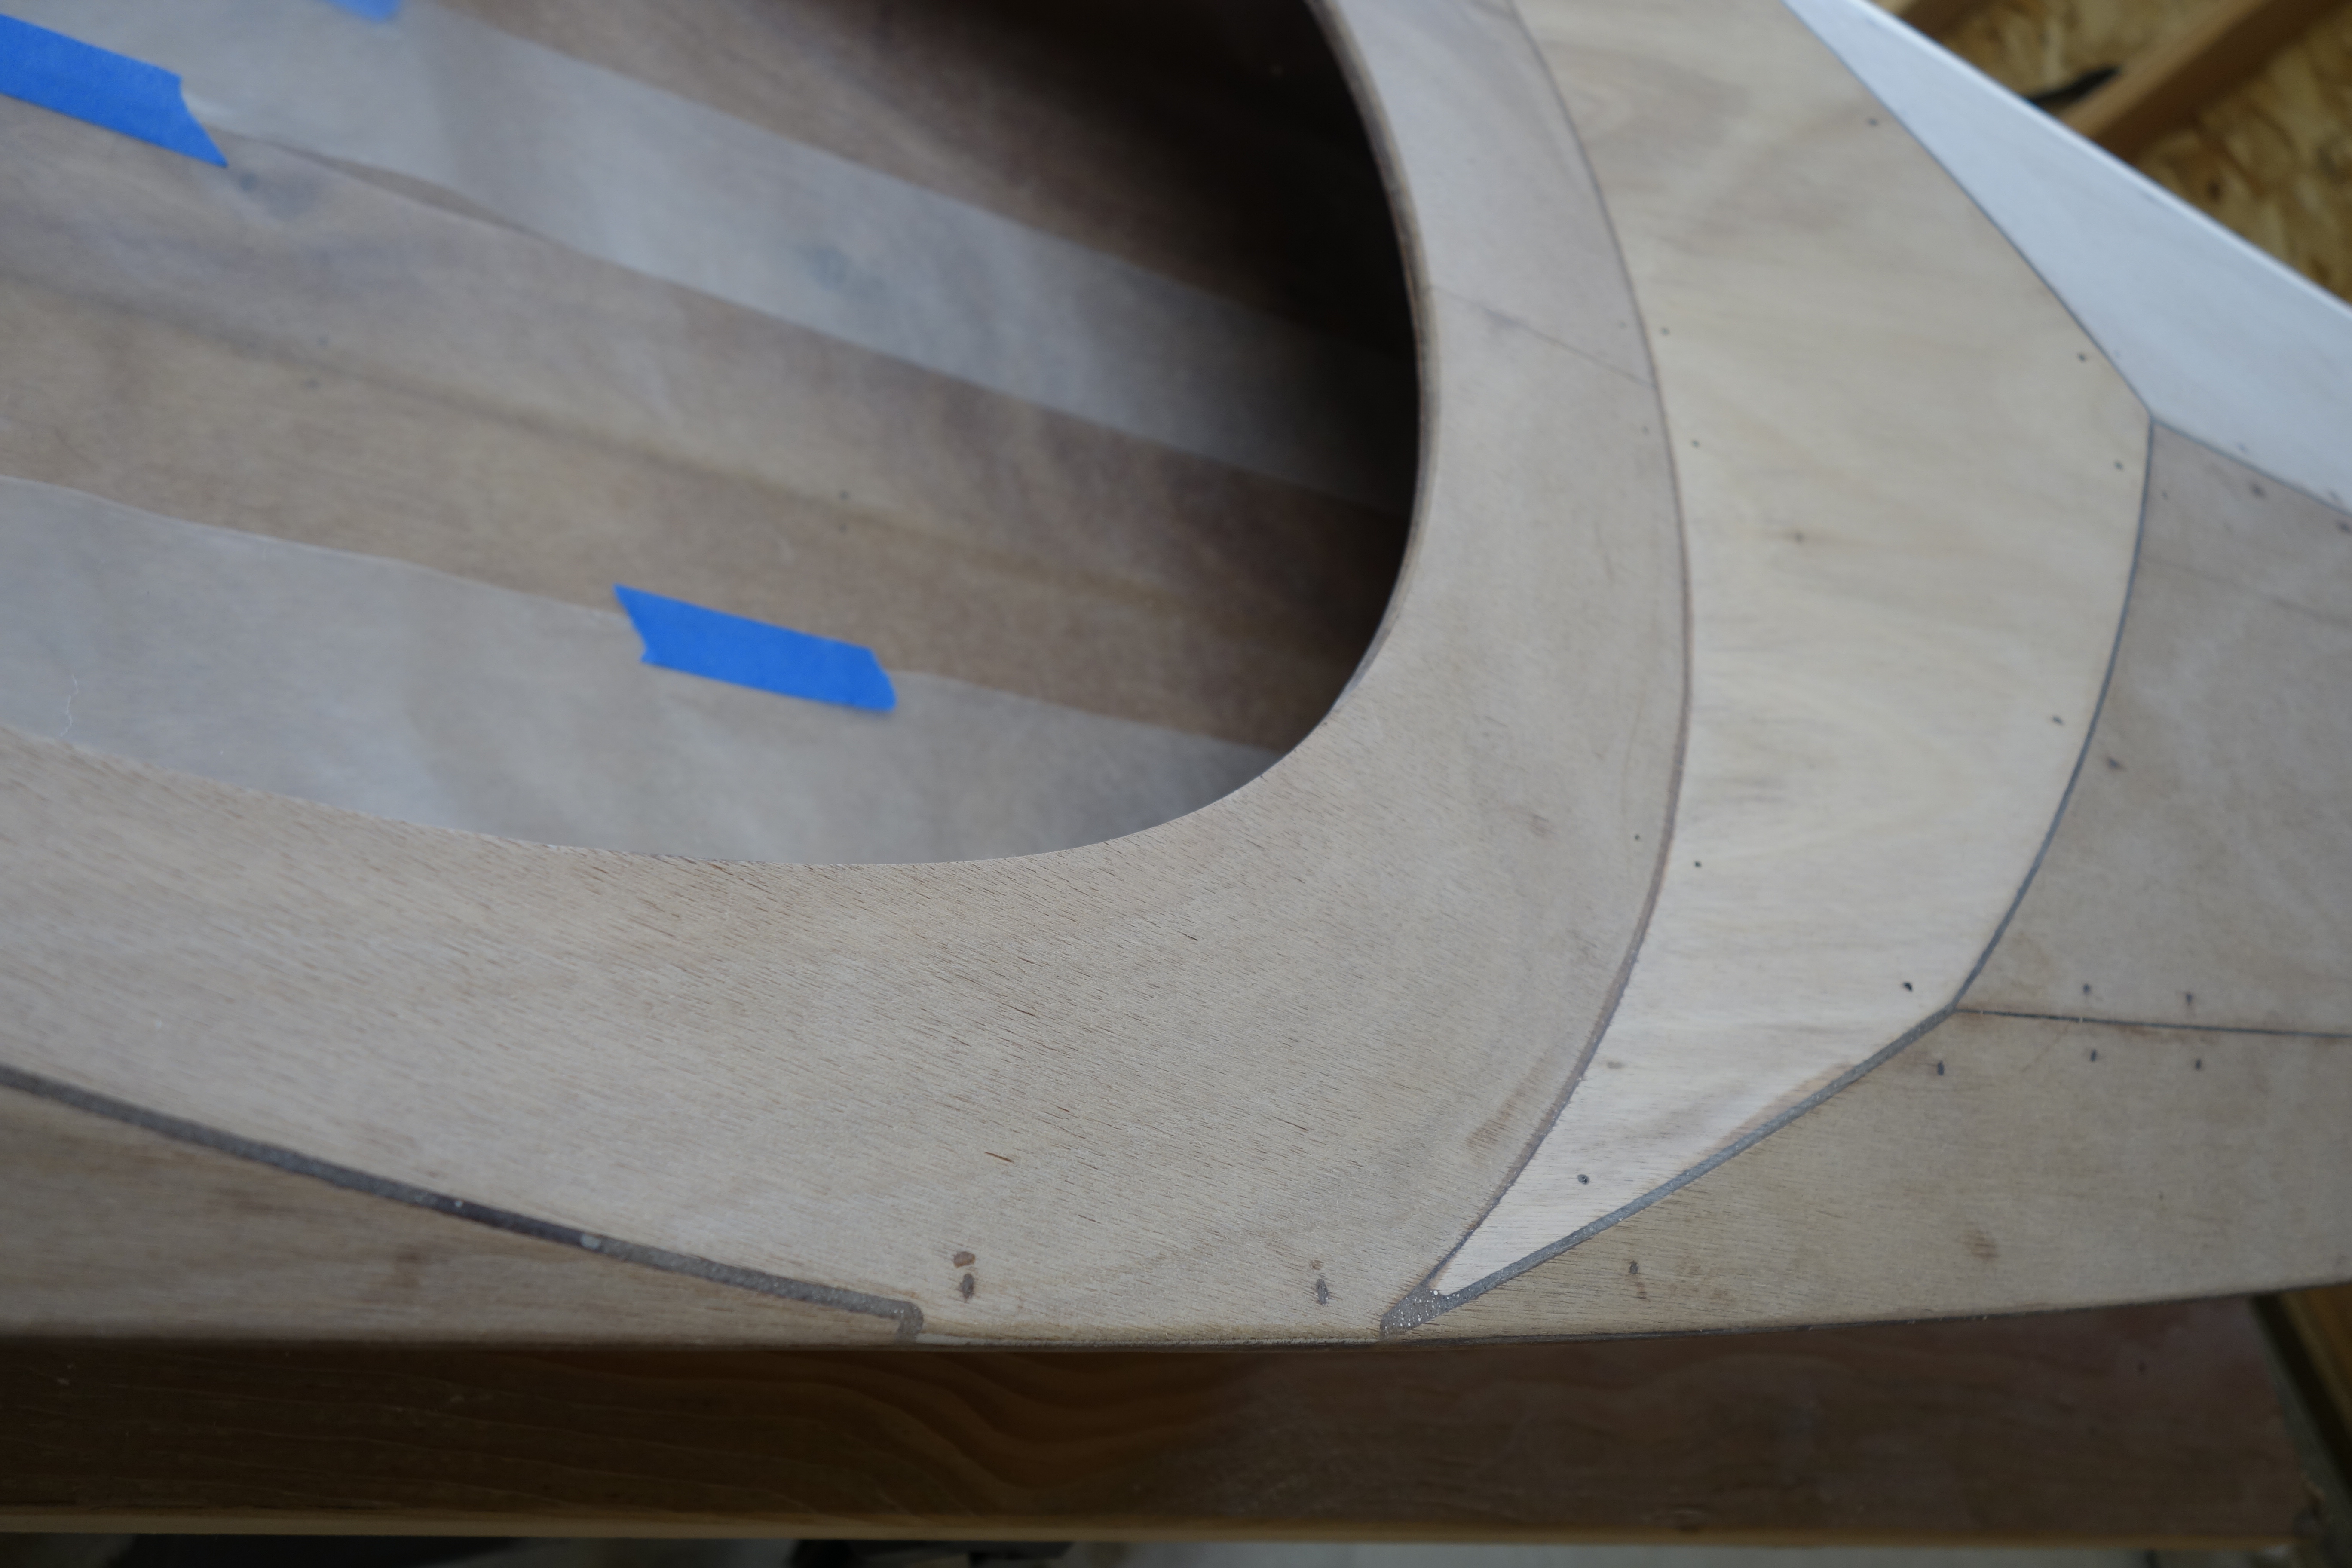
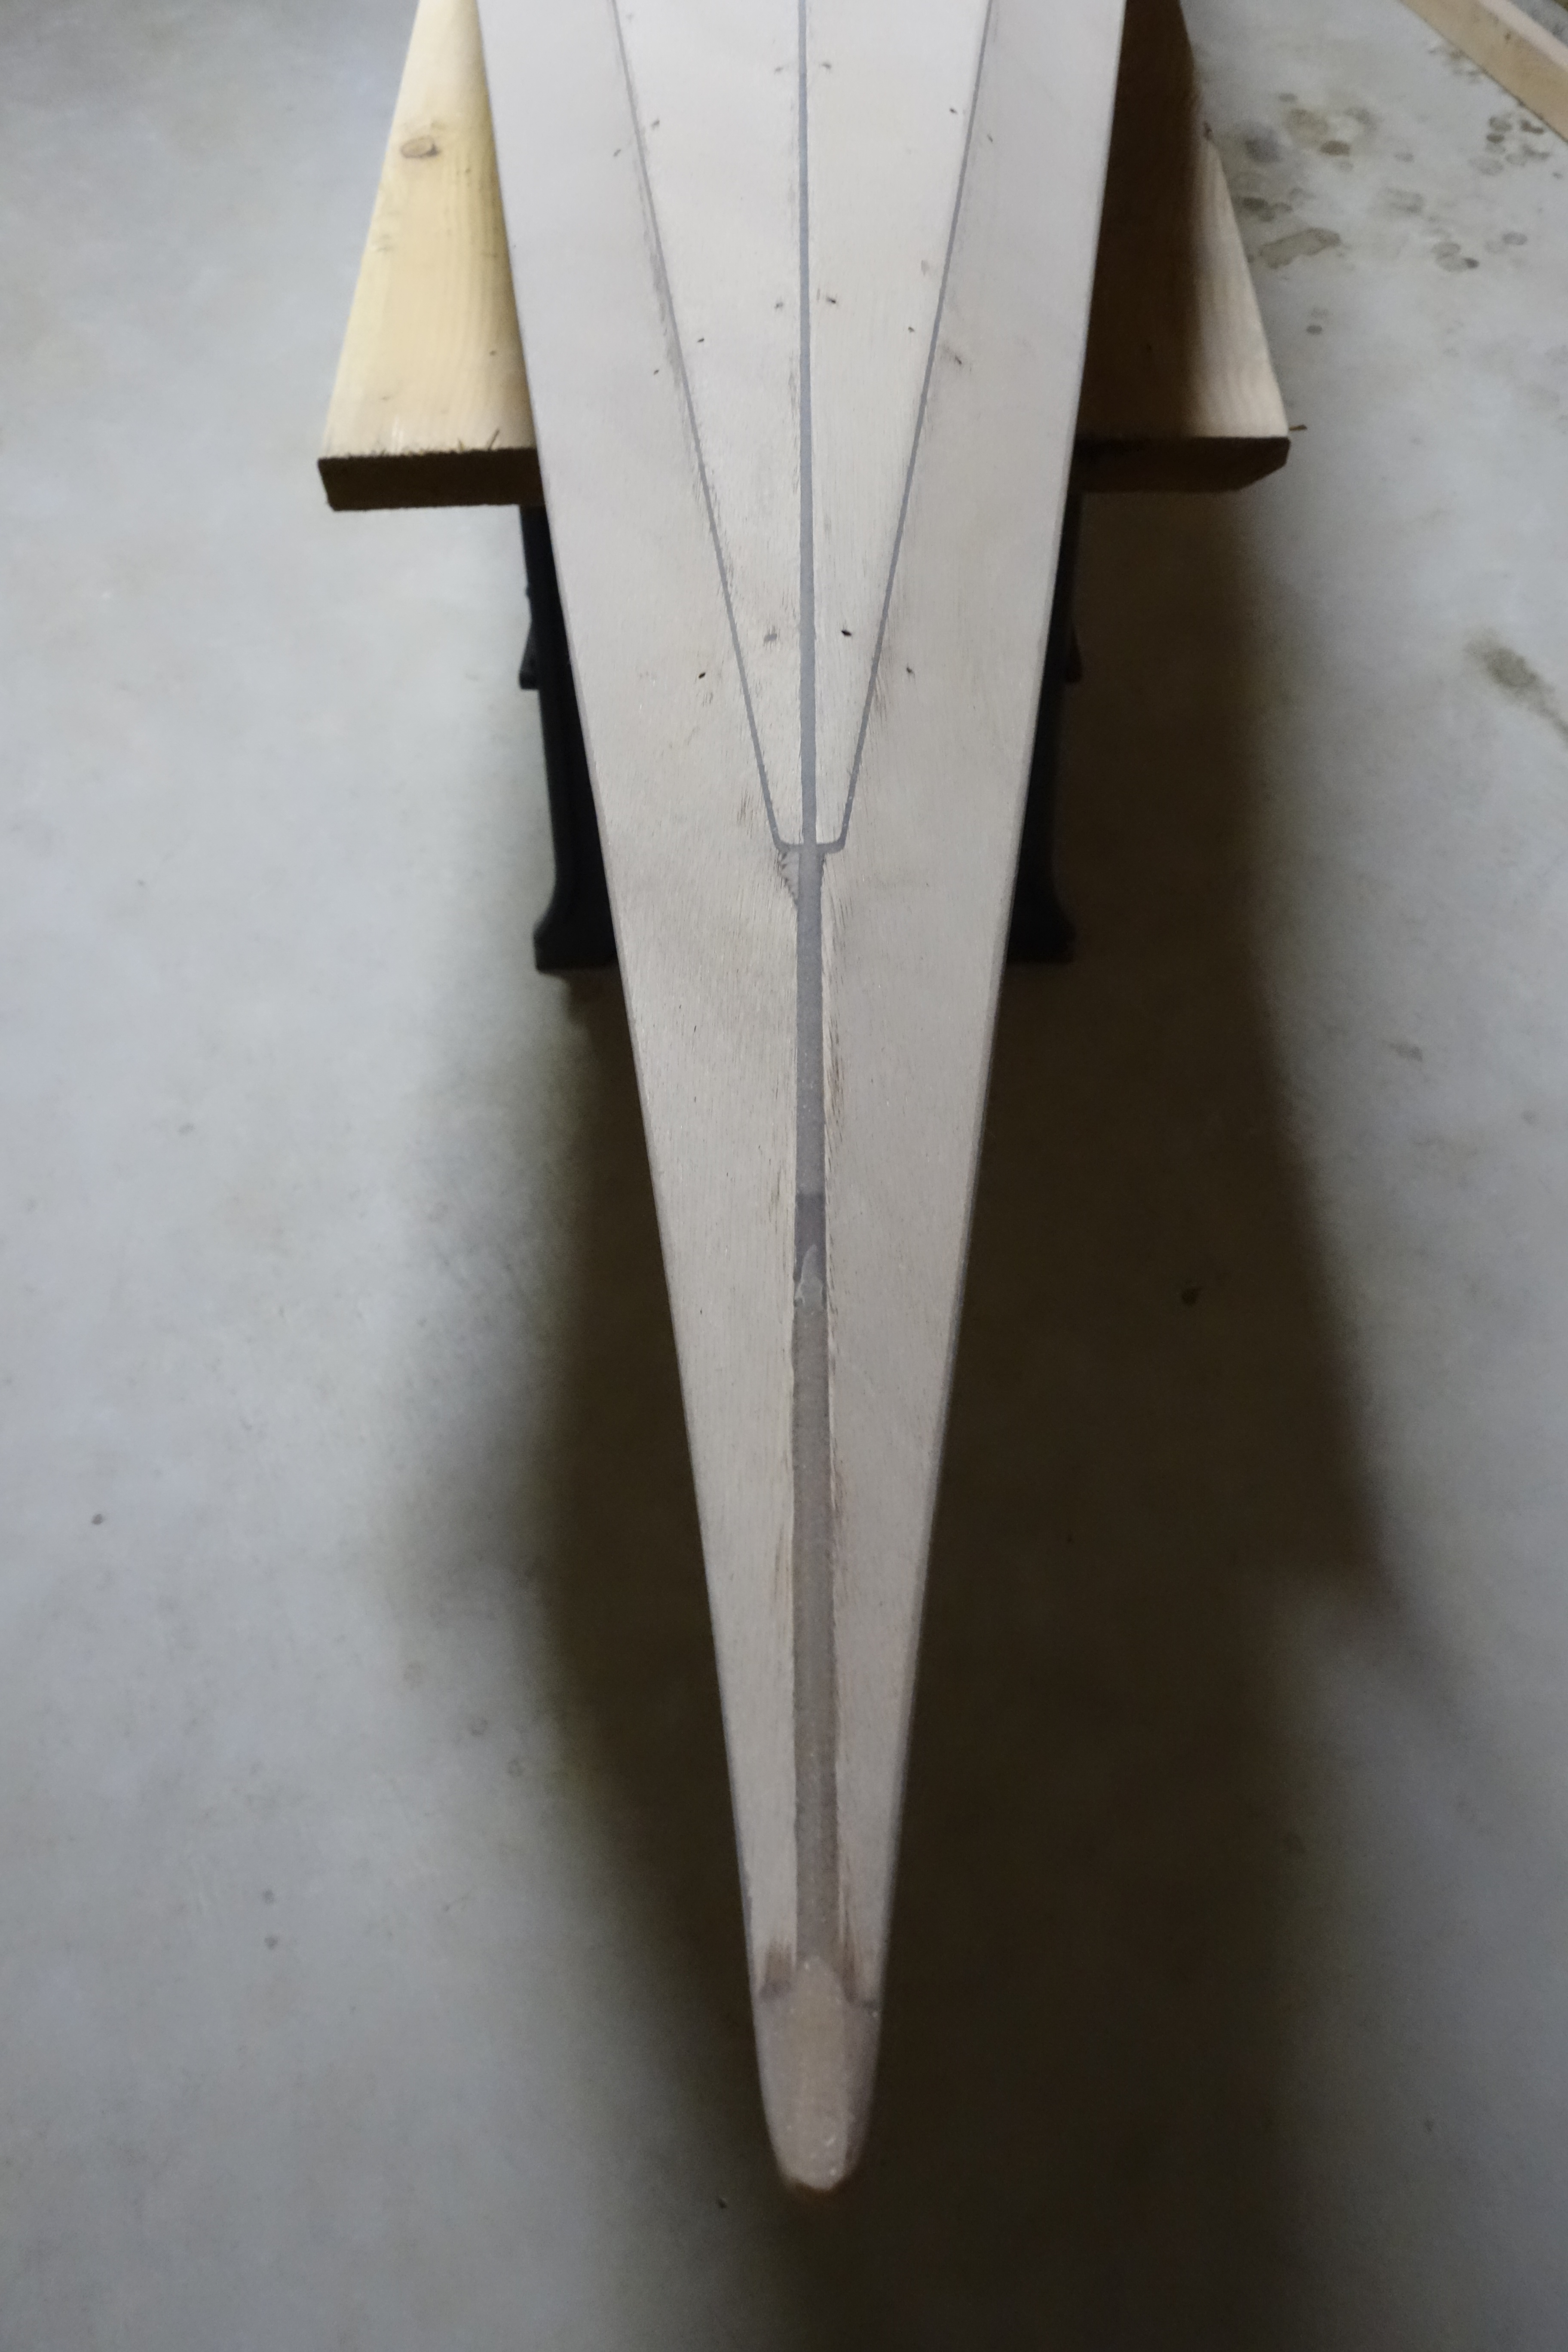
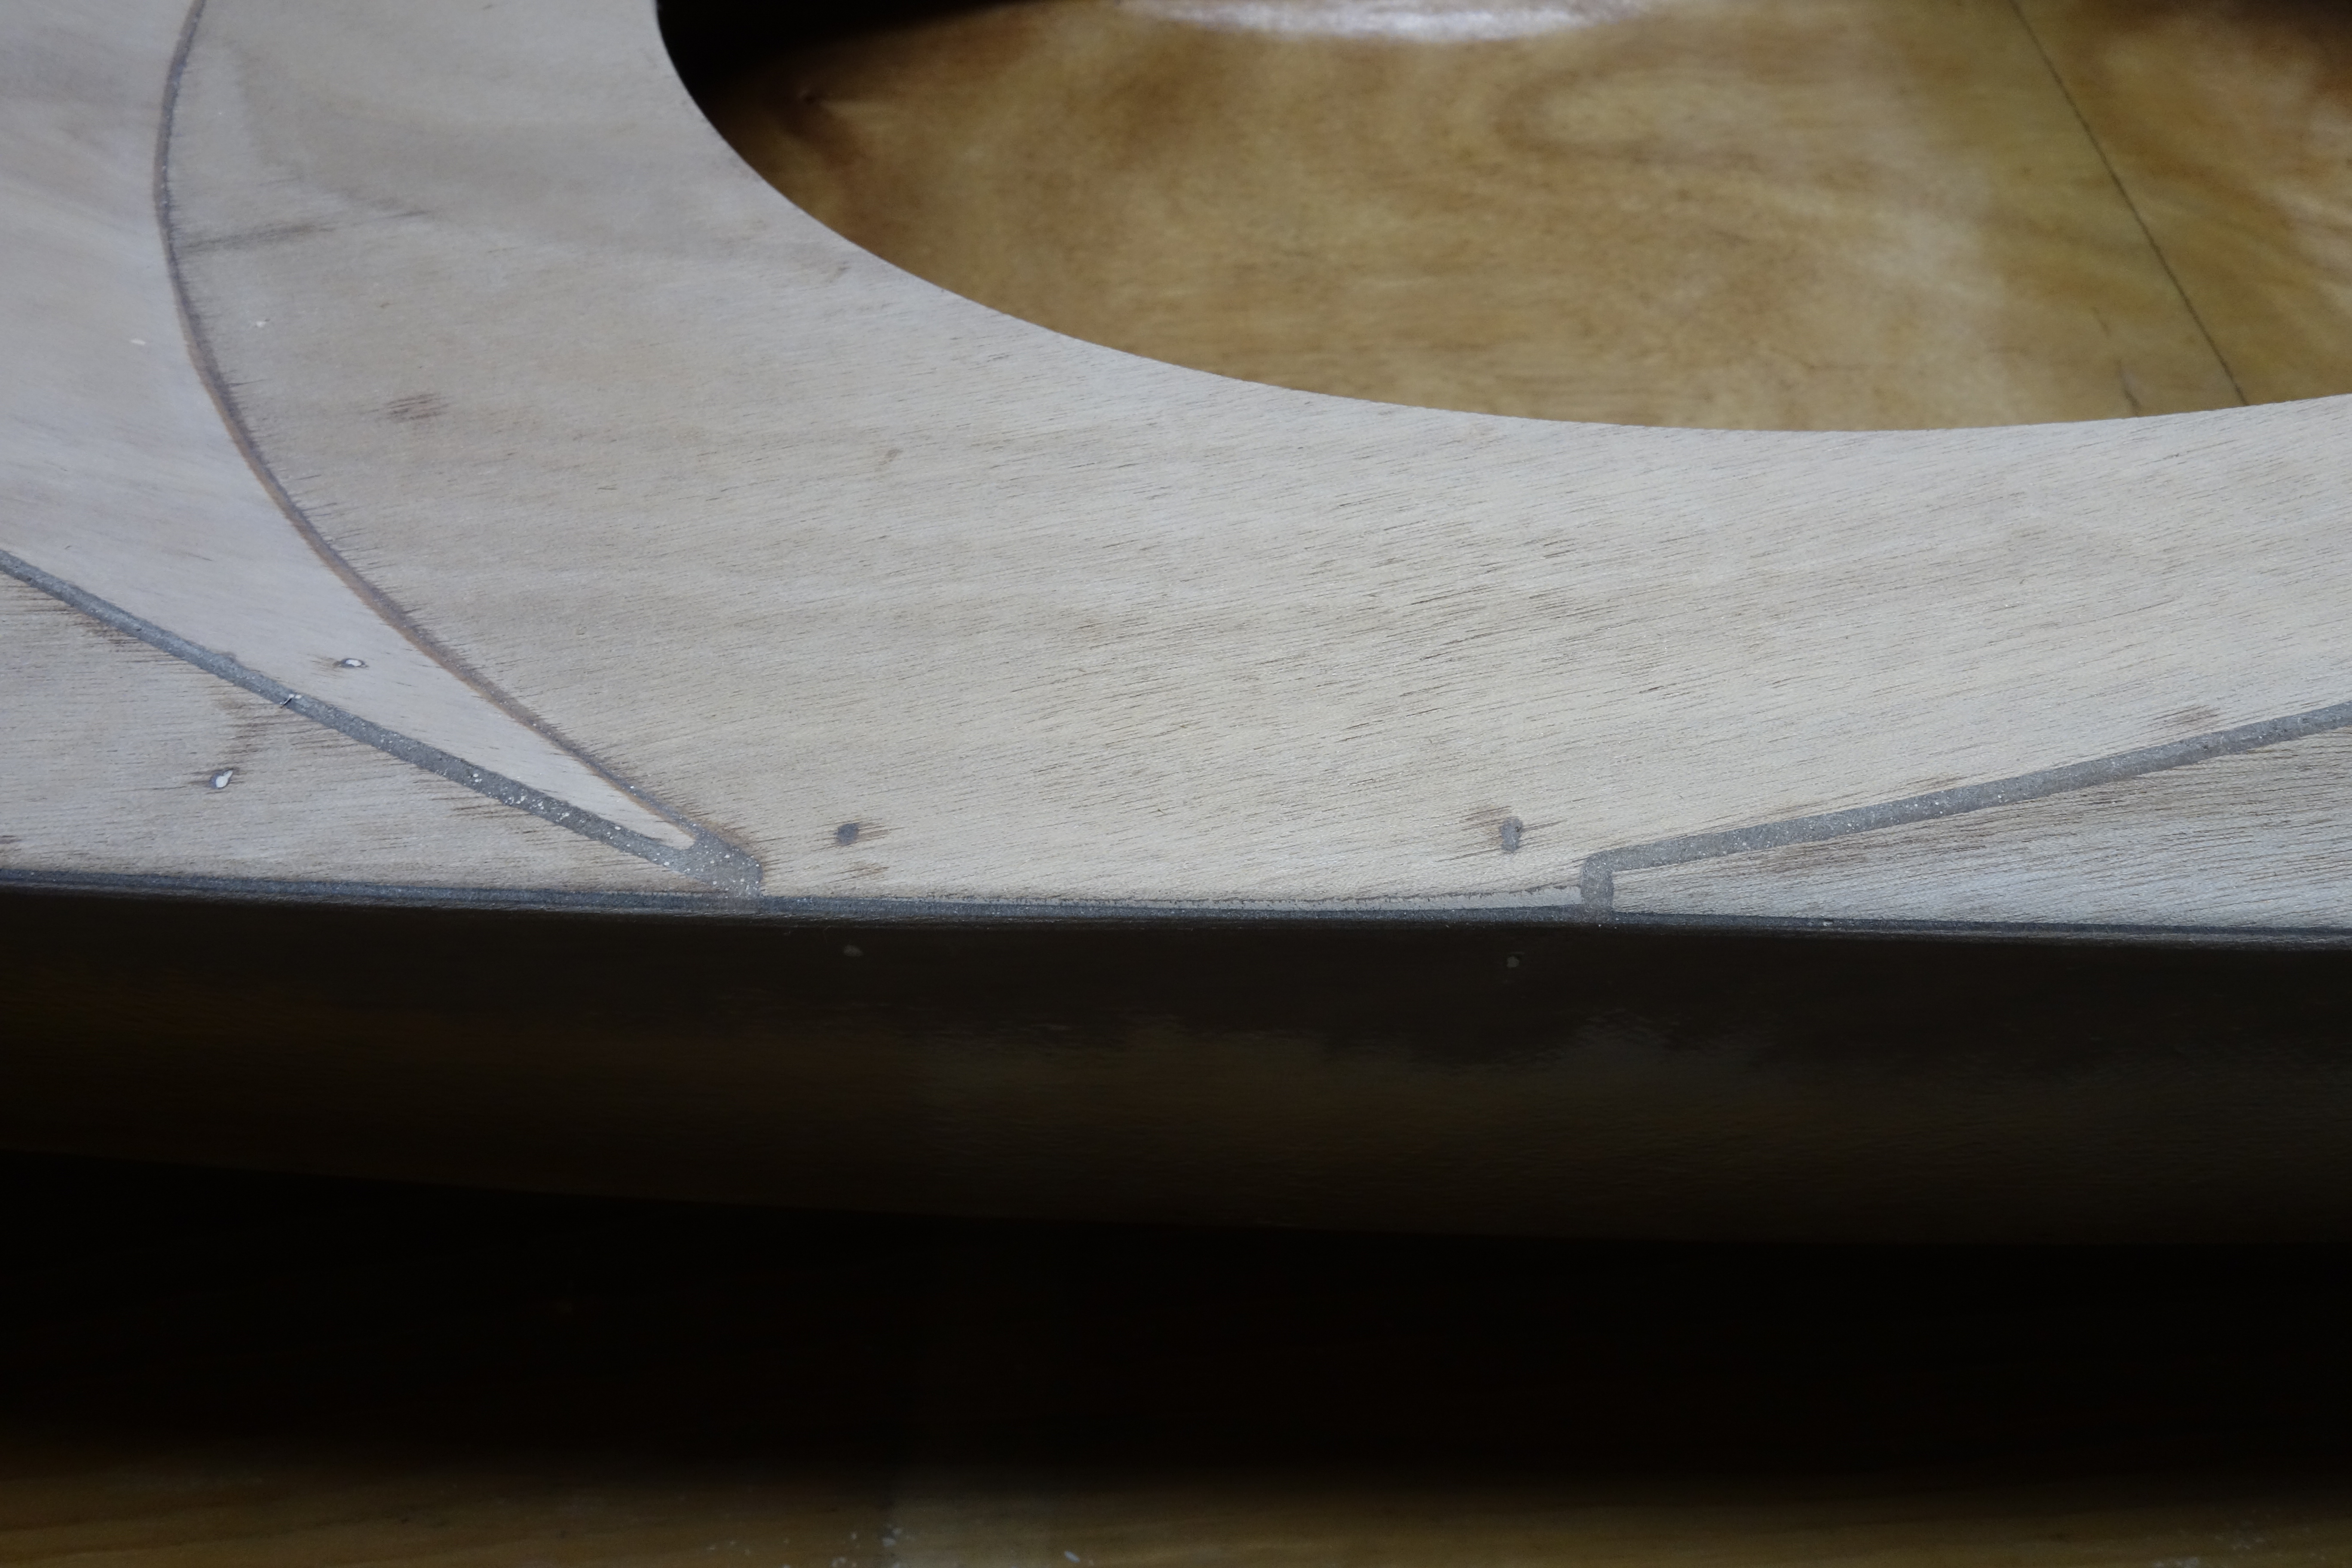
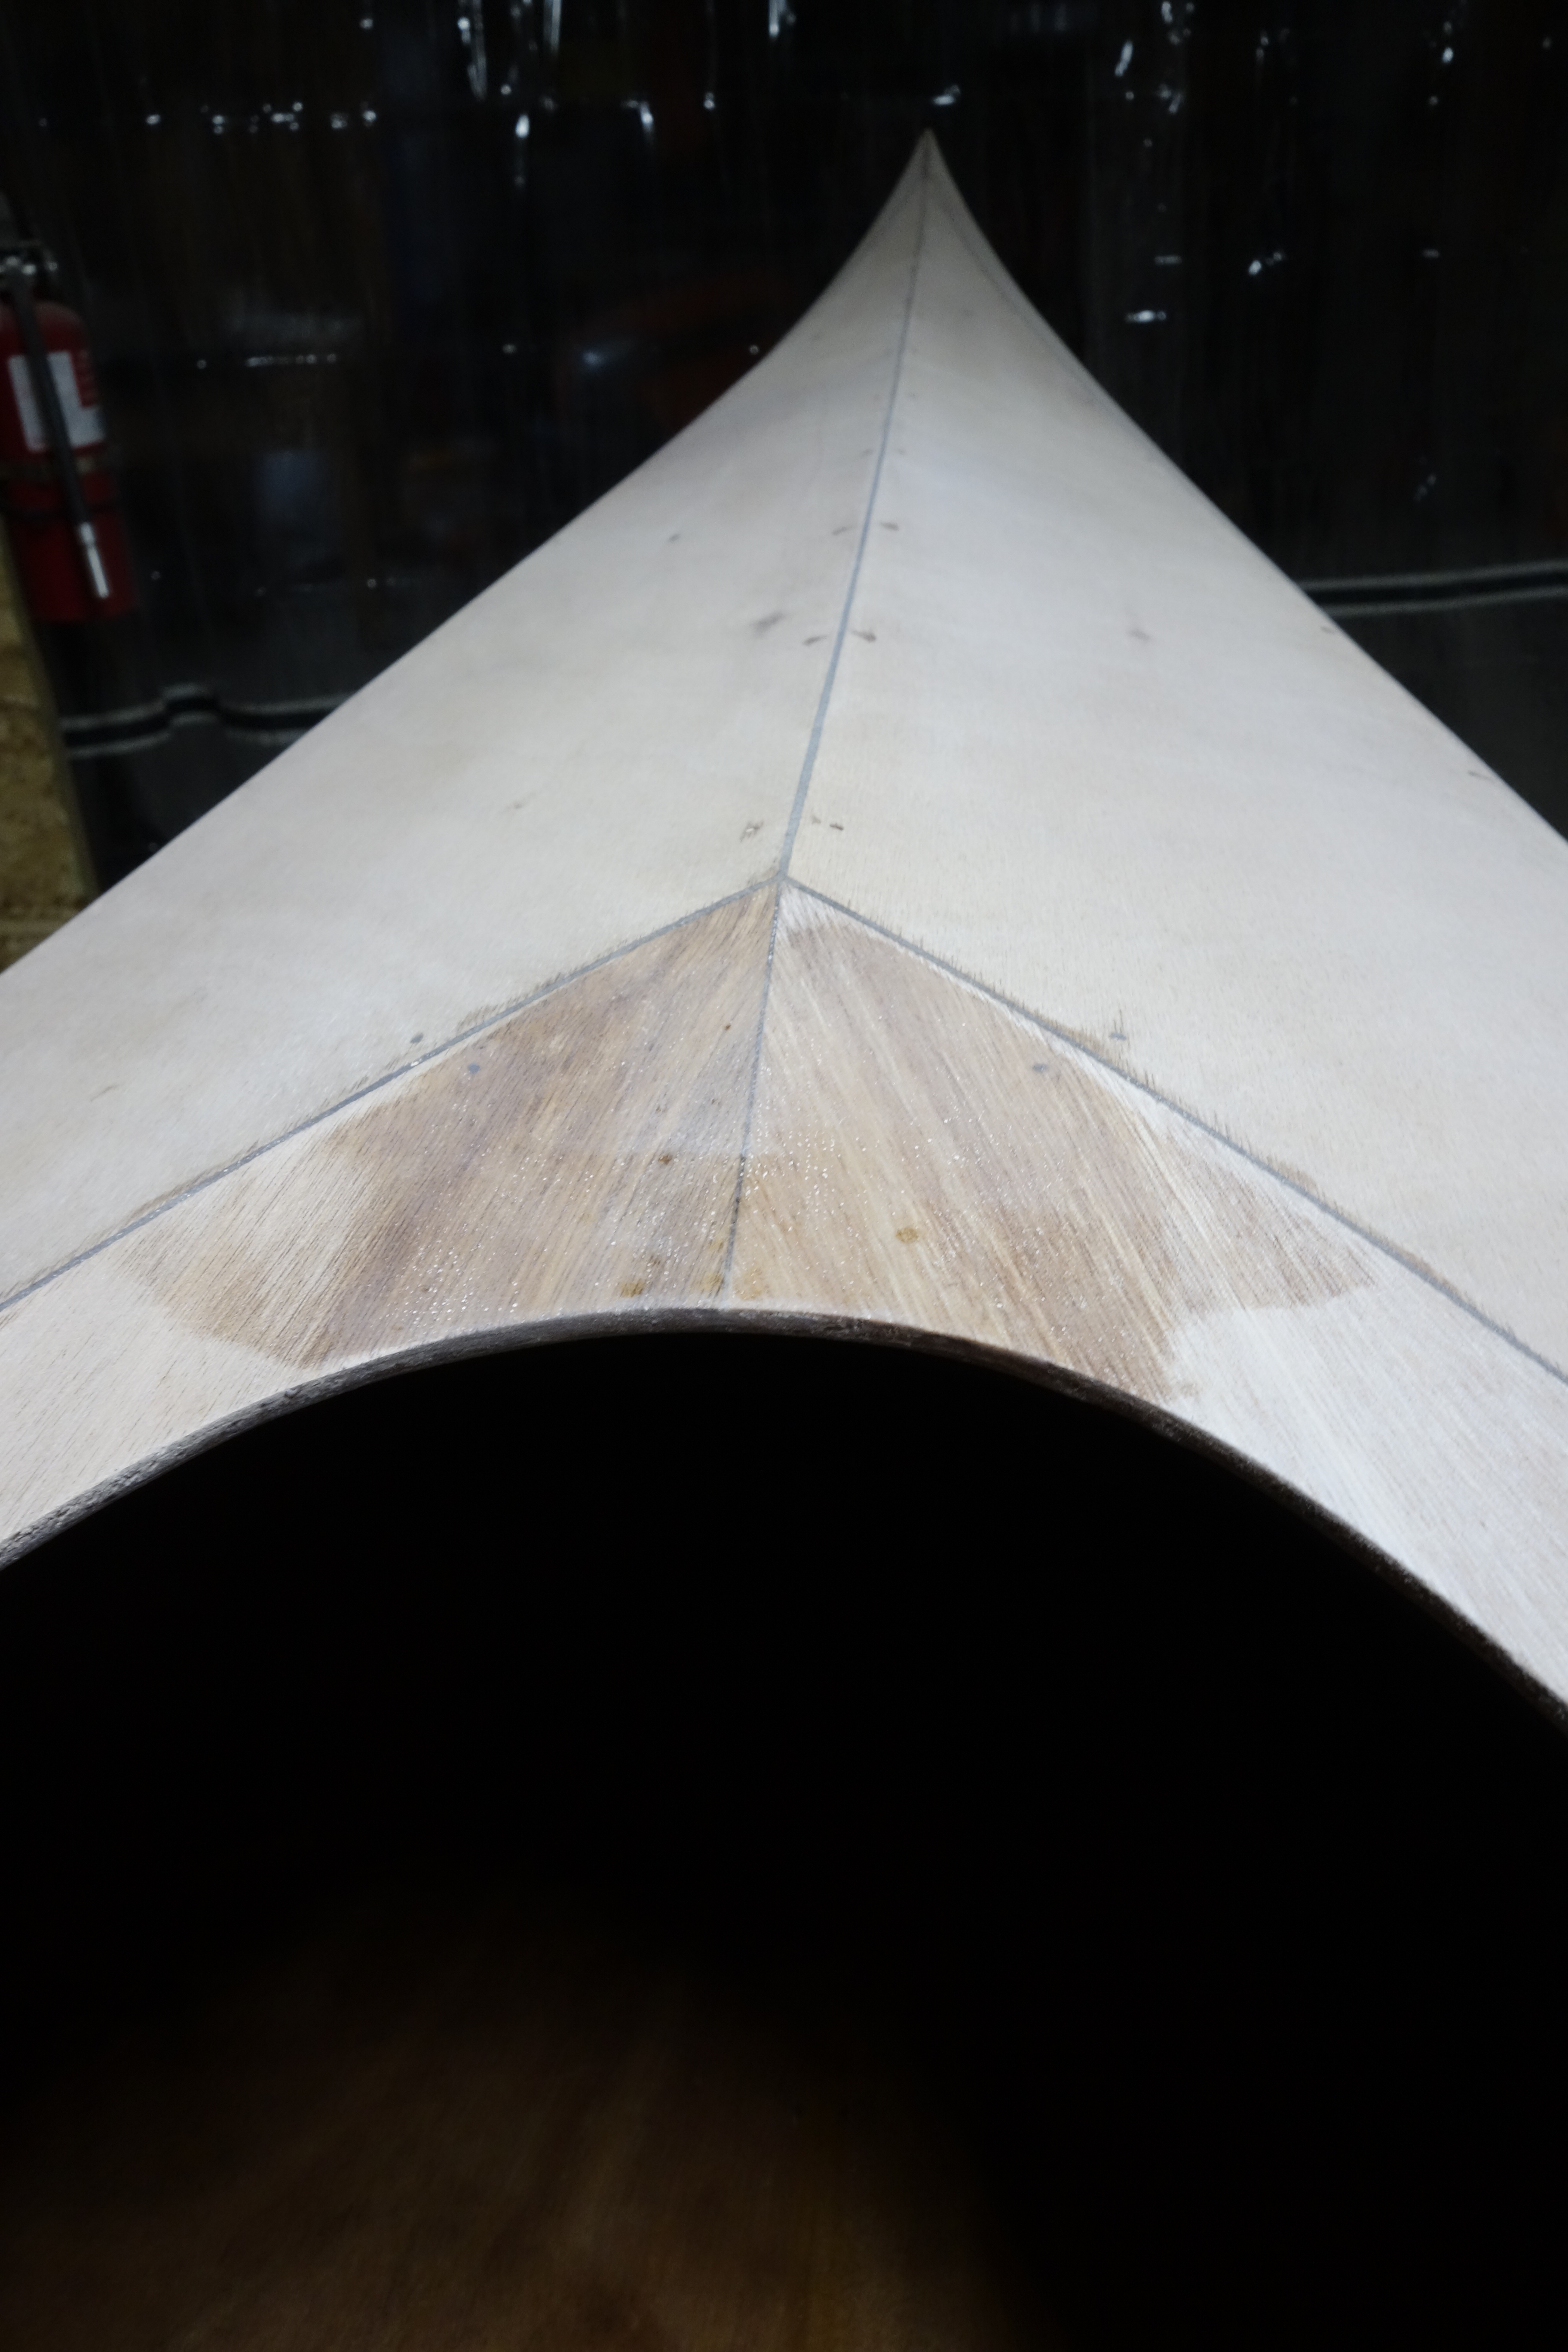
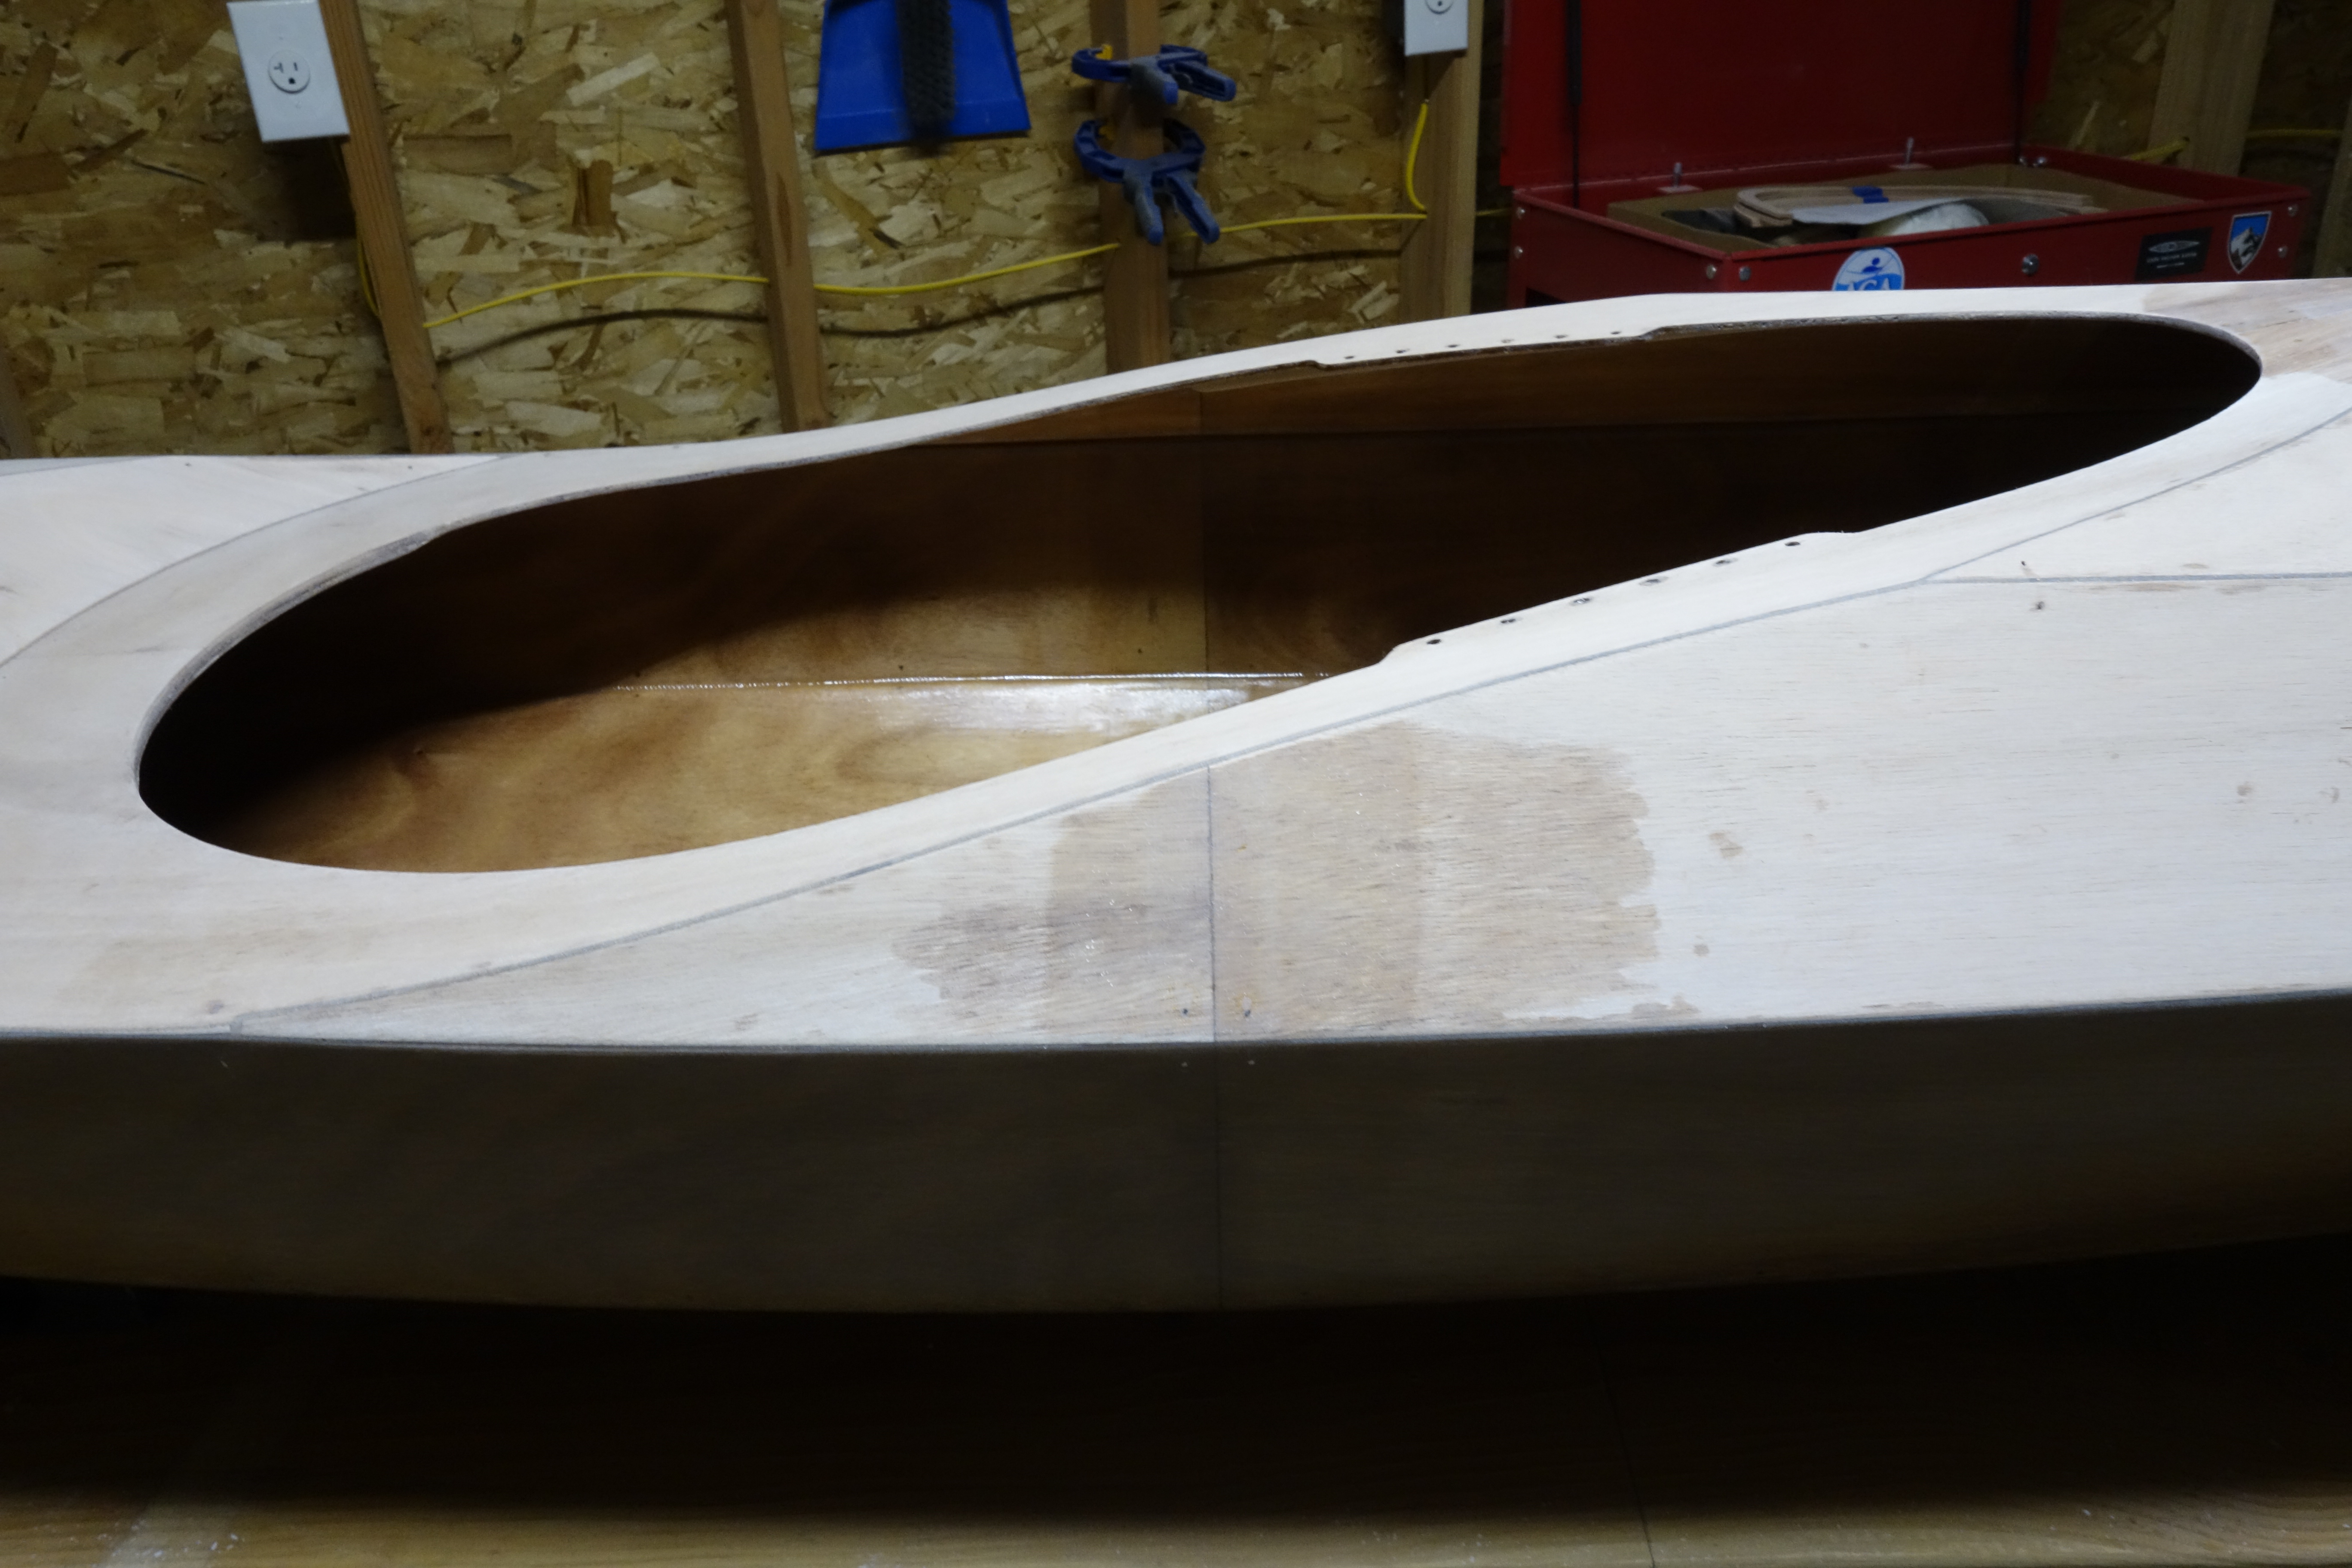
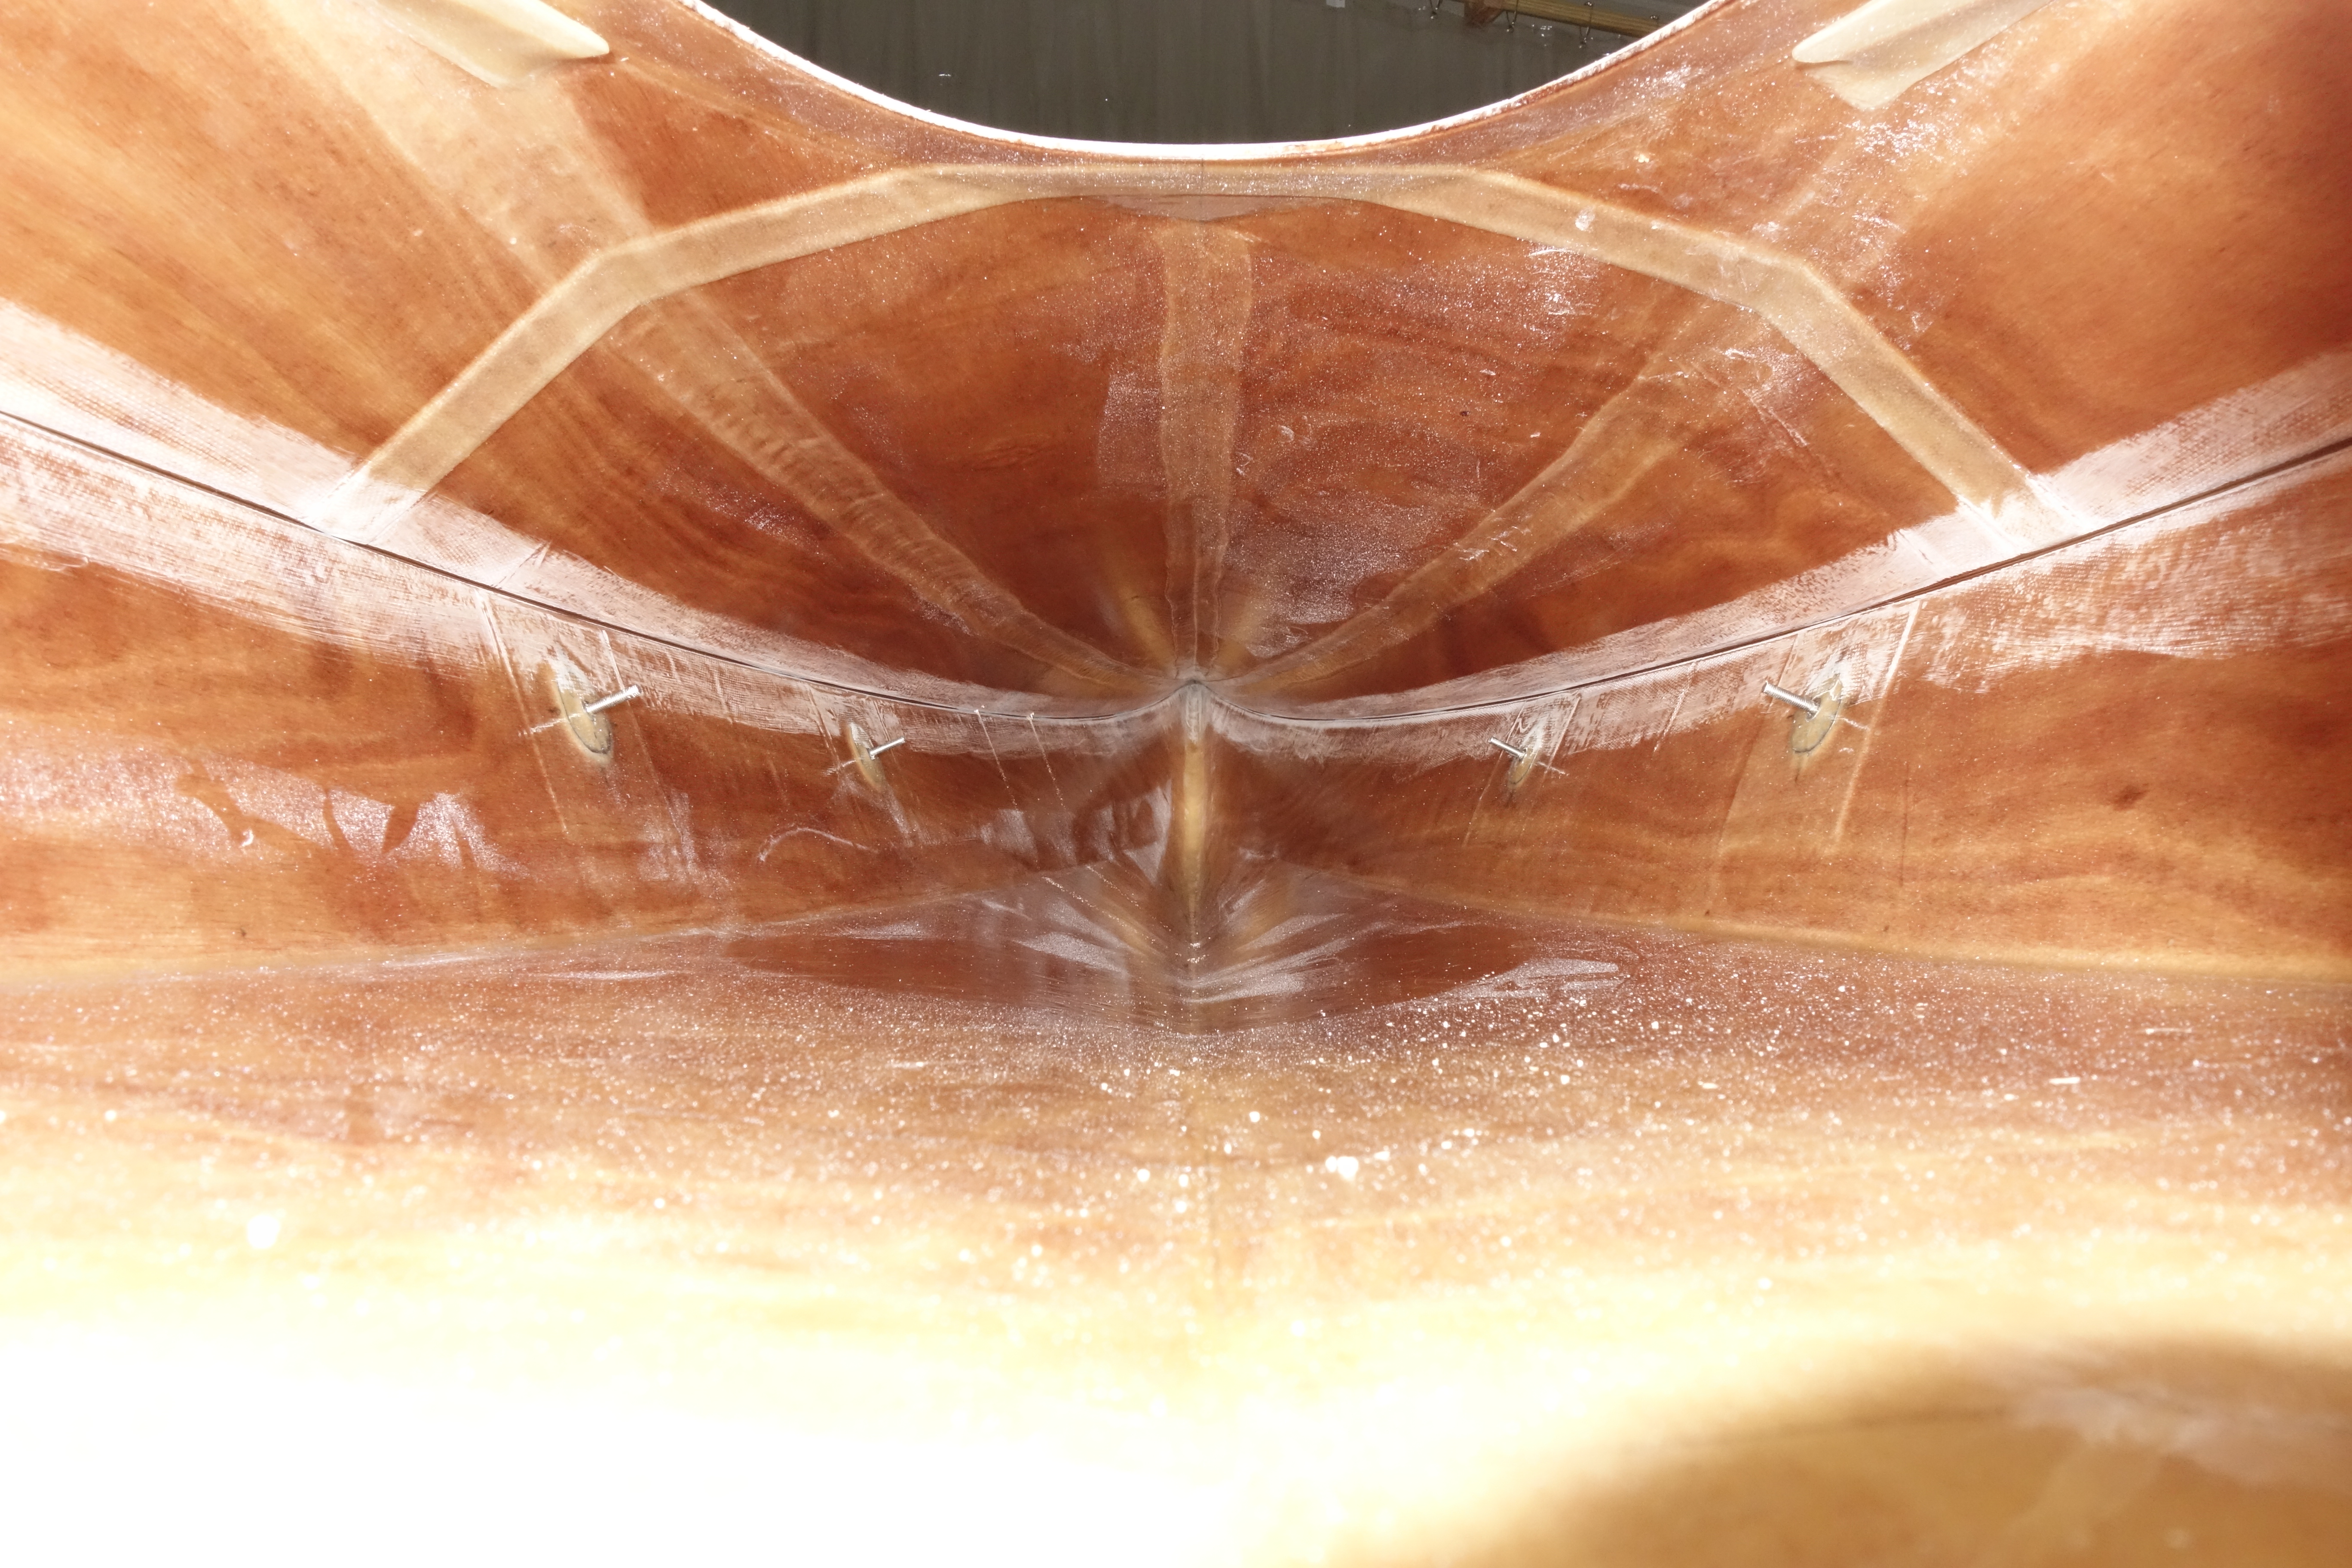
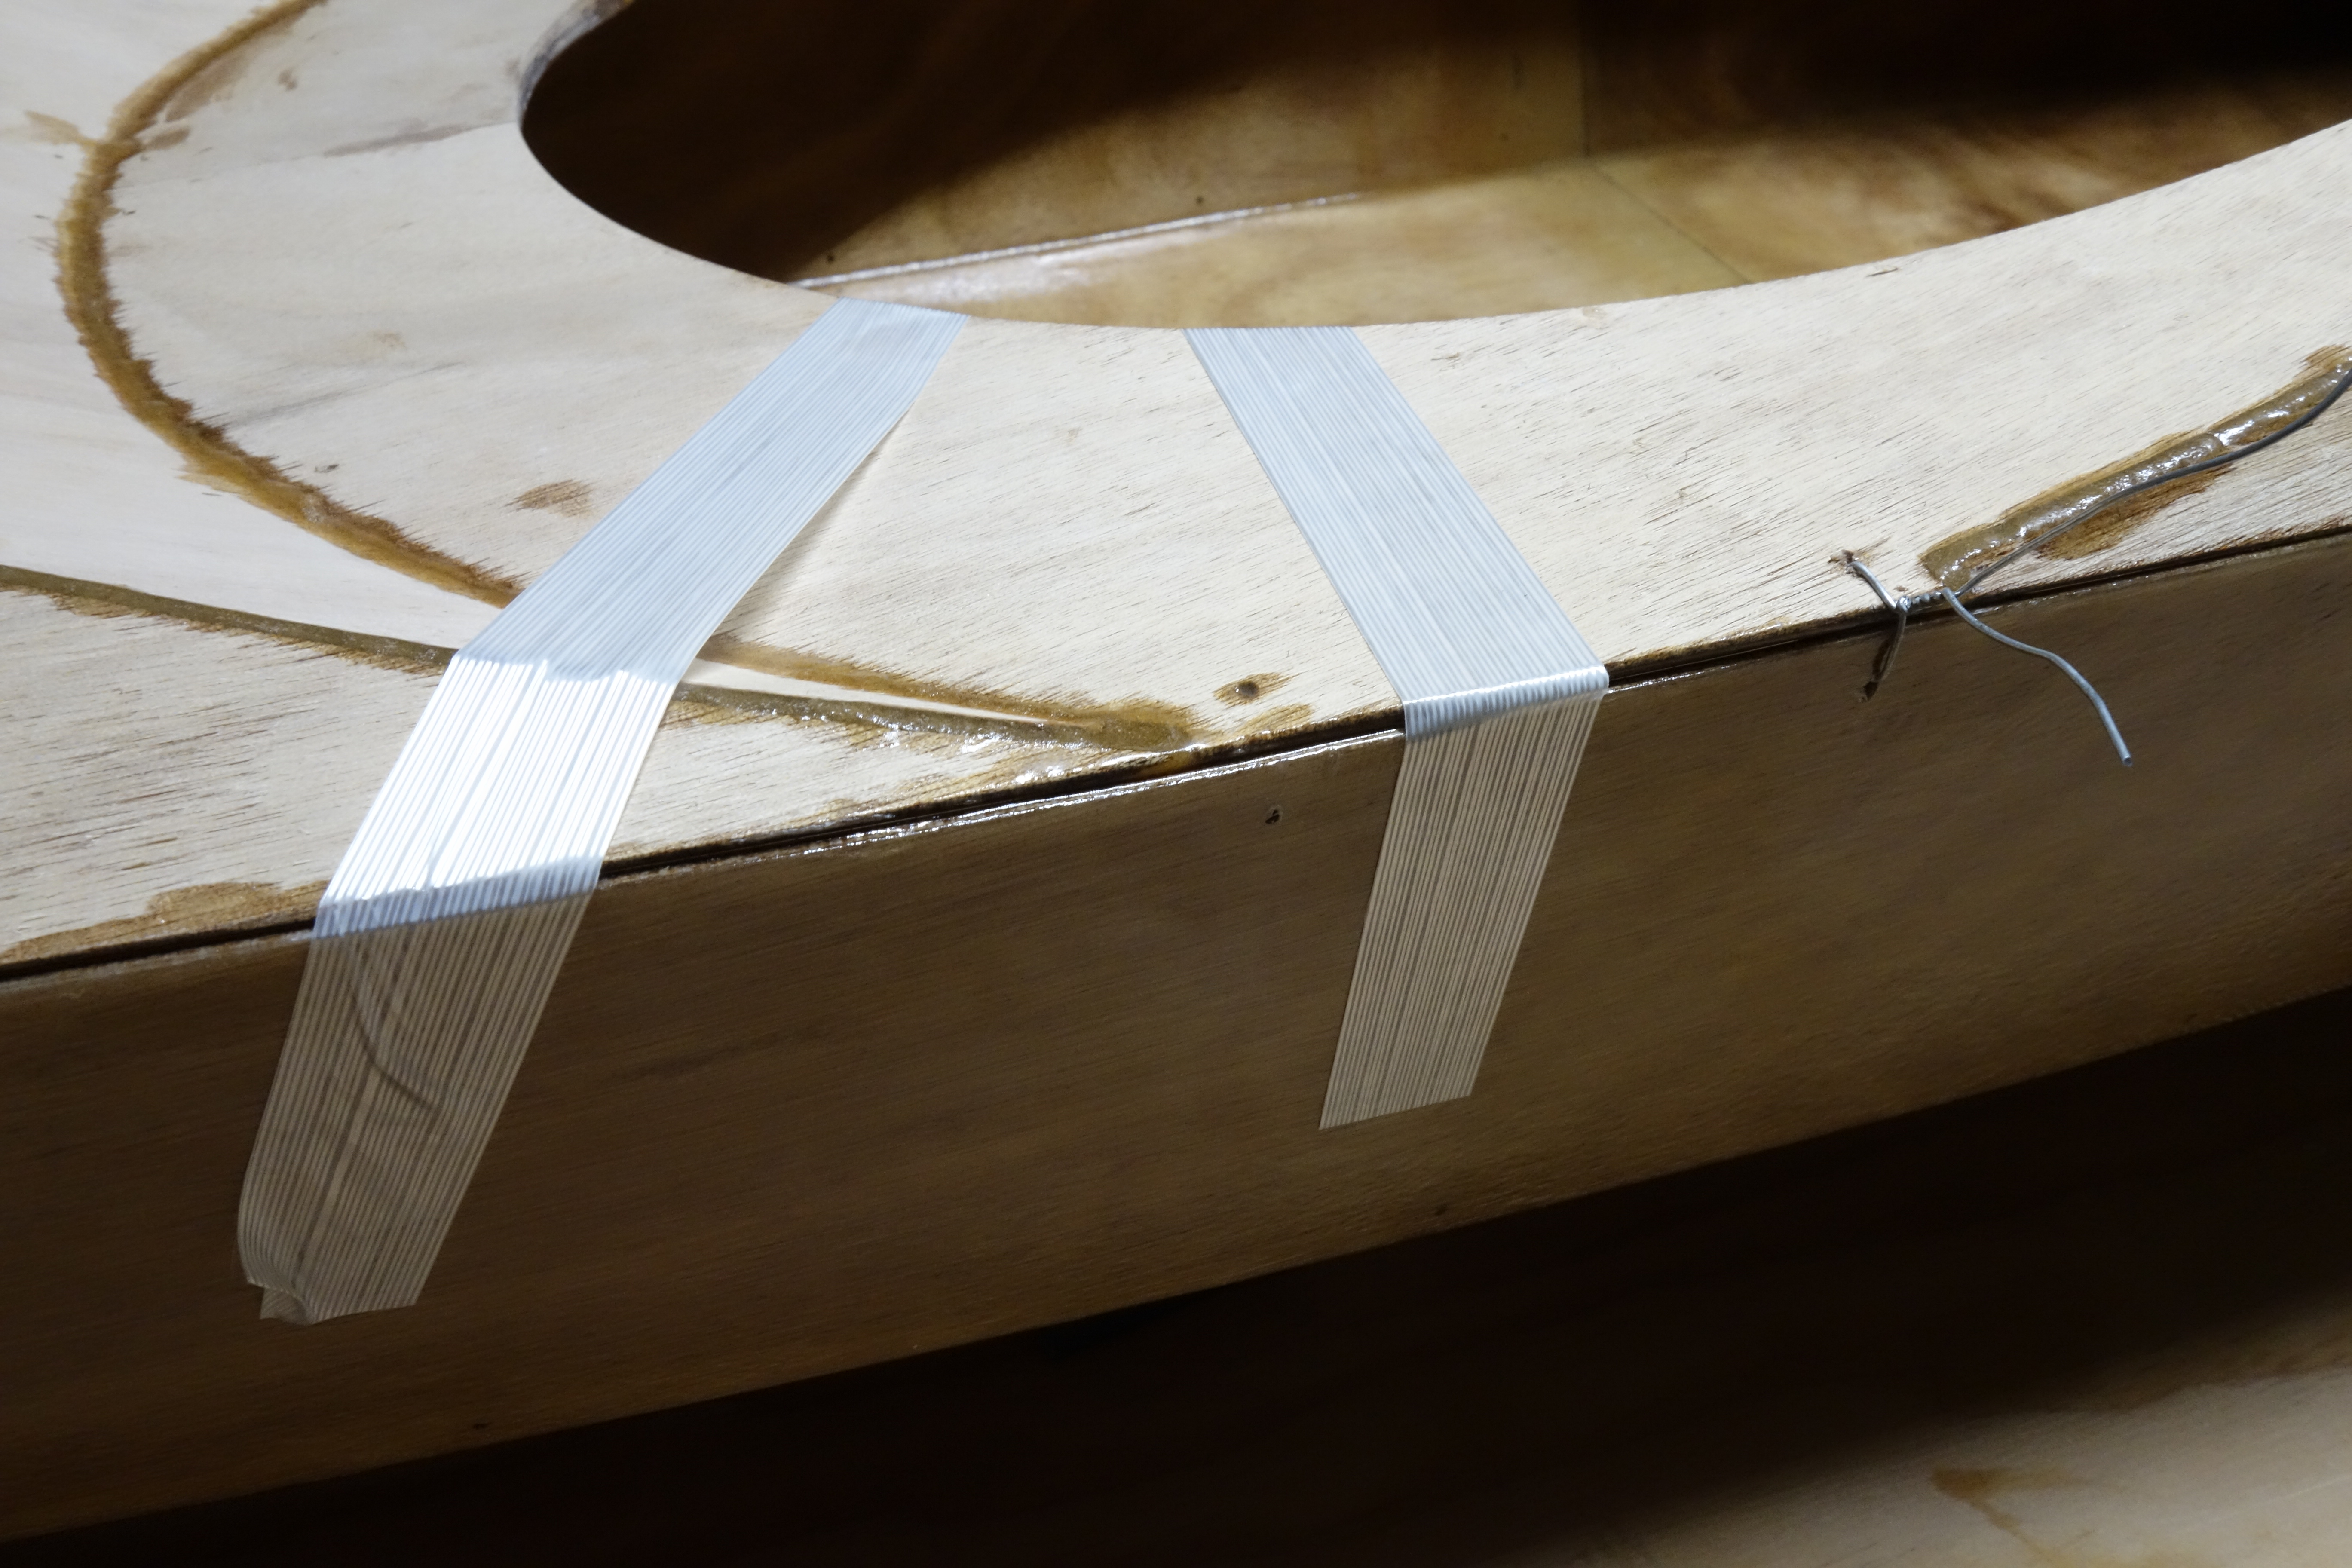
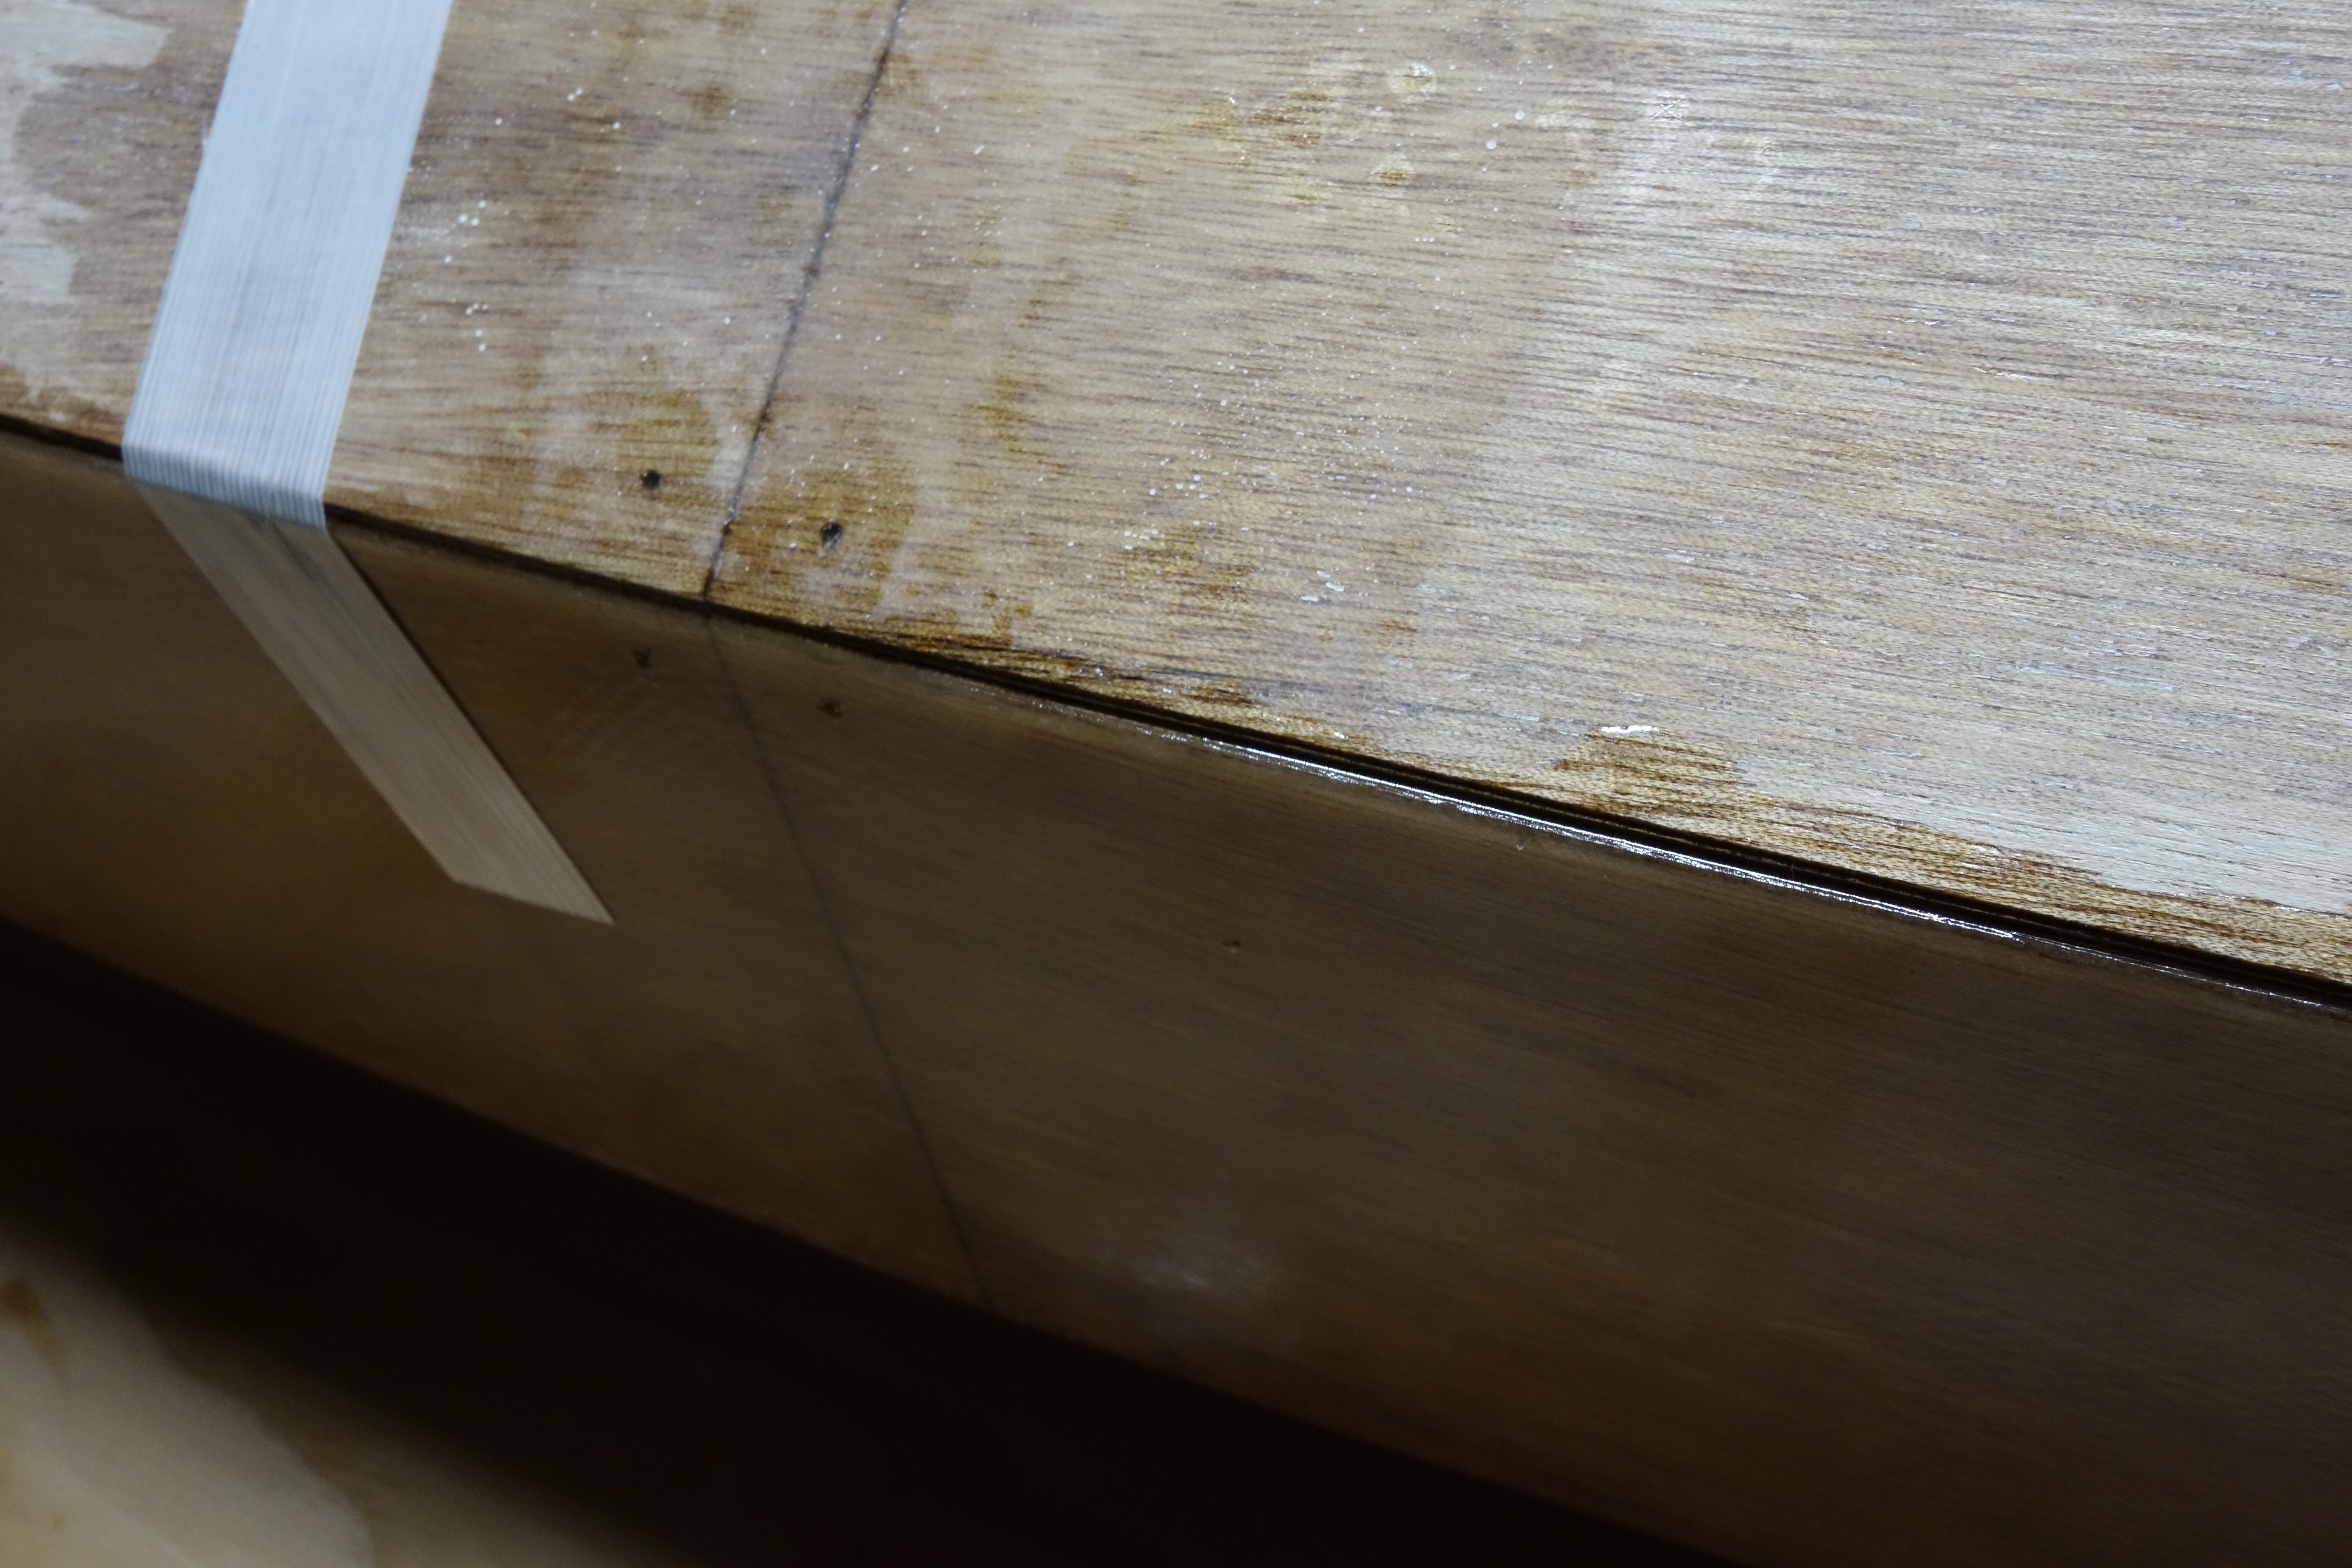
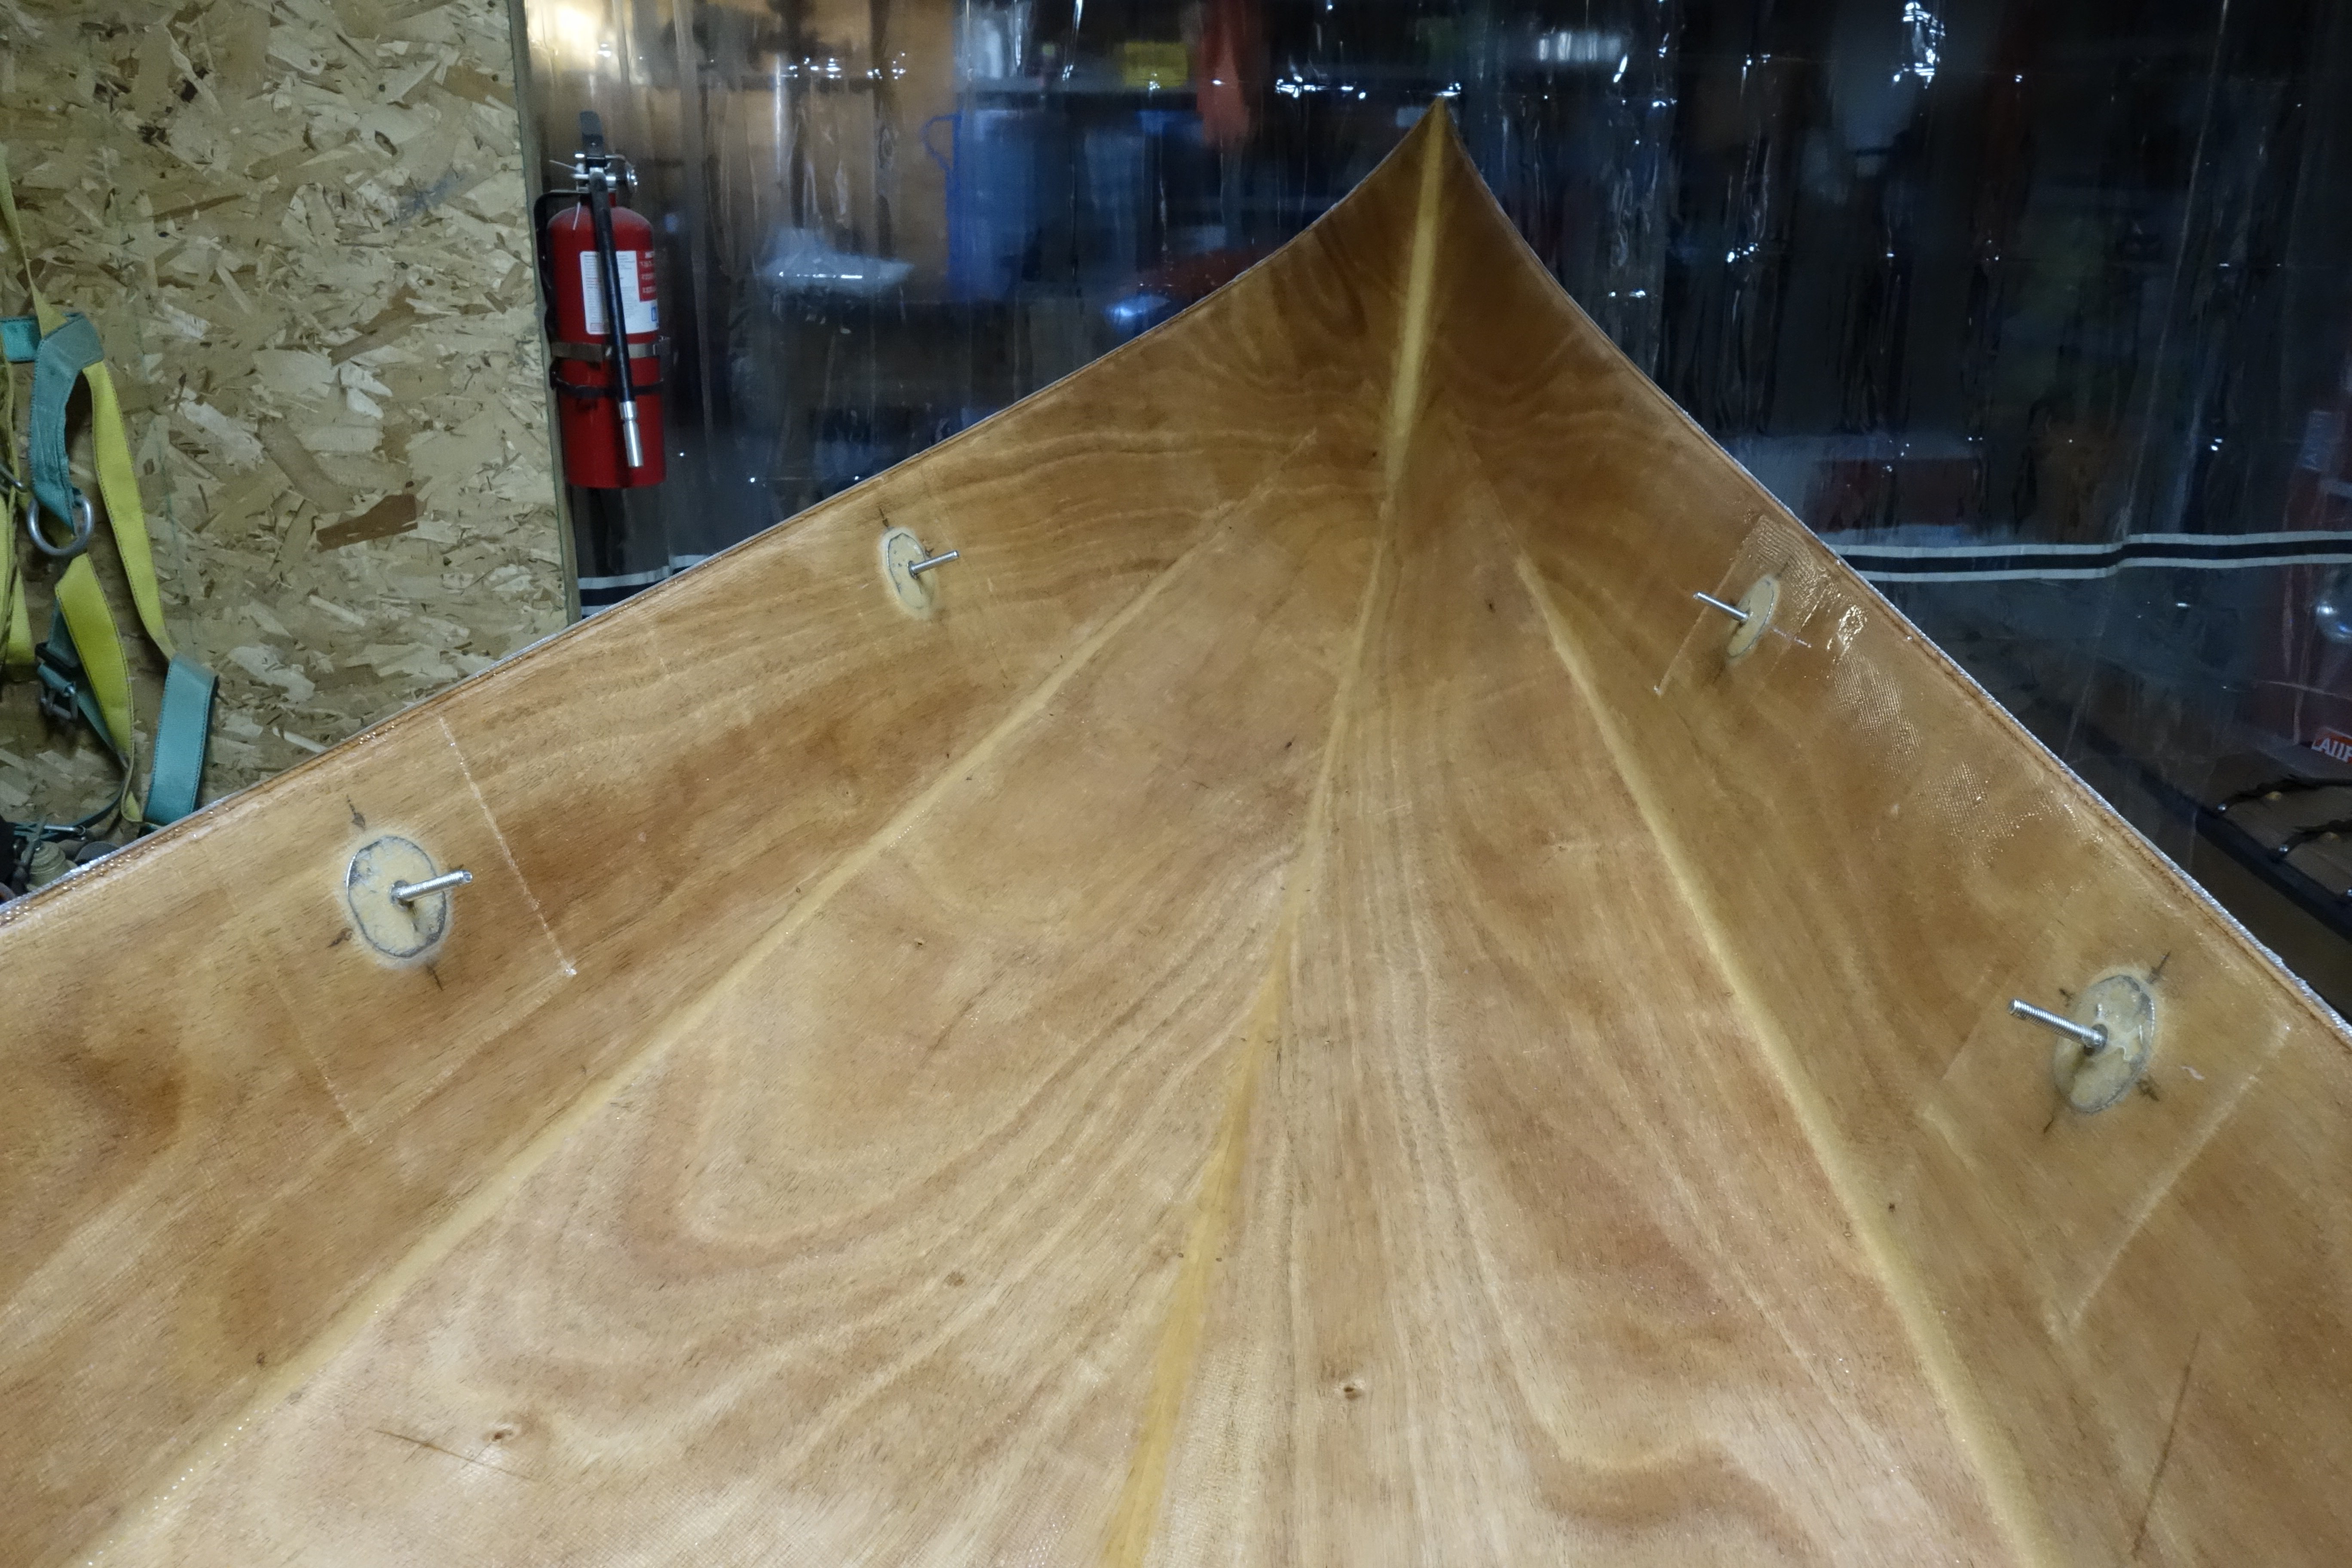
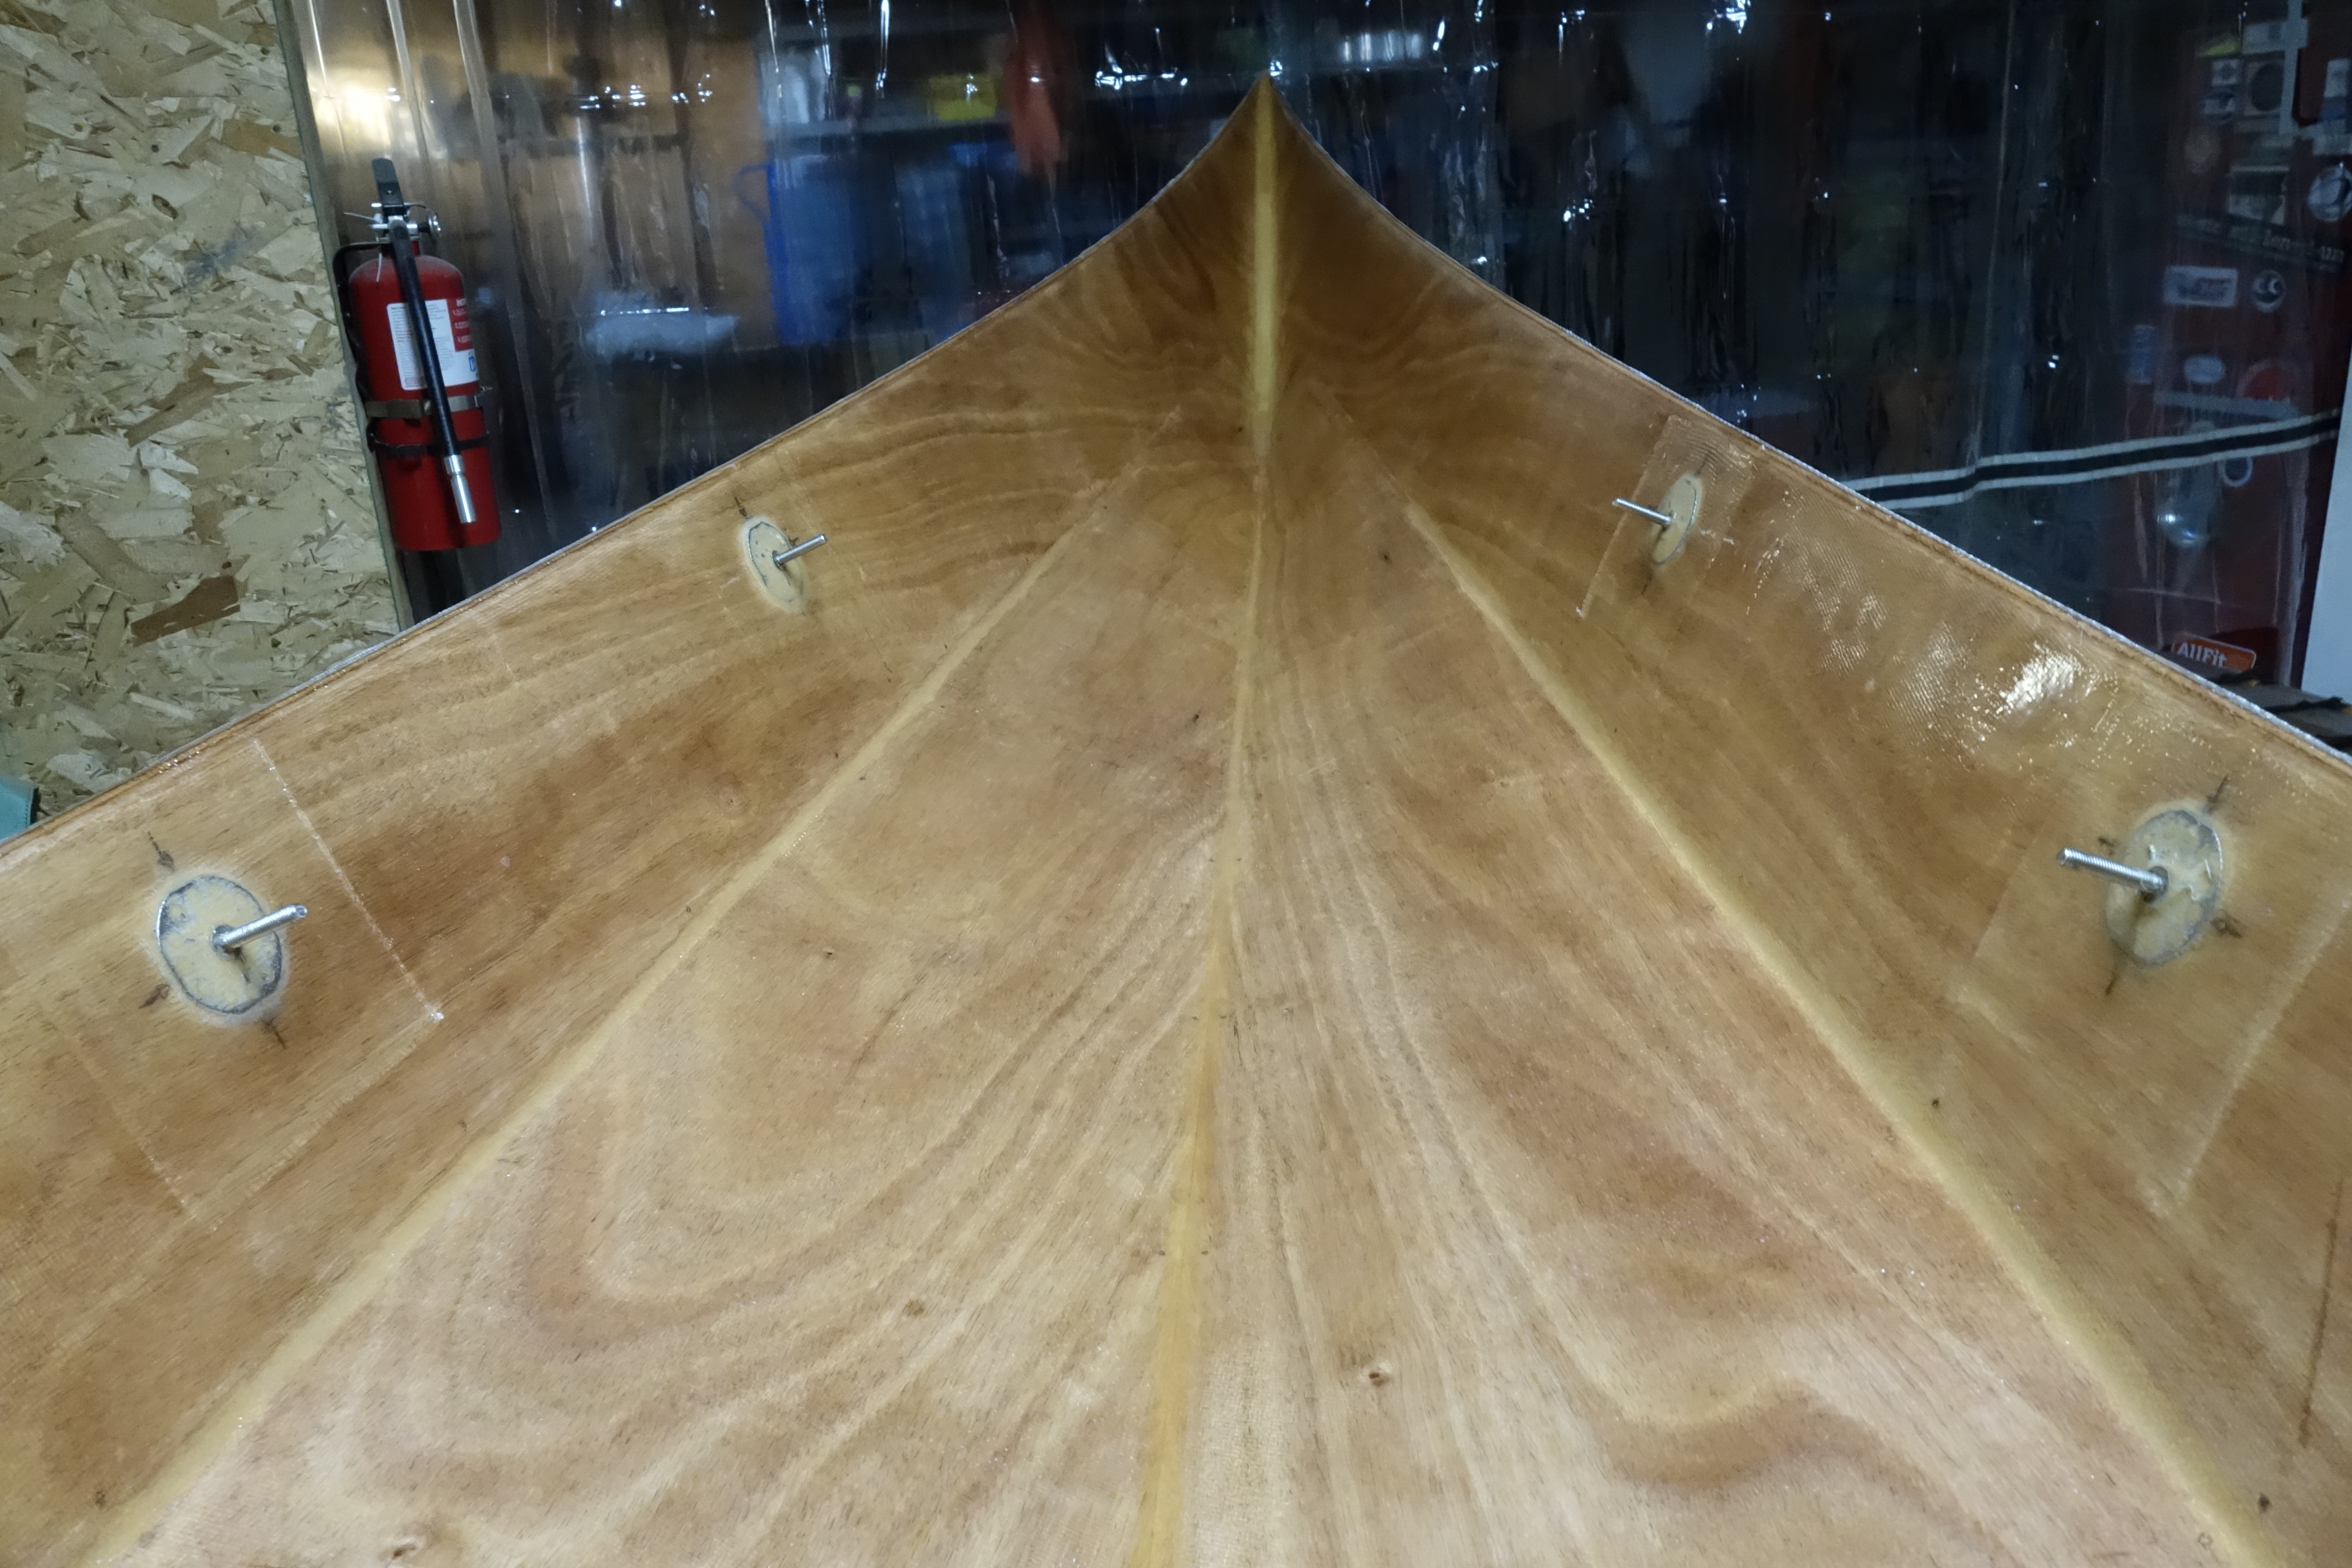
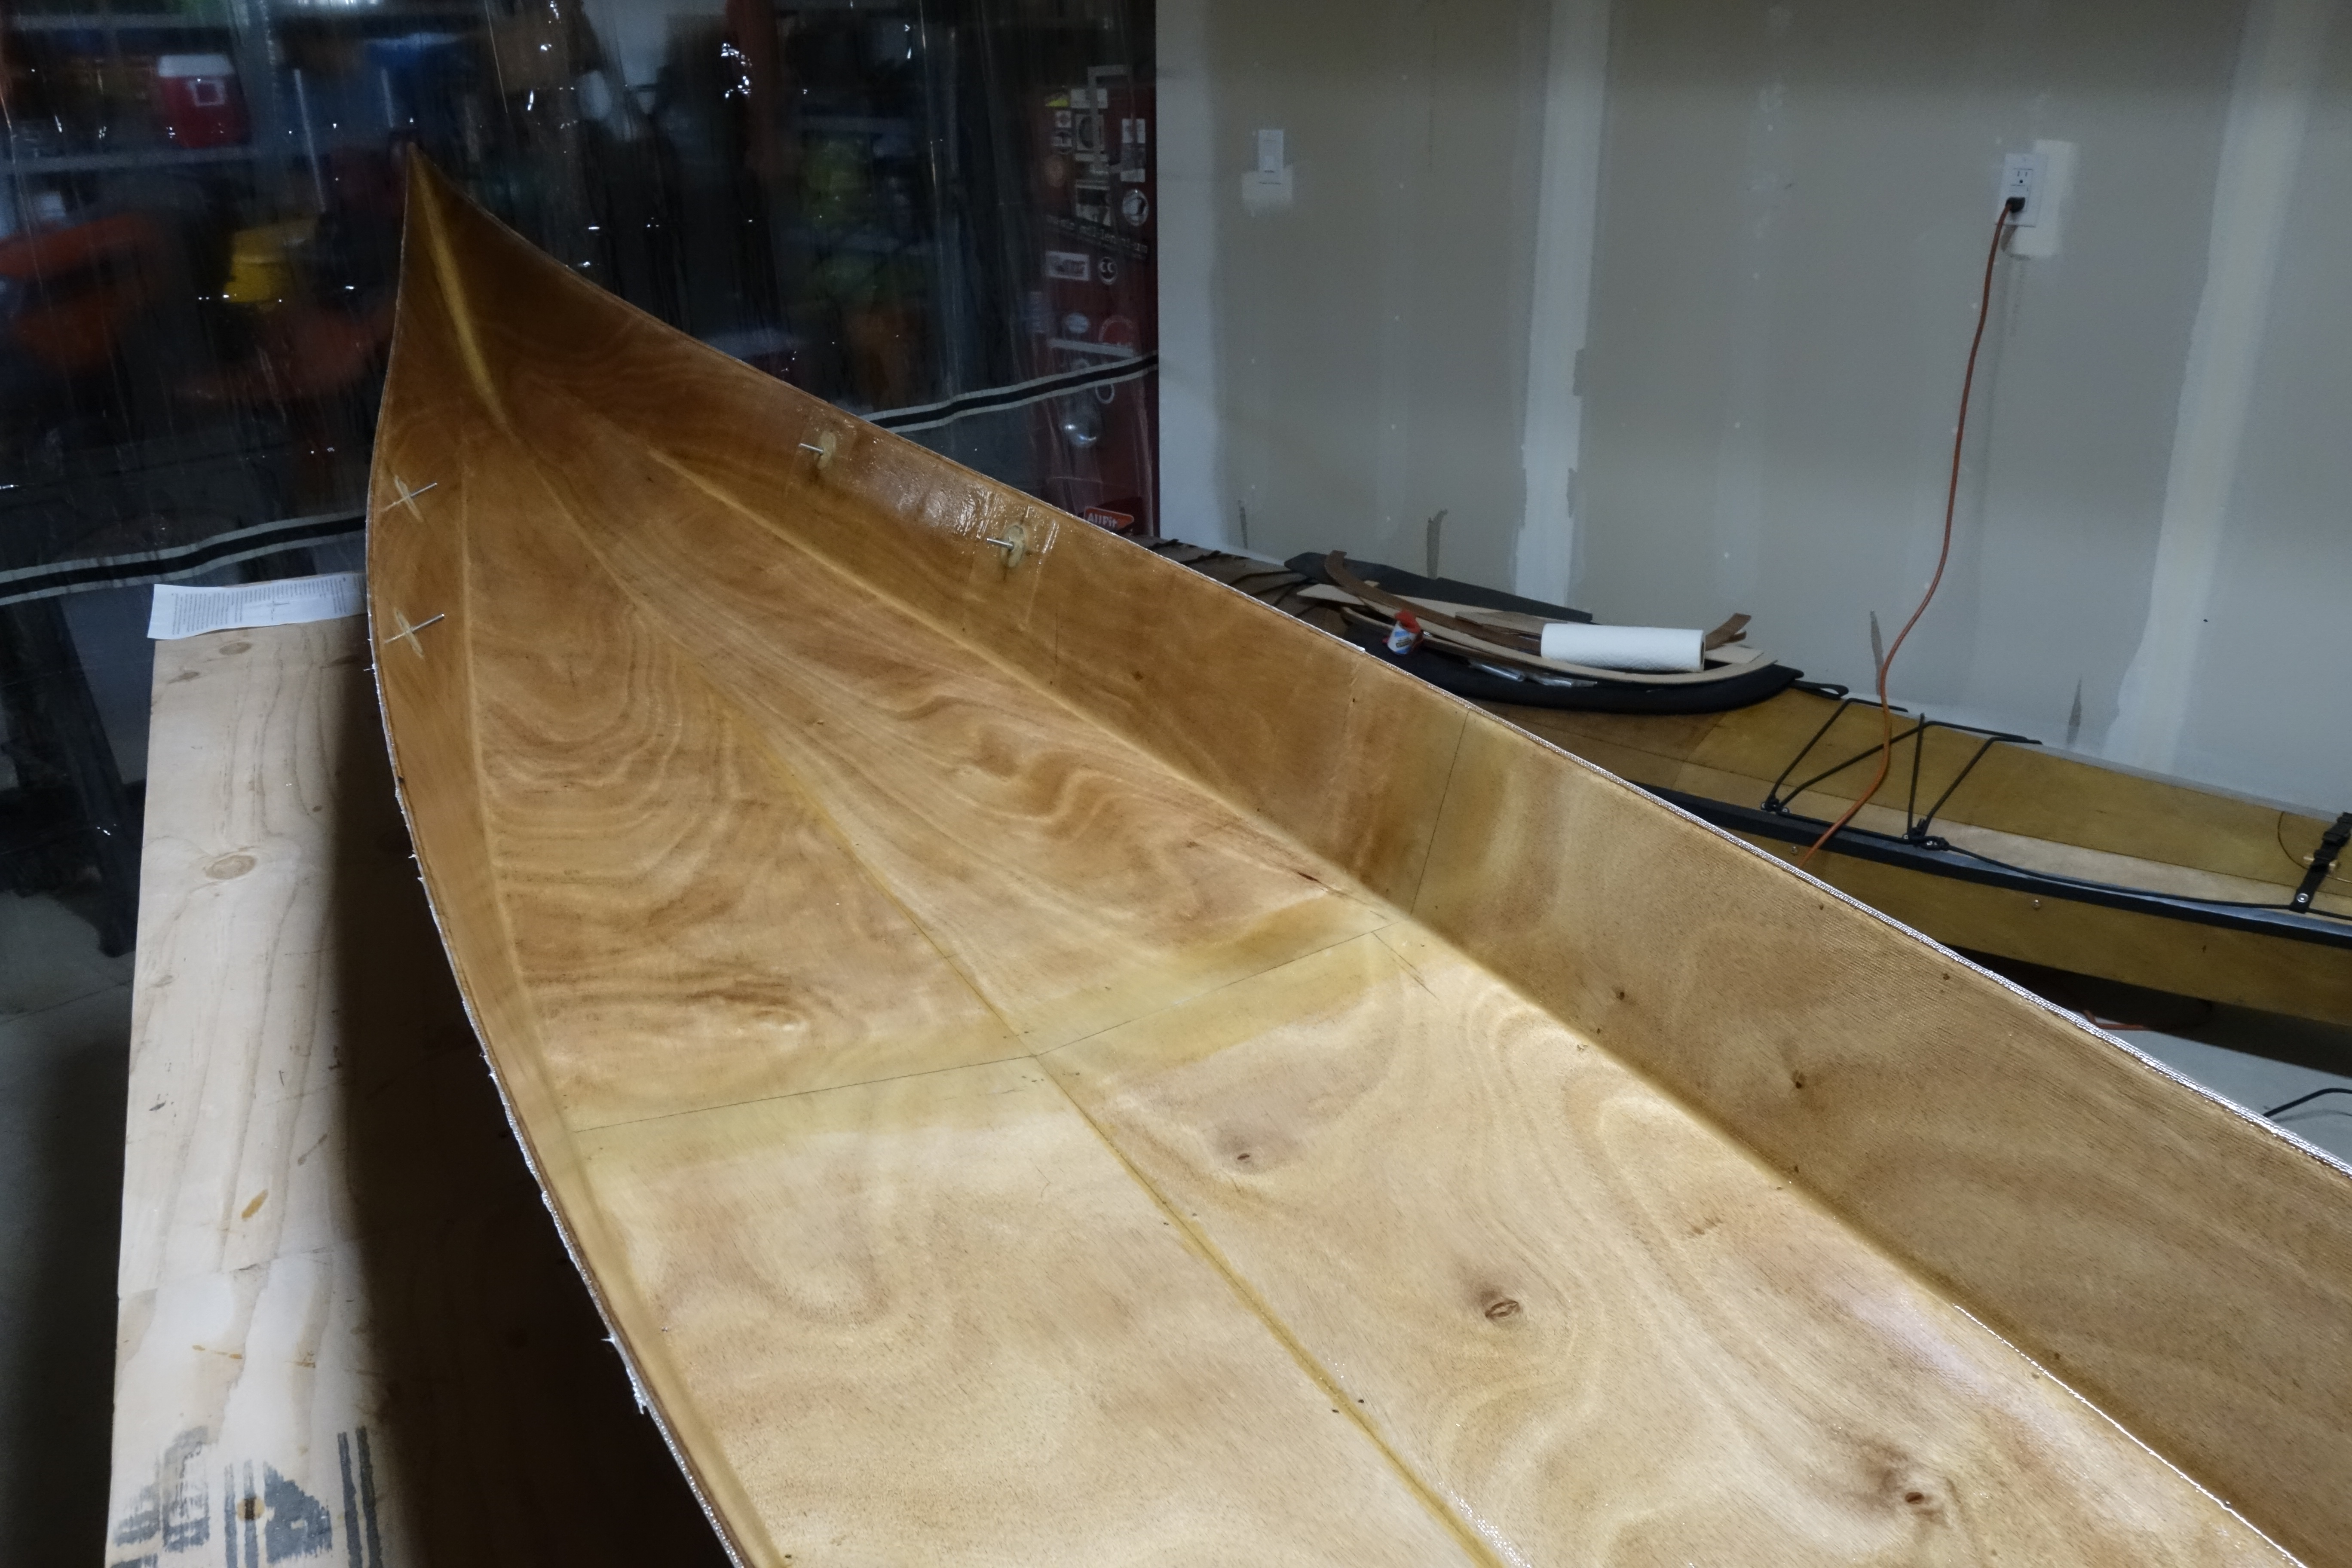
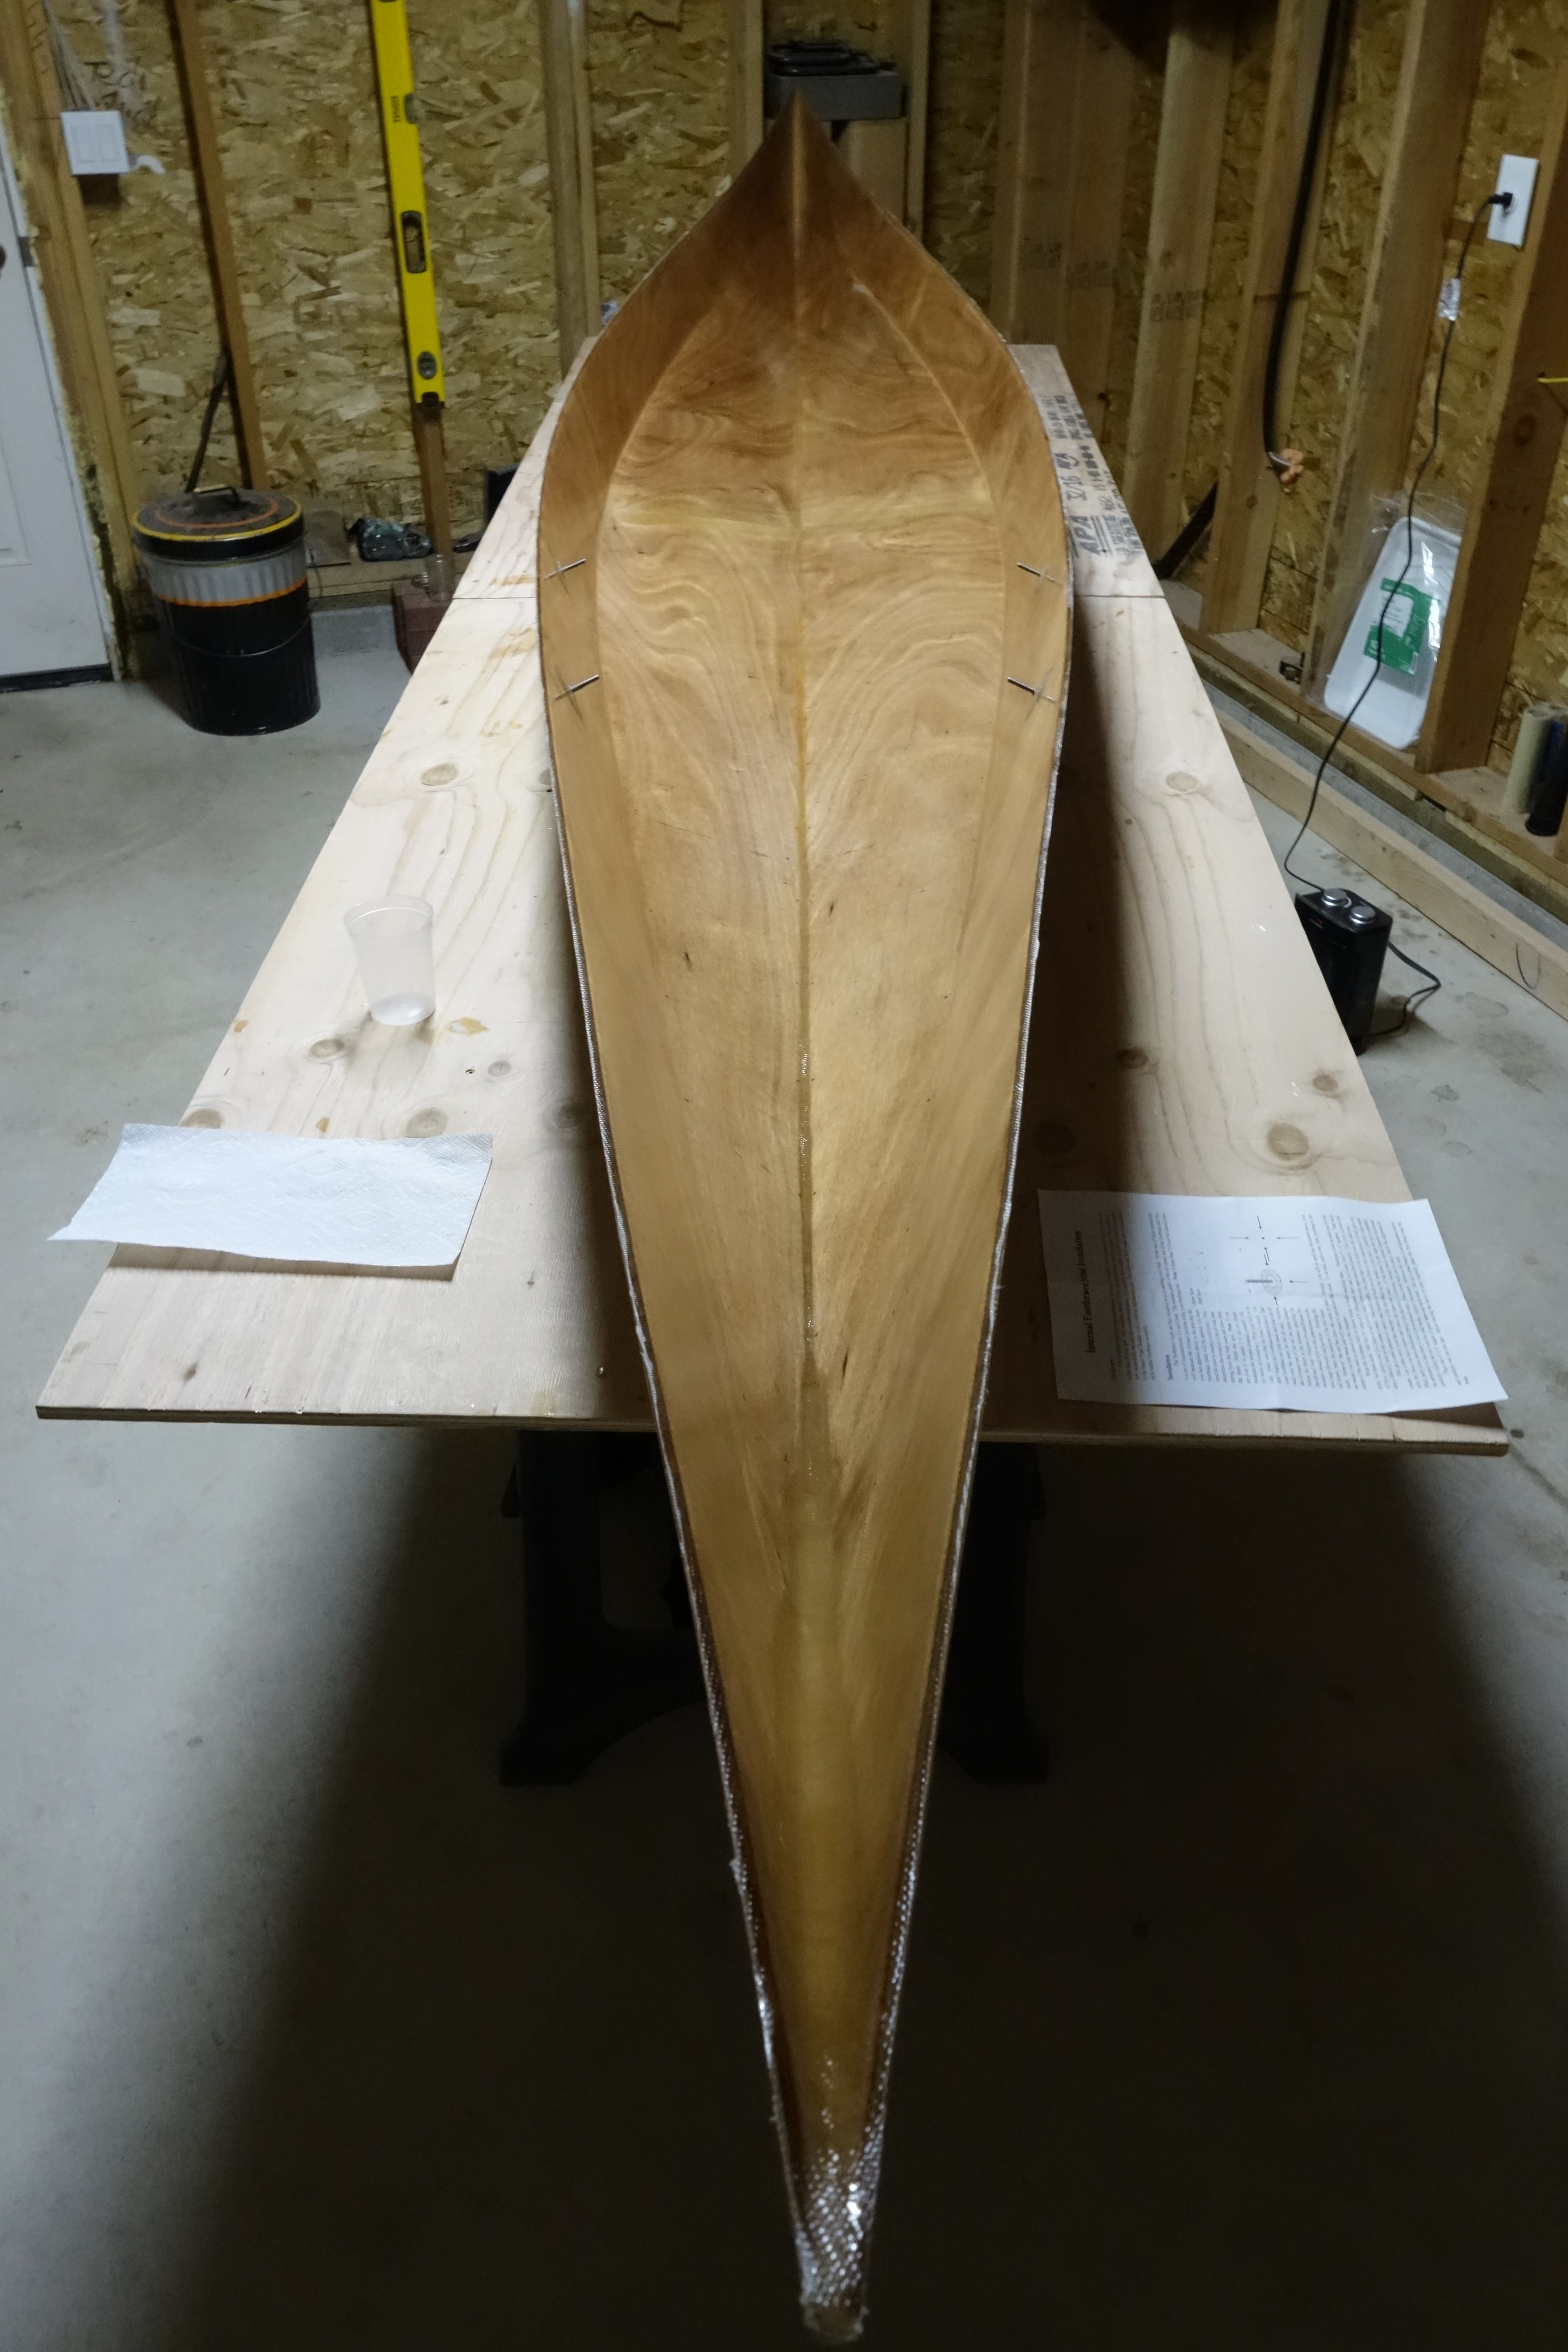
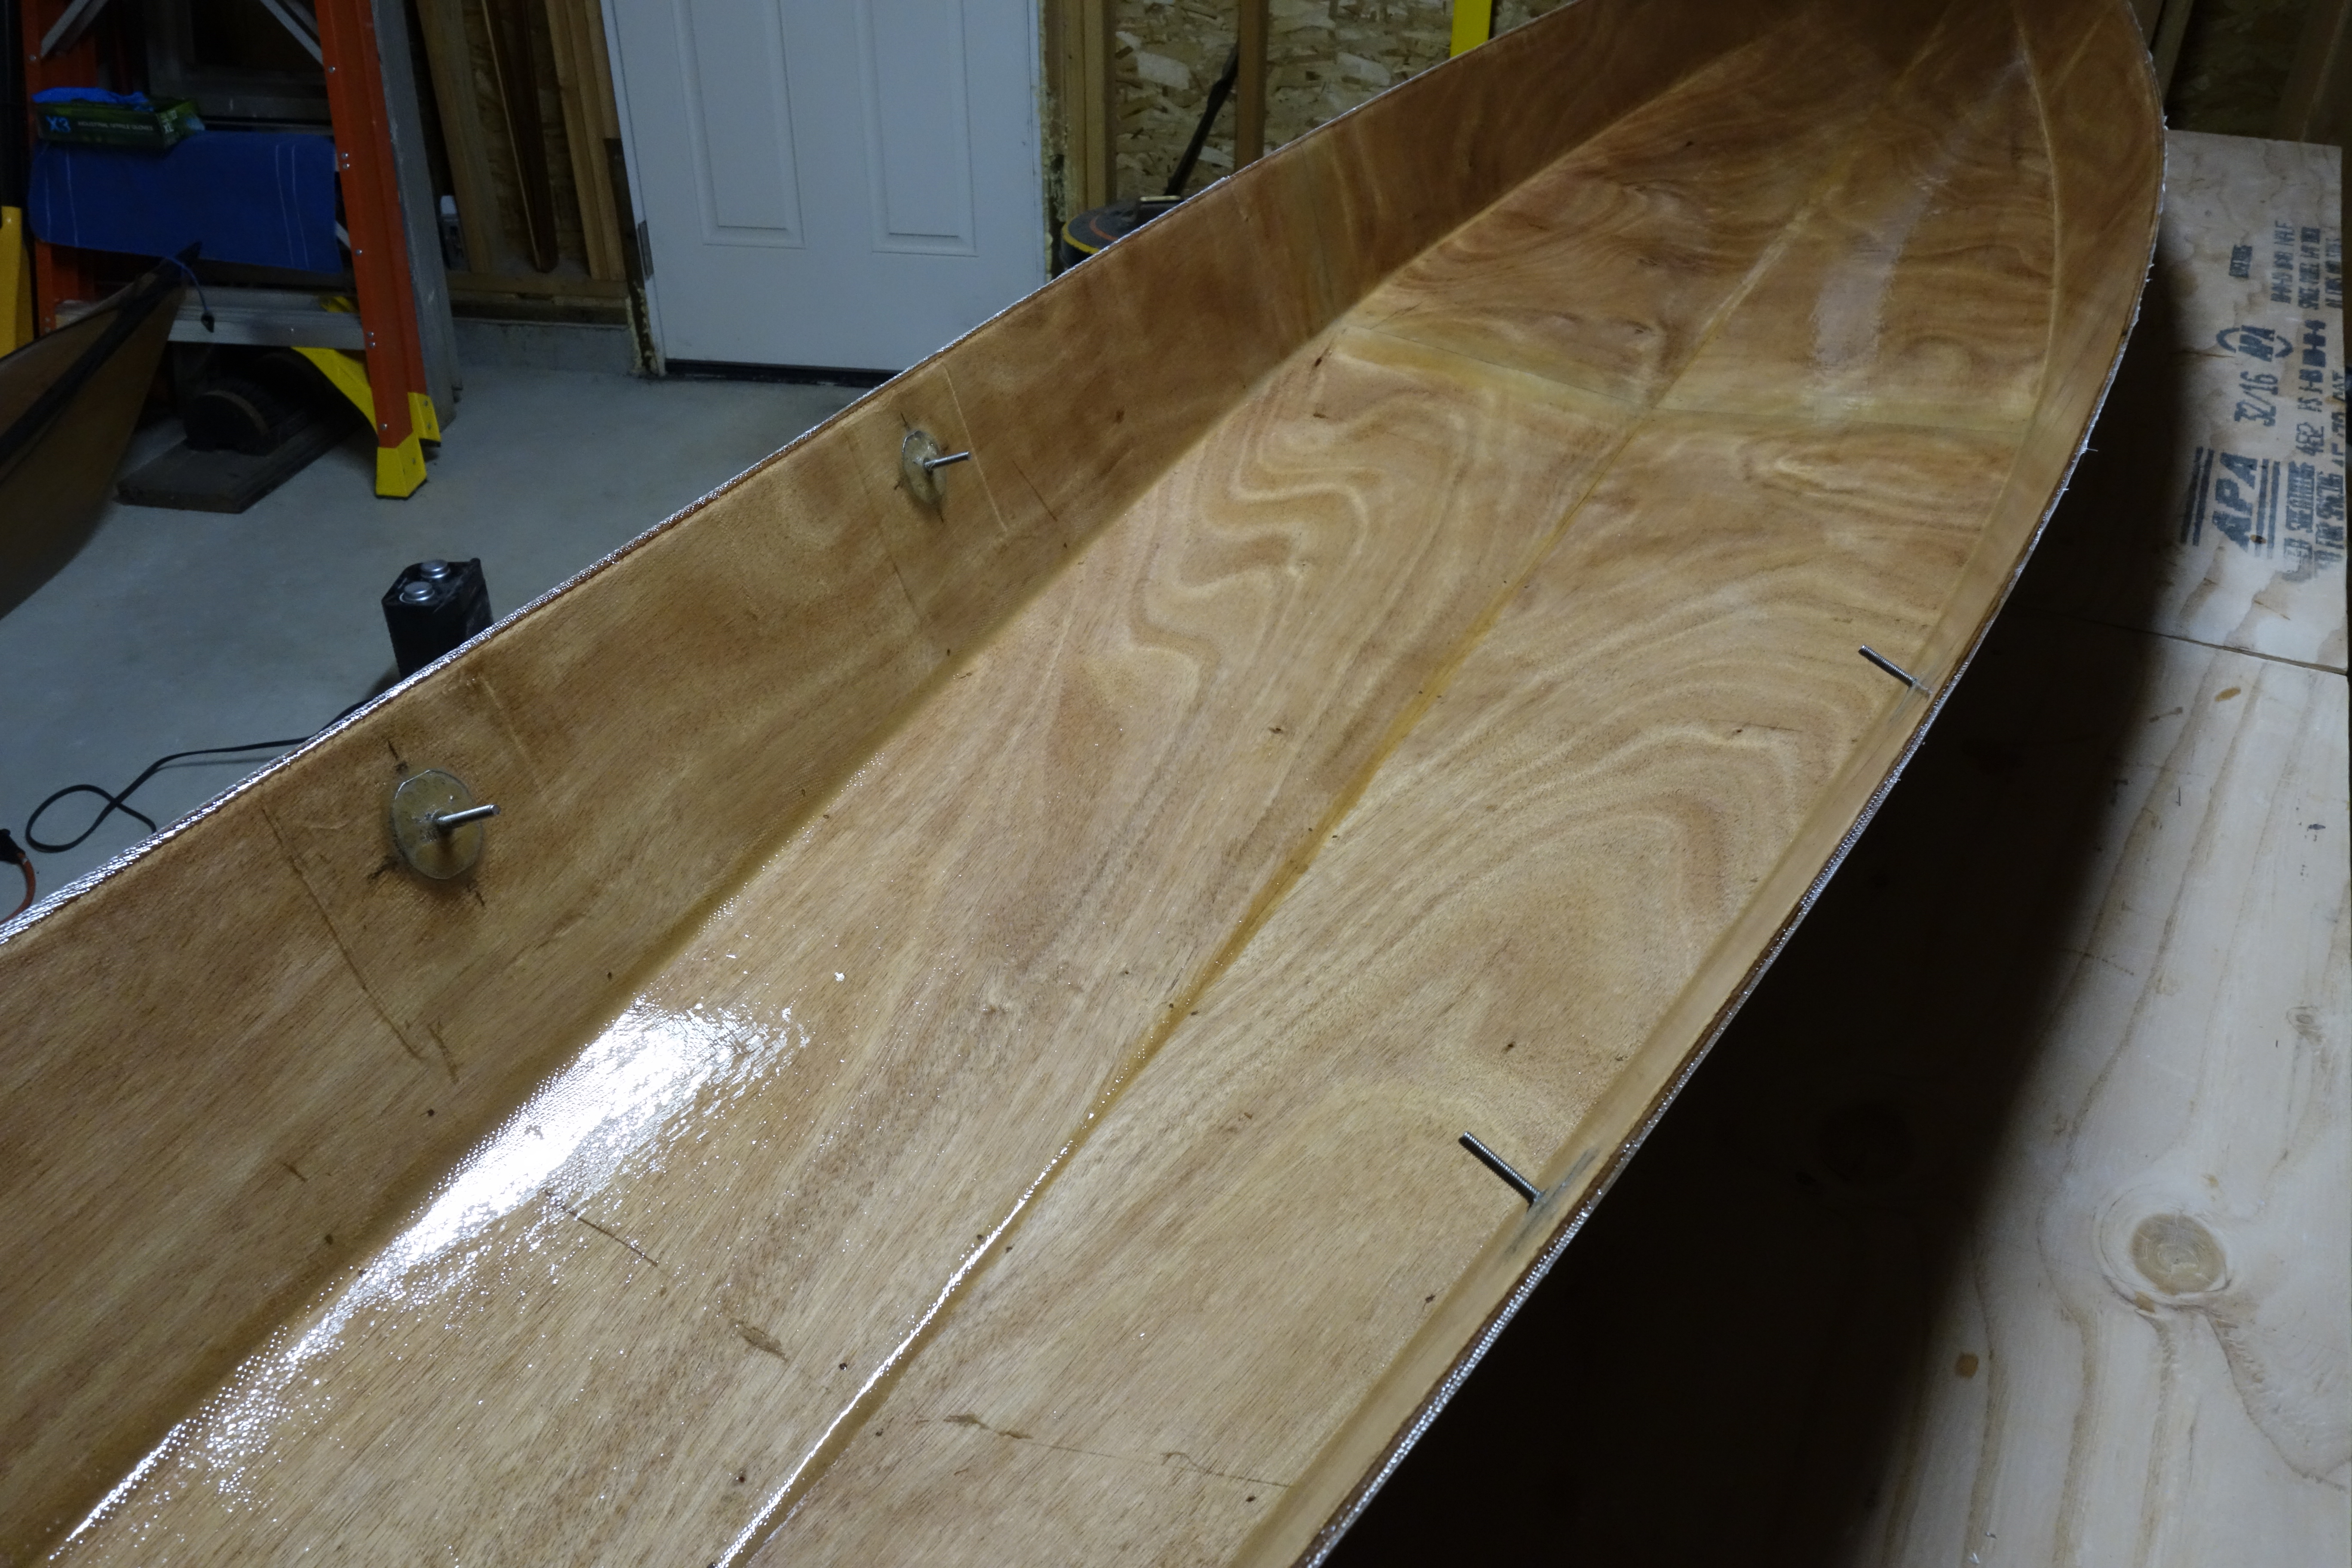
This is the first fill coat of epoxy after fiberglassing yesterday. I’ll apply another fill coat tomorrow and then sand, especially where fiberglass cloth overlaps on the cockpit apron and the hull. Then a final fill coat. If you look closely at the photo above of the bow tip, you can see that I have sanded smooth the bits of fiberglass cloth that were sticking out from the bow tip. Things are coming along. After all of the fill coats and sanding the next step is to build the cockpit coaming. EDIT: My intention was to do another fill coat the day after this post, but as per my comment at the top of this post about working in an unheated garage, this first fill coat wasn’t cured enough to sand yesterday.

Deck fiberglassed.

Fiberglassing the deck was more challenging for me than fiberglassing the outside of the hull was, and getting the cloth to lay down smoothly on the hull just past the shear seam required a lot of careful attention to detail and a bit of swearing. It came out fine, but it was an hour of focused intensity which I am happy that I don’t have to repeat anytime soon. I found this to be every bit as challenging as getting the fiberglass to lay down inside the hull. I can’t help but wonder if everyone has a bit of a struggle with this or if it’s just me! Oh well. It’s done, and I can move on to the fill coats and sanding. Then the cockpit coaming.

Fiberglass cloth smoothed over the deck.
I cut the fiberglass cloth from out of the cockpit opening before saturating with epoxy because I had some trouble when I left it whole (as per the construction manual) when fiberglassing the underside of the deck. The weight of the cloth in the cockpit opening wanted to pull the epoxy-saturated cloth away from the lip of the cockpit. My hope was that by cutting the cloth out of the cockpit opening before saturating it, I would avoid problems this time. It worked out very well.
Fiberglass cloth laminated to the deck with epoxy.
Excess fiberglass trimmed approximately 1″ below the shear seam. I did this approximately four hours after saturating the cloth. The saturated fiberglass cloth was lightly cut with a sharp utility knife, just above the masking tape. The tape was lifted as I was cutting the cloth and the excess fiberglass came up with the tape. I must have waited just the right amount of time because the fiberglass cut cleanly without lifting off of the hull, and without leaving so much as a scratch in the epoxy and fiberglass on the hull under the overlap. Next steps sanding and fill coats. I’ll trim the cockpit later this evening.
In this photo you can see how far the deck fiberglass comes down over the shear seam onto the hull. The entire outside of the kayak (and inside of the hull, and most of the inside of the deck) is now completely encased in fiberglass cloth and epoxy. Watertight. Strong. Light. Magnificent!

Deck mostly sanded. Getting ready for saturation coat, then fiberglass.

If you’re wondering about the “custom” epoxy bow tip, one of the panels arrived in the box with a tip broken off. The only thing I could think of to do, was to cut the other tip off to the same length and make a tip for both panels out of epoxy. I think it worked out fine.
Here is a slightly better view of my epoxy bow tip. Necessity is truly the mother of invention.

Now that the kayak is one piece, the shop gets re-organized.

Through the curtain again. The table under the kayak has been disassembled and only the 2 X 12s remain, which will make finishing the kayak easier.
One of the plywood pieces from under the kayak is now being used as a table to finish fiberglassing the small parts like the bulkheads and cockpit coaming pieces, etc.
Ready for sanding prior to fiberglassing.

Gluing the deck to the hull.

Major milestone. Gluing the deck to the hull! The kayak will be one piece by the end of the day.

Deck taped and wired (where necessary) to the hull and ready for epoxy.
Inside of the kayak looking forward. Shear seam on the hull and deck, and the bow and stern ends are sanded so that when the seams are epoxied and taped with fiberglass, and the end pours are done the epoxy will bond well.
Inside of kayak looking aft.
Shear seam glued. I will come back with epoxy thickened with wood flour and fill the low spots and places where tape is in the way.

Installation of internal foot brace studs, day one.

Rather than eventually drilling holes through the hull to mount the foot brace rails, Pygmy offers optional foot brace studs that are epoxied and fiberglassed to the inside of the hull during hull construction (as seen here). Not only is this aesthetically pleasing, it saves work in the future when the hull needs to be re-varnished because if the foot brace rails were held on by screws that went through the hull, the screws would have to be removed prior to sanding/re-varnishing, etc.

The foot brace rail is covered in packing tape so that epoxy won’t stick to it, and then after carefully measuring the placement location of the studs, the rail is used to ensure that they fit the rail exactly.