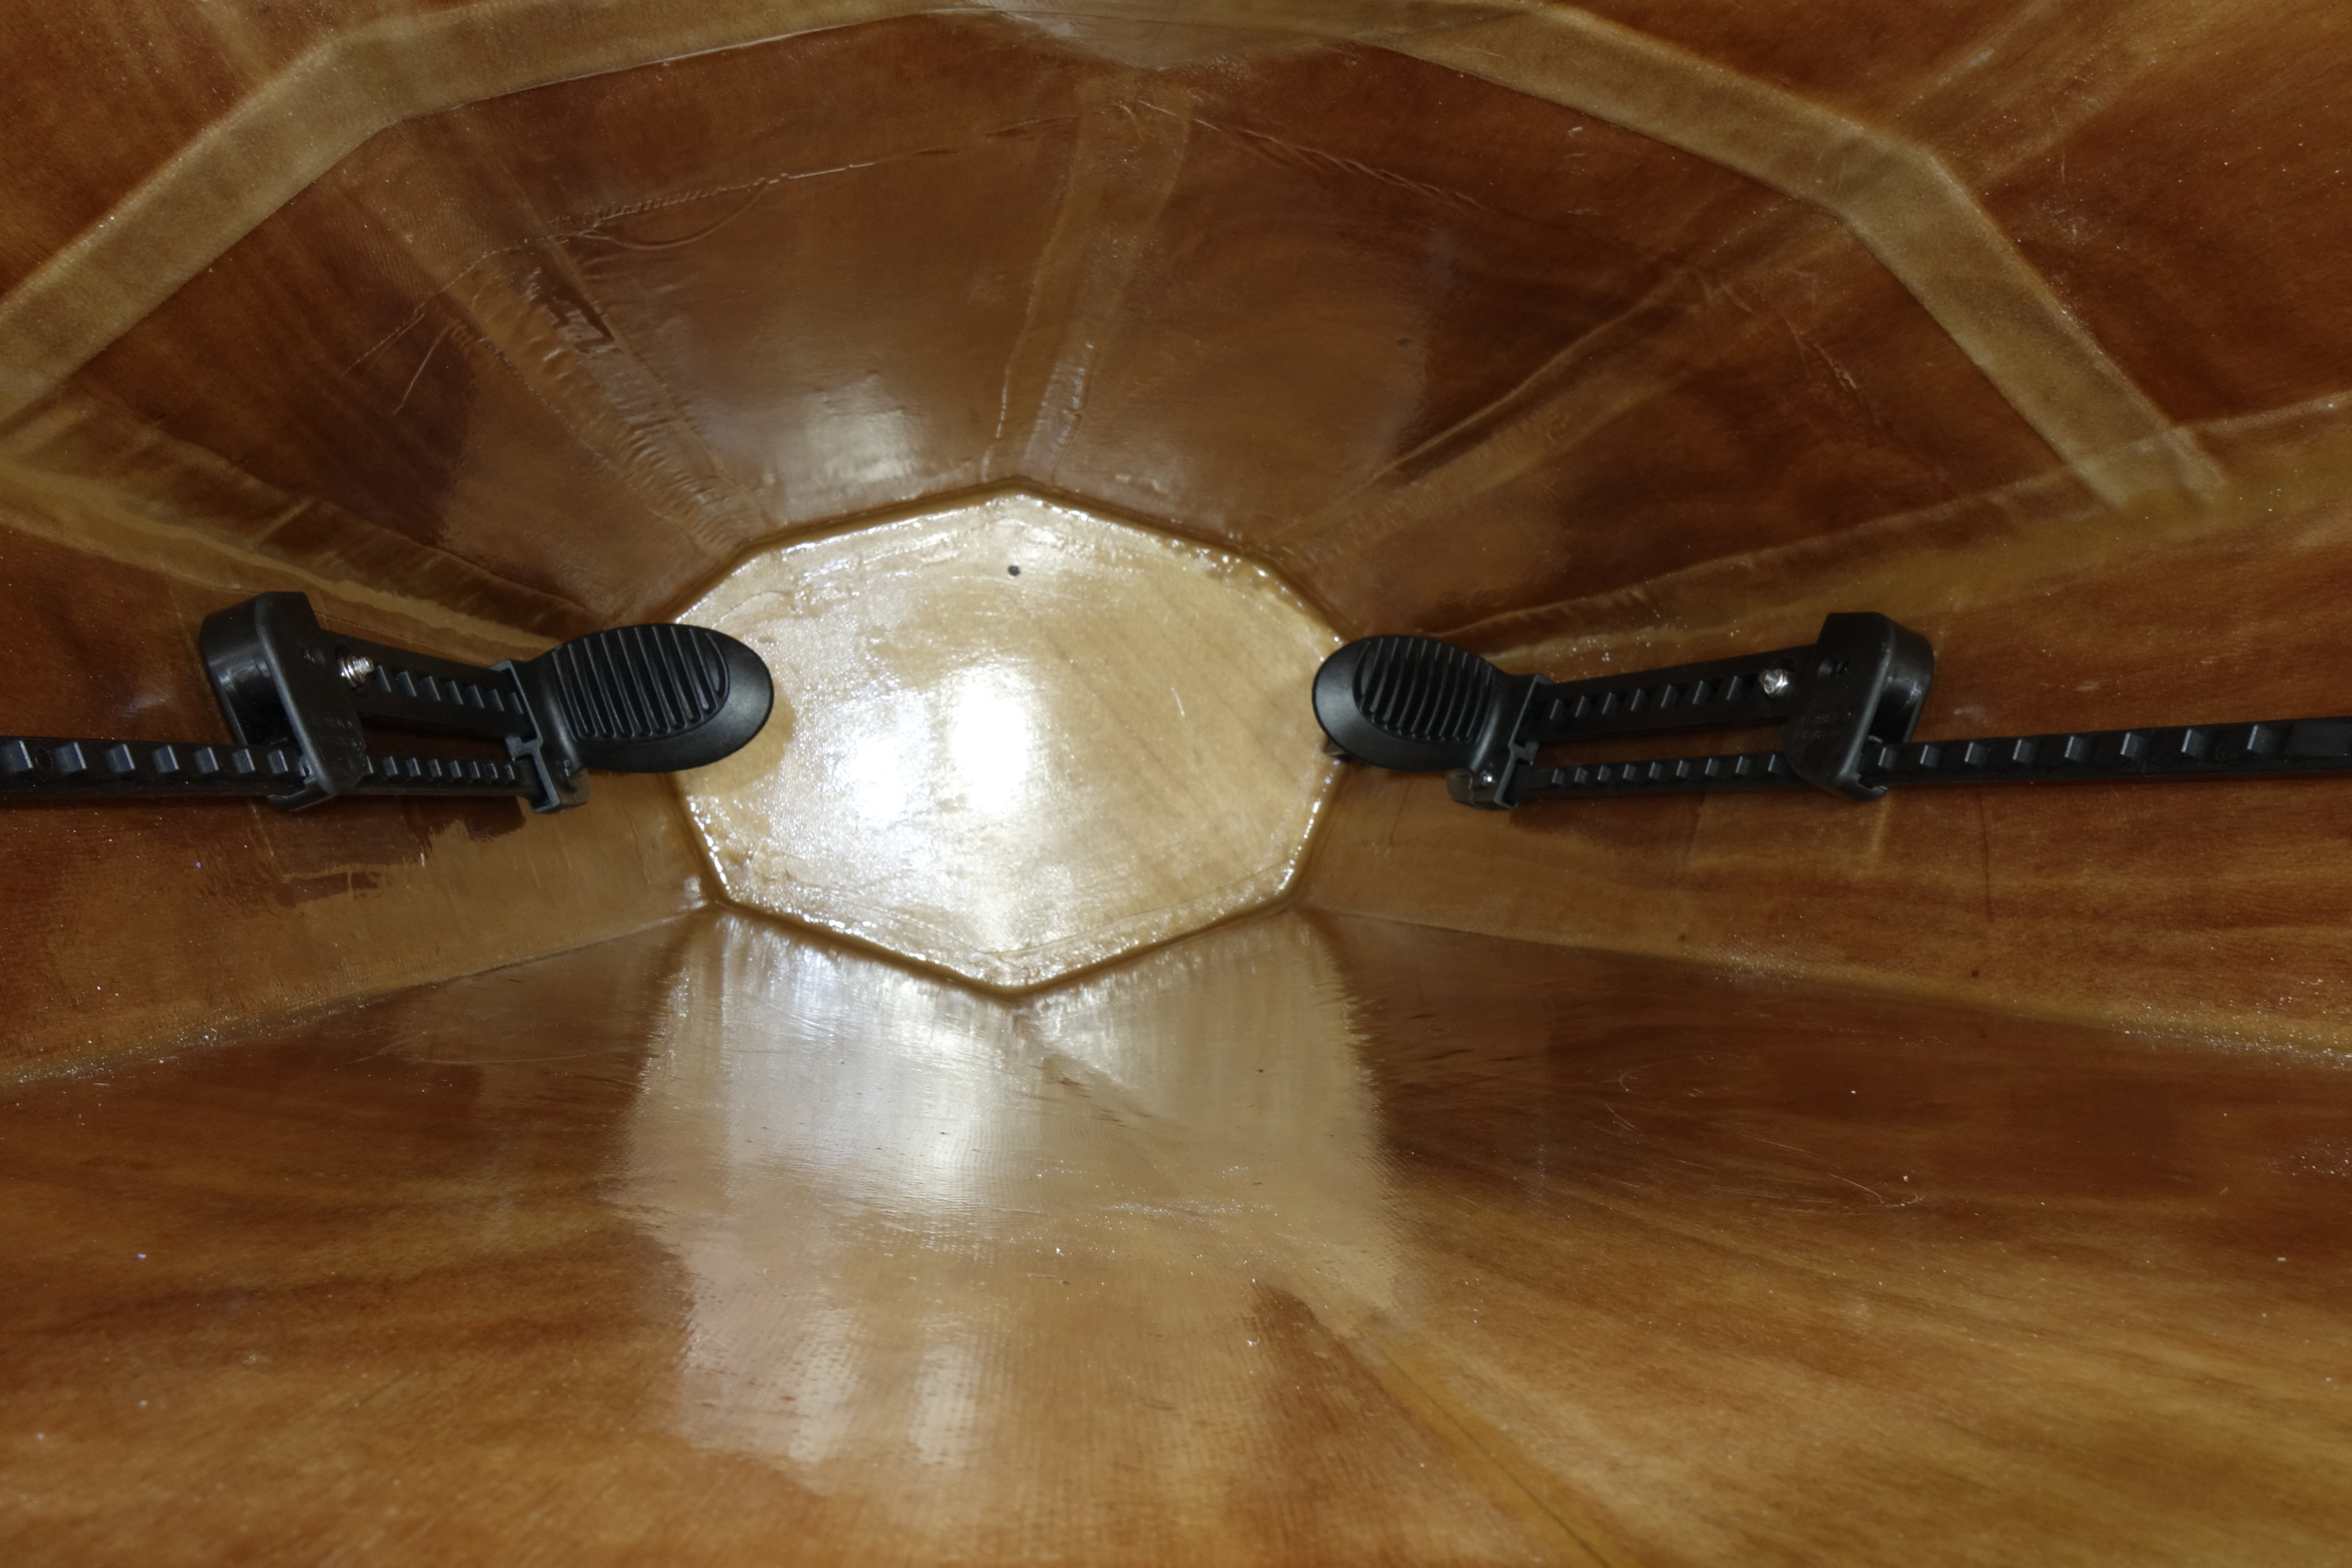
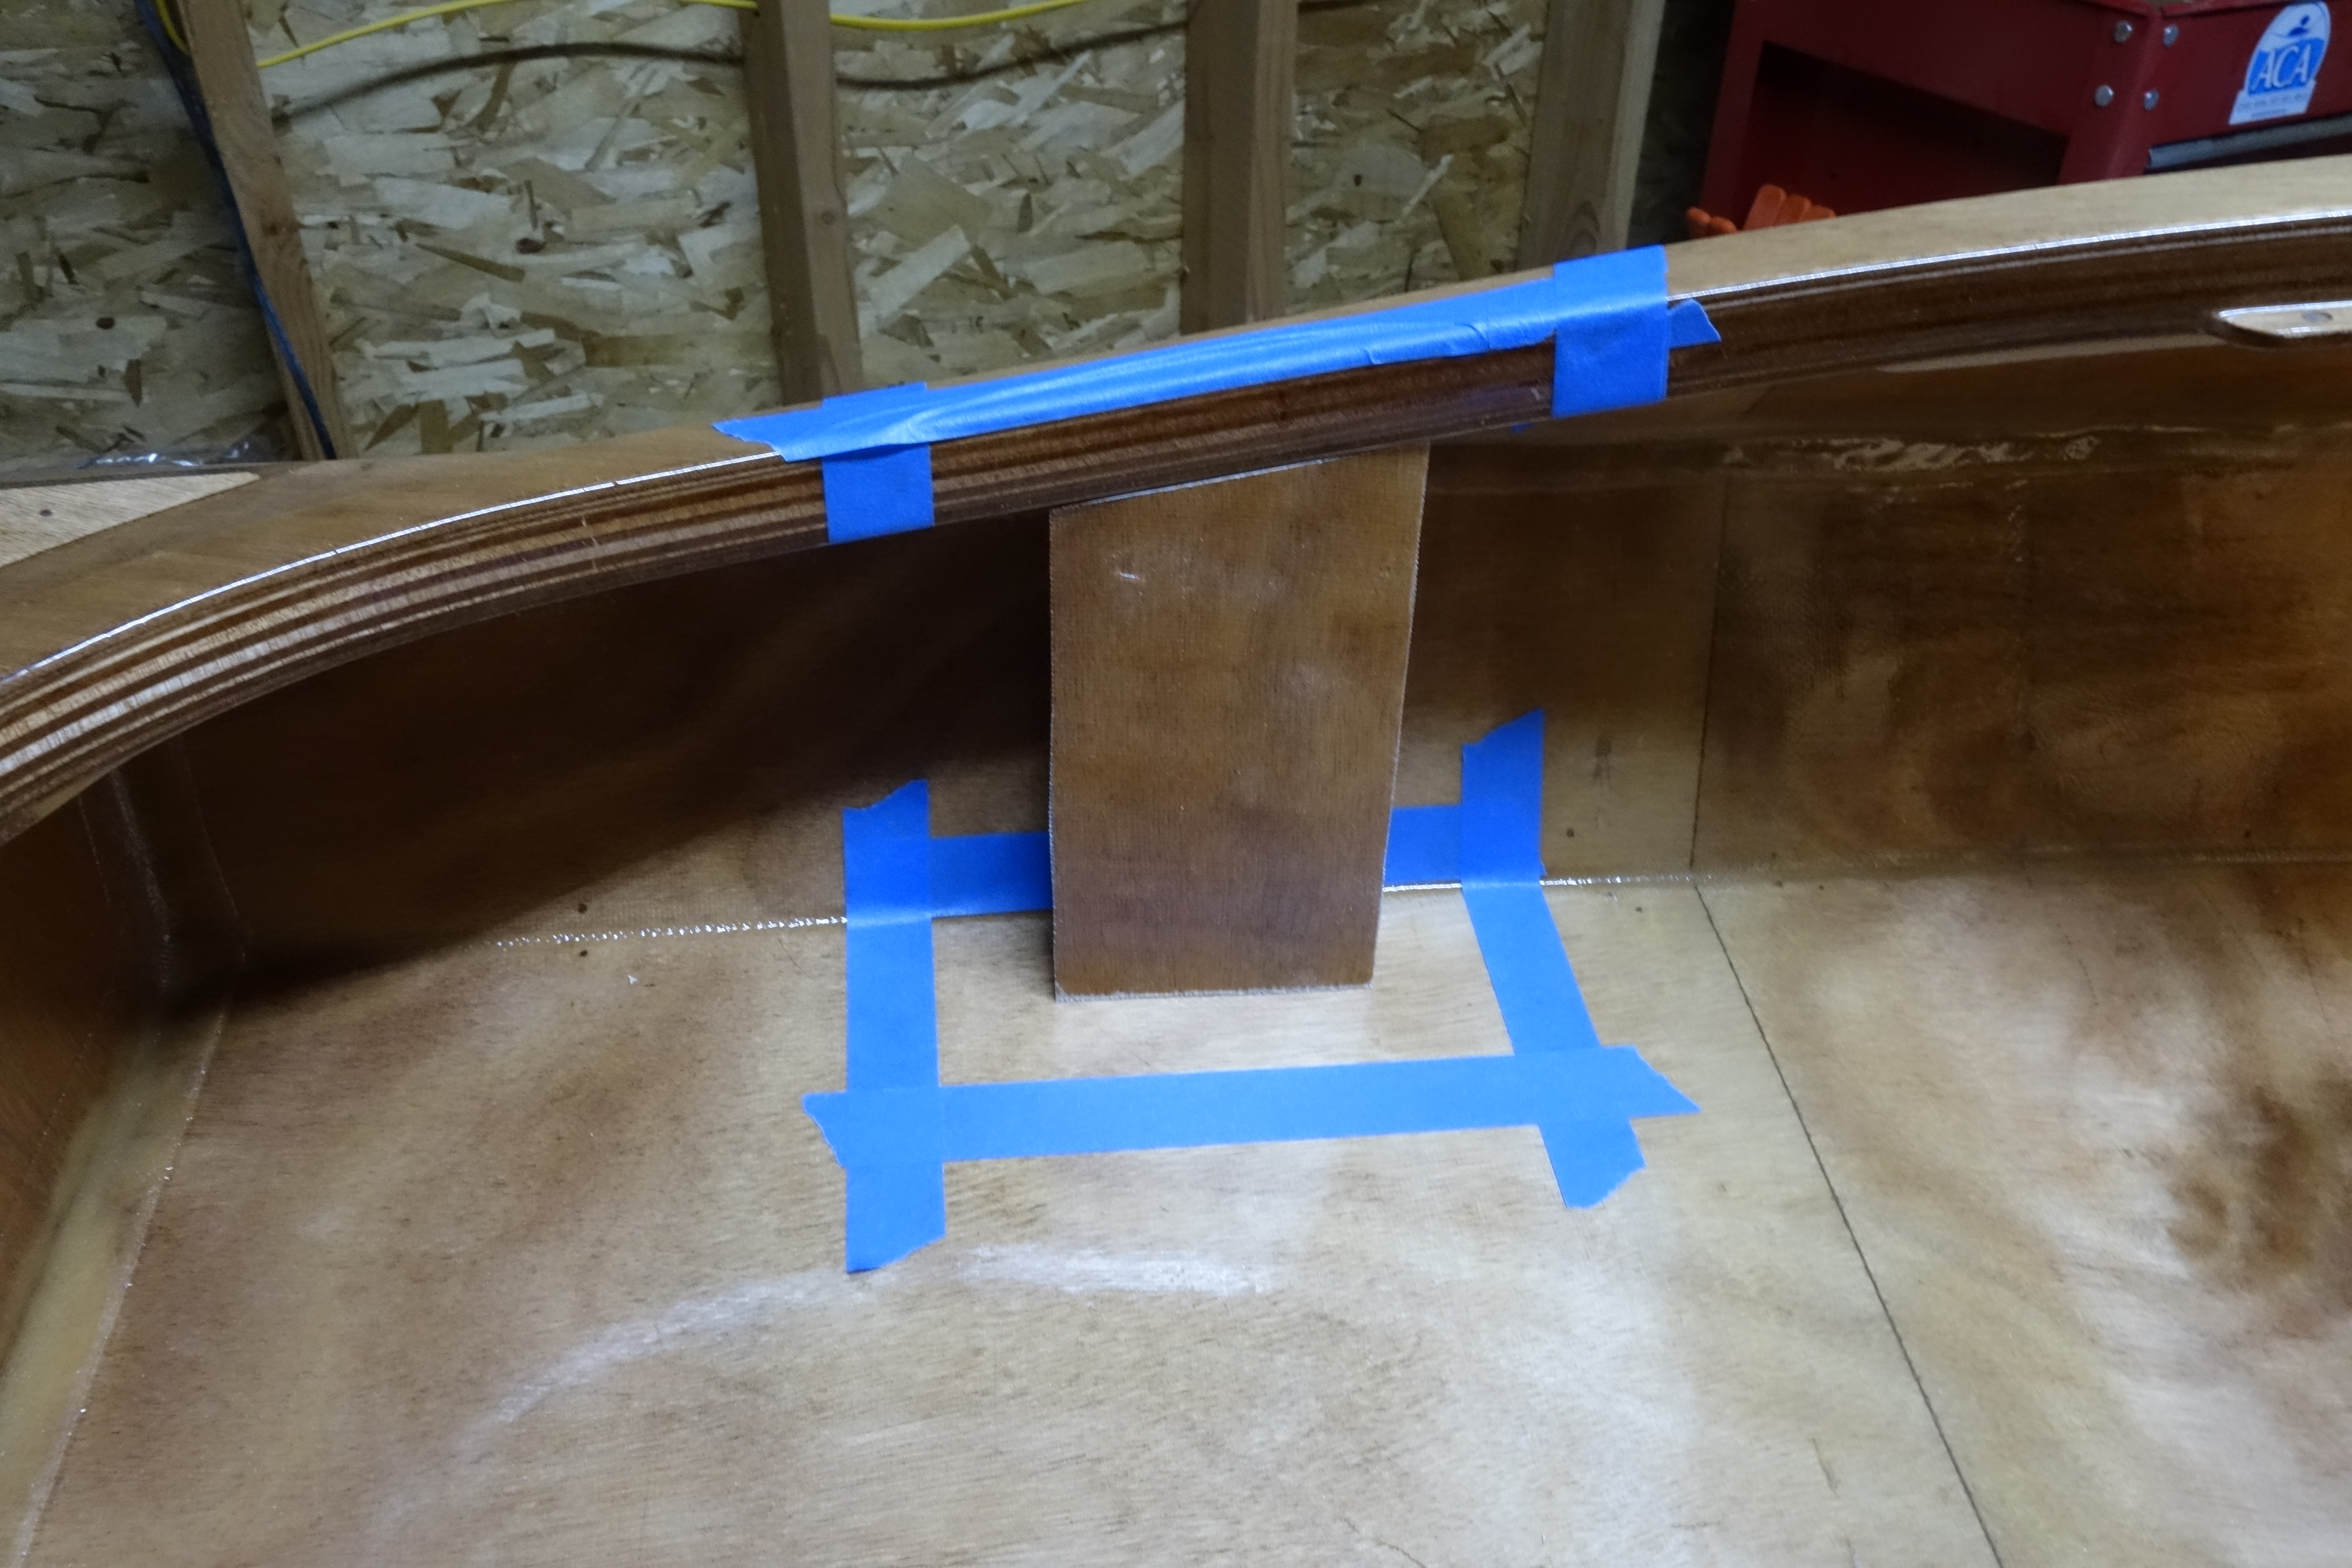
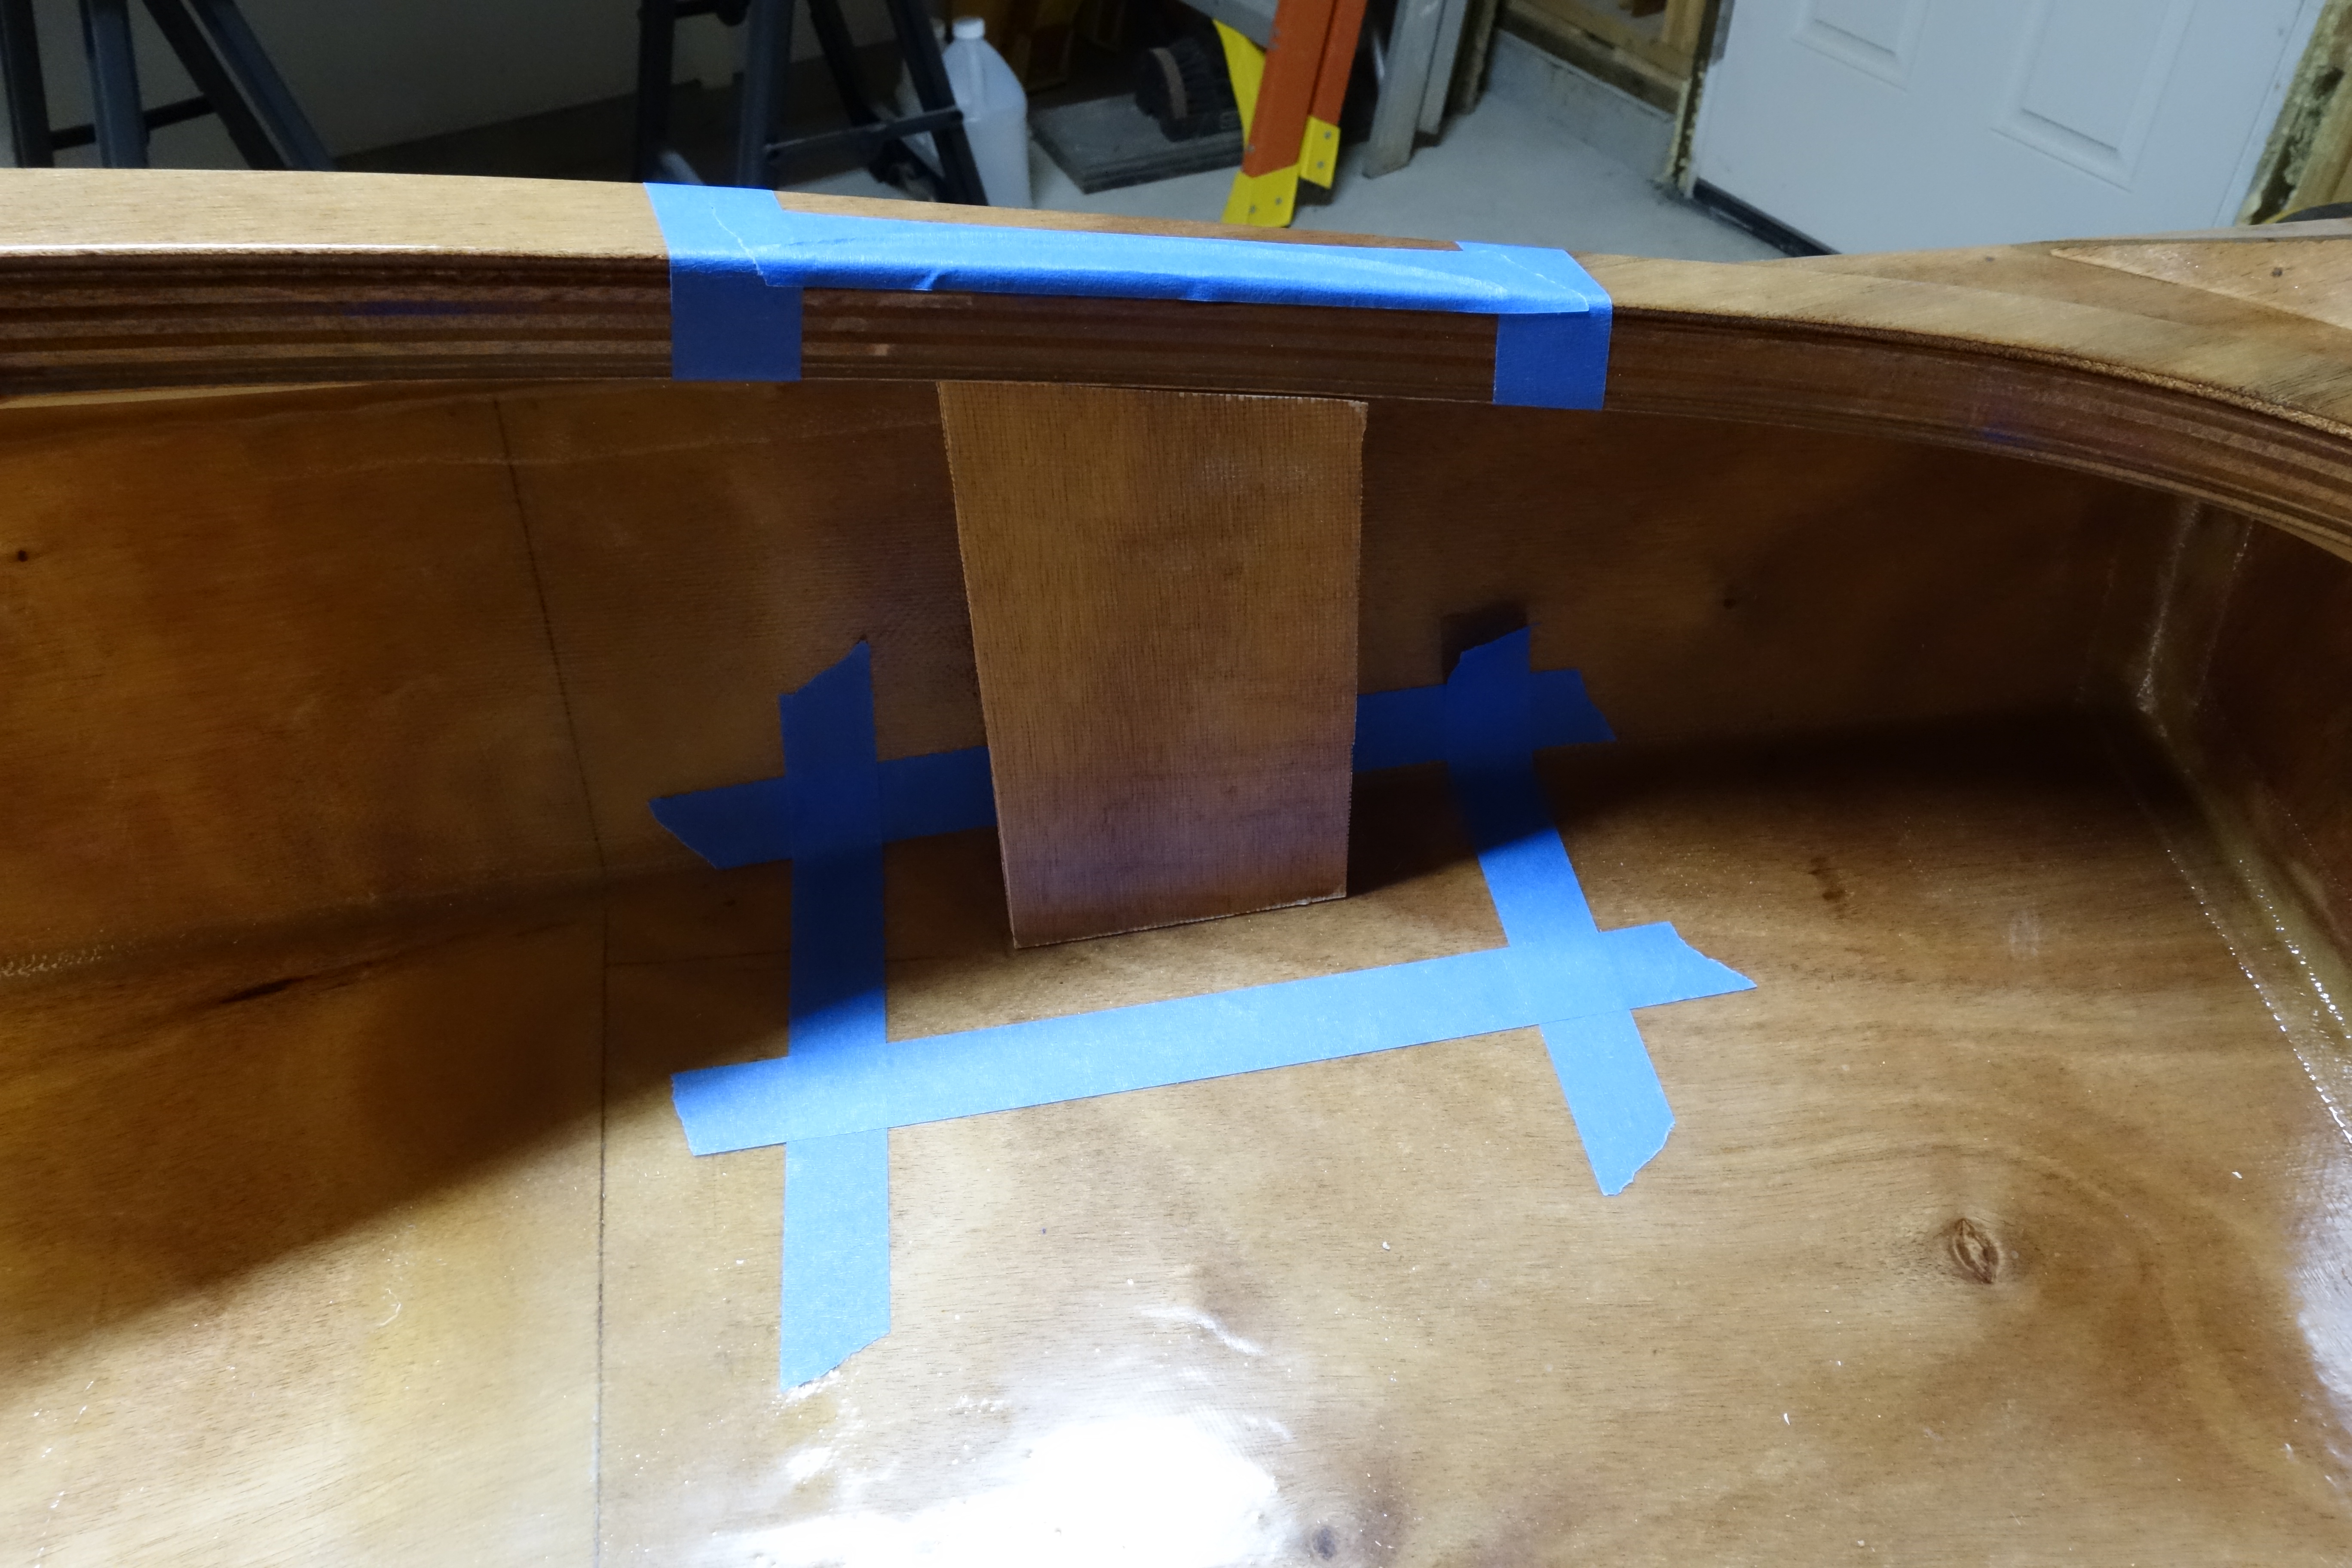
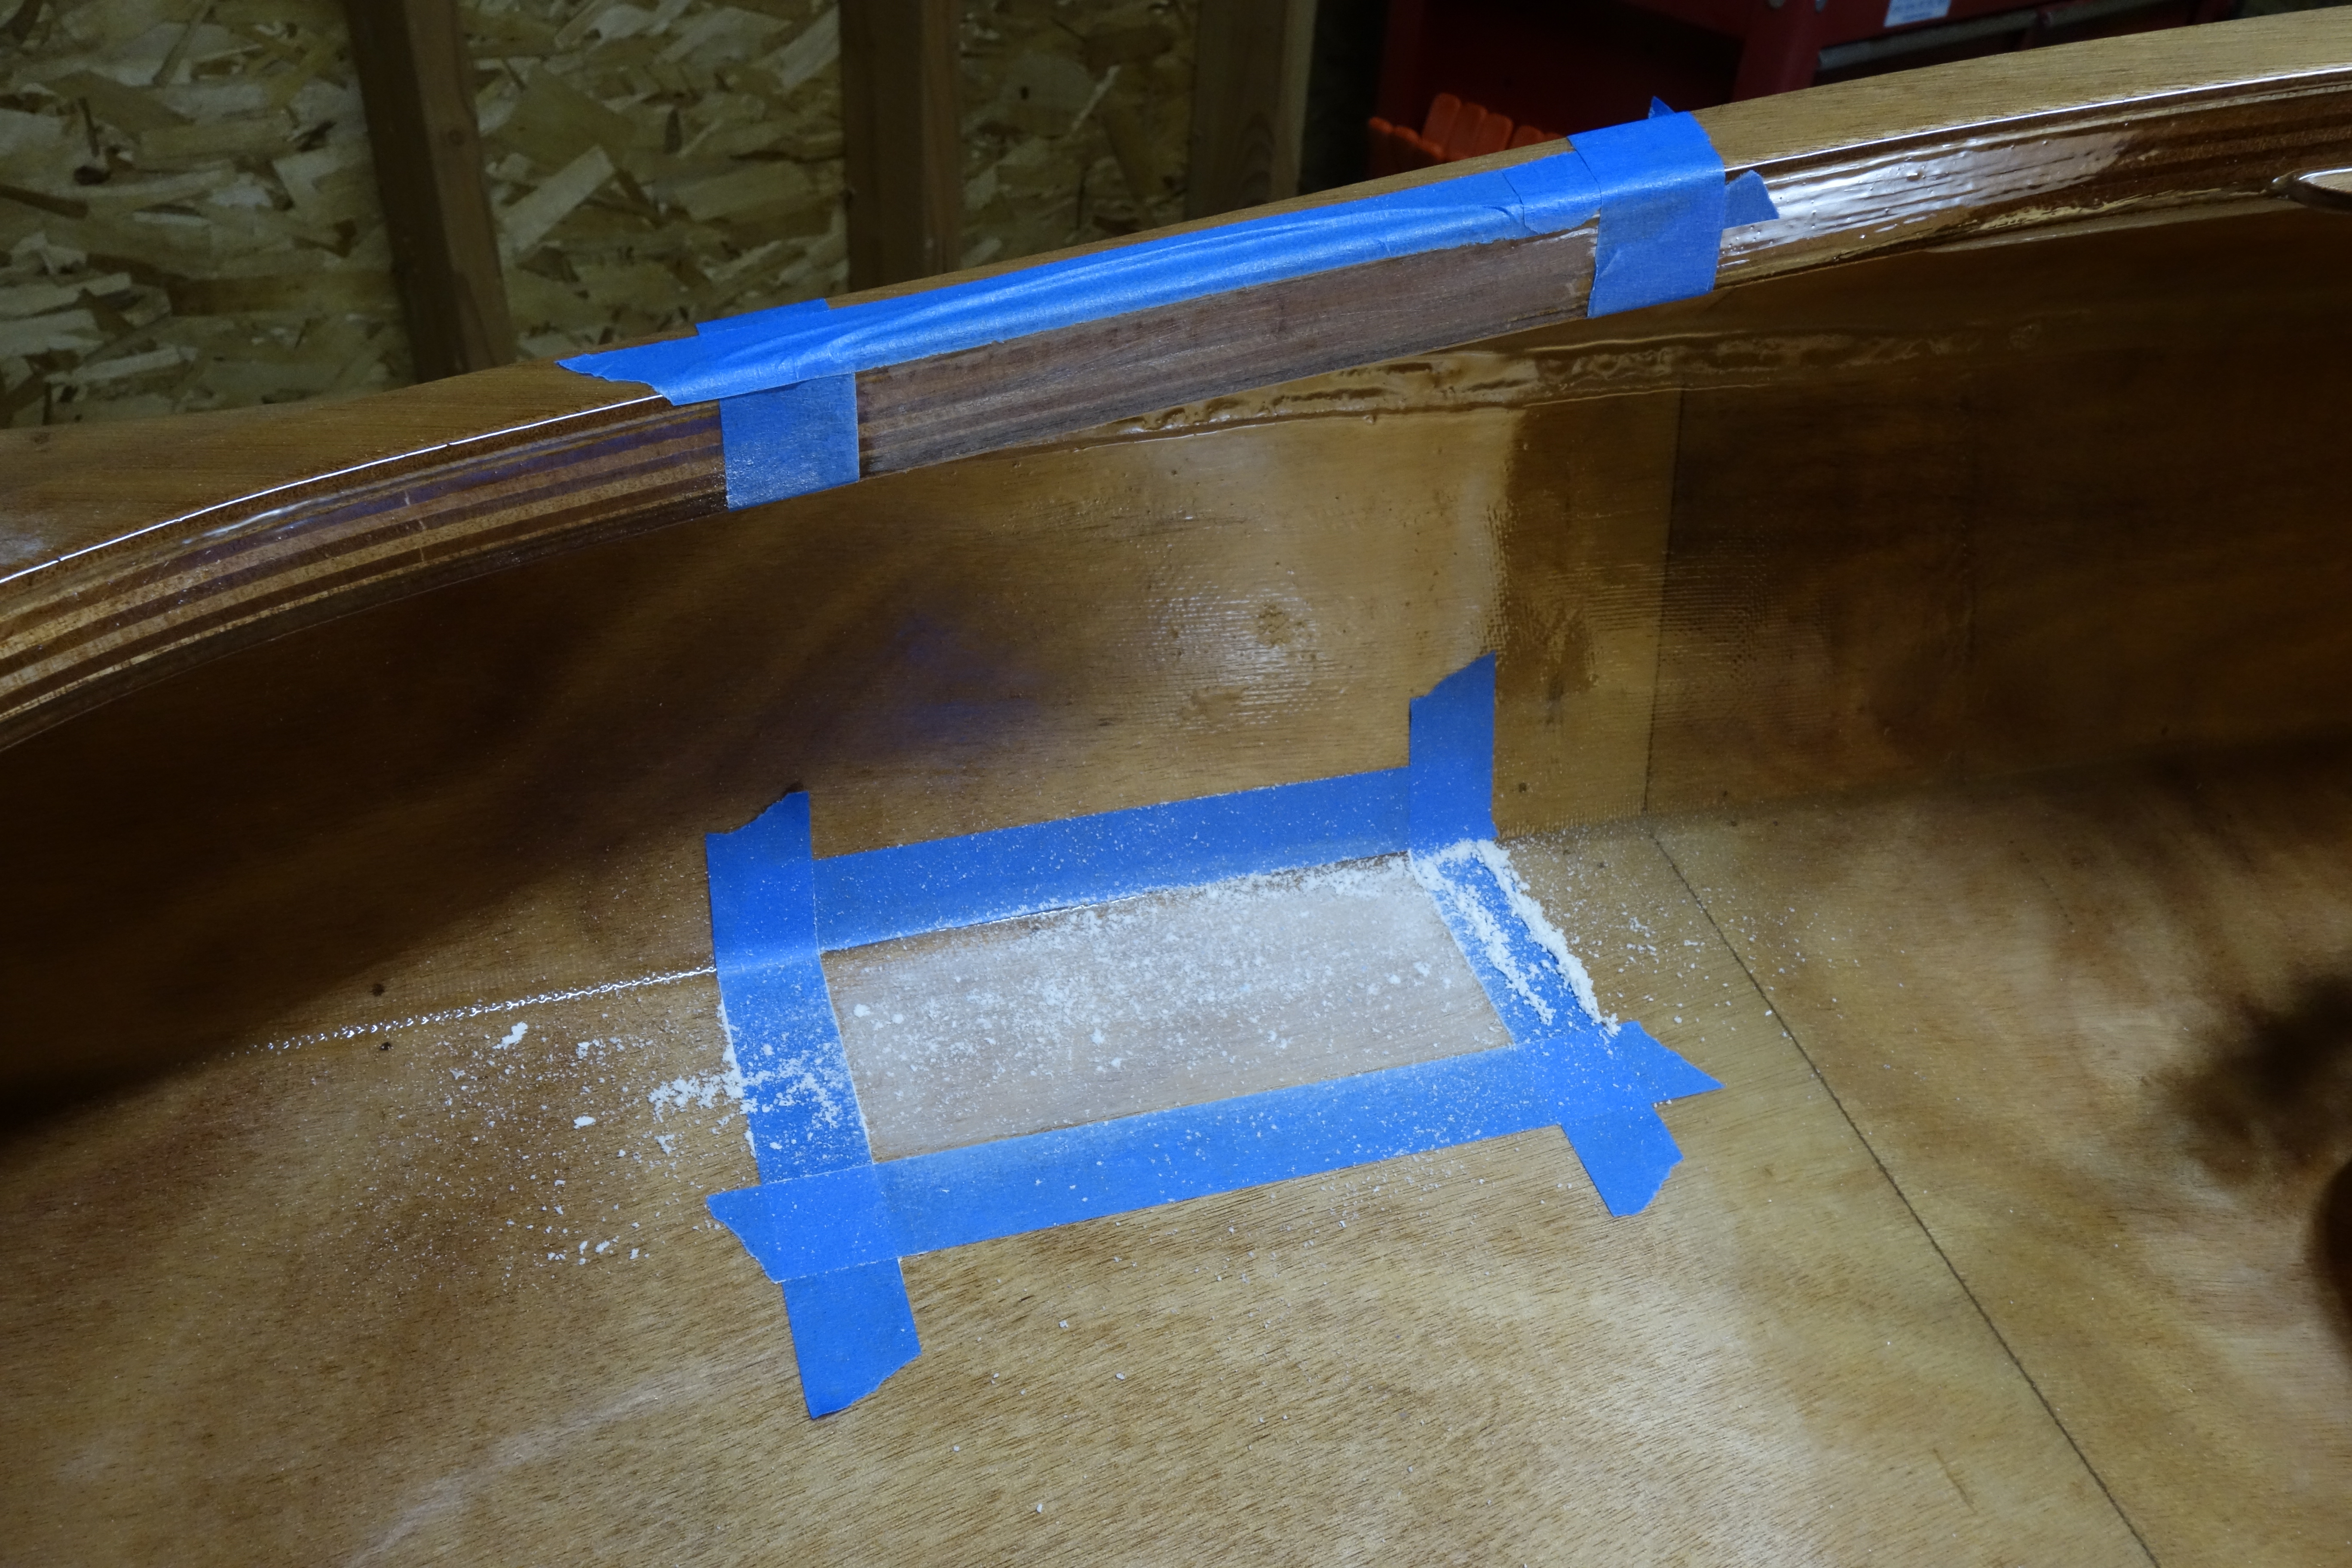
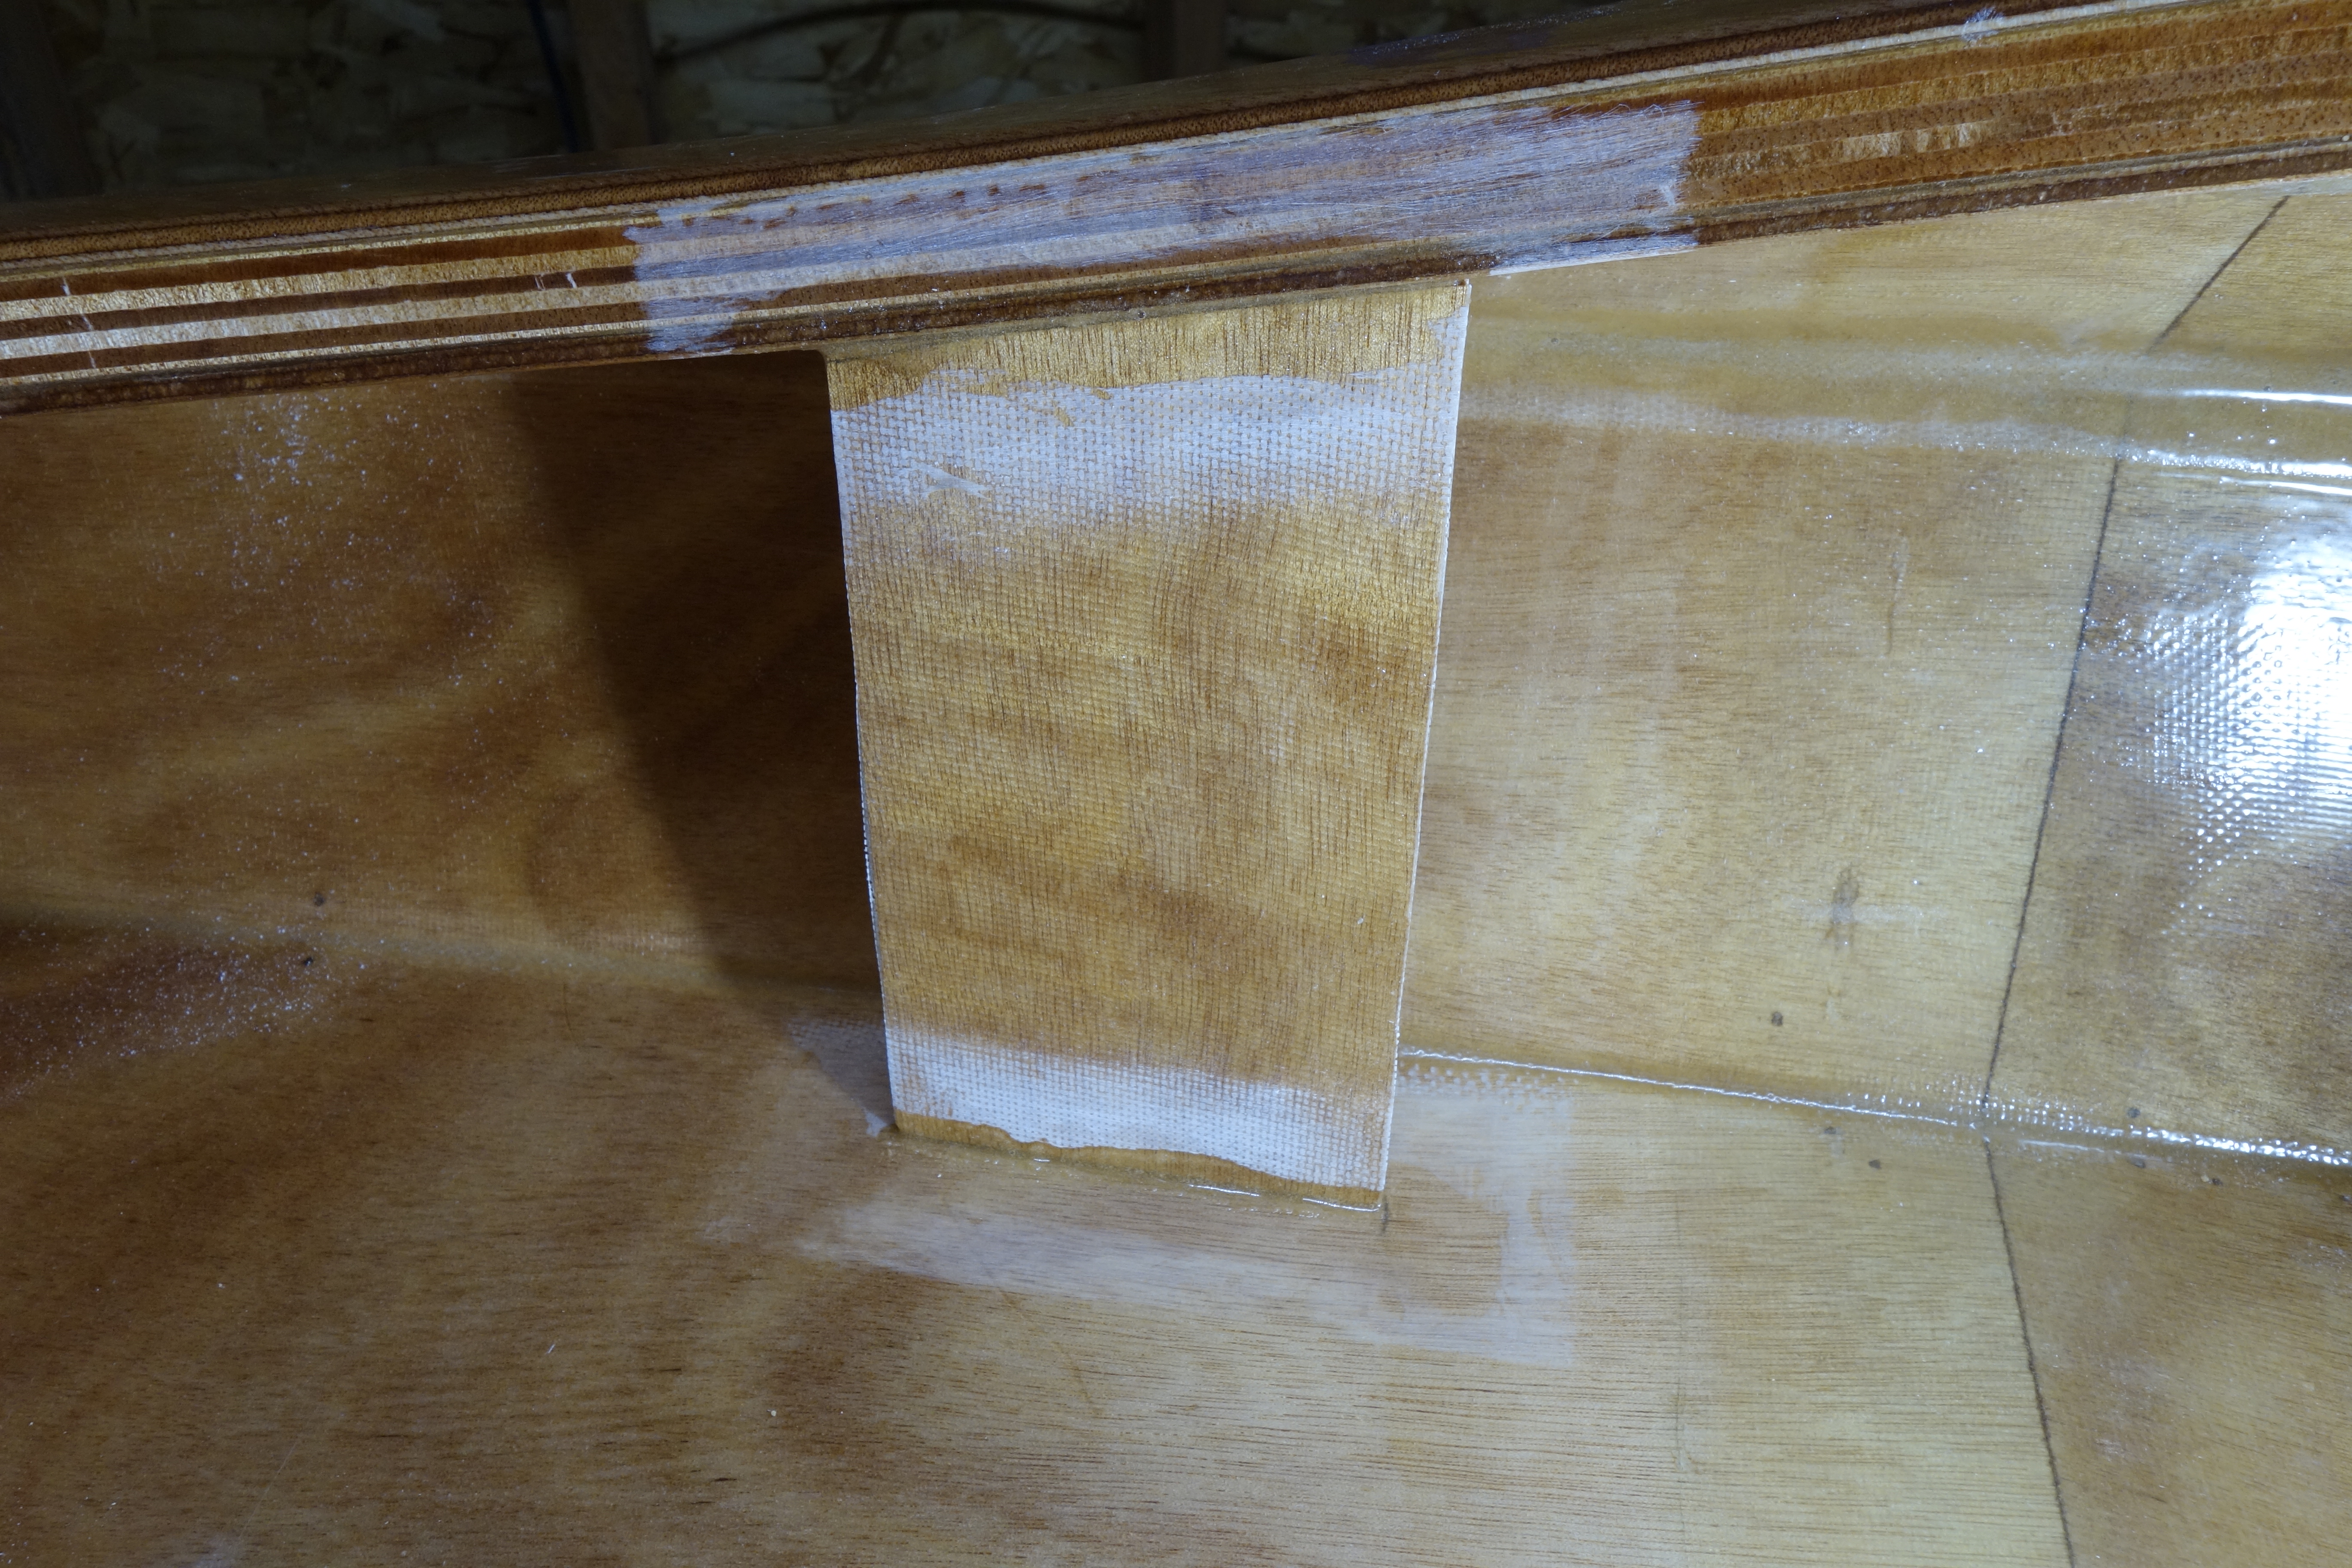
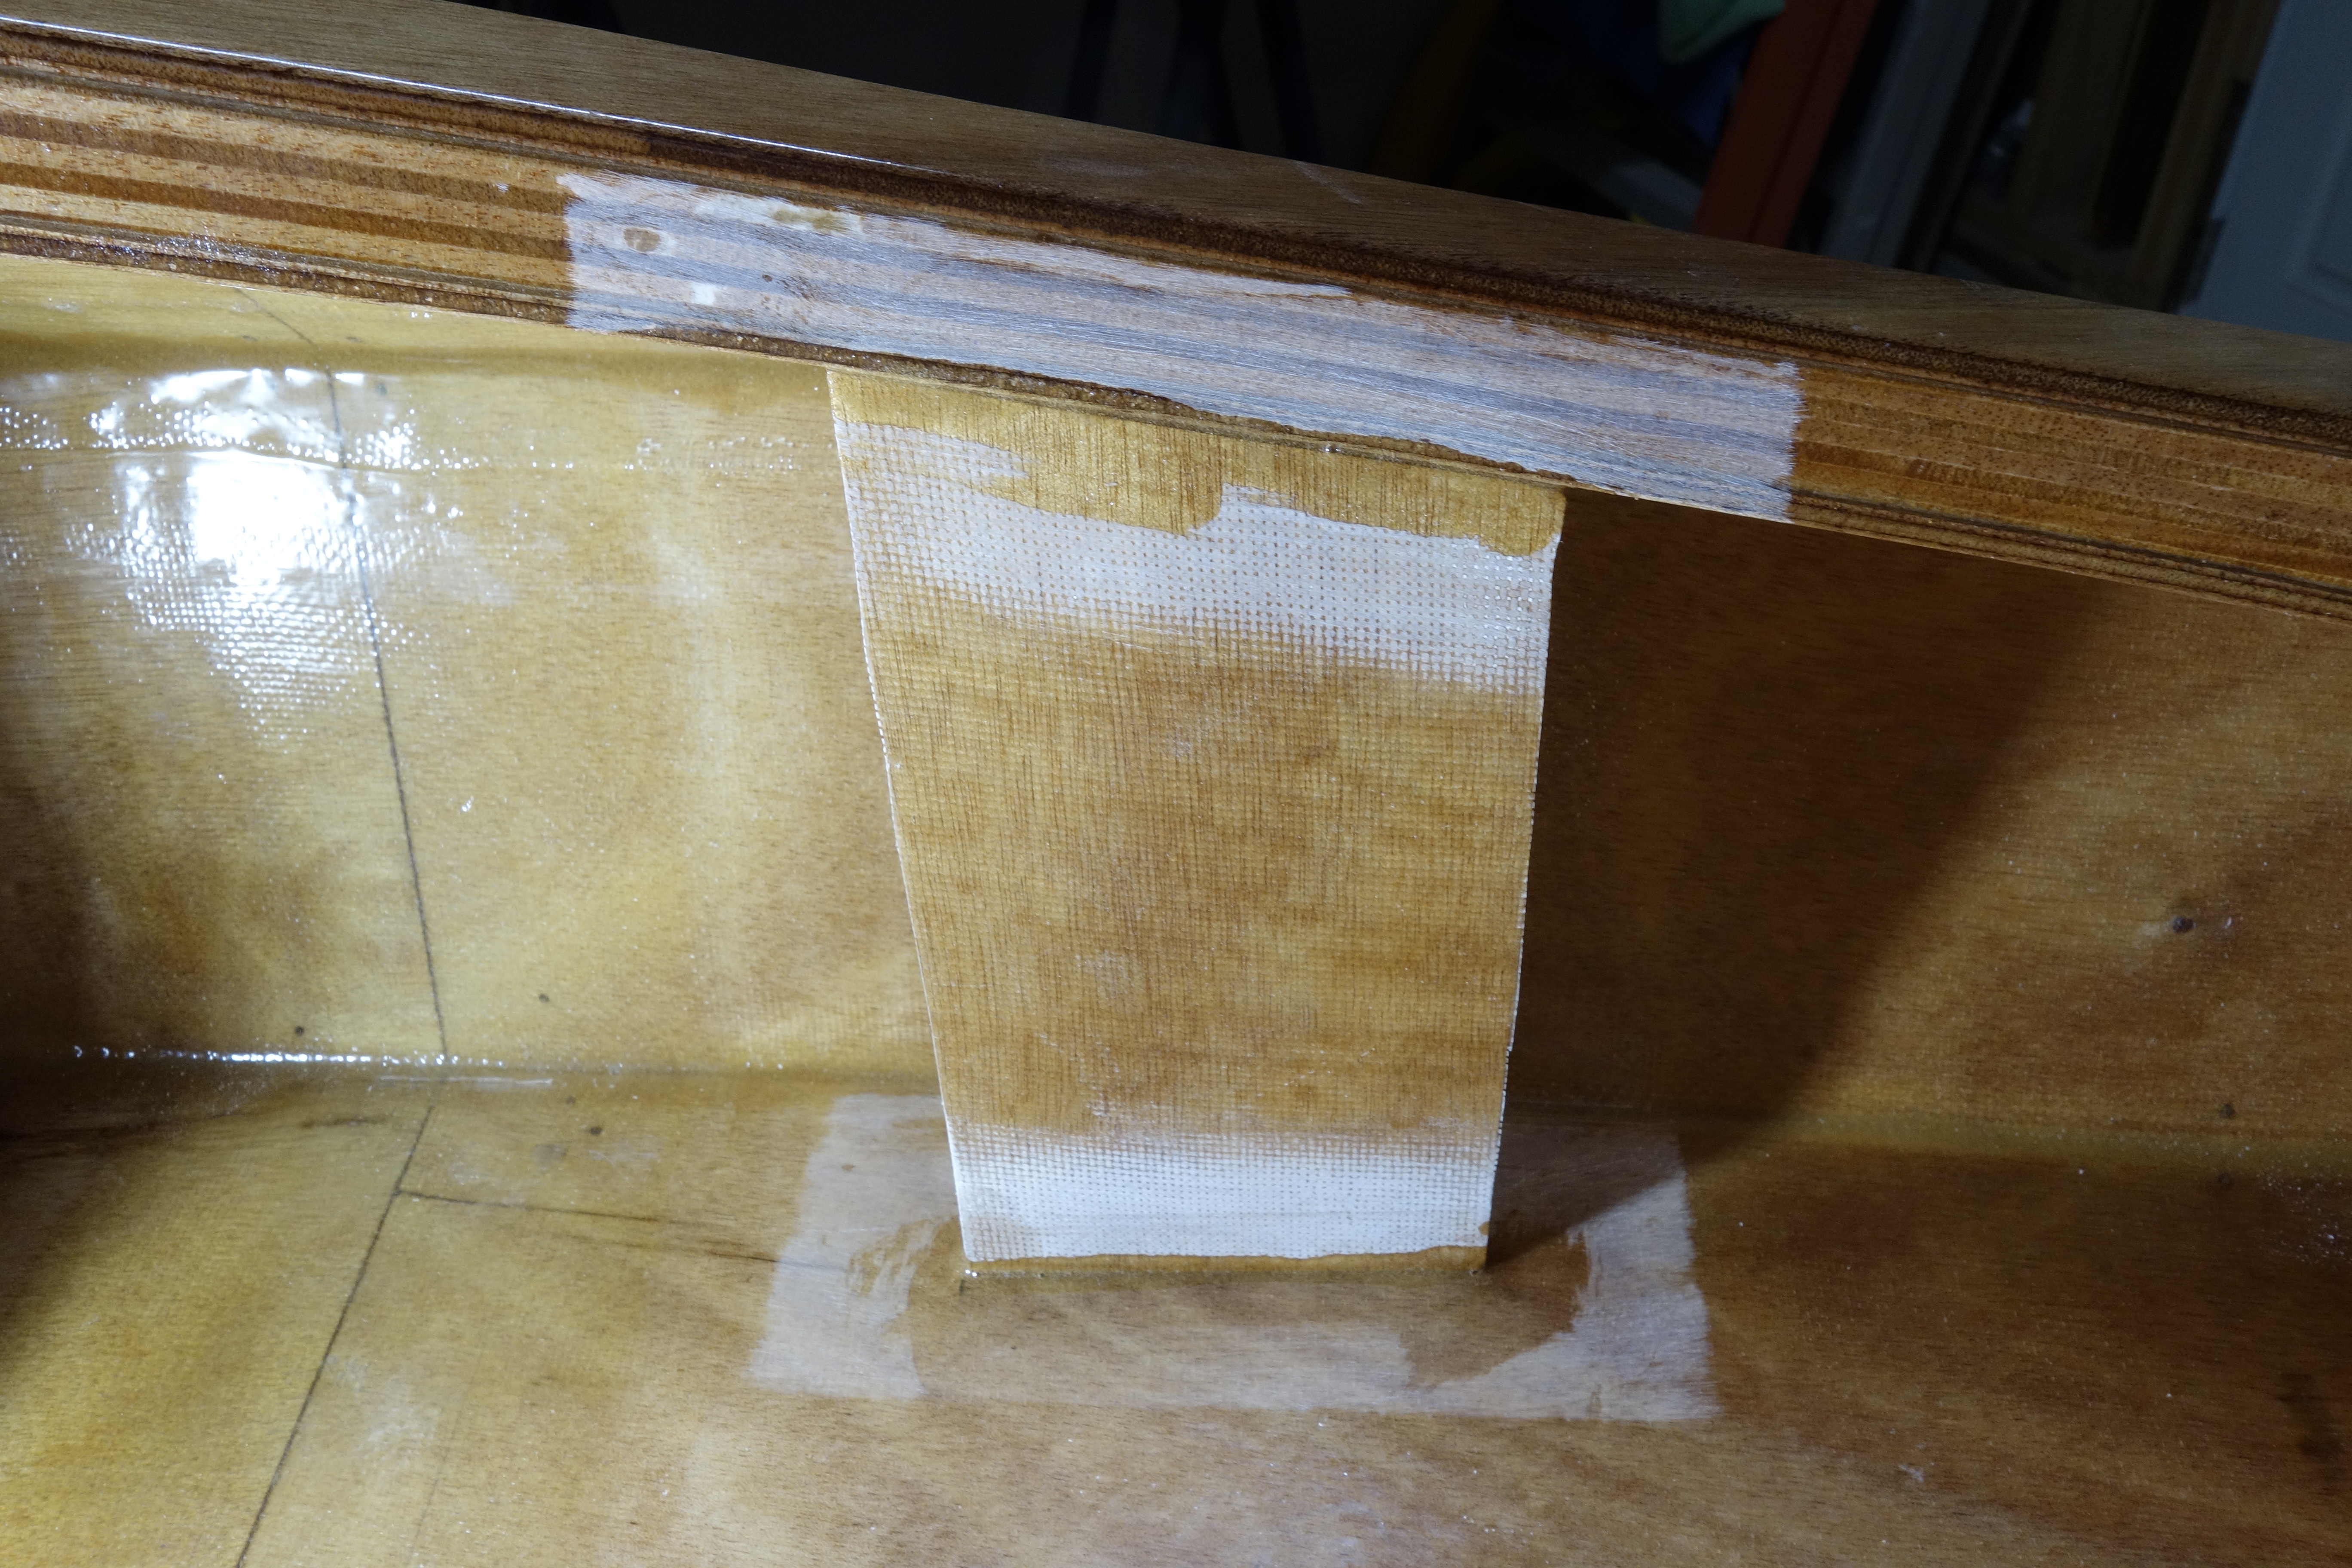
The bulkheads are completely finished after sanding the high edges off of the fiberglass tape and giving them a light coat of epoxy. The foot braces have been installed and are complete. I cut the hip braces to size and shaped them with a flat file and sandpaper. They were then dry fitted and adjusted until I was happy with the fit. I then masked off the areas on the hull and cockpit coaming where the braces will be epoxied in place and sanded them, after which the hip braces were lightly epoxied in place. The next step will be to make fillets and fiberglass the hip braces in place.
Slidelock foot braces installed. High edges sanded off of the fiberglass tape on aft bulkhead, and given a light coat of epoxy to make it pretty. Bulkheads complete.Port hip brace dry fitted in place.Starboard hip brace dry fitted in place.Masked for sanding.Port hip brace lightly glued in place (above).Starboard hip brace lightly glued in place (above).
As I build the Rónán I am doing my best to ensure that each step is done exactly to Pygmy specifications. From my perspective there is a very good reason for this. John Lockwood has decades of experience designing and testing these beautiful boats so that they perform as beautifully as they look, and I want my kayak to meet those high performance standards. That said, one of the things that I really want in any kayak I paddle are foot braces that can be adjusted while I’m in the boat. I took a chance and ordered a Harmony Gear, Slidelock Foot Brace kit hoping that the hole pattern would be exactly the same as the rails for the Keepers Foot Braces that come in the Pygmy kayak kits, so that they would fit on the internal studs that I epoxied and fiberglassed into the boat. That way, I could have my Slidelock foot braces, and the foot brace placement would be exactly to spec. As far as I can tell, both kits are made by the same company so I had high hopes. I am happy to say they fit the studs perfectly!
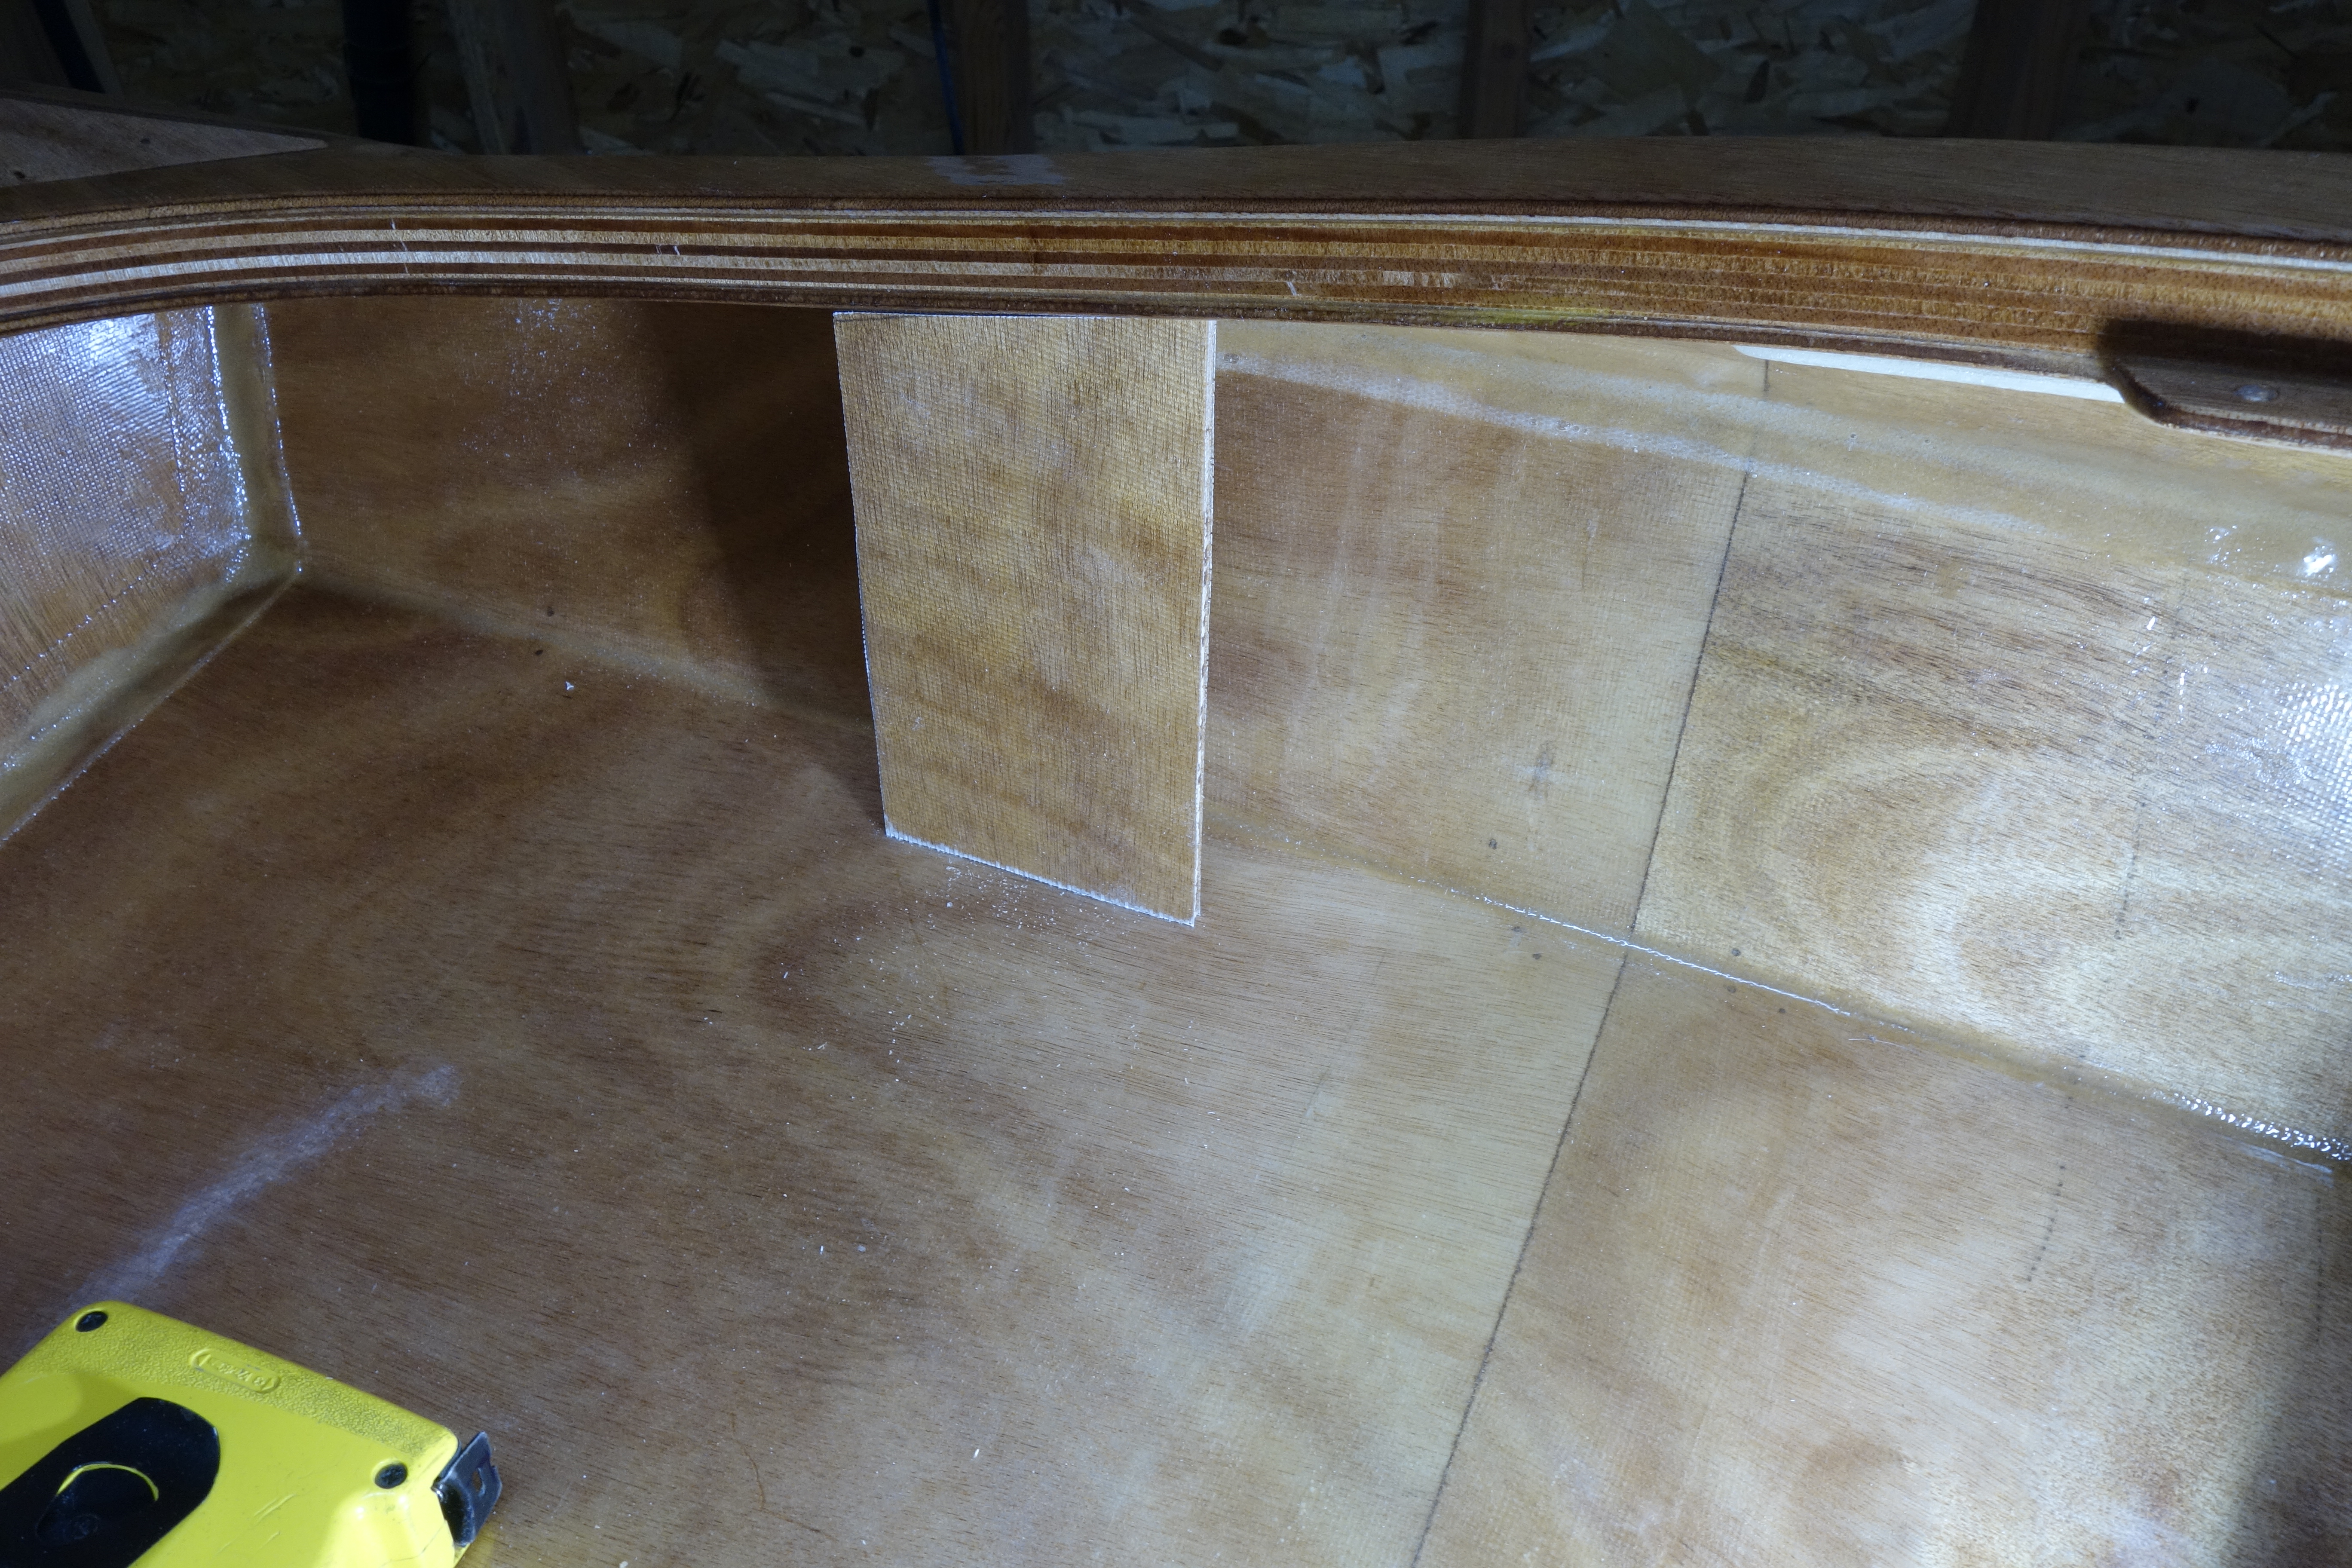
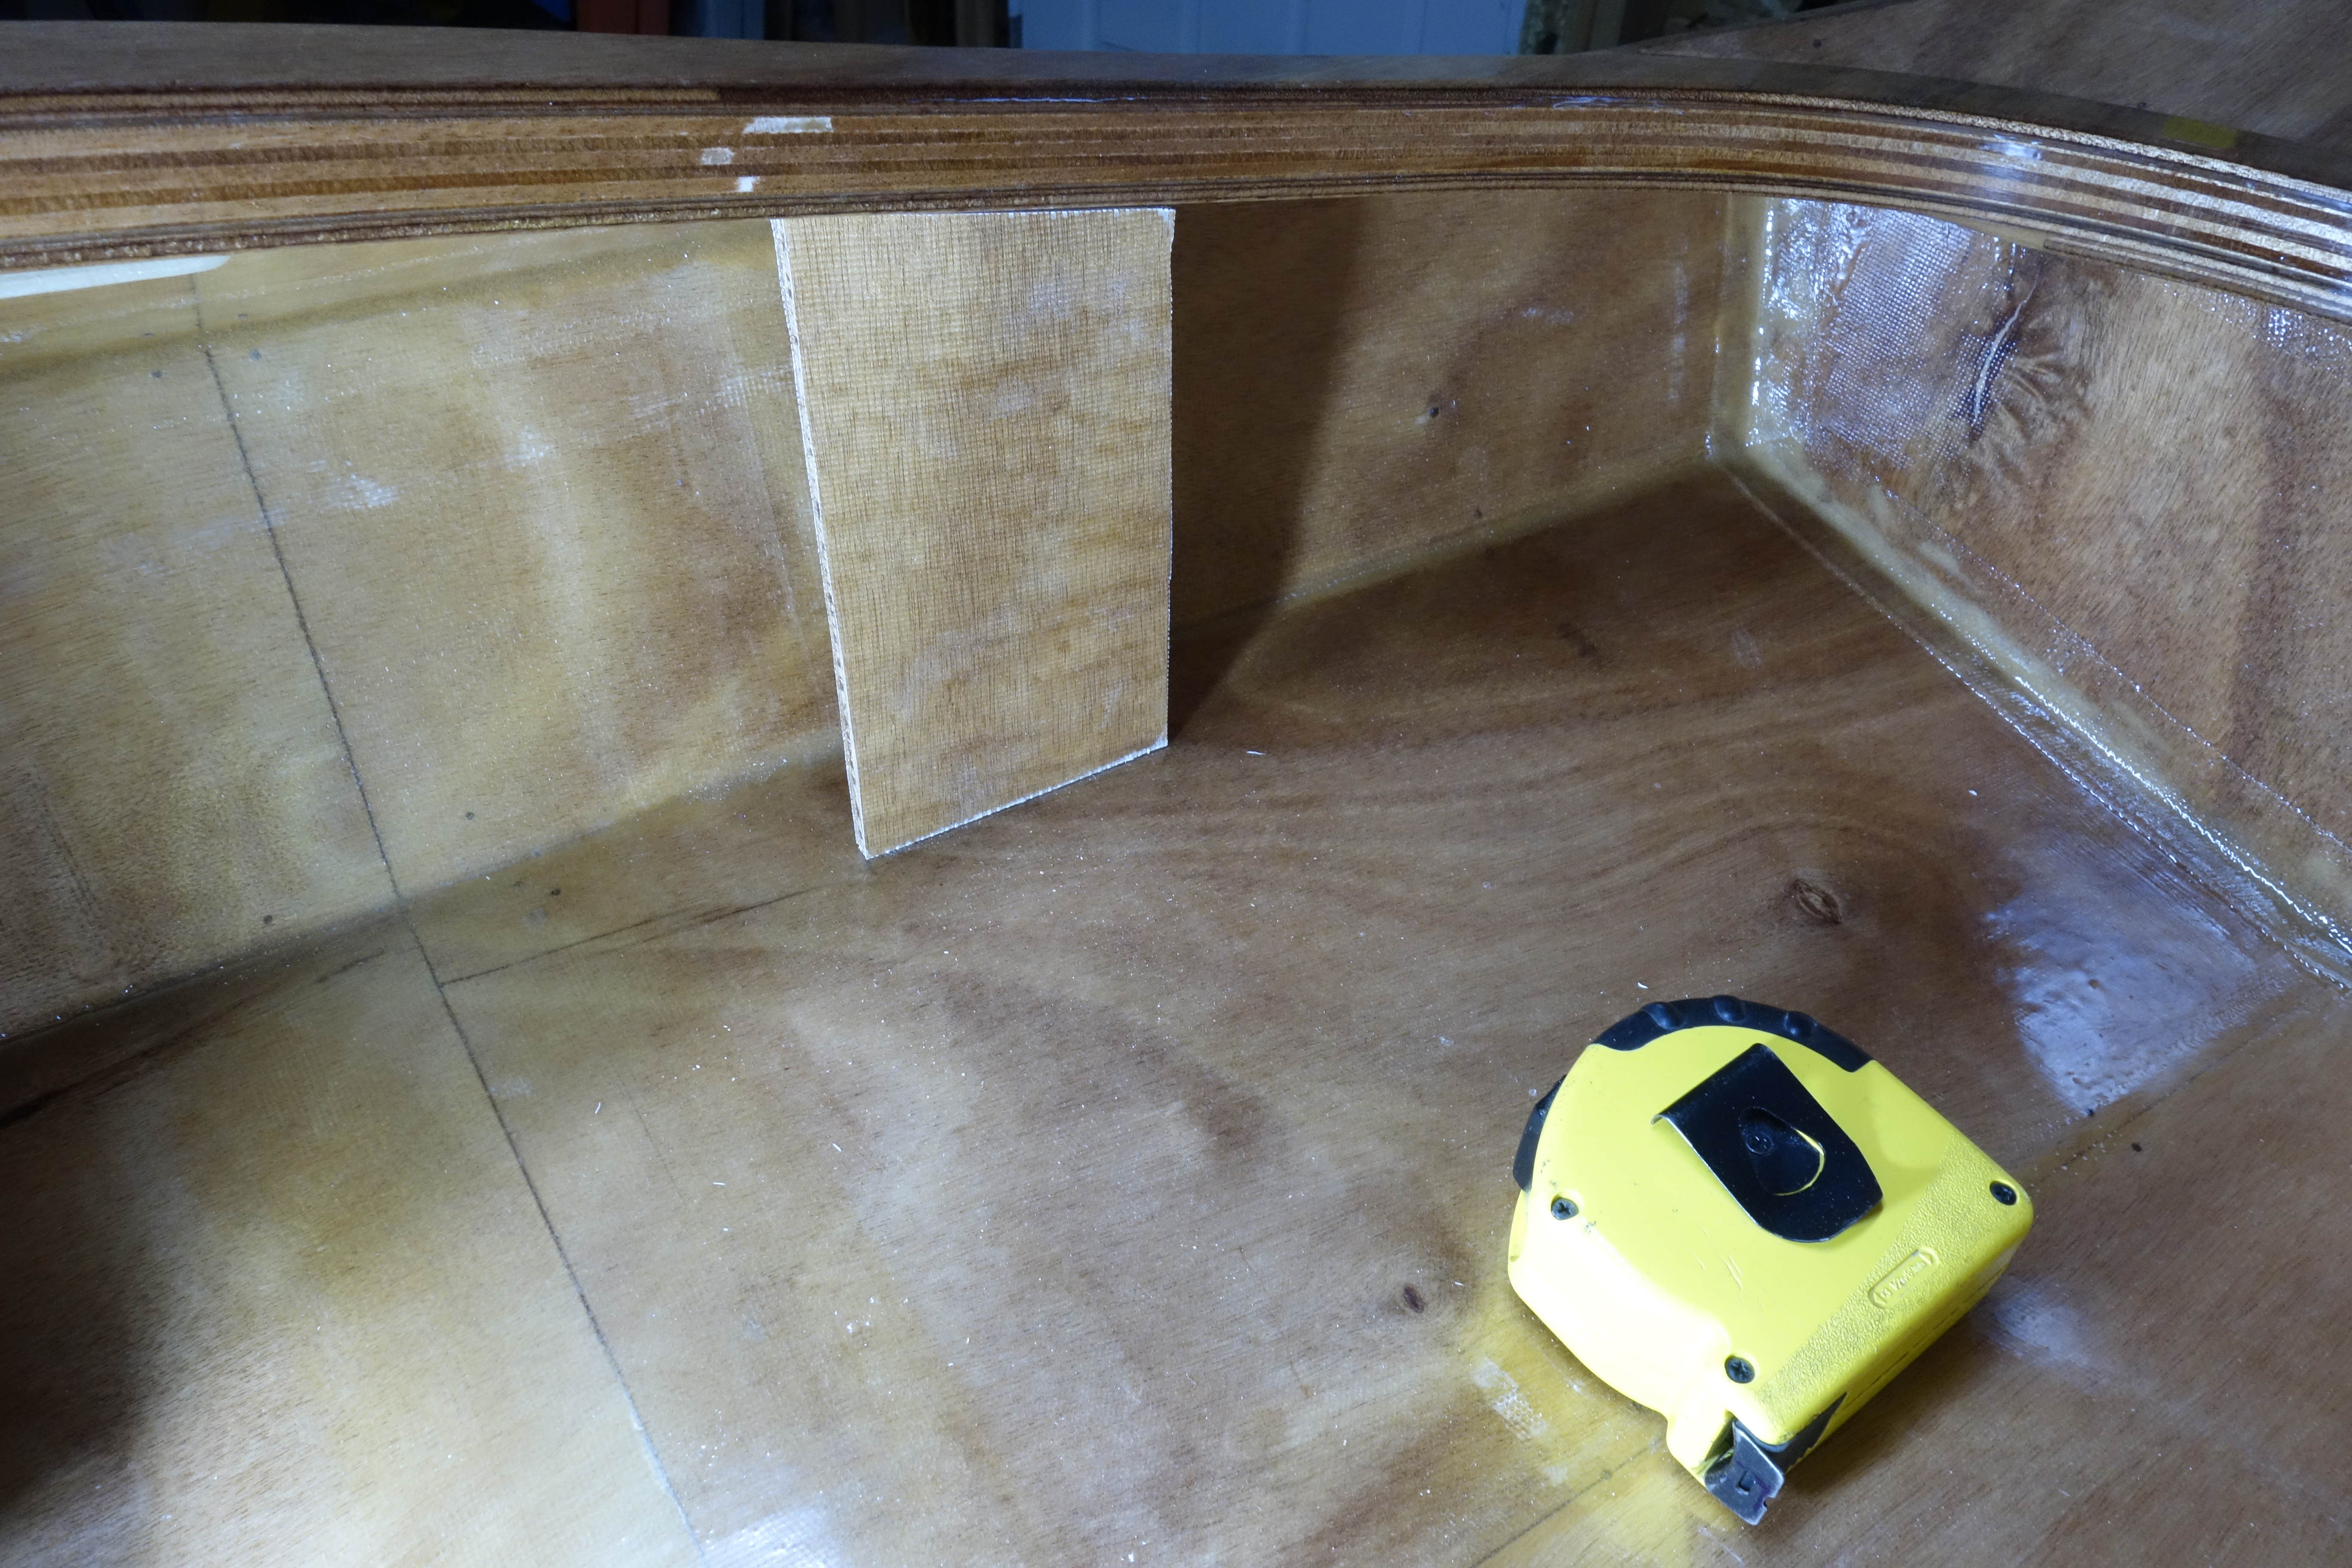
I was a bit worried that because the Slidelock rails stick out in front of the forward studs by a couple of inches, I wouldn’t have room to position the bulkhead far enough forward to clear the rails, but not so far forward that it would interfere with the hatch opening (a pretty small window actually). I dry fit (sort-of) the bulkhead and it looks like it’s going to work fine. The bulkhead needs to be filed down to fit a bit further forward, and much better than it fits now. It will be a tight fit, but I am confident it will work. Worst case scenario if the bulkhead winds up too close to the hatch opening, I may have to trim the rails where they stick out in front of the studs. I should be able to do this without worrying about the foot braces sliding off the front end of the rail because the bulkhead would stop them! But I’ll know more after I get the bulkhead trimmed and see exactly where it lands.
Here’s both of the Slidelock rails in place with the bulkhead out. Man, the flash sure shows the sanding dust! Time to vacuum!These seemed very reasonably priced to me, and I’m very happy that they will bolt right in.
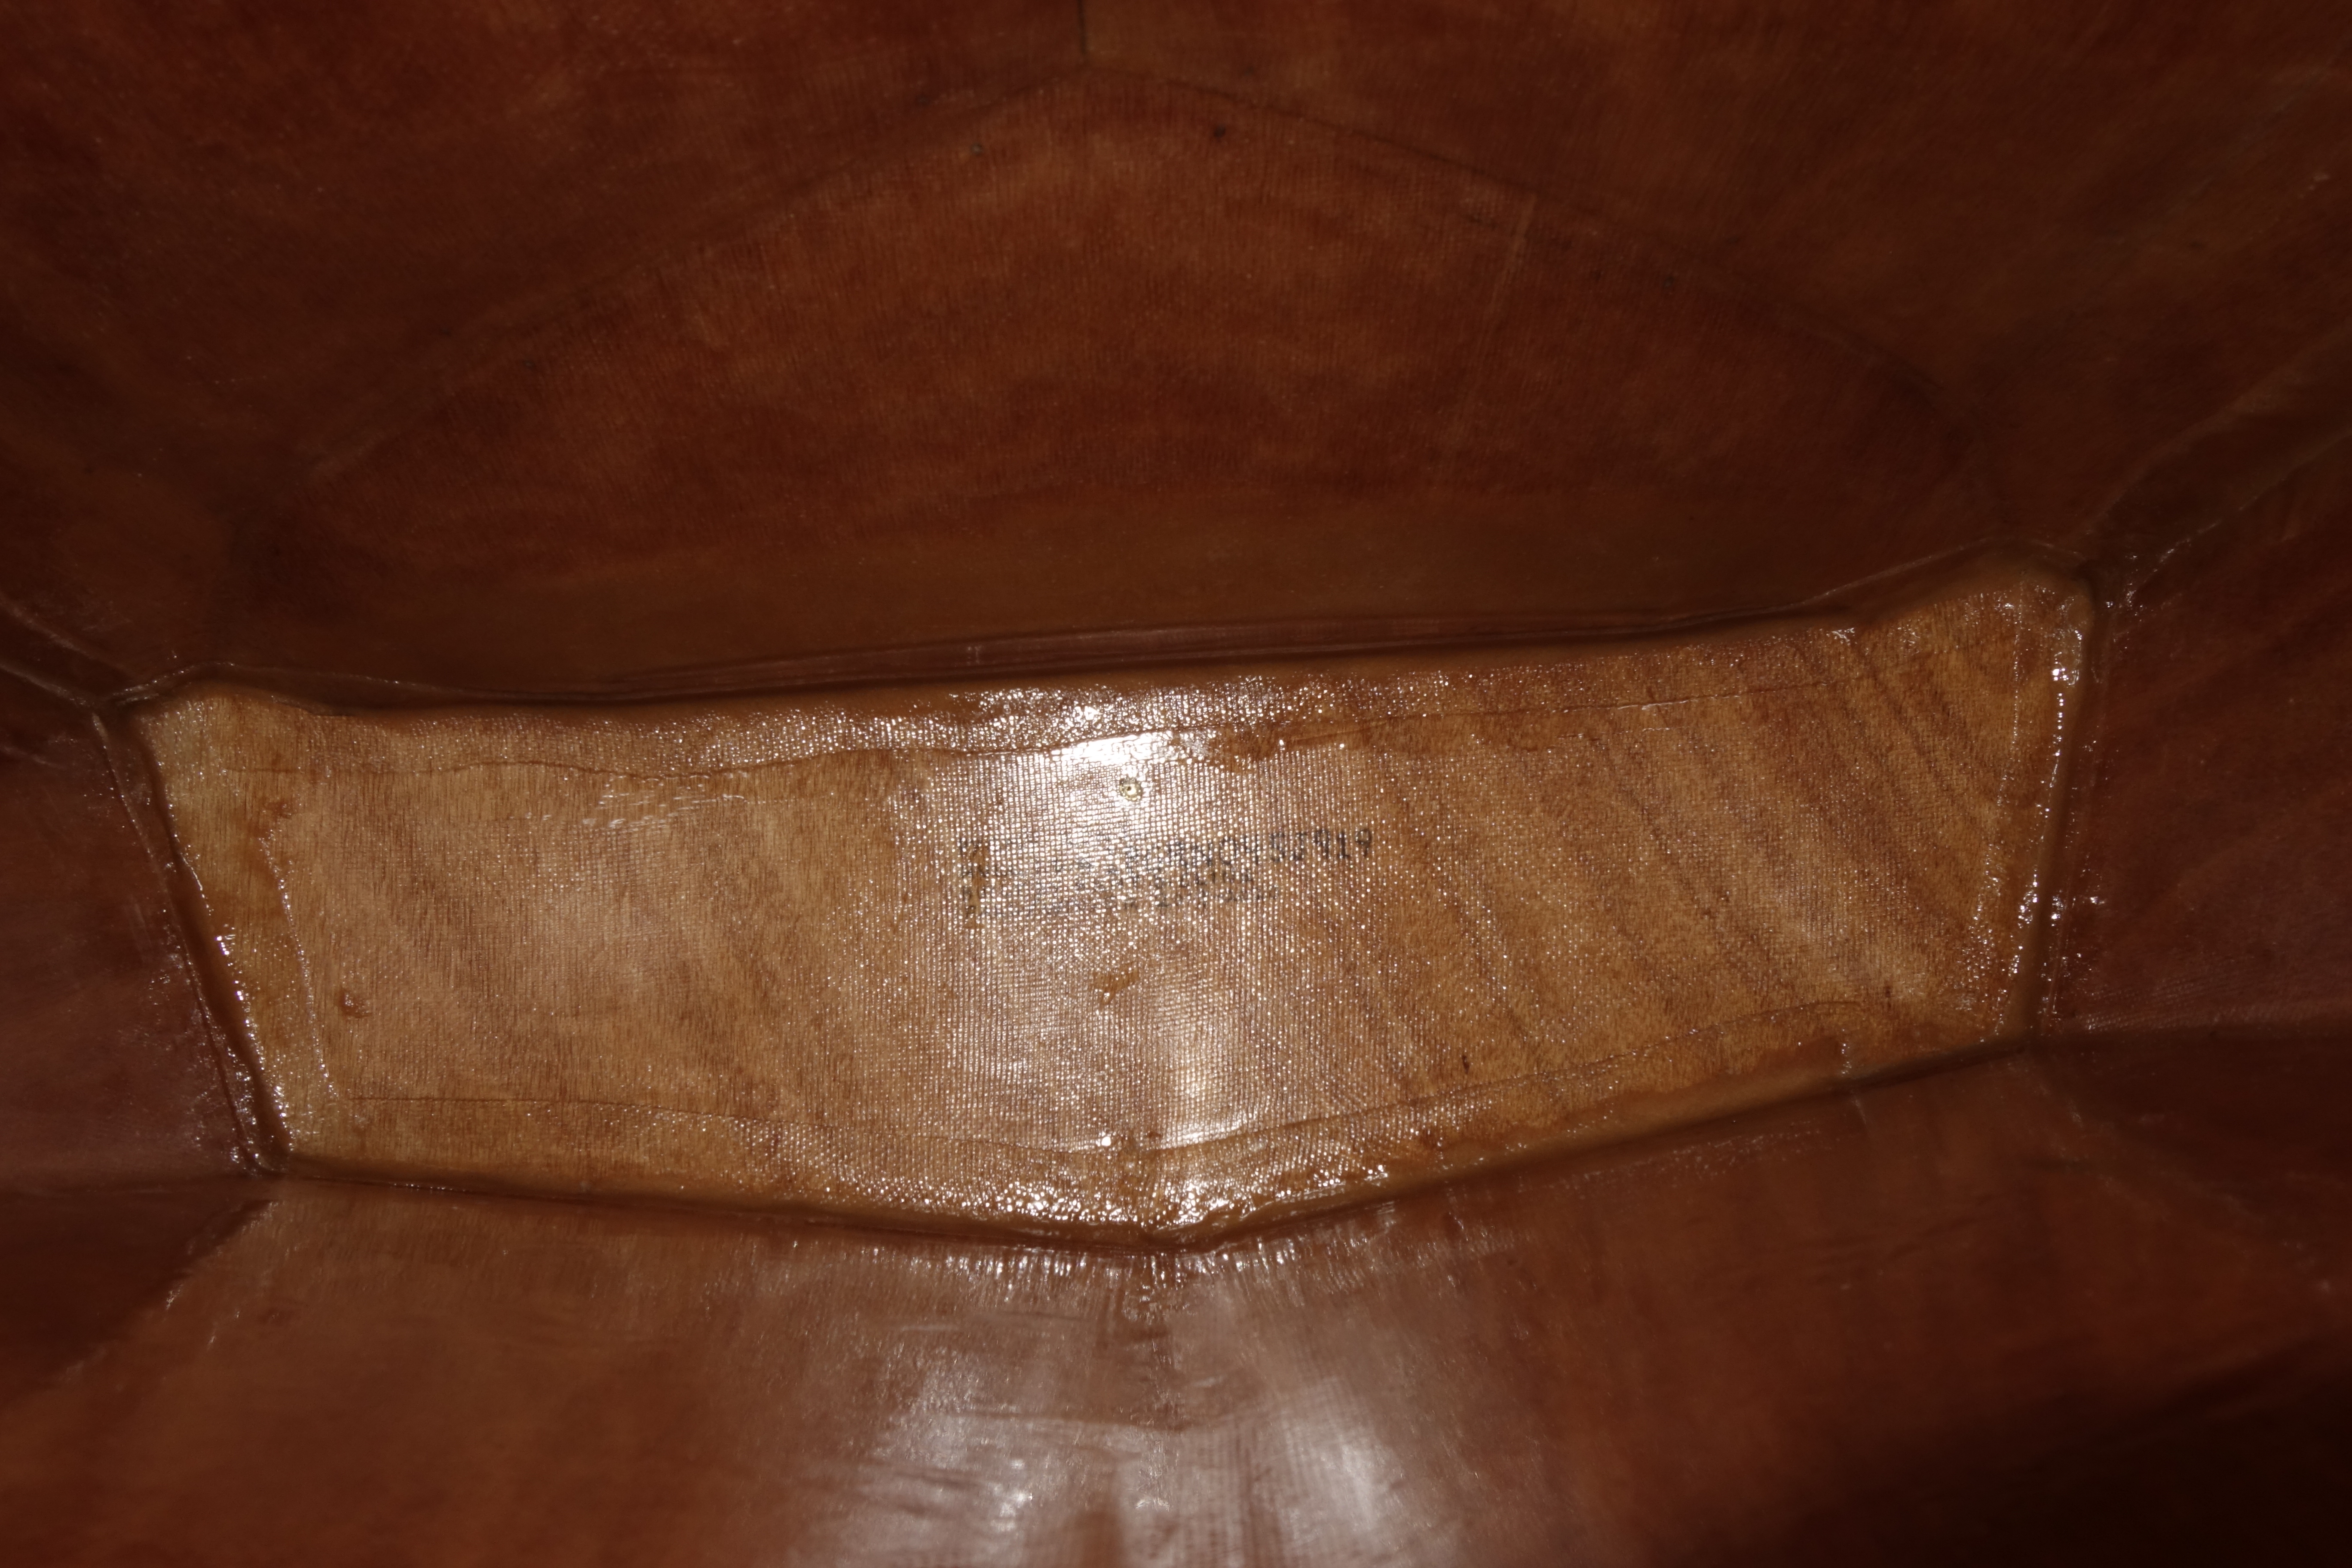
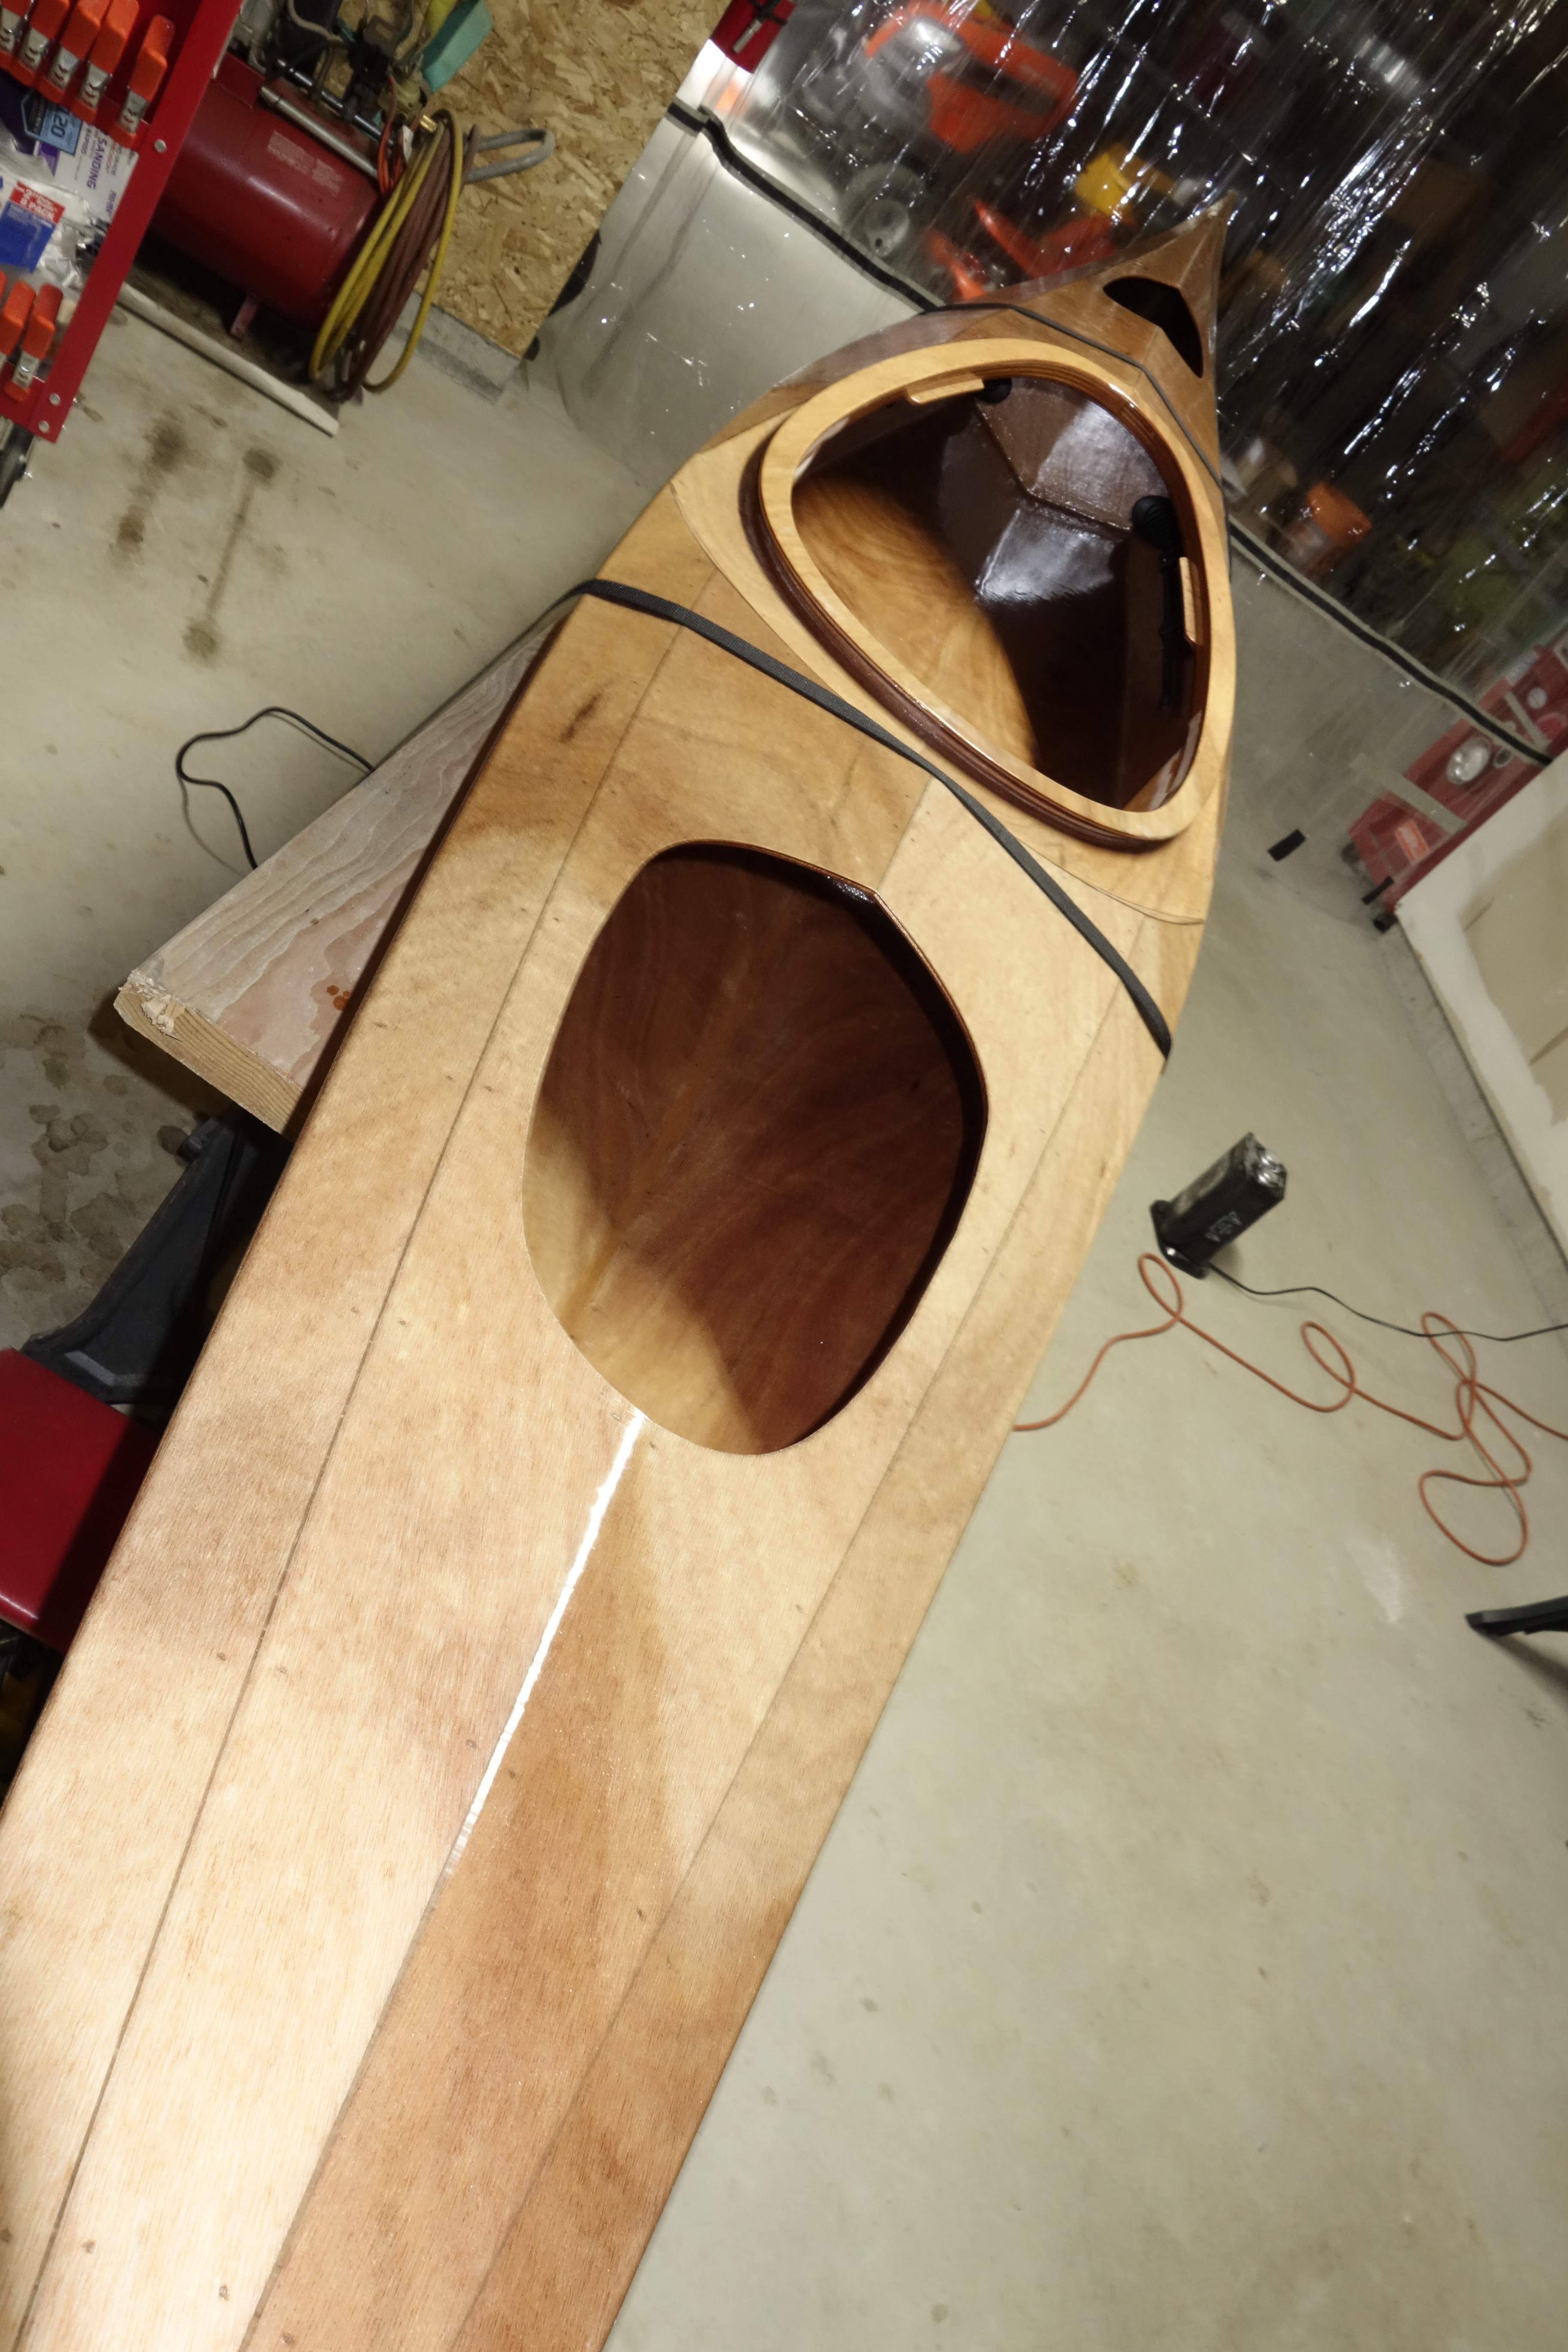
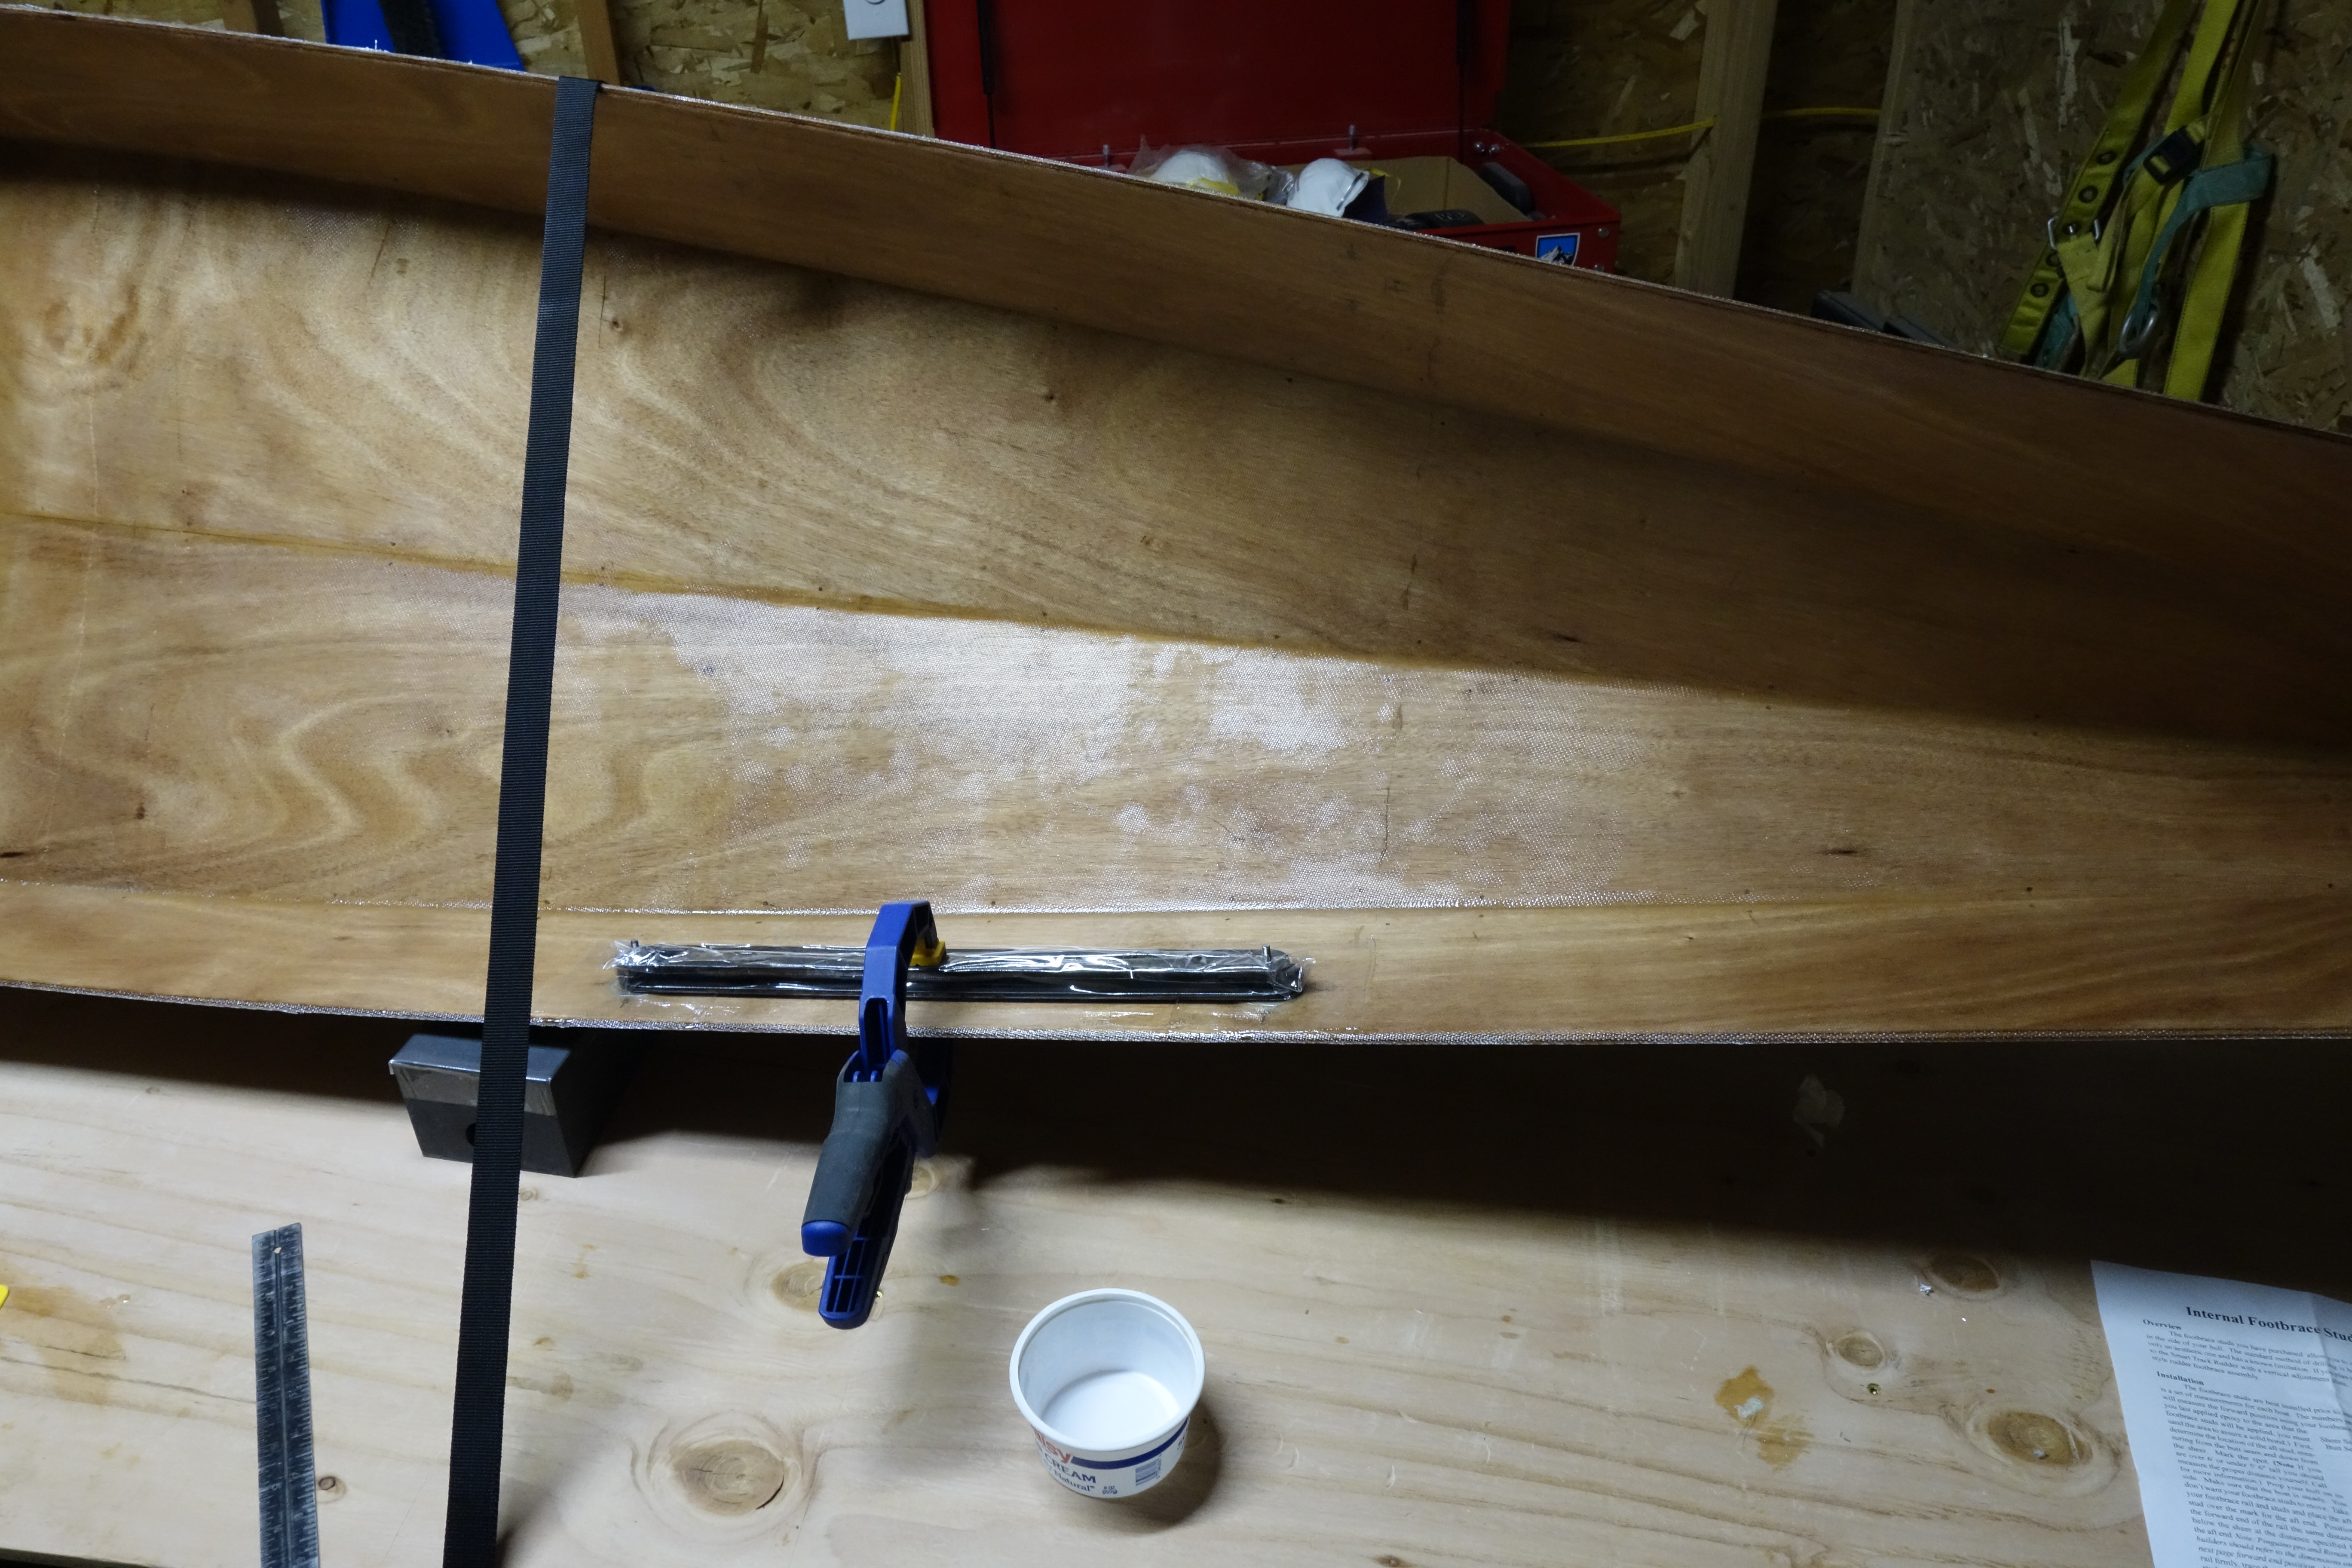
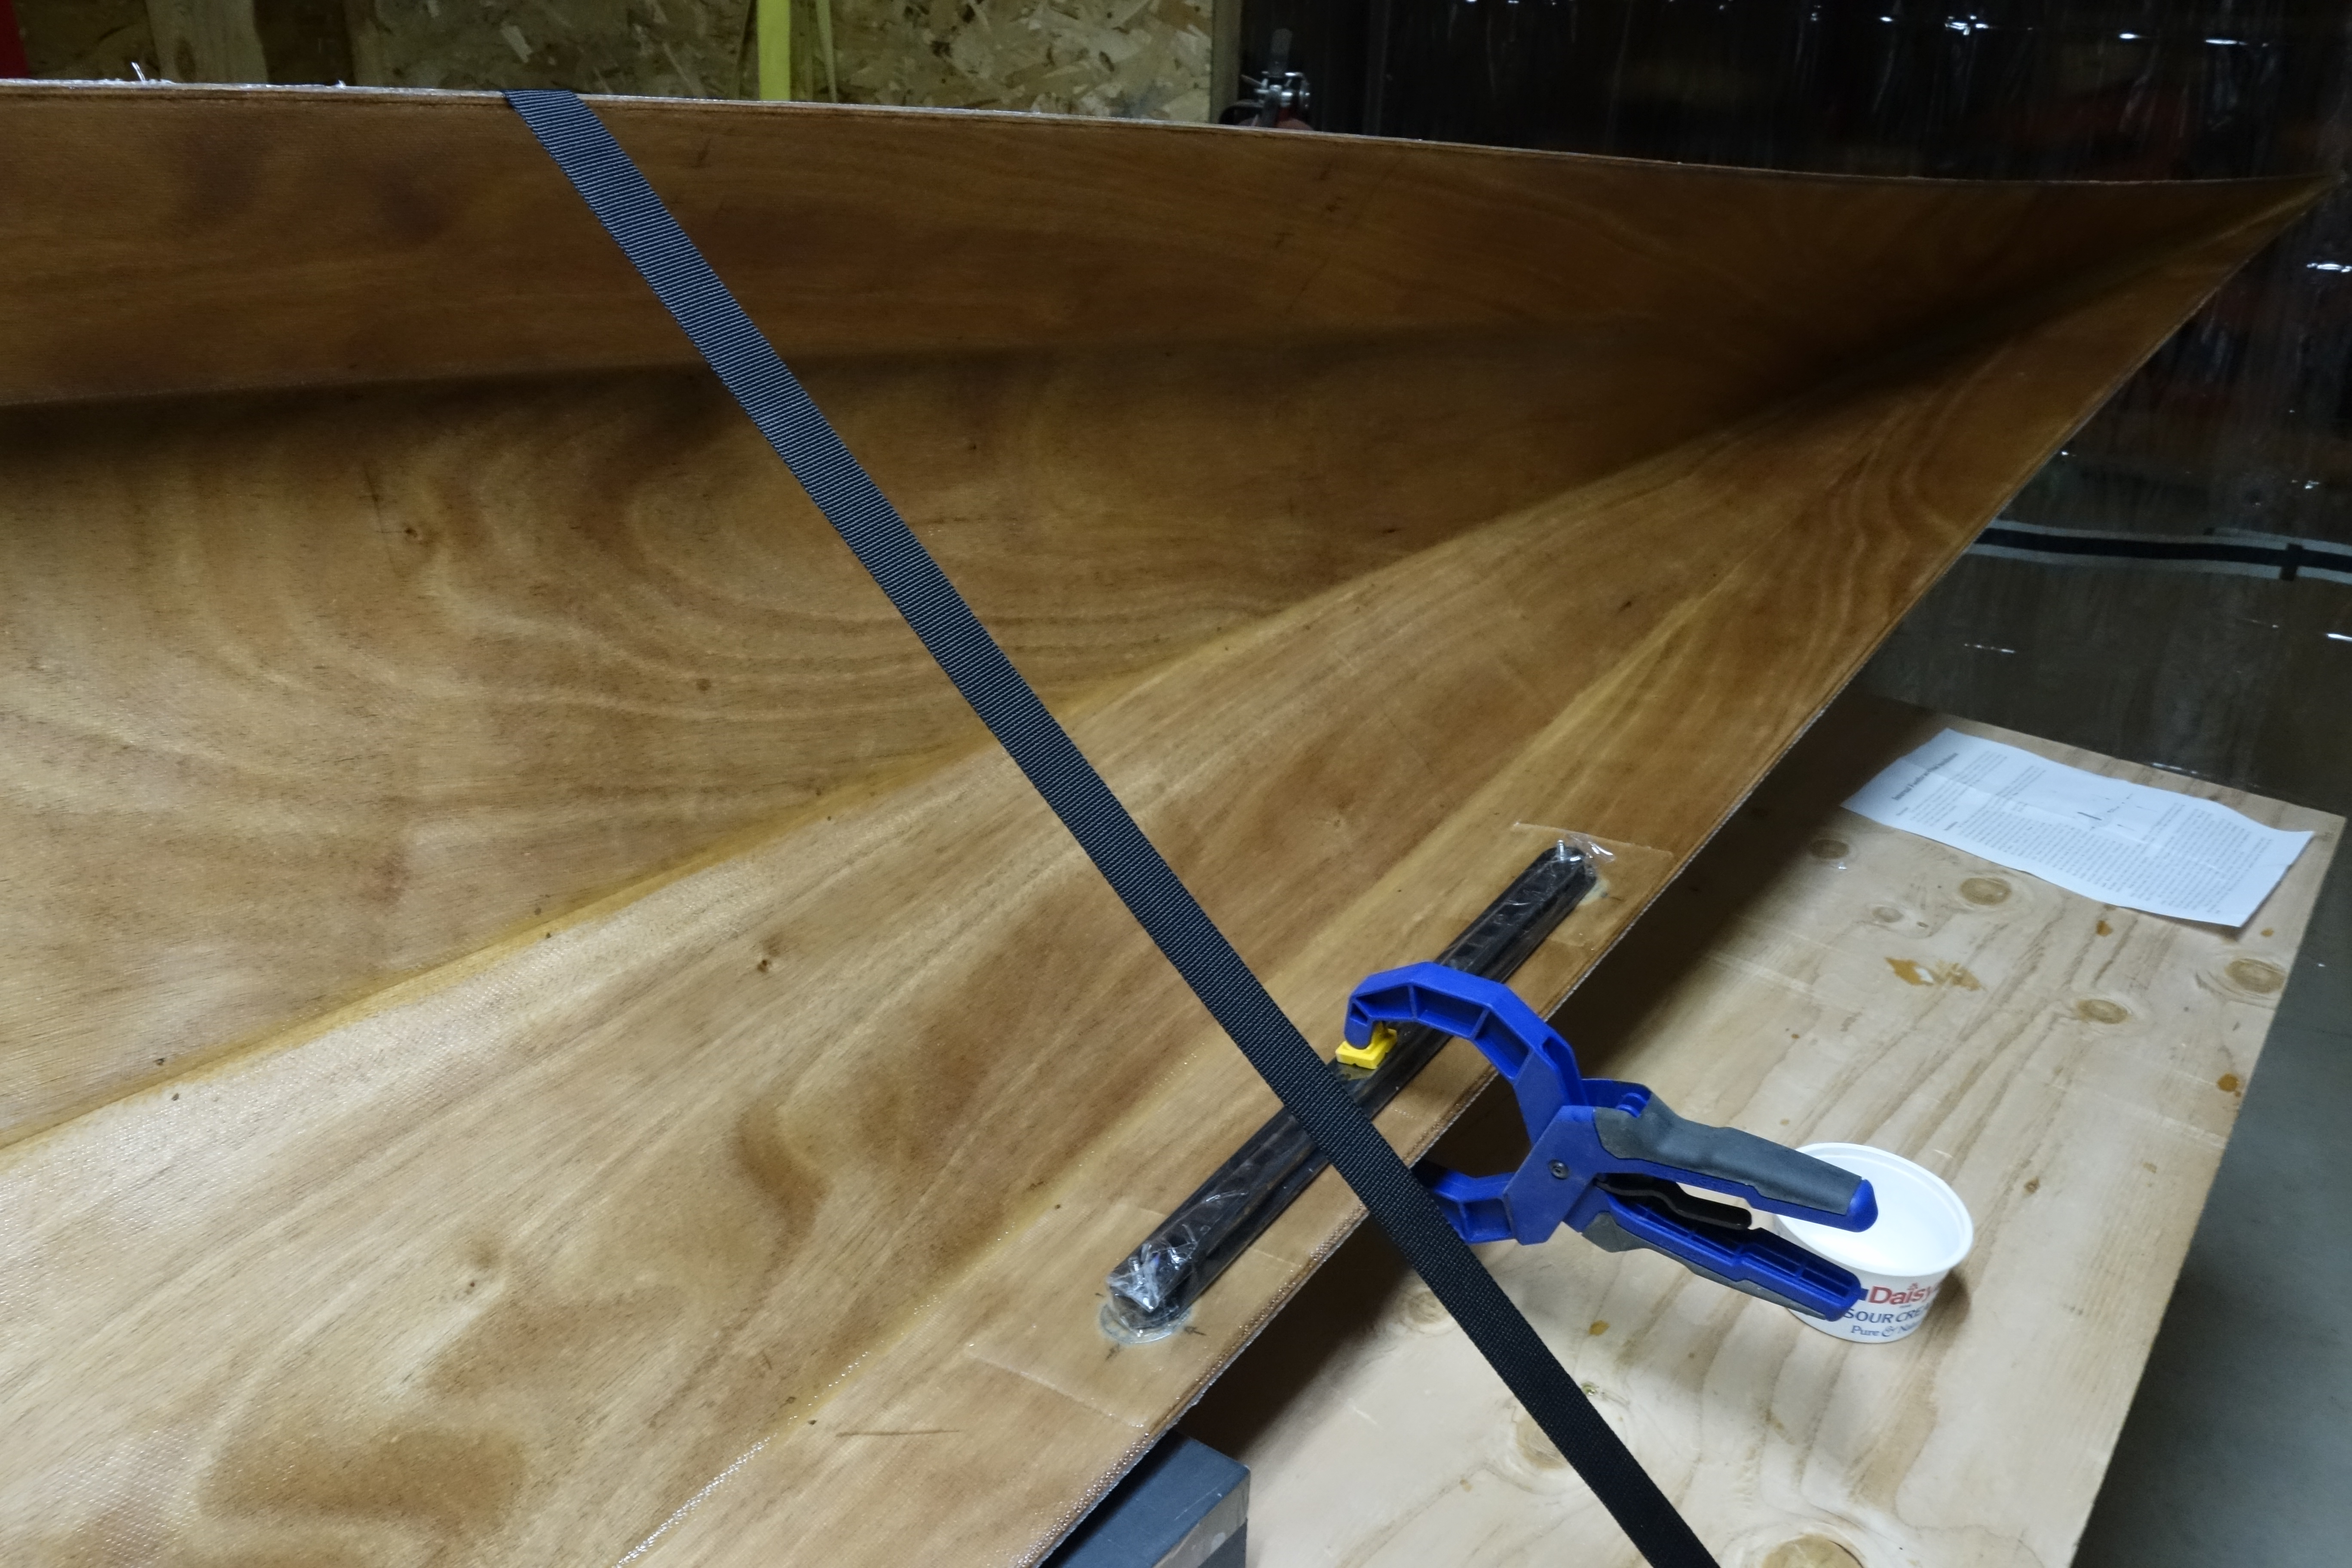
Rather than eventually drilling holes through the hull to mount the foot brace rails, Pygmy offers optional foot brace studs that are epoxied and fiberglassed to the inside of the hull during hull construction (as seen here). Not only is this aesthetically pleasing, it saves work in the future when the hull needs to be re-varnished because if the foot brace rails were held on by screws that went through the hull, the screws would have to be removed prior to sanding/re-varnishing, etc.
The foot brace rail is covered in packing tape so that epoxy won’t stick to it, and then after carefully measuring the placement location of the studs, the rail is used to ensure that they fit the rail exactly.