Hip braces done. Cockpit essentially finished.

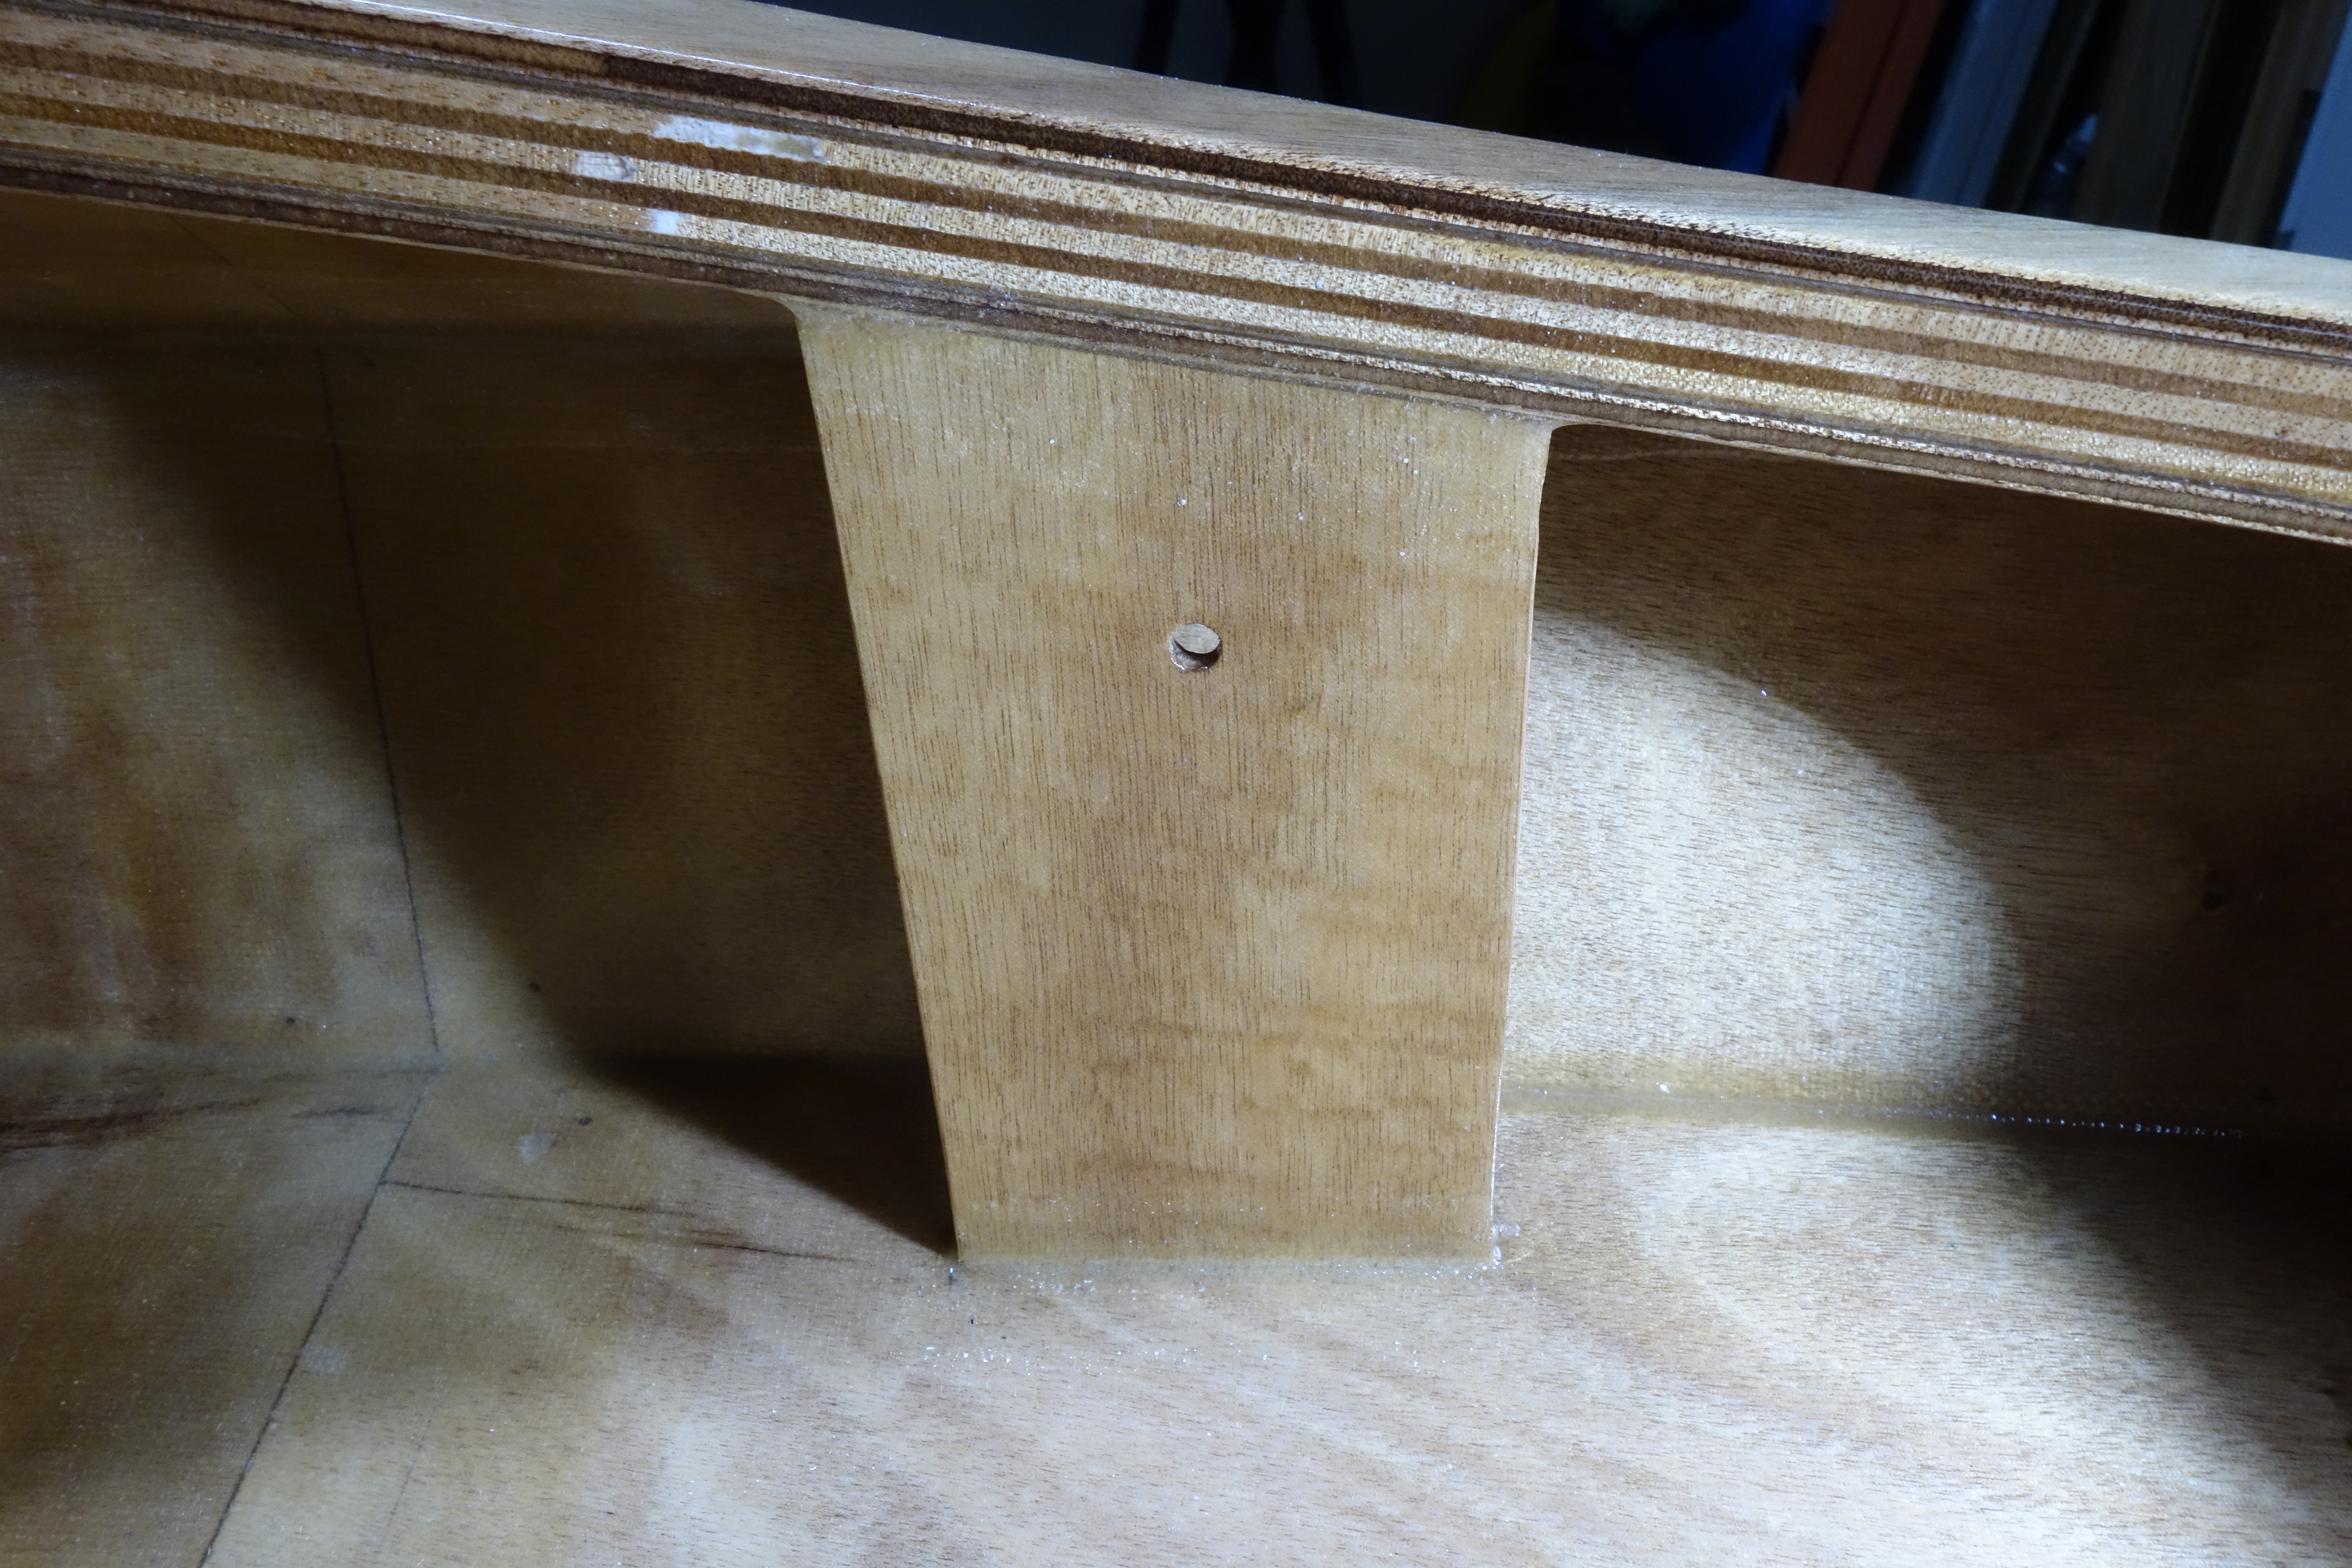
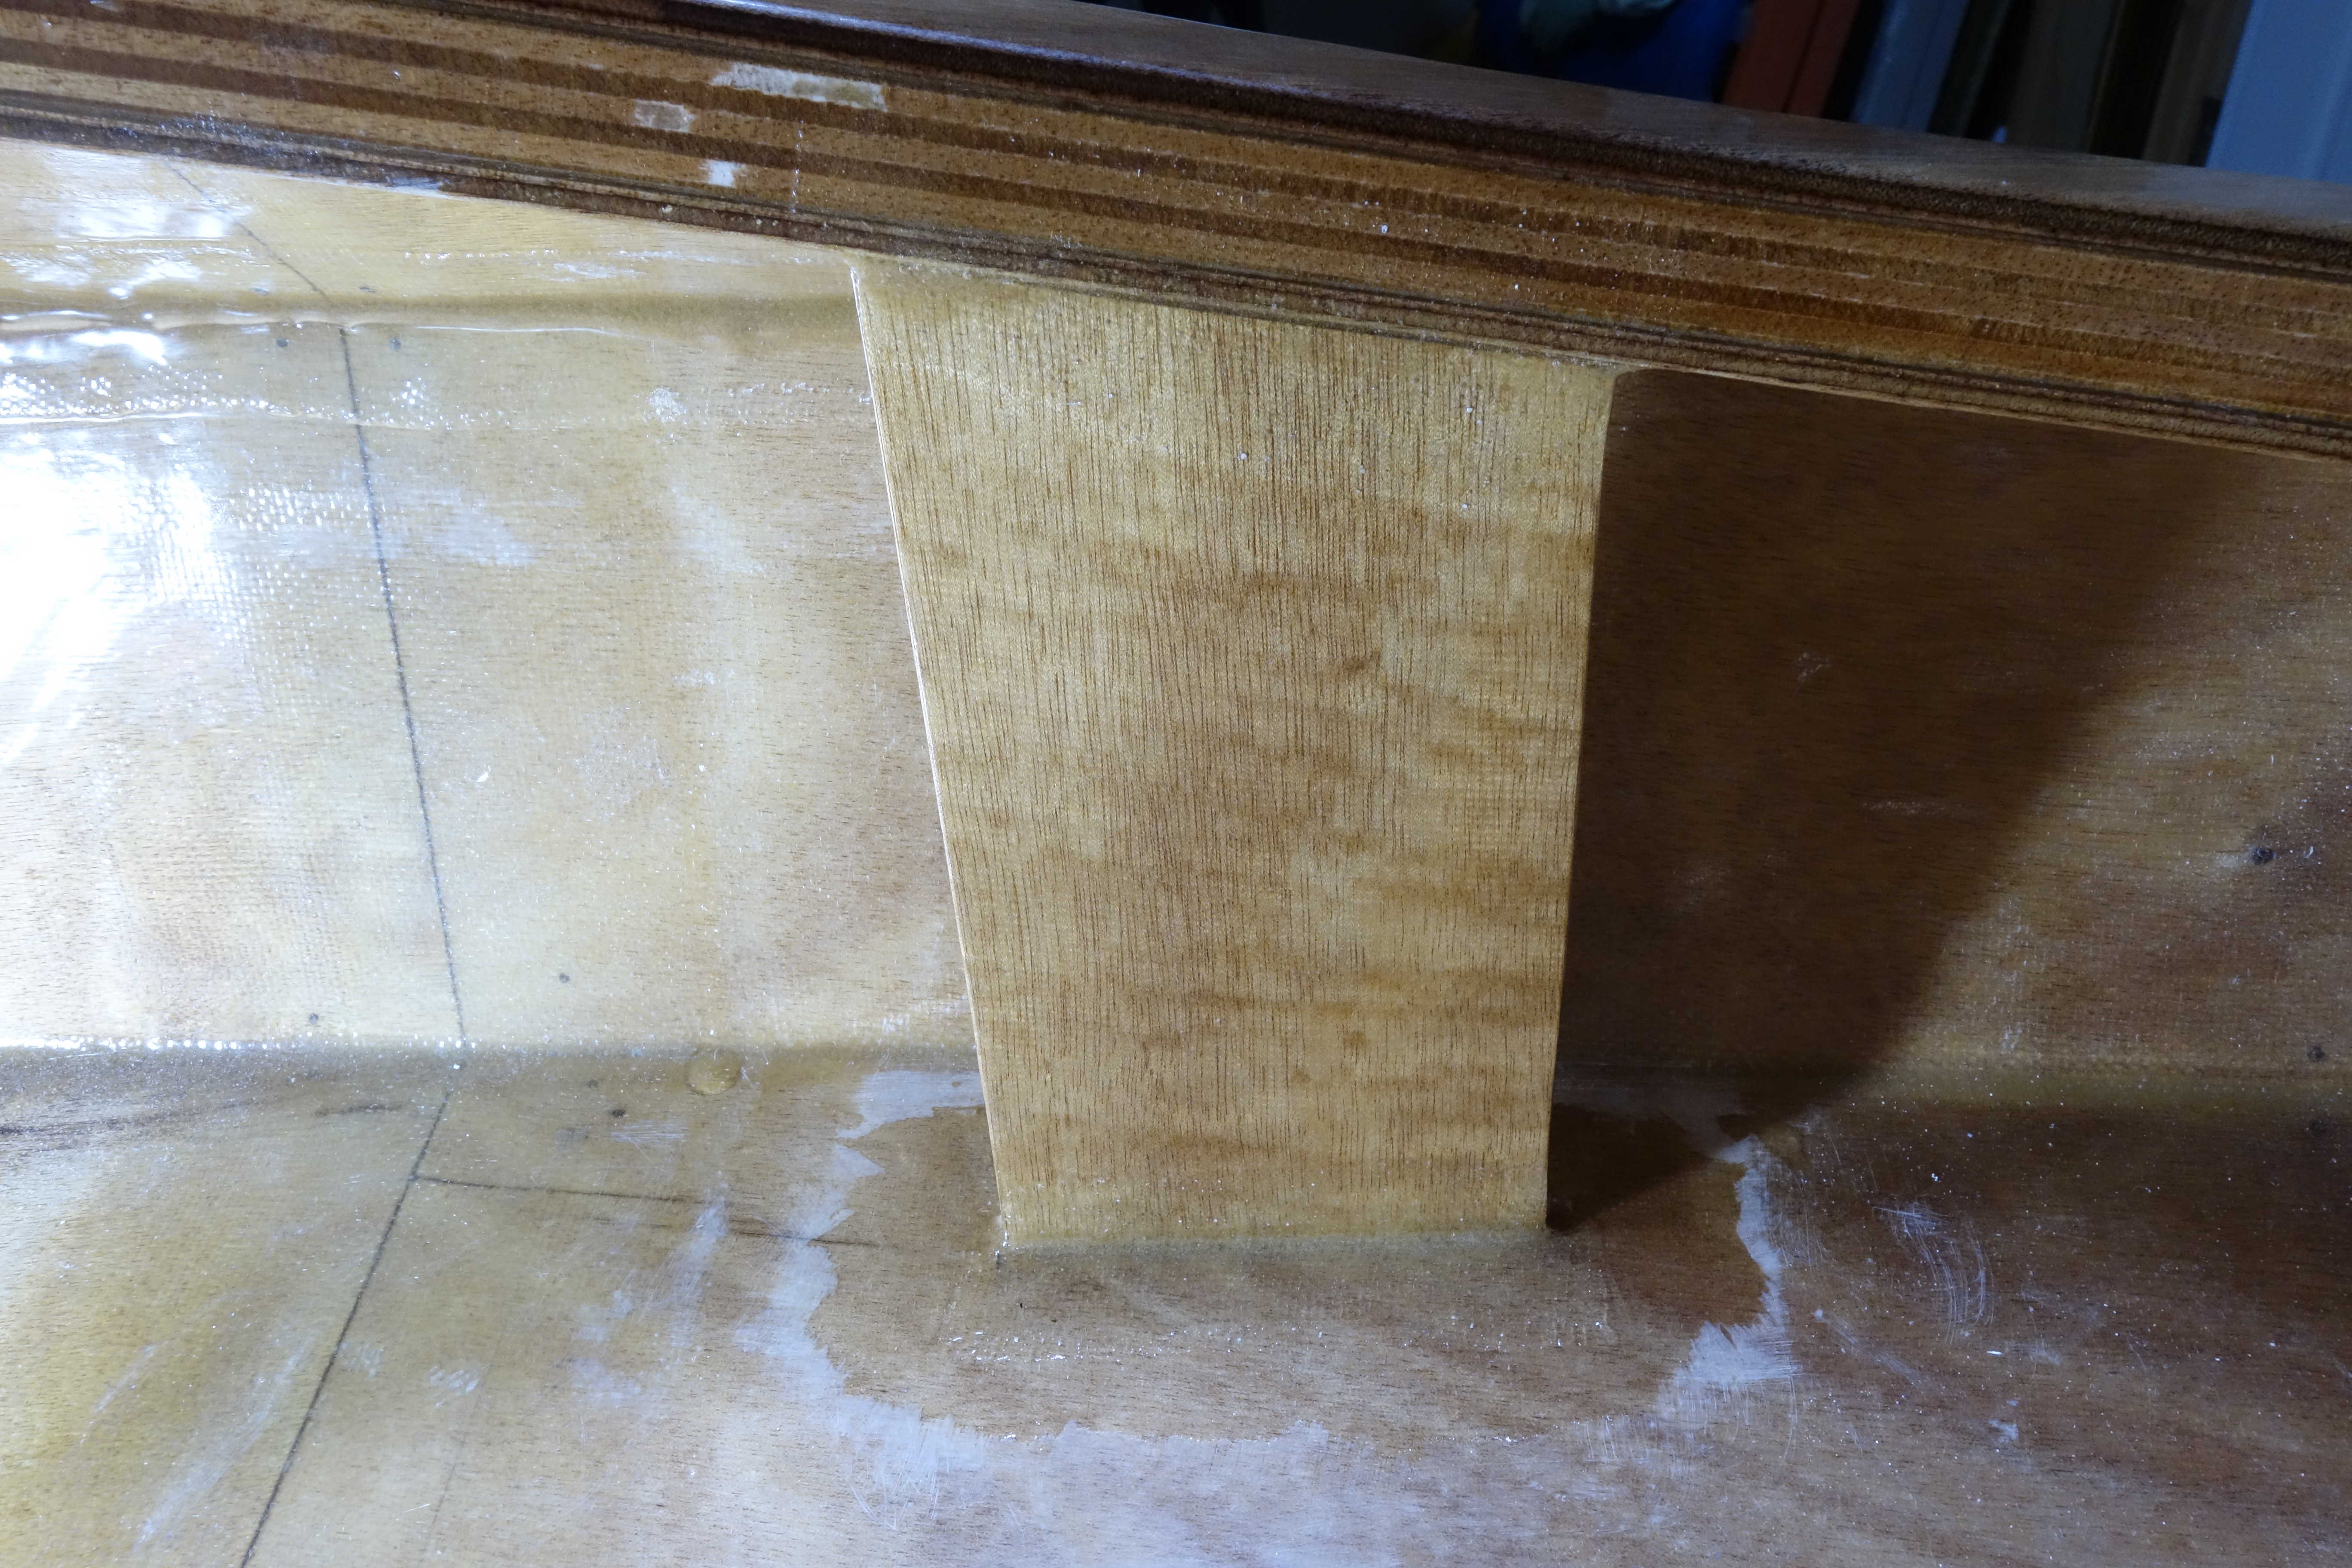
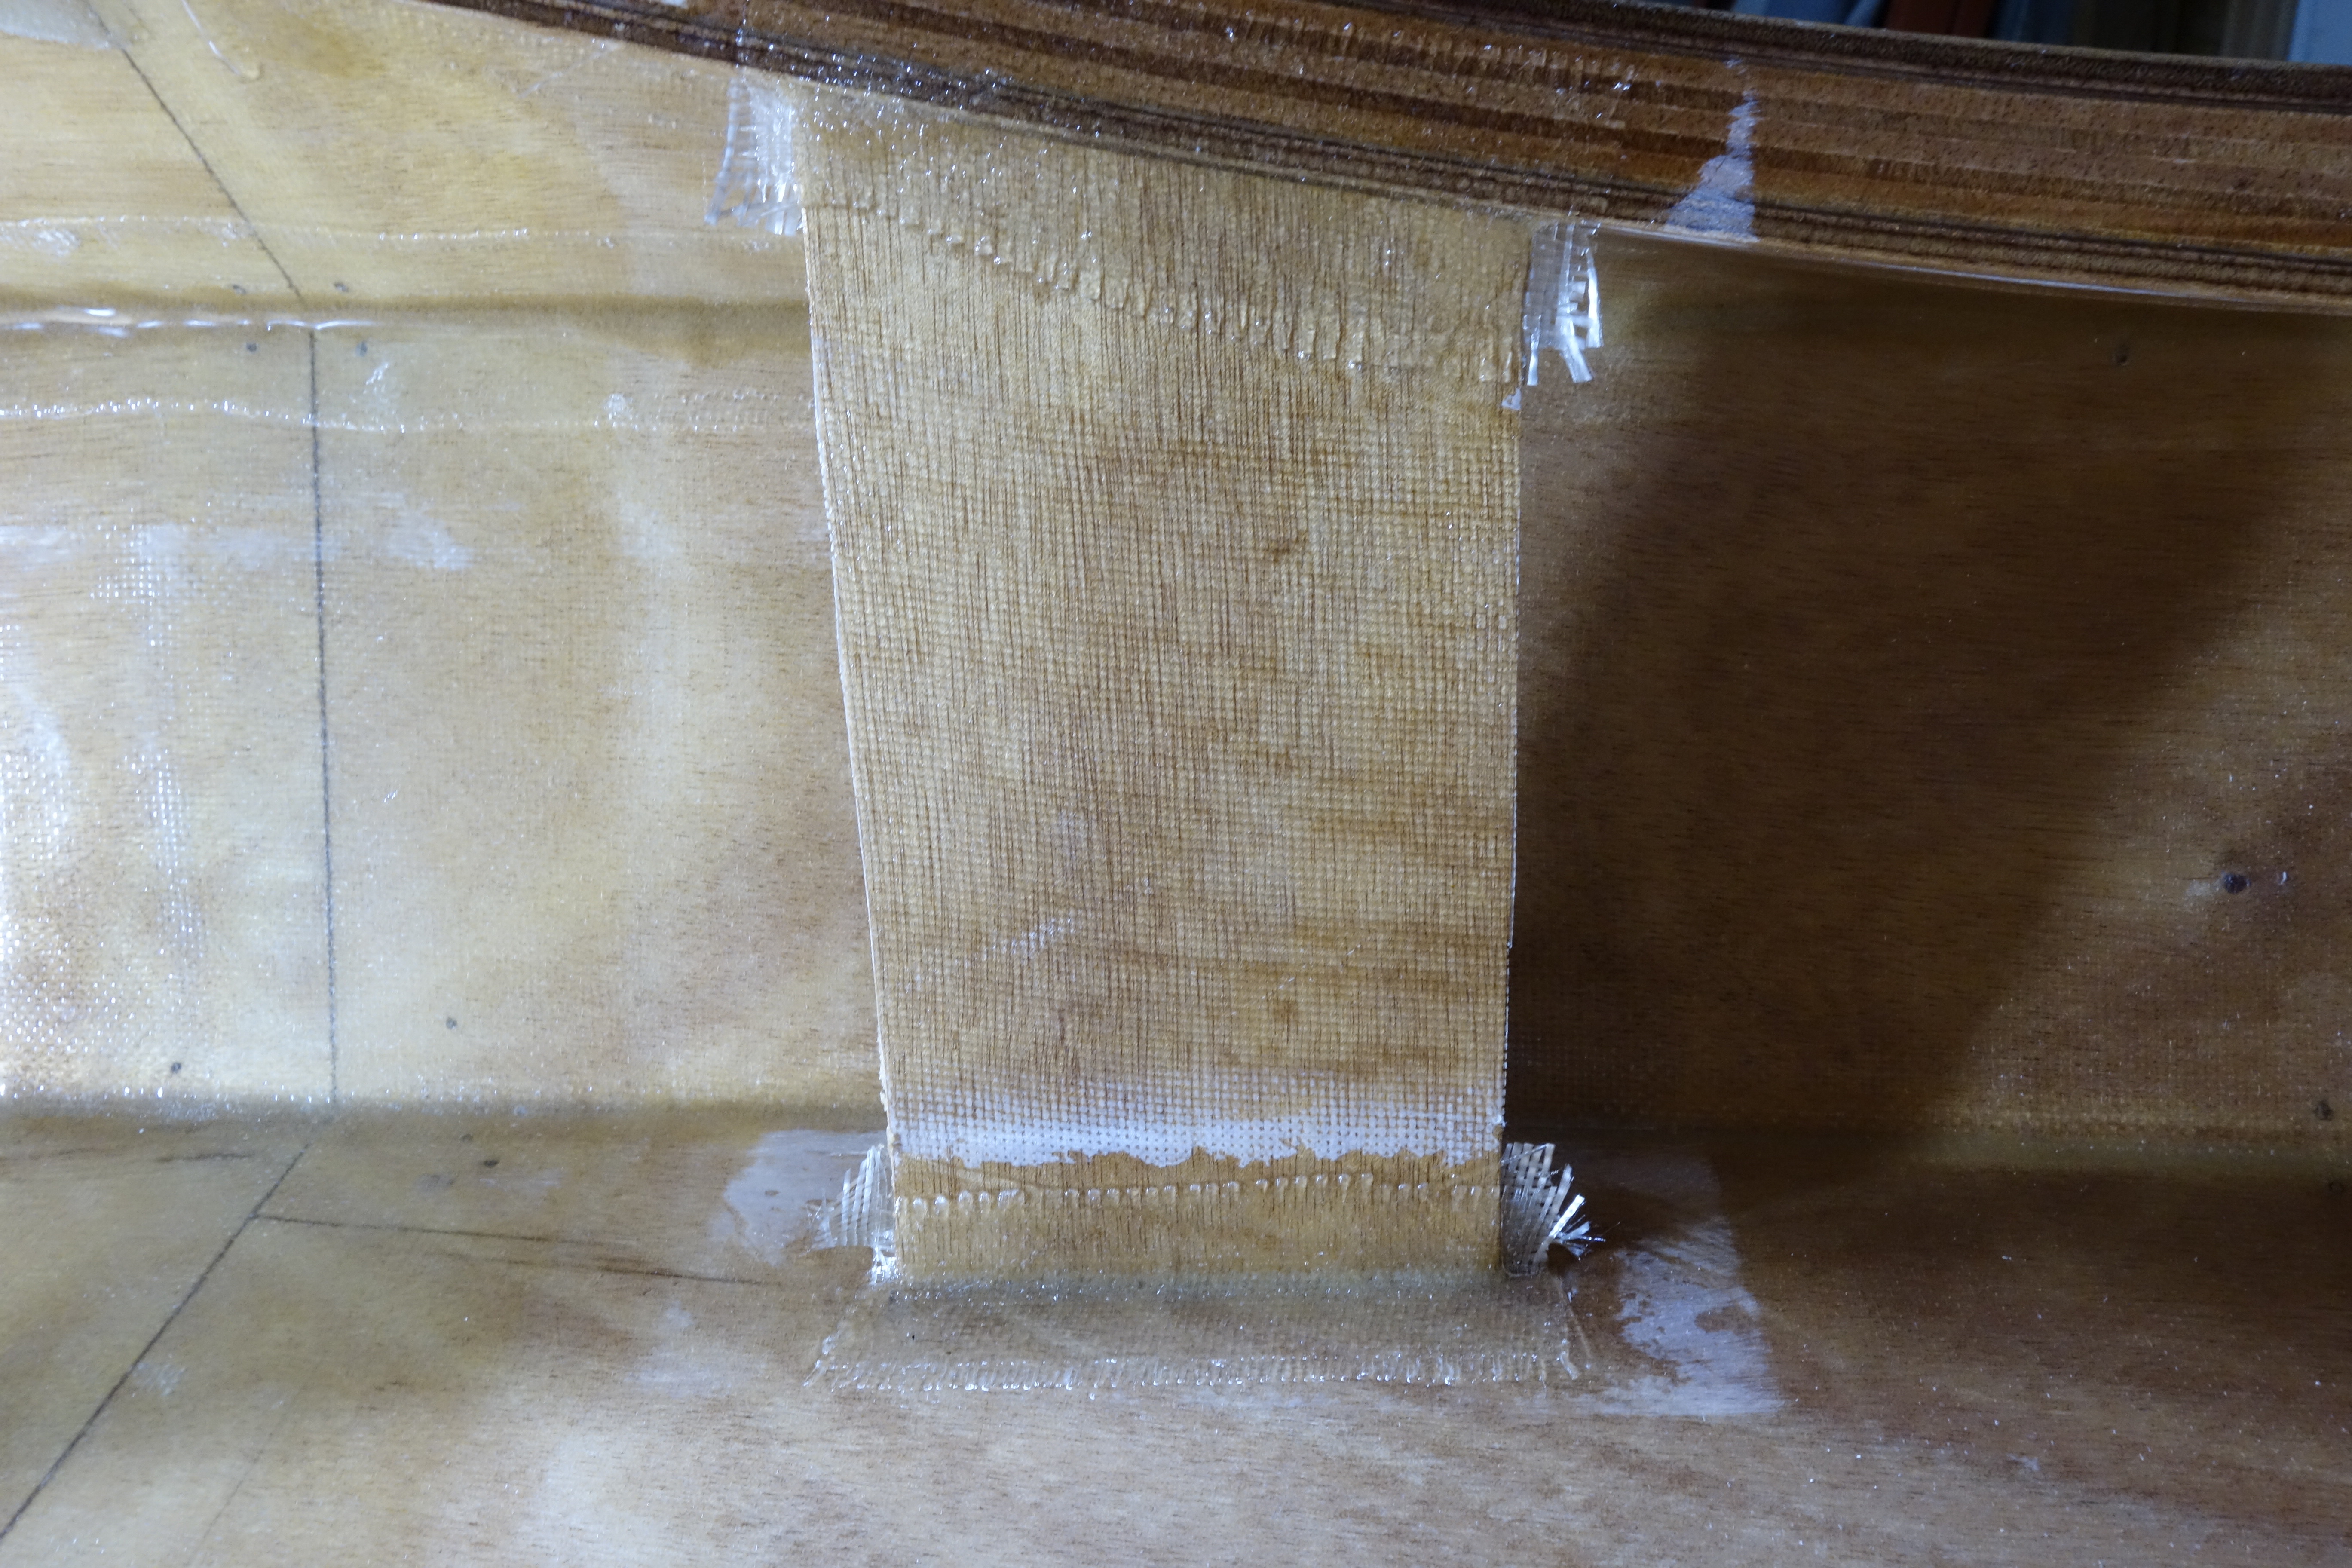
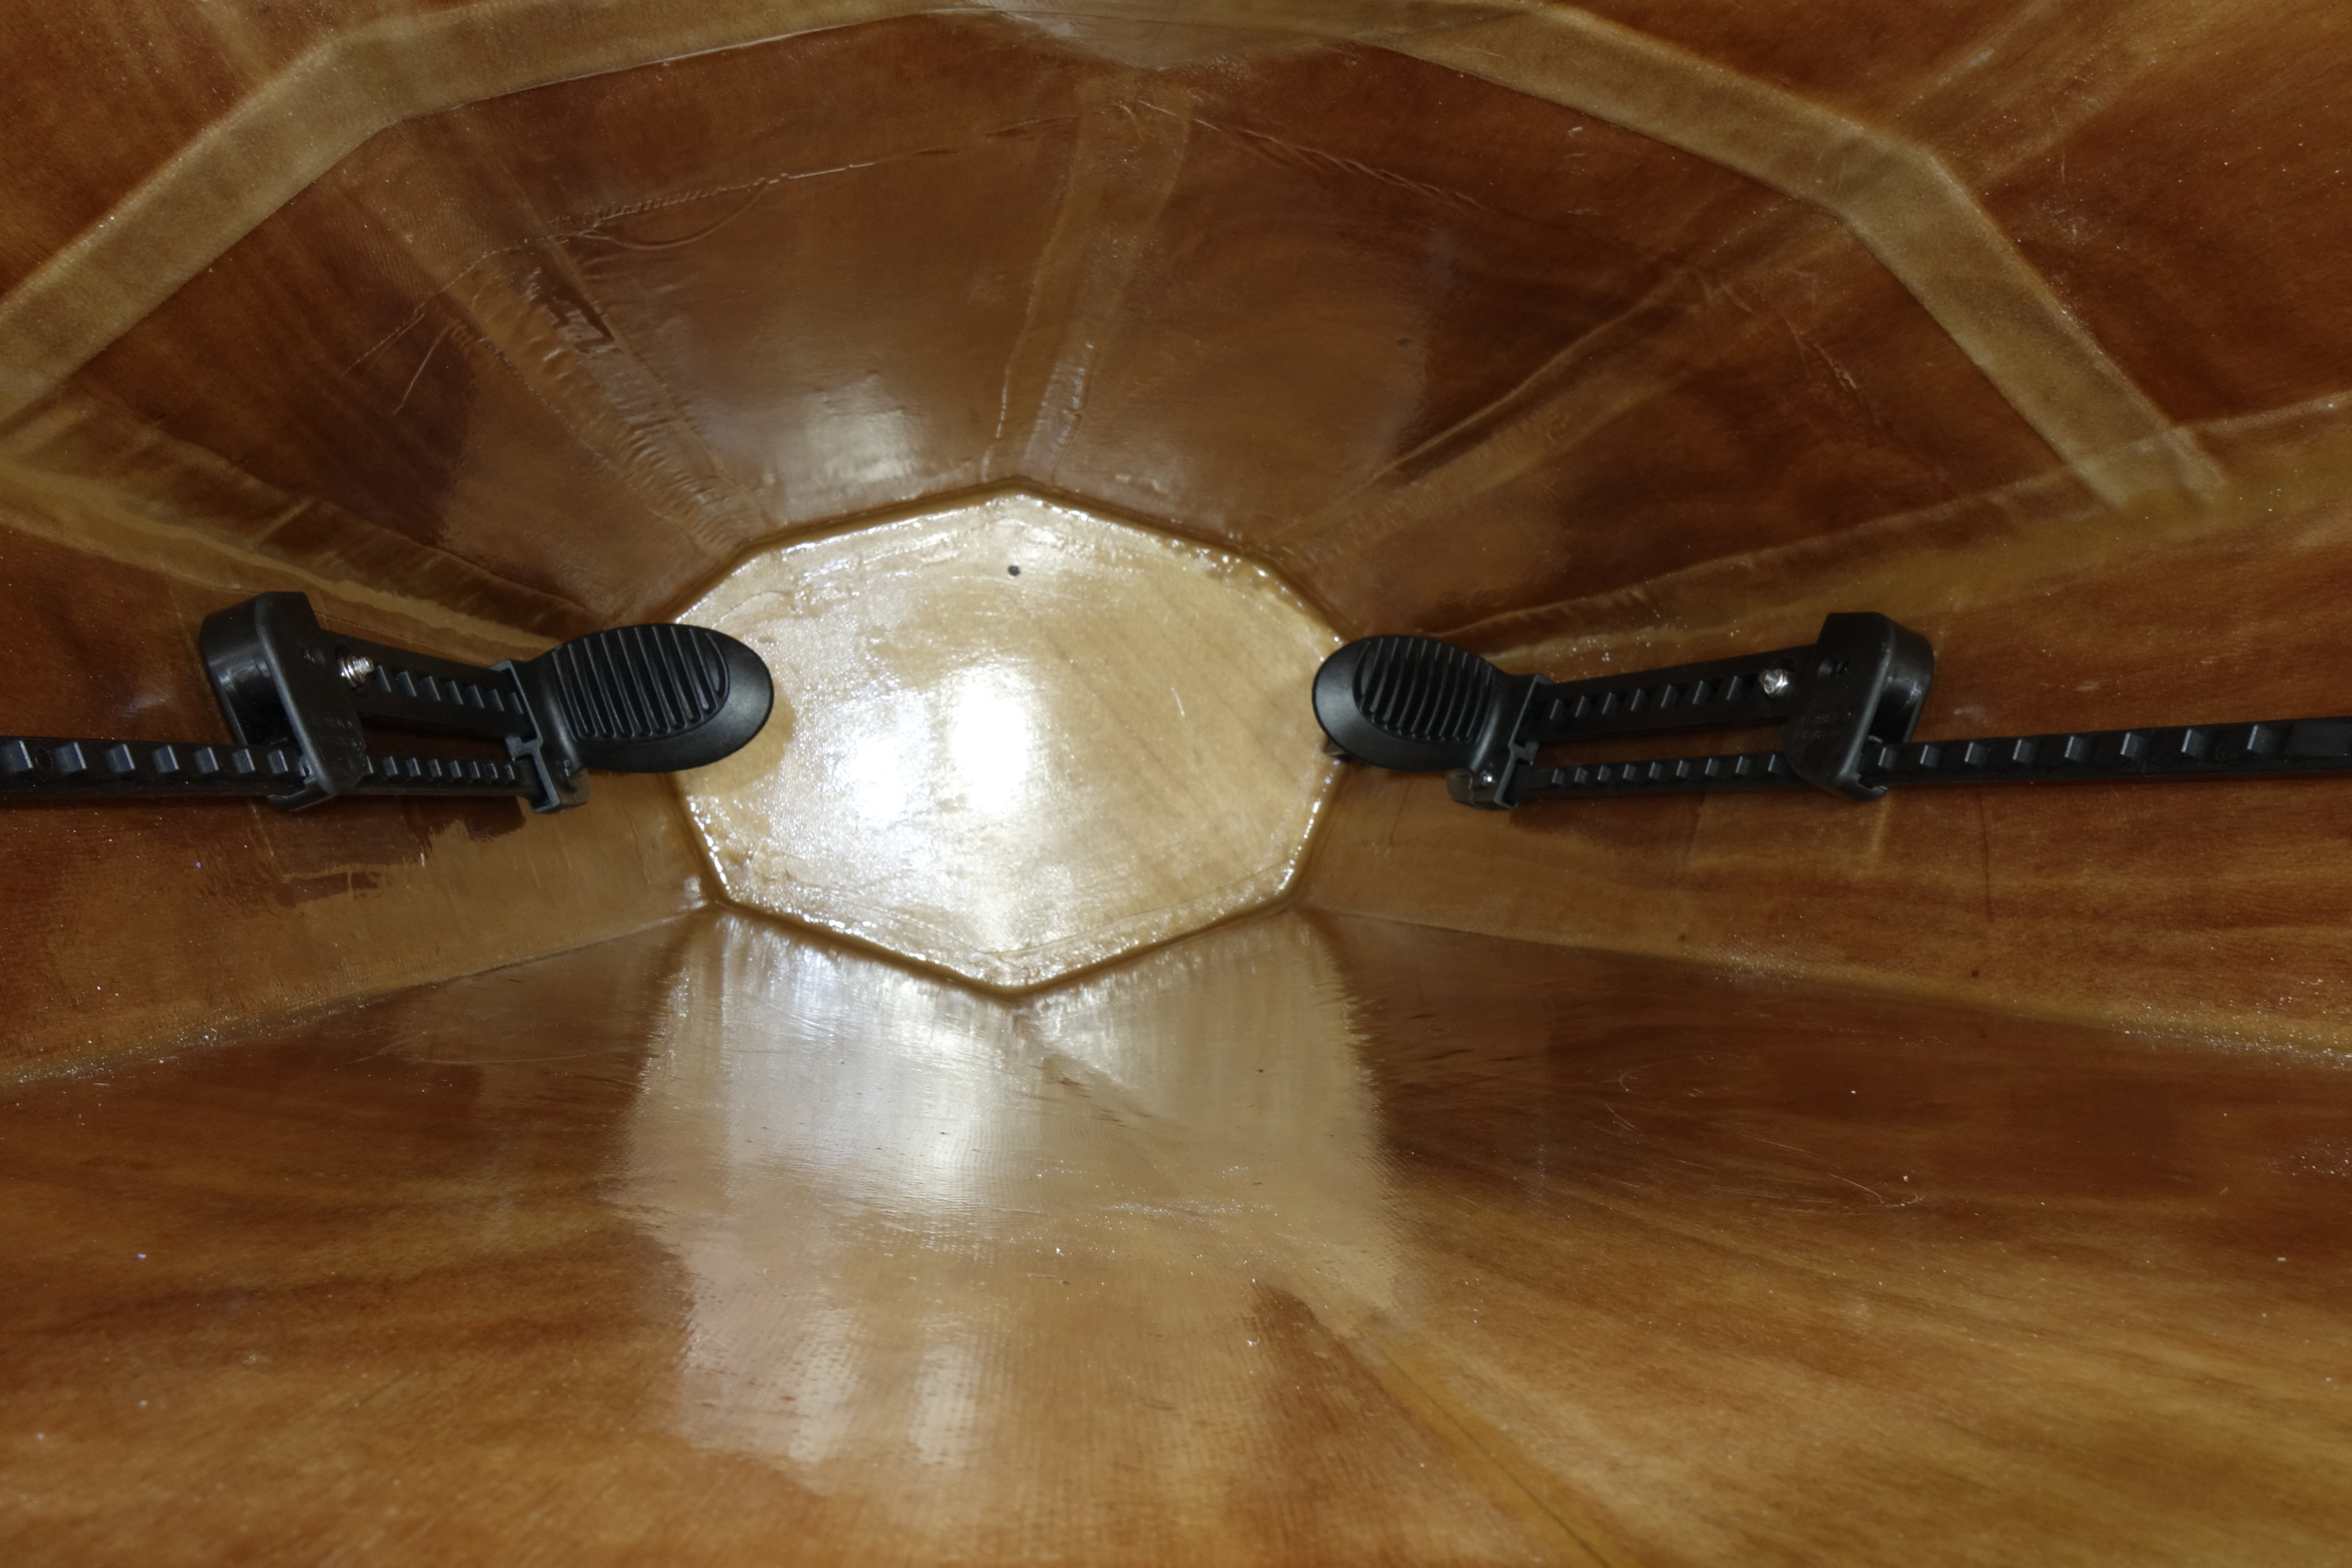
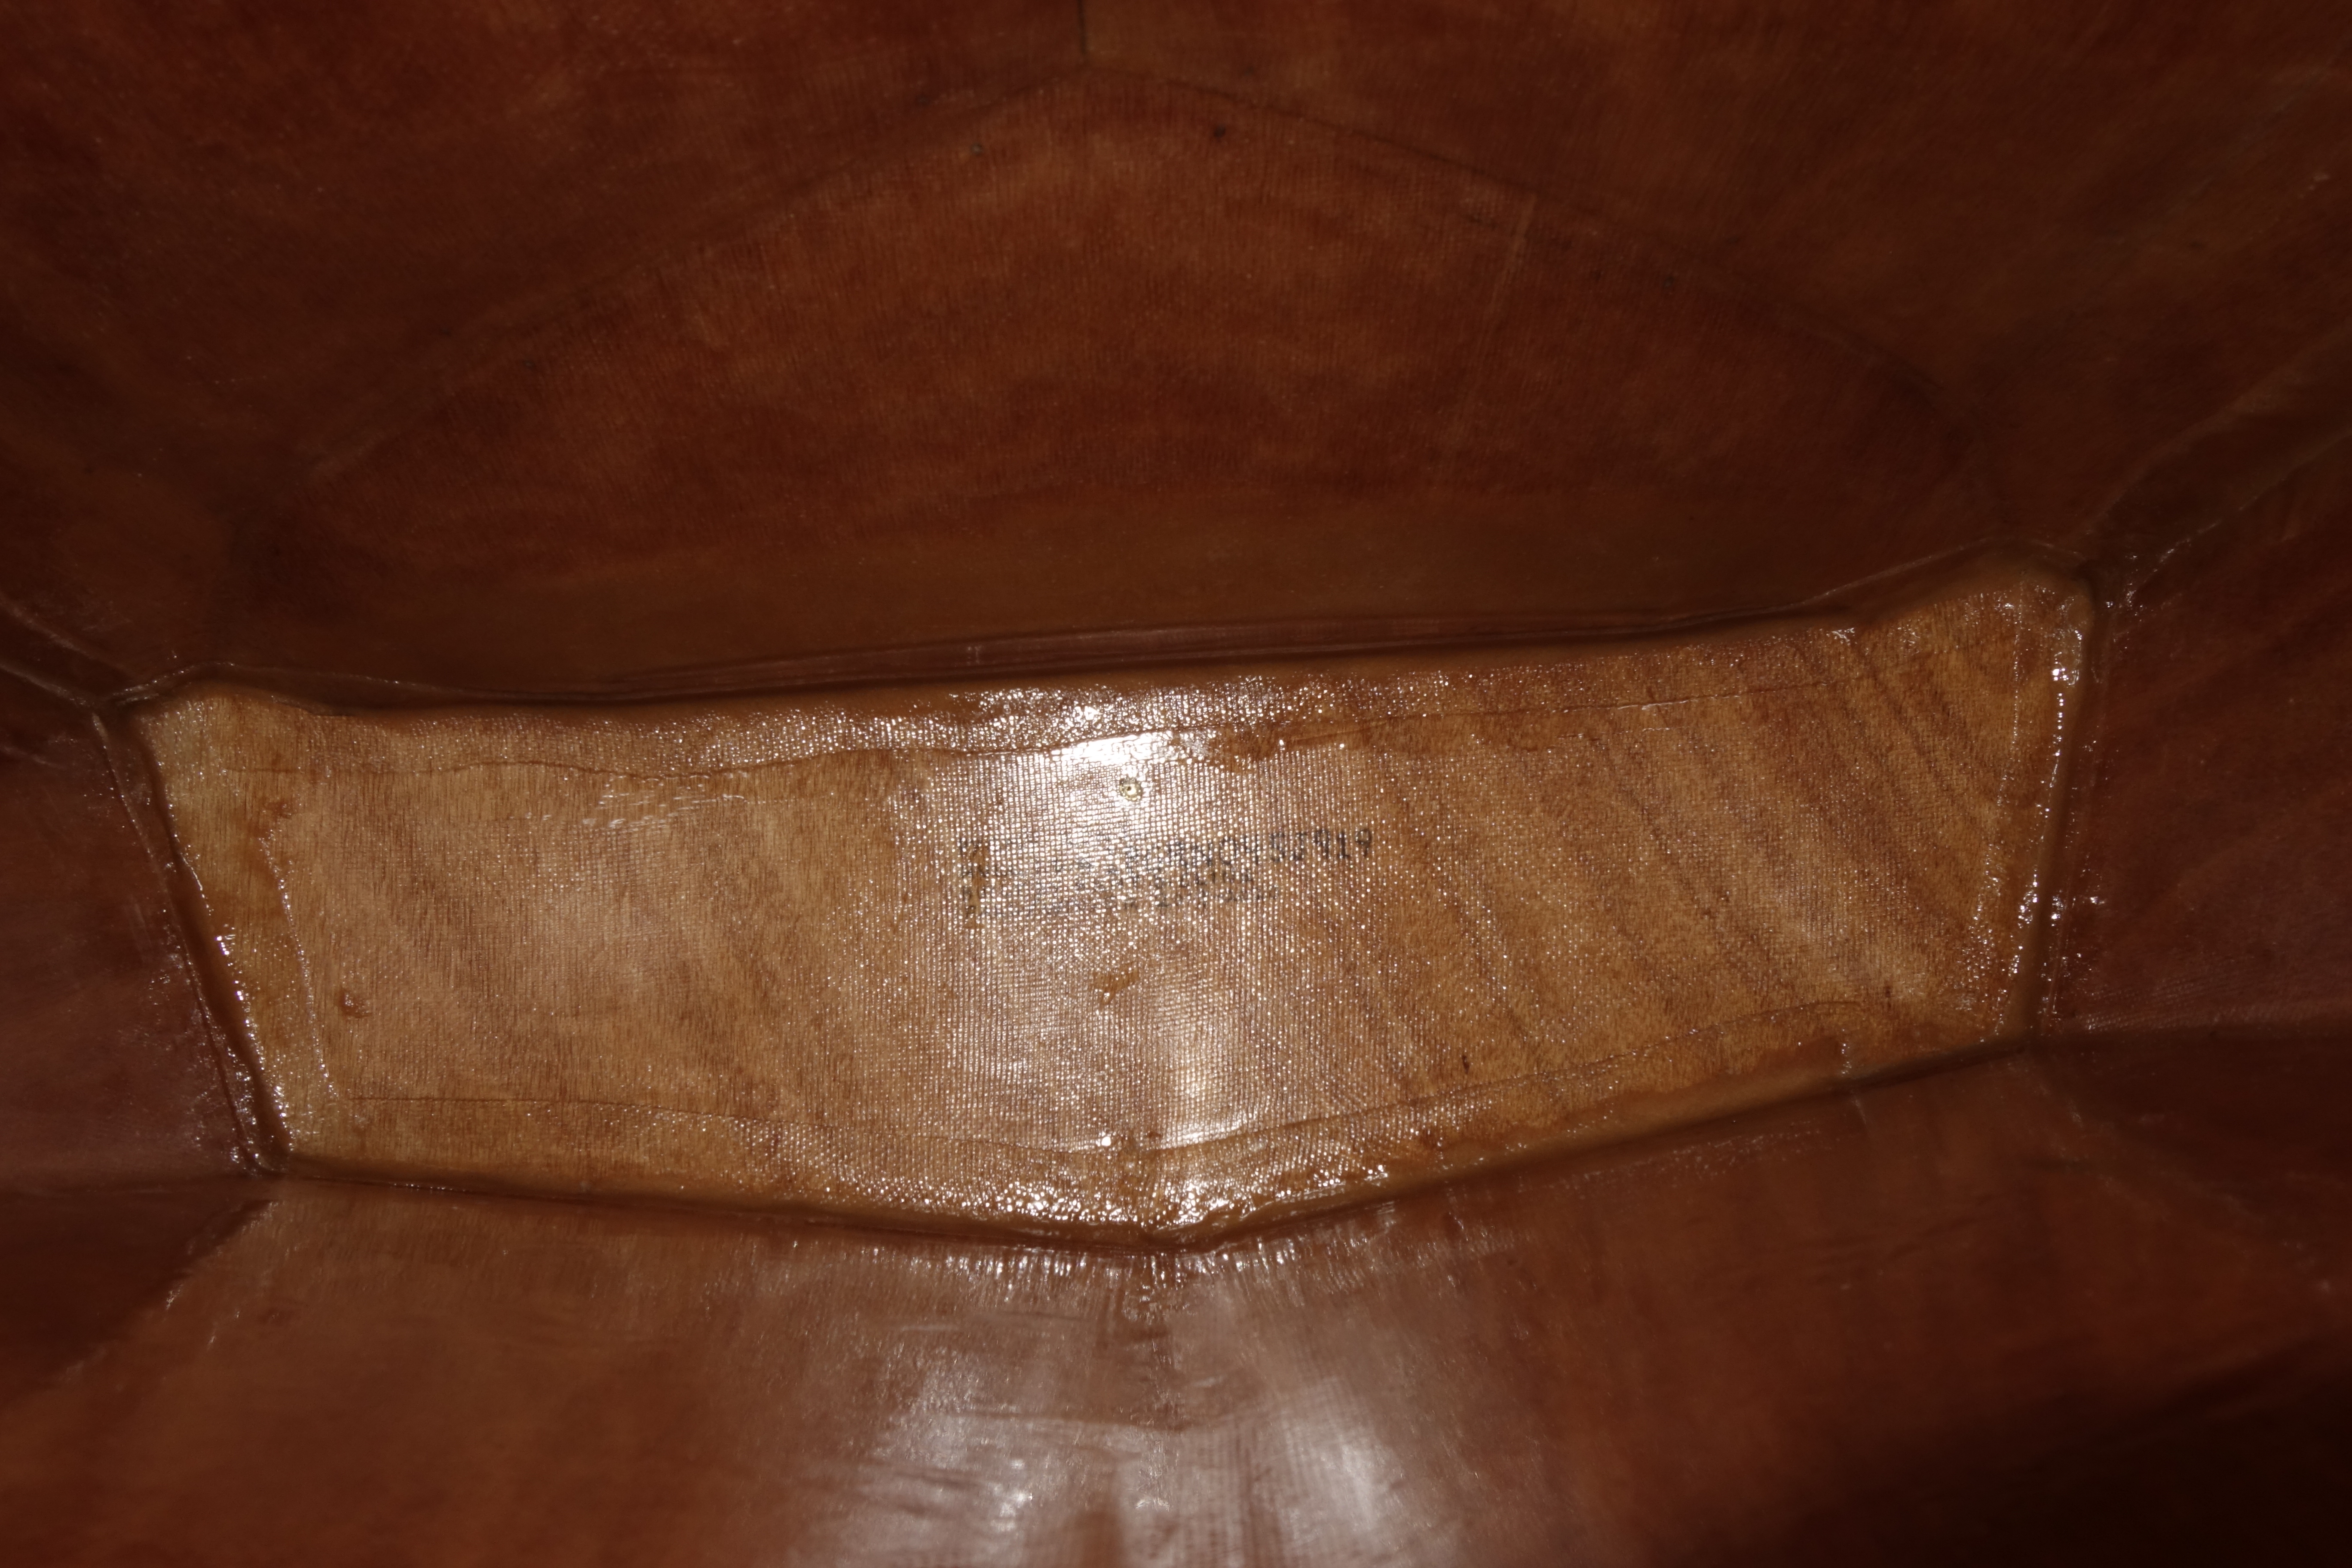
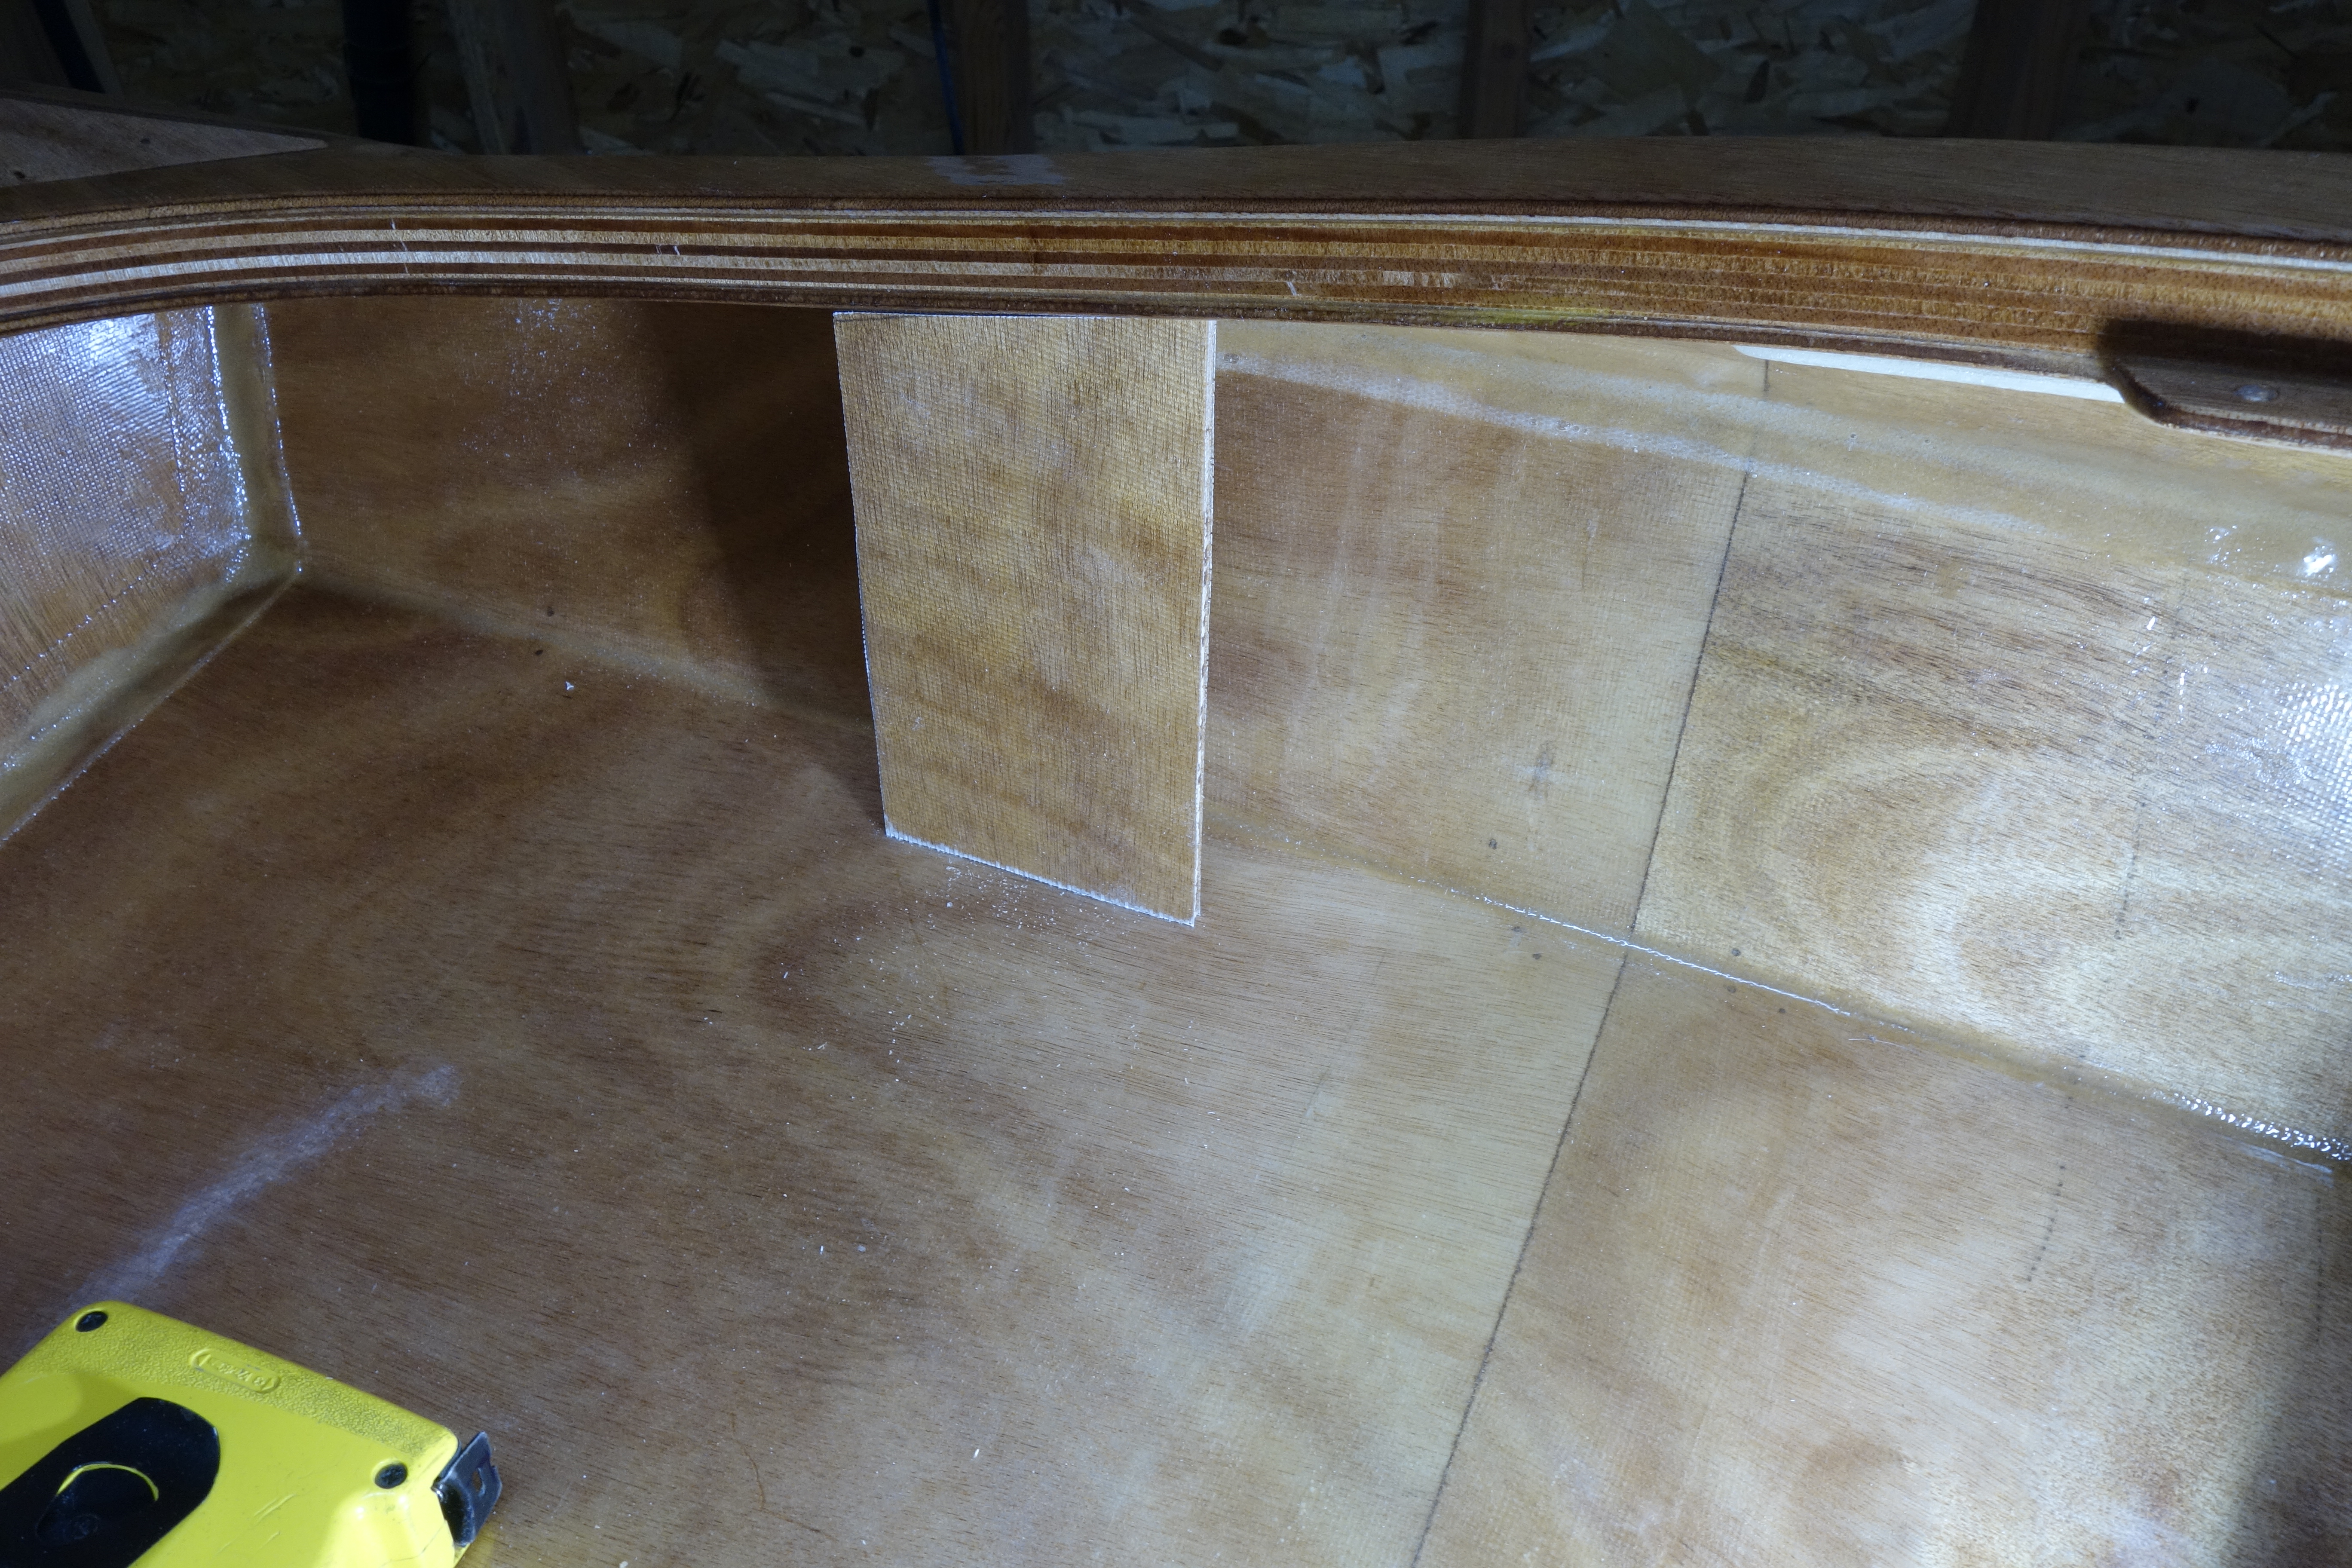
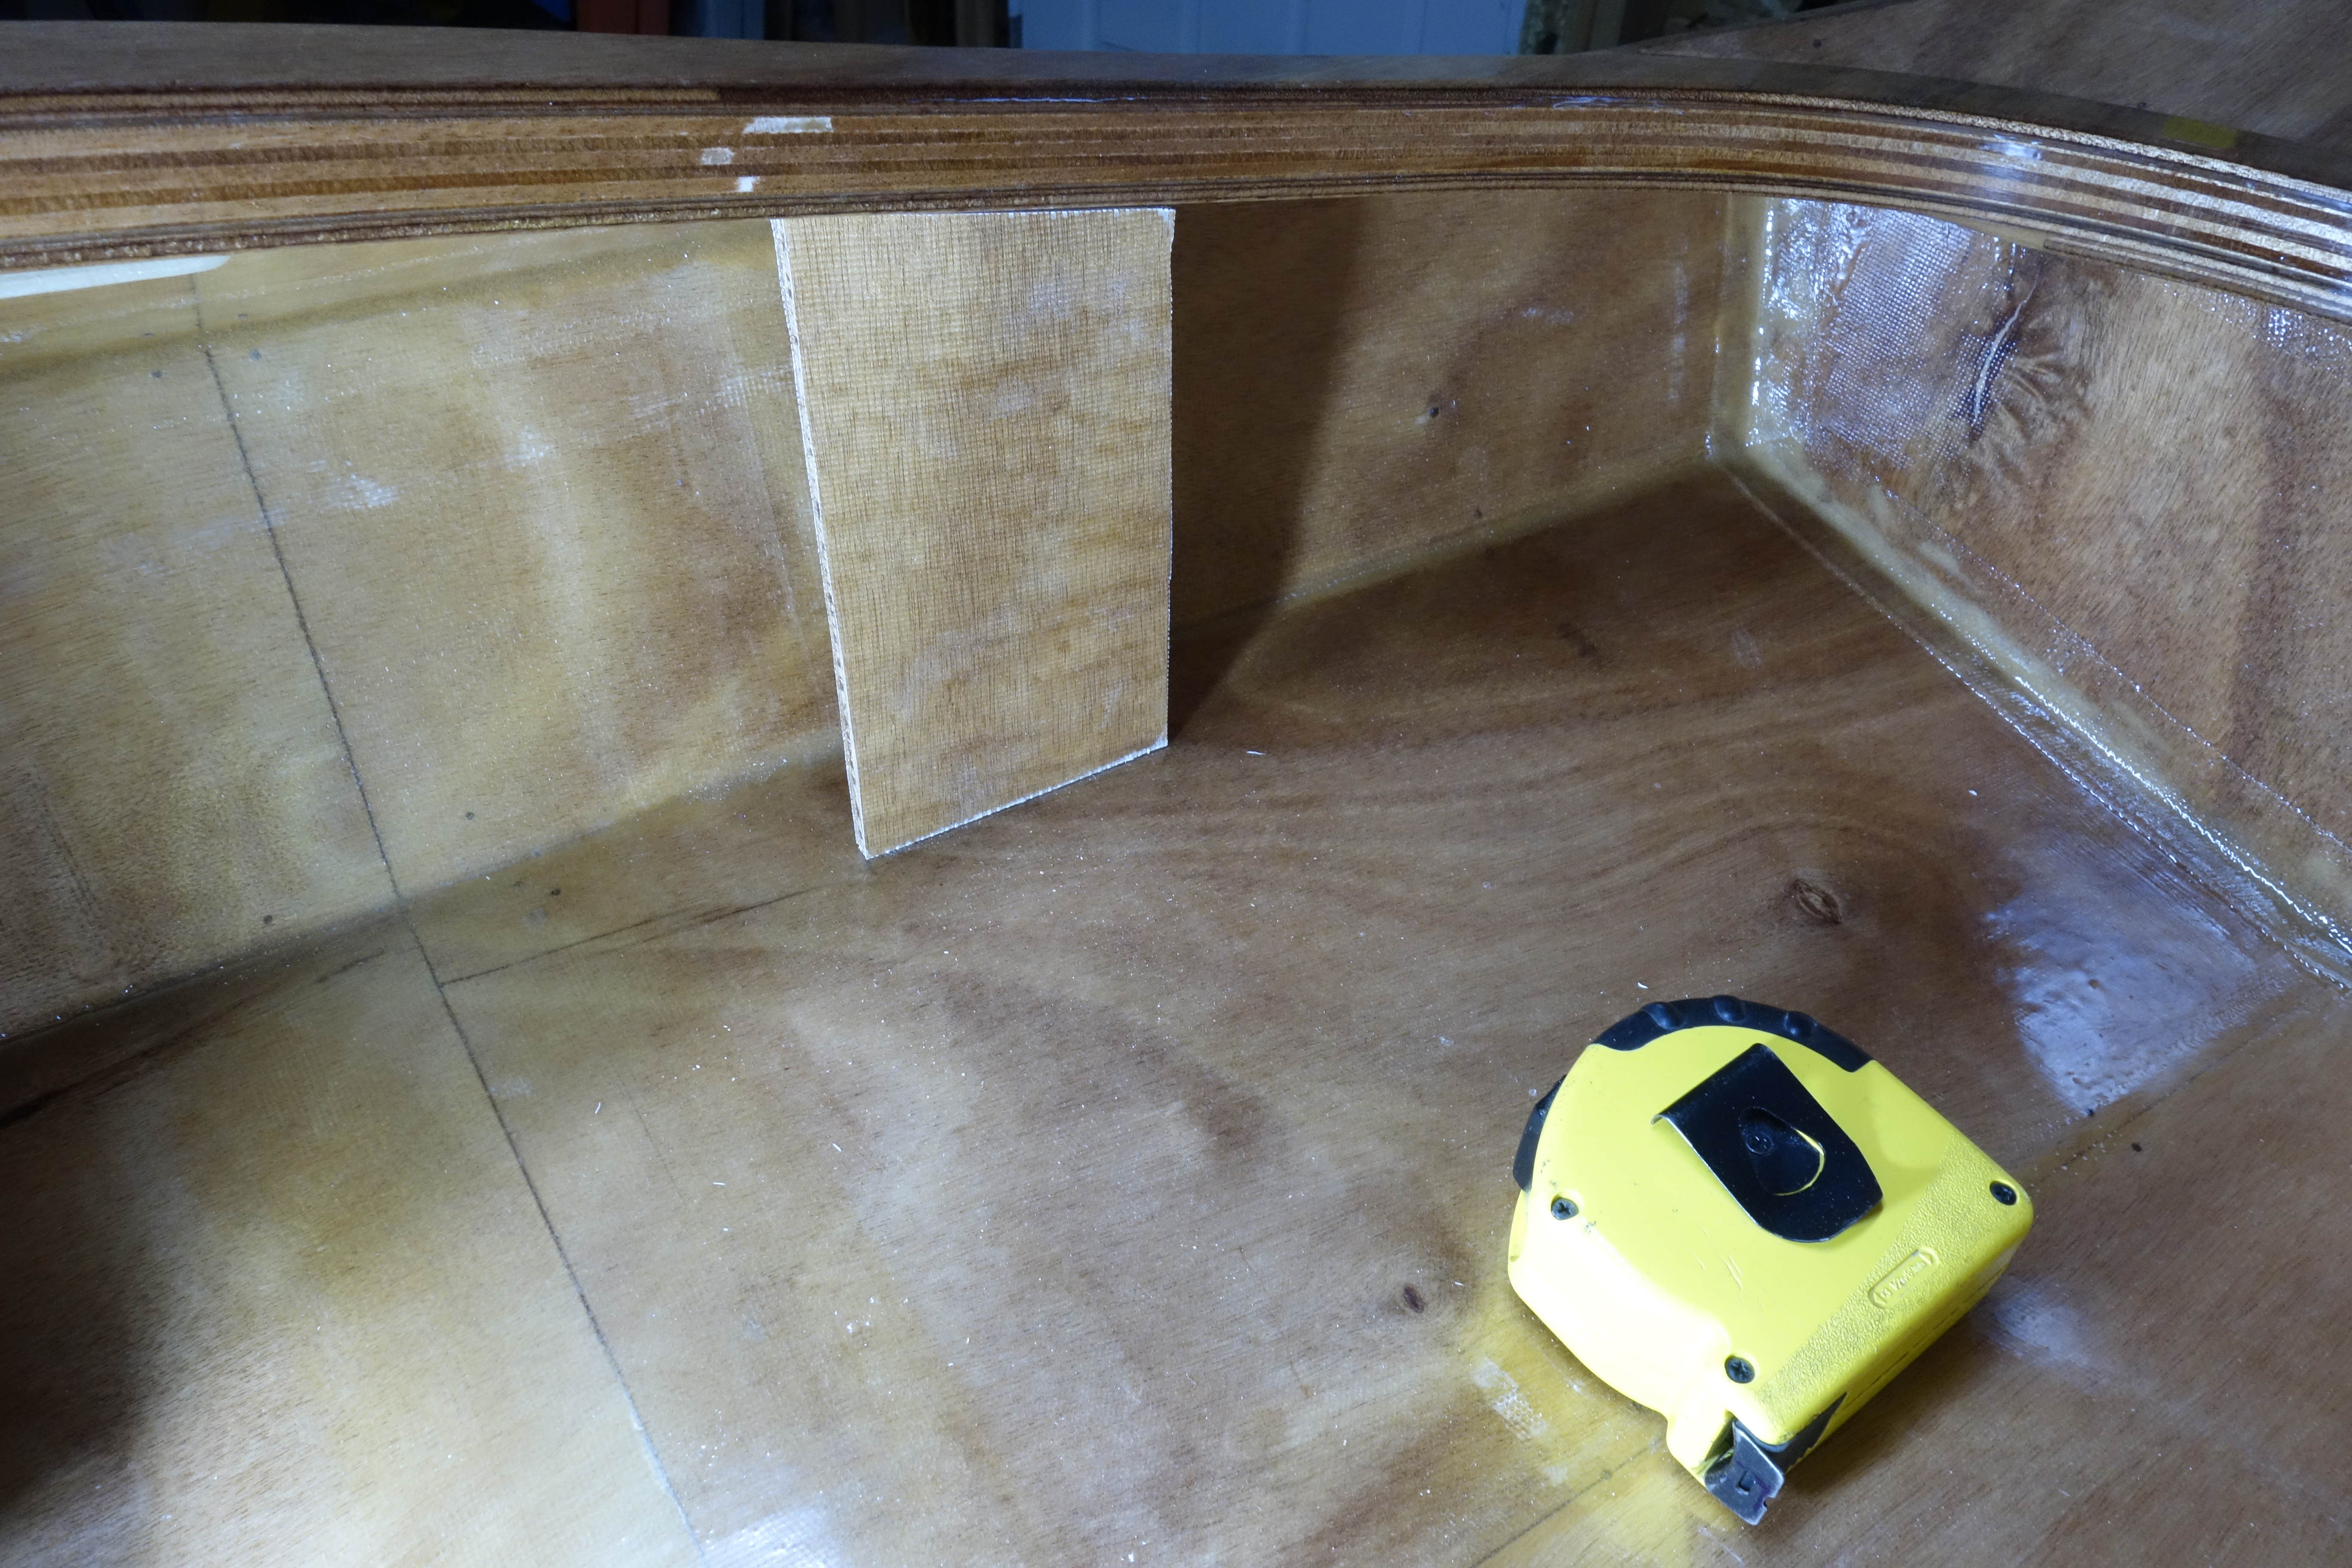
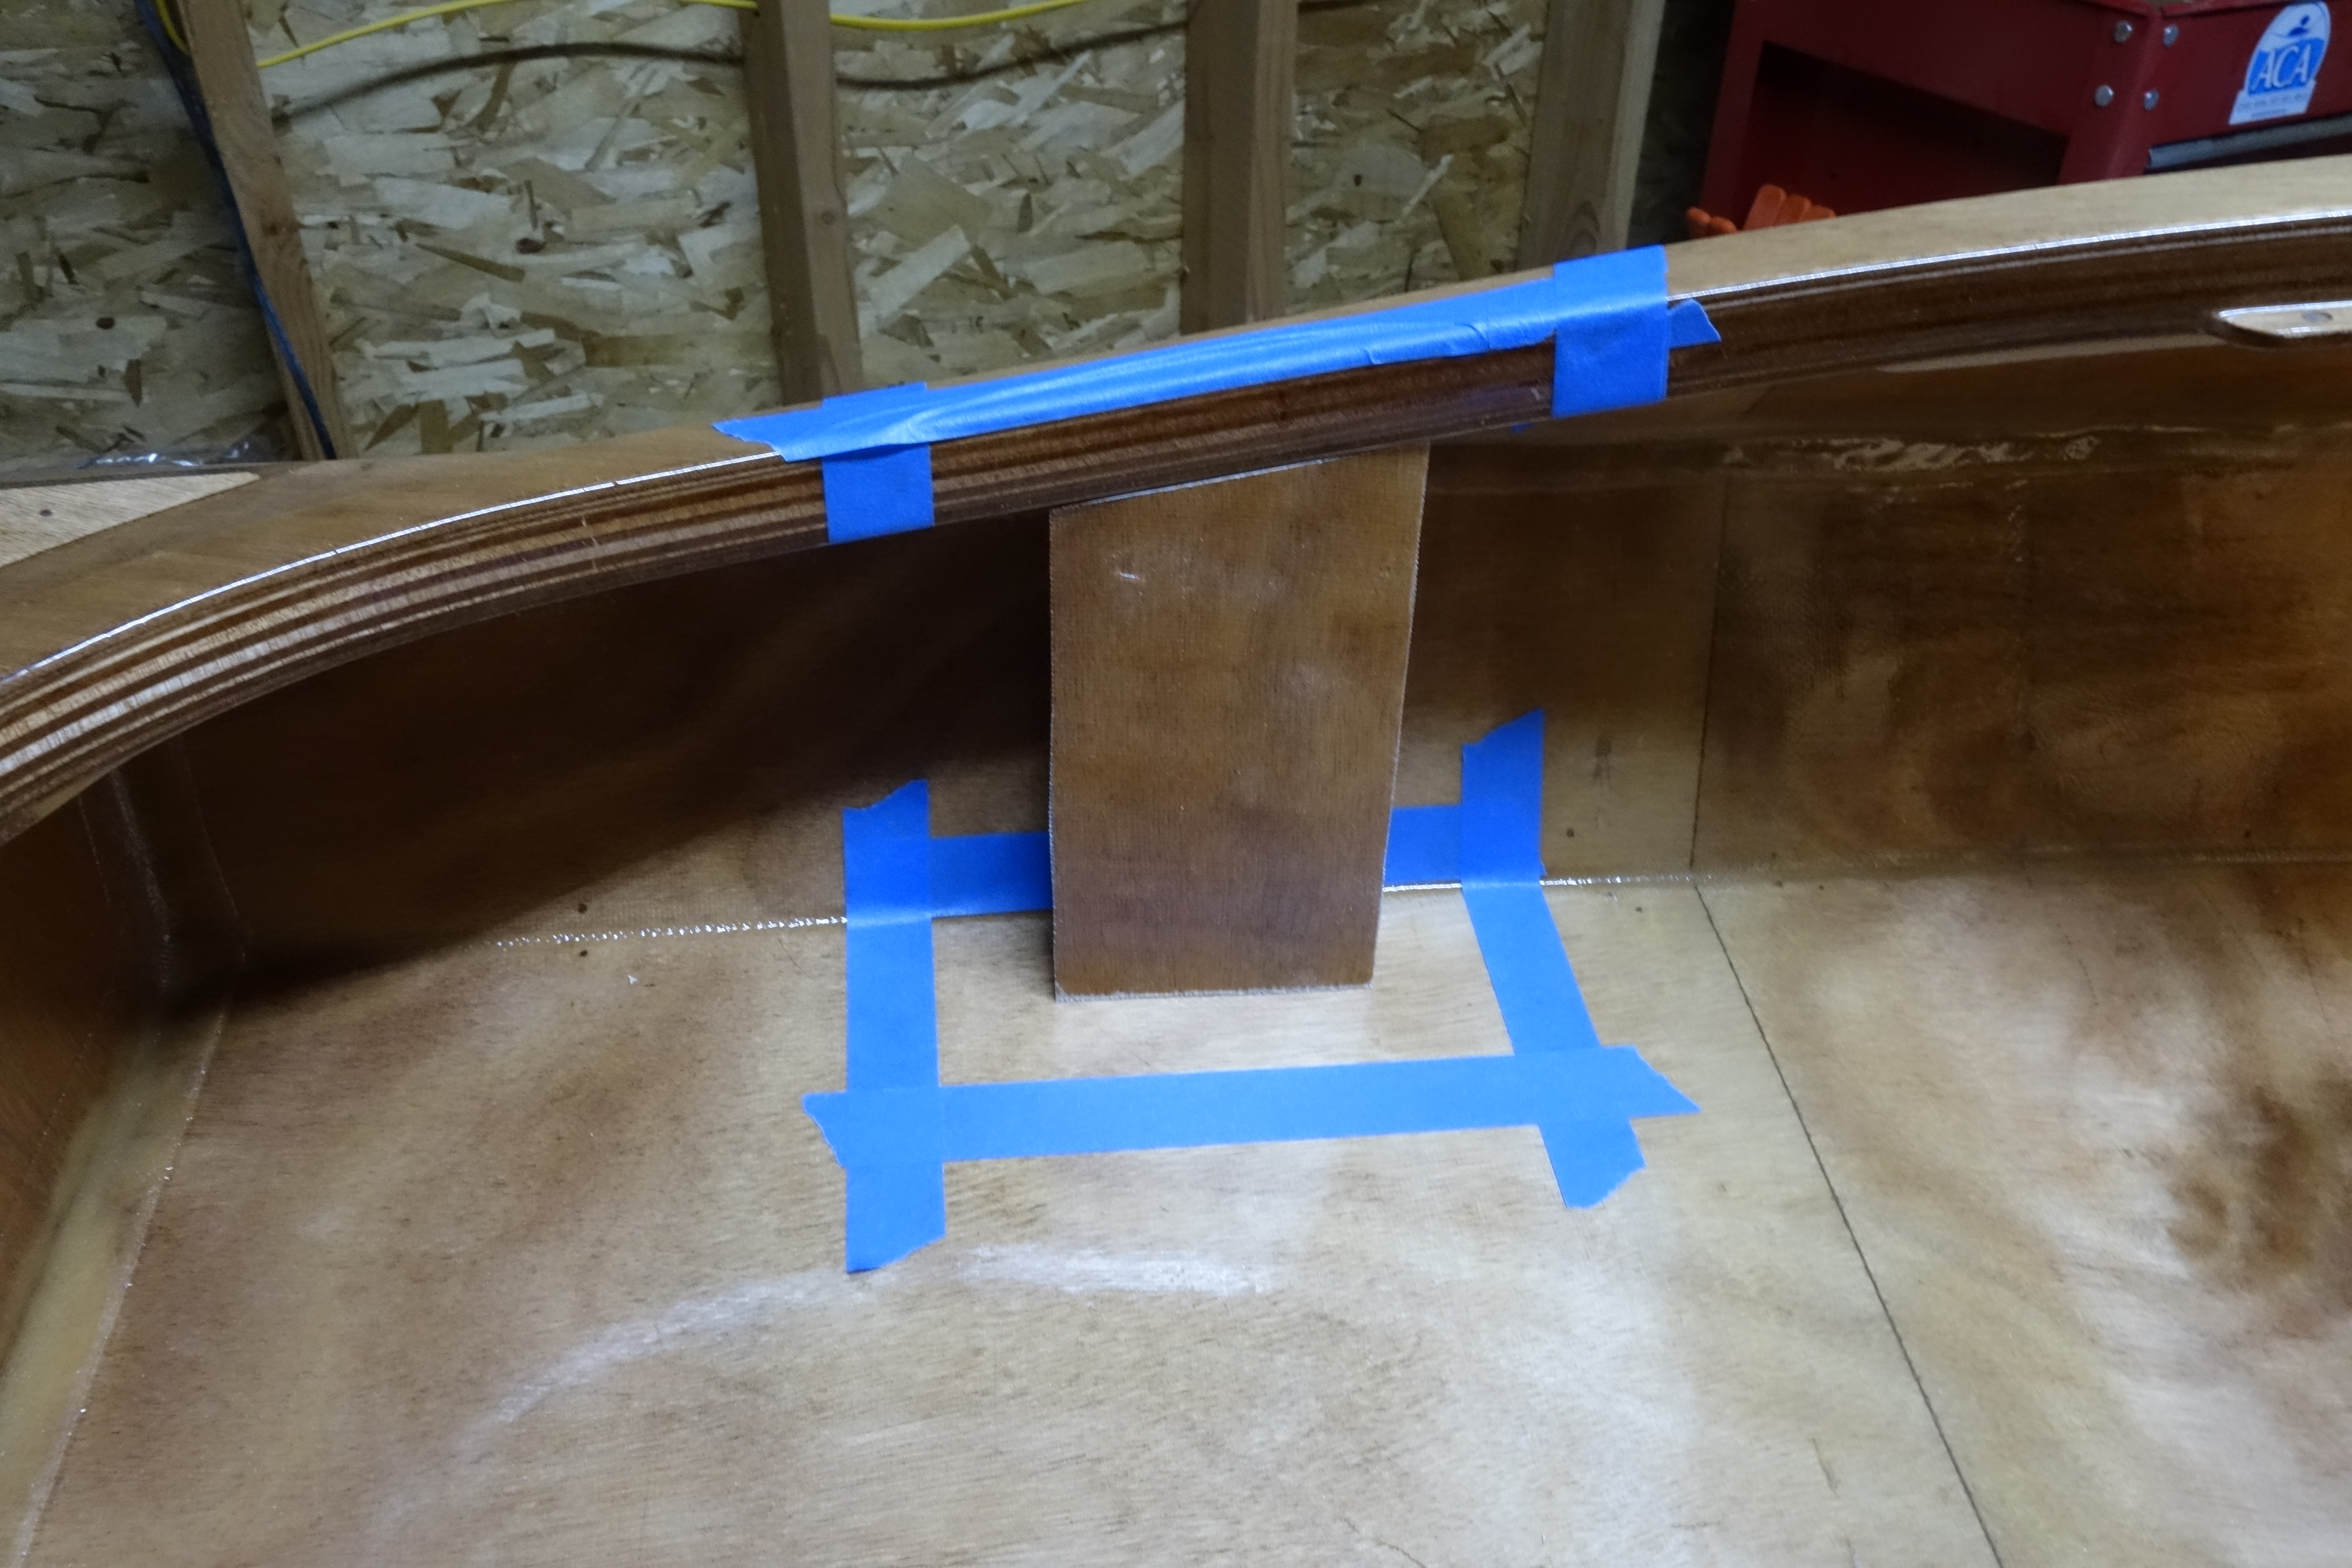
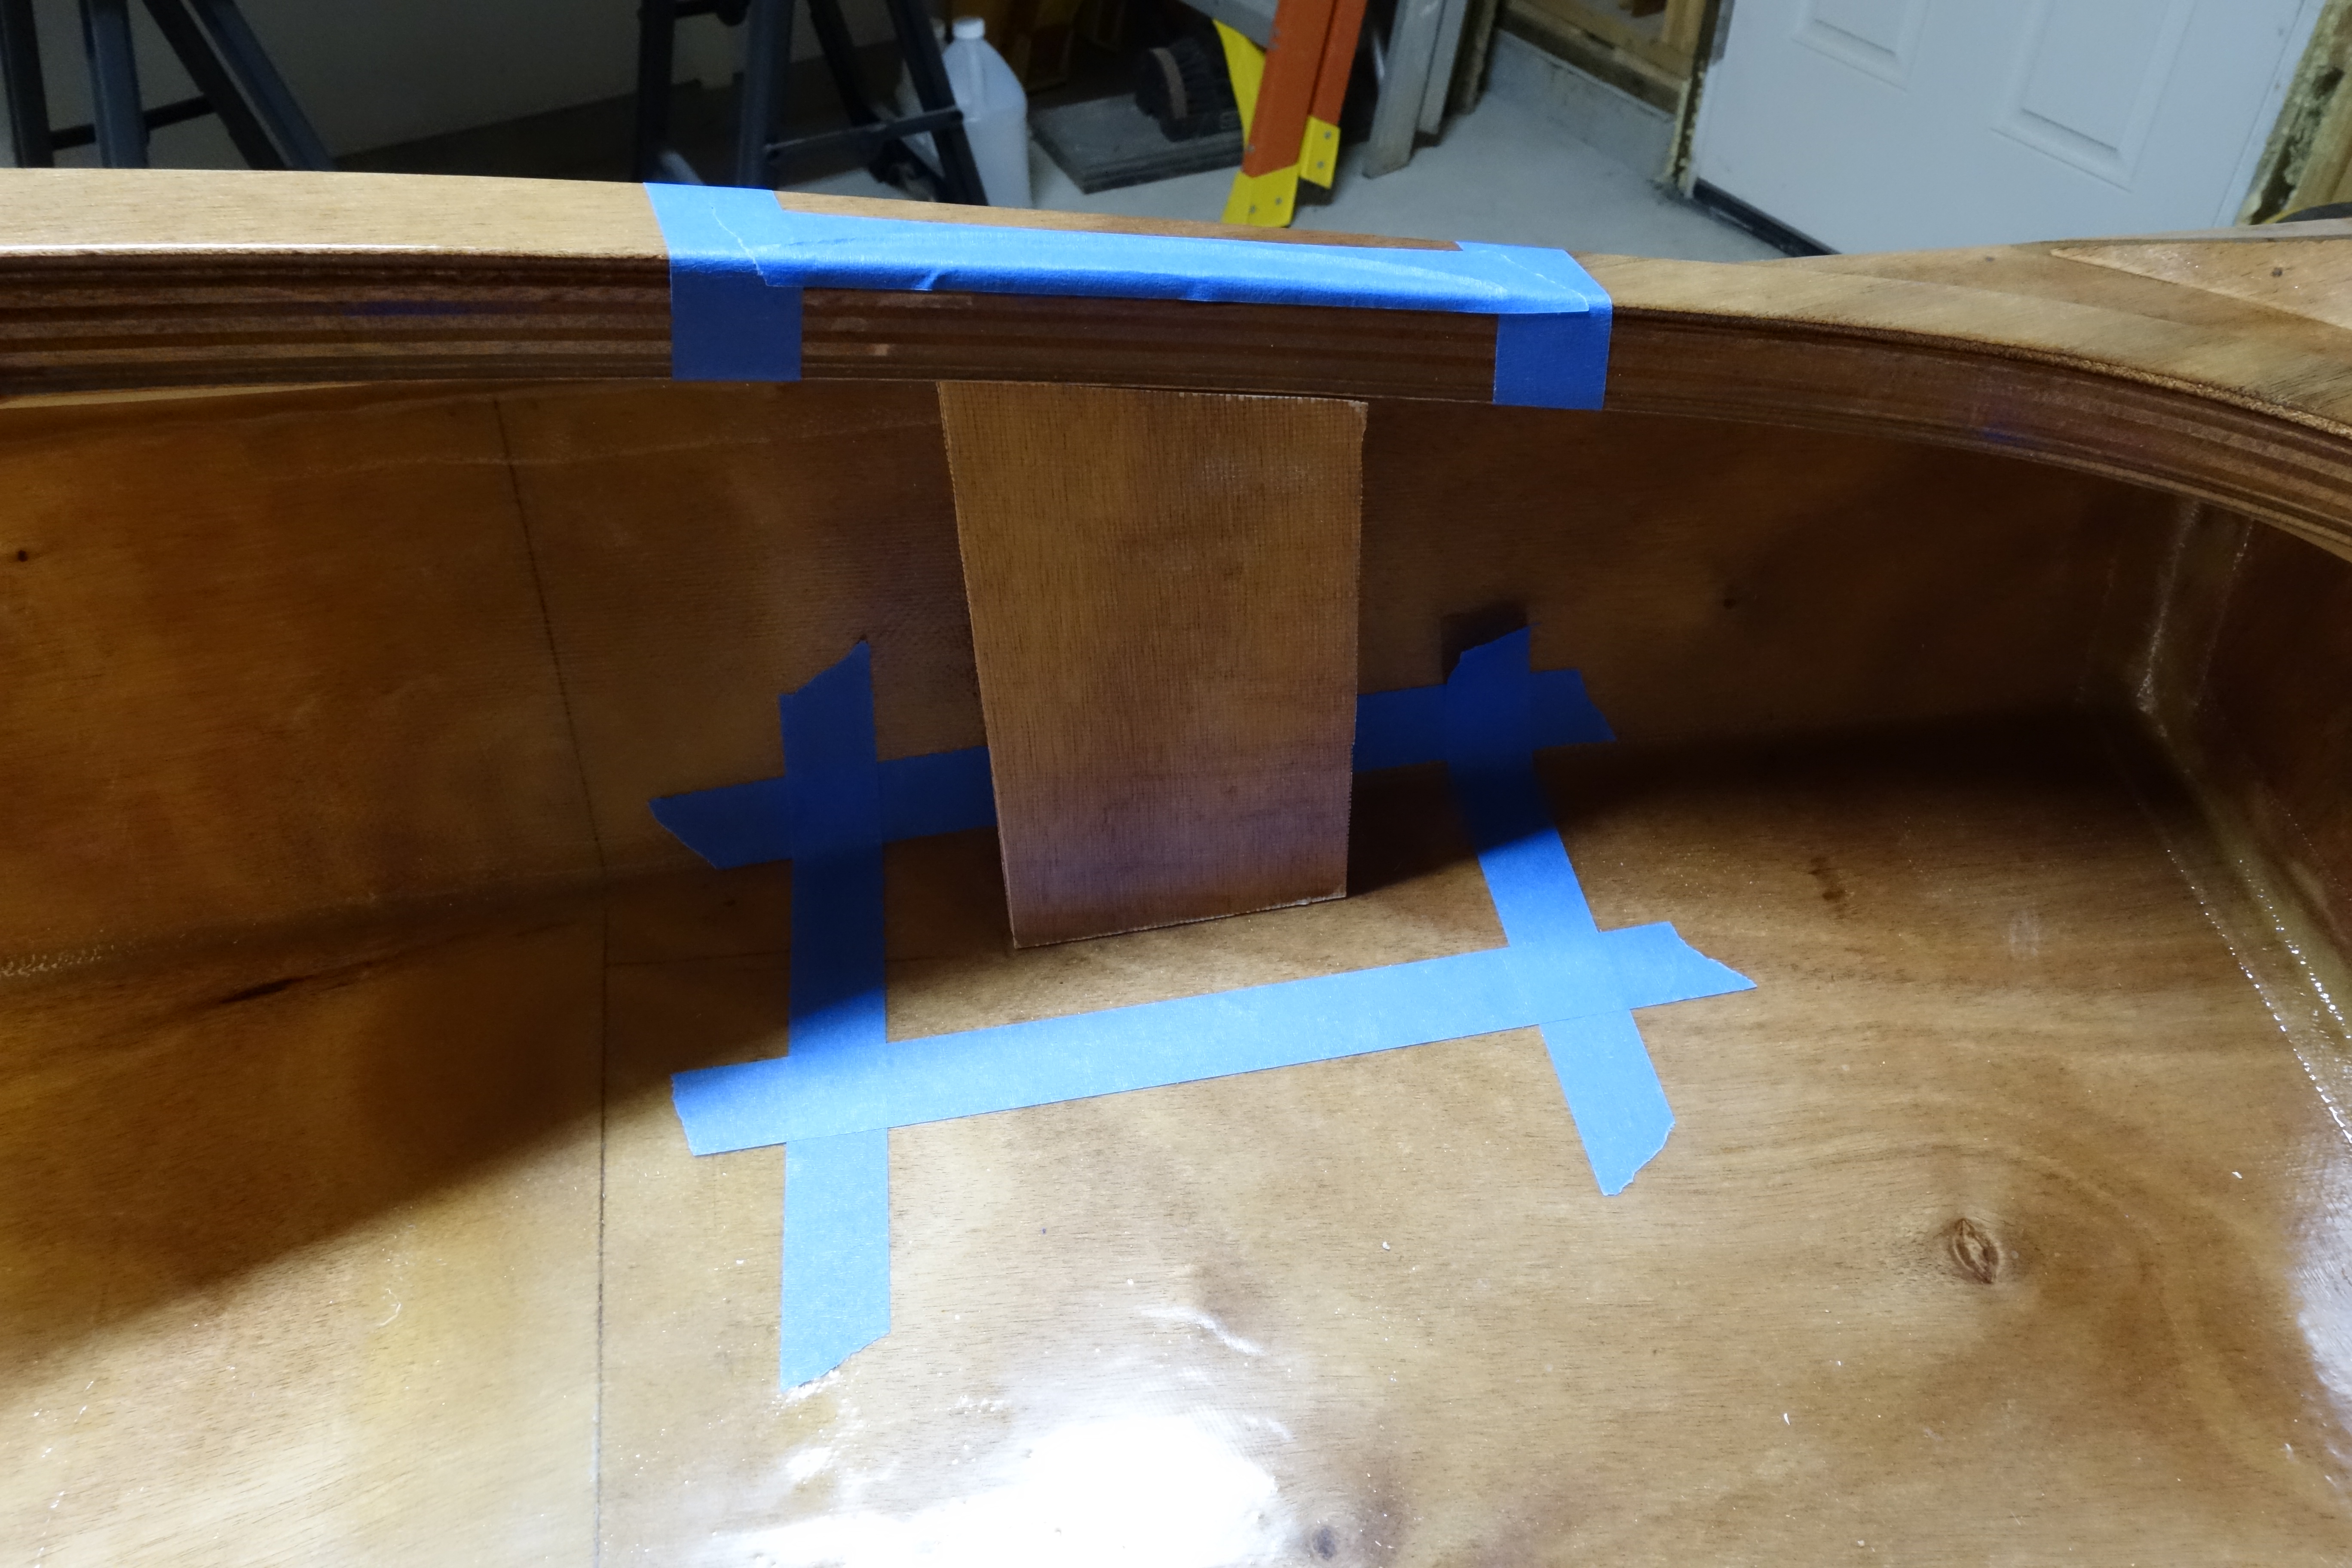
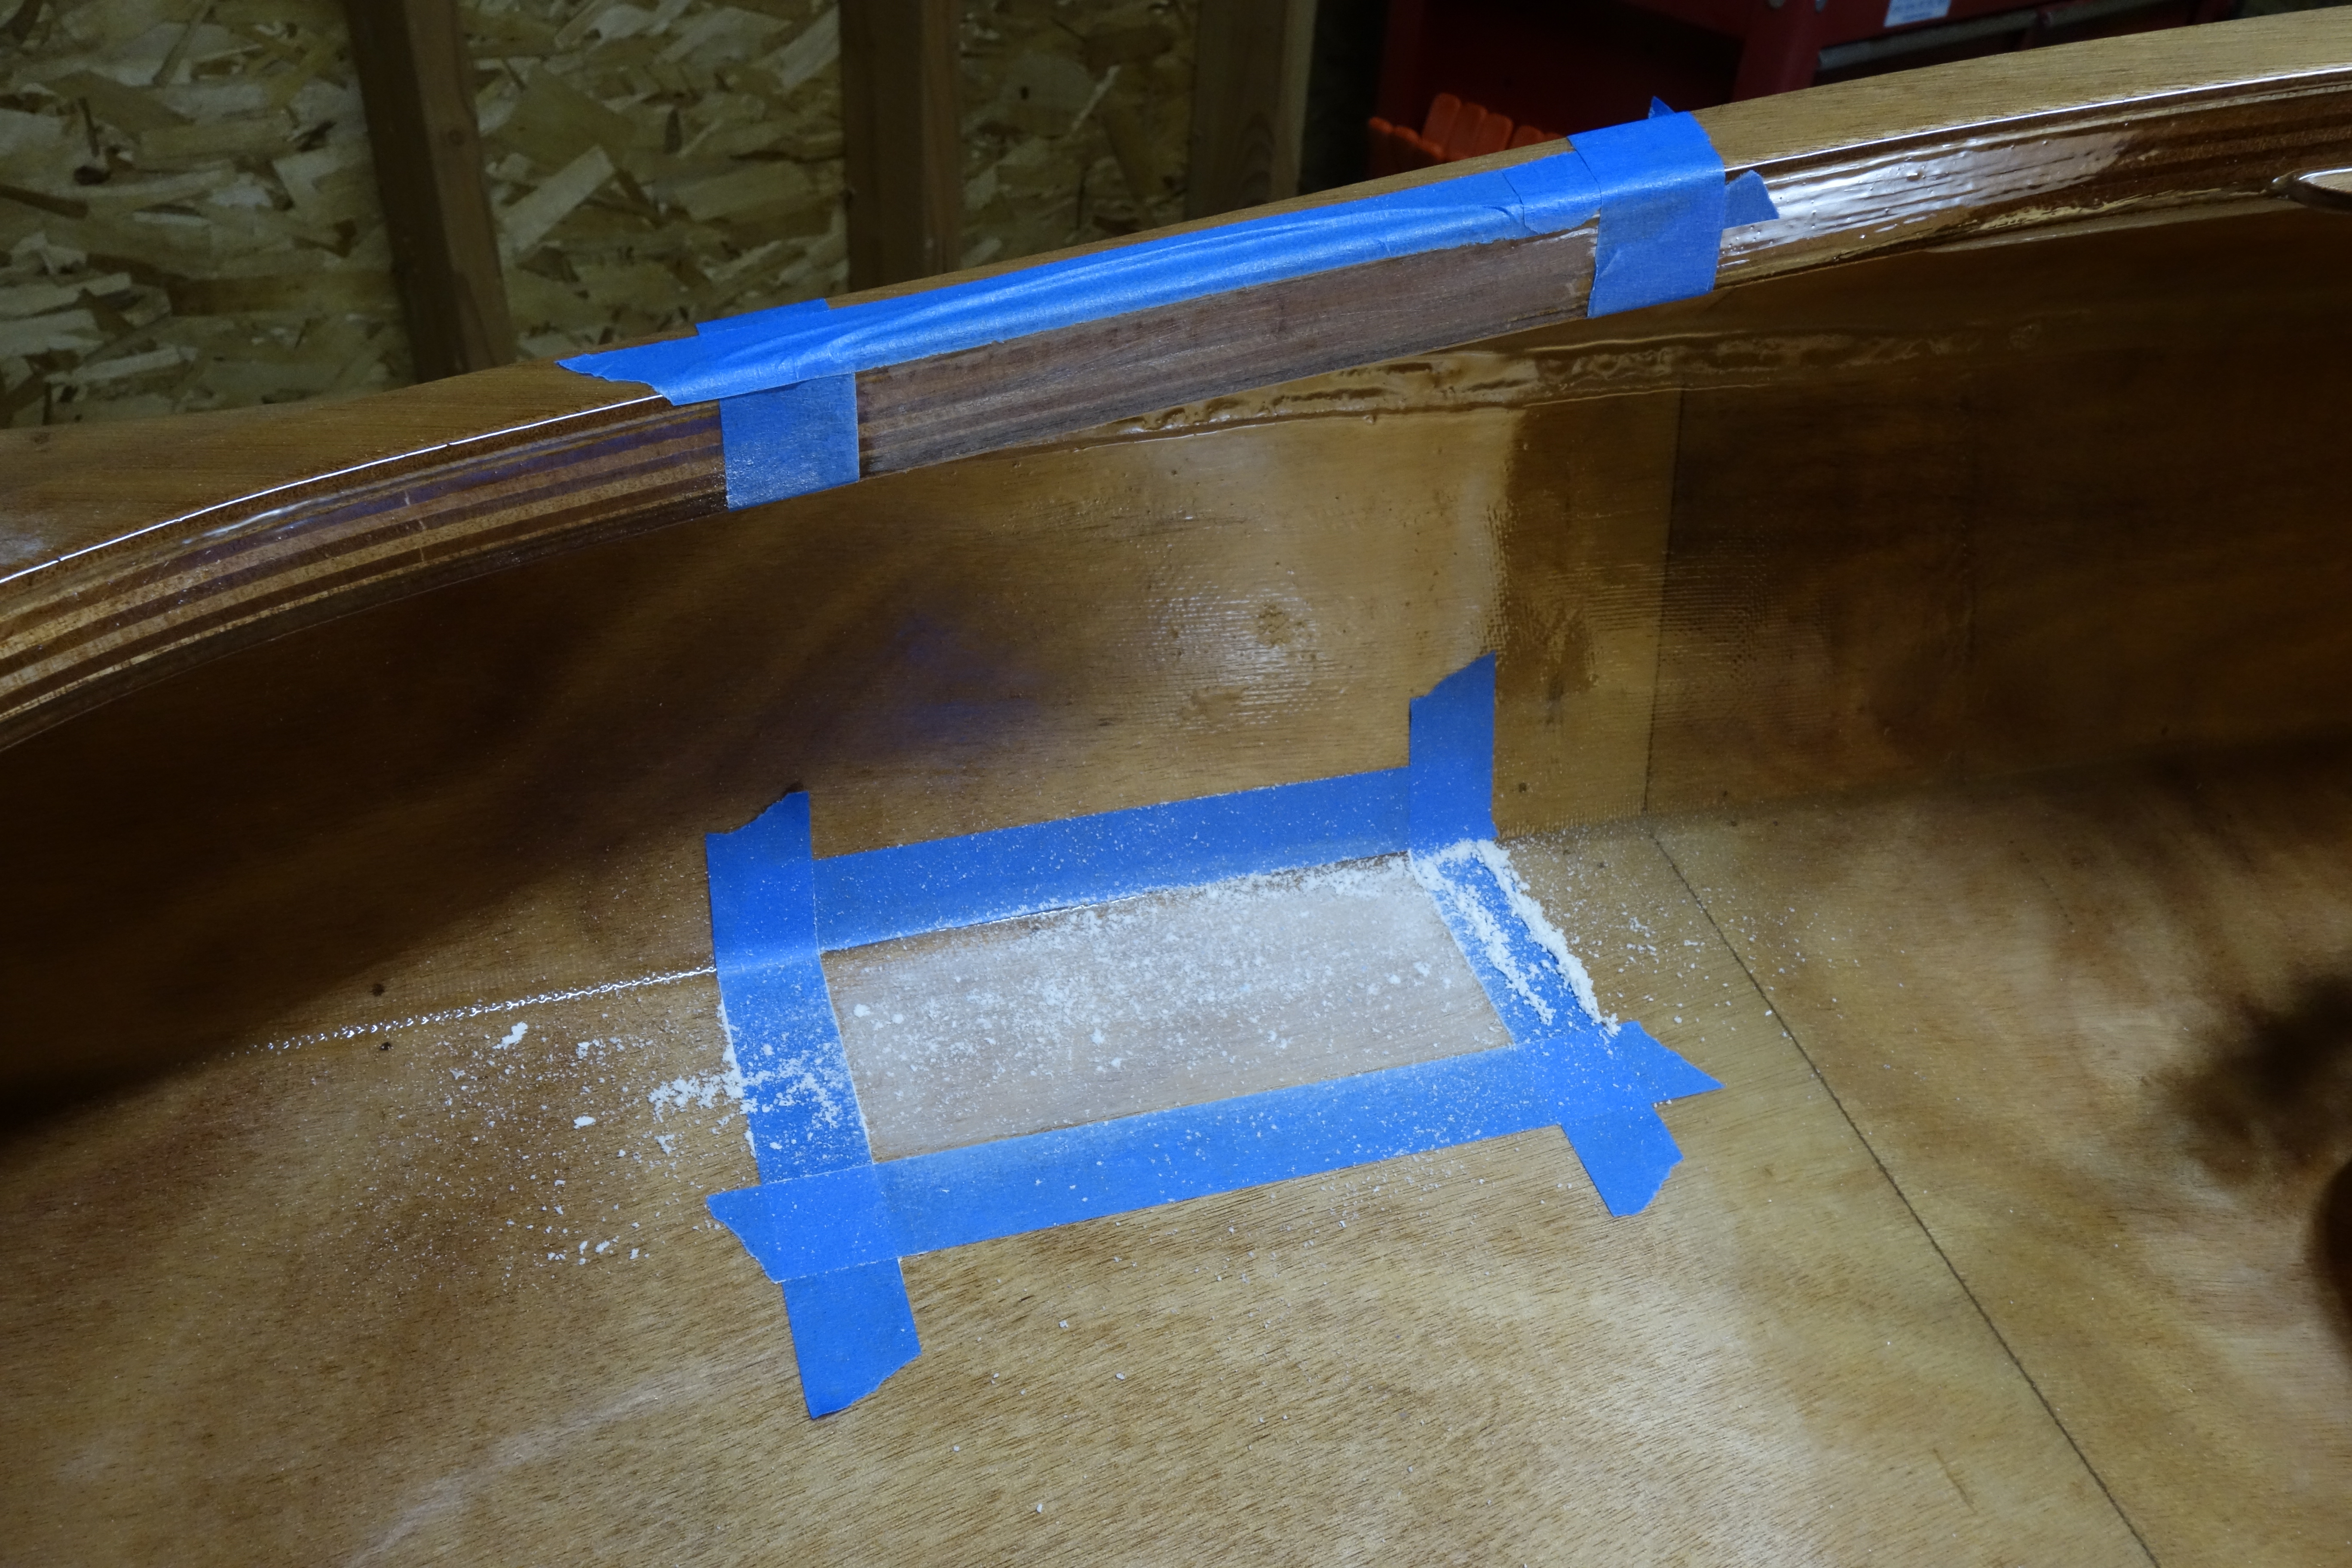
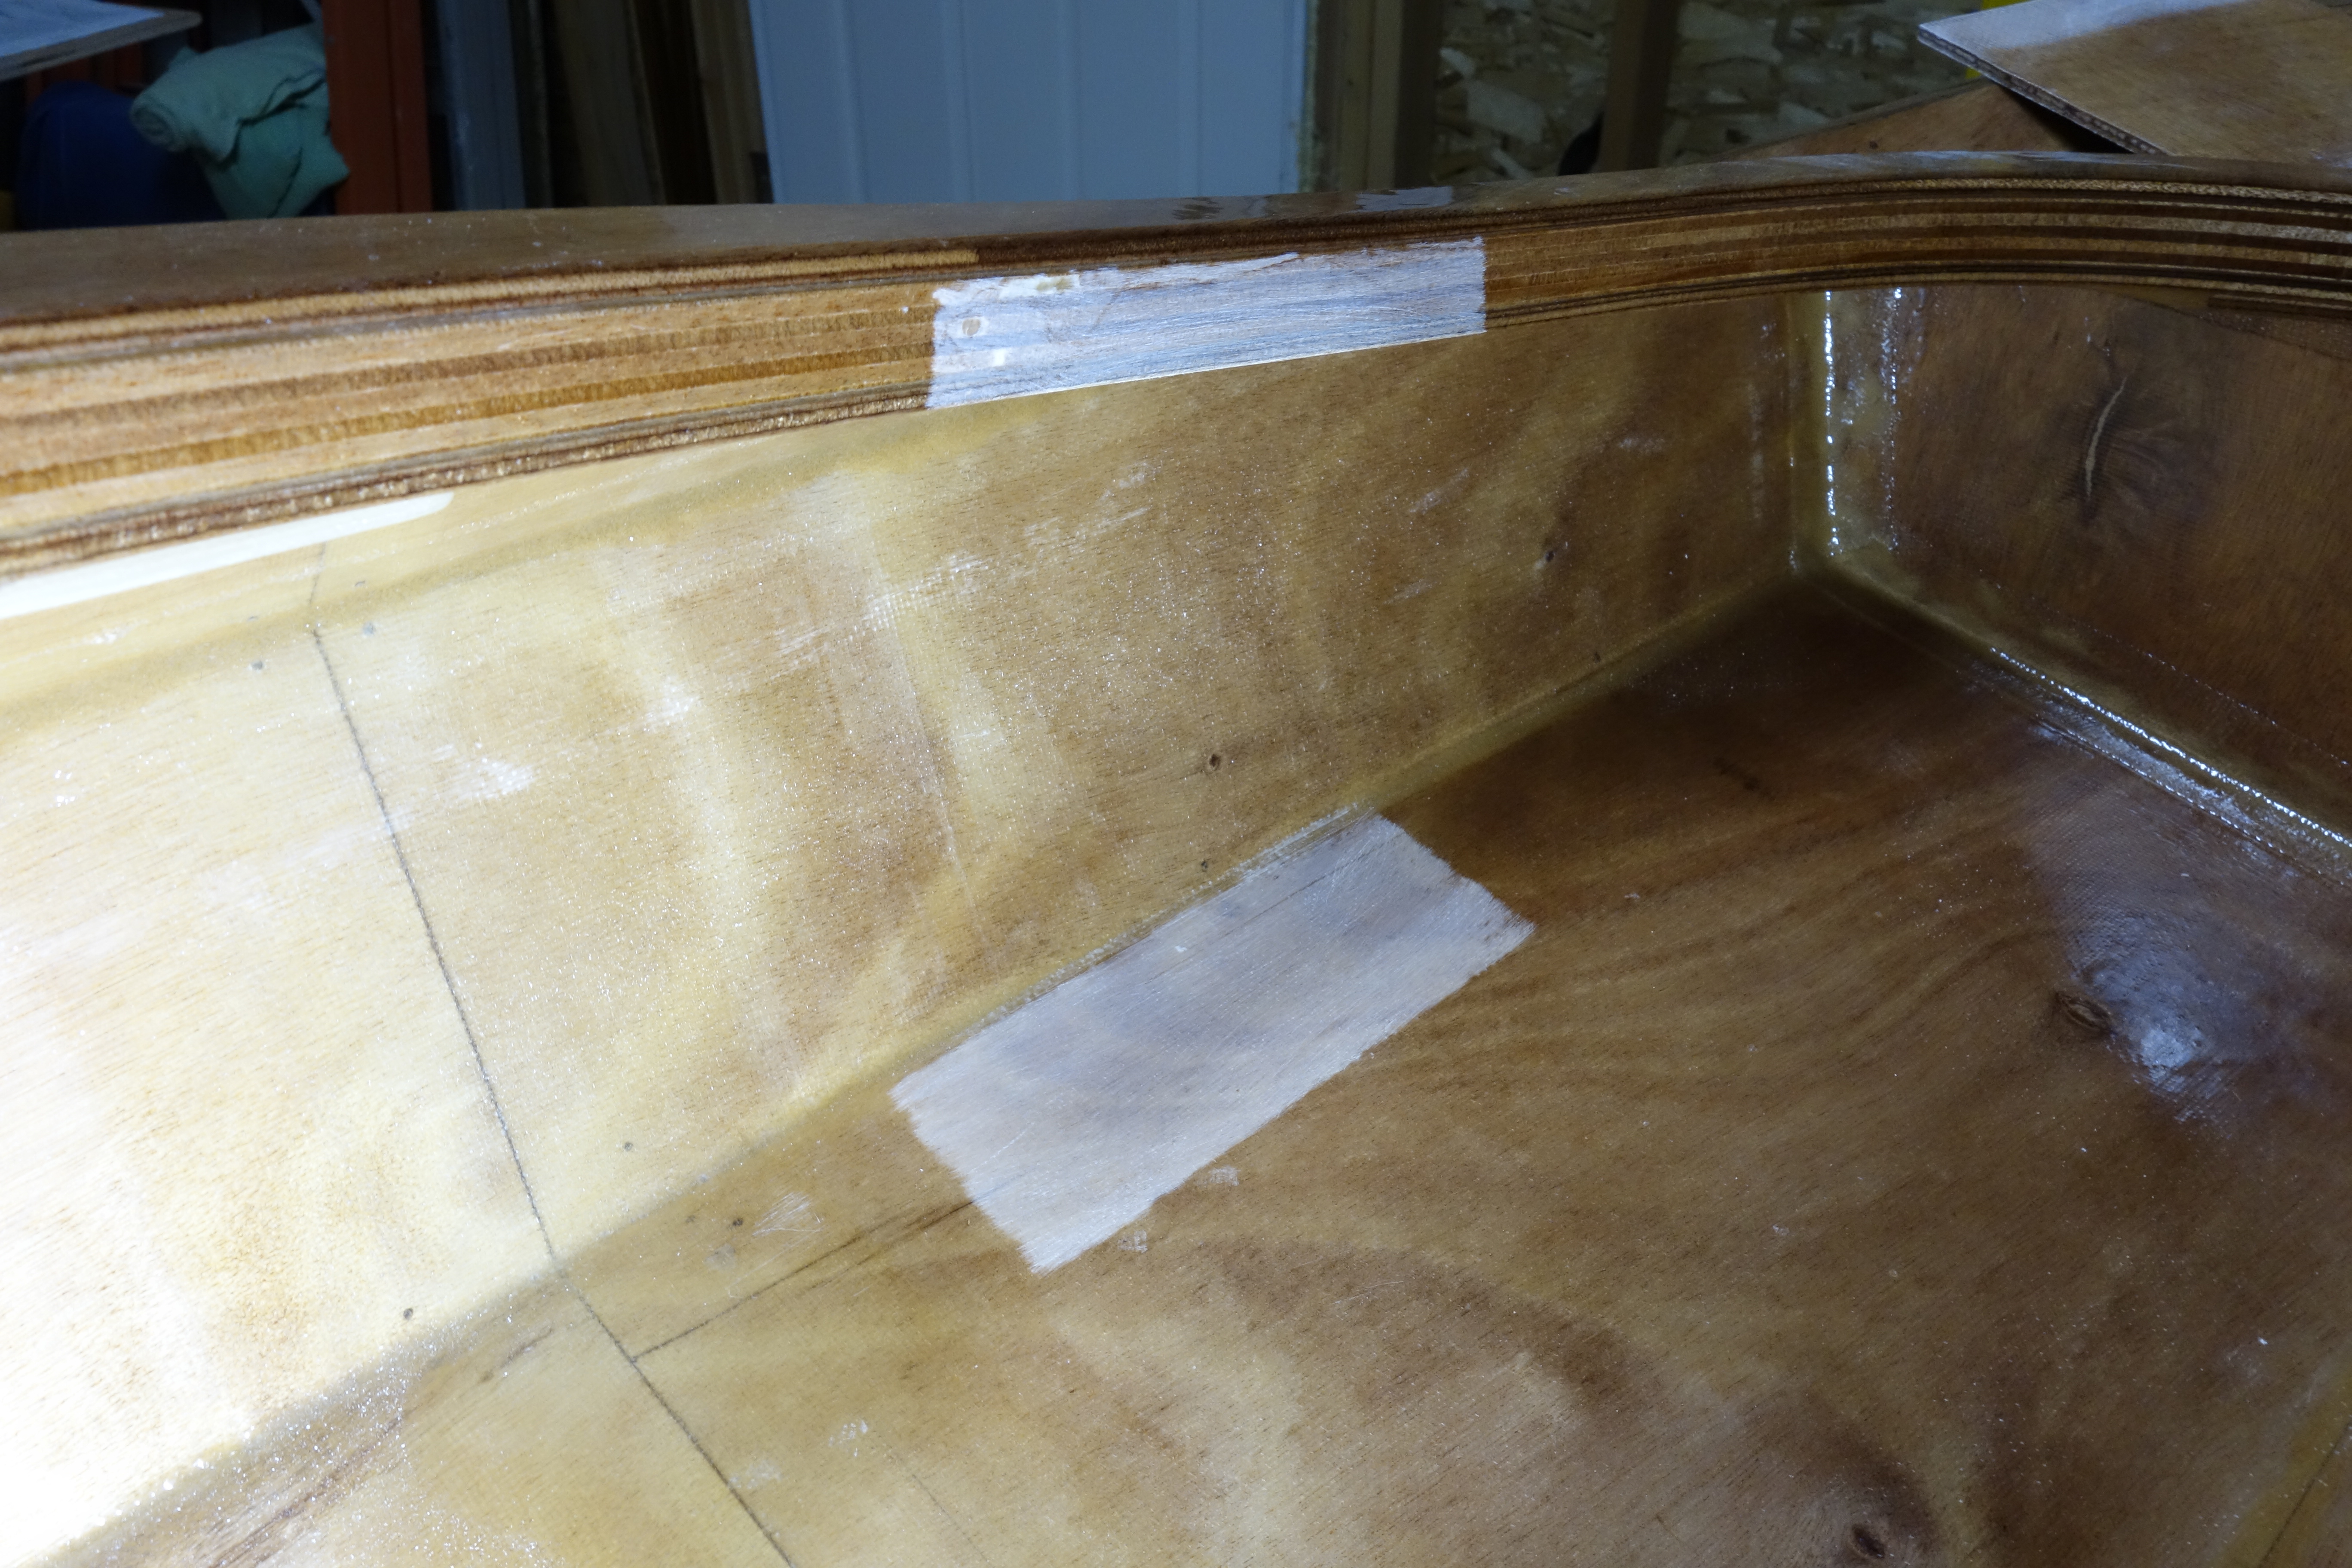
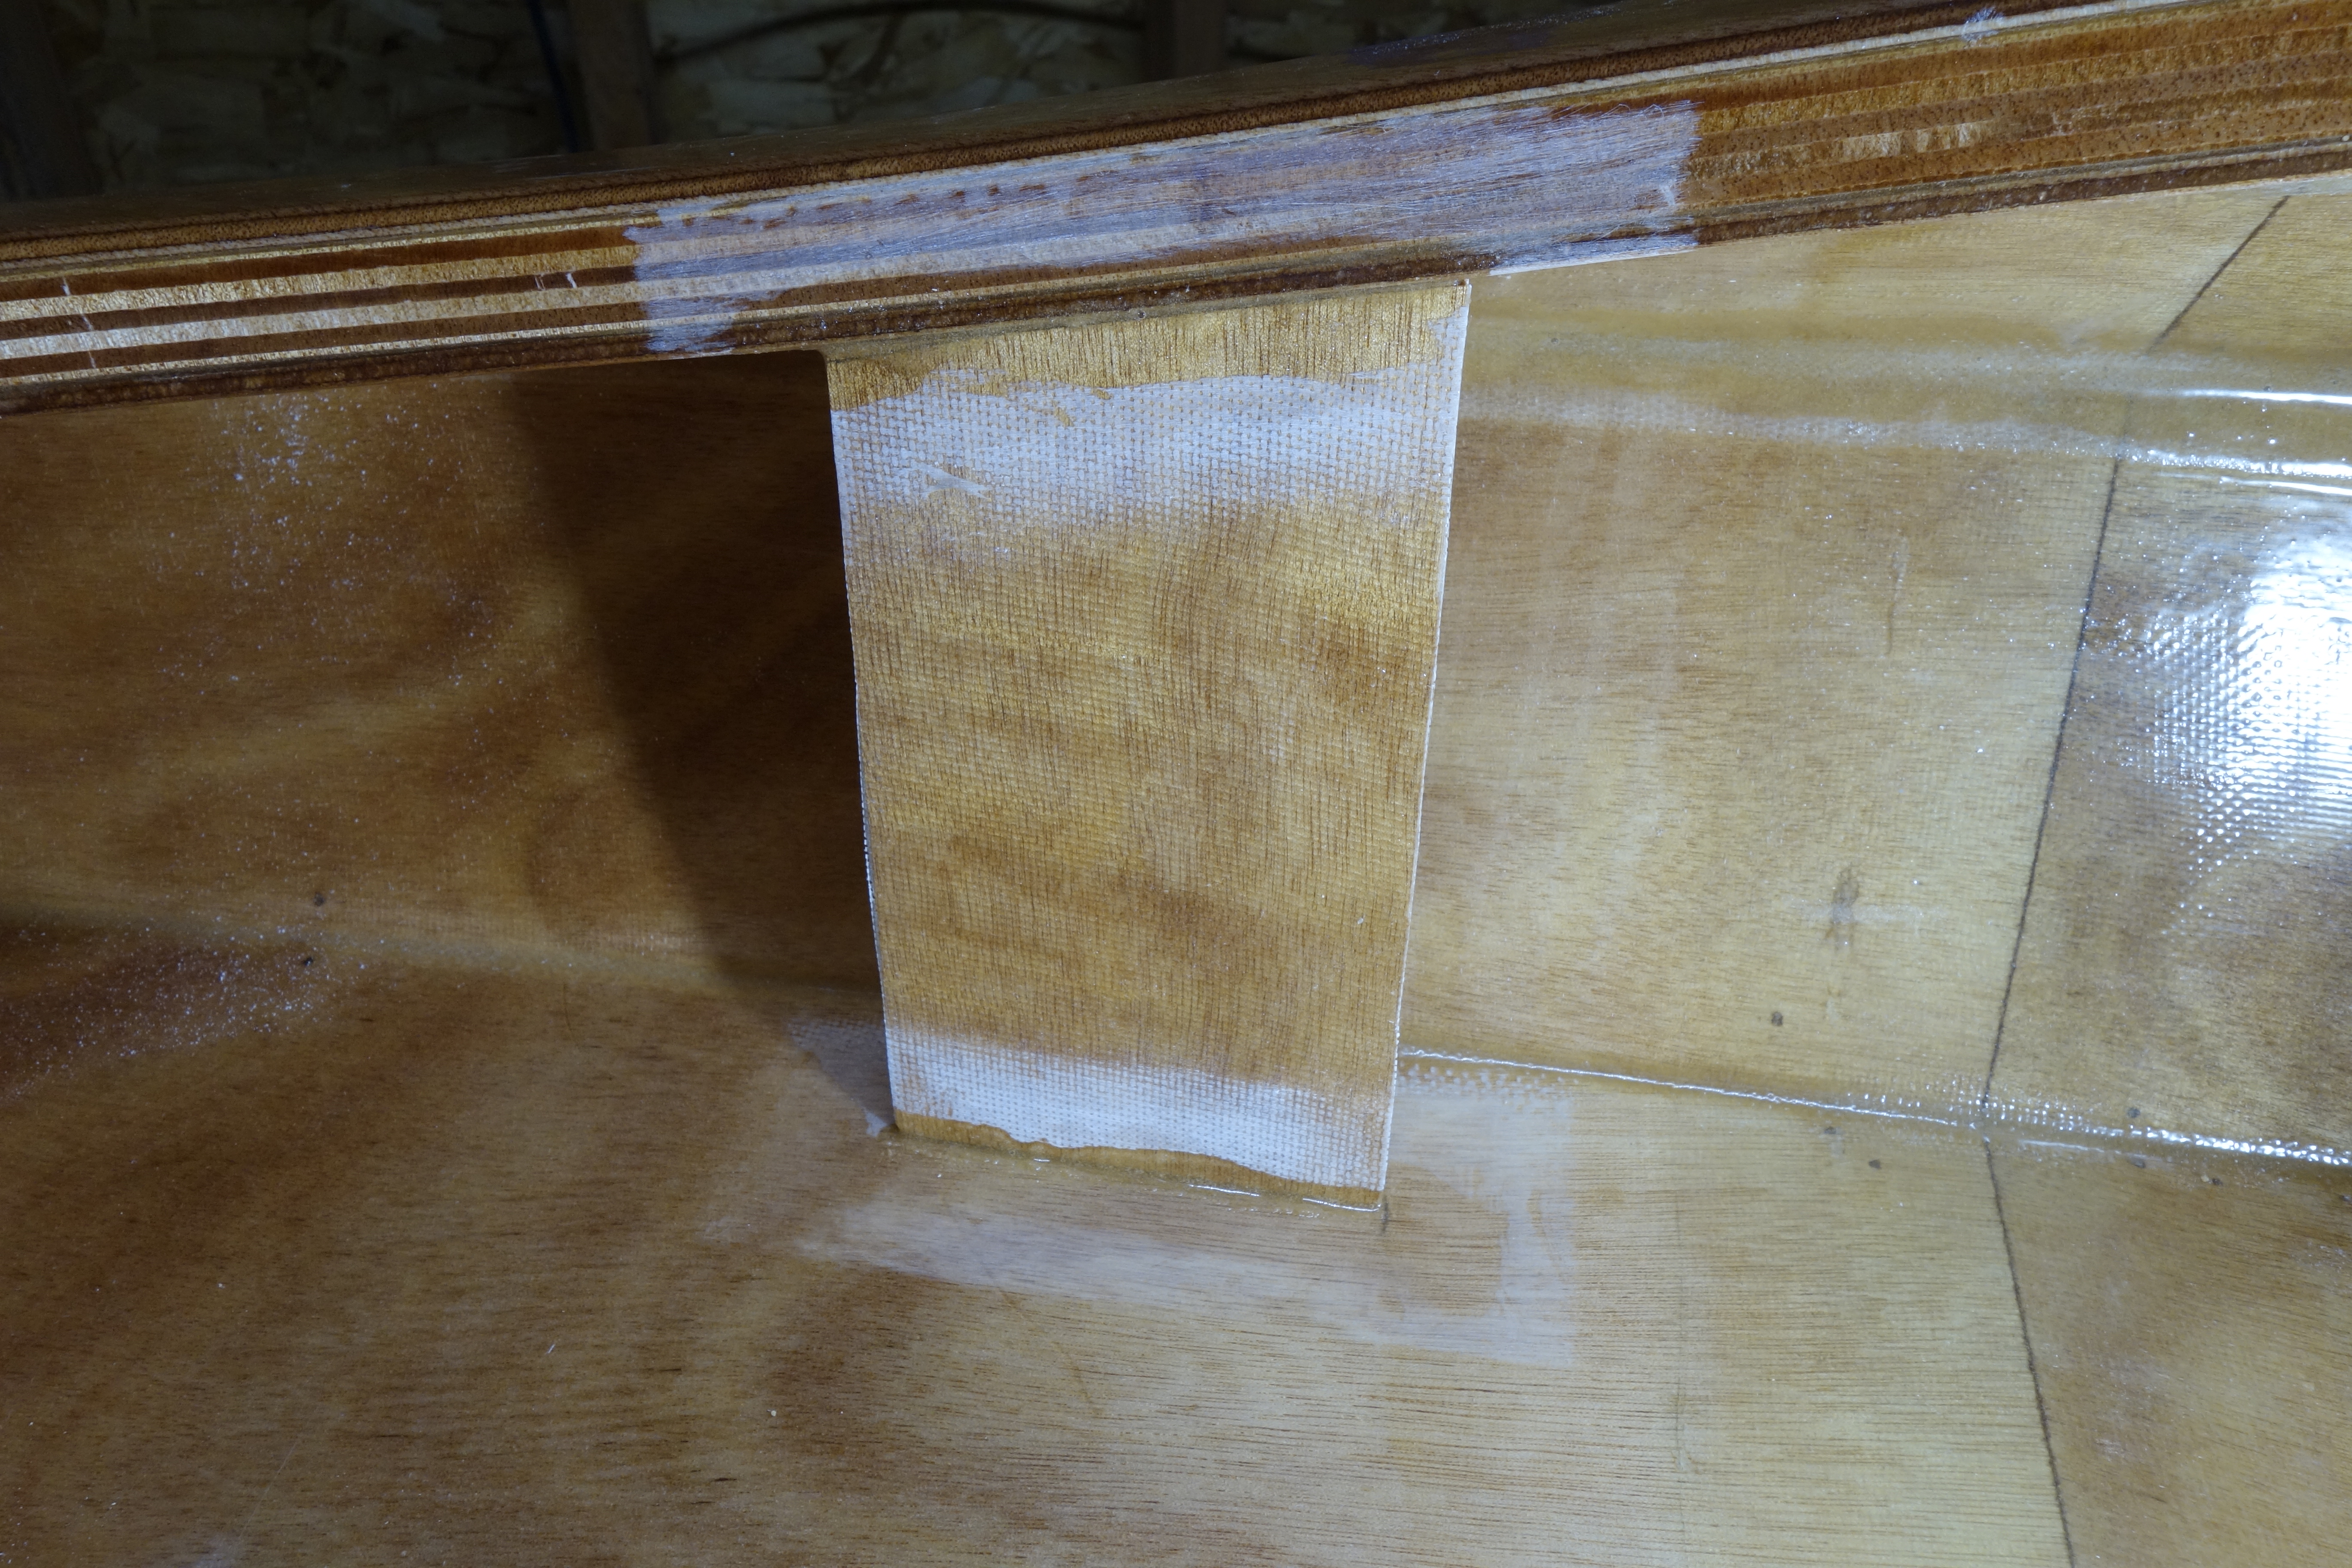
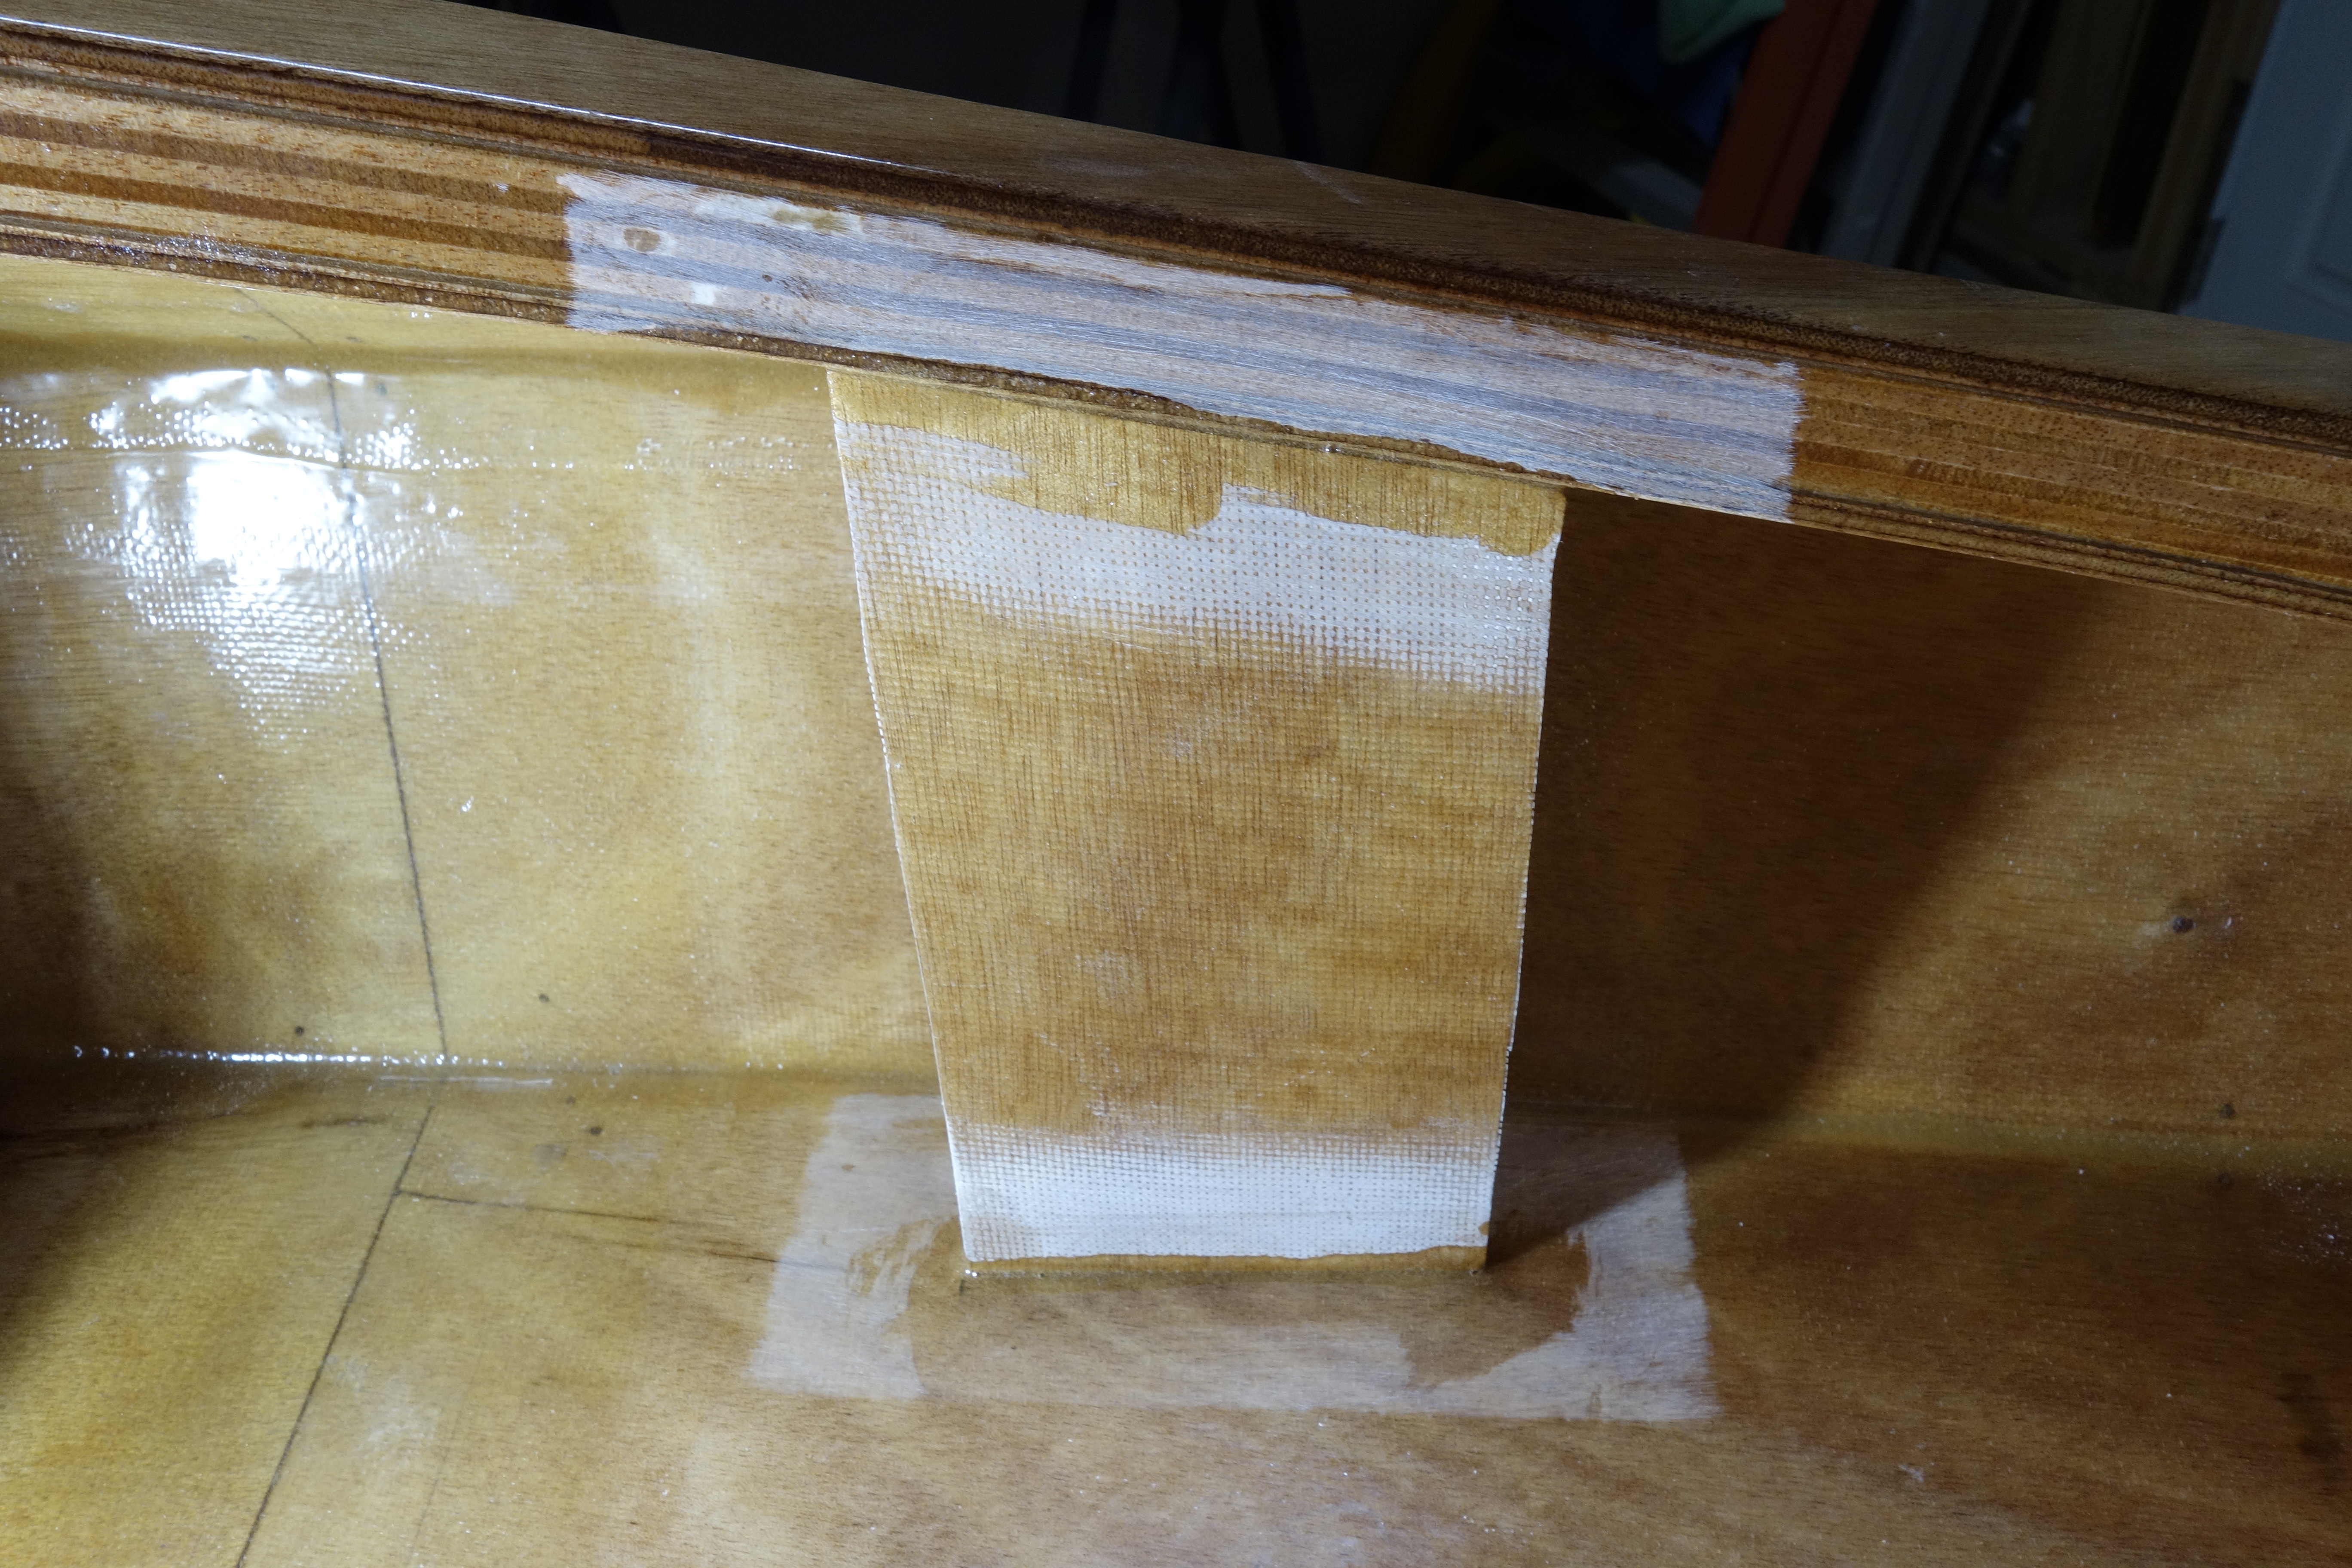
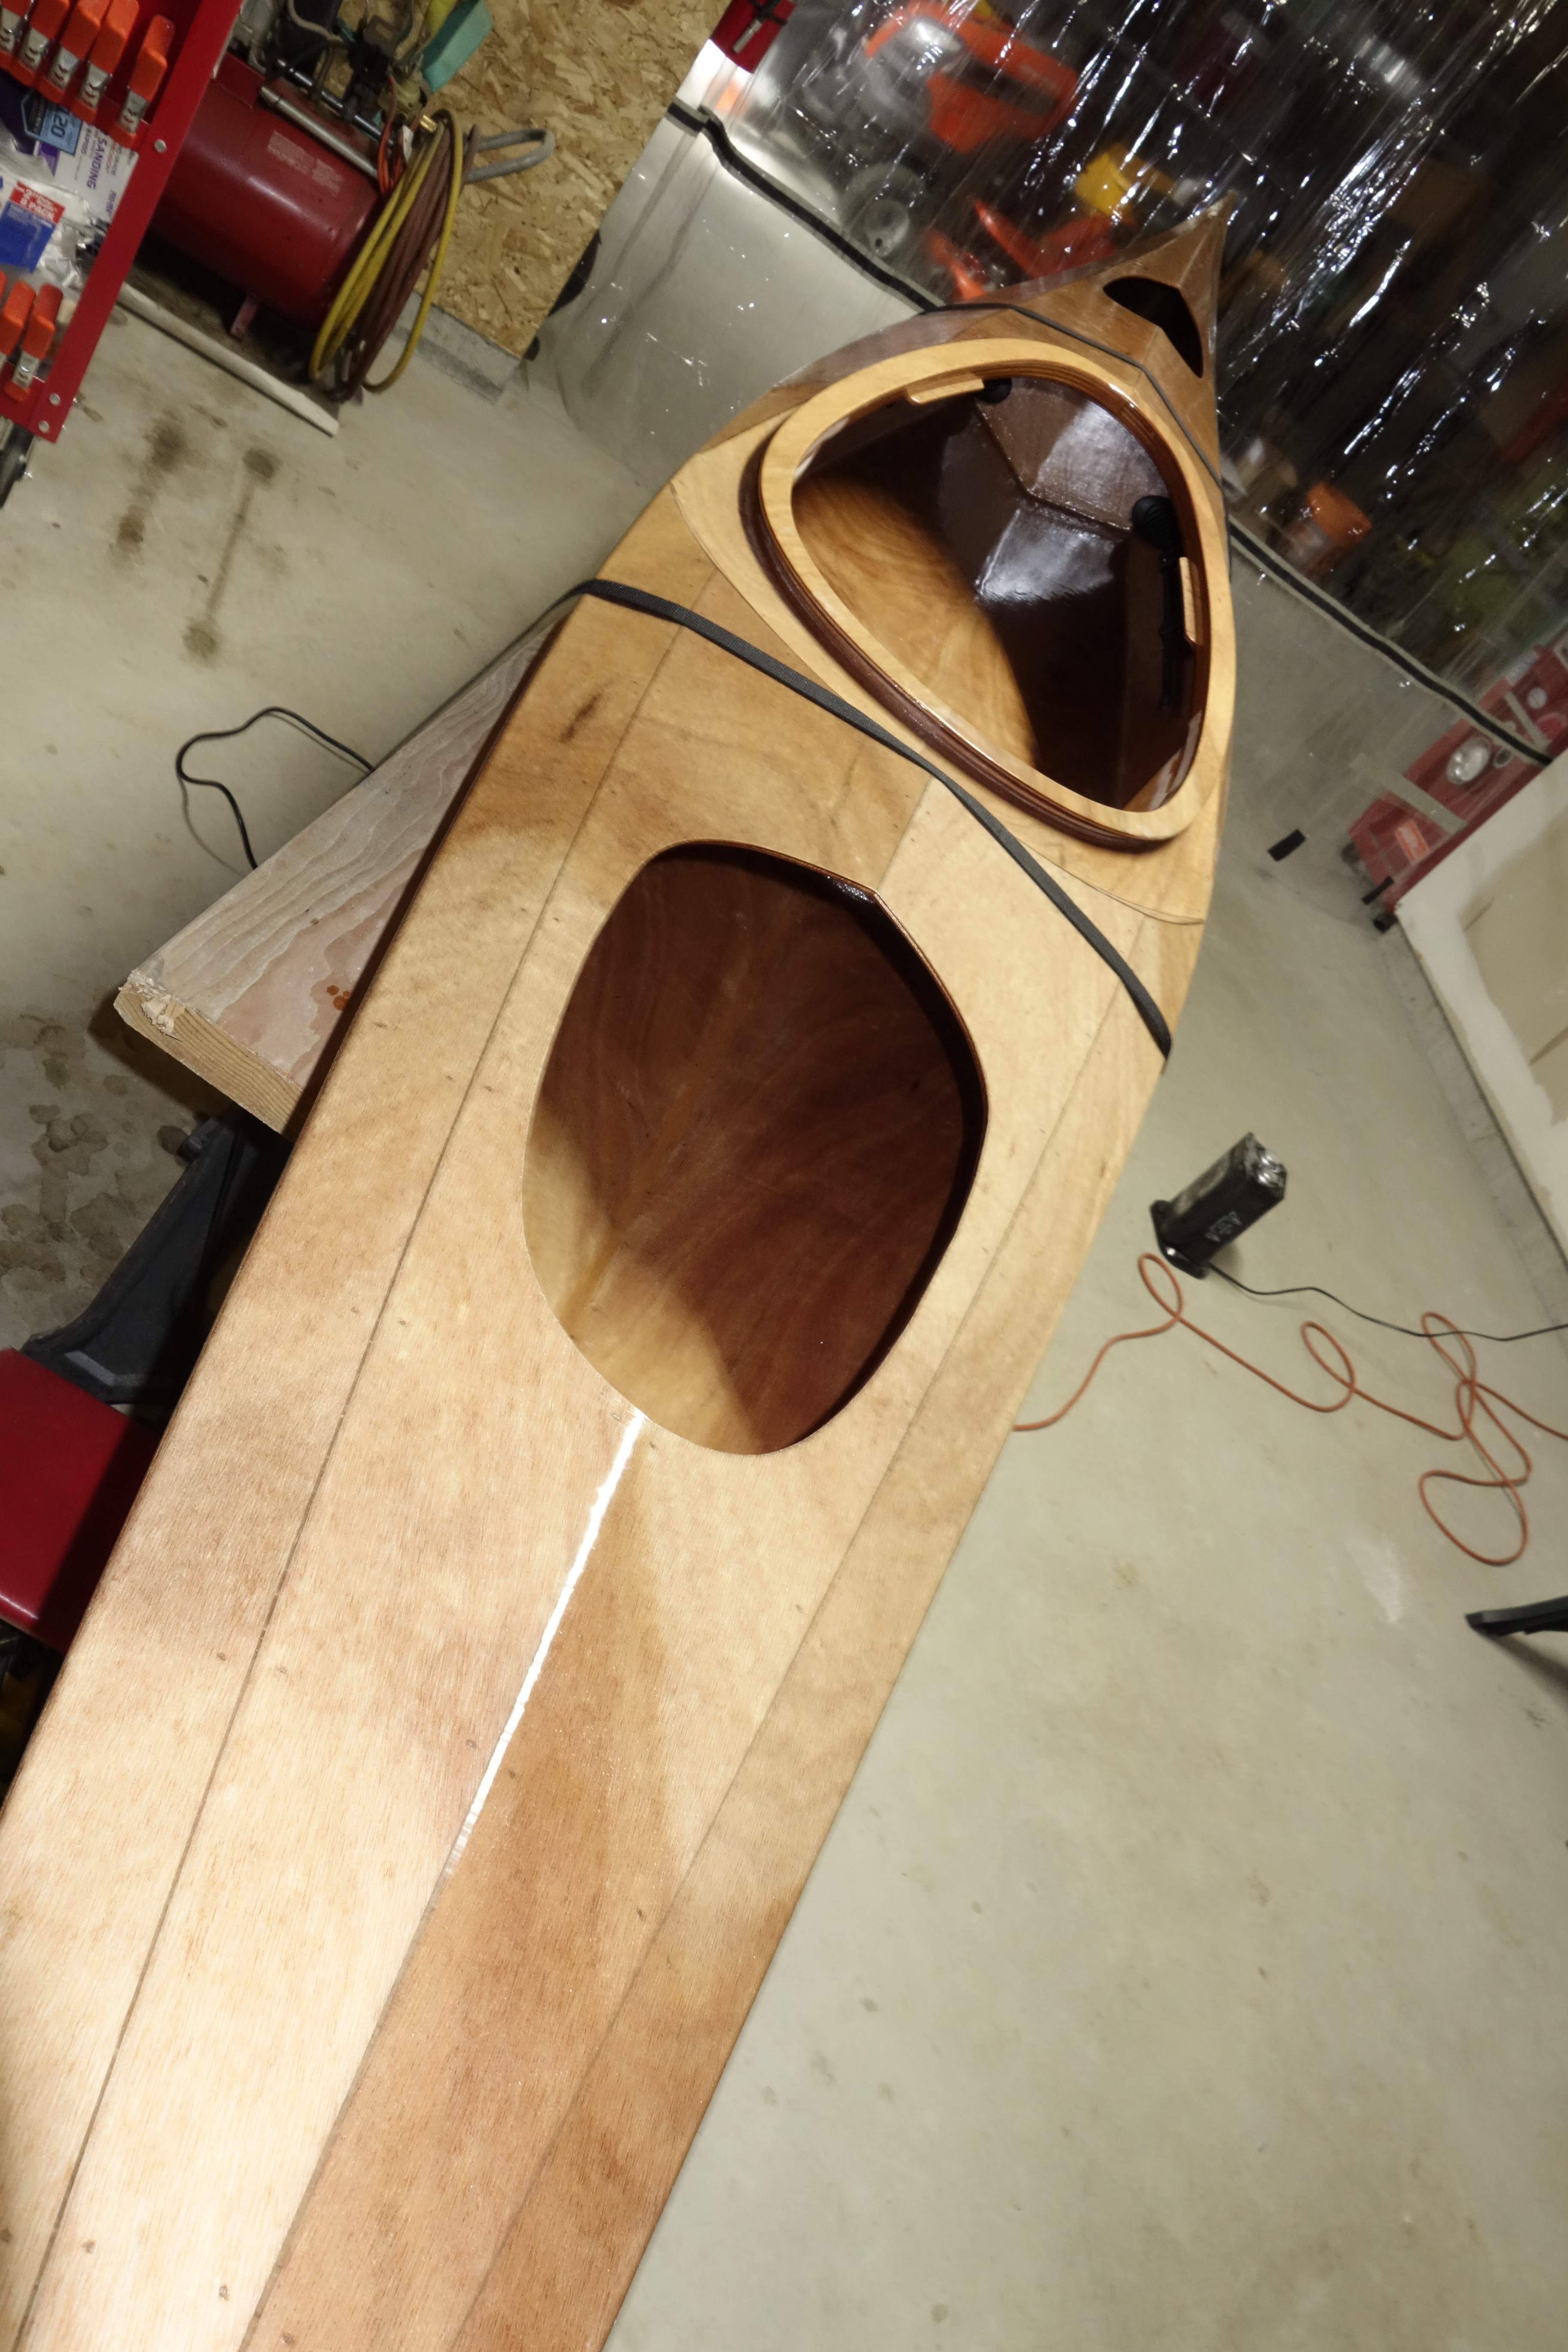
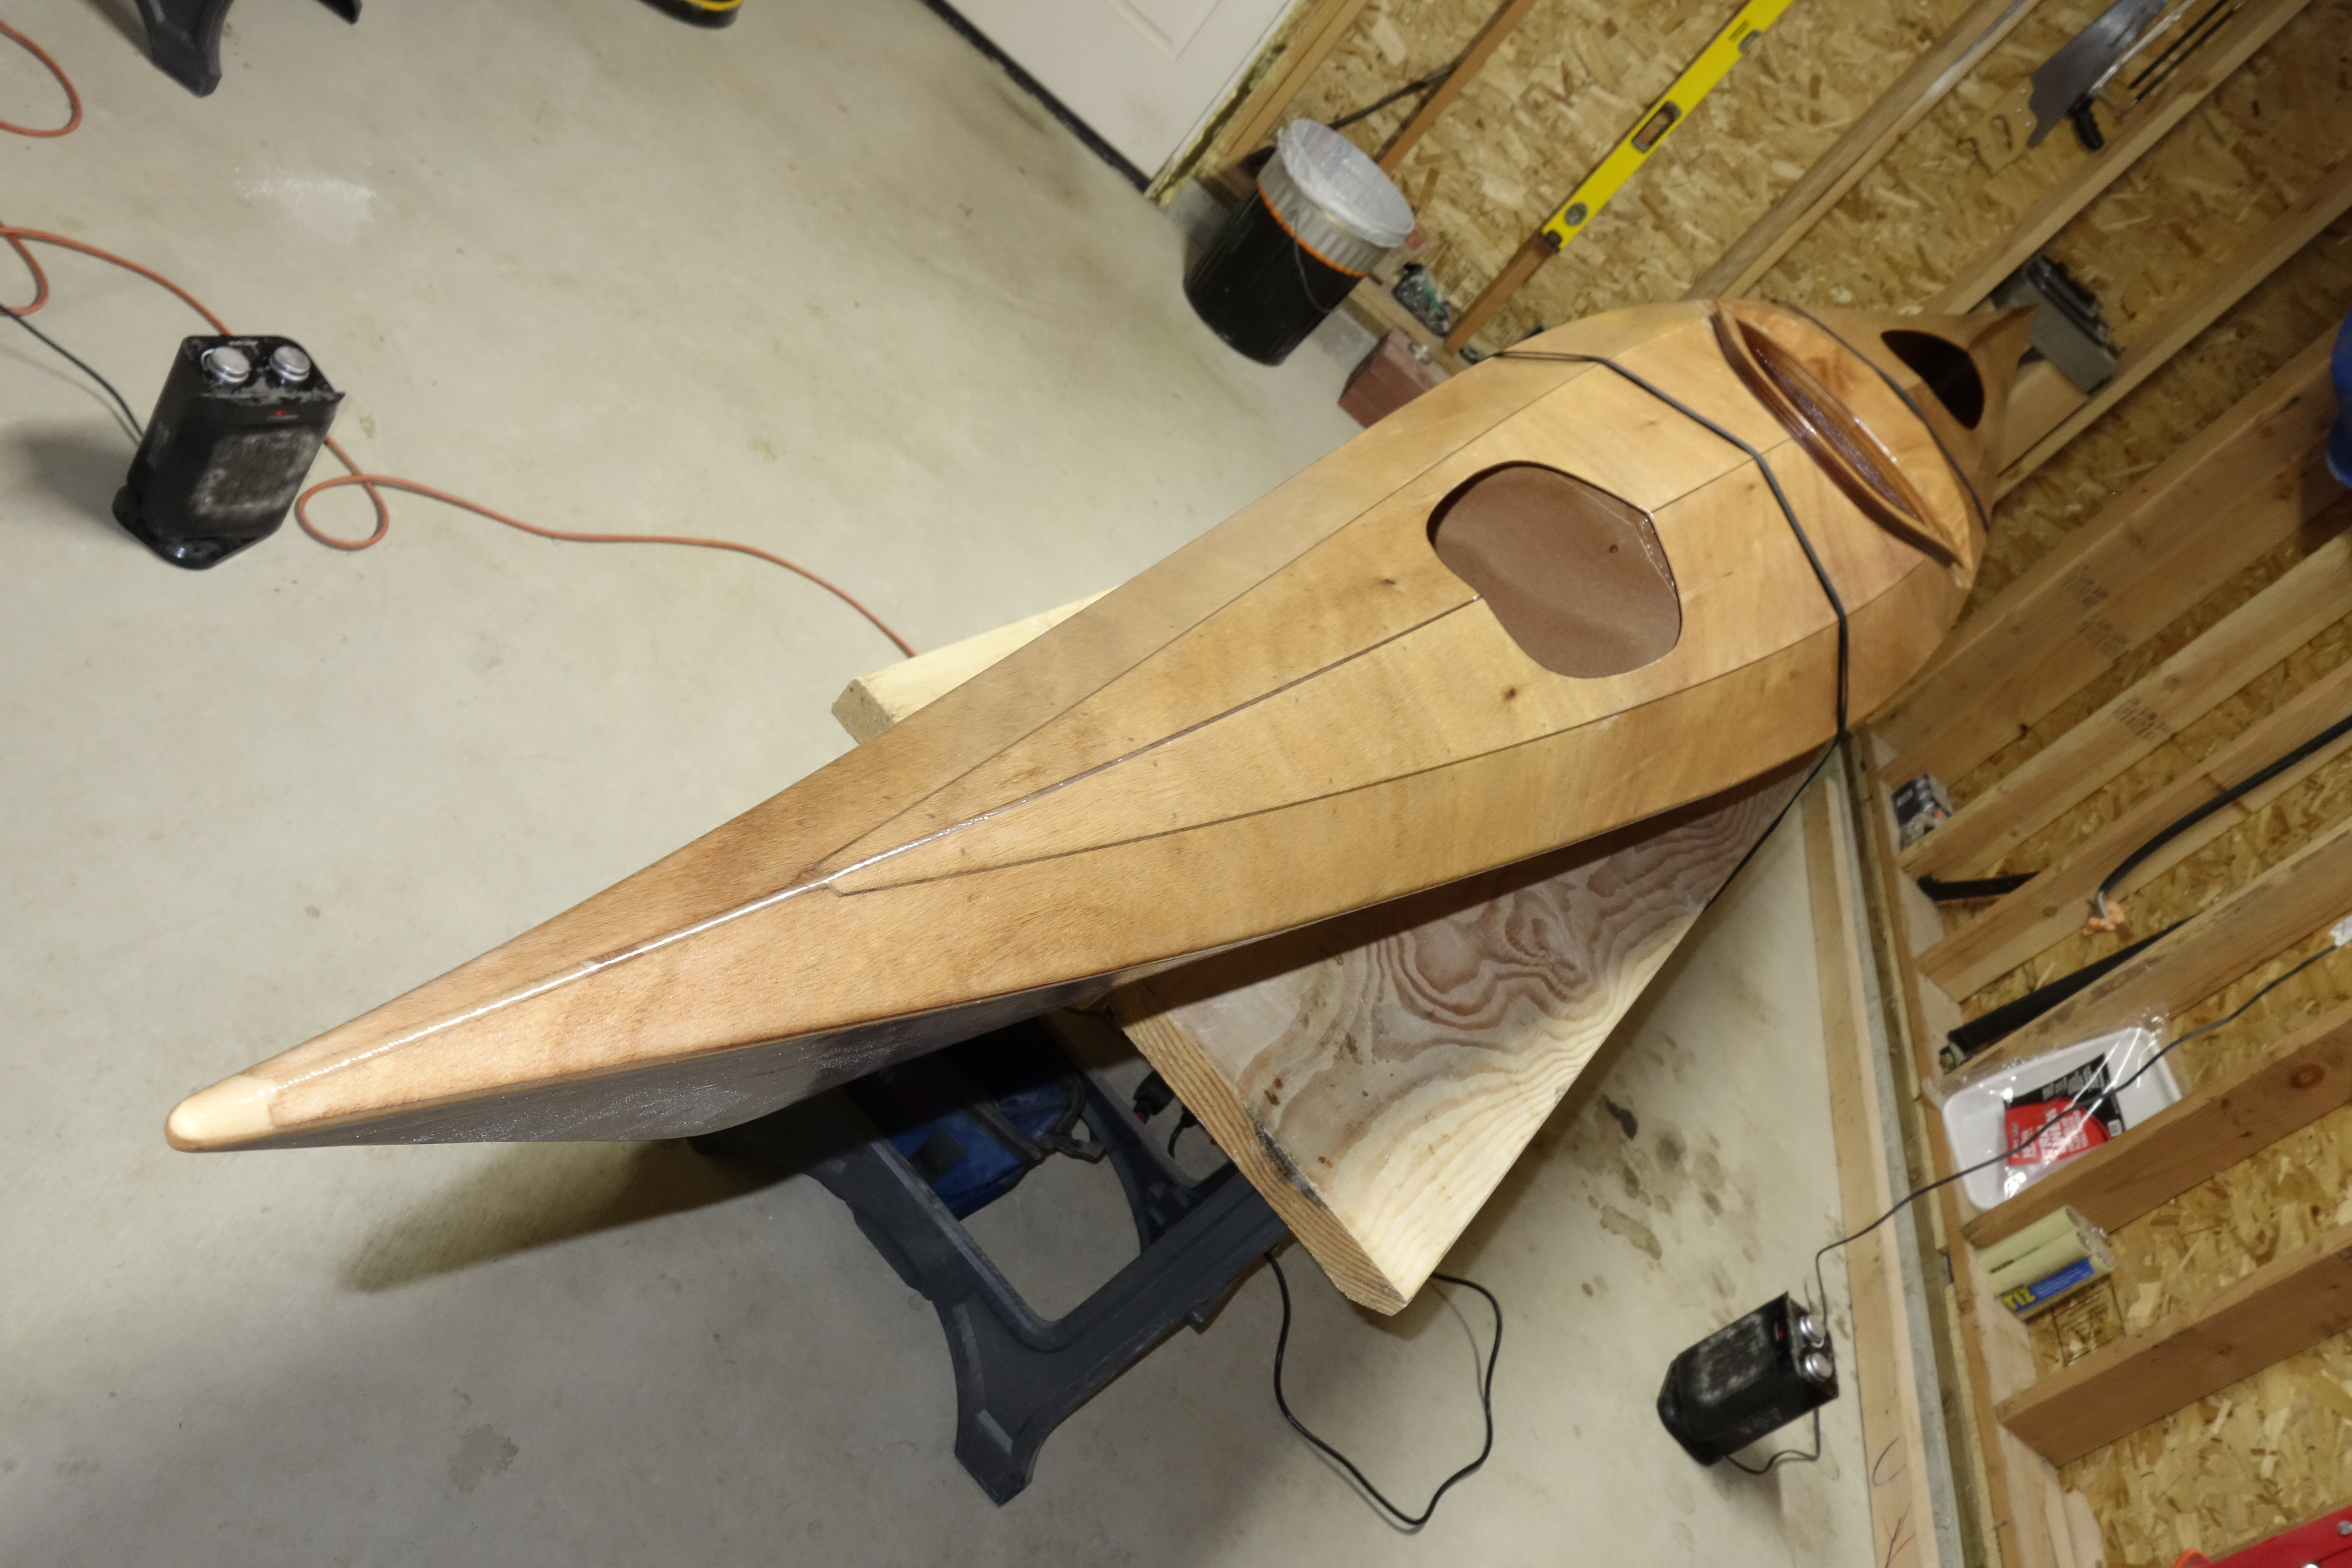
I finally had time after work to get the hip braces finished. IMHO they look good. I also sanded the hull inside the cockpit as far forward as I could easily reach, and gave the whole thing a light coat of epoxy since I had to feather in around the braces anyway. It covered a multitude of sins. I still need to mount the back band and glue the Velcro patches on the hull that will hold the seat pad, but I will do that after I have sanded and varnished the outside of the kayak so that I don’t coat them in sanding dust, etc. Otherwise, the inside of the kayak is complete!

Starboard above, port below.

Hip braces sanded and given first fill coat. Final sanding tomorrow and one more light coat of epoxy.

One fill coat of epoxy didn’t get these smooth enough for me to call them done so they will get sanded again and one more light coat of epoxy. Also, I didn’t get a tiny patch of glass cloth behind both braces sanded quite enough. I could show you what I missed, but it’s small, so I’ll just fix it tomorrow and move on.

:^)

Port side above, starboard below.
The whitish patches you see on the cockpit coaming above, were voids in the plywood lamination. Unfortunately, I didn’t fill them with epoxy thickened with wood flour before I started saturating the coaming pieces with straight epoxy, way back in November when I first started building the kayak. I thought that the resin would be clear in the voids. It didn’t turn out that way, so I will have to live with it. One of those things, I guess.
:^\

Hip braces glassed.

This morning I made the small fillets and got the fiberglass cloth on the the hip braces. After this cures, I’ll sand it smooth and give it a light coat of epoxy and then the hip braces will be done. Only a couple of steps left to go. After the hip braces are finished, I’ll do the hatch lips and finish the hatch covers. Then come the end pours. The end pours may actually be the steps that delay me more than any other so far, because they are completely weather dependent. I will need two dry, warmish, weekend days to take the kayak outside and stand it on end. It will then have to stand on end all day (probably strapped to a ladder) until the end pours cure enough that they won’t slump when I lay the kayak back into the horizontal position. But that’s it for the construction. After that, the entire kayak gets sanded. Then at least one more fill coat of epoxy to make things smooth. More sanding. Then spar varnish. After the kayak is varnished the deck rigging goes on, and the Ronan will be ready to paddle.

Port hip brace above. Starboard below.

Bulkheads finished. Foot braces installed. Hip braces dry fitted, sanded, and lightly epoxied in place.

The bulkheads are completely finished after sanding the high edges off of the fiberglass tape and giving them a light coat of epoxy. The foot braces have been installed and are complete. I cut the hip braces to size and shaped them with a flat file and sandpaper. They were then dry fitted and adjusted until I was happy with the fit. I then masked off the areas on the hull and cockpit coaming where the braces will be epoxied in place and sanded them, after which the hip braces were lightly epoxied in place. The next step will be to make fillets and fiberglass the hip braces in place.

Slidelock foot braces installed.
High edges sanded off of the fiberglass tape on aft bulkhead, and given a light coat of epoxy to make it pretty. Bulkheads complete.
Port hip brace dry fitted in place.
Starboard hip brace dry fitted in place.
Masked for sanding.
Port hip brace lightly glued in place (above).
Starboard hip brace lightly glued in place (above).

While I’m waiting for the first half of the cockpit coaming to cure…

I have time today to fiberglass the bulkheads and the material for the hip braces, to which the back band (seat back) will attach.

Aft bulkhead. This is where I decided to put the hull number. I wrote it in pencil on the wood itself and then just fiberglassed over it. I think it worked out fine, and now my kayak has met the requirement to have the hull number somewhere in the kayak that cannot be removed without destroying or defacing that part of the boat. I haven’t decided yet if I will have the number side facing out into the cockpit, or have it facing the inside of the back cargo hold. The hole that you see in the photo below, right above the lettering, is where I am going to put the tiny vent hole that will allow the pressure to equalize between the cockpit and the cargo hold. I drilled a 3/16 hole before I fiberglassed, and after the epoxy and fiberglass cures I will drill a 1/16 hole through the resin and cloth in the middle of the larger hole. That way I will never have to worry about water infiltrating the wood in the bulkheads as I would if I just drilled a tiny hole through the panel after I fiberglassed. Probably overkill, but it was fun to think about, so I just went ahead and did it!
Close up of the hull number info. Sorry about the reflection of the shop light.
From the top: Forward bulkhead. Hip brace material. Aft bulkhead.
Hatches laid out. Forward hatch in the foreground (obviously). Now all I have to do is work up the courage to put a saw to the beautiful deck I just got done building!
Overhead view of the forward hatch.
Overhead-ish view of the aft hatch.