Installation of internal foot brace studs, day one.

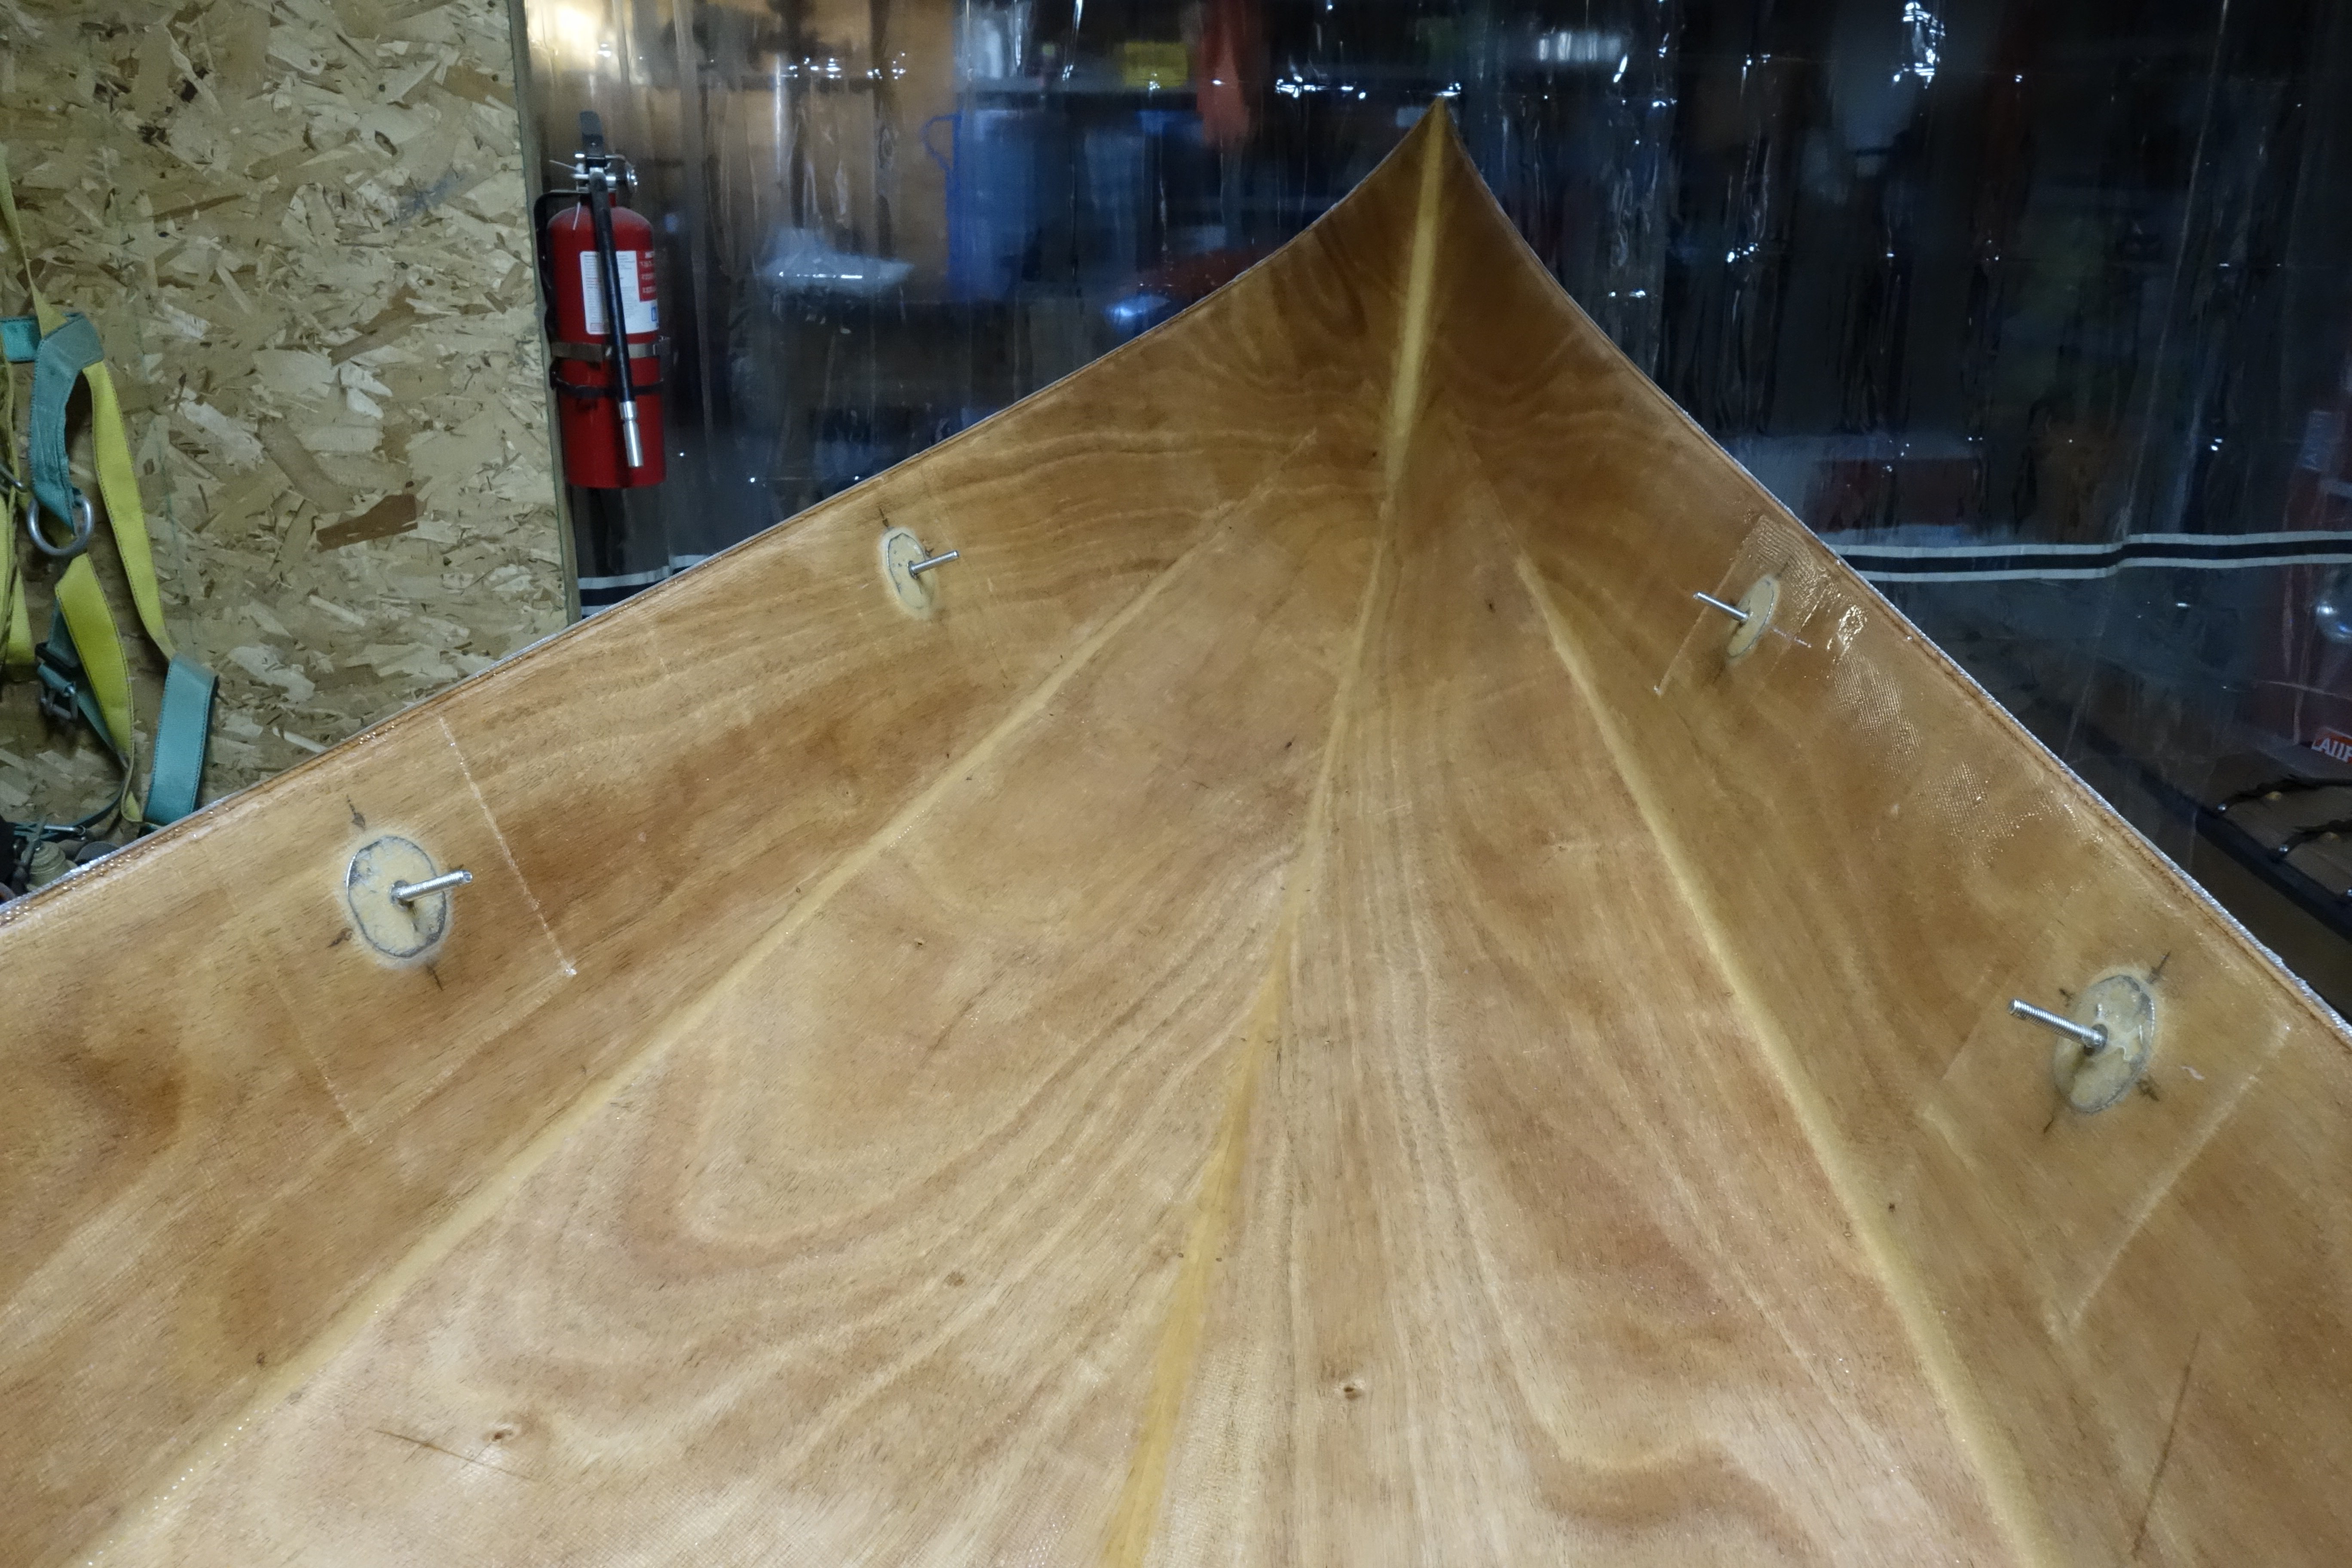
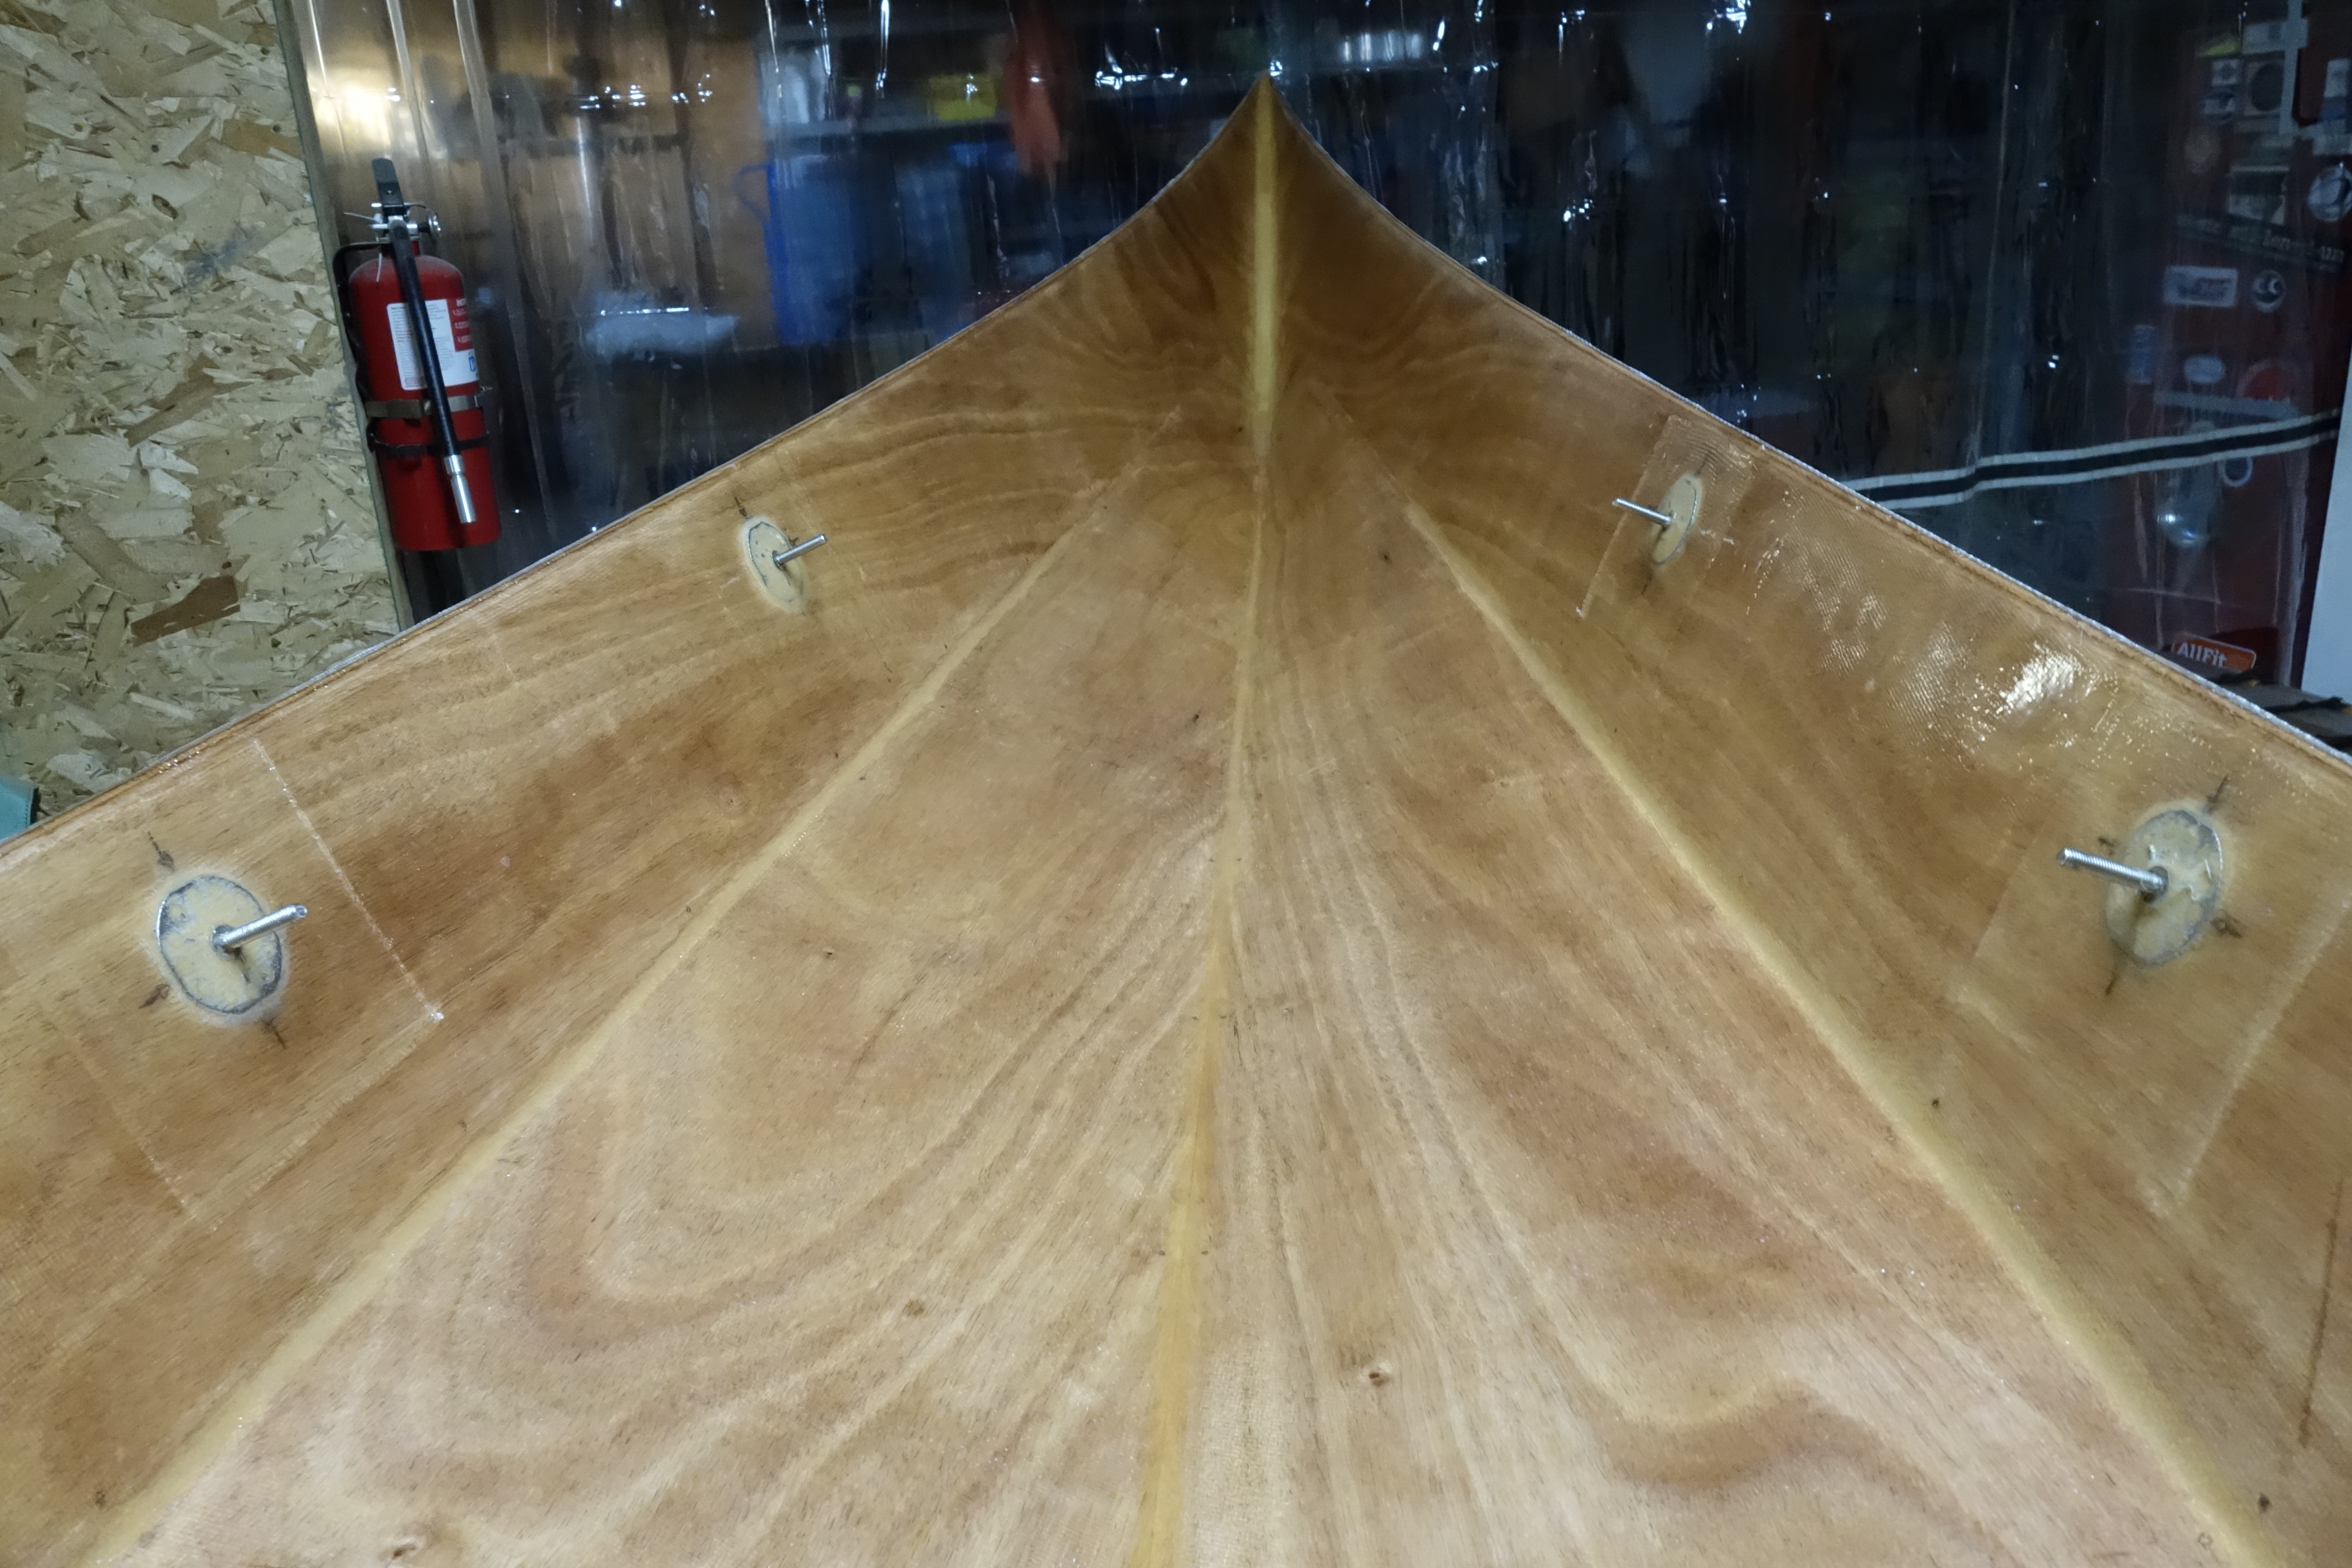
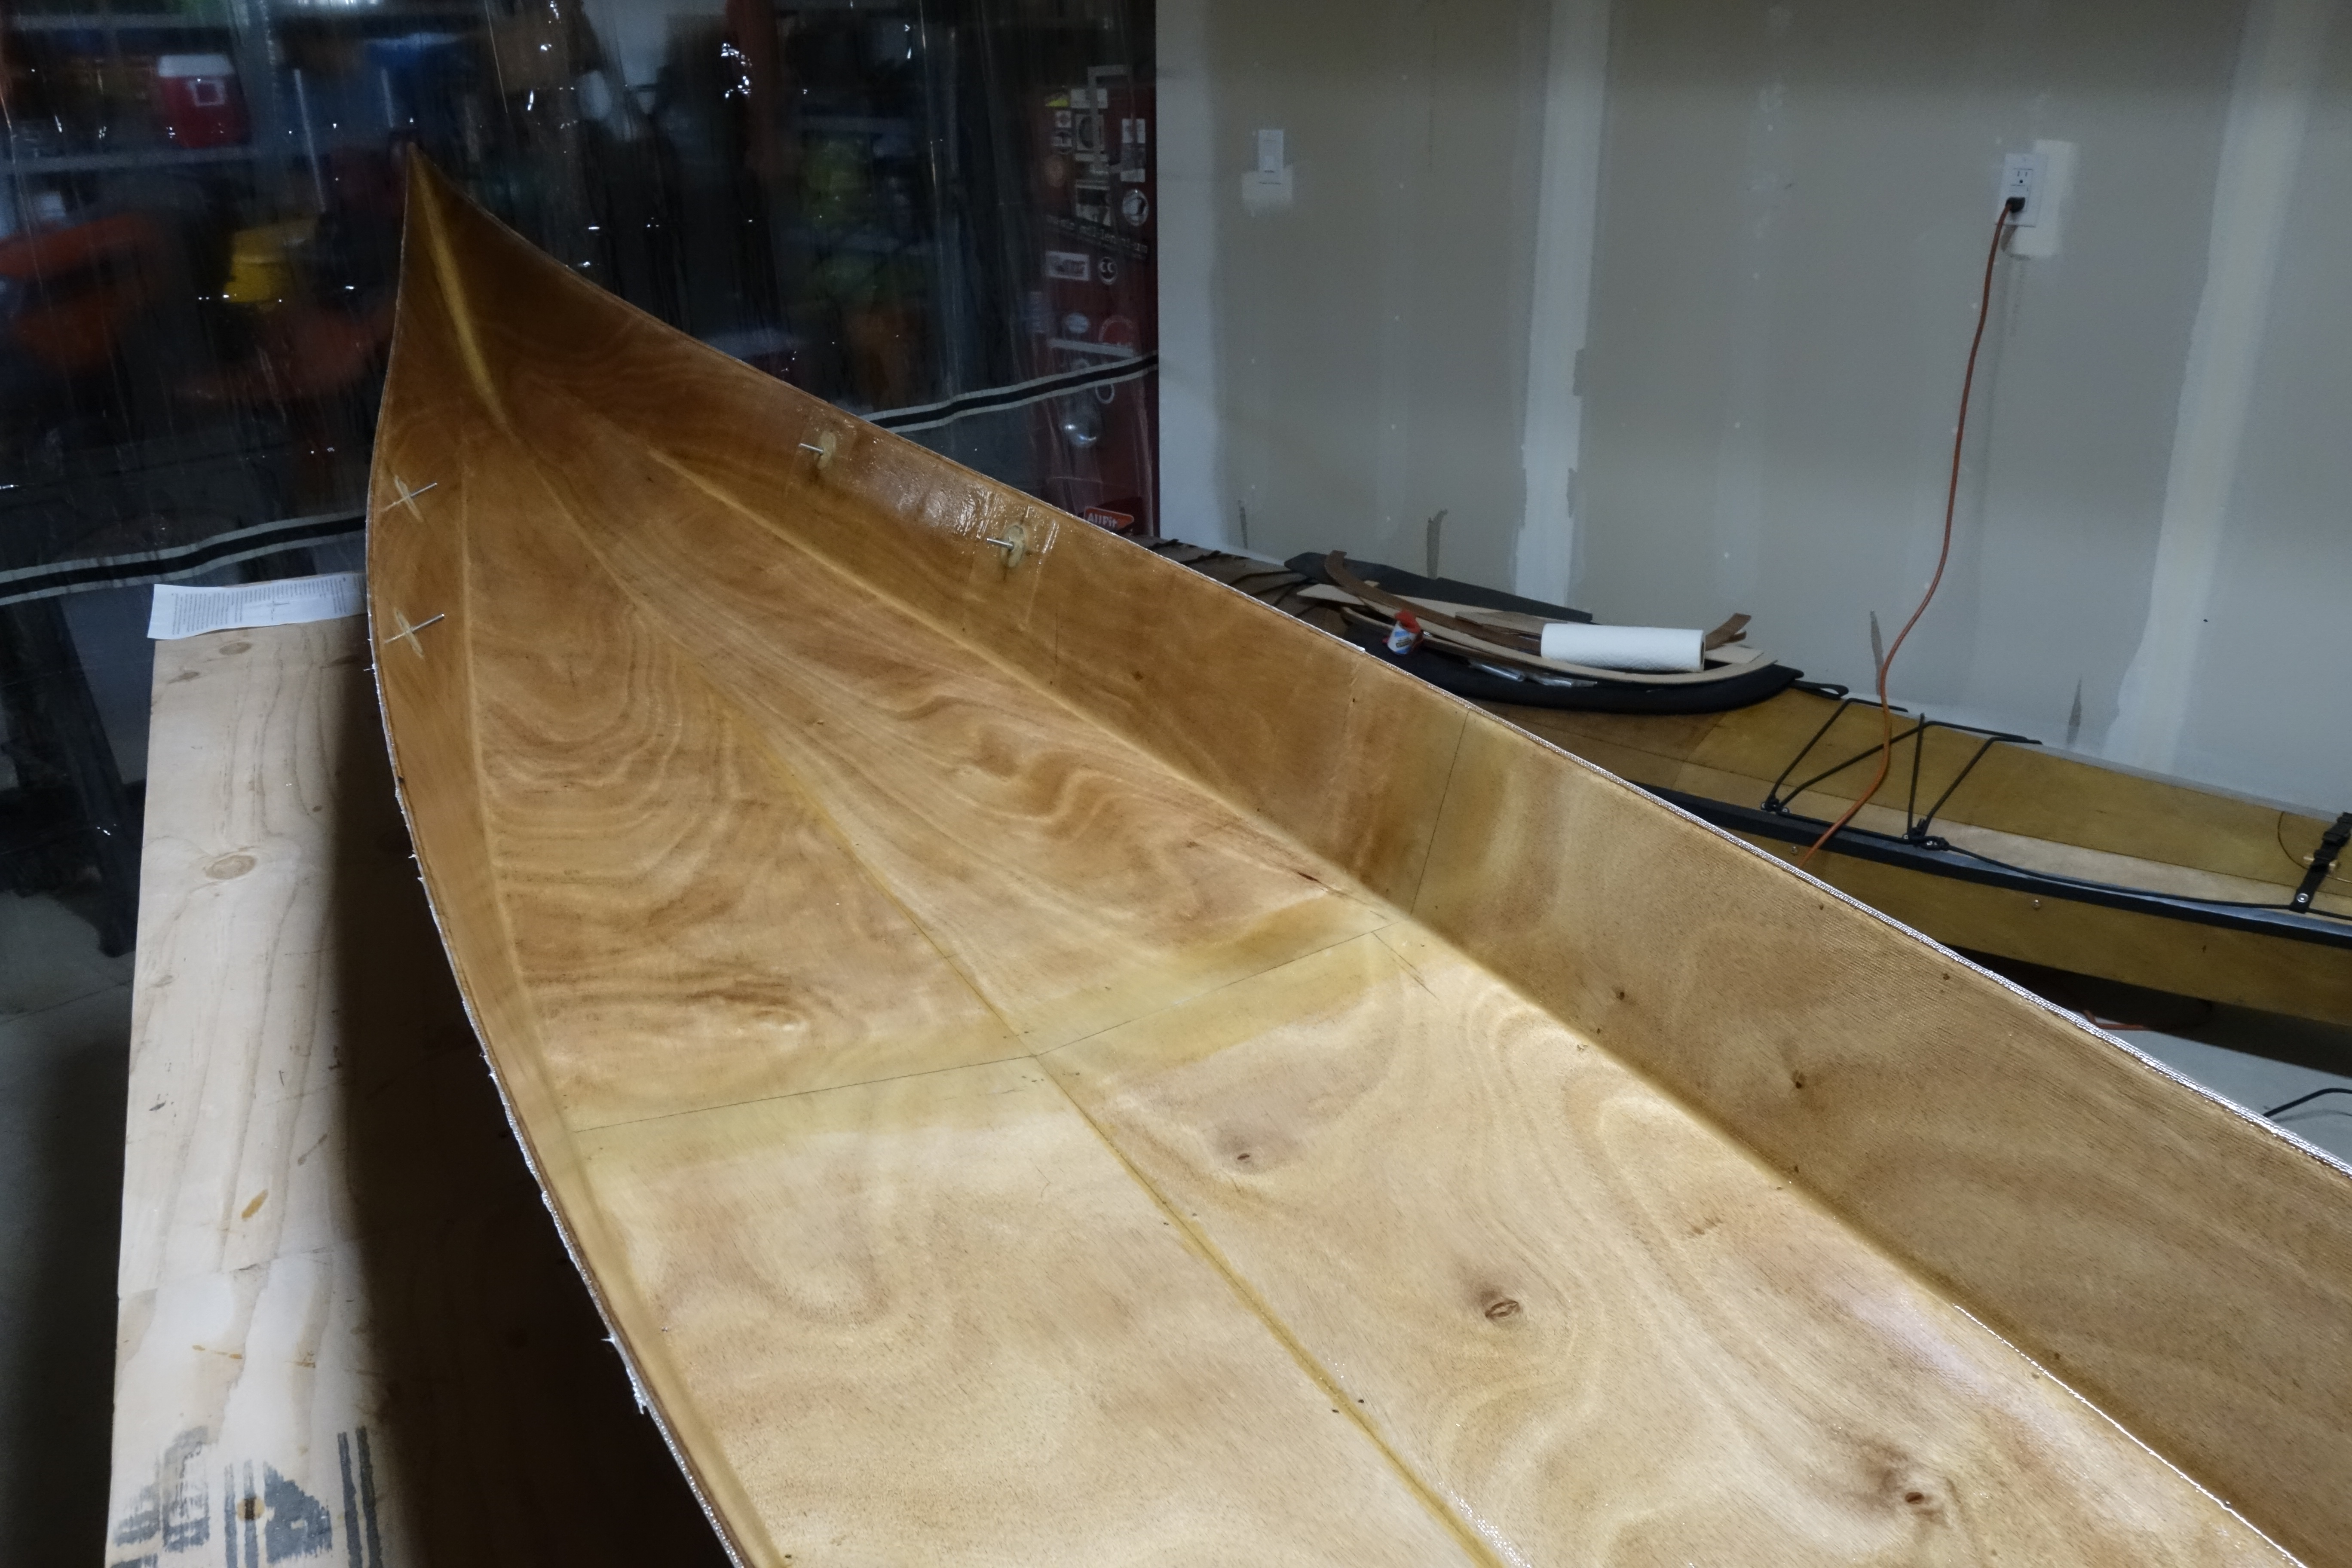
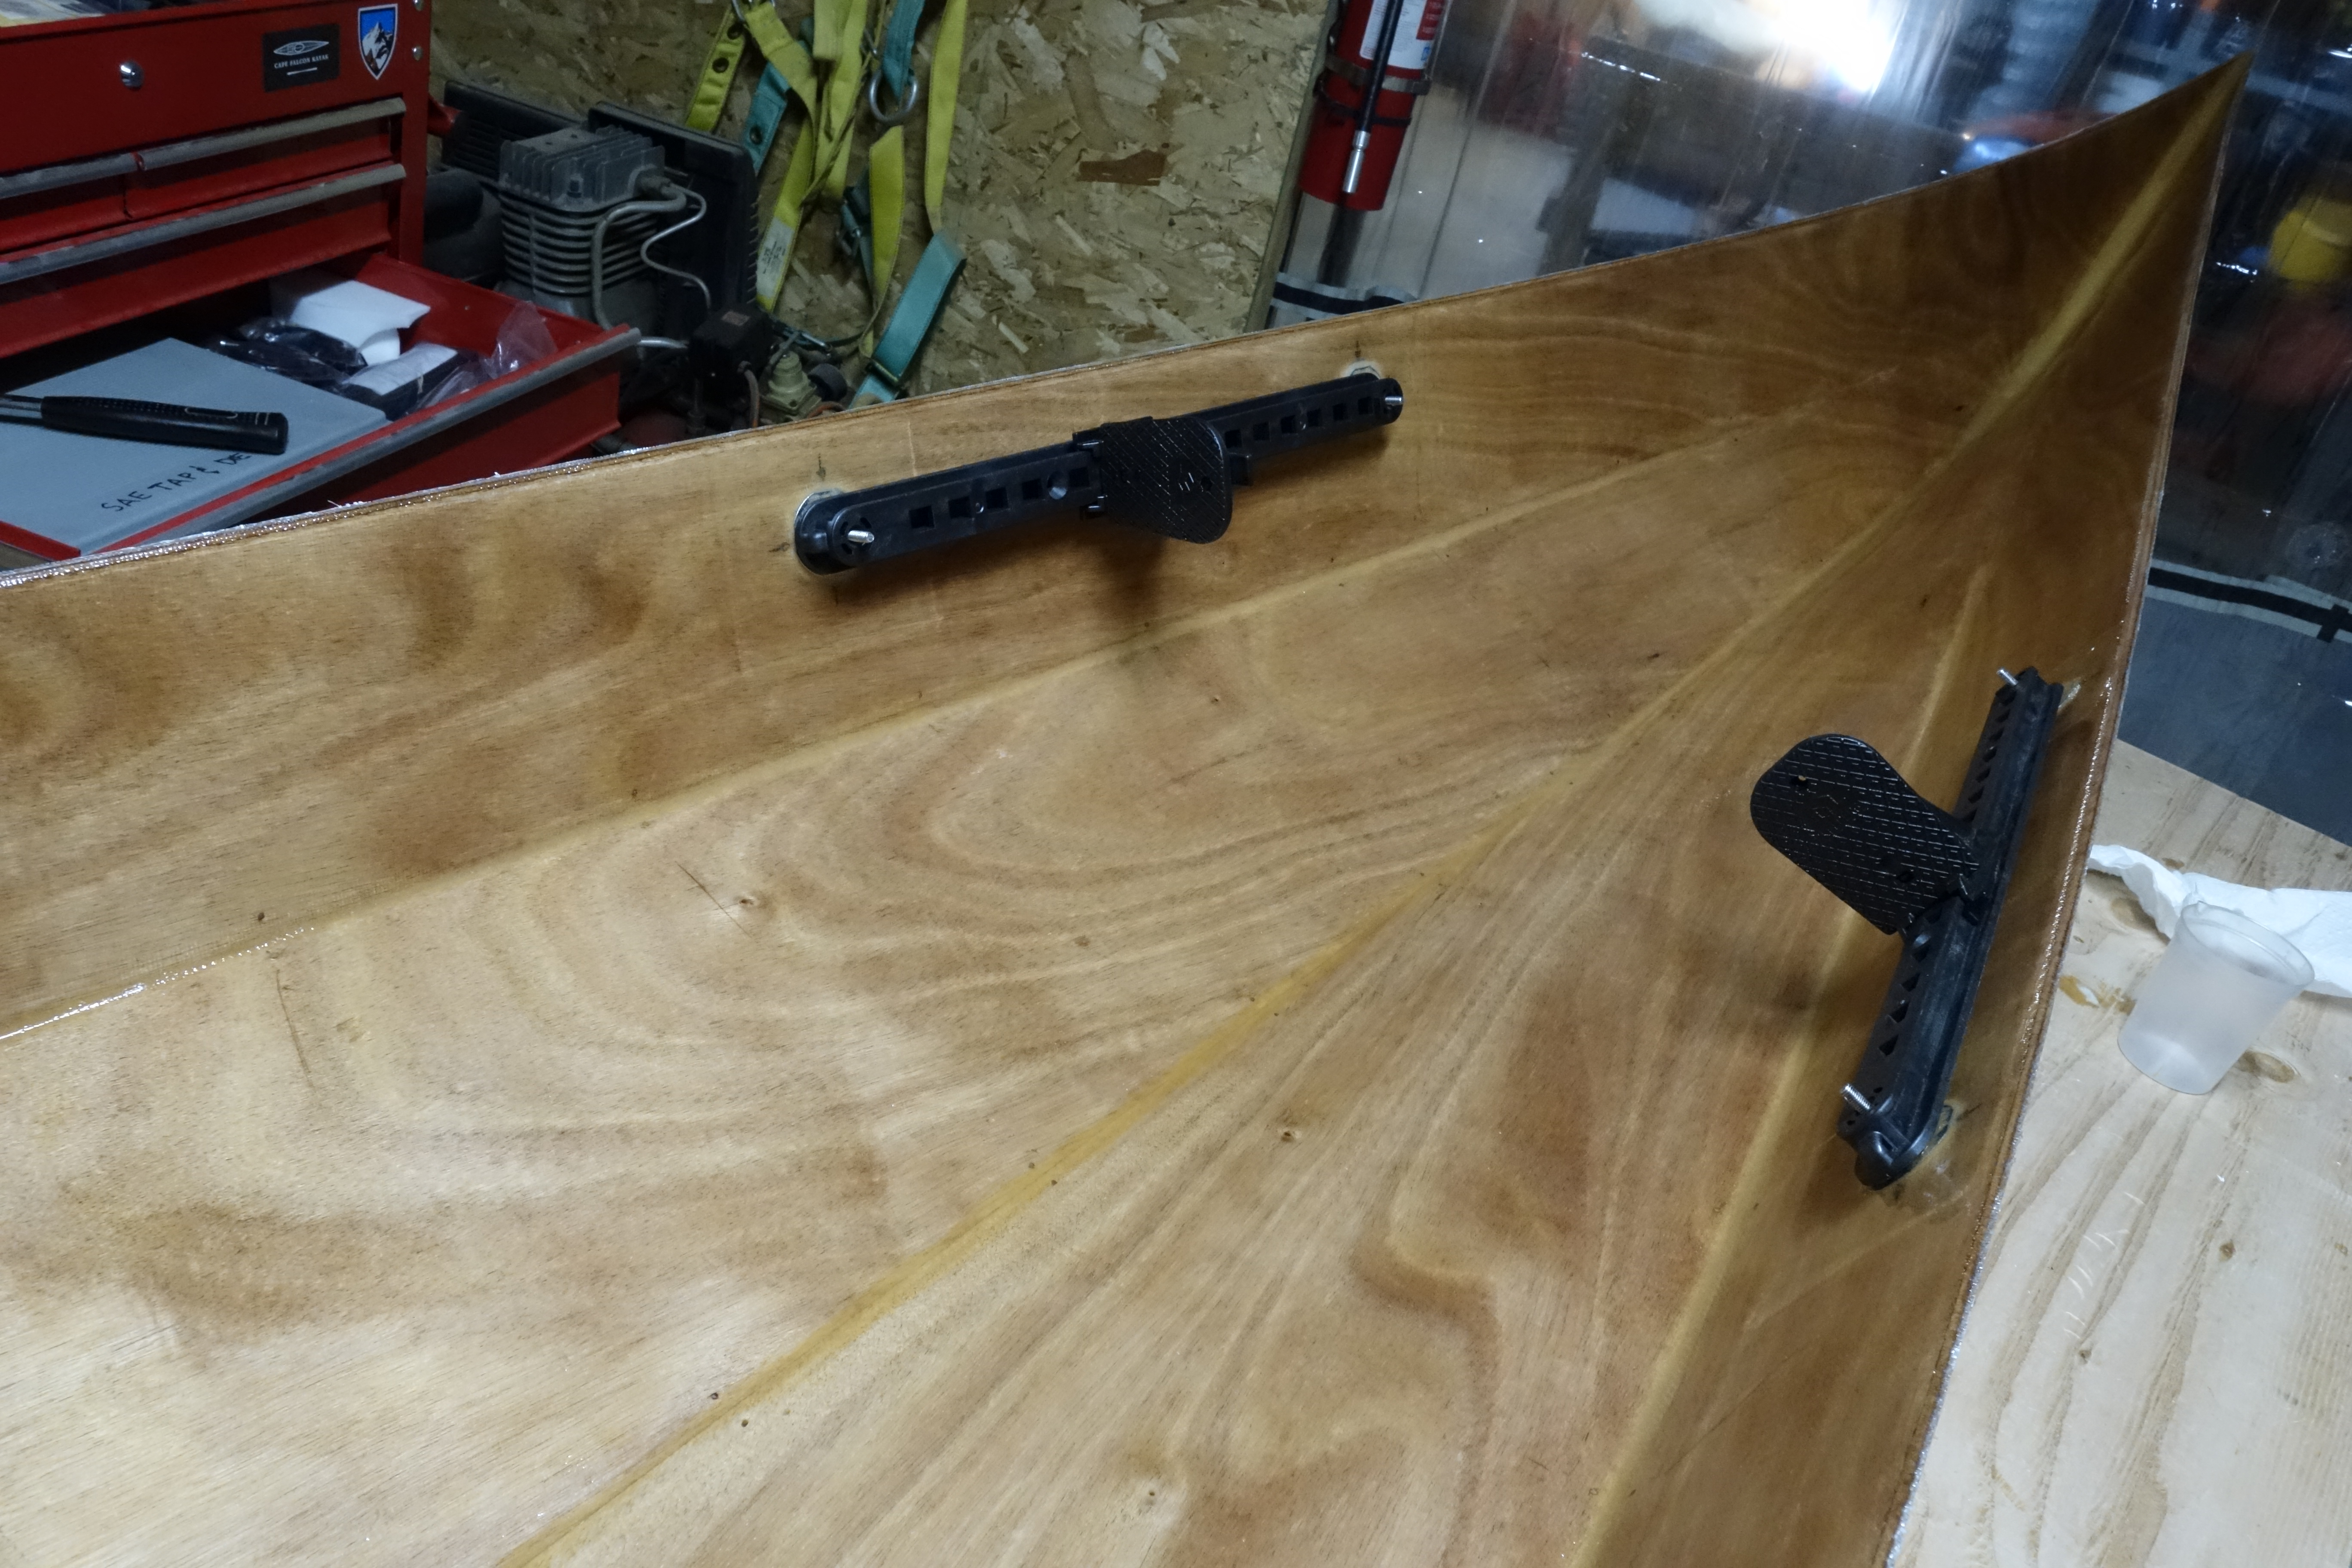
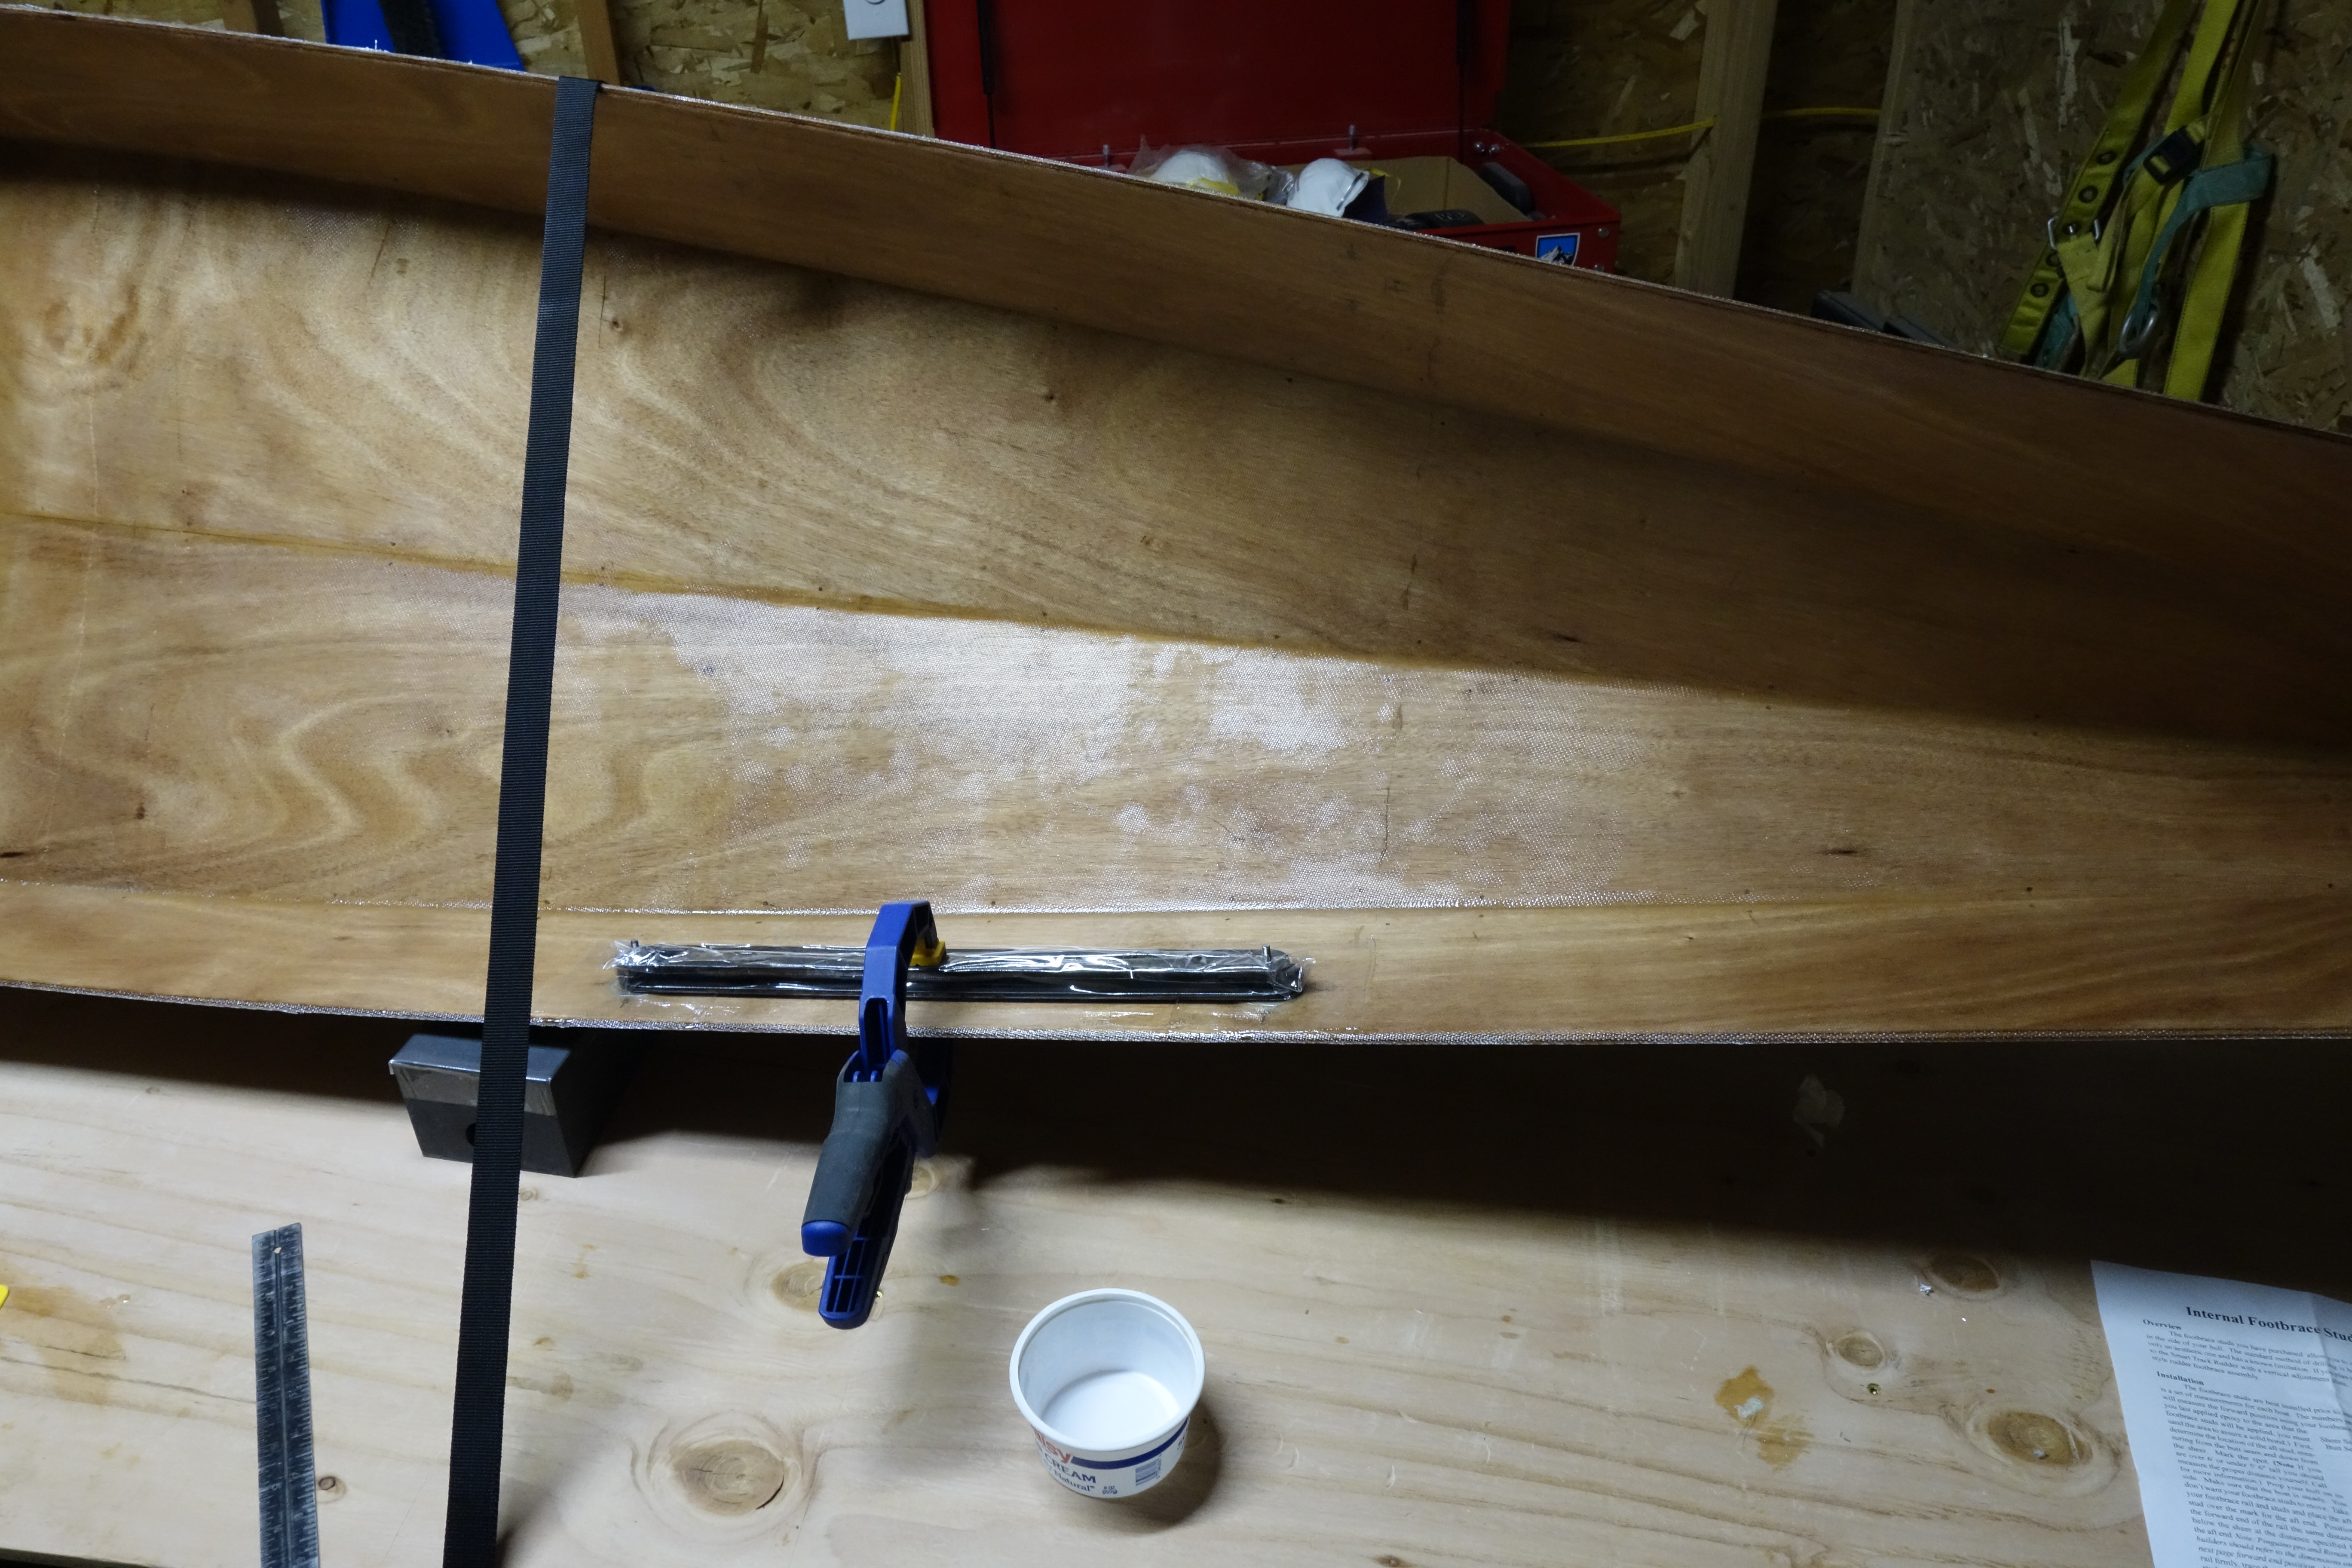
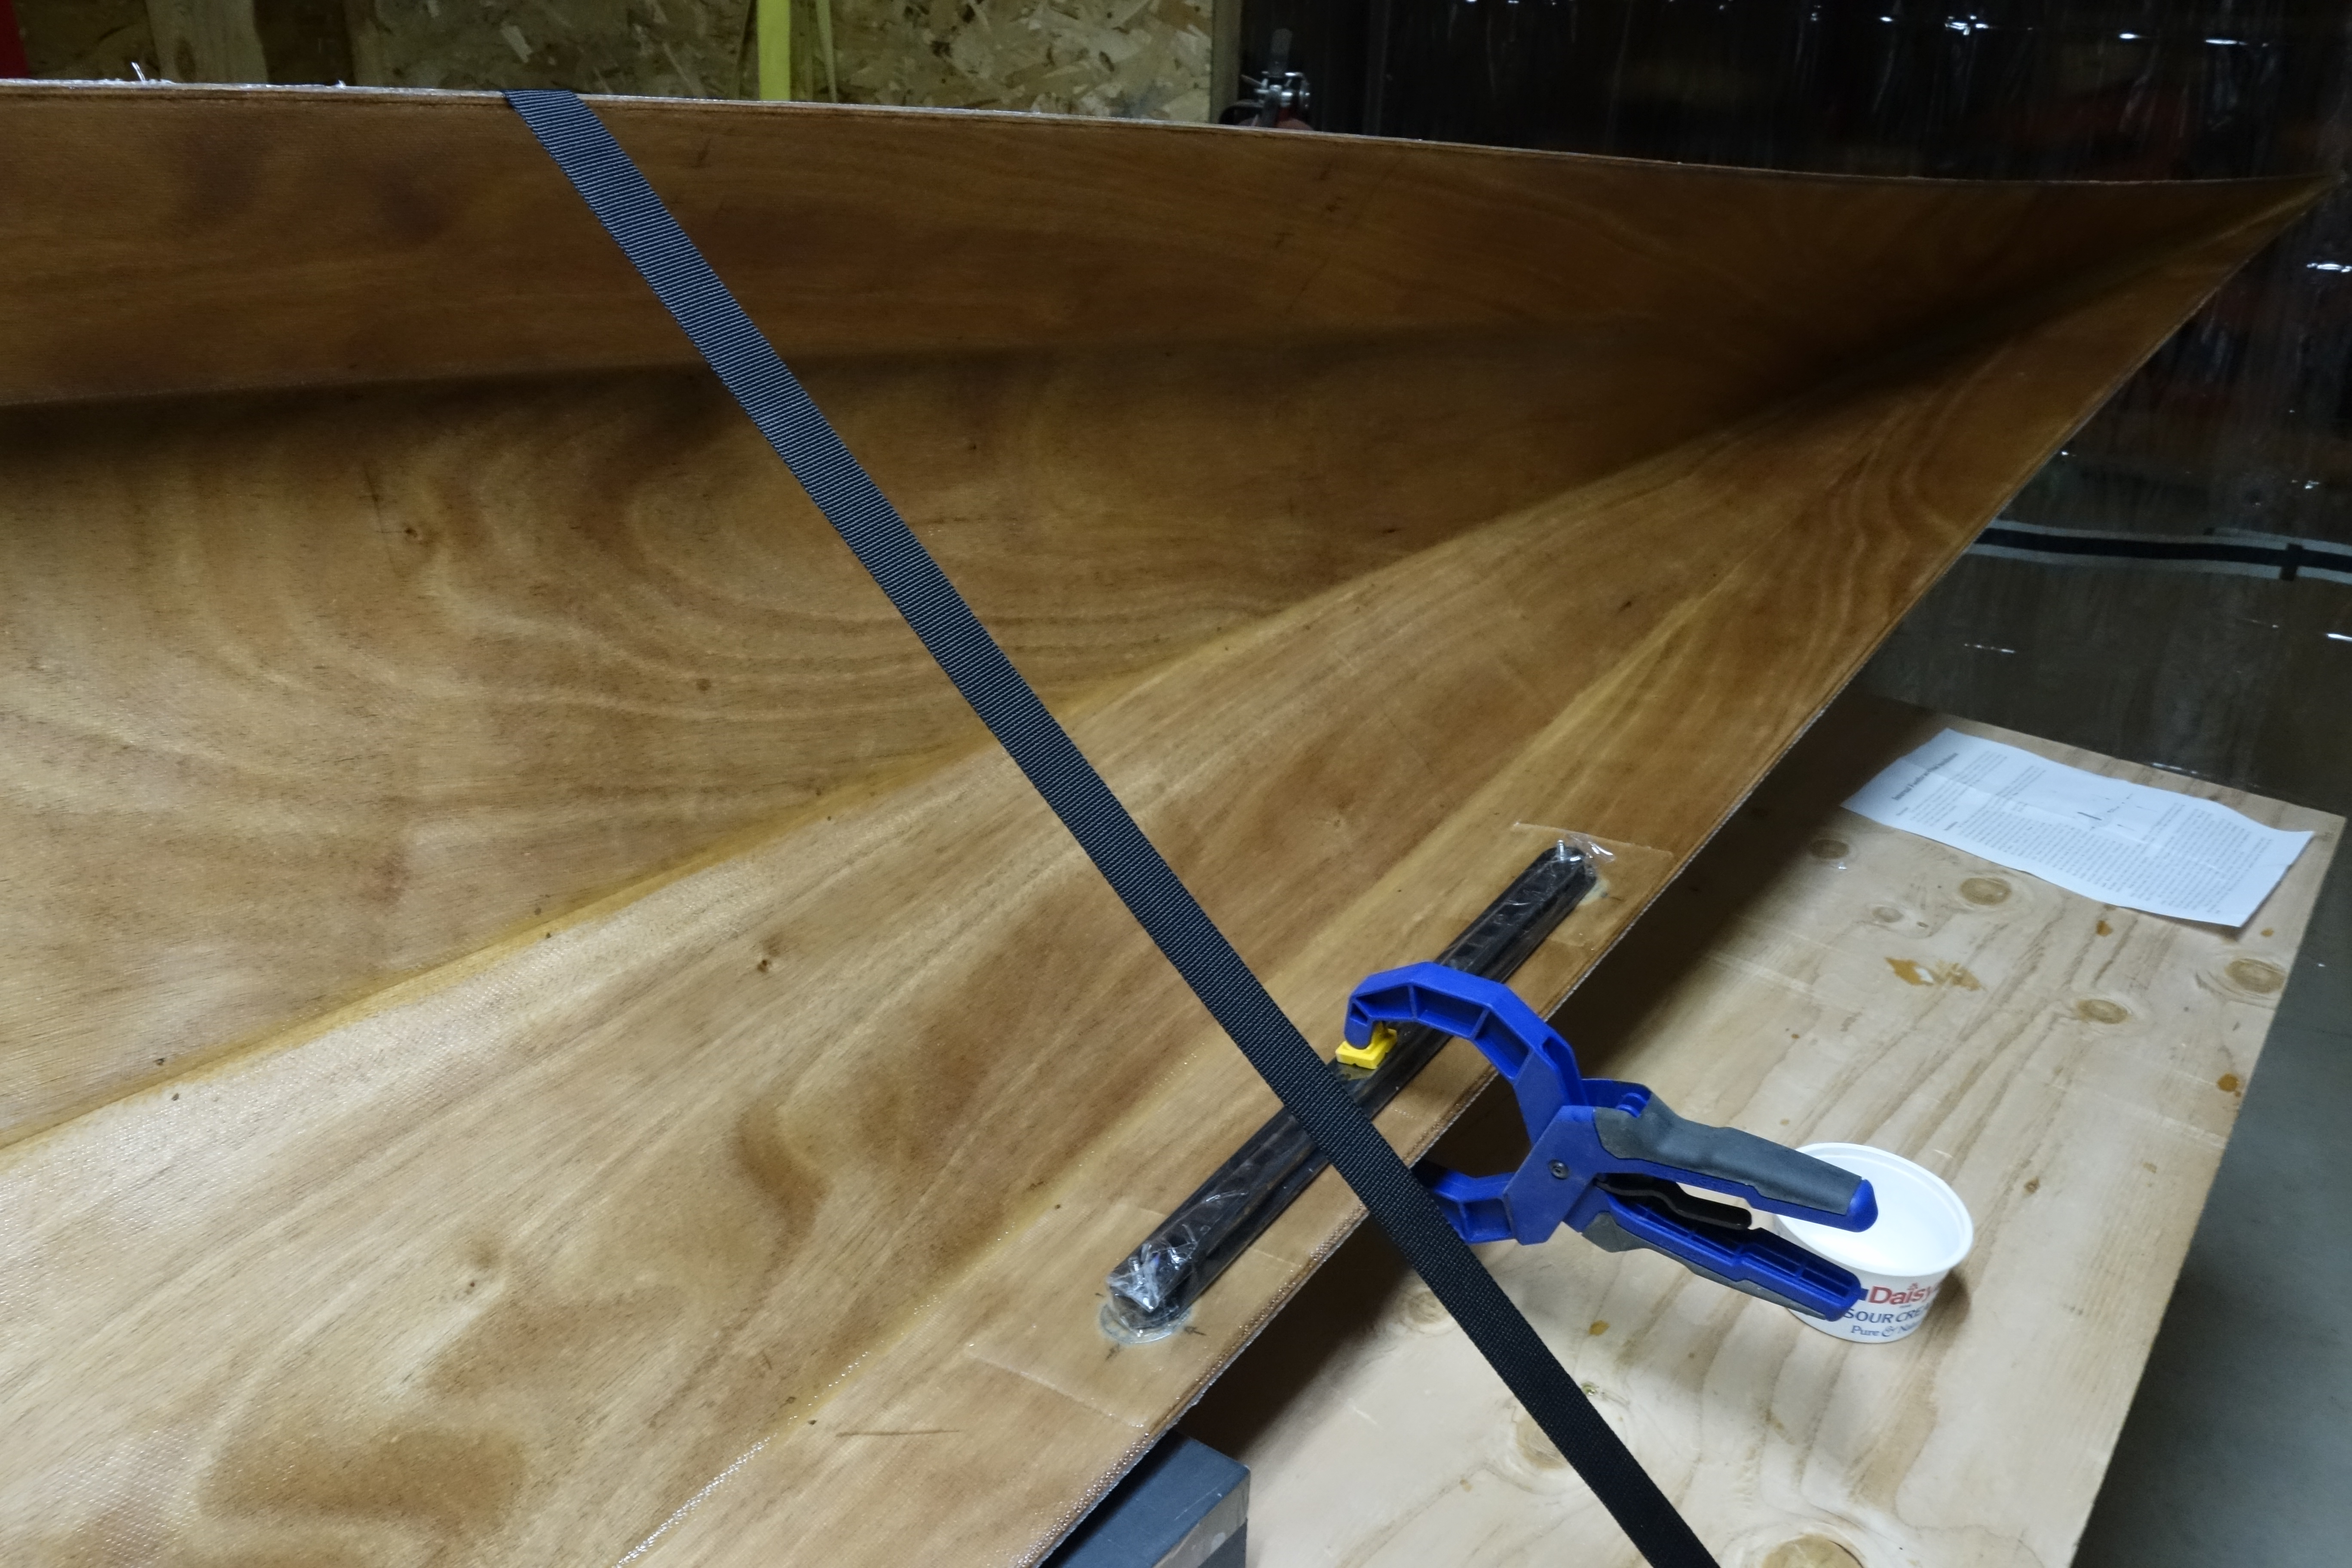
Rather than eventually drilling holes through the hull to mount the foot brace rails, Pygmy offers optional foot brace studs that are epoxied and fiberglassed to the inside of the hull during hull construction (as seen here). Not only is this aesthetically pleasing, it saves work in the future when the hull needs to be re-varnished because if the foot brace rails were held on by screws that went through the hull, the screws would have to be removed prior to sanding/re-varnishing, etc.

The foot brace rail is covered in packing tape so that epoxy won’t stick to it, and then after carefully measuring the placement location of the studs, the rail is used to ensure that they fit the rail exactly.

Finishing the inside of the hull.

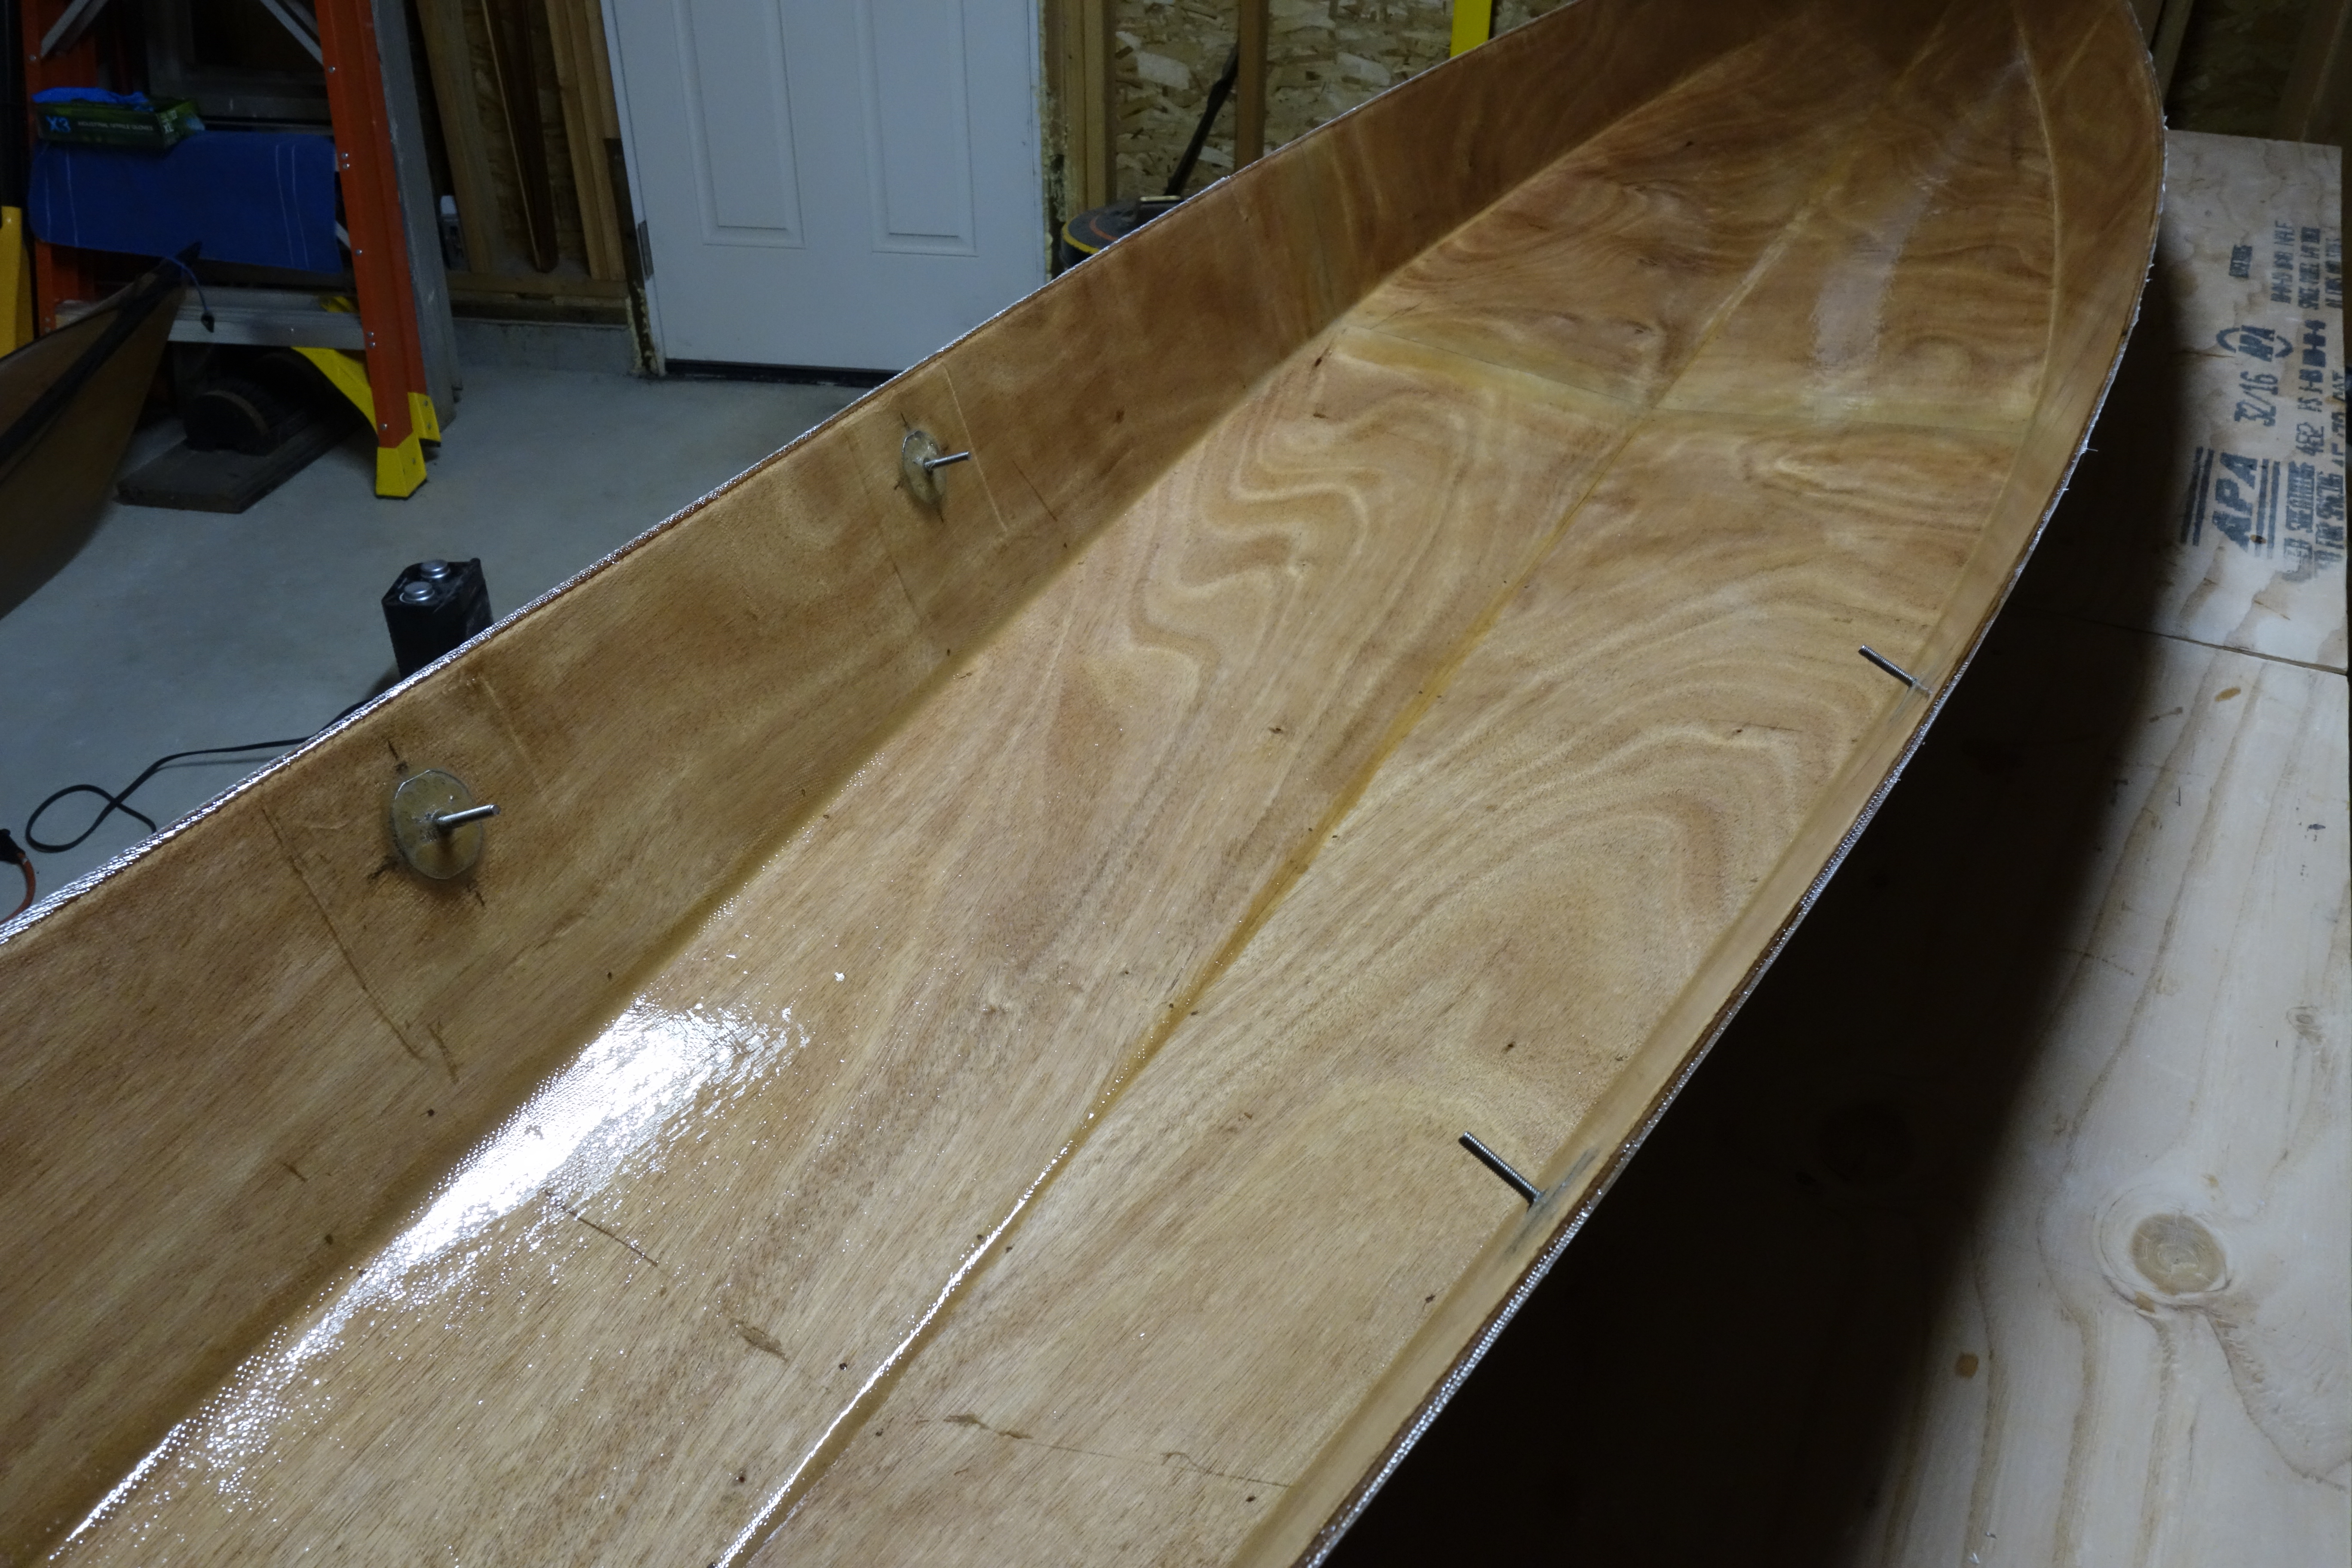
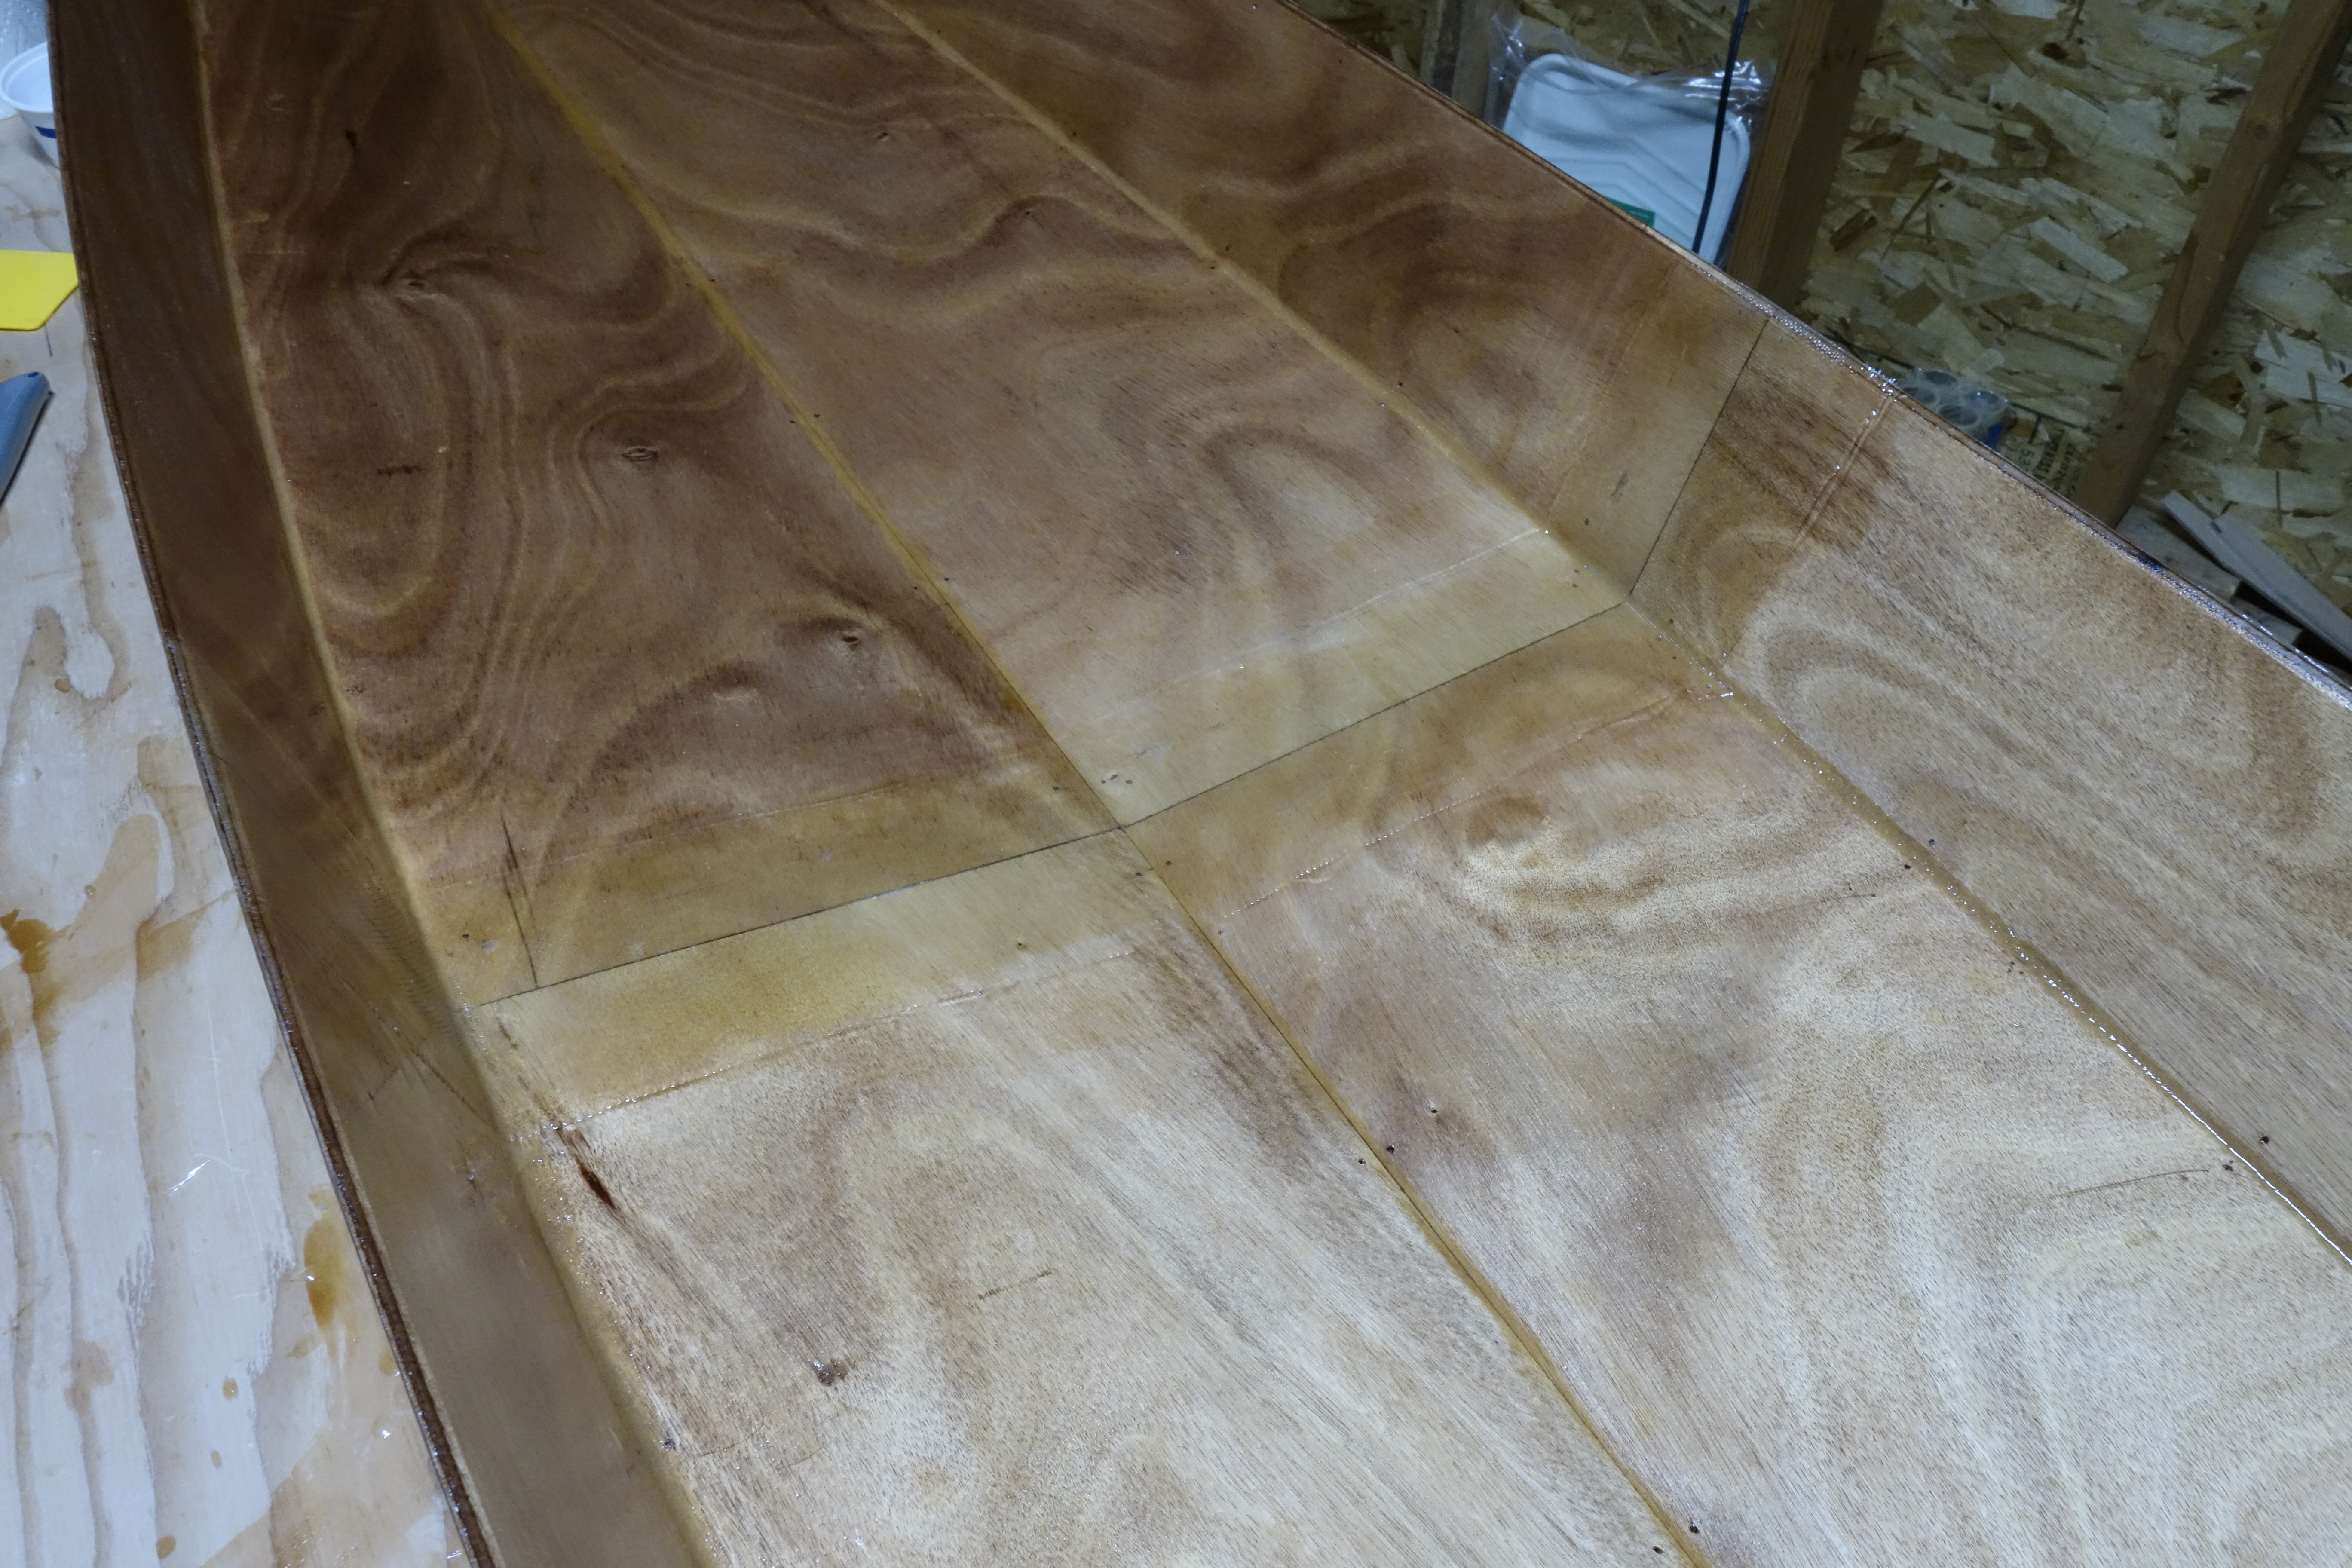
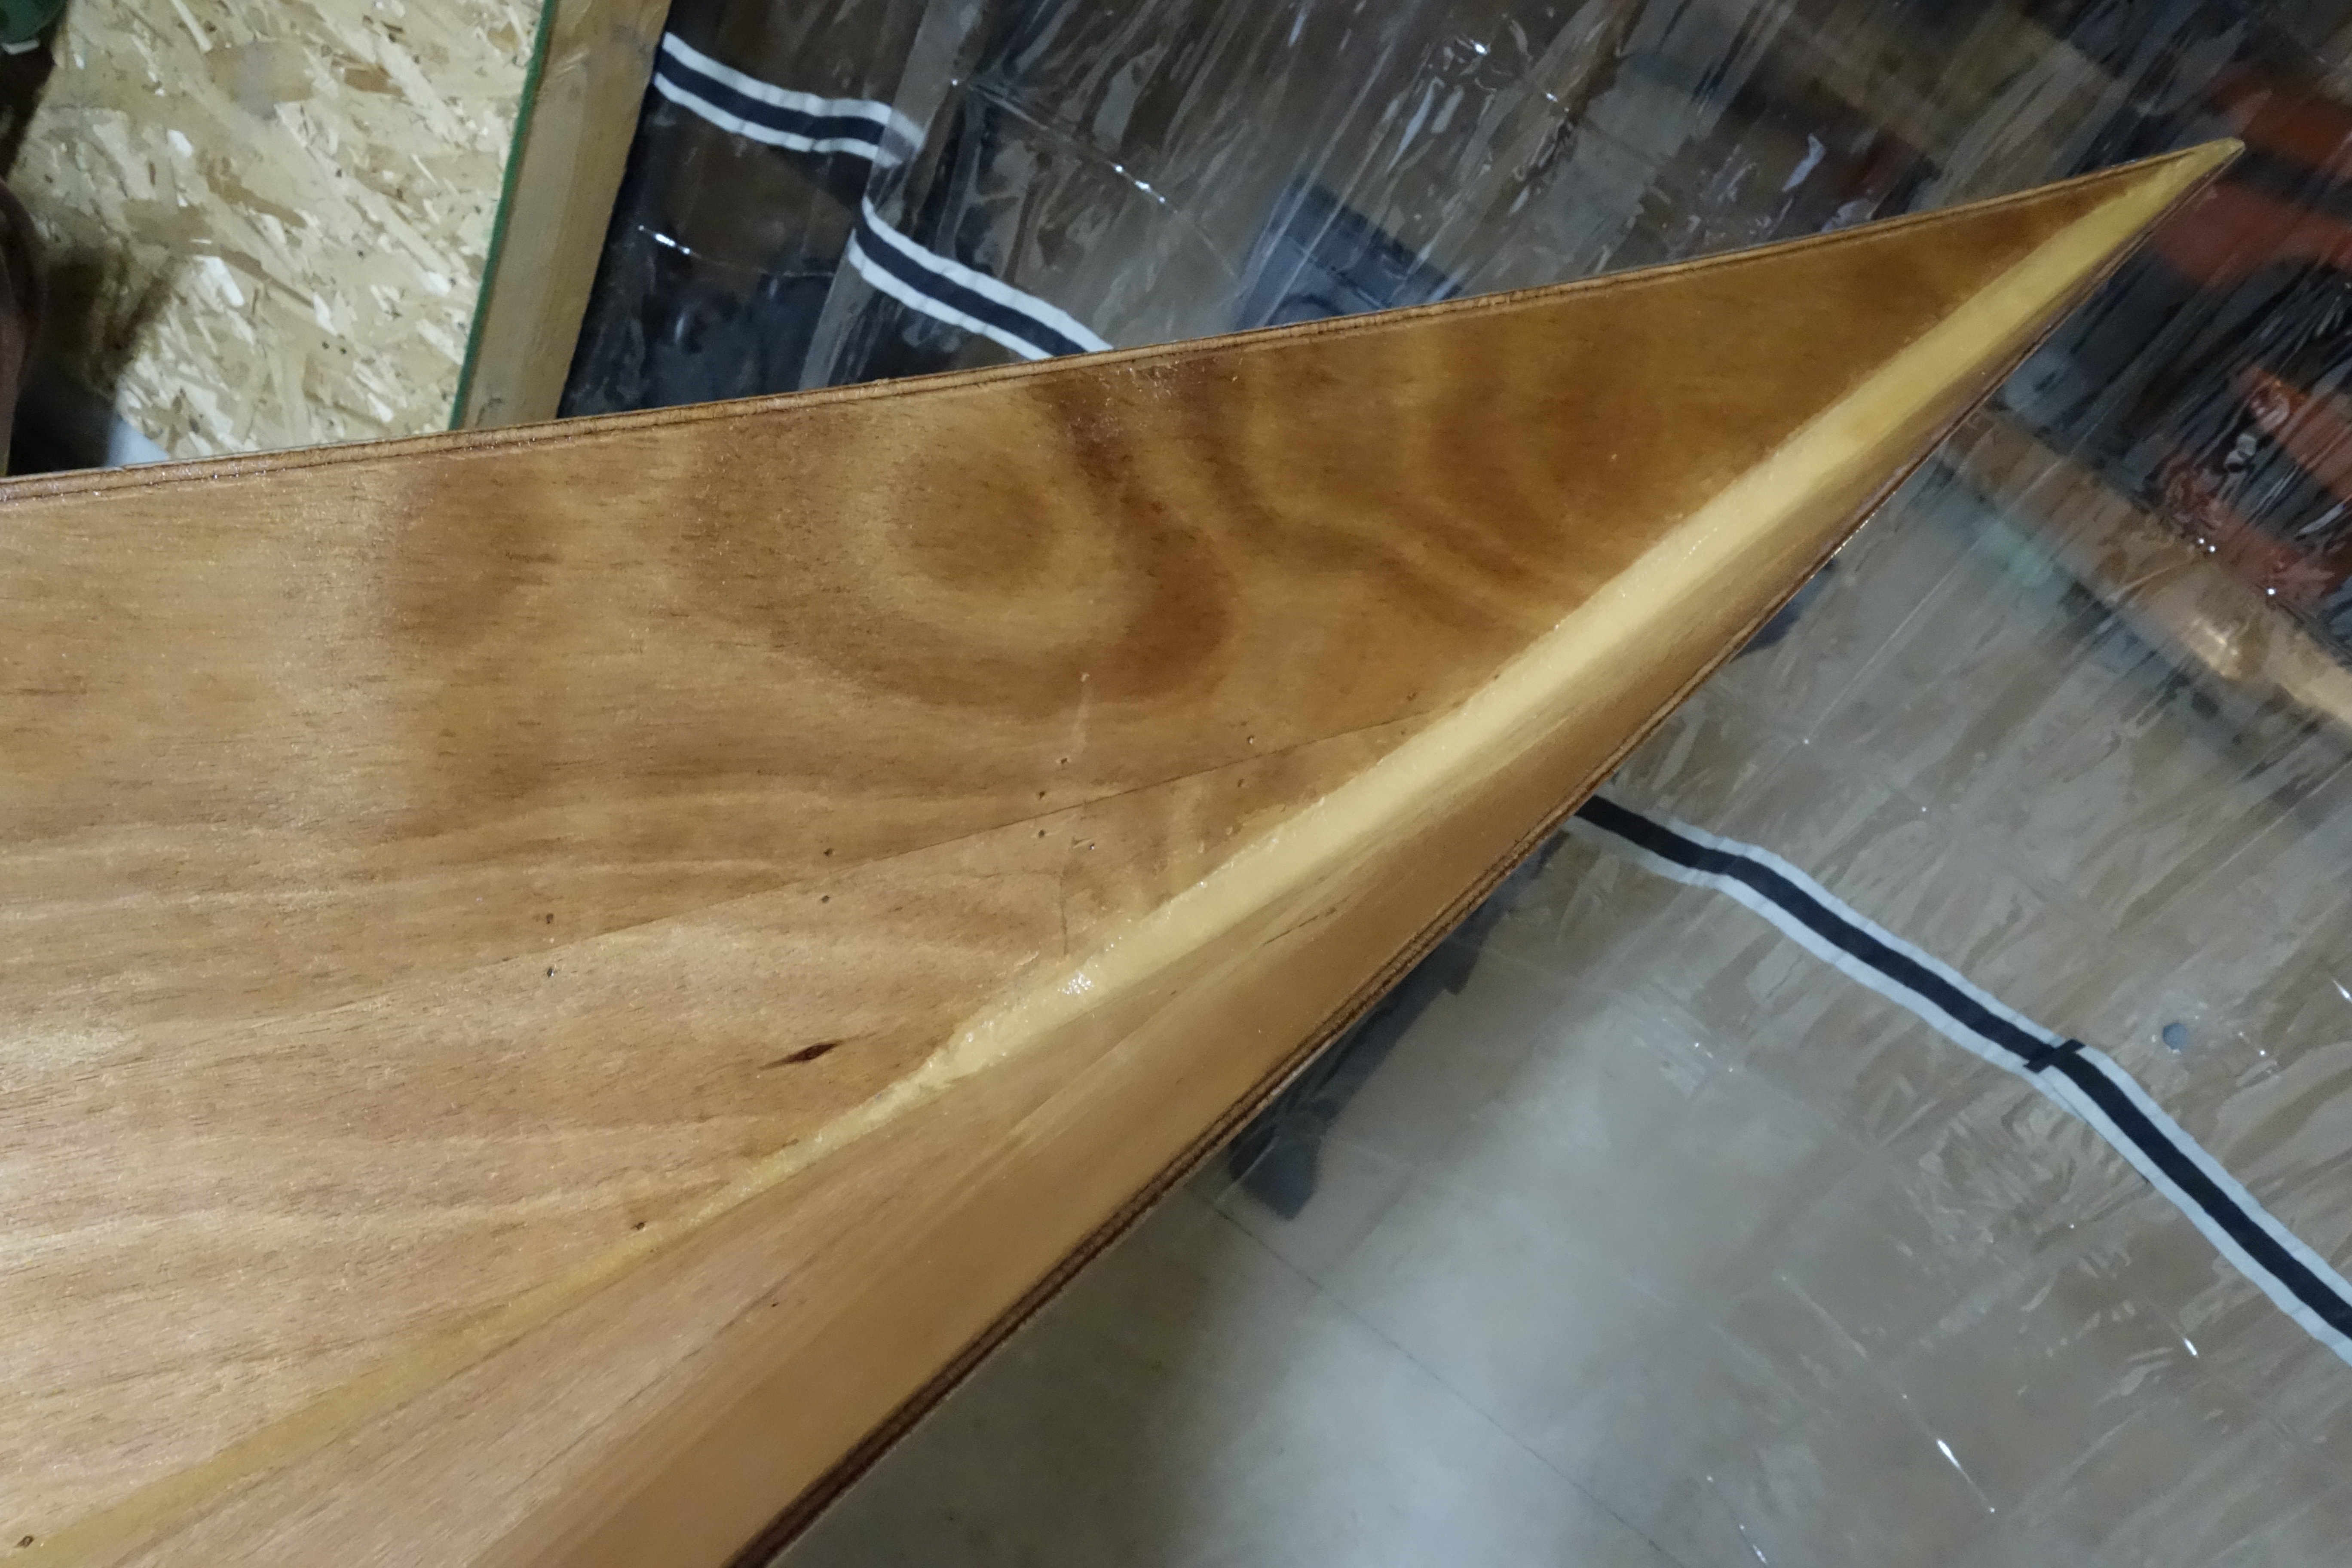
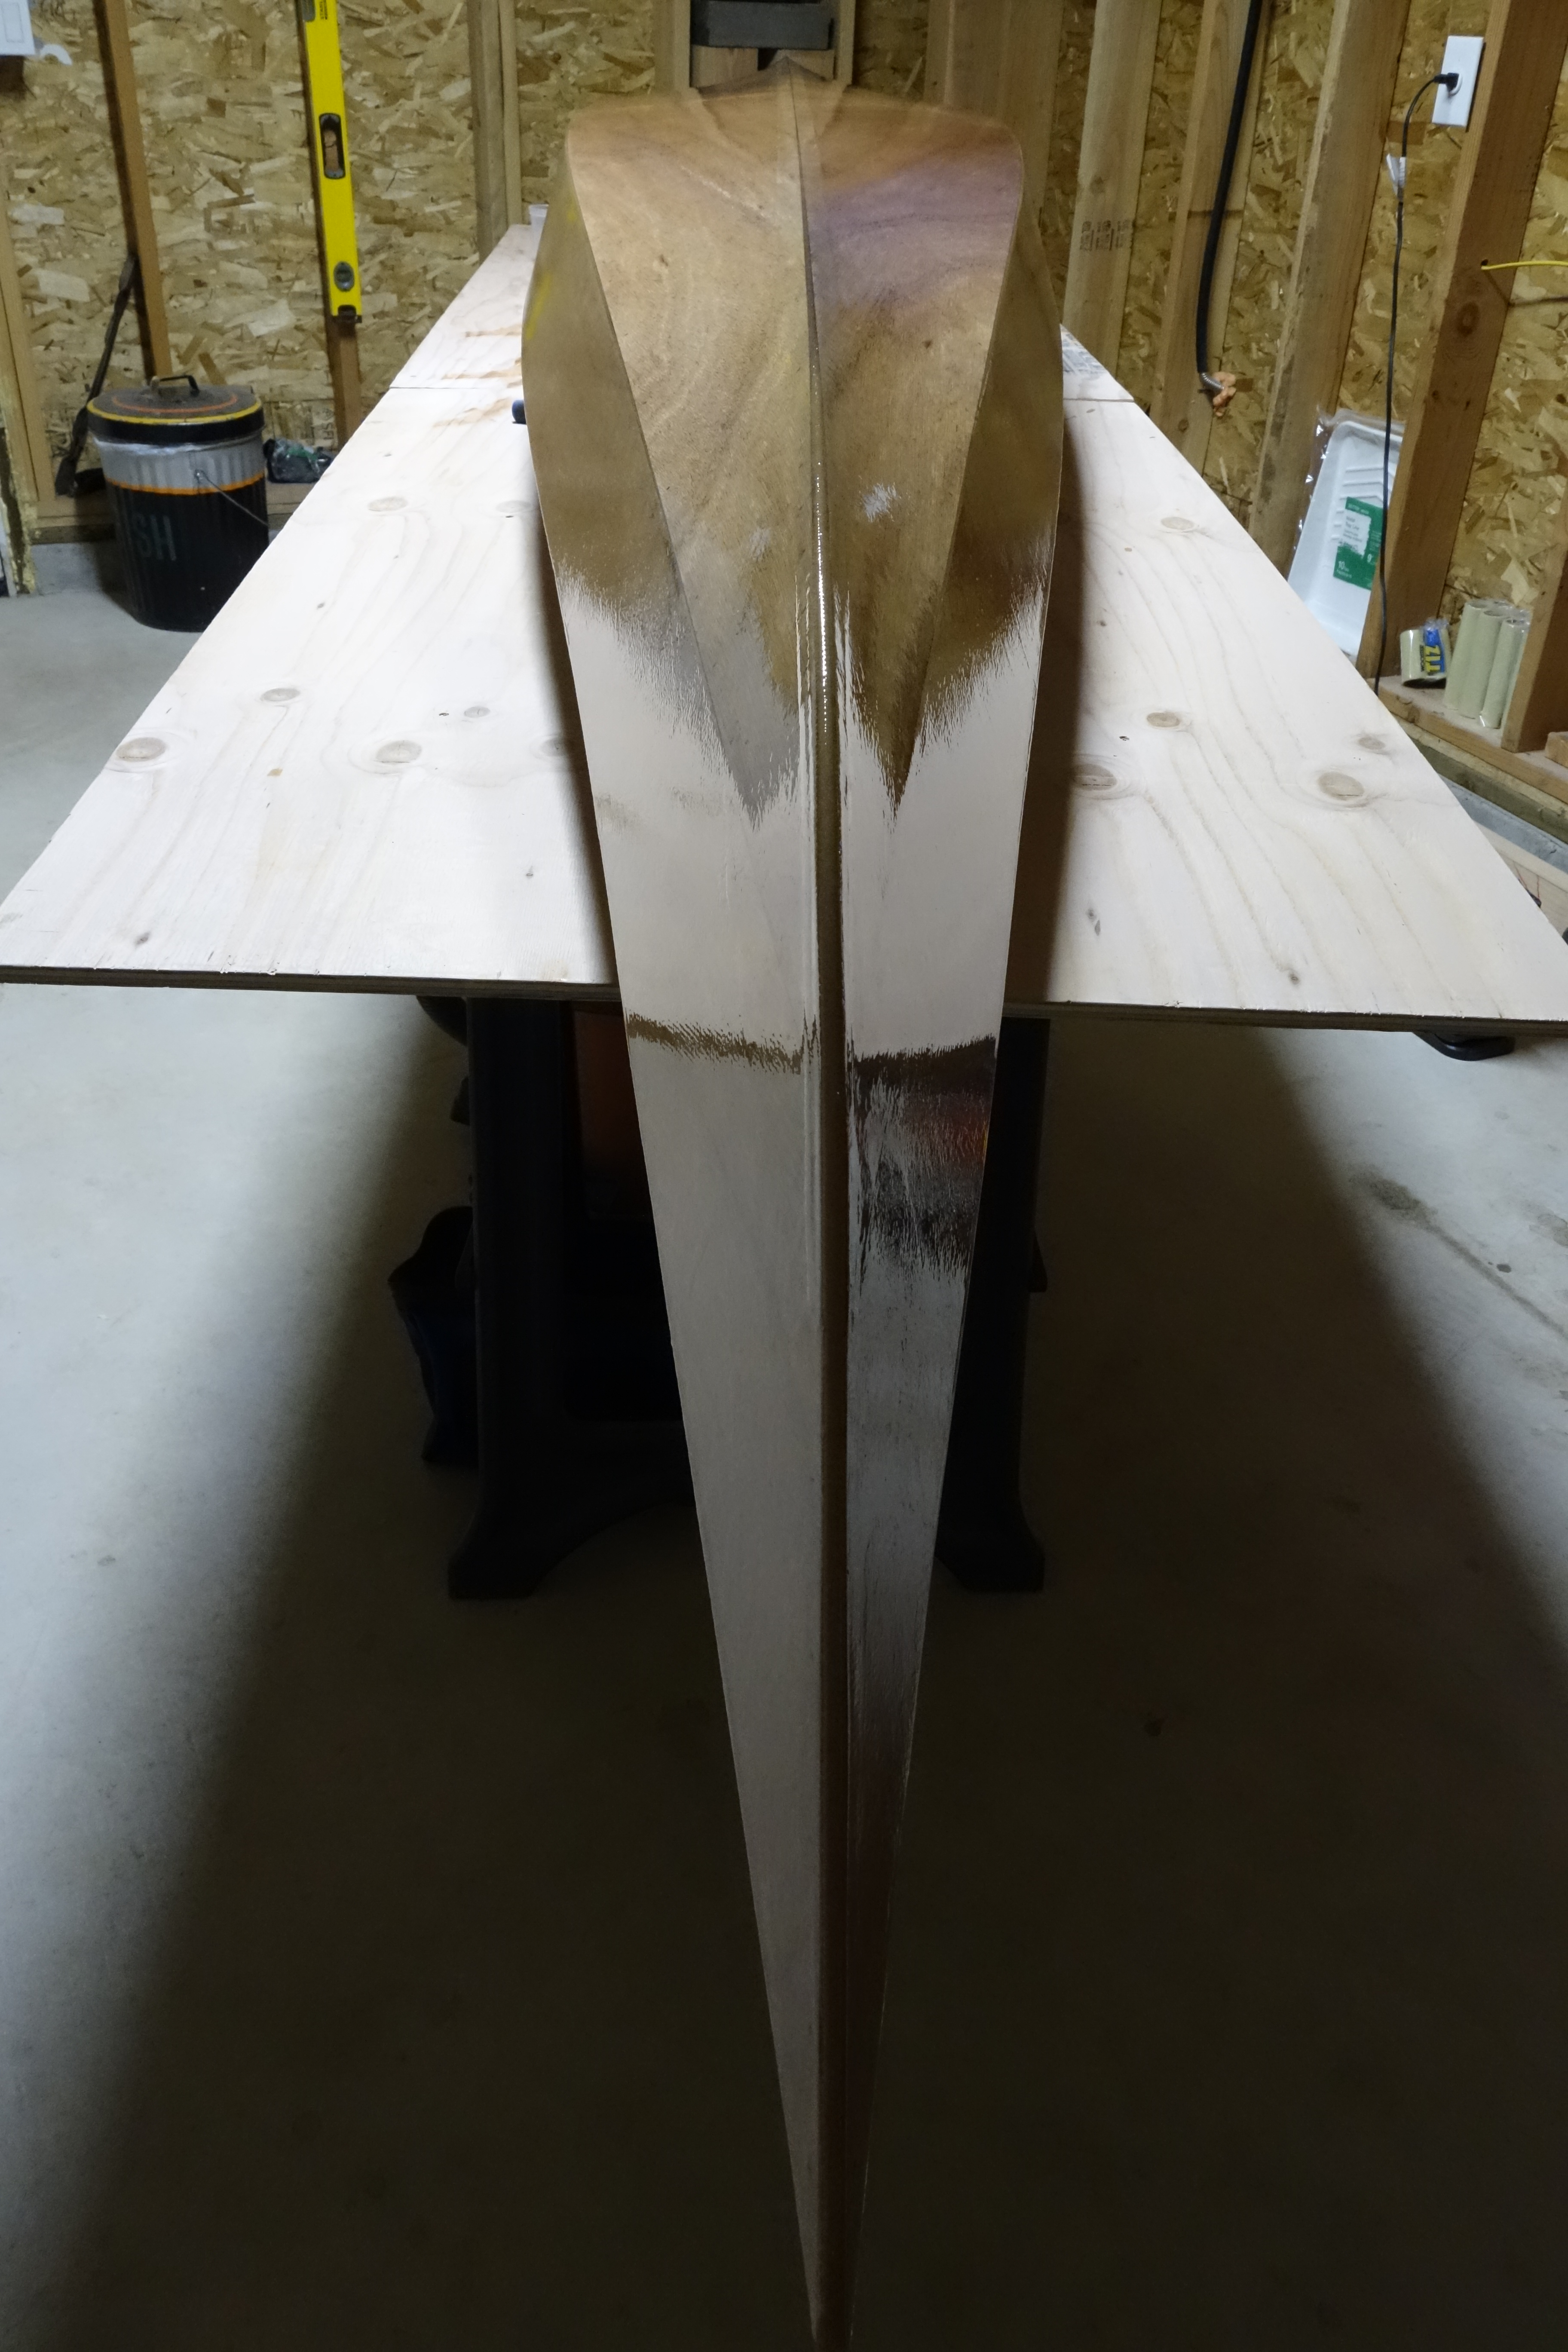
Time to finish gluing the seams inside the hull and create the fillets in the bow and stern stems so that the fiberglass cloth will lay smoothly in the hull and not trap air. I will also reinforce the butt seams in the middle of the hull, and then do the saturation coat before fiberglassing the inside of the hull.

Three strips of fiberglass cloth, one 2″ wide, one 3″ wide, and one 4″ wide, laminated atop each other to reinforce the butt seam where the panels were glued to their full lengths. This will add great strength as it will be trapped between the fiberglass on the outside of the hull, then the wooden hull itself, and then the fiberglass on the inside of the hull. The wooden hull will be completely encapsulated in fiberglass.
Epoxy and wood flour fillet in the bow.
Epoxy and wood flour fillet in the stern.
Reinforcement fiberglass completely wetted out. Edges will be feathered in before inside of hull is fiberglassed.

Temporary frames removed from the hull.

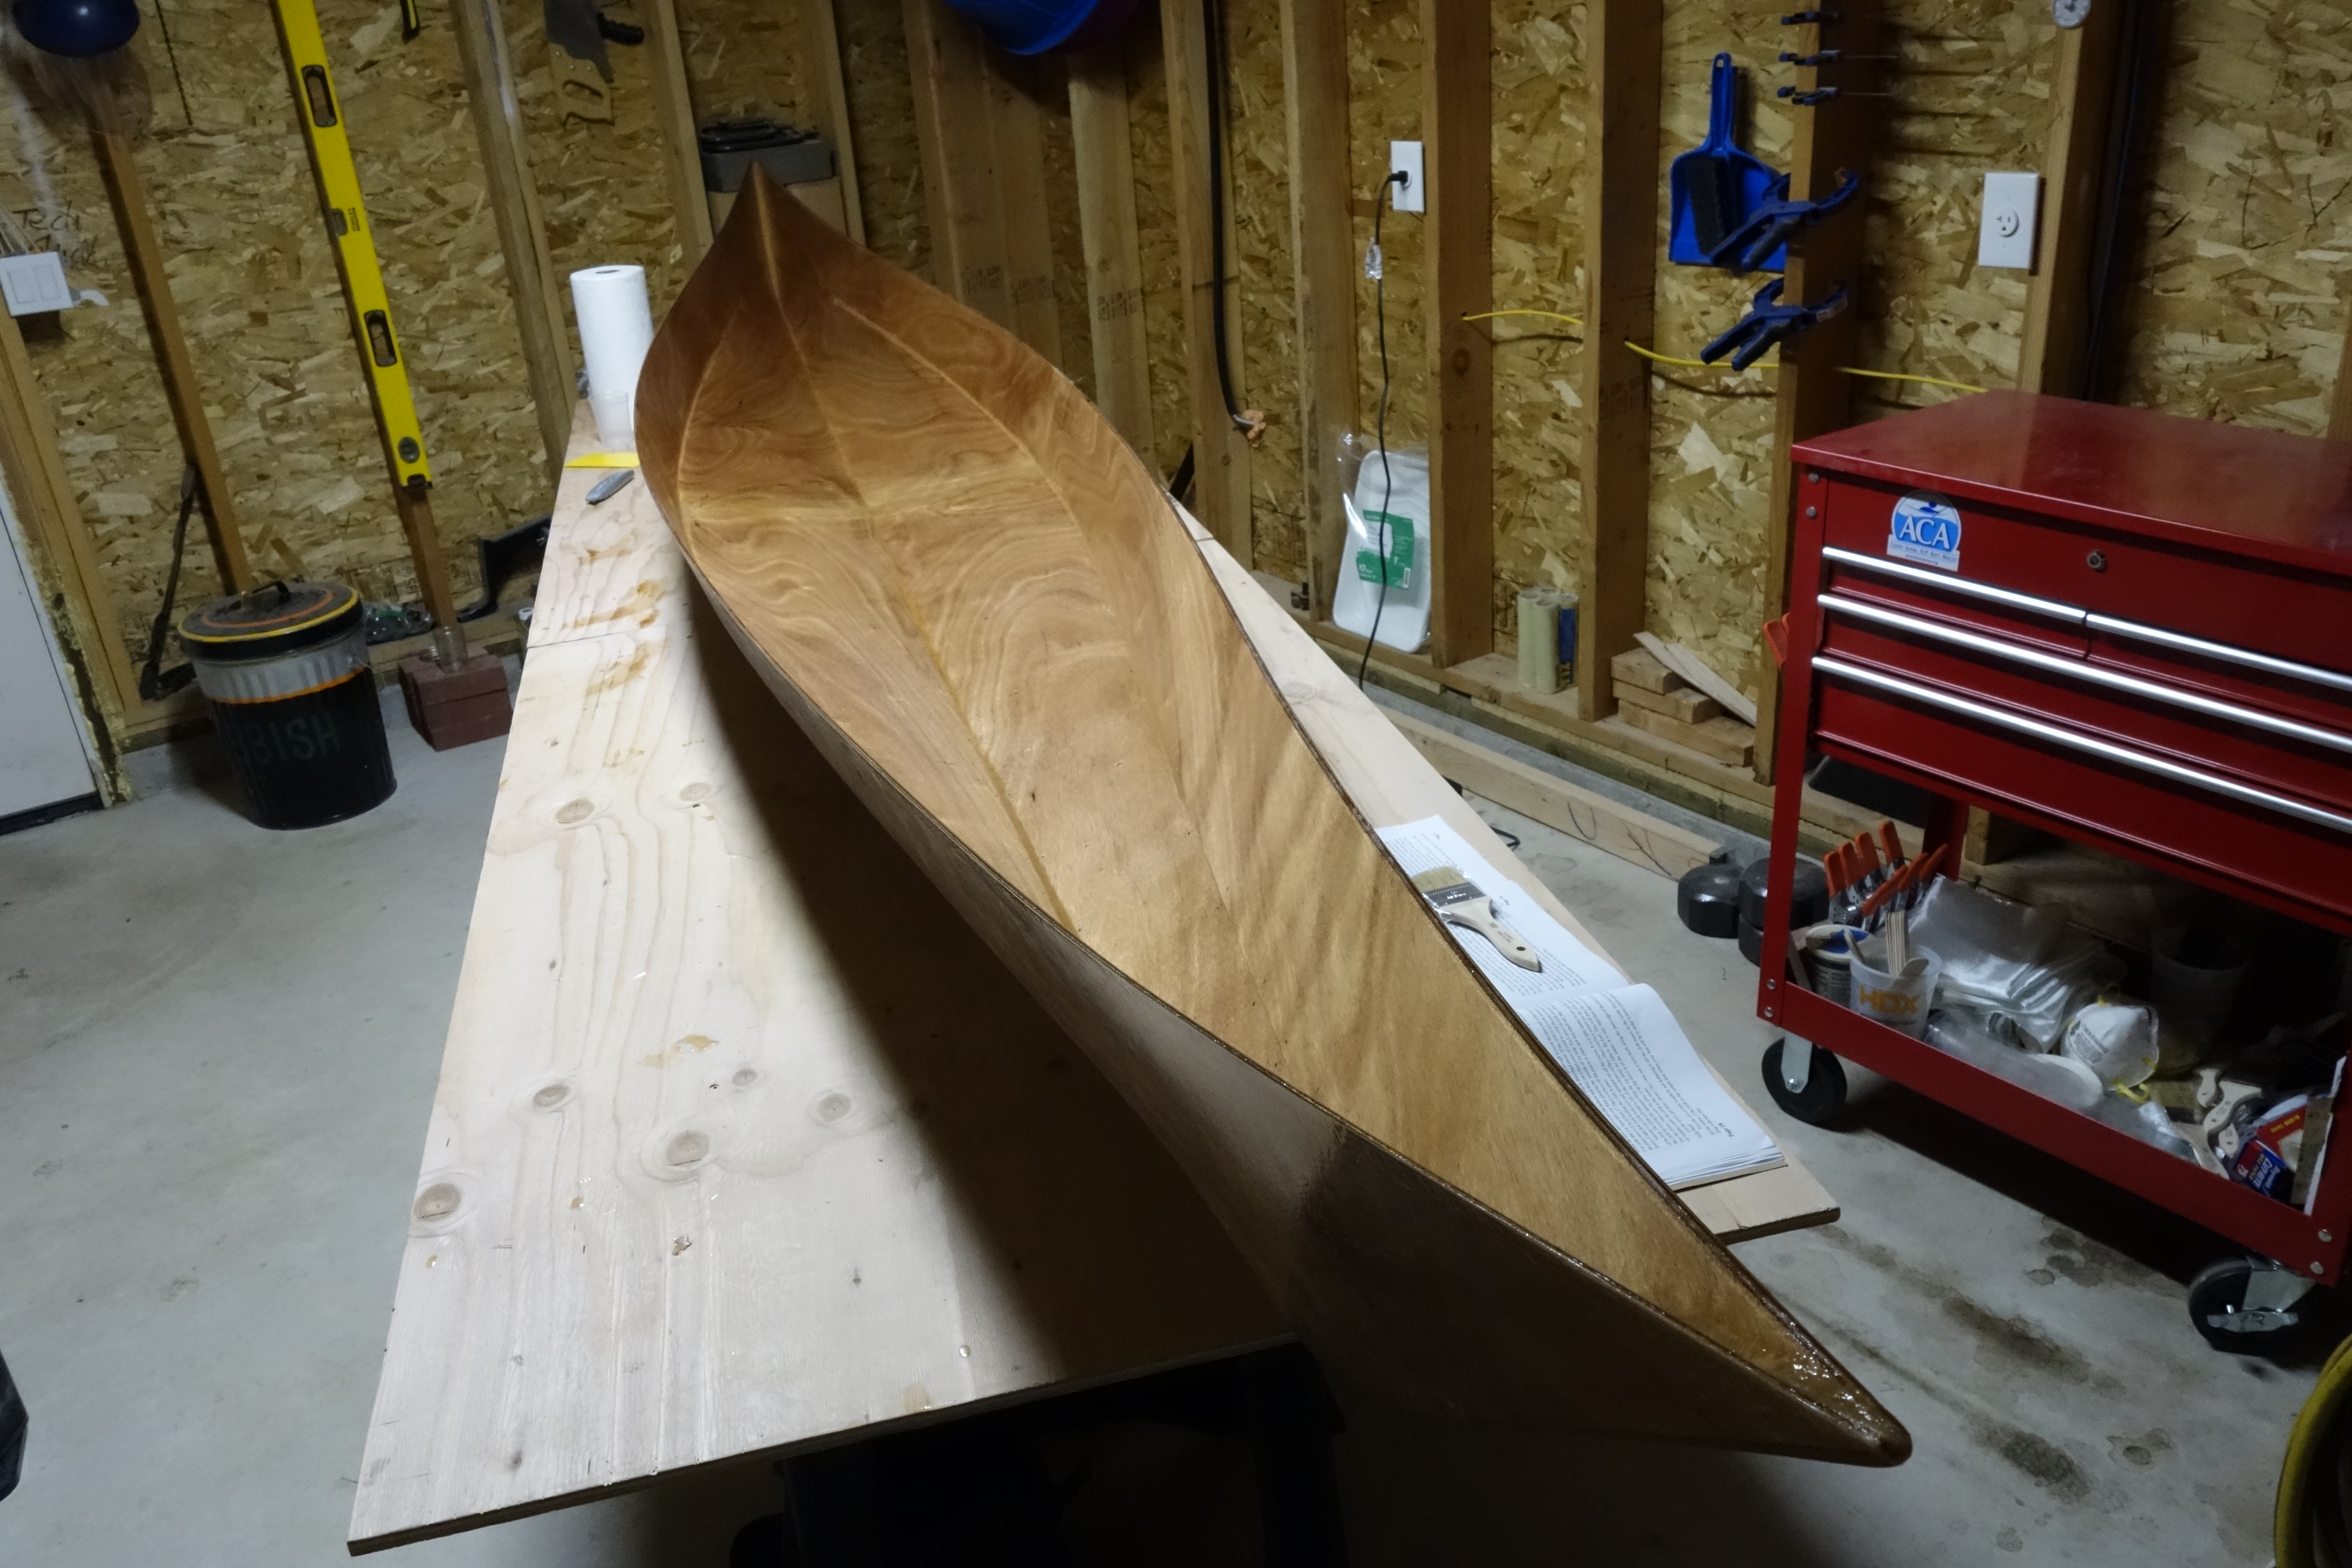
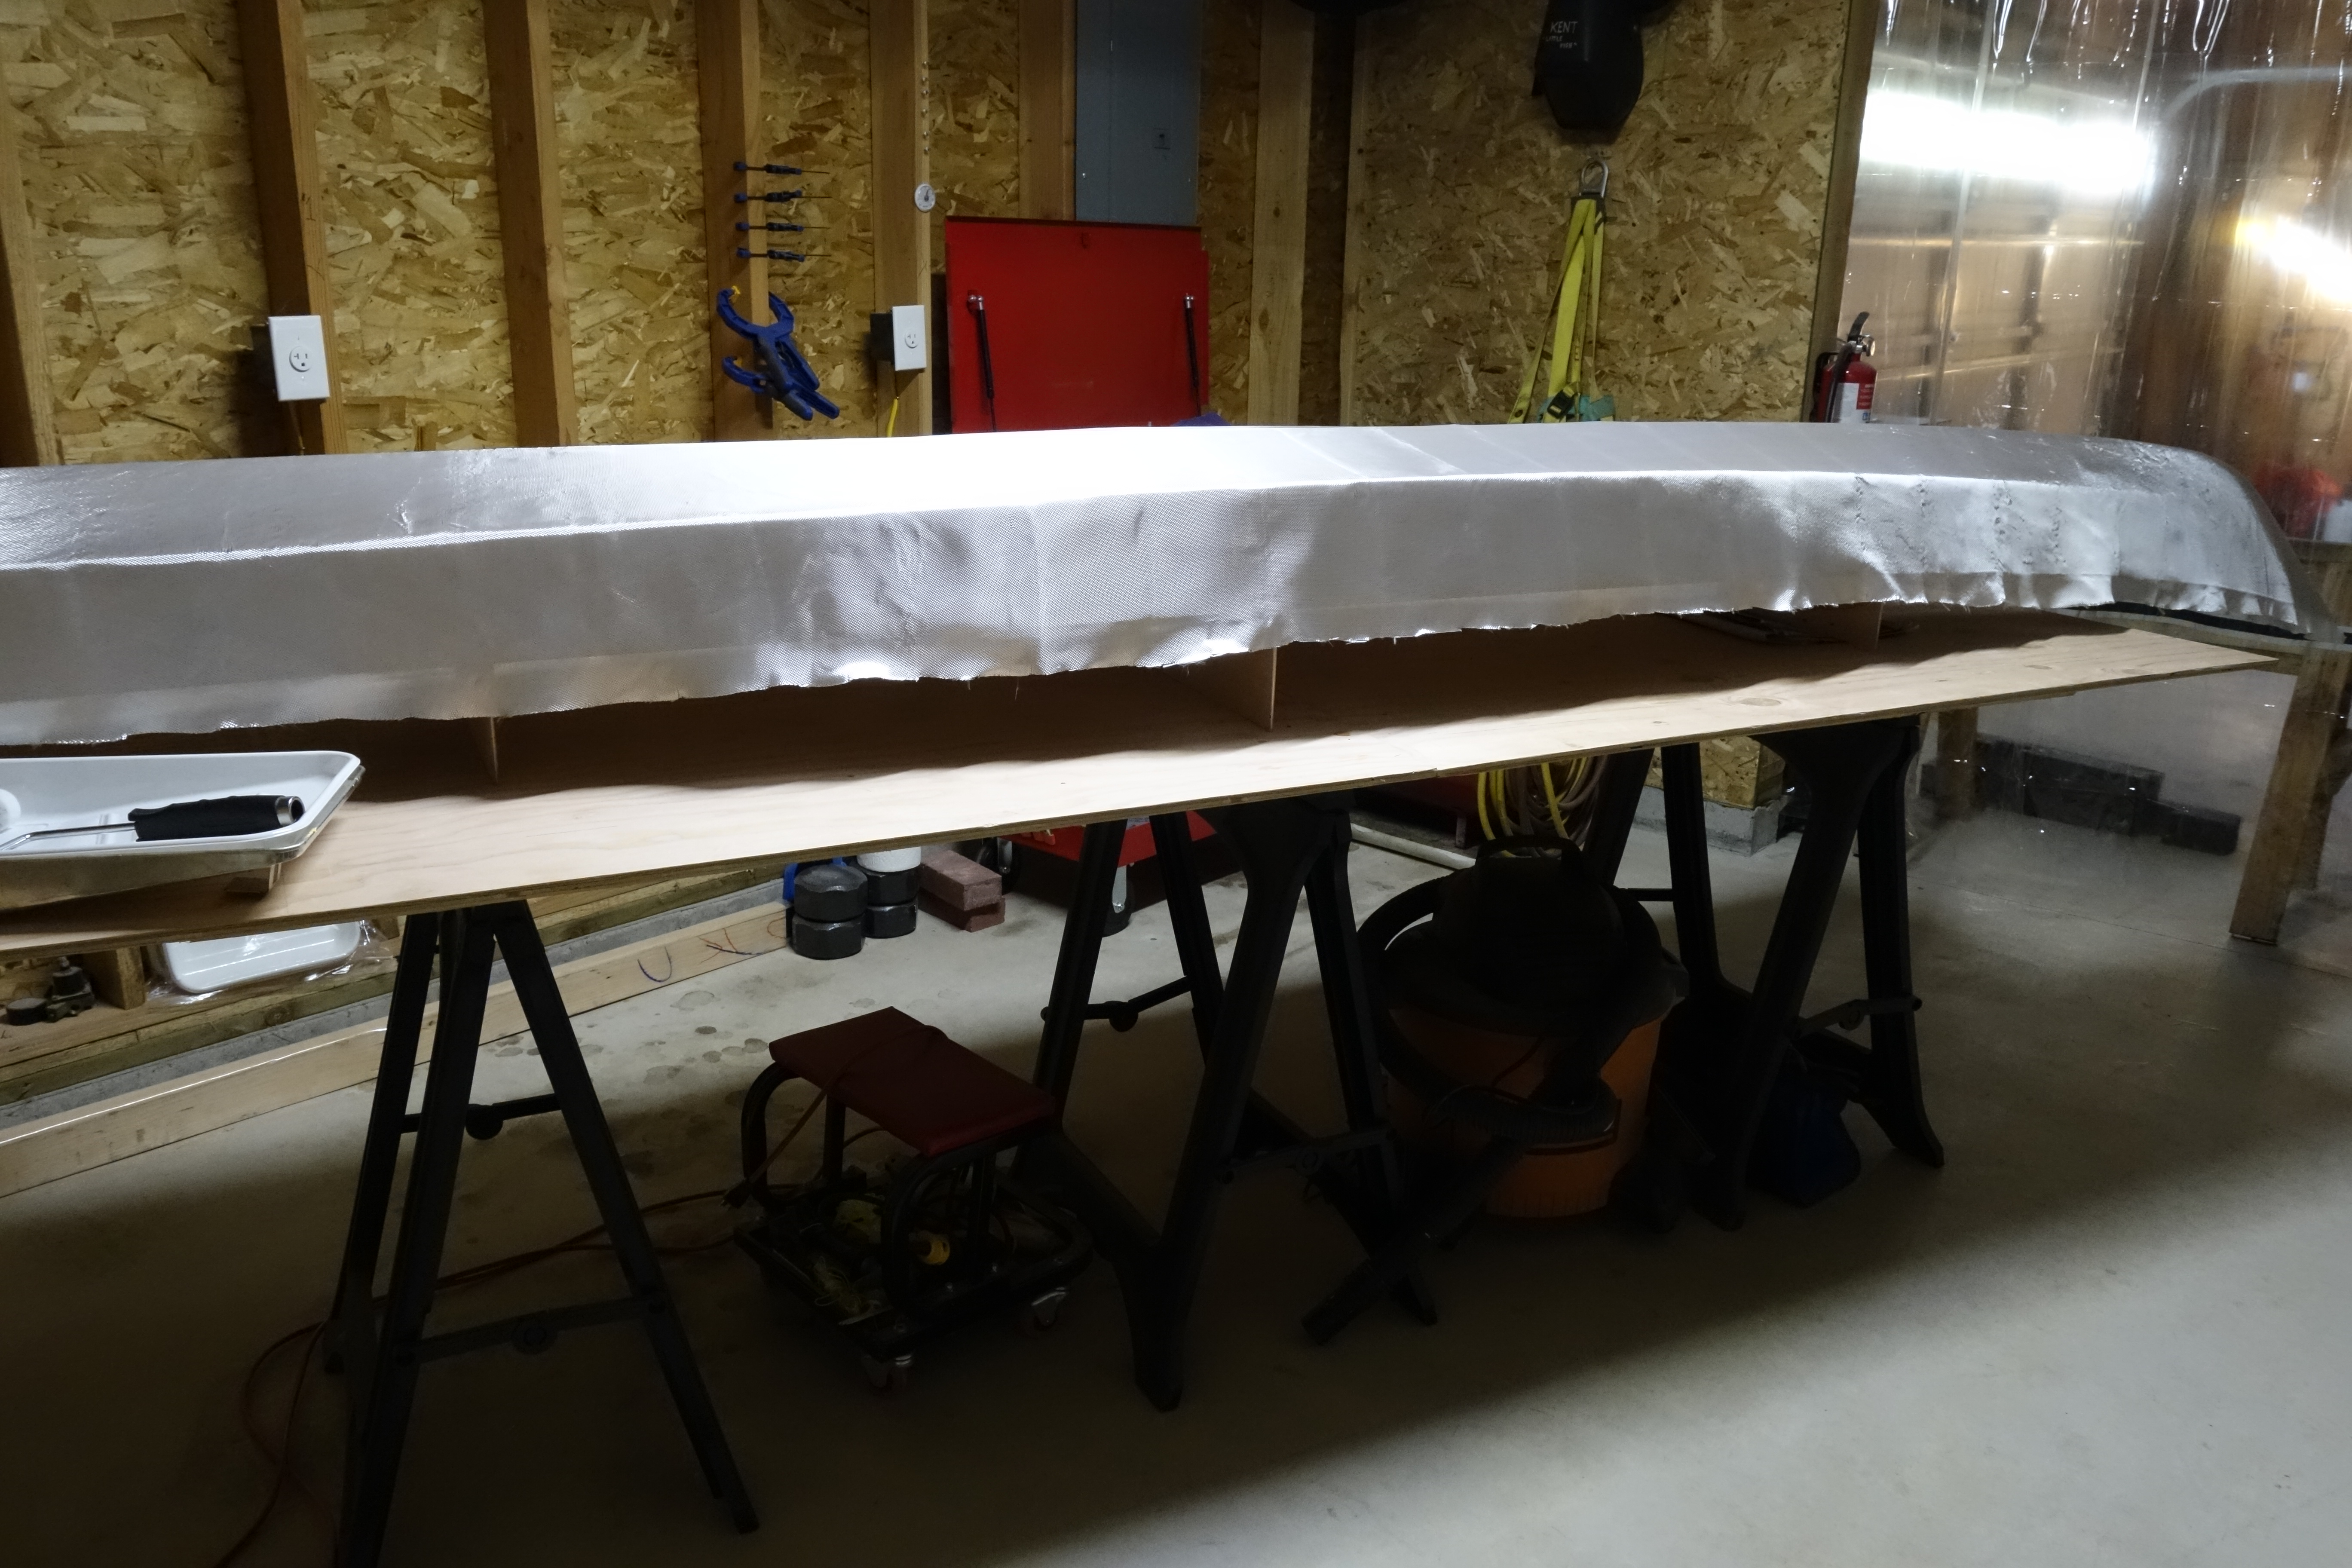
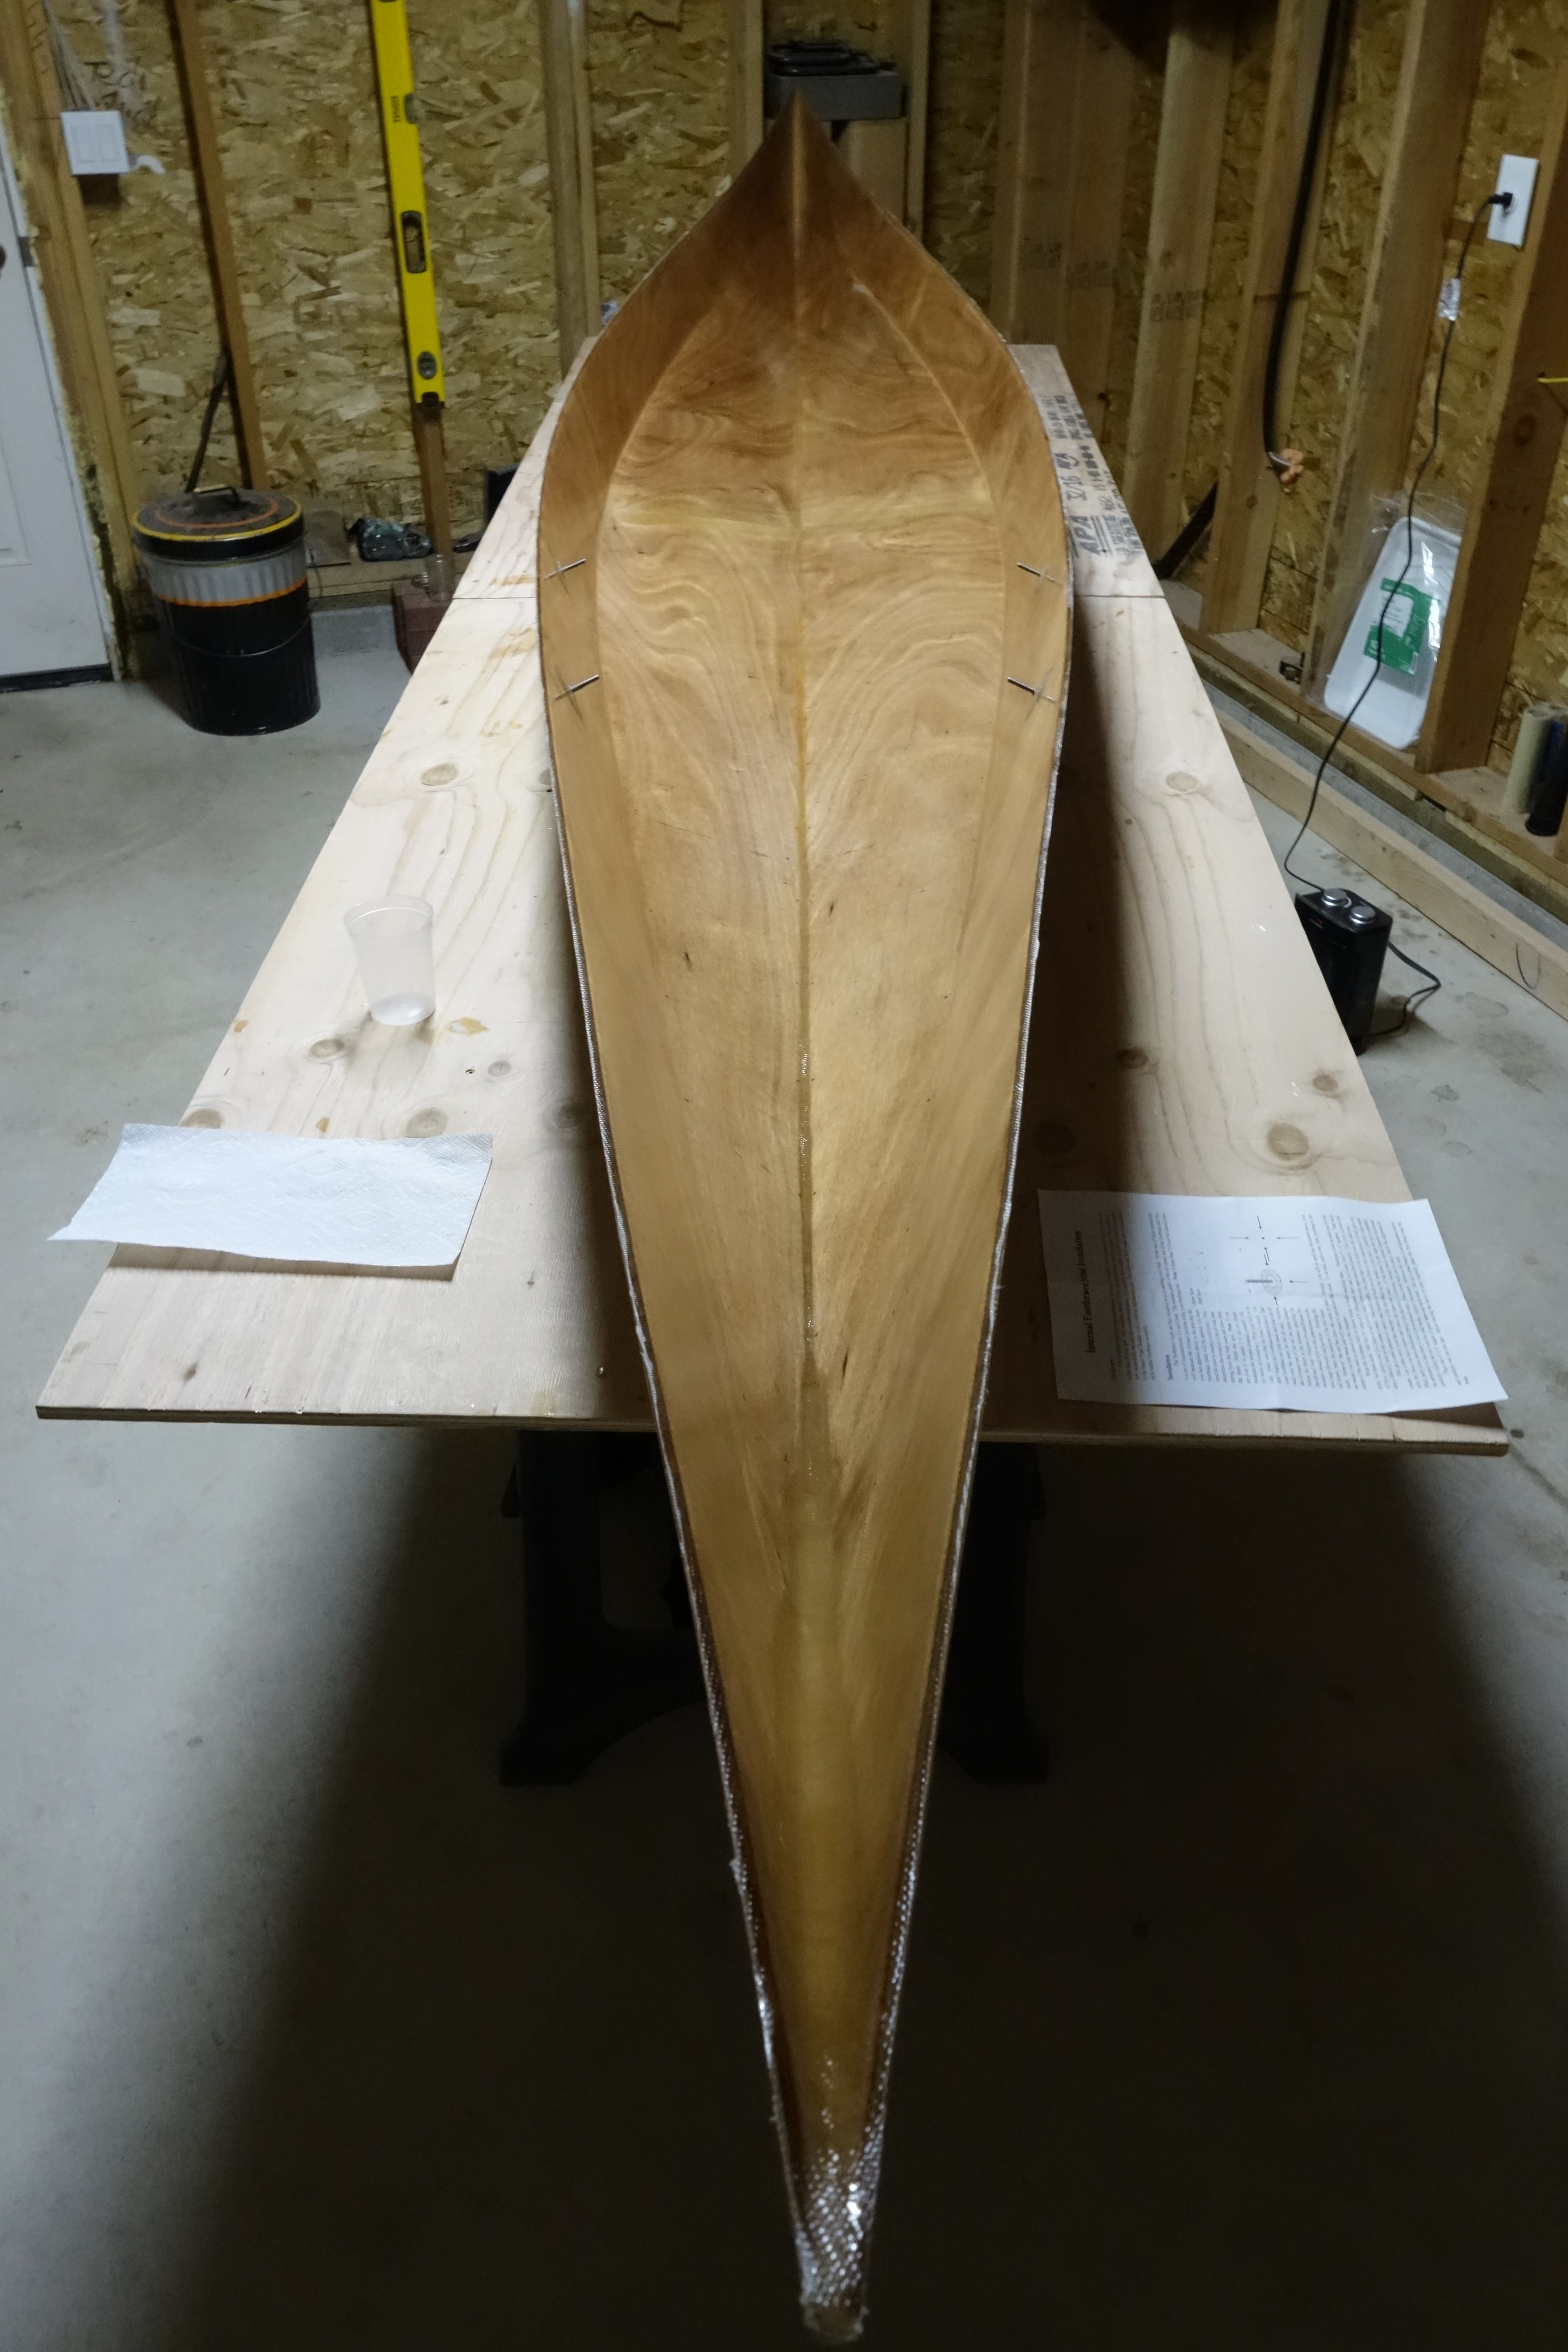
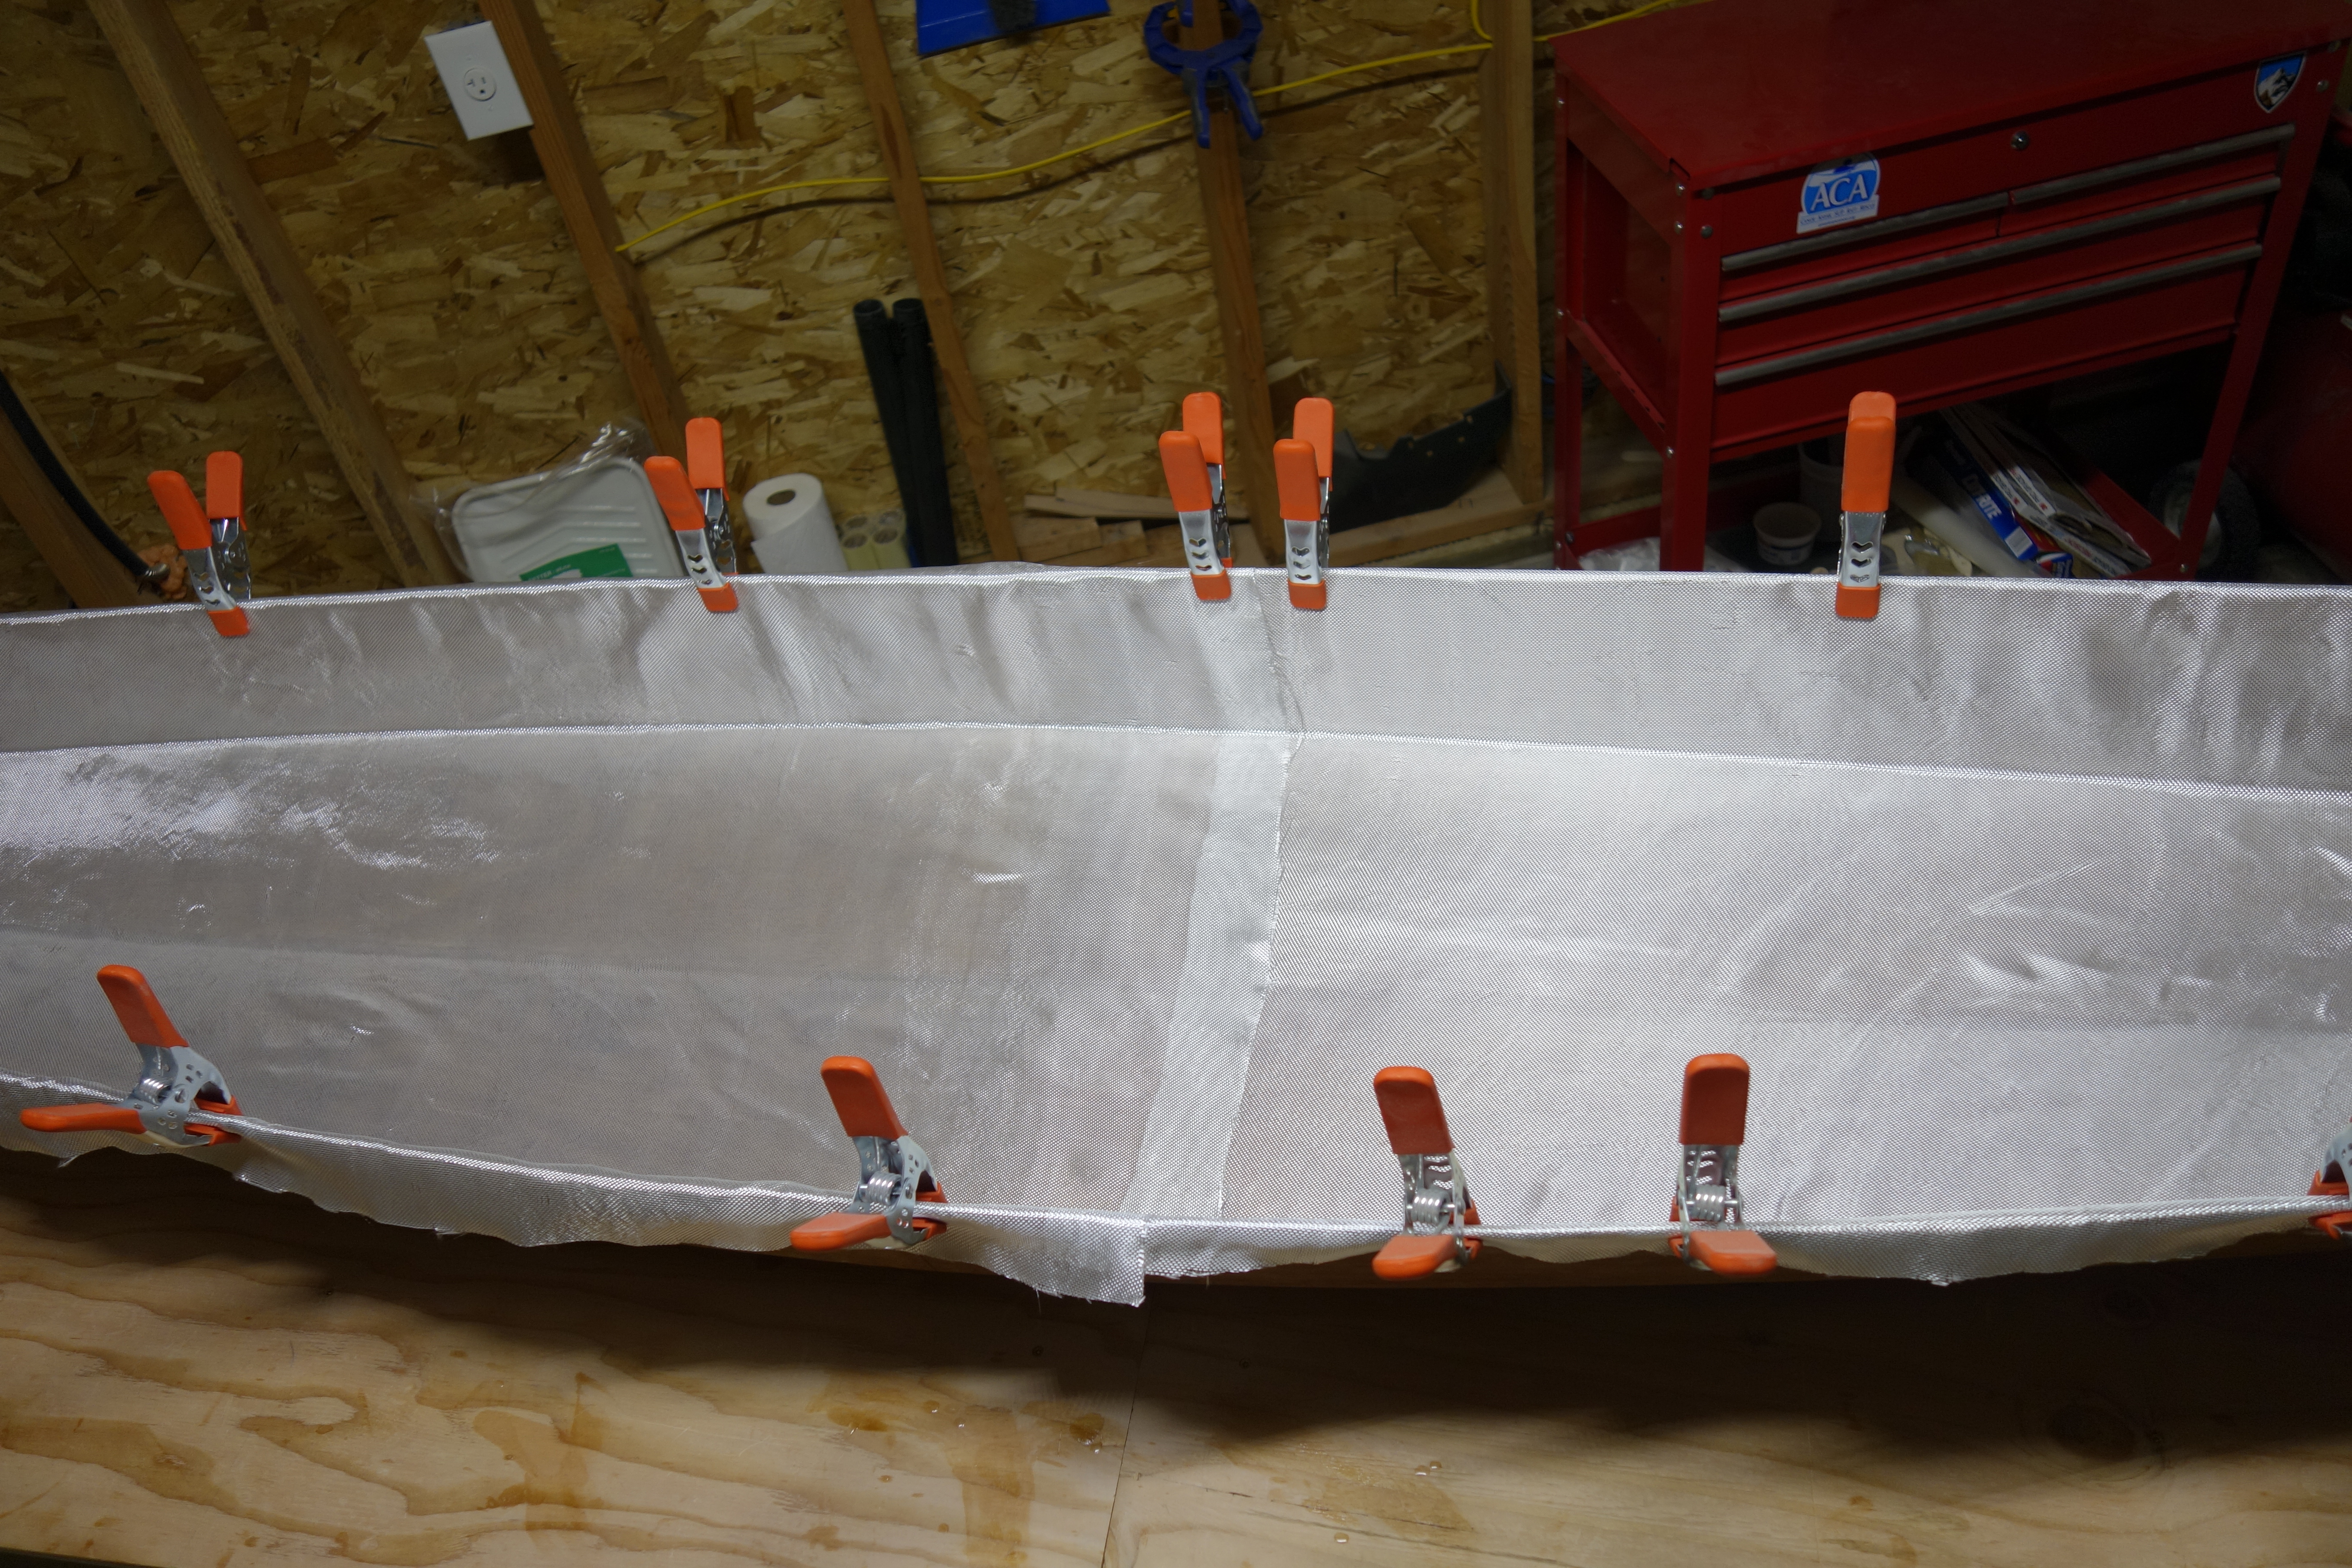
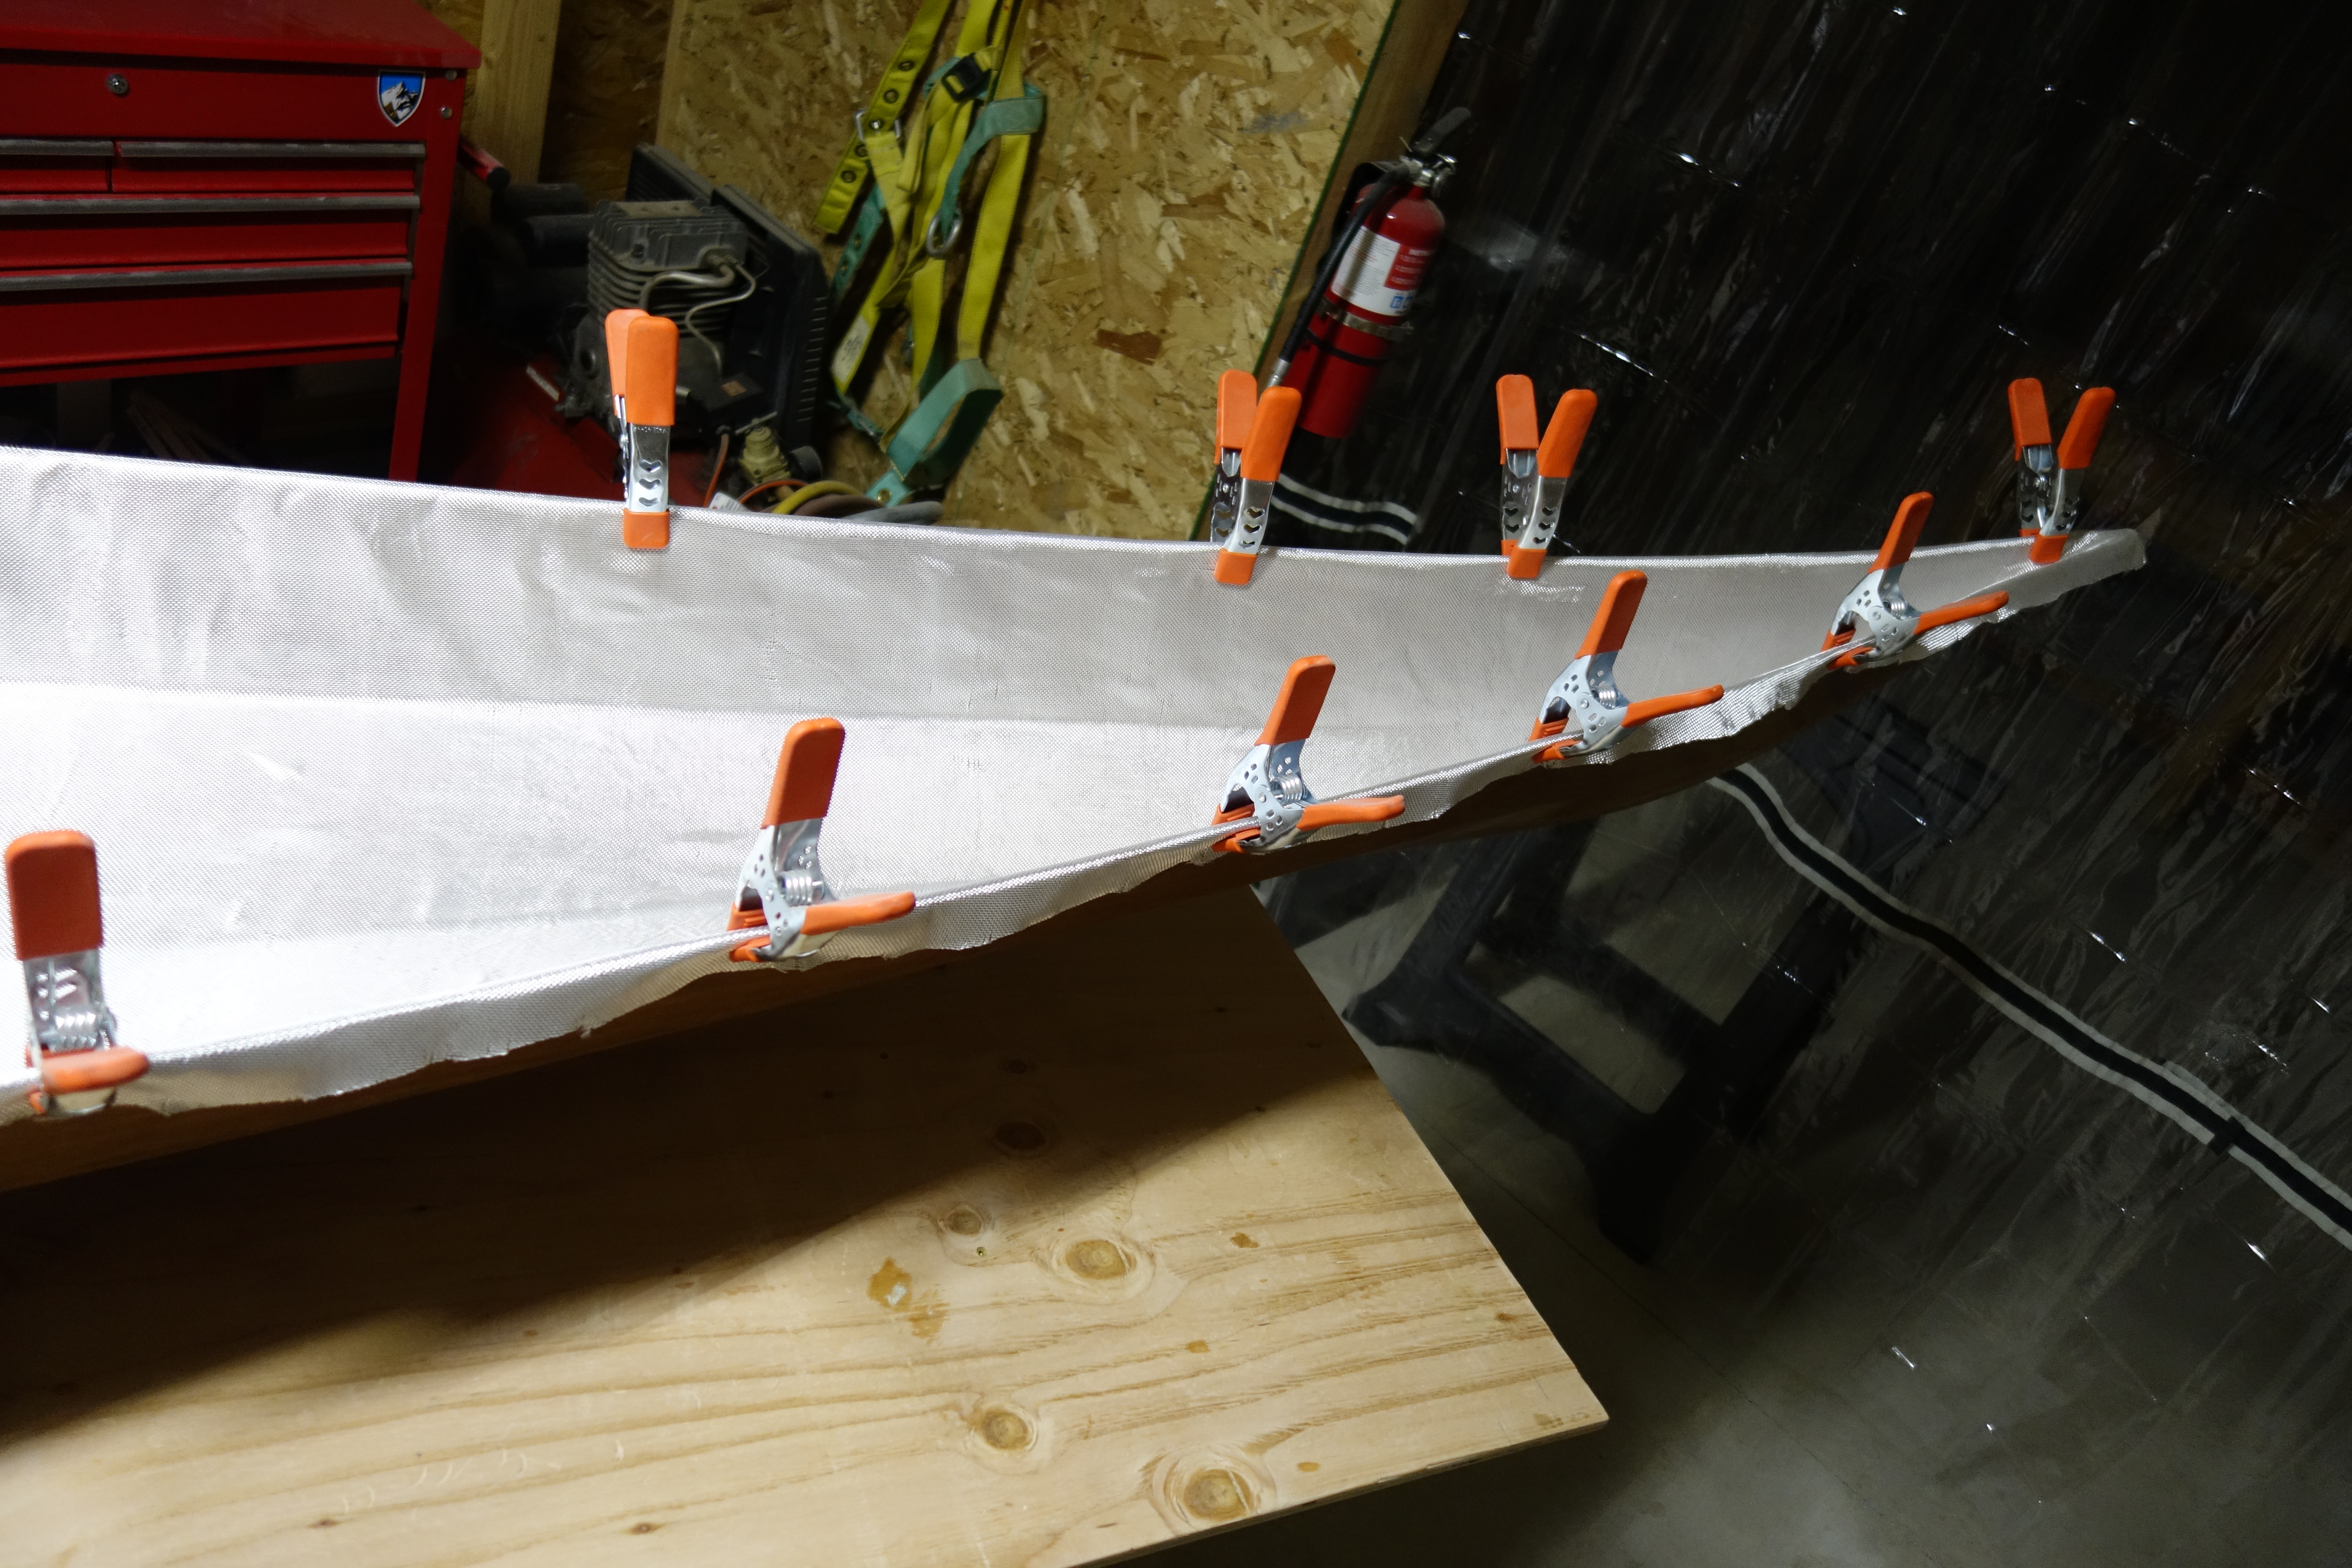
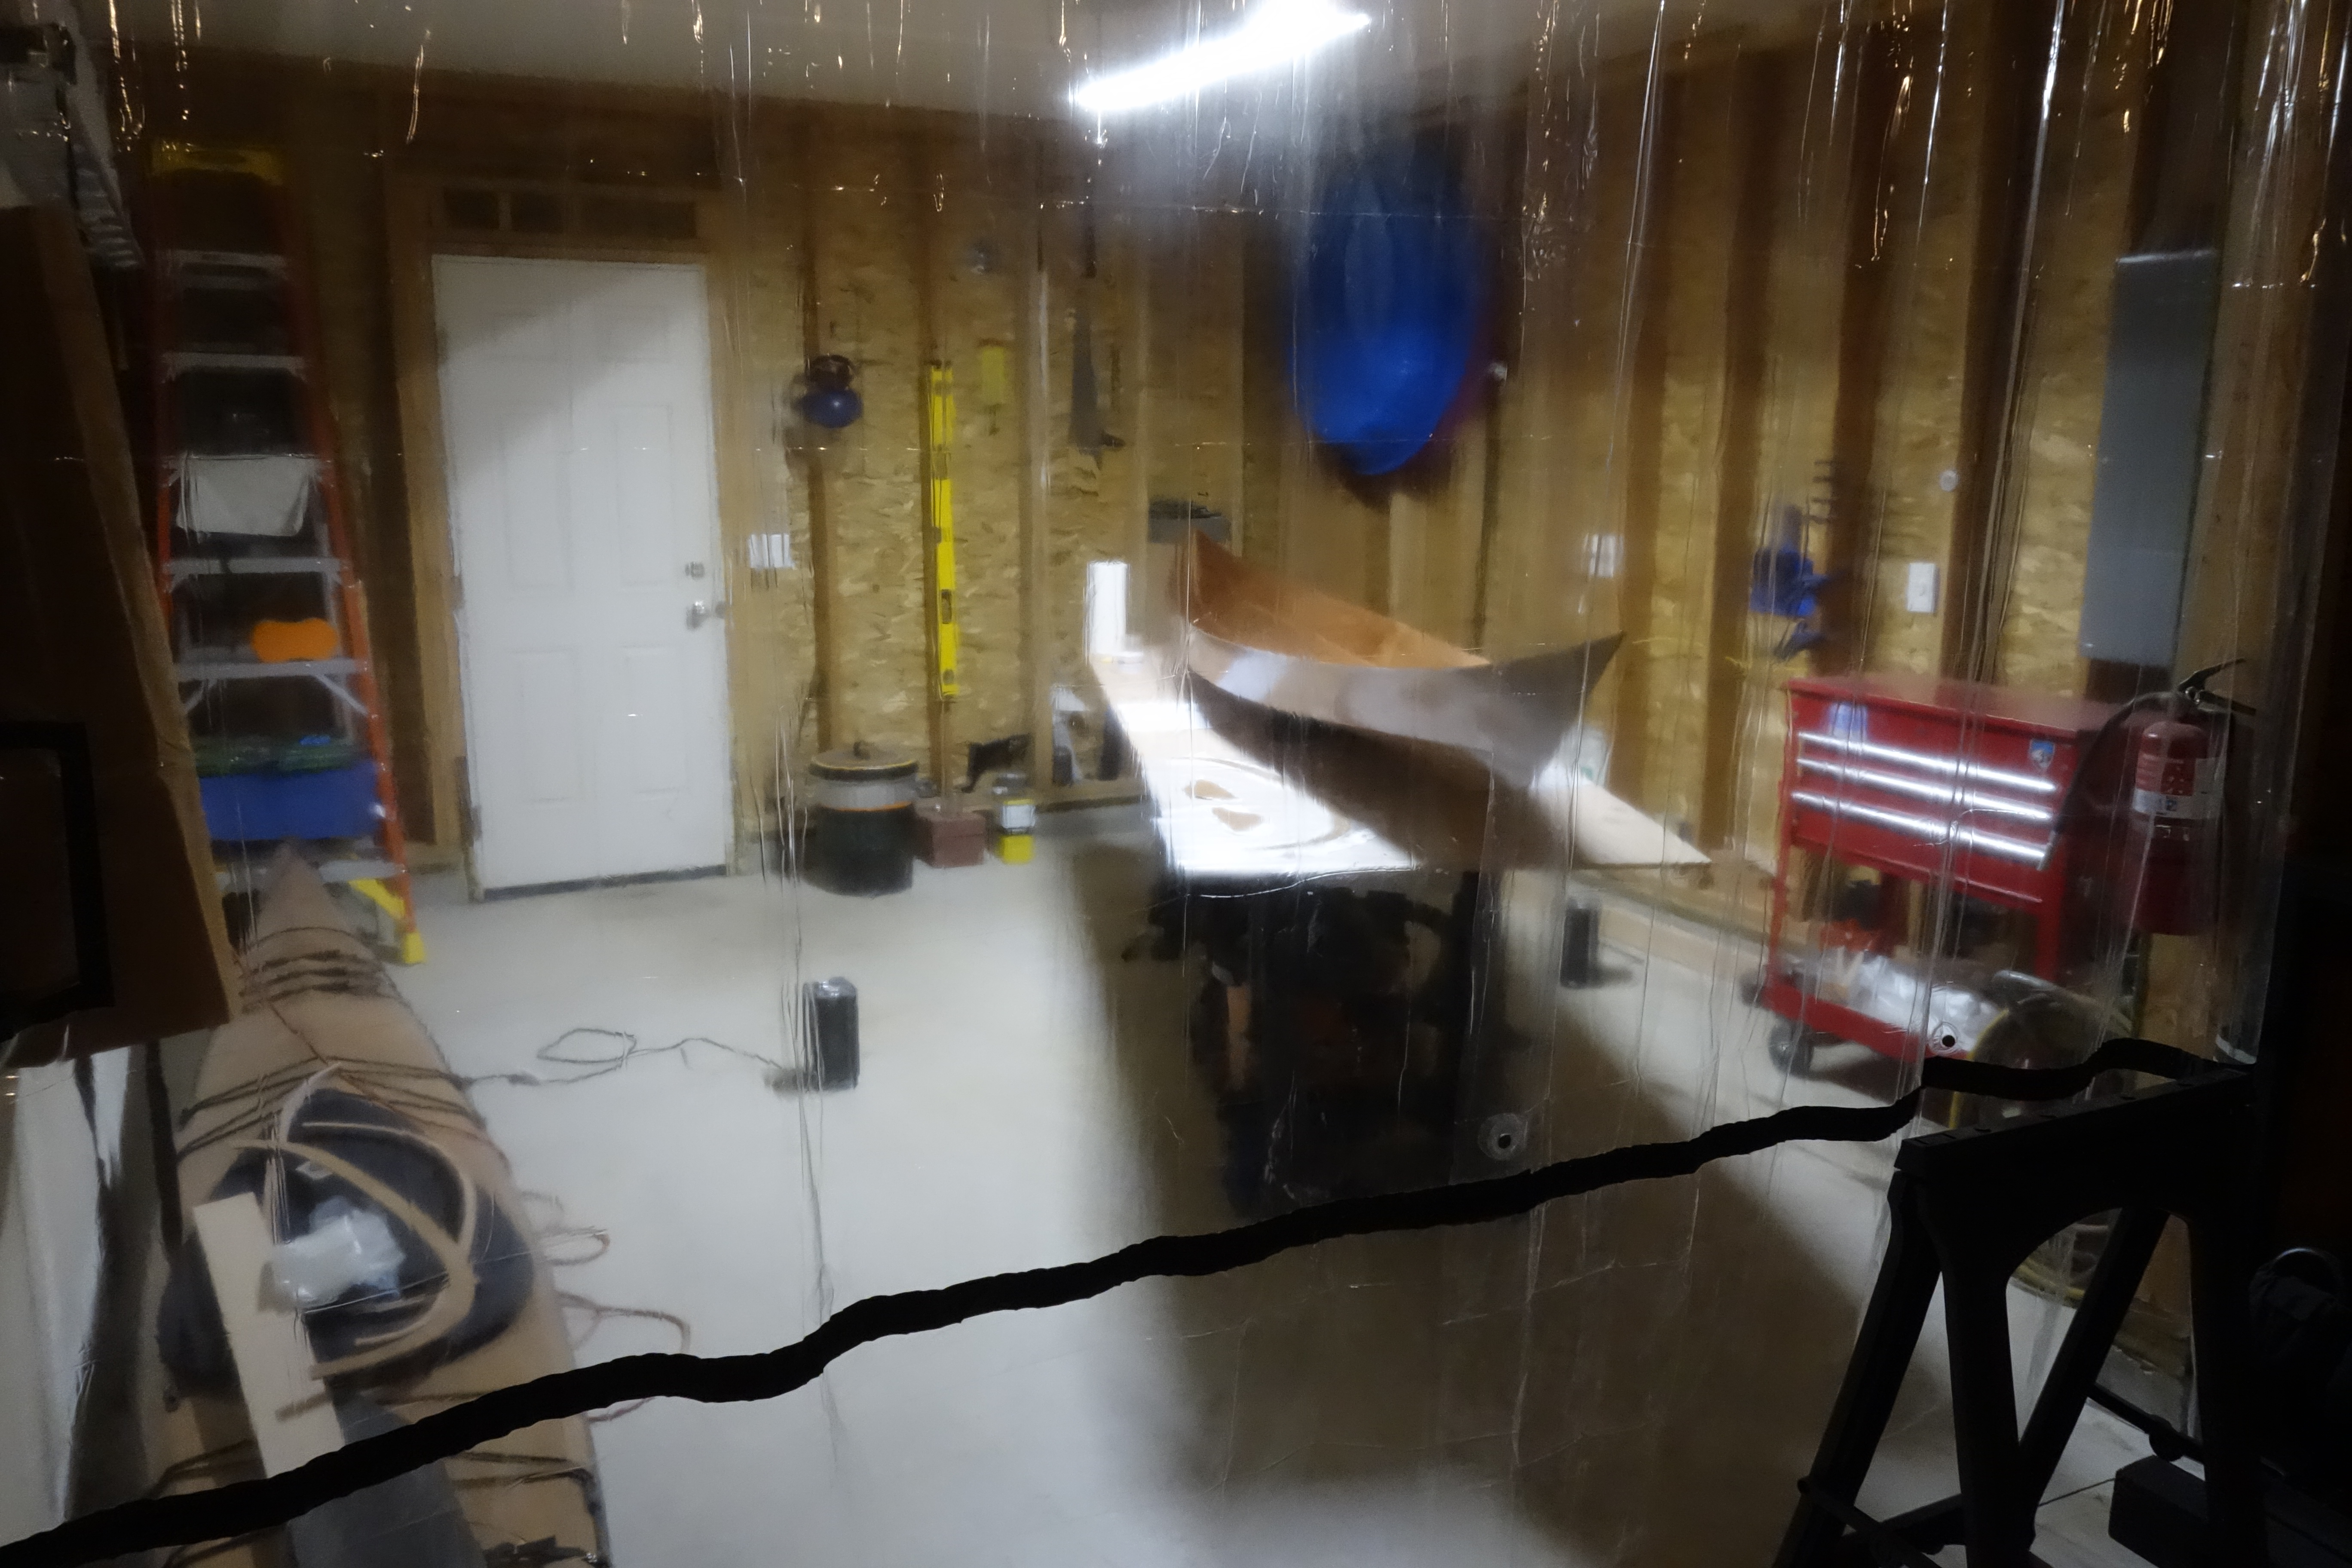
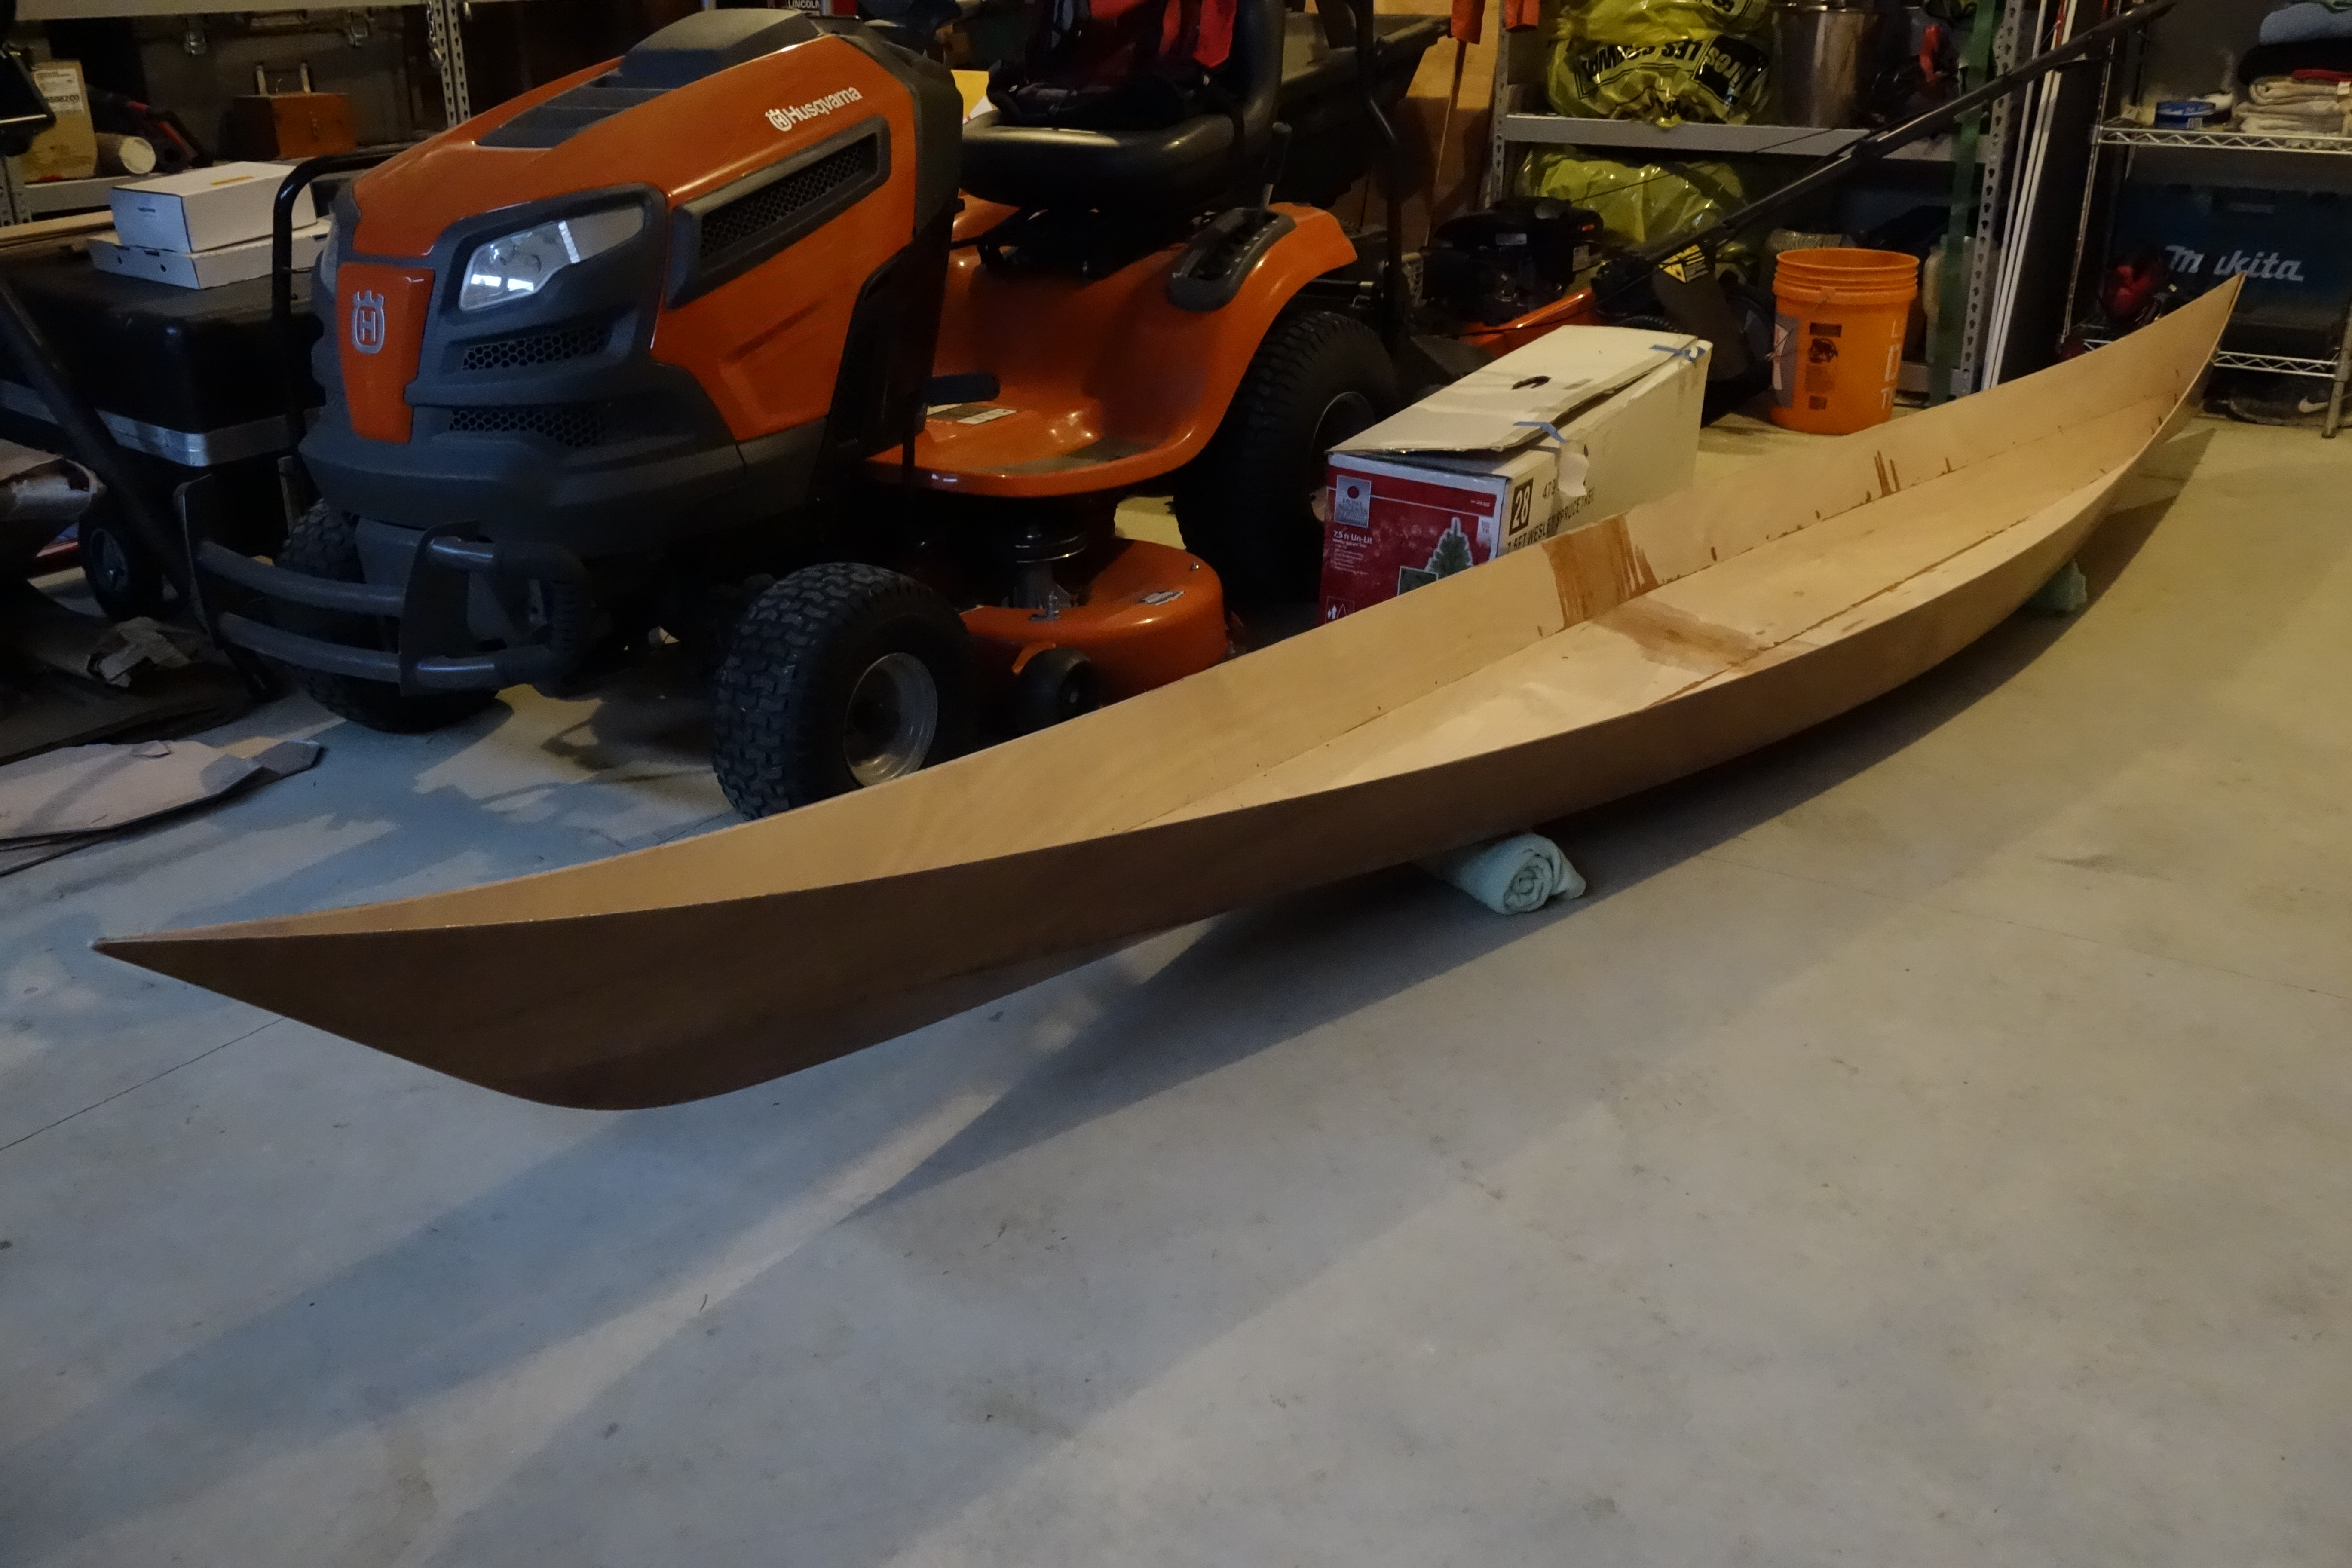
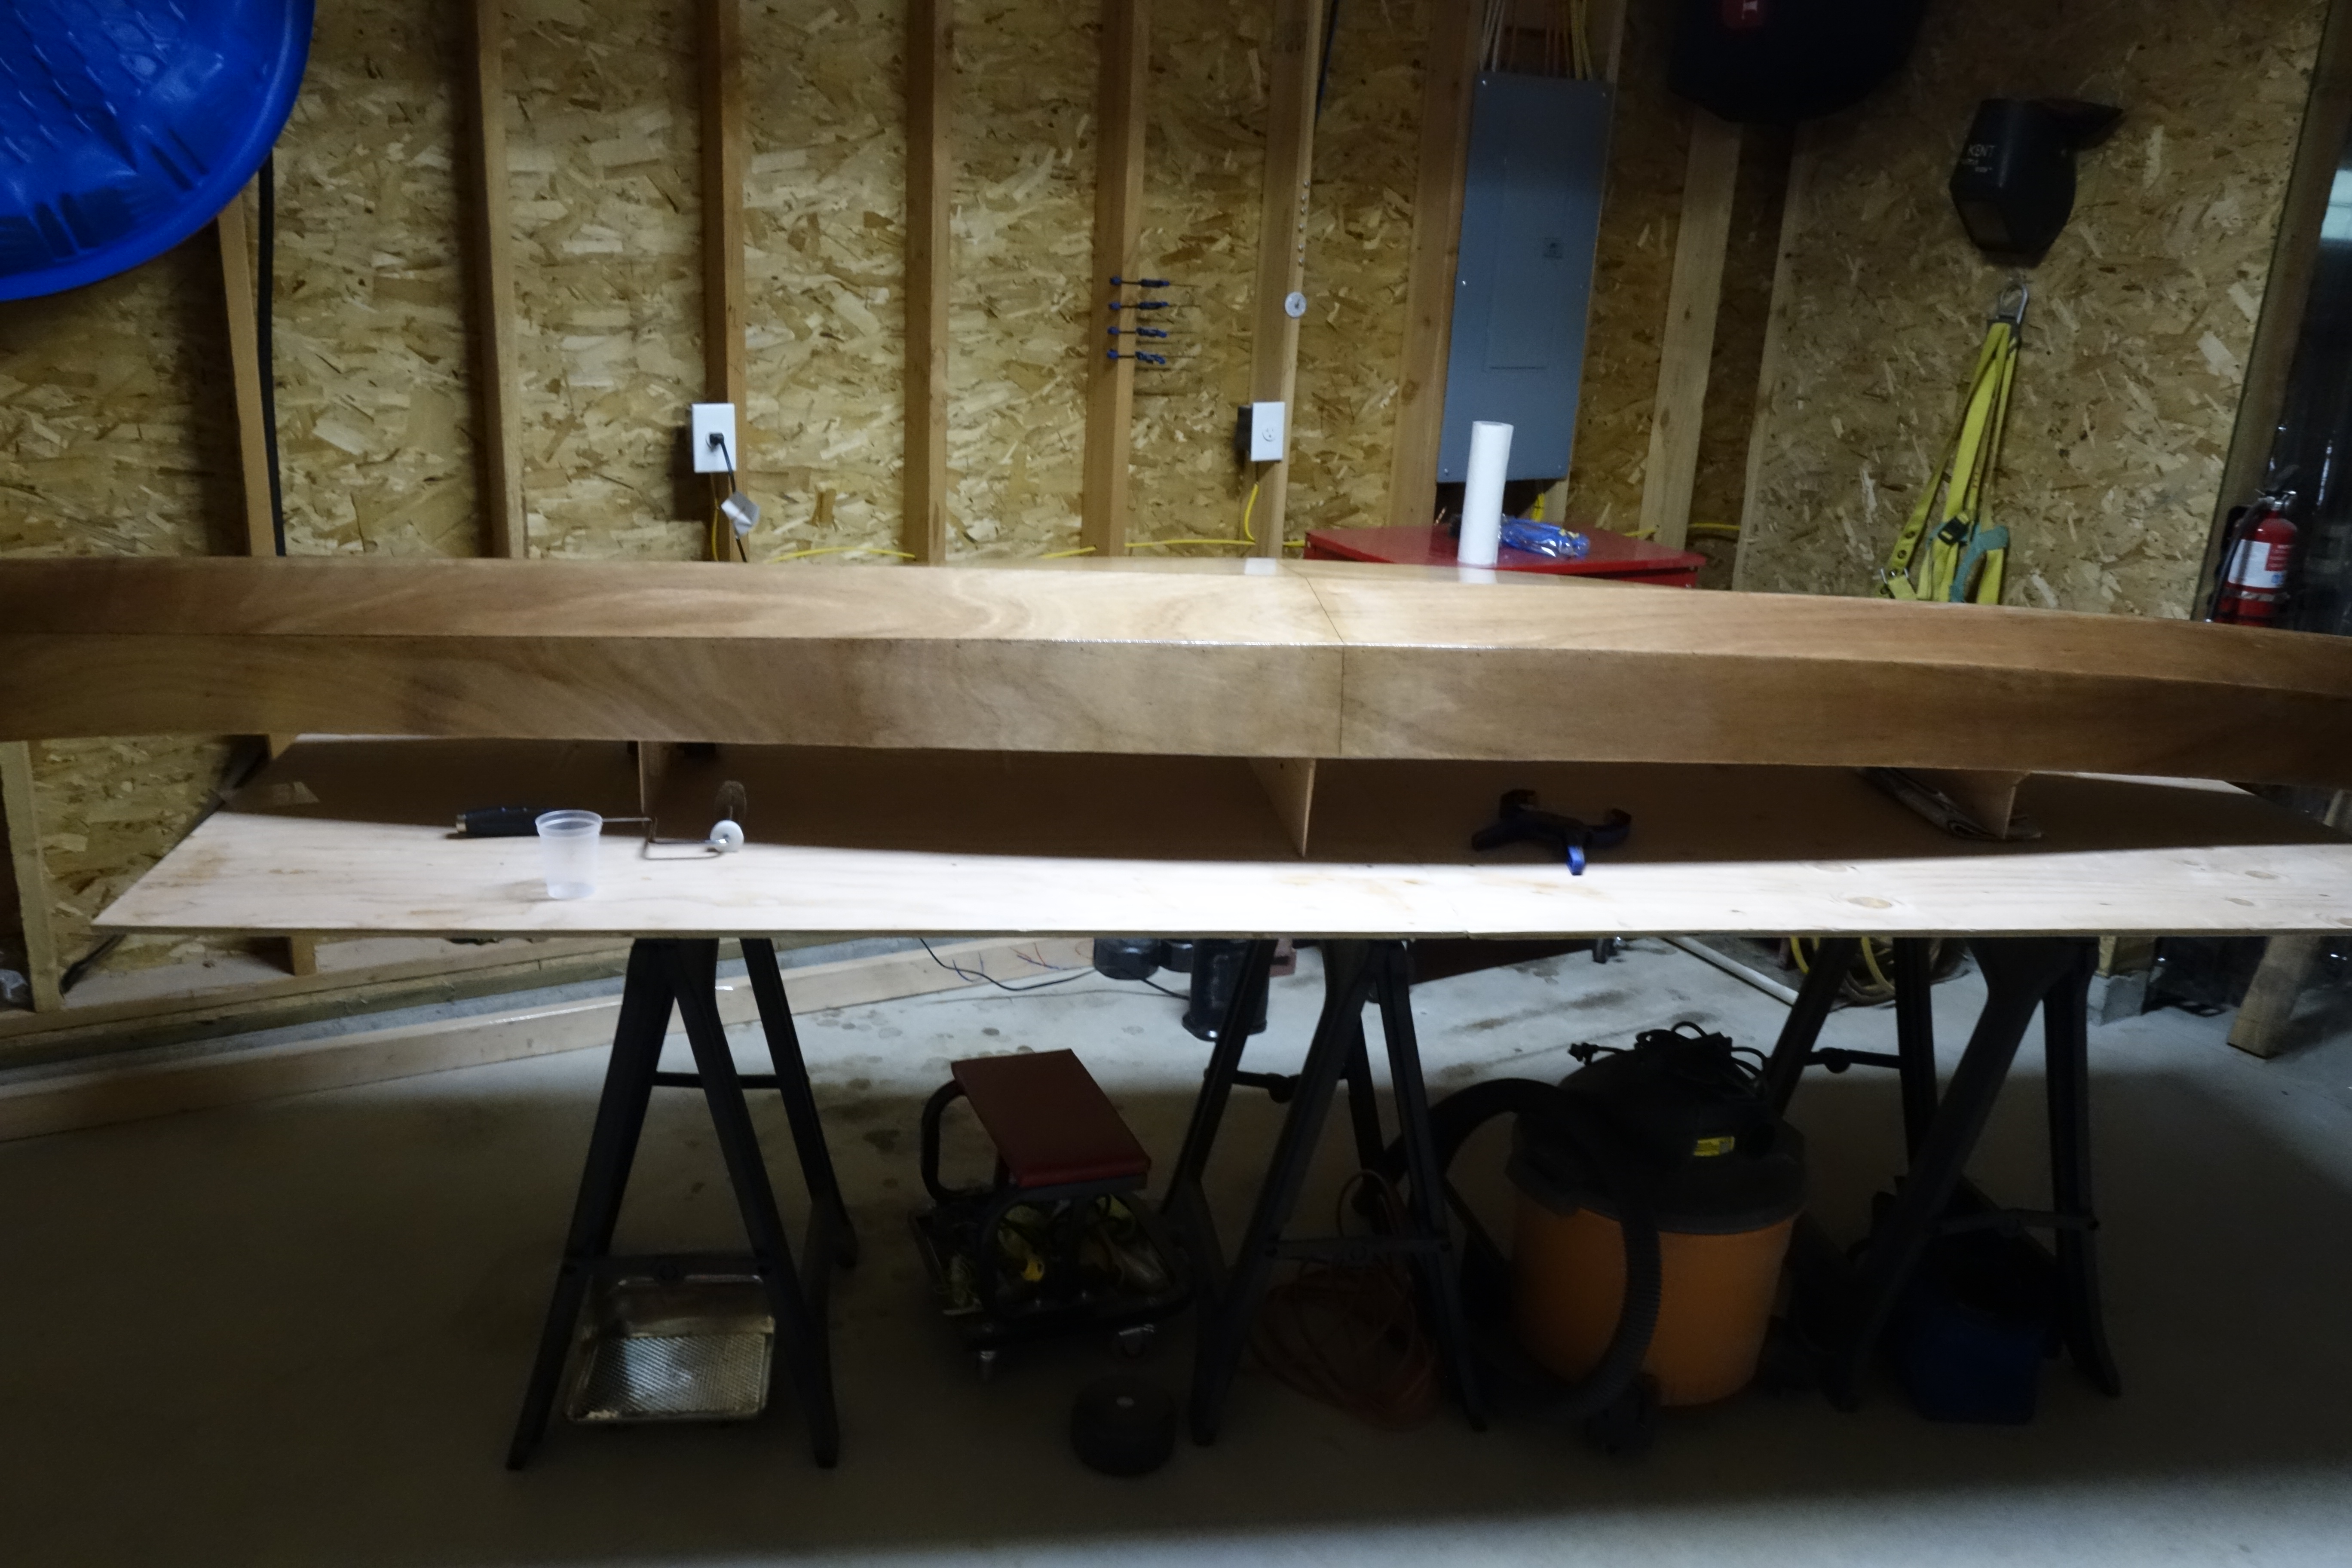
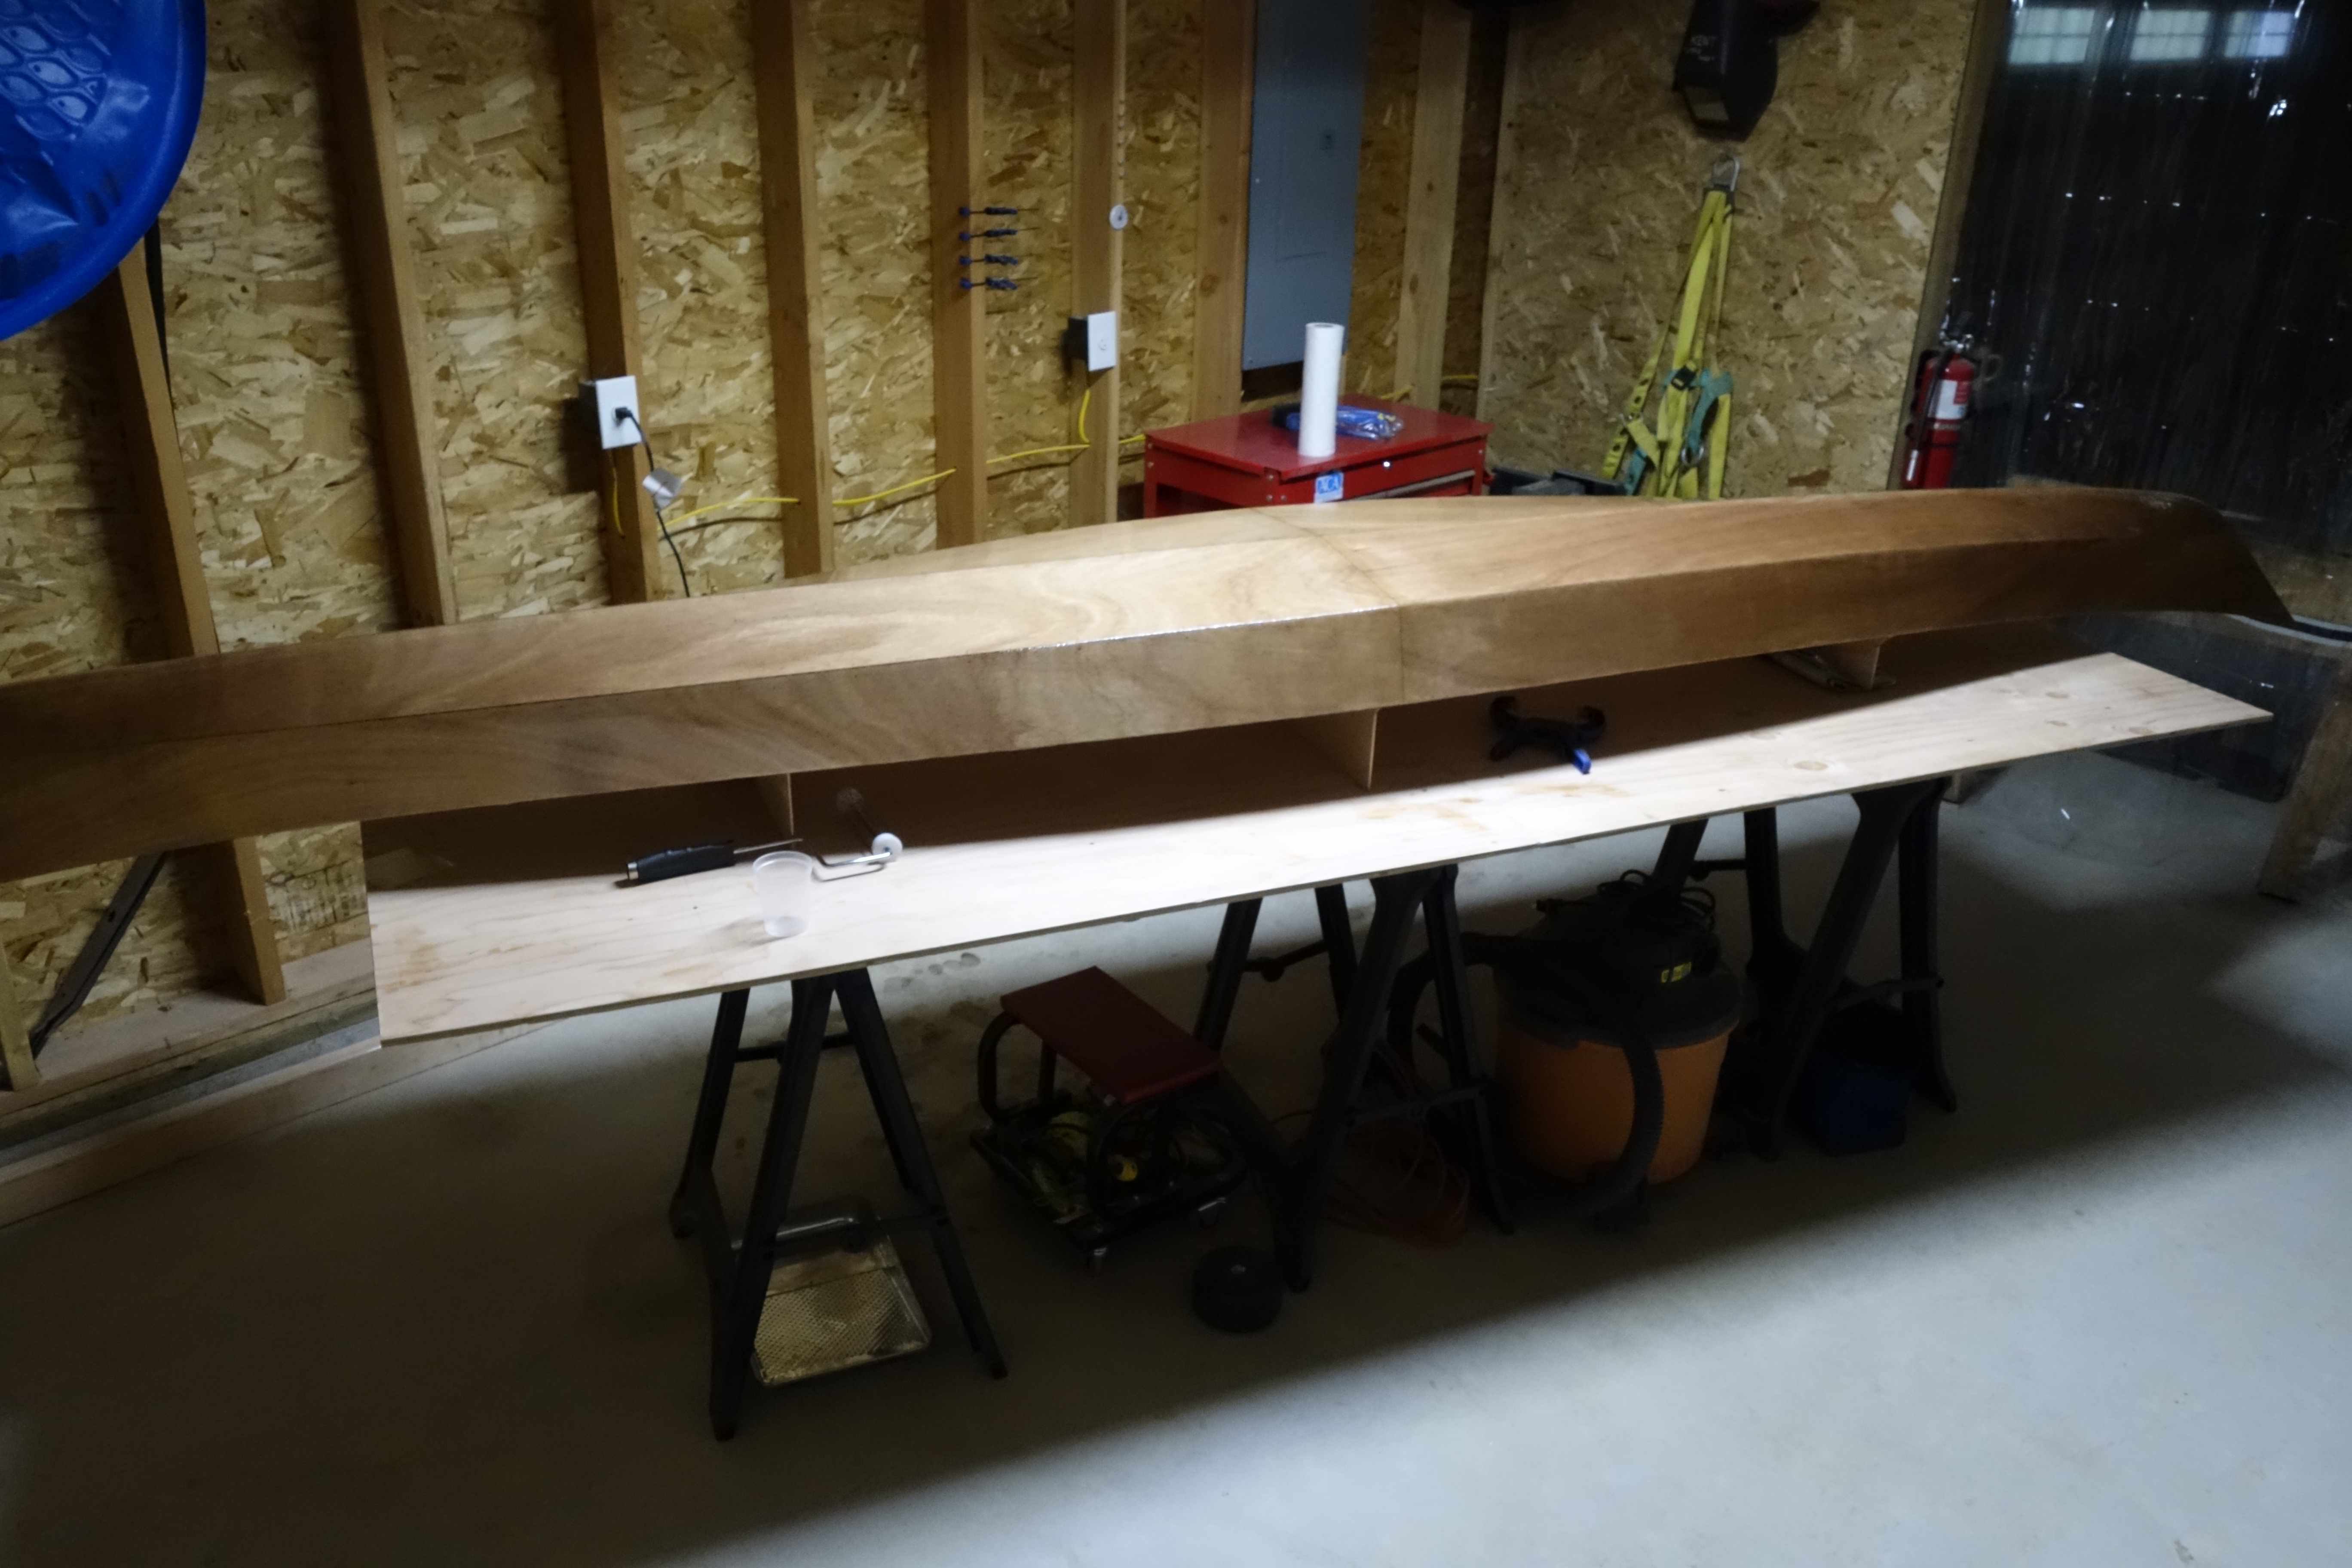
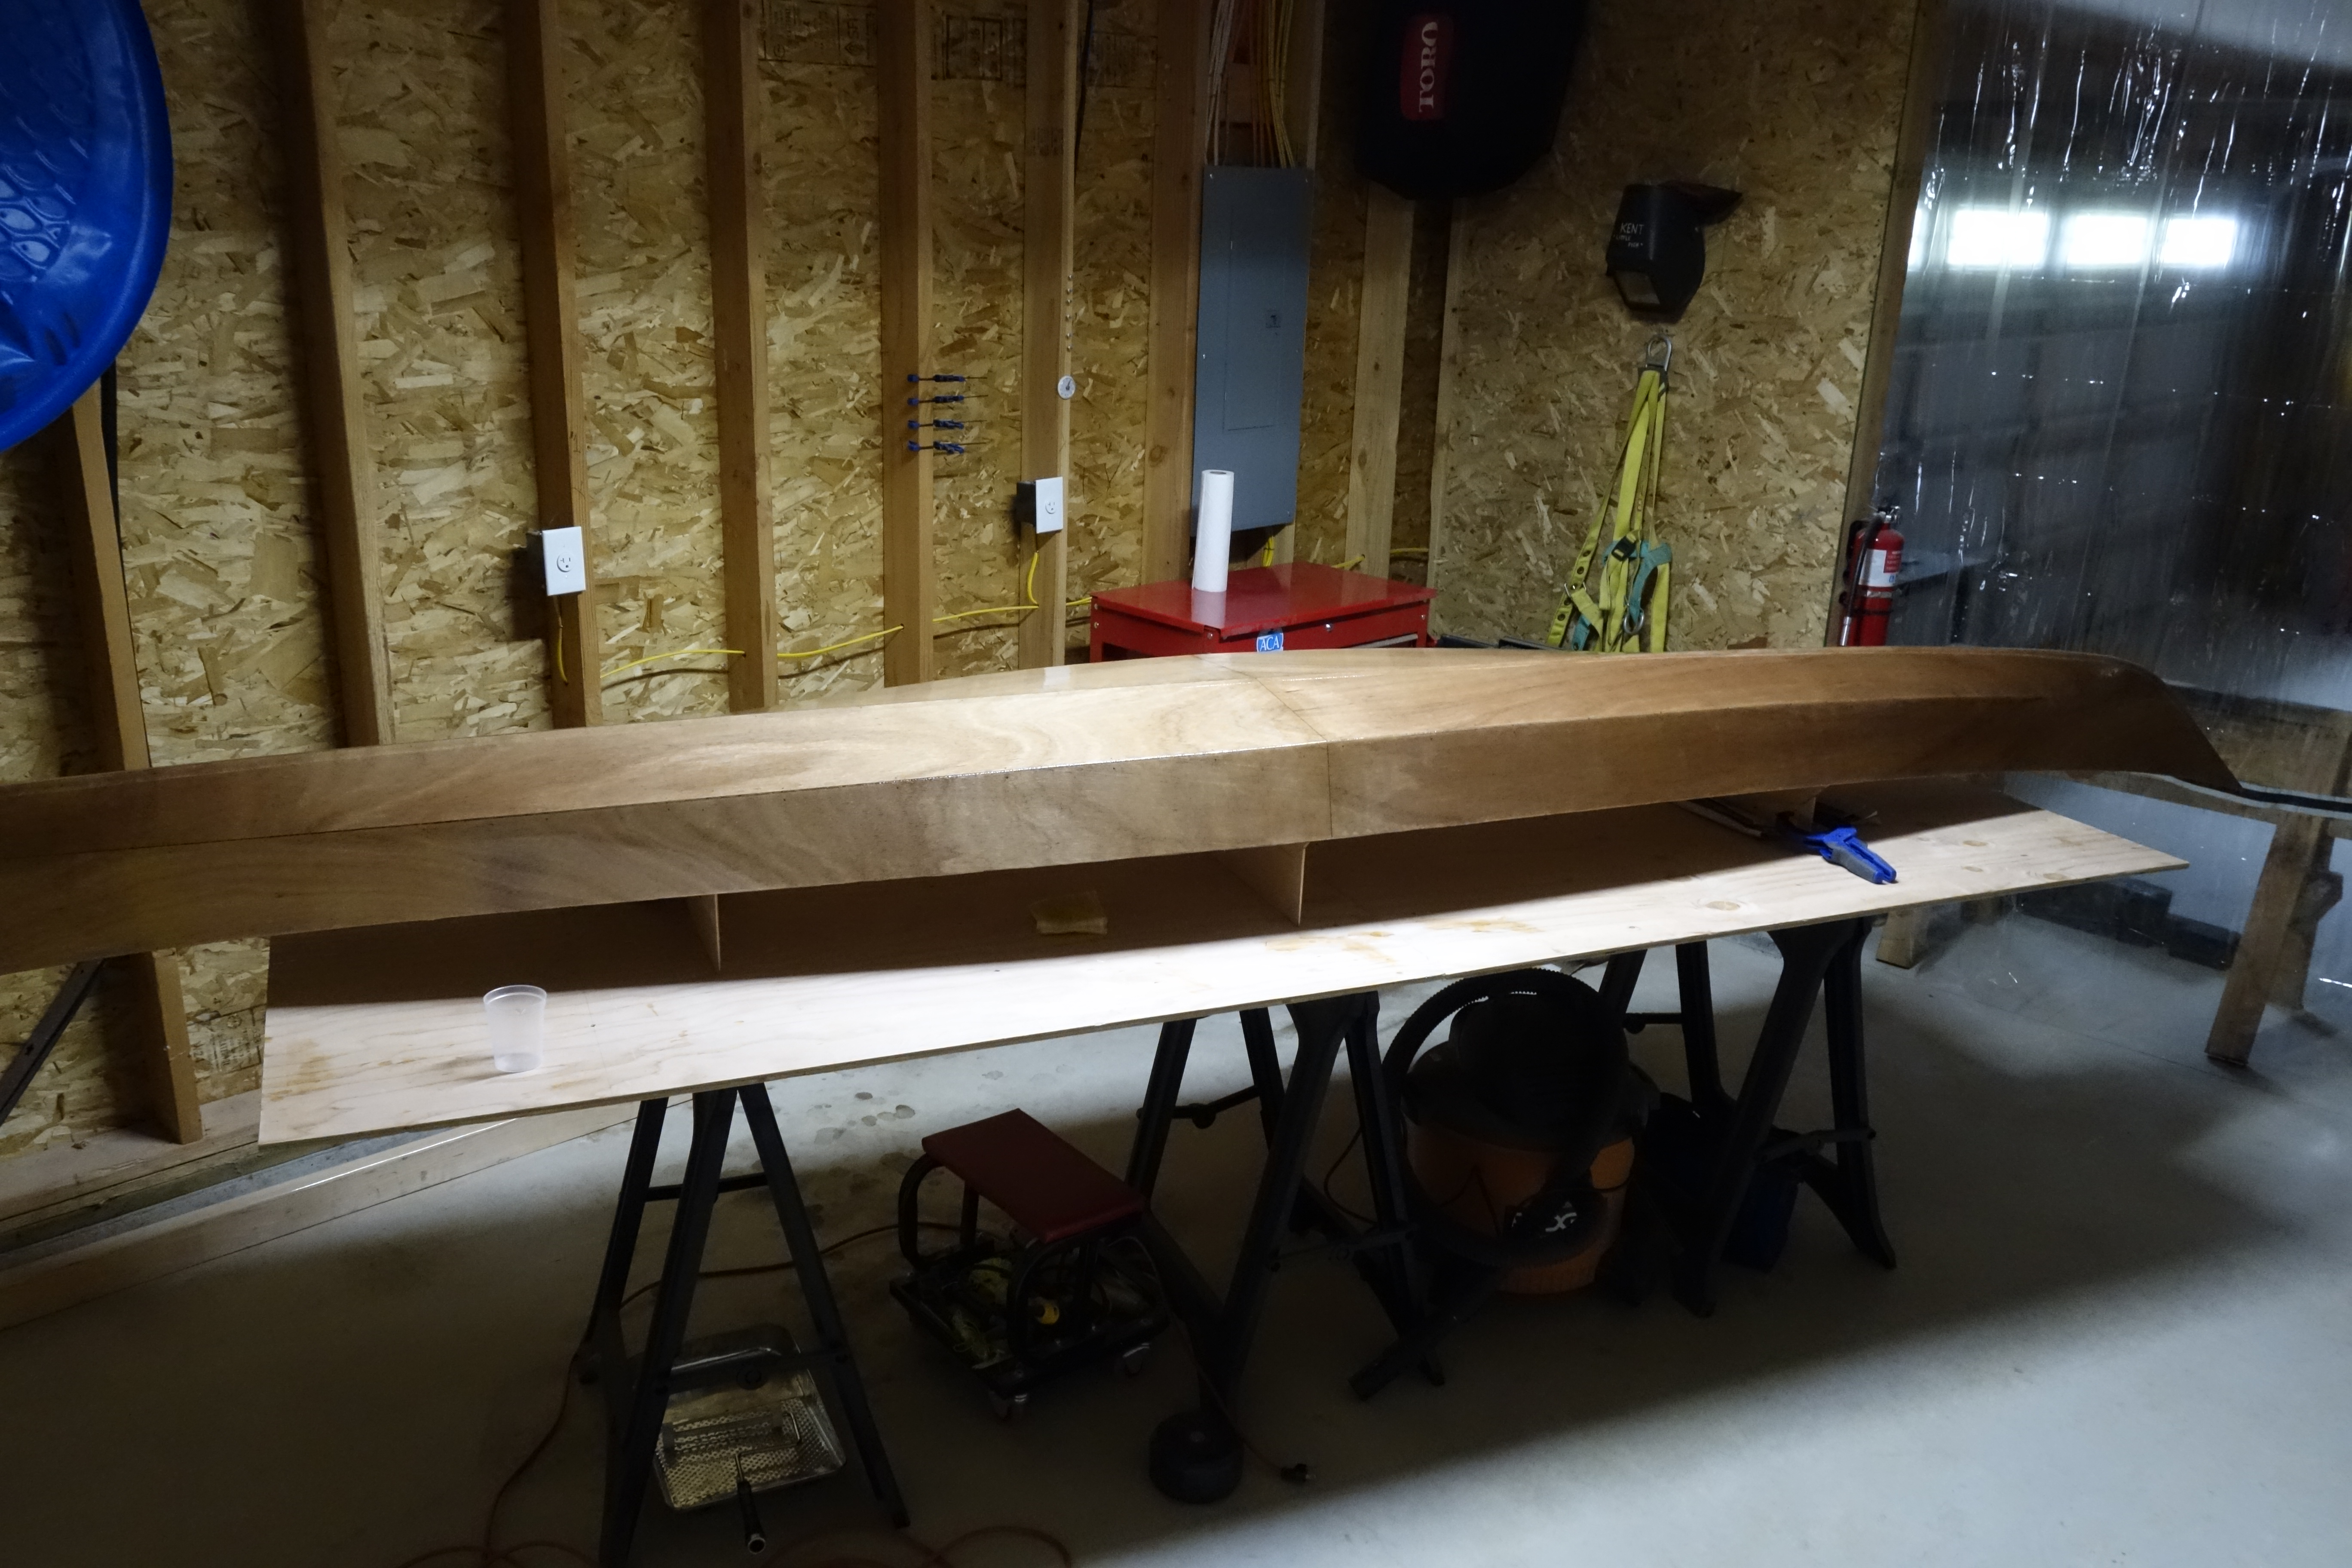
The manual said the the easiest way to remove the temporary frames, which had been glued into the hull with a hot glue gun before the wires were removed, was to reheat the glue with the gun or a soldering iron. I tried that on a couple of the beads of glue and found it to be kind-of time consuming and messy. So instead, I used a sharp utility knife and carefully ran the tip of the blade between the hull and the bead of glue. I then gave the frames a little wiggle, and hey presto!, the frames came out. The residual glue on the hull easily came off with a putty knife. MUCH easier than reheating the glue if you ask me. The next steps for the hull will be filling the seams, and encasing the inside of the hull in fiberglass in the same way that the outside was done.

Hull fill coats and sacrificial keel tape.

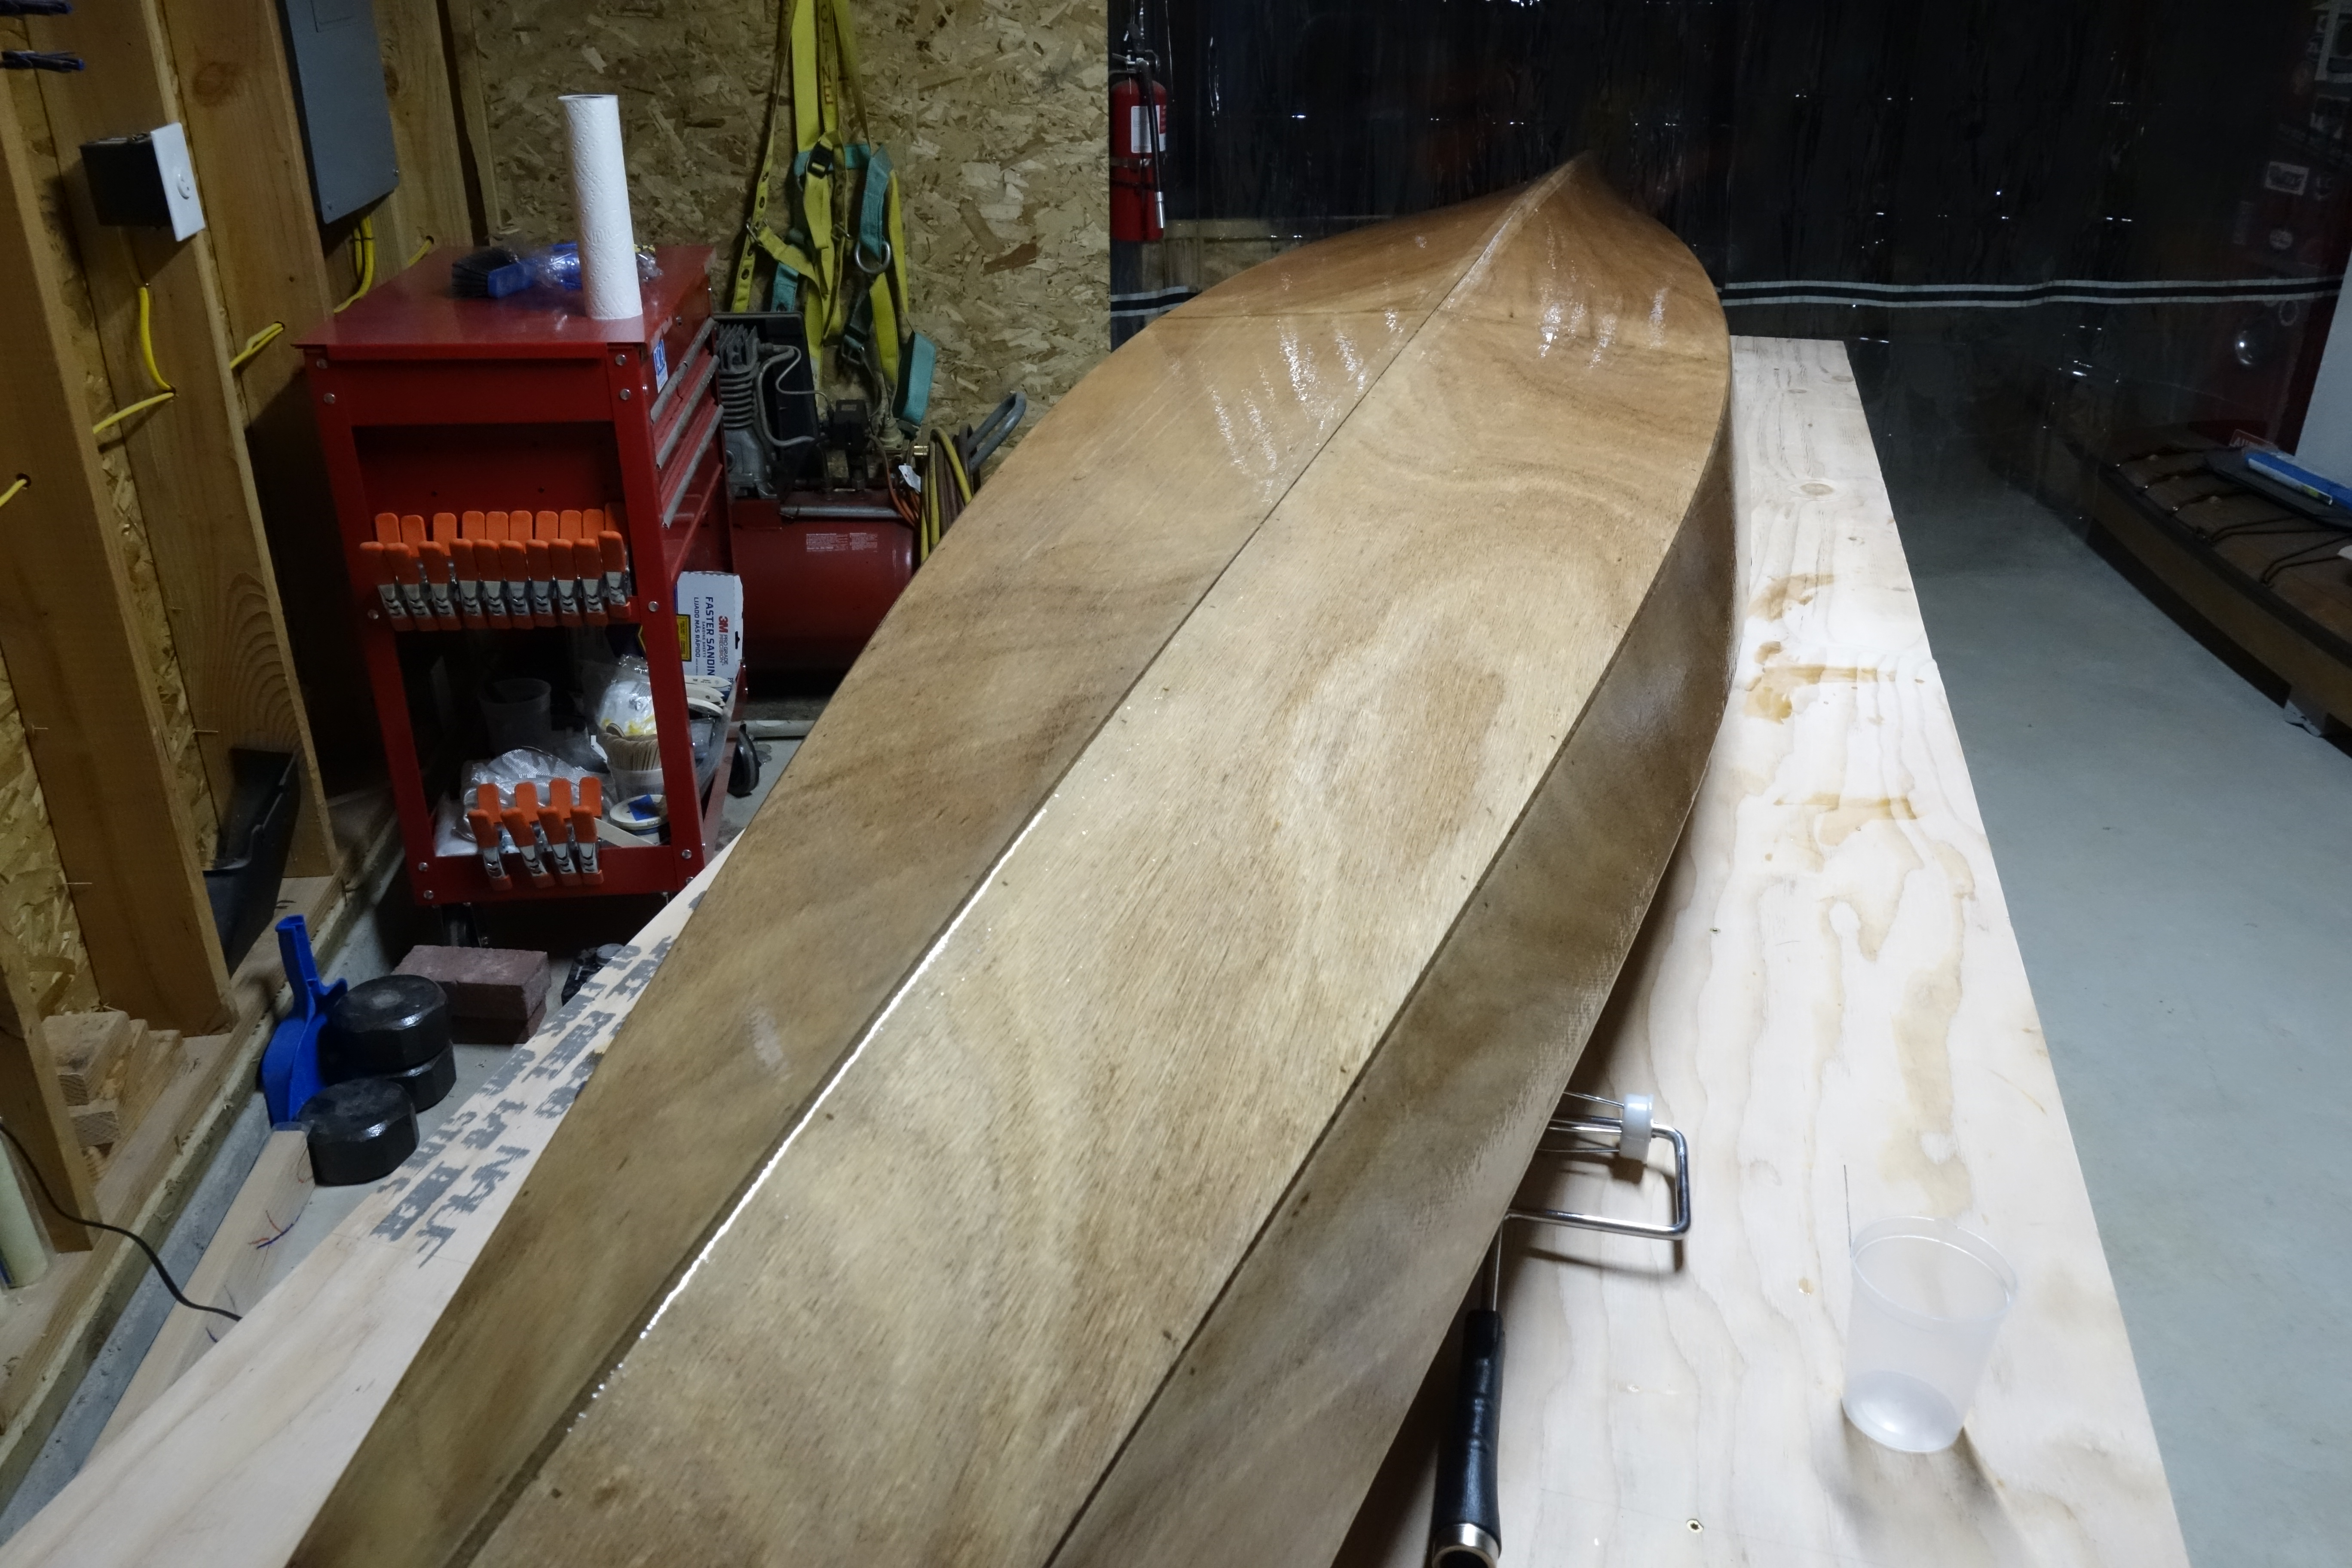
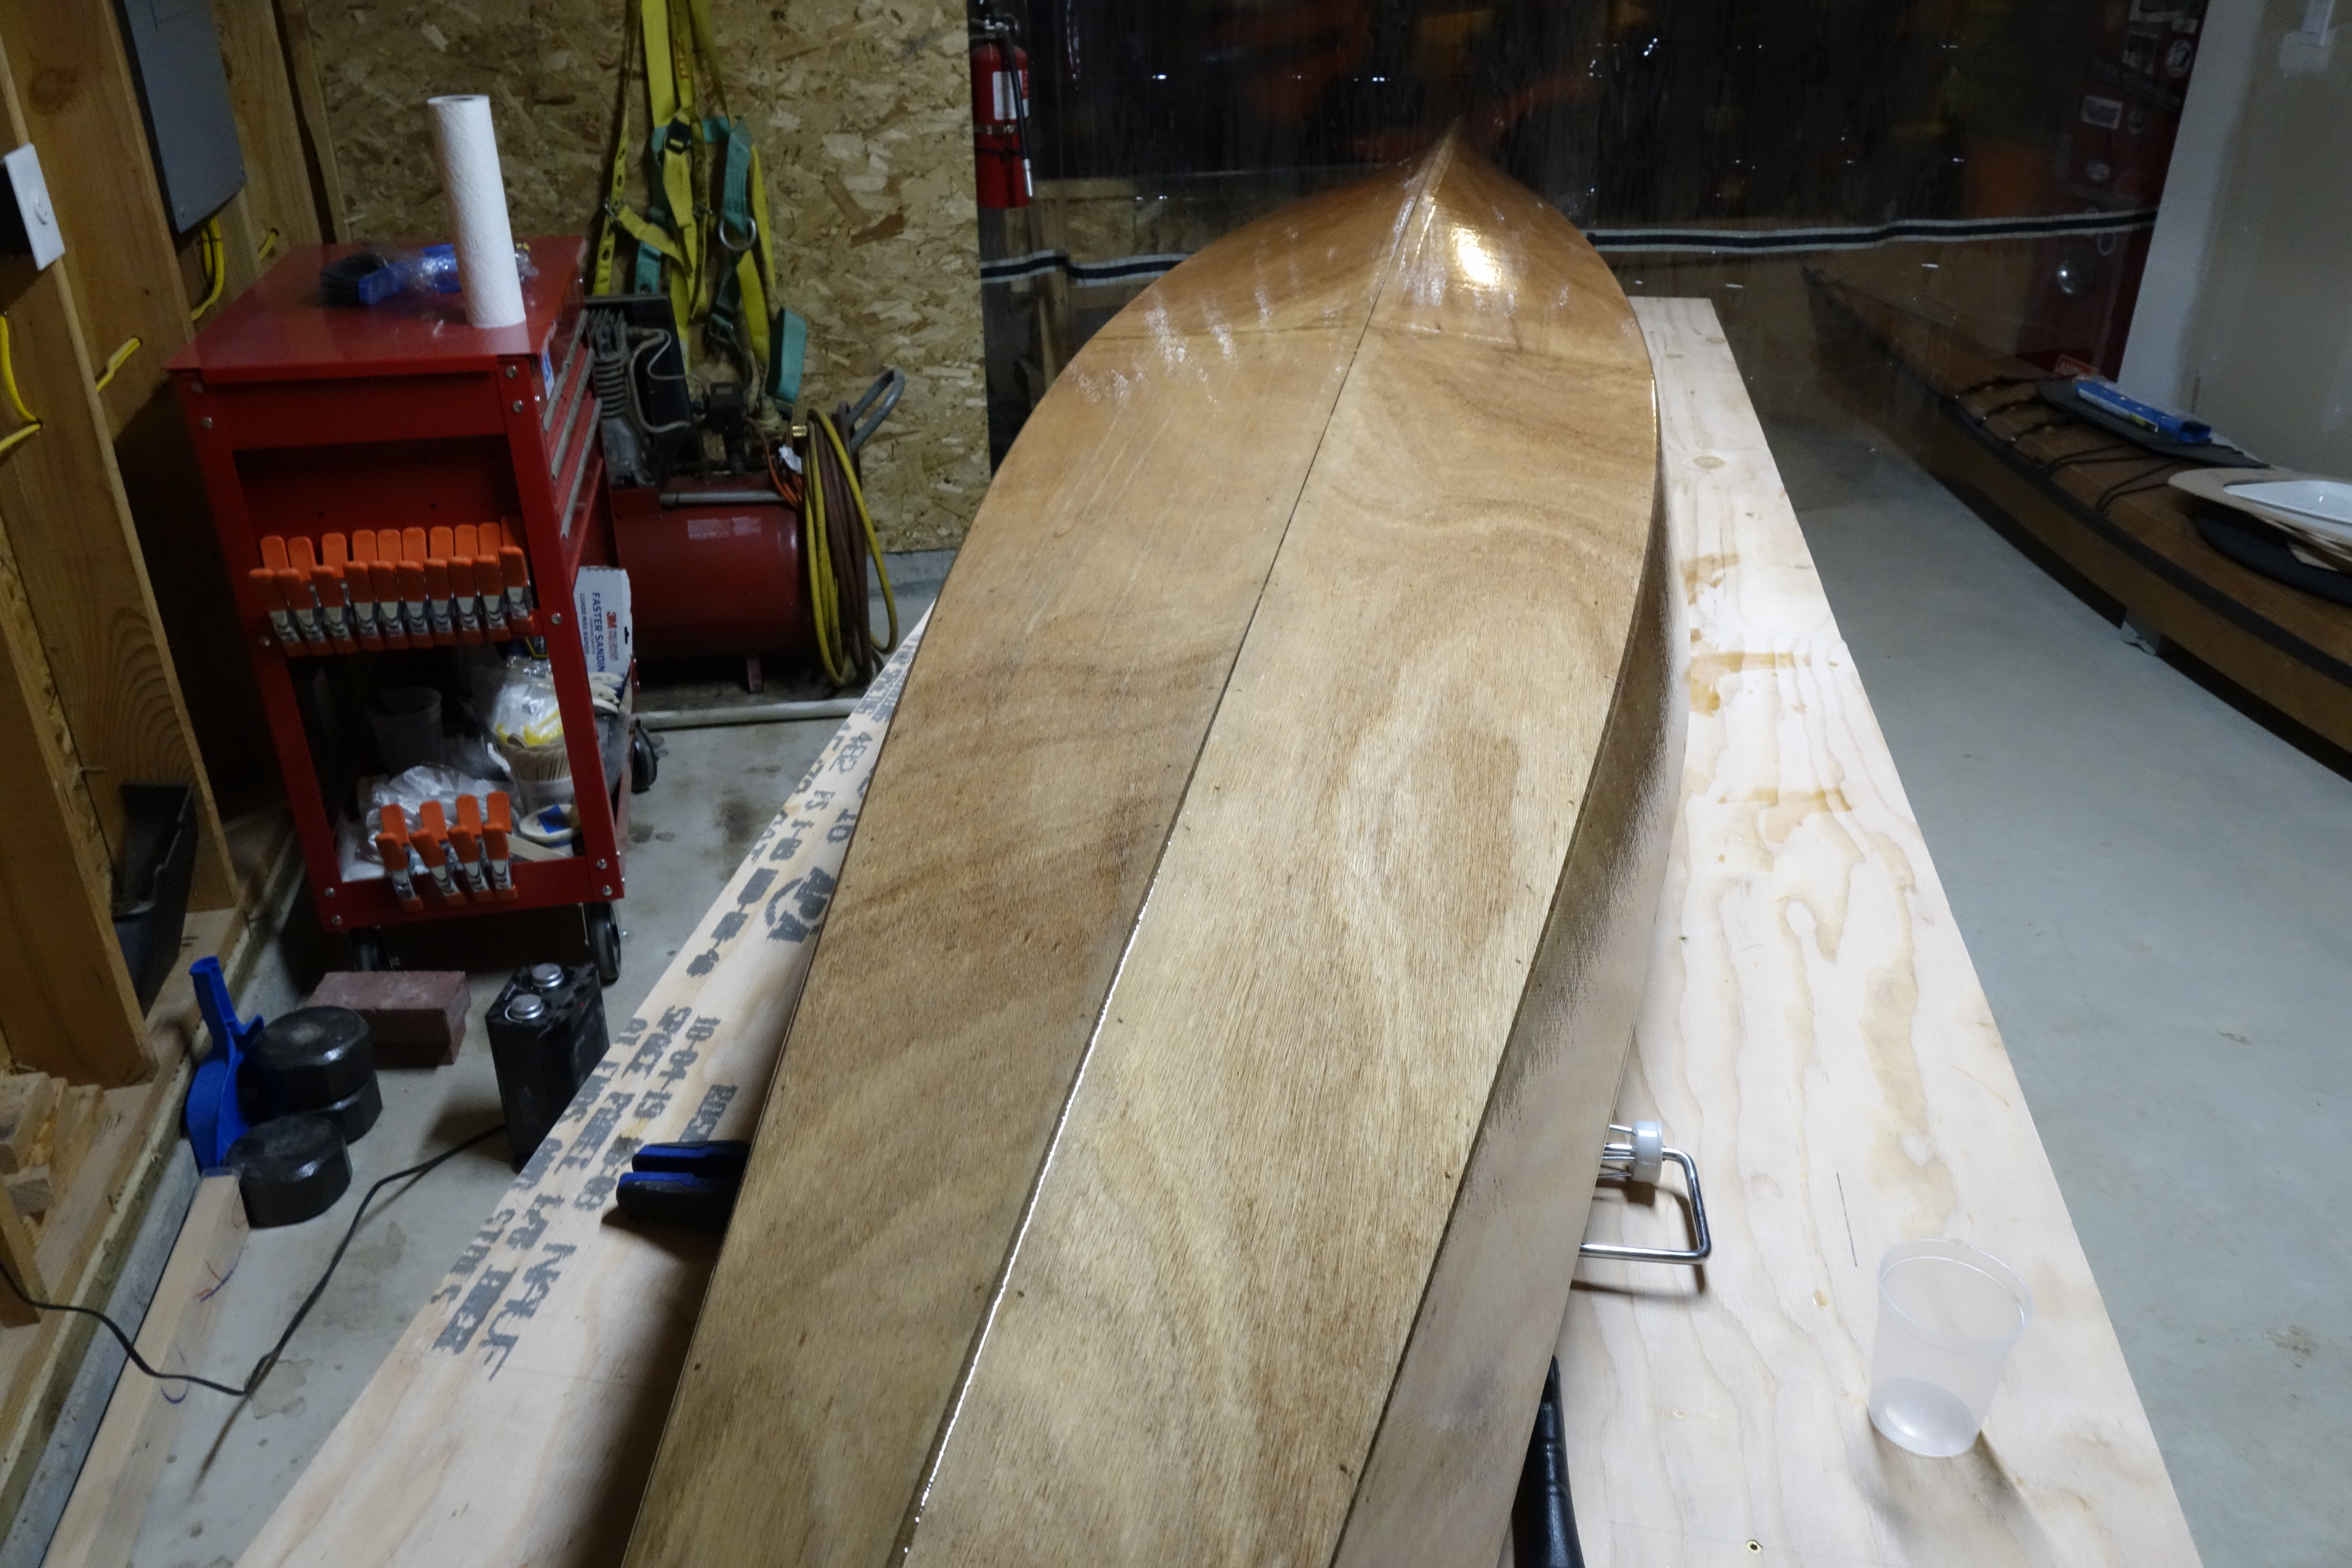
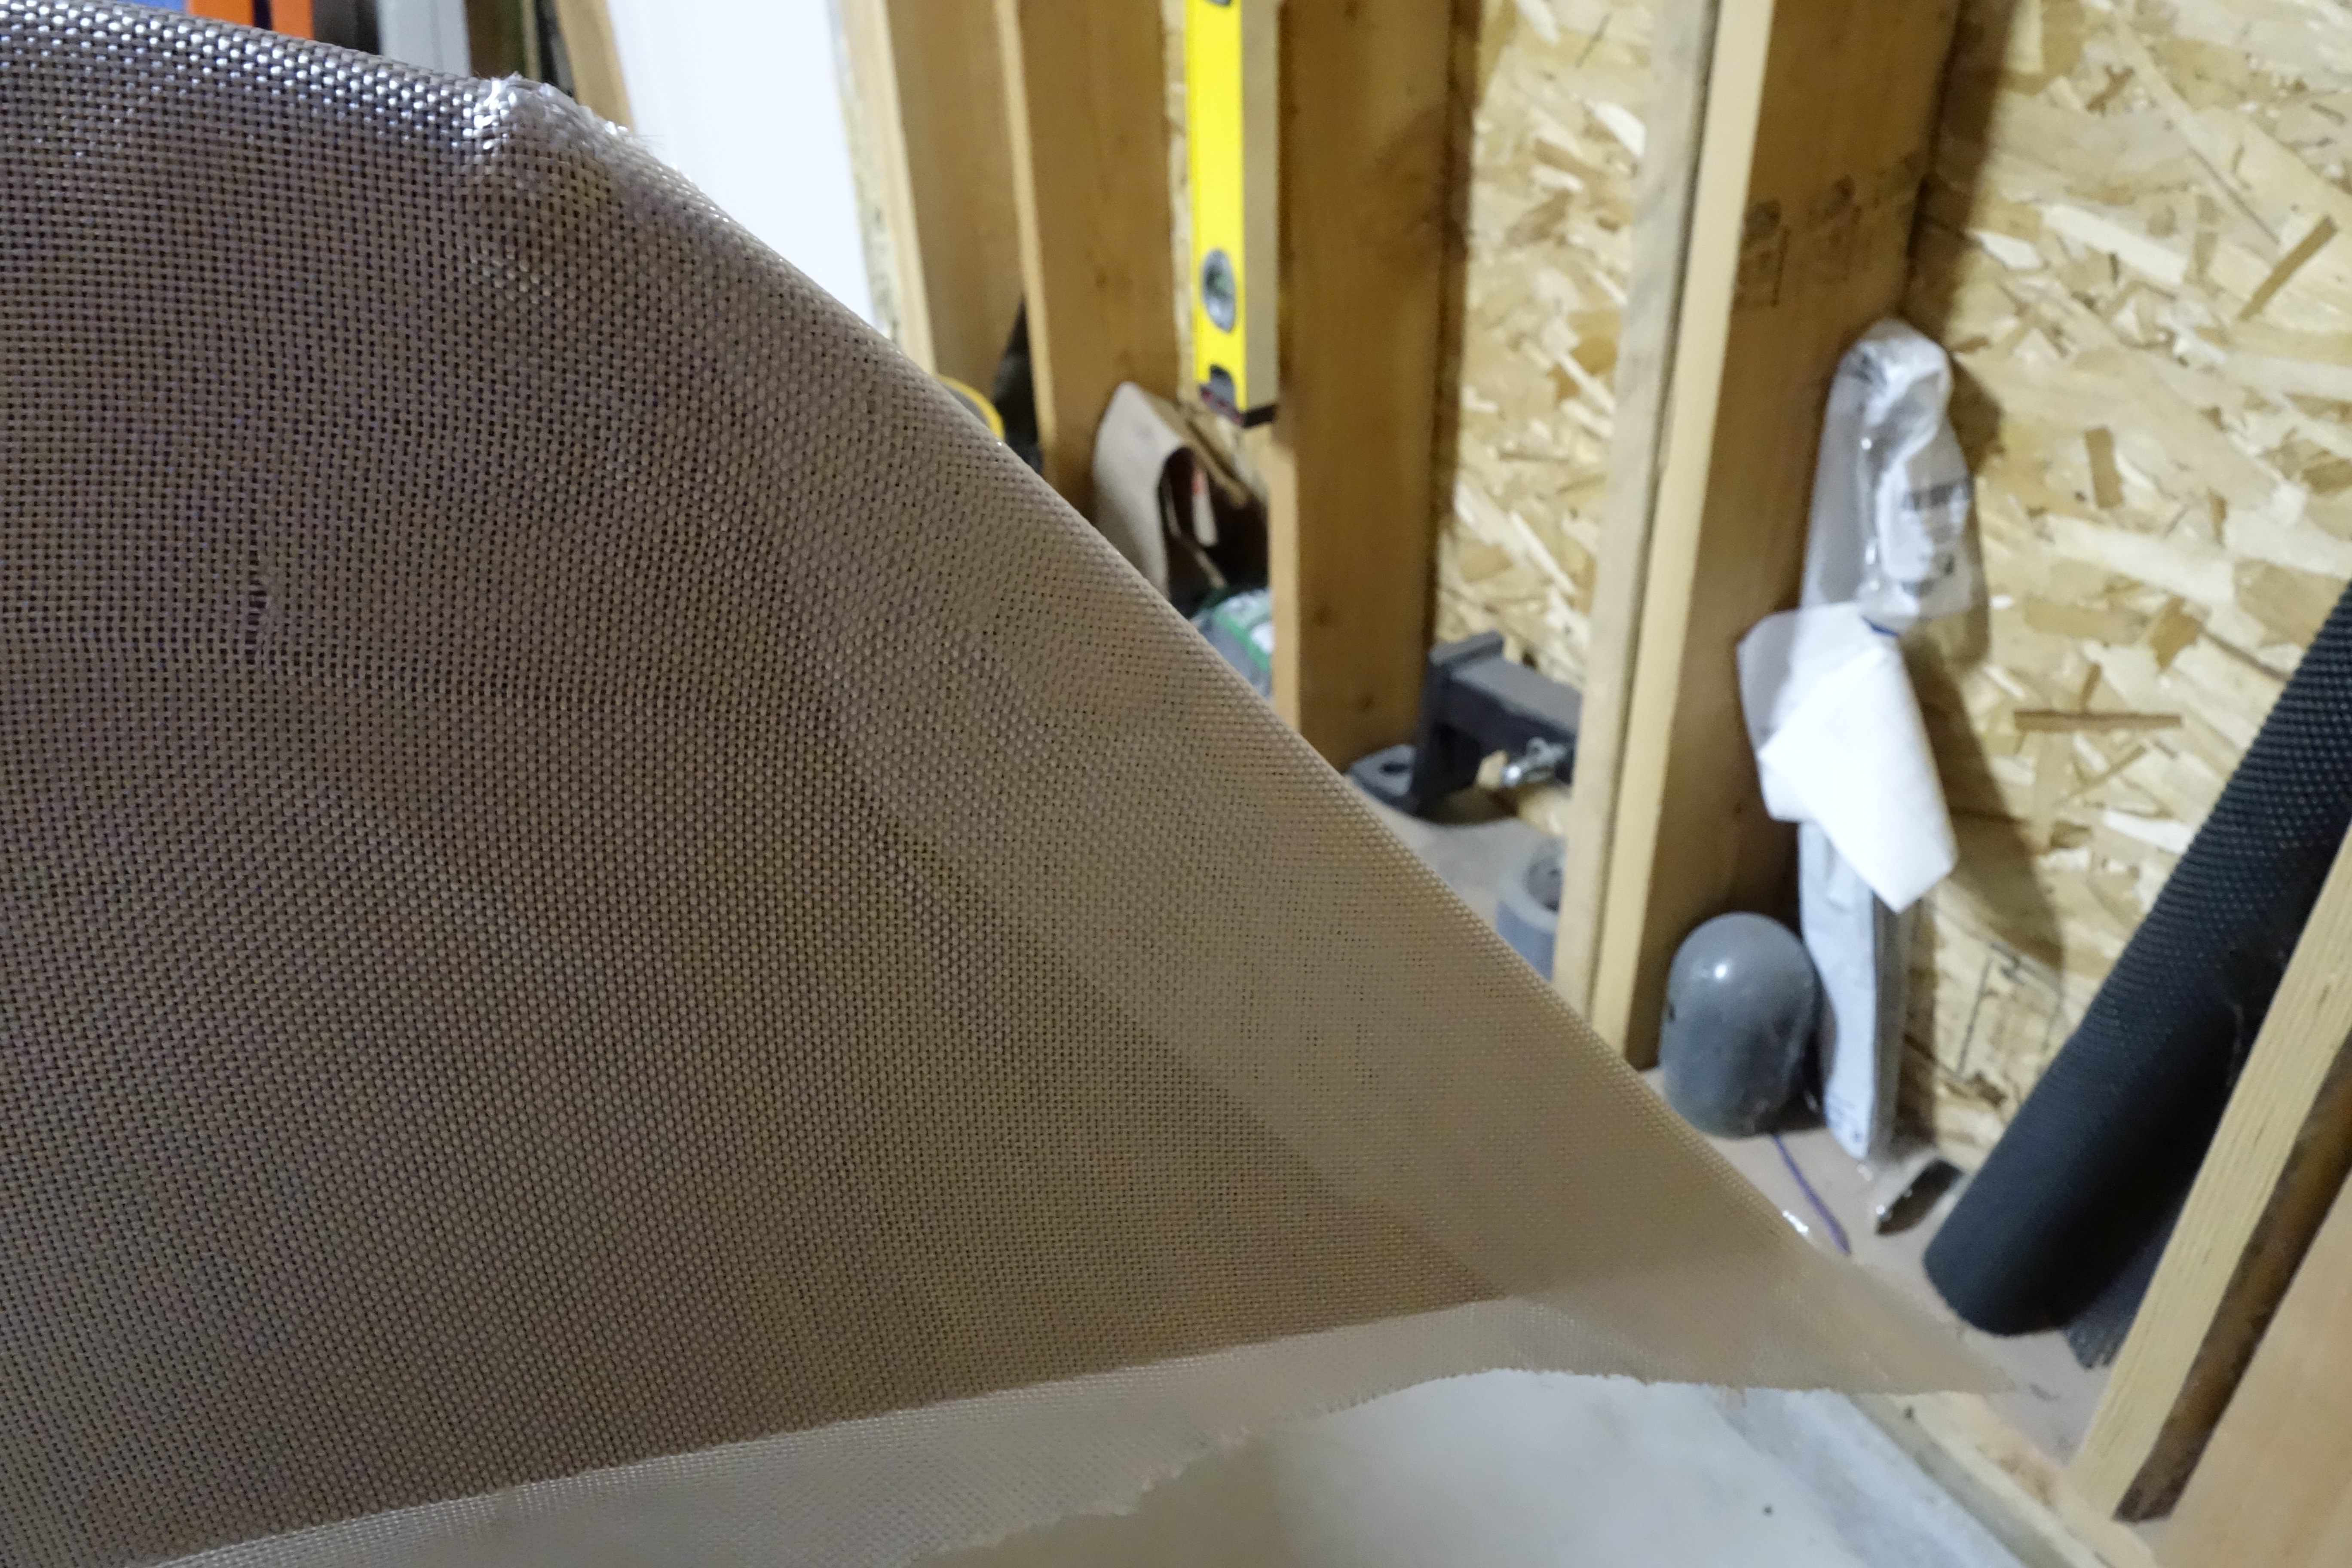
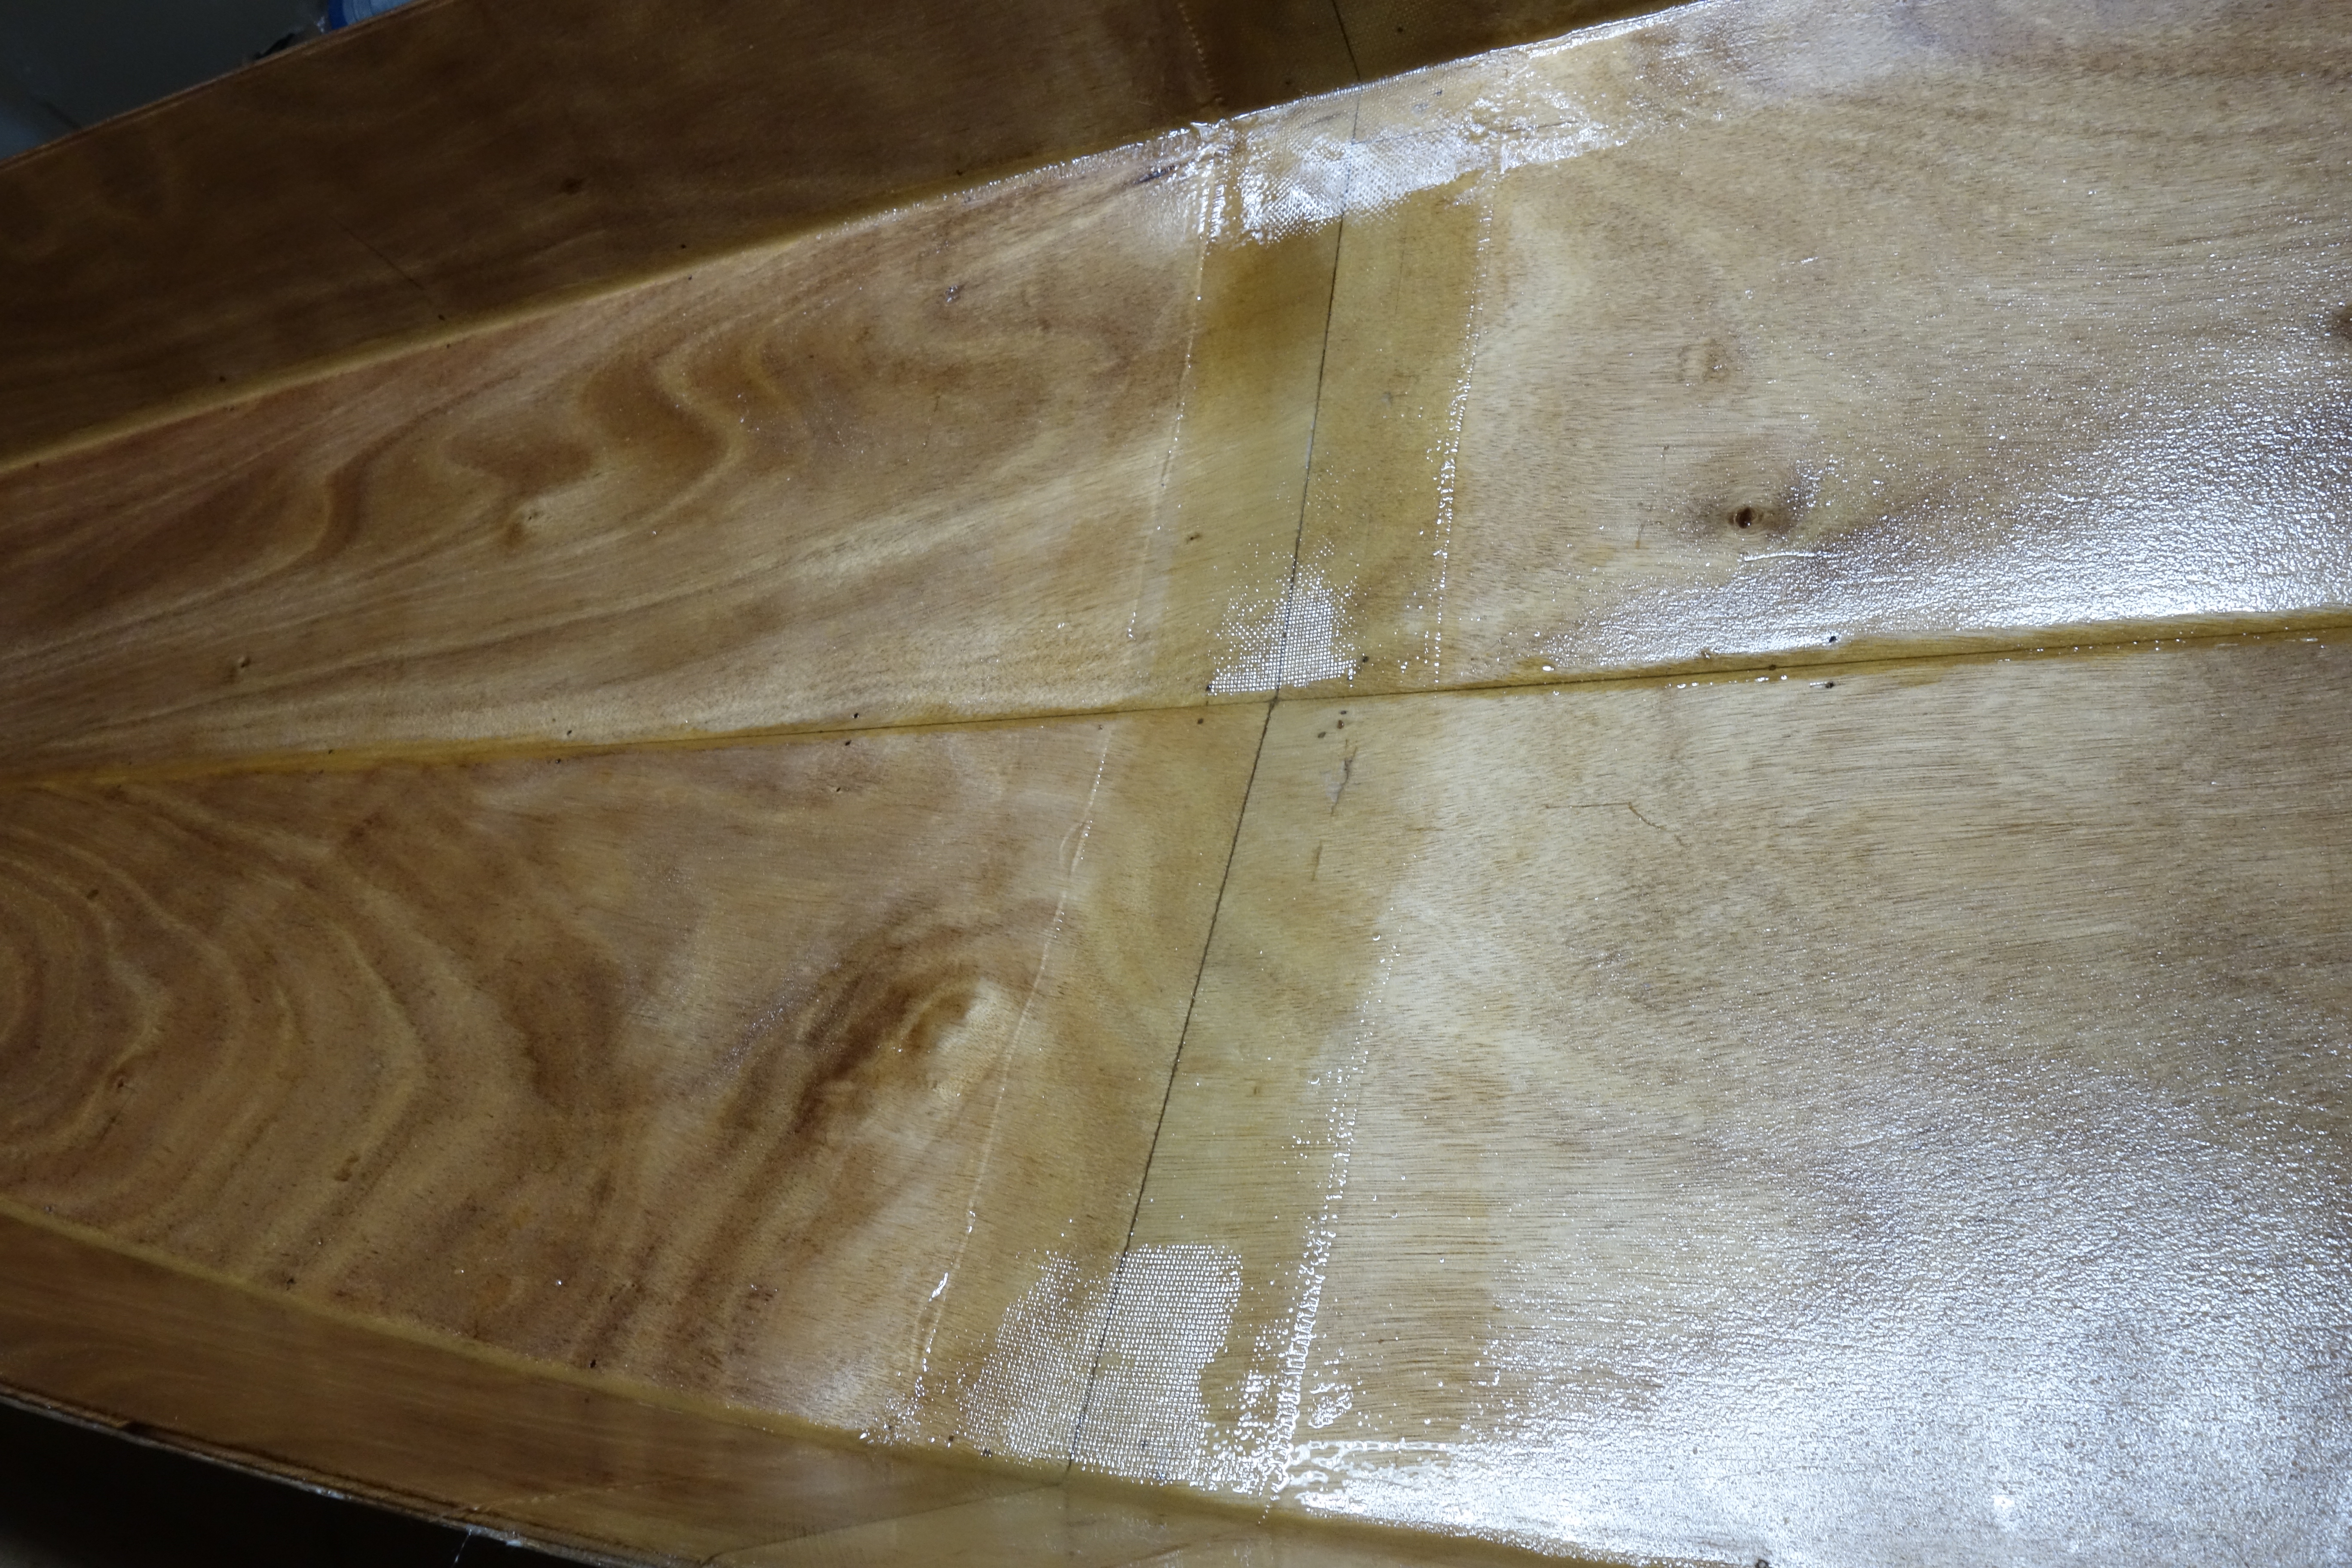
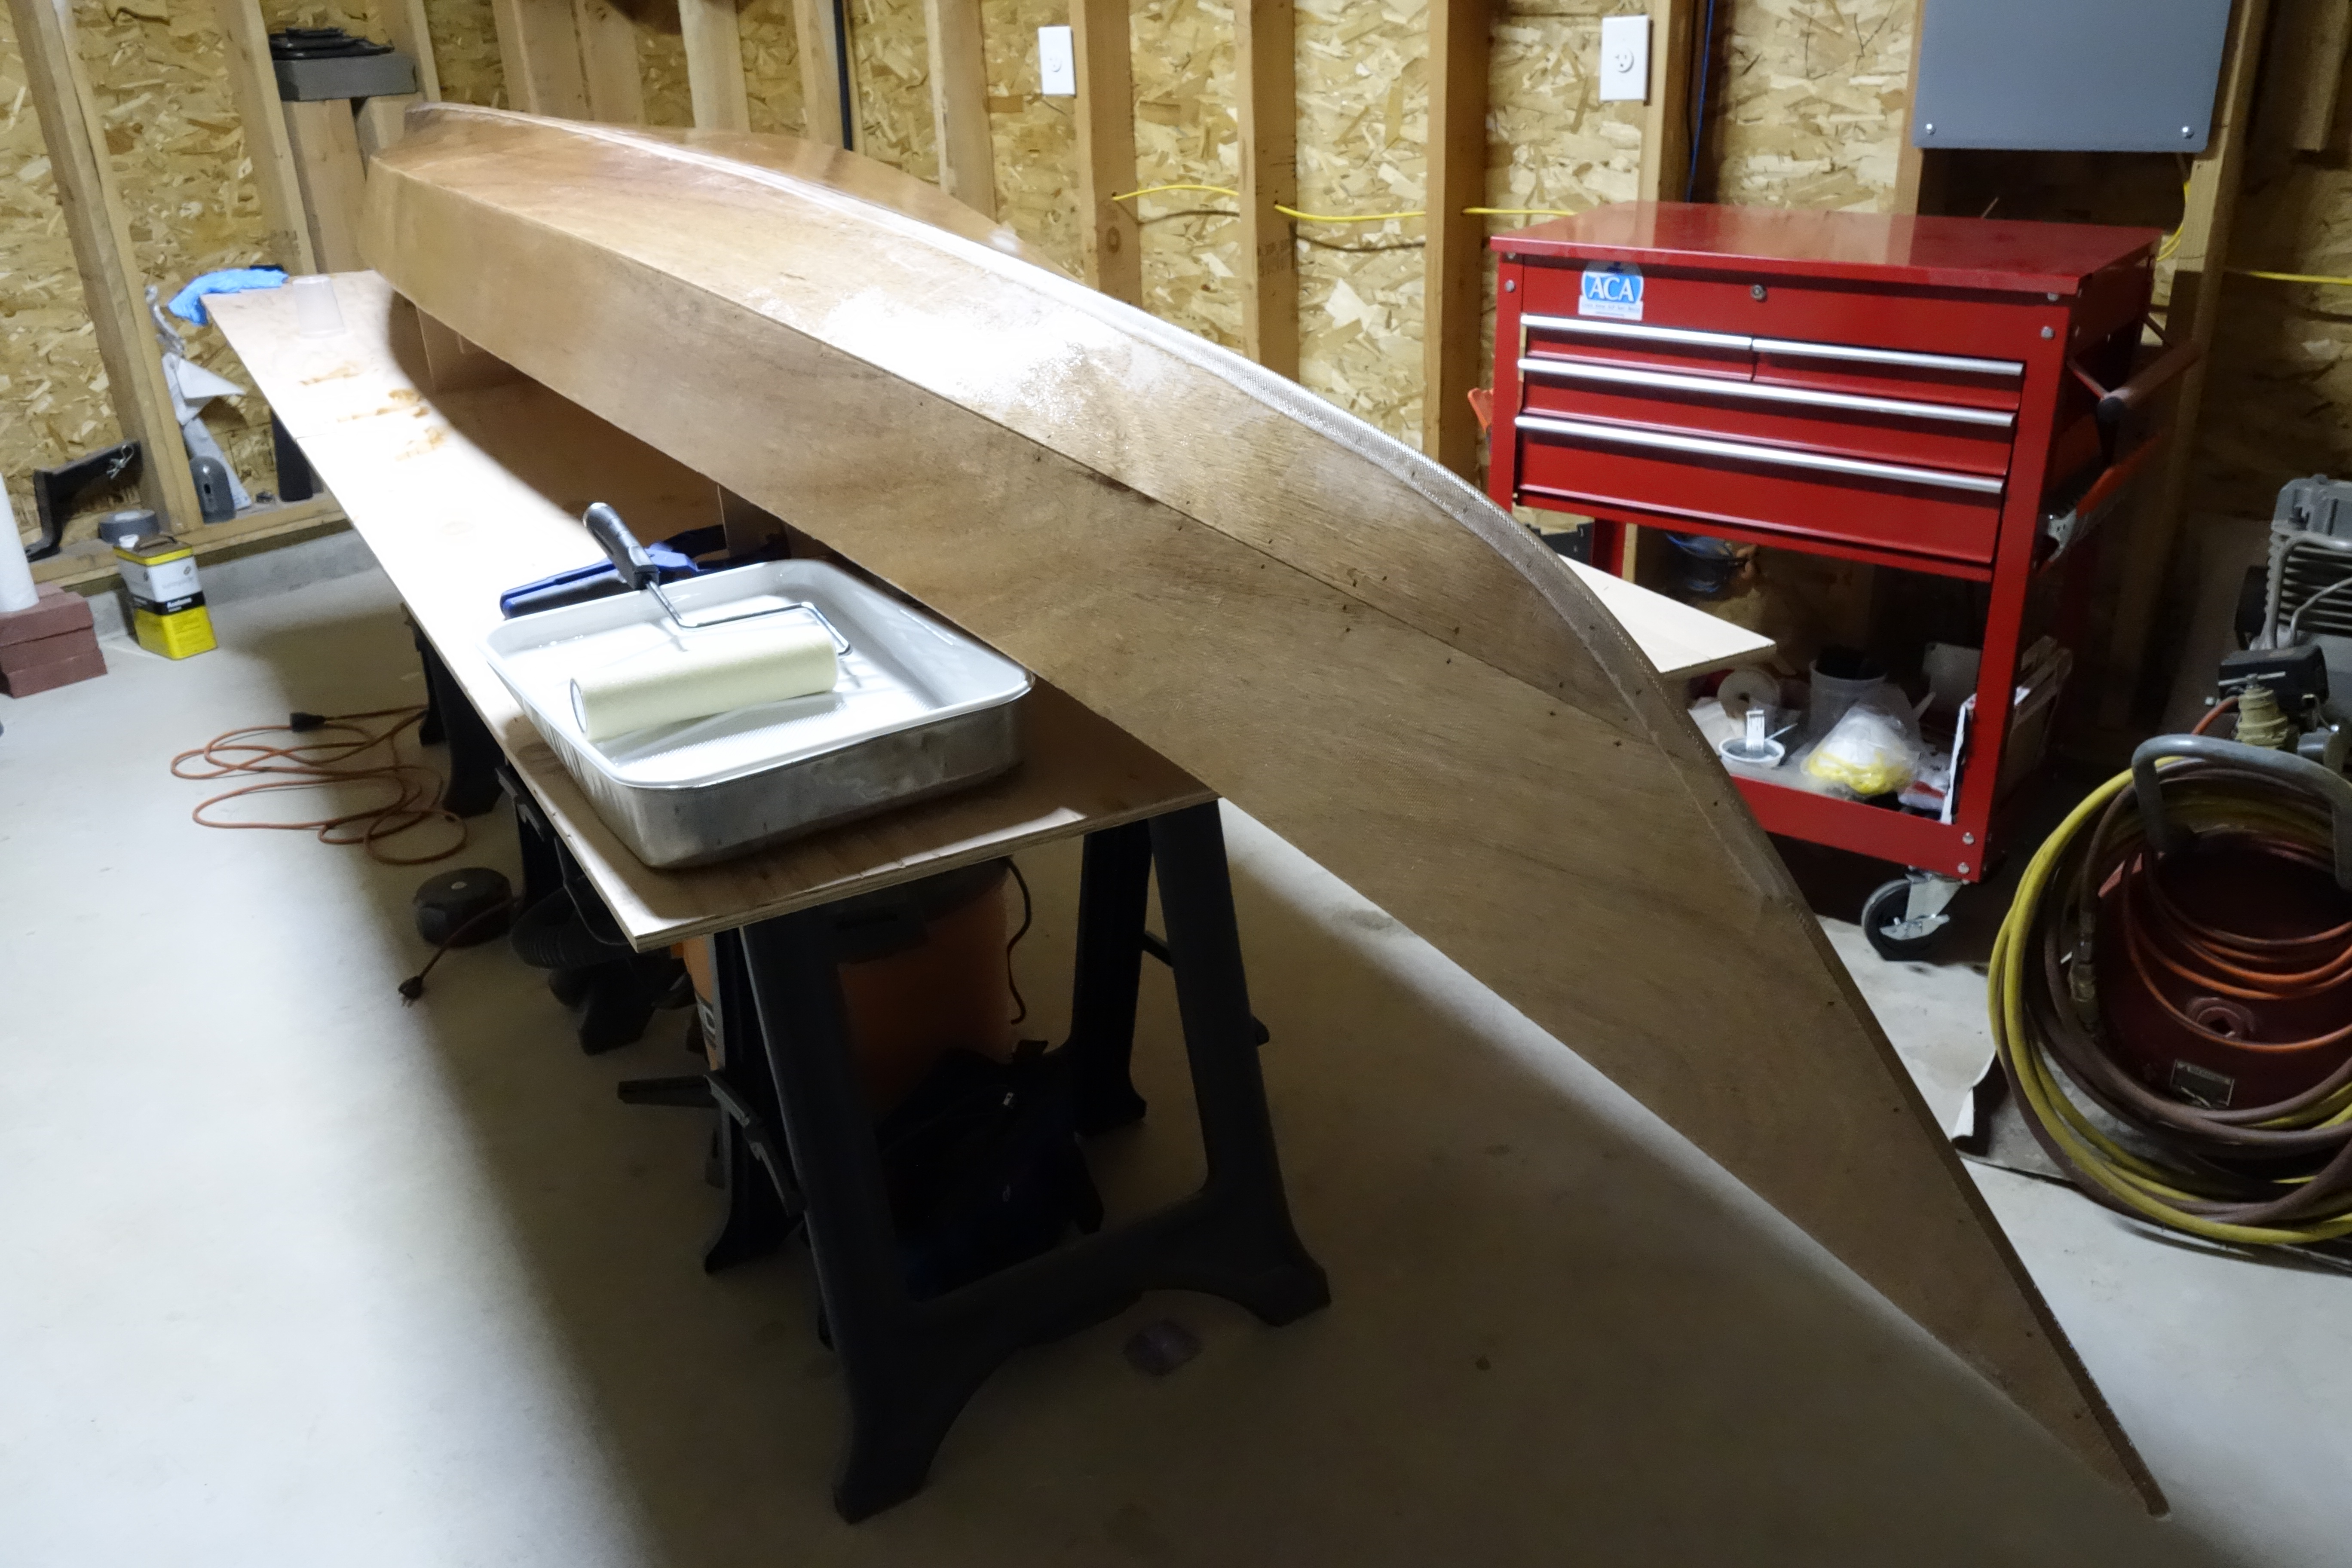
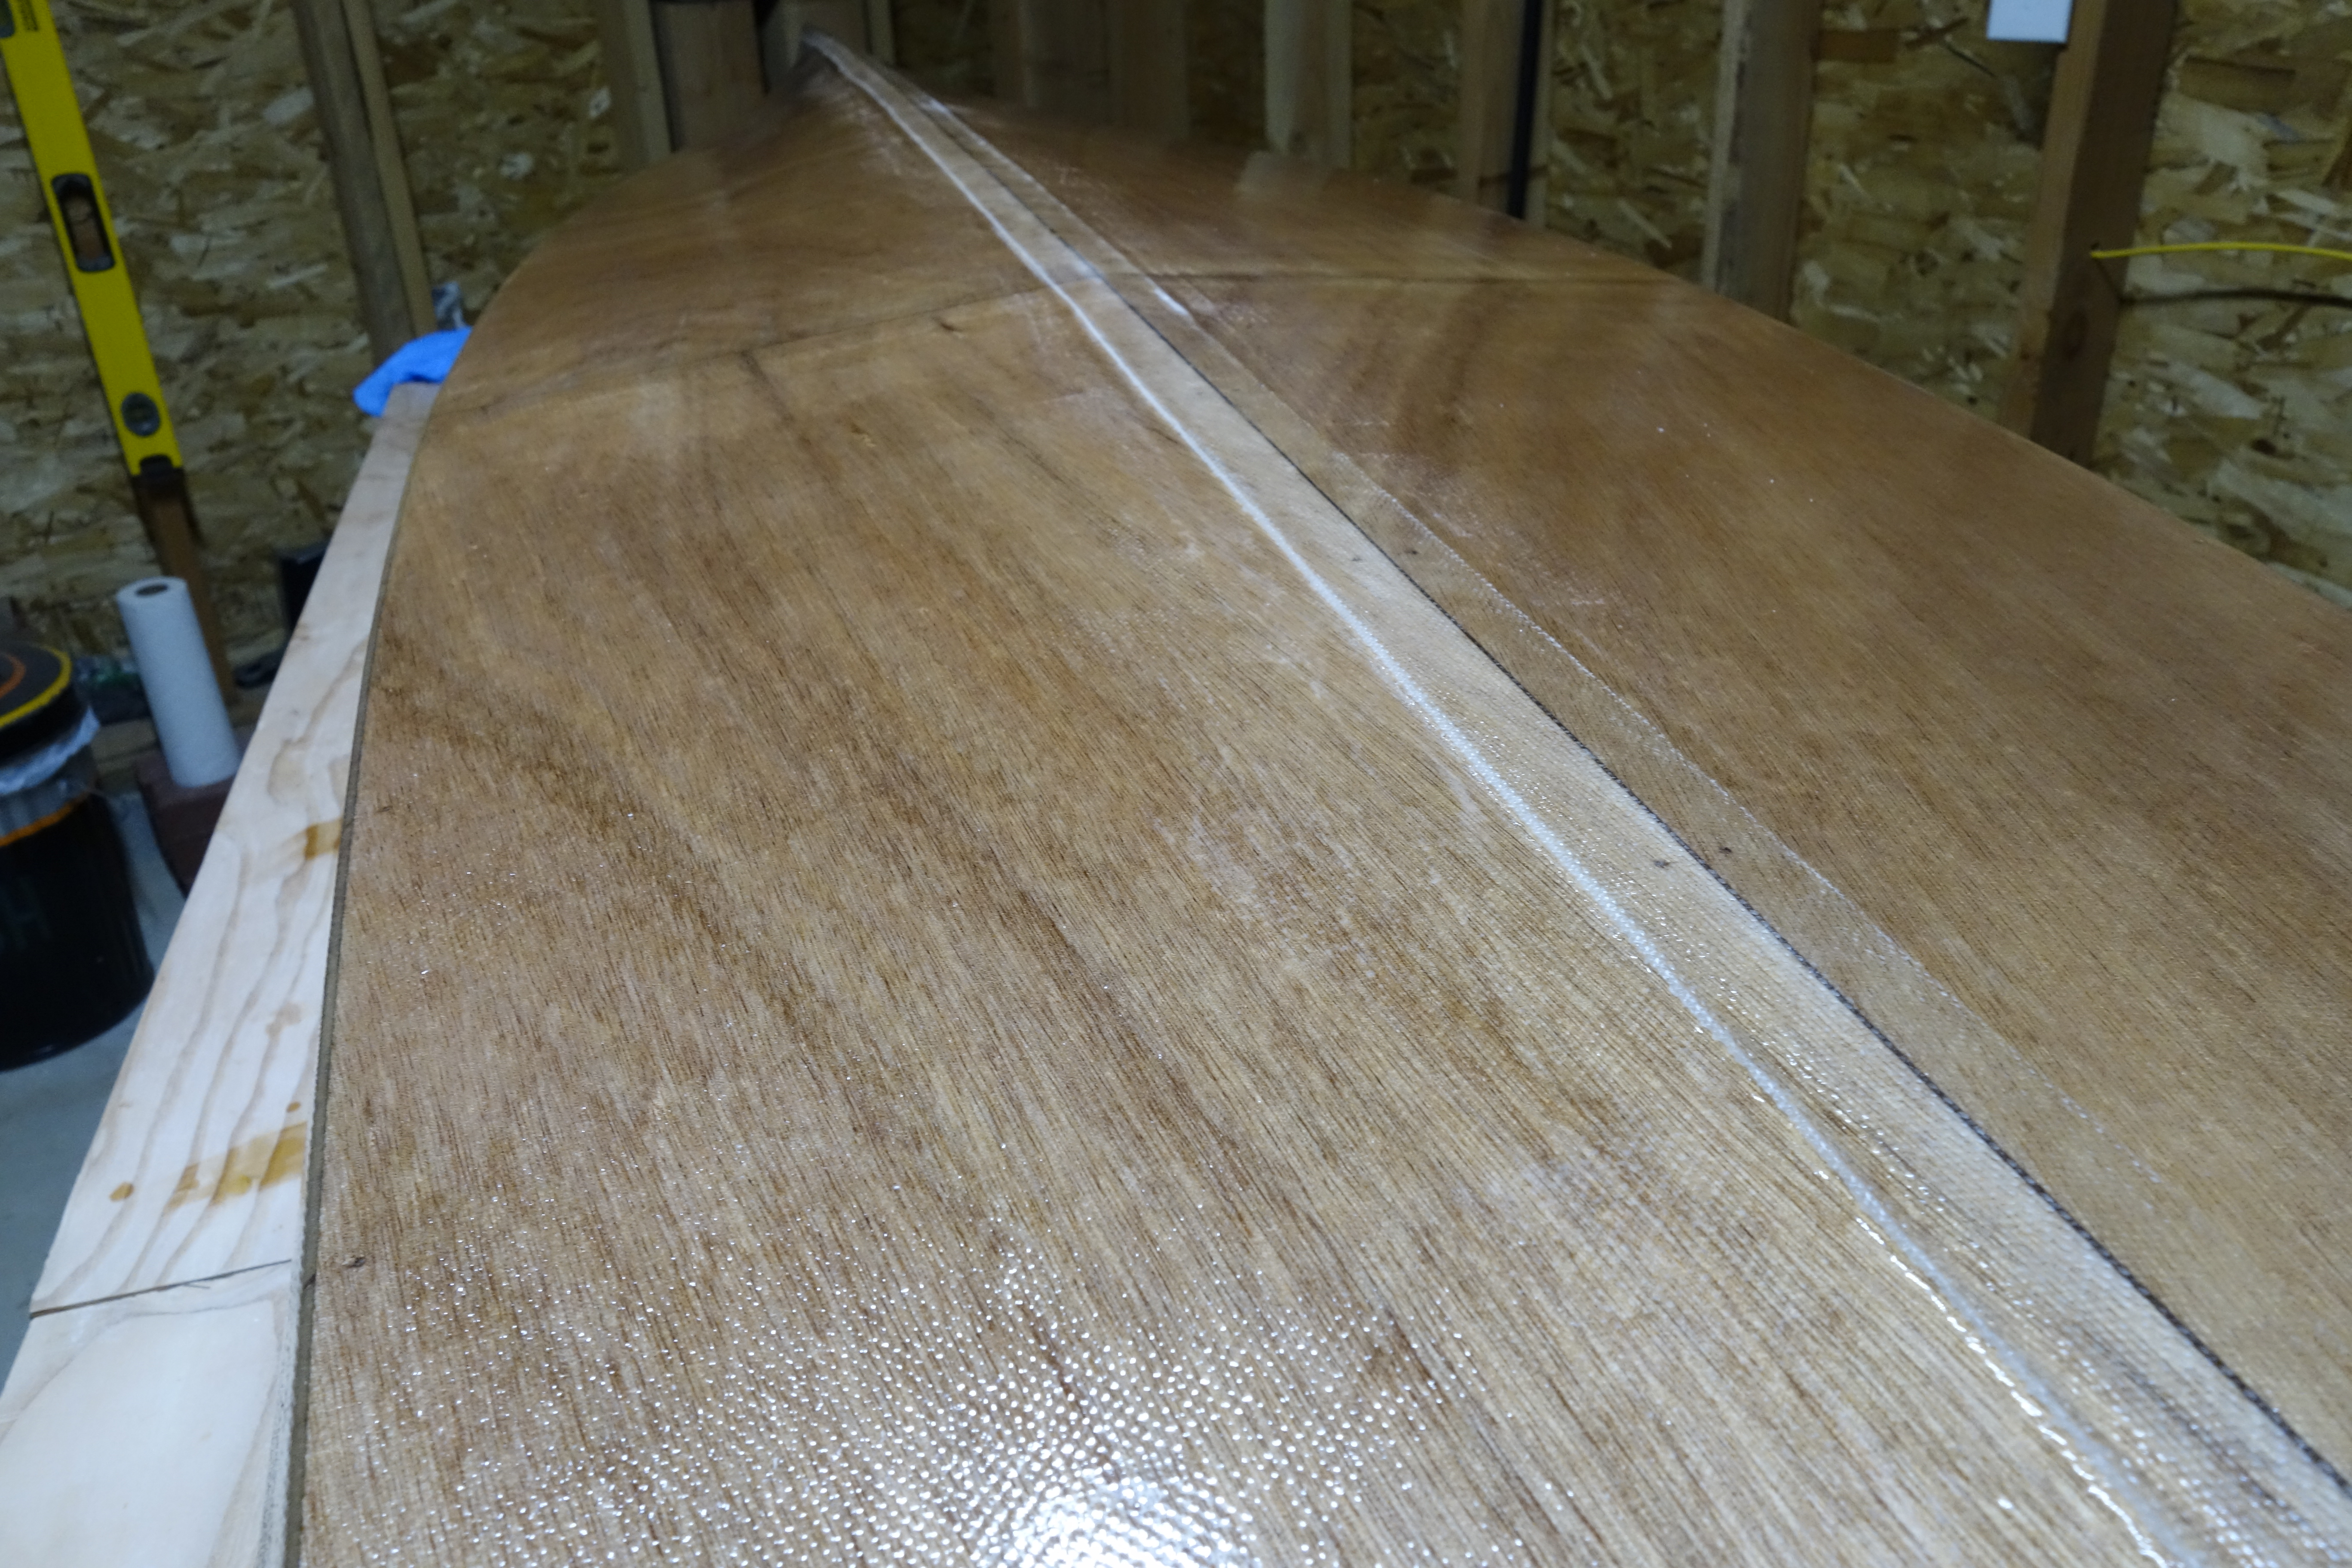
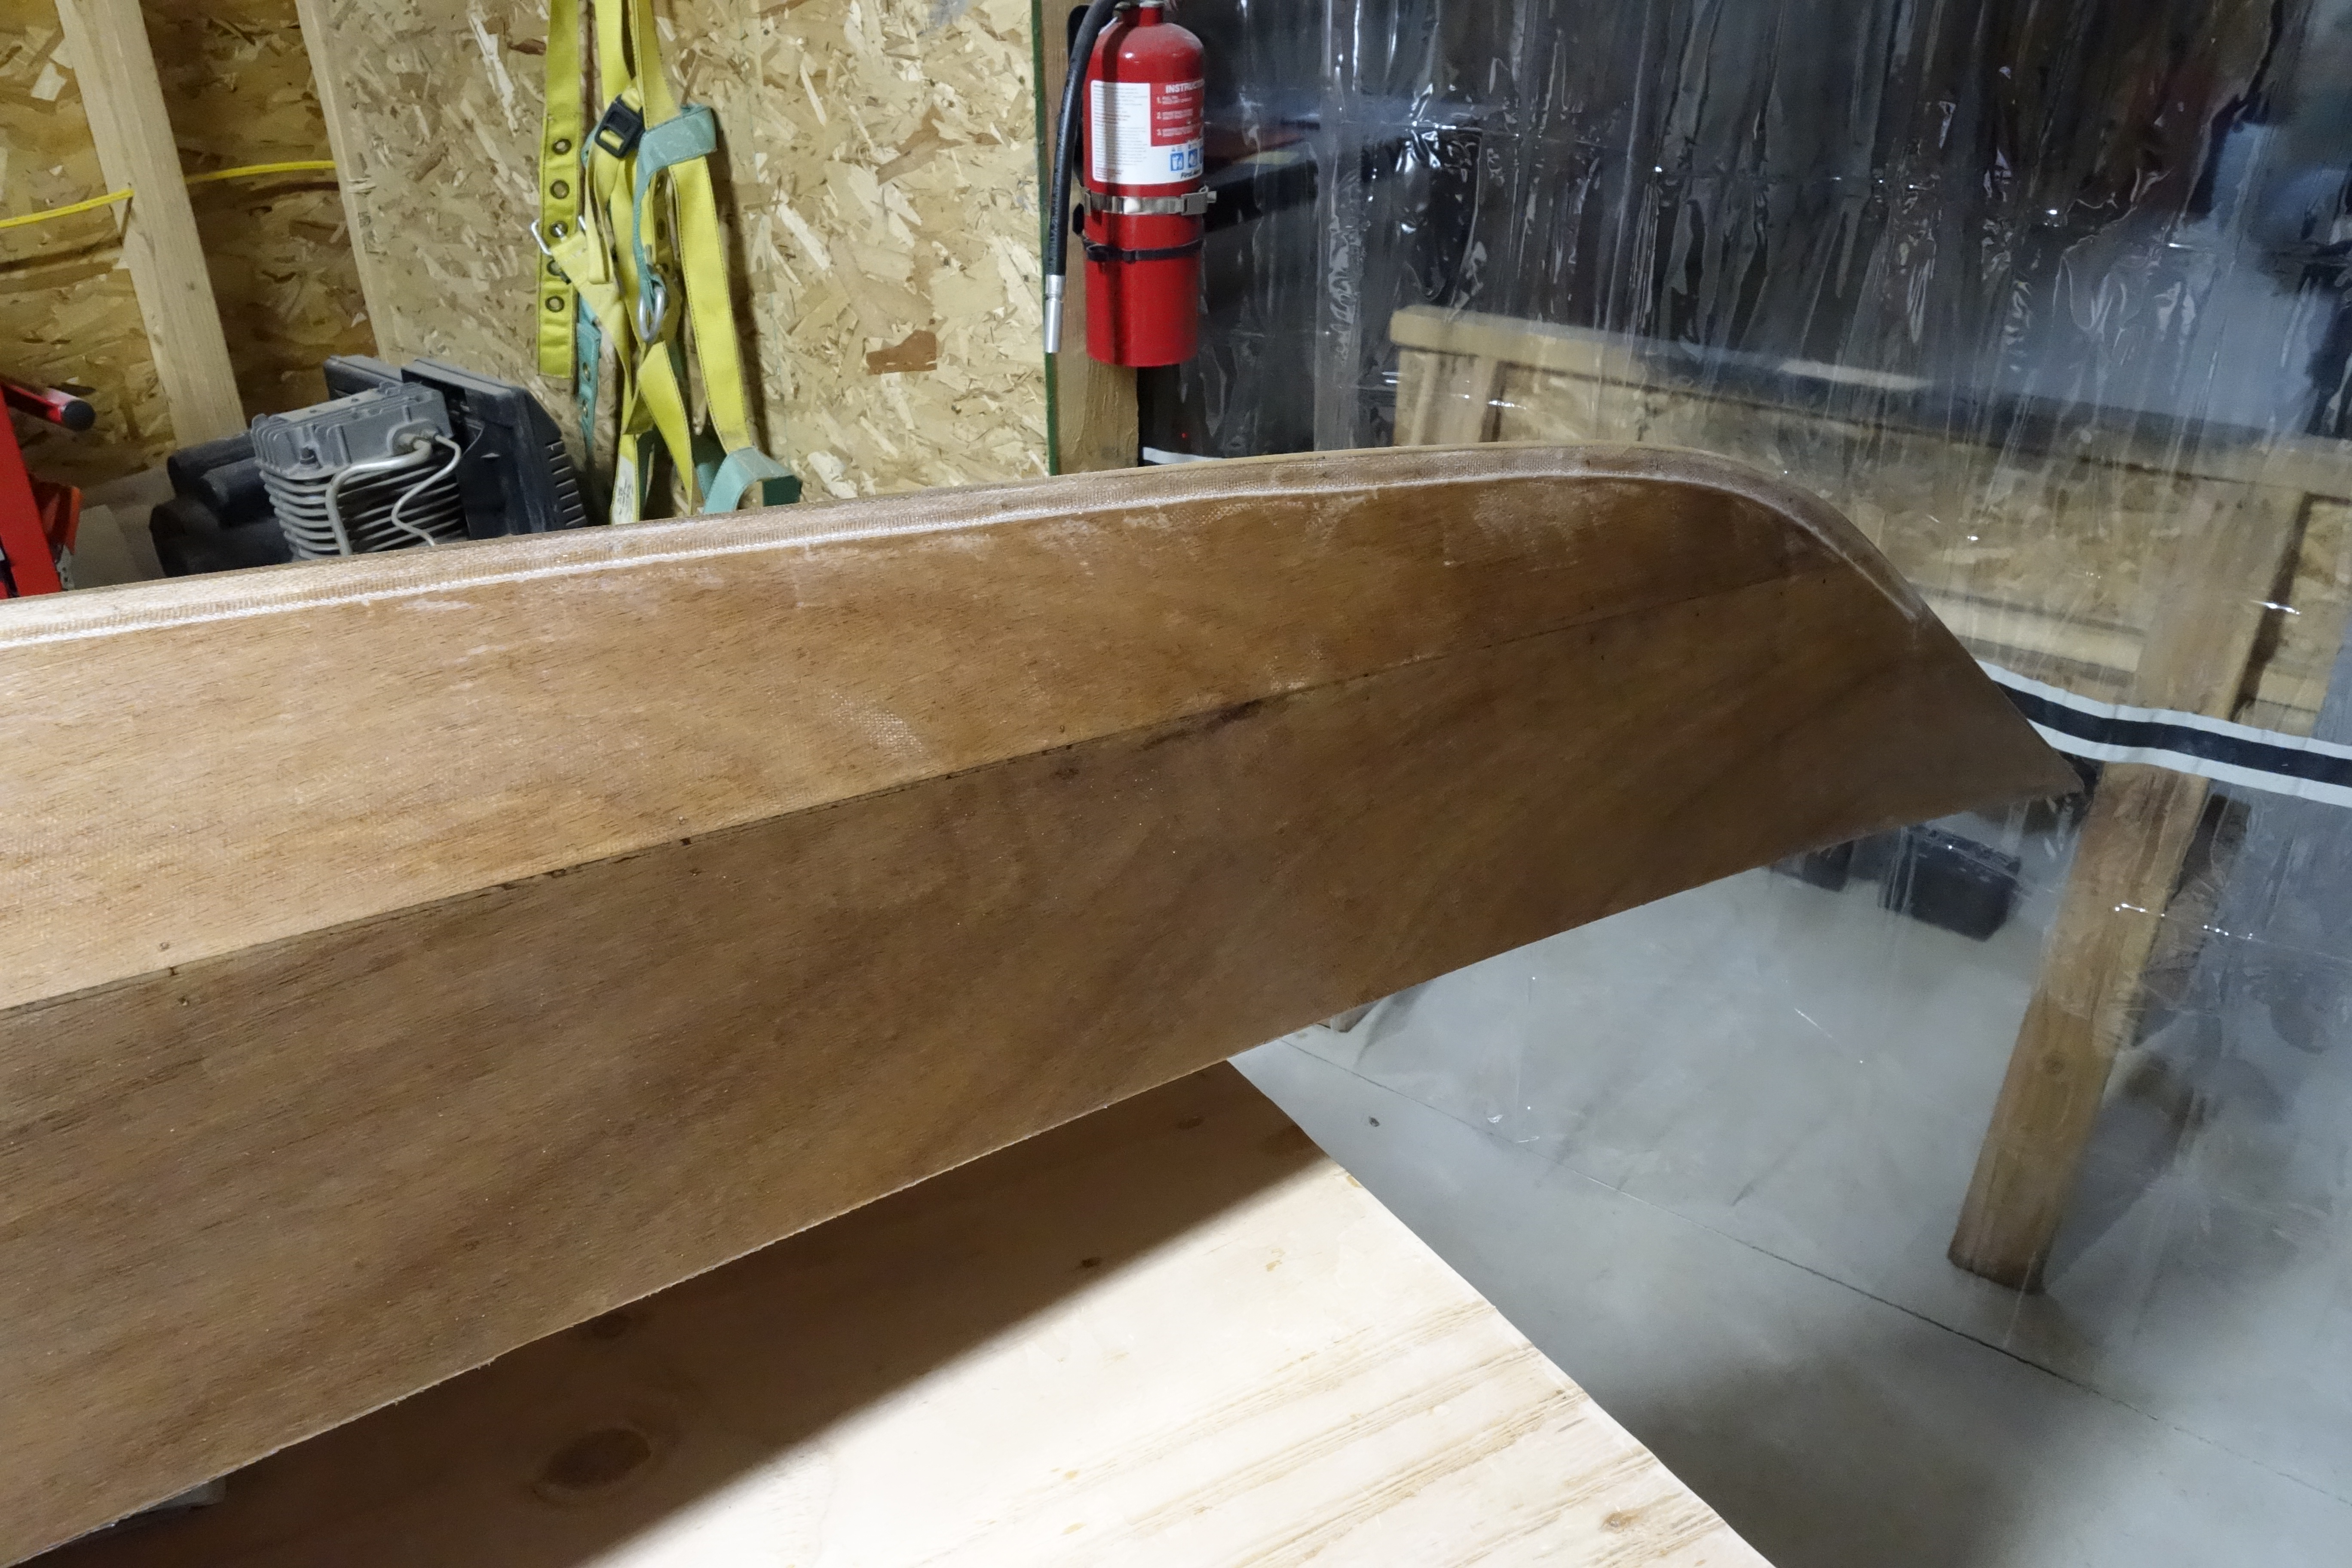
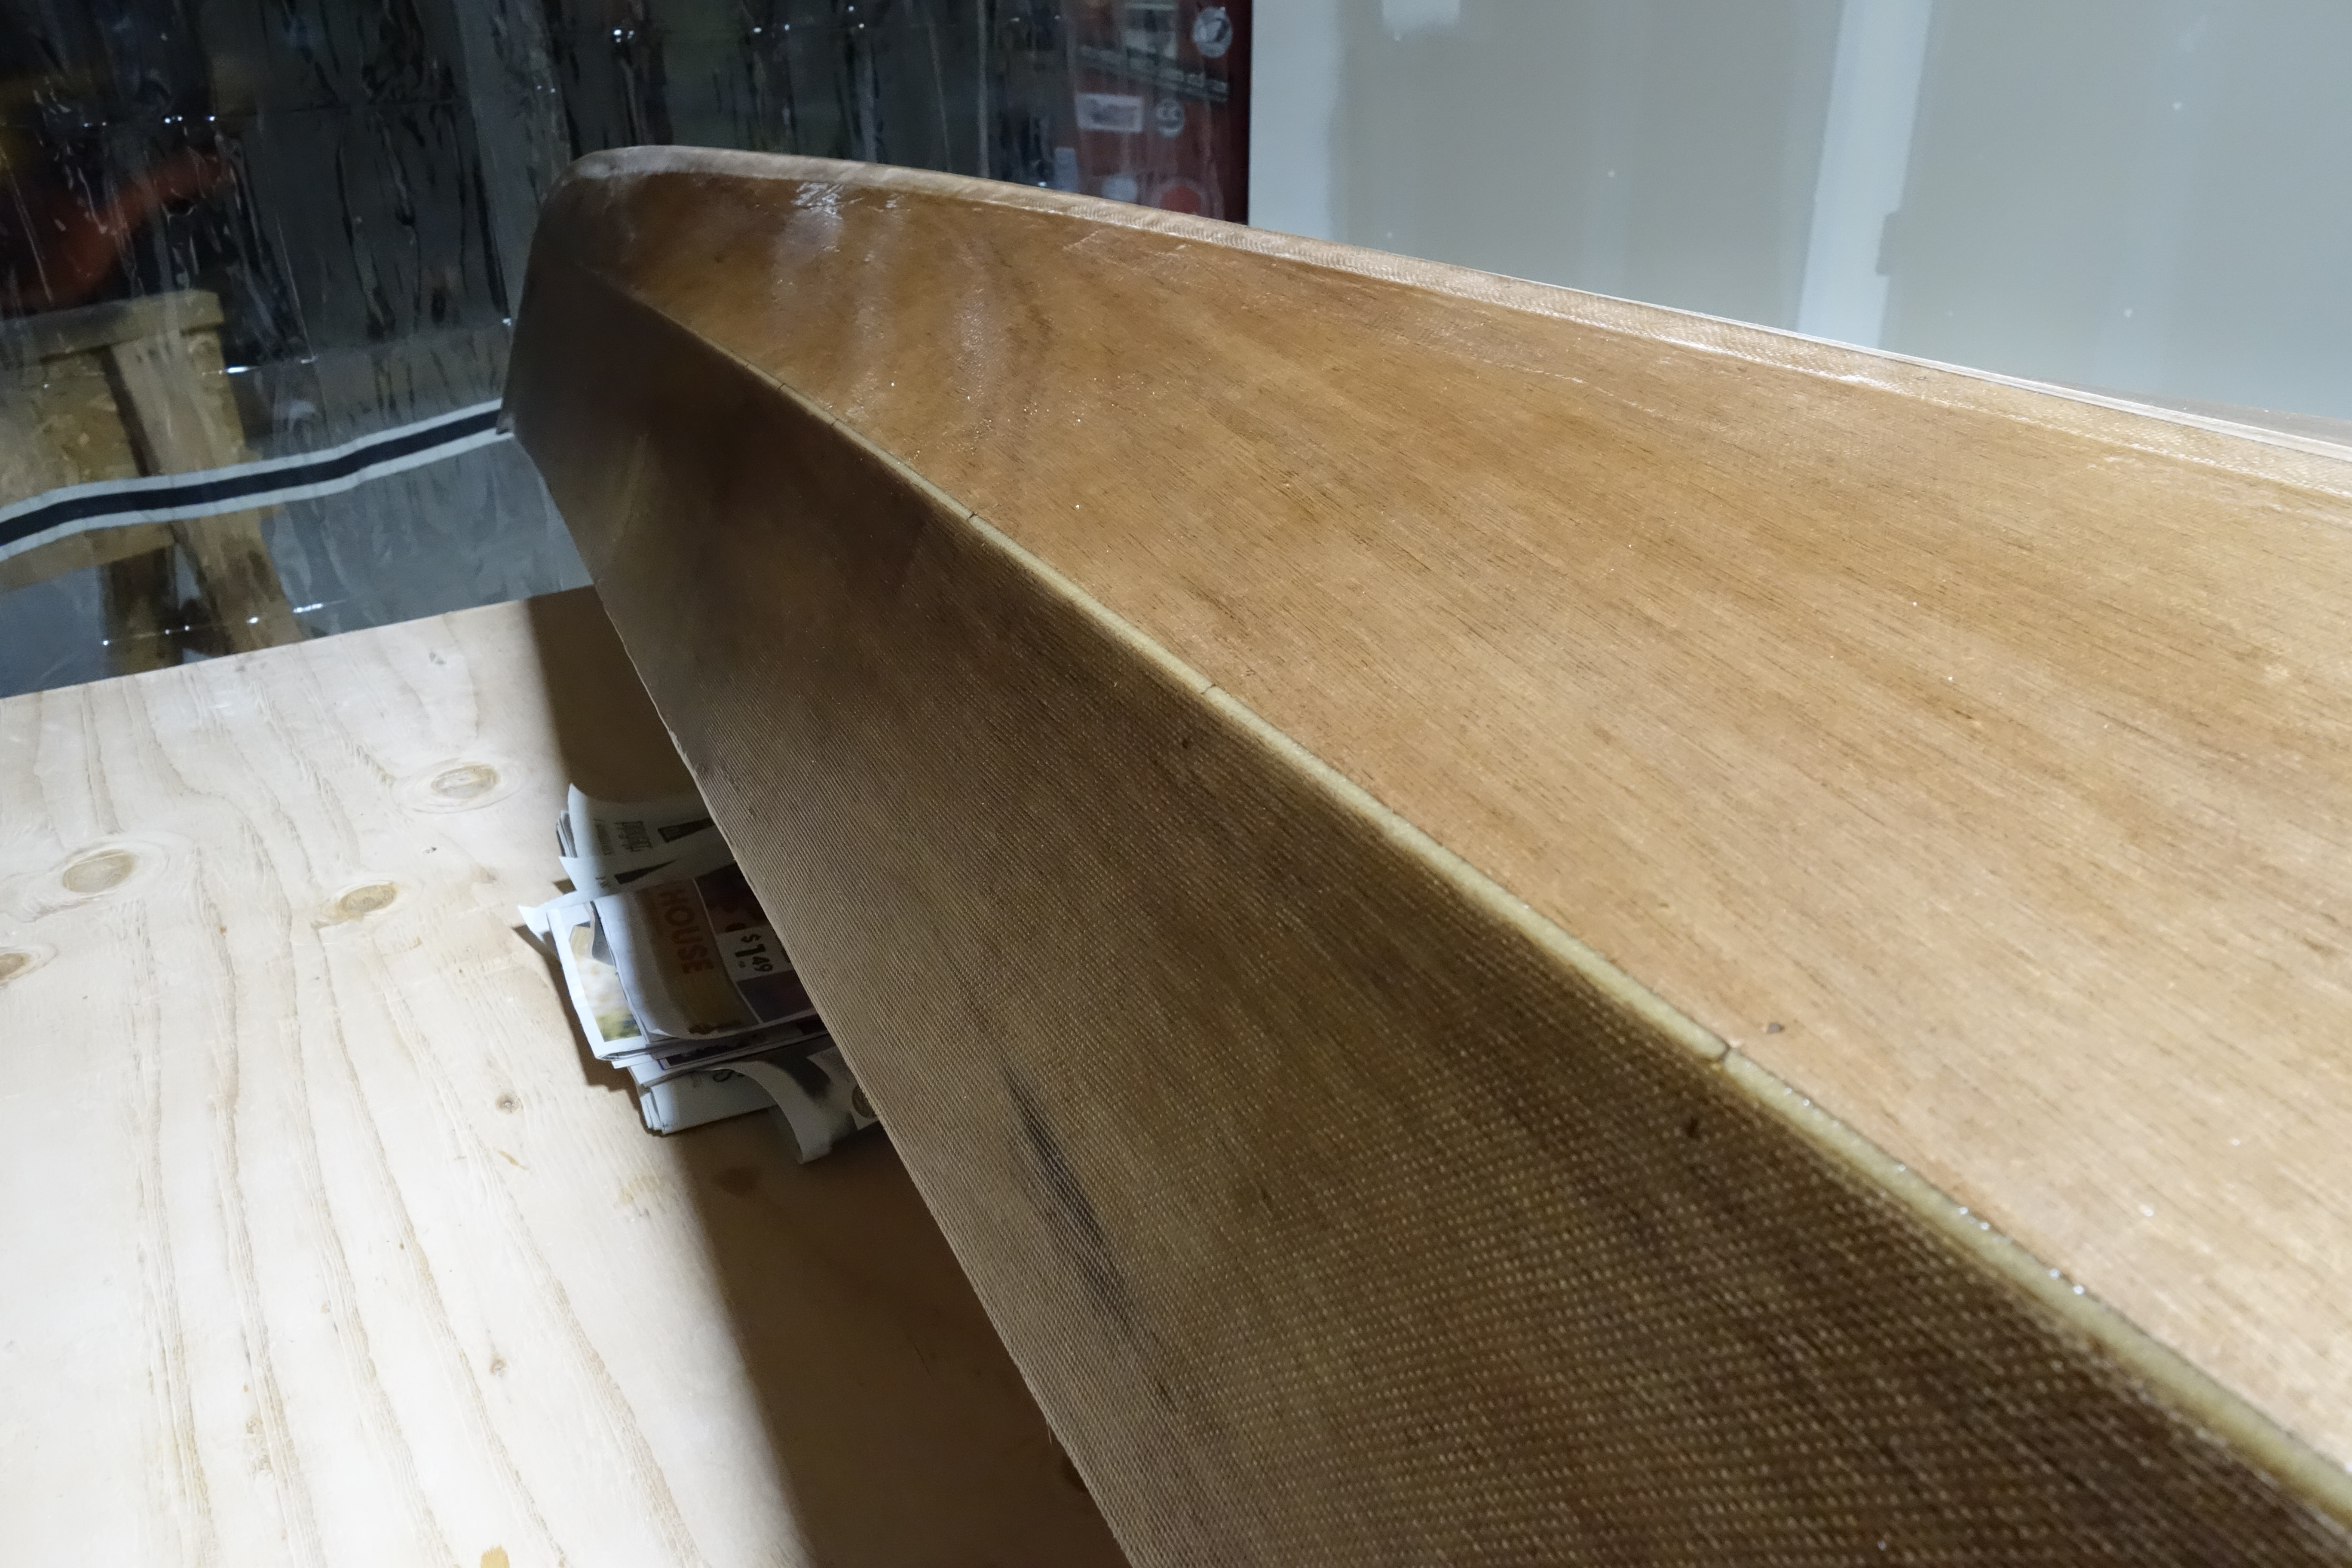
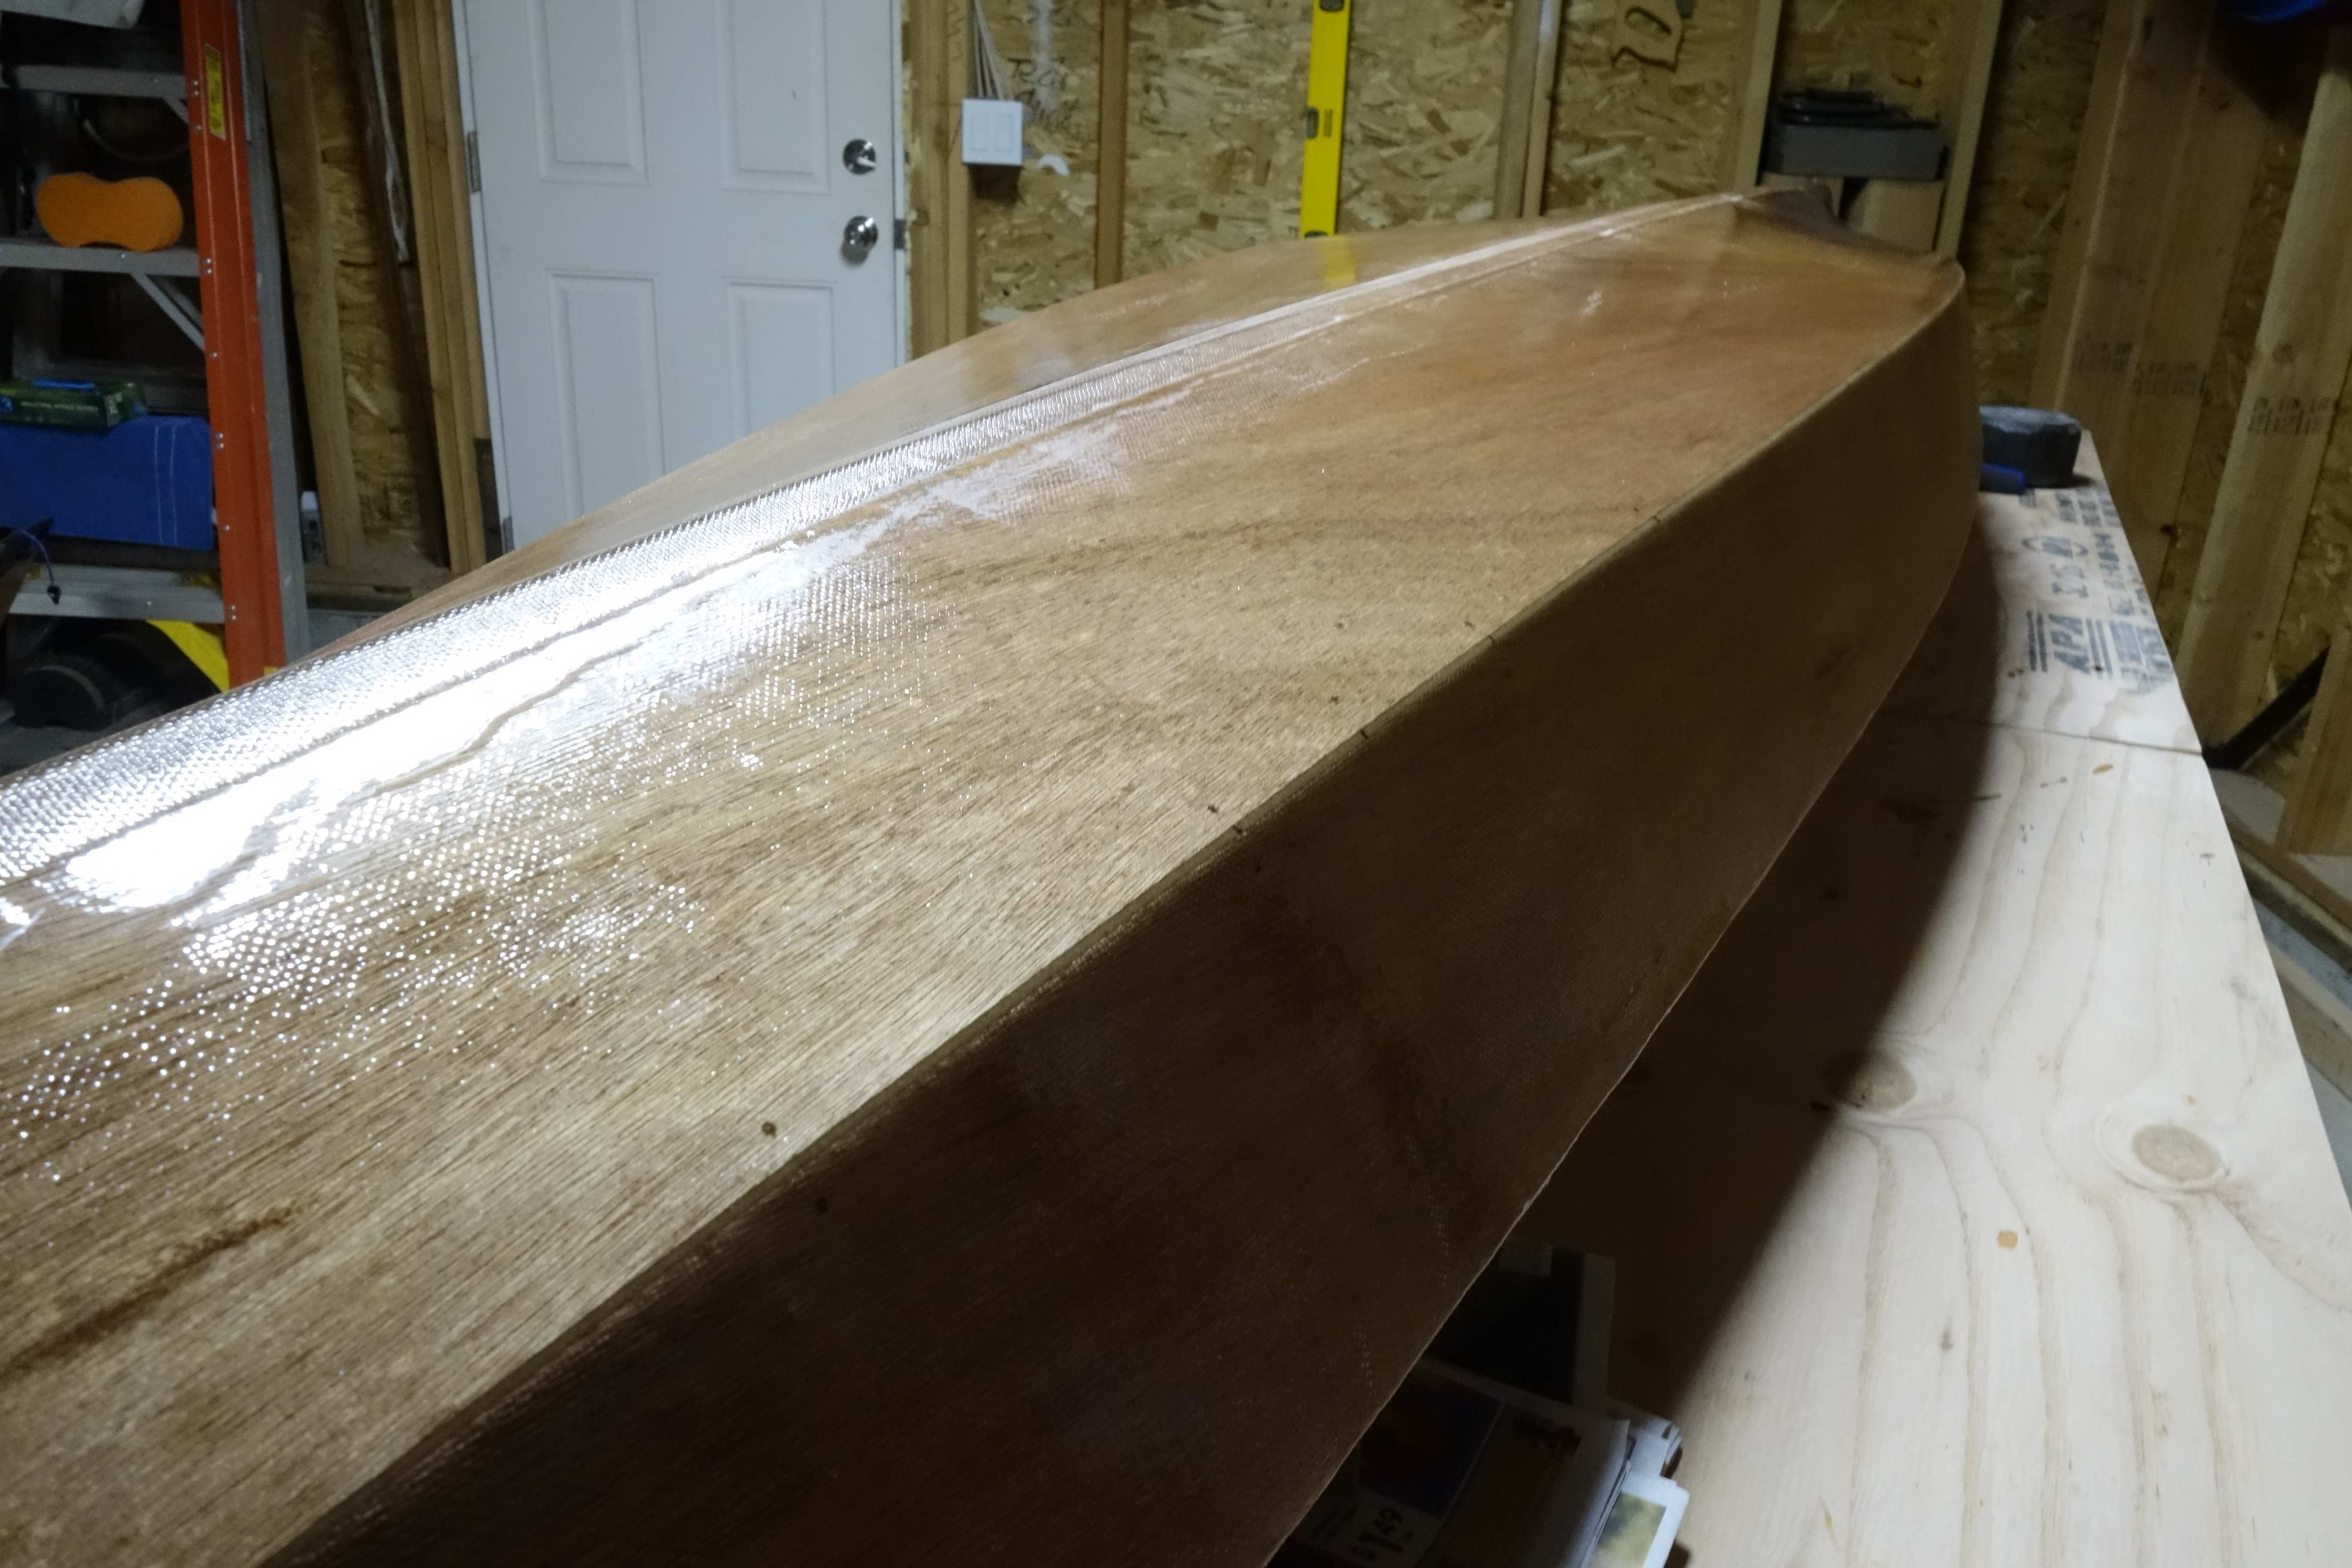
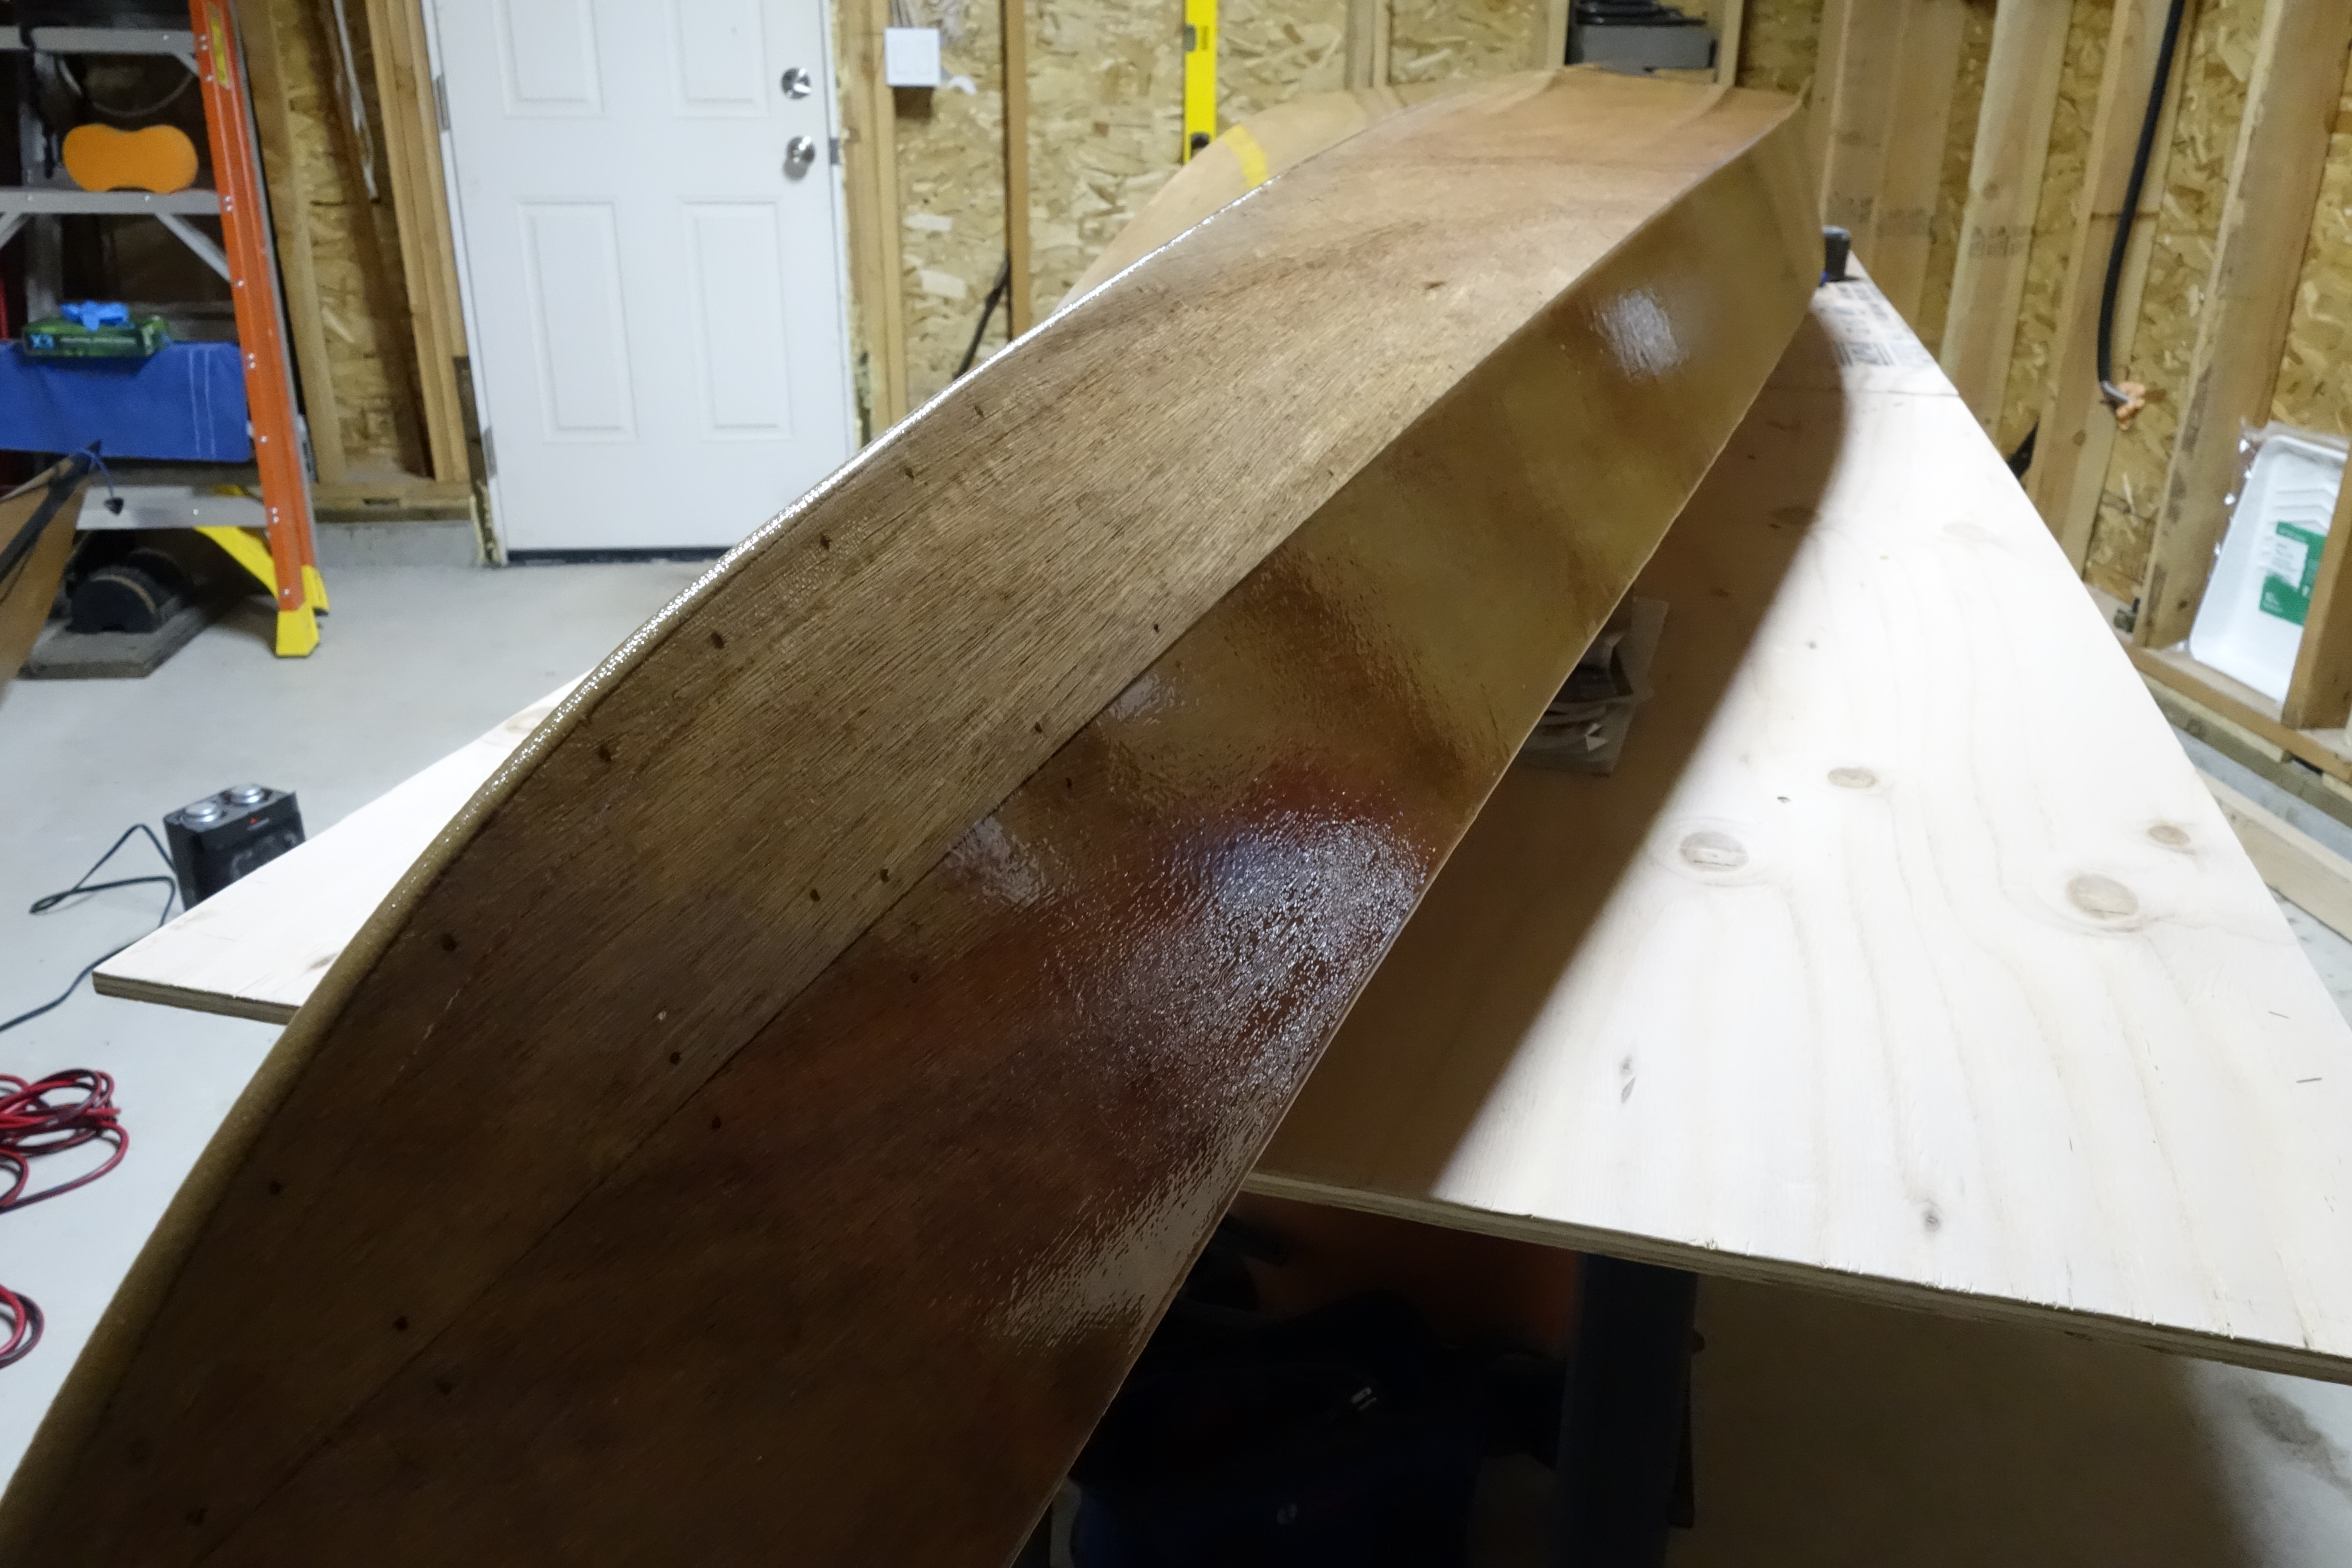
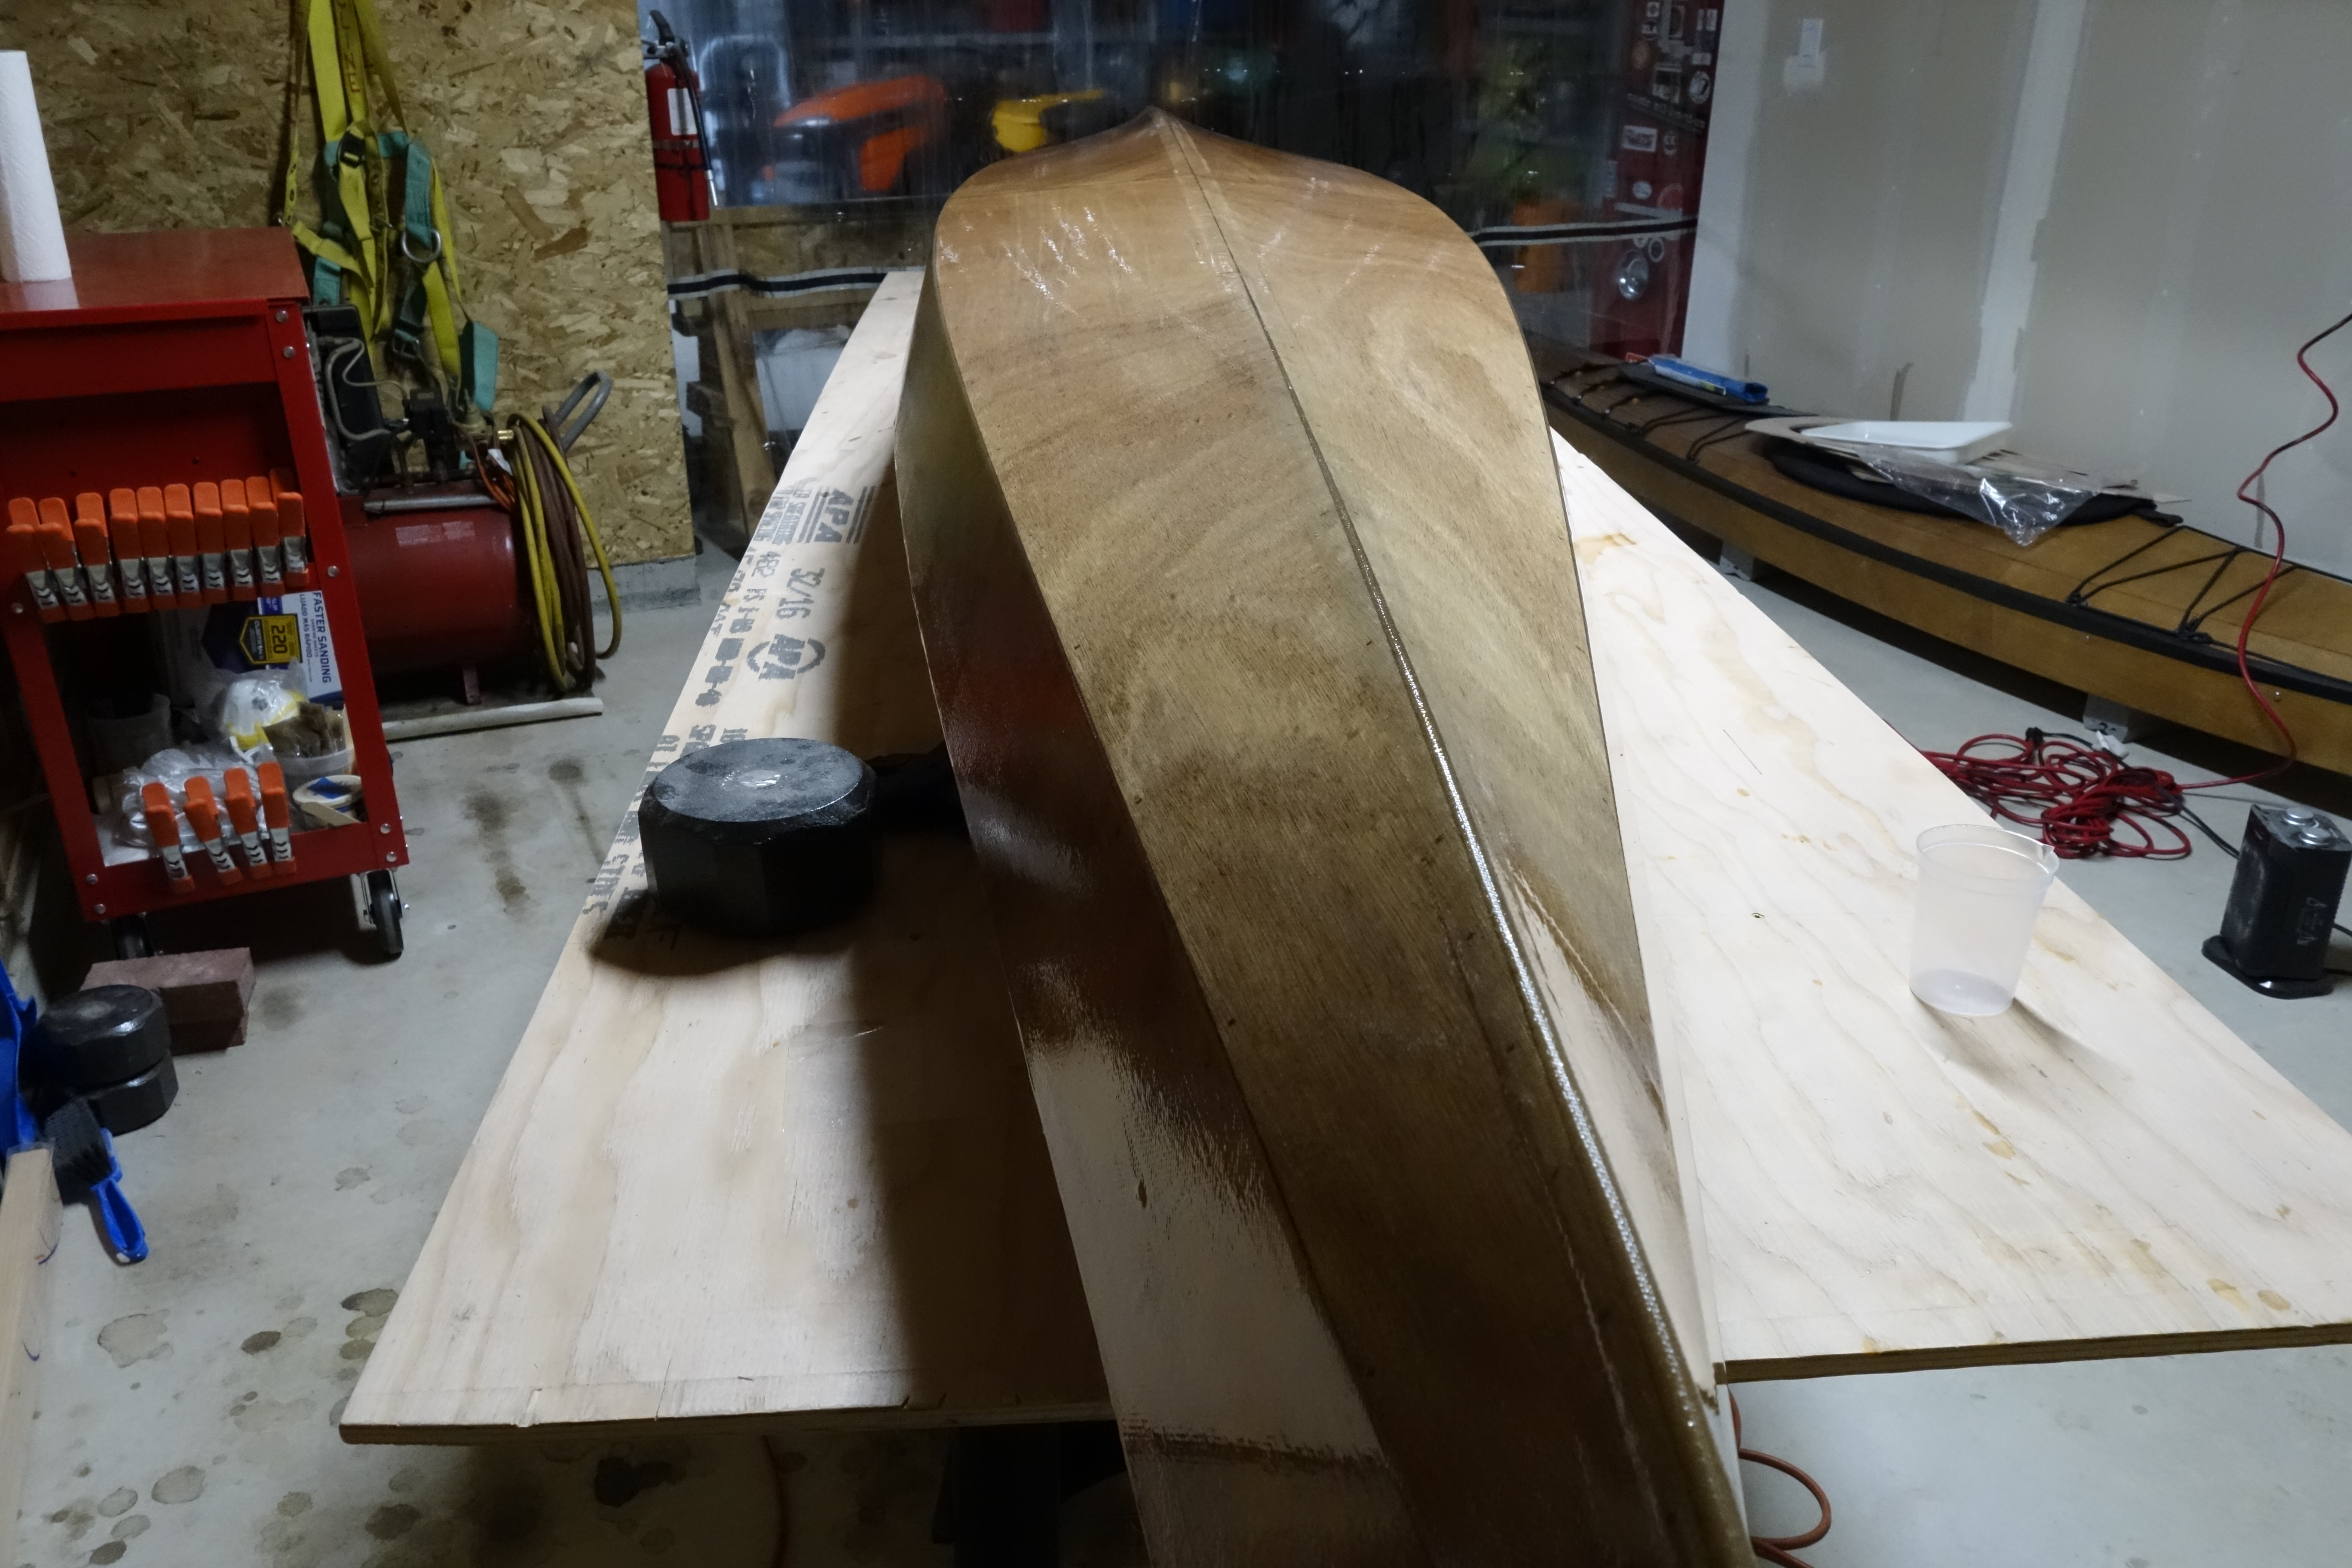
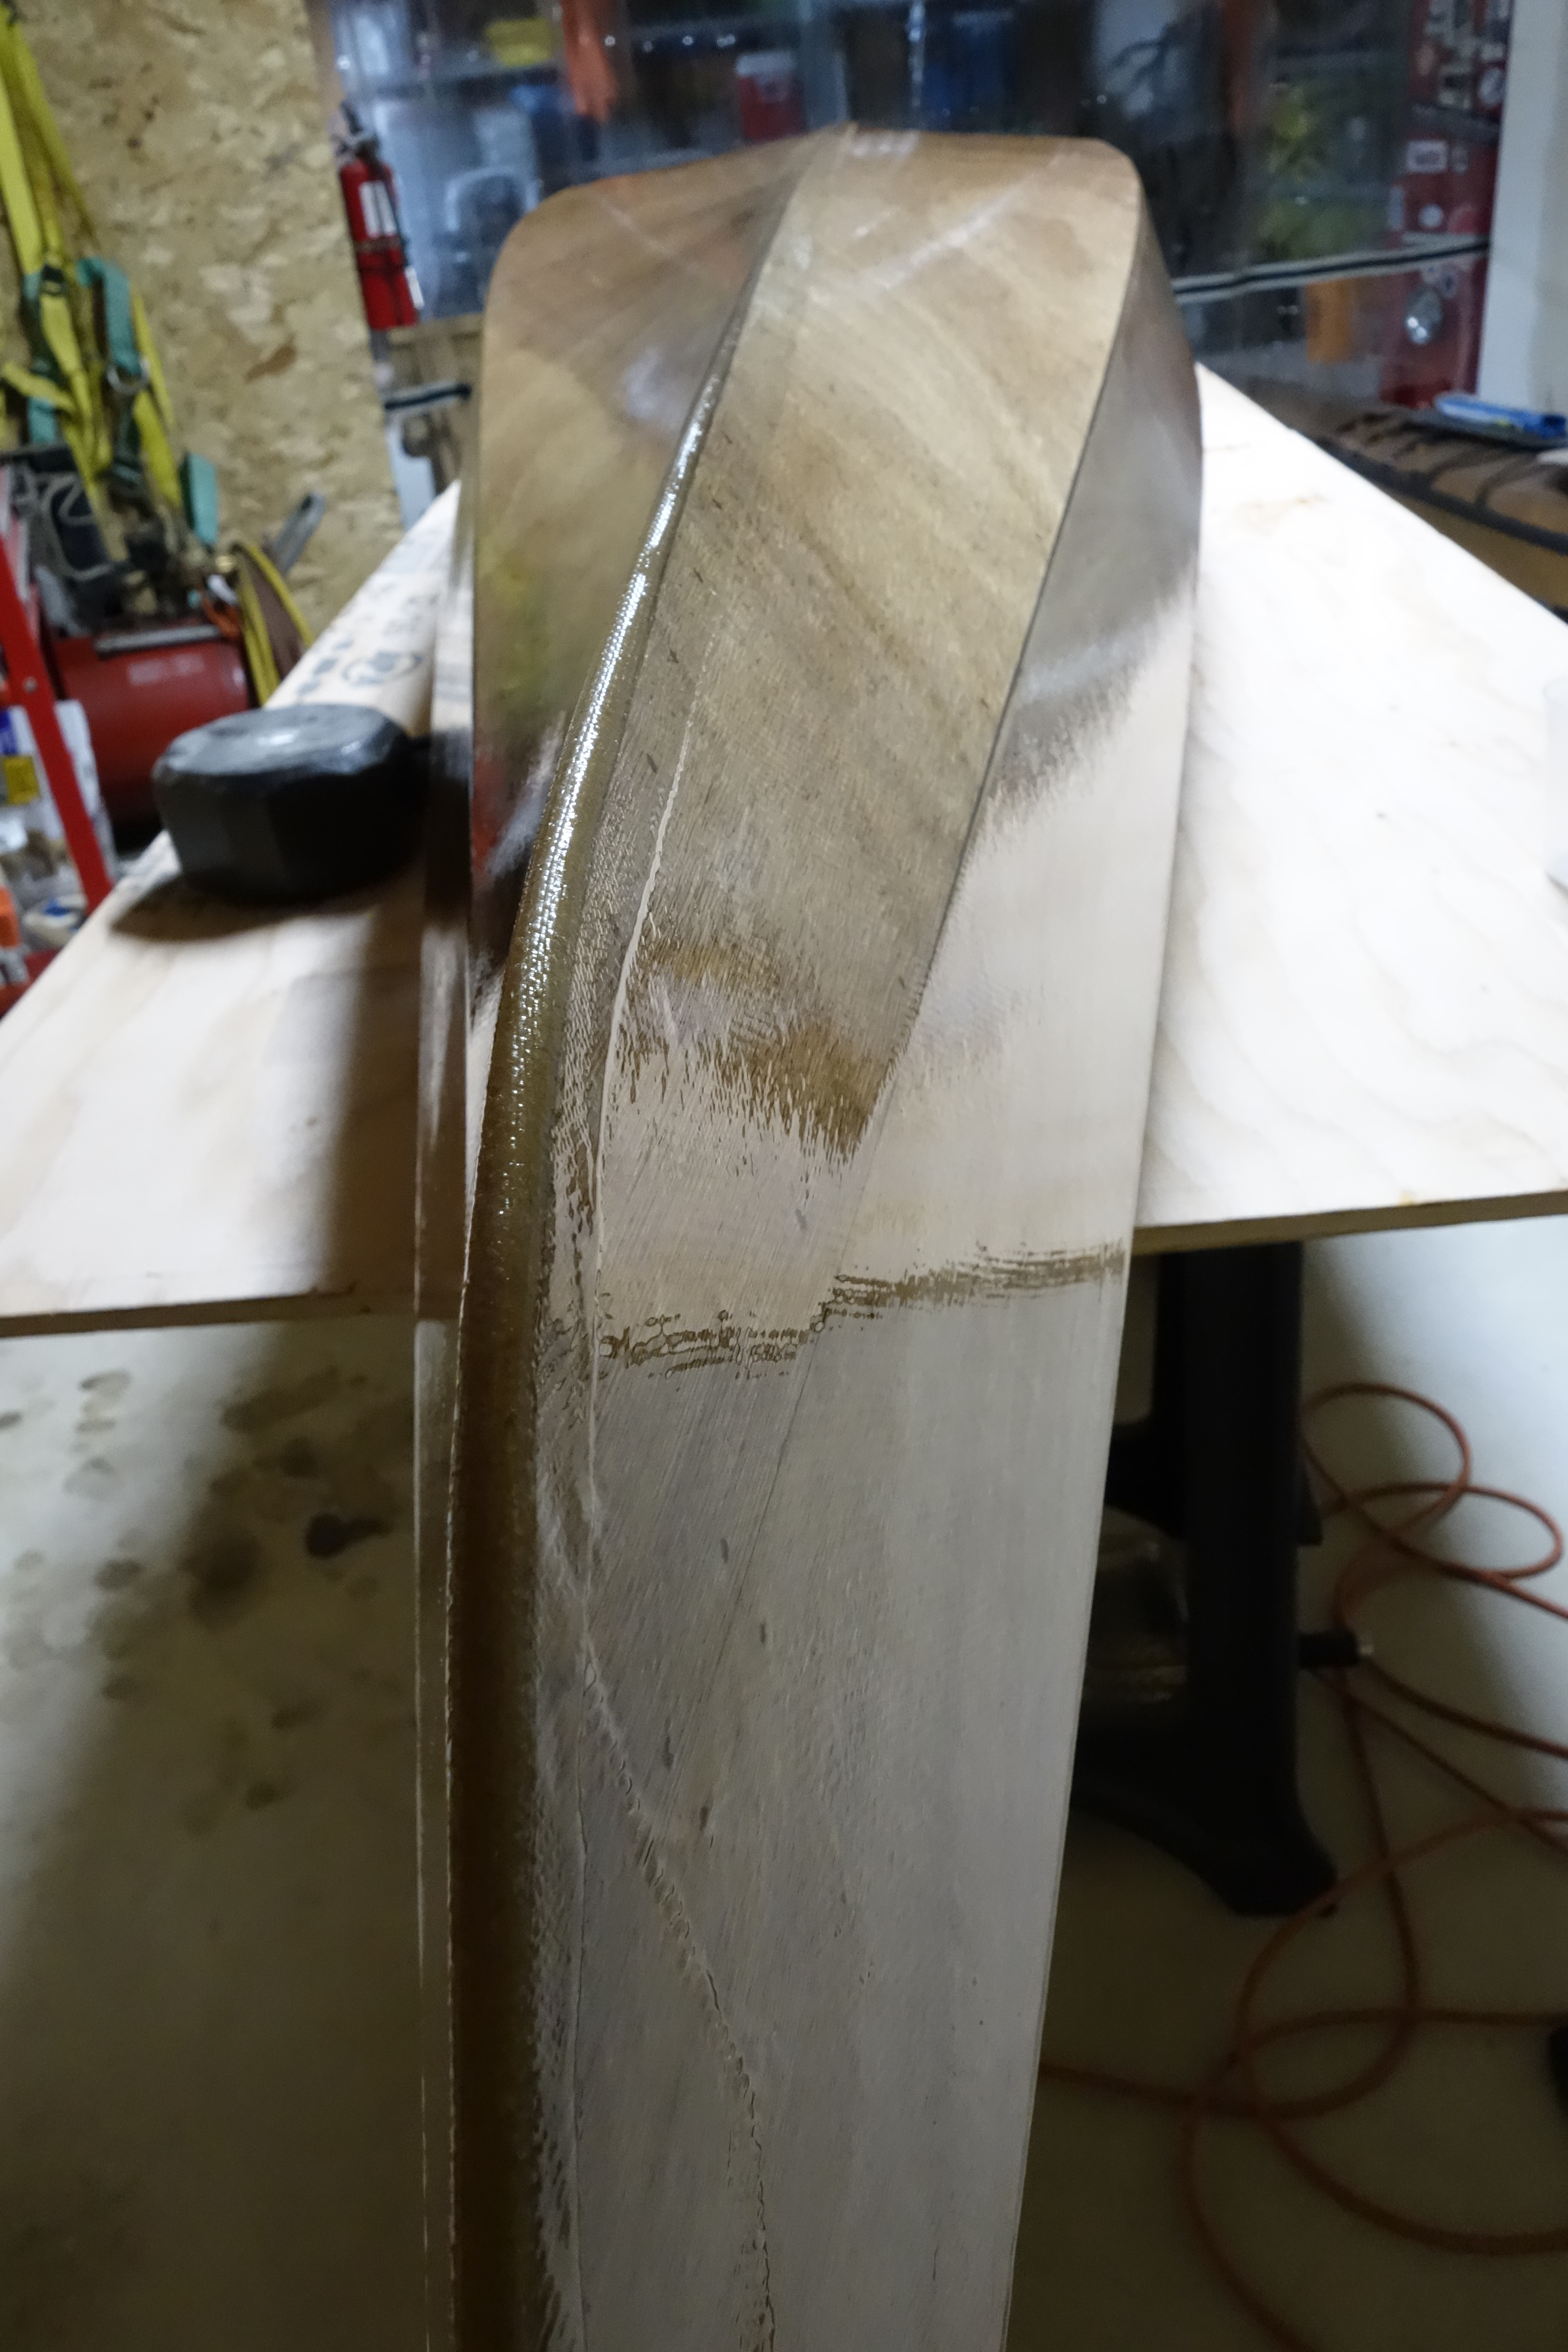
The hull will get three fill coats of epoxy. It will also get a sacrificial strip of fiberglass tape that will run the length of the hull and most of the way up the bow and stern stems. This tape will provide protection to the keel of the kayak when beaching the boat on sandy or rocky shores. This strip will get replaced/renewed every few years when the kayak gets refinished.

Getting the sacrificial keep tape to lay down straight, and smoothly was difficult for me. I really struggled to get the air out from under the fiberglass tape and keep the edges from lifting off the keel in the bow and stern curves. I thought it would be an easy step, but not so much. It worked out ok though.
The sacrificial keep strip will be feathered in by sanding and with each fill coat of epoxy will become smother and less noticeable.
Here the keel tape has been feathered in, and the hull has a couple of fill coats. I am sanding between coats with 220 grit sandpaper using a Bosch random orbital sander.
This photo must be out of order as it is clear that I haven’t yet sanded smooth the fiberglass overlap or the keel tape.

Fiberglassing the hull.

One of the wonderful things about building a kayak that is a composite of wood and fiberglass is that the end result is stronger than either wood, or fiberglass by itself. Another benefit is that a wood and fiberglass kayak will not sink, even if you fill the whole kayak with water! A fiberglass boat without supplemental flotation will sink like a stone if filled with water.

Fiberglass cloth is spread out over the entire hull. It will be saturated with epoxy using a foam roller, and the excess epoxy squeegeed off to laminate the fiberglass cloth to the hull.
The angle of the stern stem is too steep for the cloth to lay smoothly, so a cut is made in the cloth and the two sides overlap each side of the hull. After the epoxy cures the overlap will be sanded smooth.
The bow stem angle will allow the fiberglass cloth to lay smoothly, without having to cut it, etc.
Another view of the stern stem overlap.
Epoxy applied and squeegeed smooth, ensuring that there are no air bubbles trapped beneath the fiberglass cloth. This view is of the bow end of the boat.
Hull glassed. I think it looks very good.
The camera really exaggerated the color differences in the grain in this photo. I’m not sure why. Perhaps it has to do with my LED shop lighting. Anyway, the hull looks much less “splotchy” in person.
View of the stern where the fiberglass cloth was overlapped.
Looking toward the bow.
Fiberglass cloth becomes “glass clear” when wetted out with epoxy. The hull will get a couple of fill coats of epoxy so that the weave of the cloth will not be compromised, or visible.