More hull wire tightening and shaping. Close to gluing.

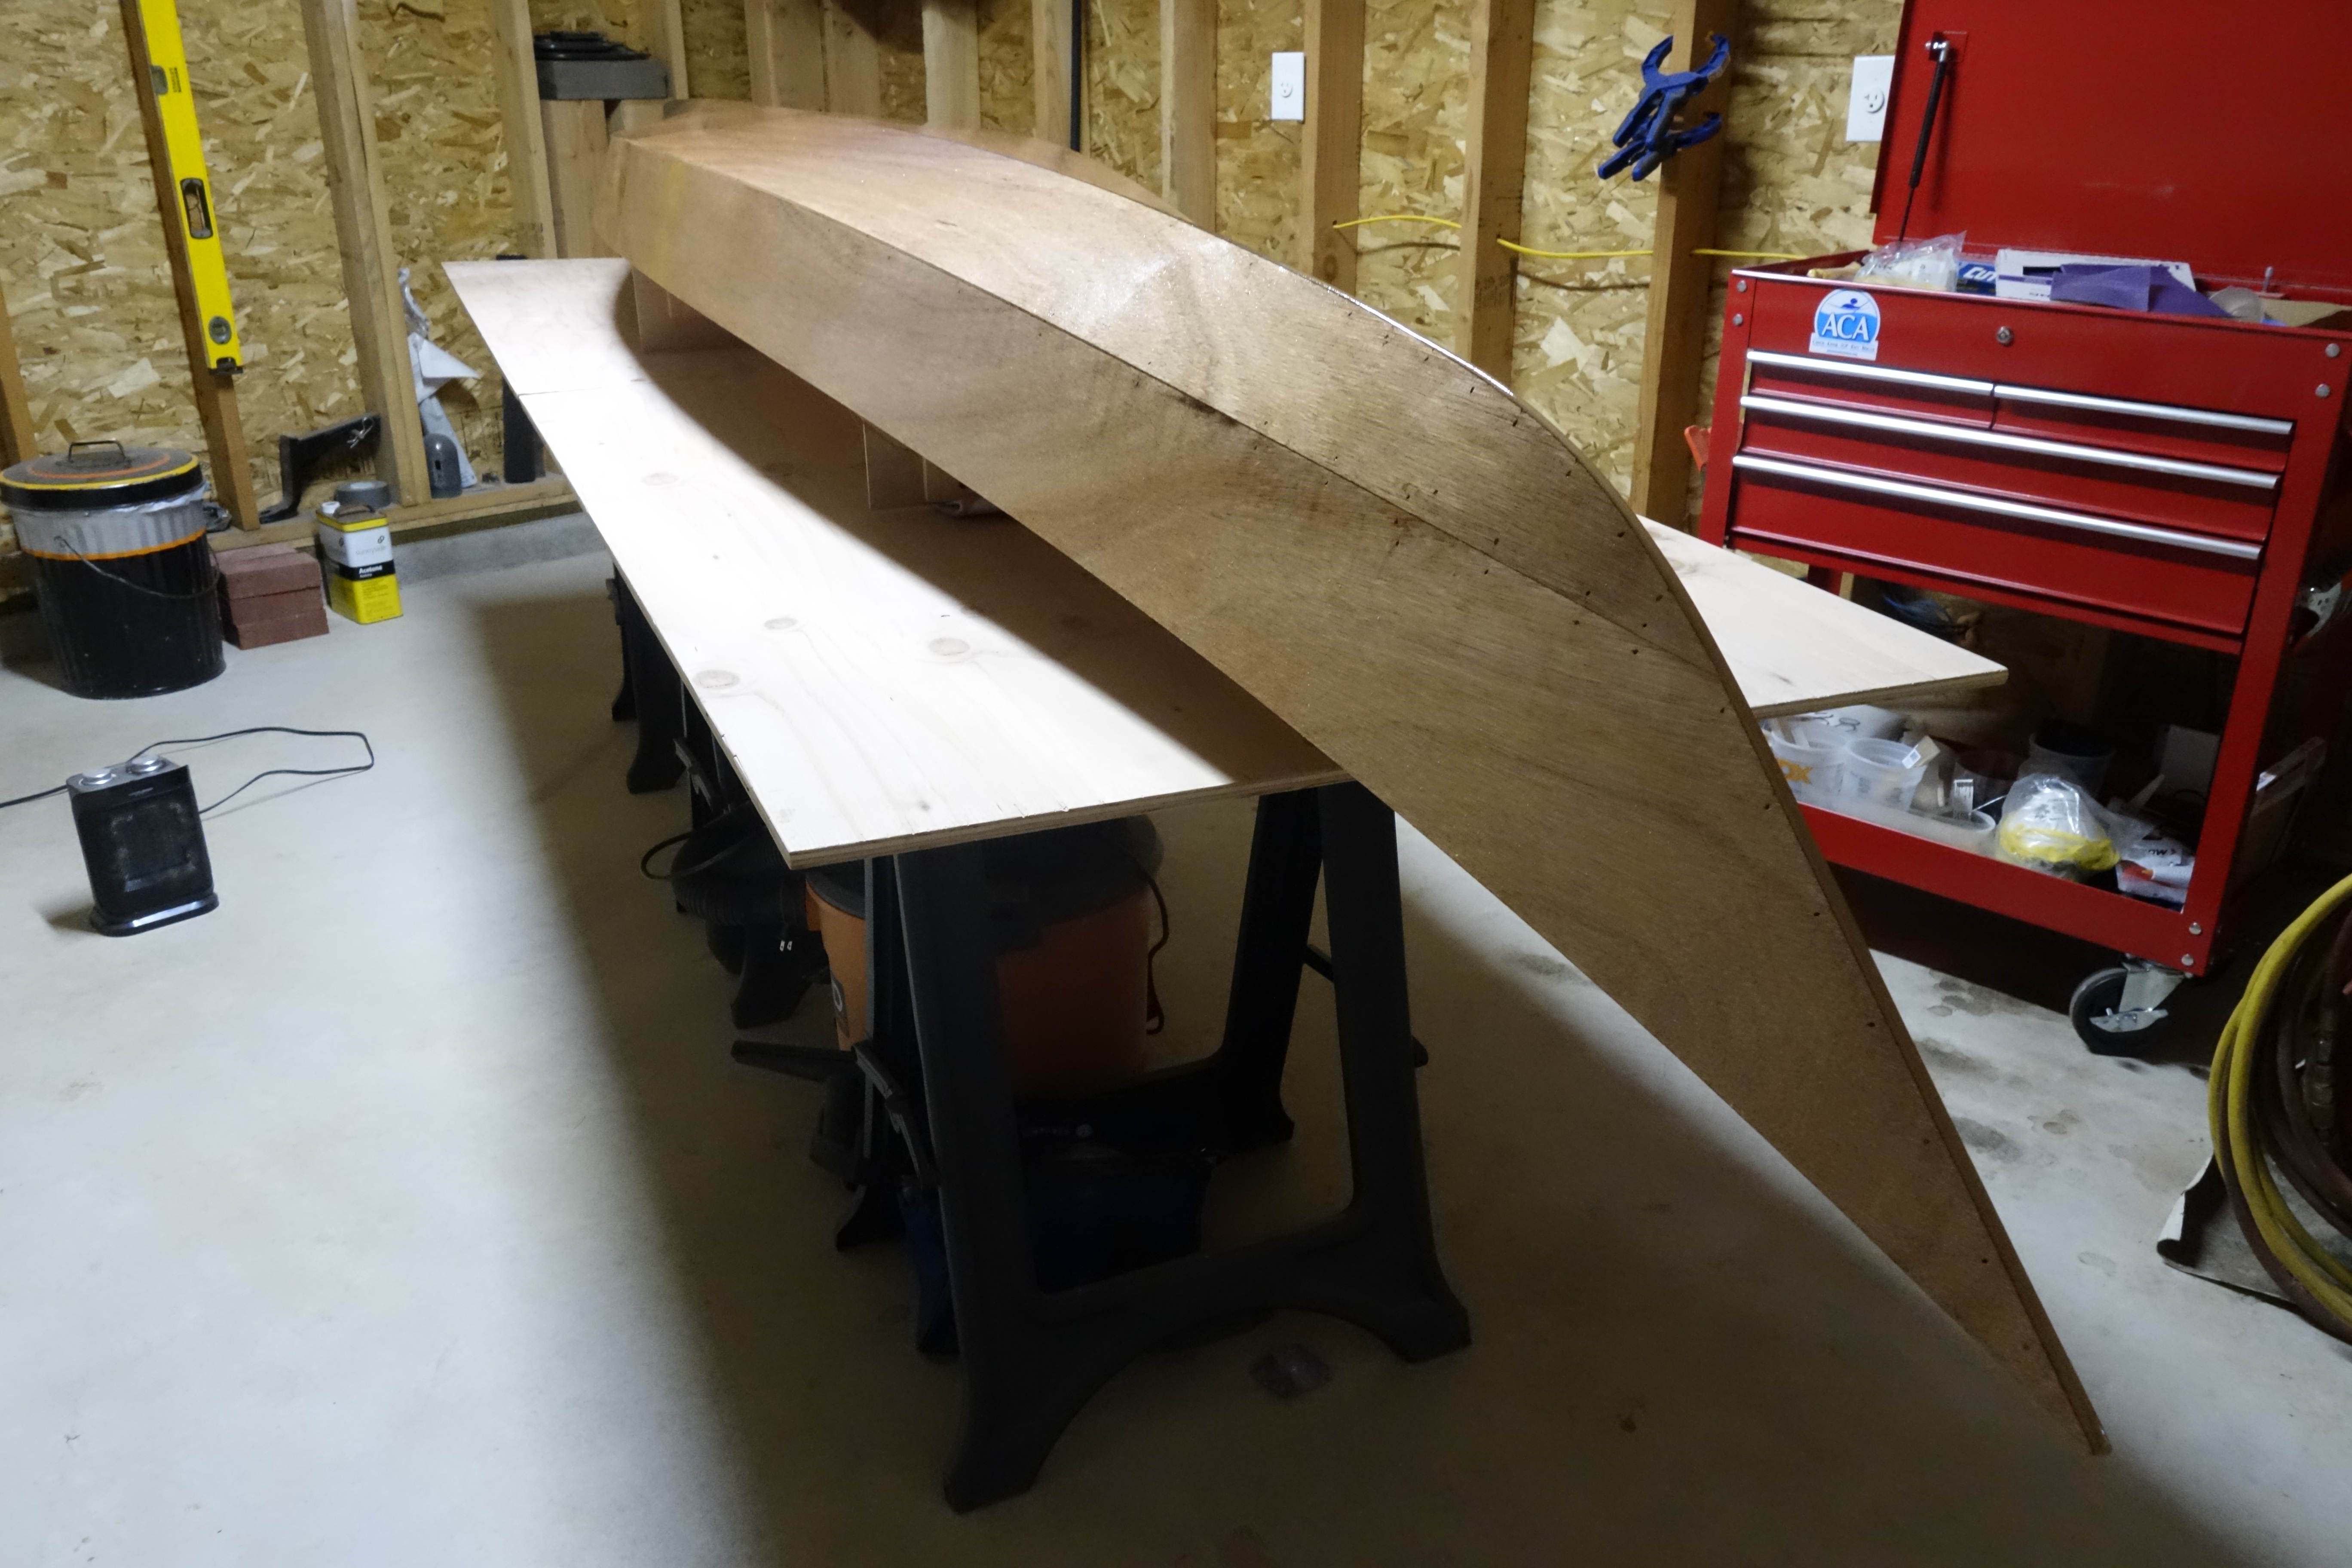
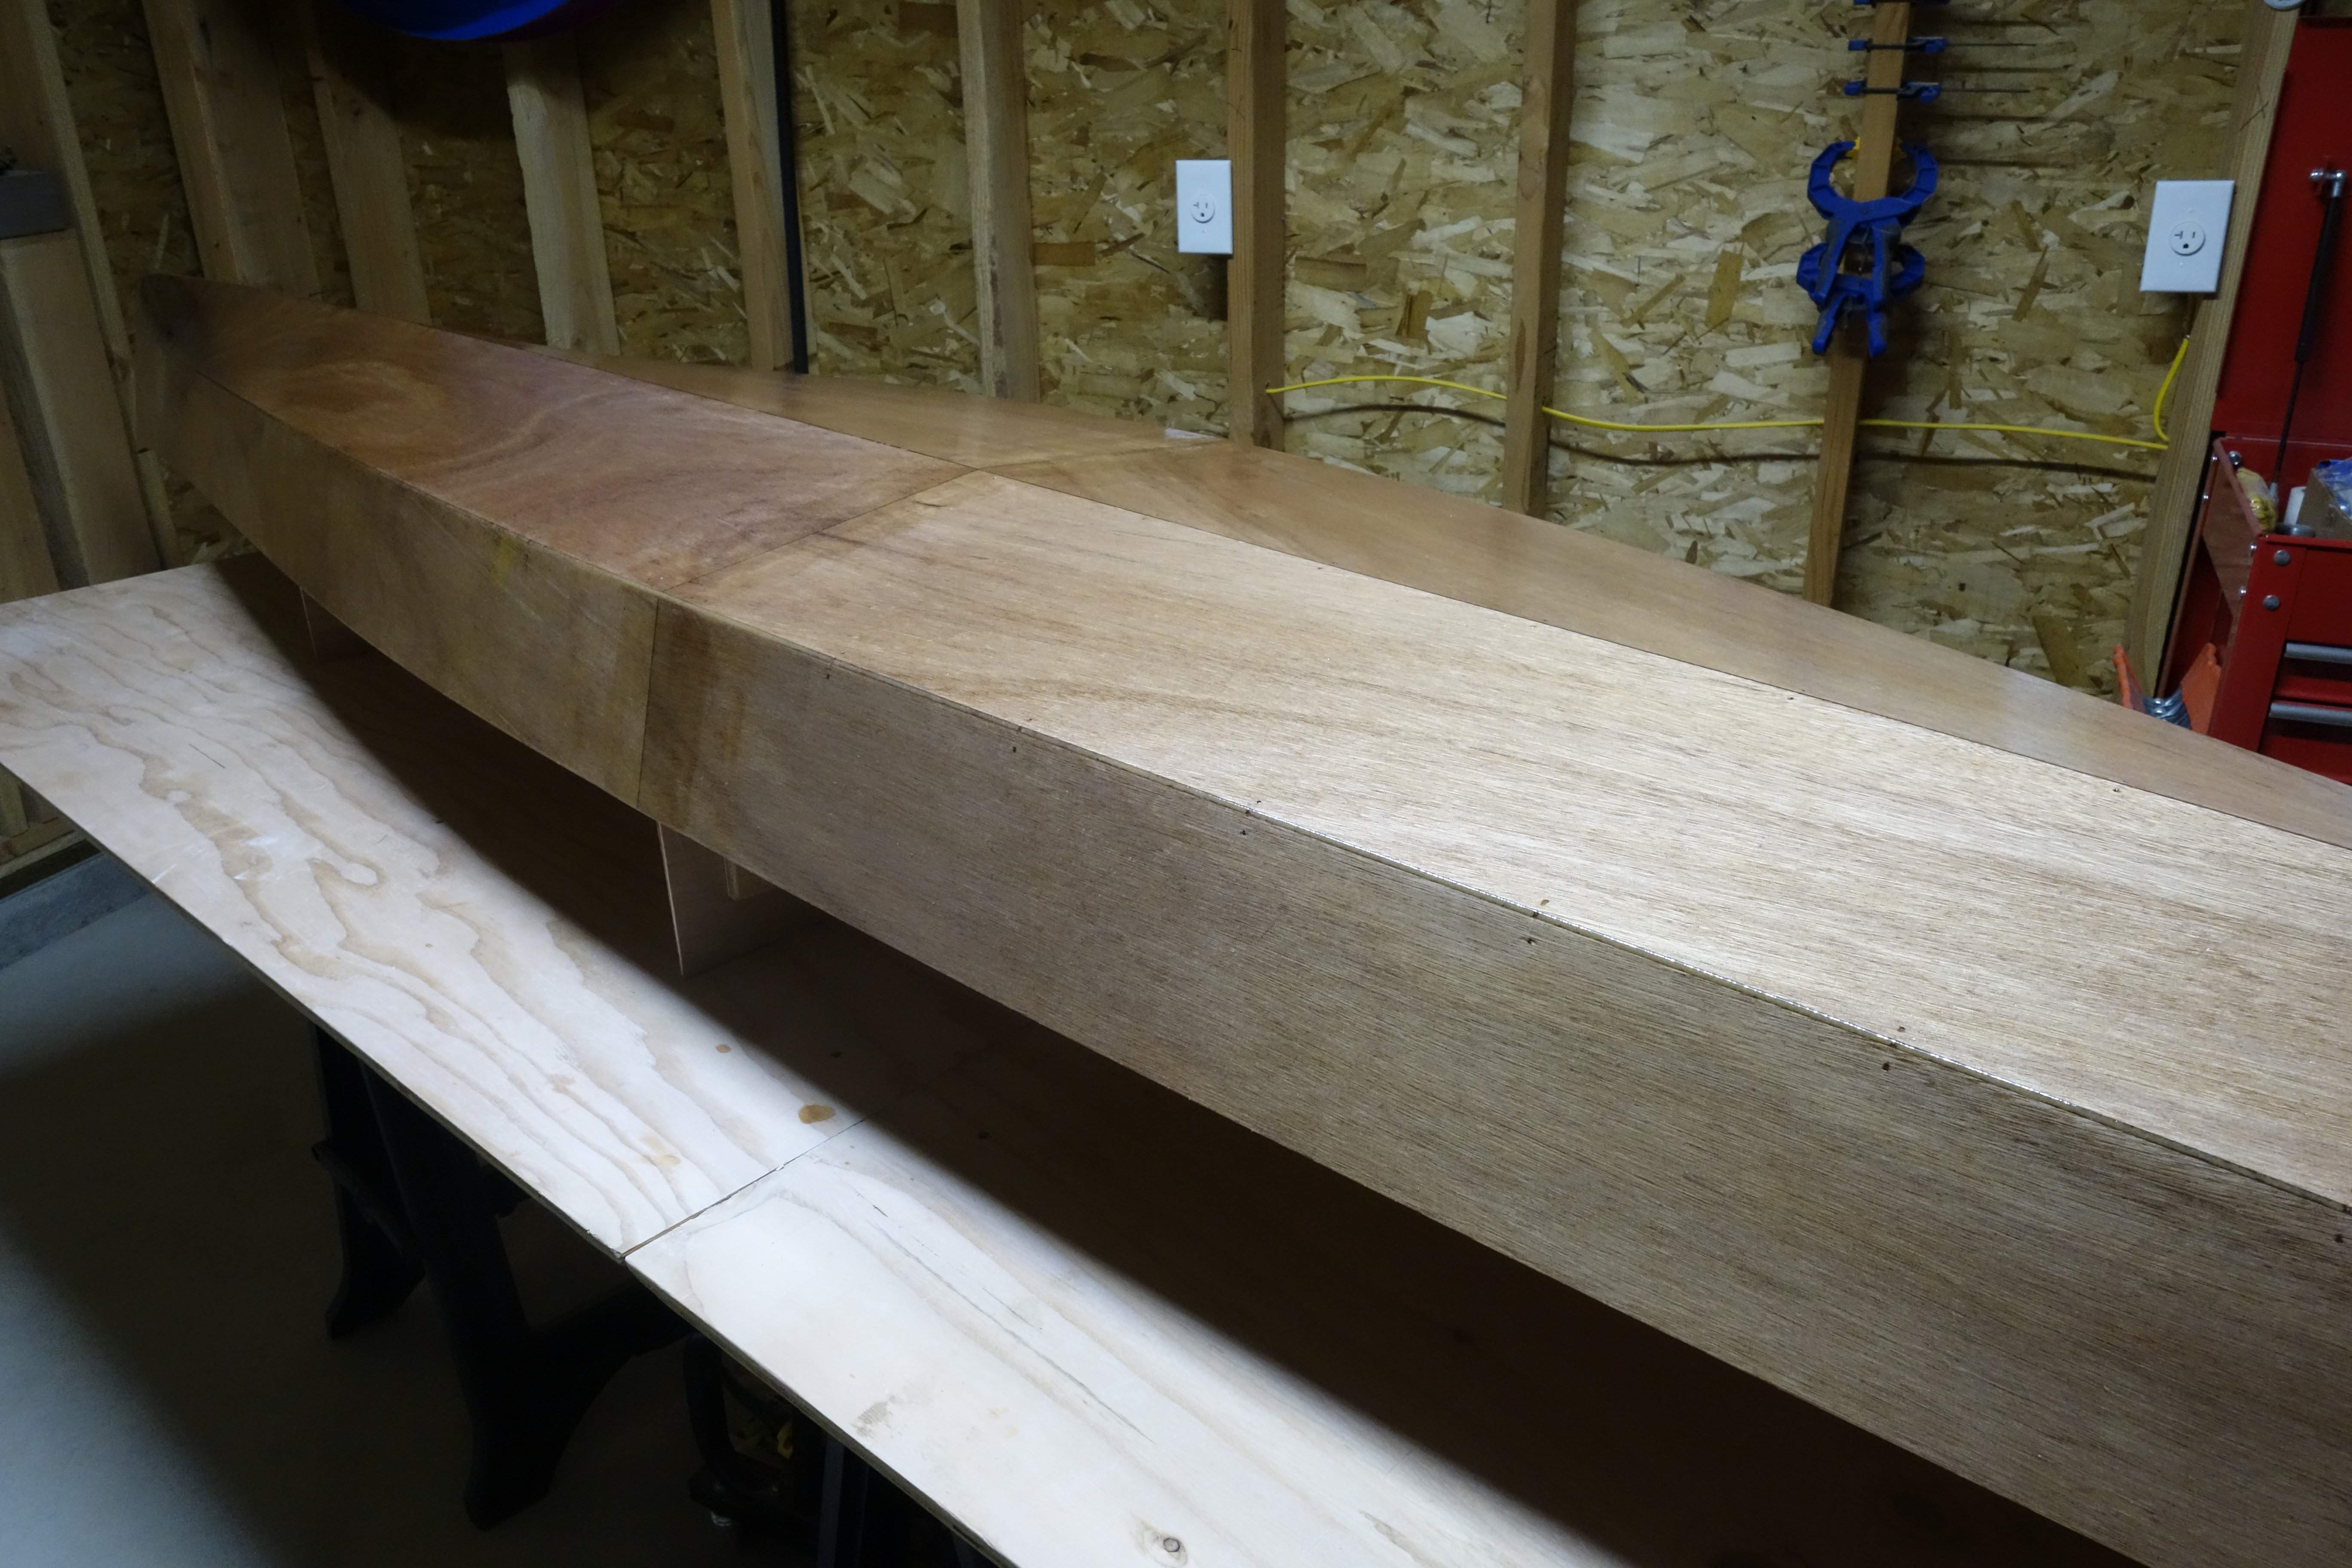
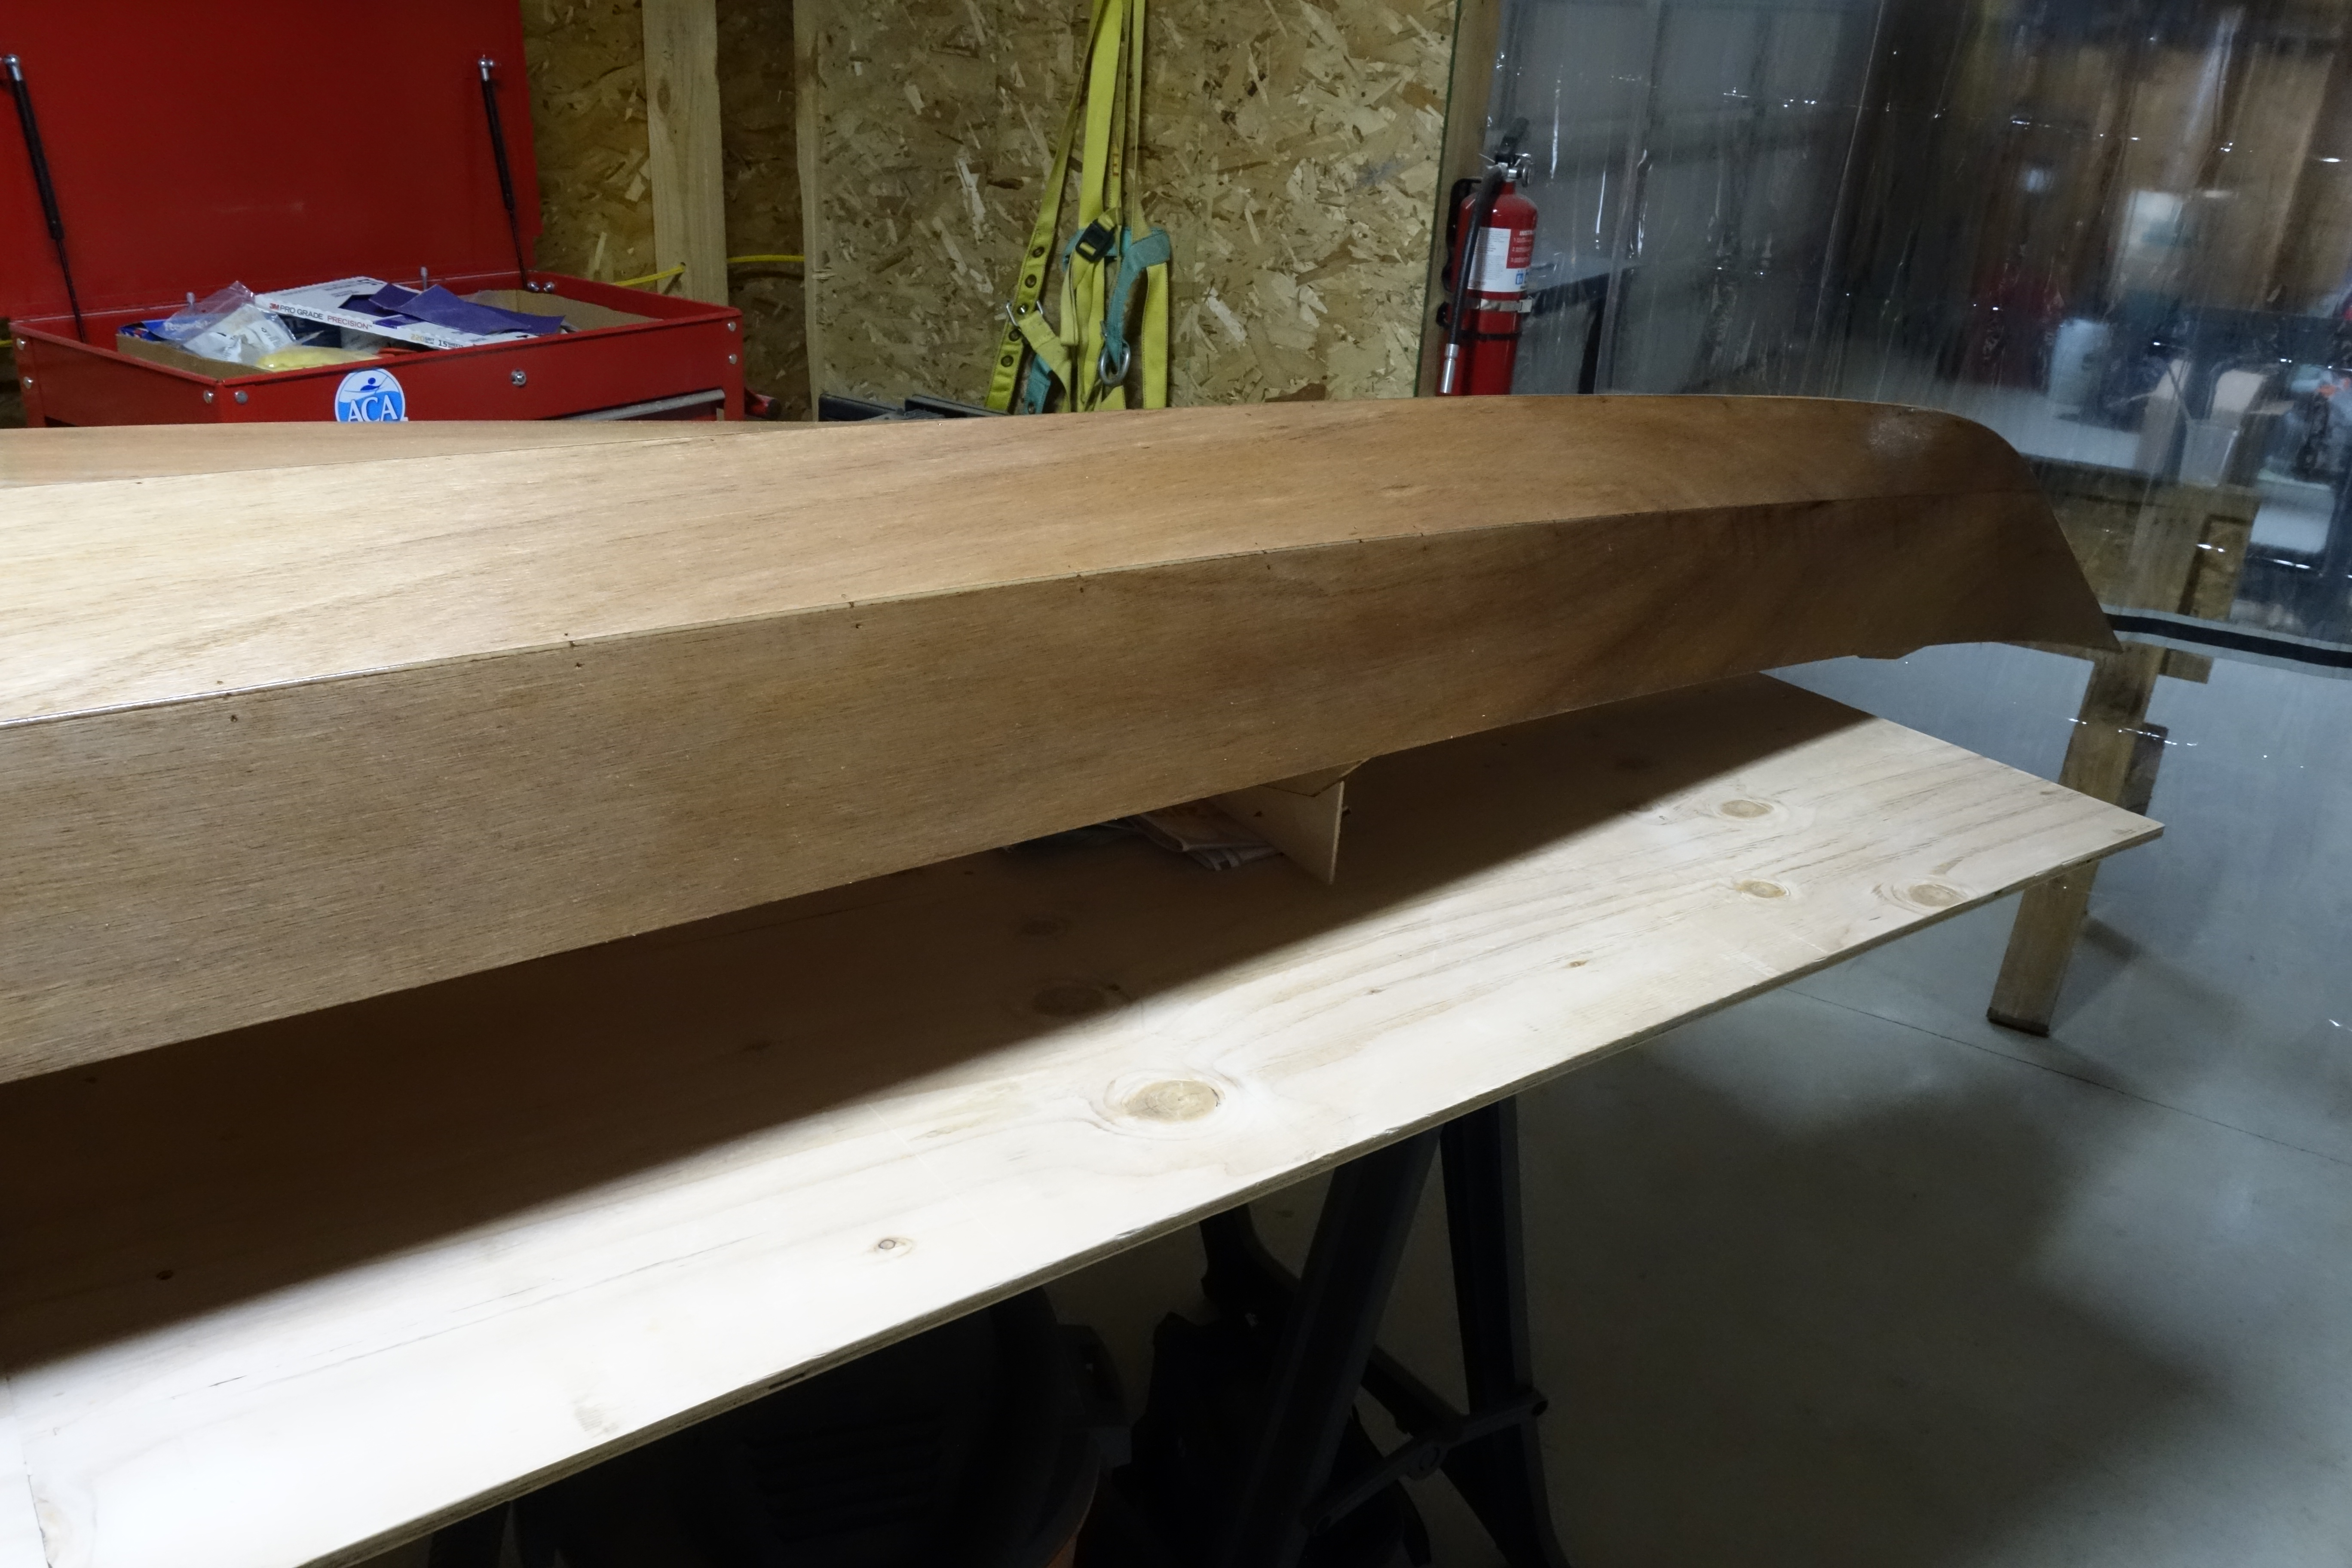
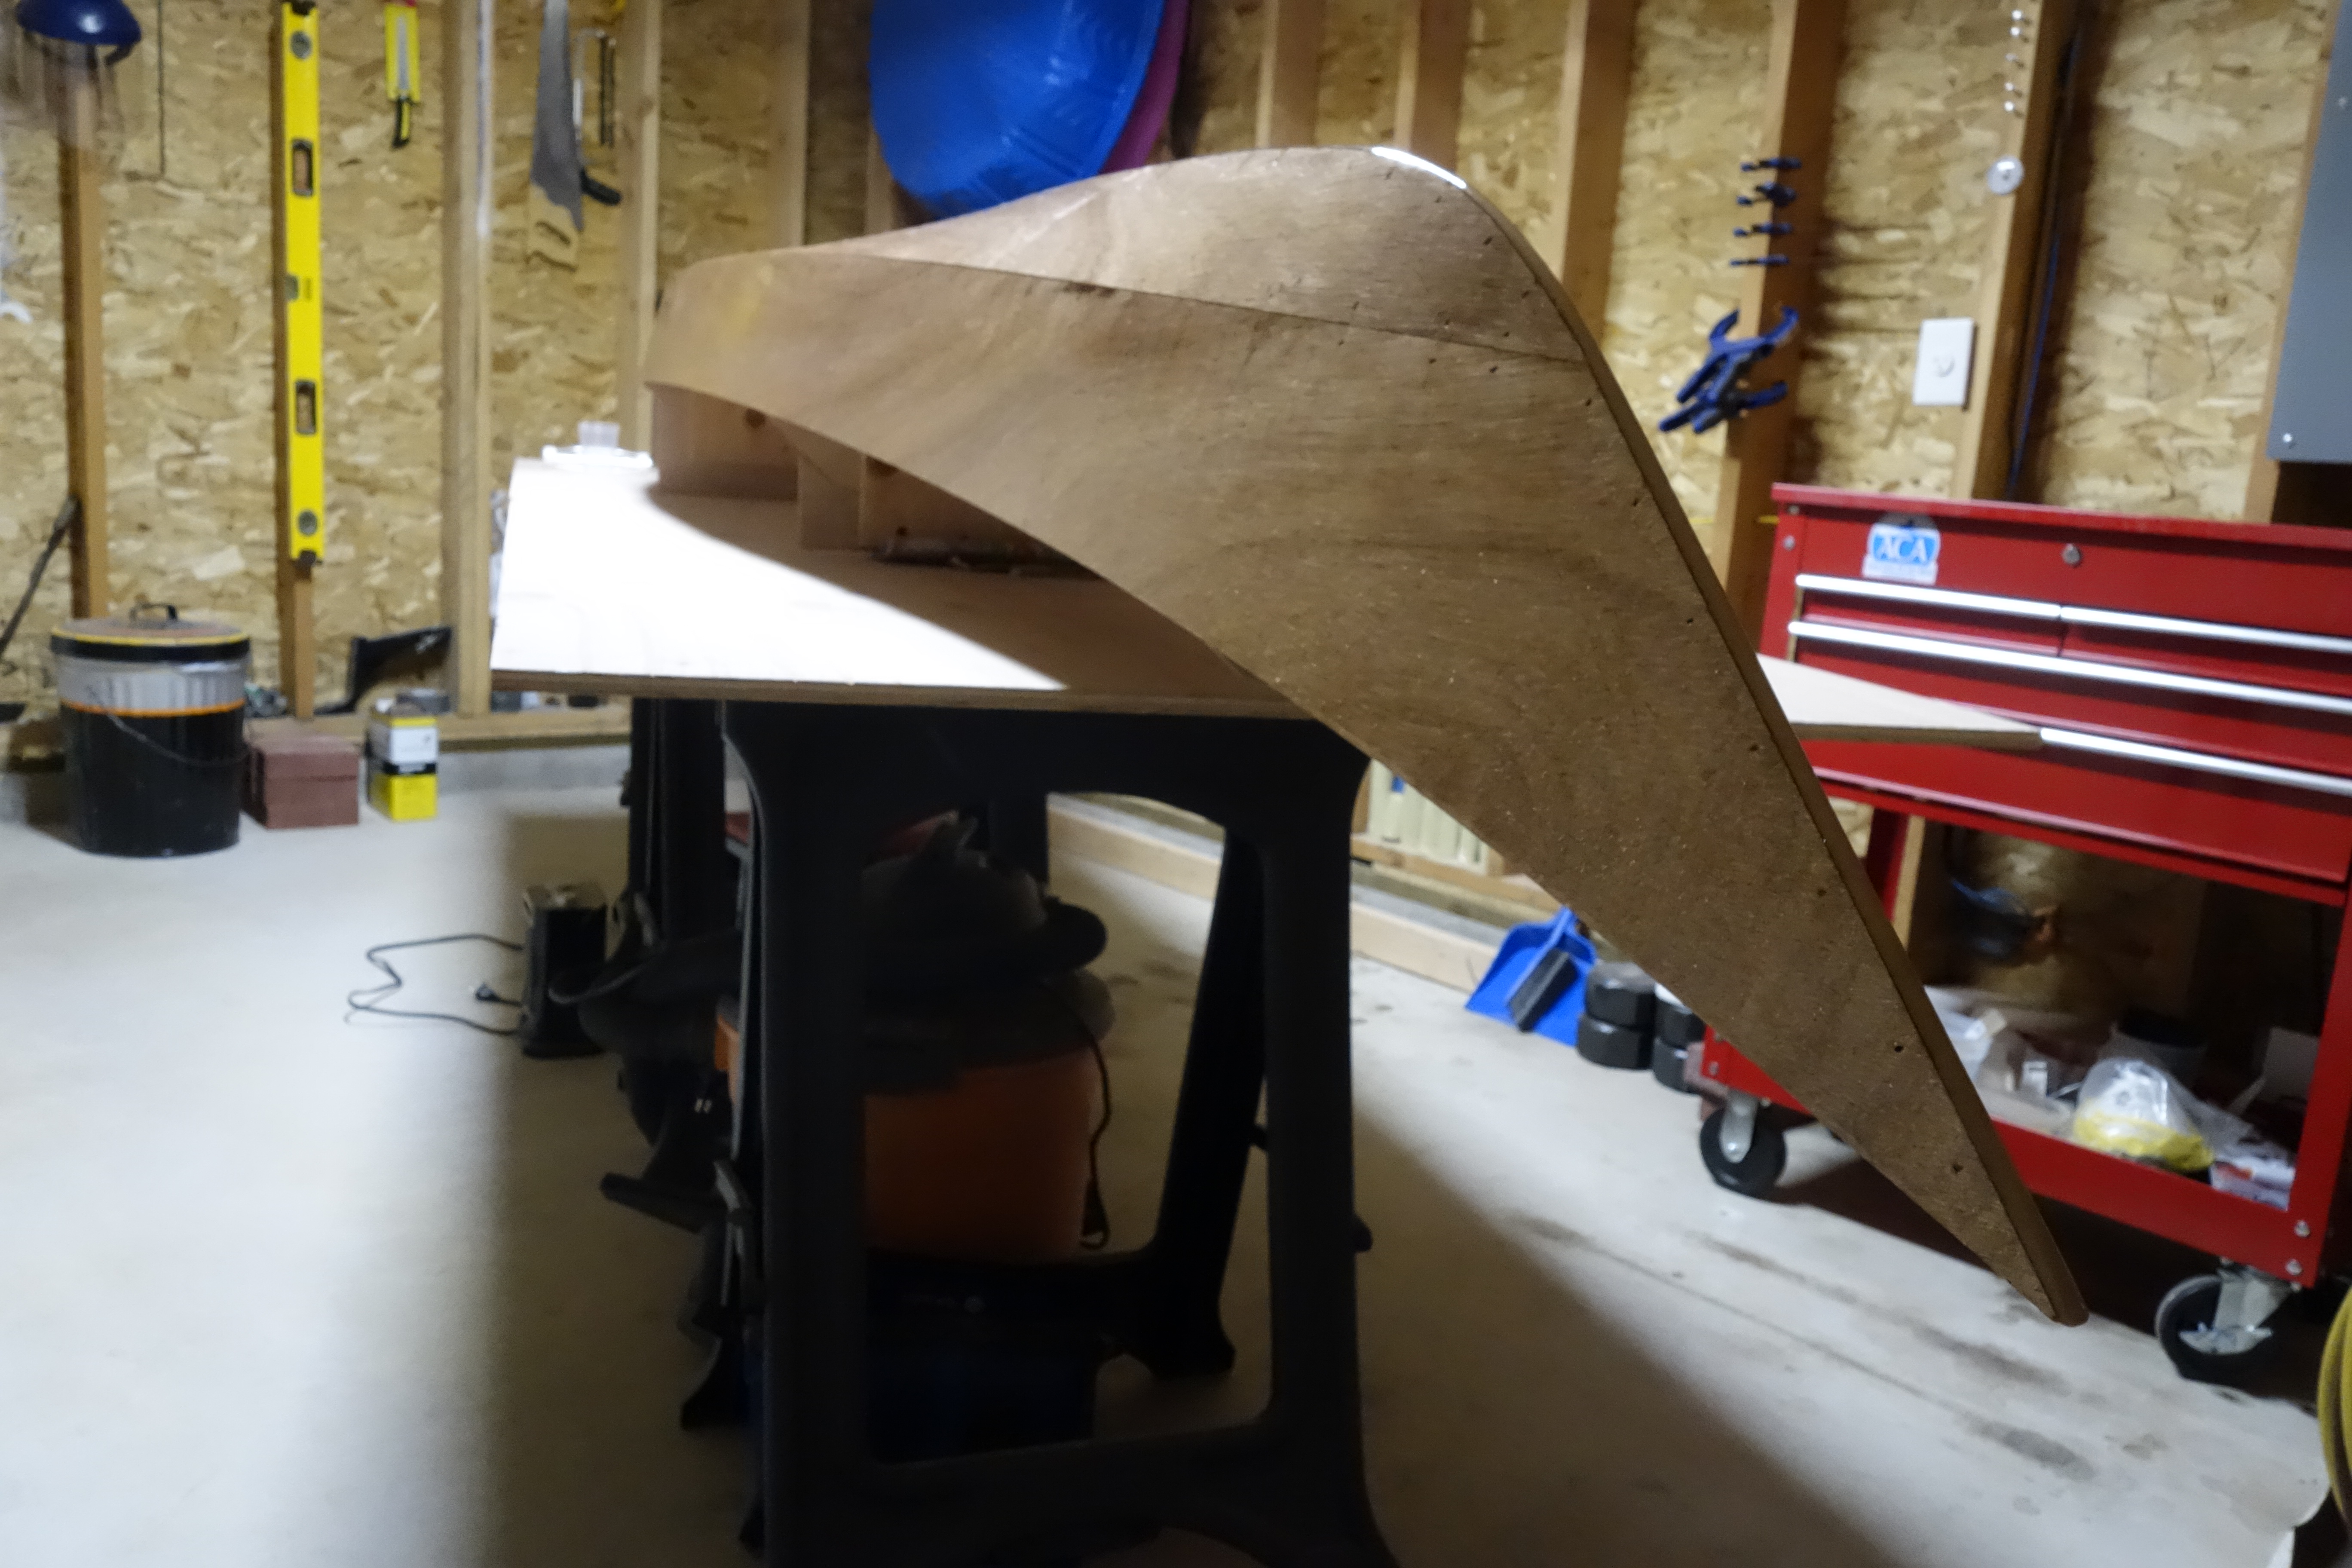
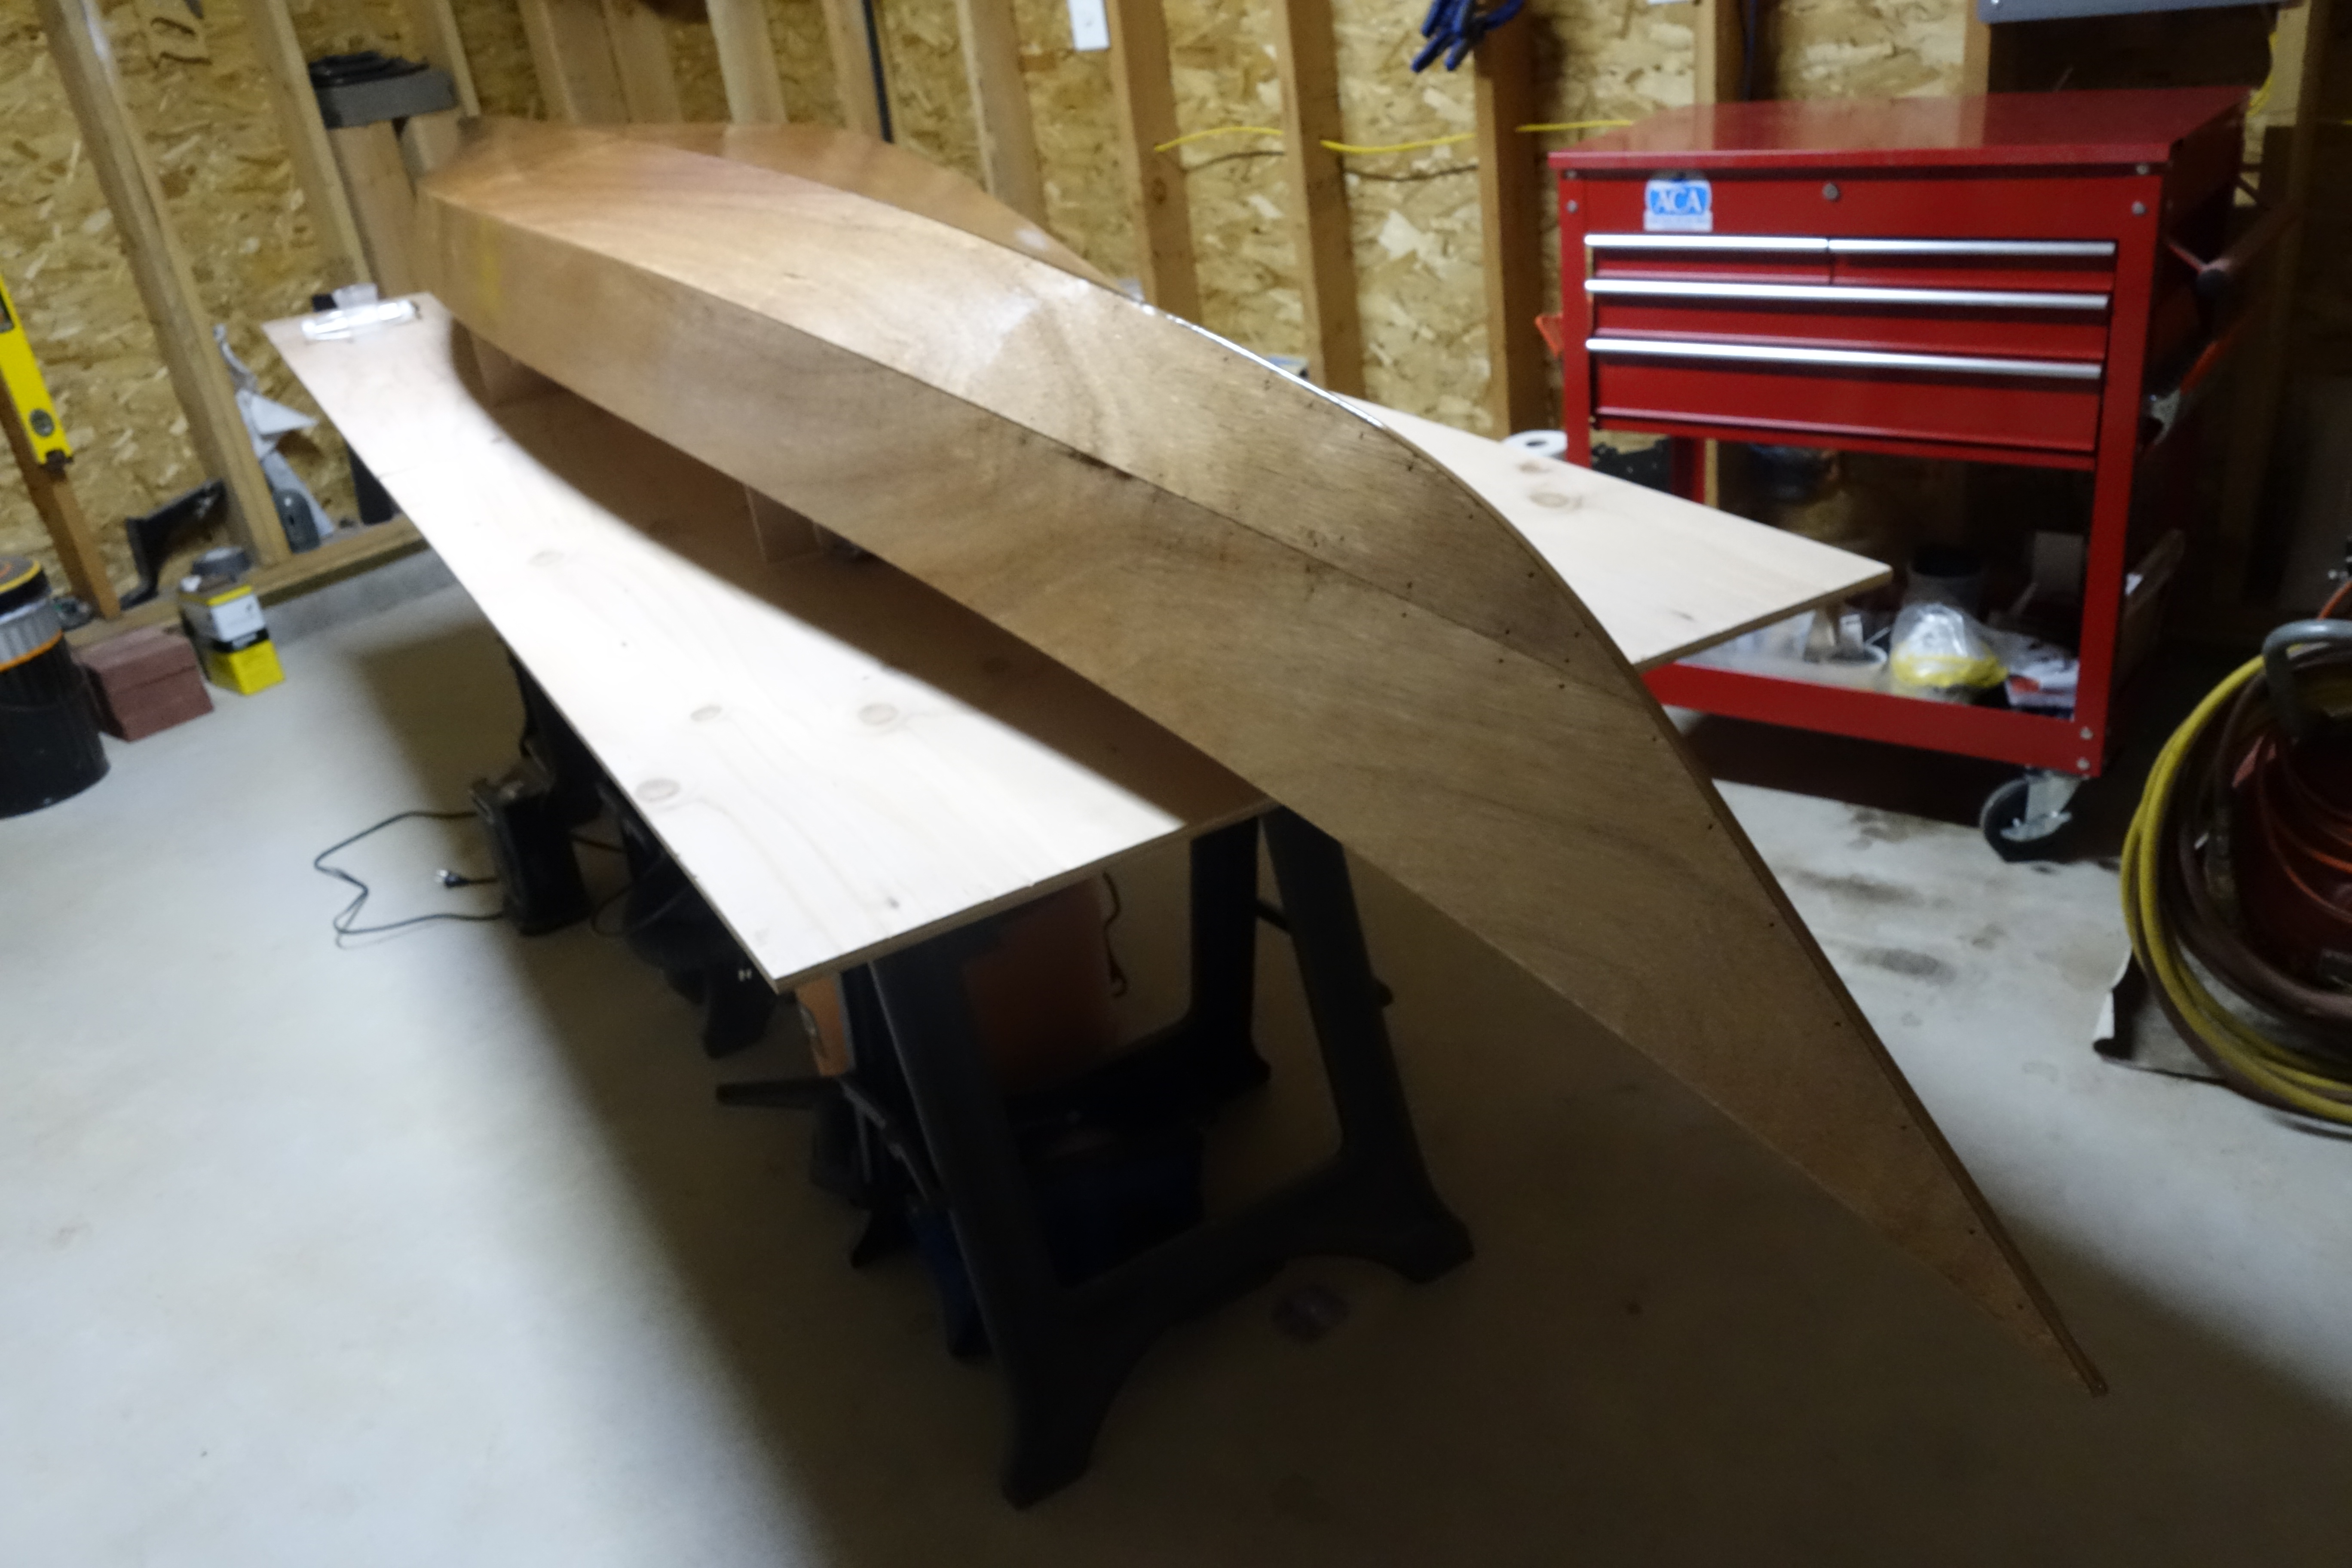
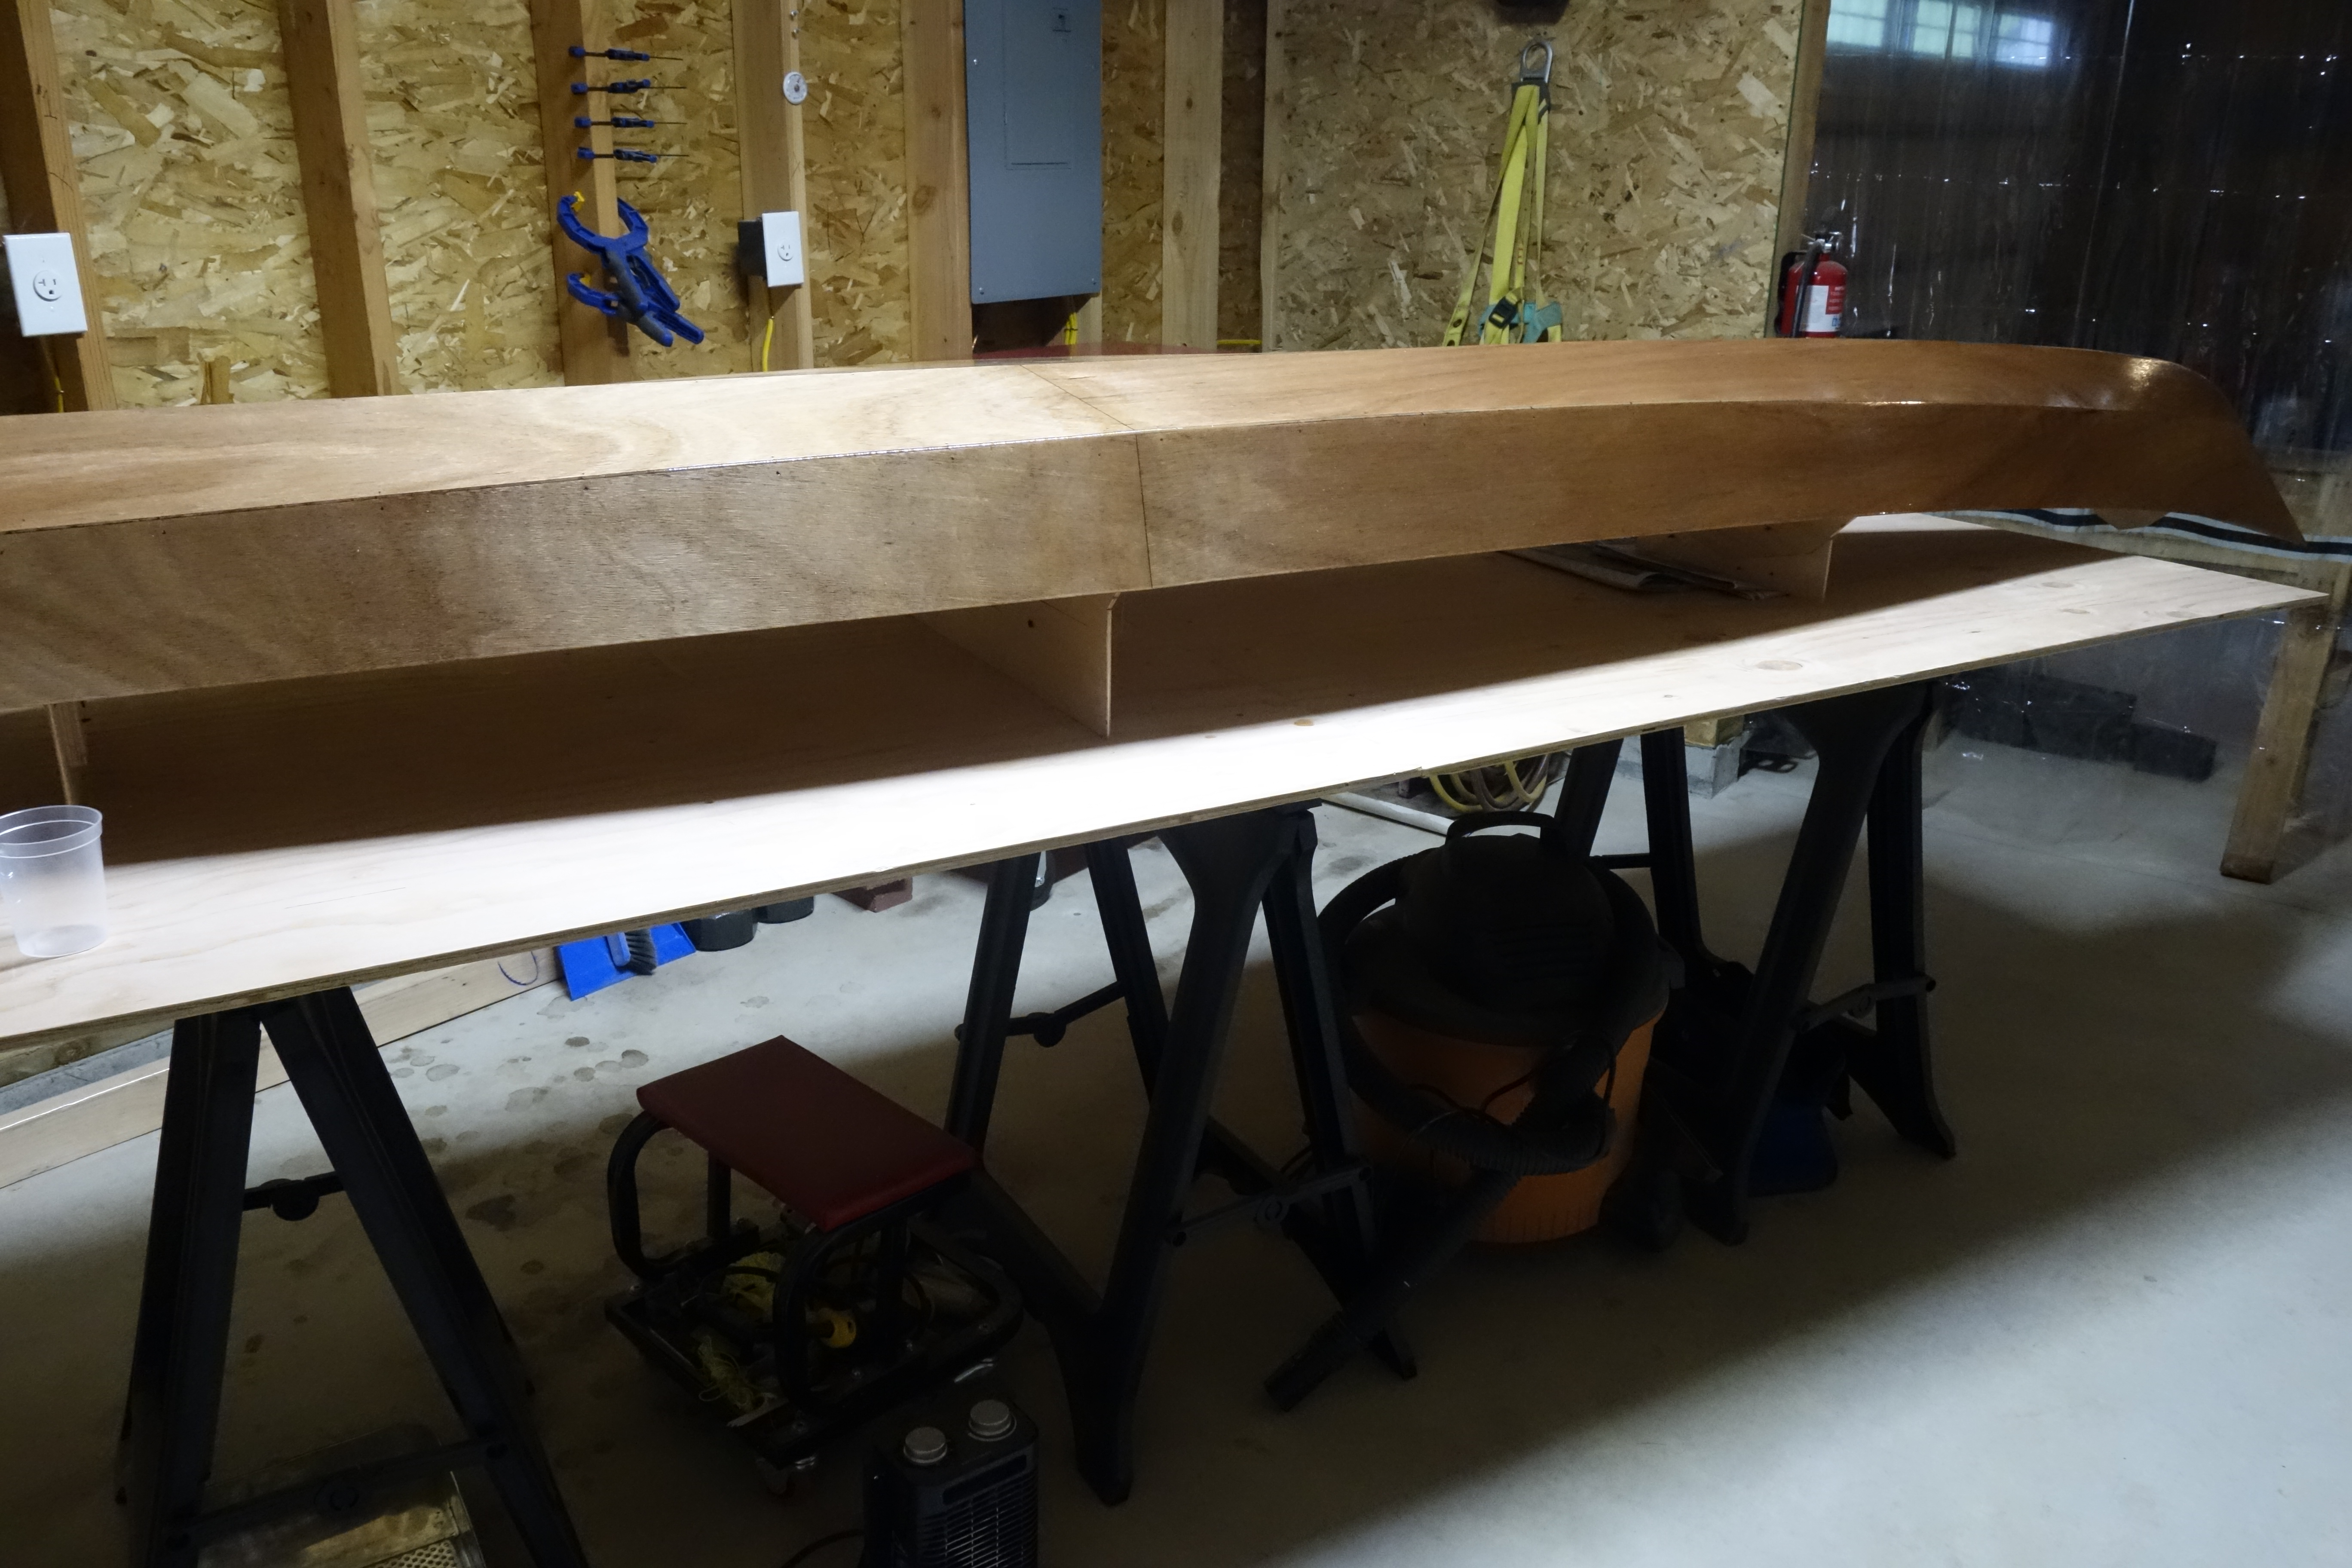
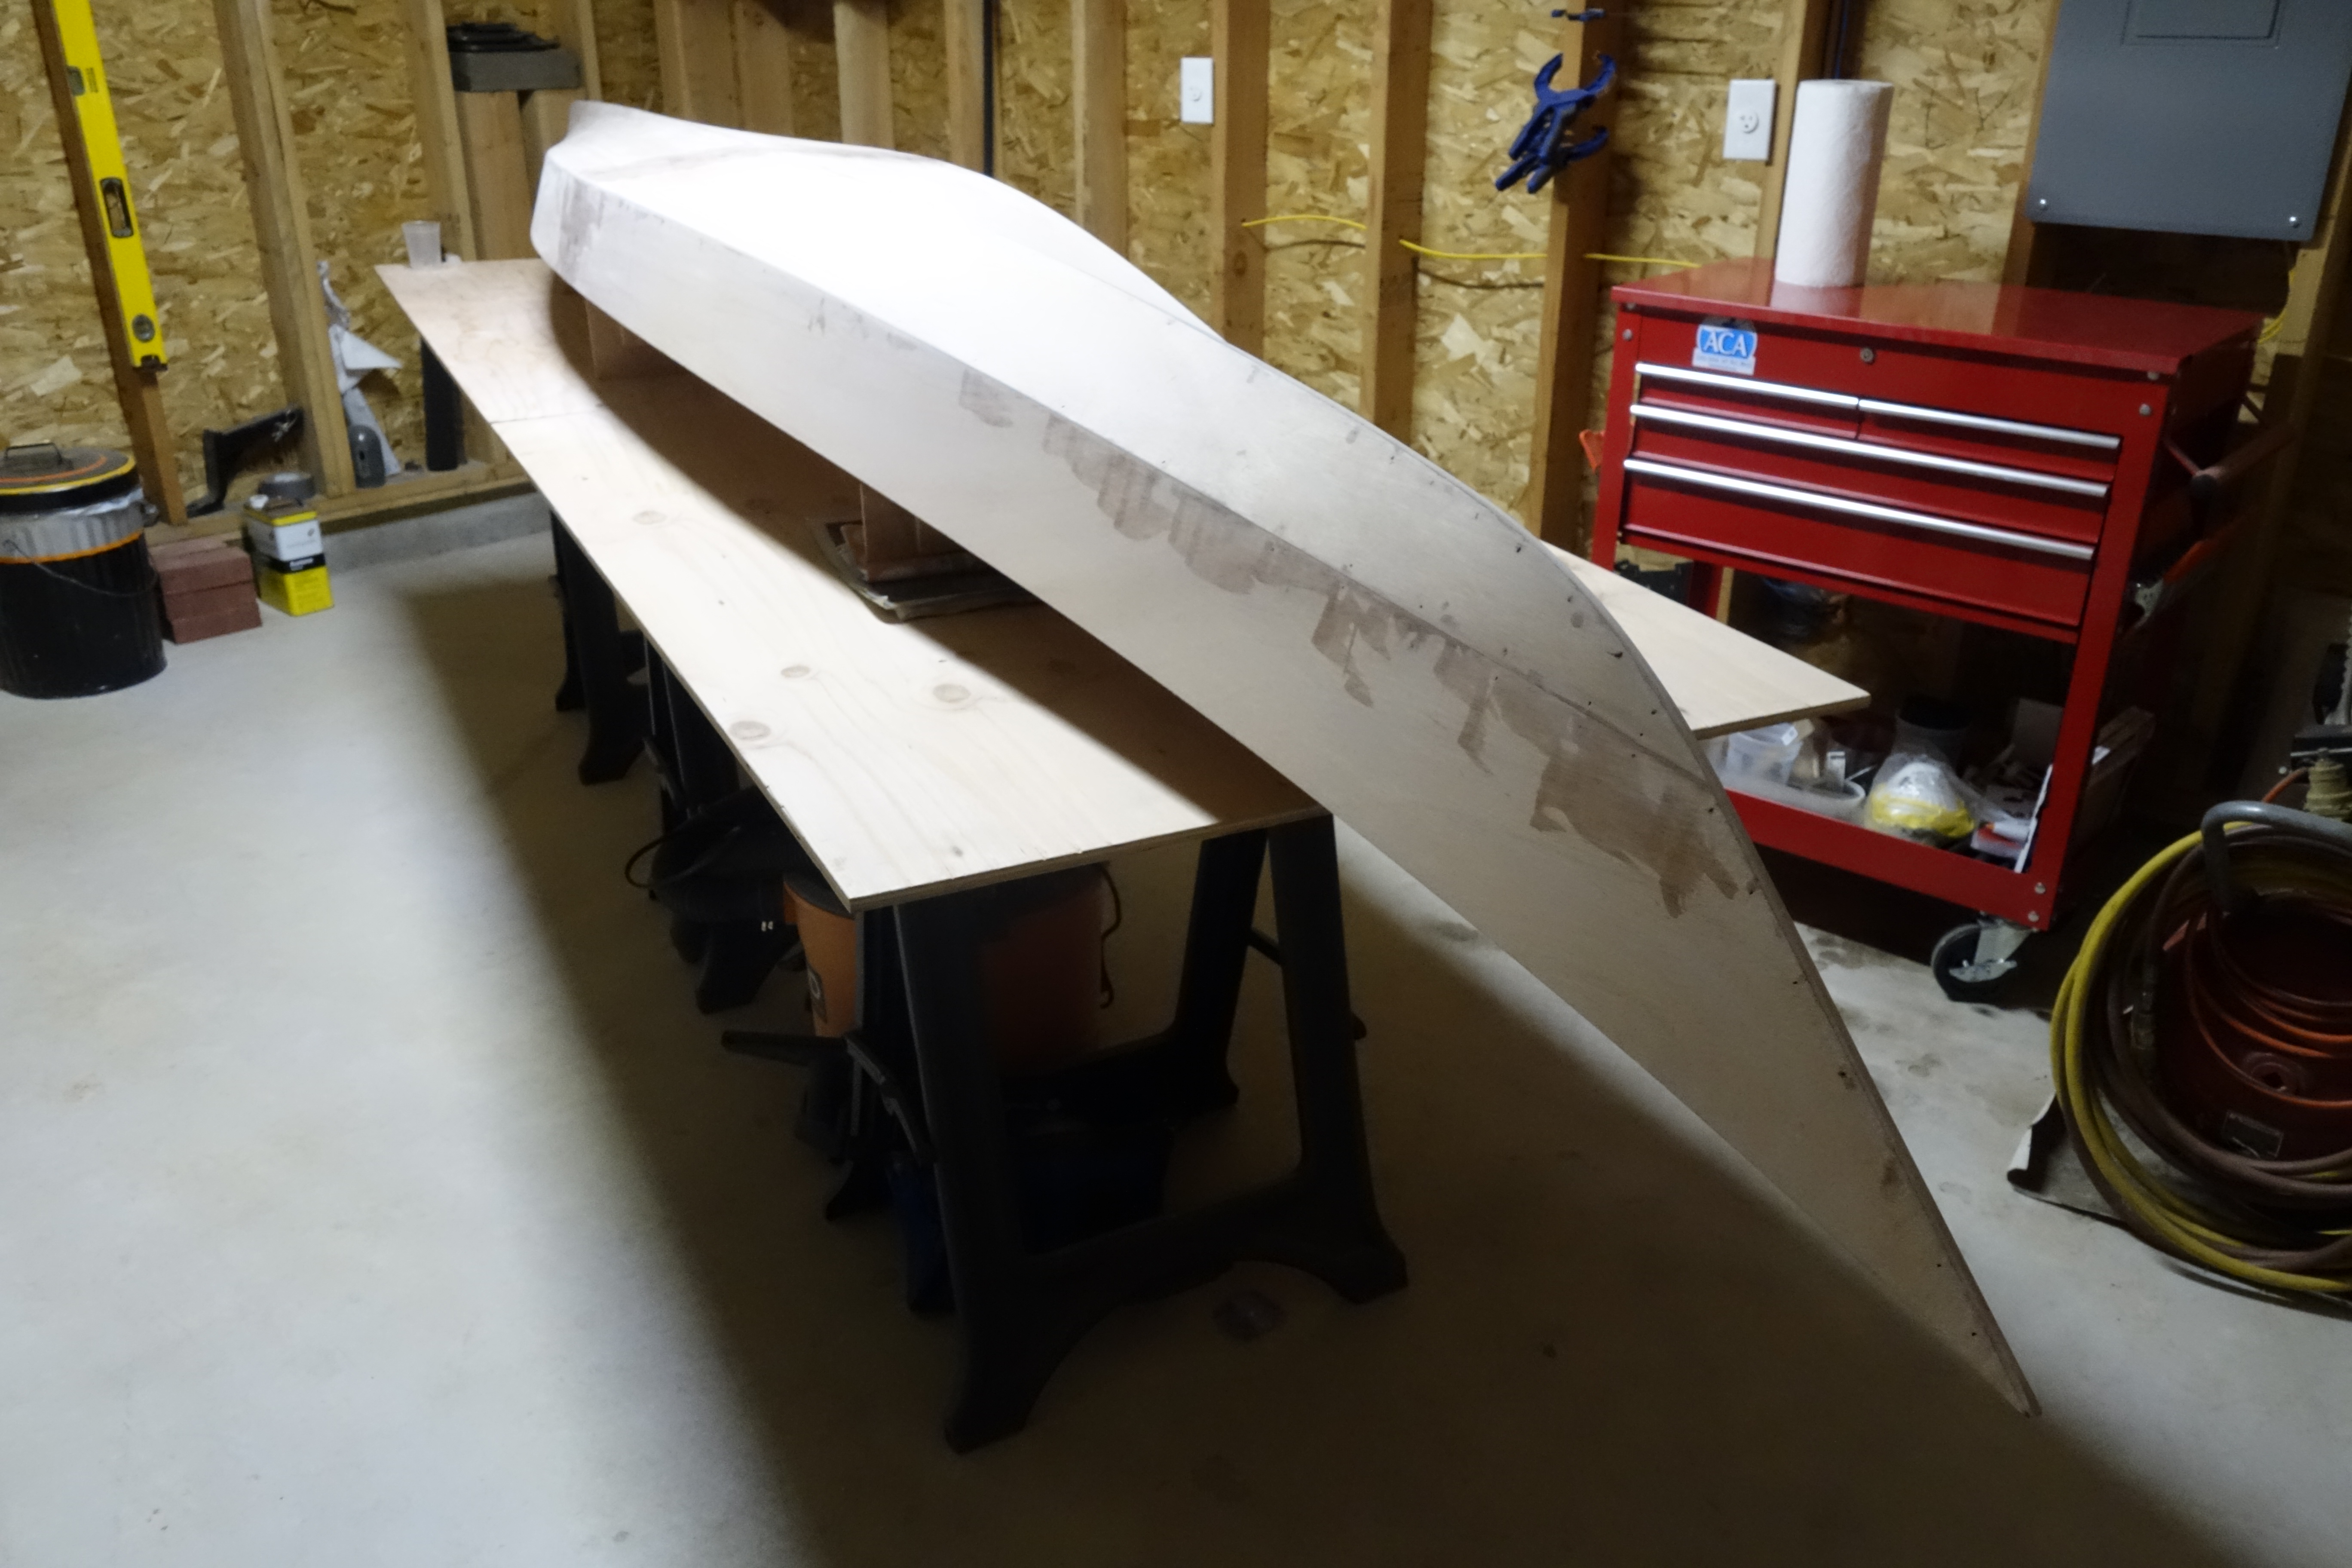
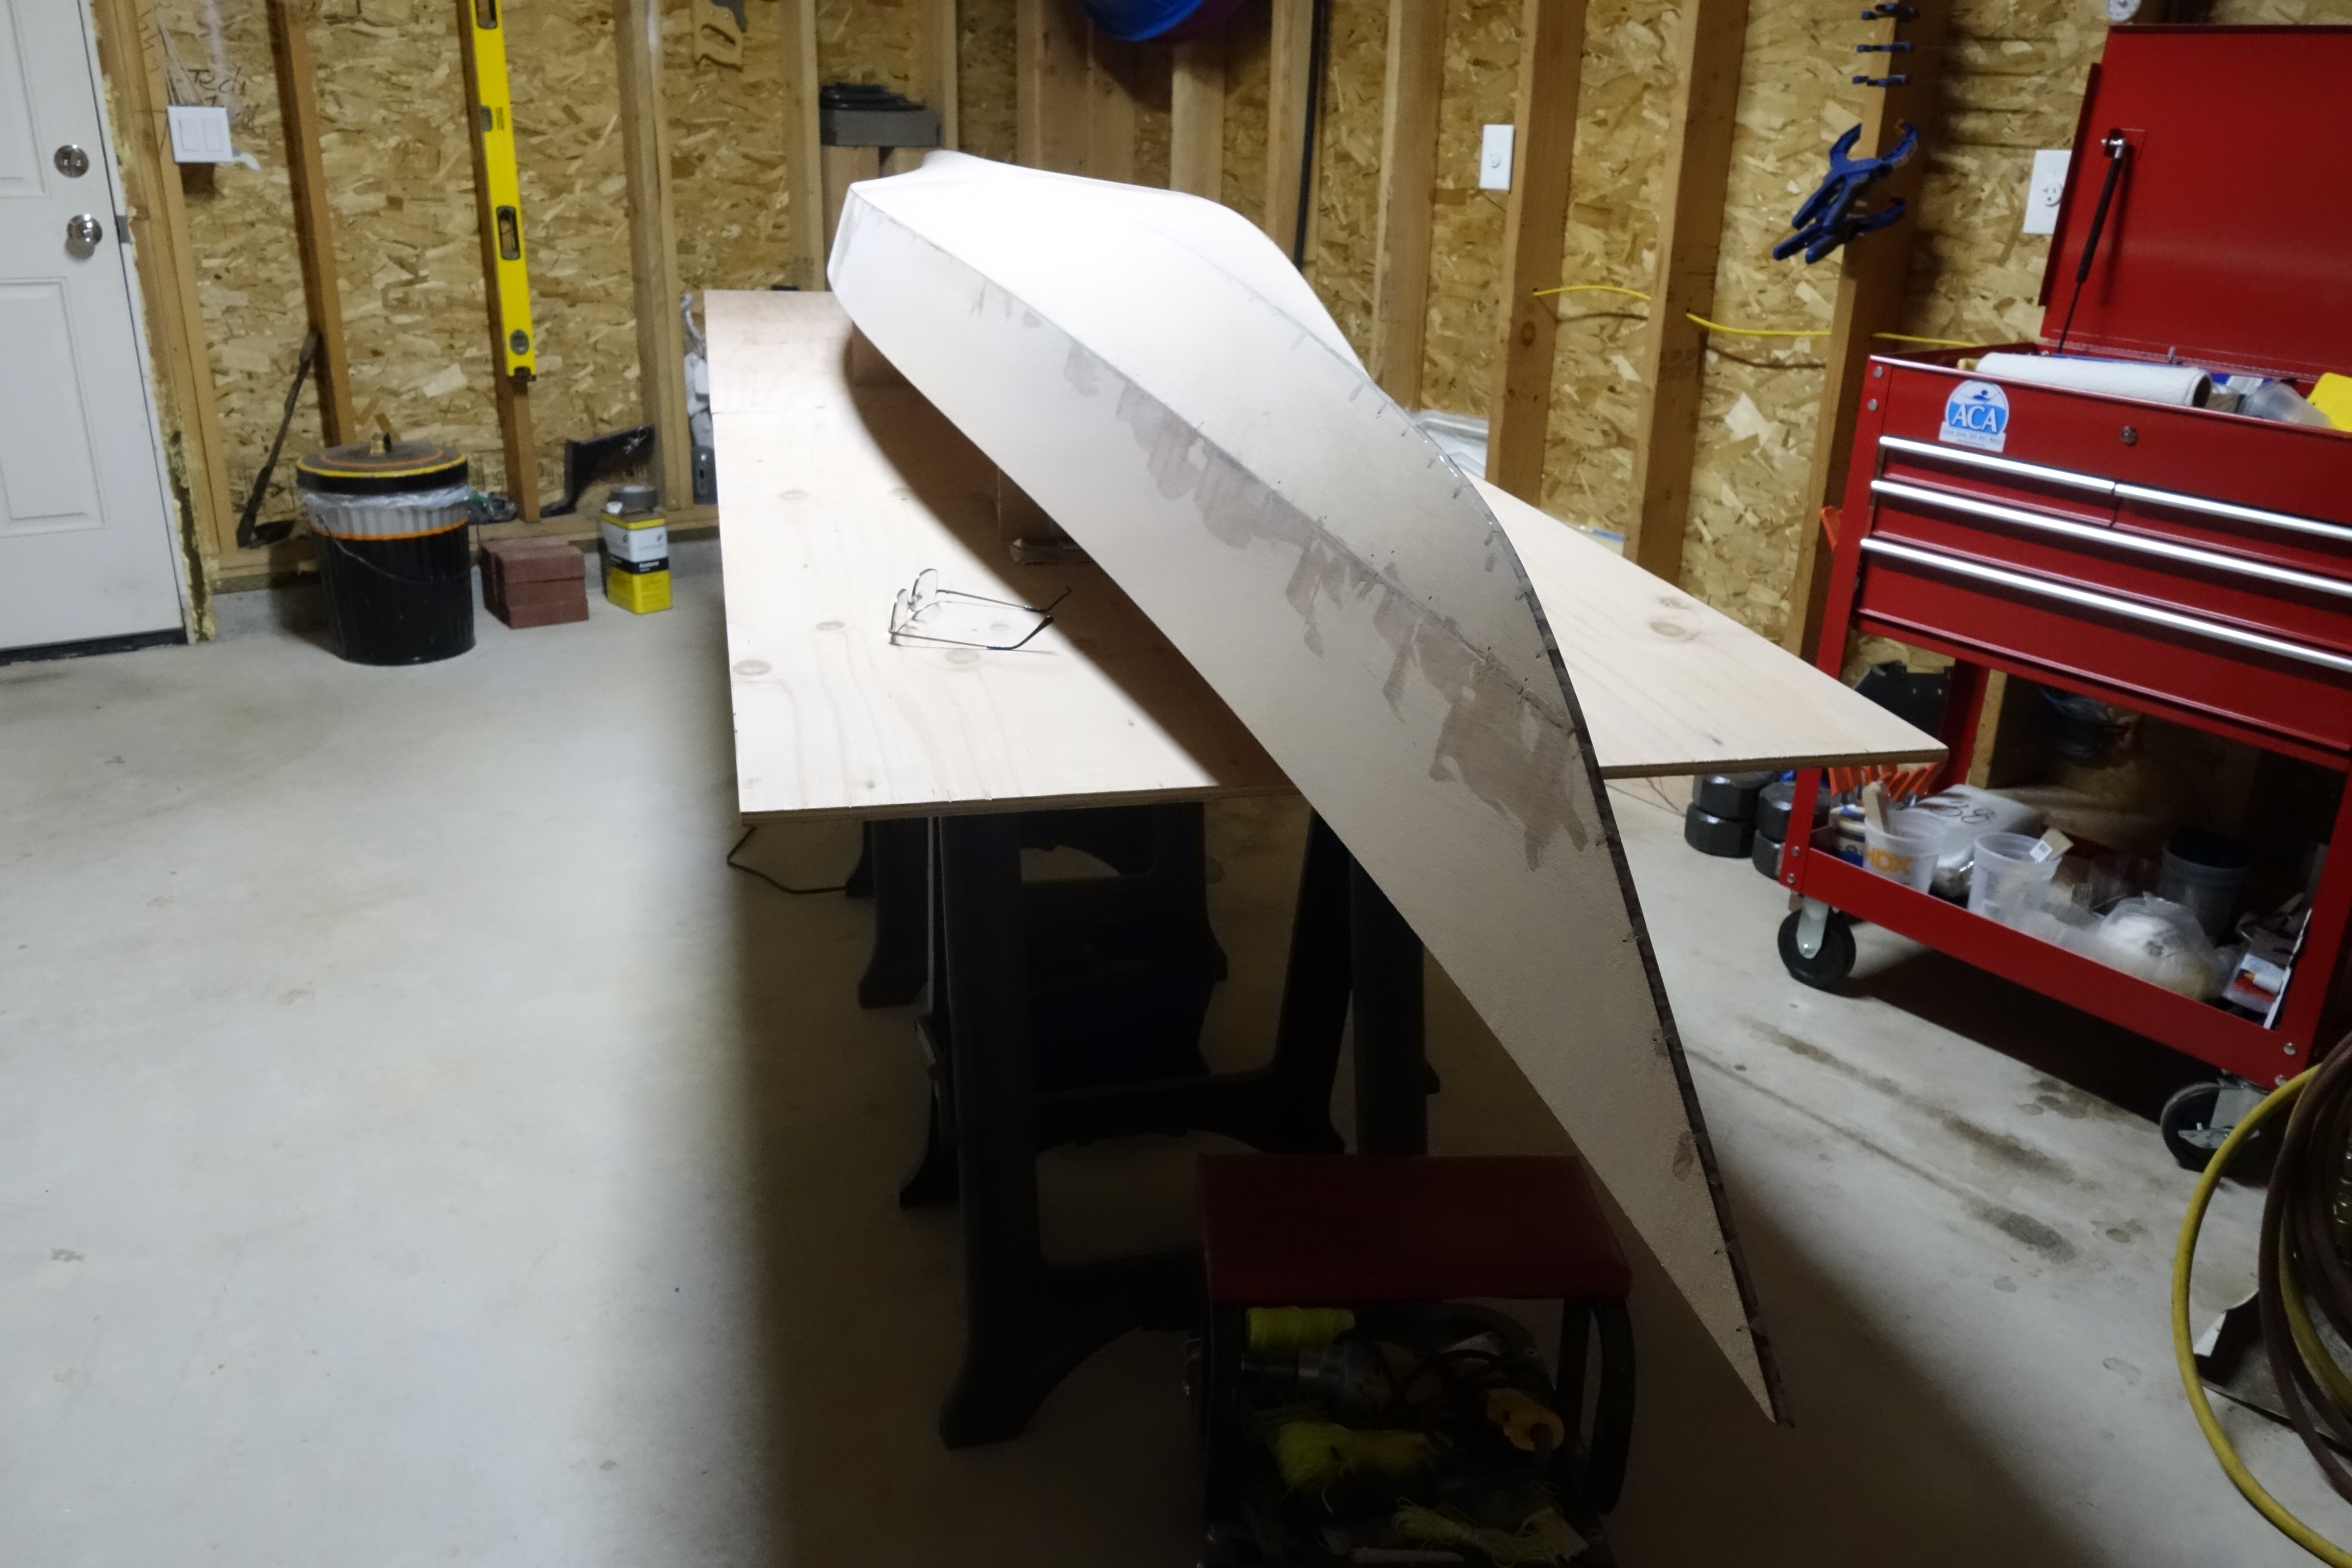
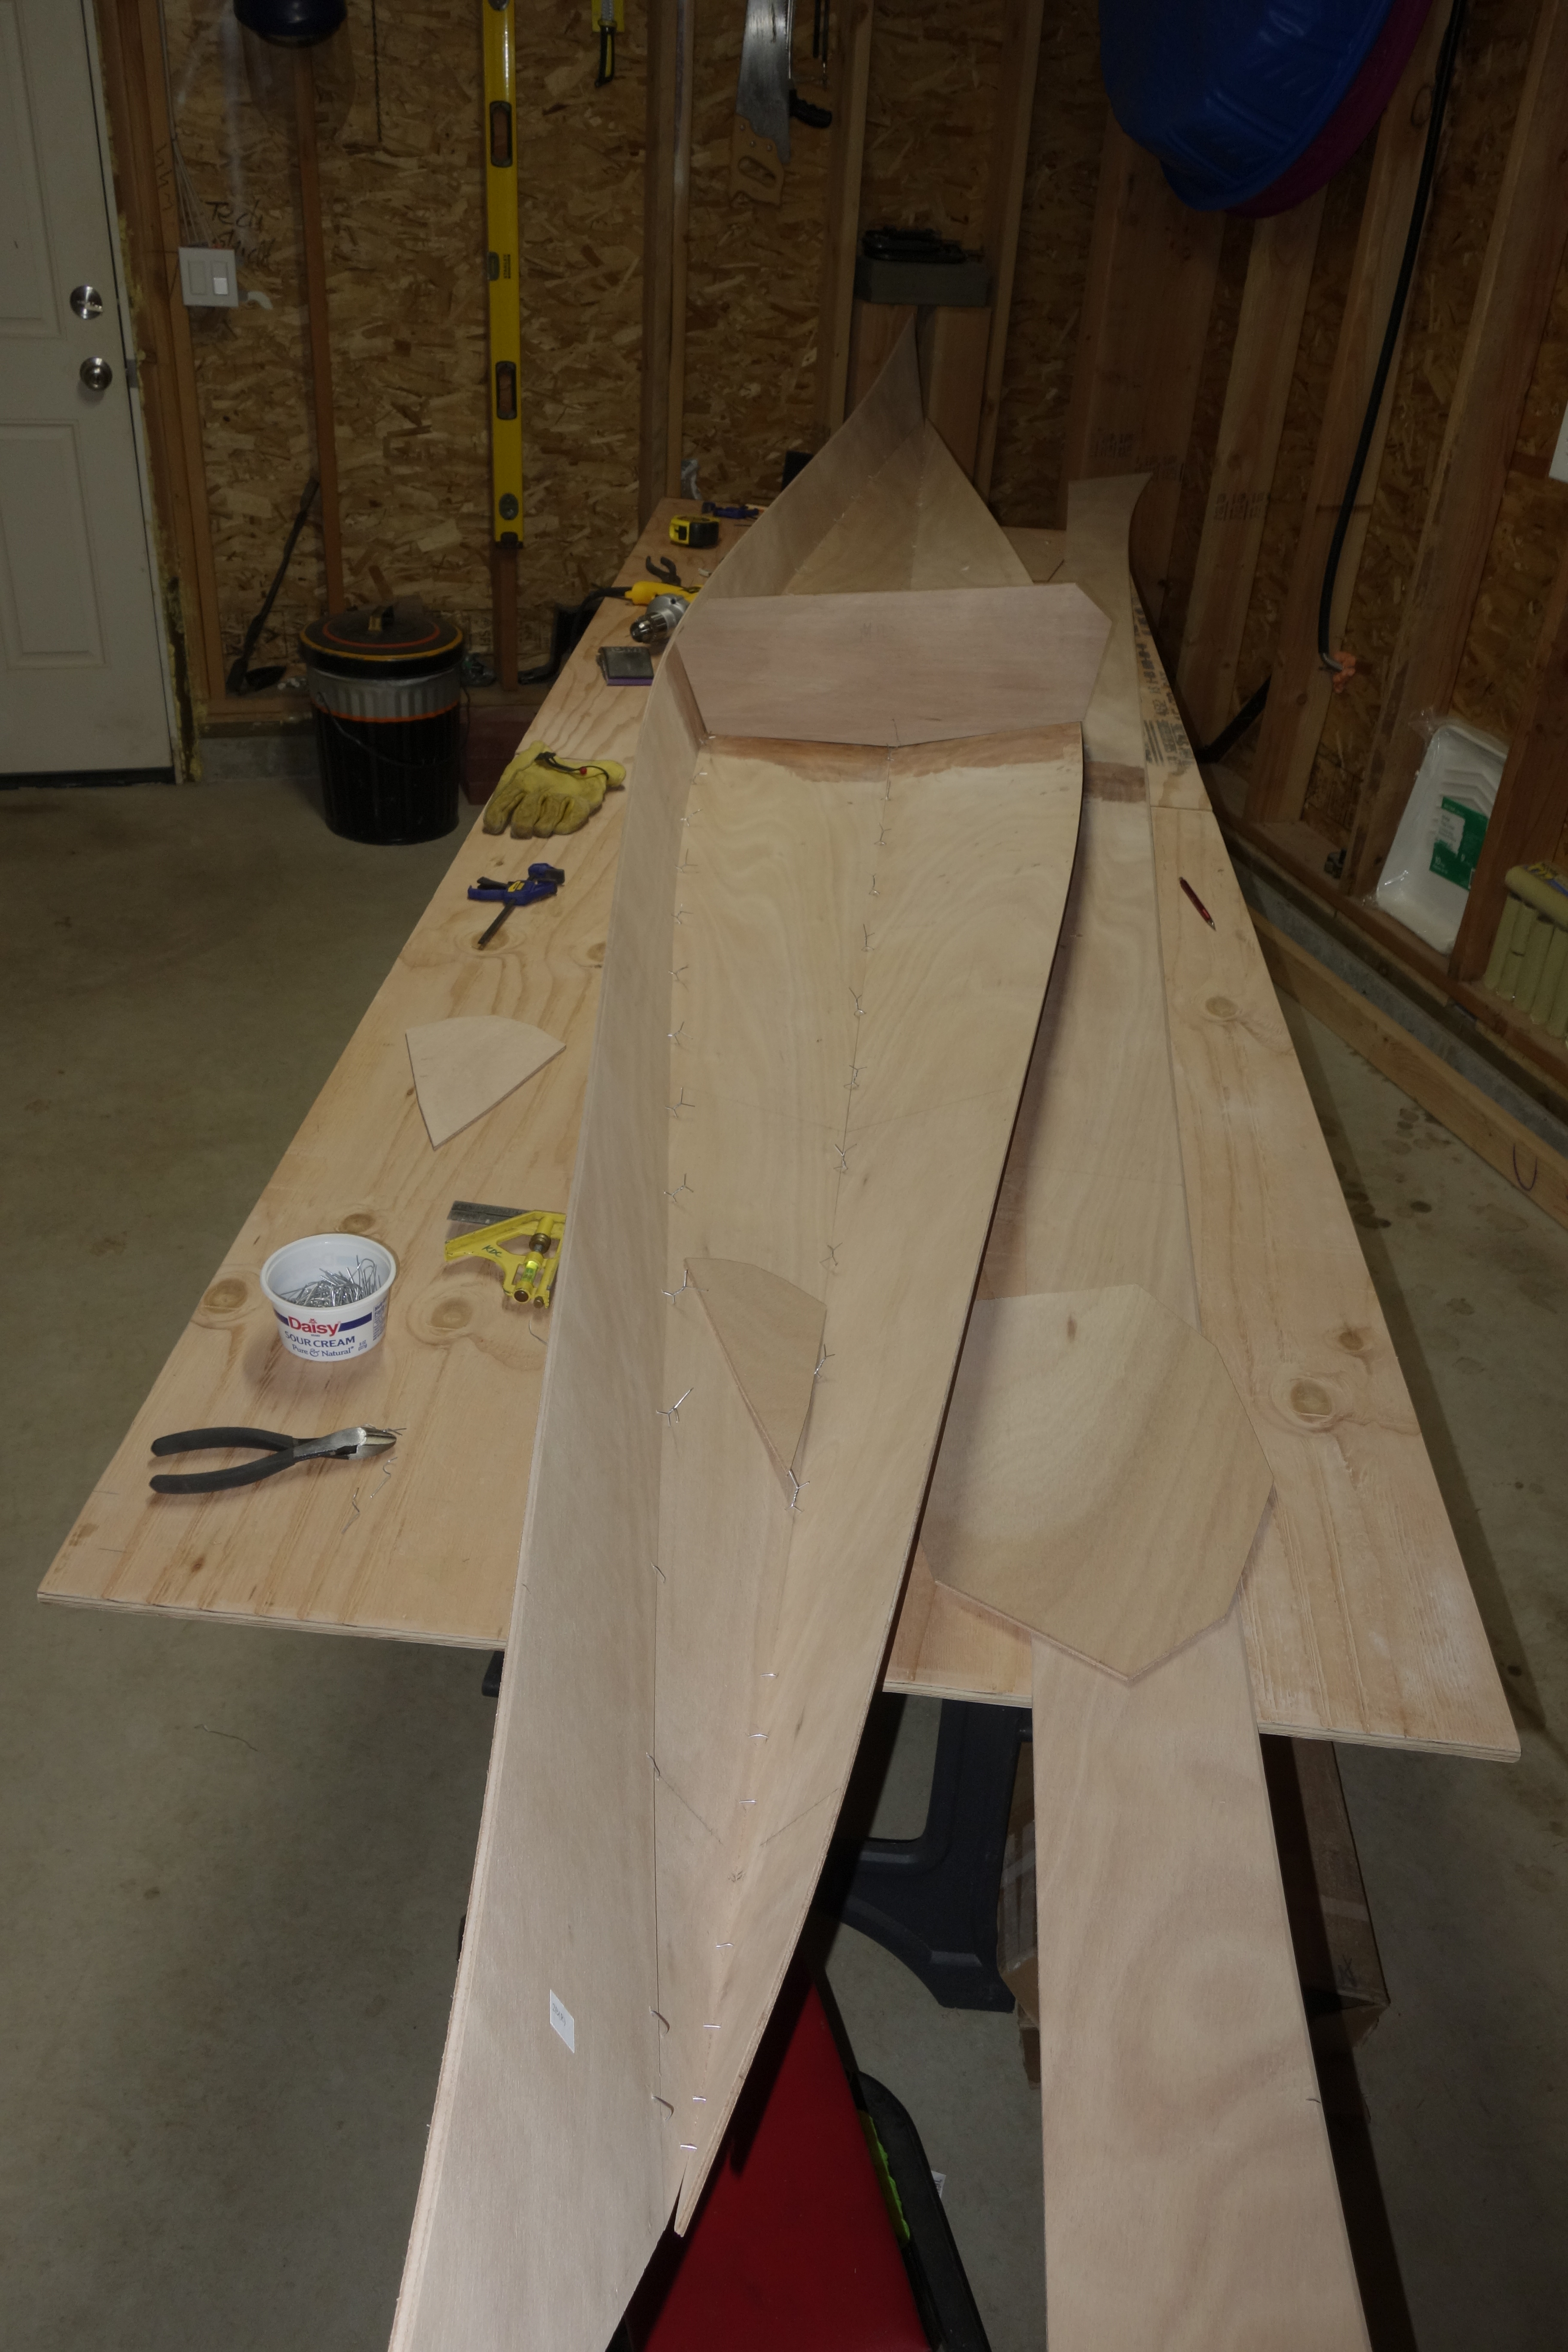
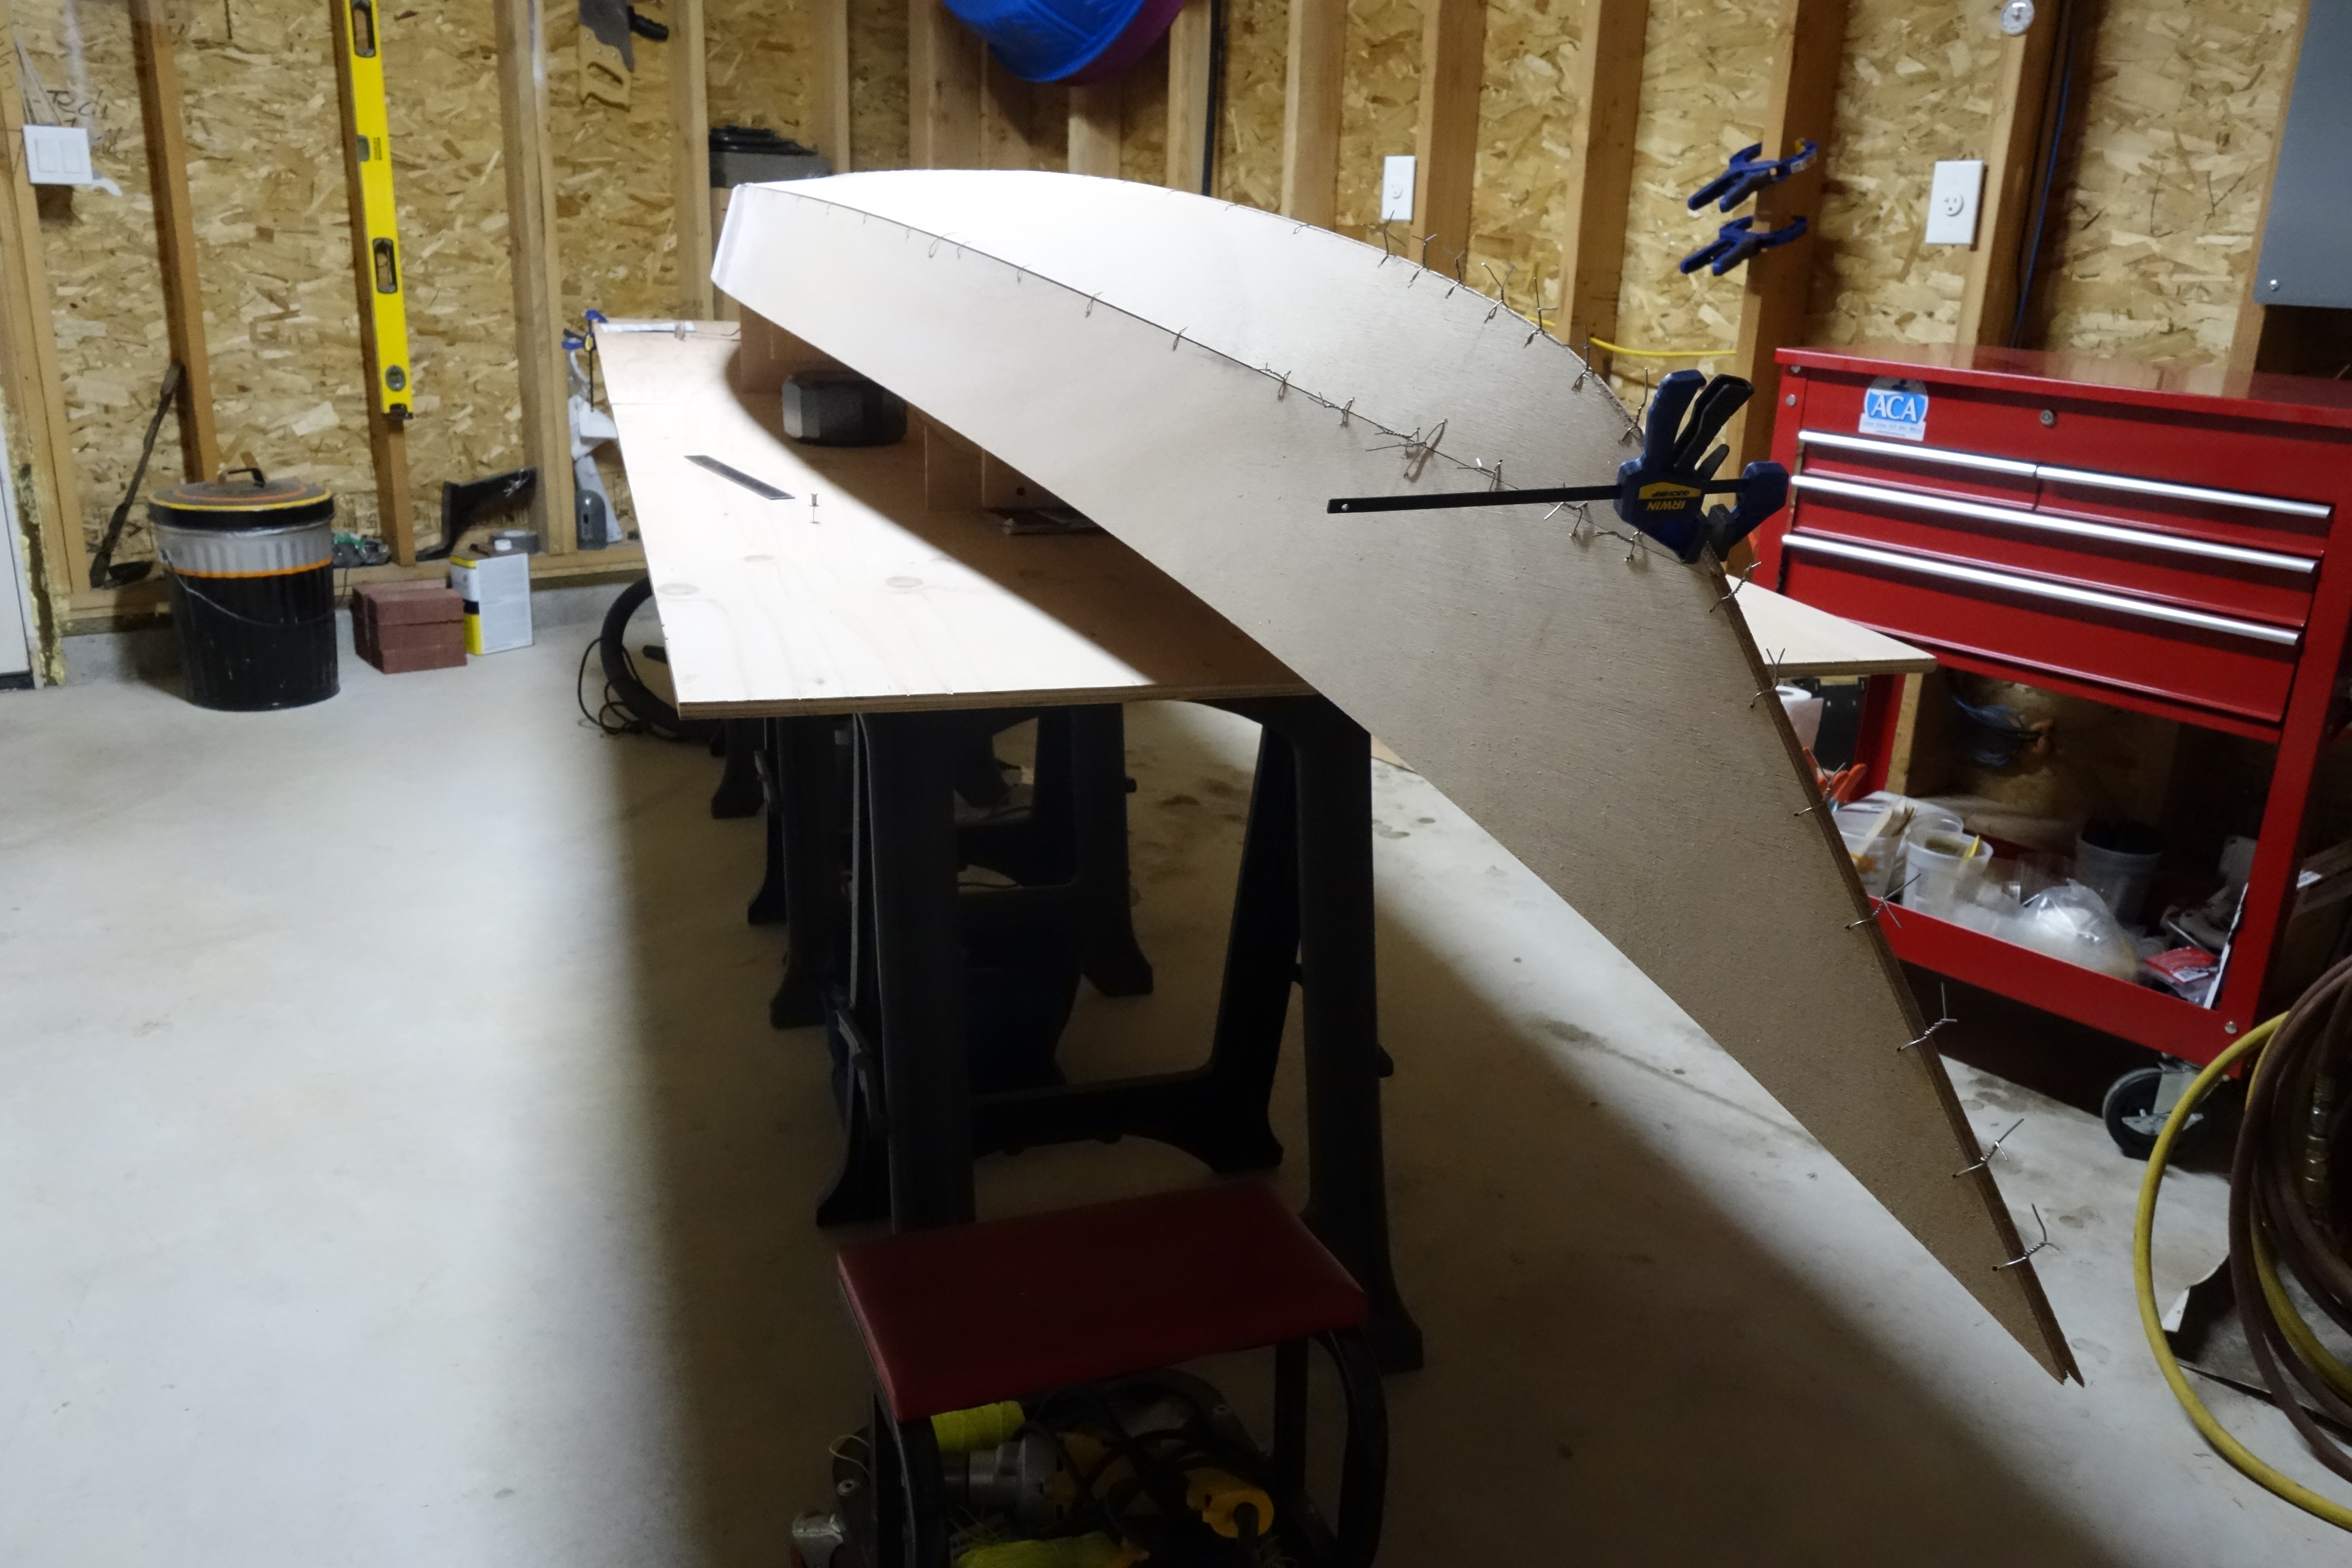
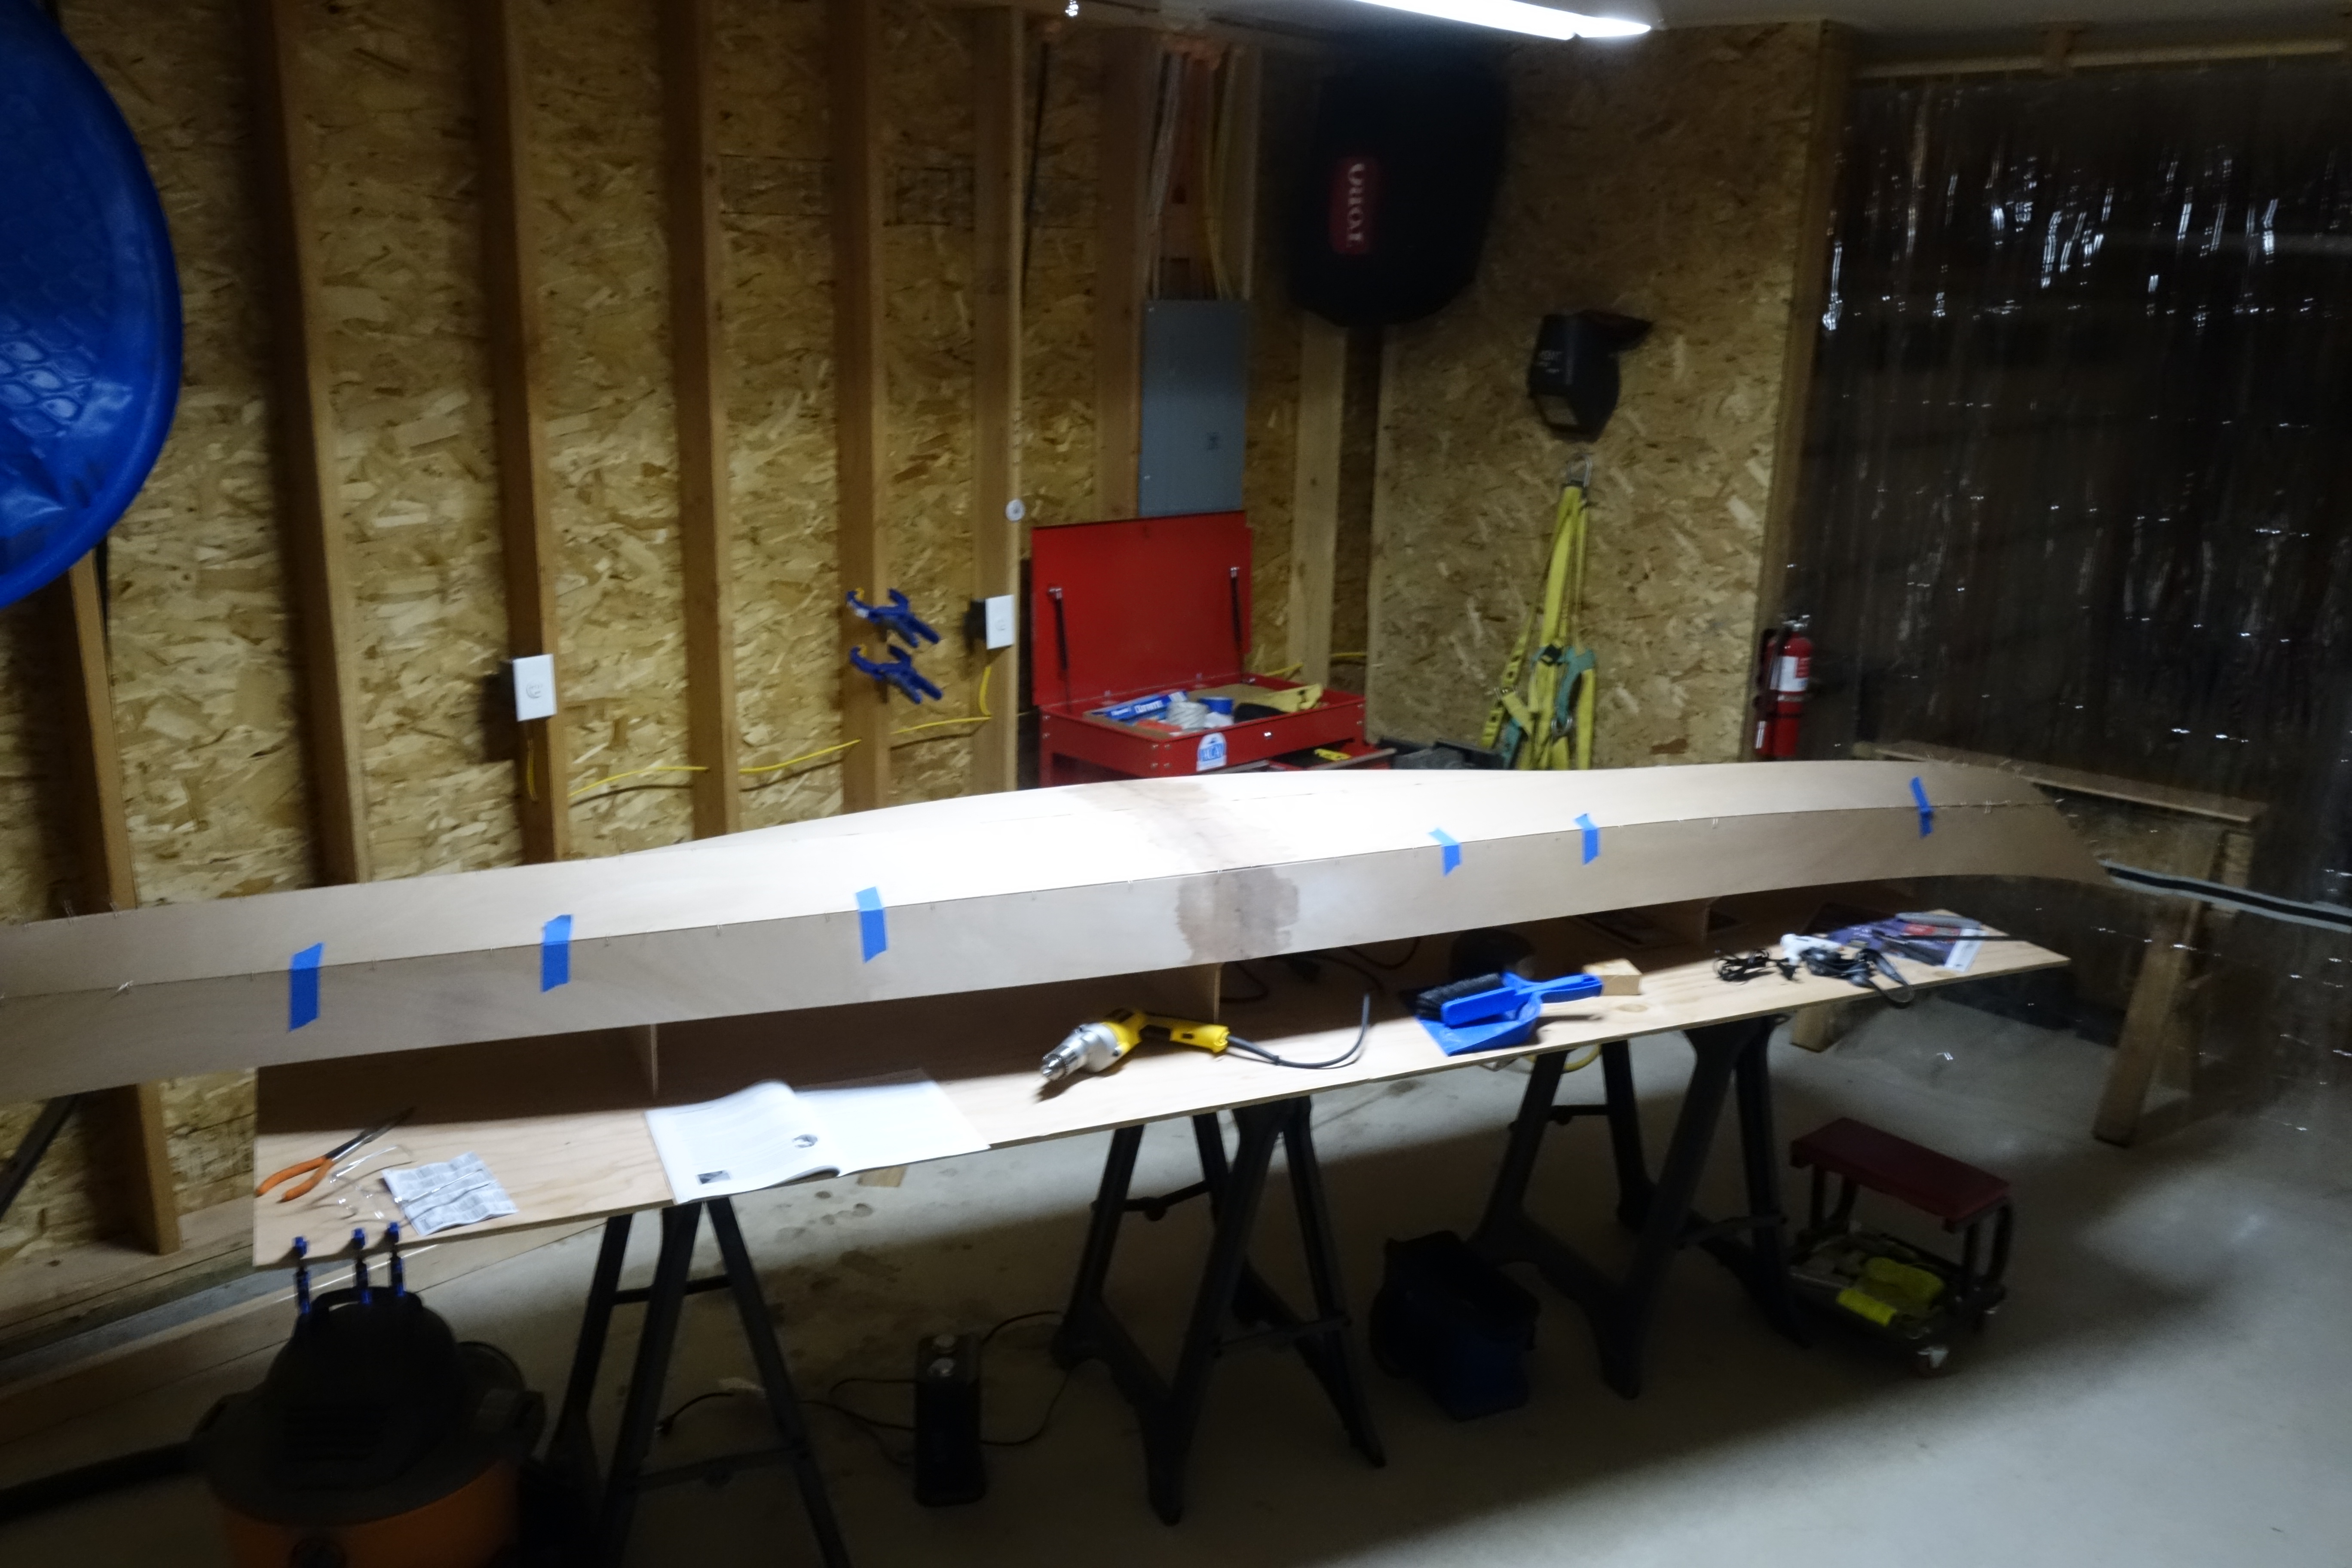
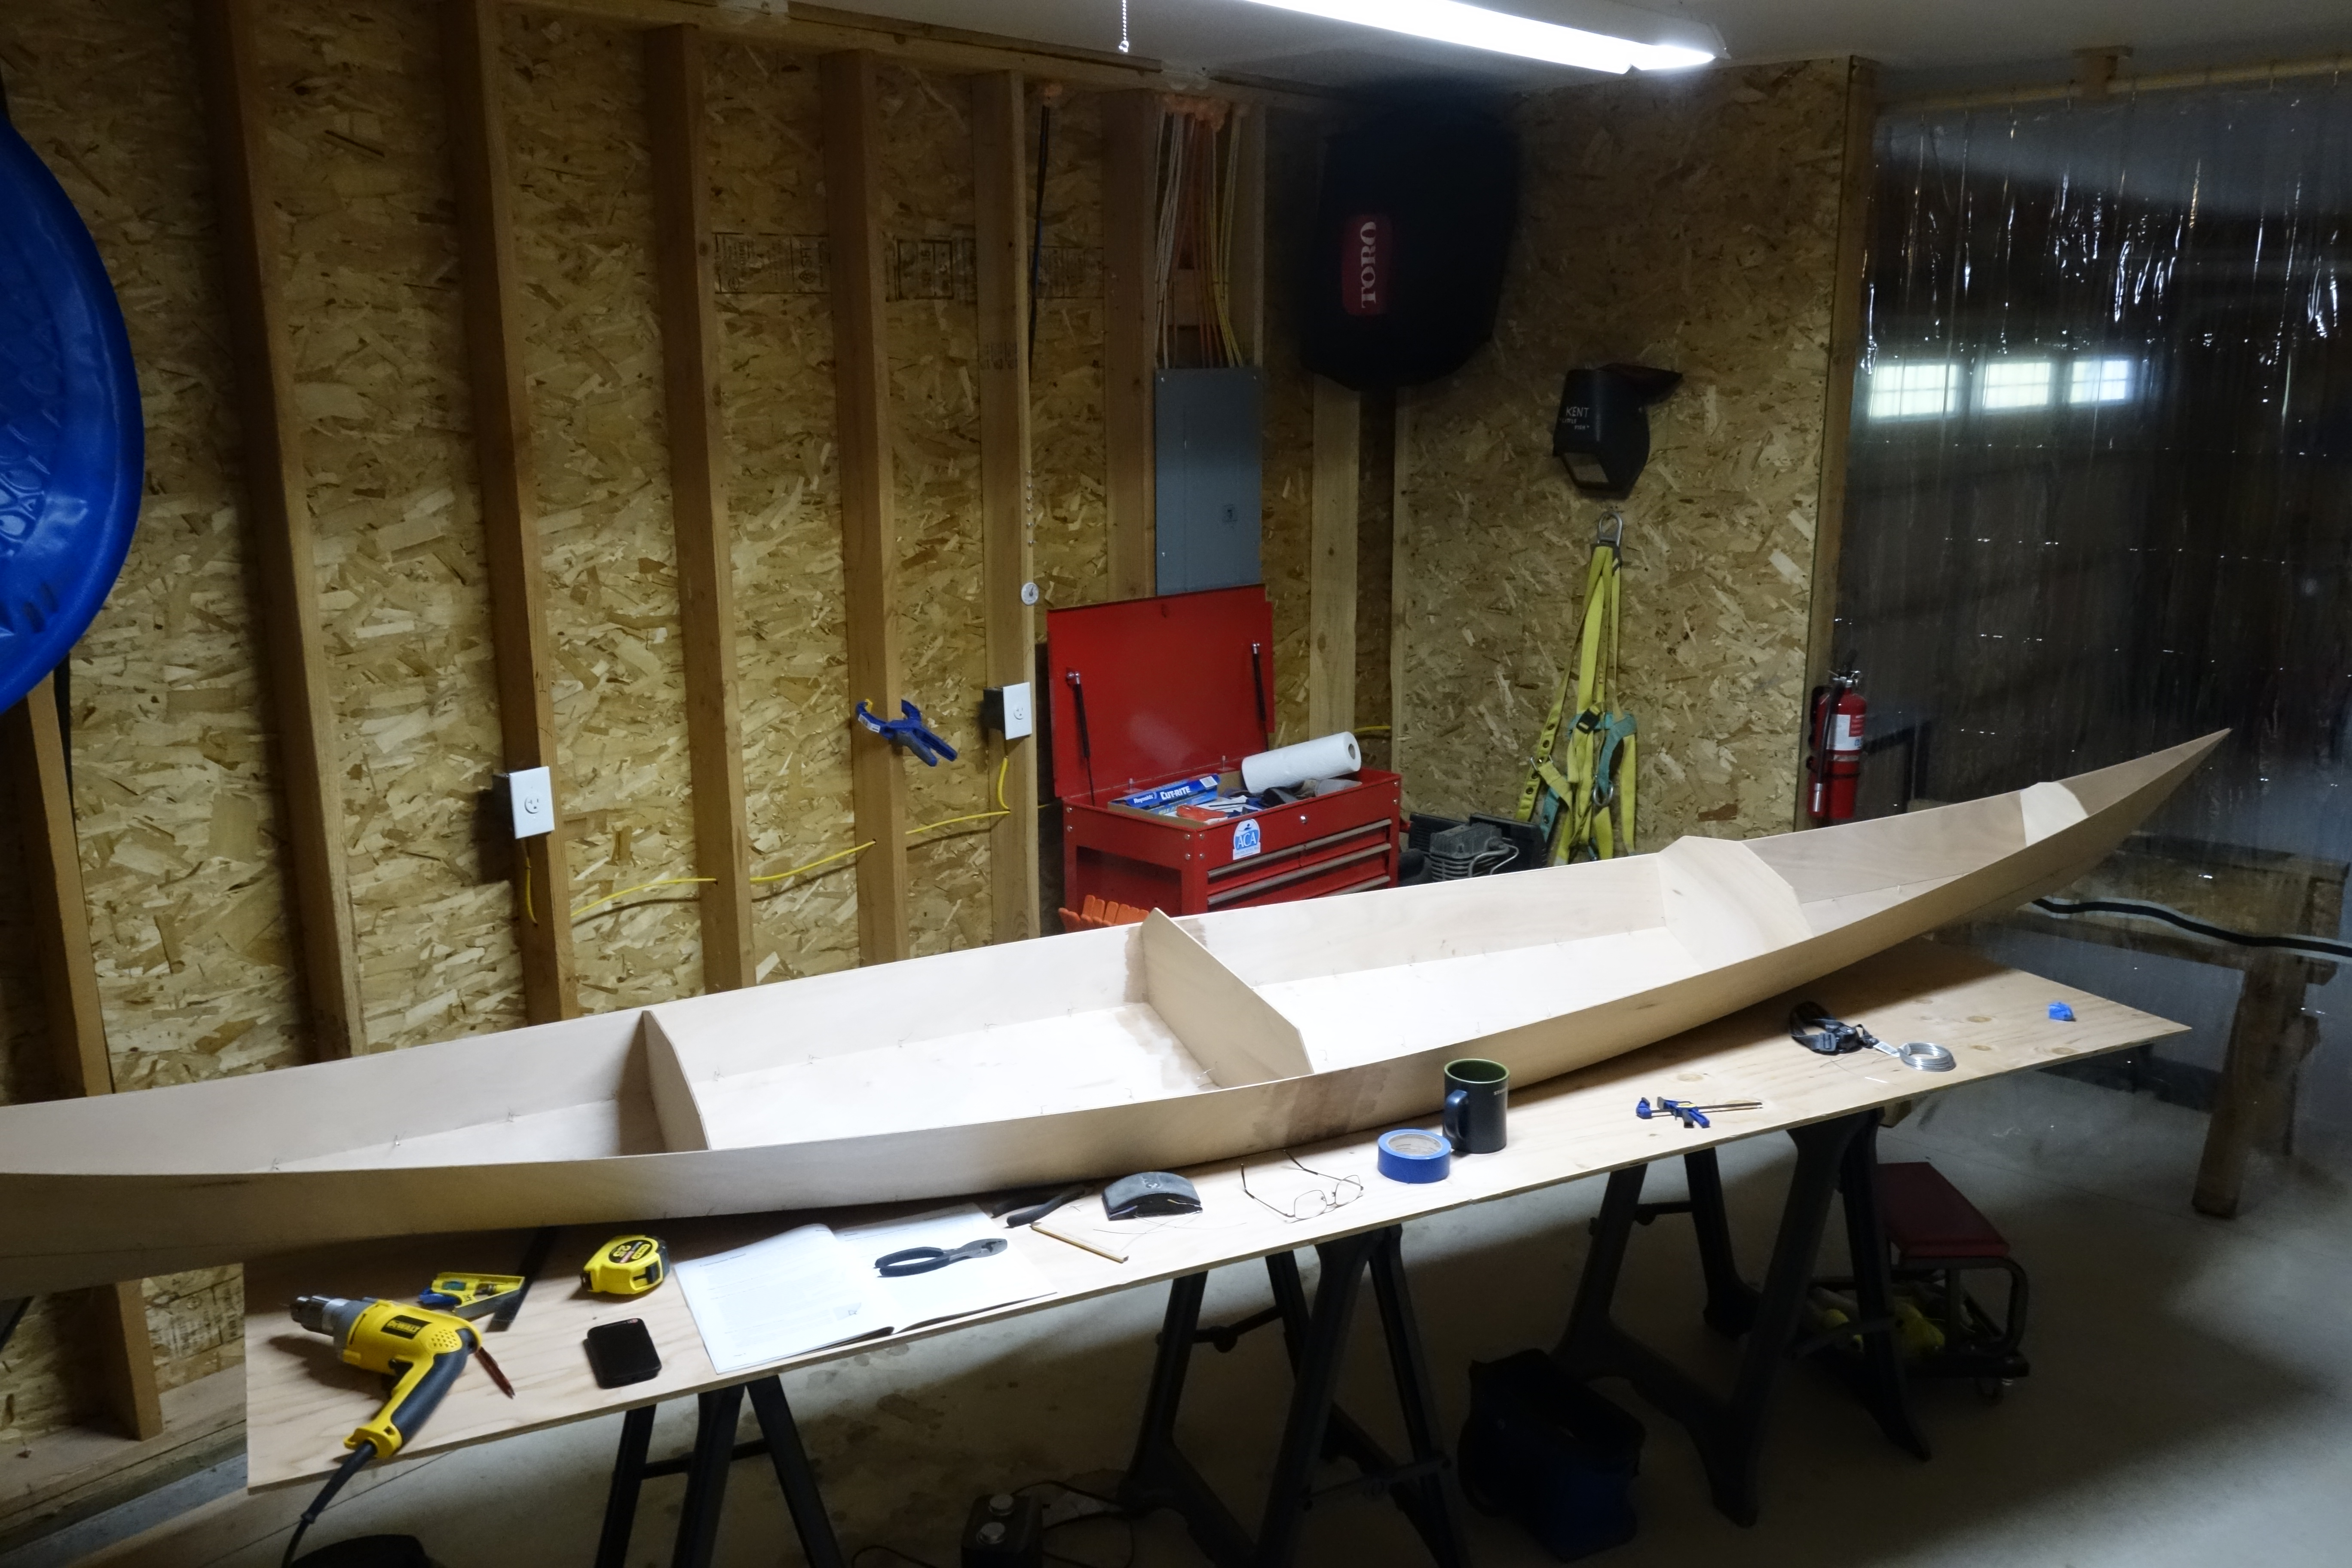
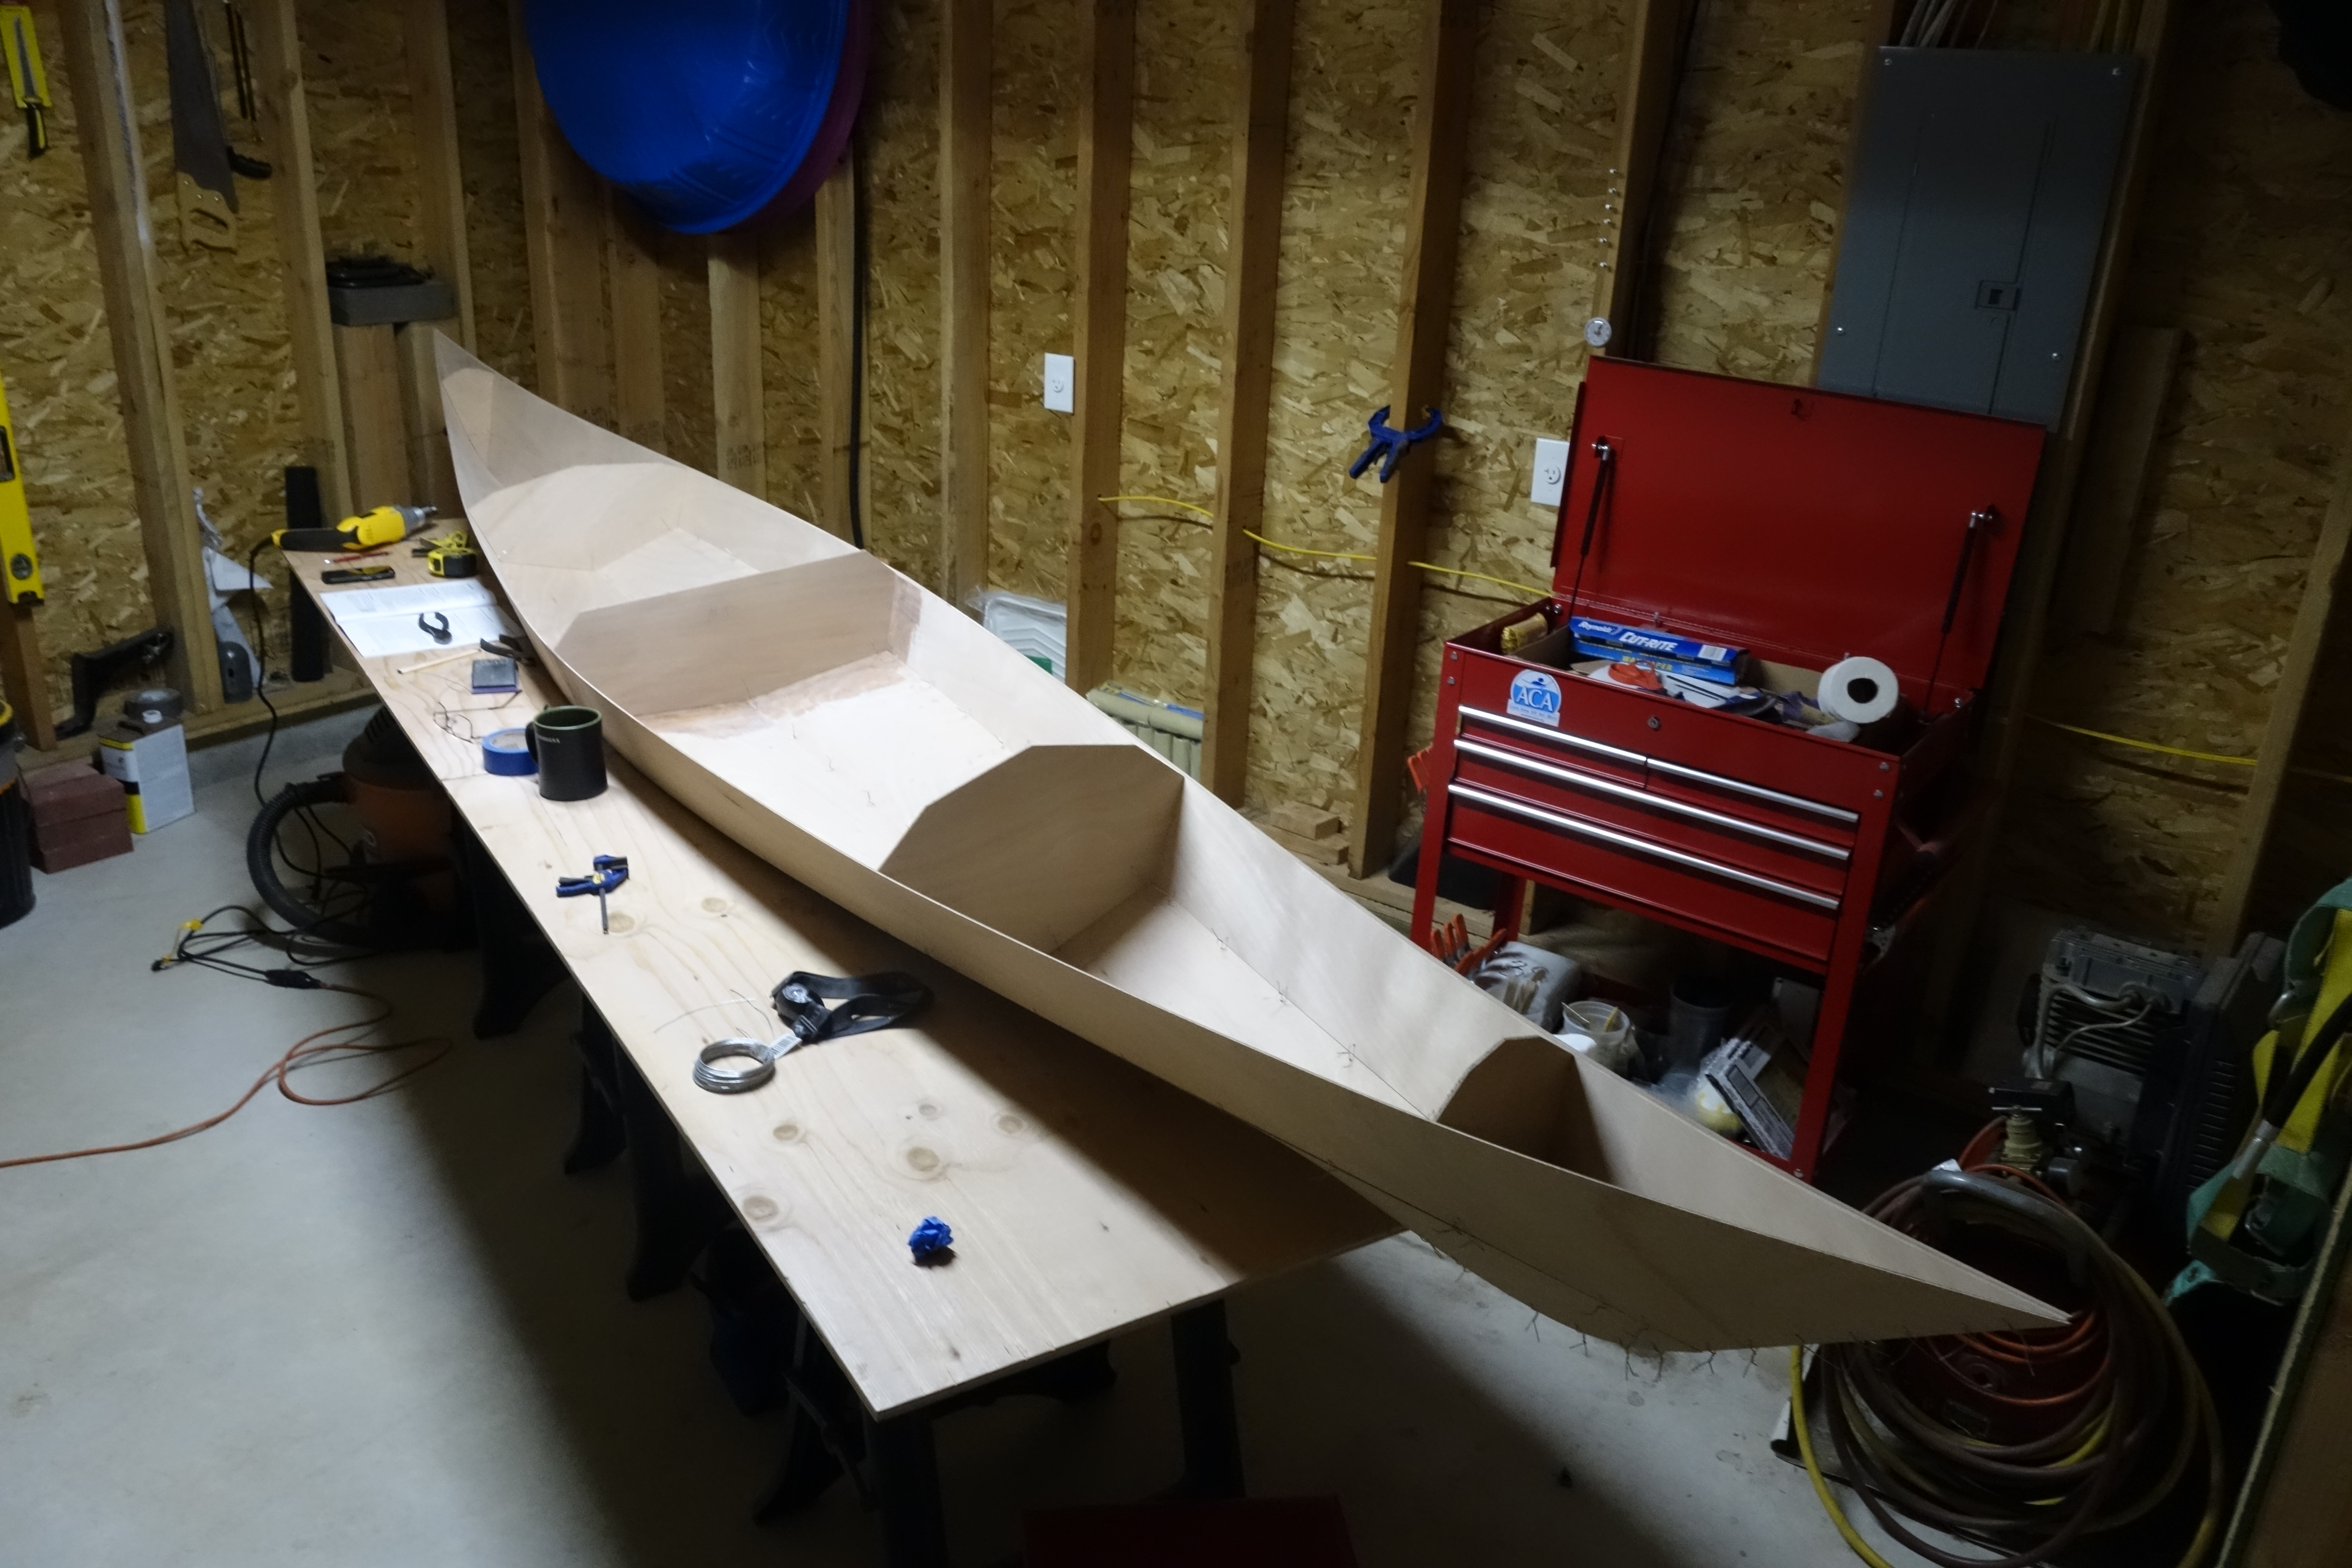
There is an important process that I forgot to photograph before I turned the hull over to do the wires on the outside, and that is that the temporary frames were all glued into the hull using a hot glue gun. Pygmy recommends the cheapest one you can find, which is what I bought, and it worked great! Each frame got beads of hot glue about an inch long, spaced every few inches, on both sides of the frames. This was done to hold the frames in place once the wires are removed after the hull seams are glued. The frames must remain in the kayak until after the deck is wired together as they will guide the shape of the deck while it is wired and glued together (but not glued to the hull at that point).

Gluing the keel and controlling/setting the rocker of the hull.

What I neglected to photograph is that the kayak is sitting atop a very straight 2 X 4, that is standing on its edge. About five feet of the keel seam has been tacked down to the 2 X 4 and glued with epoxy. The keel was tacked down with push pins (which can be seen in the photo).

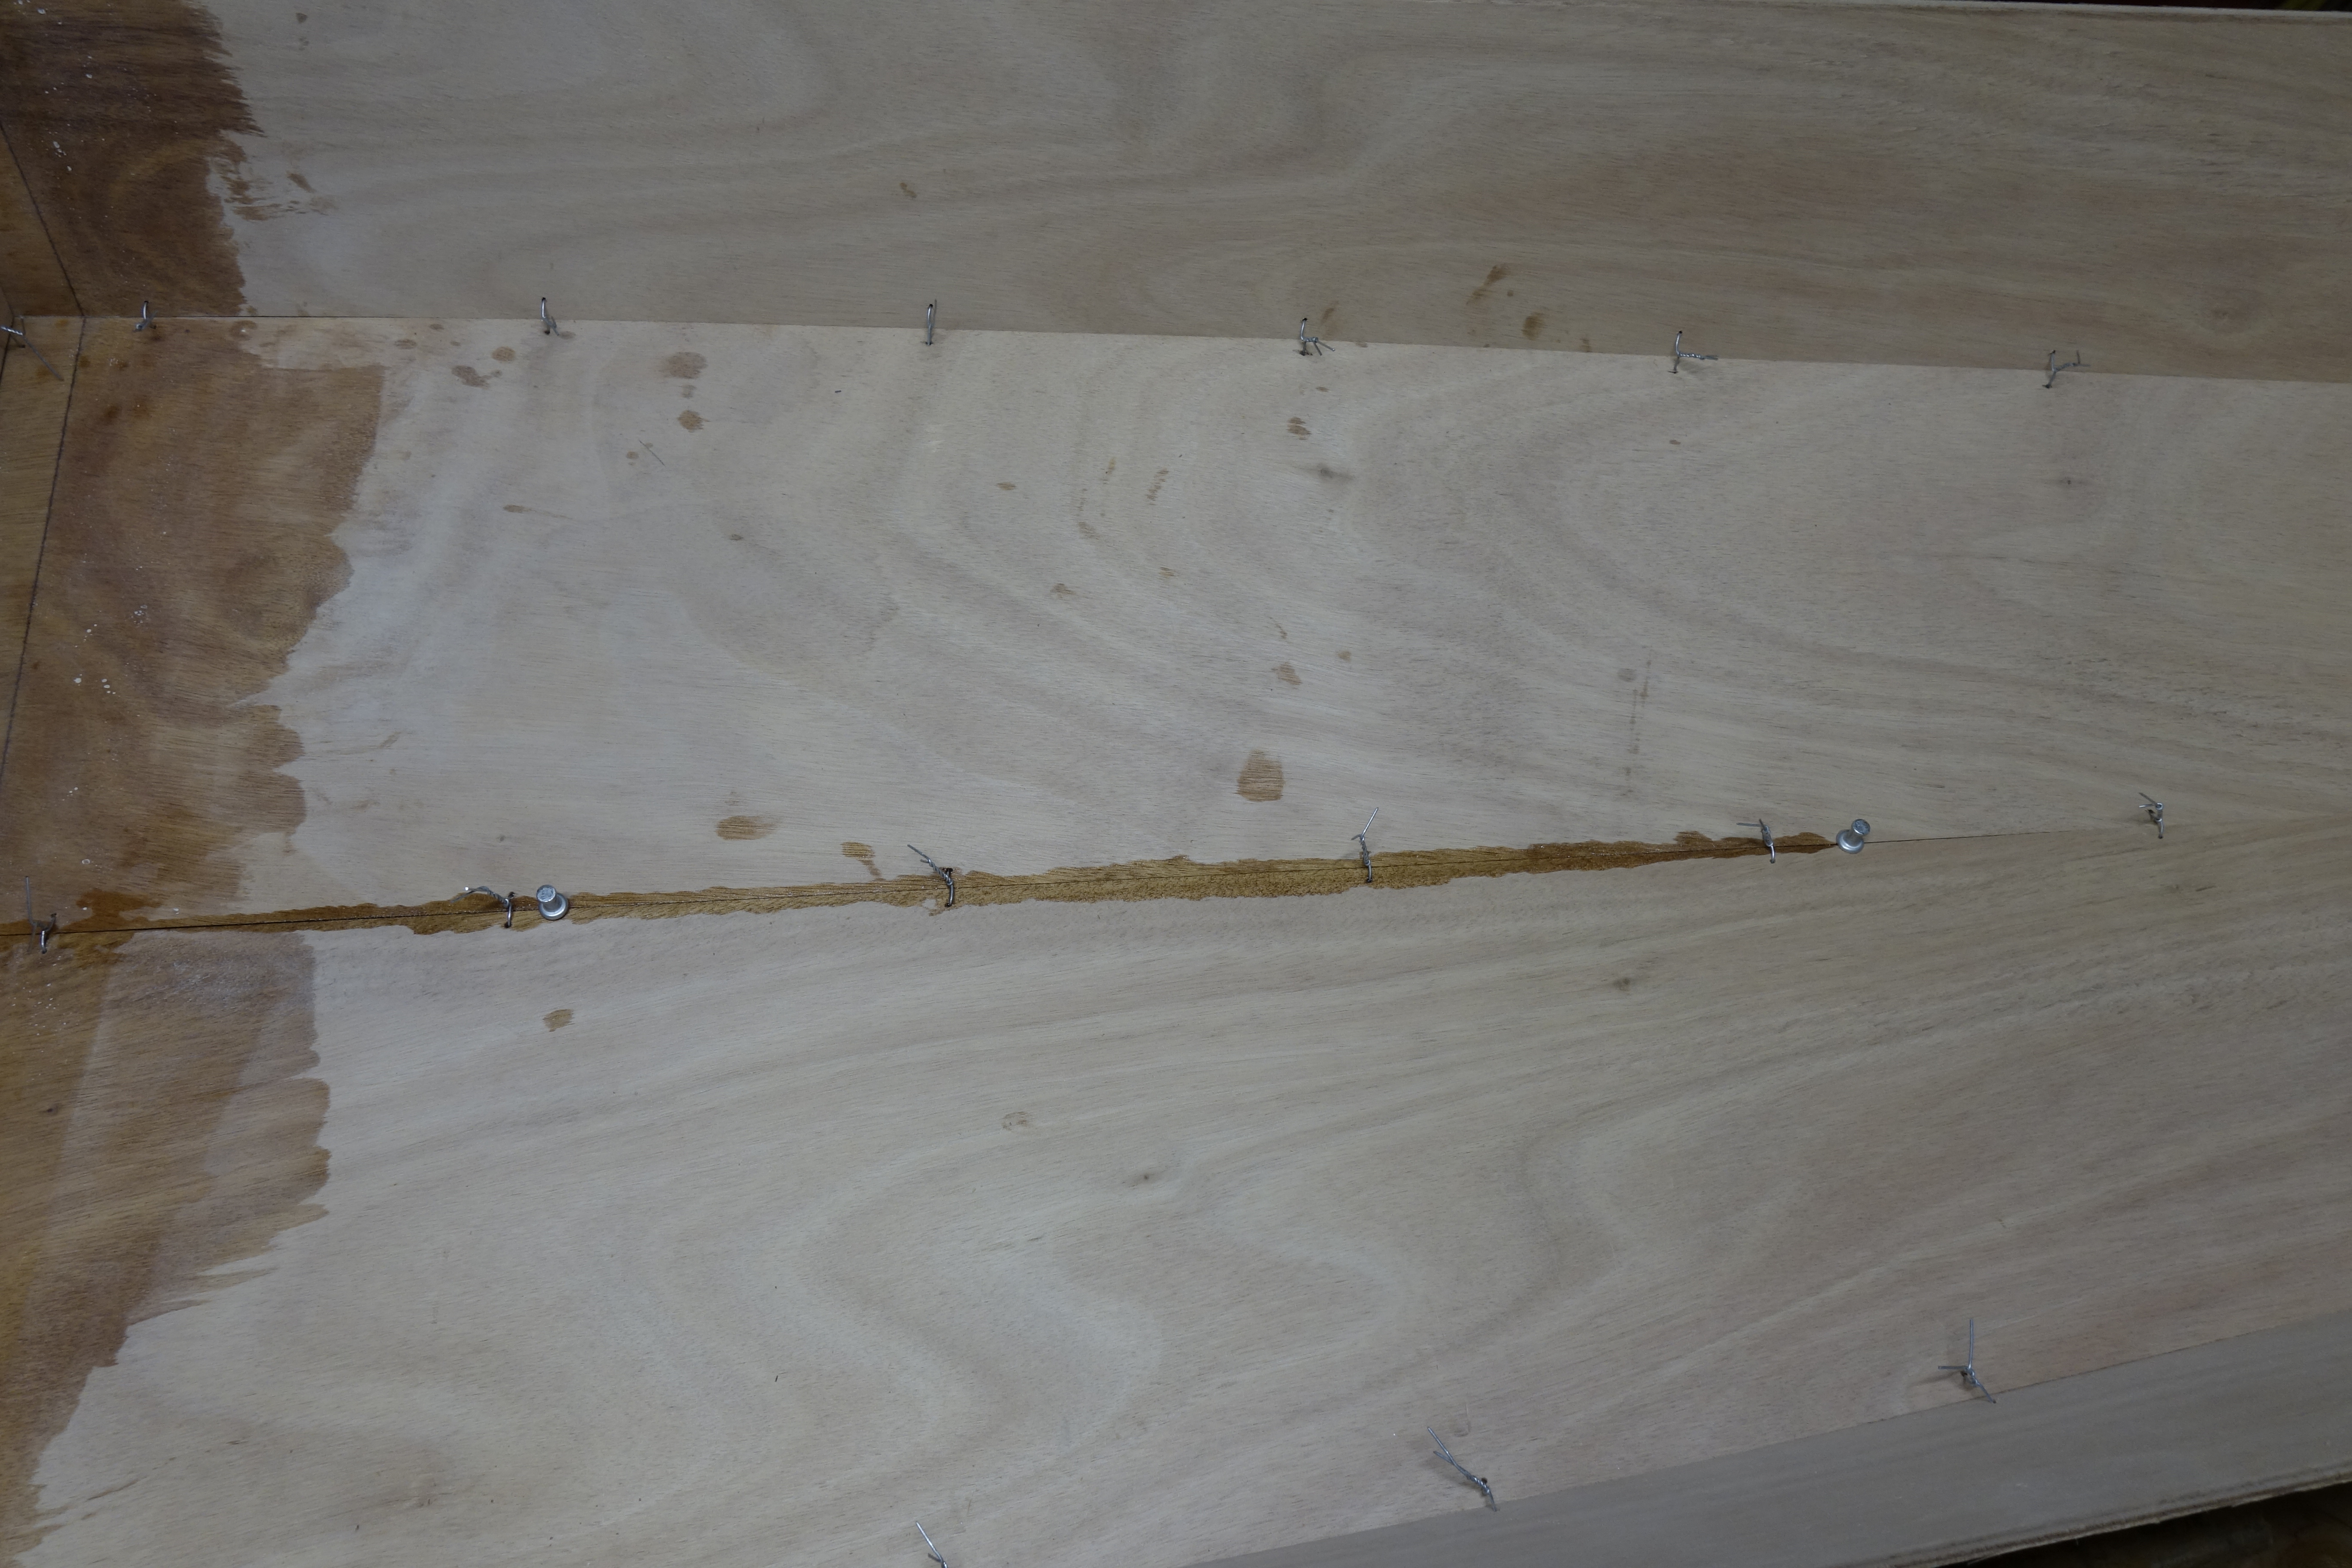
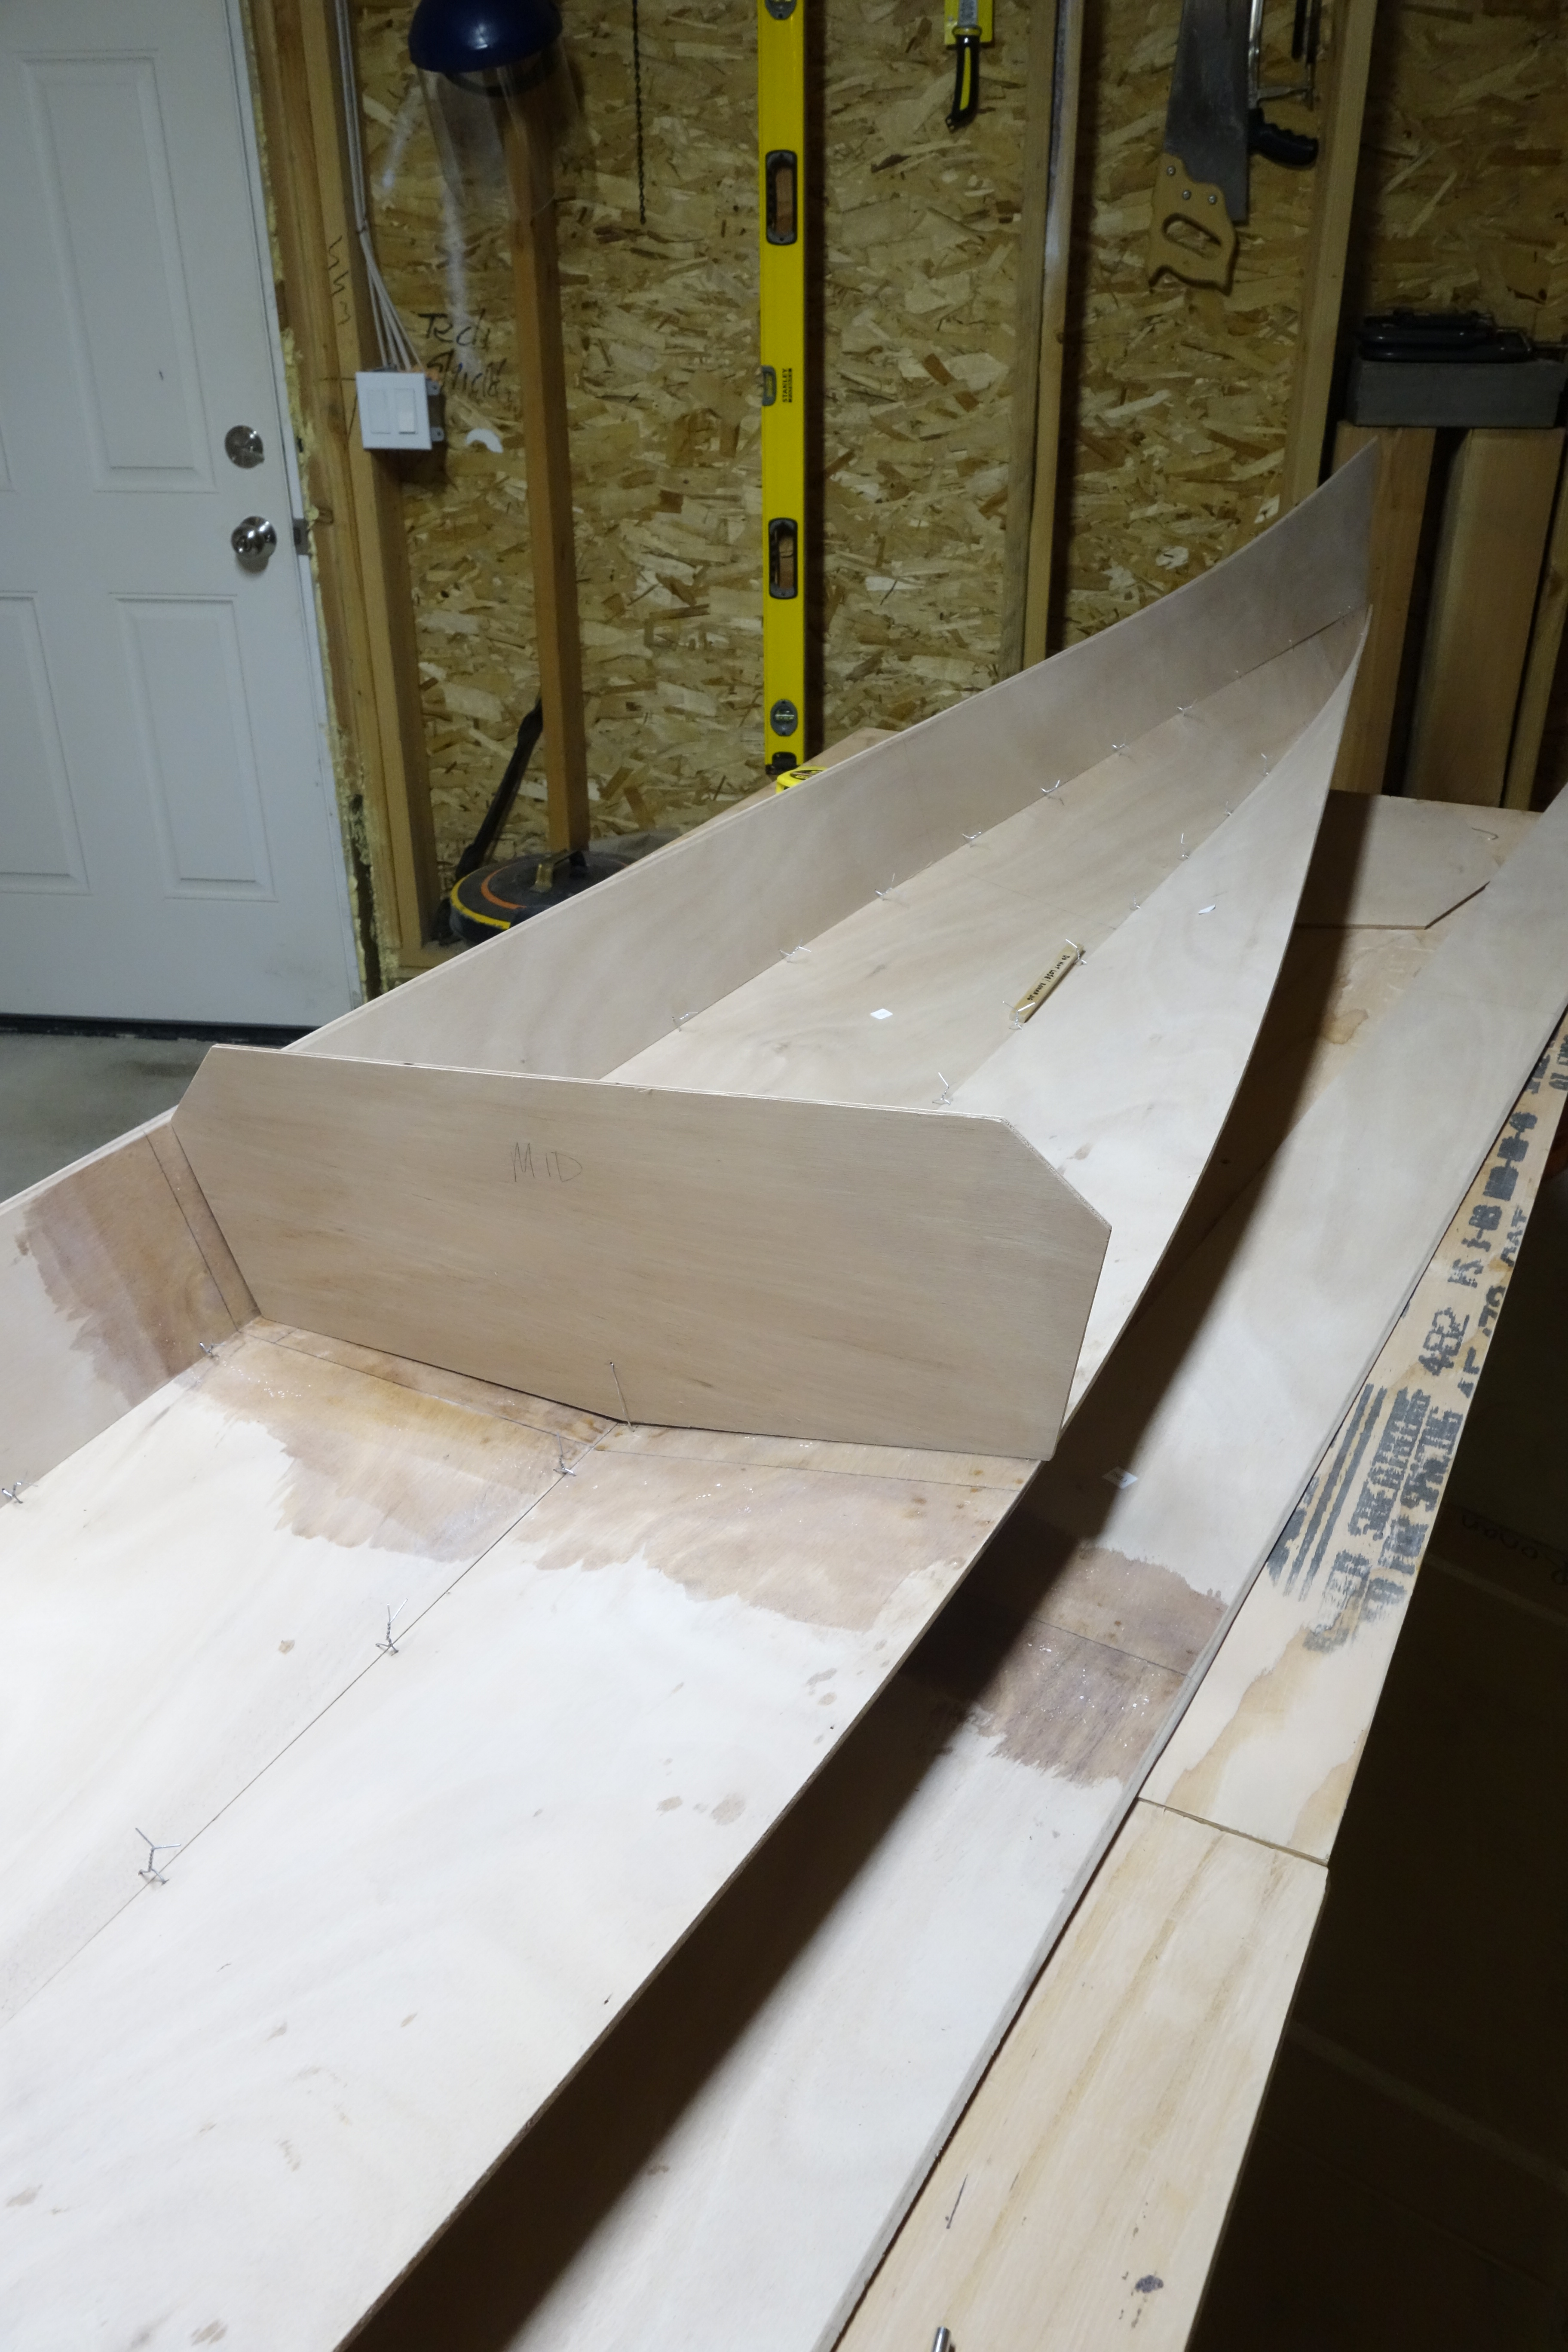
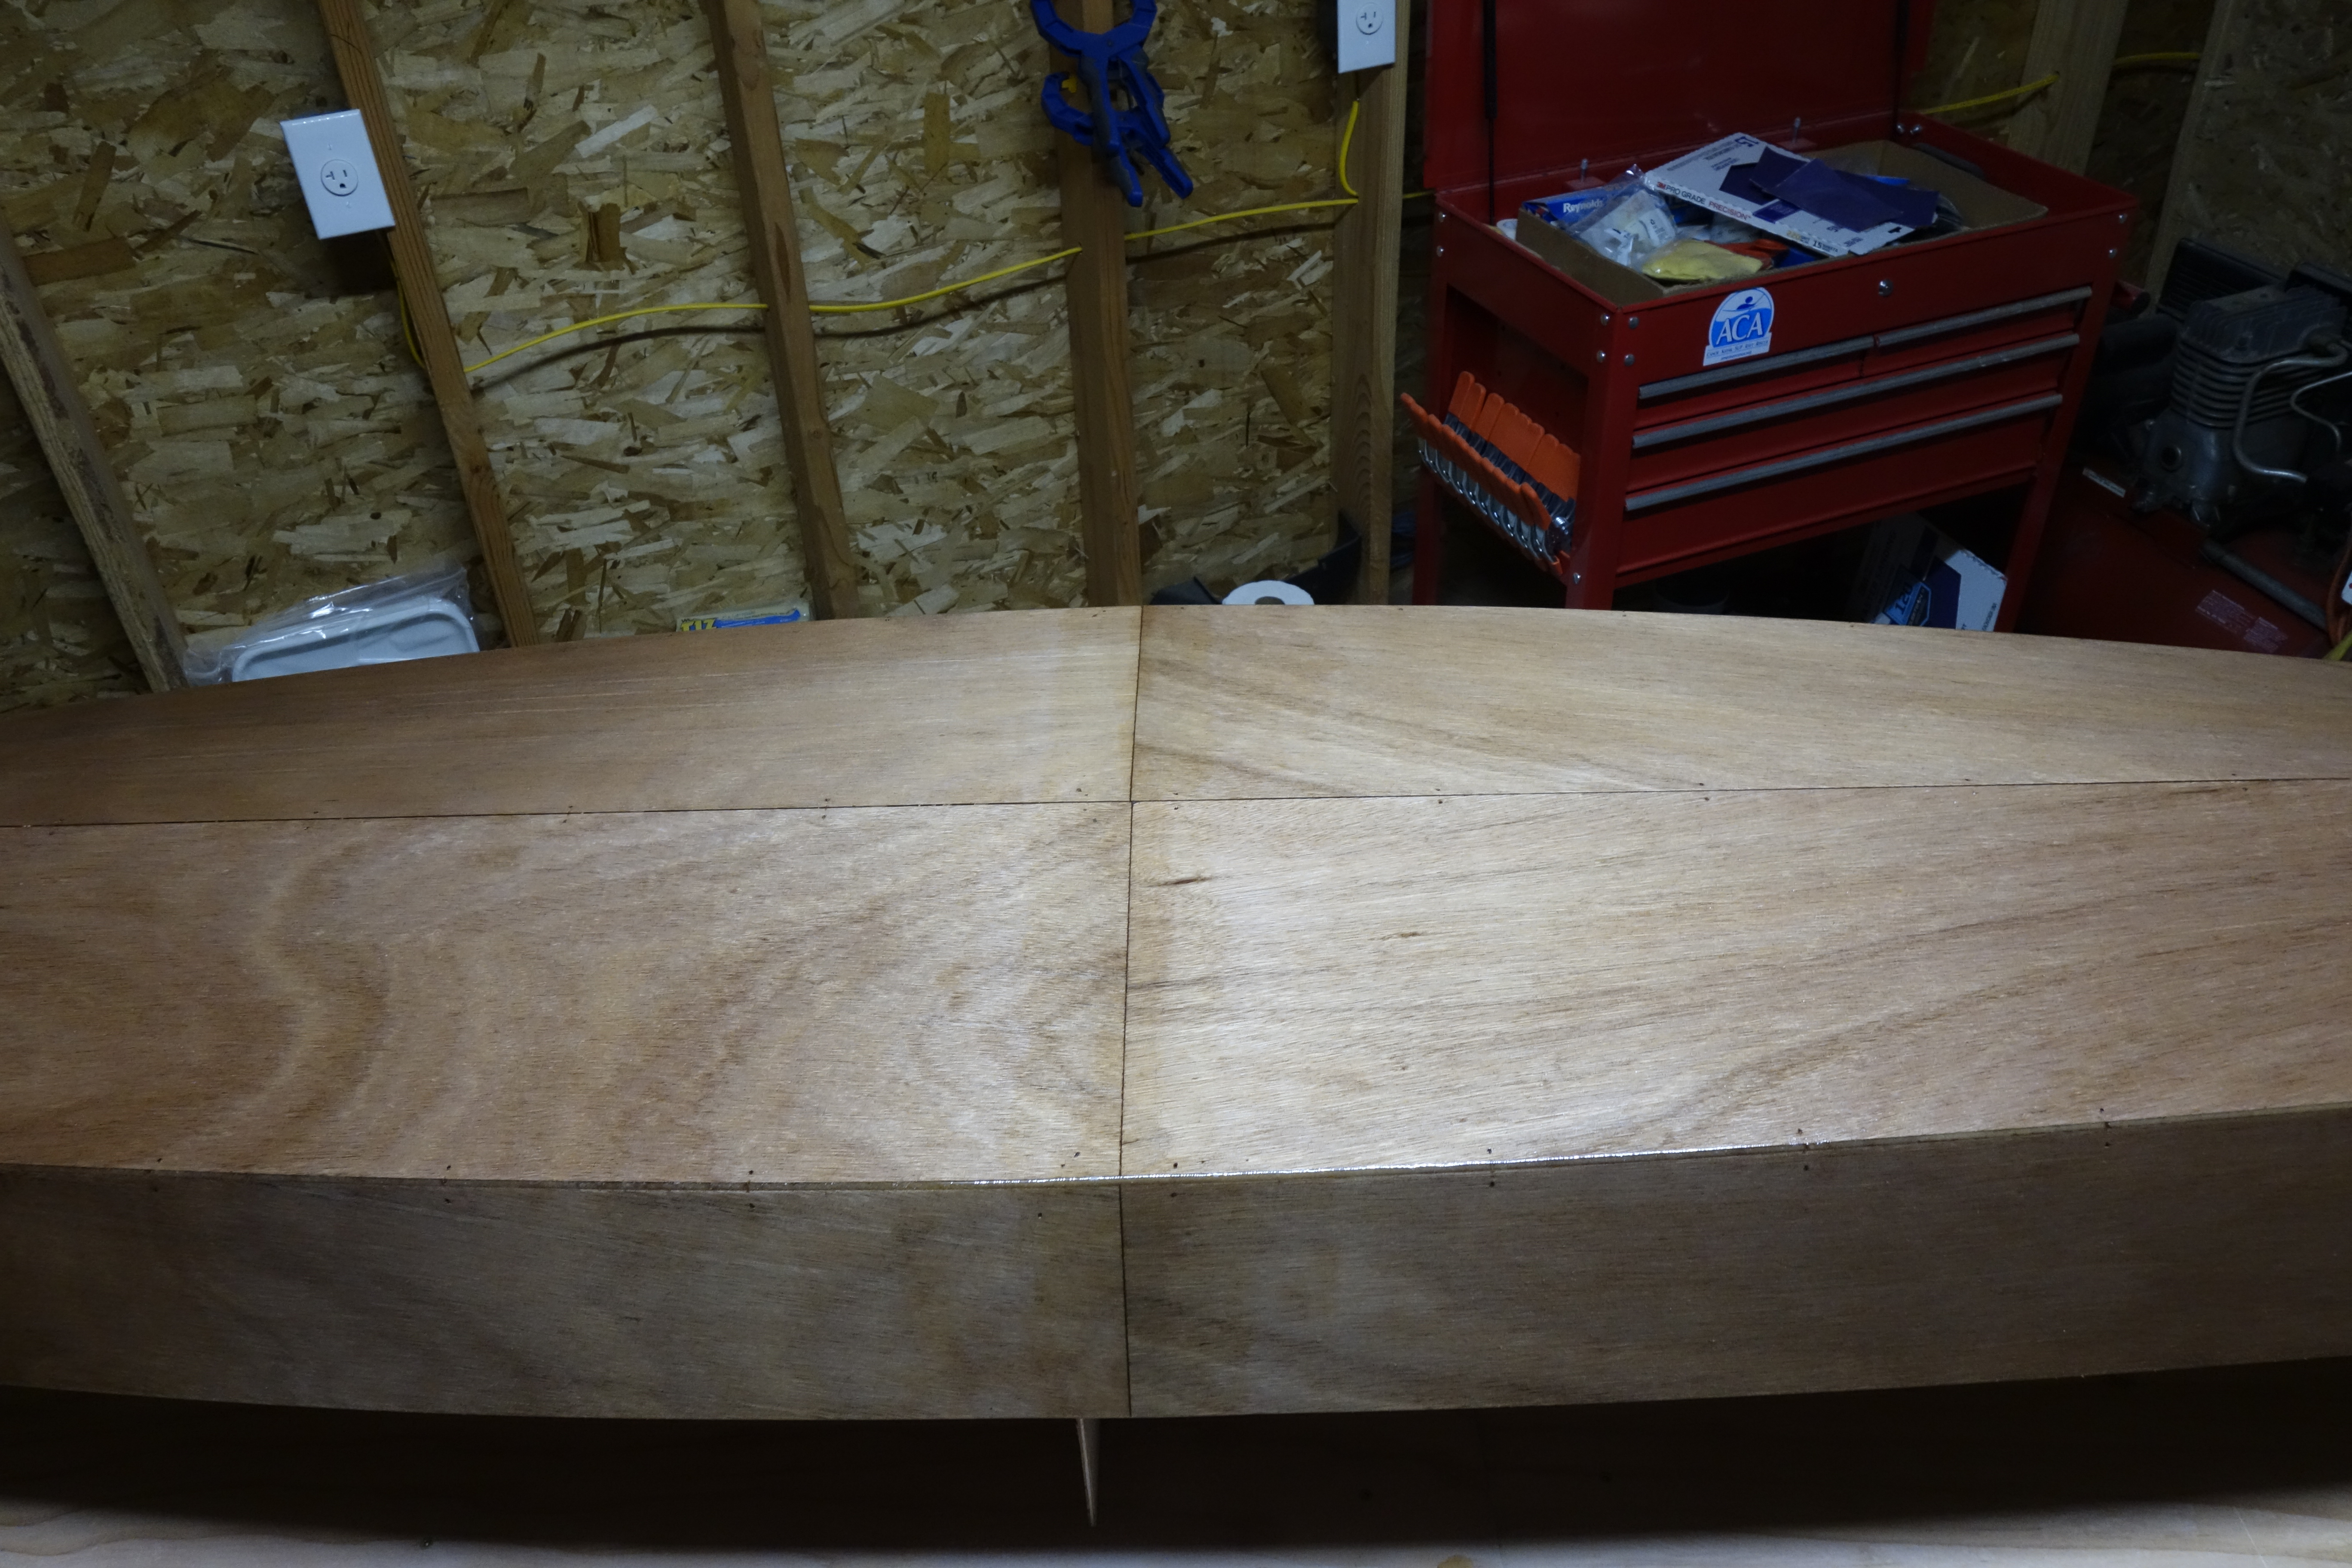
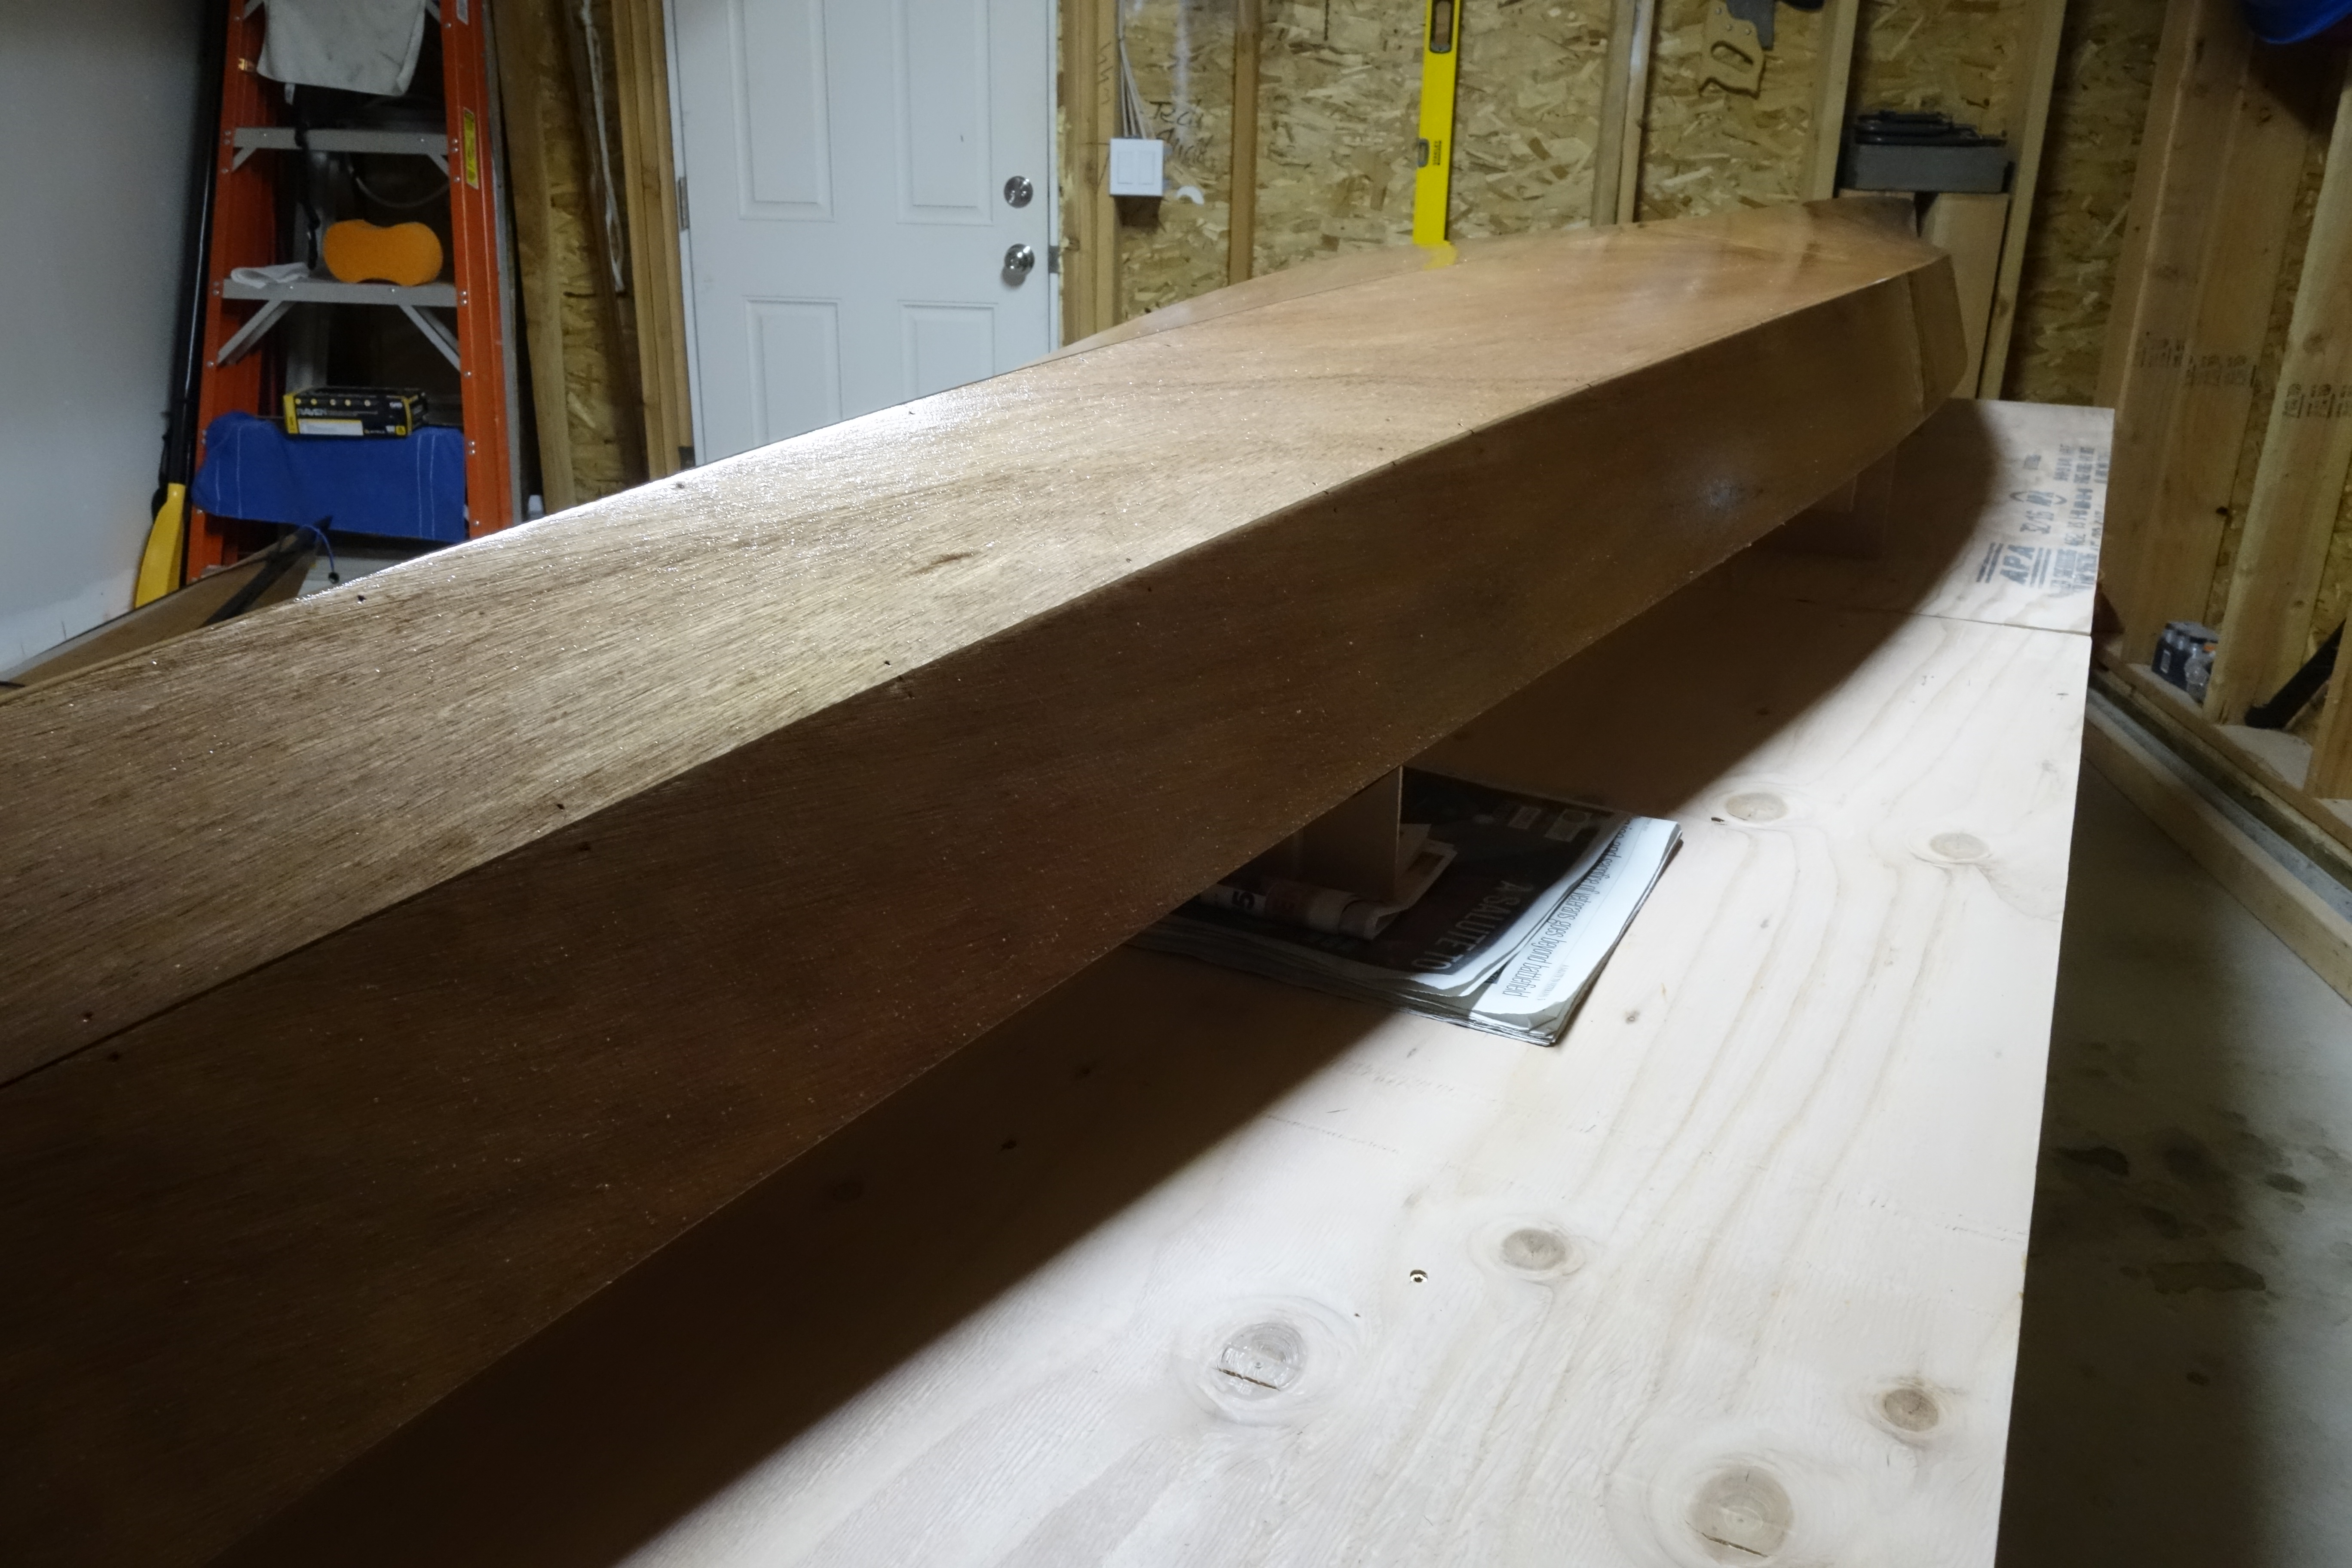
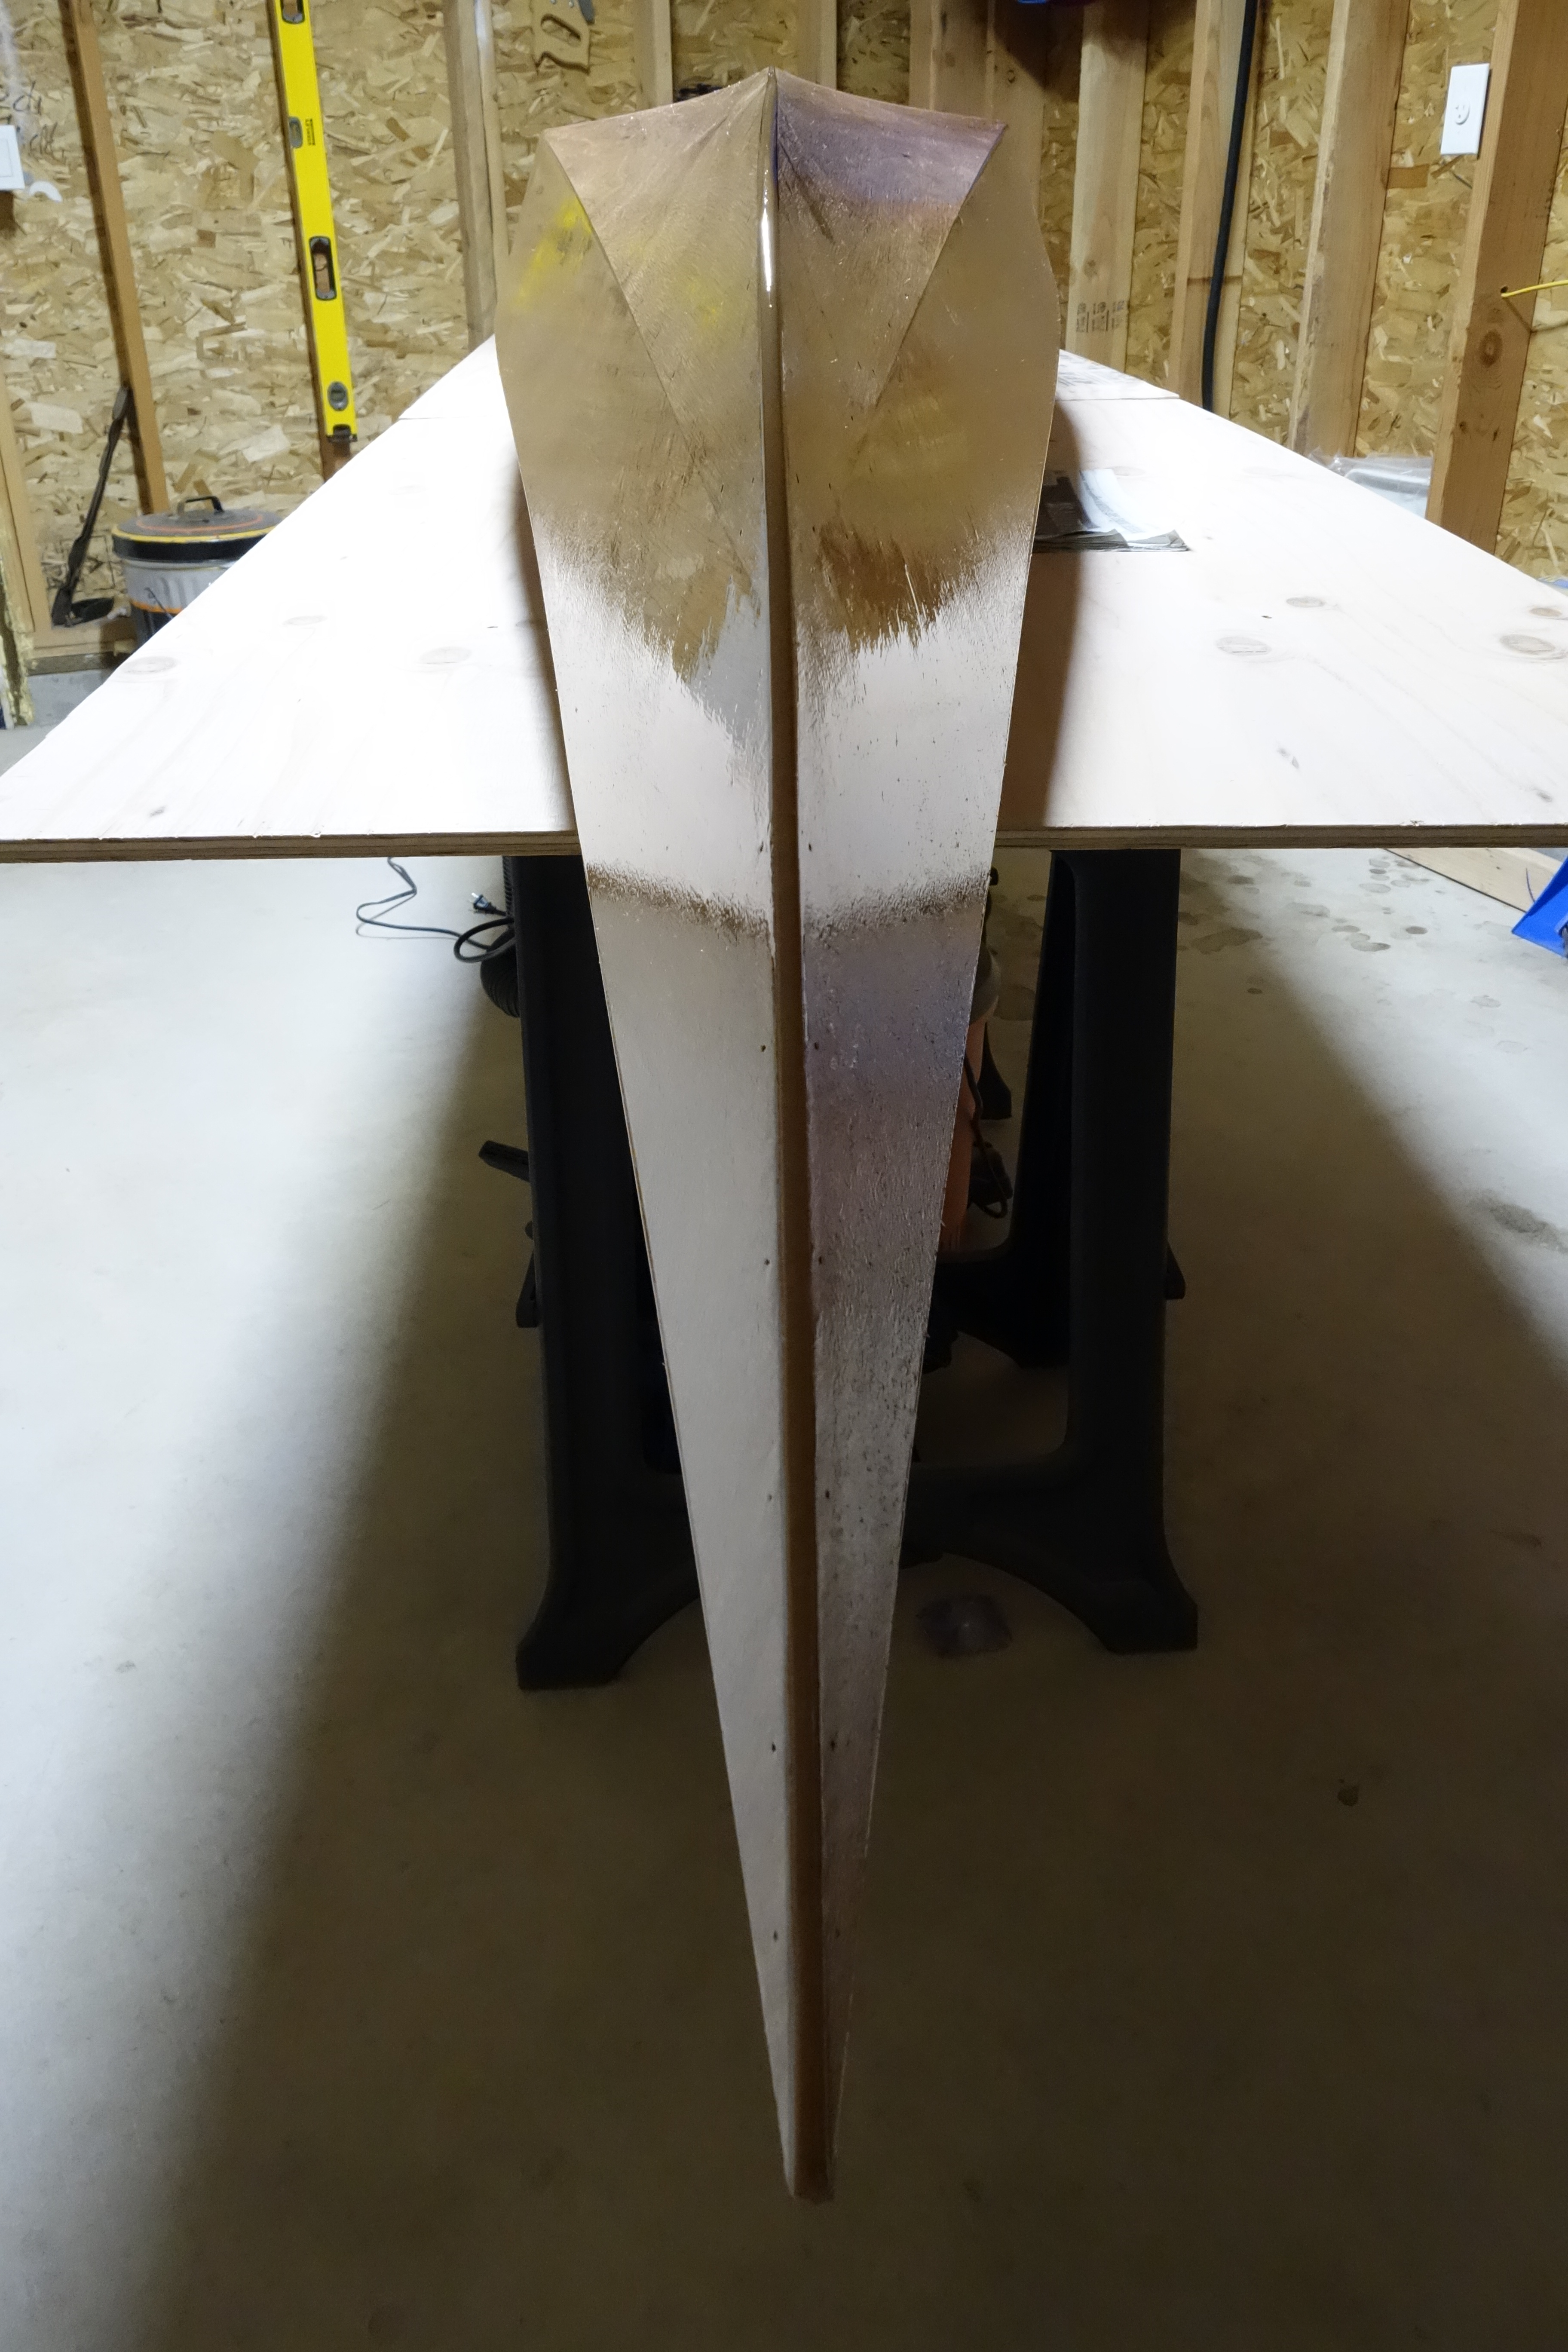
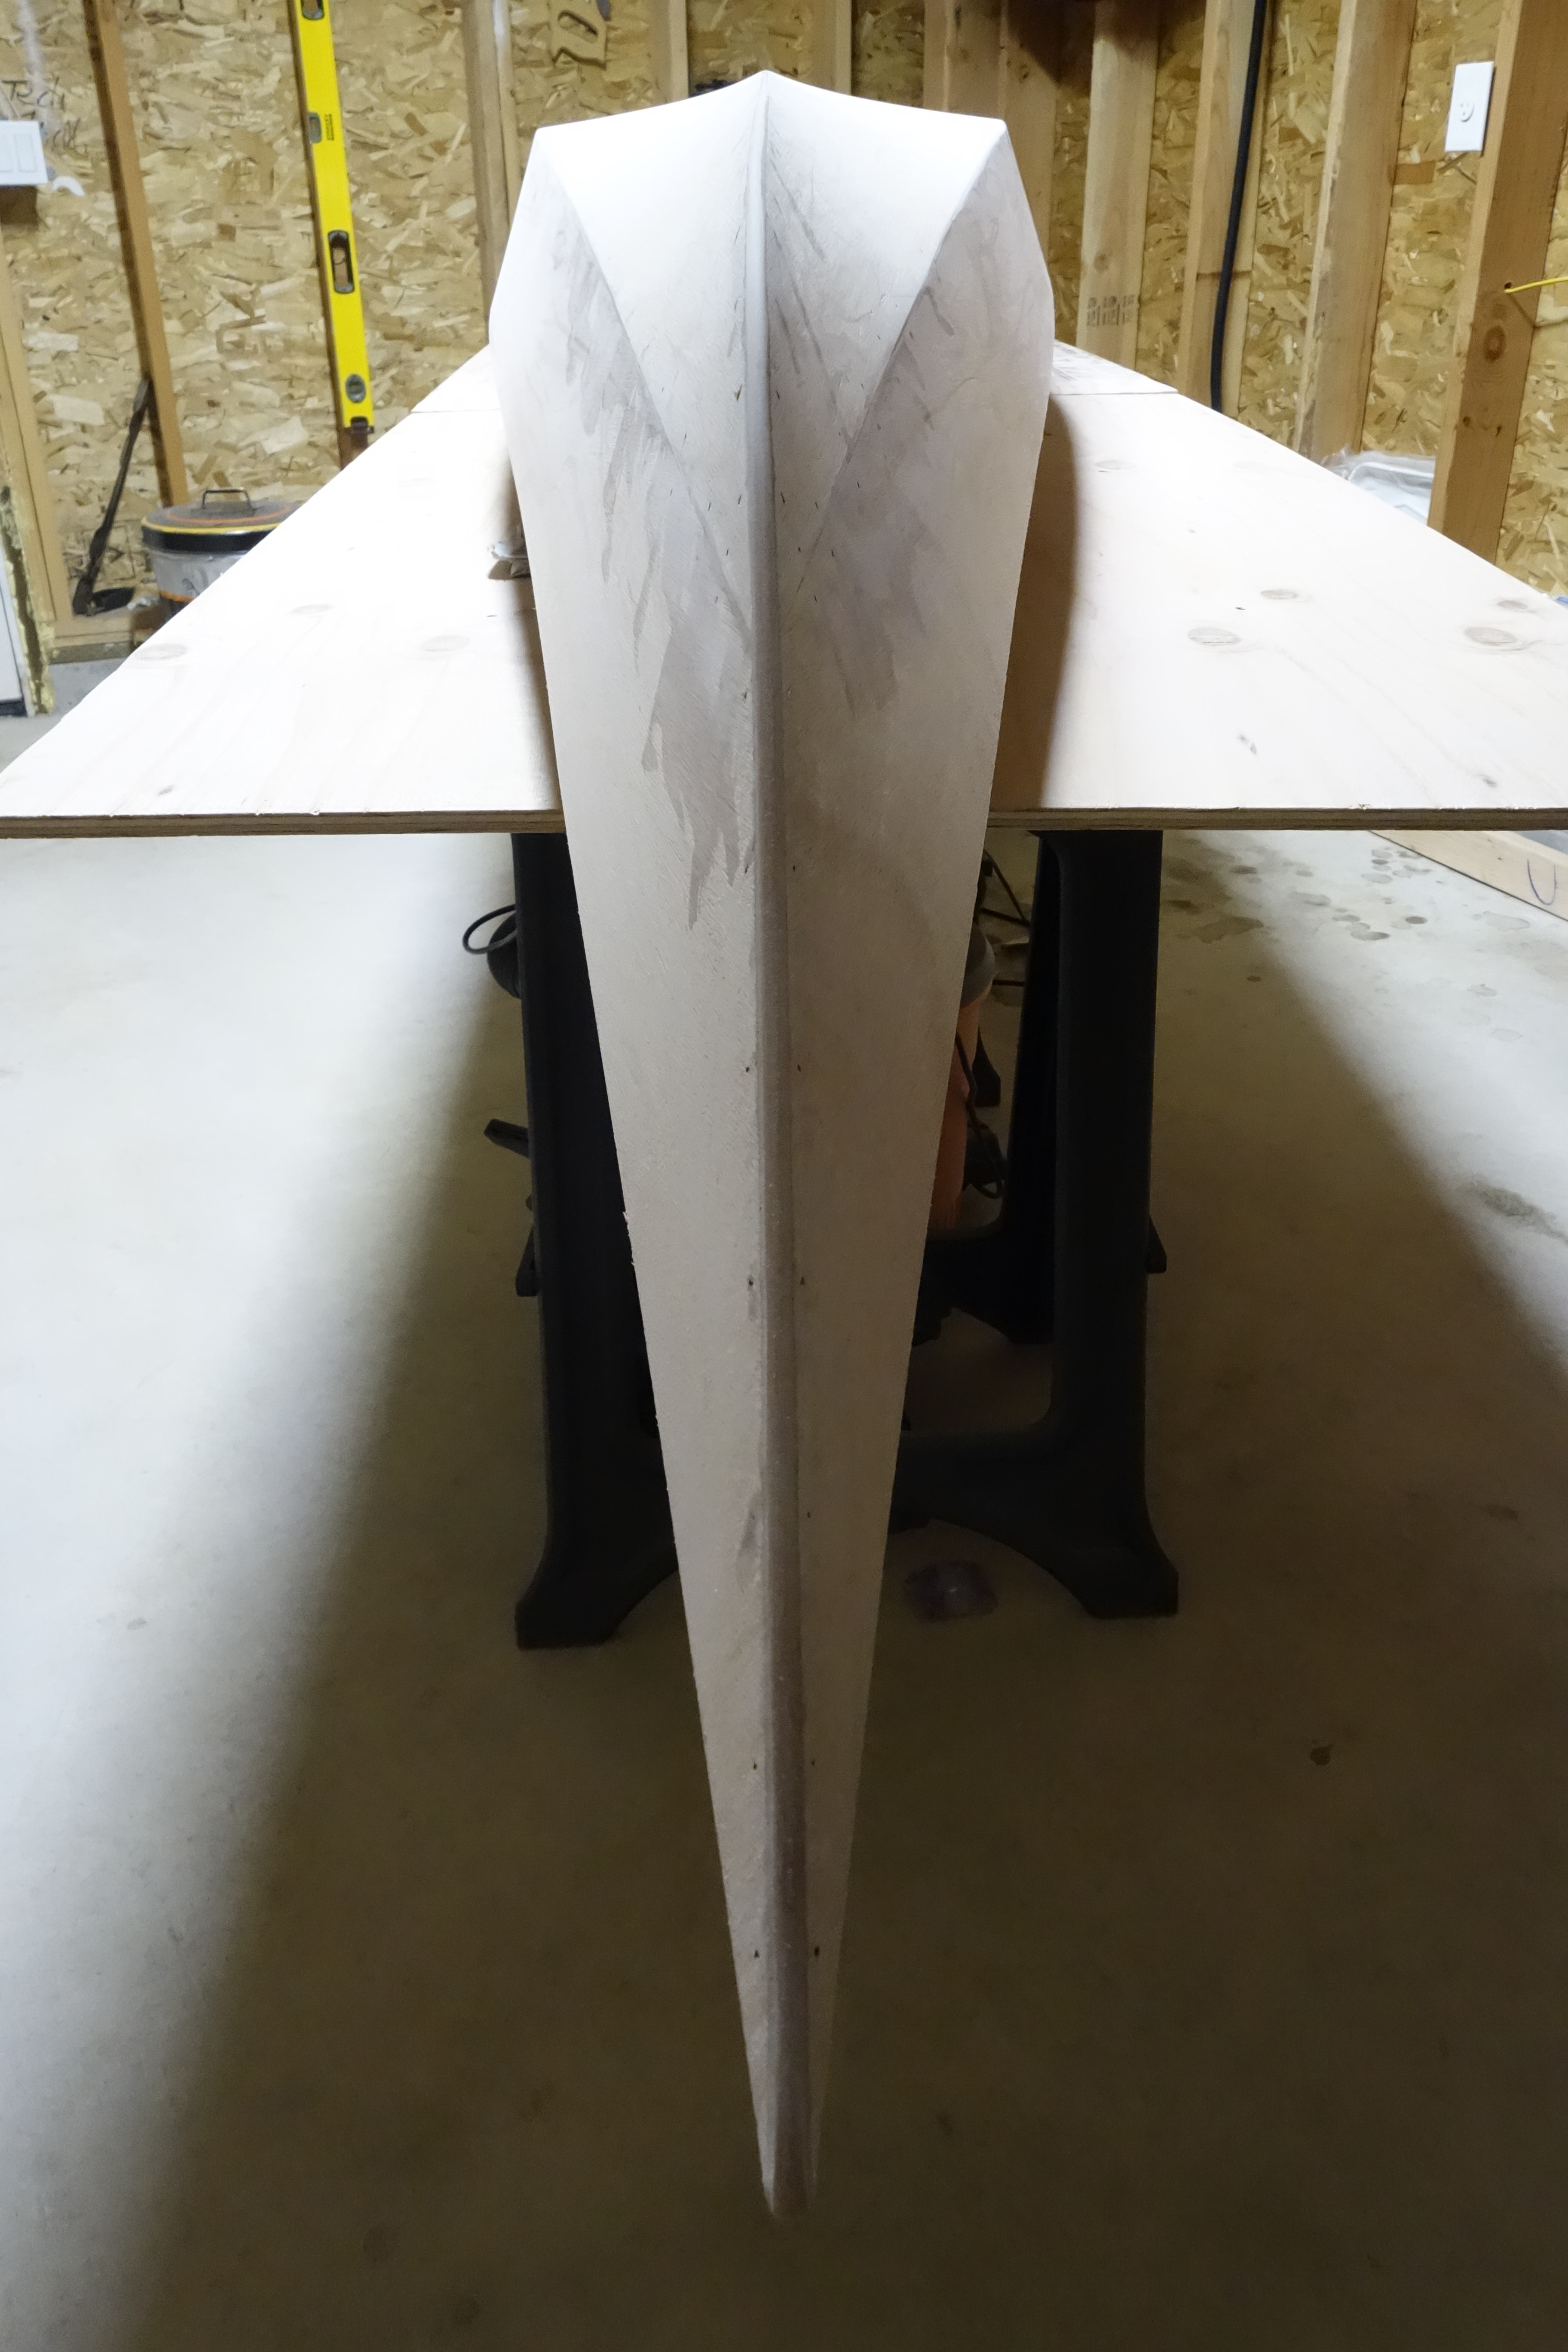
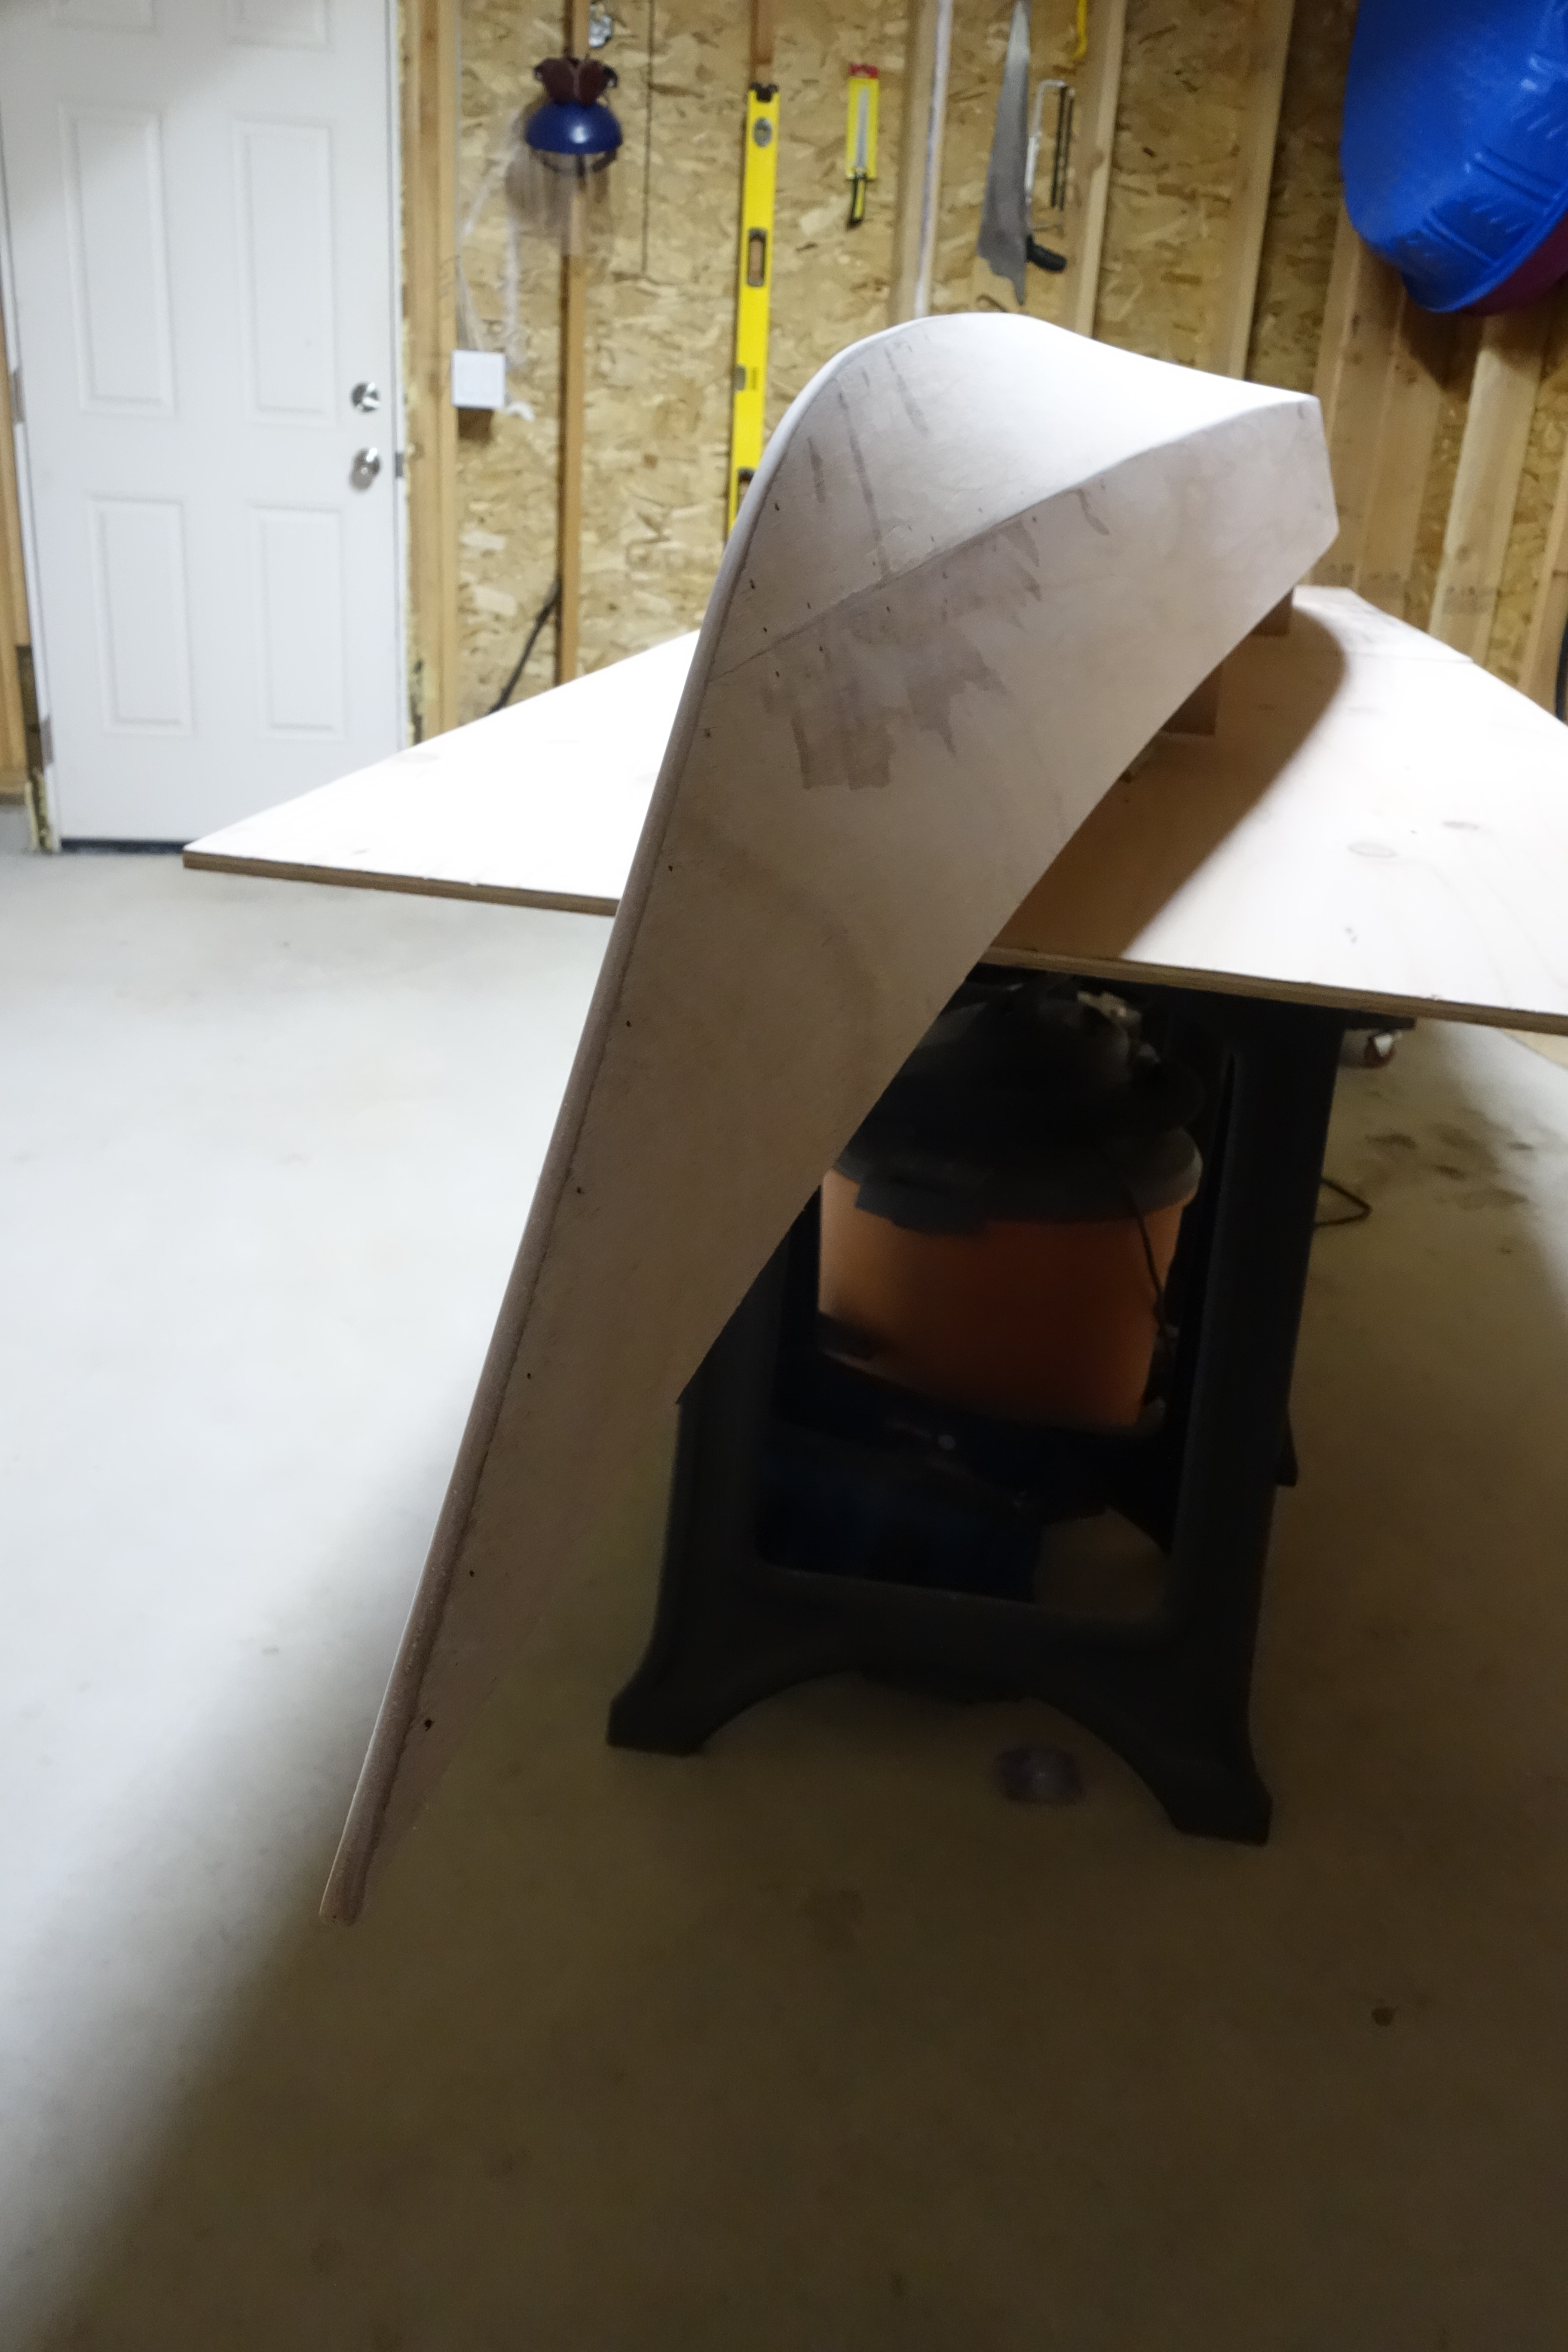
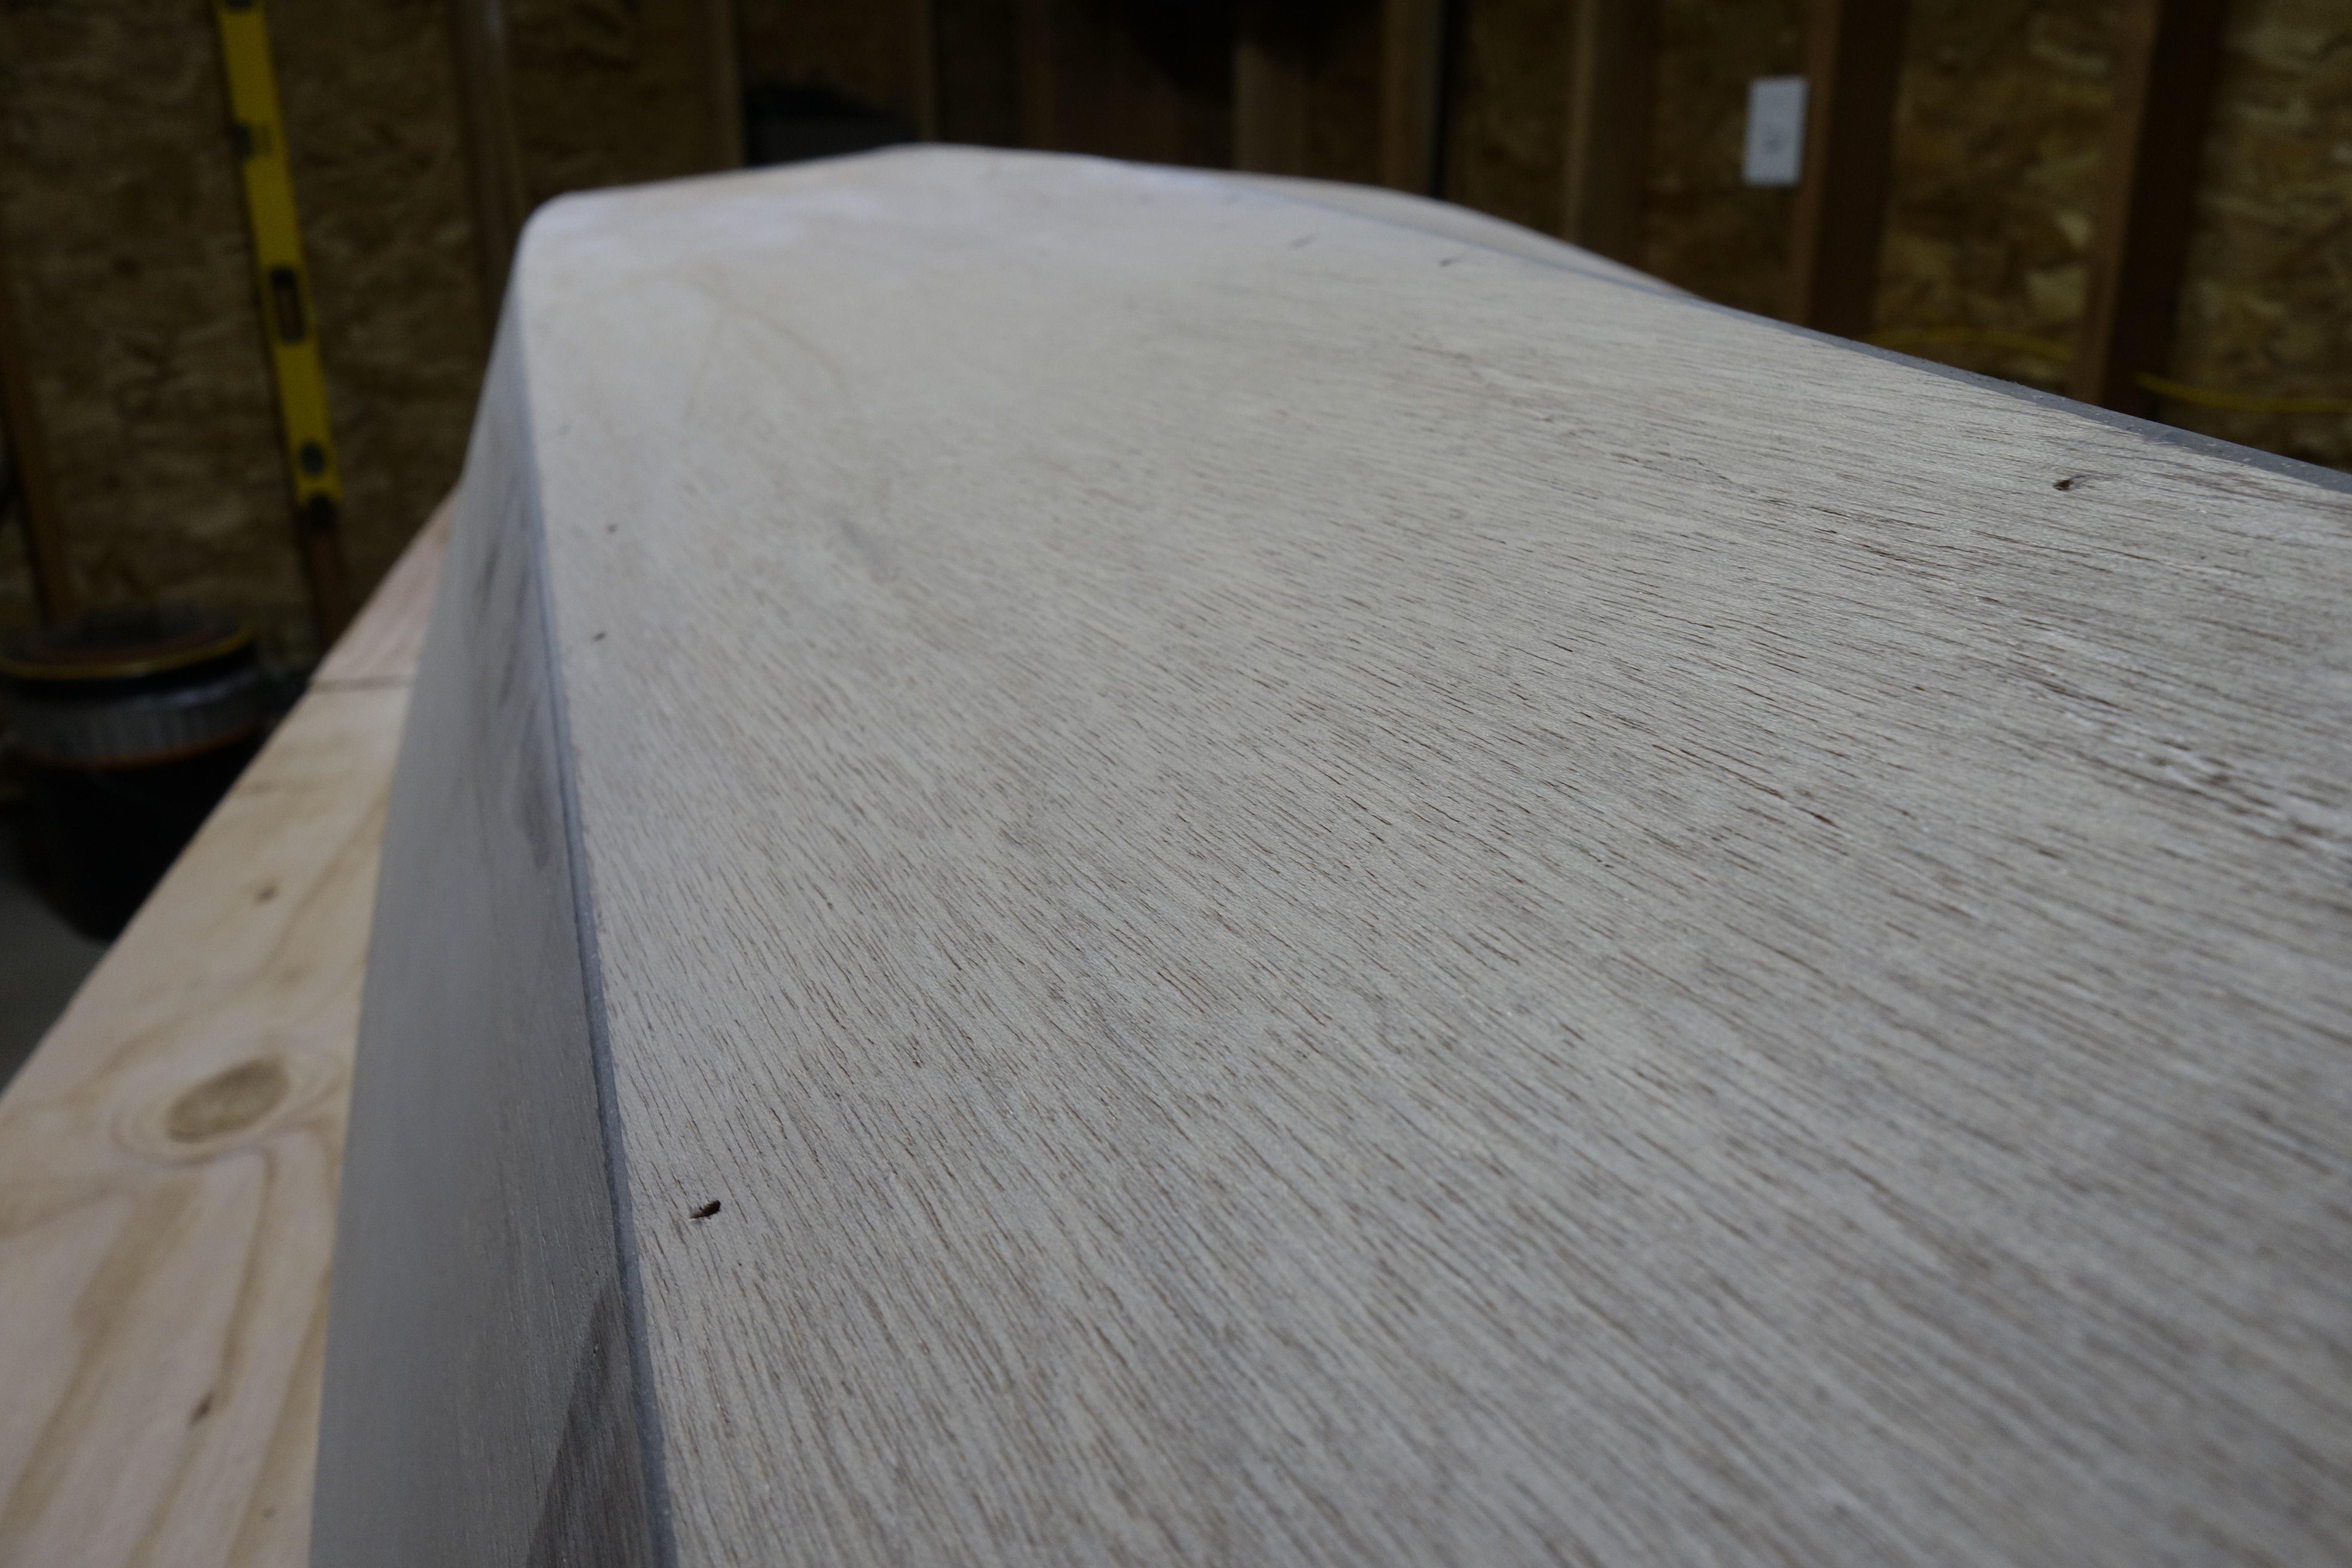
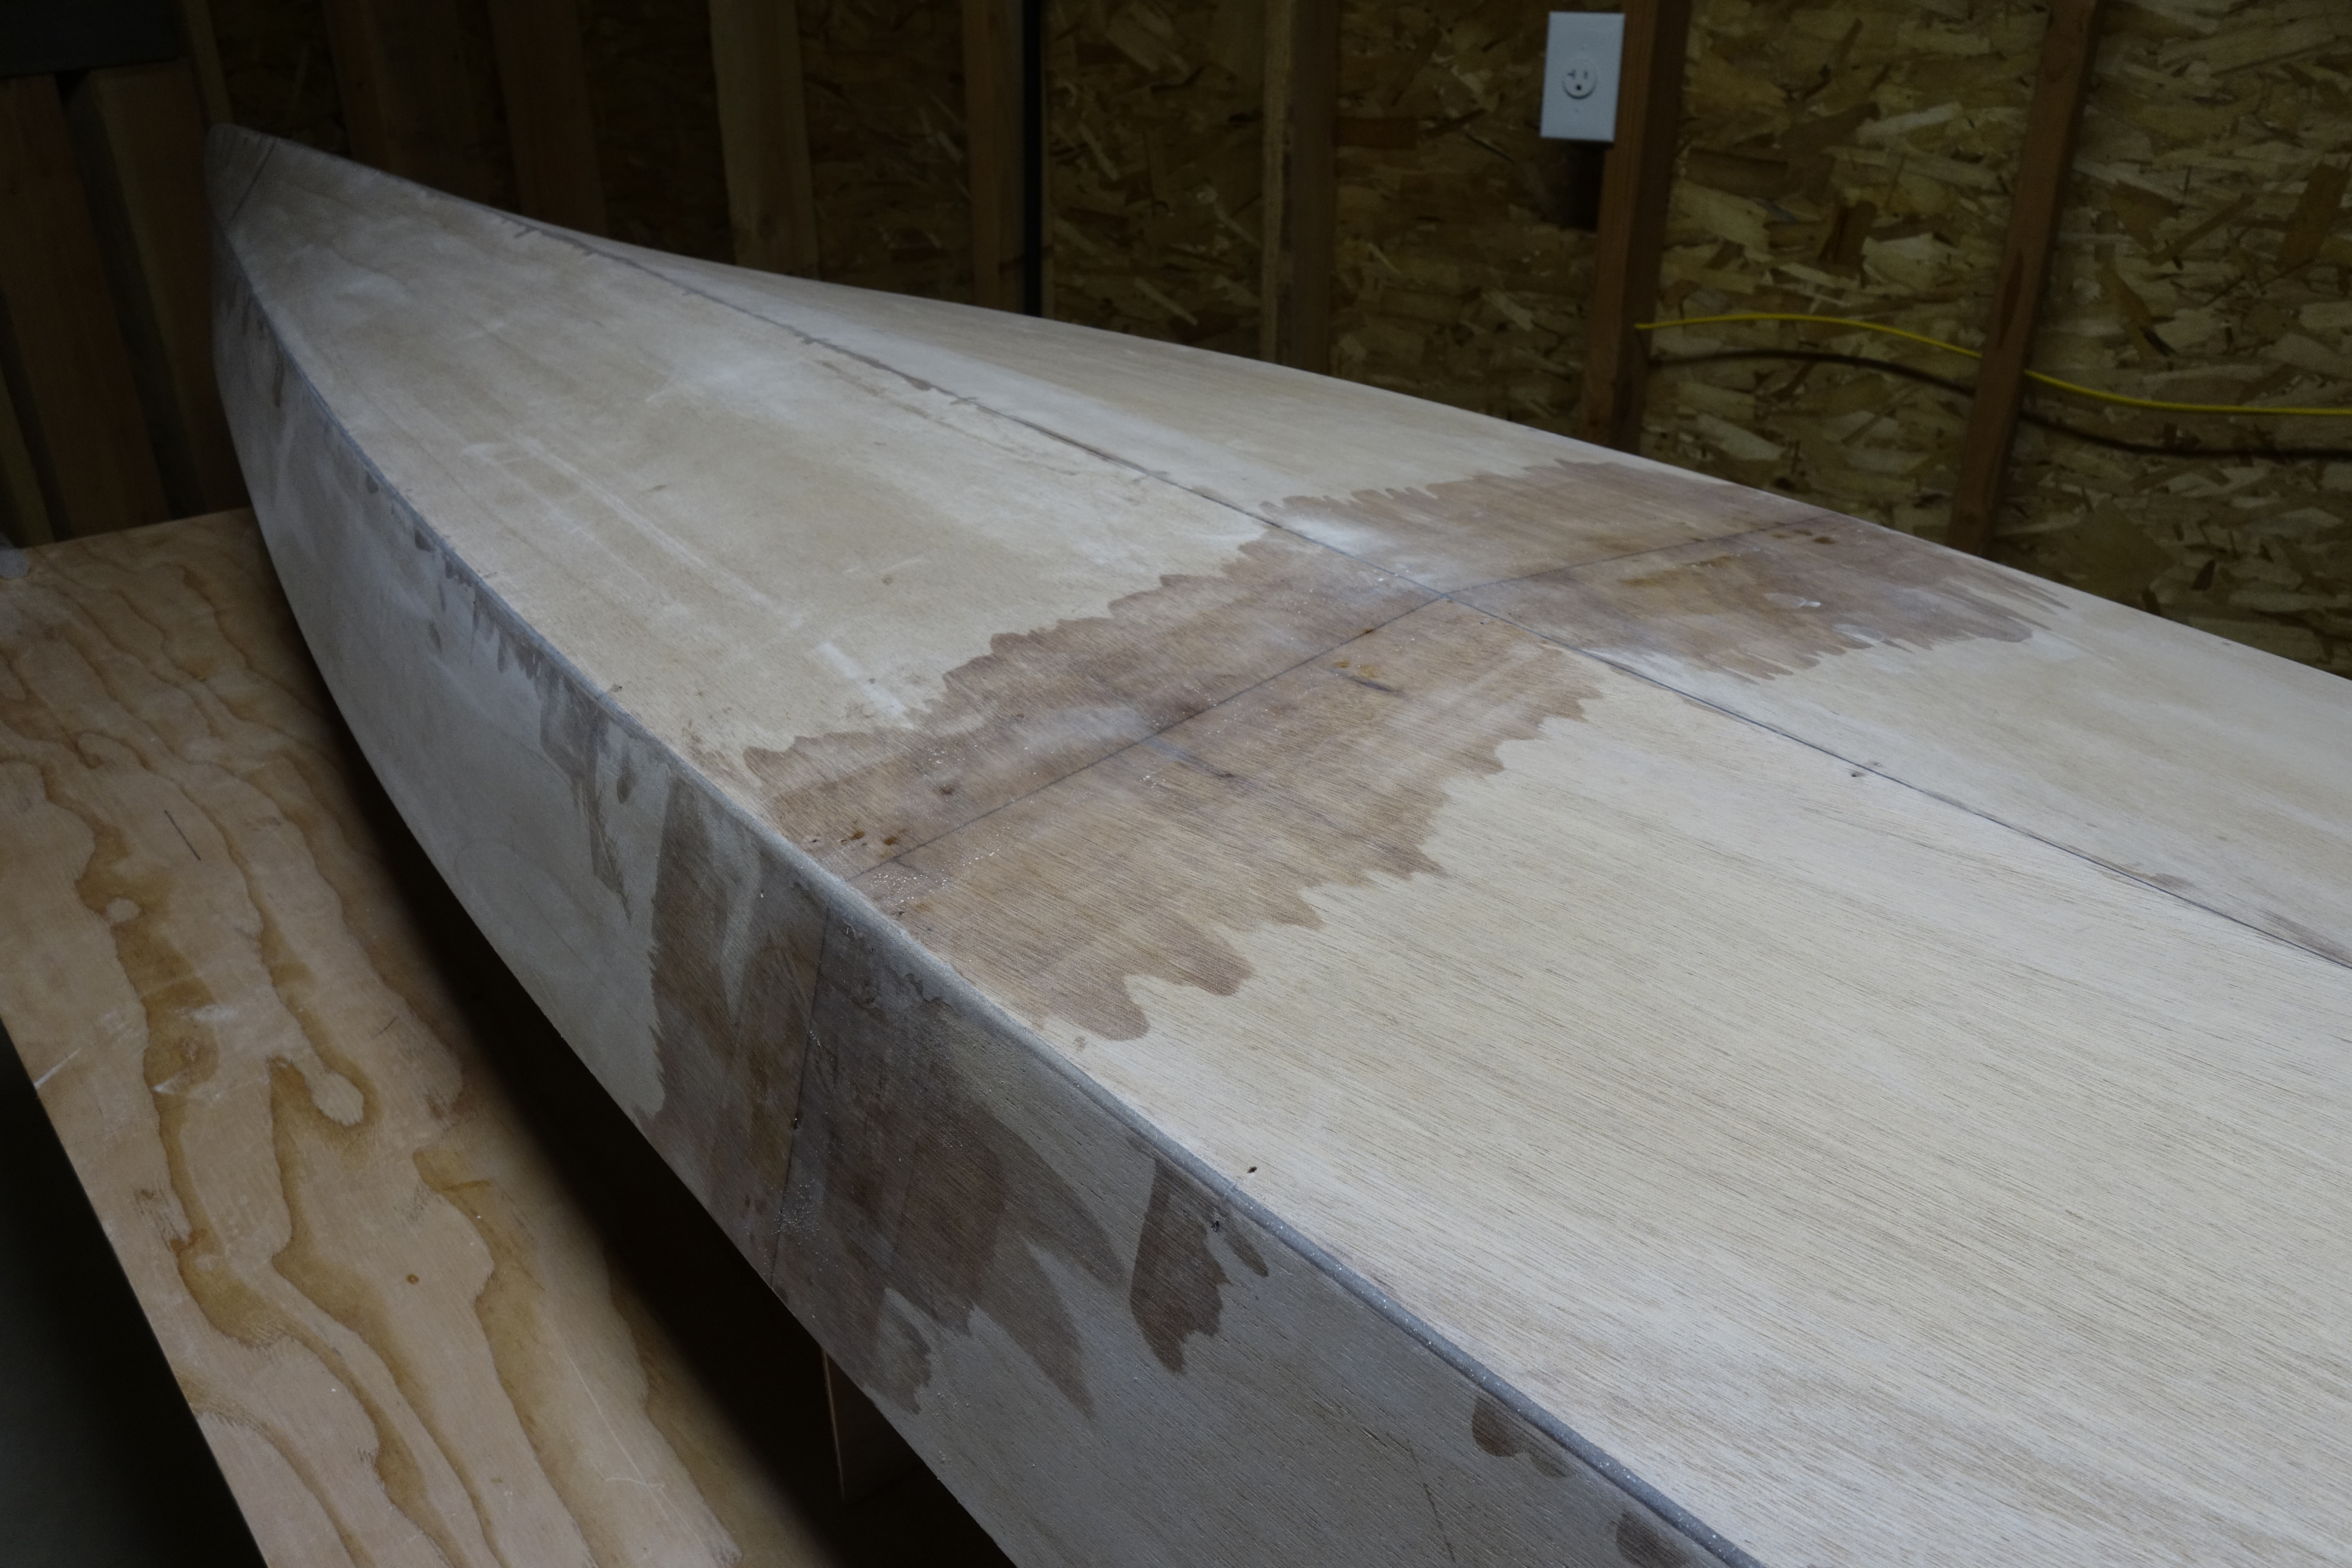
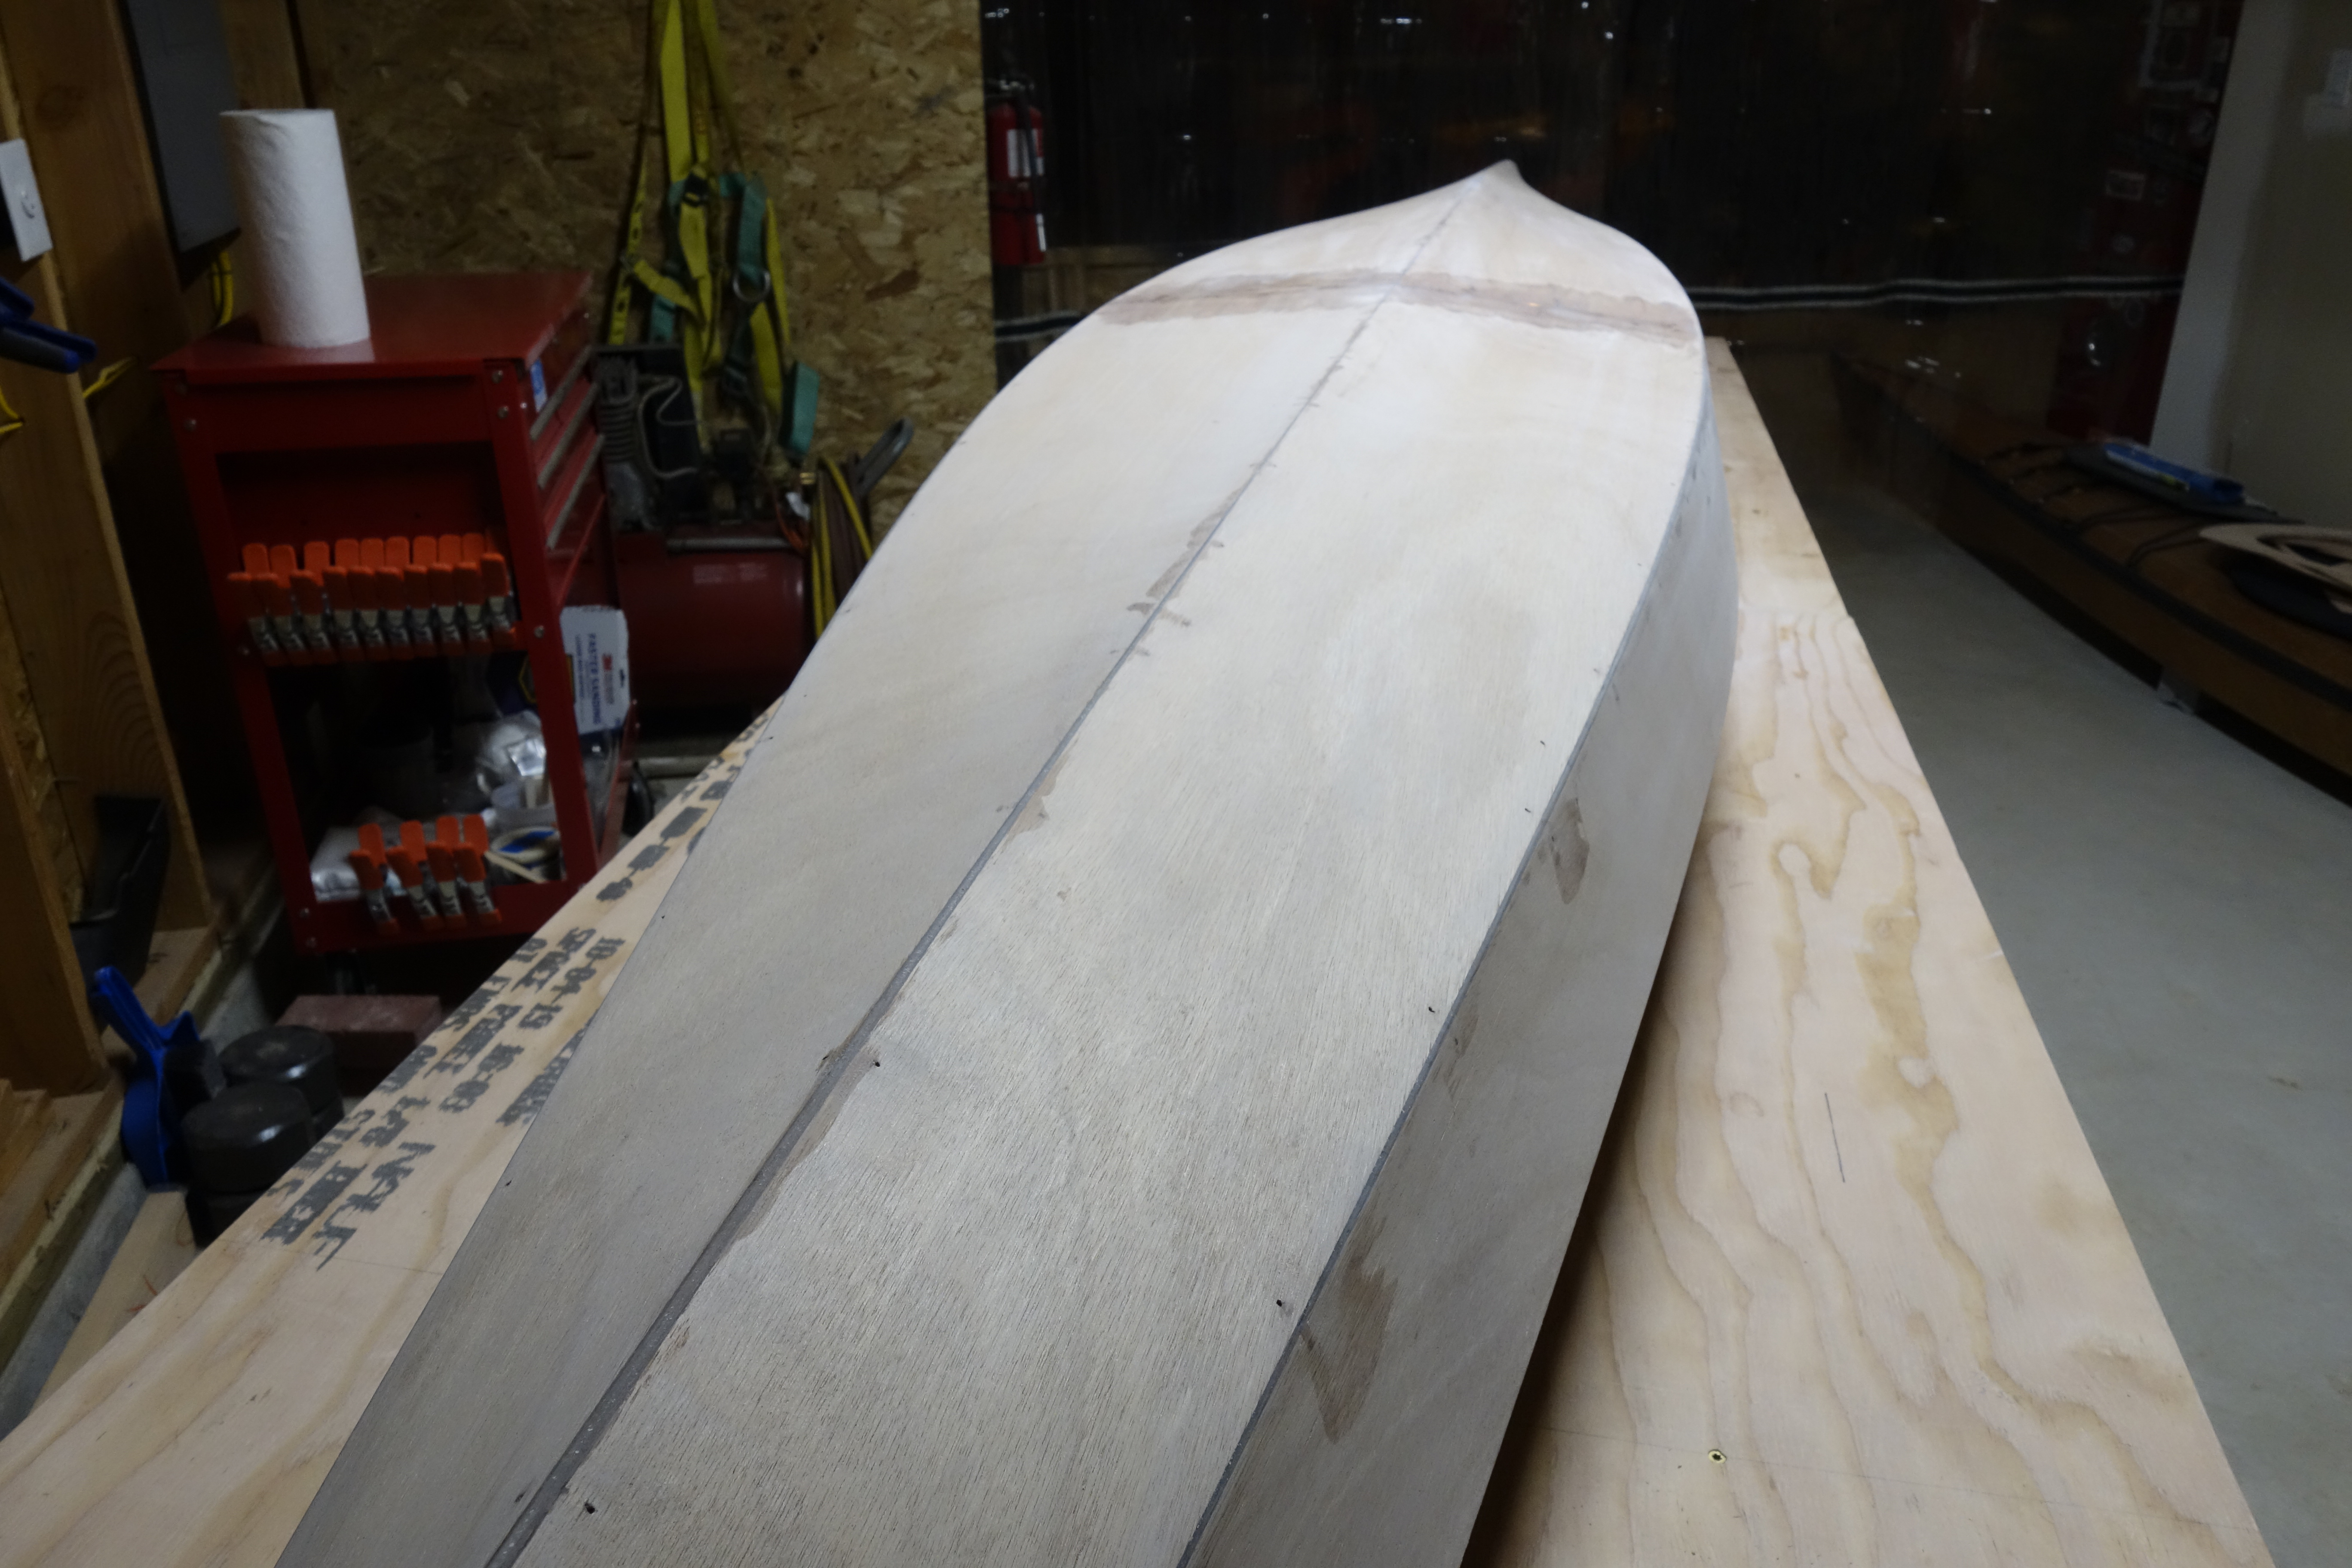
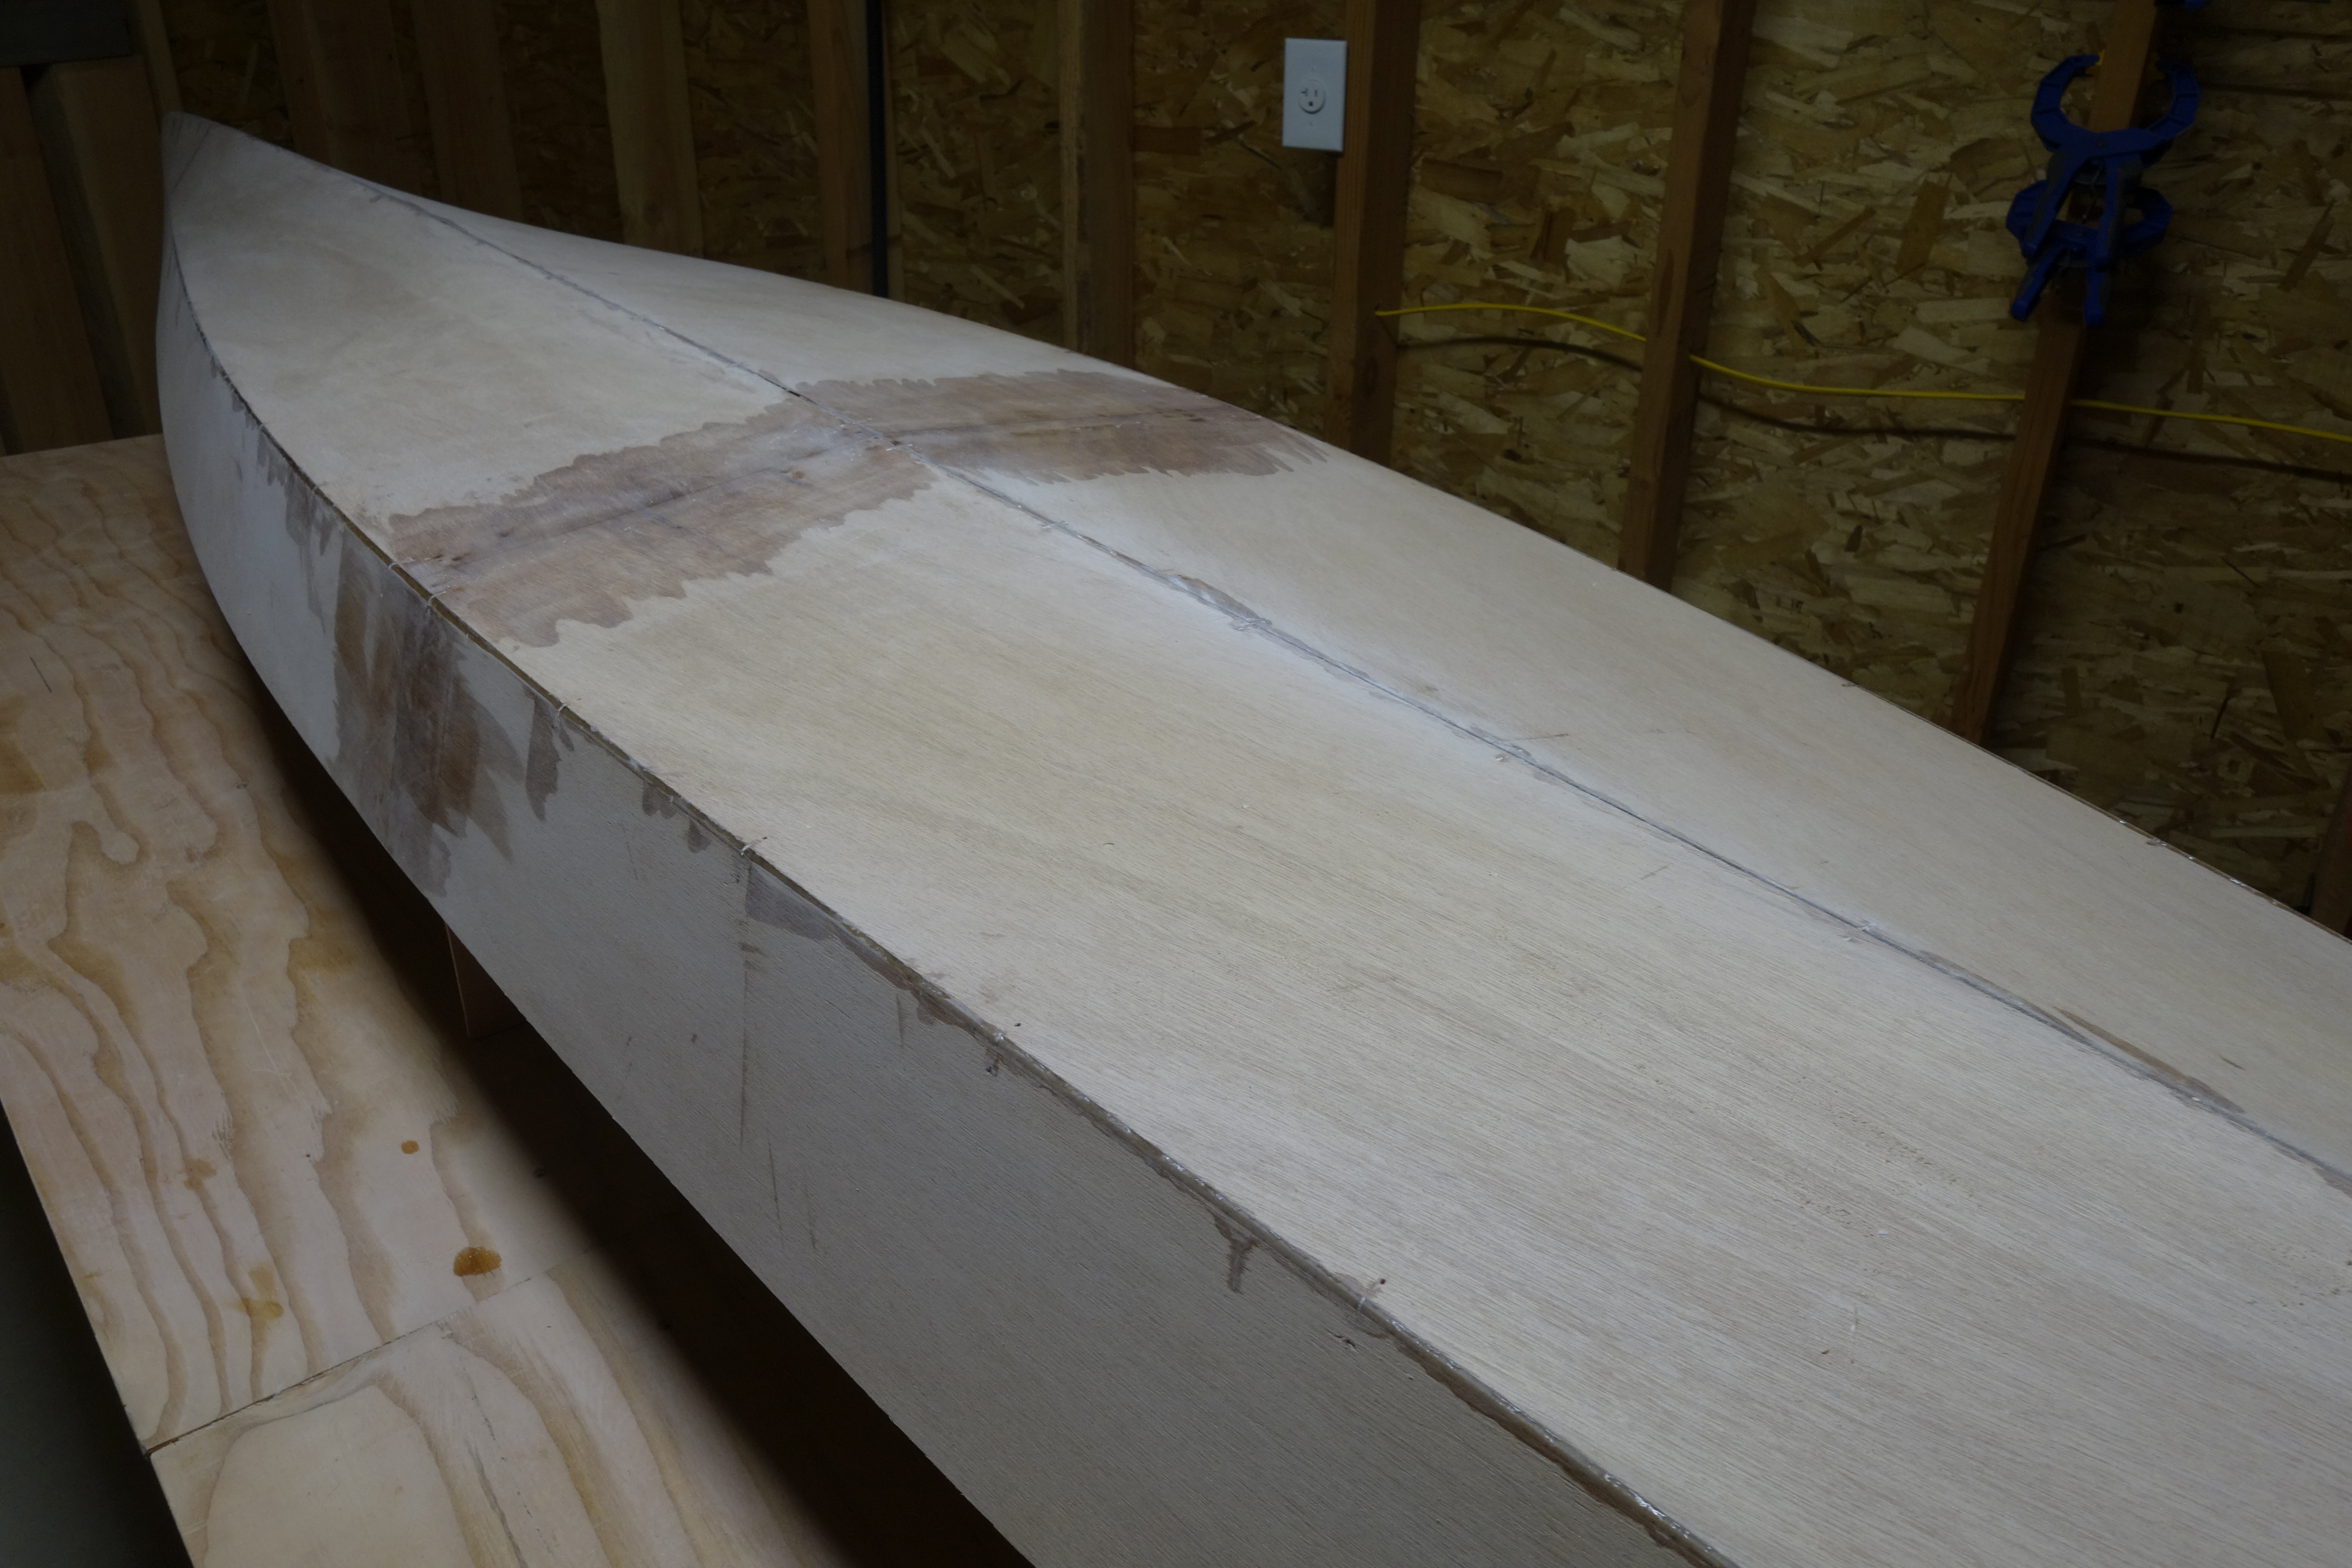
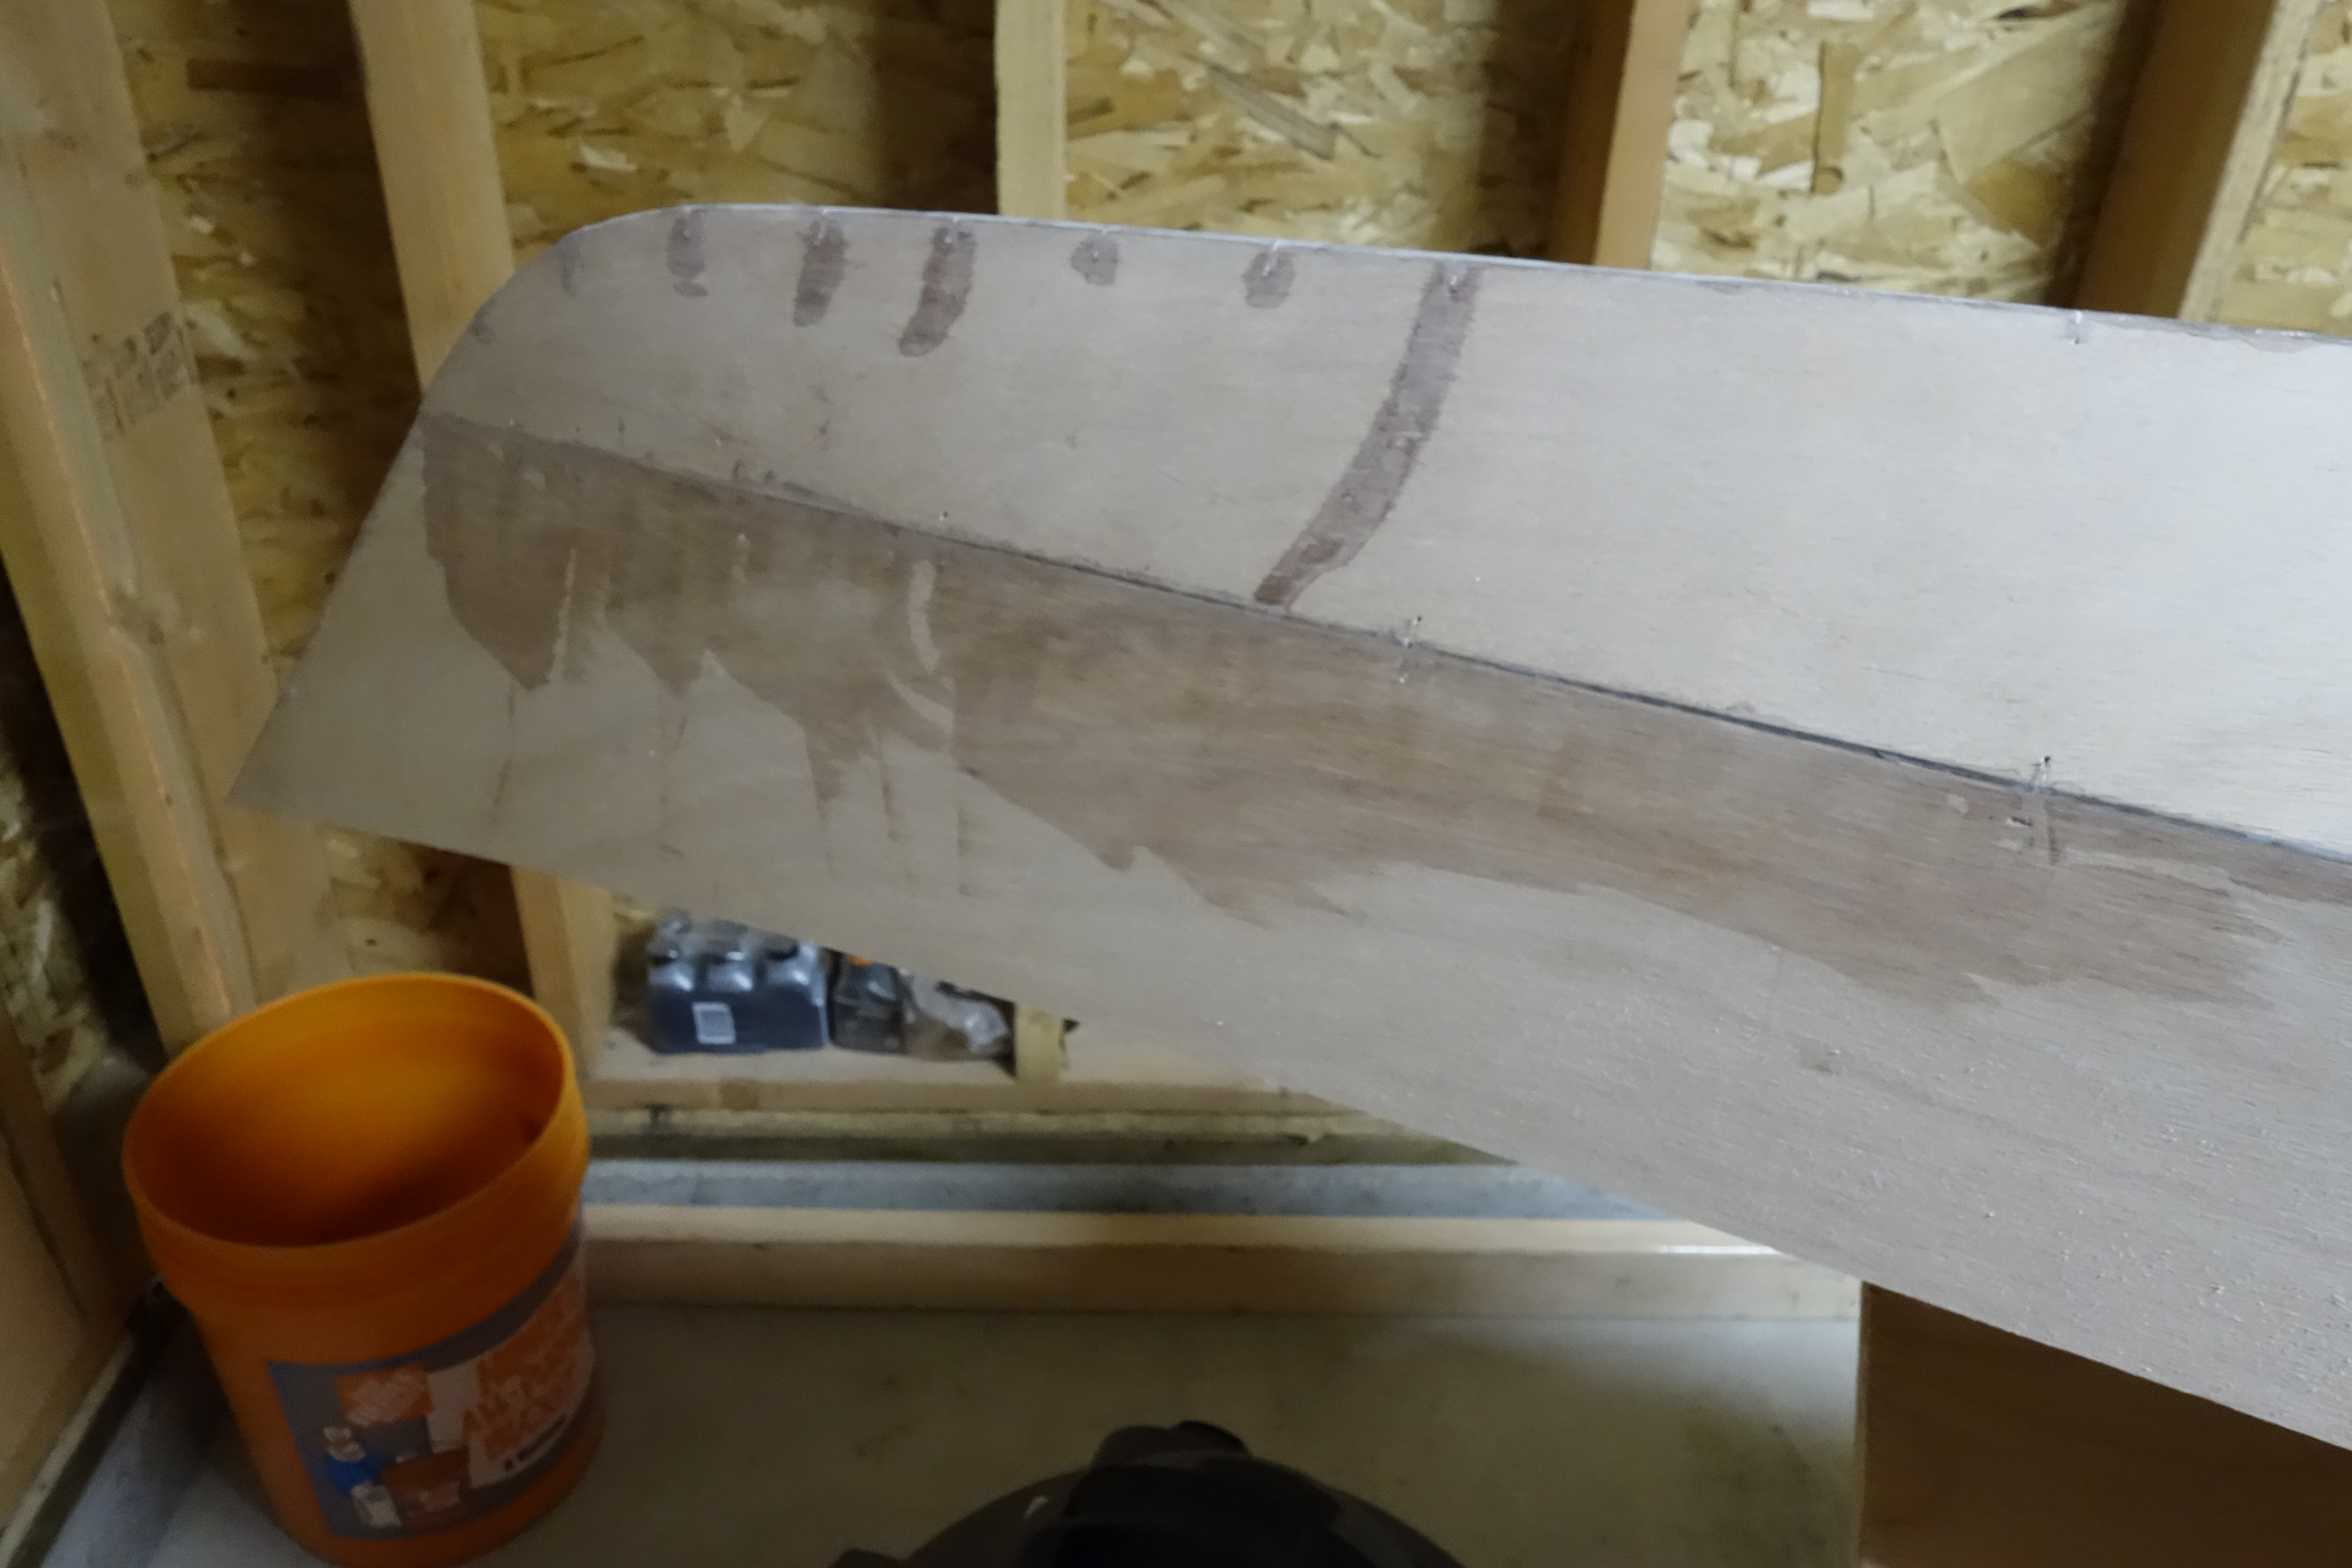
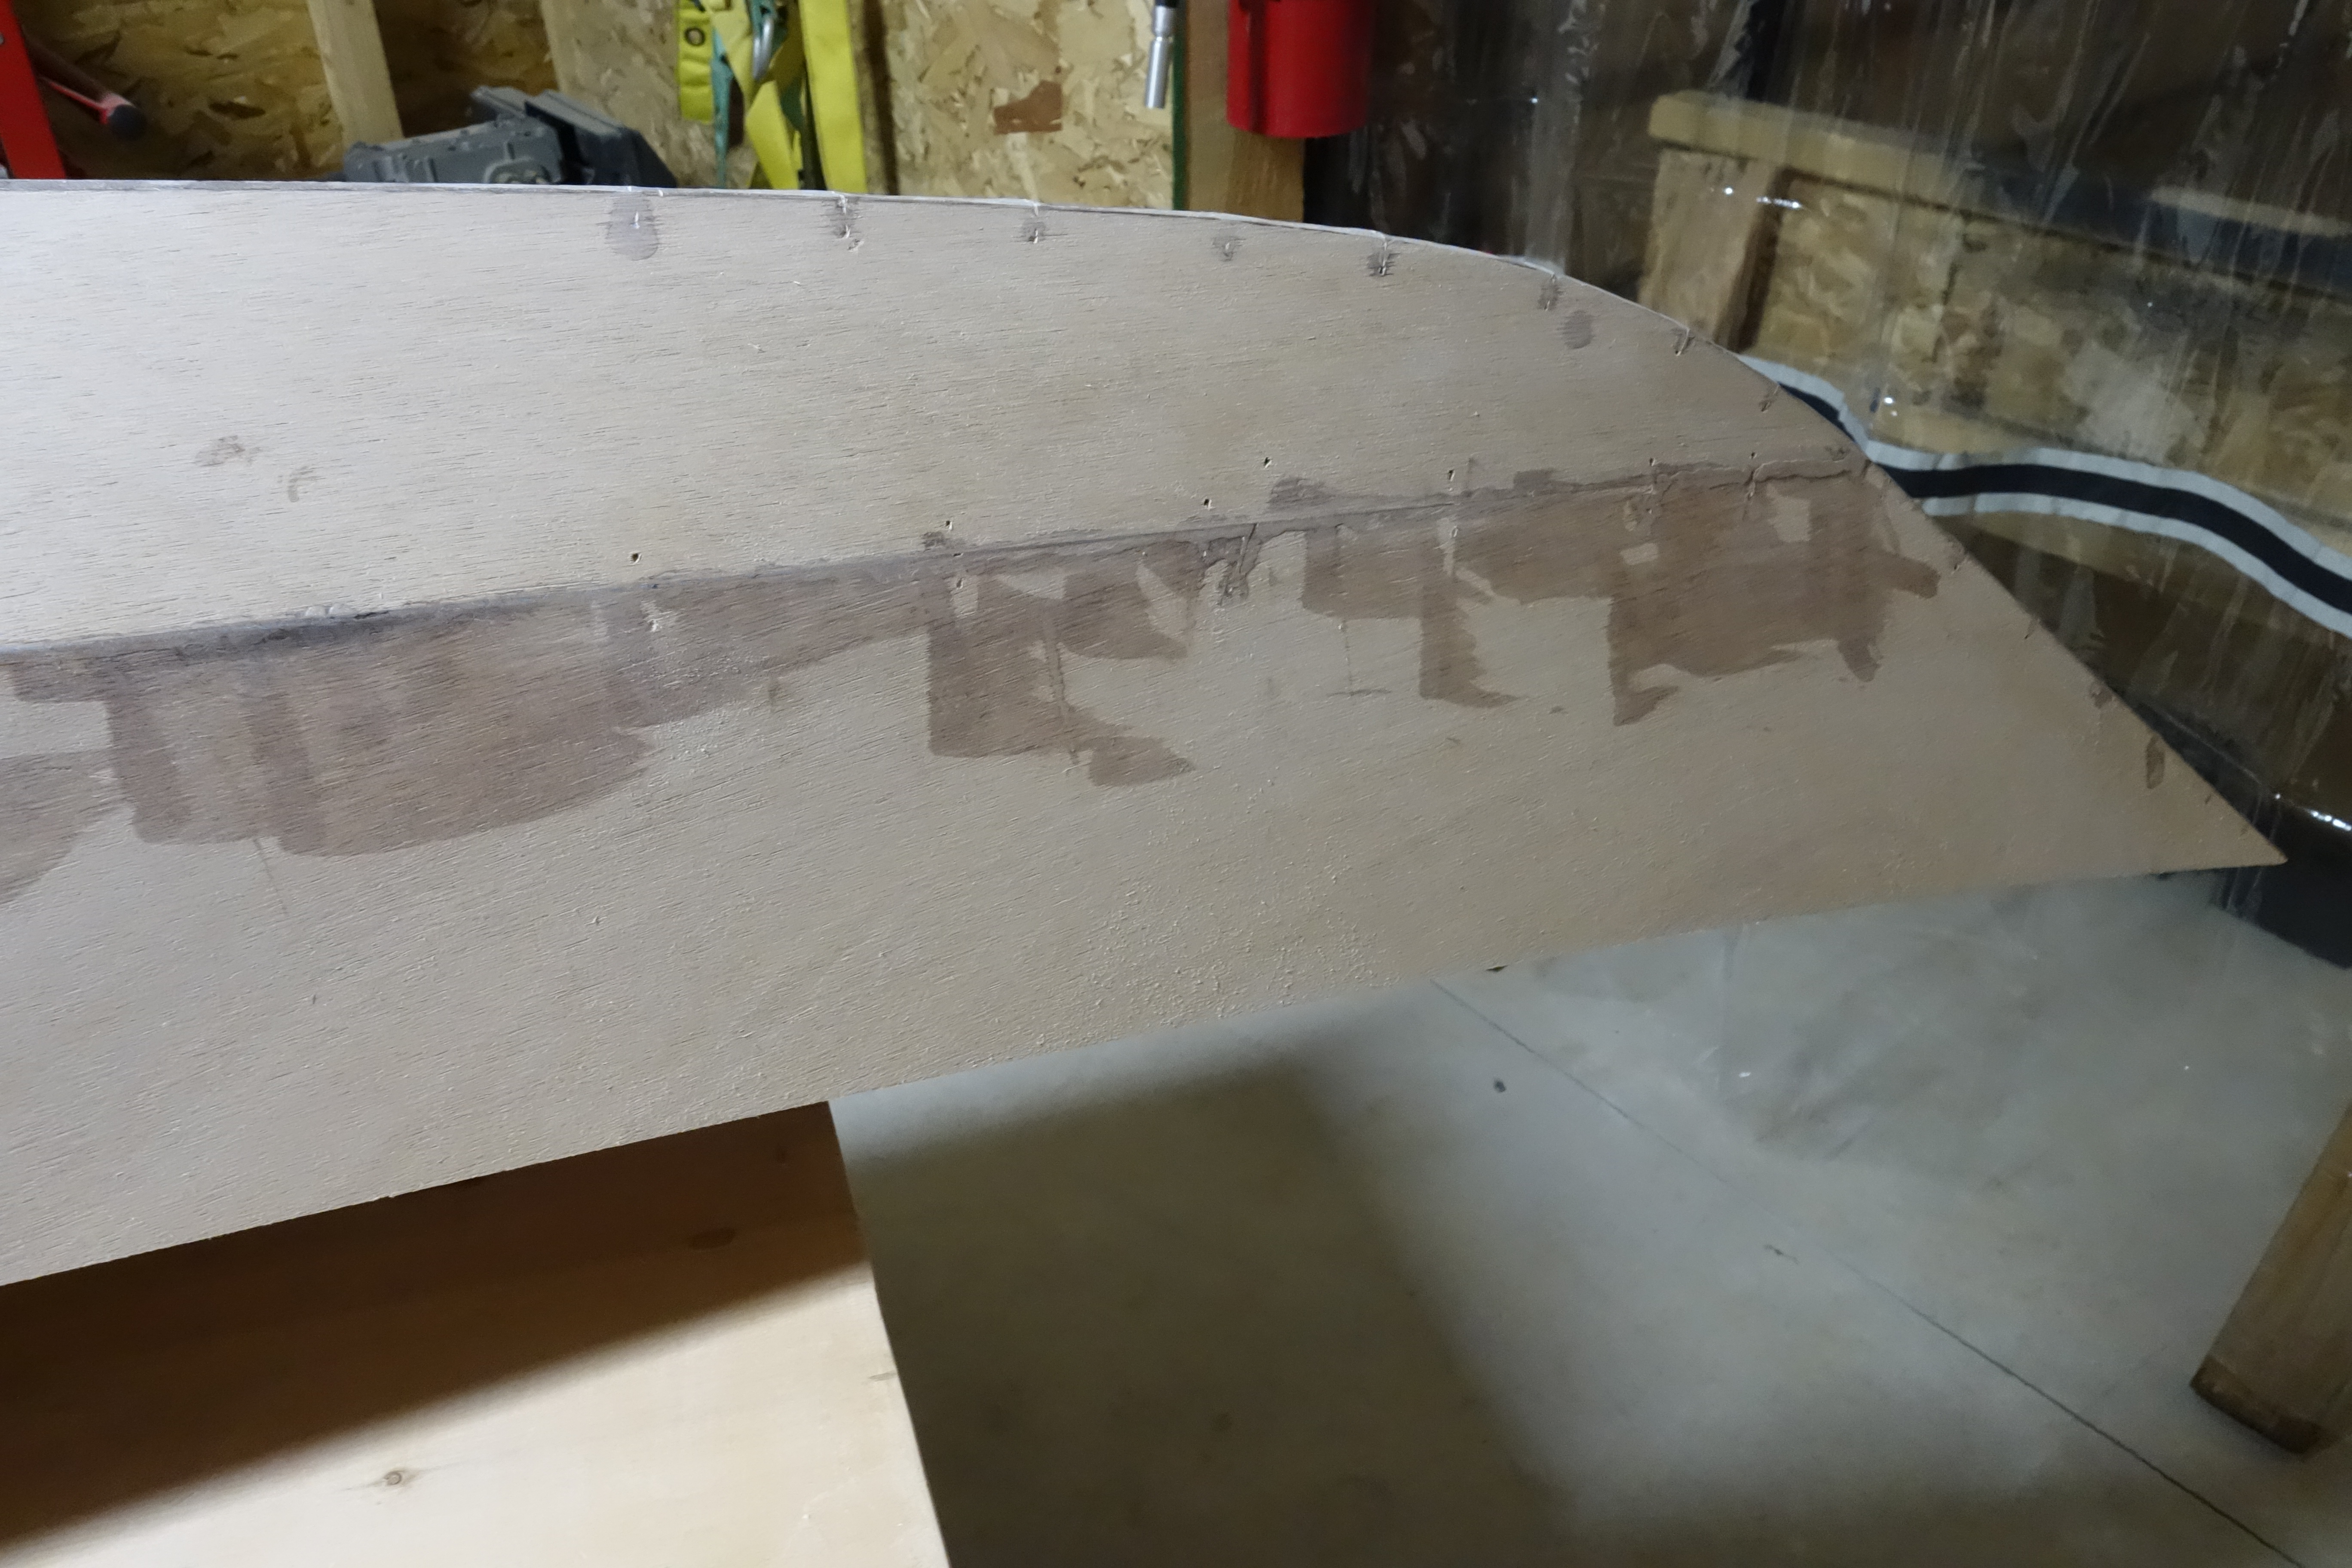
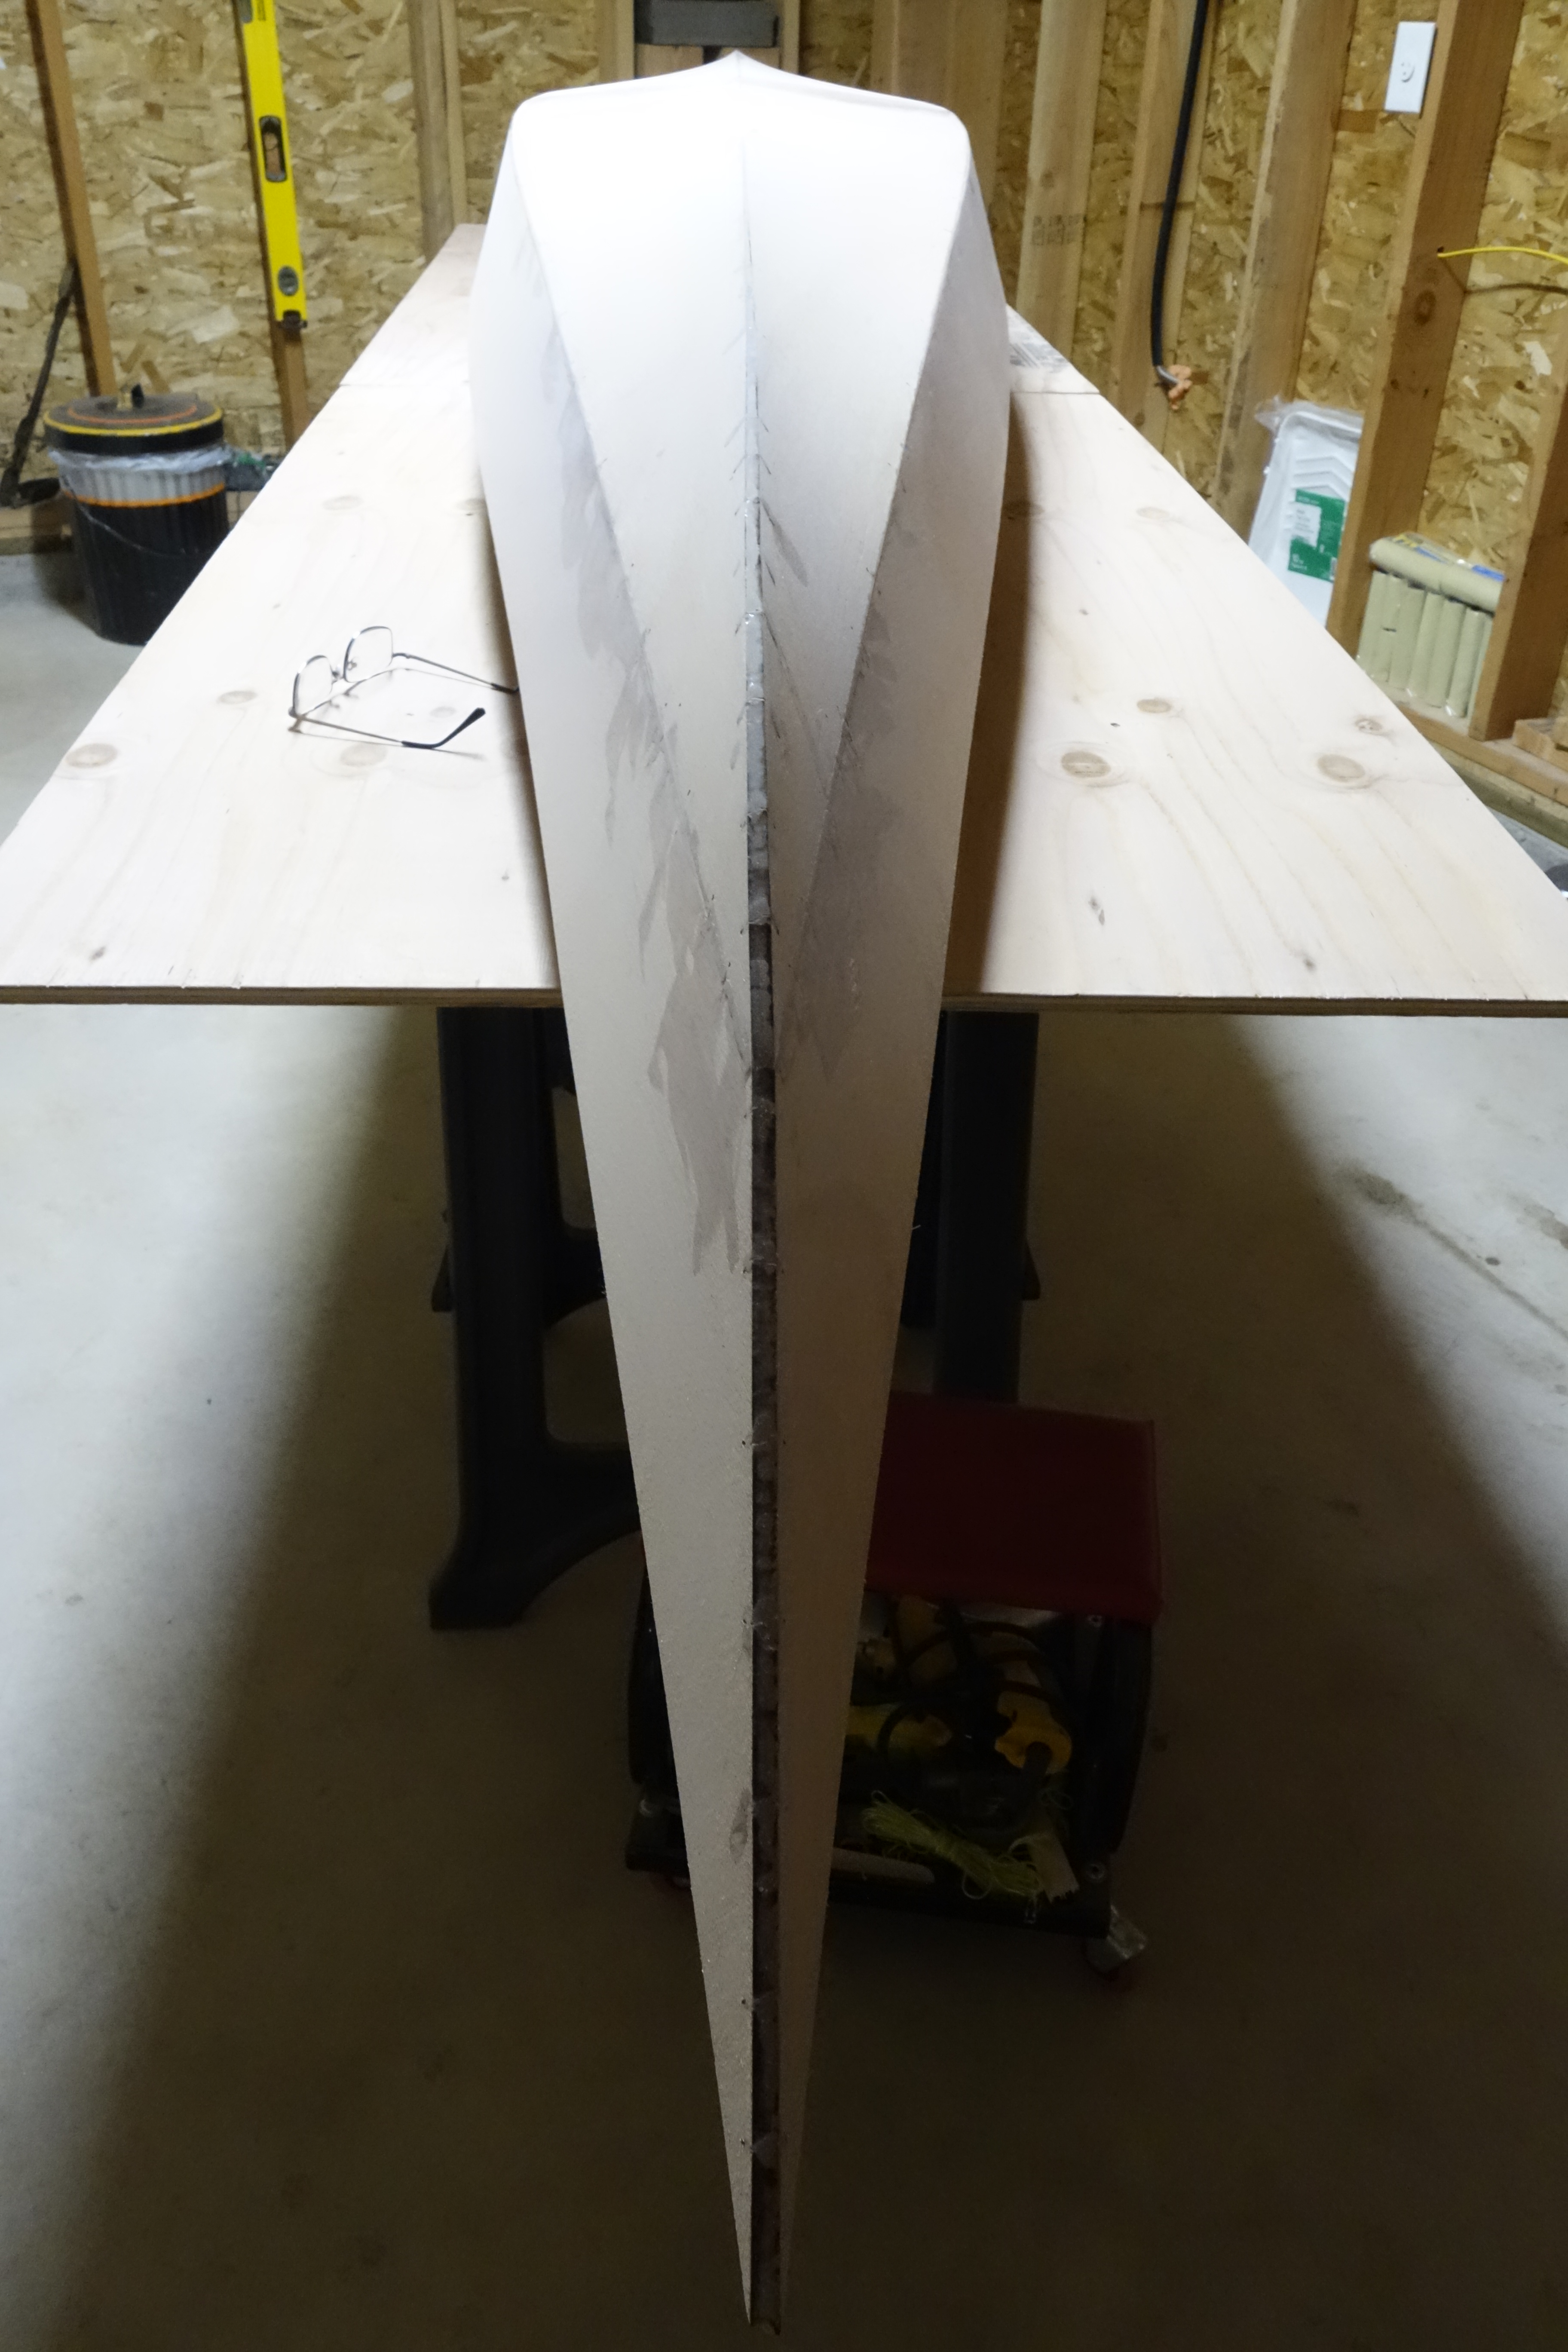
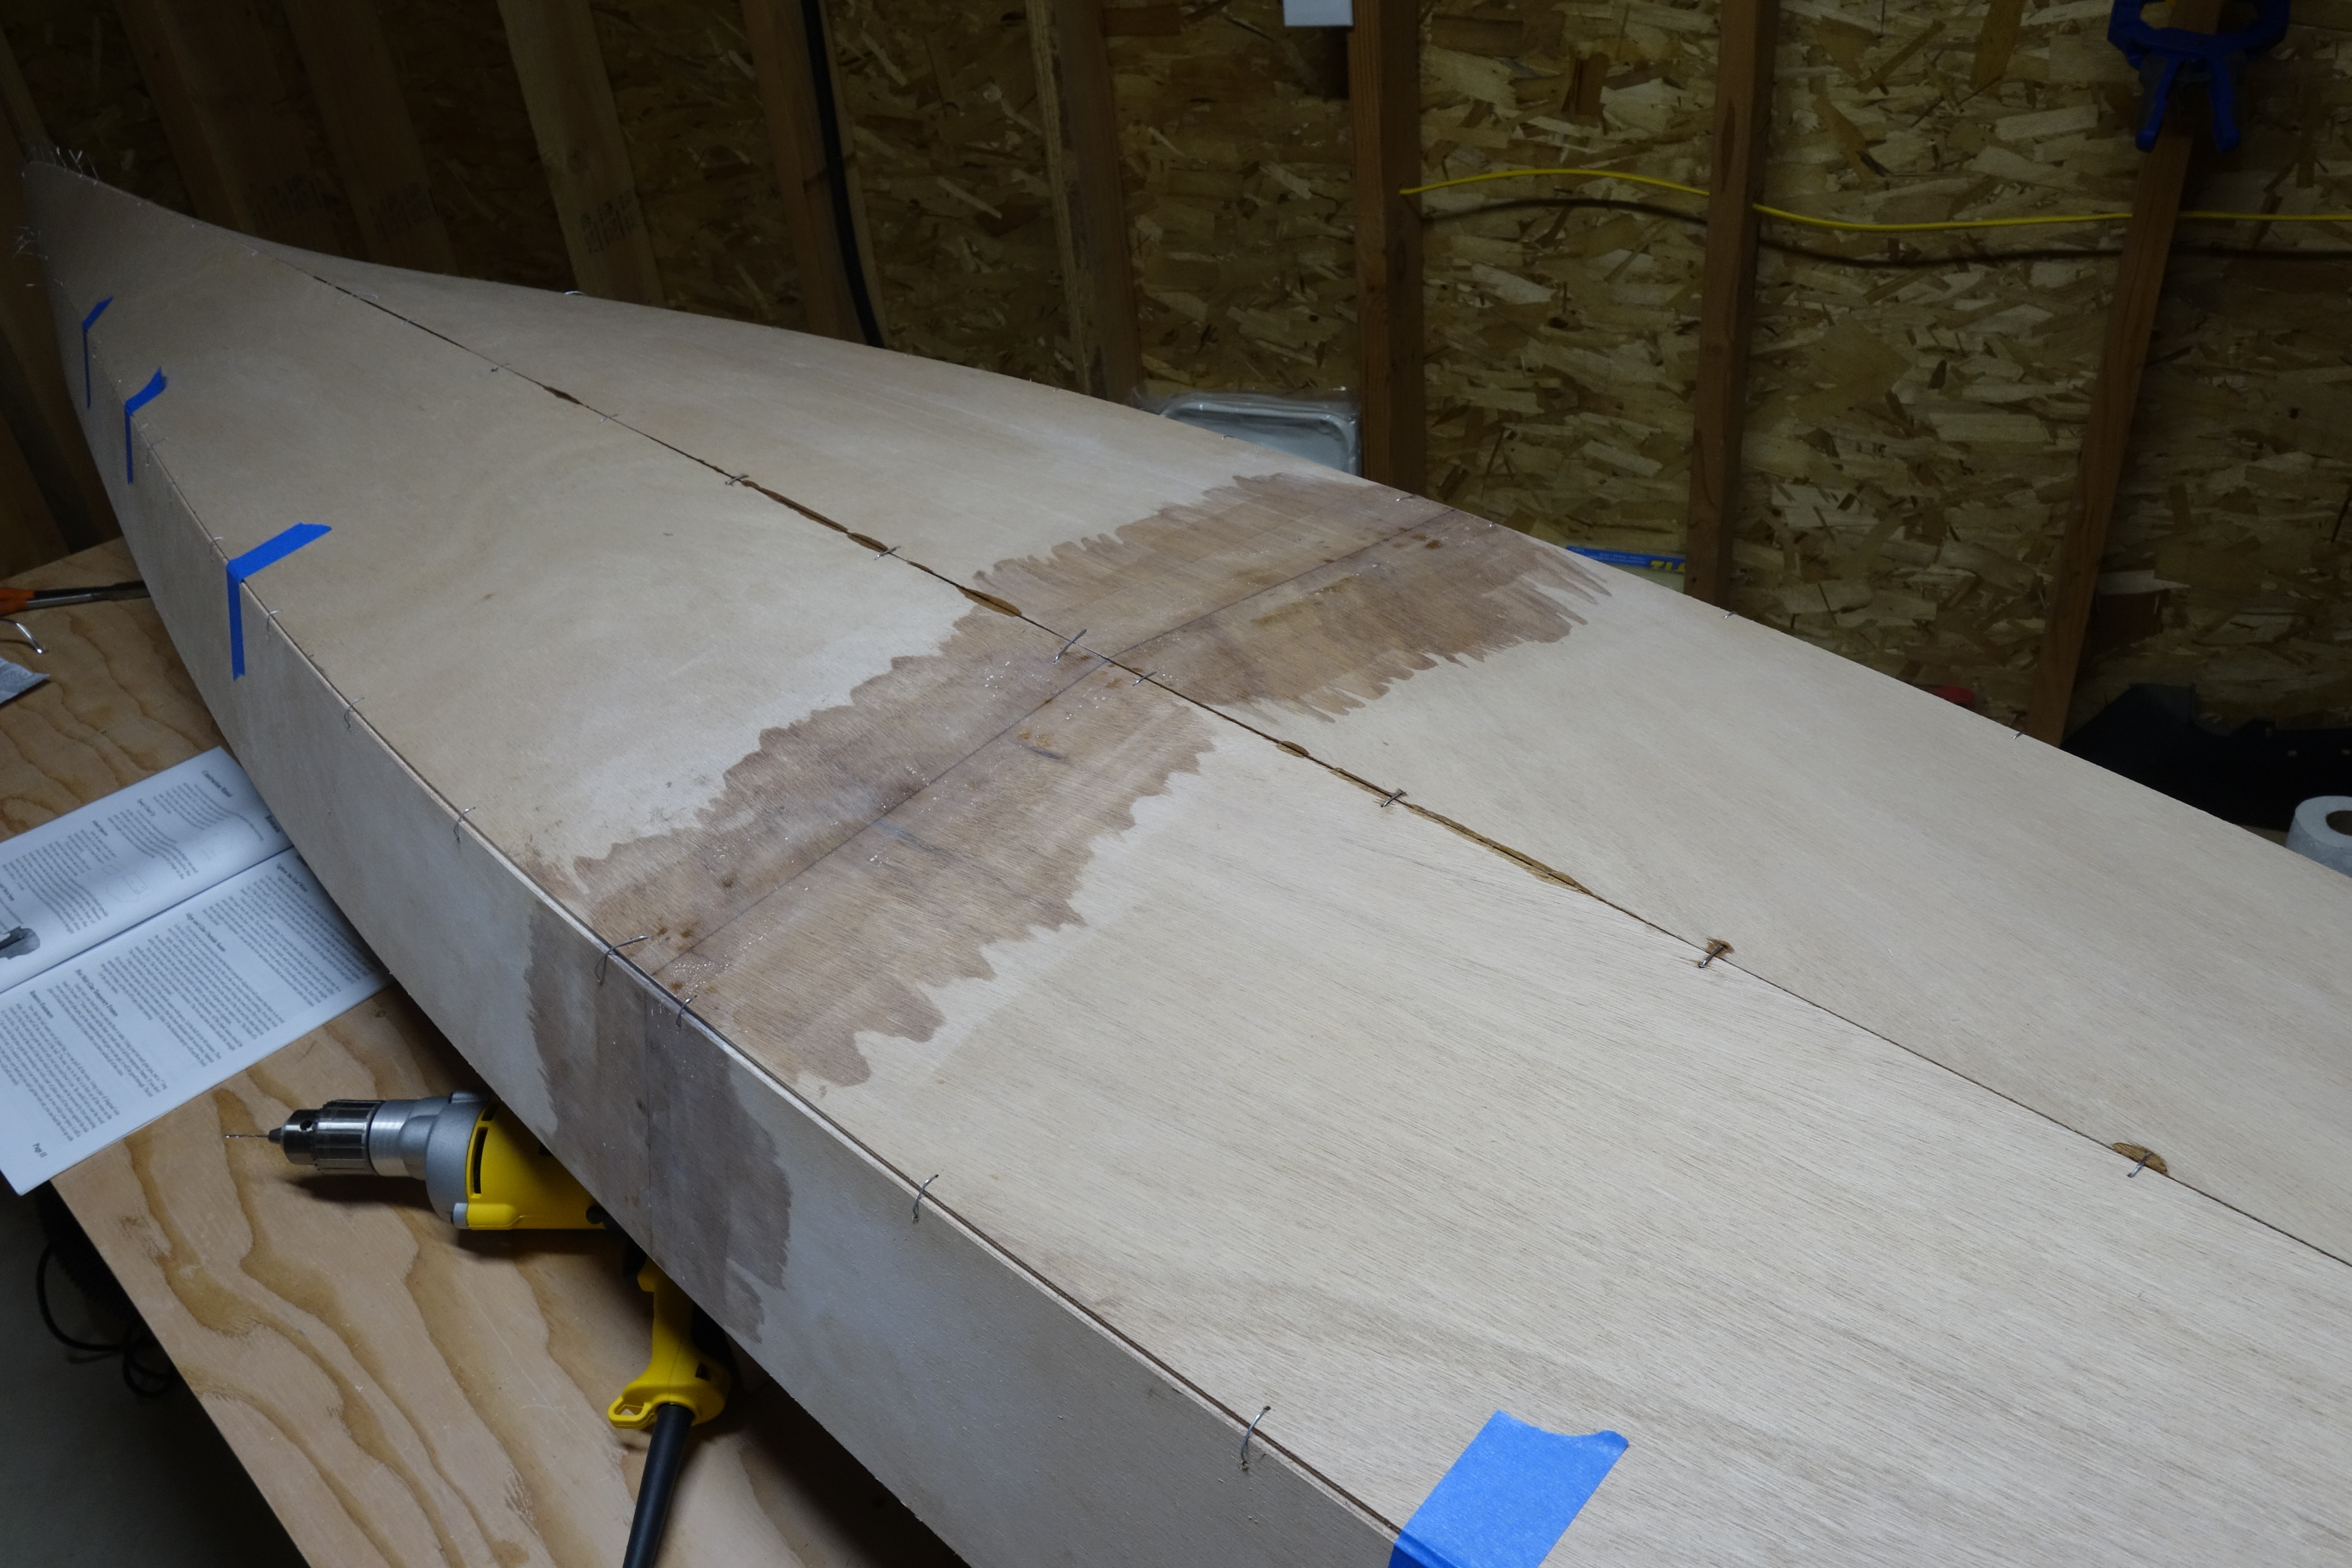
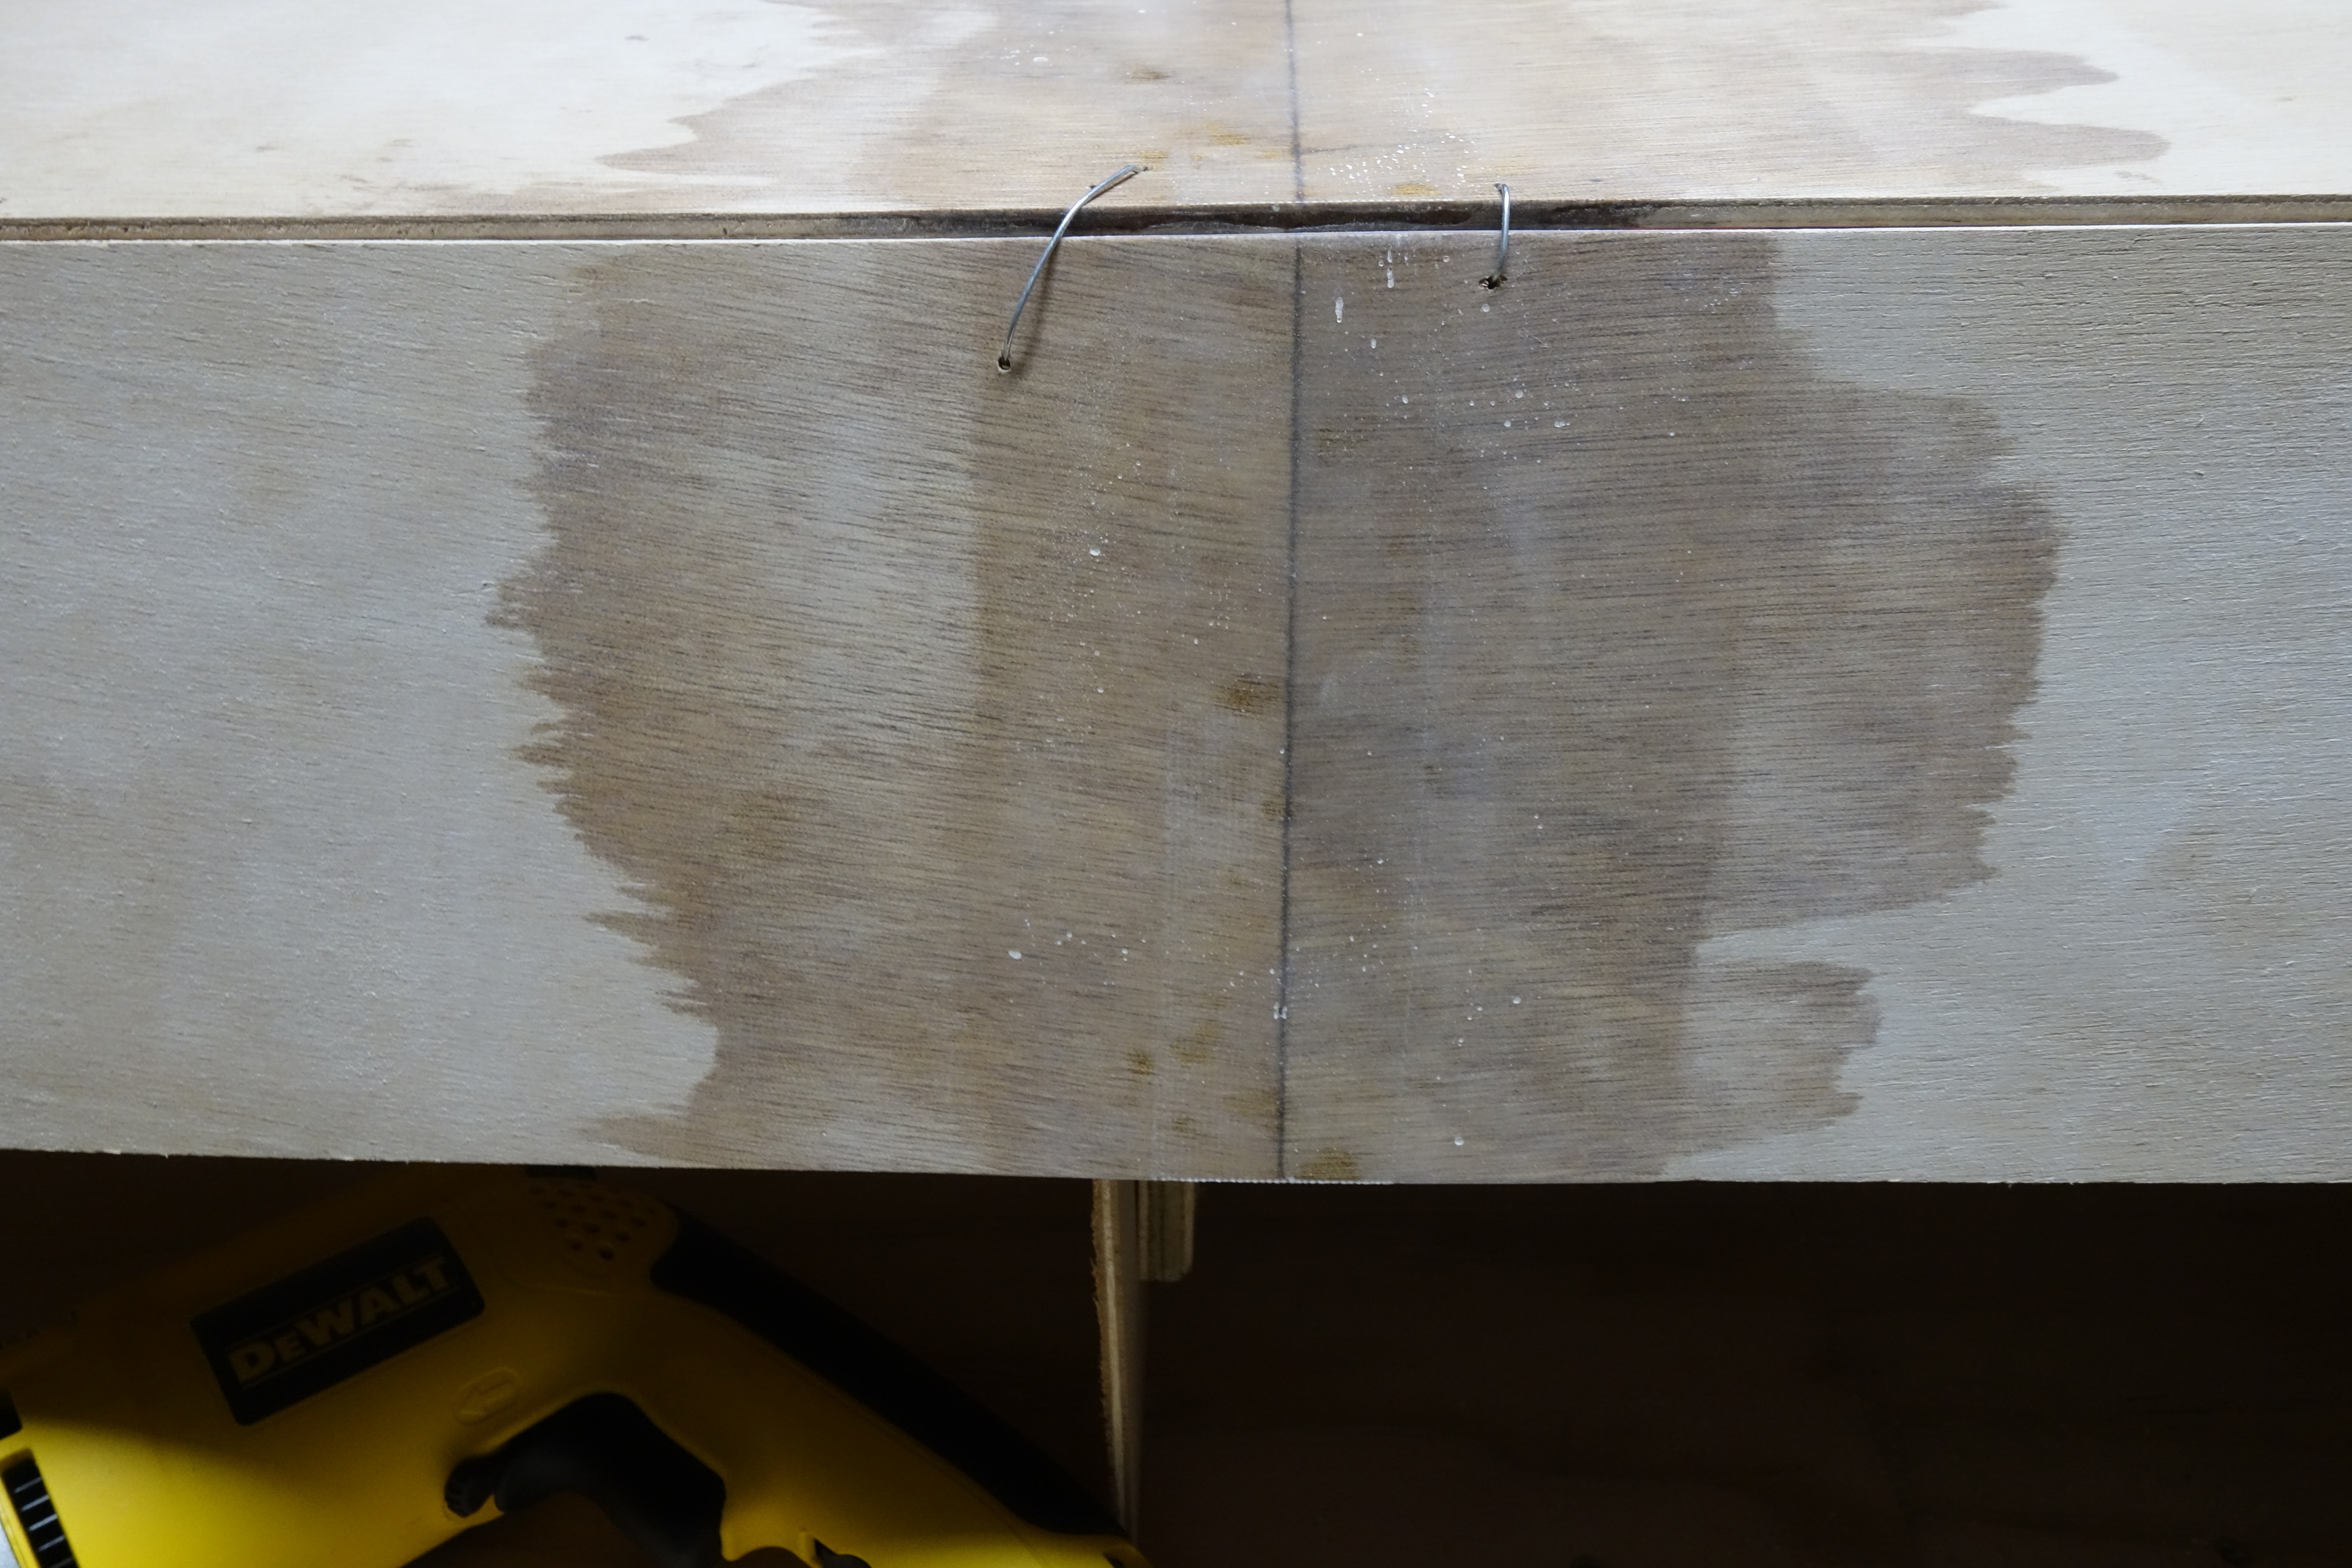
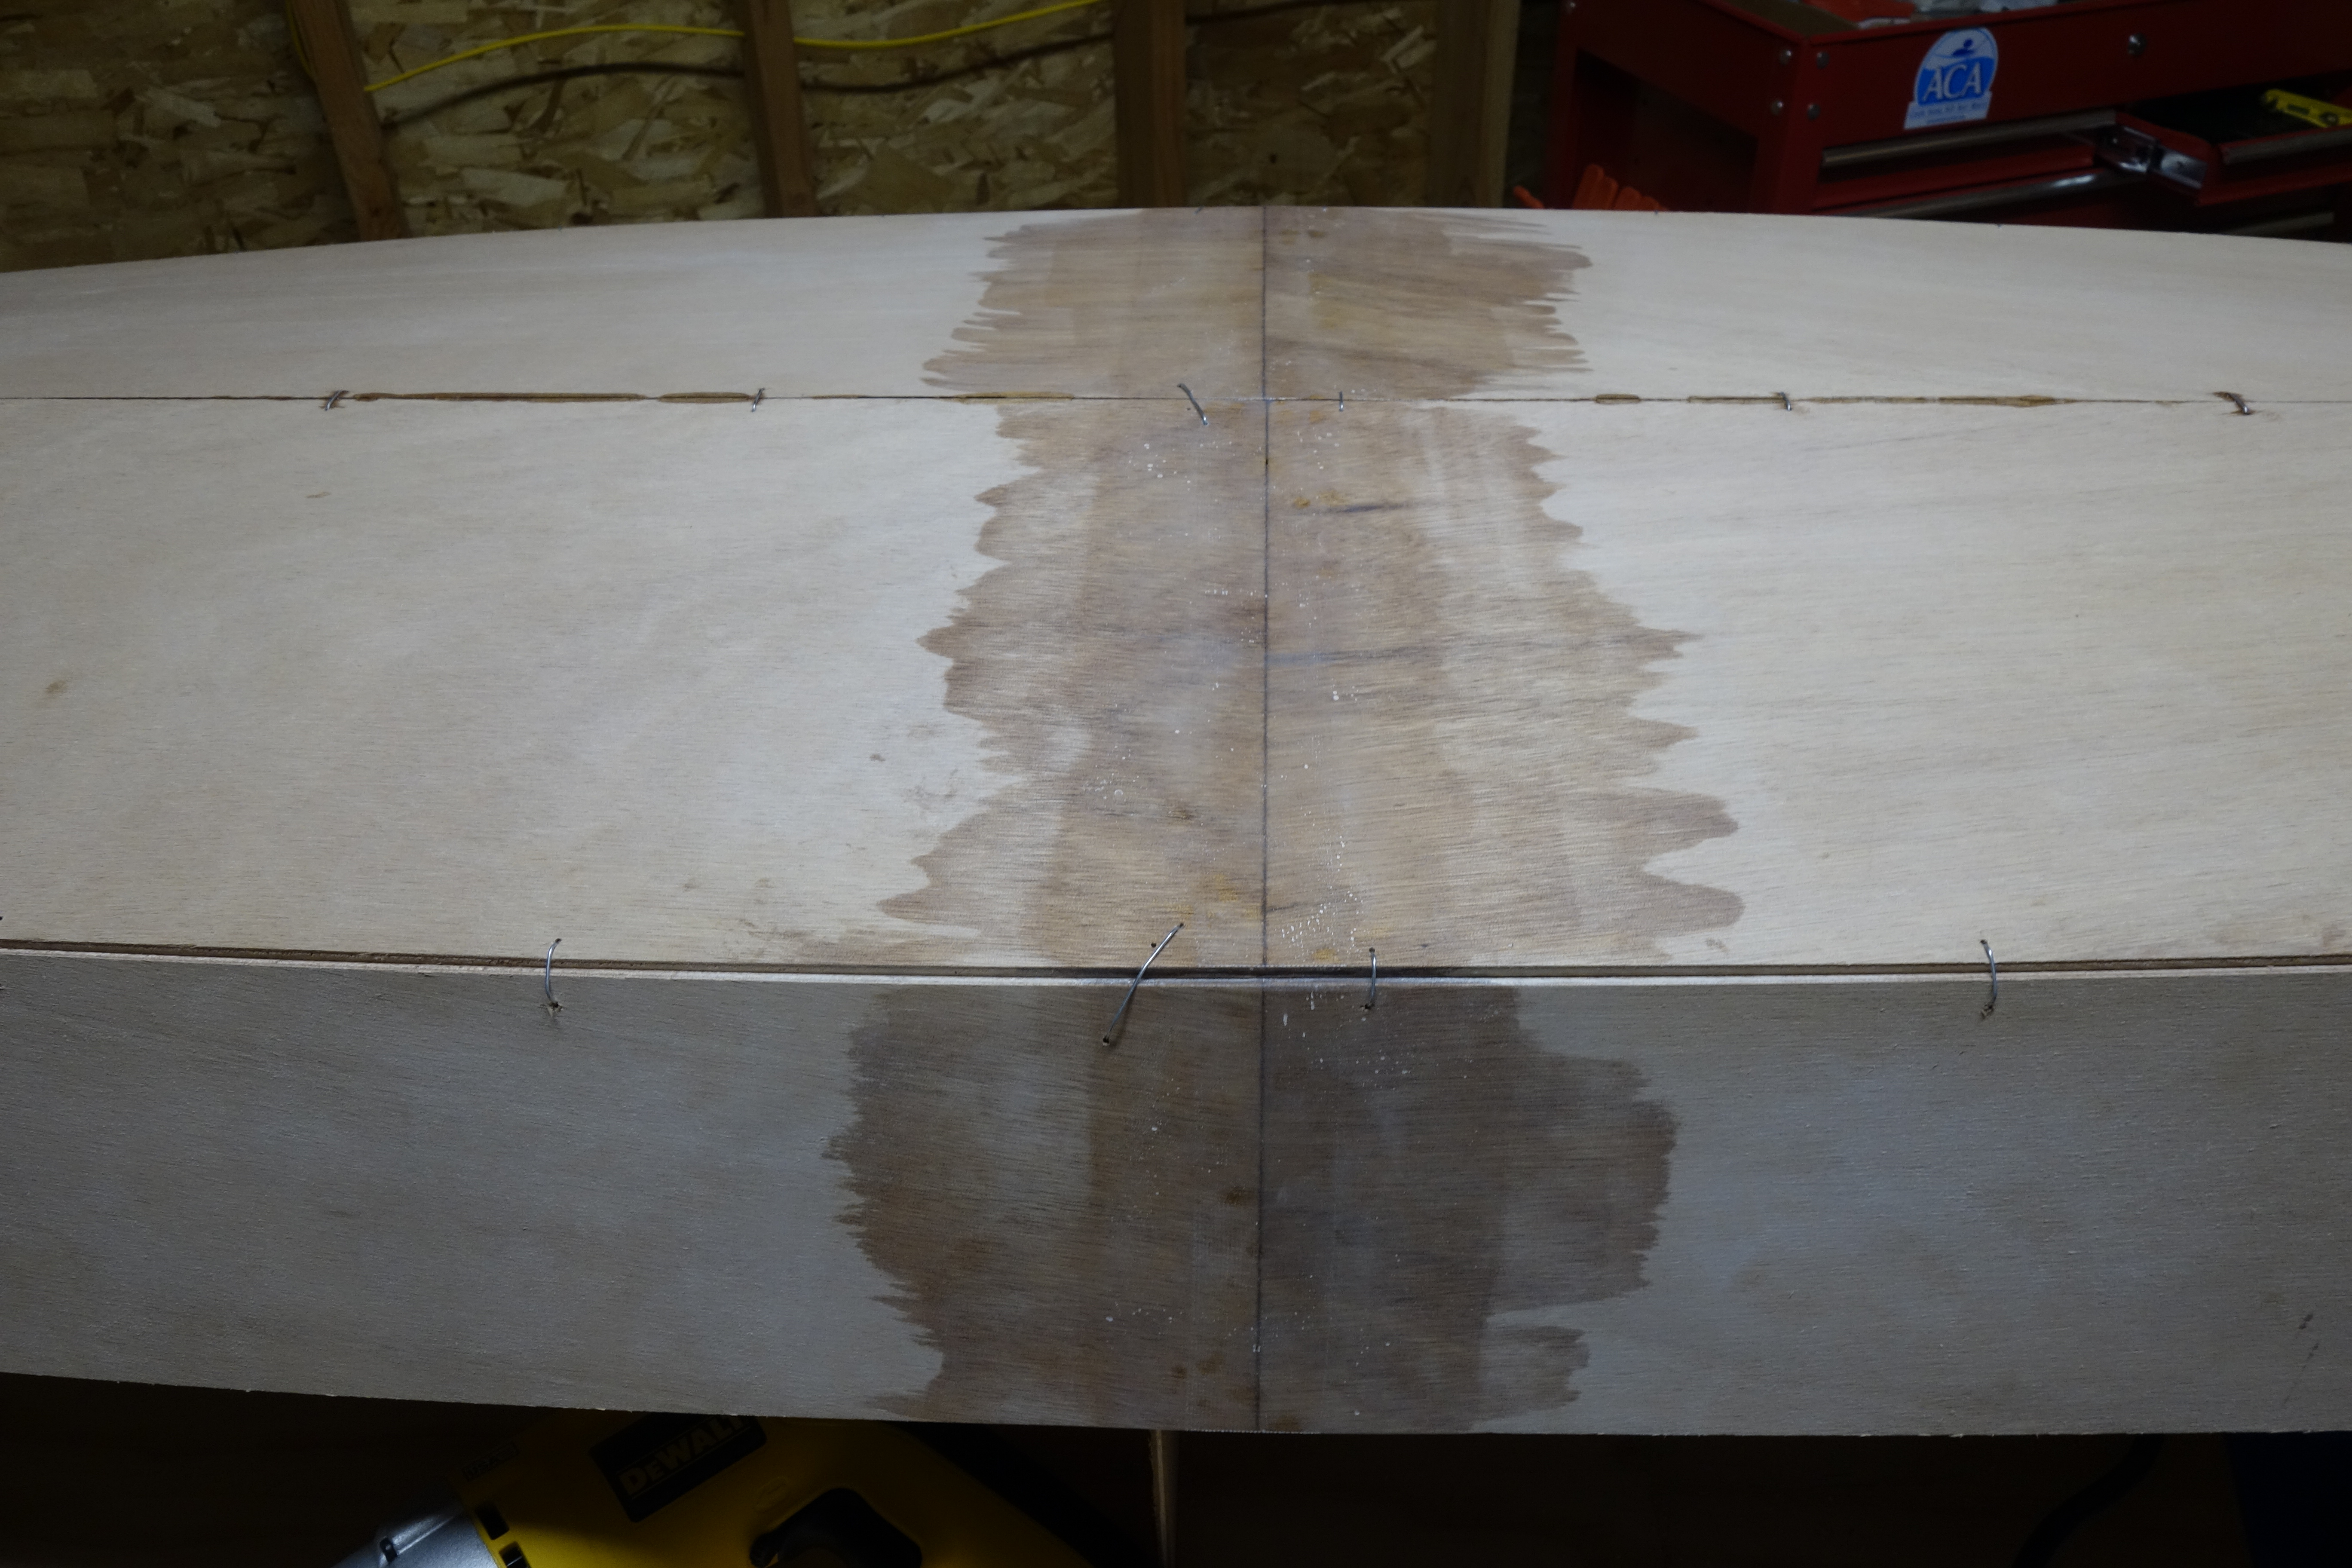
After the rocker is set and the keel seam epoxy has cured, the rest of the hull stitching can be tightened and the seams made smooth and fair, and ready for epoxy.

This photo shows the big stitches that are used to hold the temporary frames in the hull. Scrap plywood has been used to screw extensions (provided in the kit) to the temporary frames so that the hull can be turned over (bottom up) for wiring and gluing.

Ready to start stitching the kayak together.

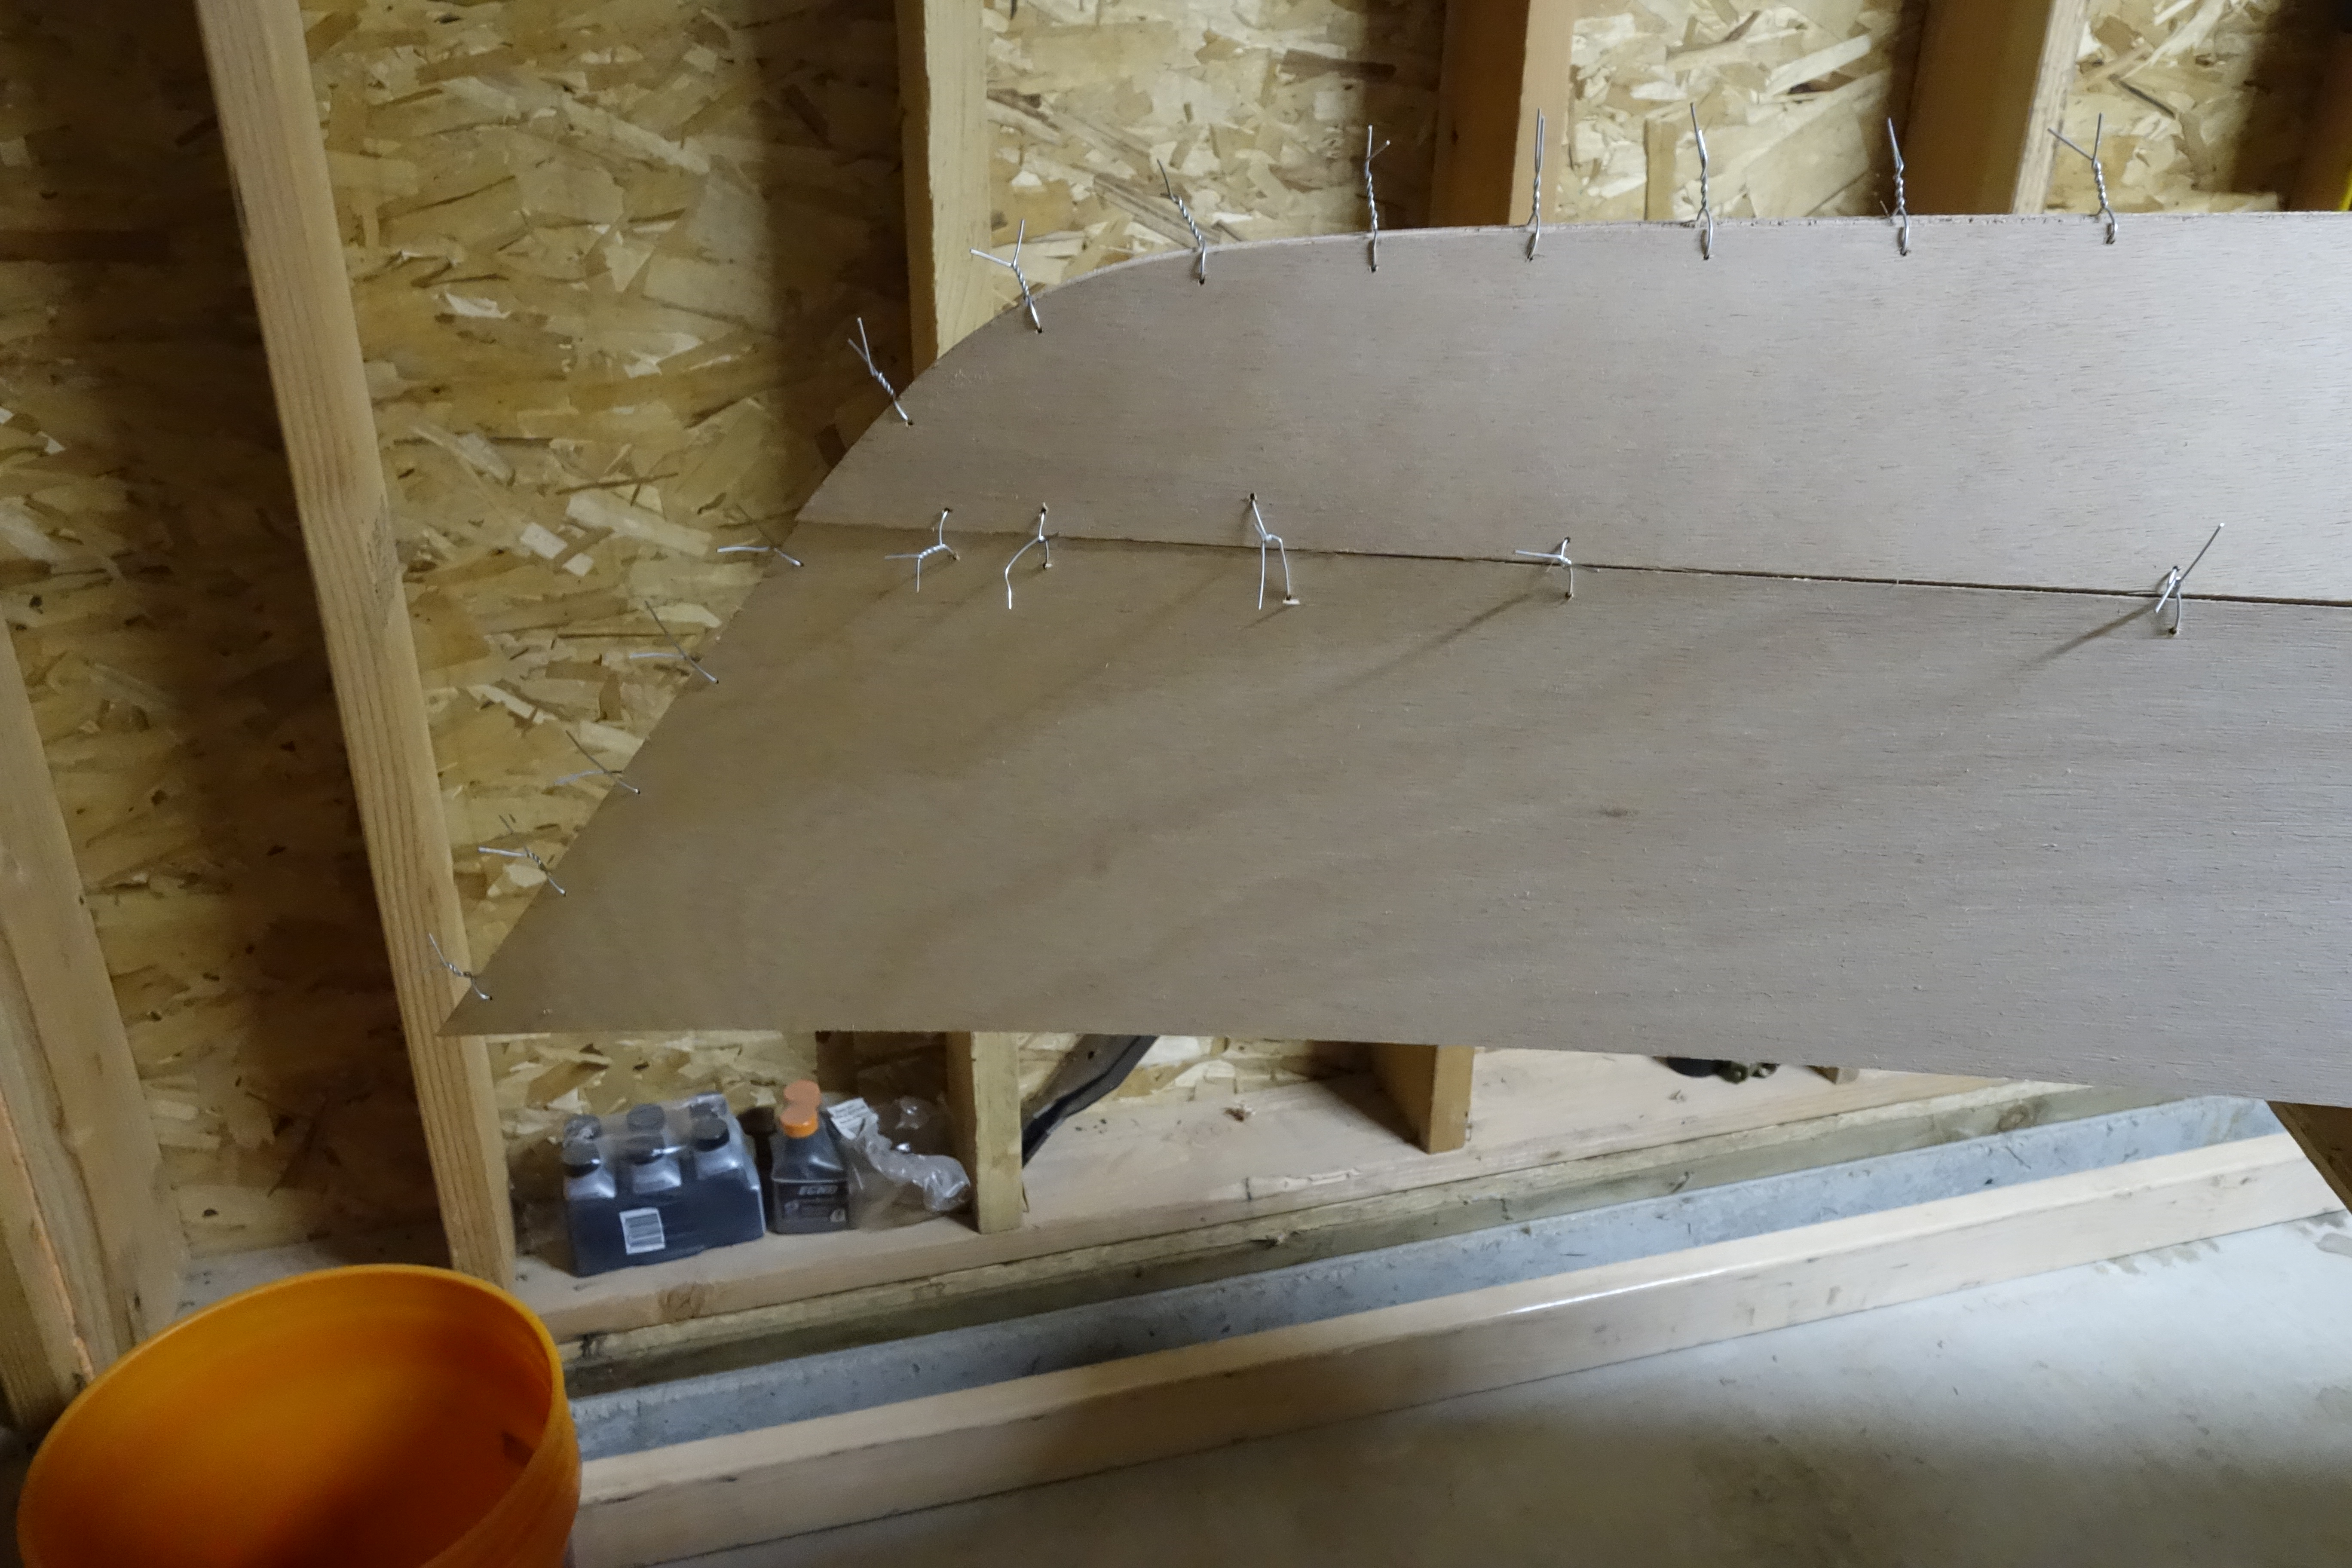
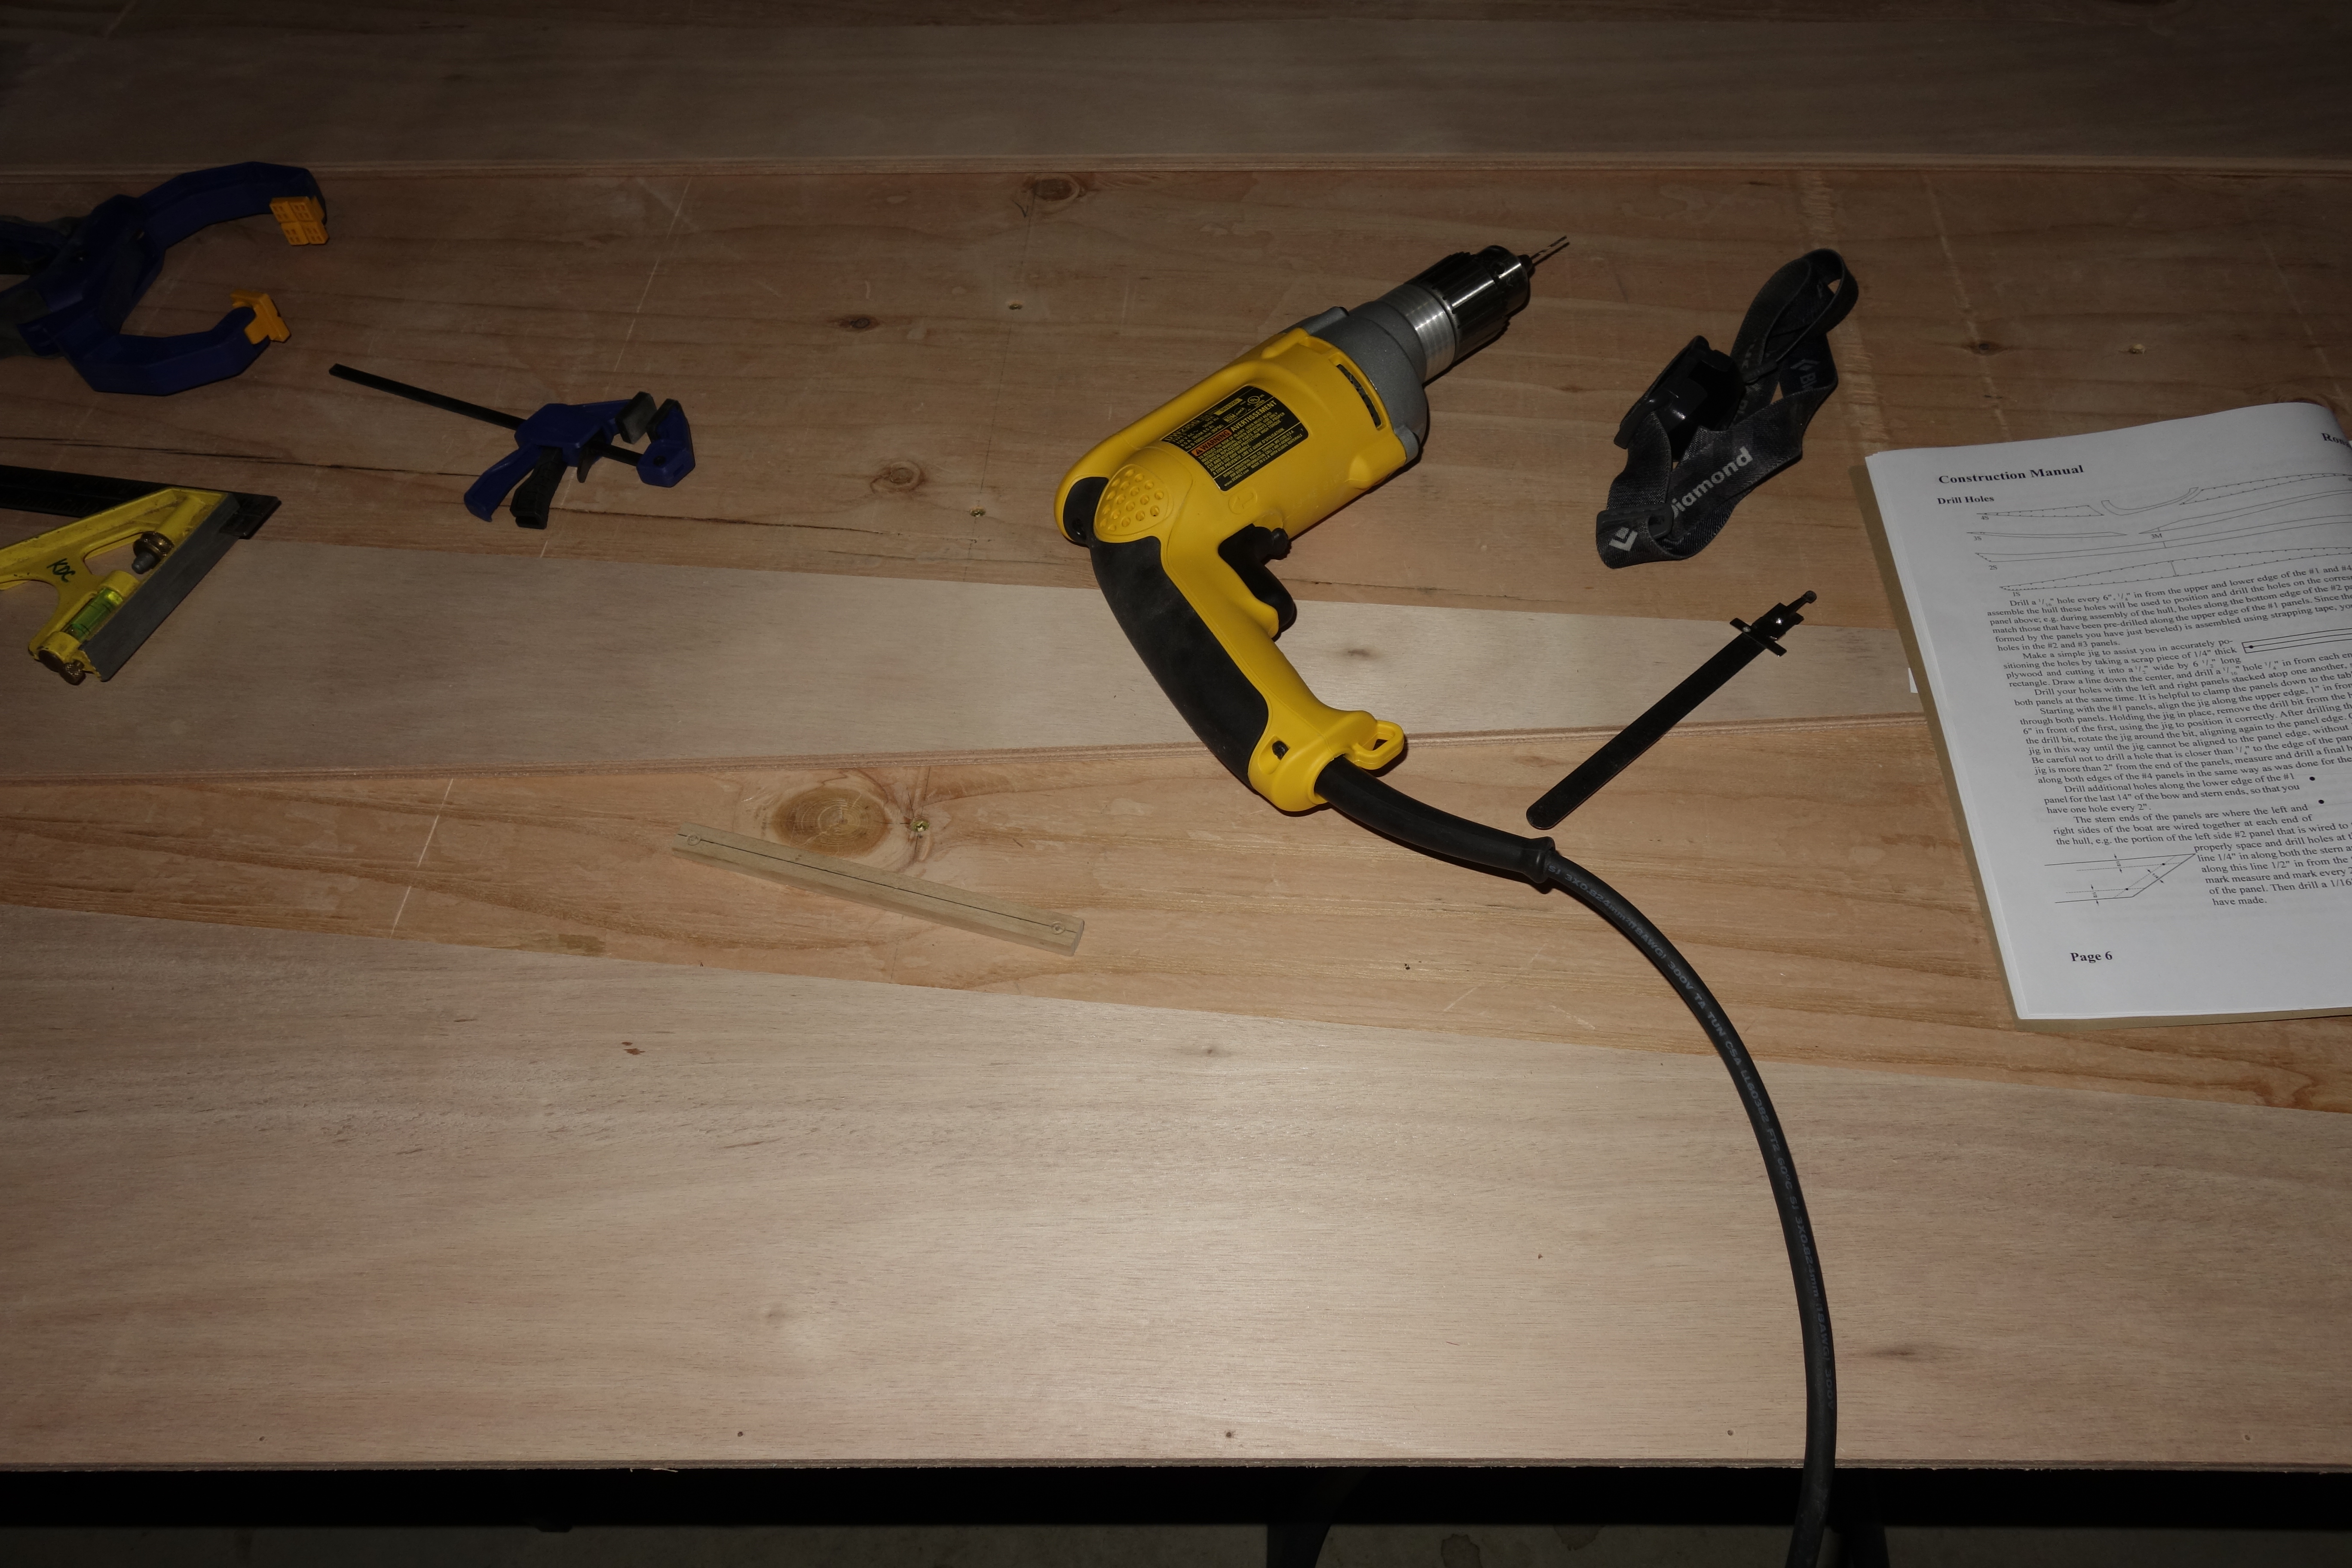
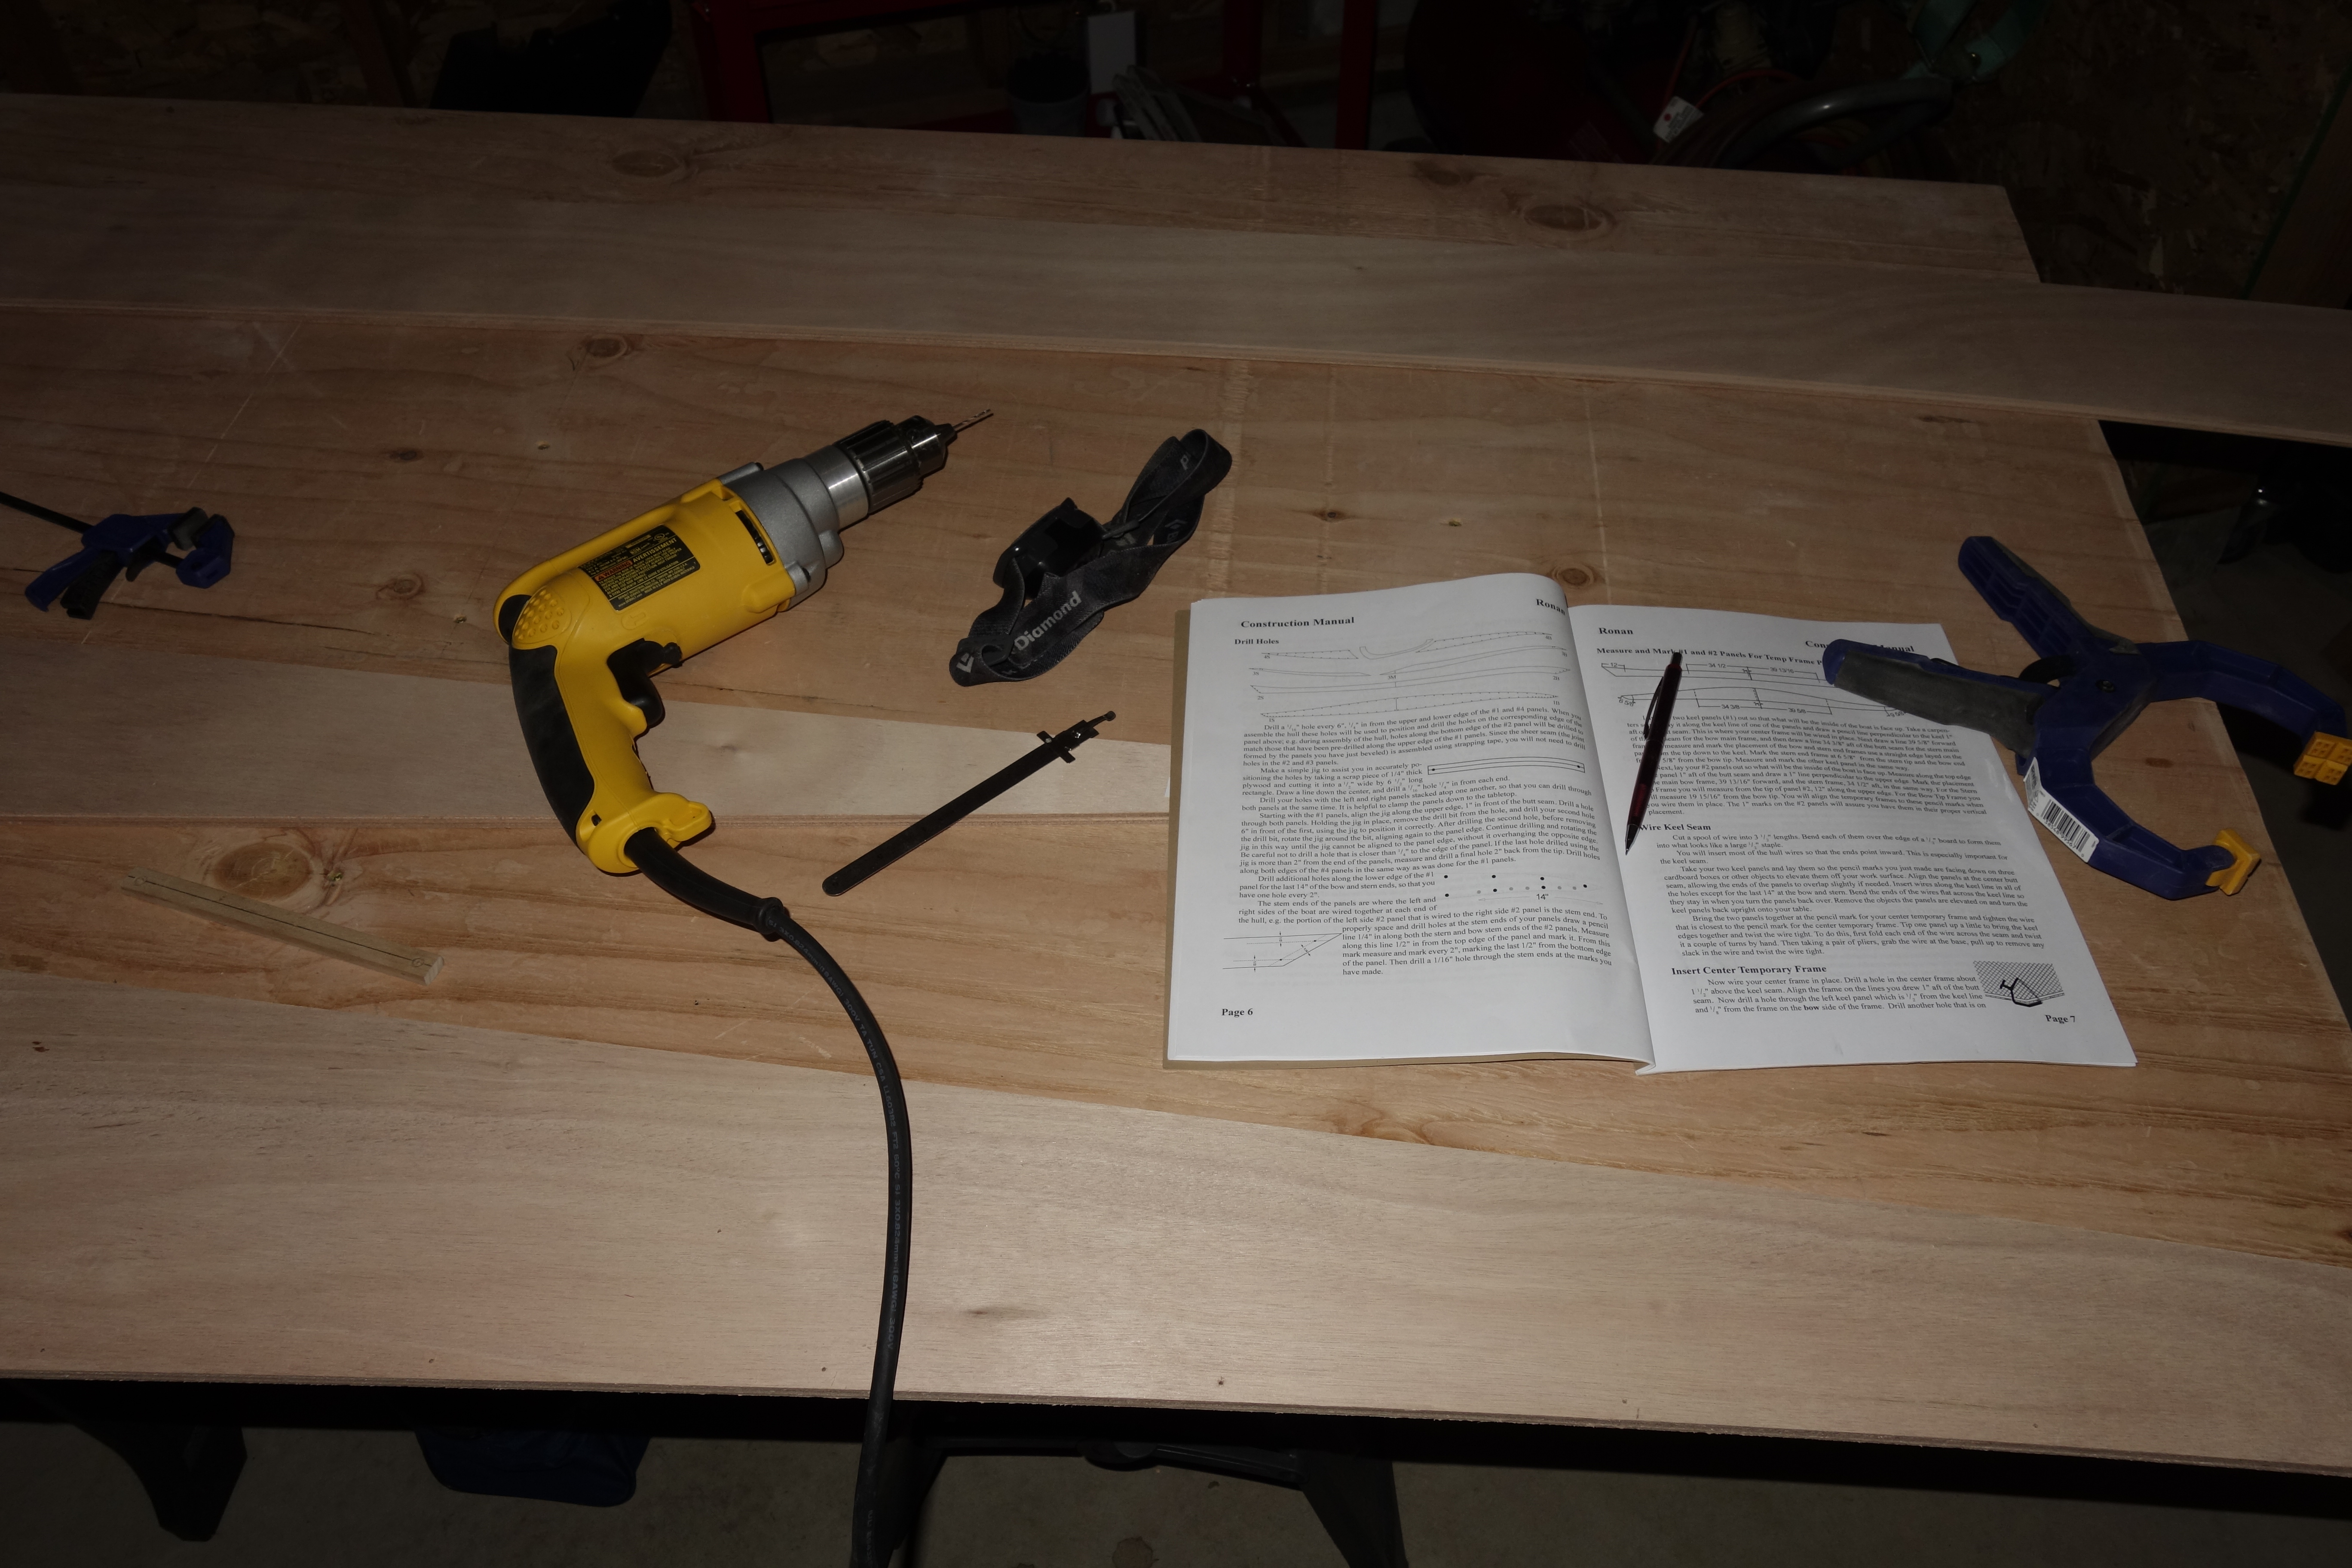
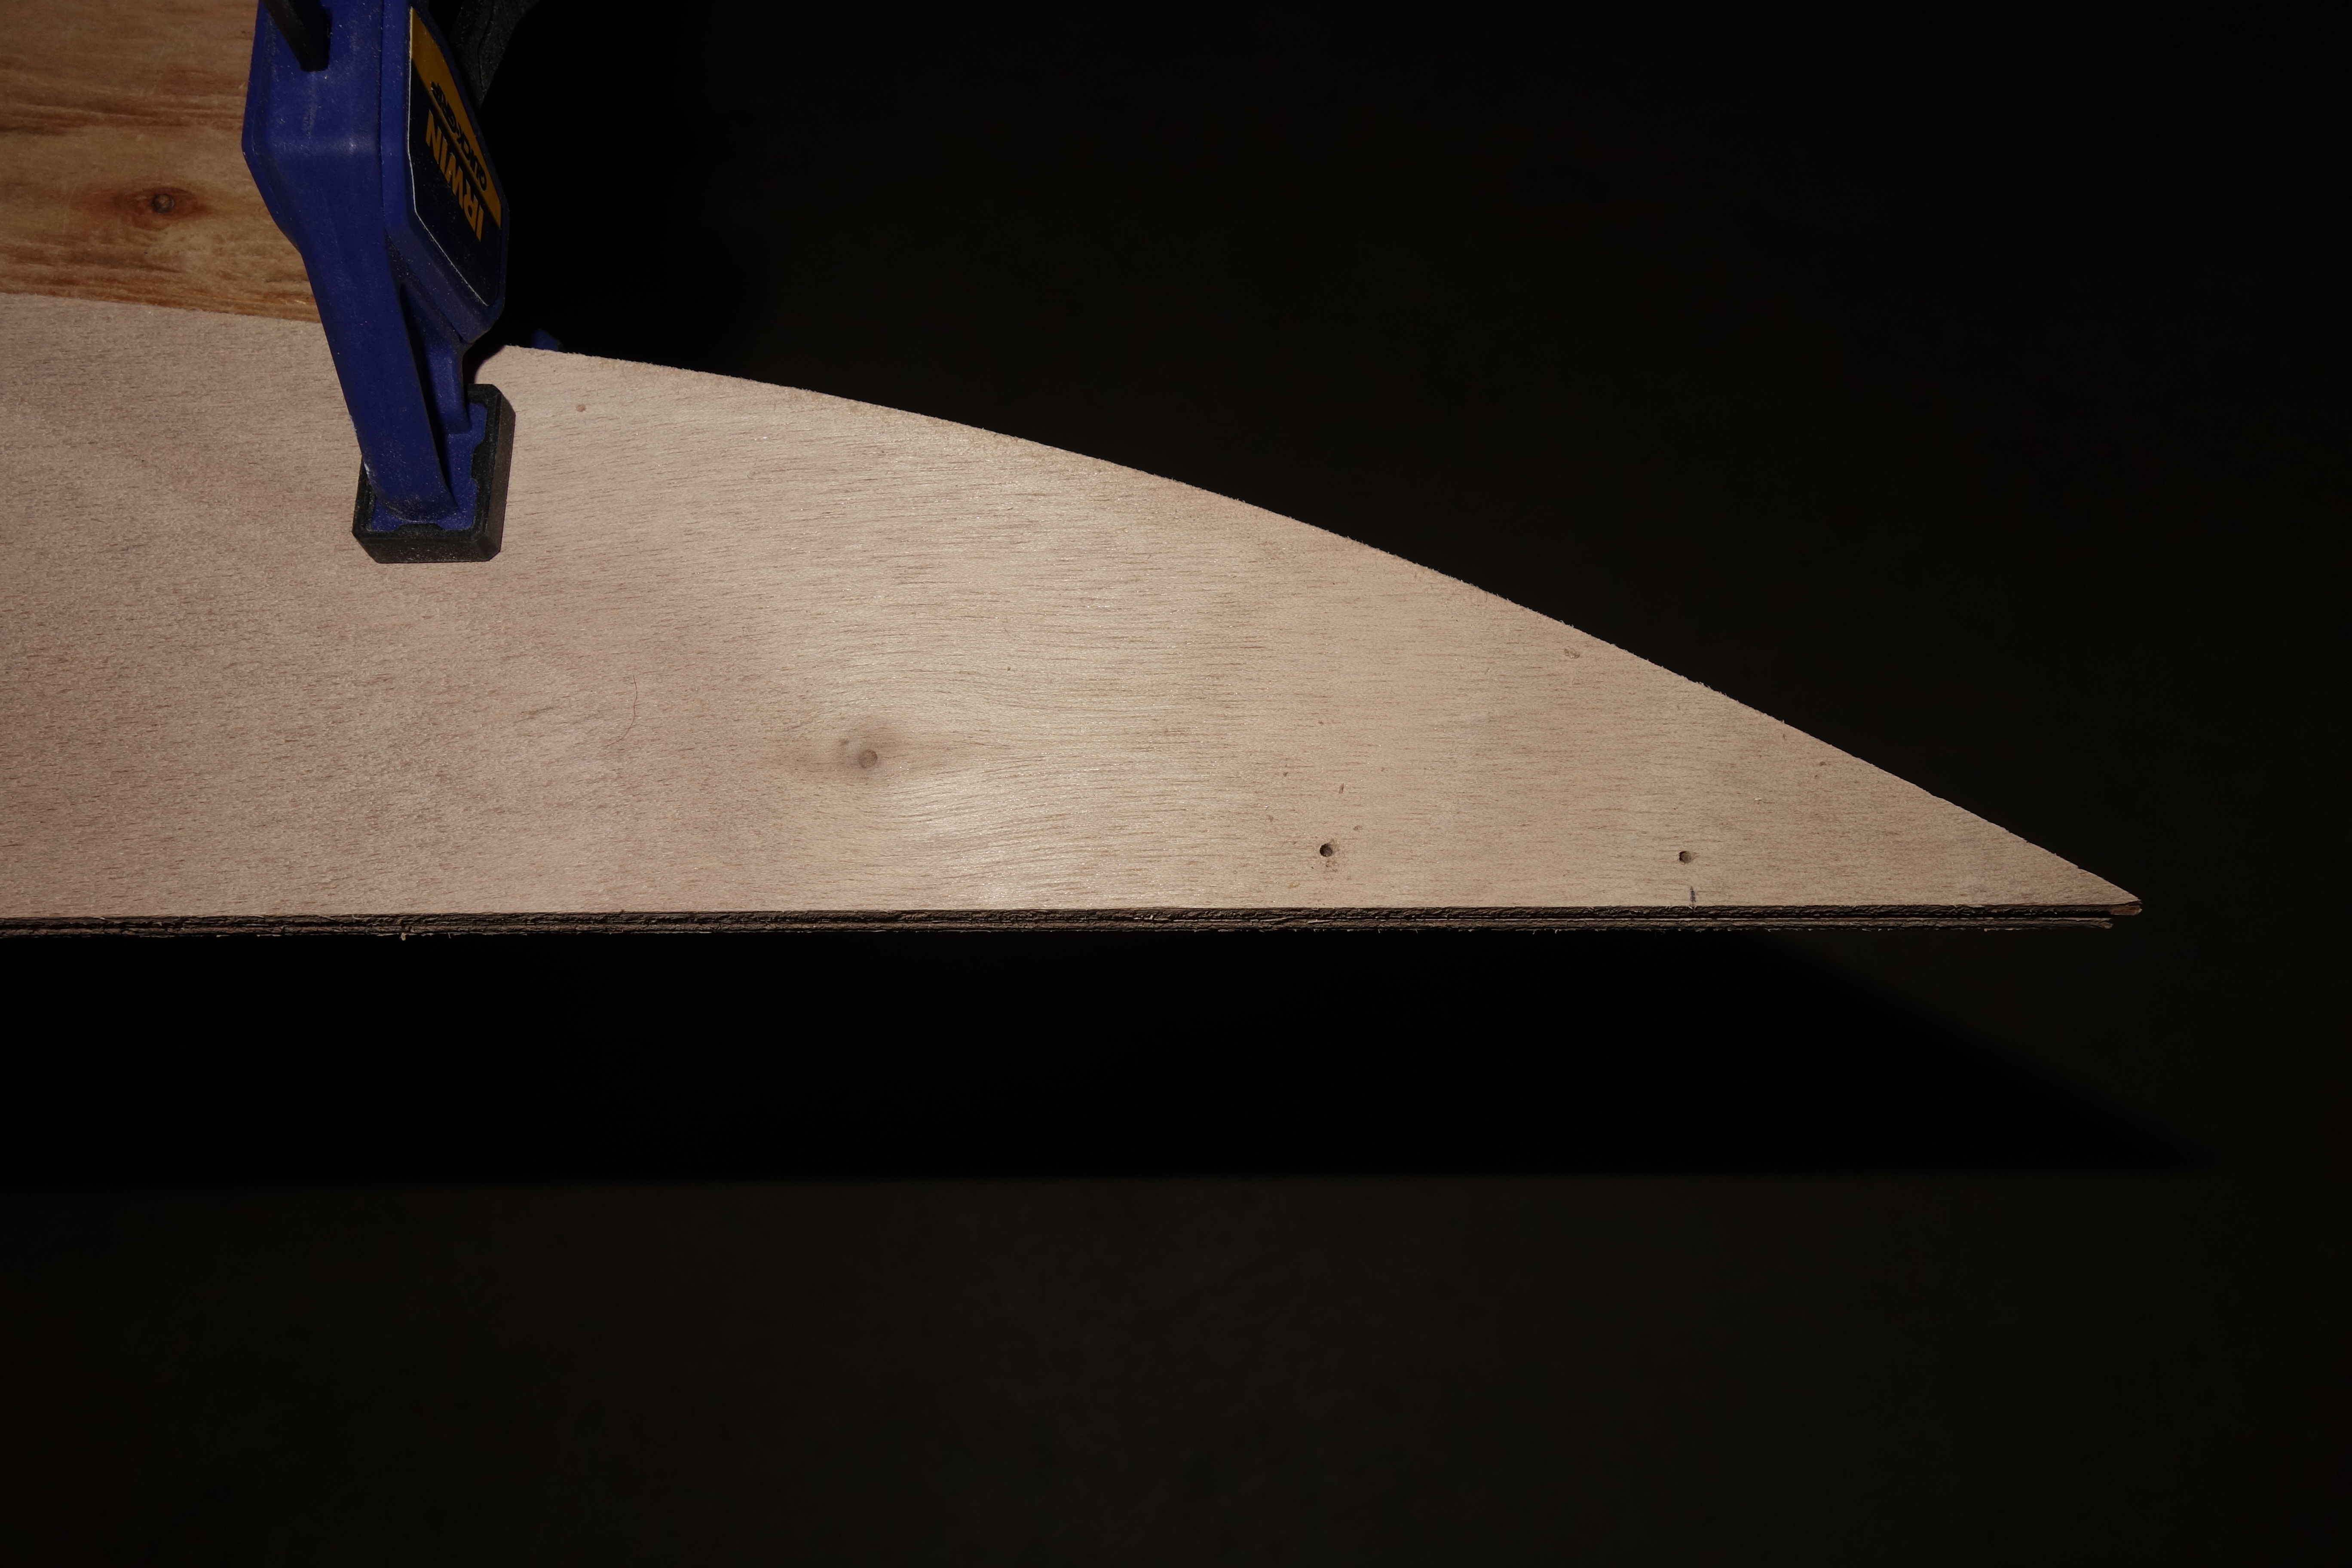
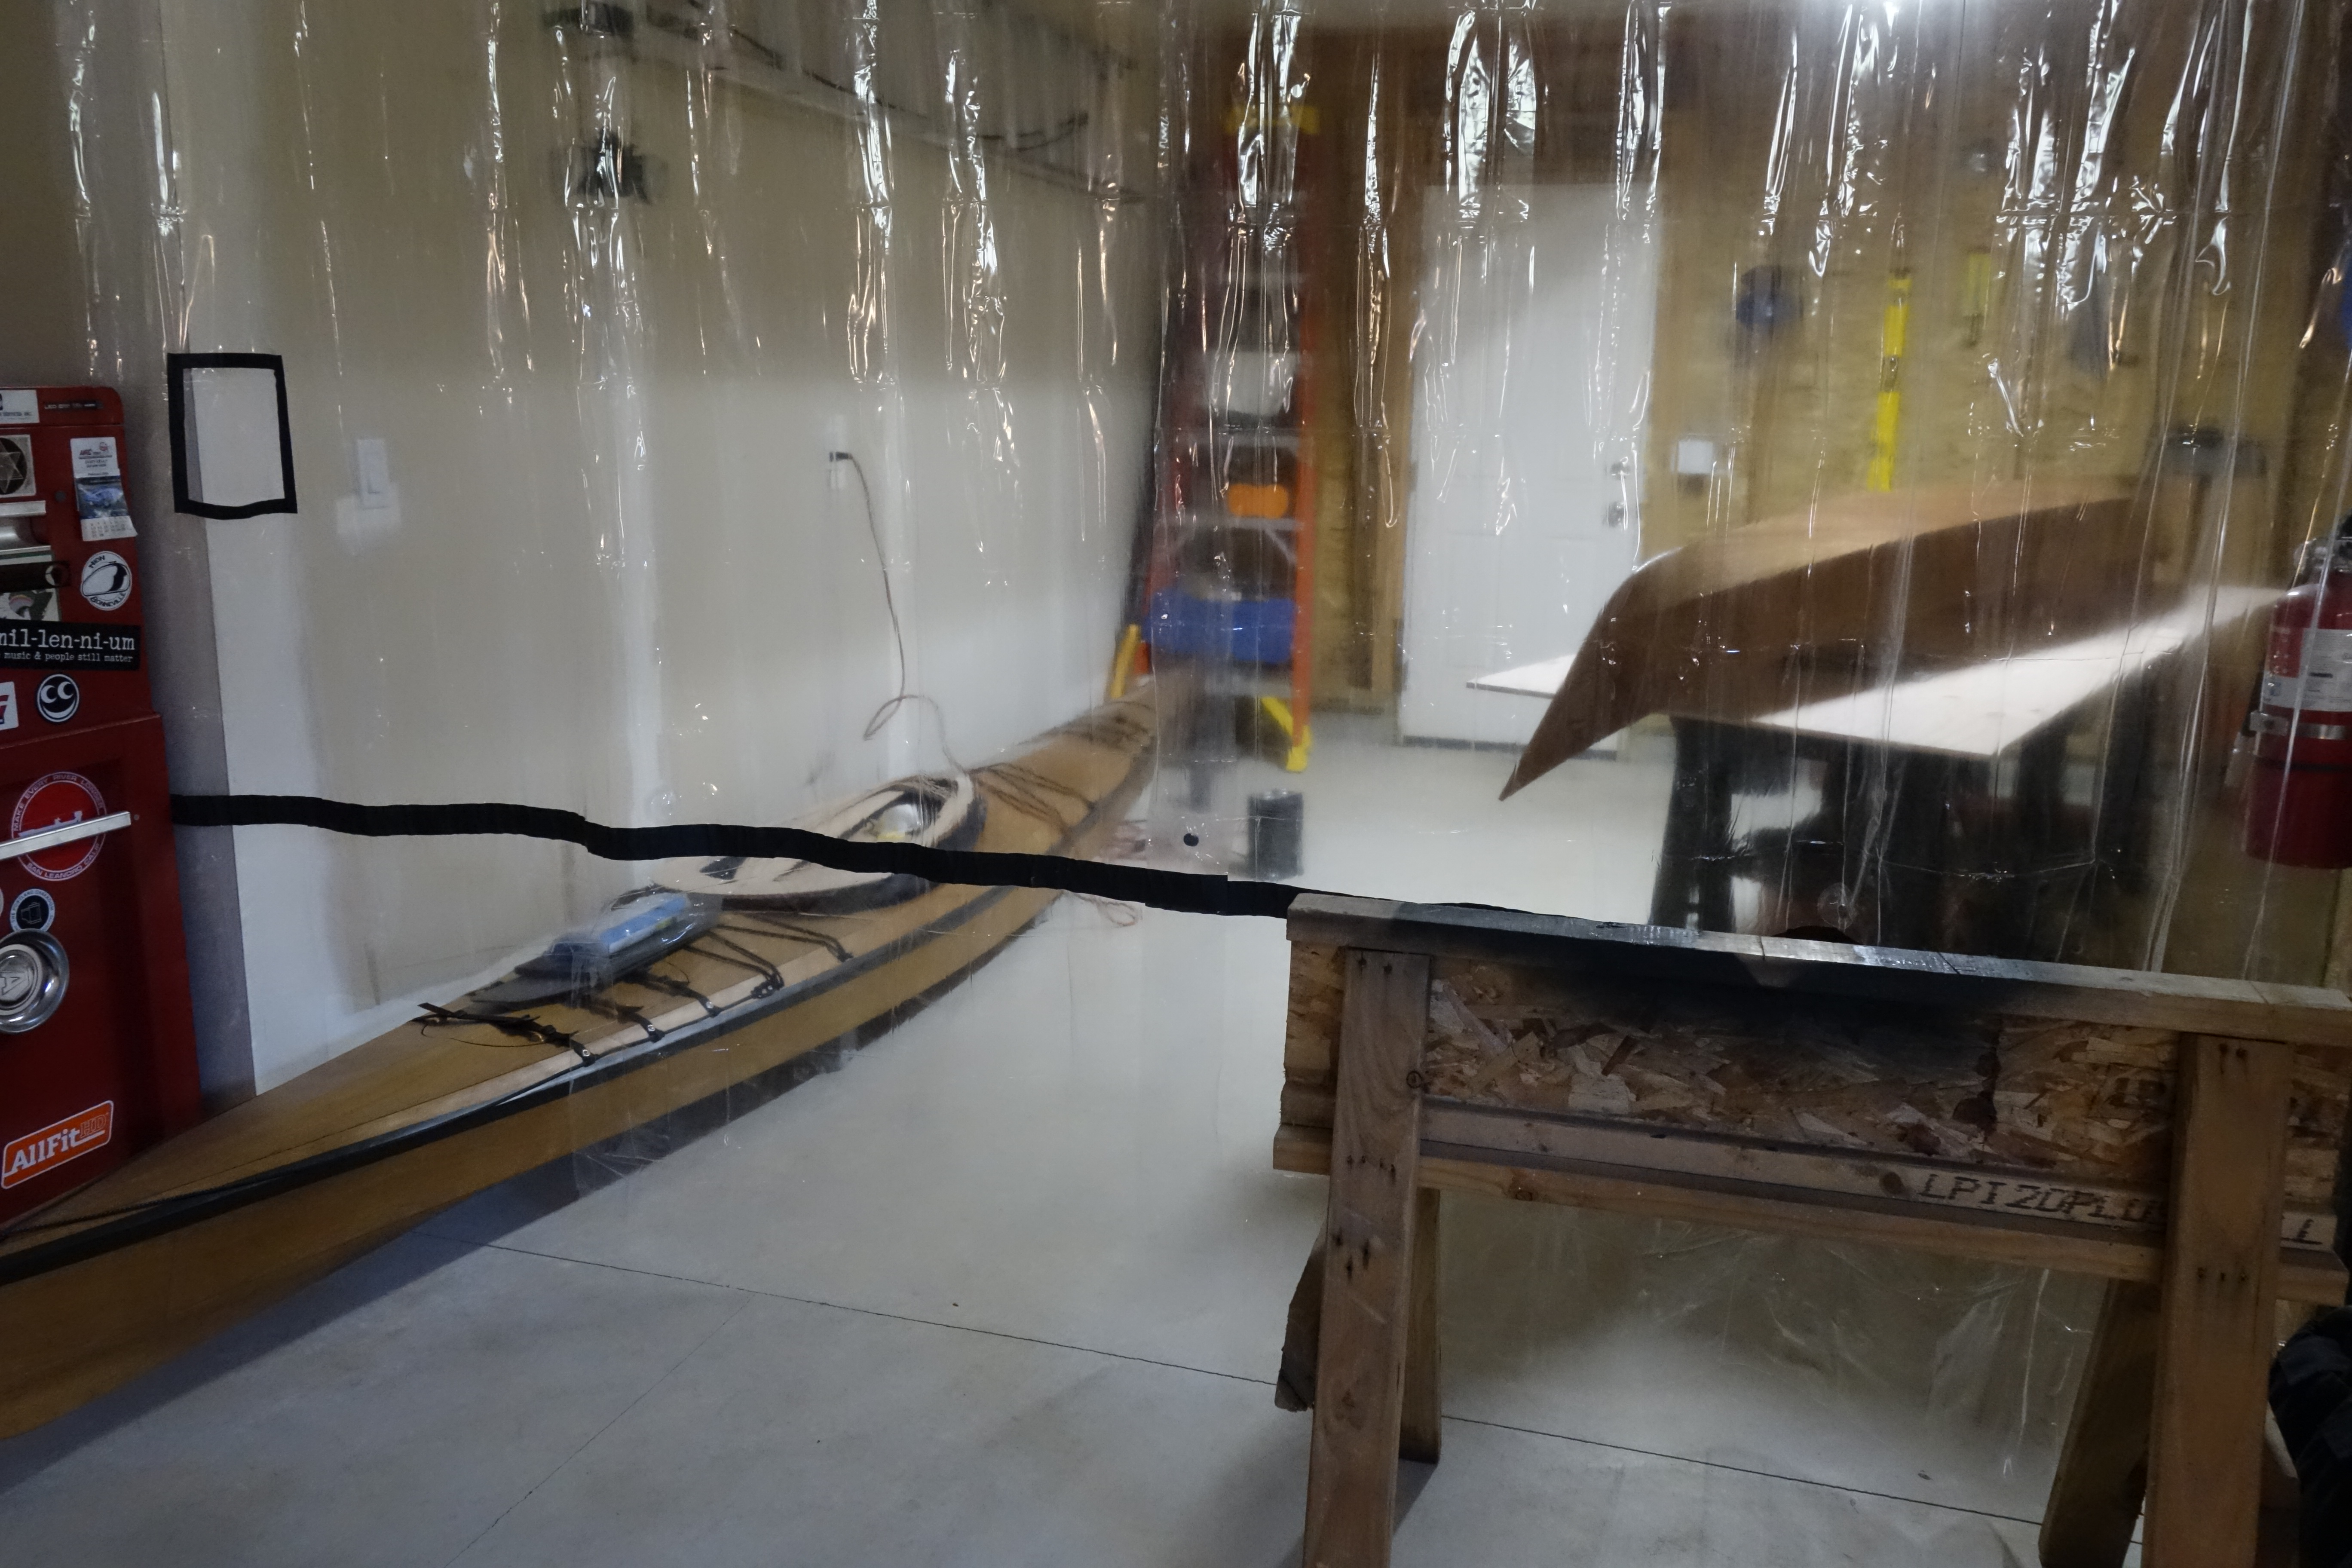
Here’s where the stitching part of stitch and glue construction comes in.

Holes drilled in panels, every 6″ using a simple jig made from a piece of scrap wood. In the 14″ nearest the bow and stern tips, the holes are drilled every 2″.
You can see the jig that I referred to in the photo caption above.
The port and starboard panels are clamped together and drilled at the same time so that the holes are in the same locations on both sides of the kayak.
Once all the panels are drilled the stitching together of the panels begins. You can see the middle temporary frame that will help control the shape of the panels as they are stitched together. There are four more temporary frames that will all eventually be added.
In this photo you can see the way that the wires are twisted through the holes to stitch the keel seam together. The rest of the hull (and deck) are stitched in the same way. The twists in the wires at the bow and stern will face out of the hull as there will be no room to twist them from the inside.