Gluing the keel and controlling/setting the rocker of the hull.

What I neglected to photograph is that the kayak is sitting atop a very straight 2 X 4, that is standing on its edge. About five feet of the keel seam has been tacked down to the 2 X 4 and glued with epoxy. The keel was tacked down with push pins (which can be seen in the photo).

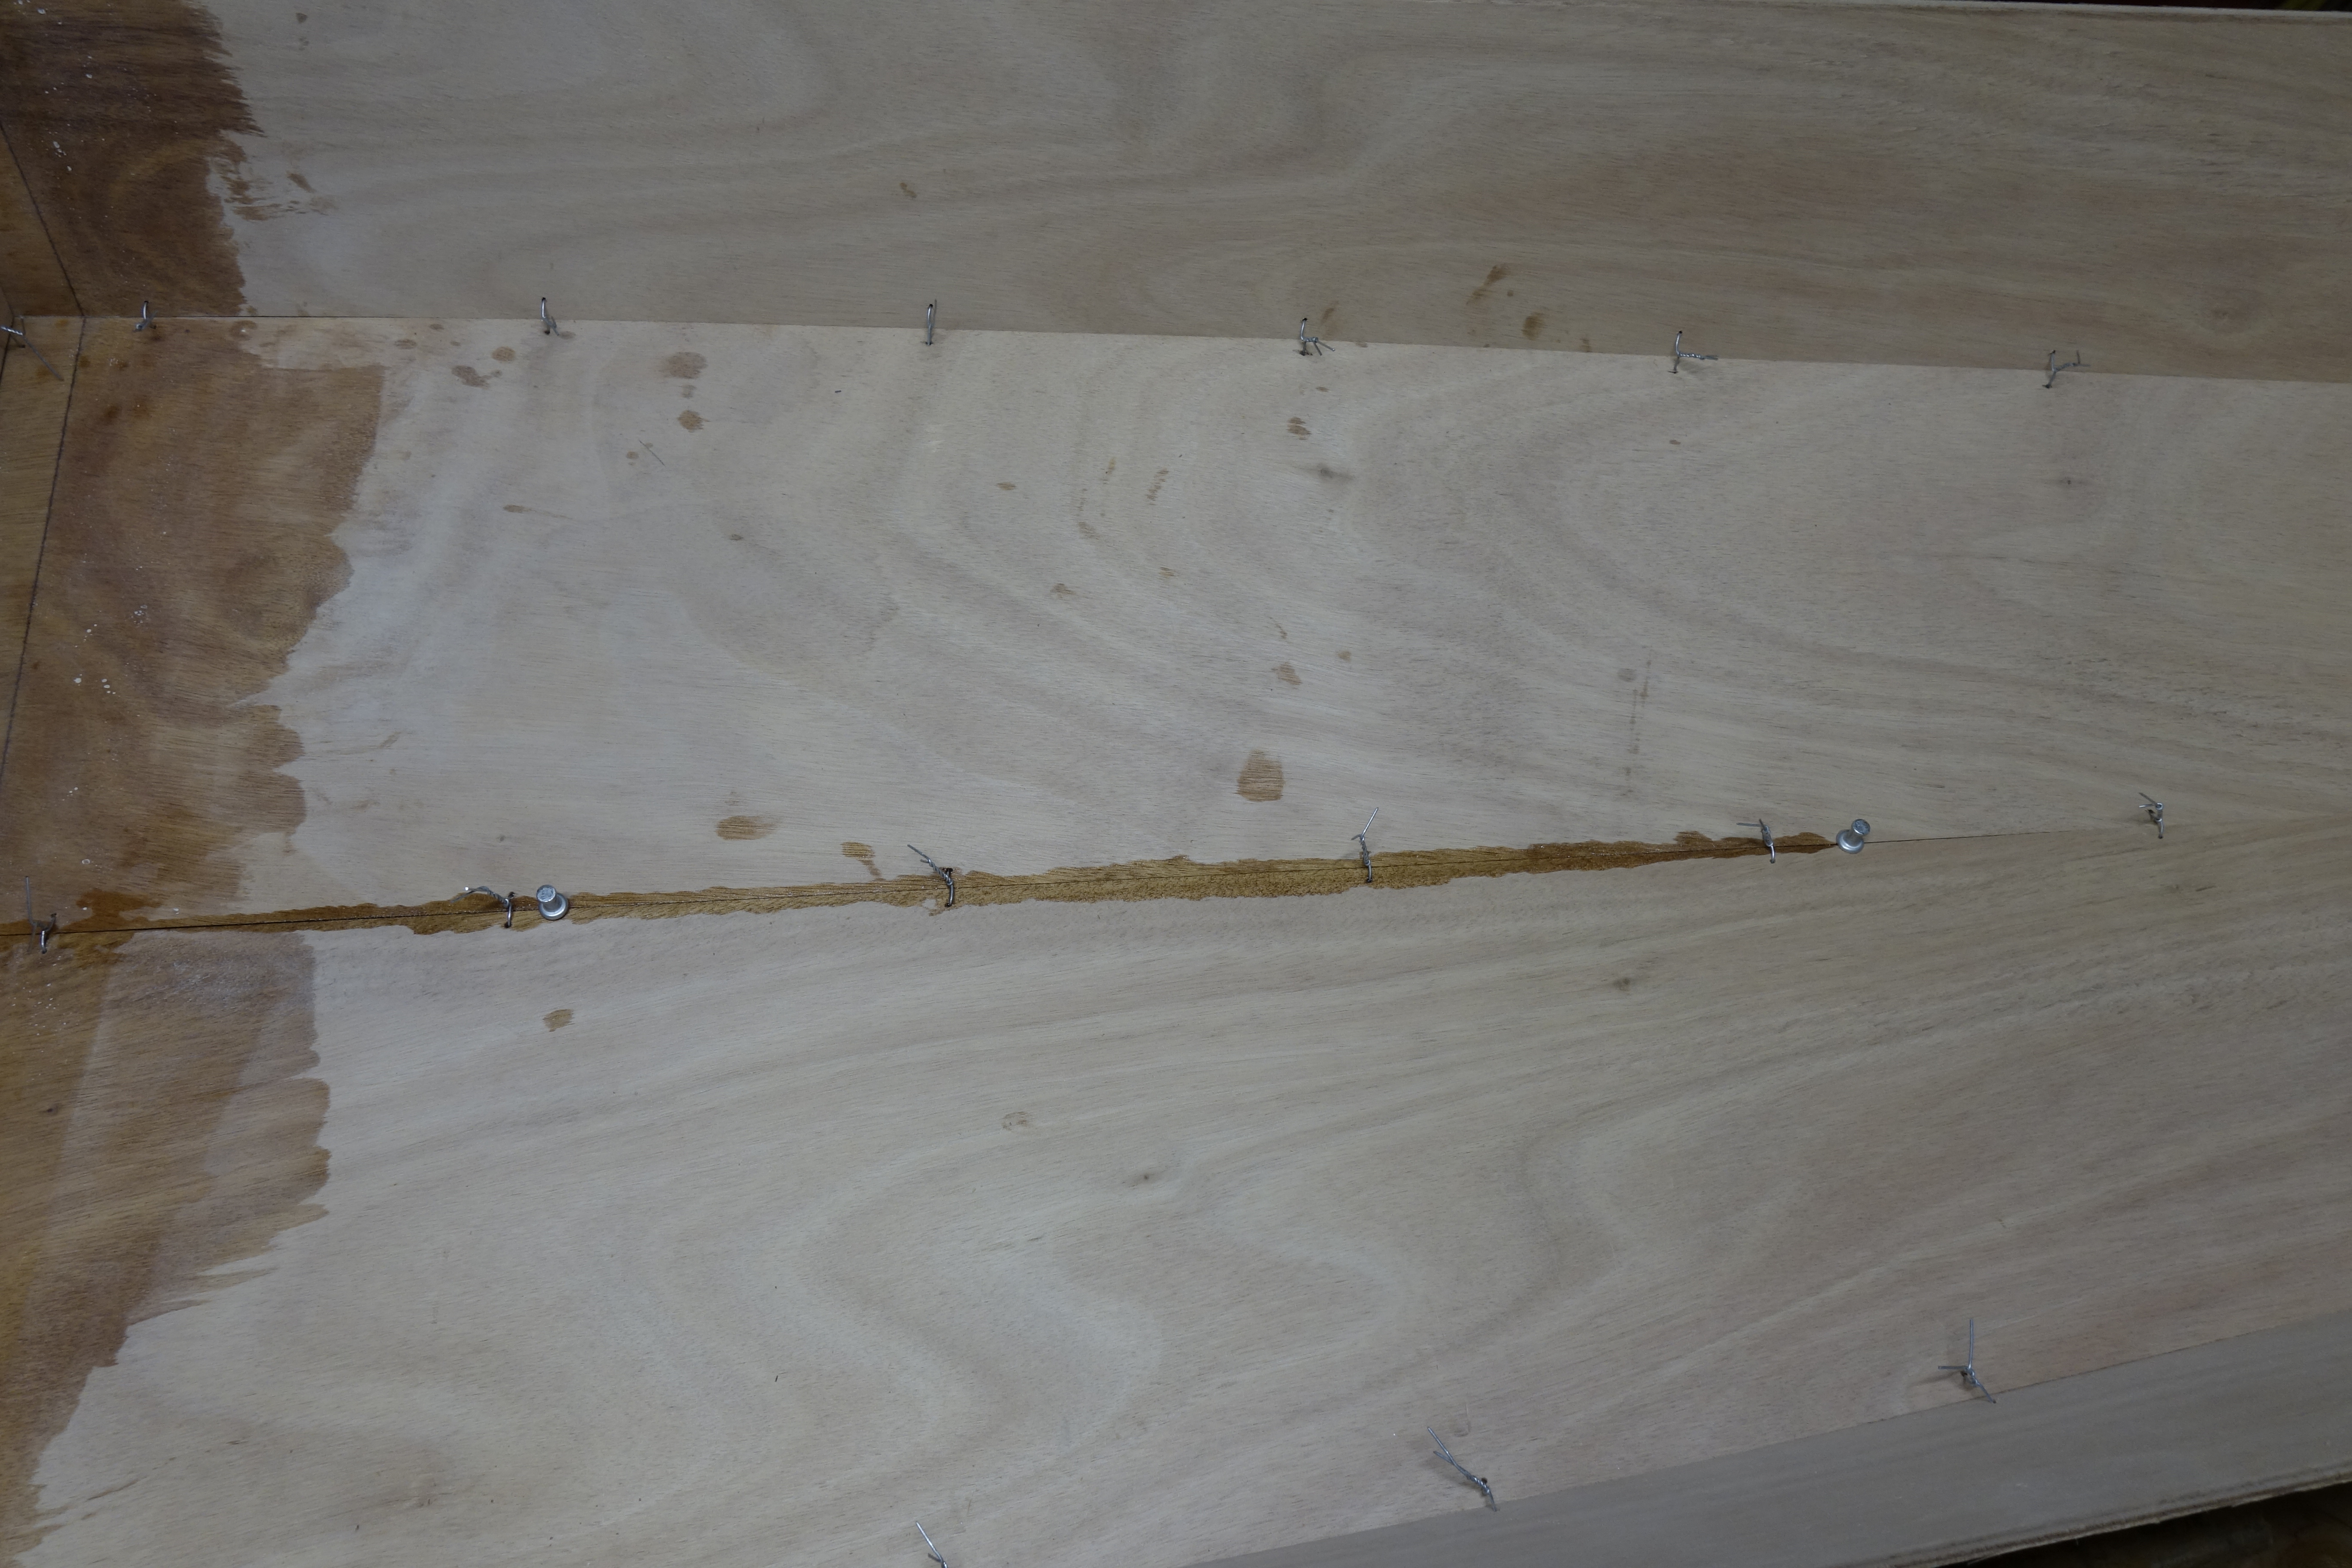
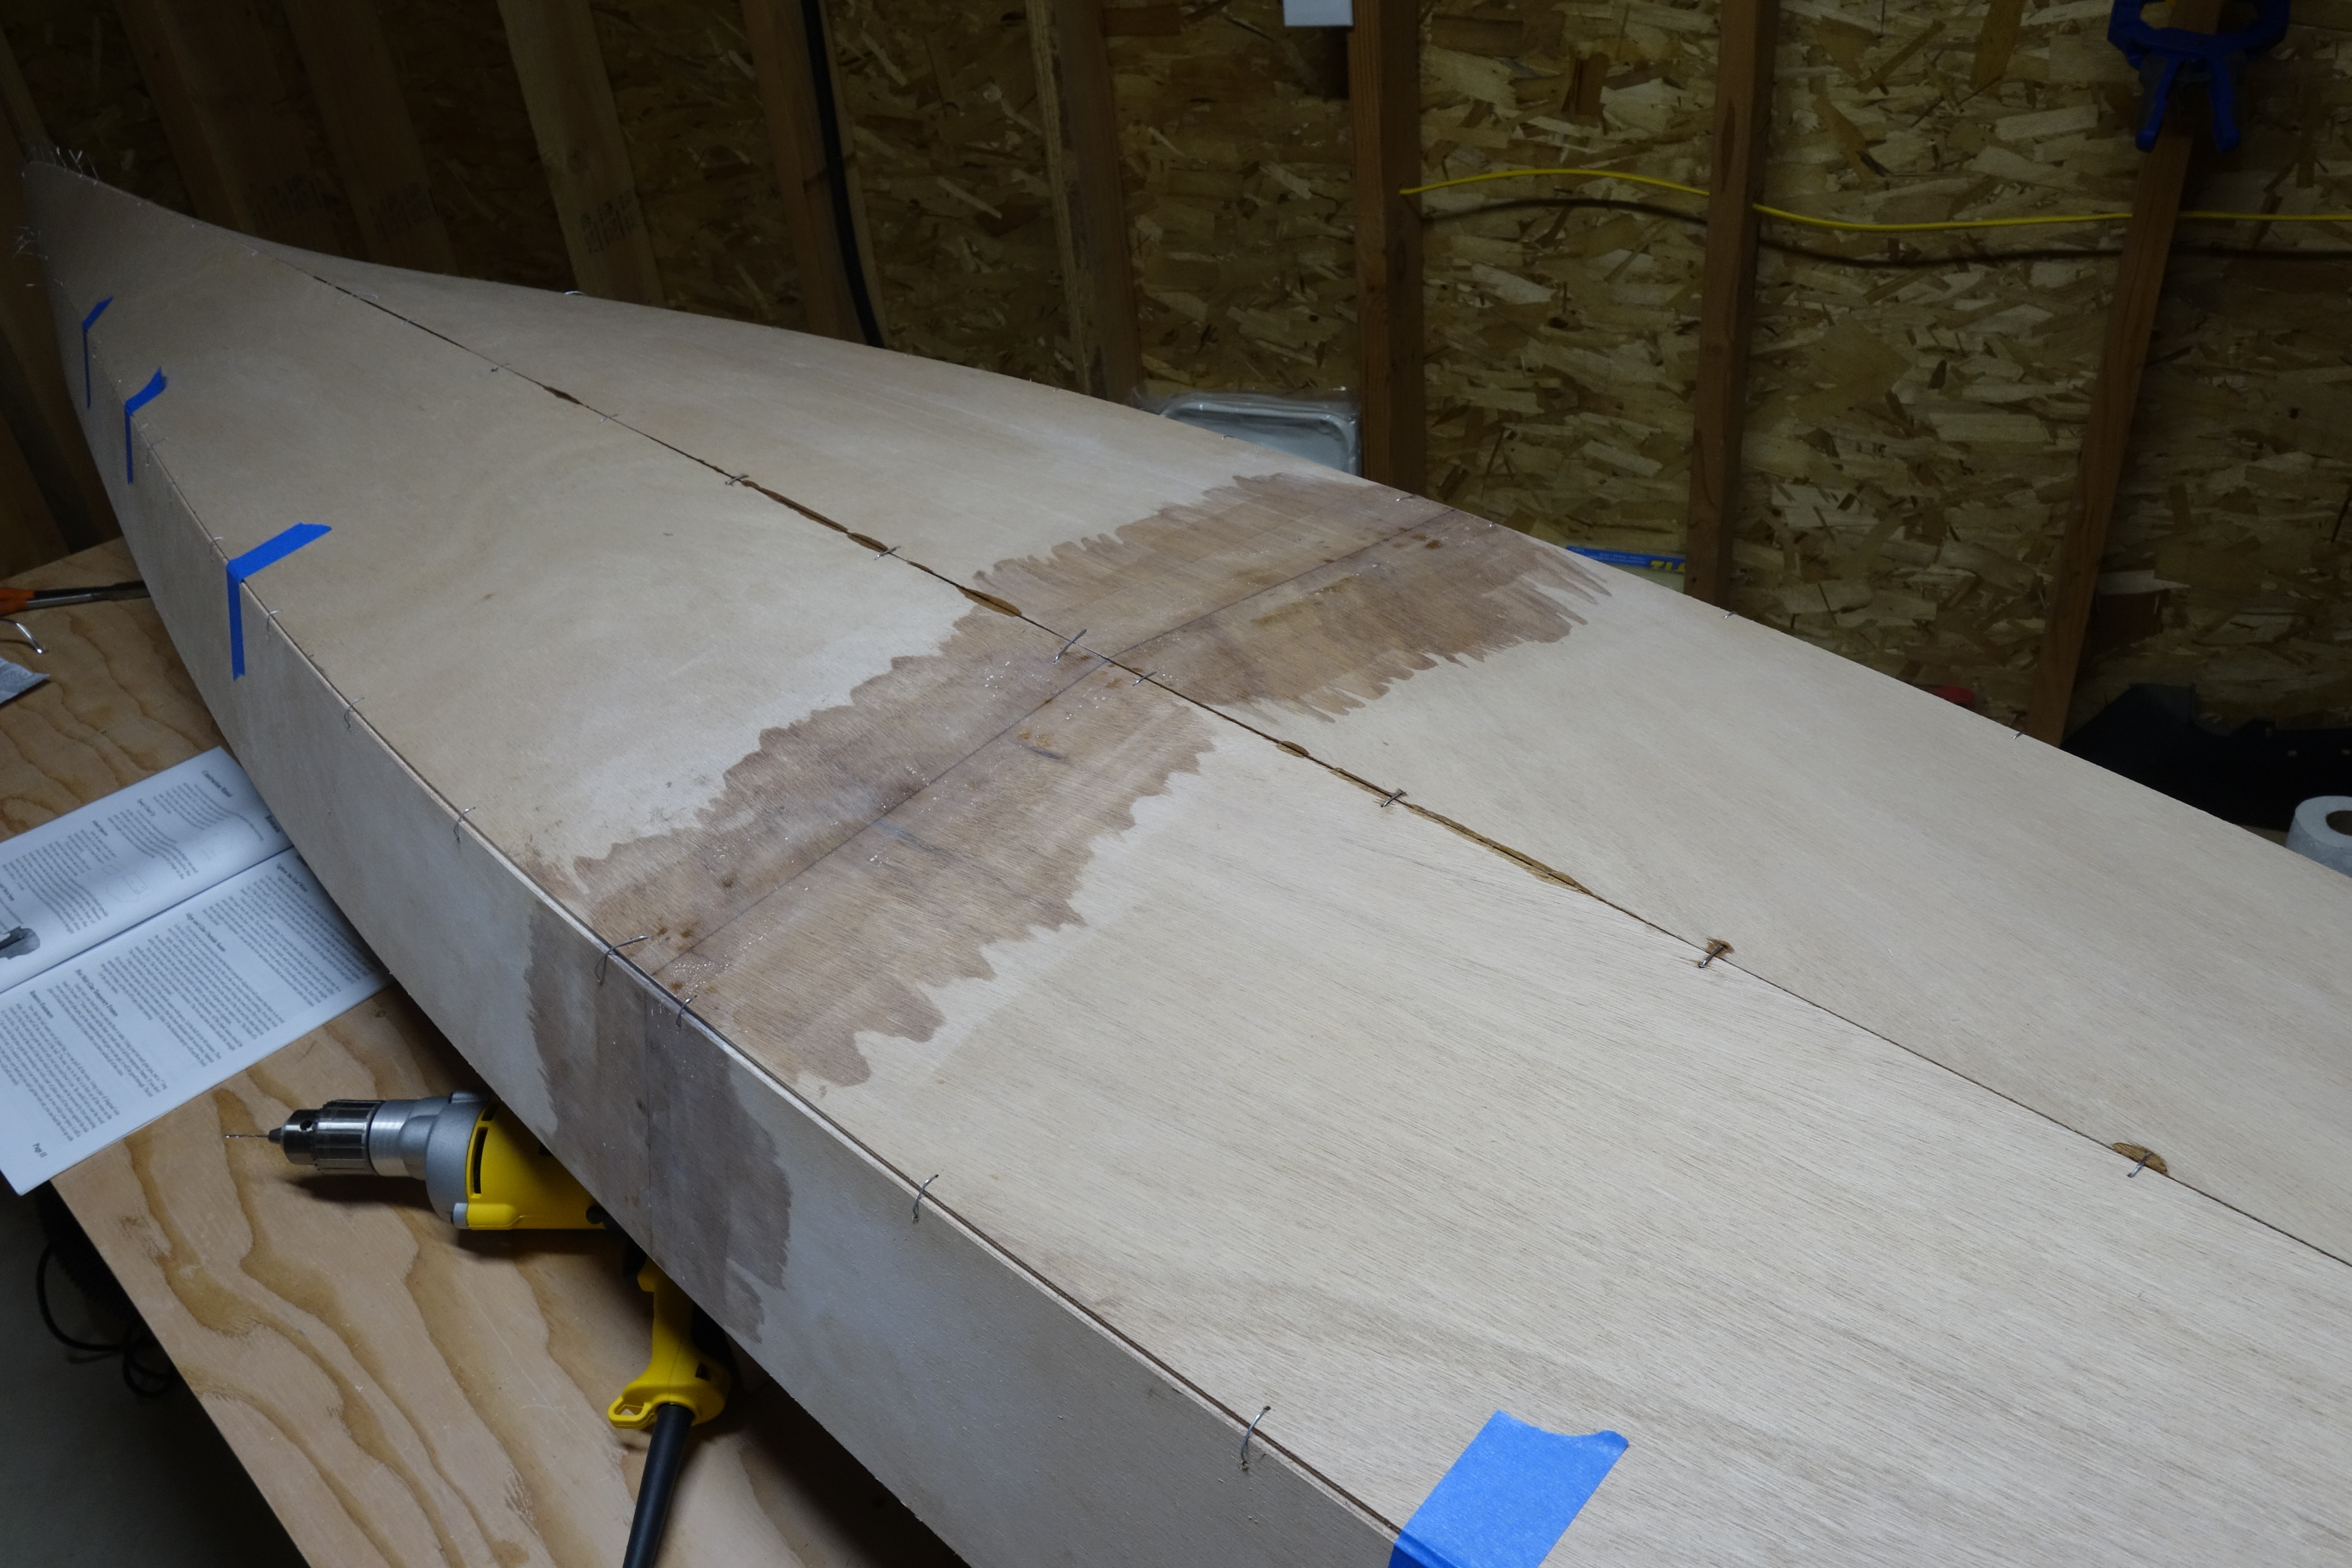
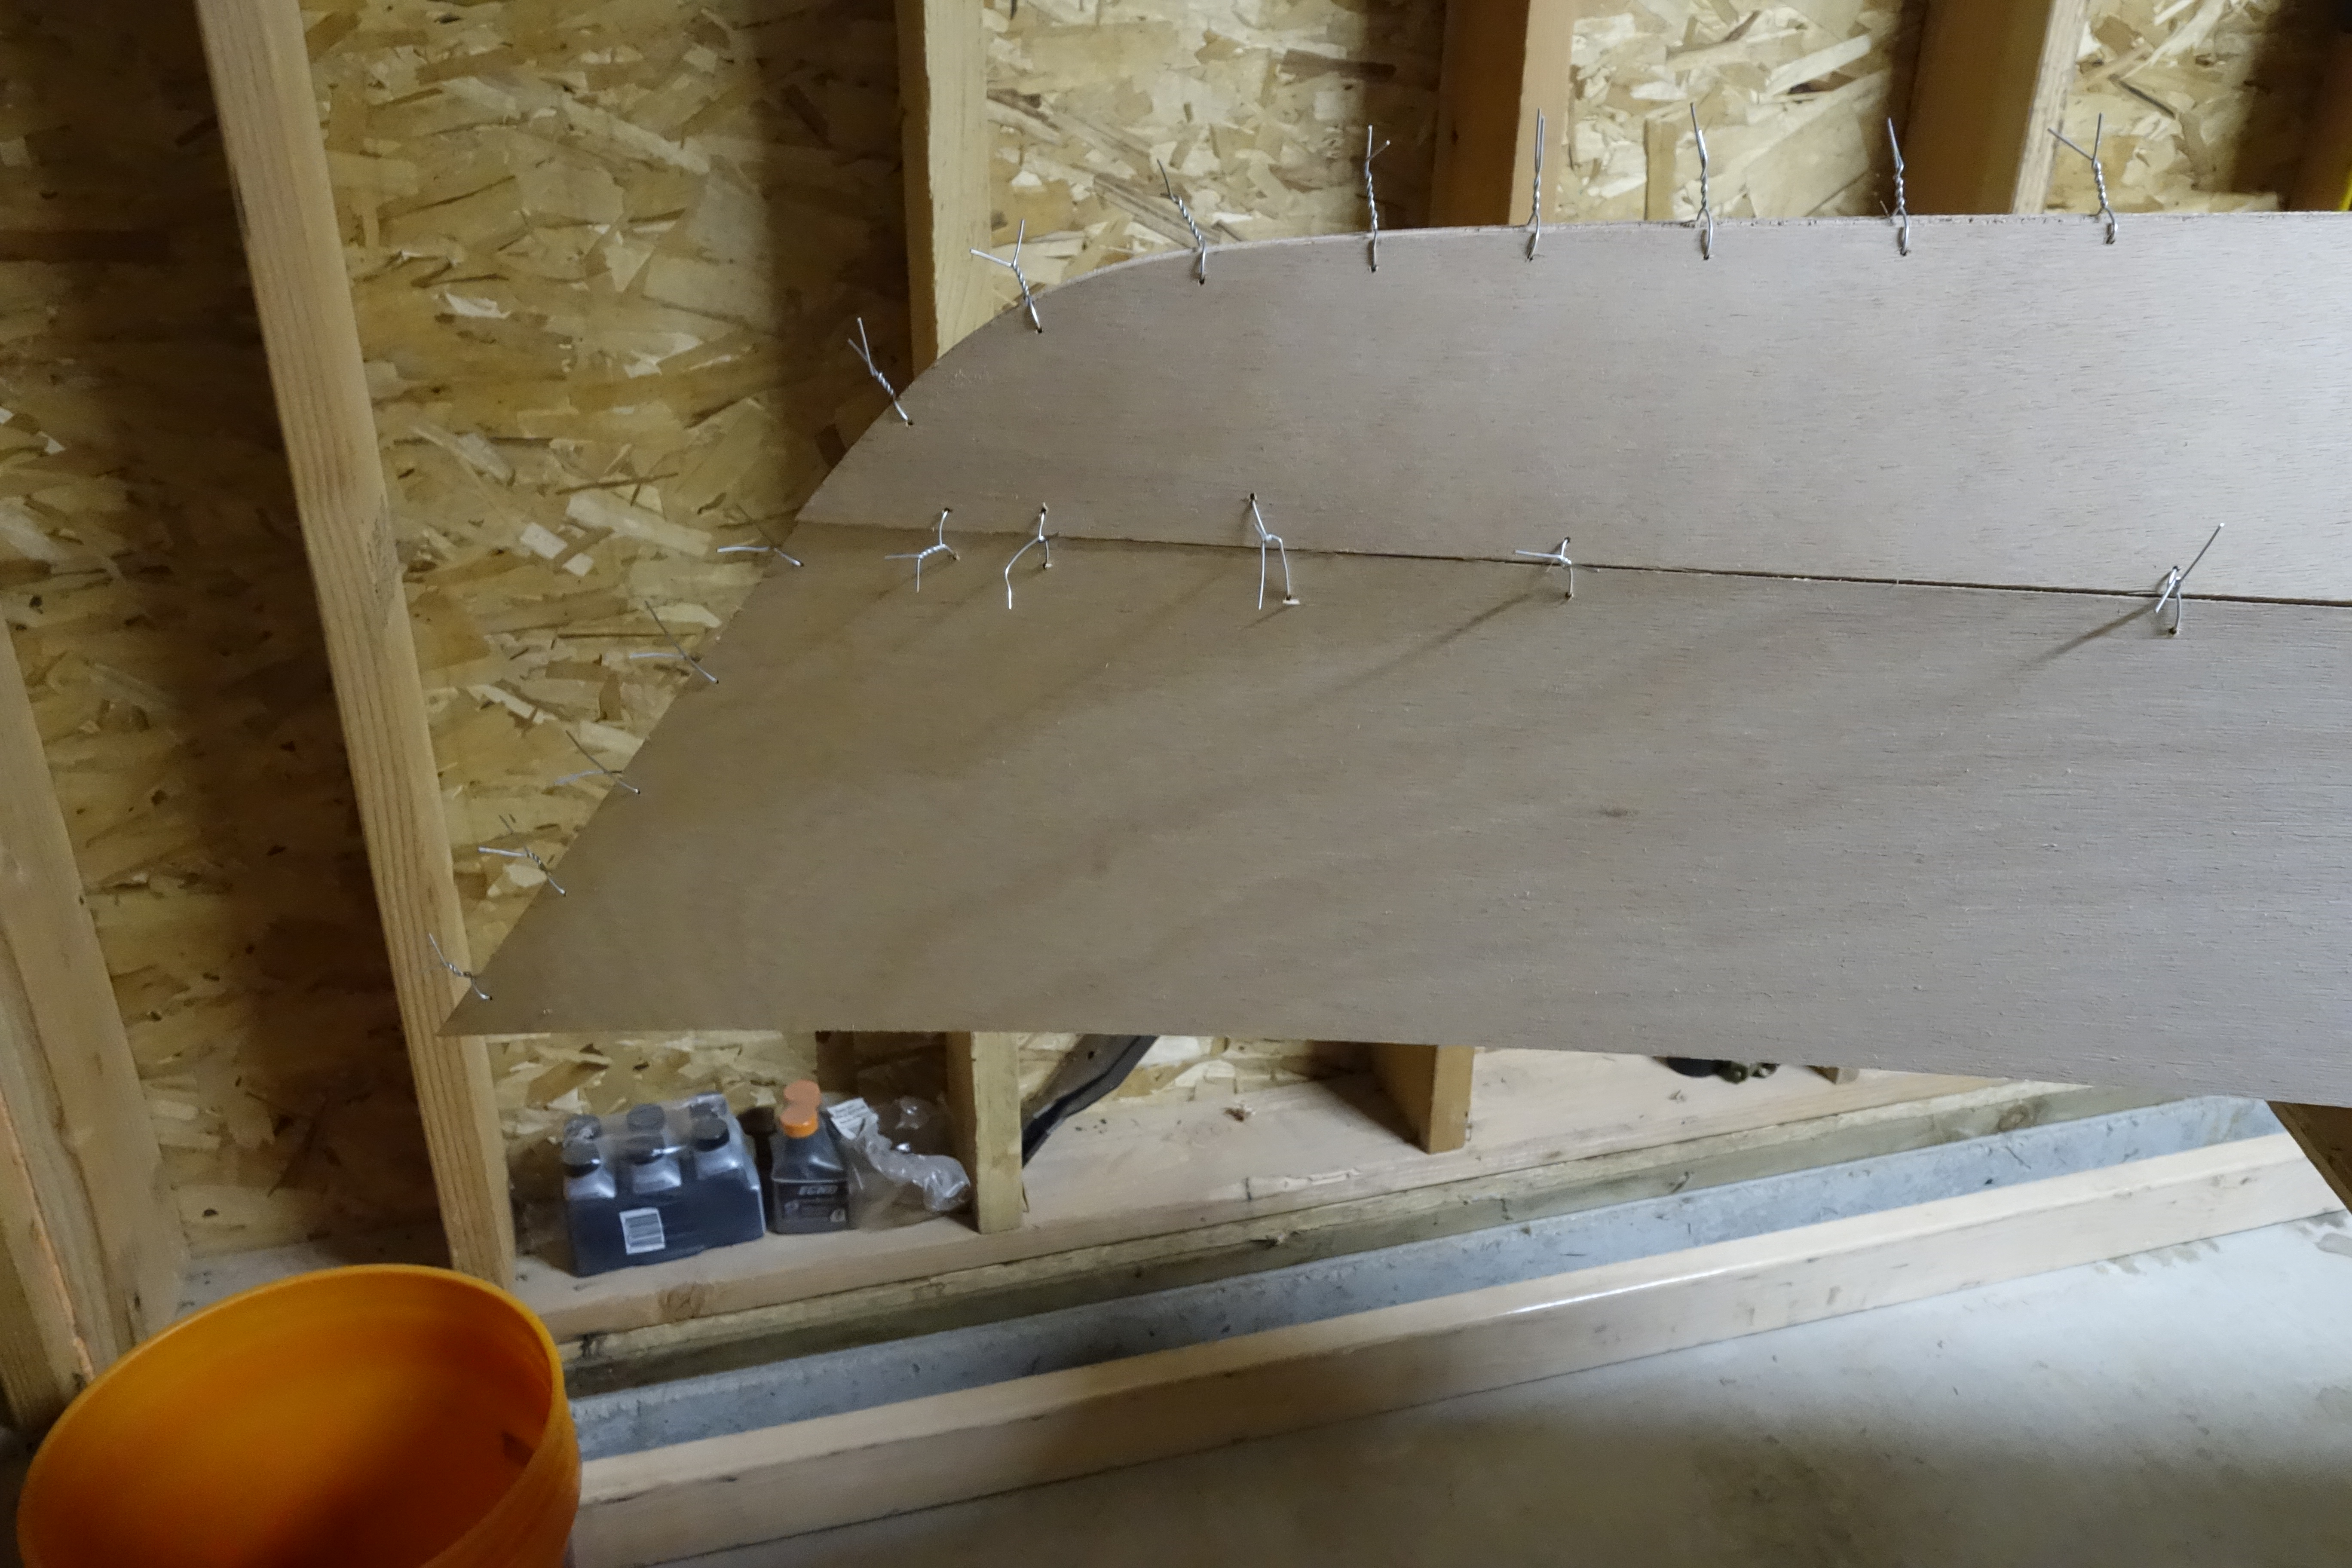
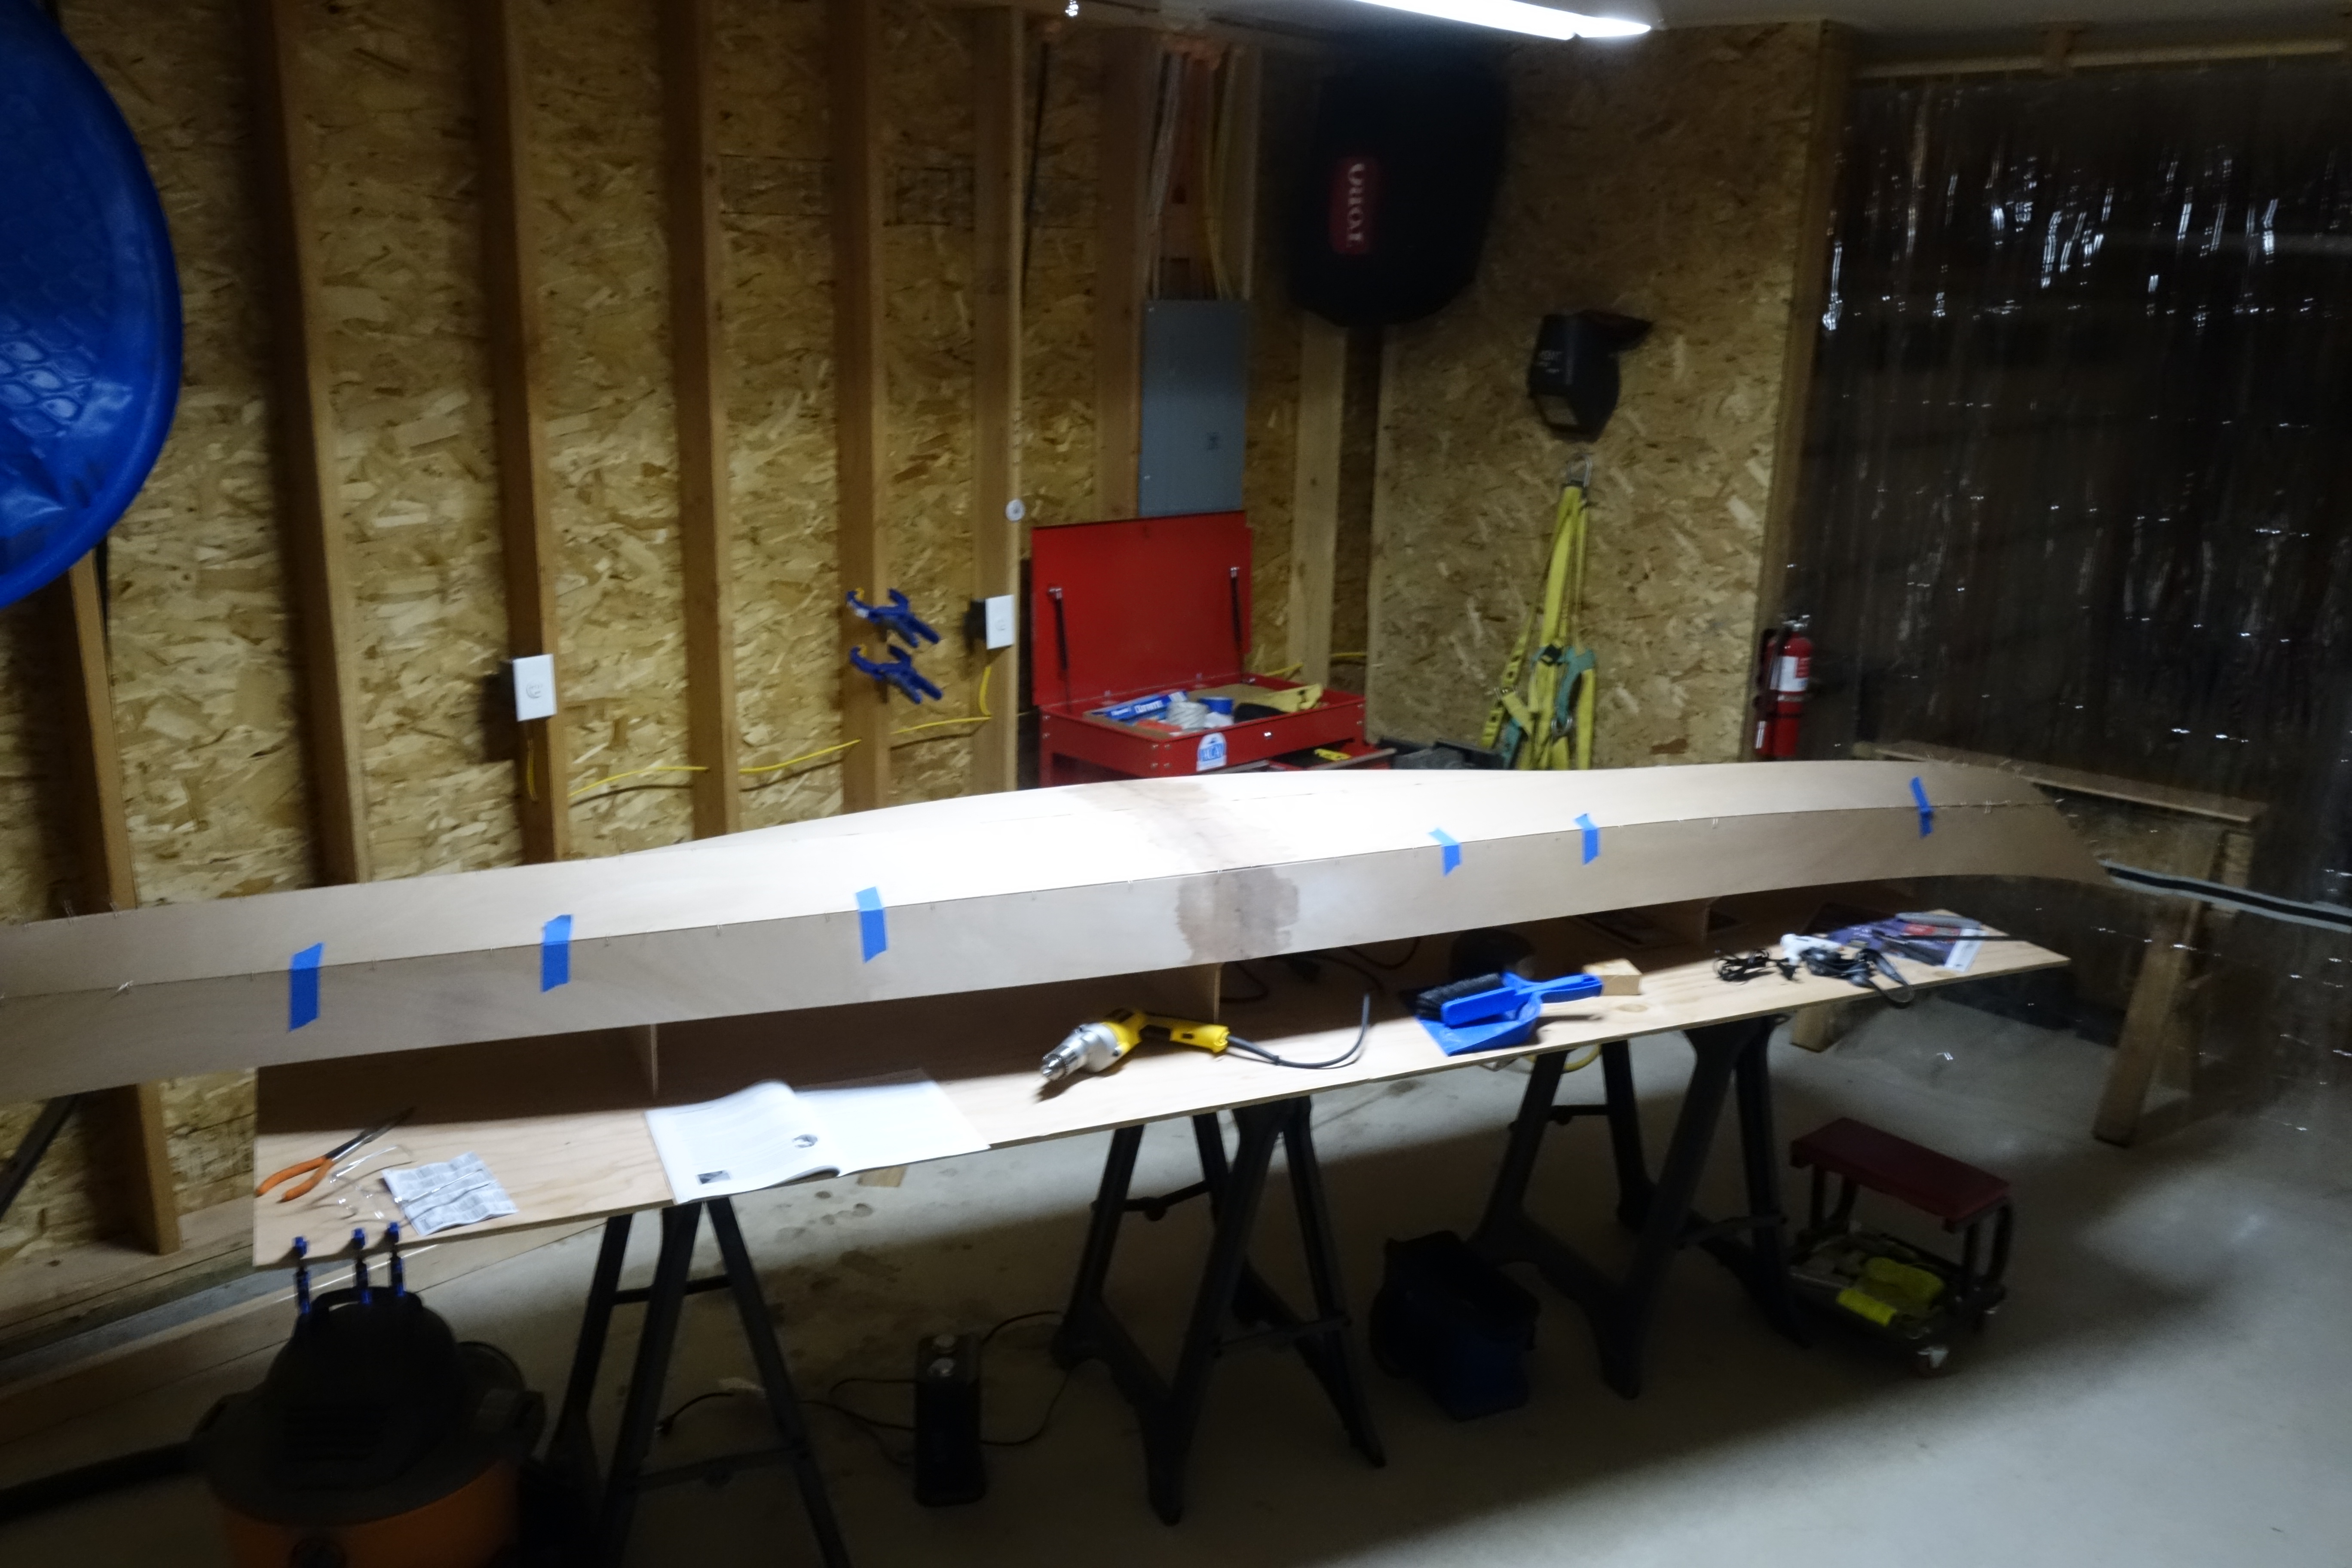
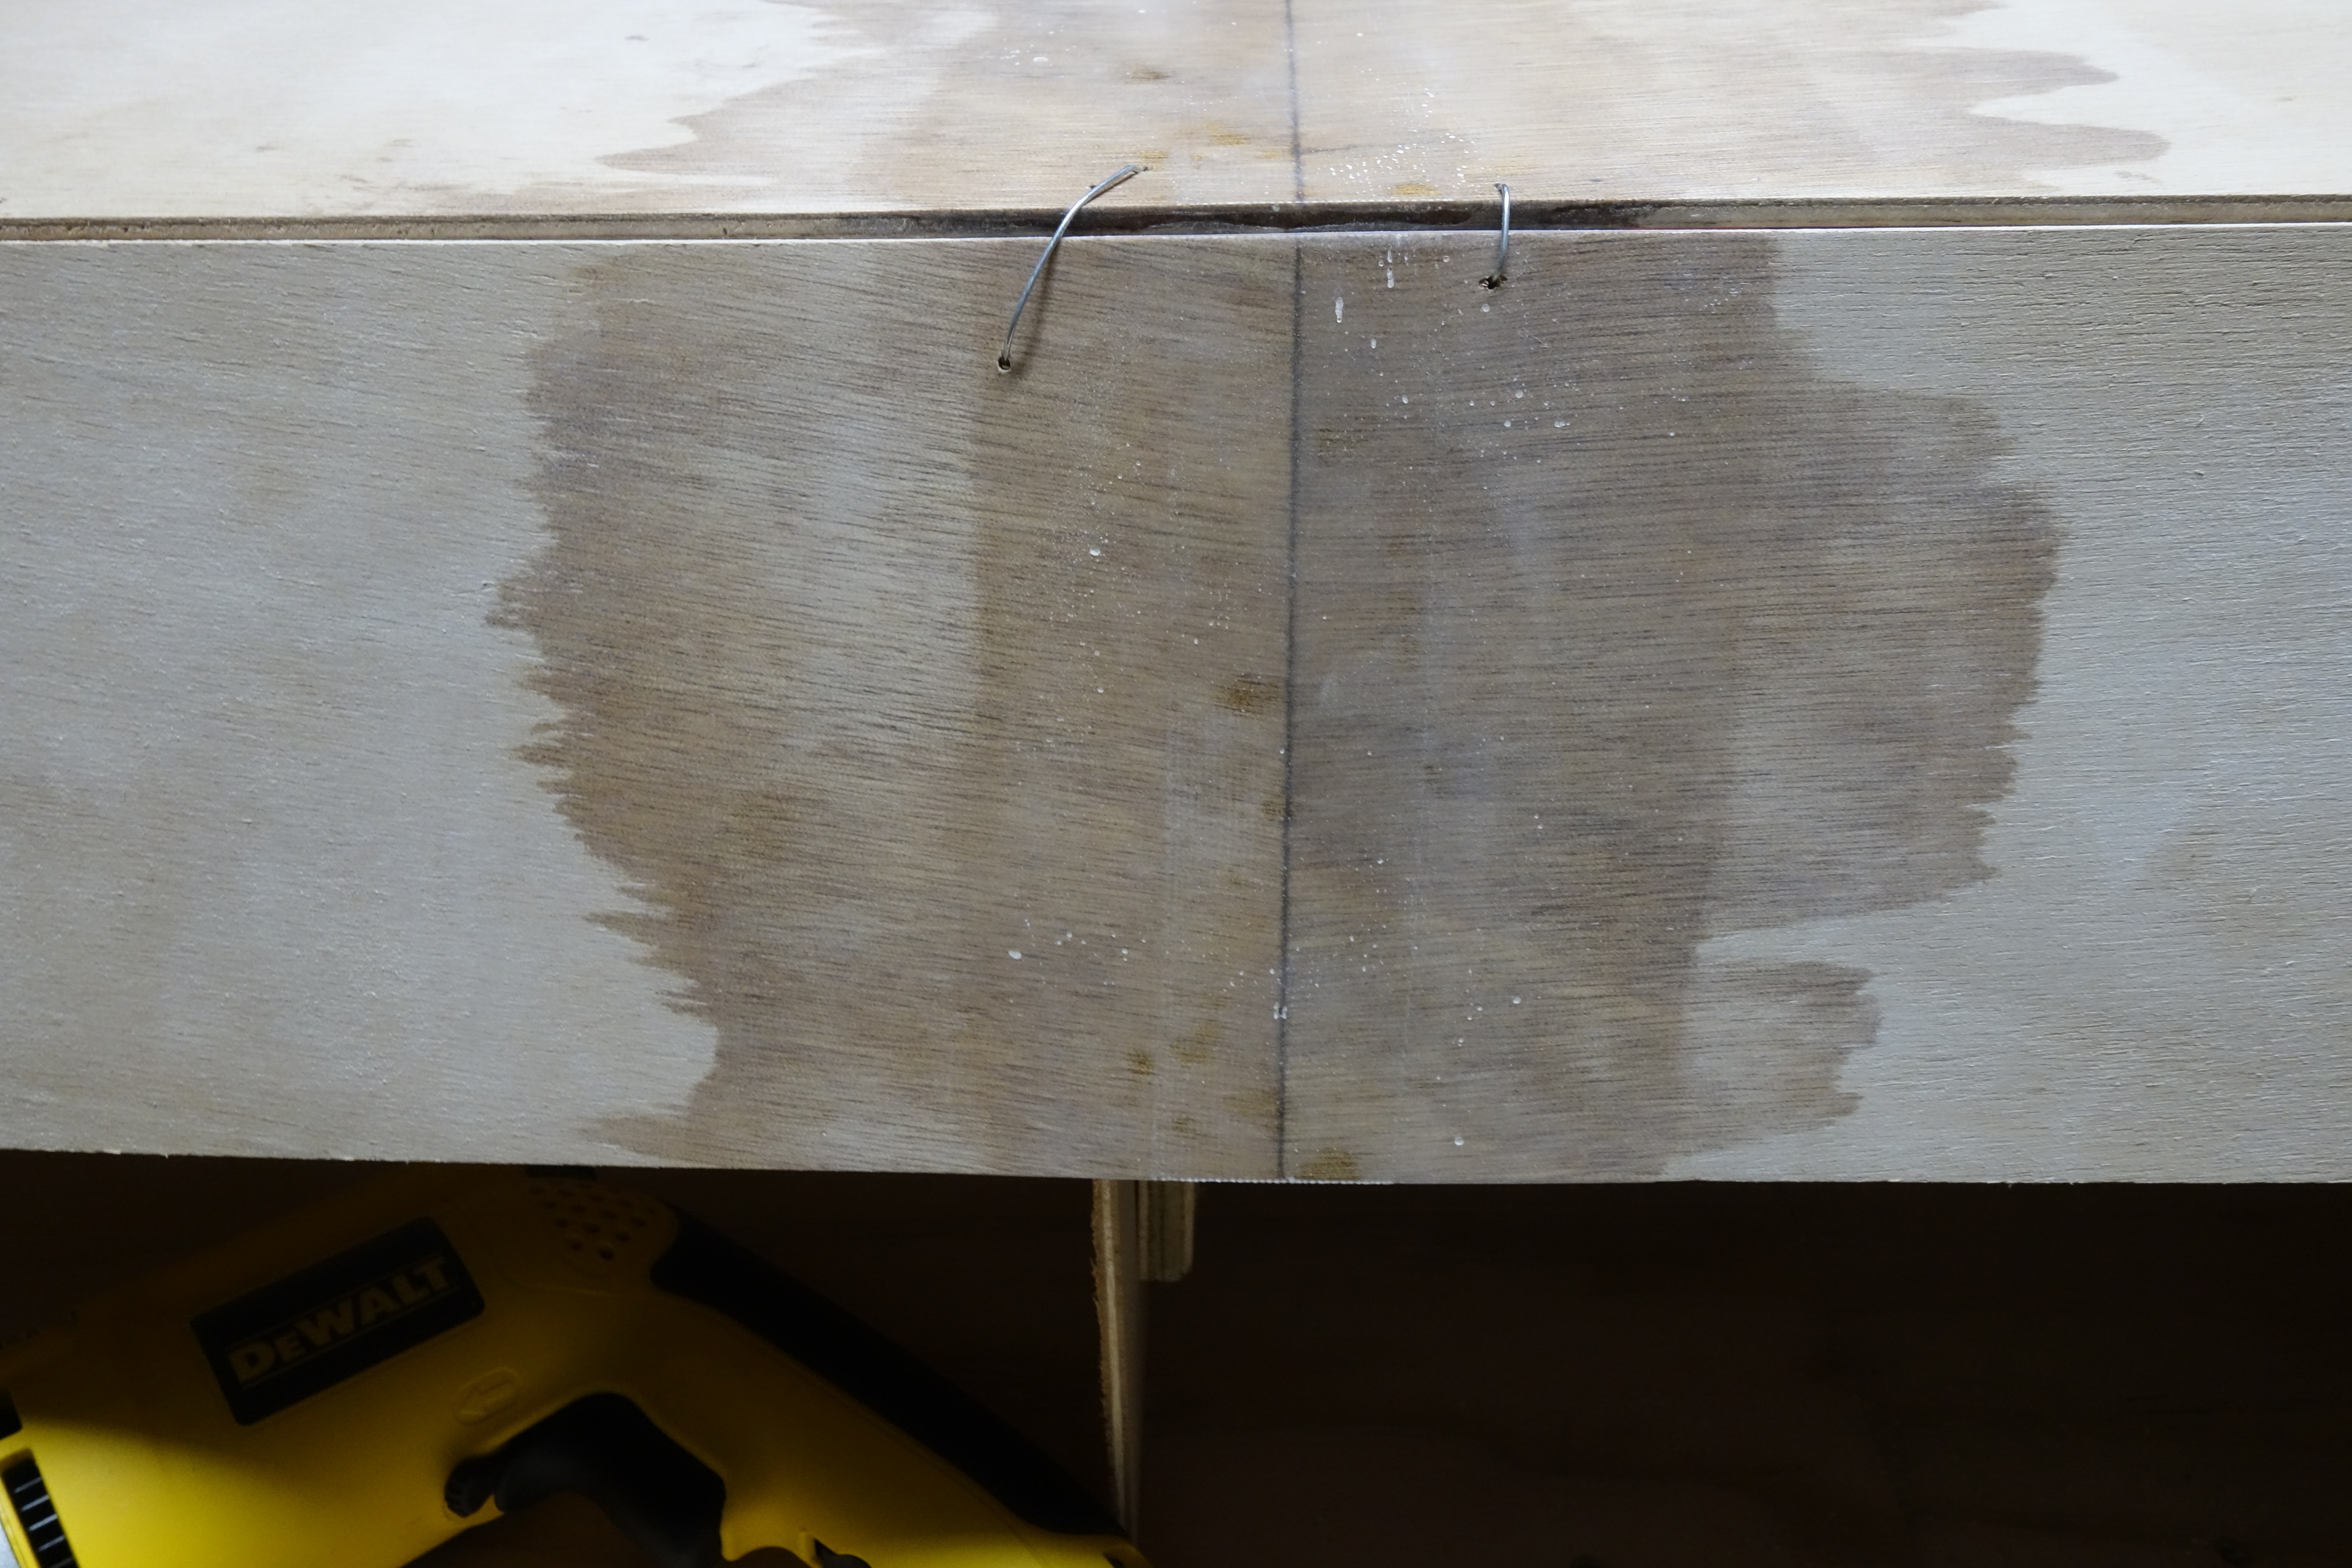
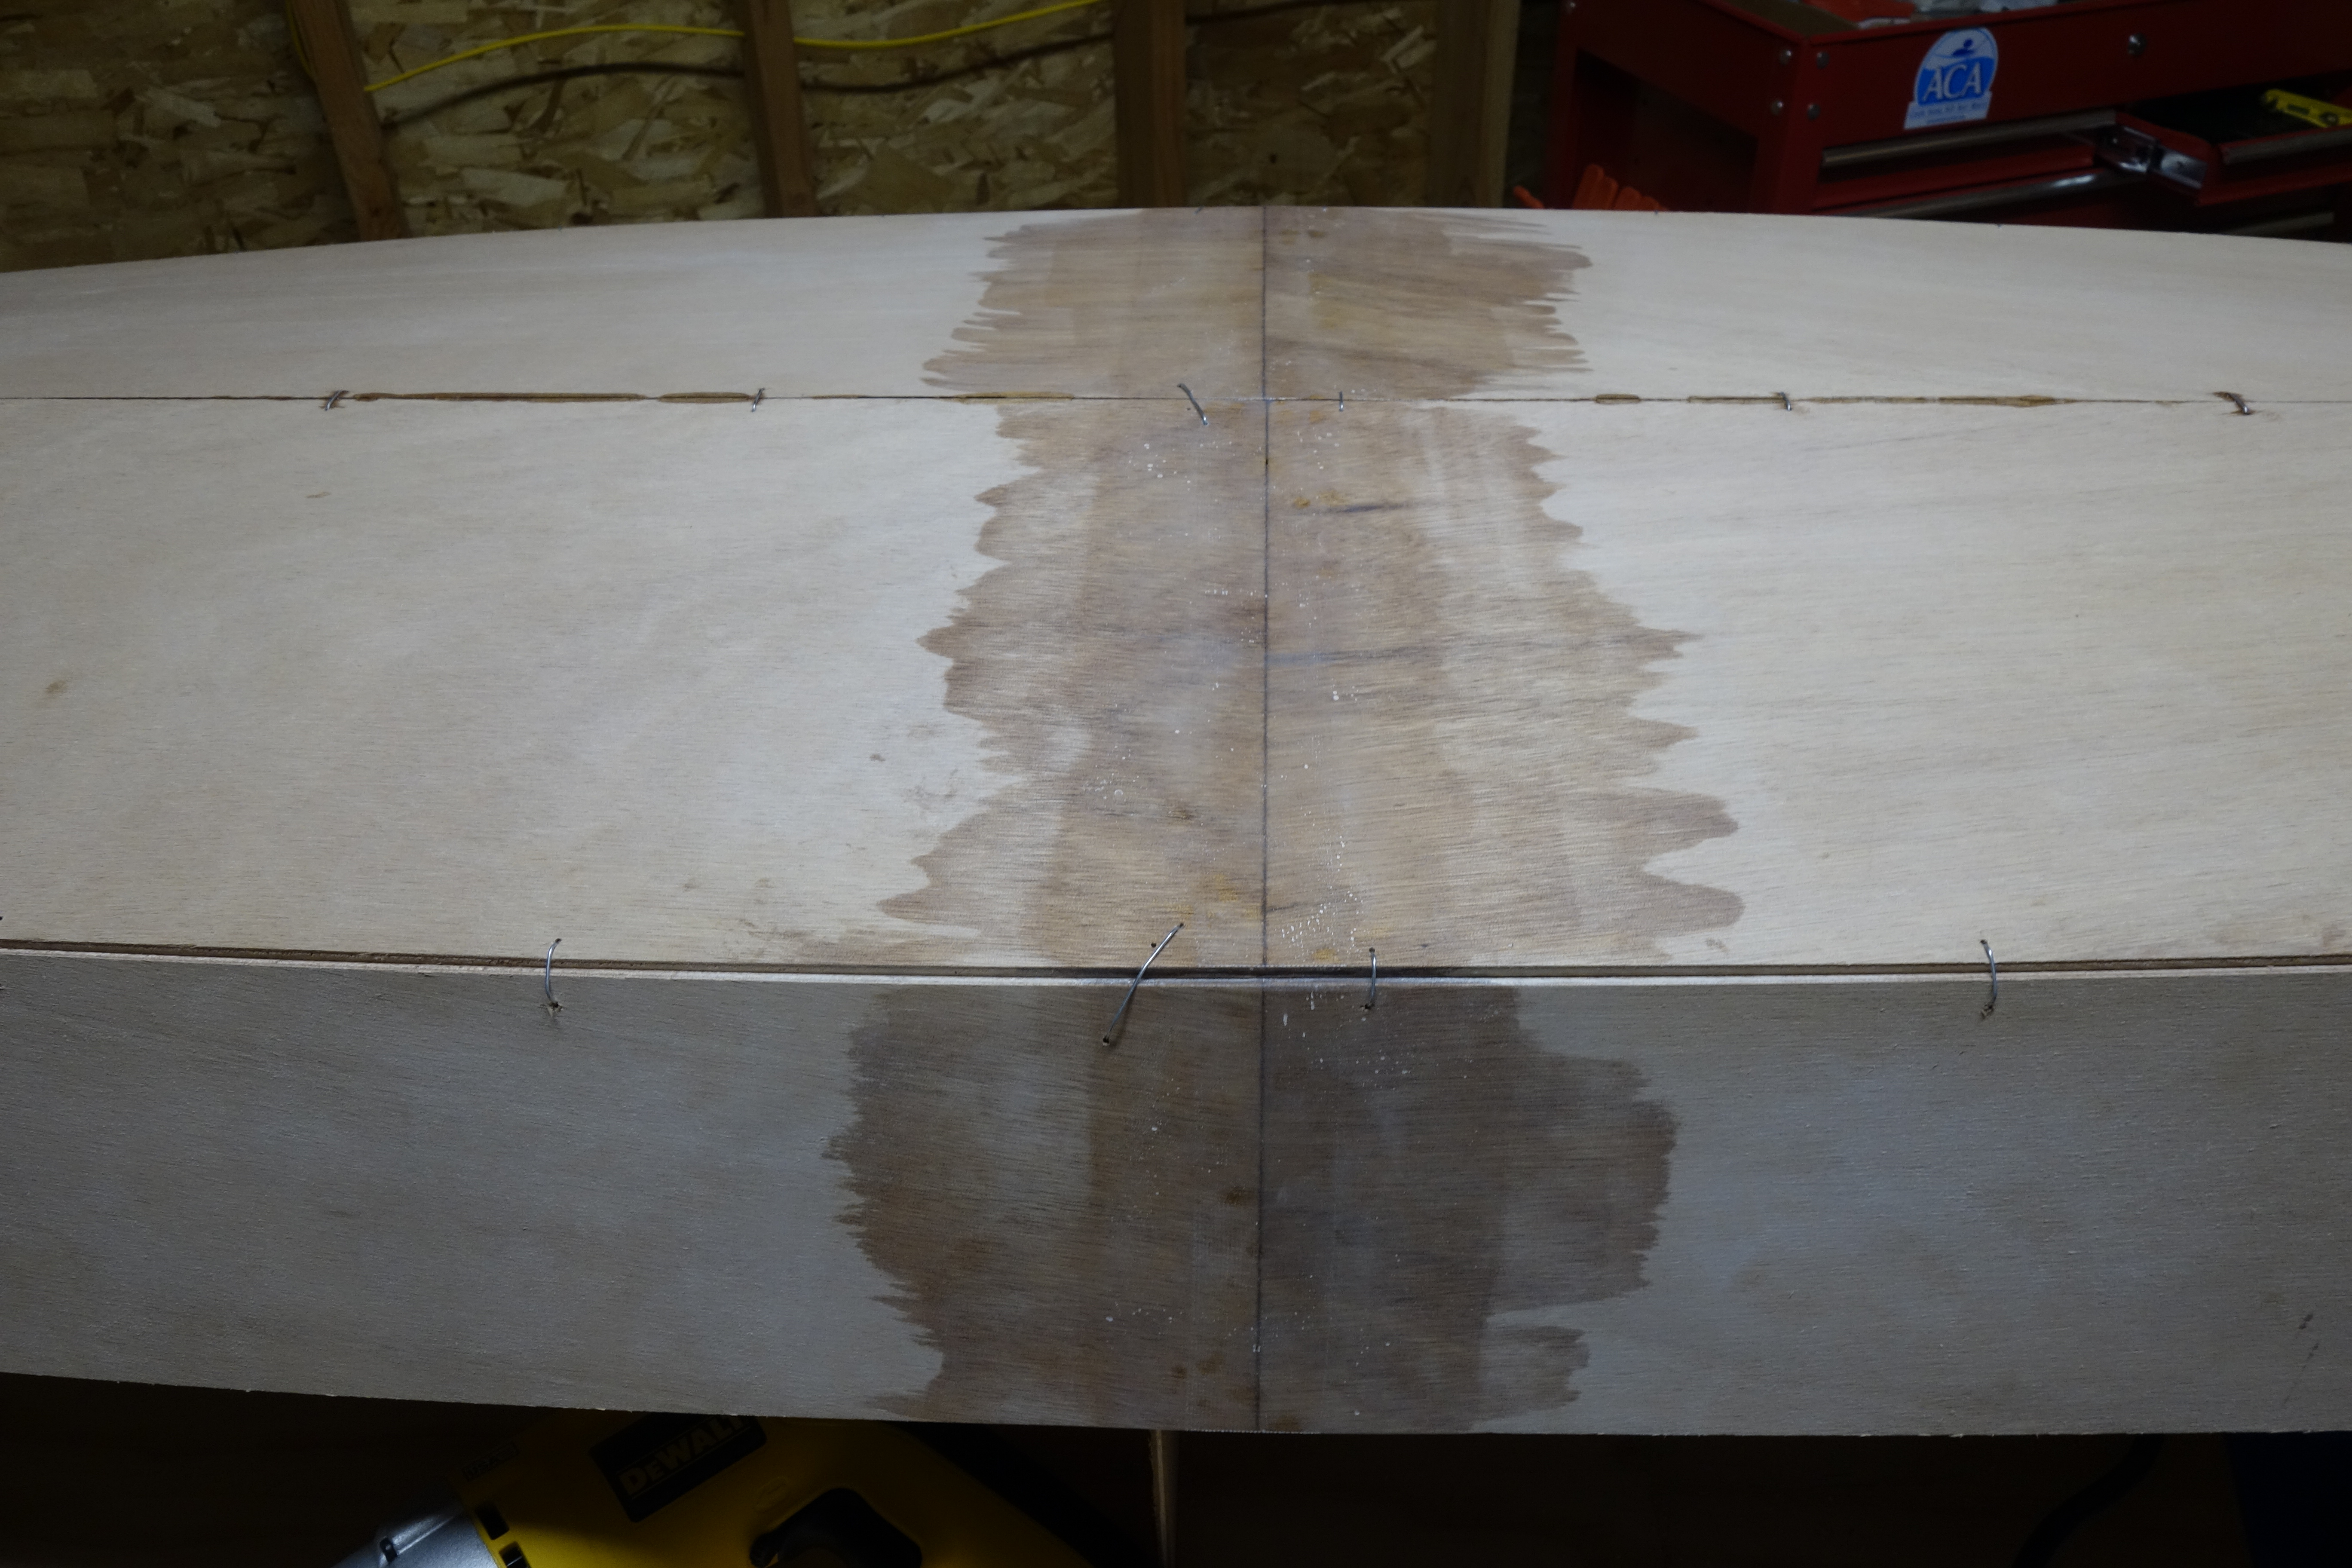
After the rocker is set and the keel seam epoxy has cured, the rest of the hull stitching can be tightened and the seams made smooth and fair, and ready for epoxy.

This photo shows the big stitches that are used to hold the temporary frames in the hull. Scrap plywood has been used to screw extensions (provided in the kit) to the temporary frames so that the hull can be turned over (bottom up) for wiring and gluing.

Leave a Reply

Fill in your details below or click an icon to log in:

WordPress.com Logo

You are commenting using your WordPress.com account. Log Out /  Change )

Facebook photo

You are commenting using your Facebook account. Log Out /  Change )

Connecting to %s

This site uses Akismet to reduce spam. Learn how your comment data is processed.