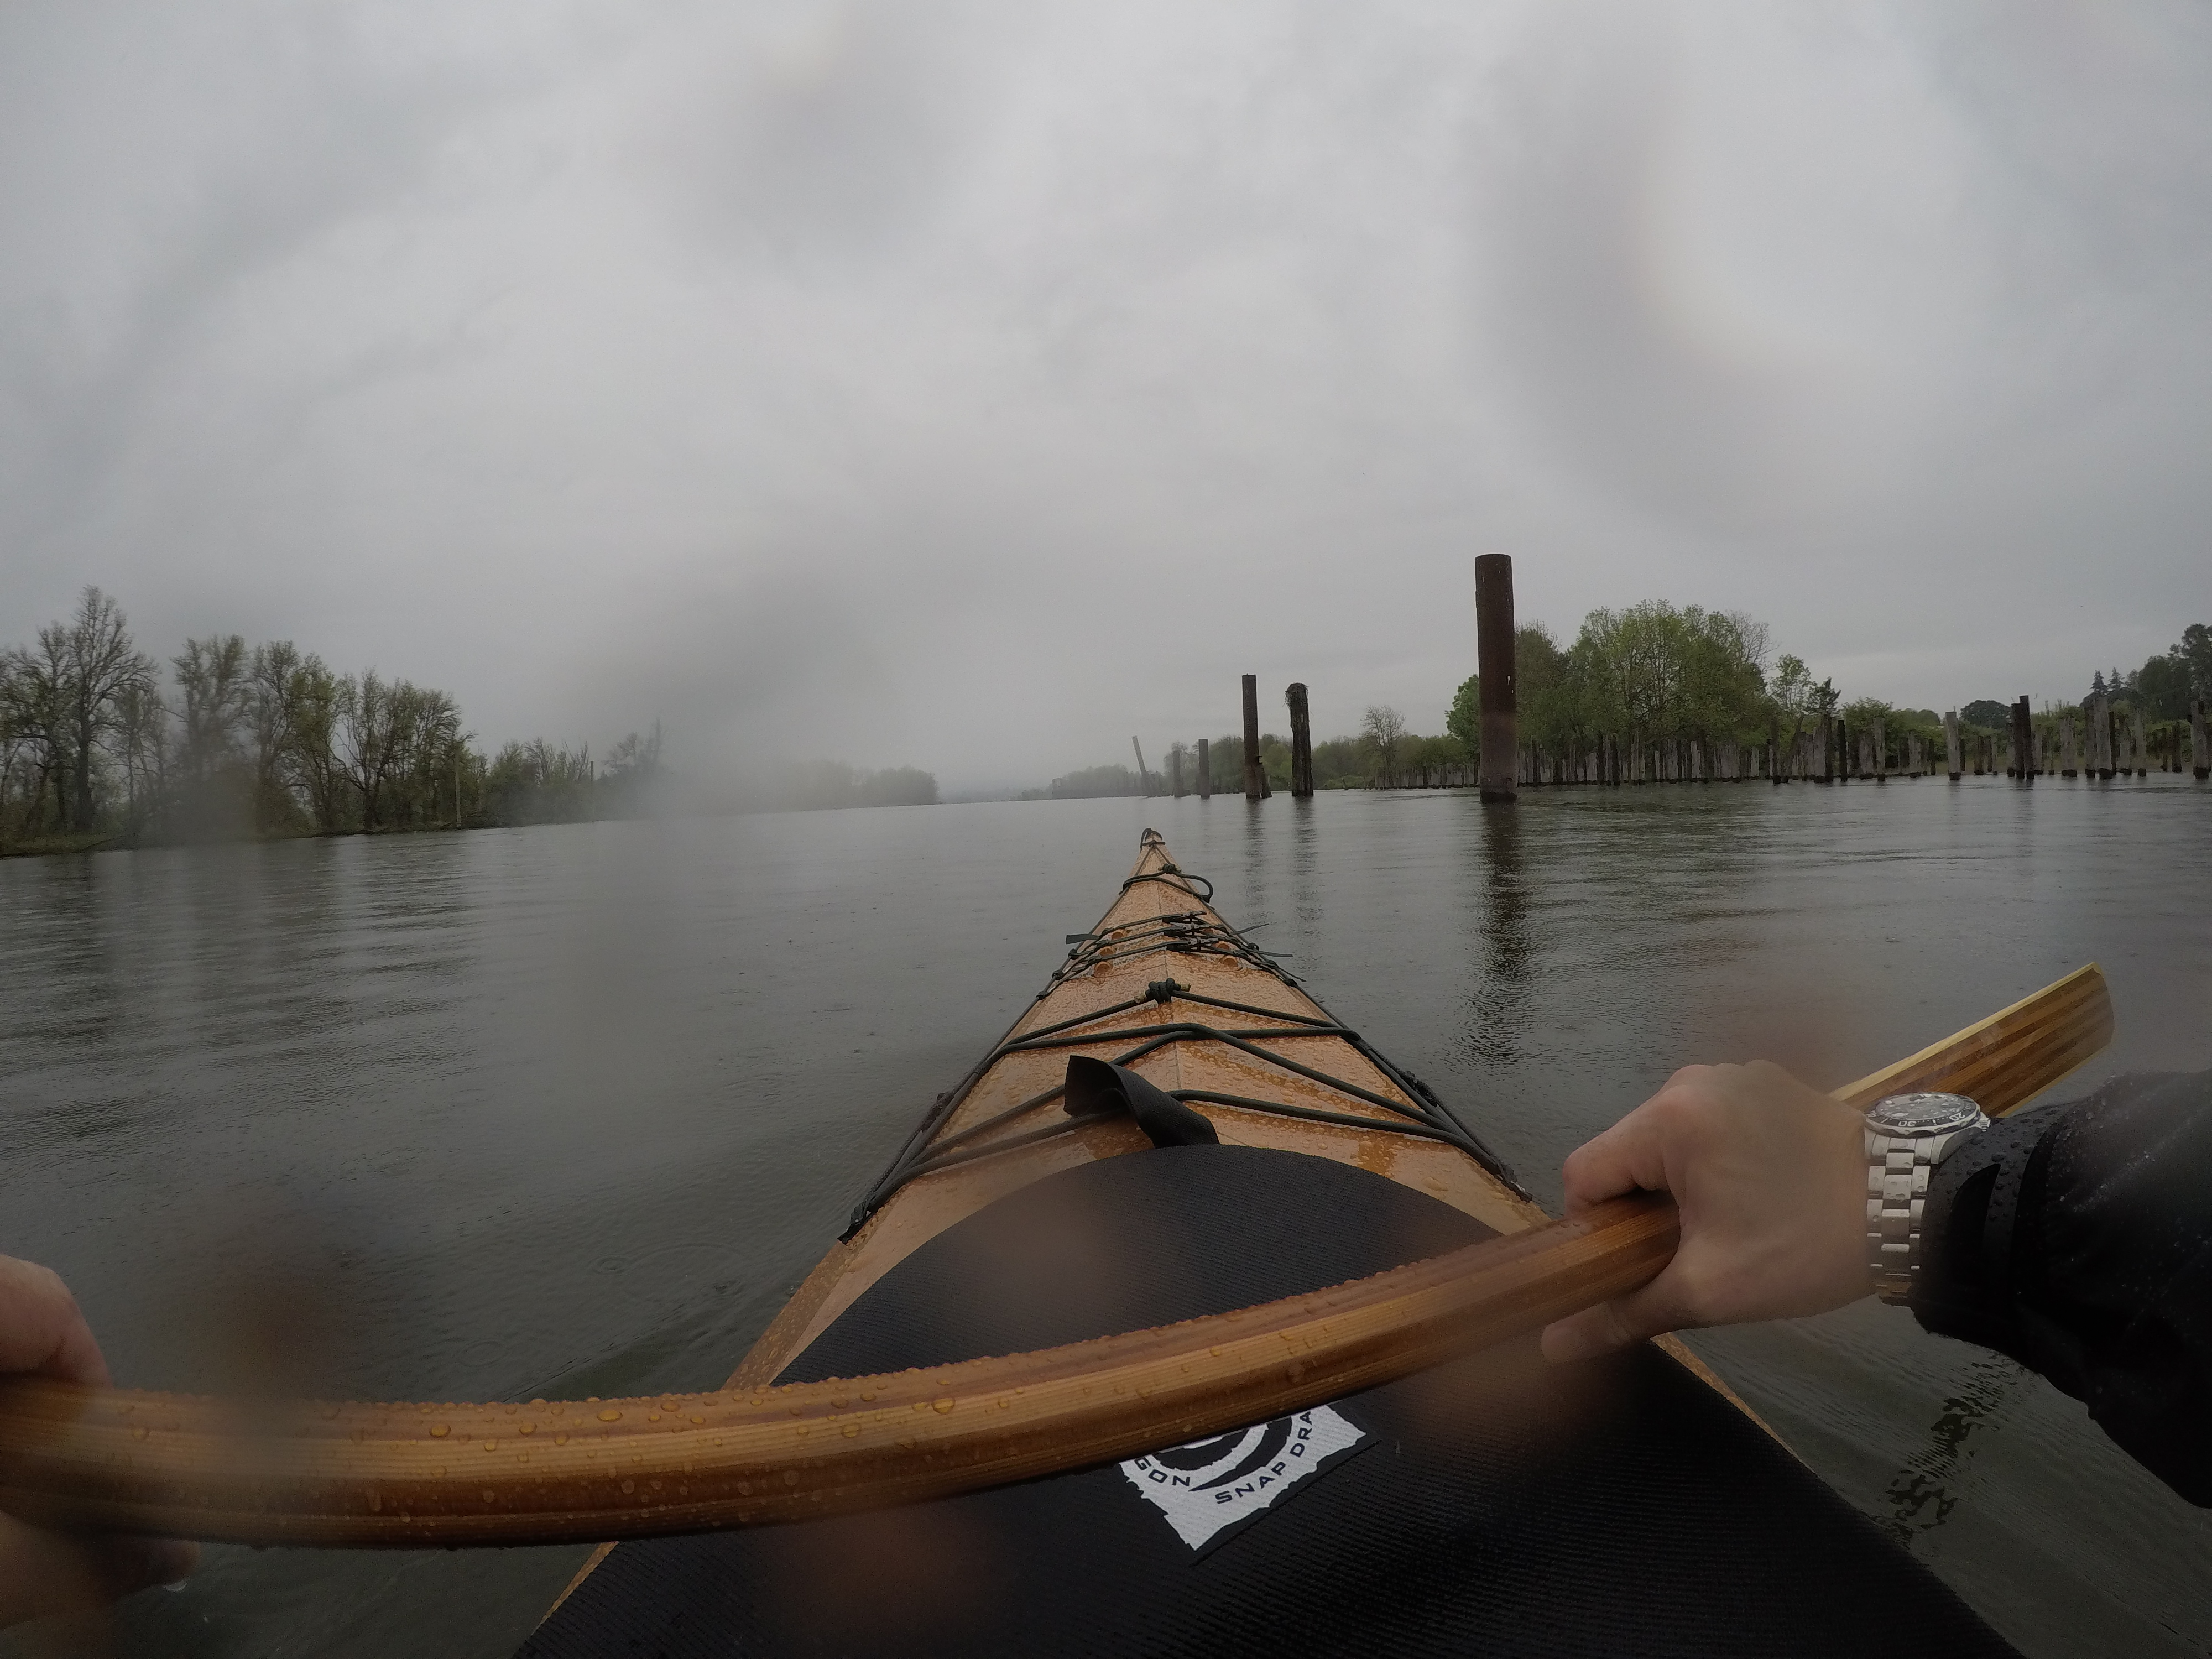
Gluing the keel and controlling/setting the rocker of the hull.

What I neglected to photograph is that the kayak is sitting atop a very straight 2 X 4, that is standing on its edge. About five feet of the keel seam has been tacked down to the 2 X 4 and glued with epoxy. The keel was tacked down with push pins (which can be seen in the photo).

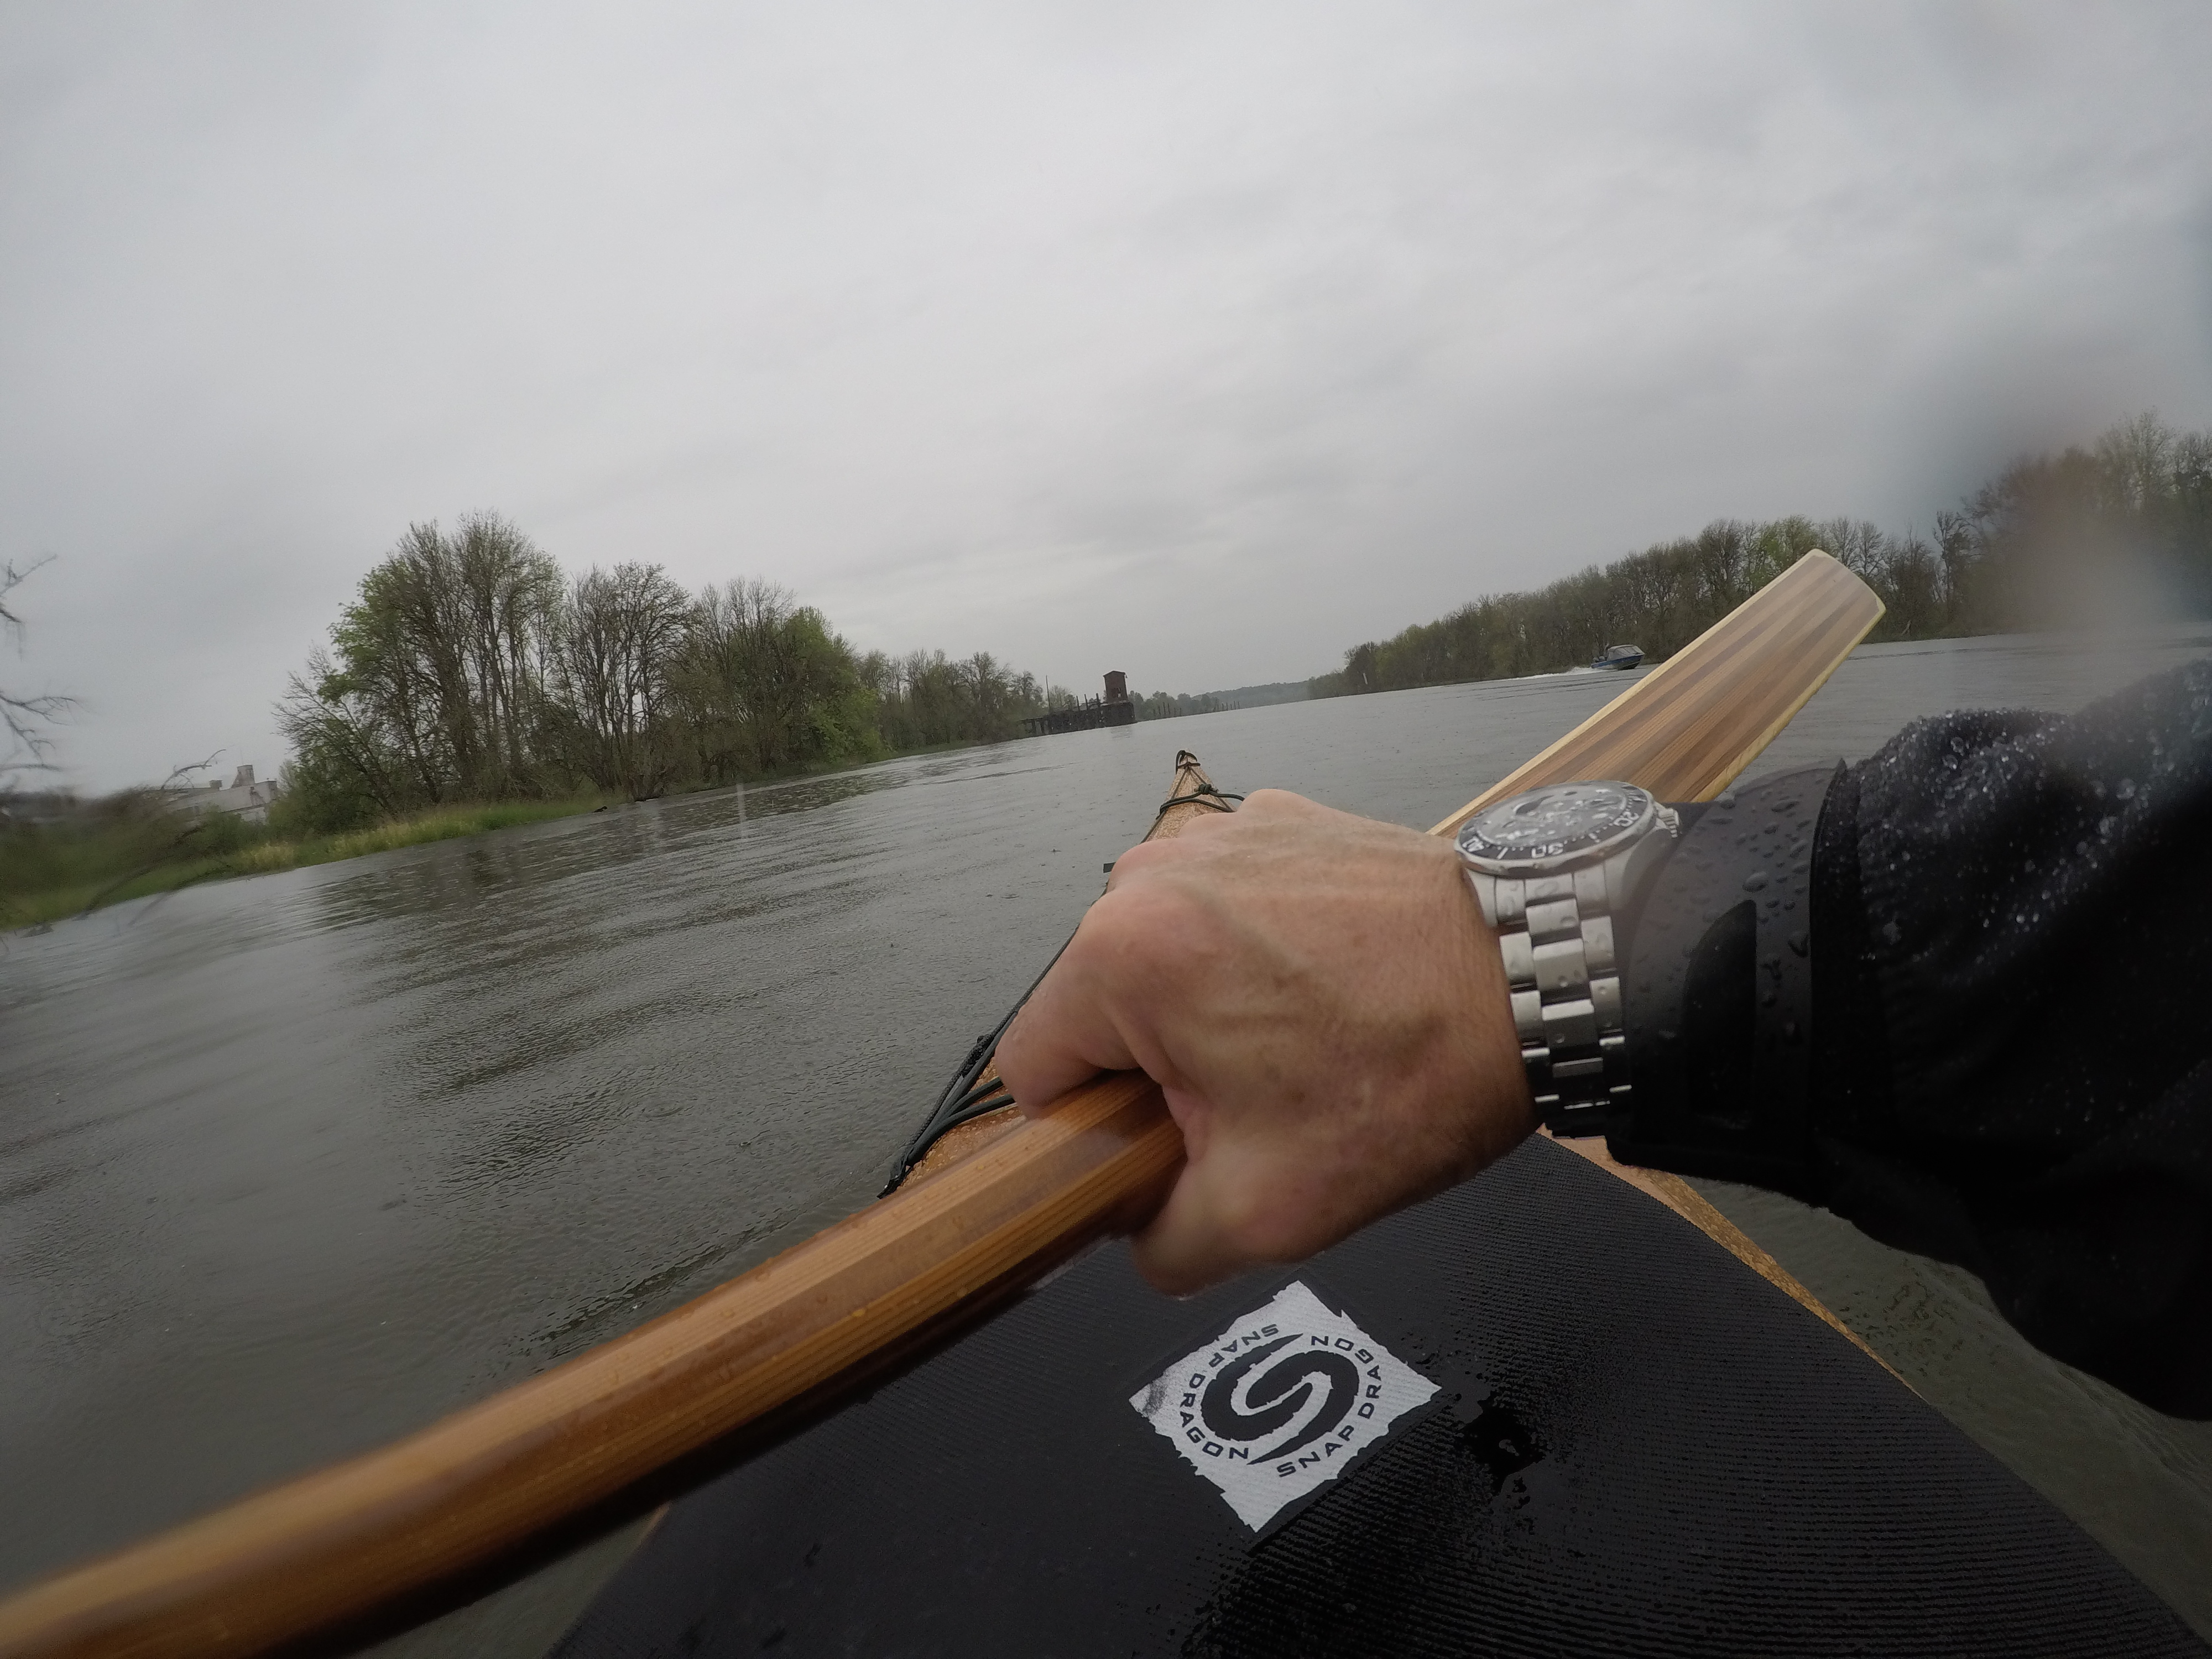
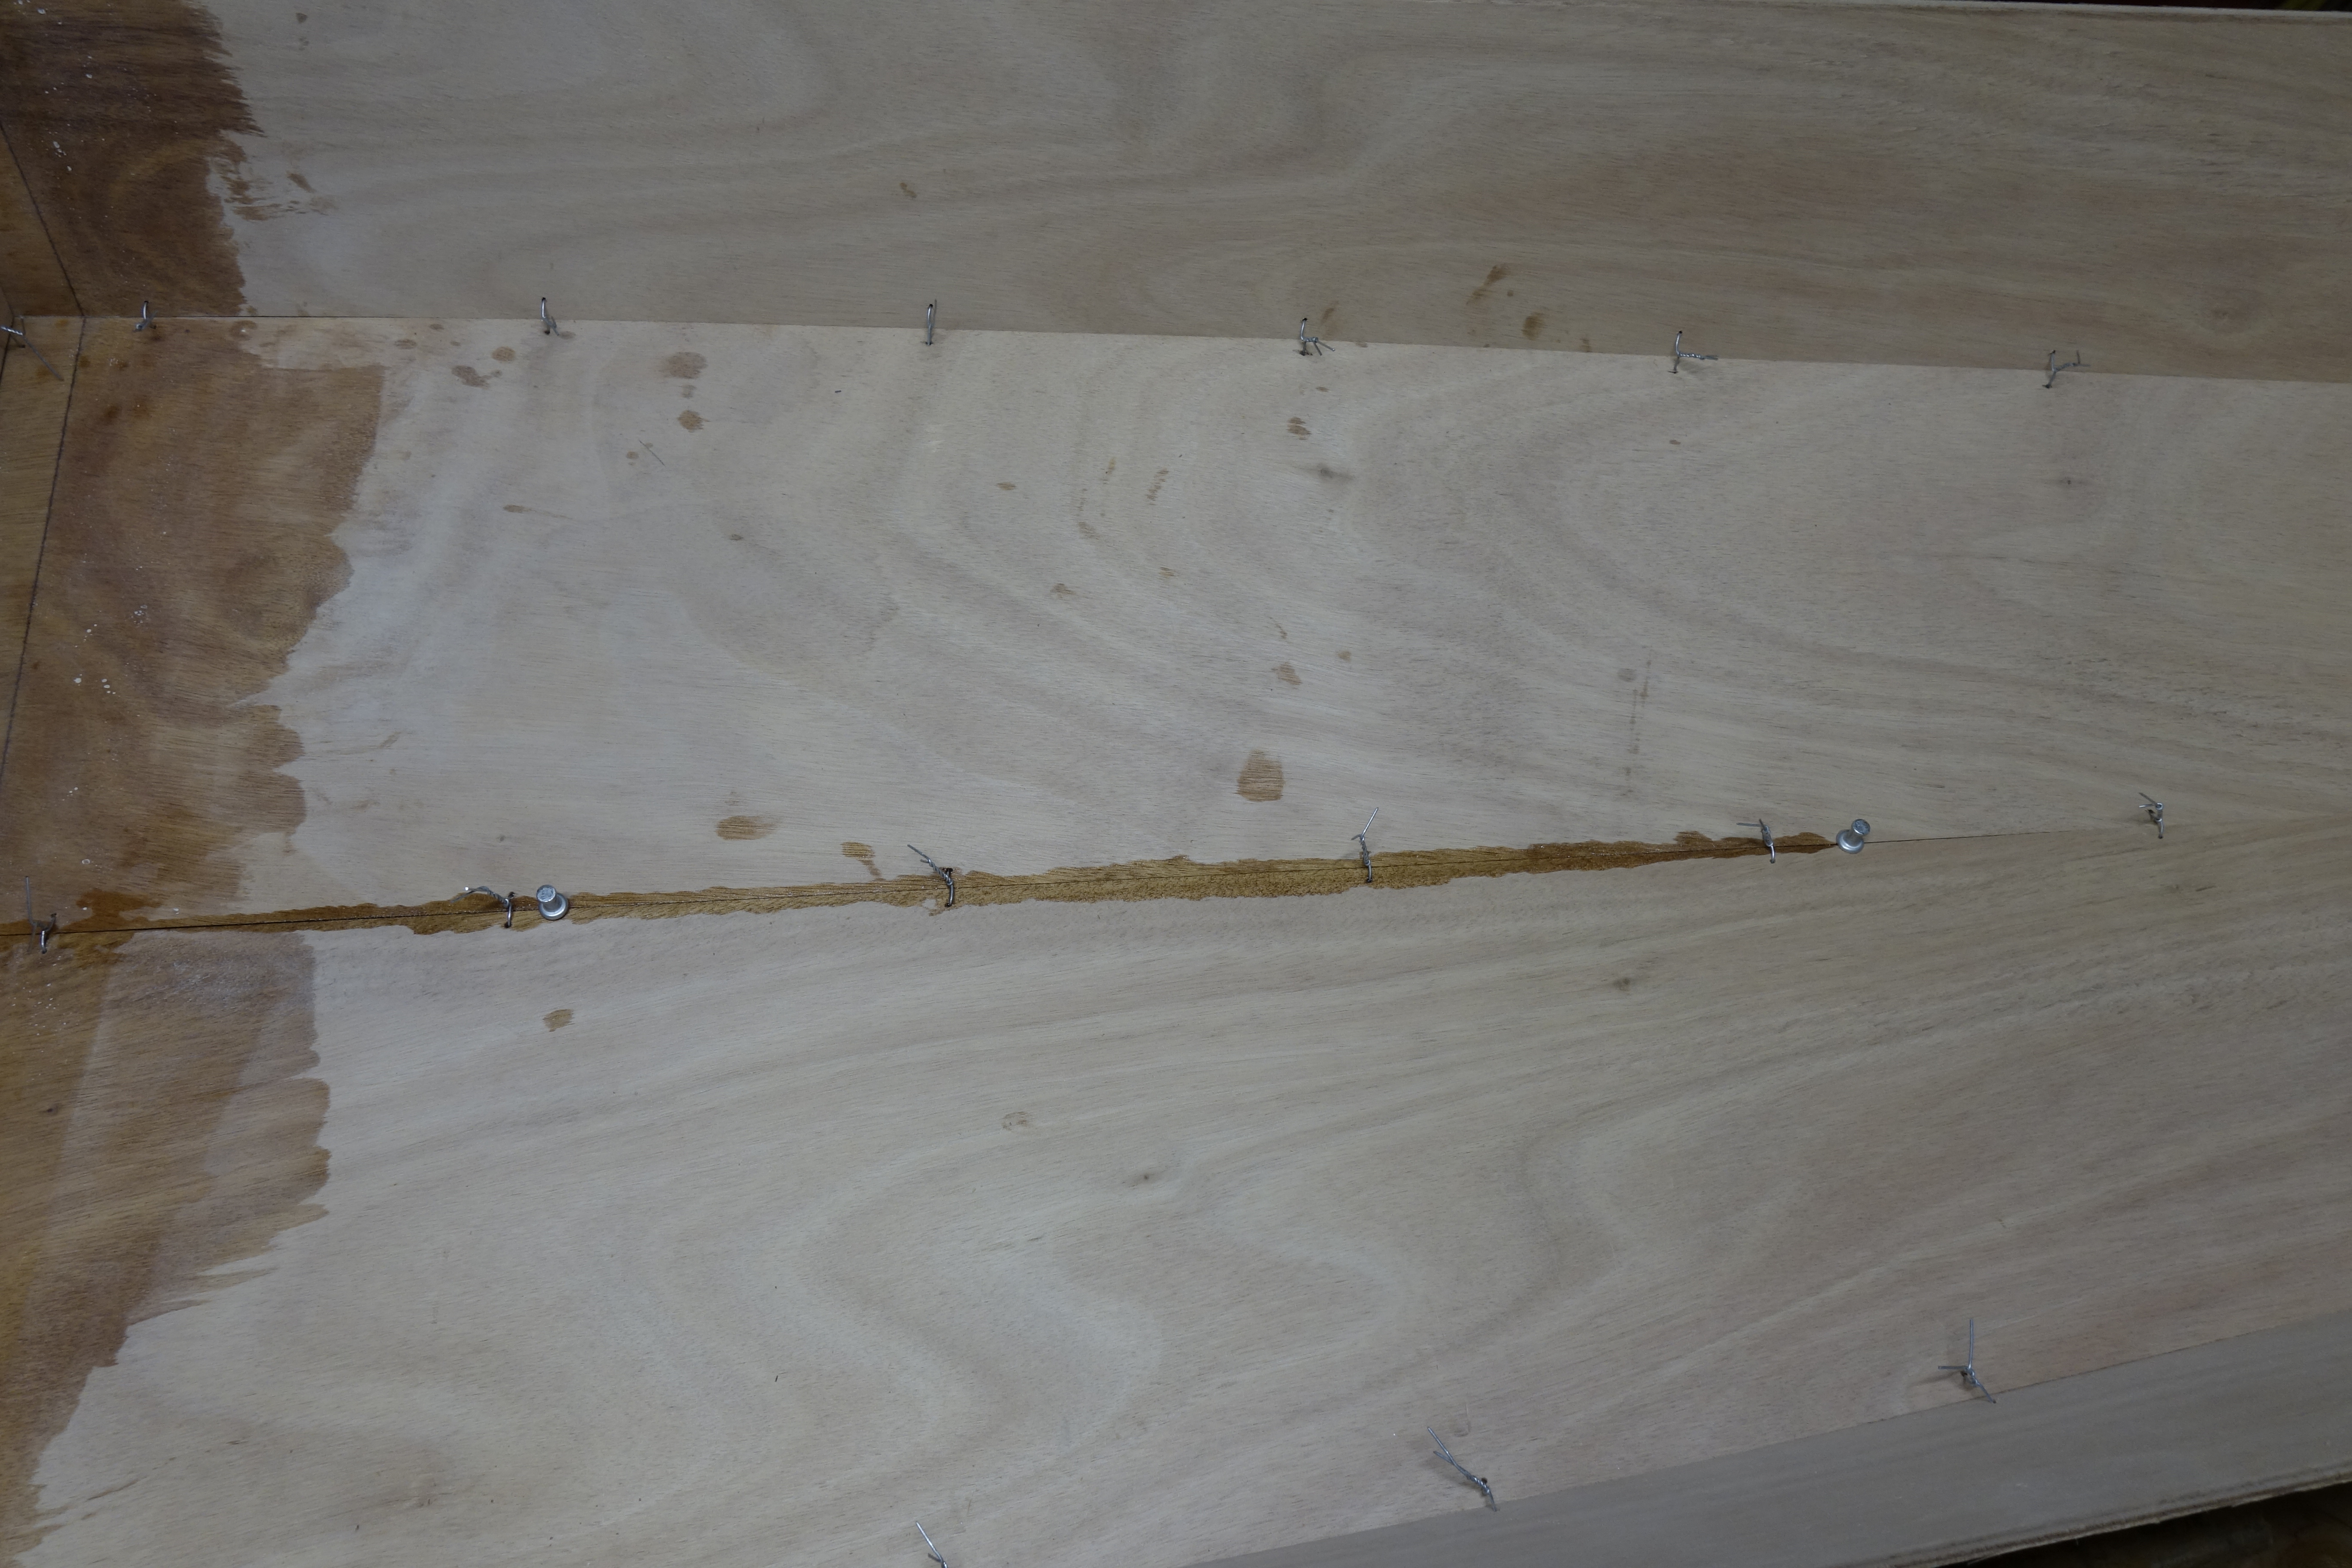
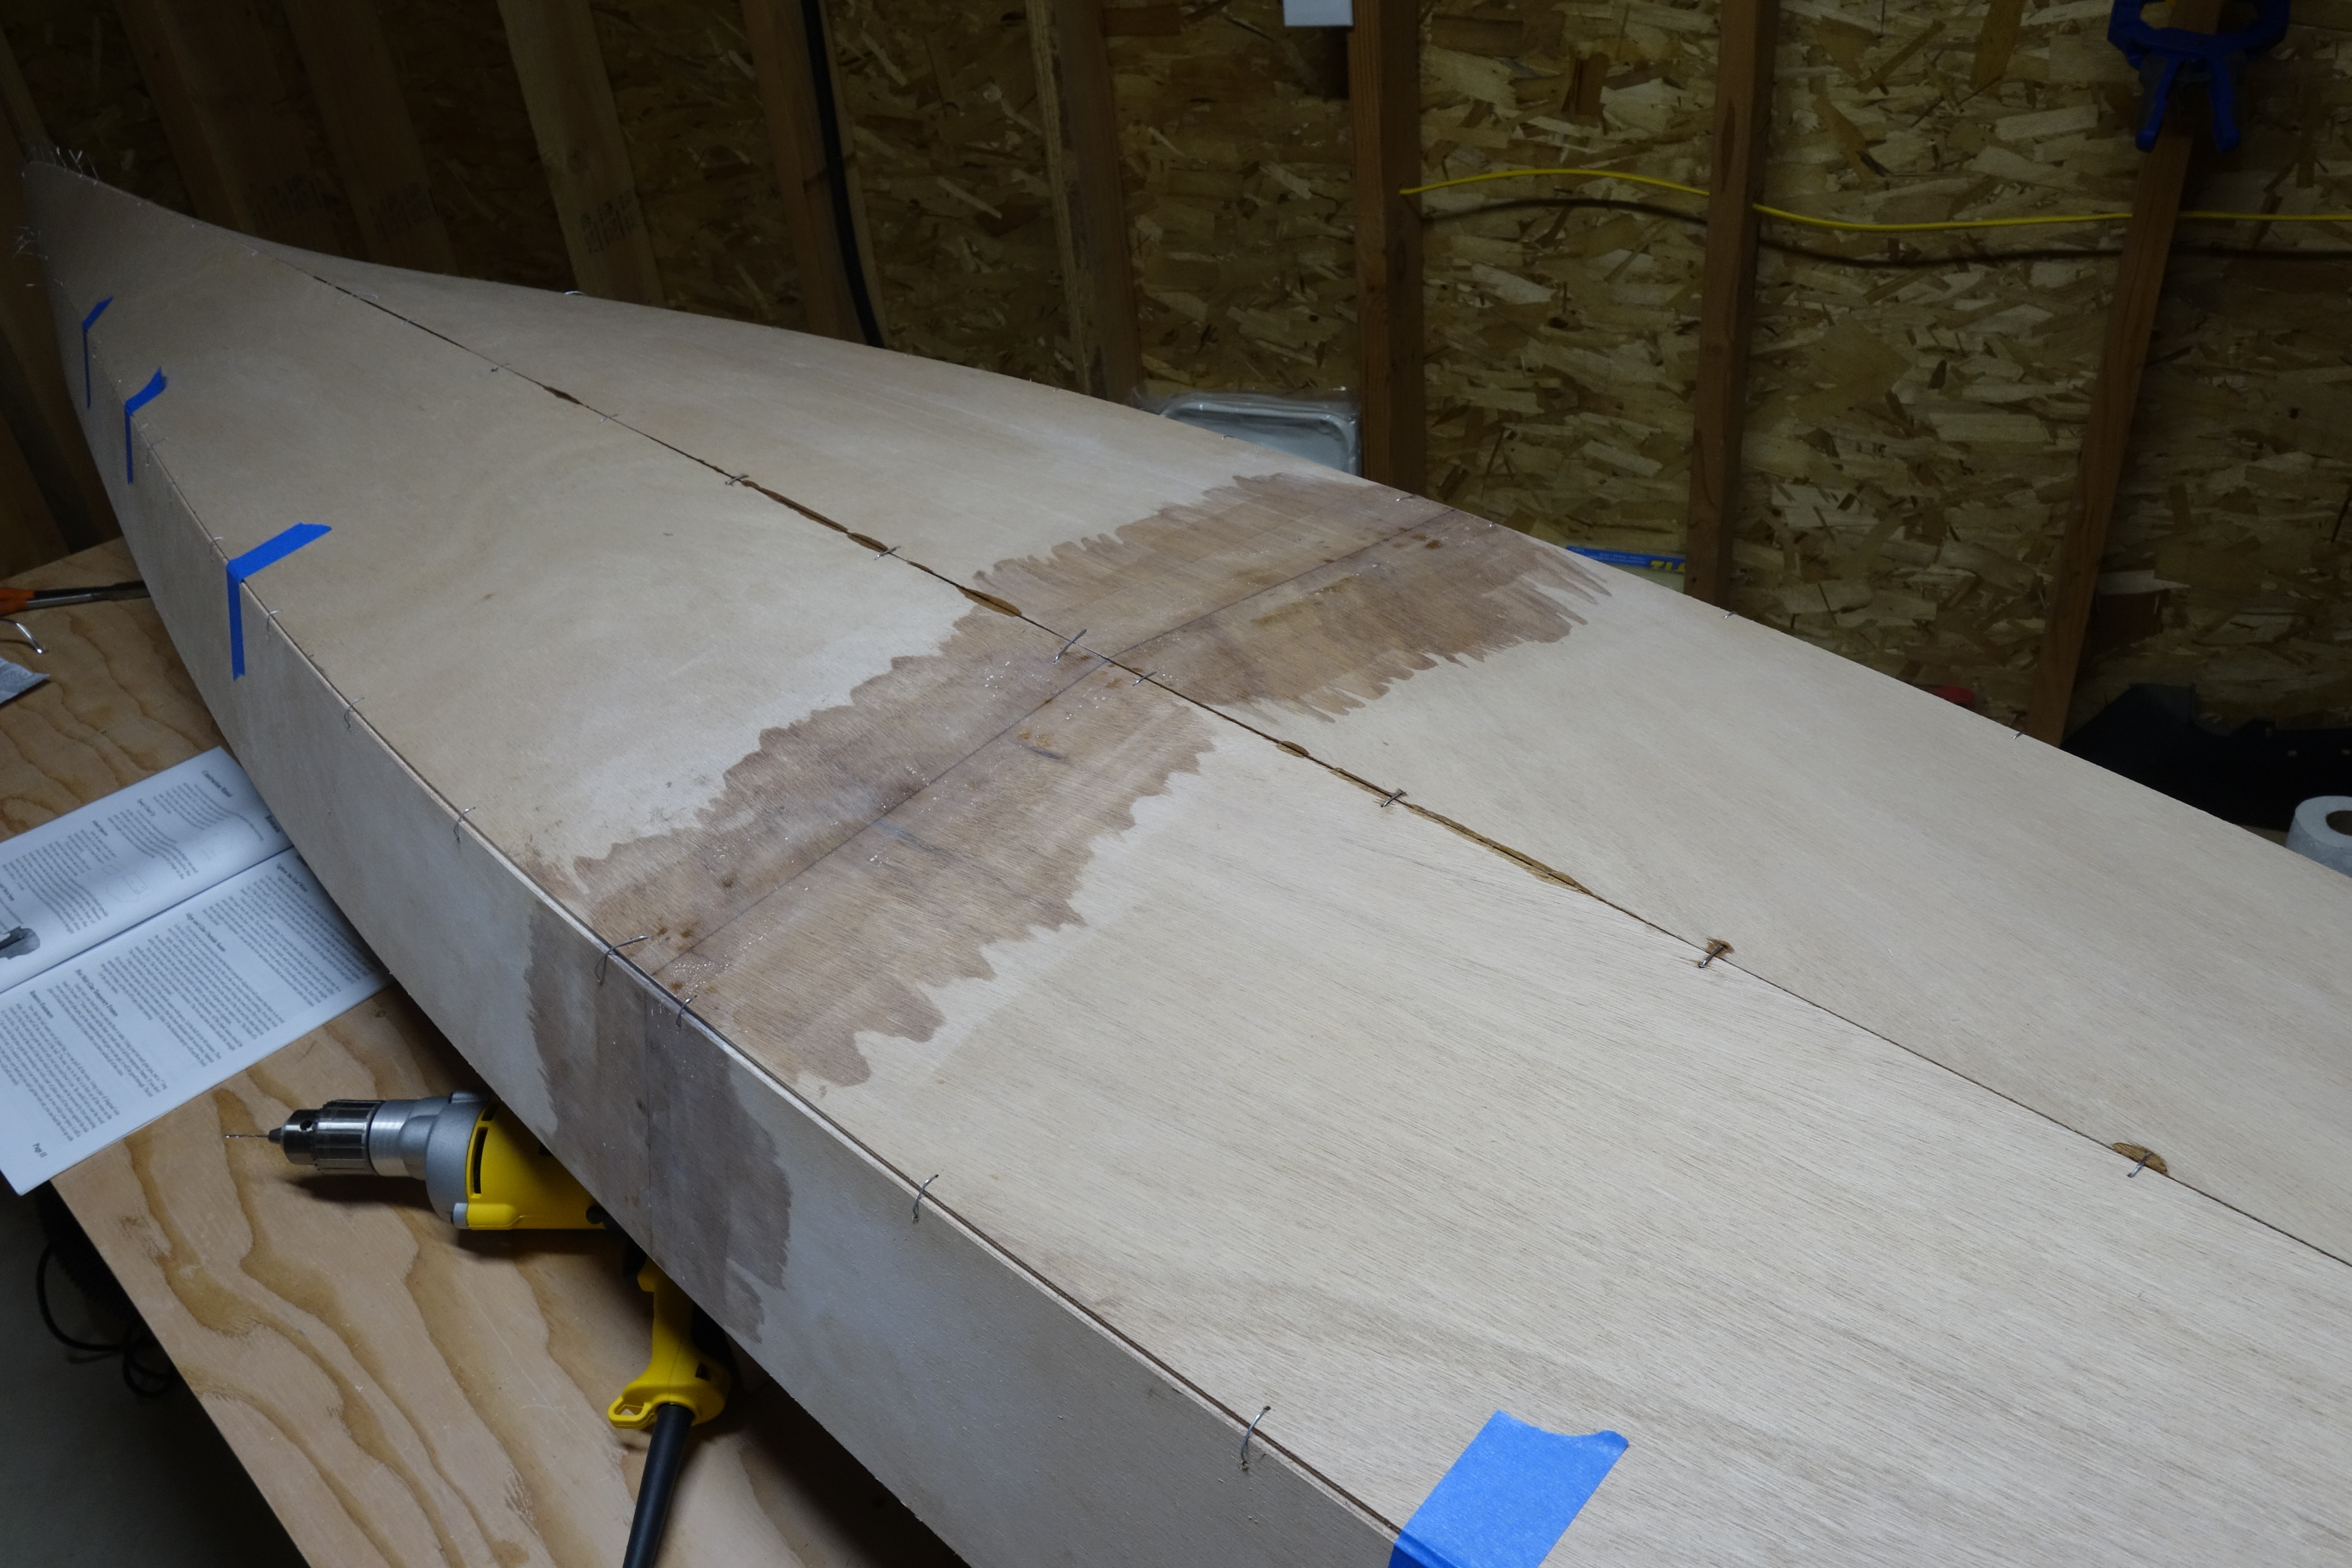
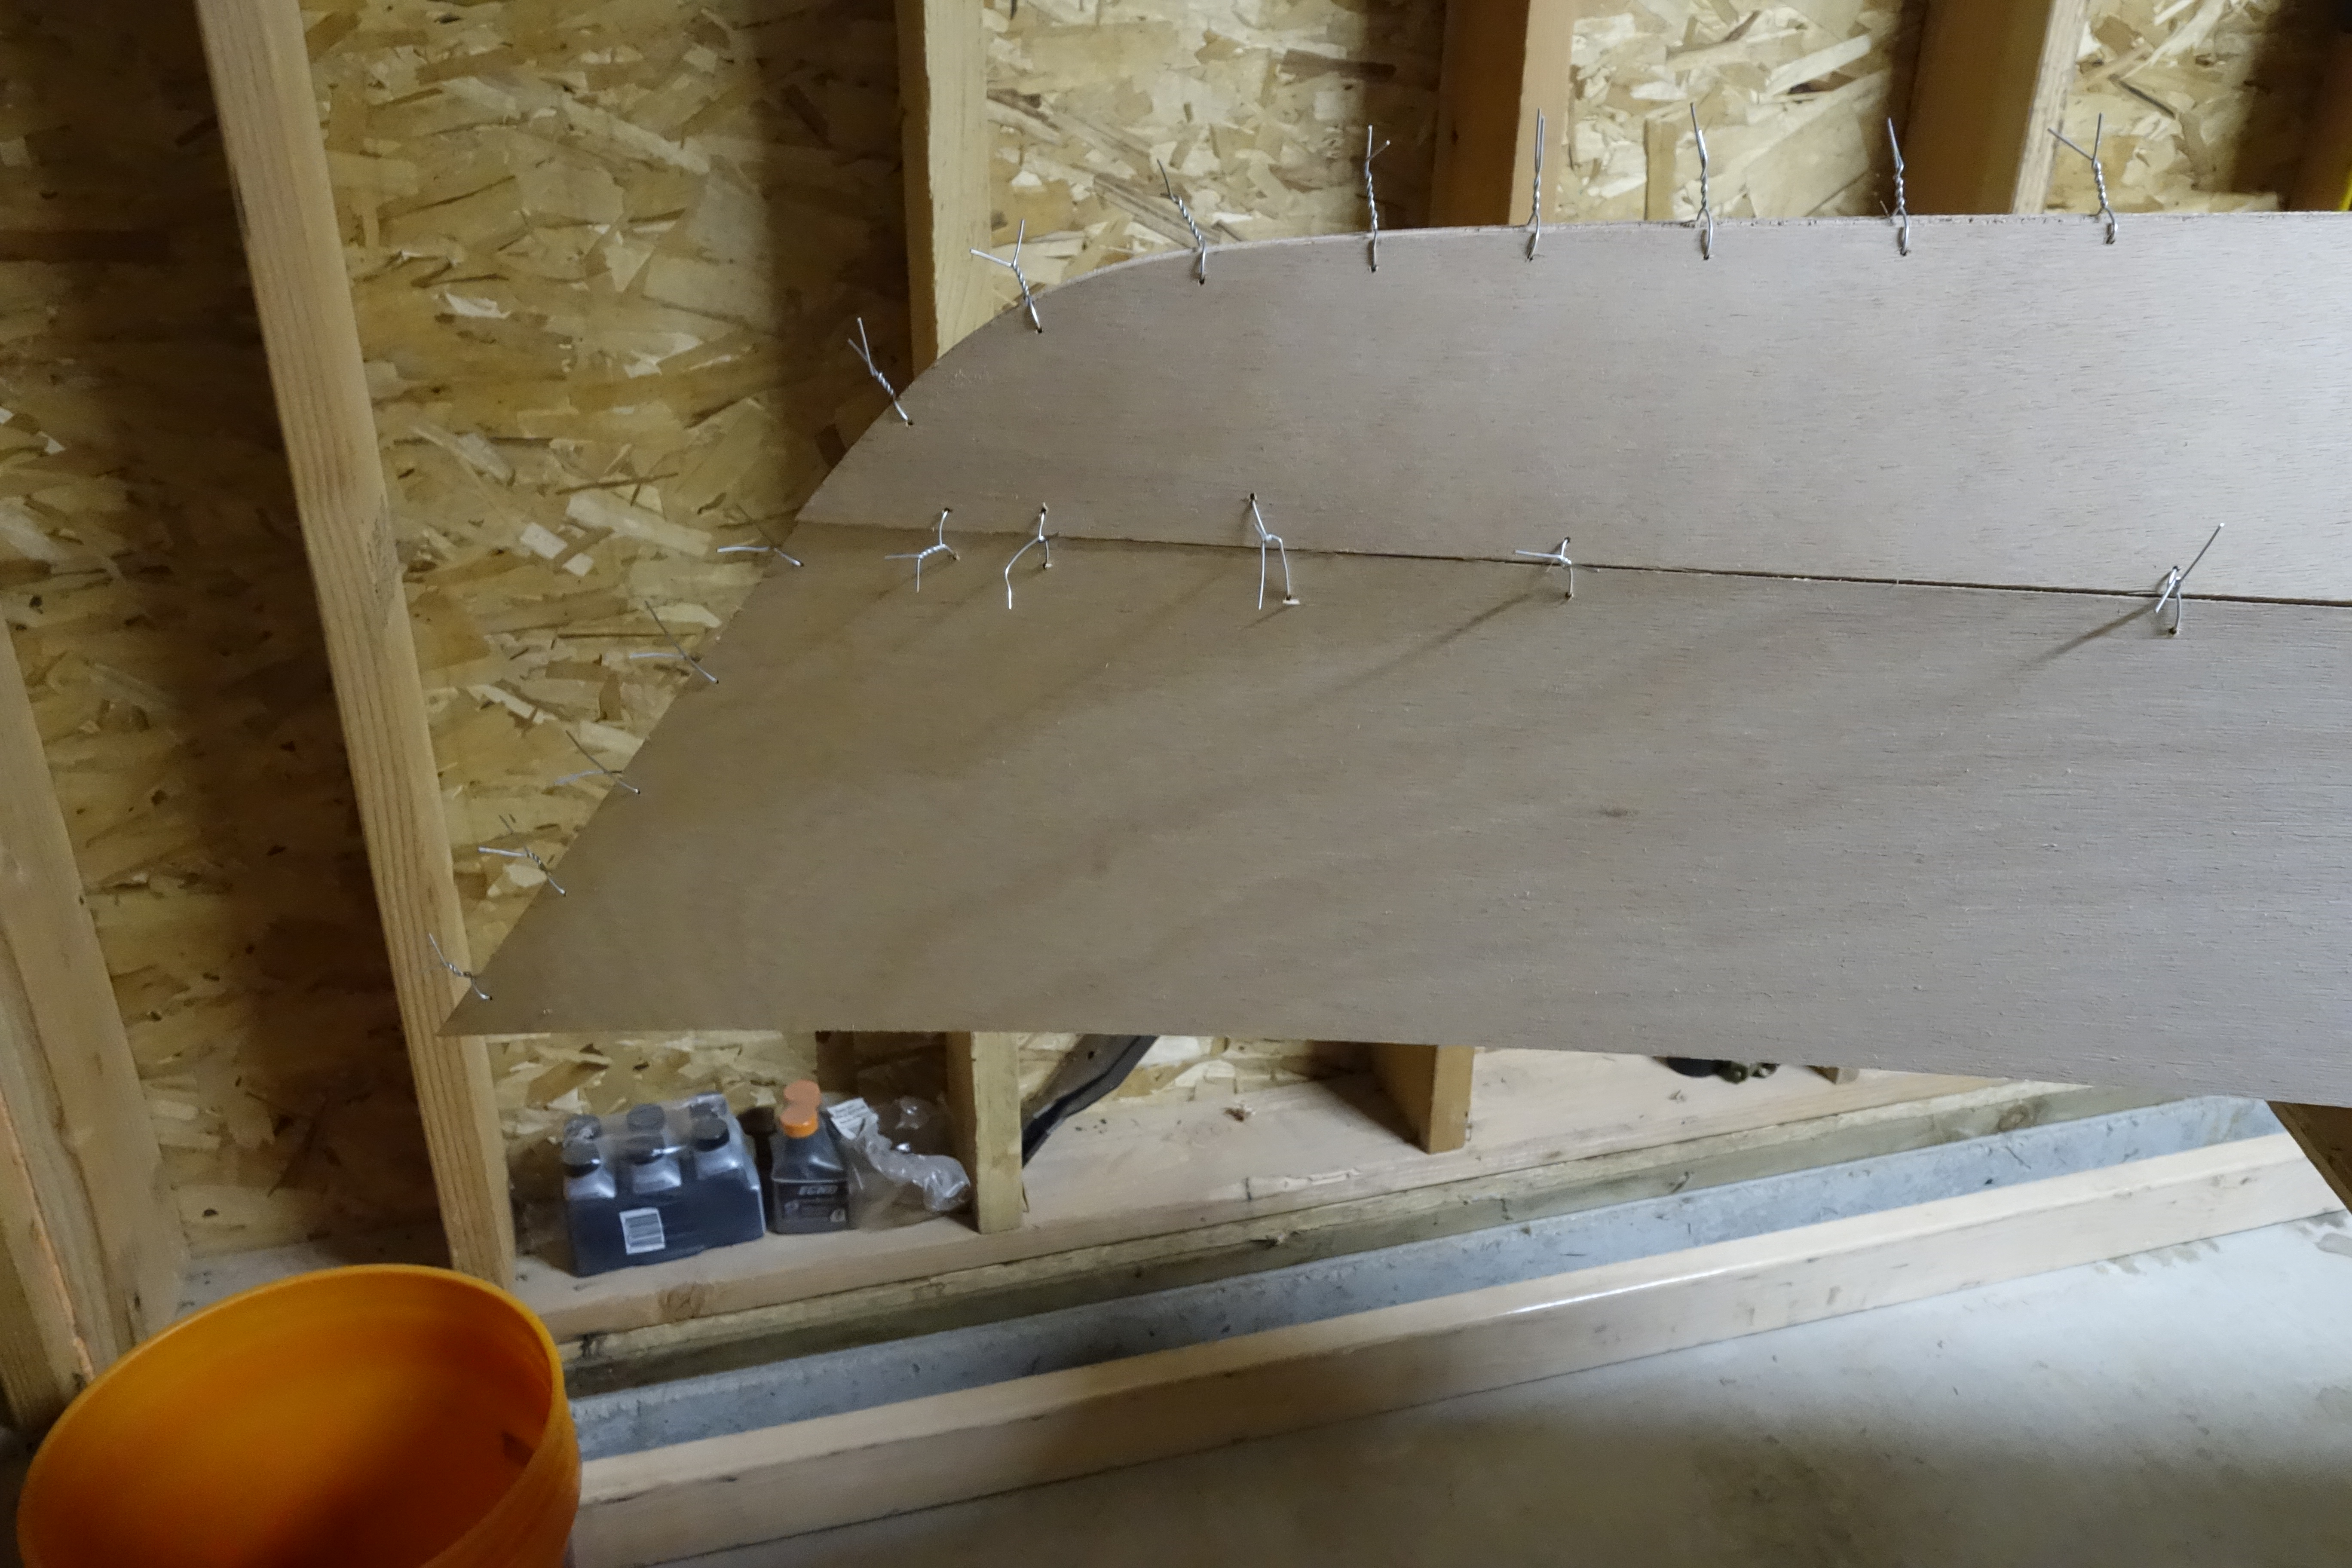
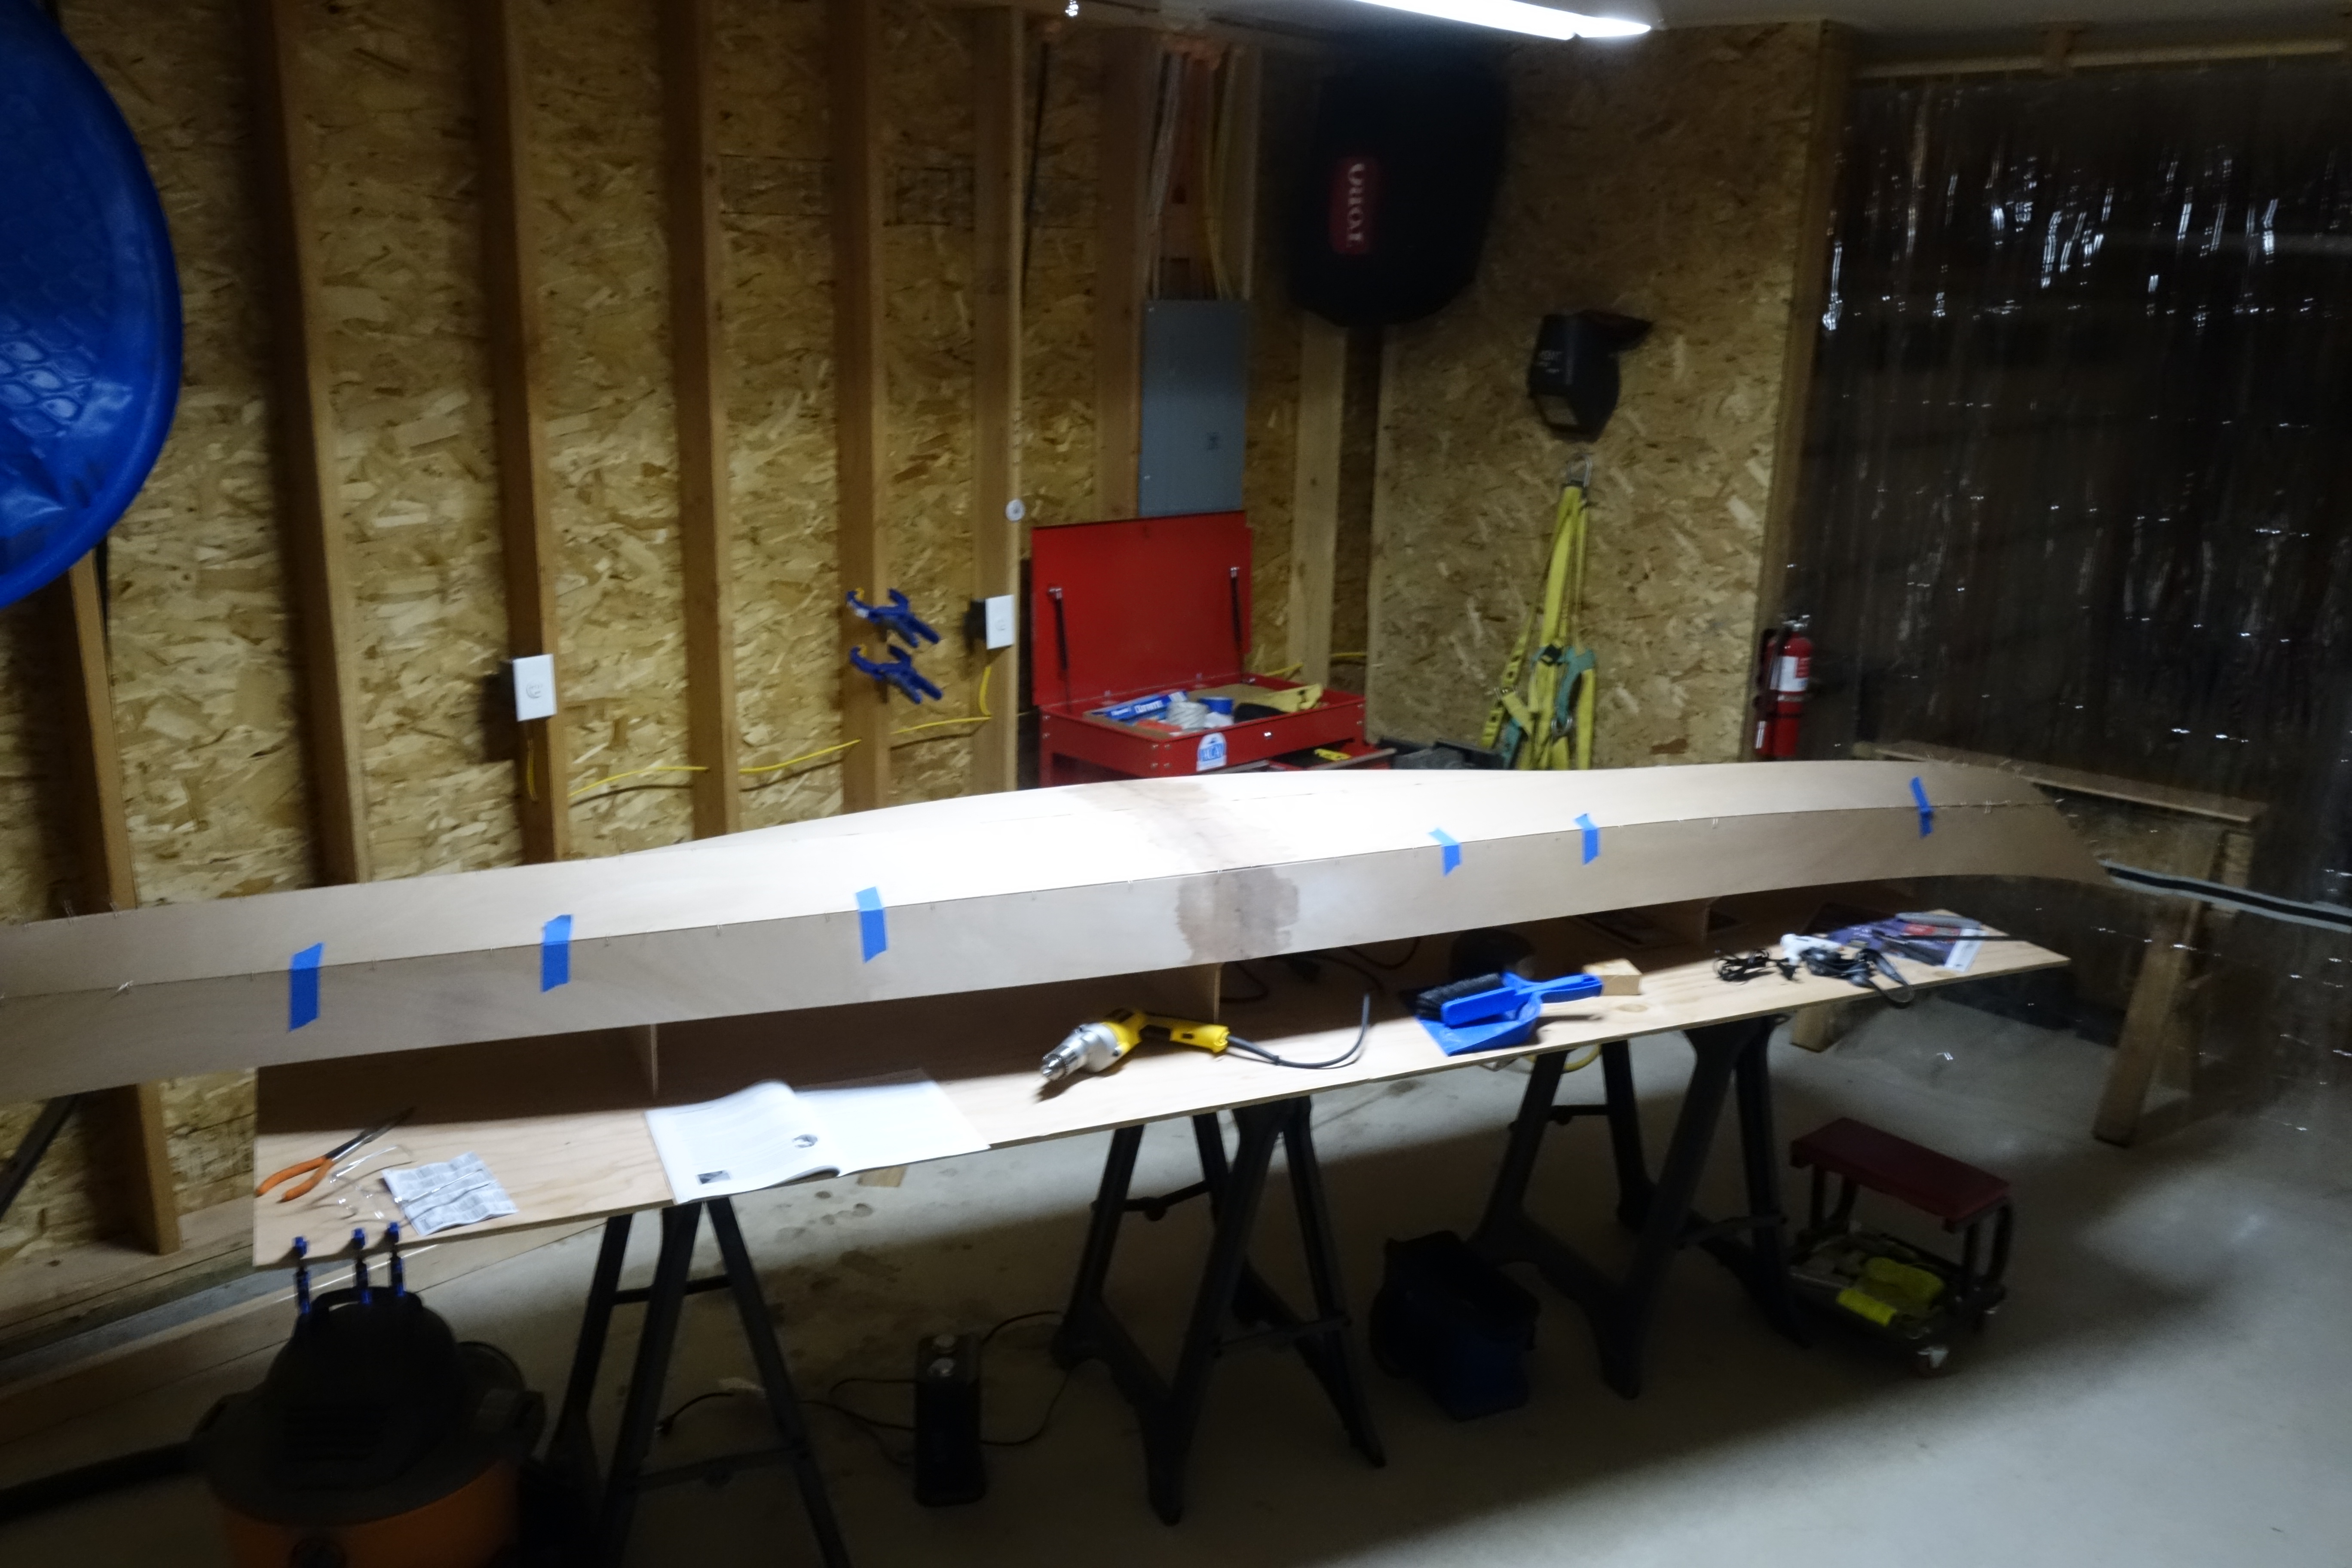
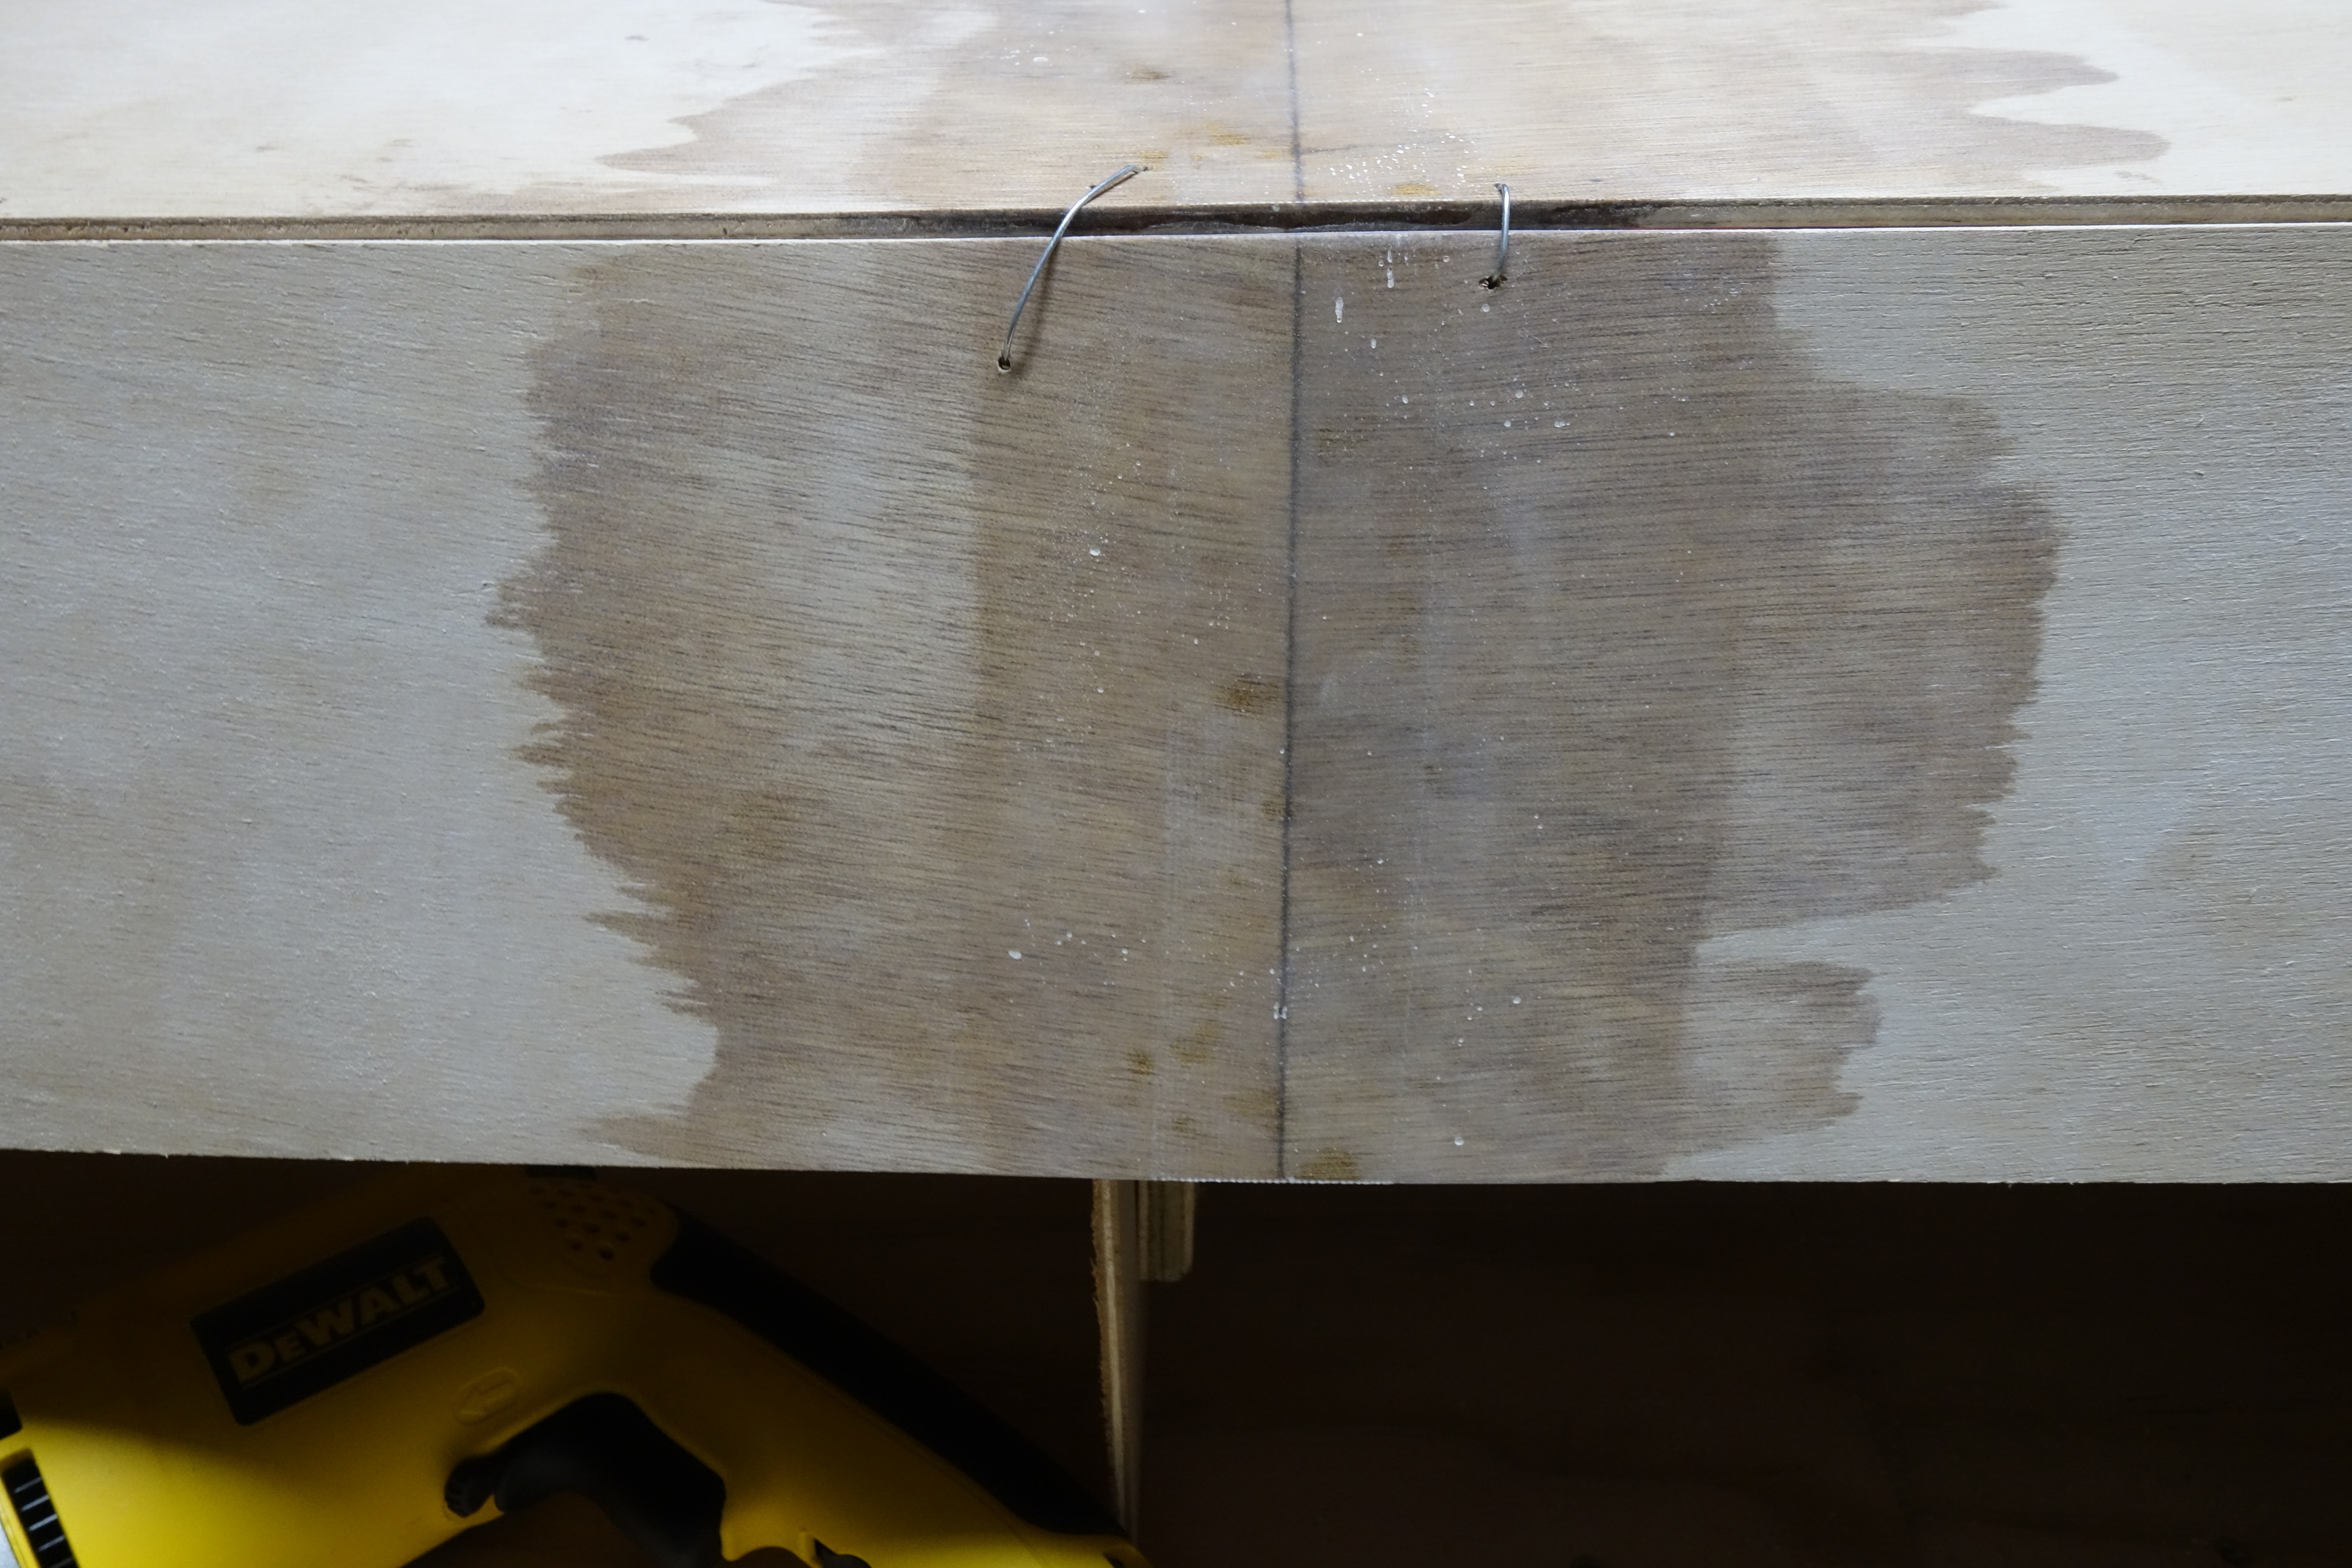
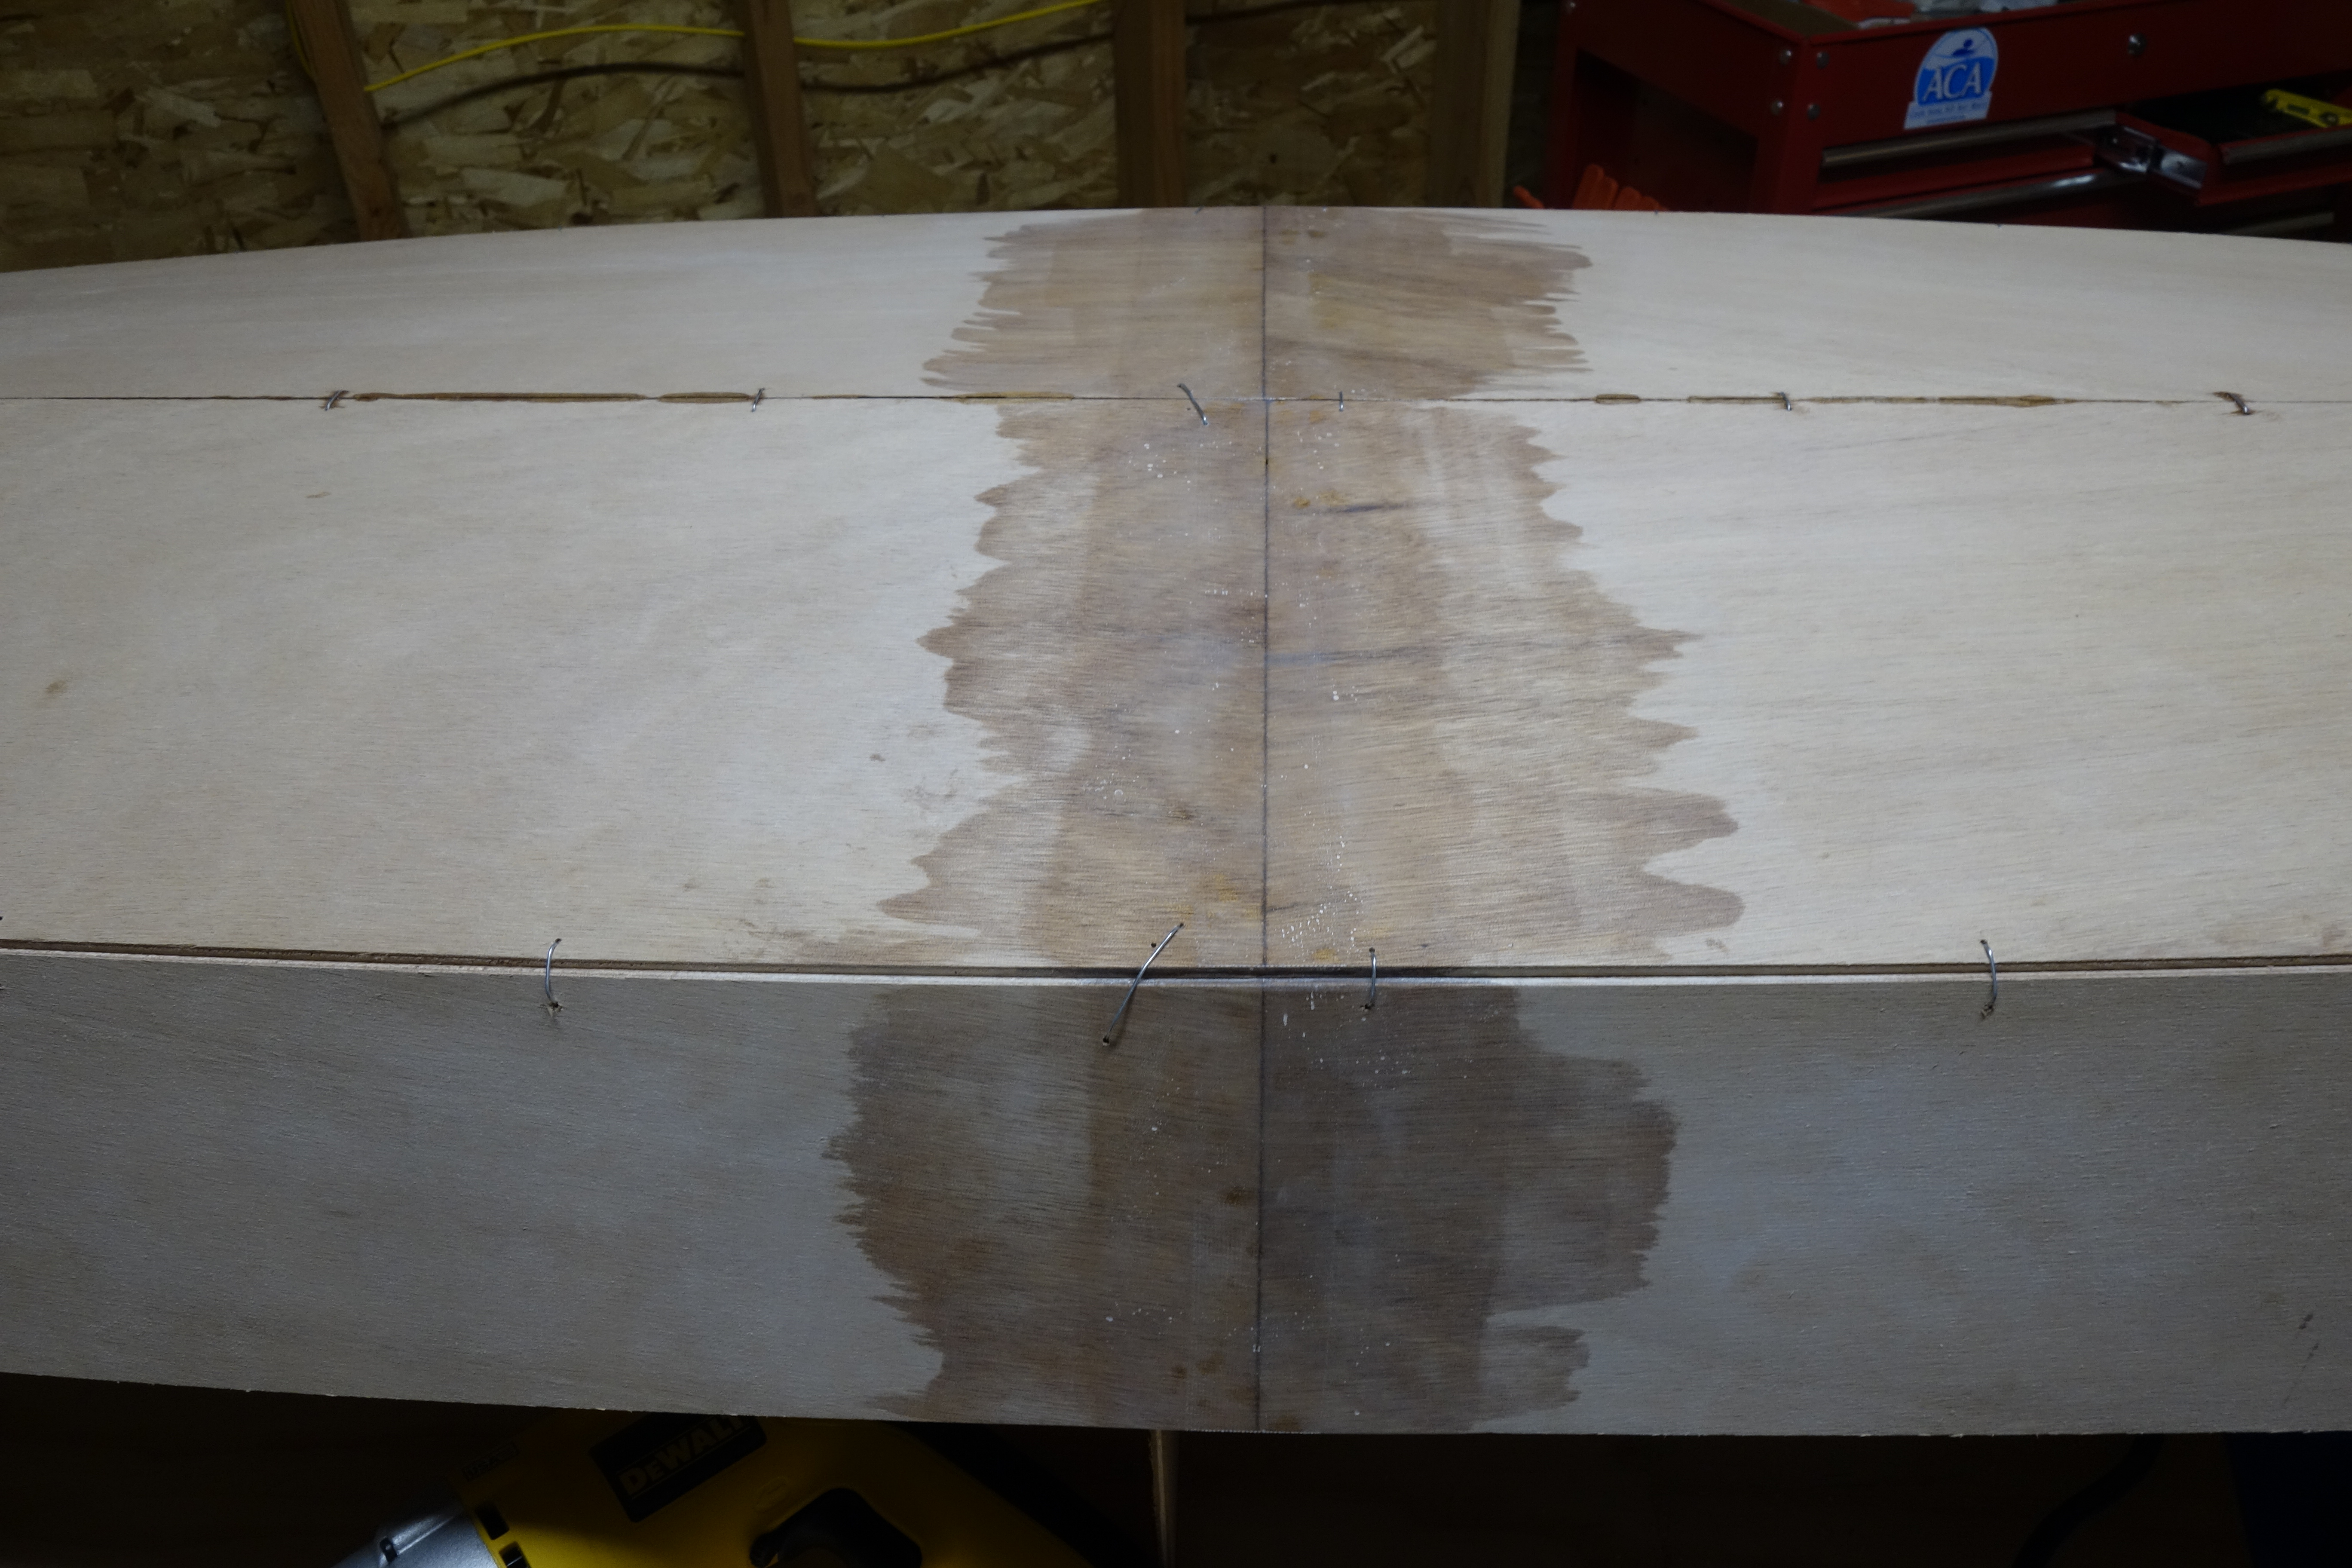
After the rocker is set and the keel seam epoxy has cured, the rest of the hull stitching can be tightened and the seams made smooth and fair, and ready for epoxy.

This photo shows the big stitches that are used to hold the temporary frames in the hull. Scrap plywood has been used to screw extensions (provided in the kit) to the temporary frames so that the hull can be turned over (bottom up) for wiring and gluing.

And so it begins…

Pygmy Boats in Port Townsend, Washington

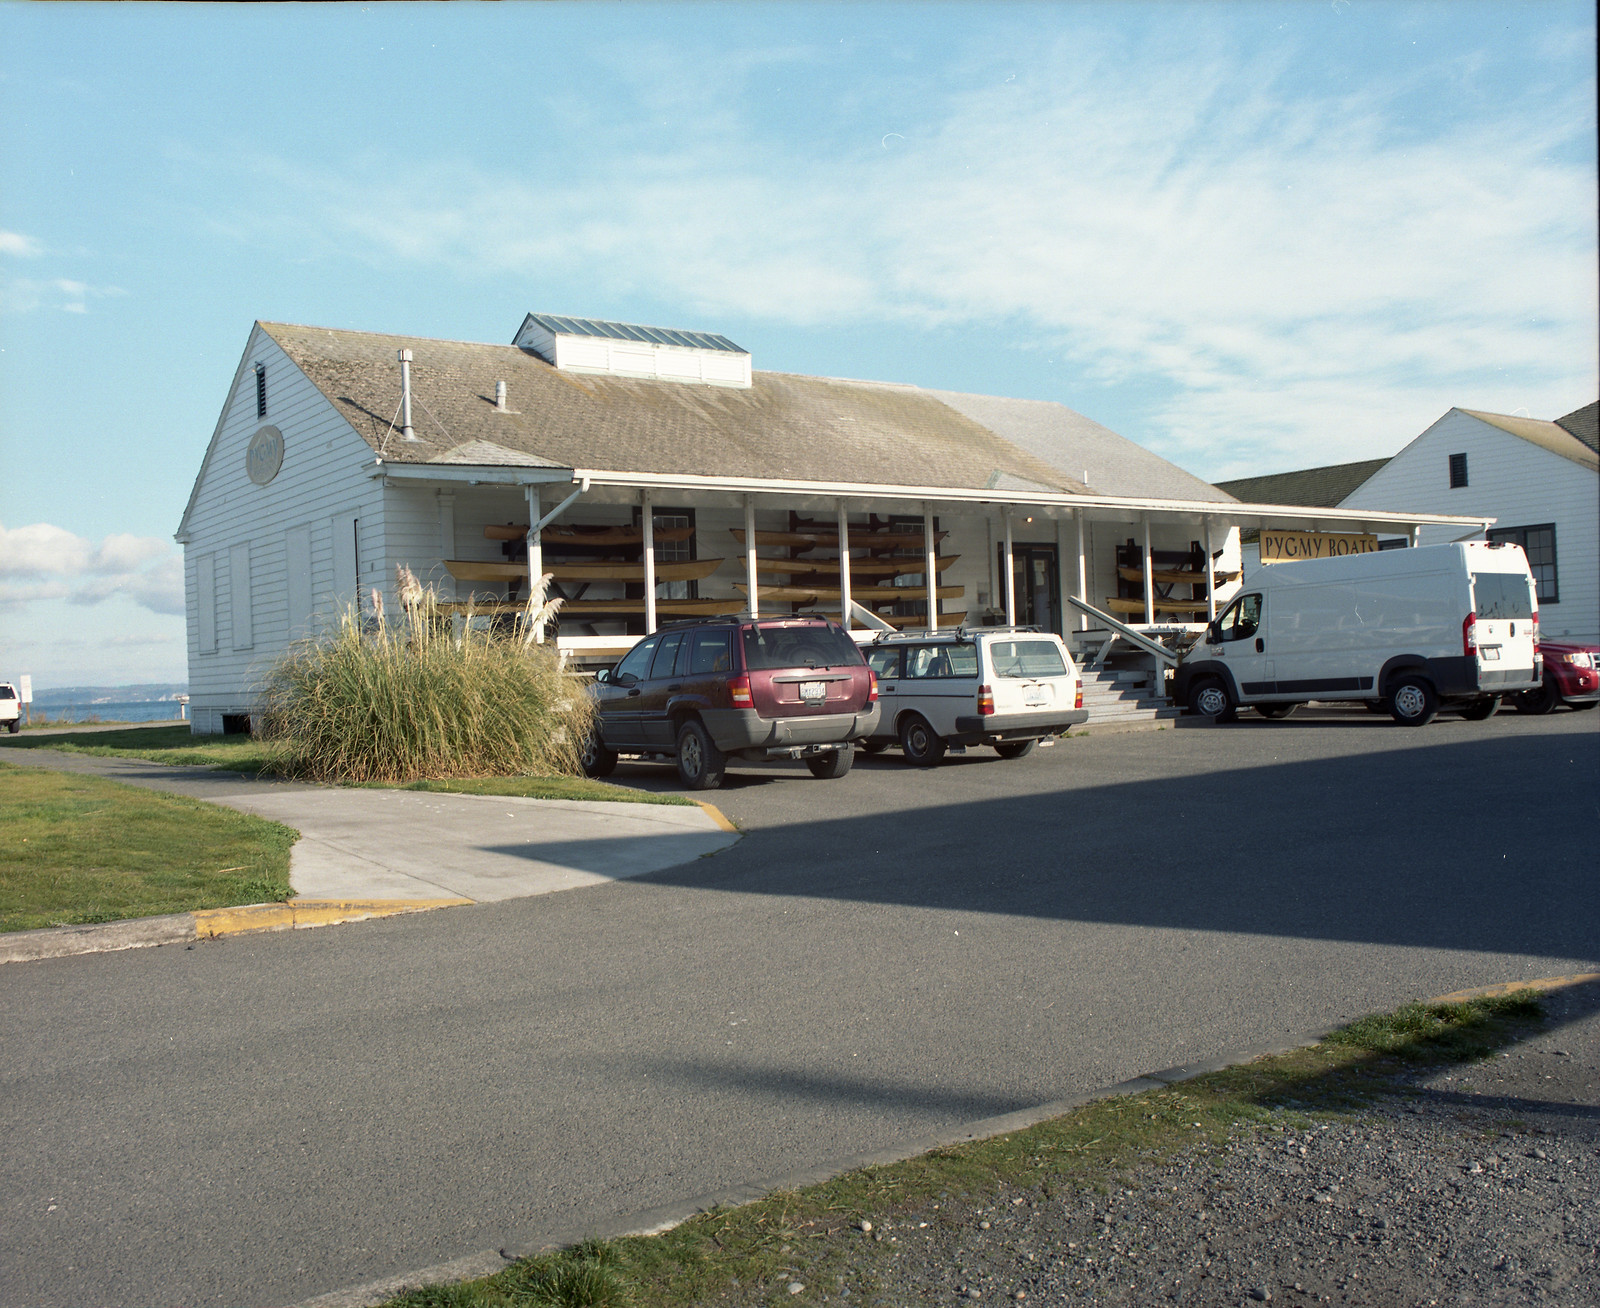
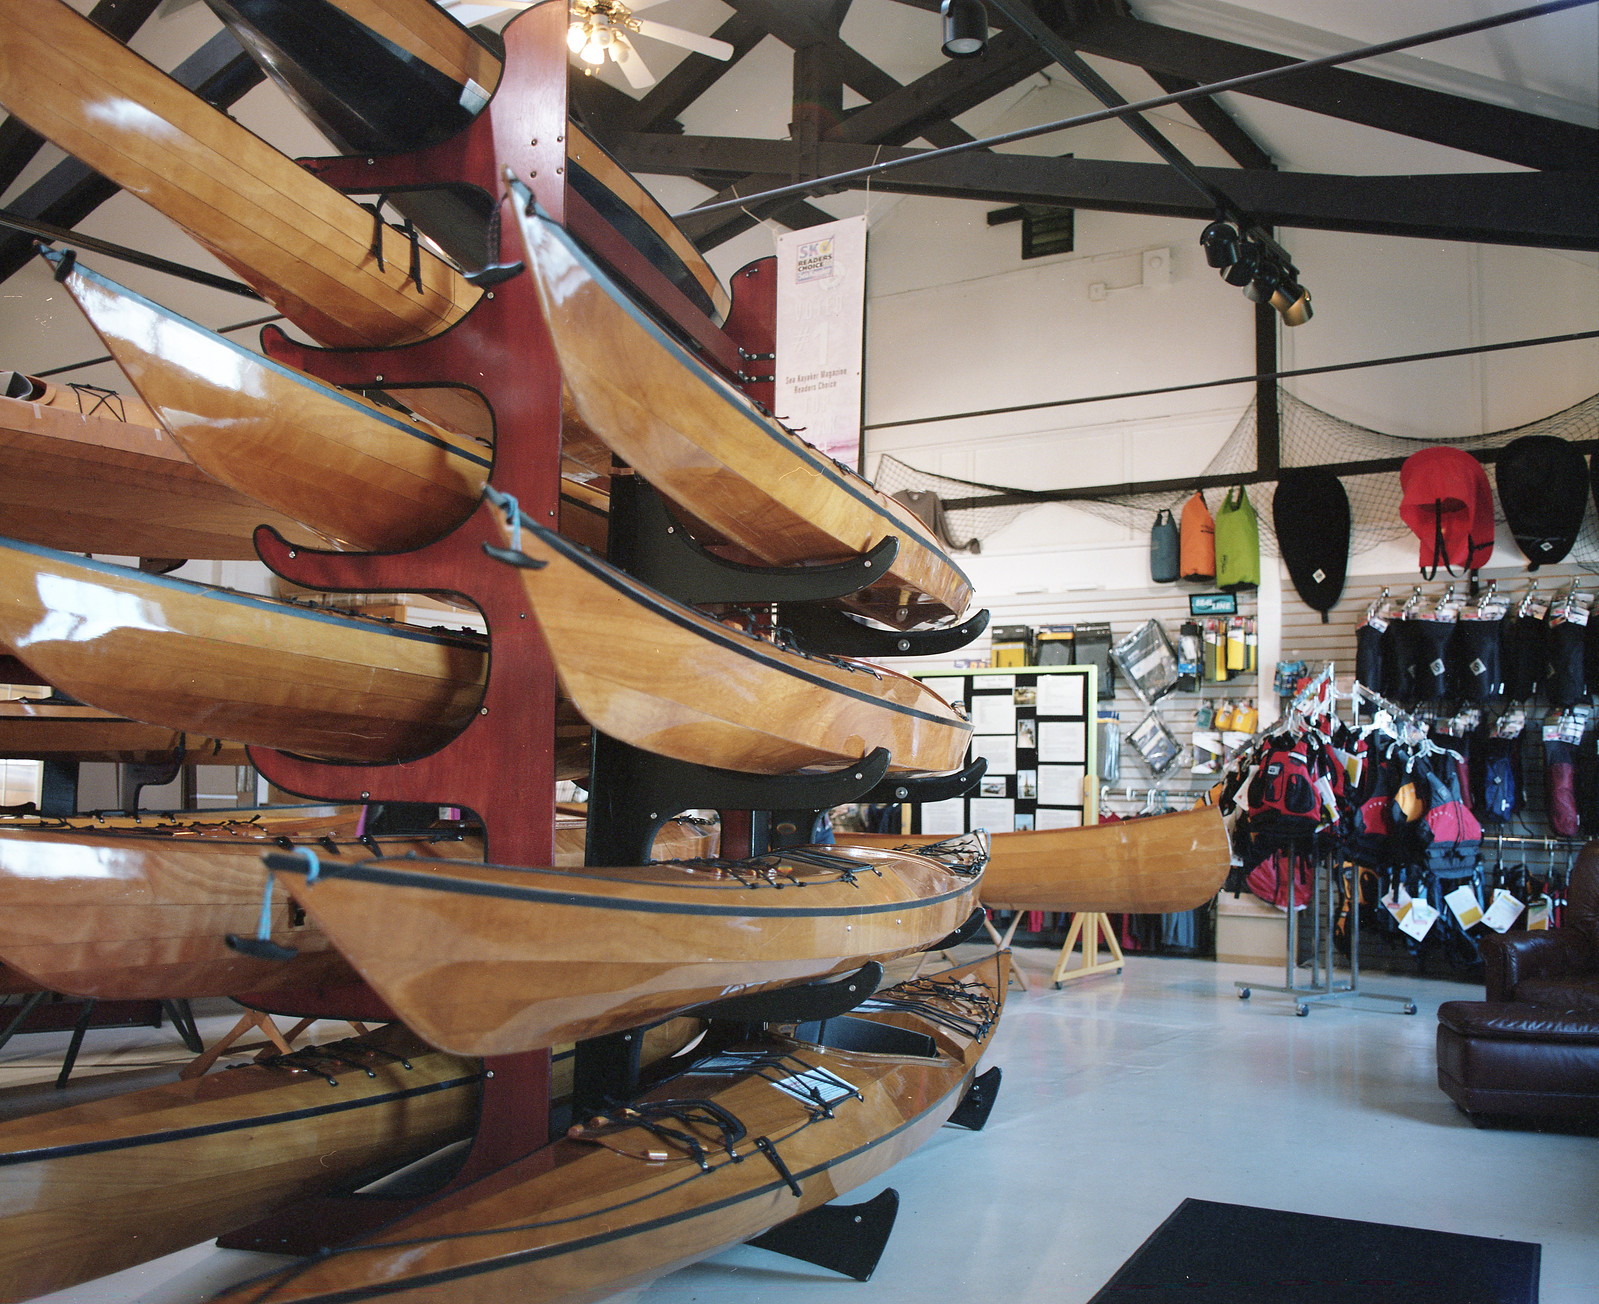
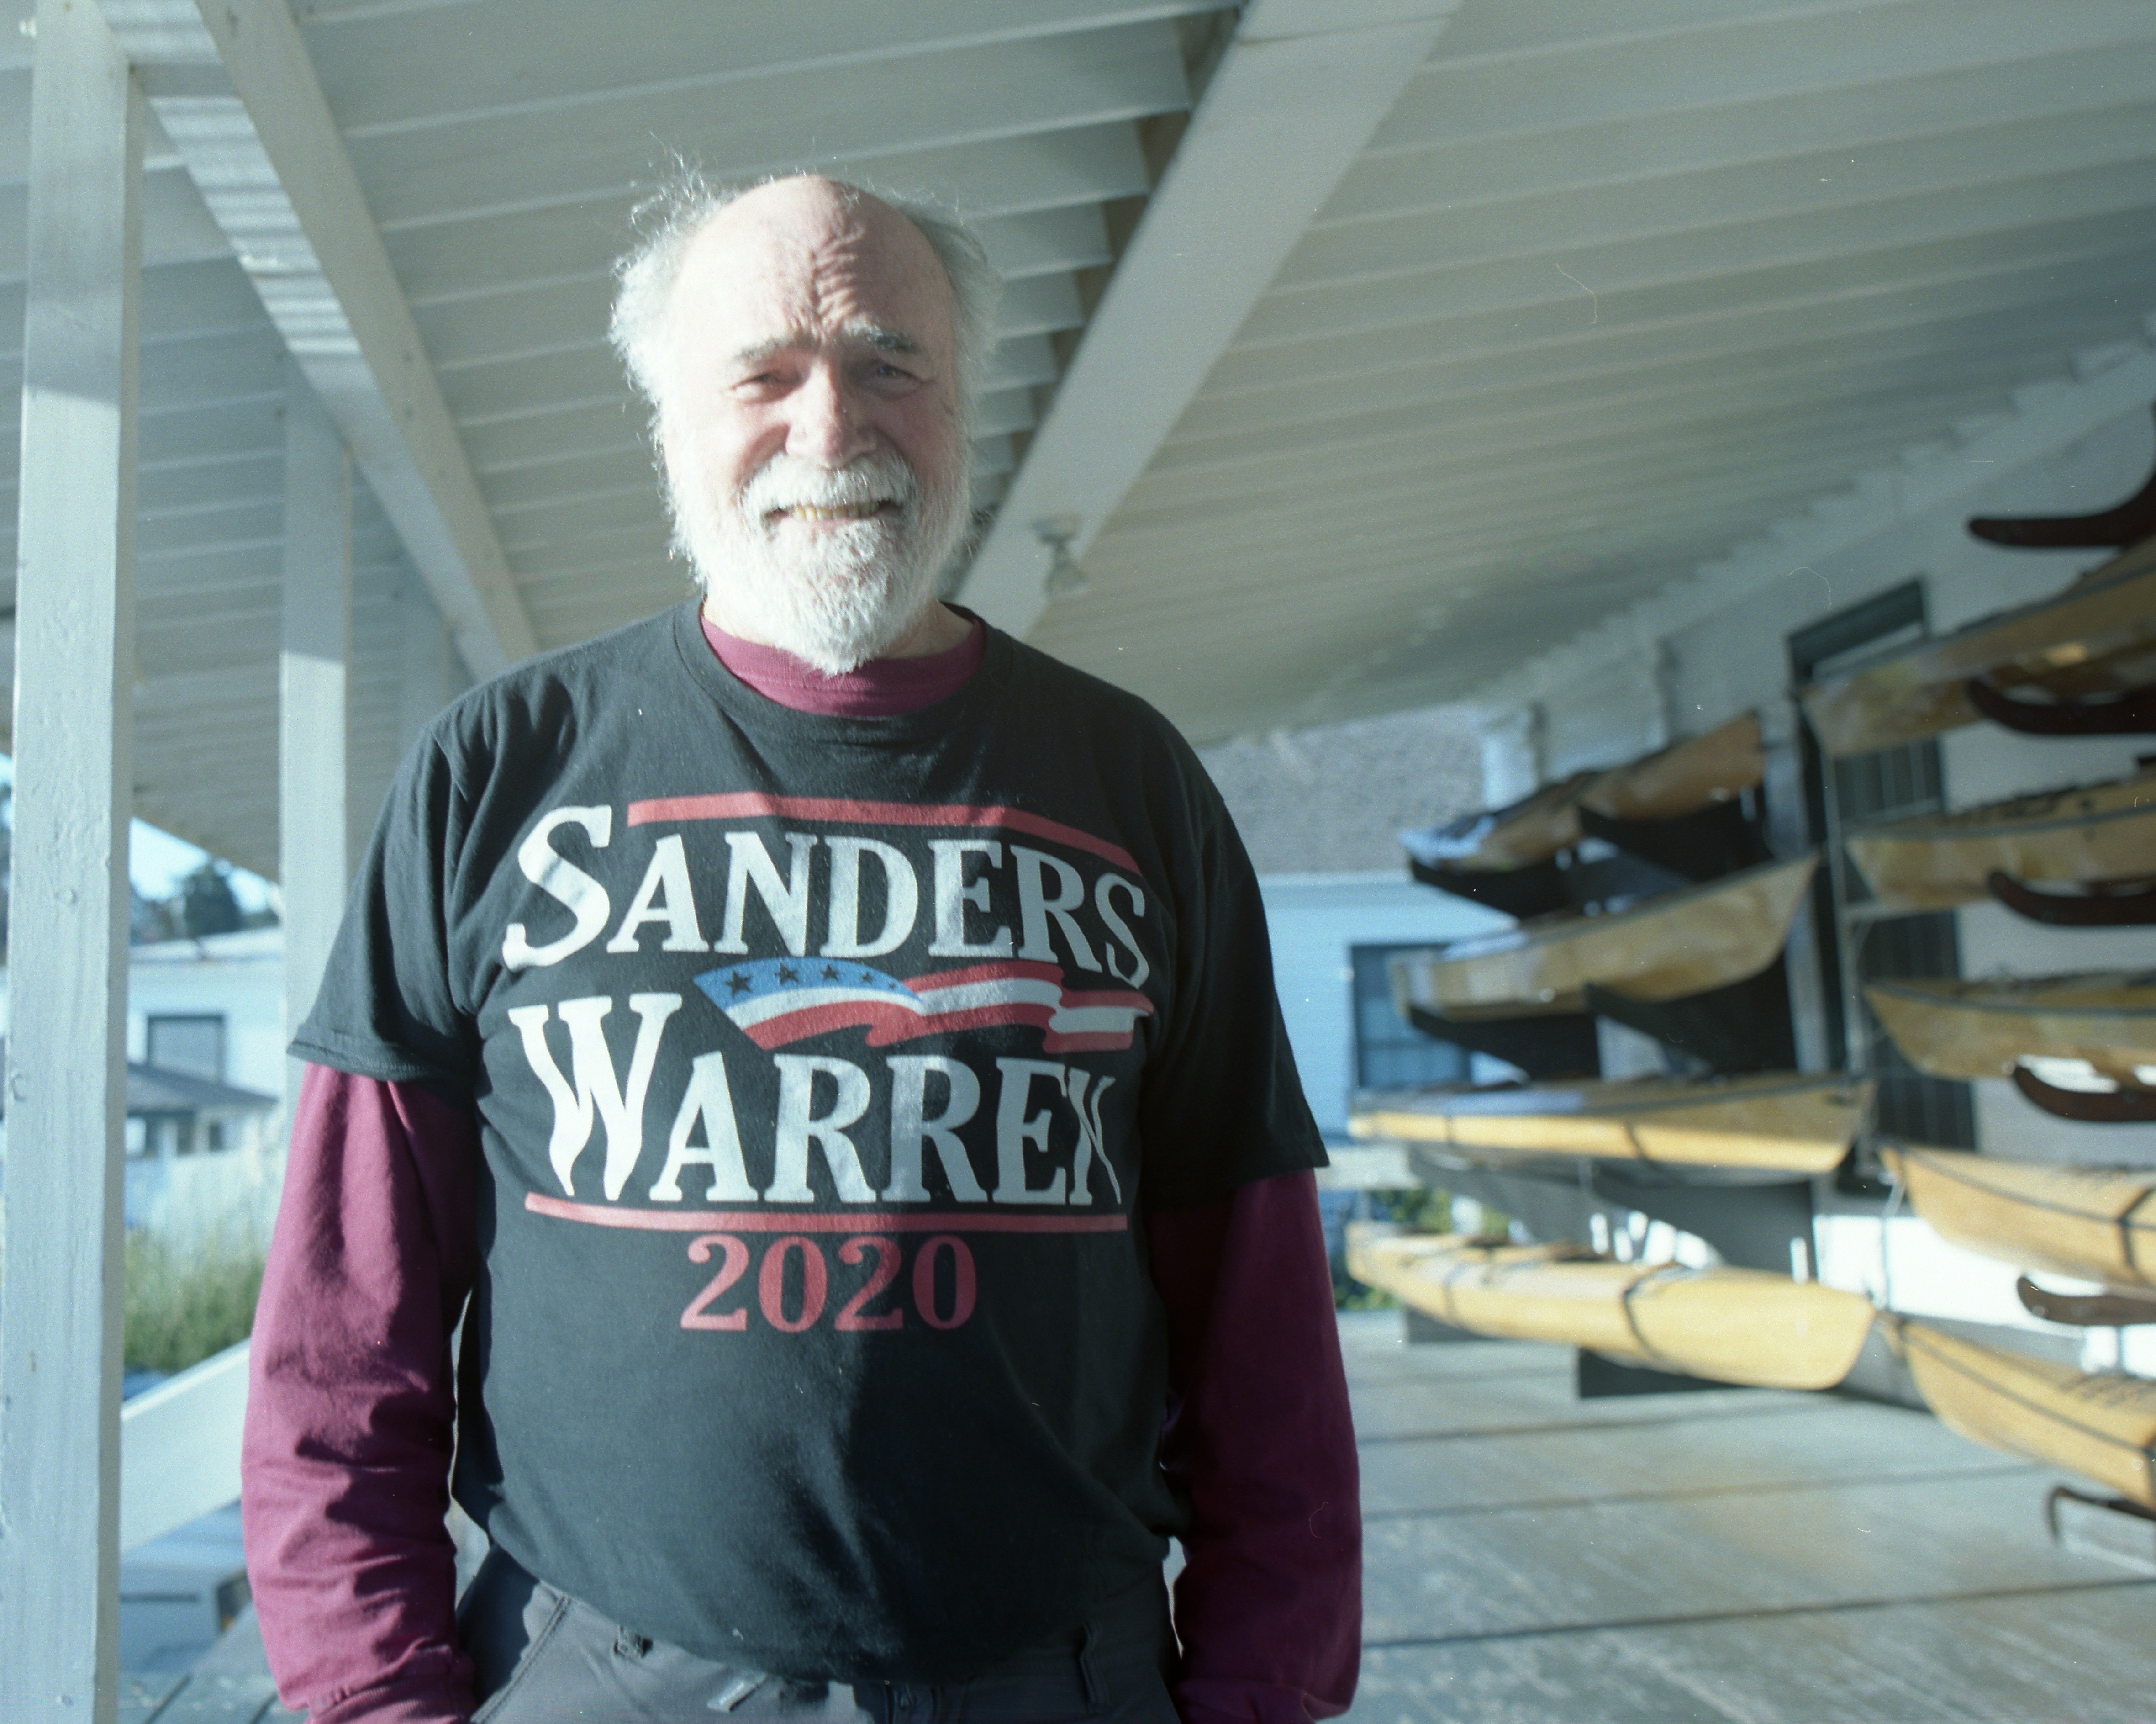
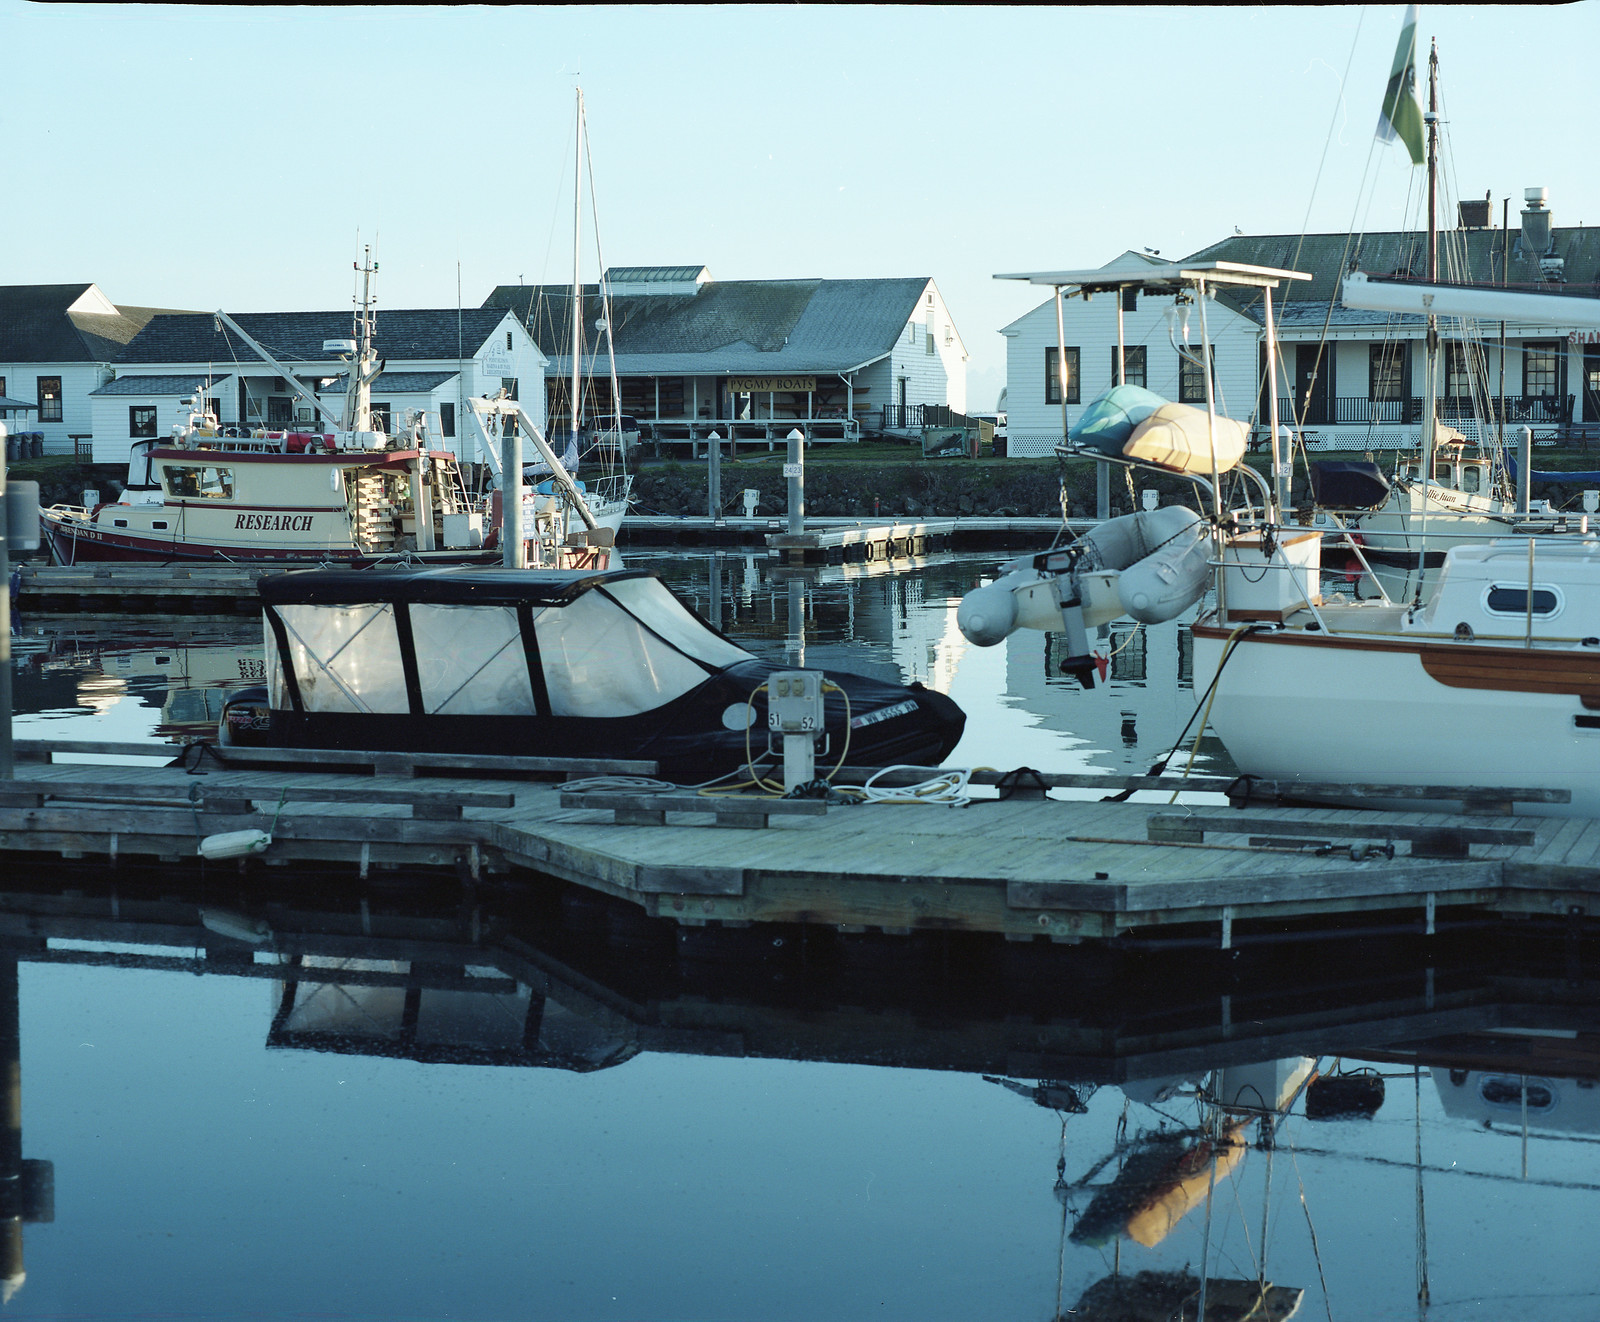
This week my wife and I drove to Port Townsend, Washington, the home of Pygmy Boats. We were there to decide if the original Pygmy Ronan would fit me, and if so, to buy the kit. So started my kayak building adventure.

Mr. John Lockwood. Owner and designer of Pygmy Boats.