Gluing the deck to the hull.

Major milestone. Gluing the deck to the hull! The kayak will be one piece by the end of the day.

Deck taped and wired (where necessary) to the hull and ready for epoxy.
Inside of the kayak looking forward. Shear seam on the hull and deck, and the bow and stern ends are sanded so that when the seams are epoxied and taped with fiberglass, and the end pours are done the epoxy will bond well.
Inside of kayak looking aft.
Shear seam glued. I will come back with epoxy thickened with wood flour and fill the low spots and places where tape is in the way.

Deck construction.

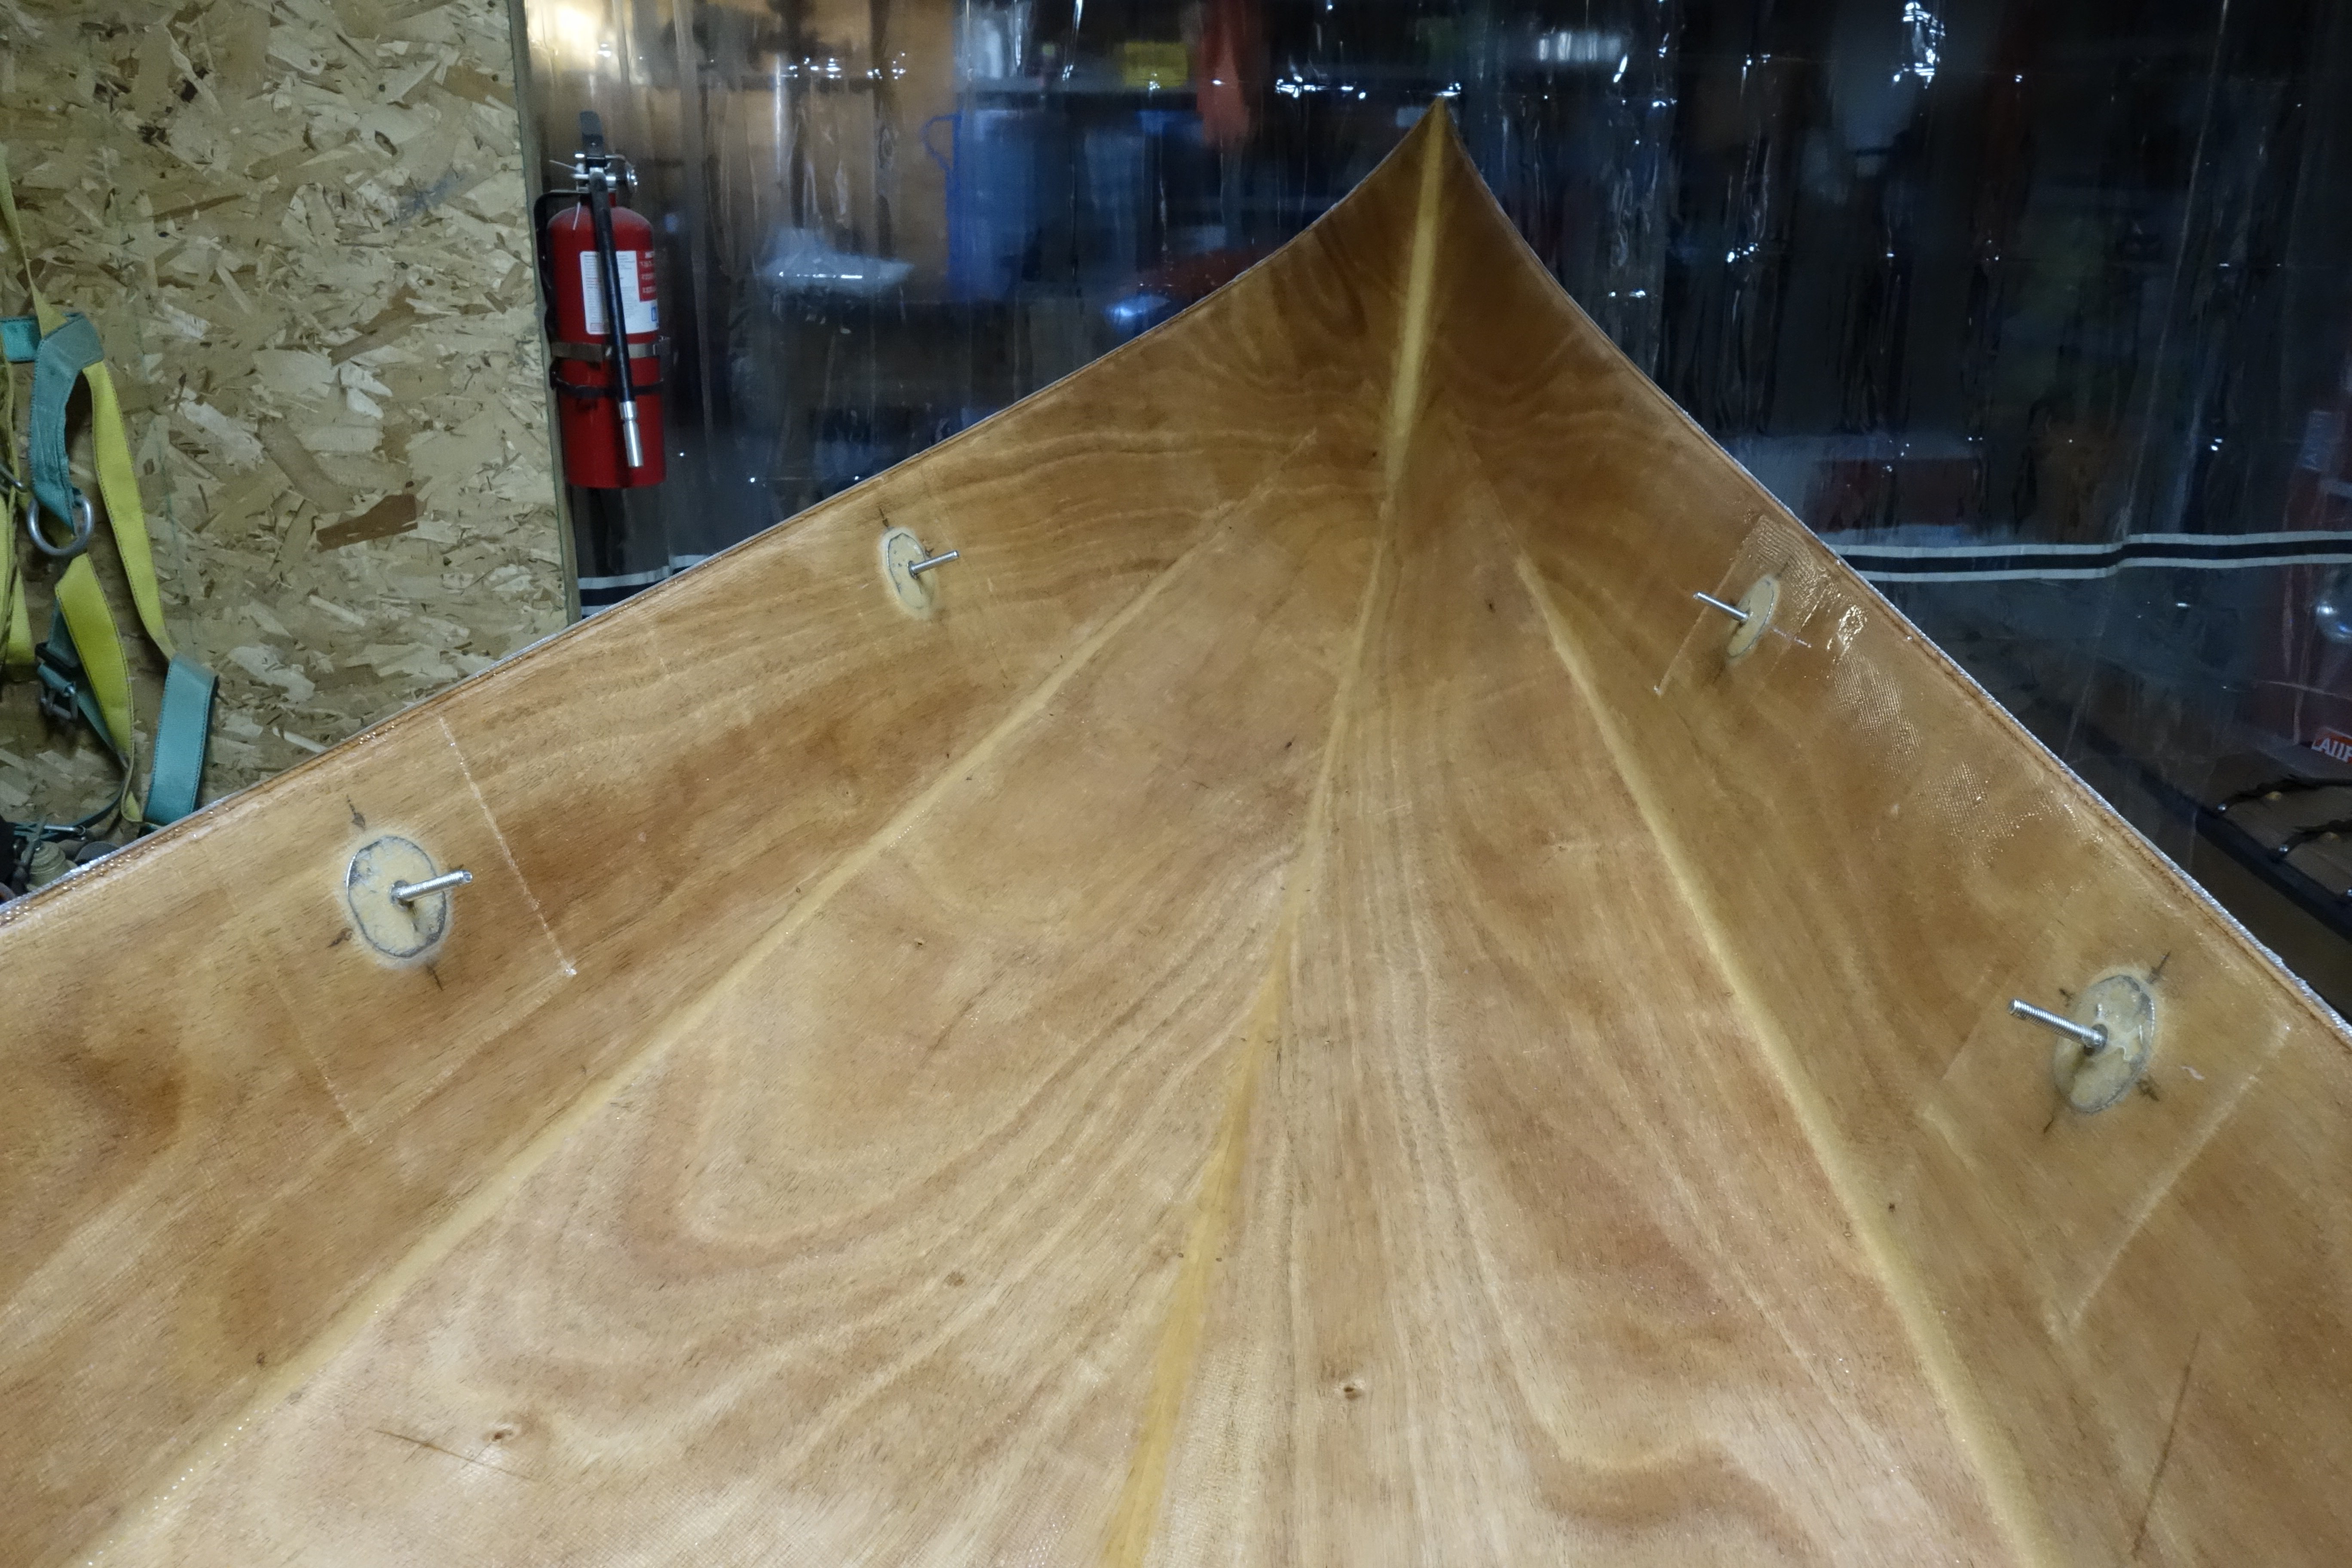
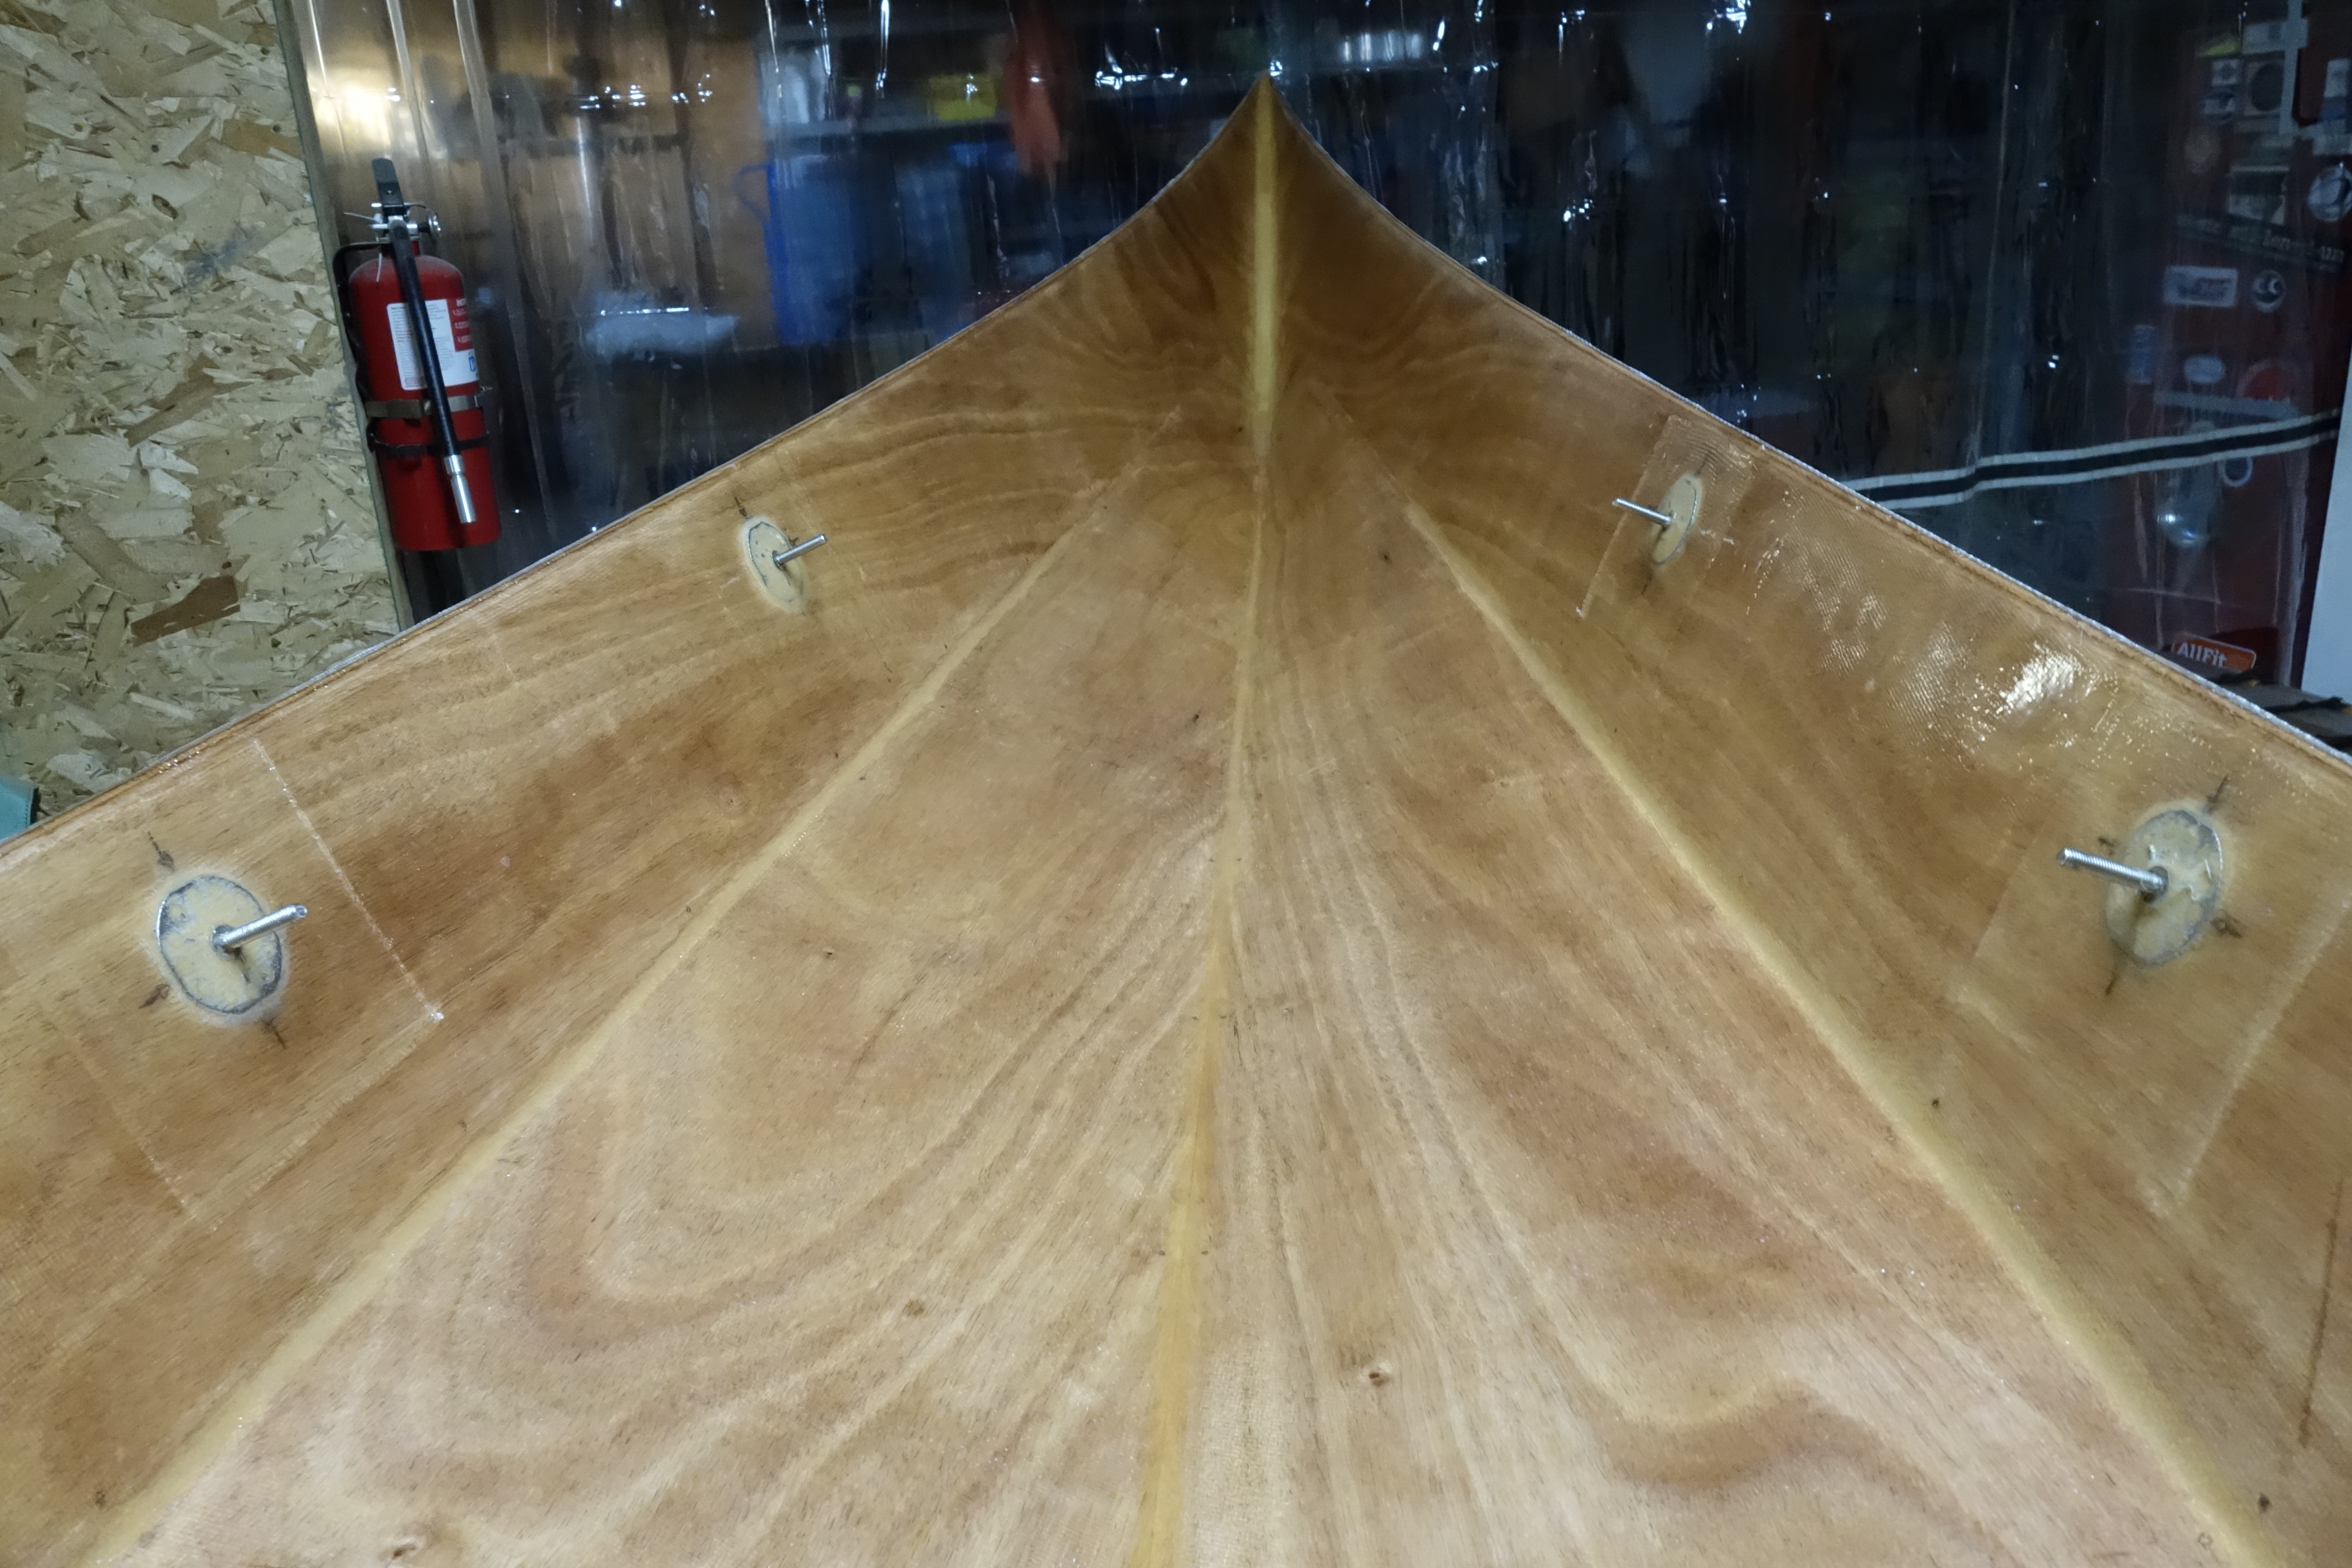
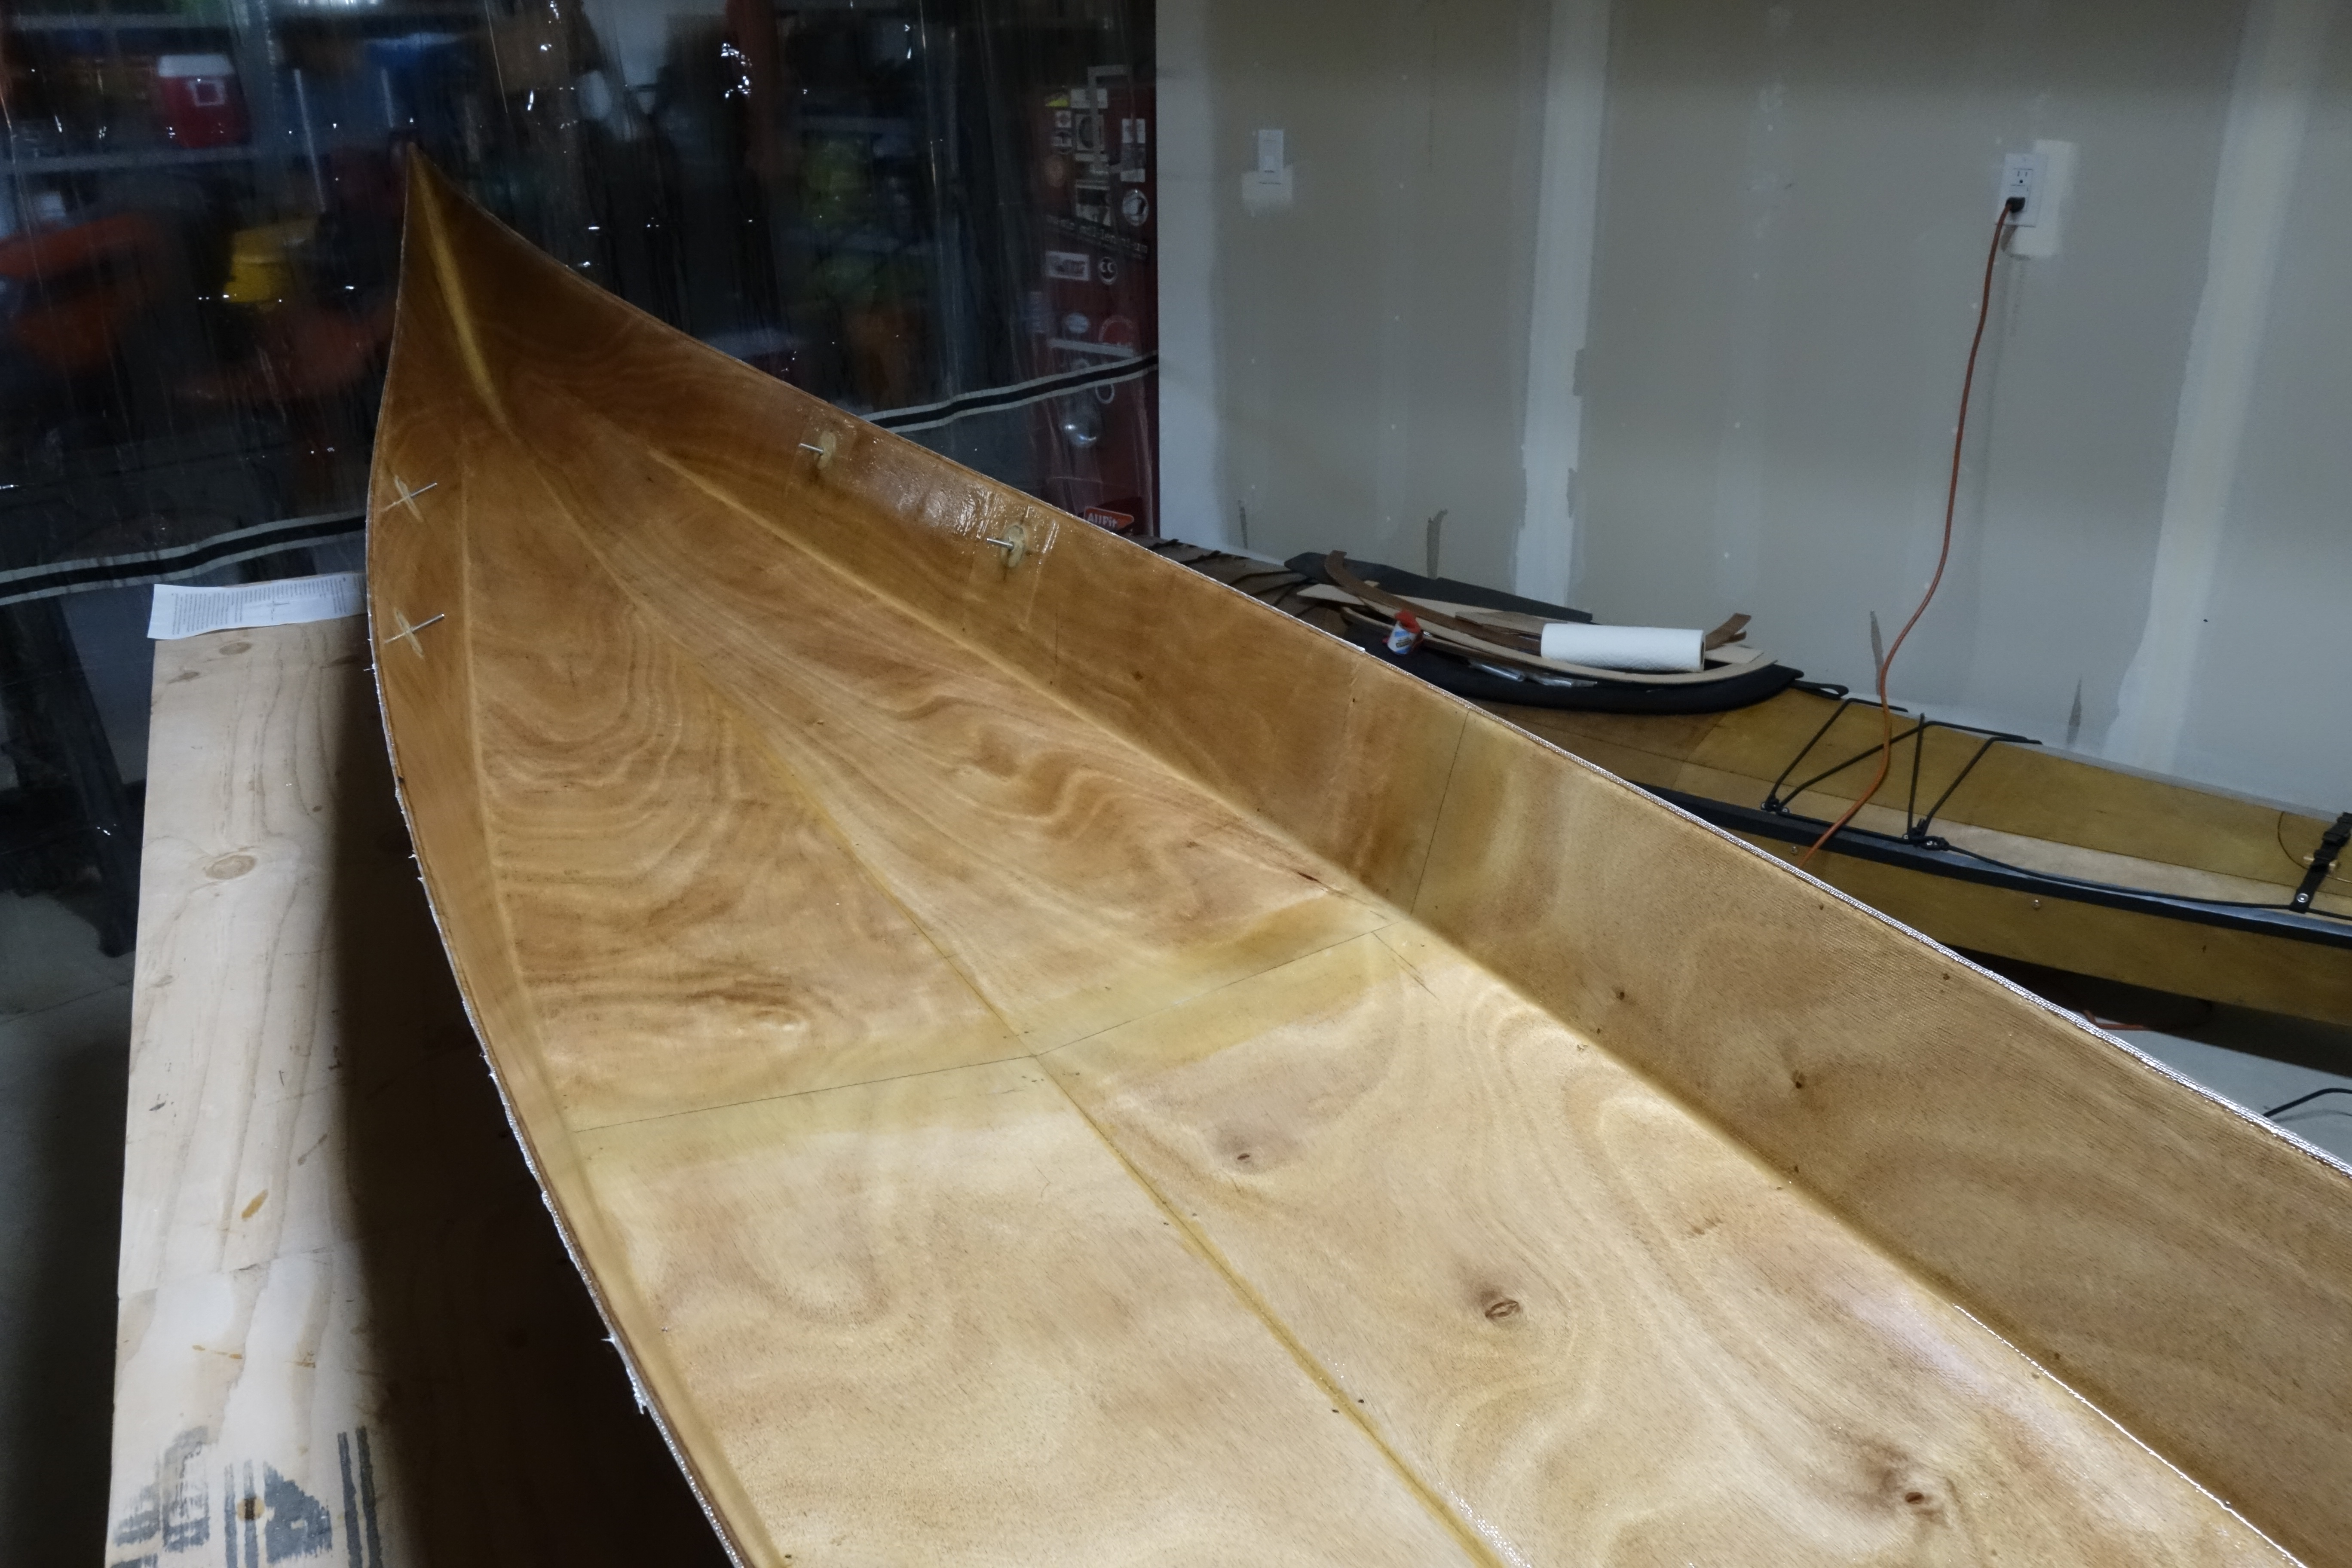
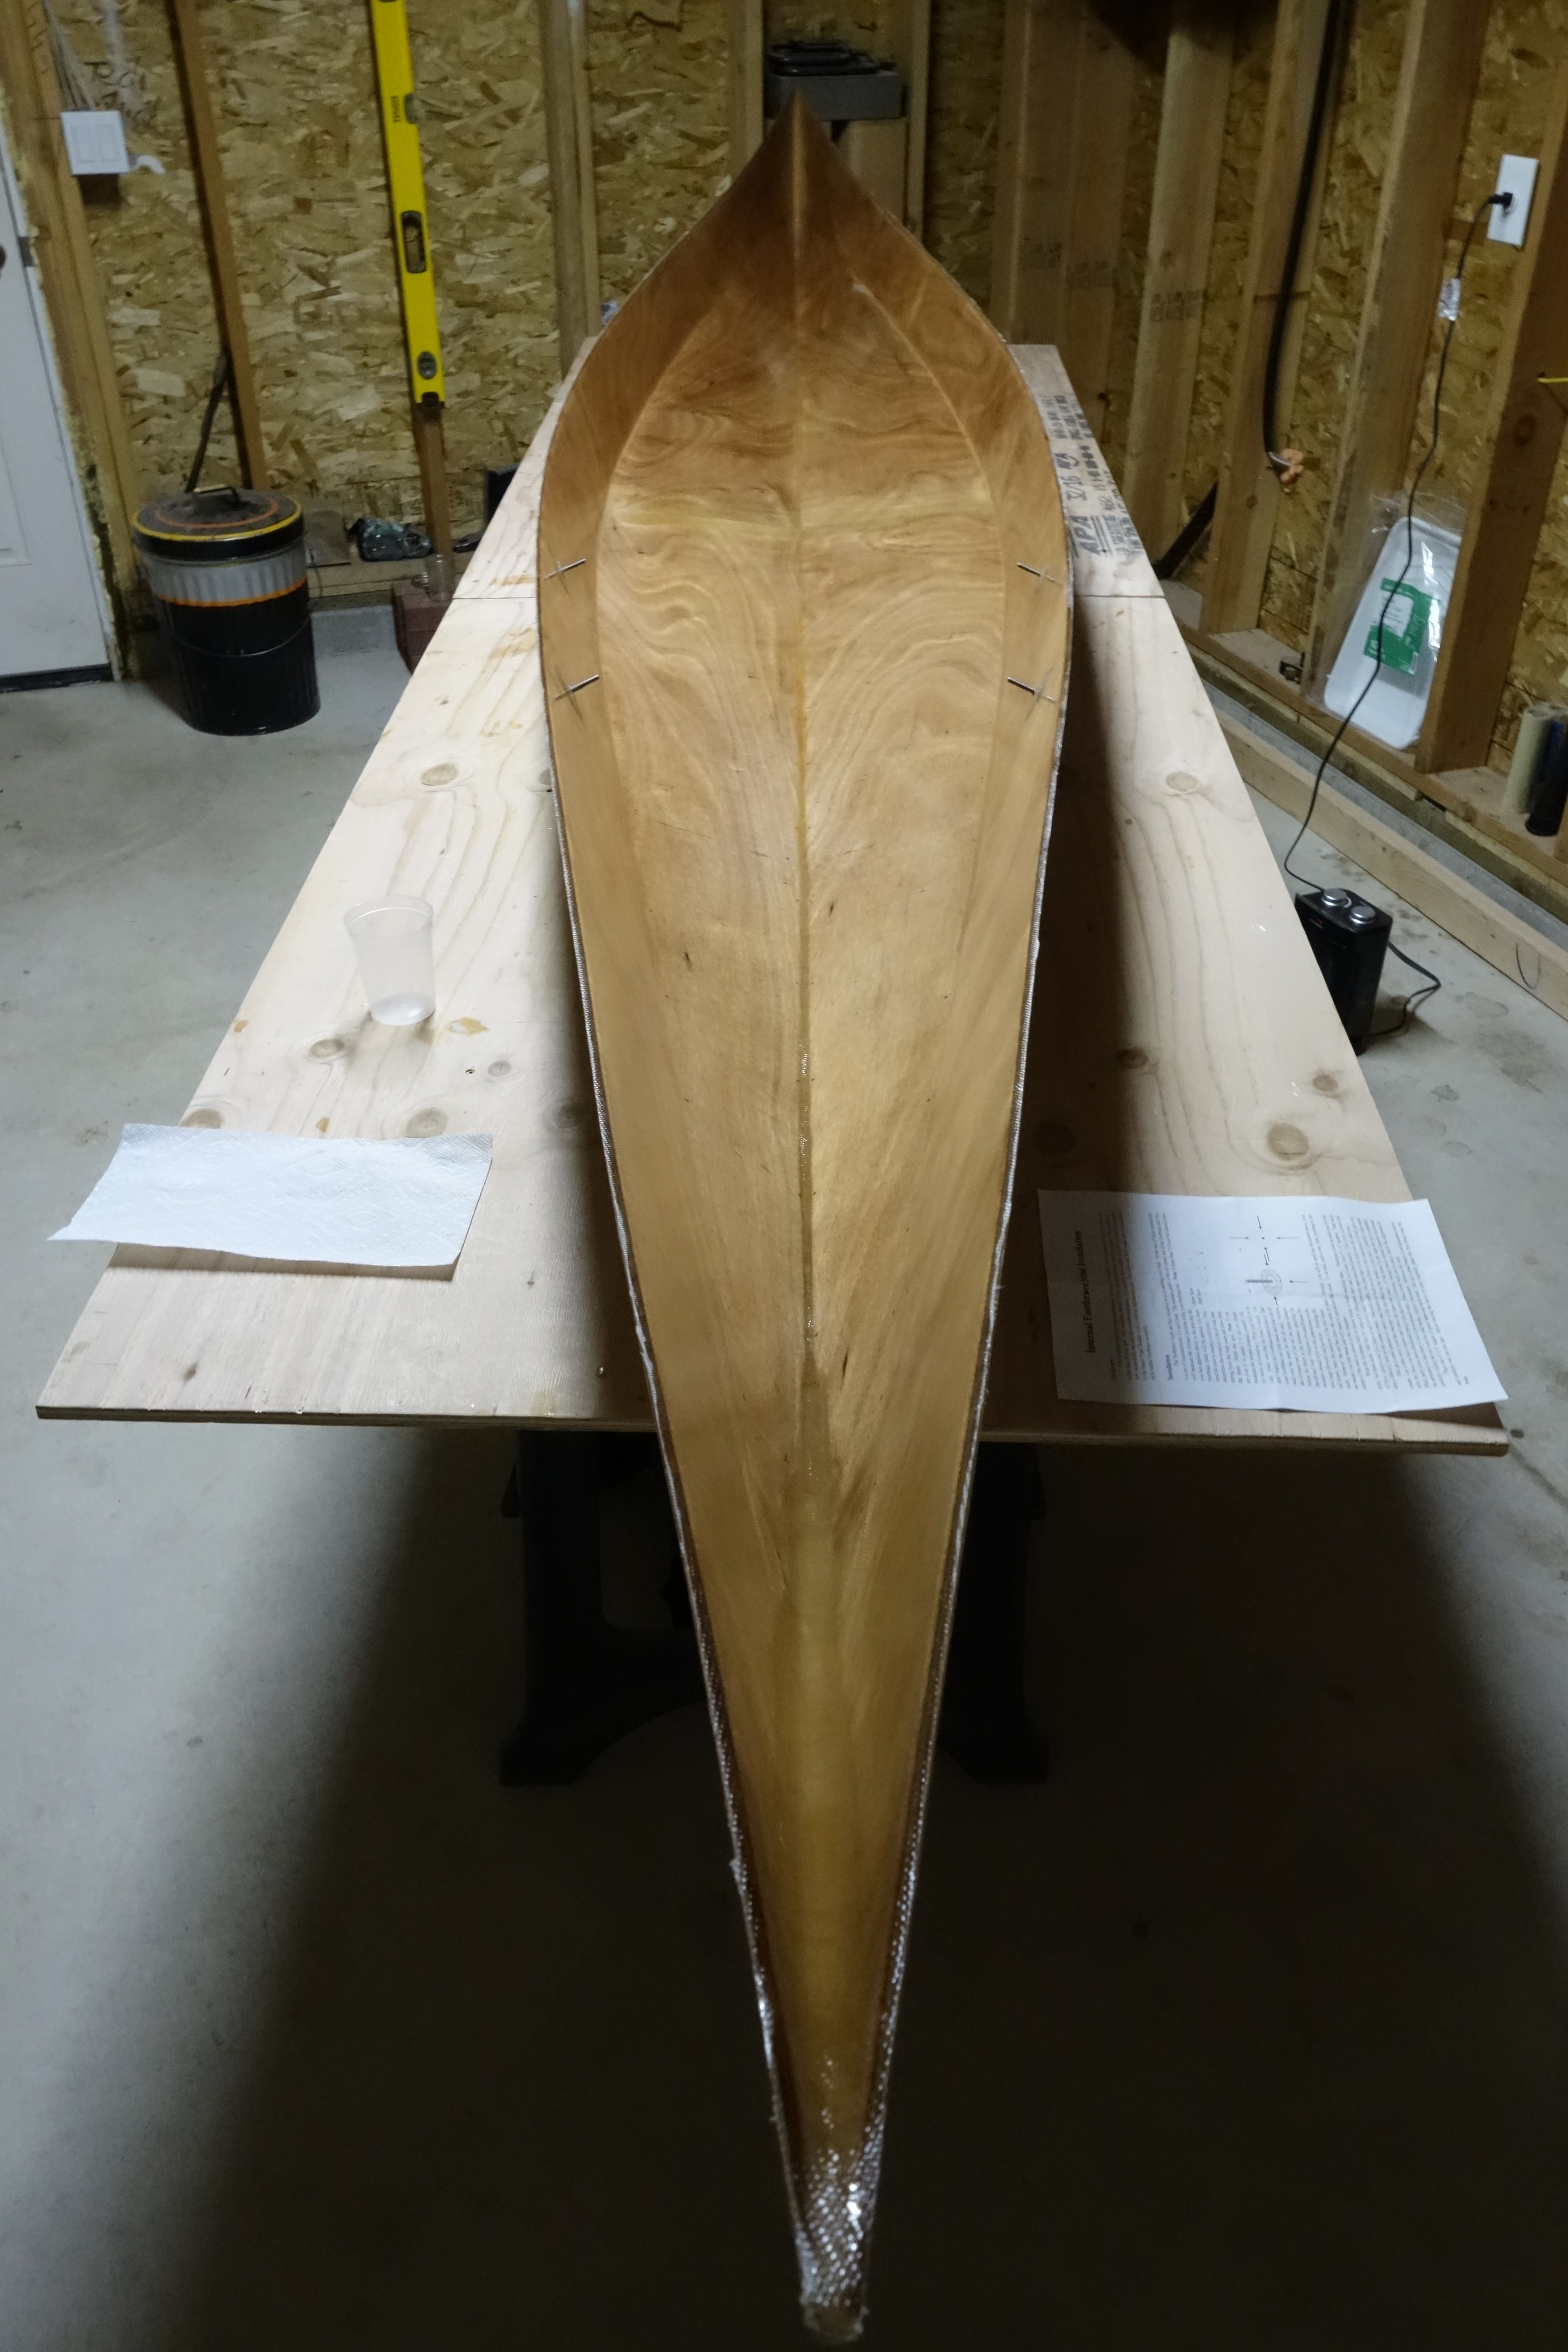
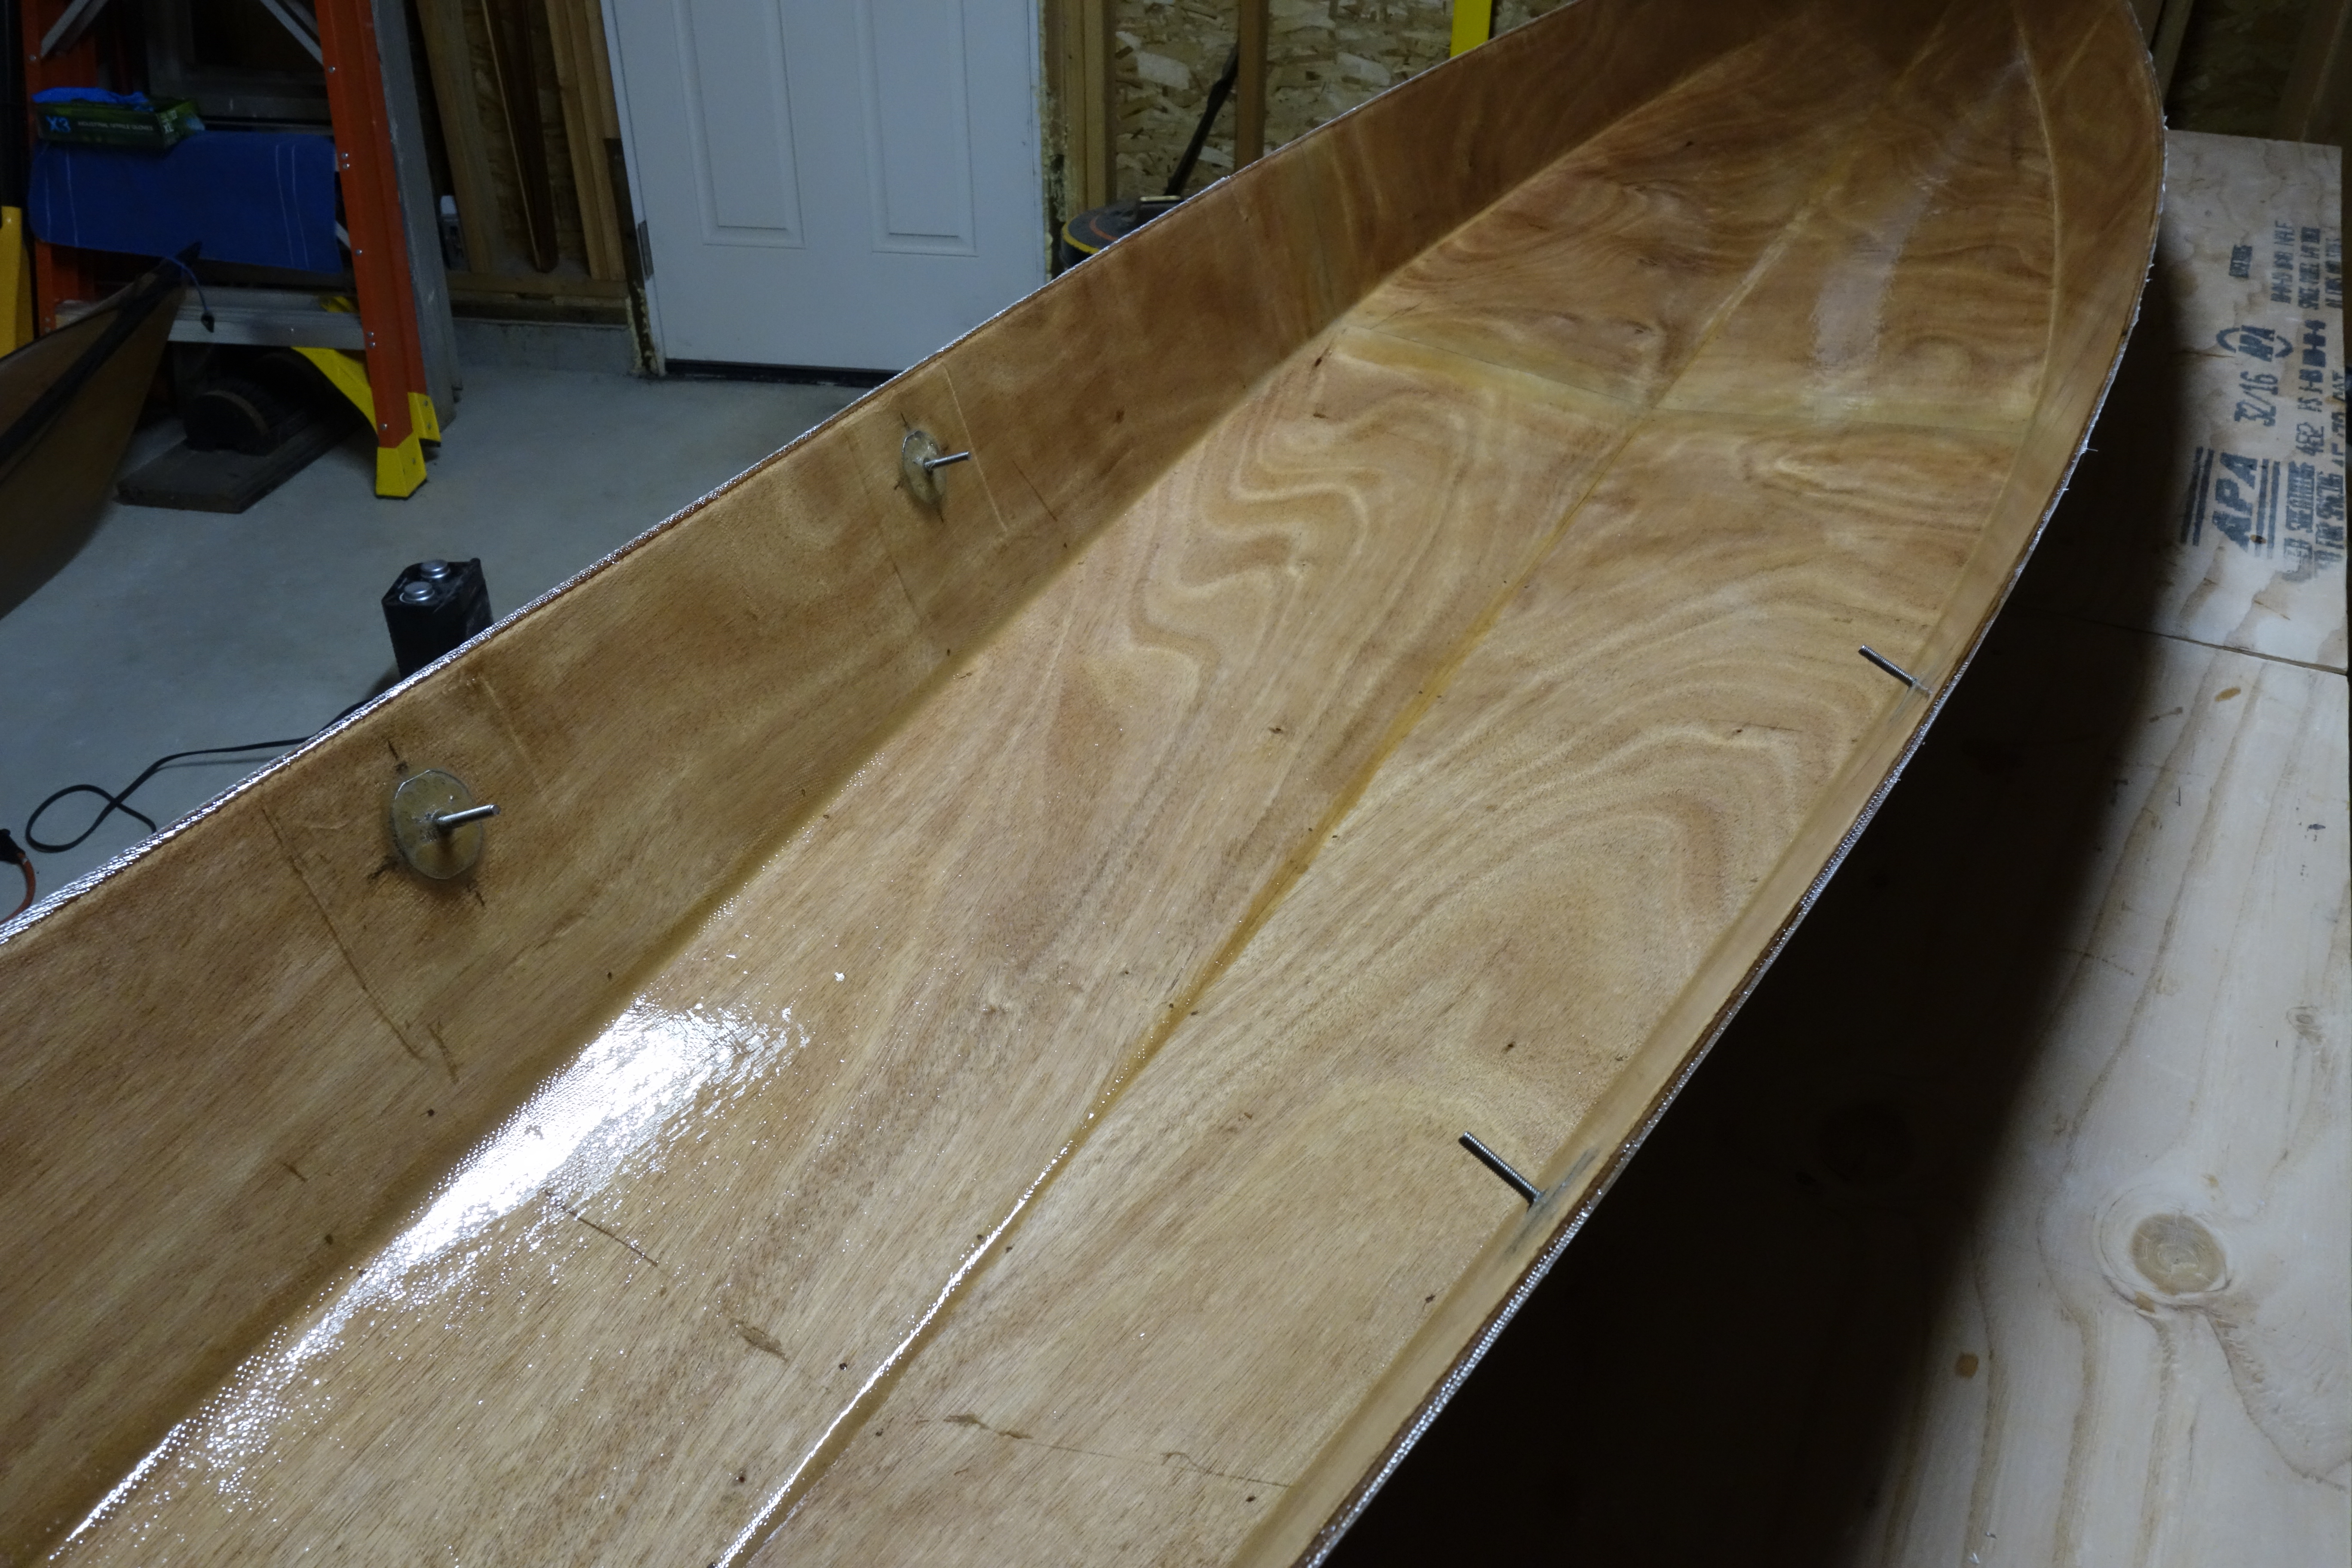
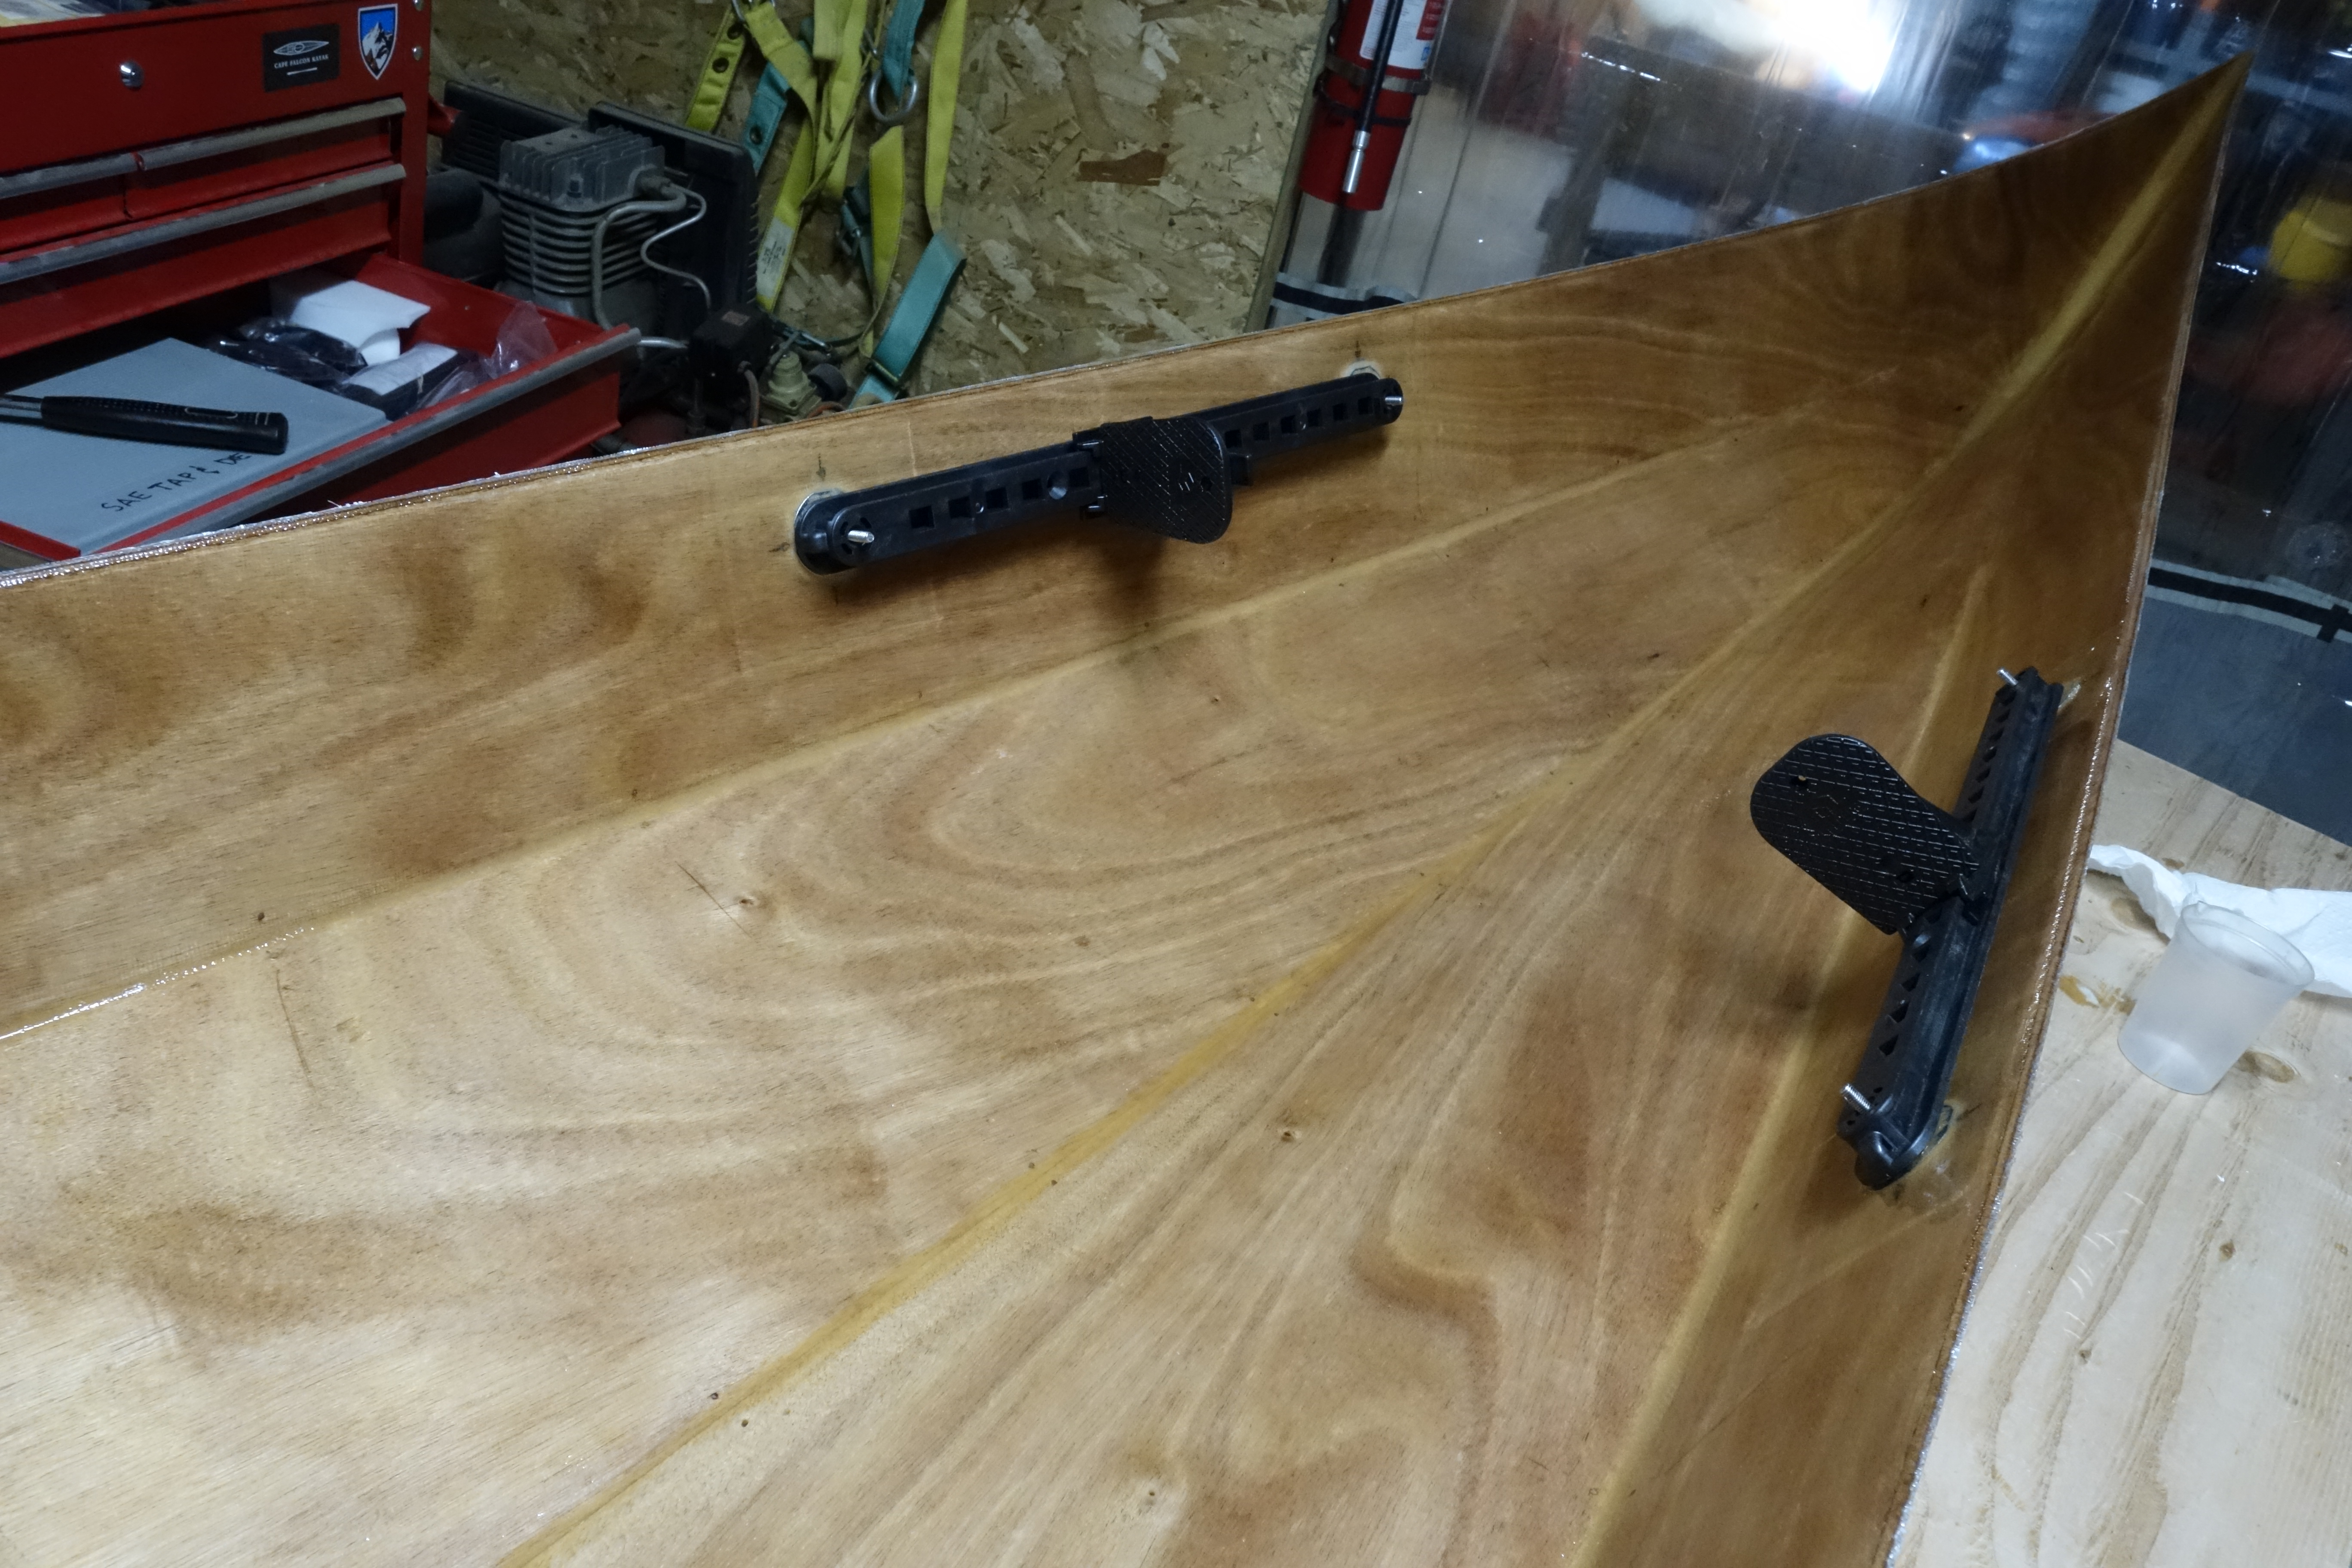
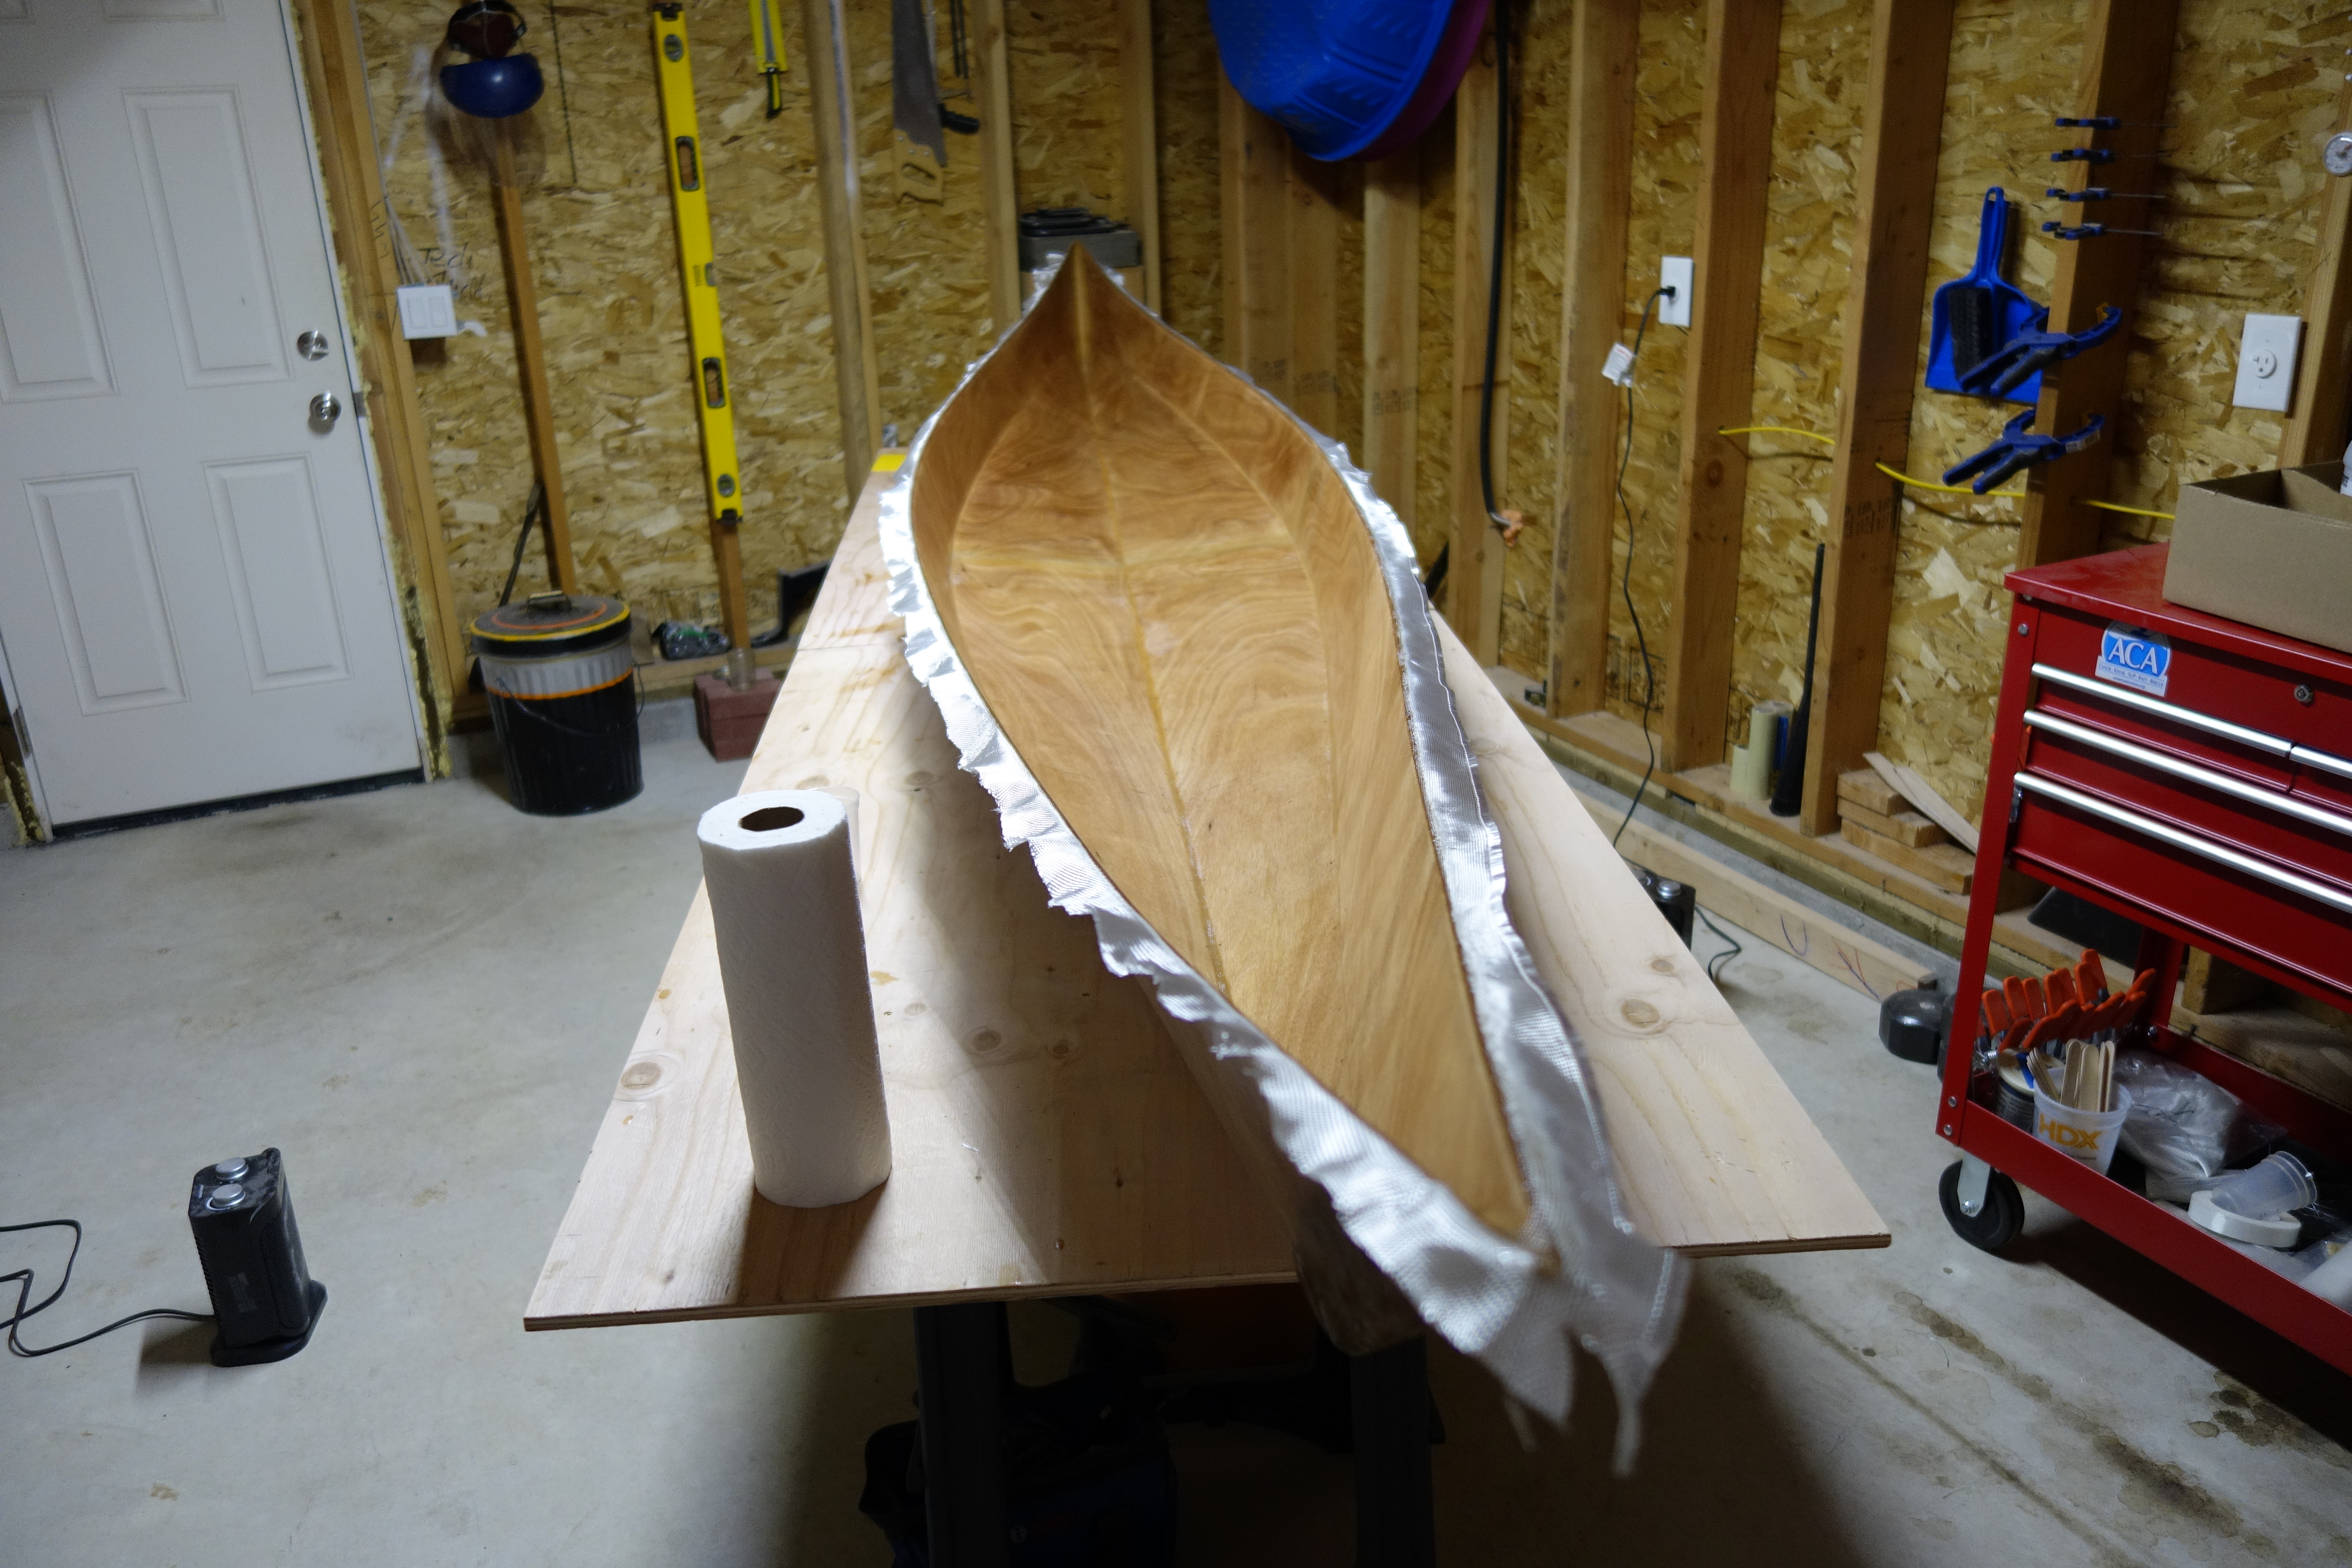
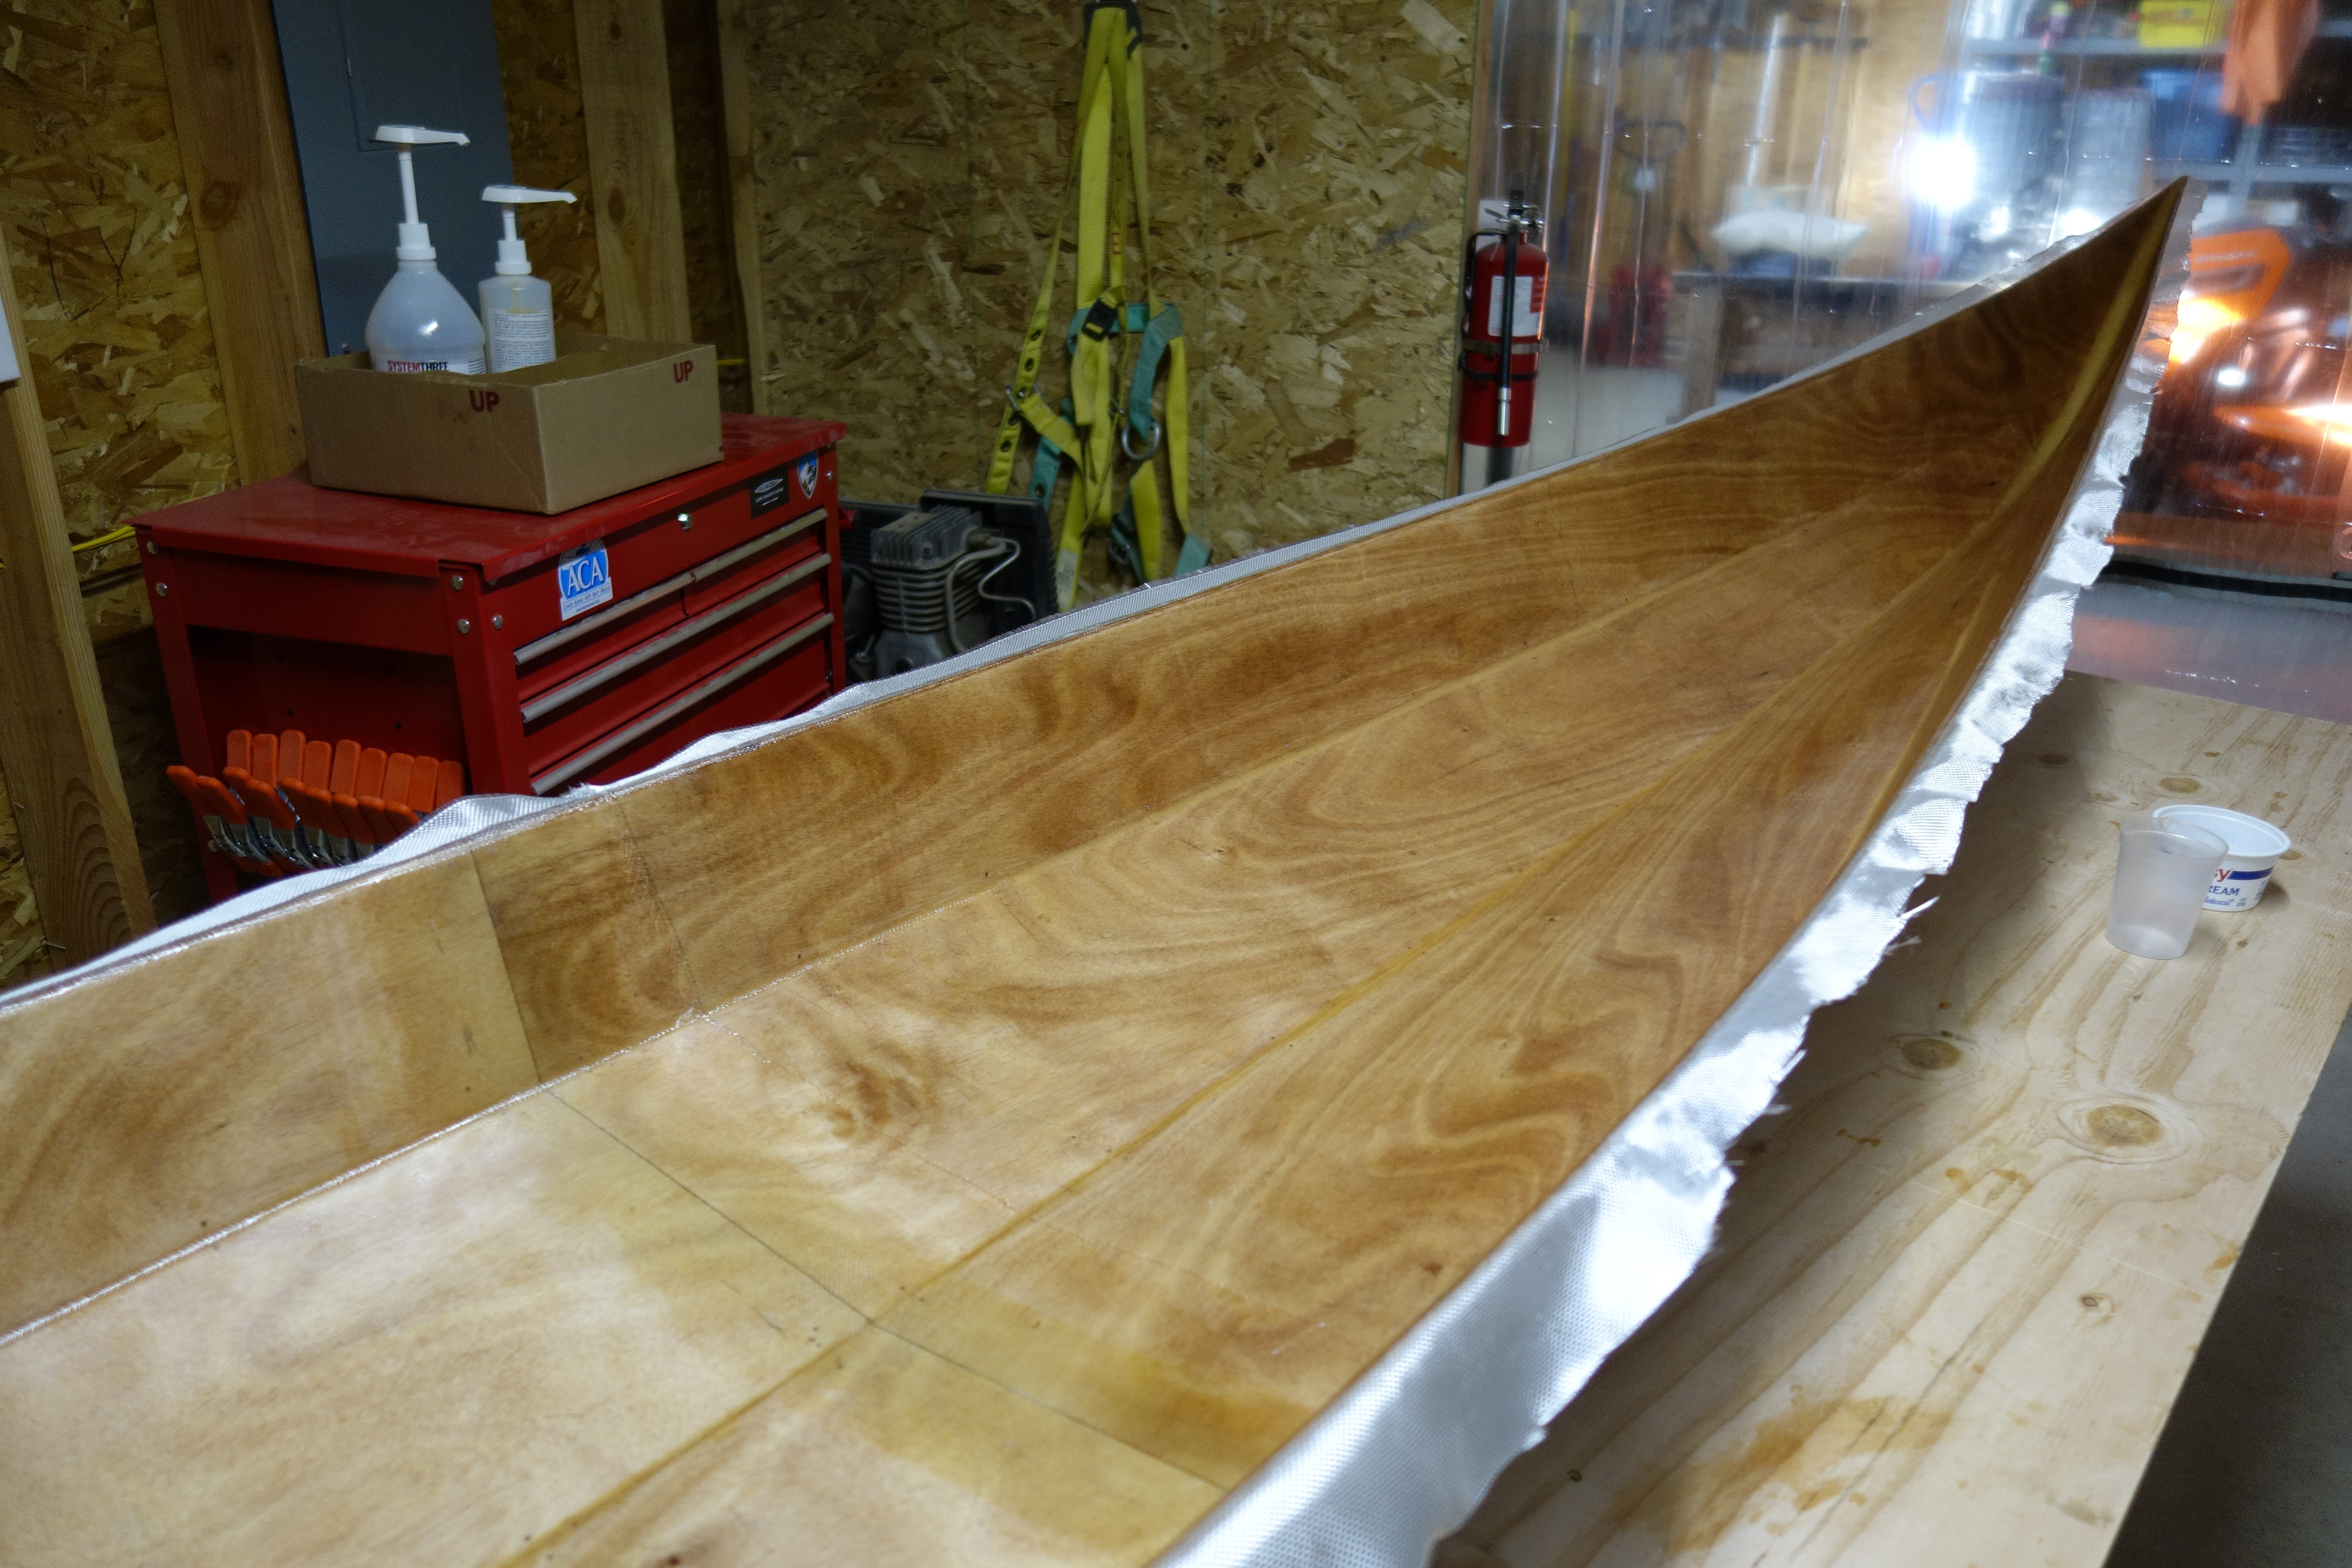
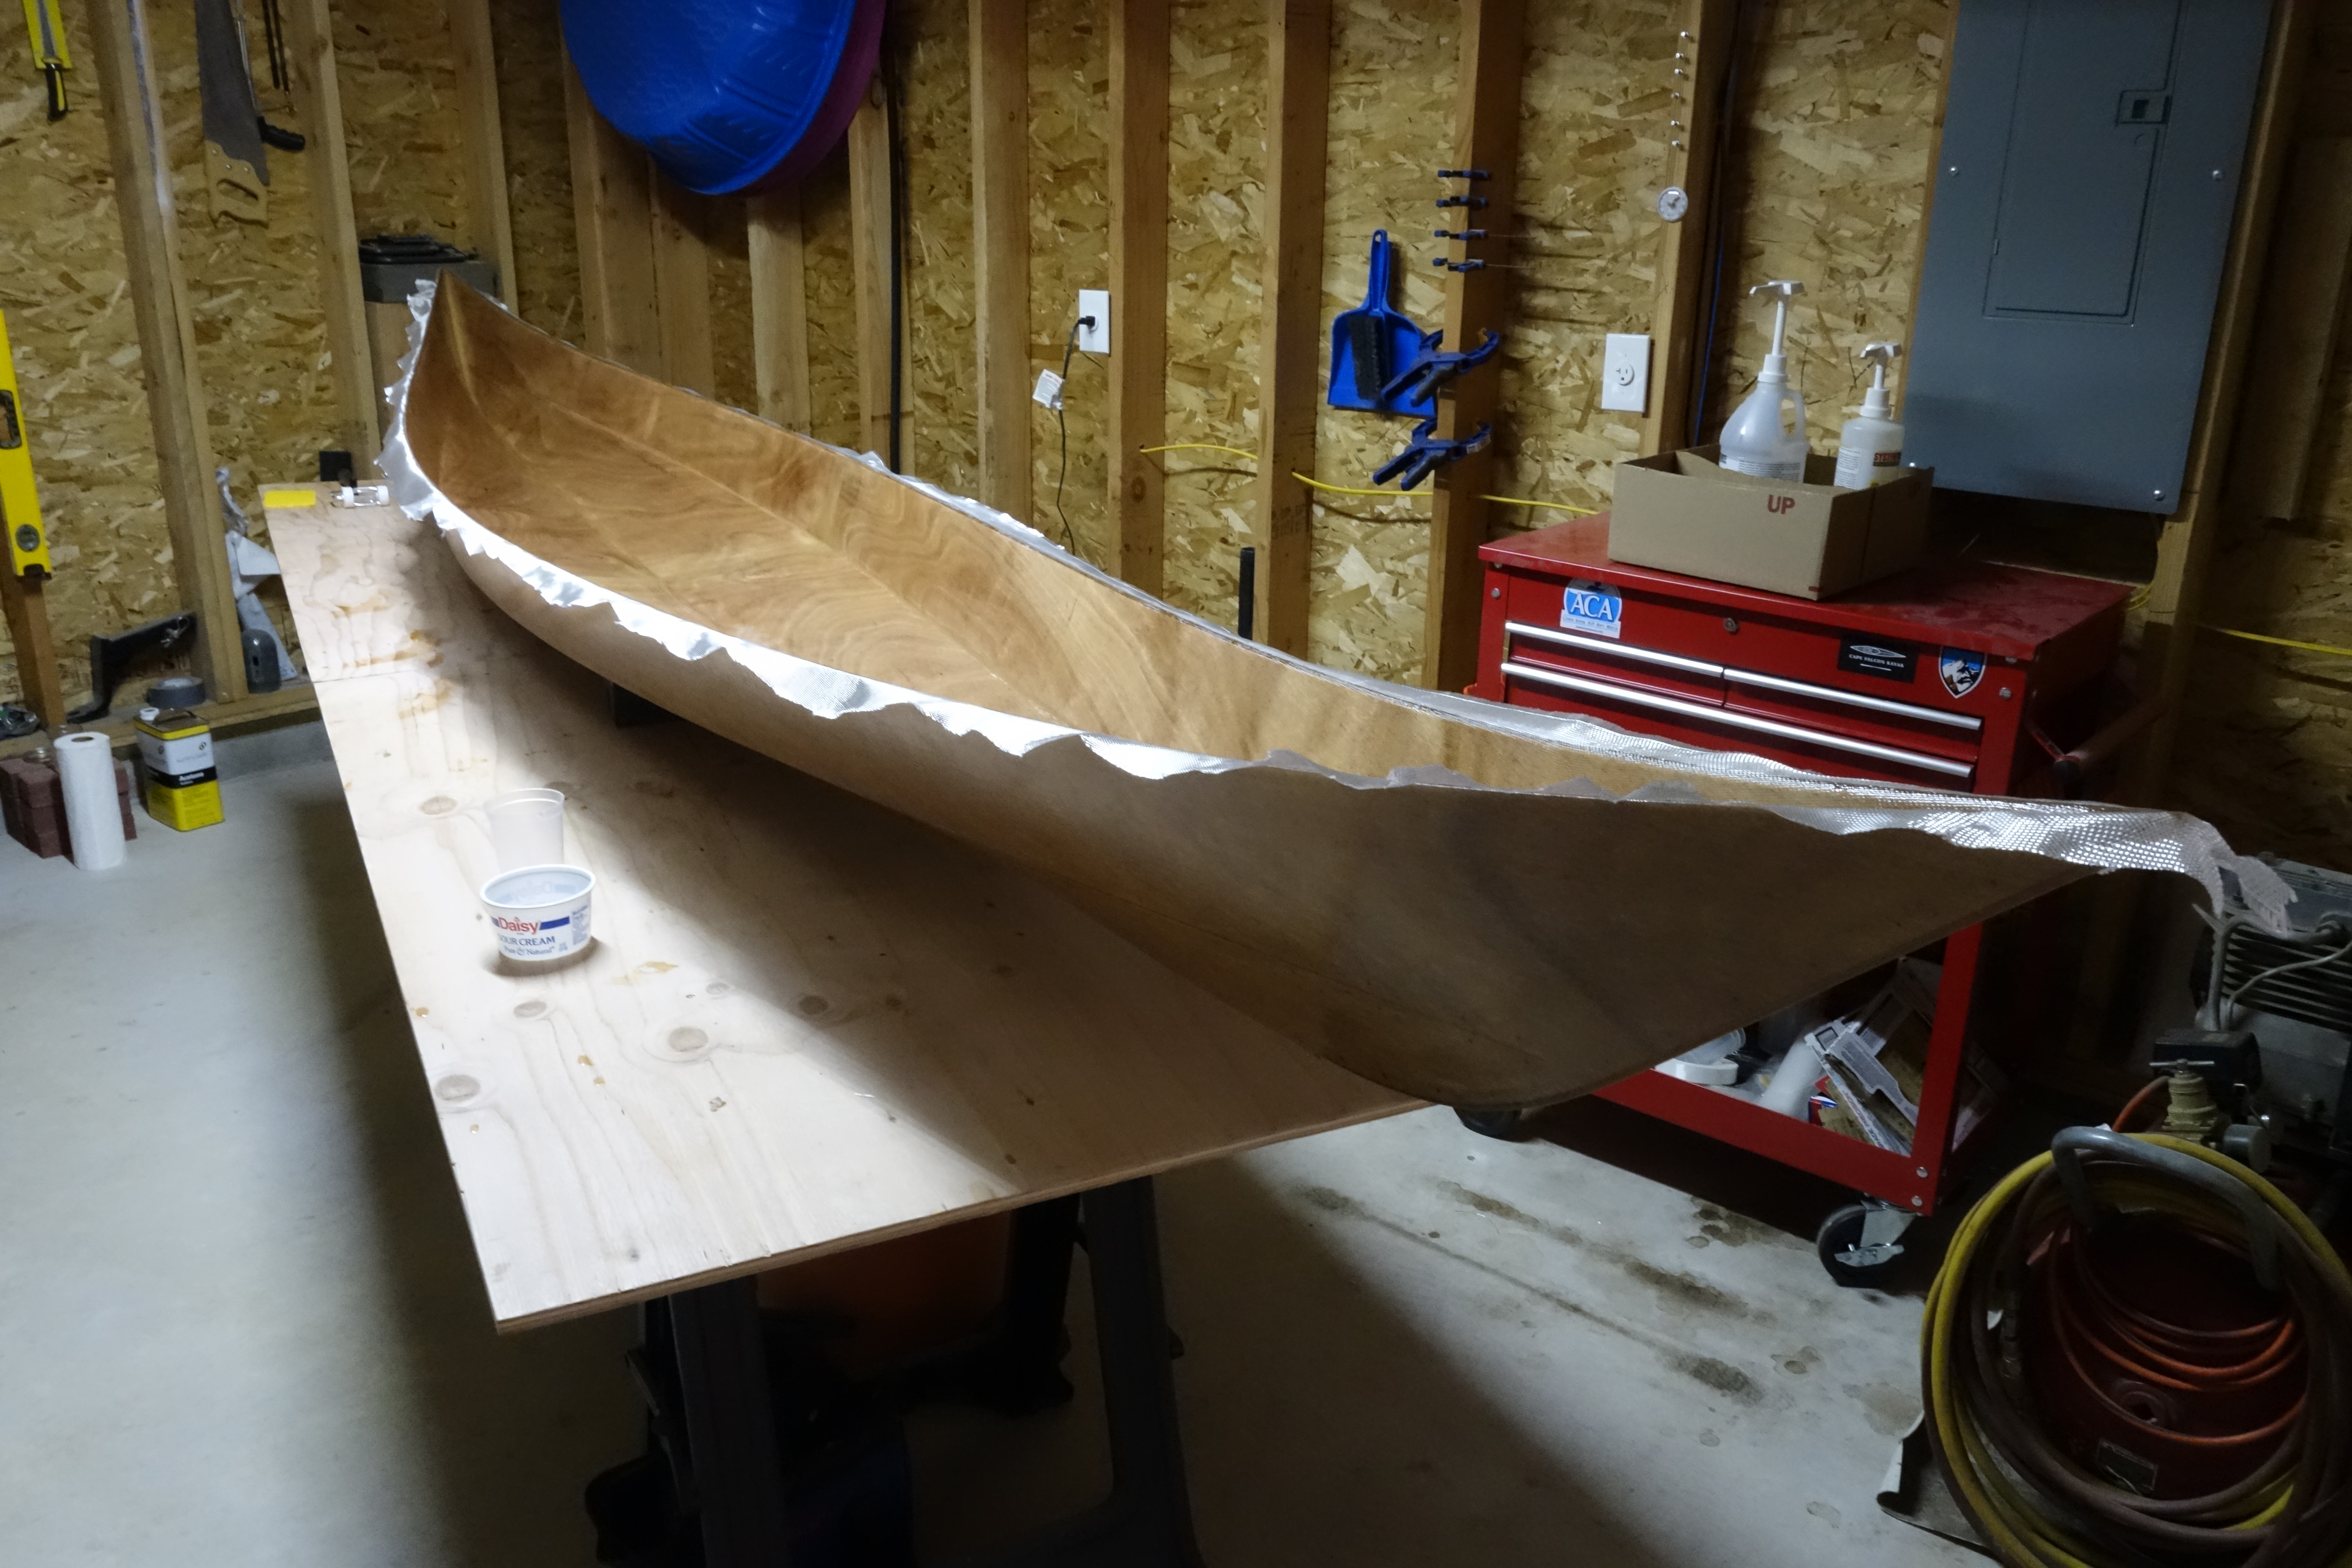
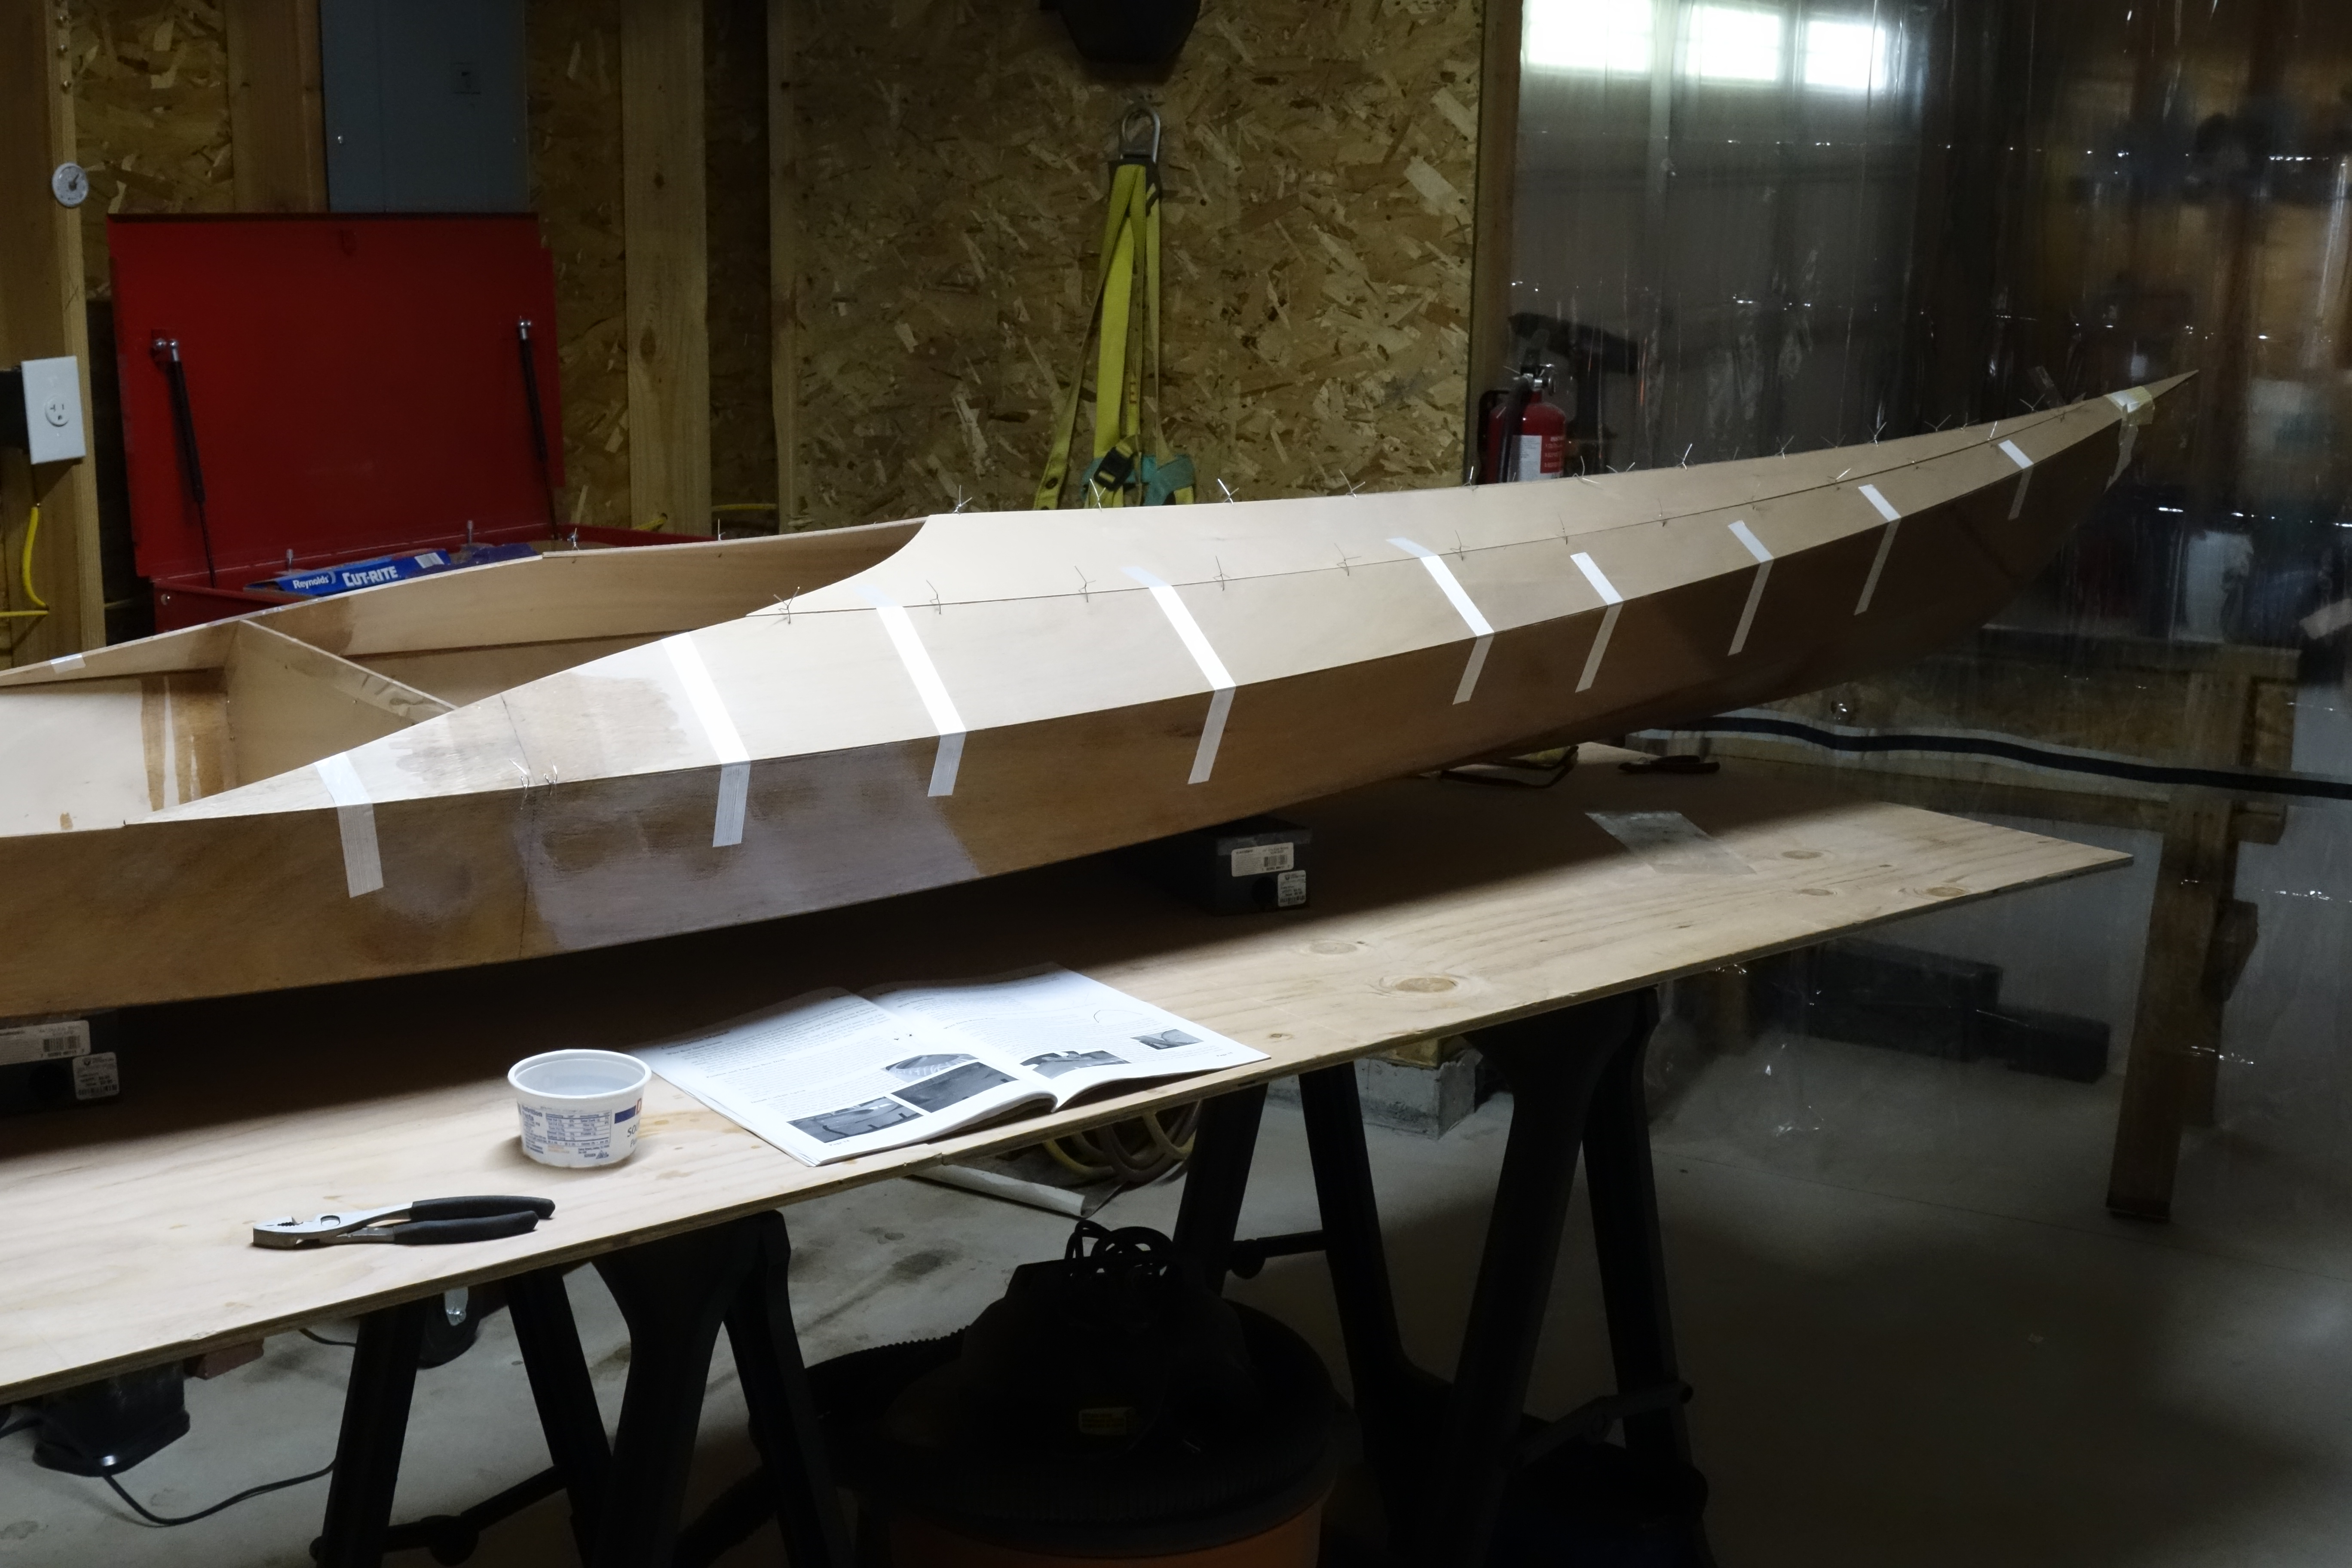
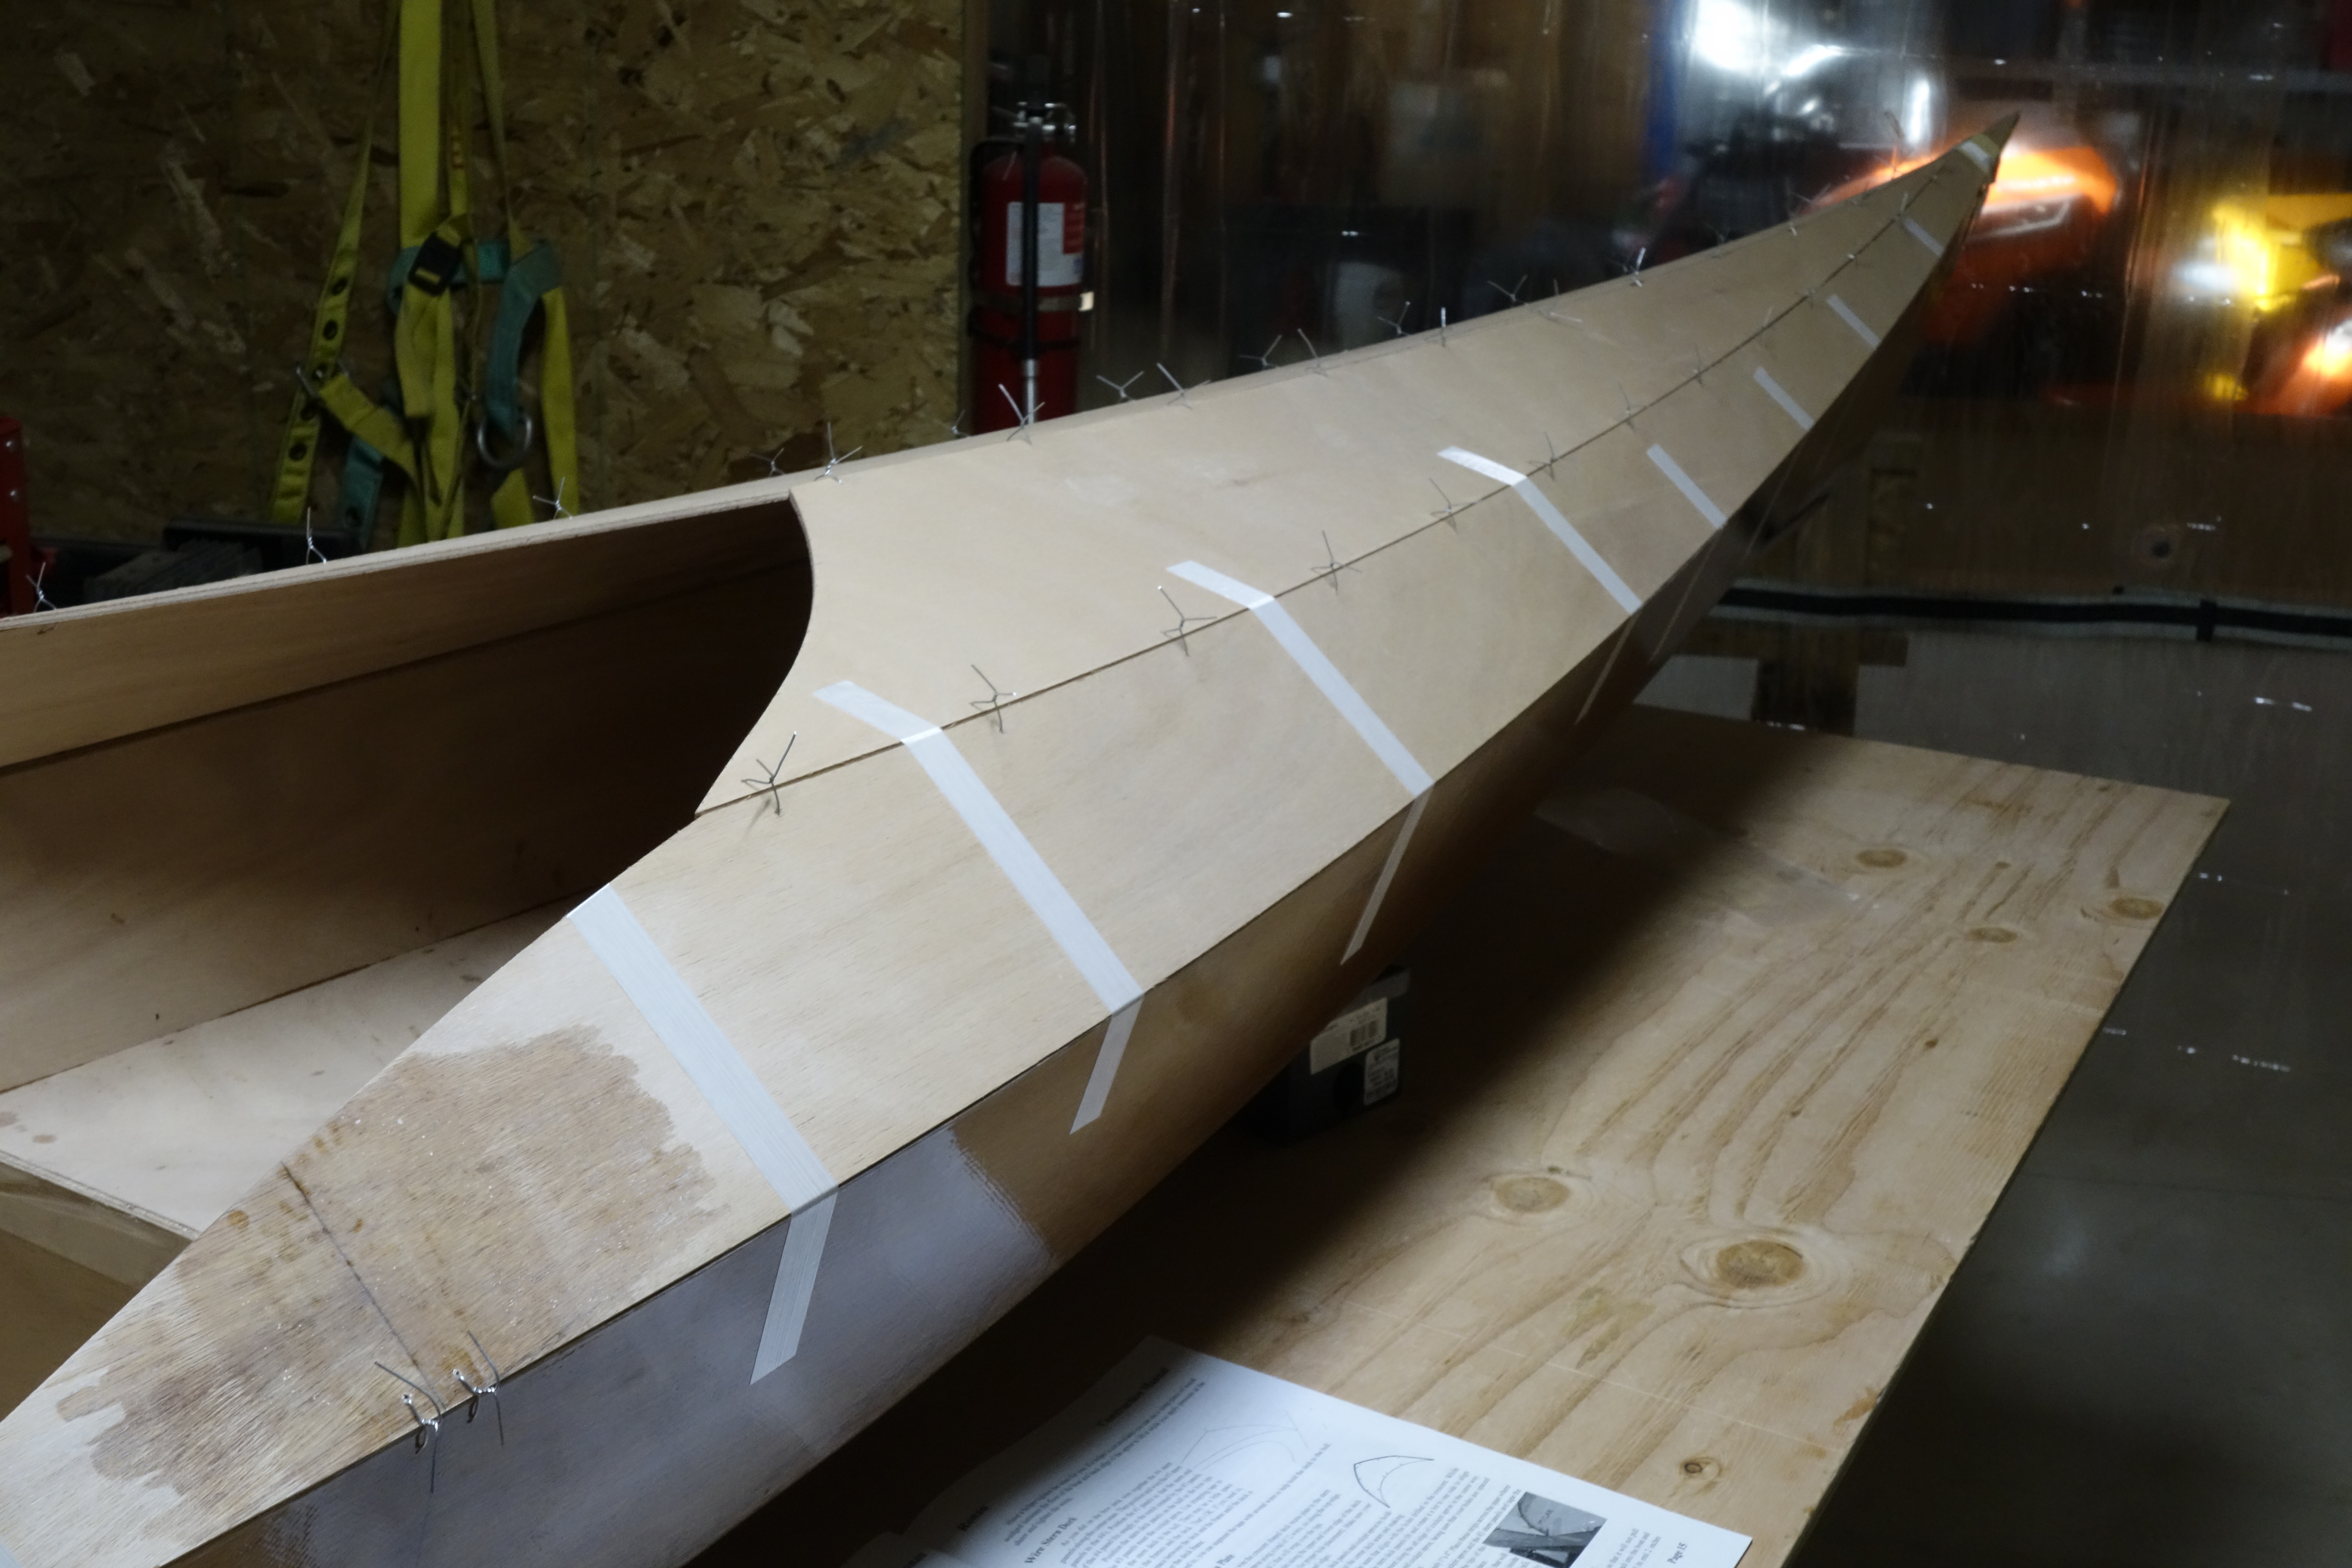
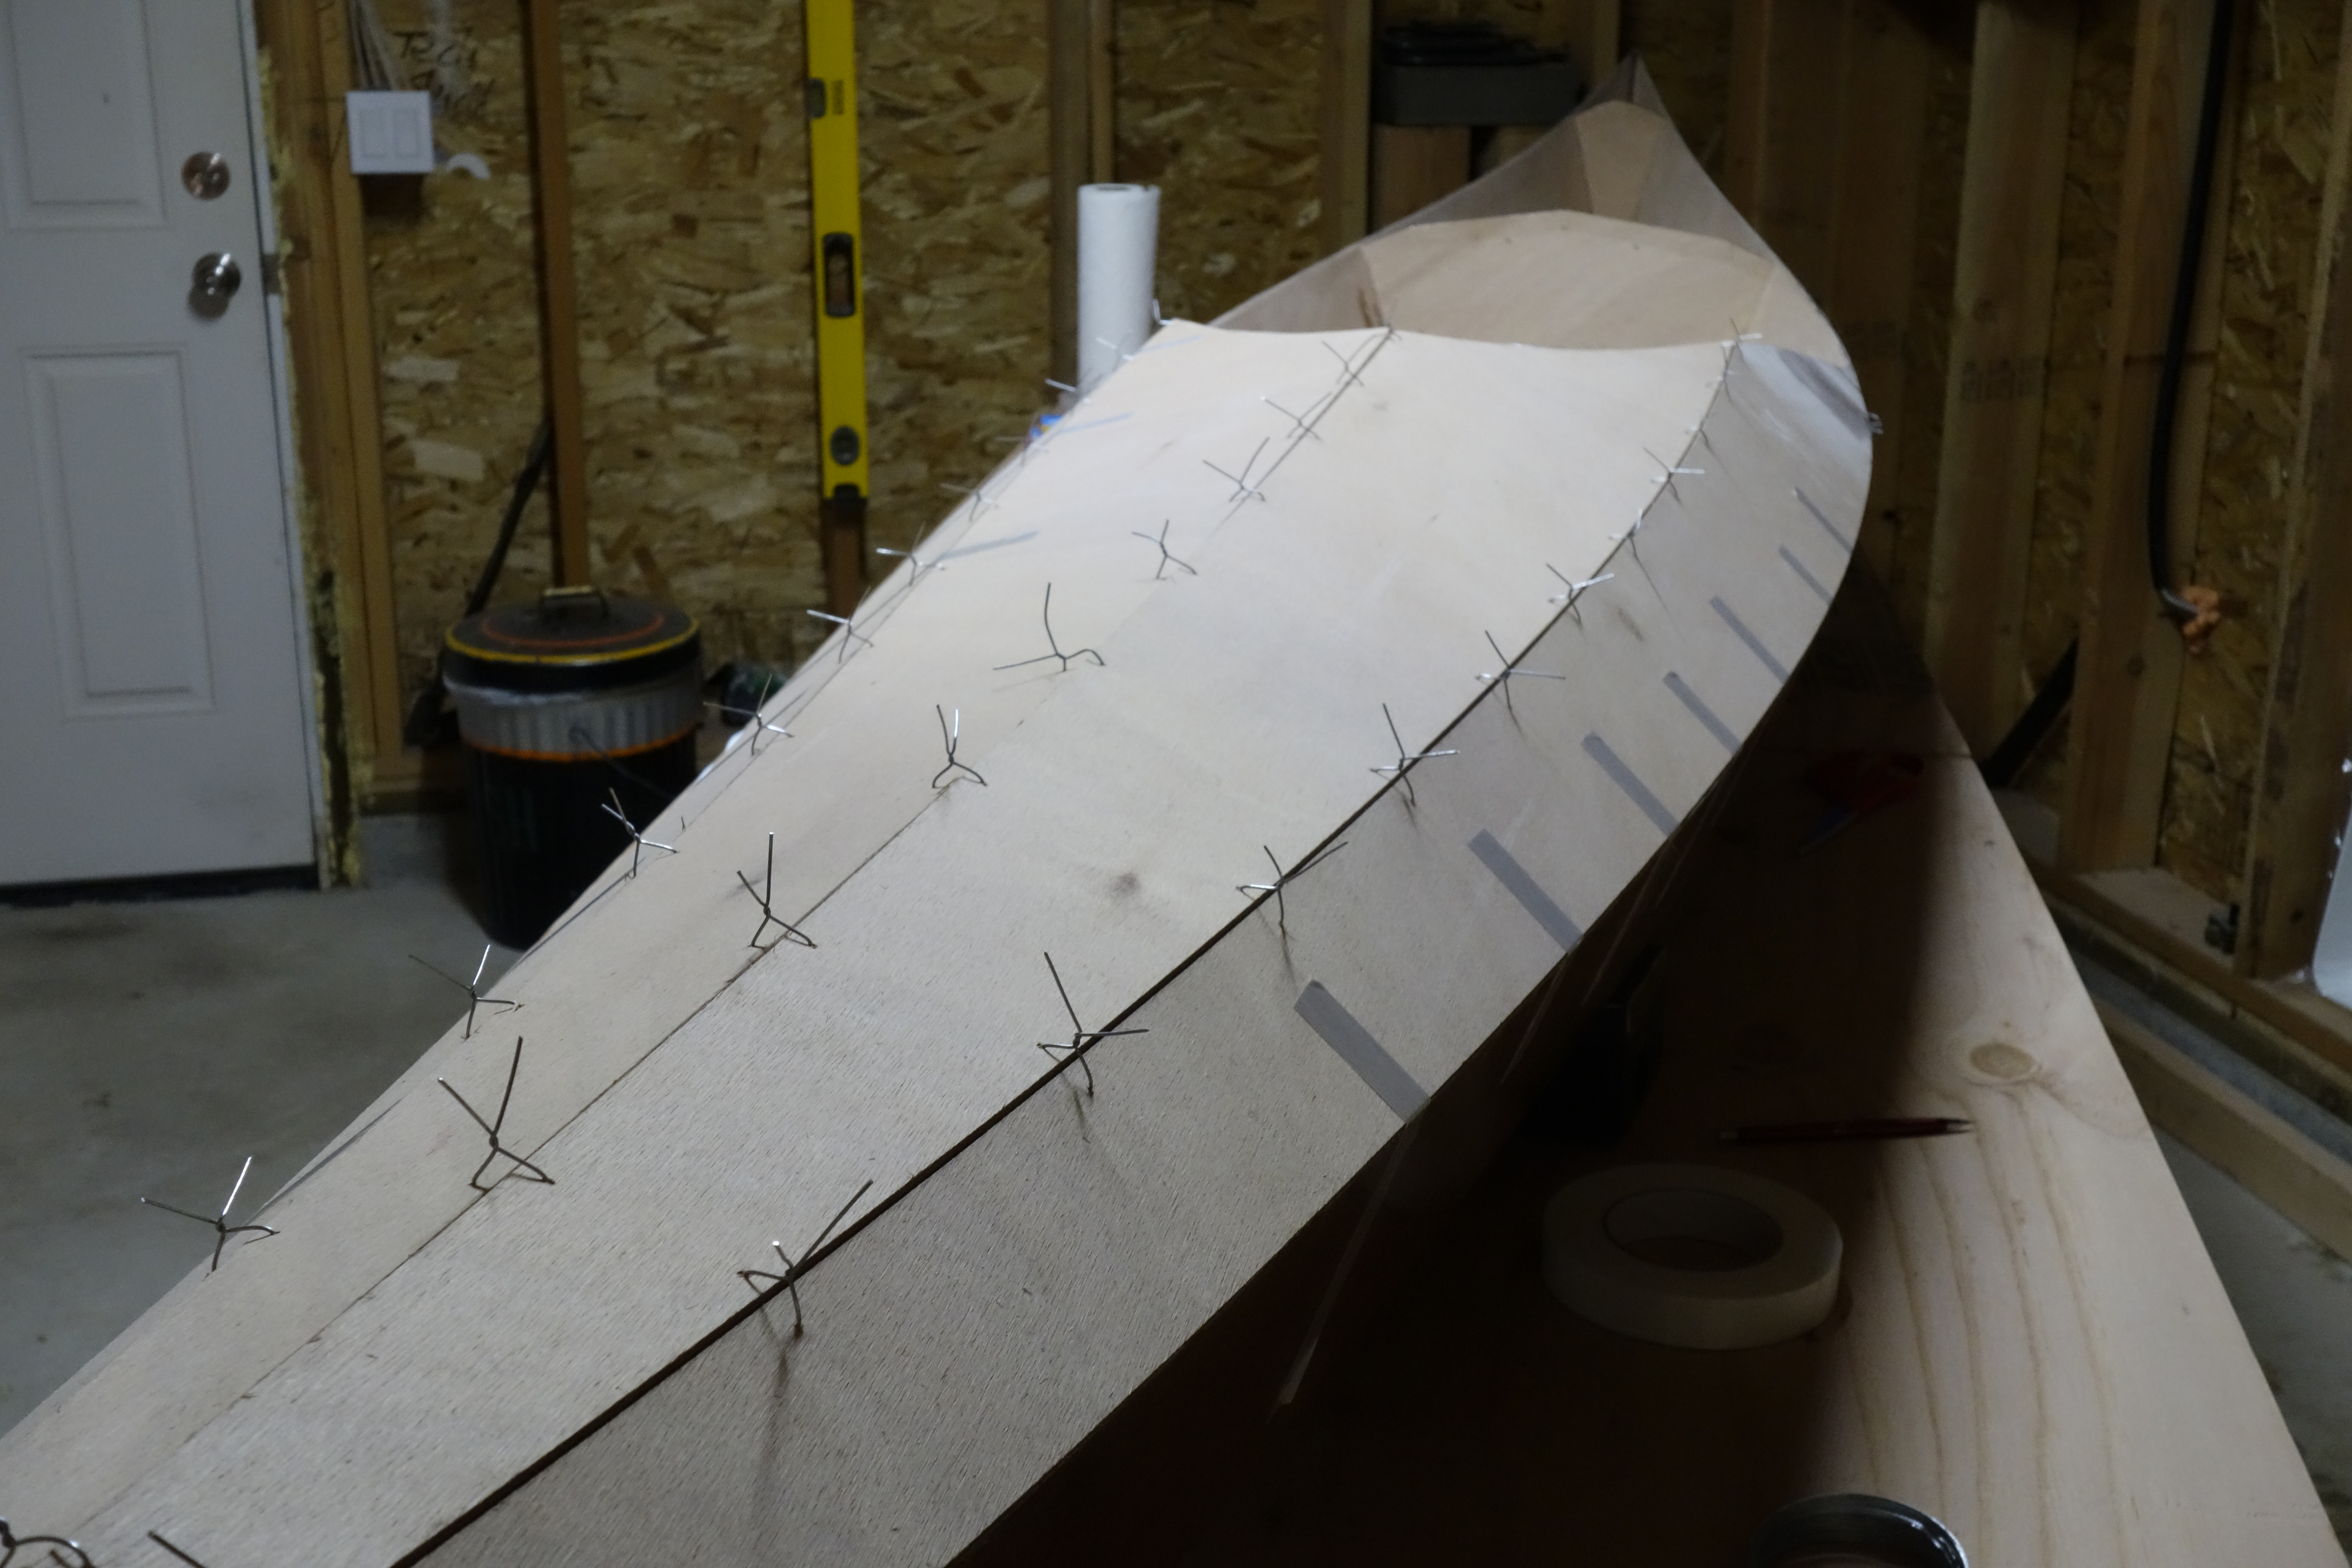
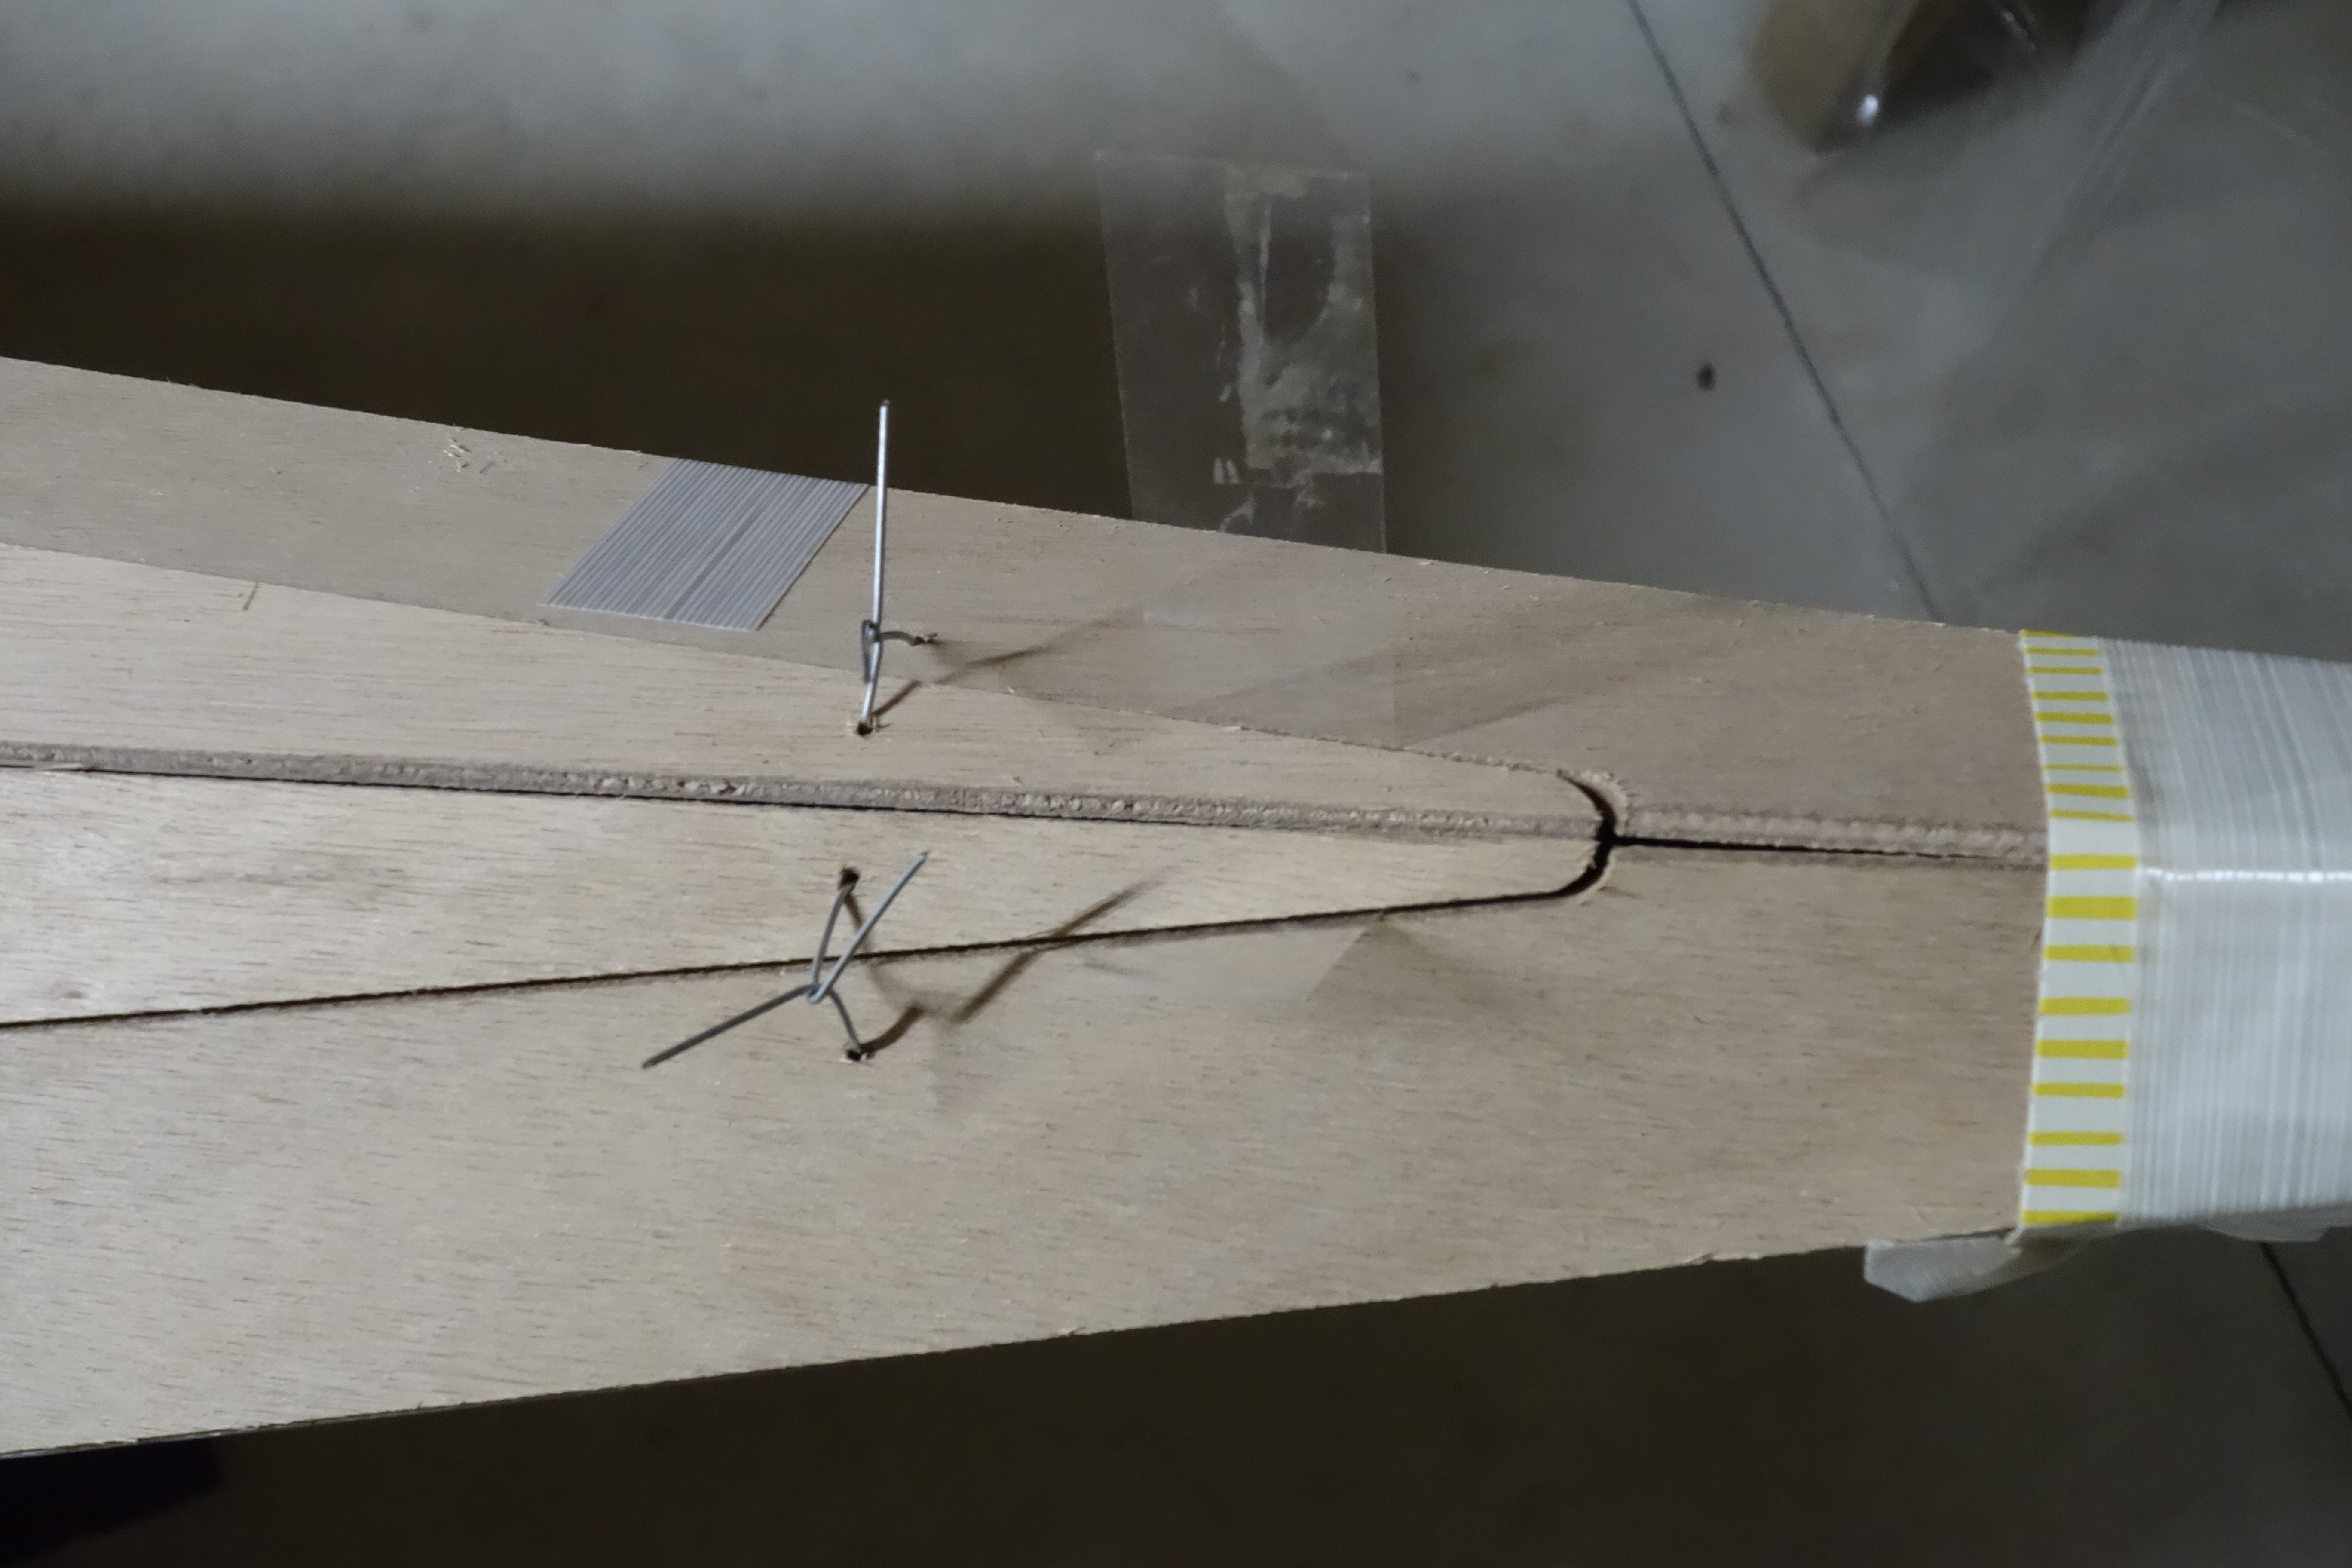
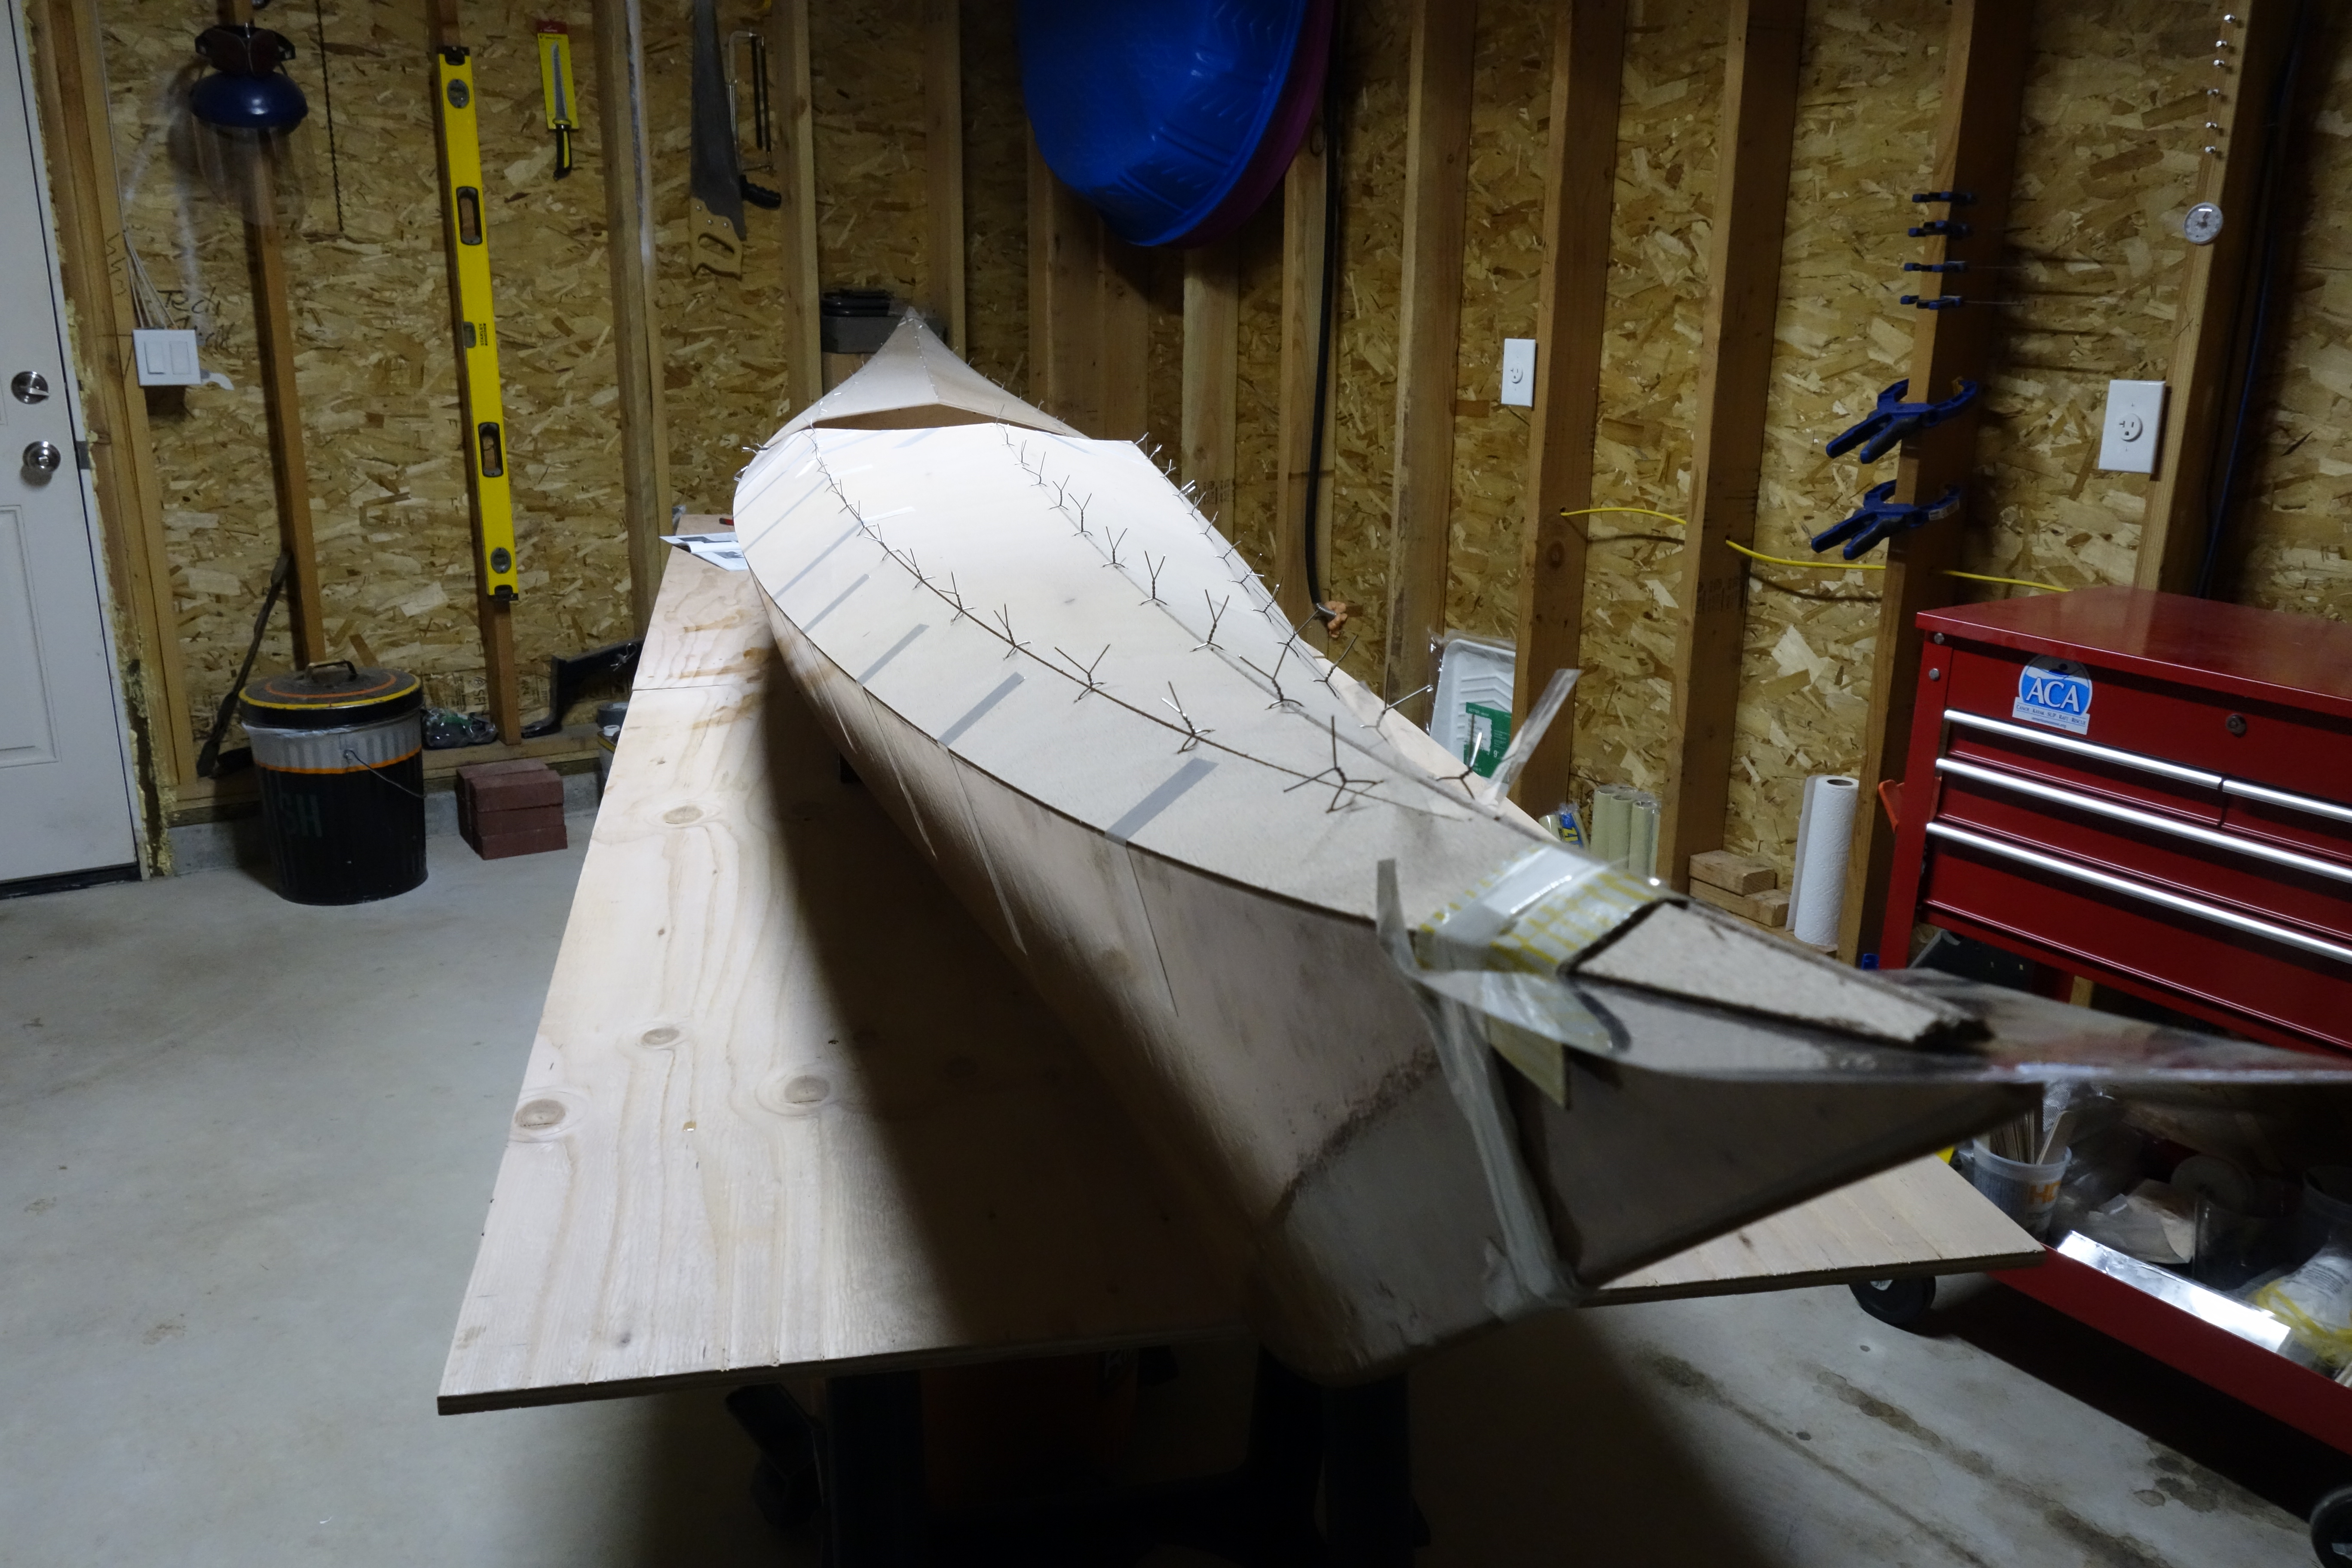
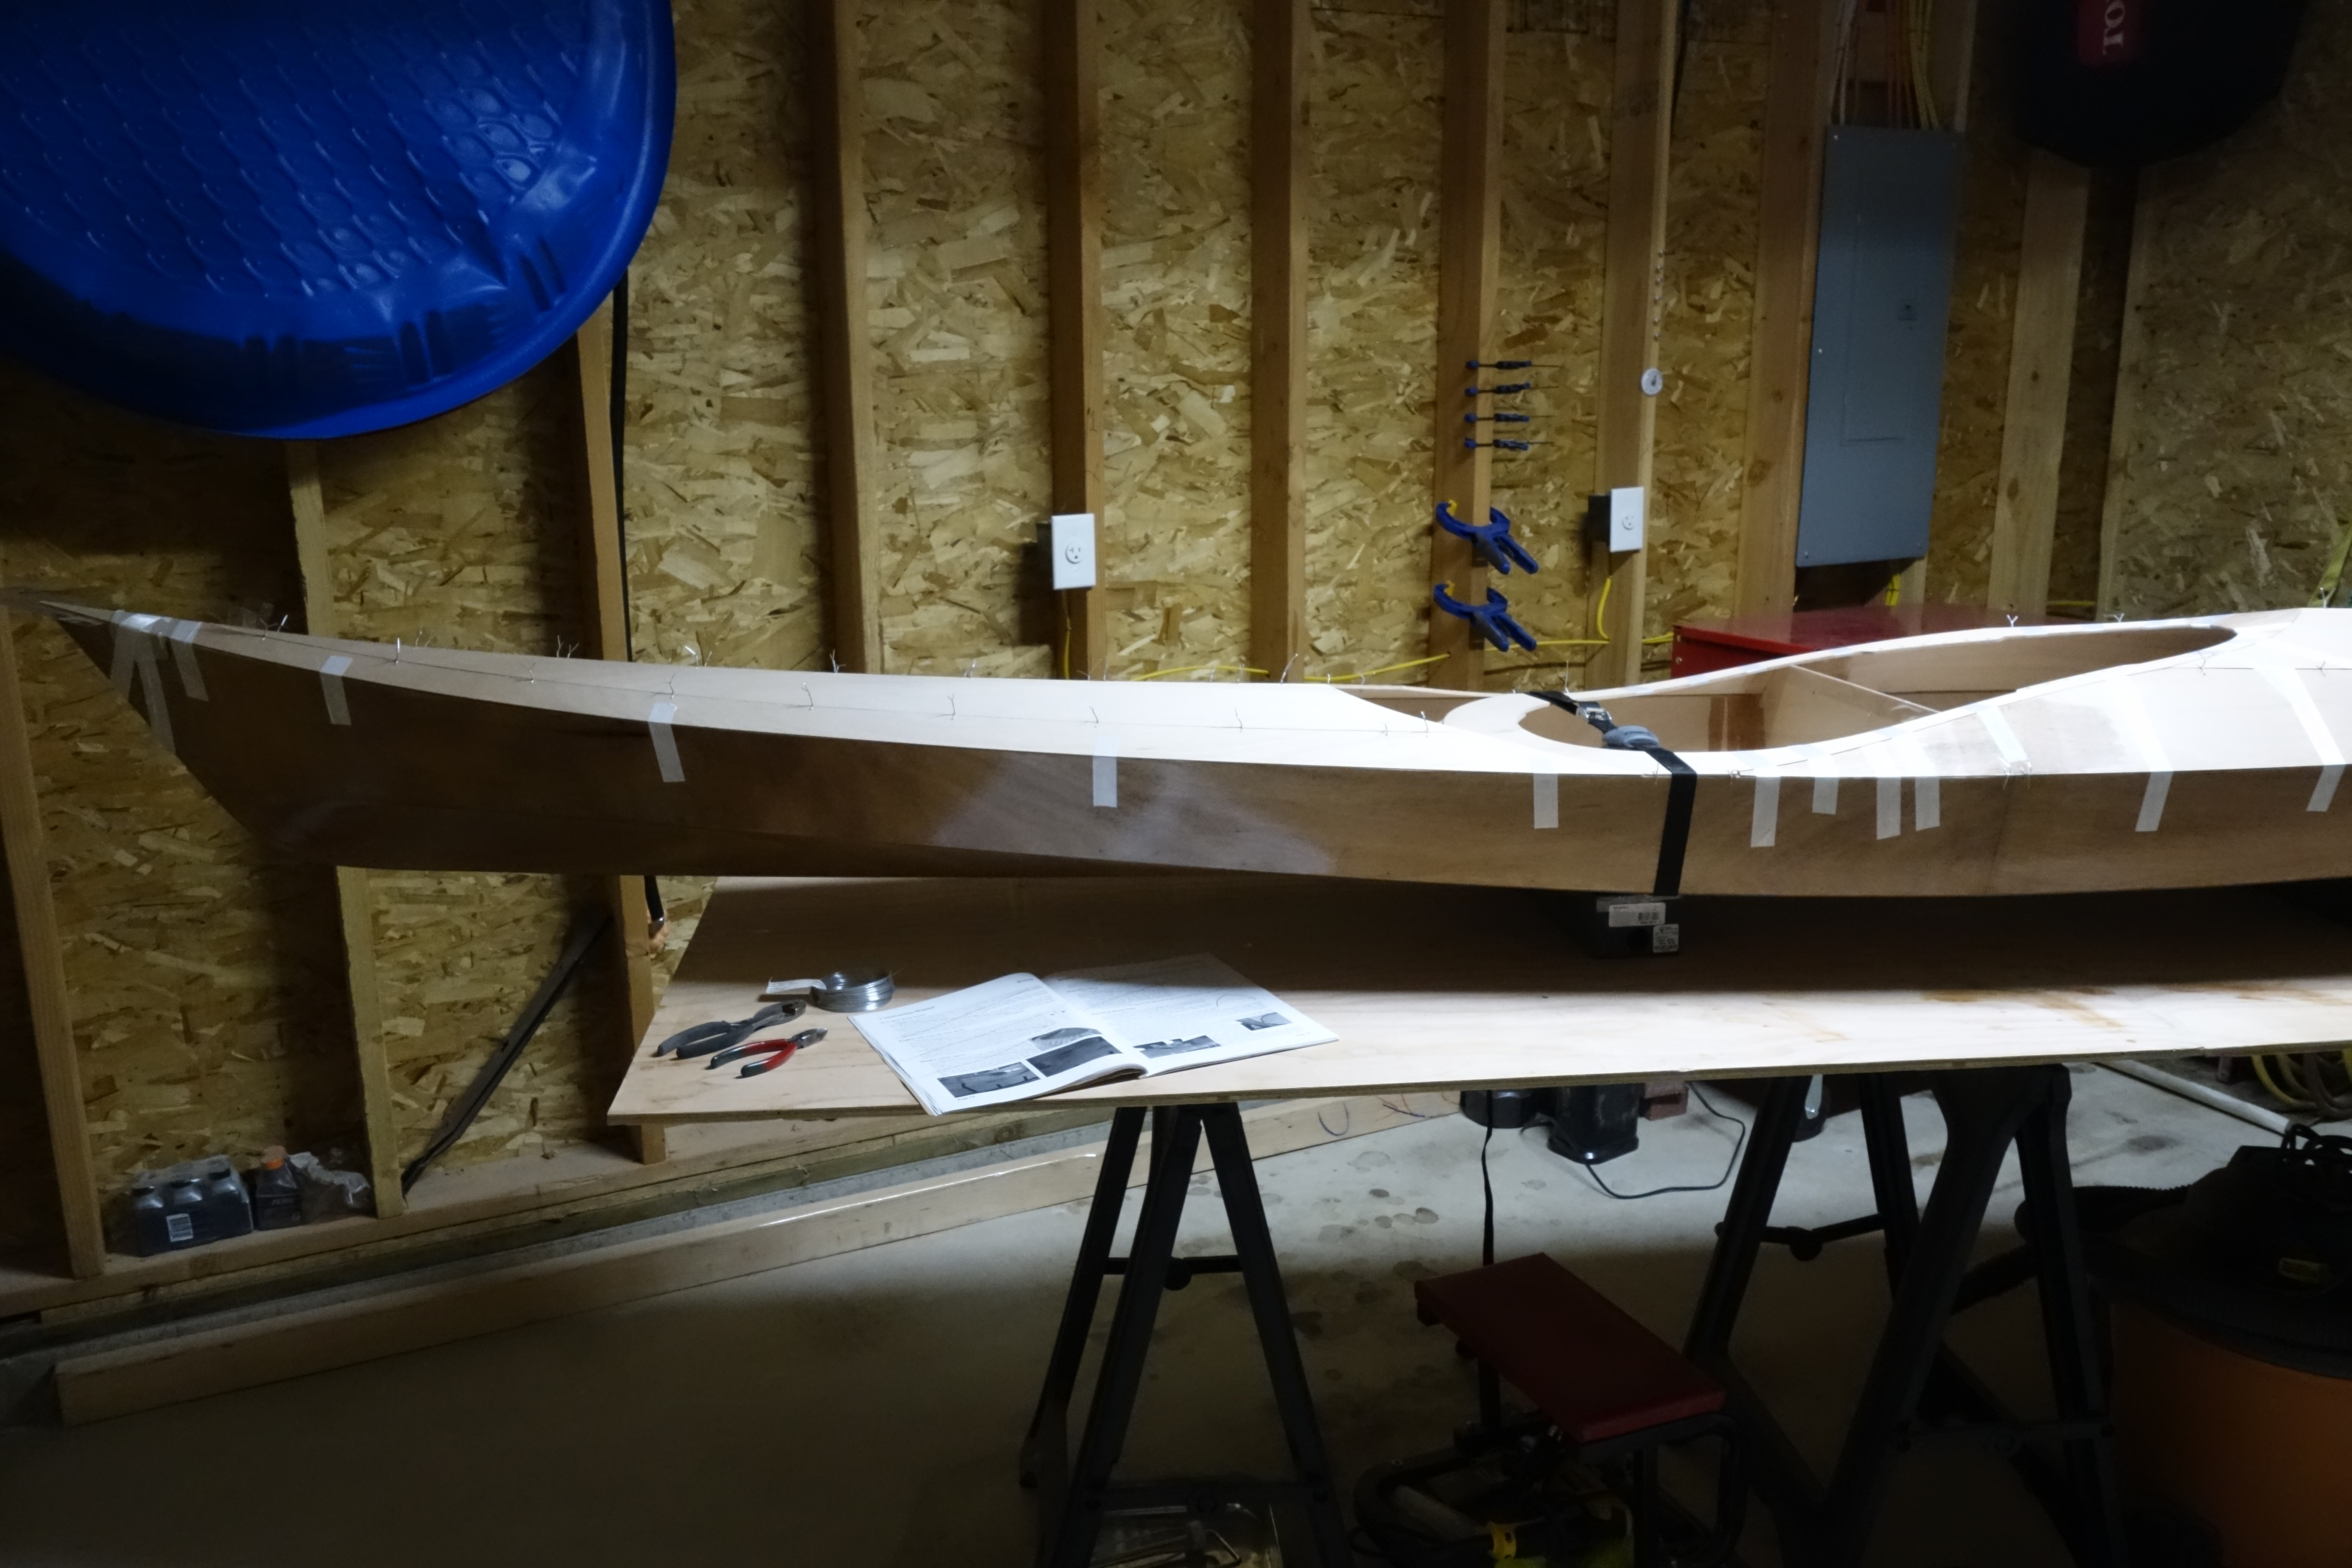
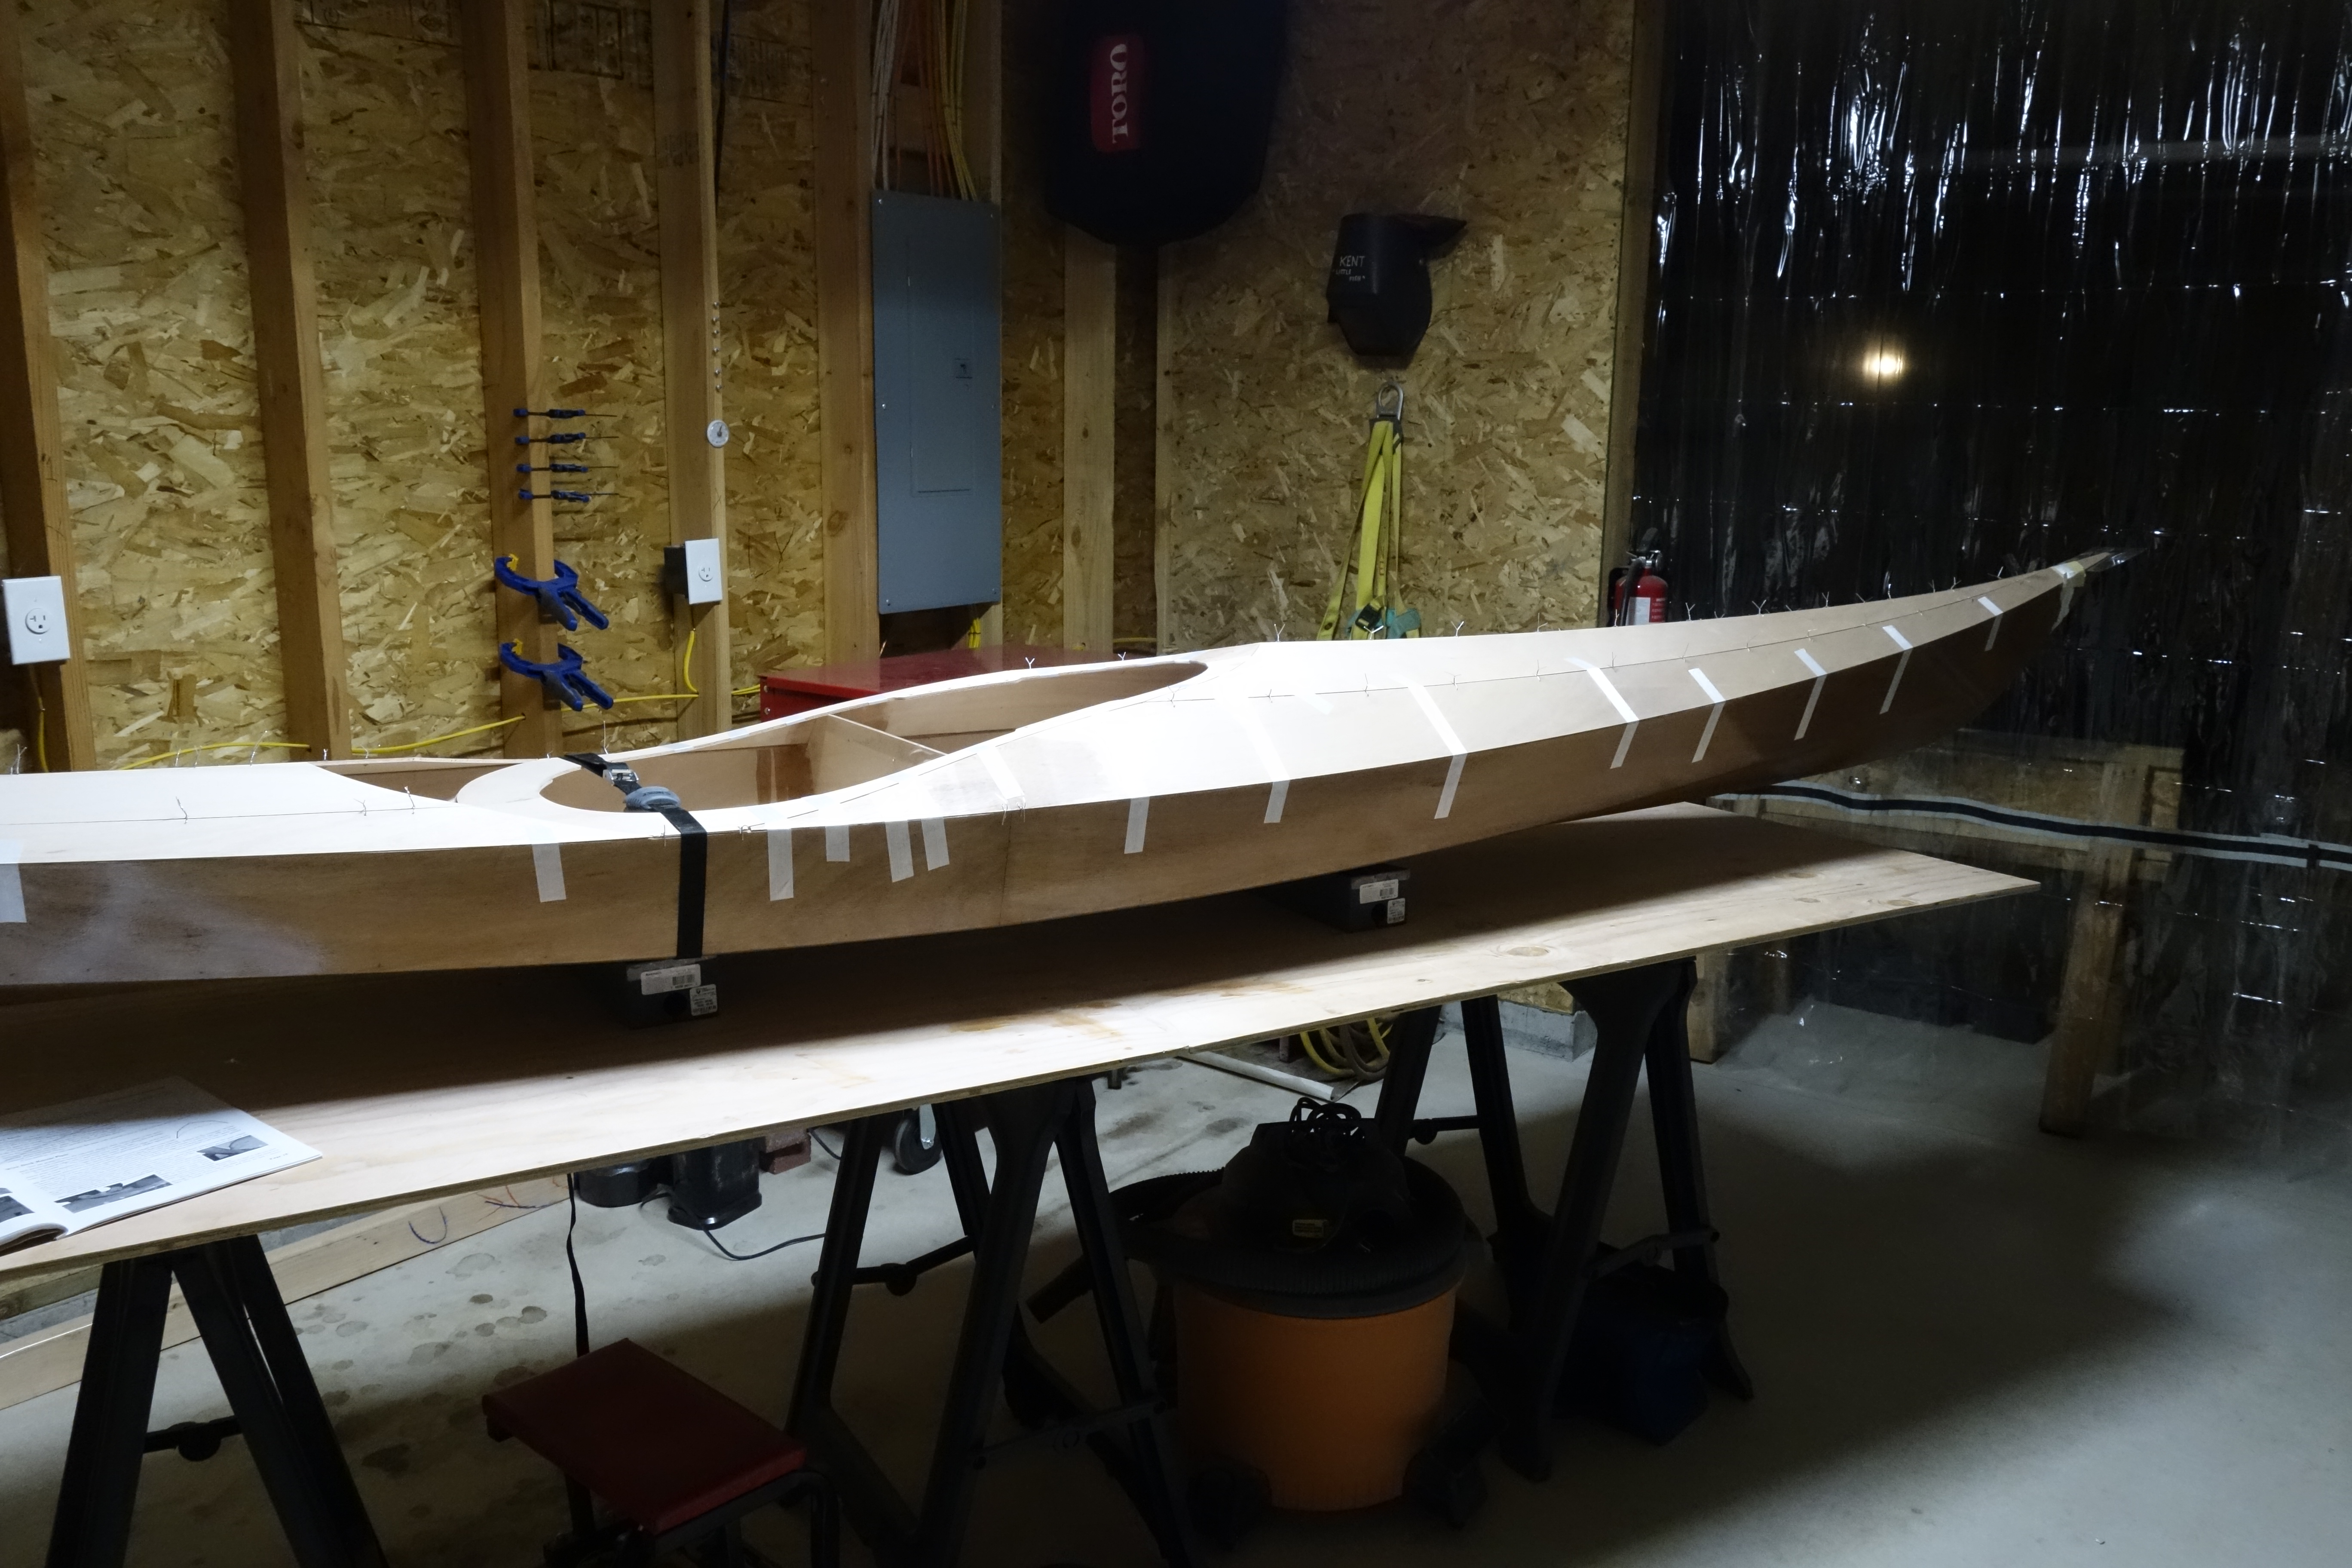
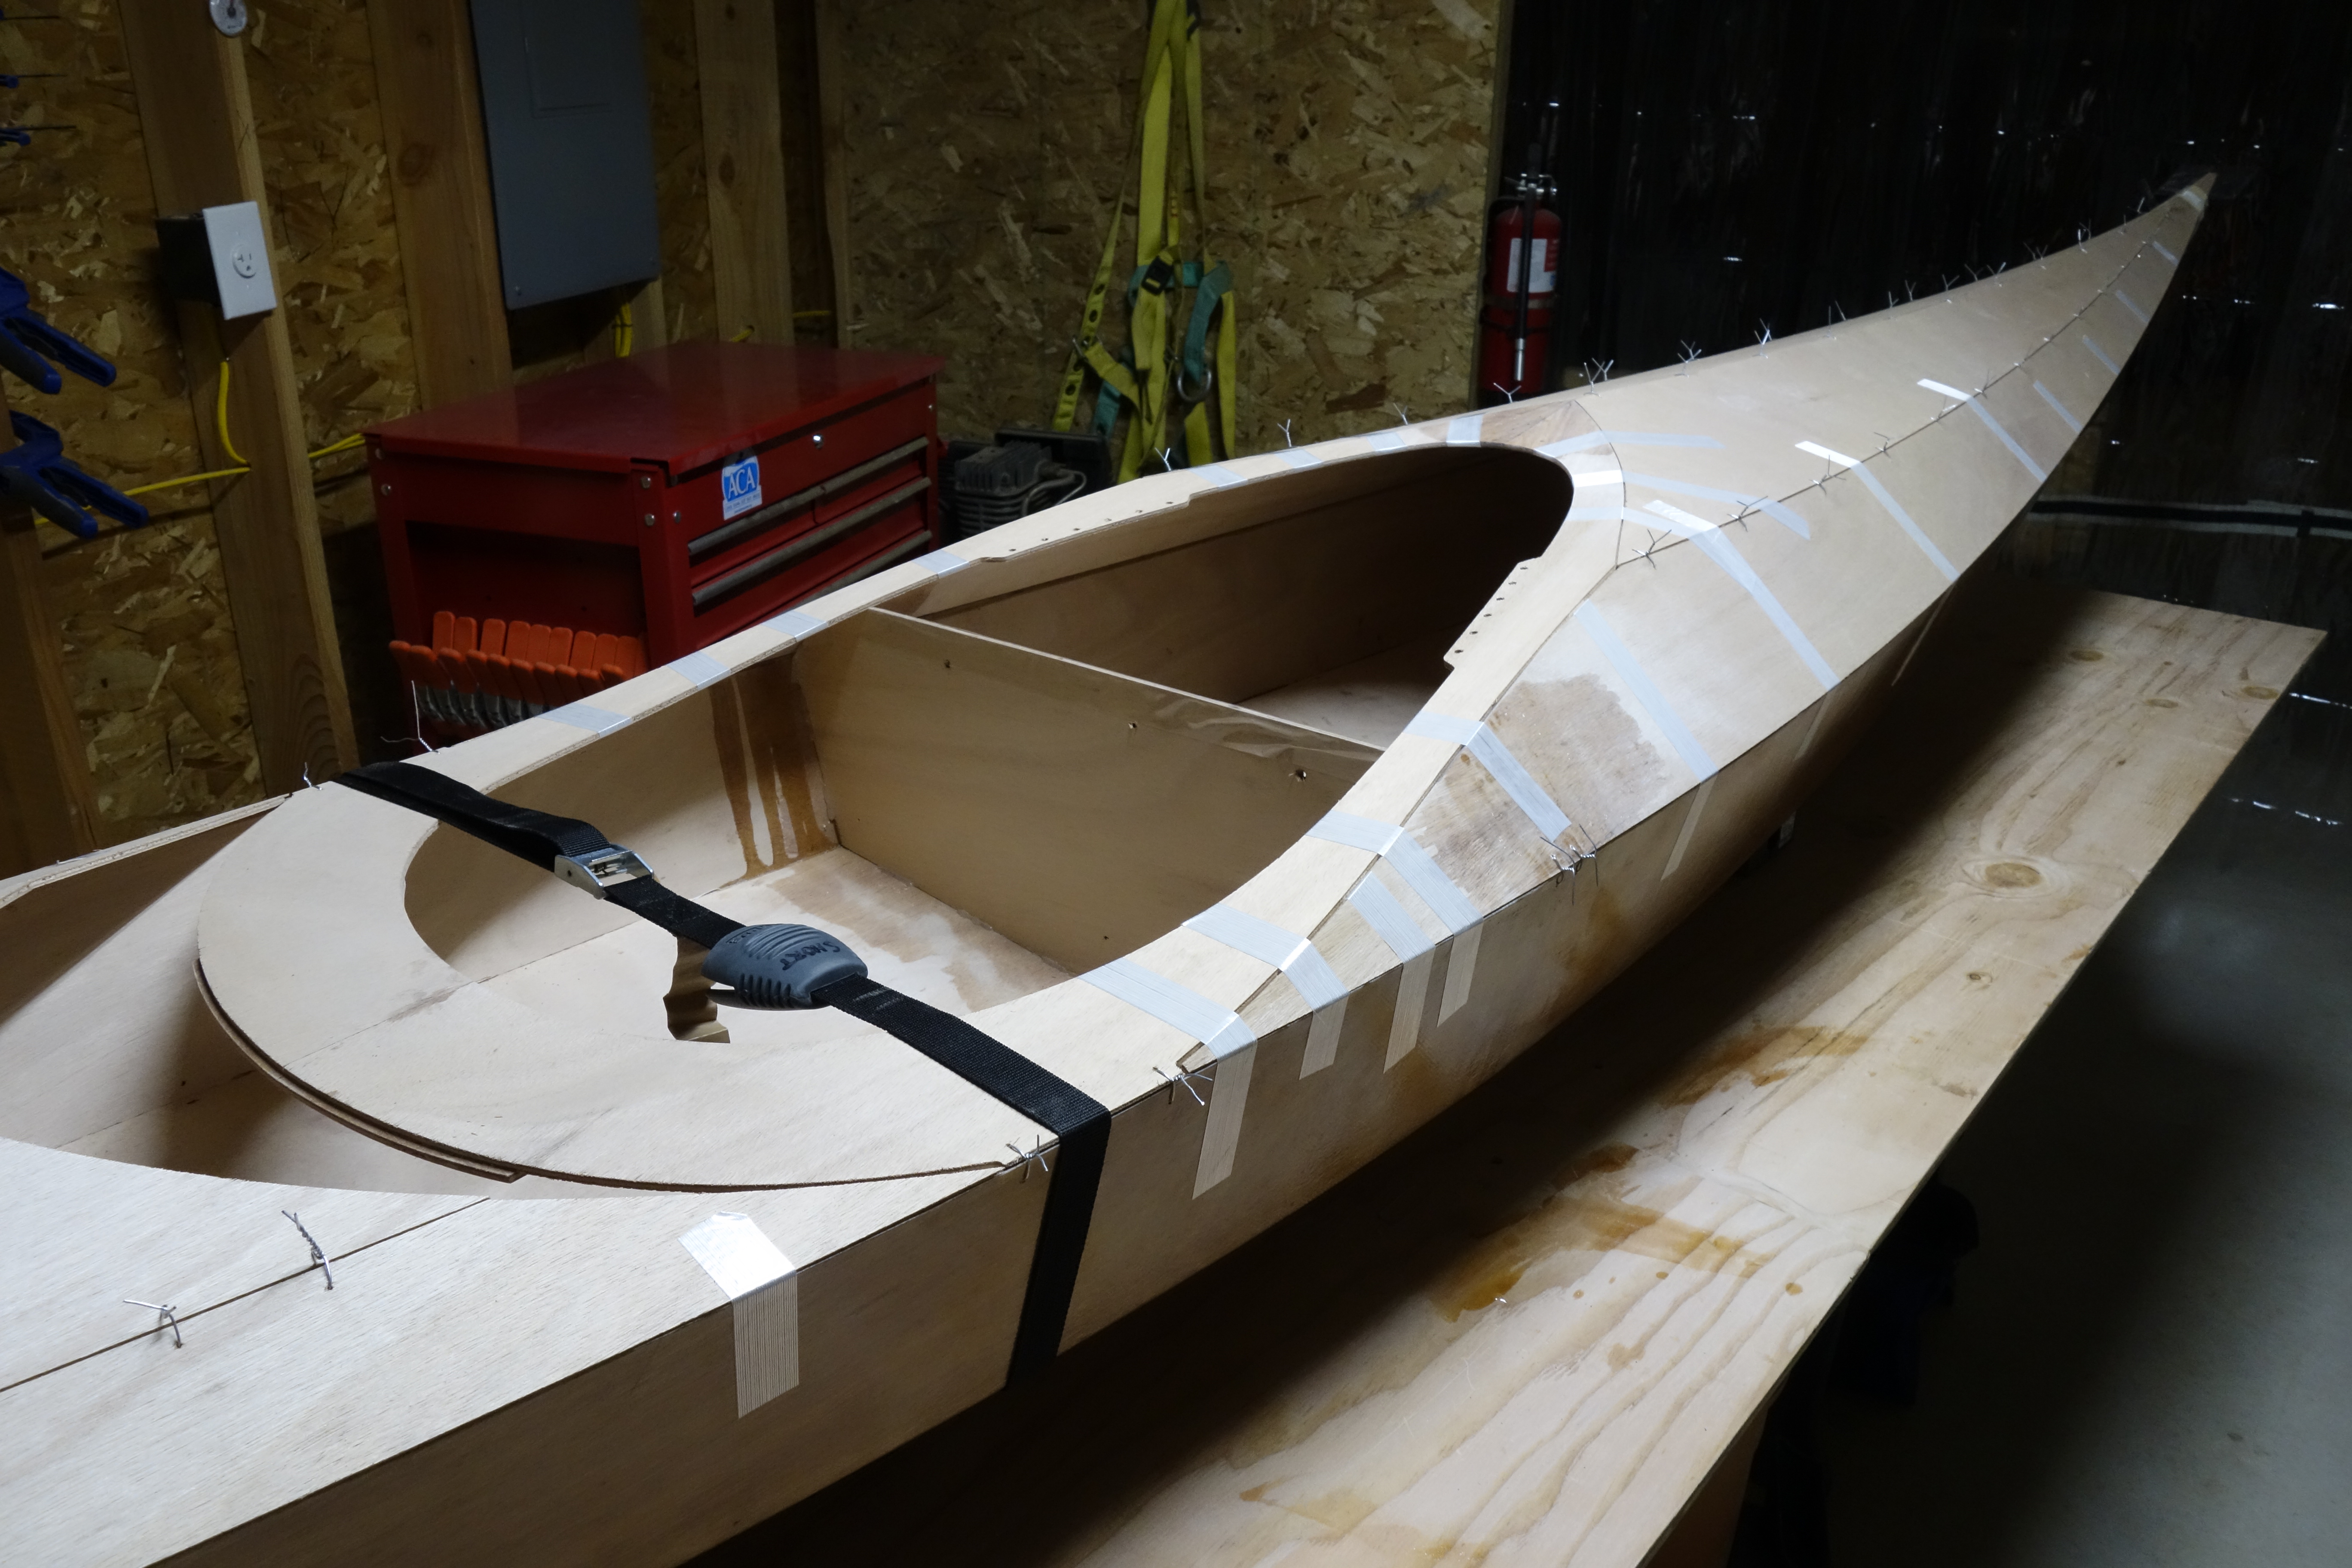
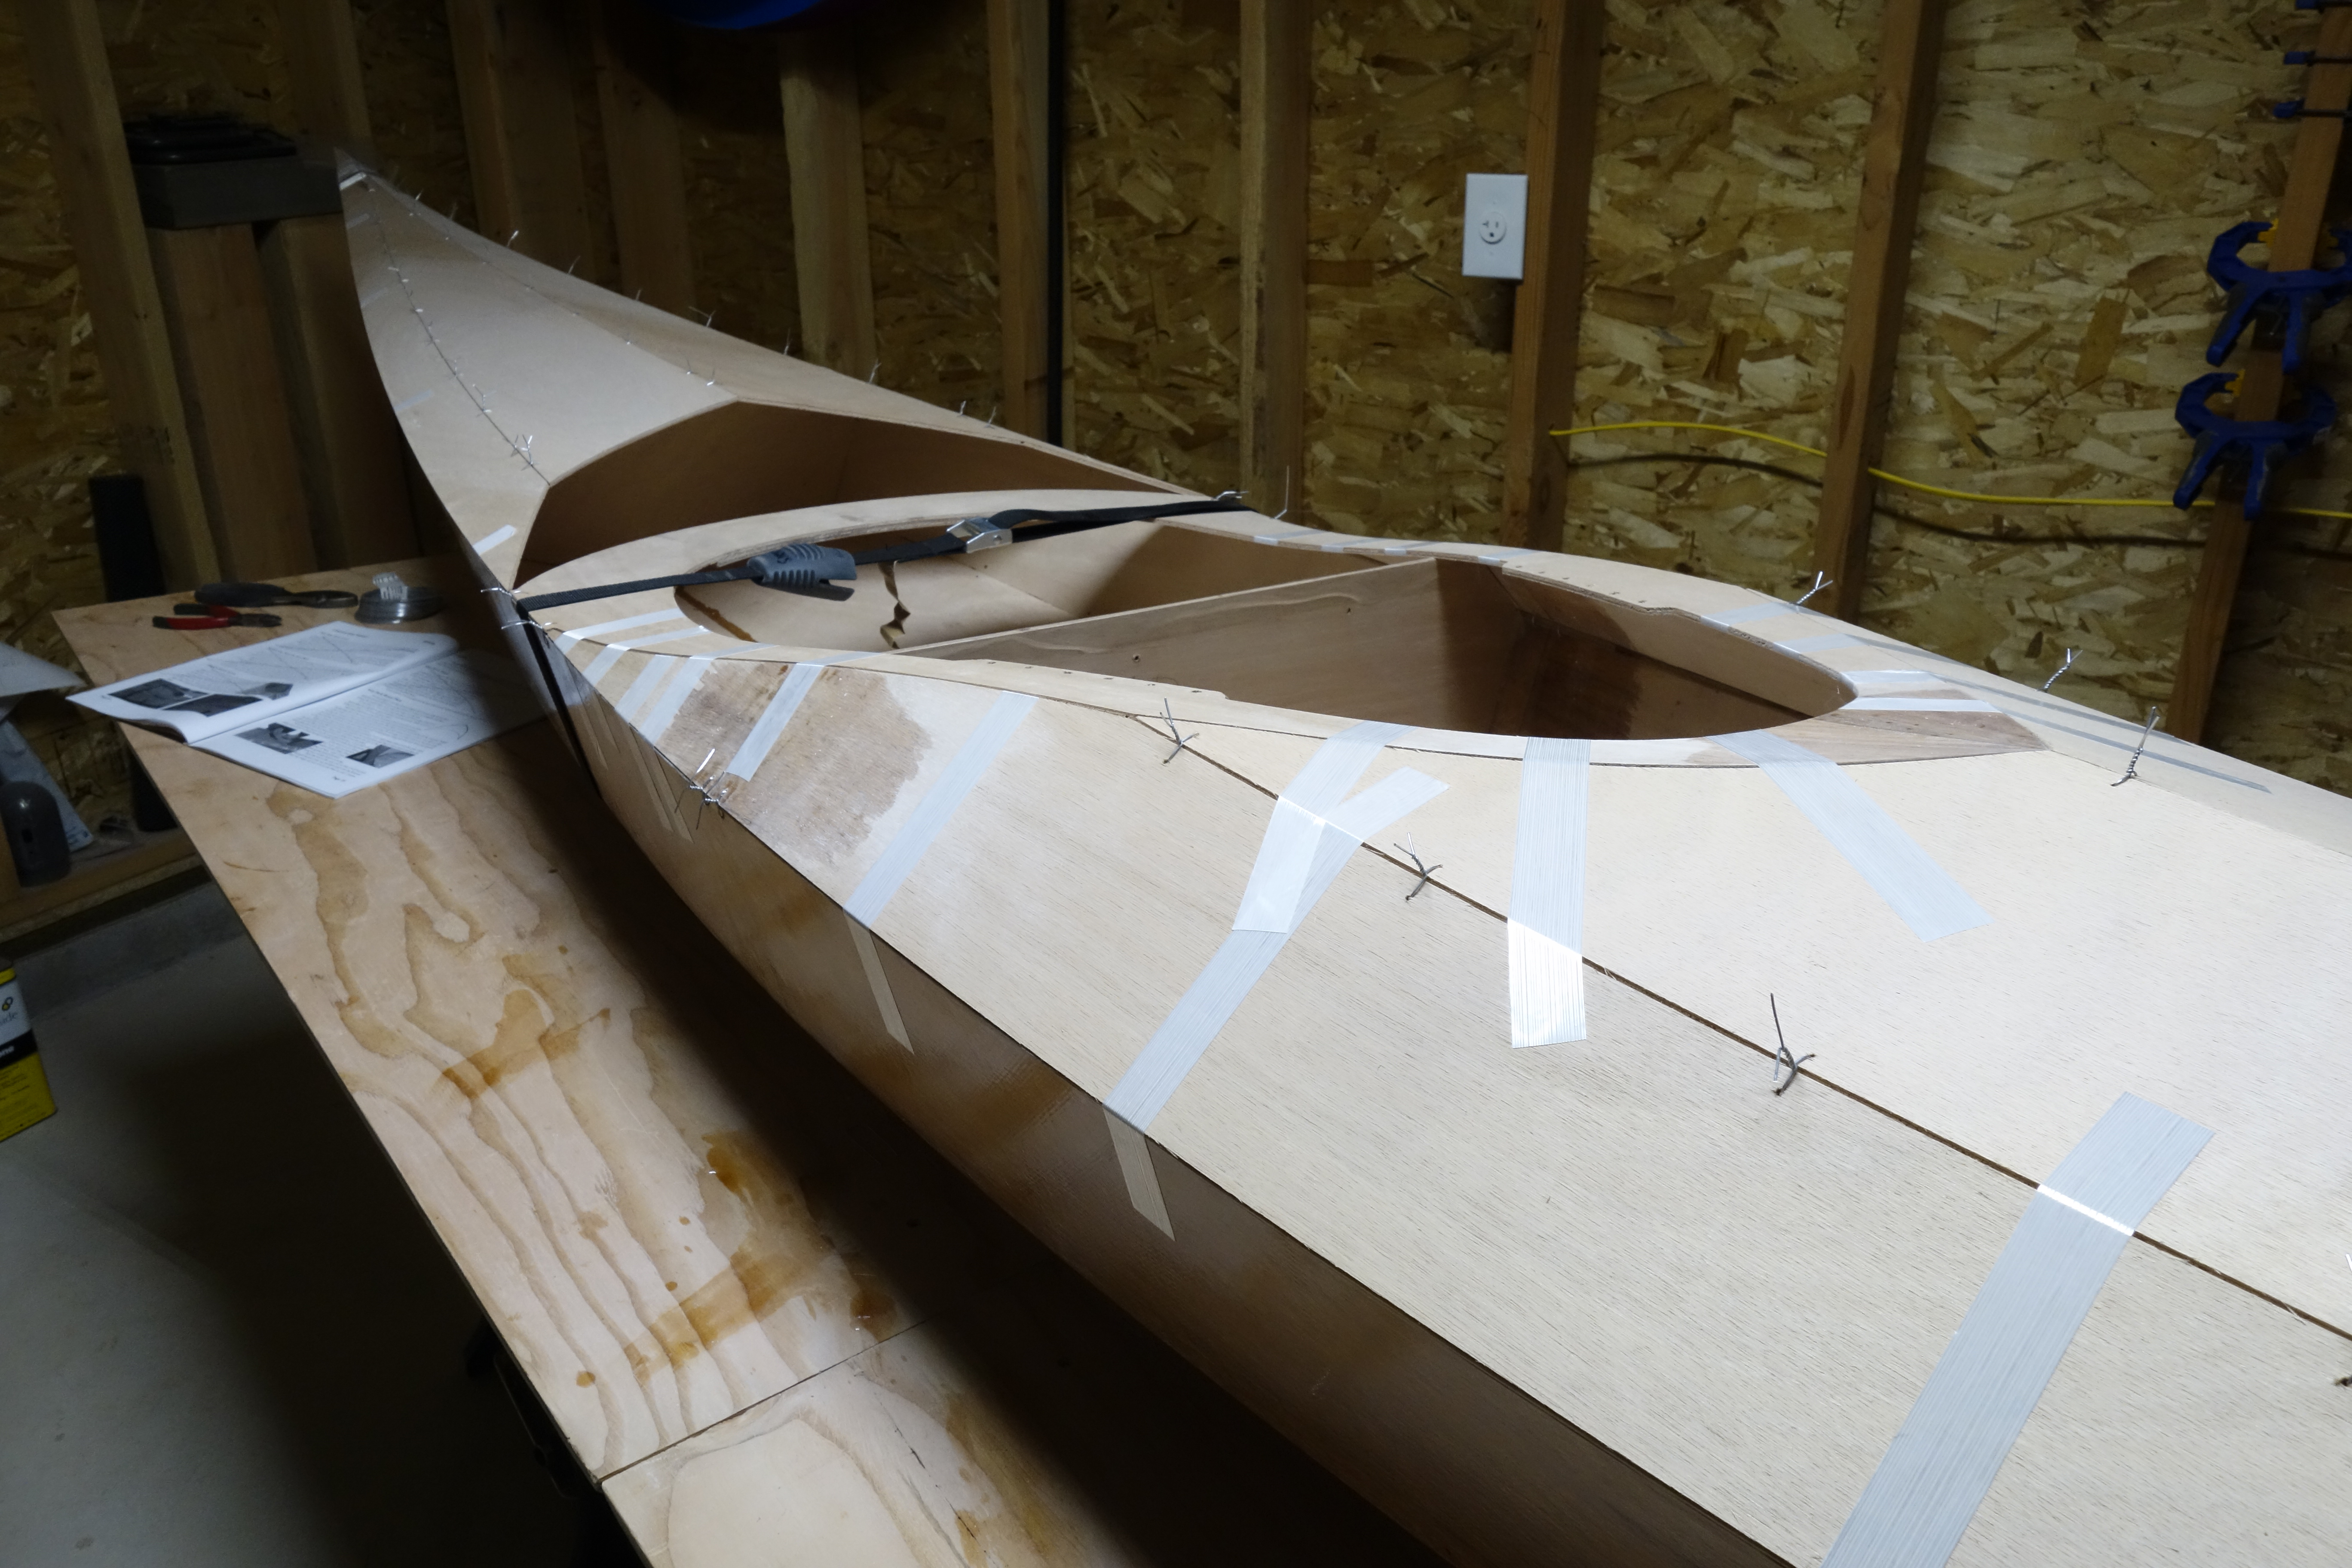
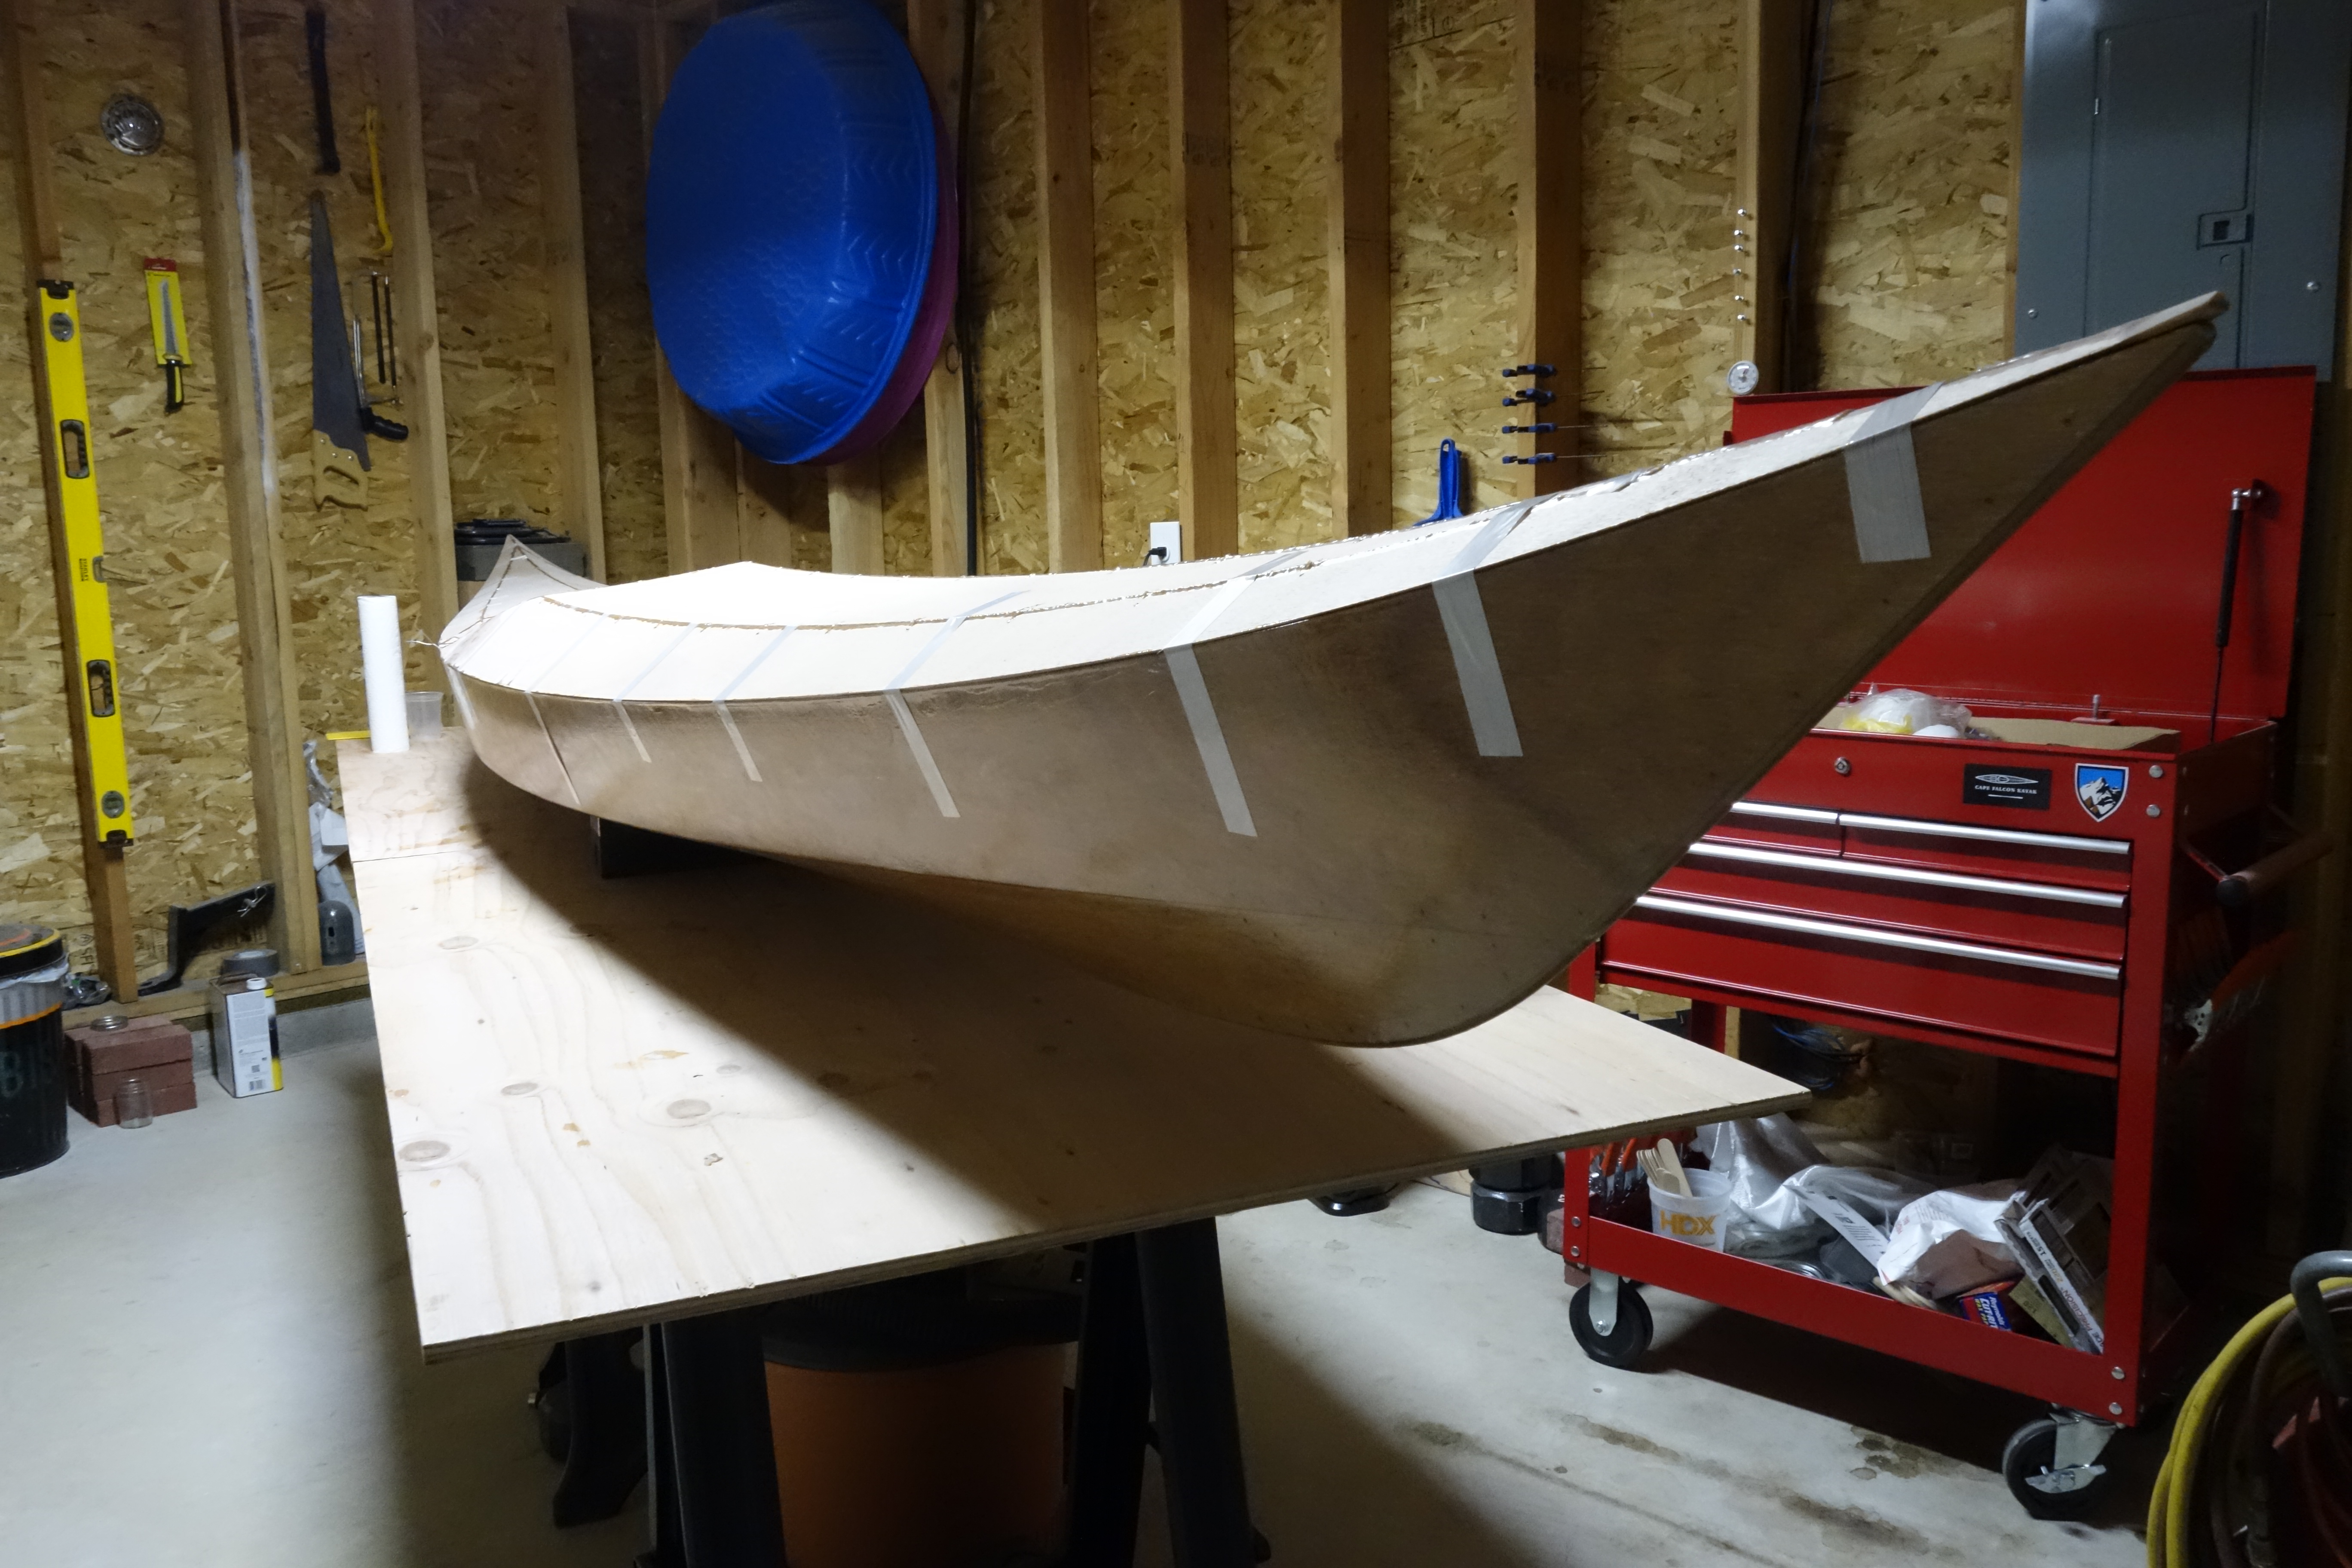
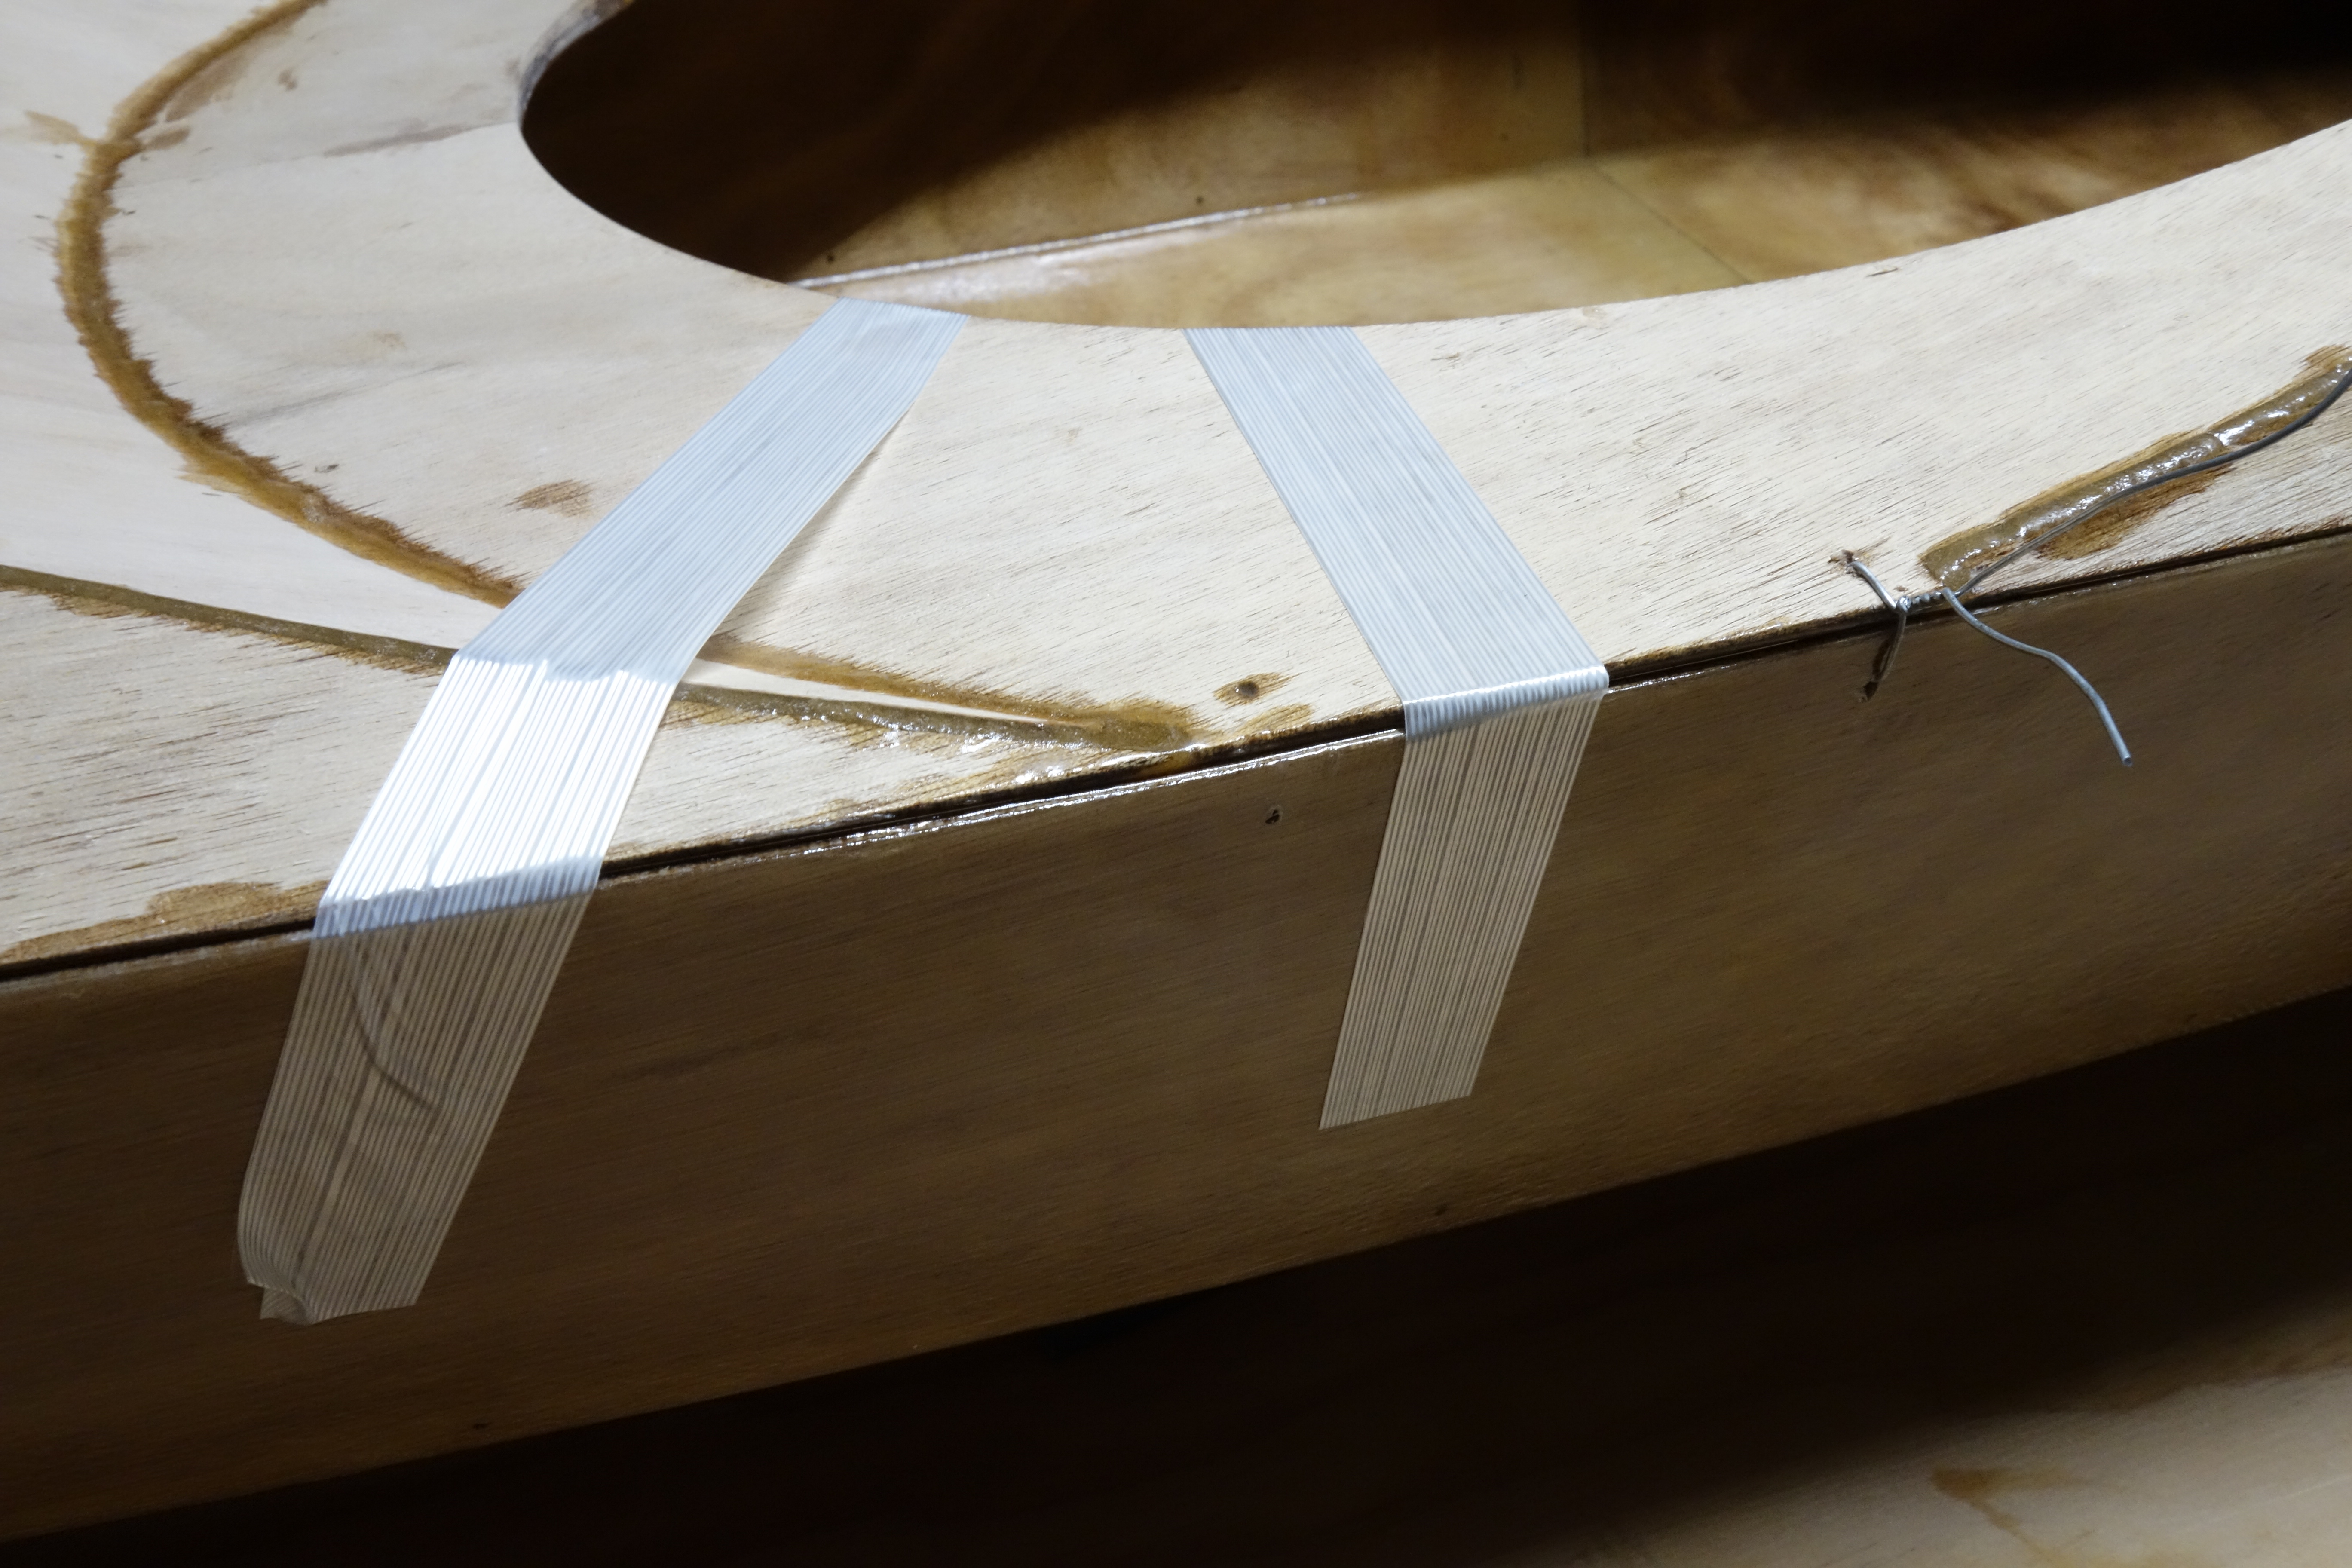
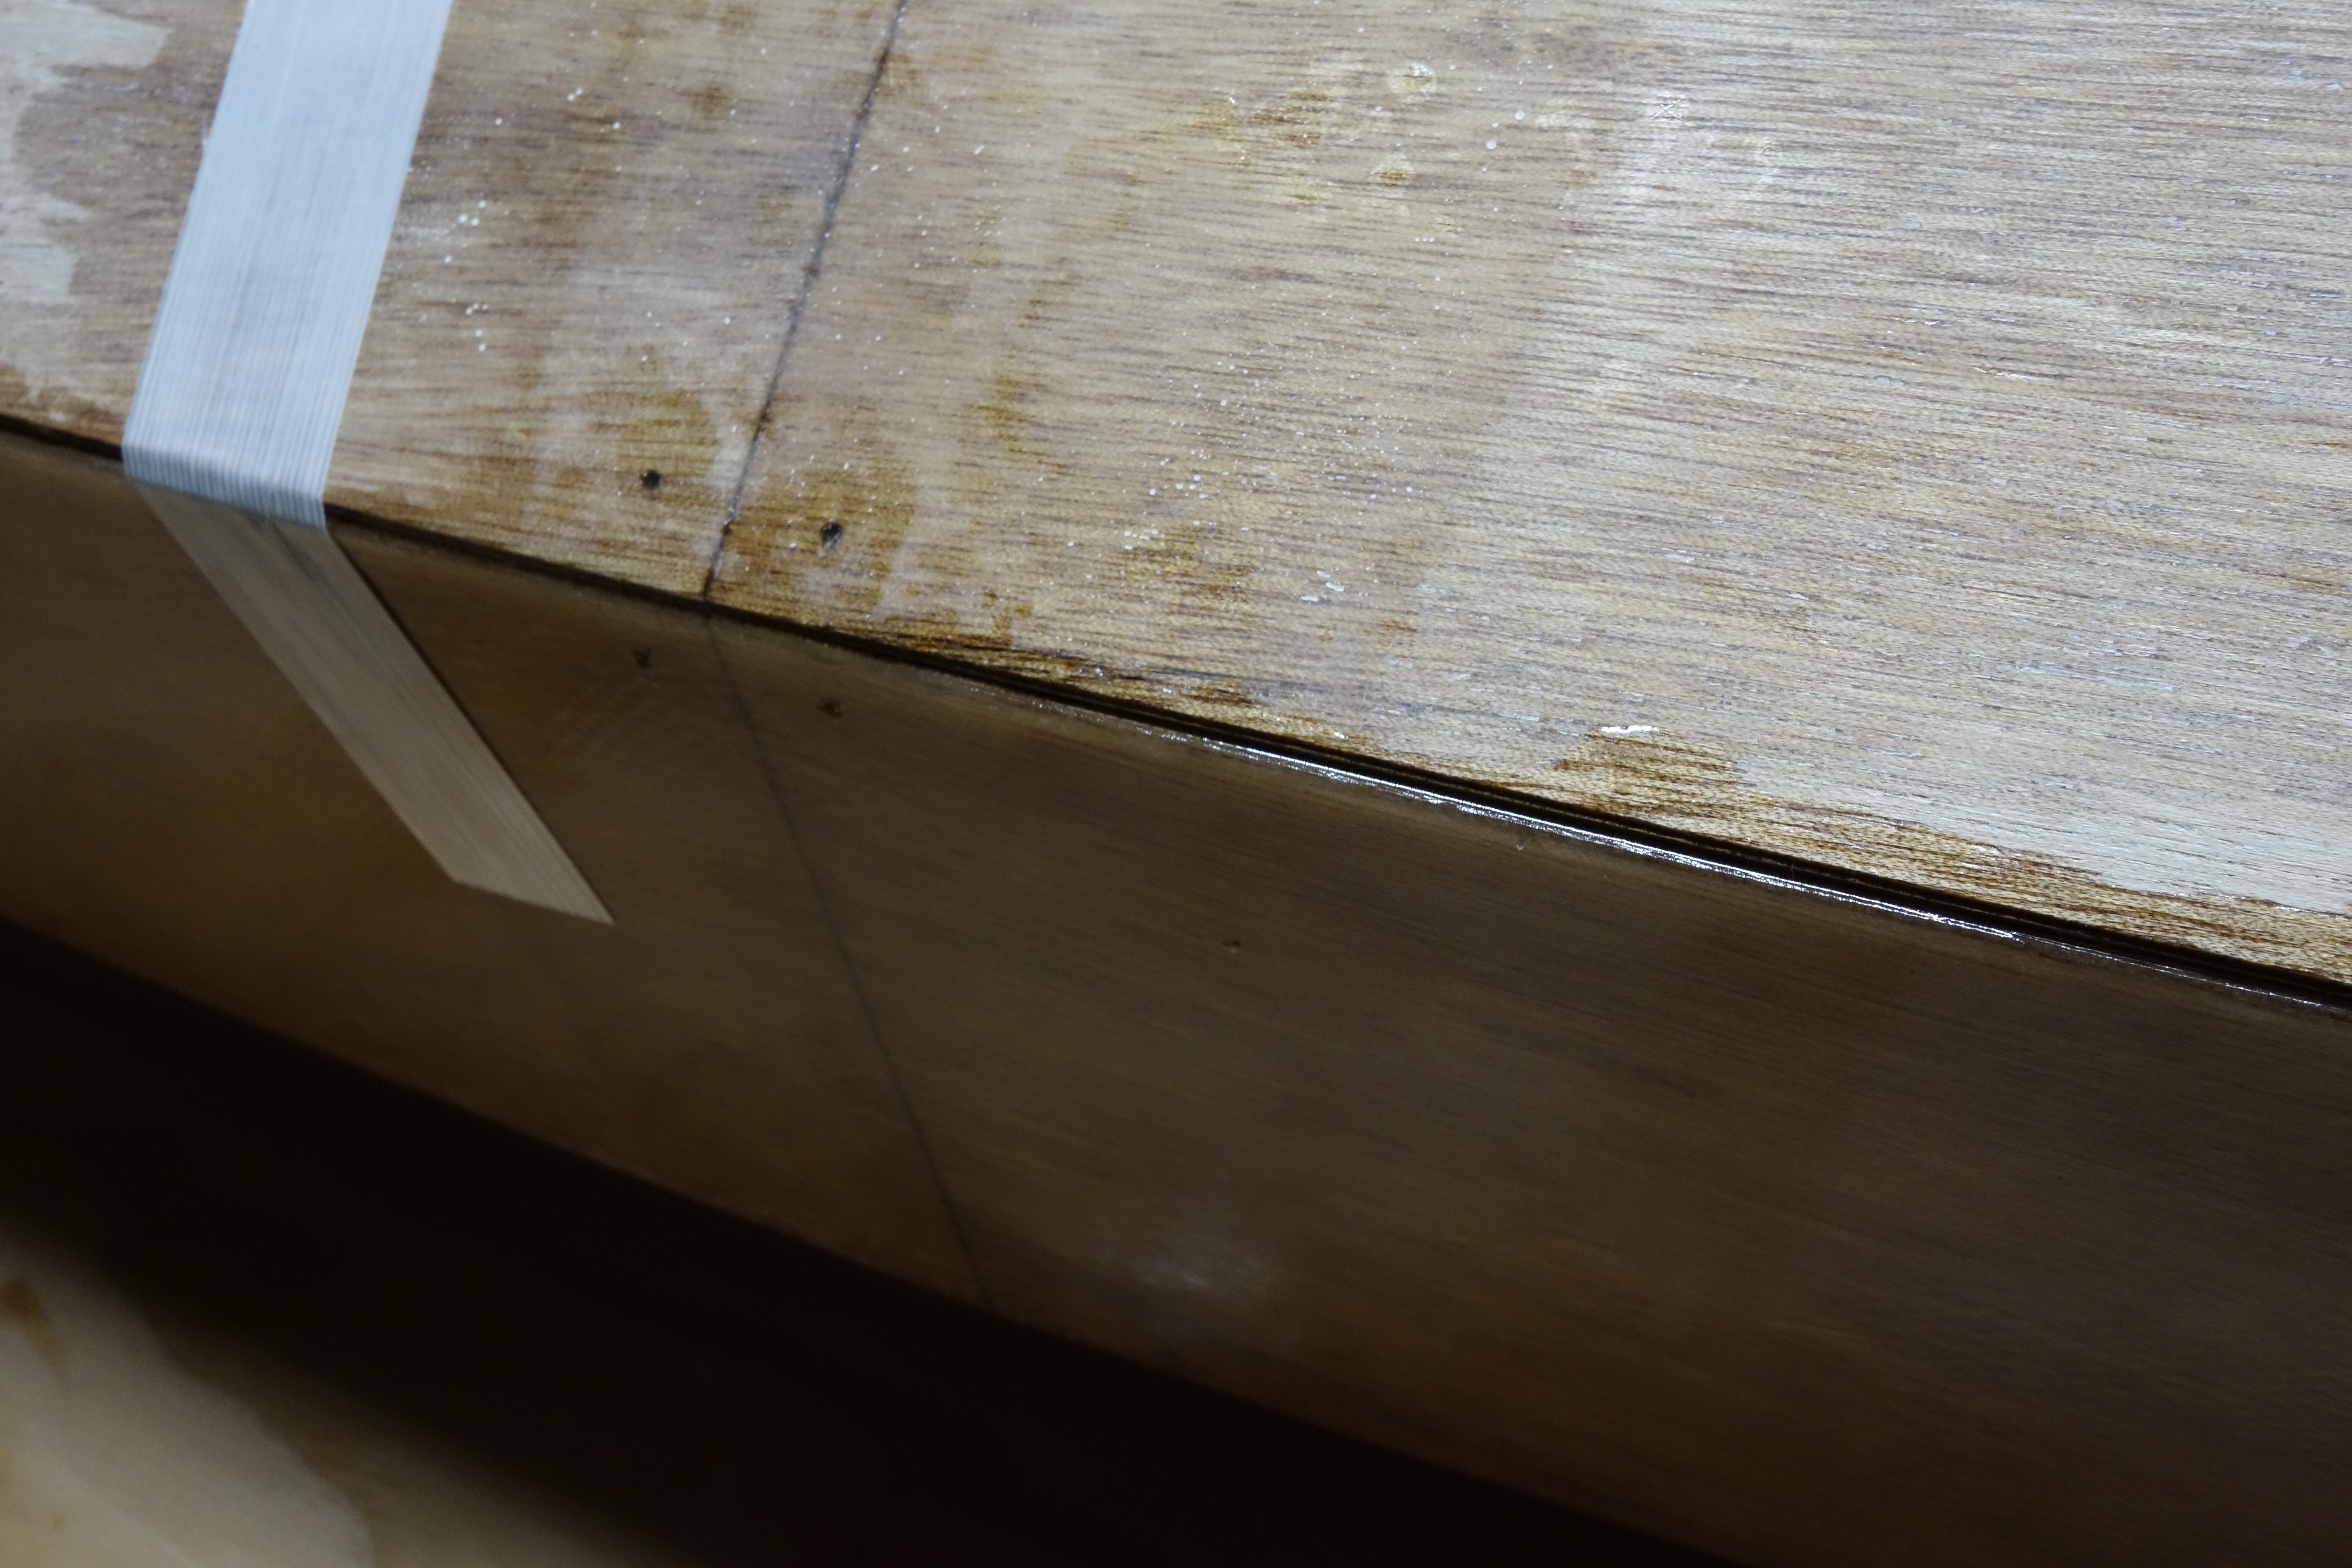
With the outside of the hull finished, construction of the deck can begin. The deck panels have been drilled in much the same way as the hull panels were, and will be stitched together atop the temporary frames in the hull. The spacers that were screwed to the frames during hull construction have been removed so now the frames will guide the shape of the deck as it is wired together.

At this stage, fiberglass strapping tape is used to hold the deck in place on the hull.
Bow deck loosely wired together.
Bow deck panels carefully aligned, but not yet wired tight.
Bow and stern deck panels wired, except for the deck recess plate. It goes in last and requires some careful flexing and fitting to get to fit correctly. The piece of mylar that you can see in the foreground of the photo, between the hull and deck bow tip is there to keep me from accidentally gluing the deck to the hull before I finish the inside of the deck! There is one at the stern tip as well.