Deck recess plate installed and deck glued.

The recess plate has been installed, all seams are made smooth and fair, the wires are tightened and the deck is glued. The deck is not glued to the hull at this time as there is much work yet to do on the inside of the deck. If you’re wondering about the “custom” epoxy bow tip, one of the panels arrived in the box with a tip broken off. The only thing I could think of to do, was to cut the other tip off to the same length and make a tip for both panels out of epoxy. If you click on the photo and zoom in you can see the big blob of thickened epoxy sitting on top of the mylar, that I will eventually file and sand into a bow tip.
The deck is taped to the hull, and wired where necessary so that the deck takes its proper shape. Like the hull, the deck is first glued with straight epoxy, and then the seams that are covered with tape or that were not completely glued will be filled in with epoxy thickened with wood flour.
The strap is to keep the hull pulled in tight while the deck it curing. Not strictly necessary, but it made my life easier.

Deck construction.

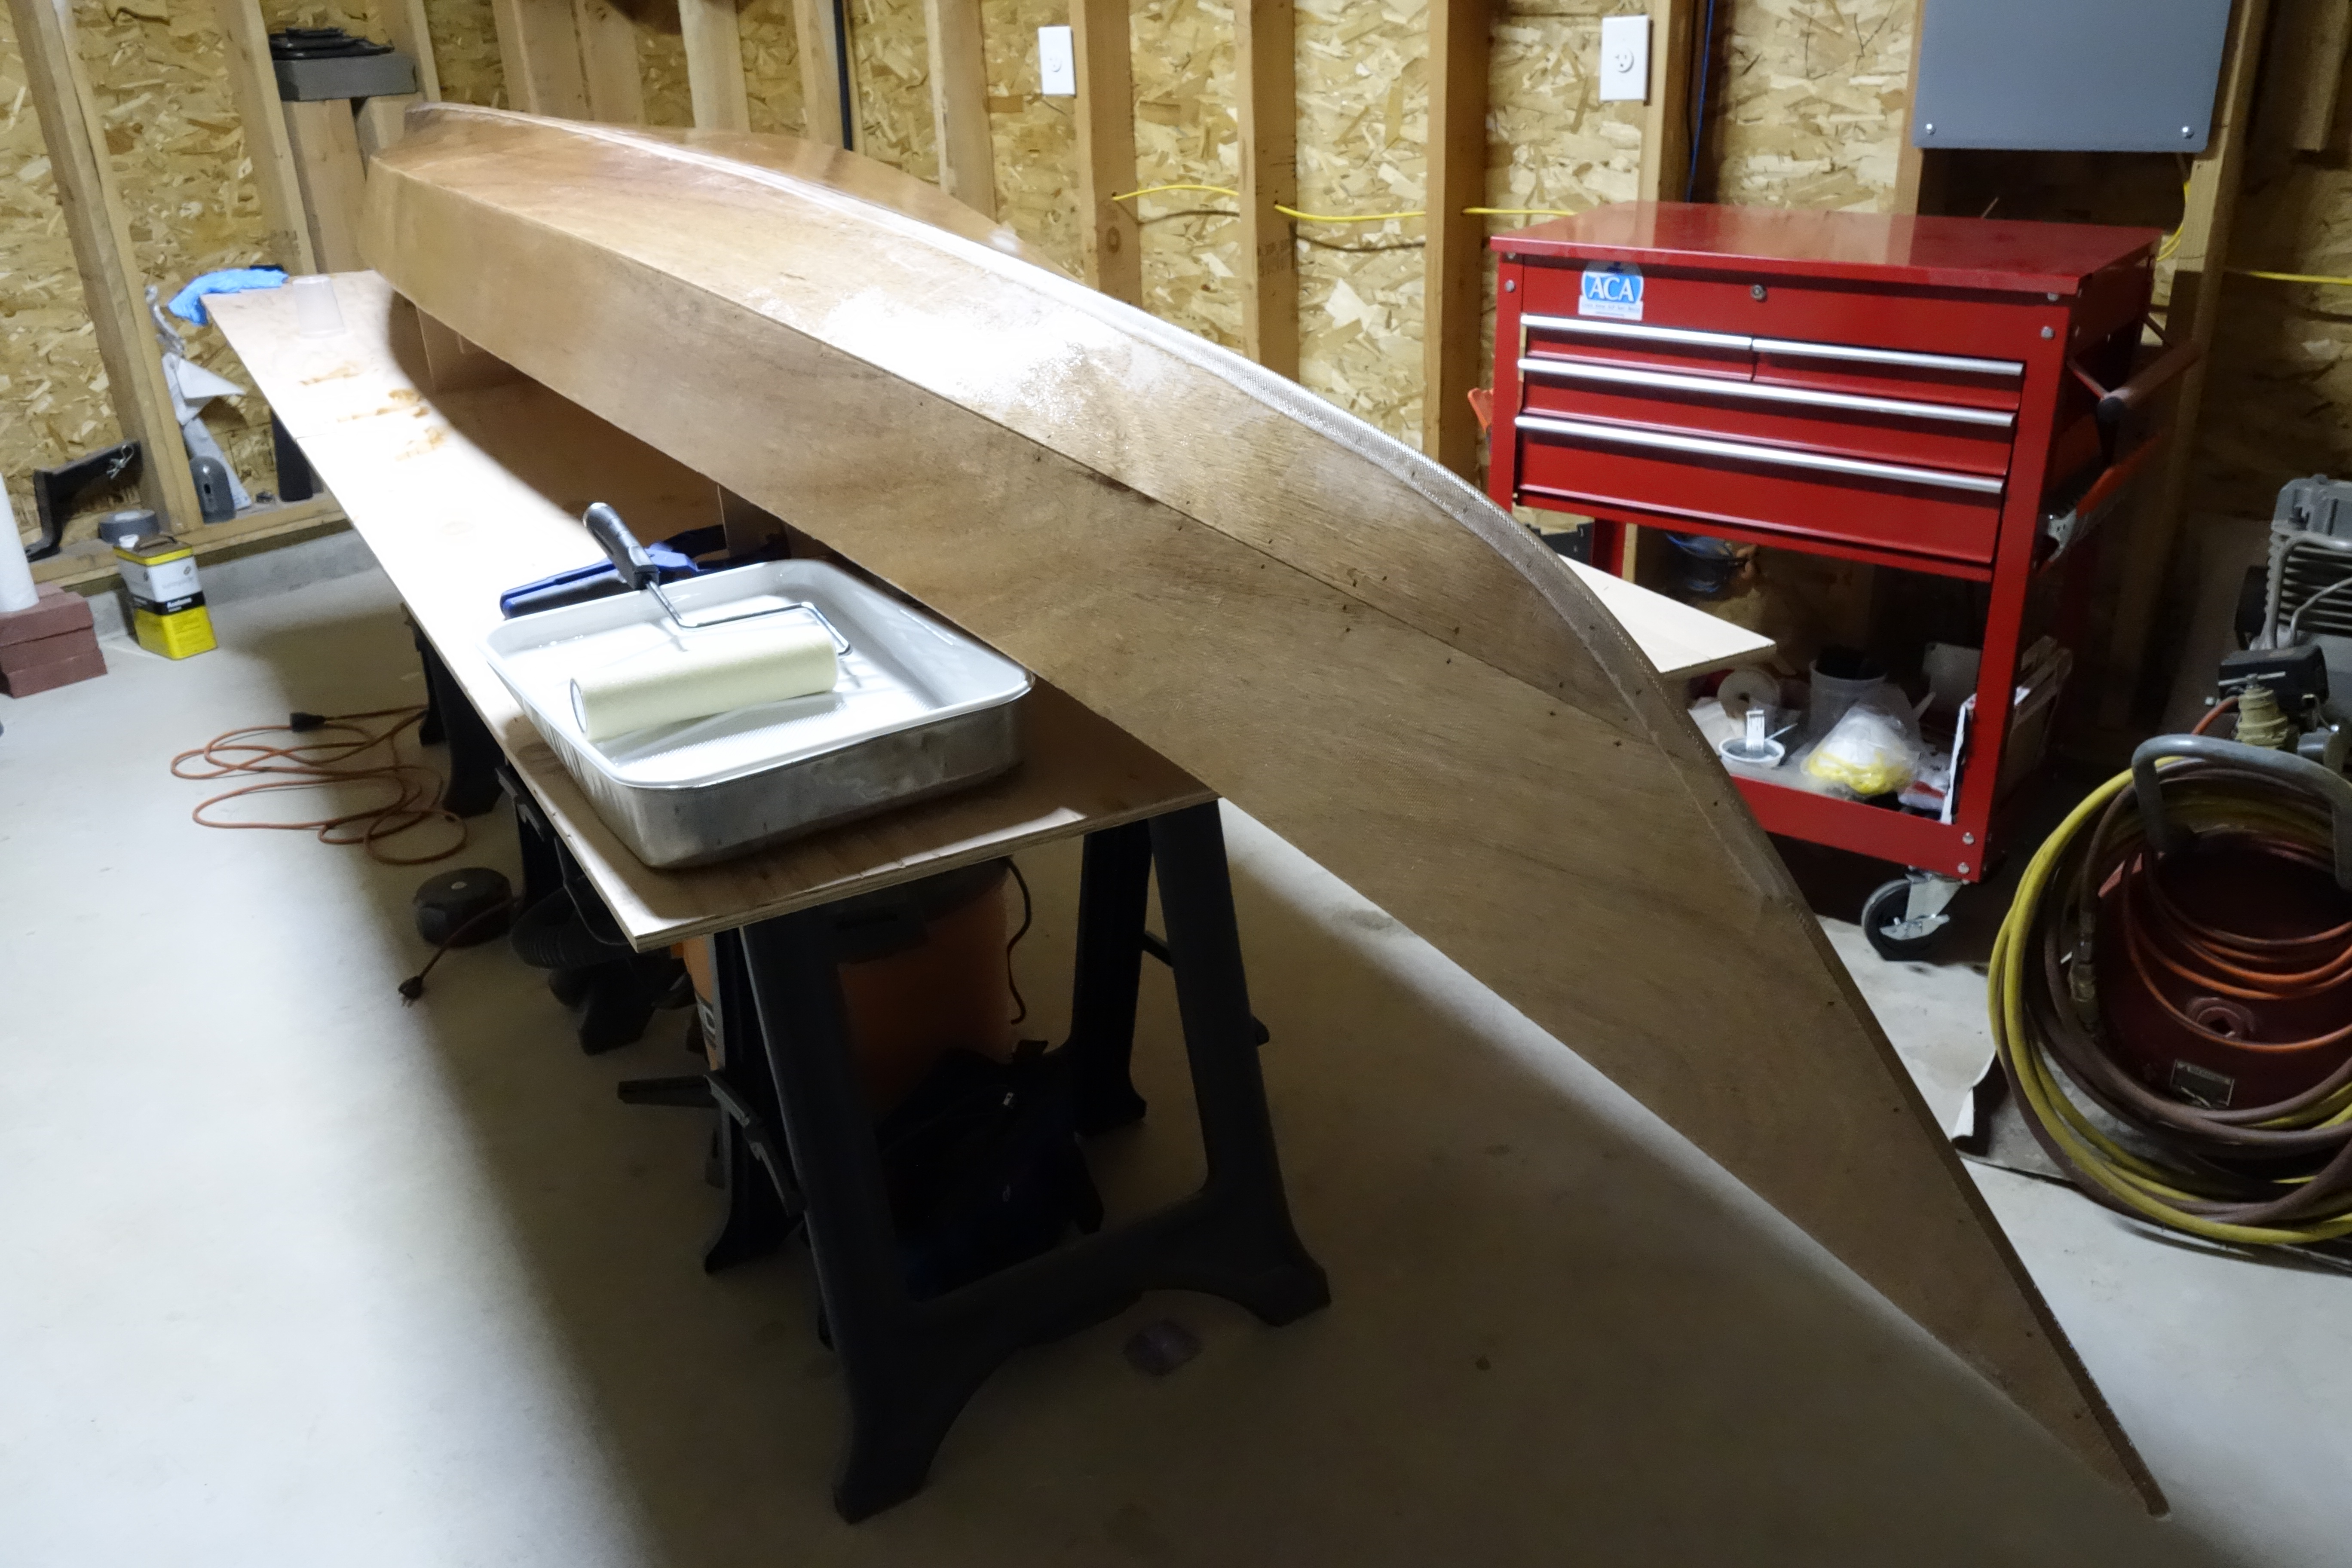
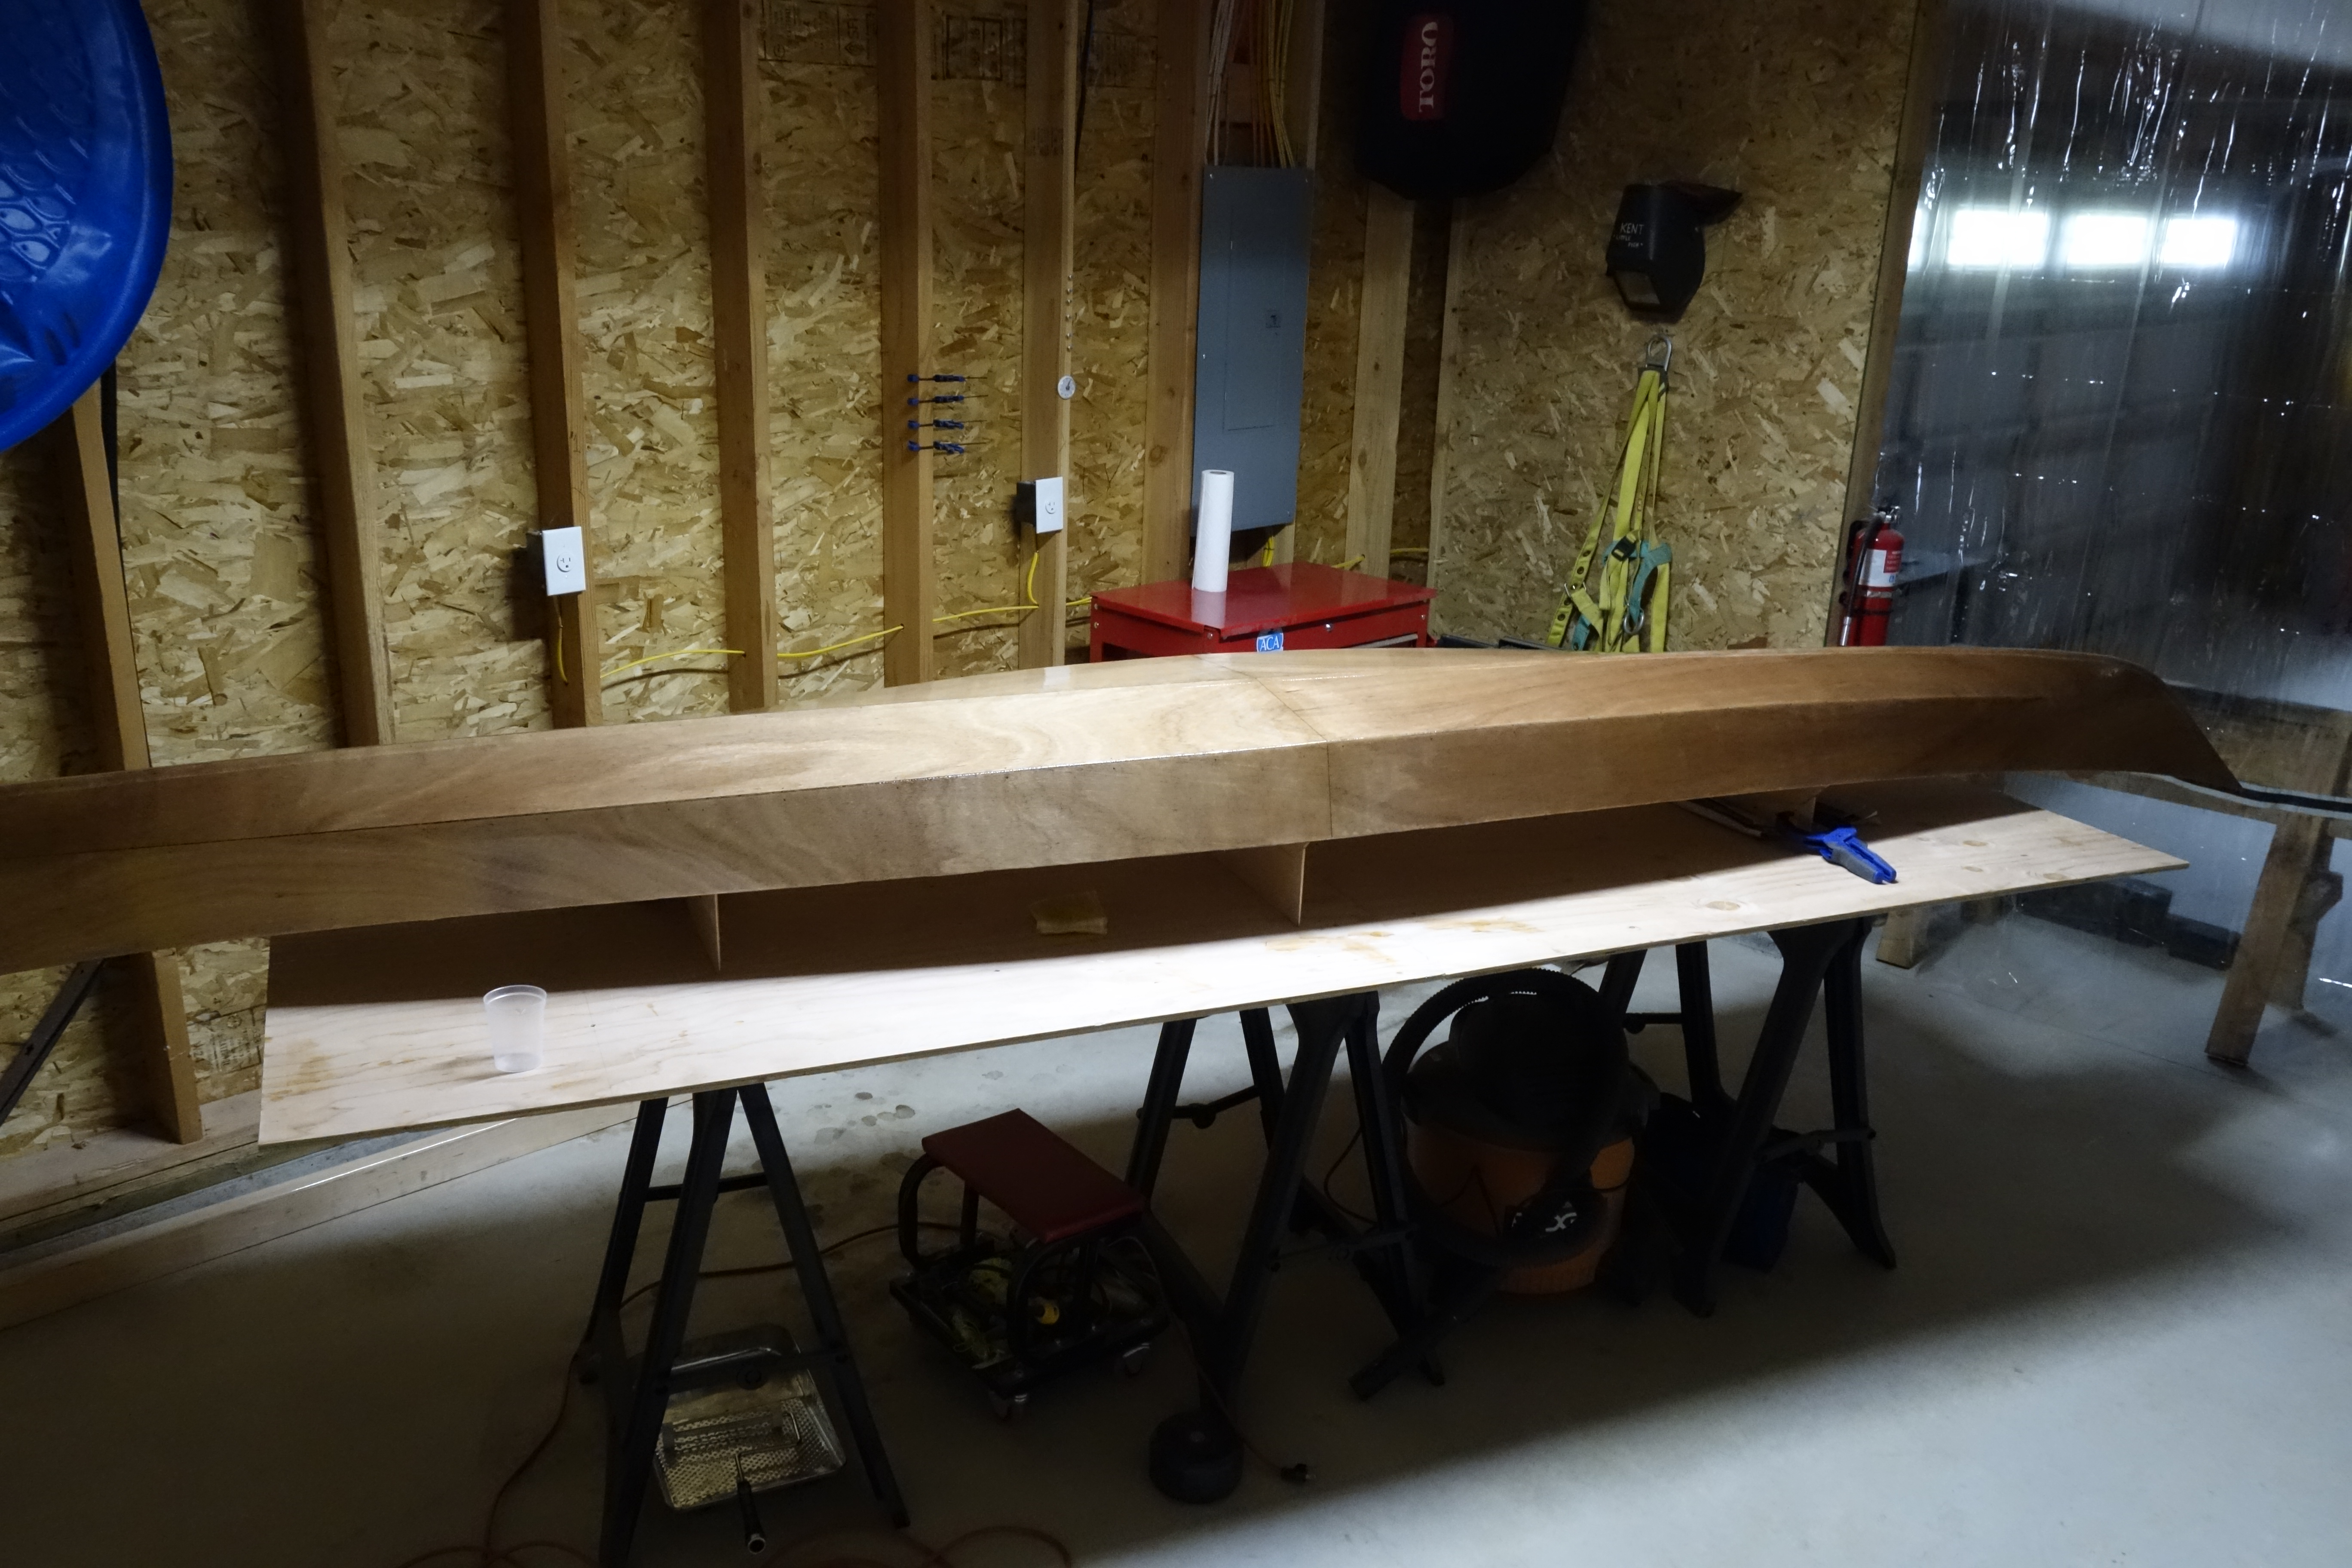
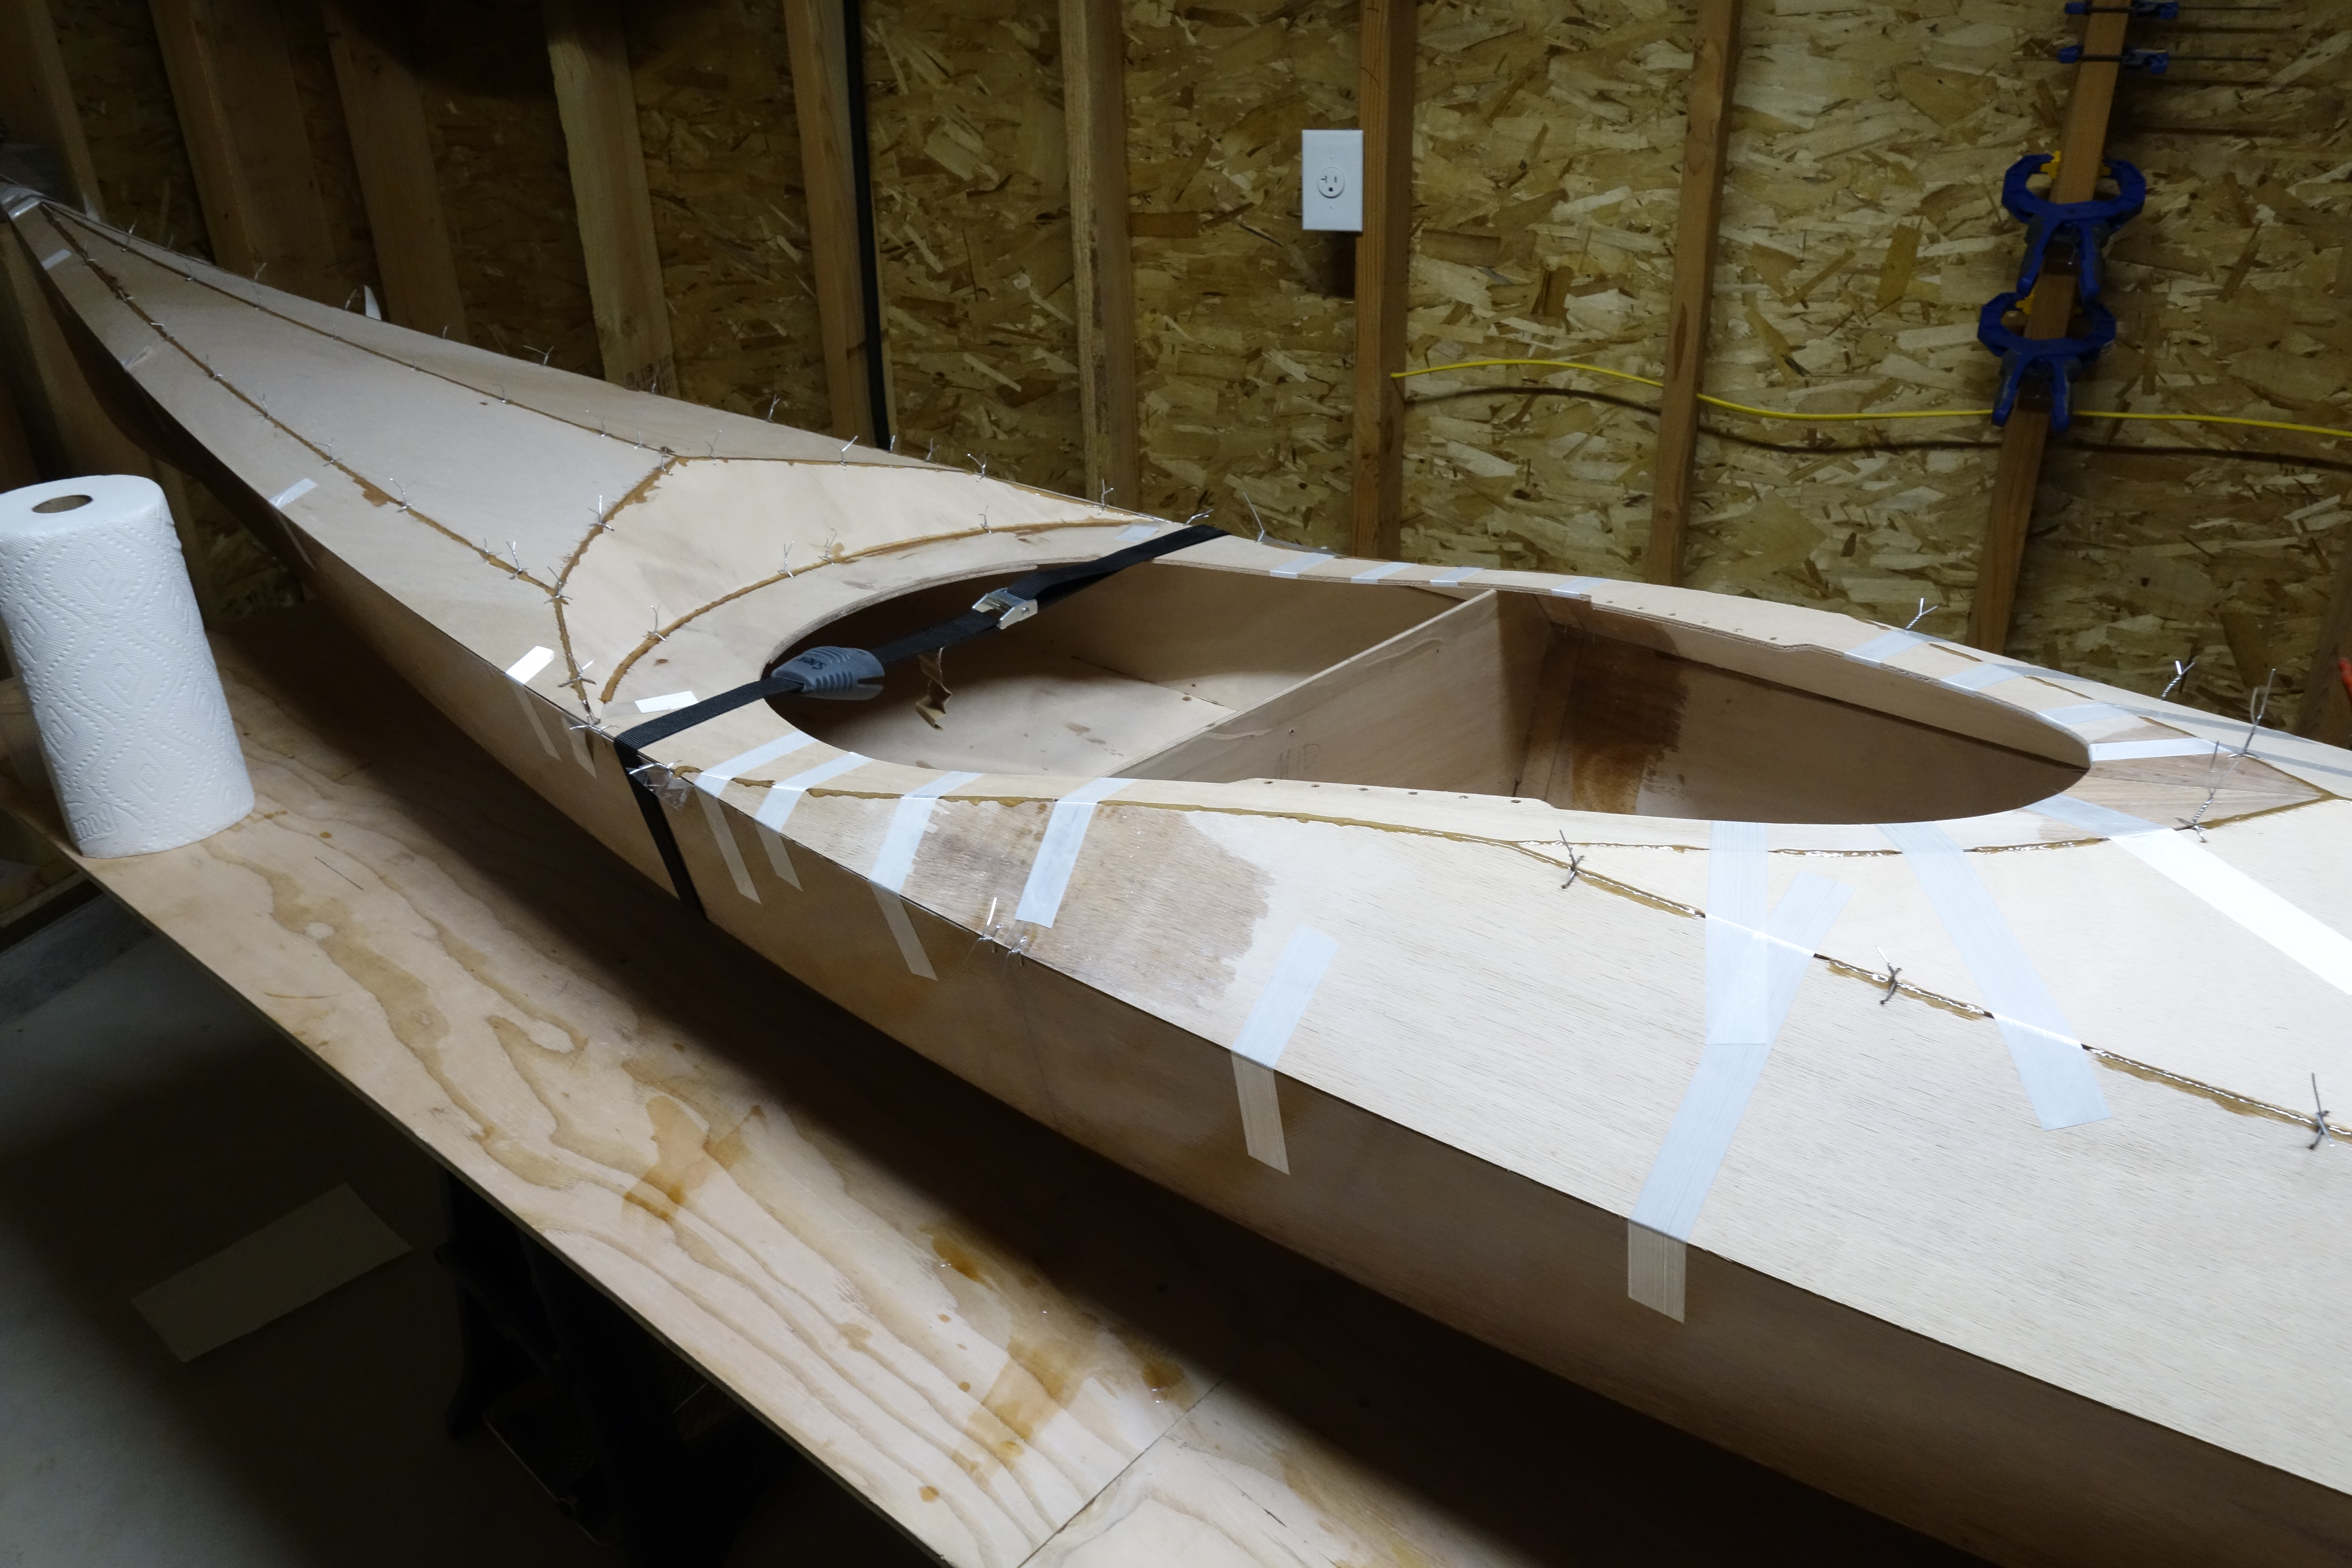
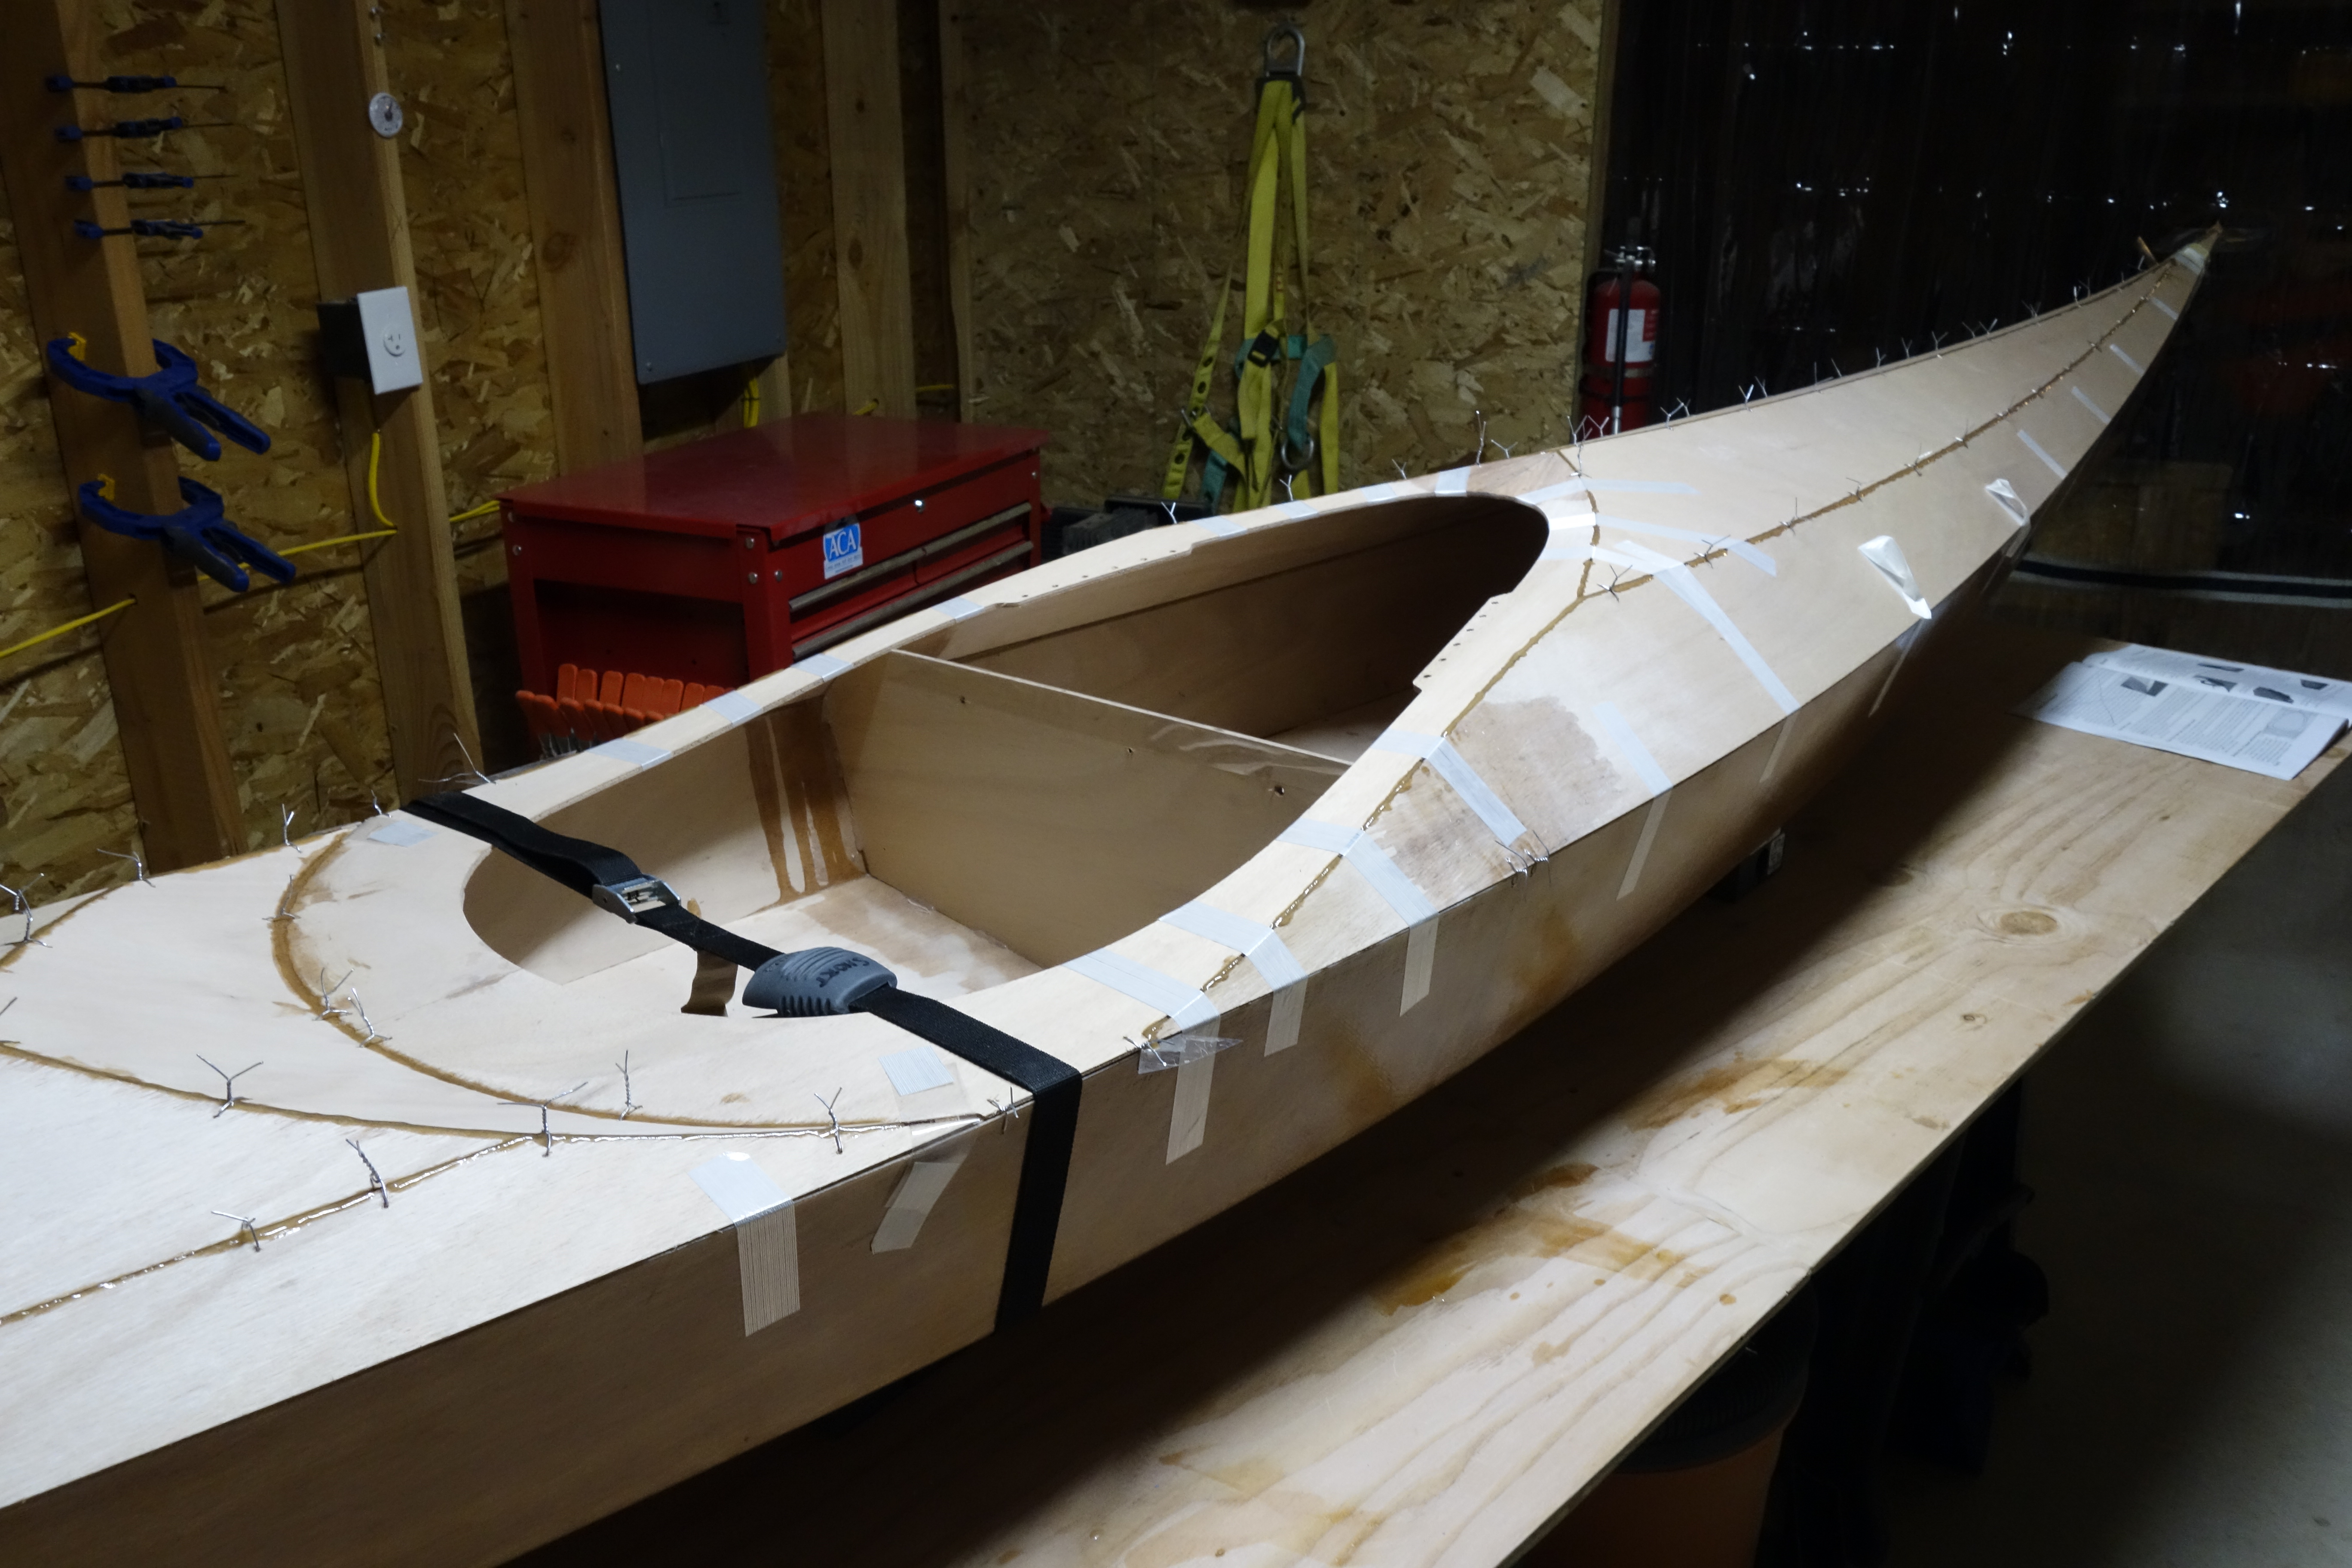
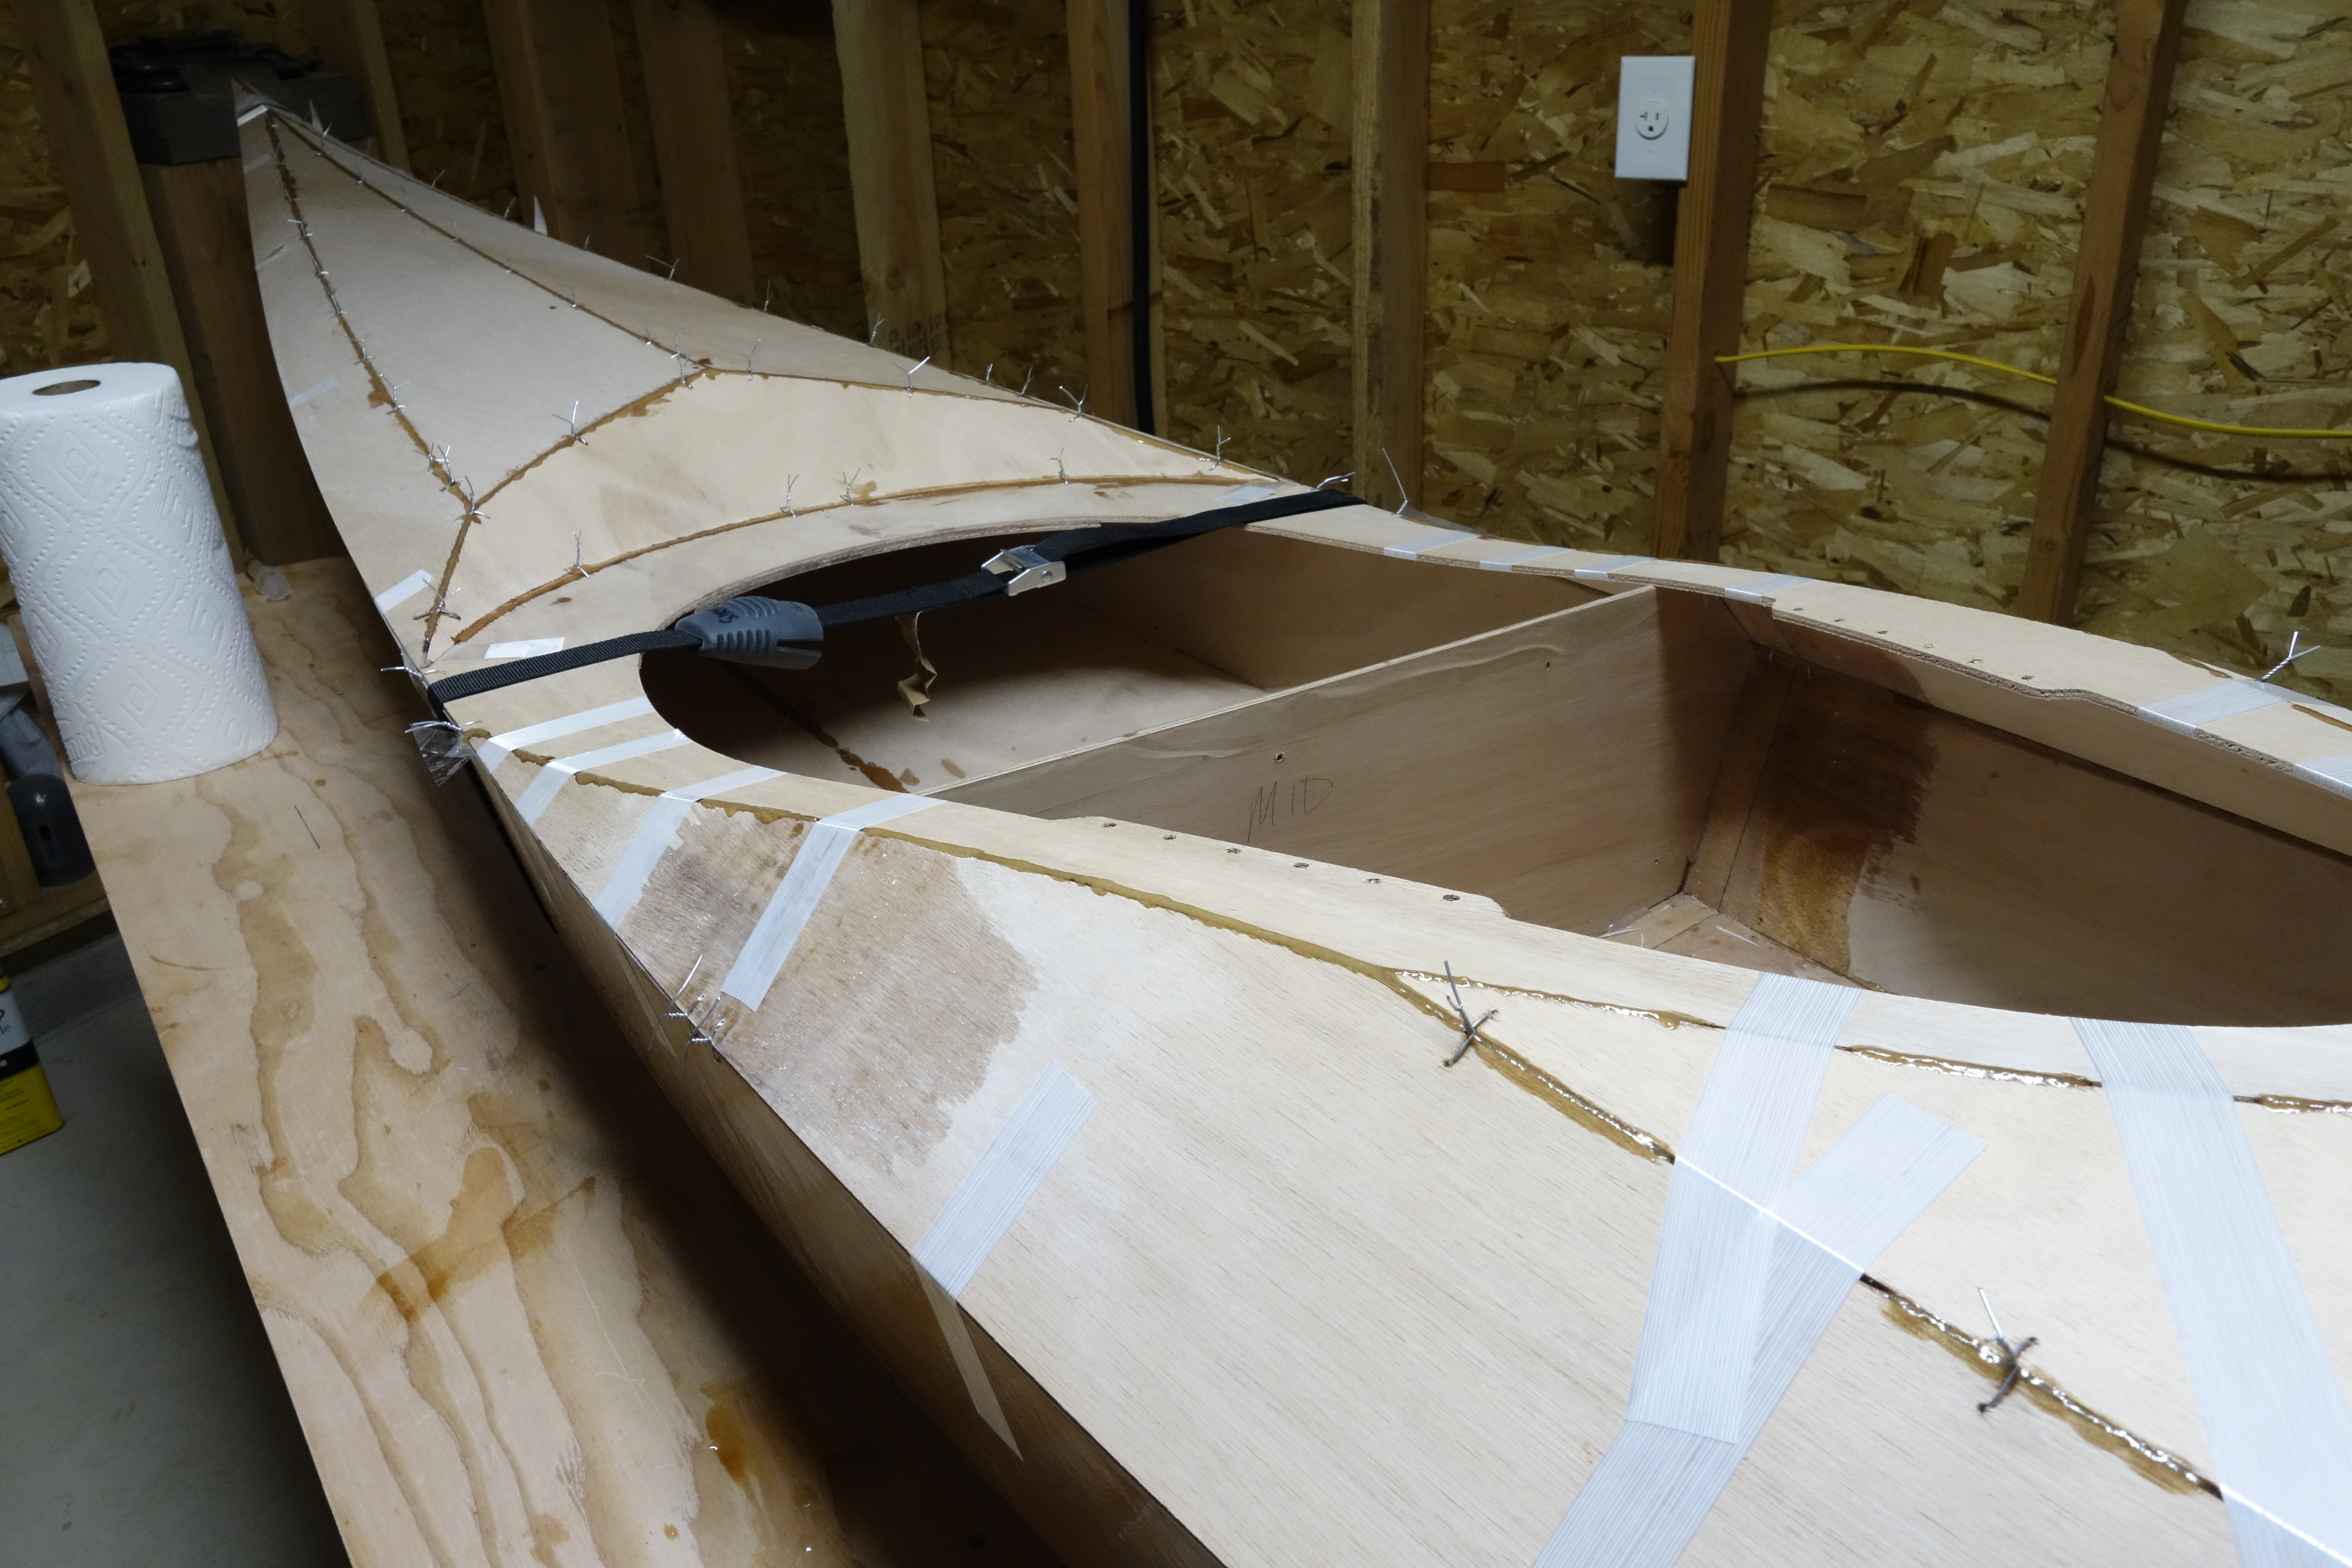
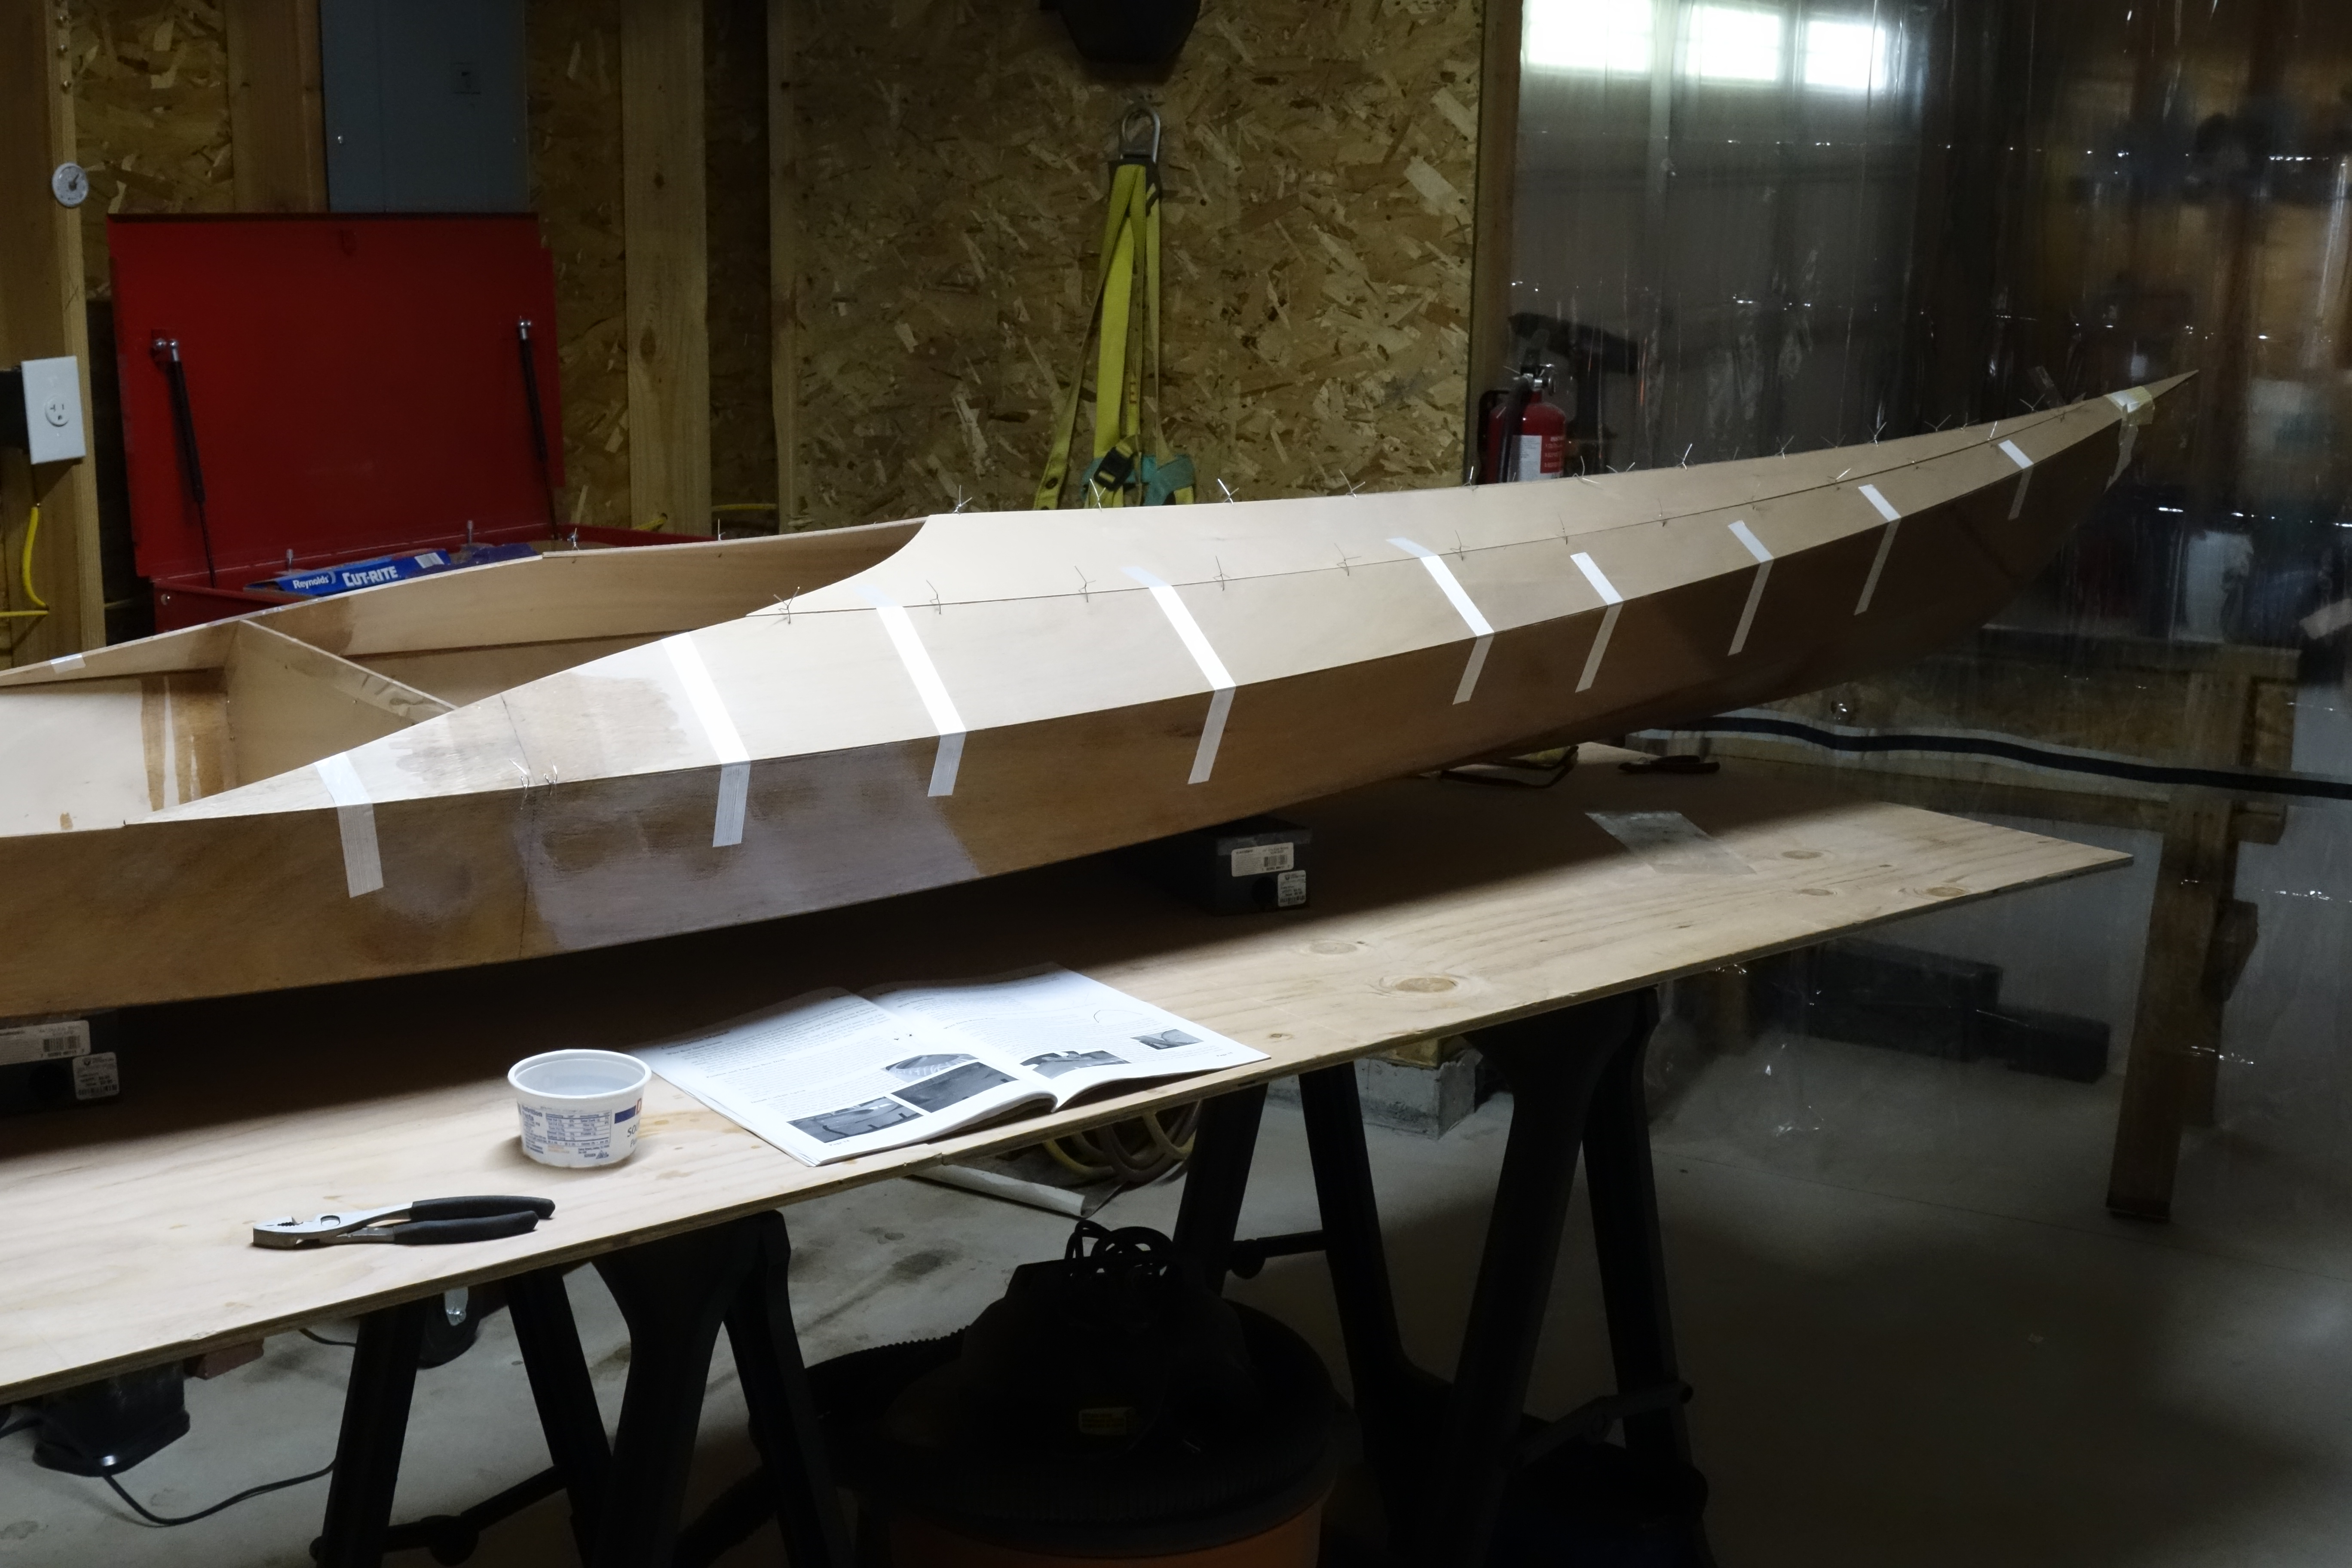
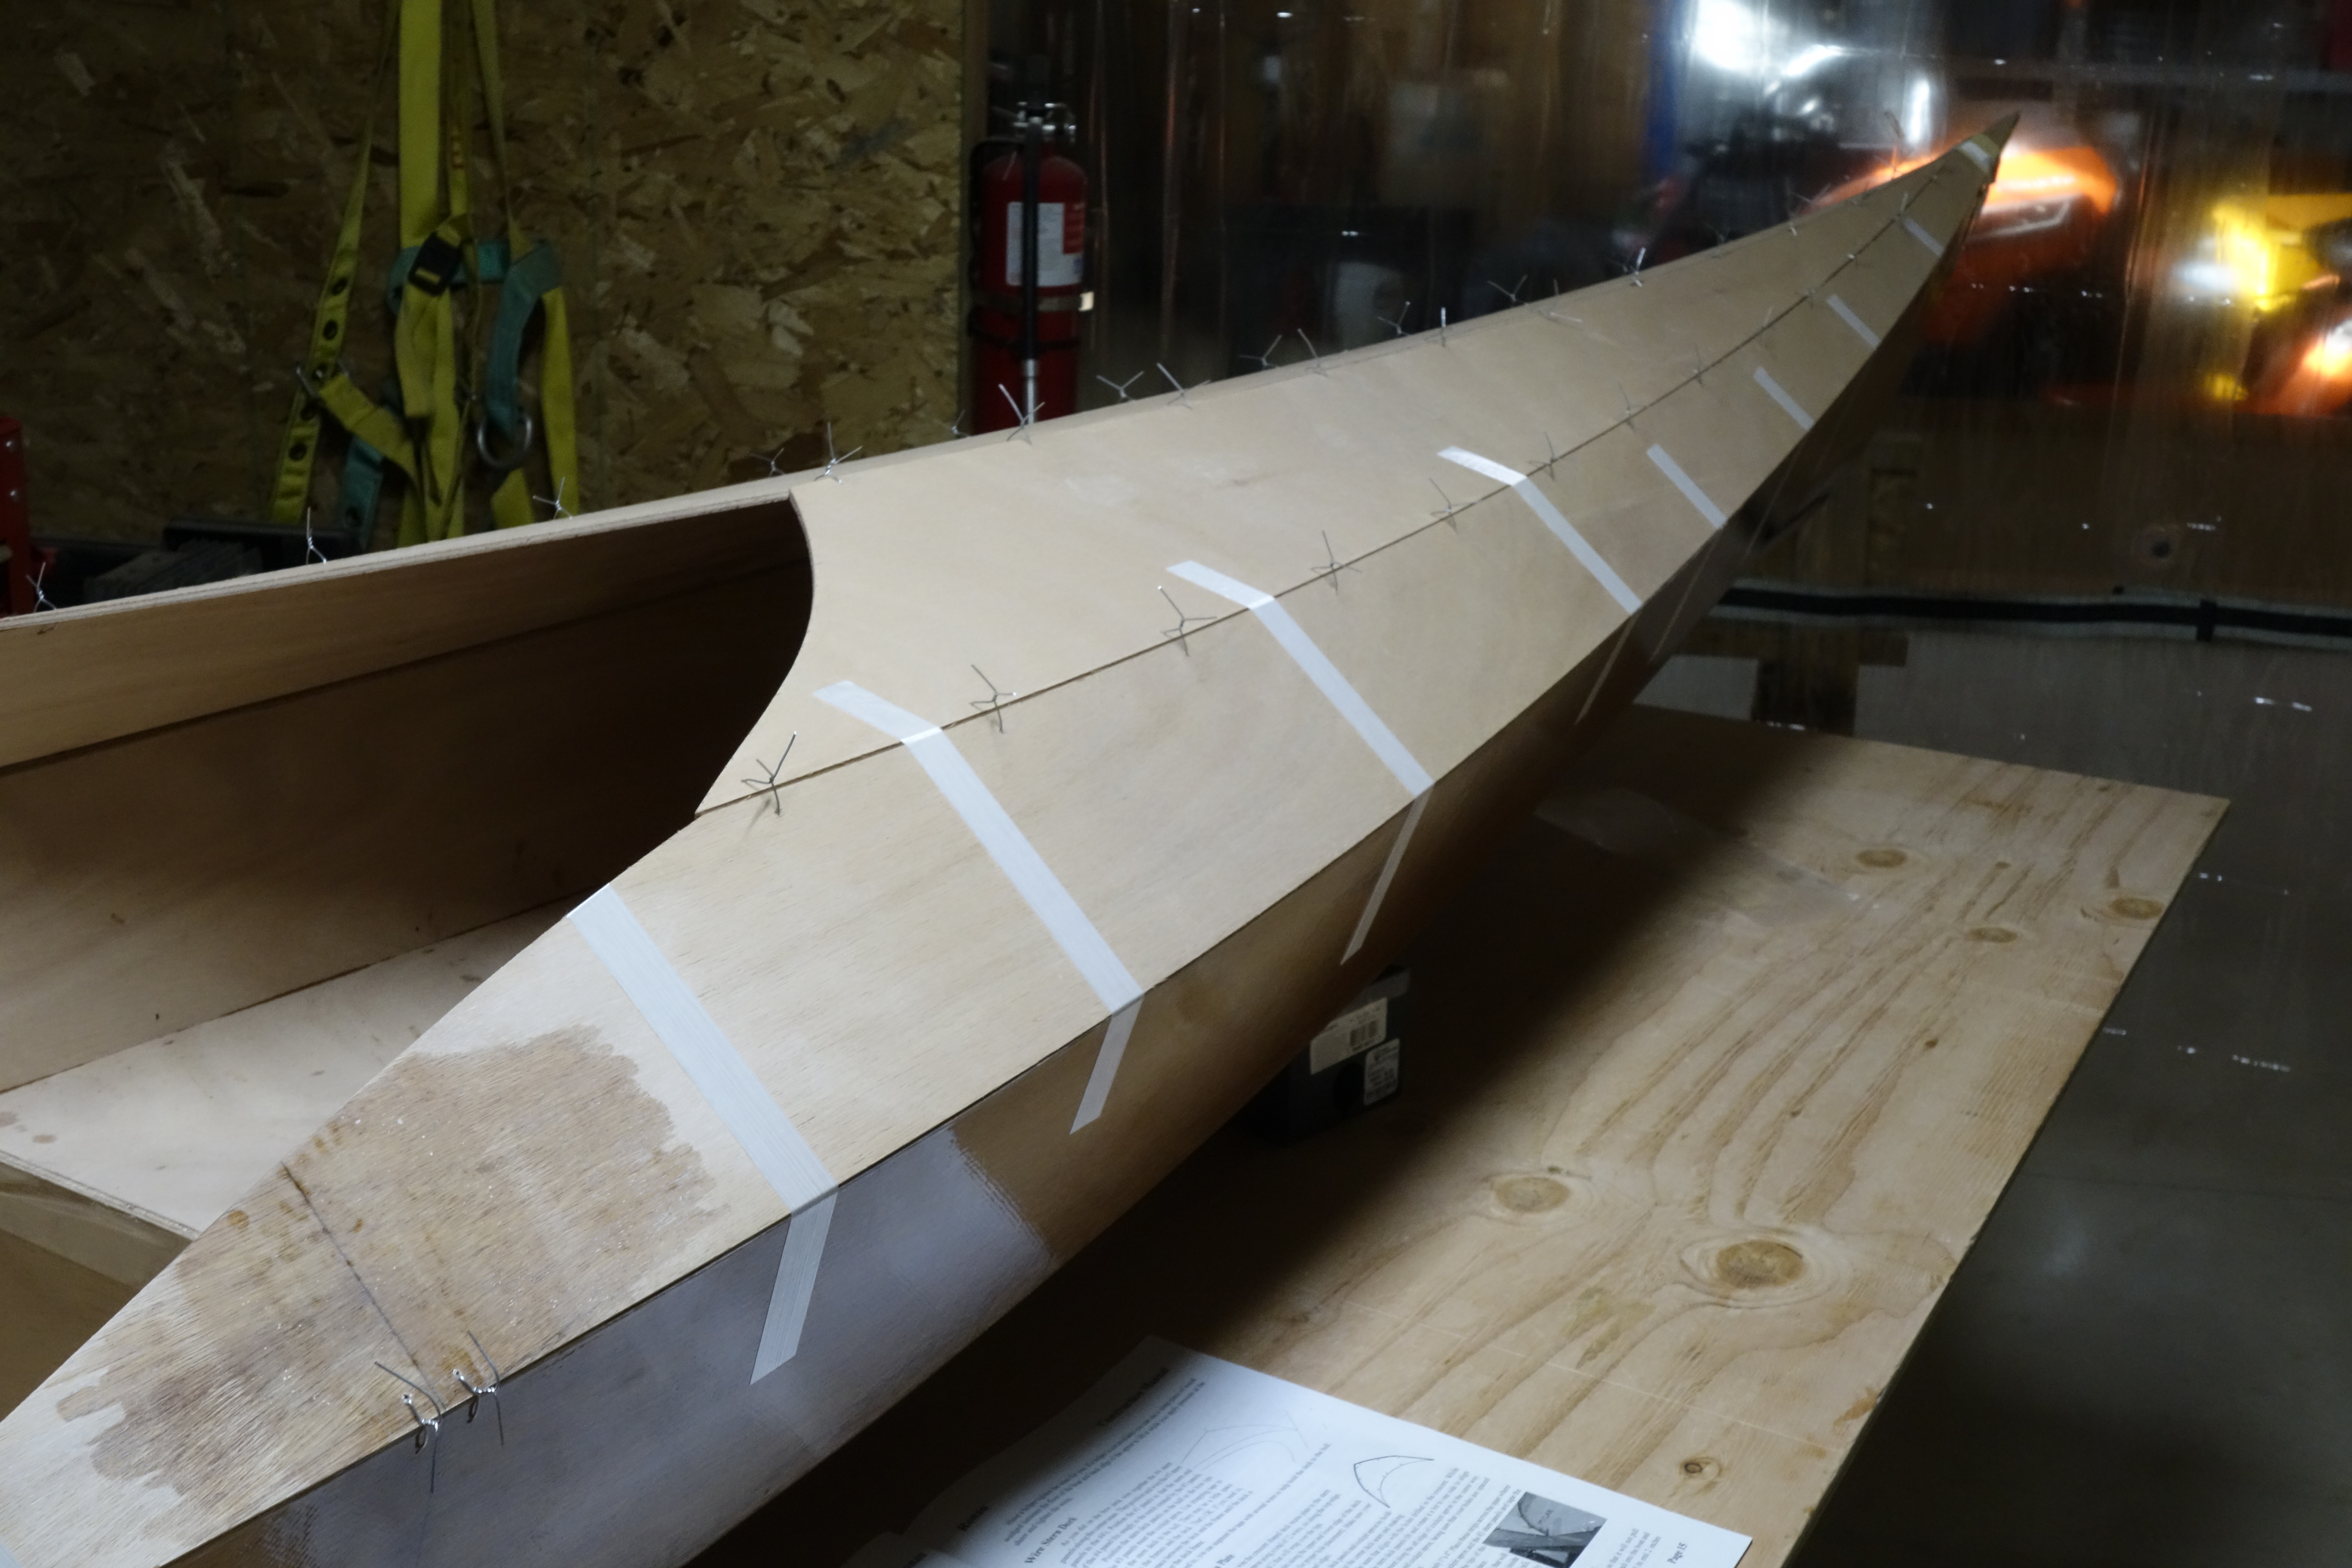
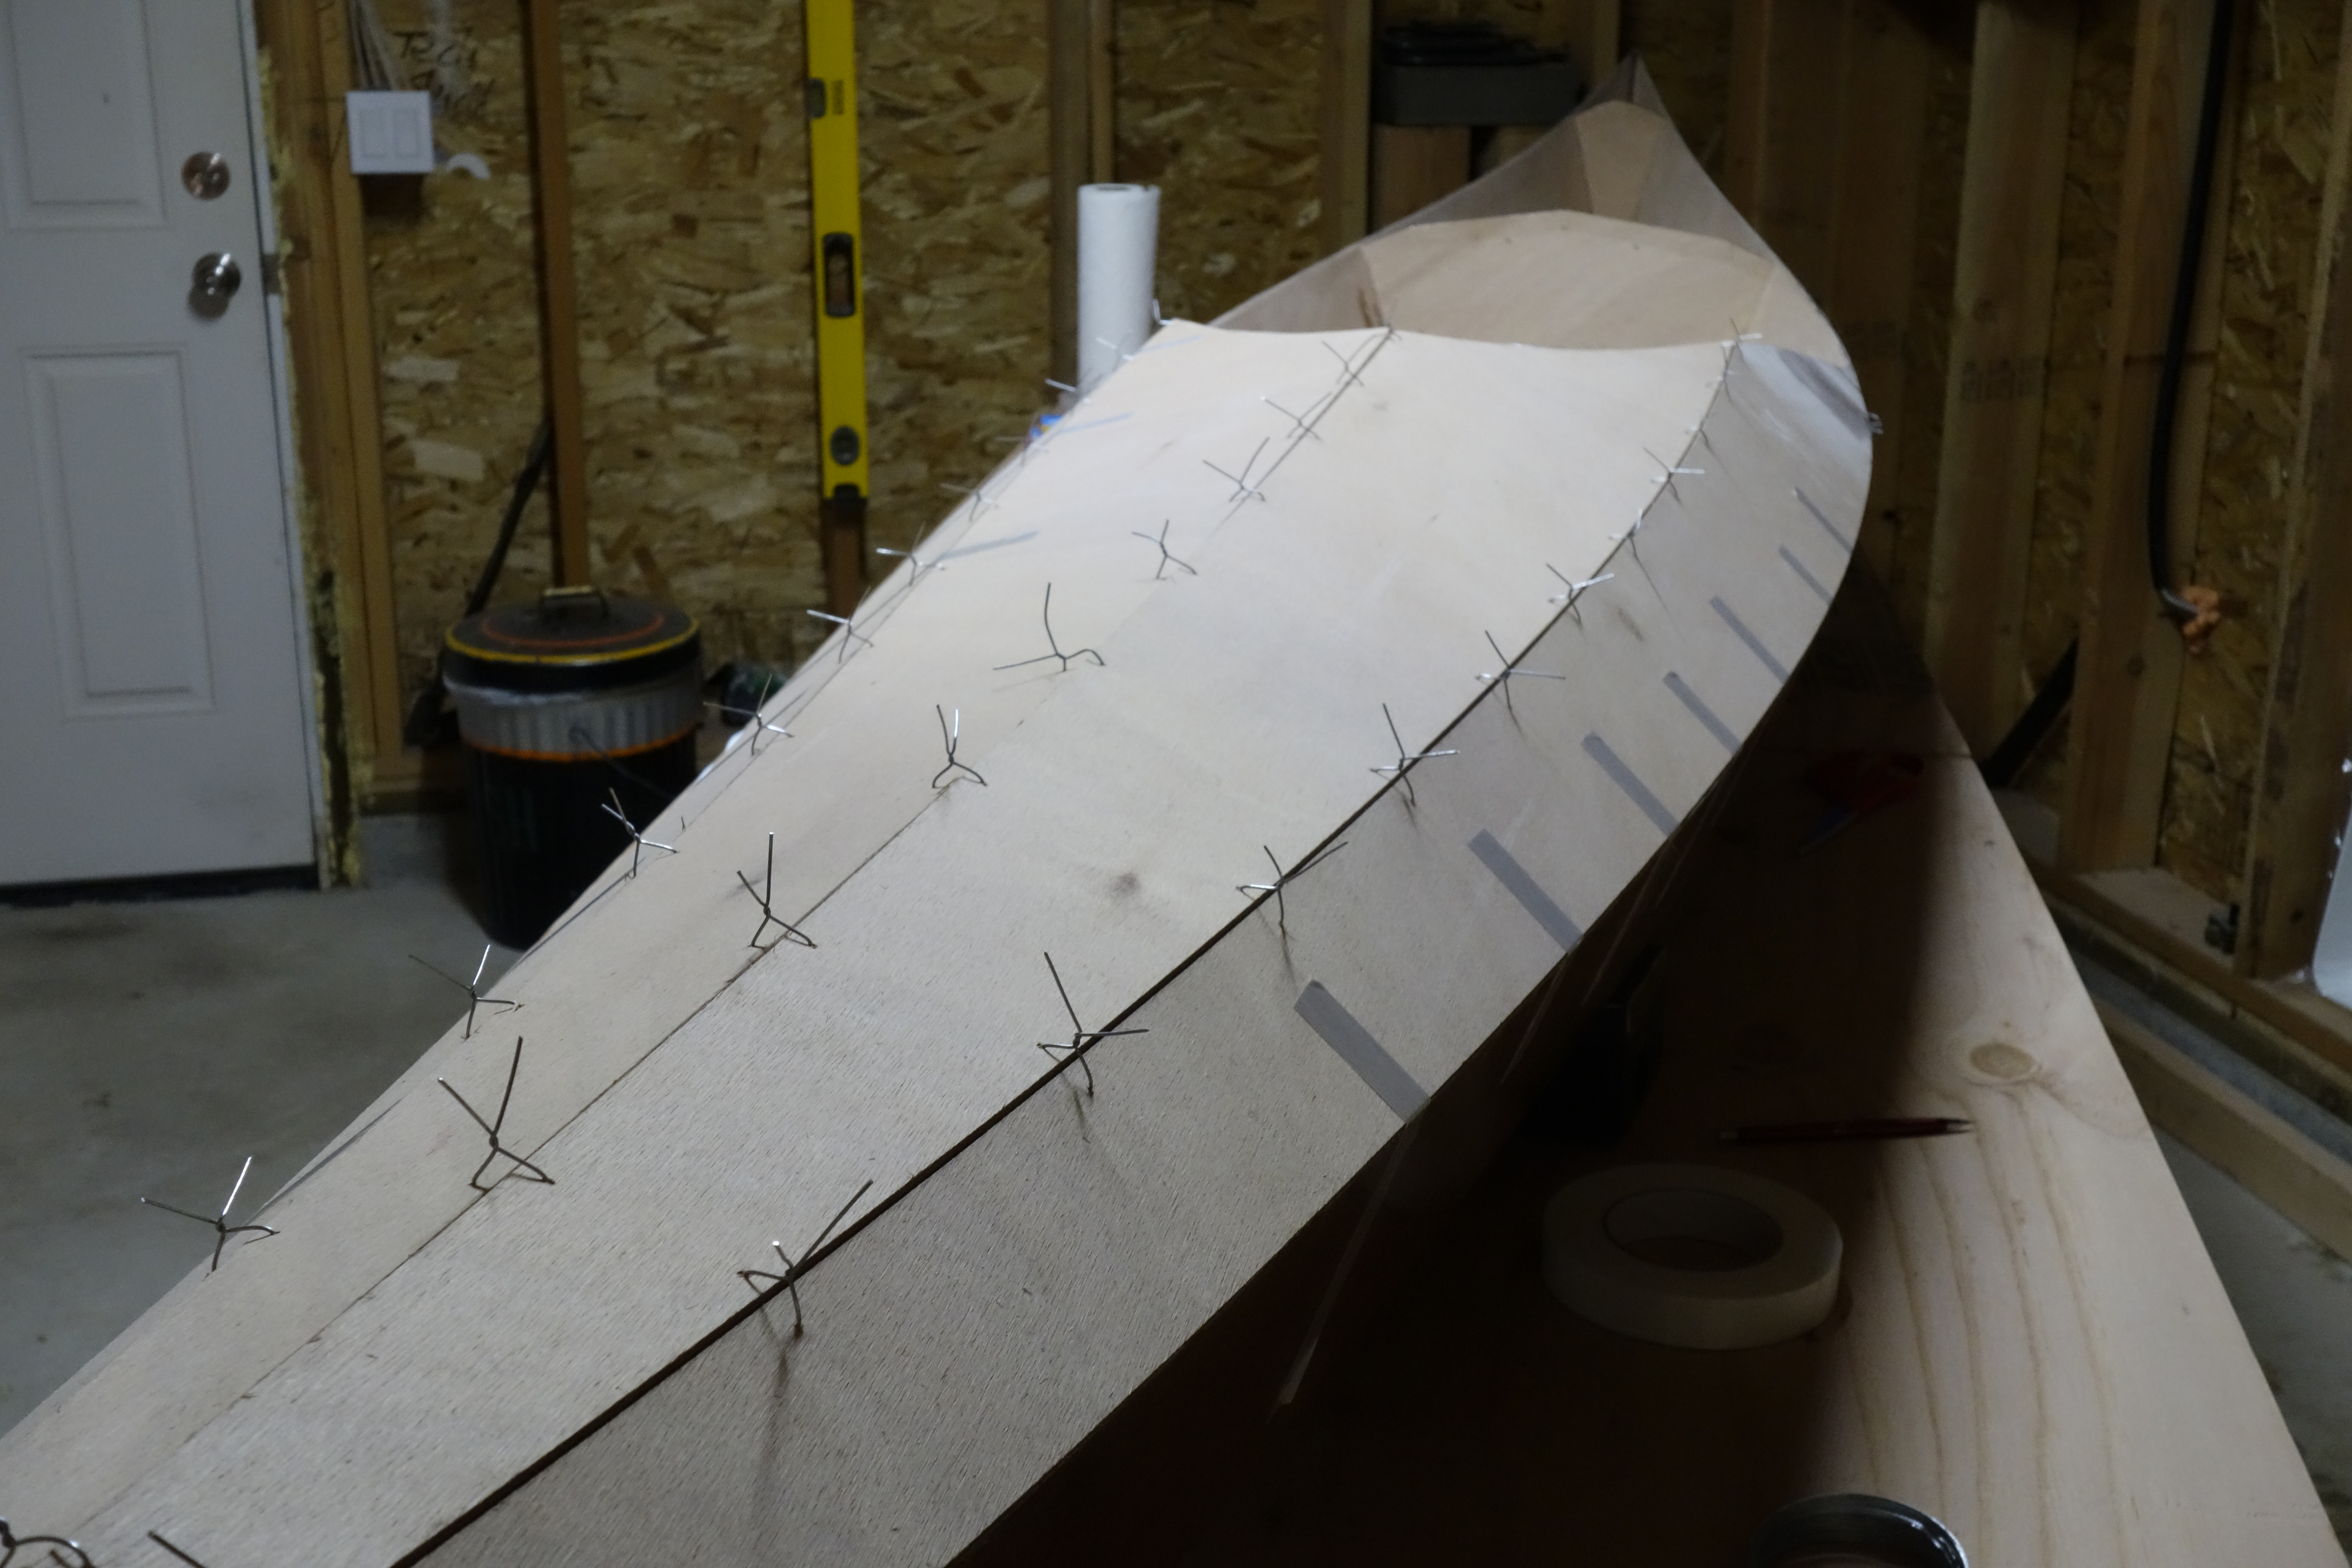
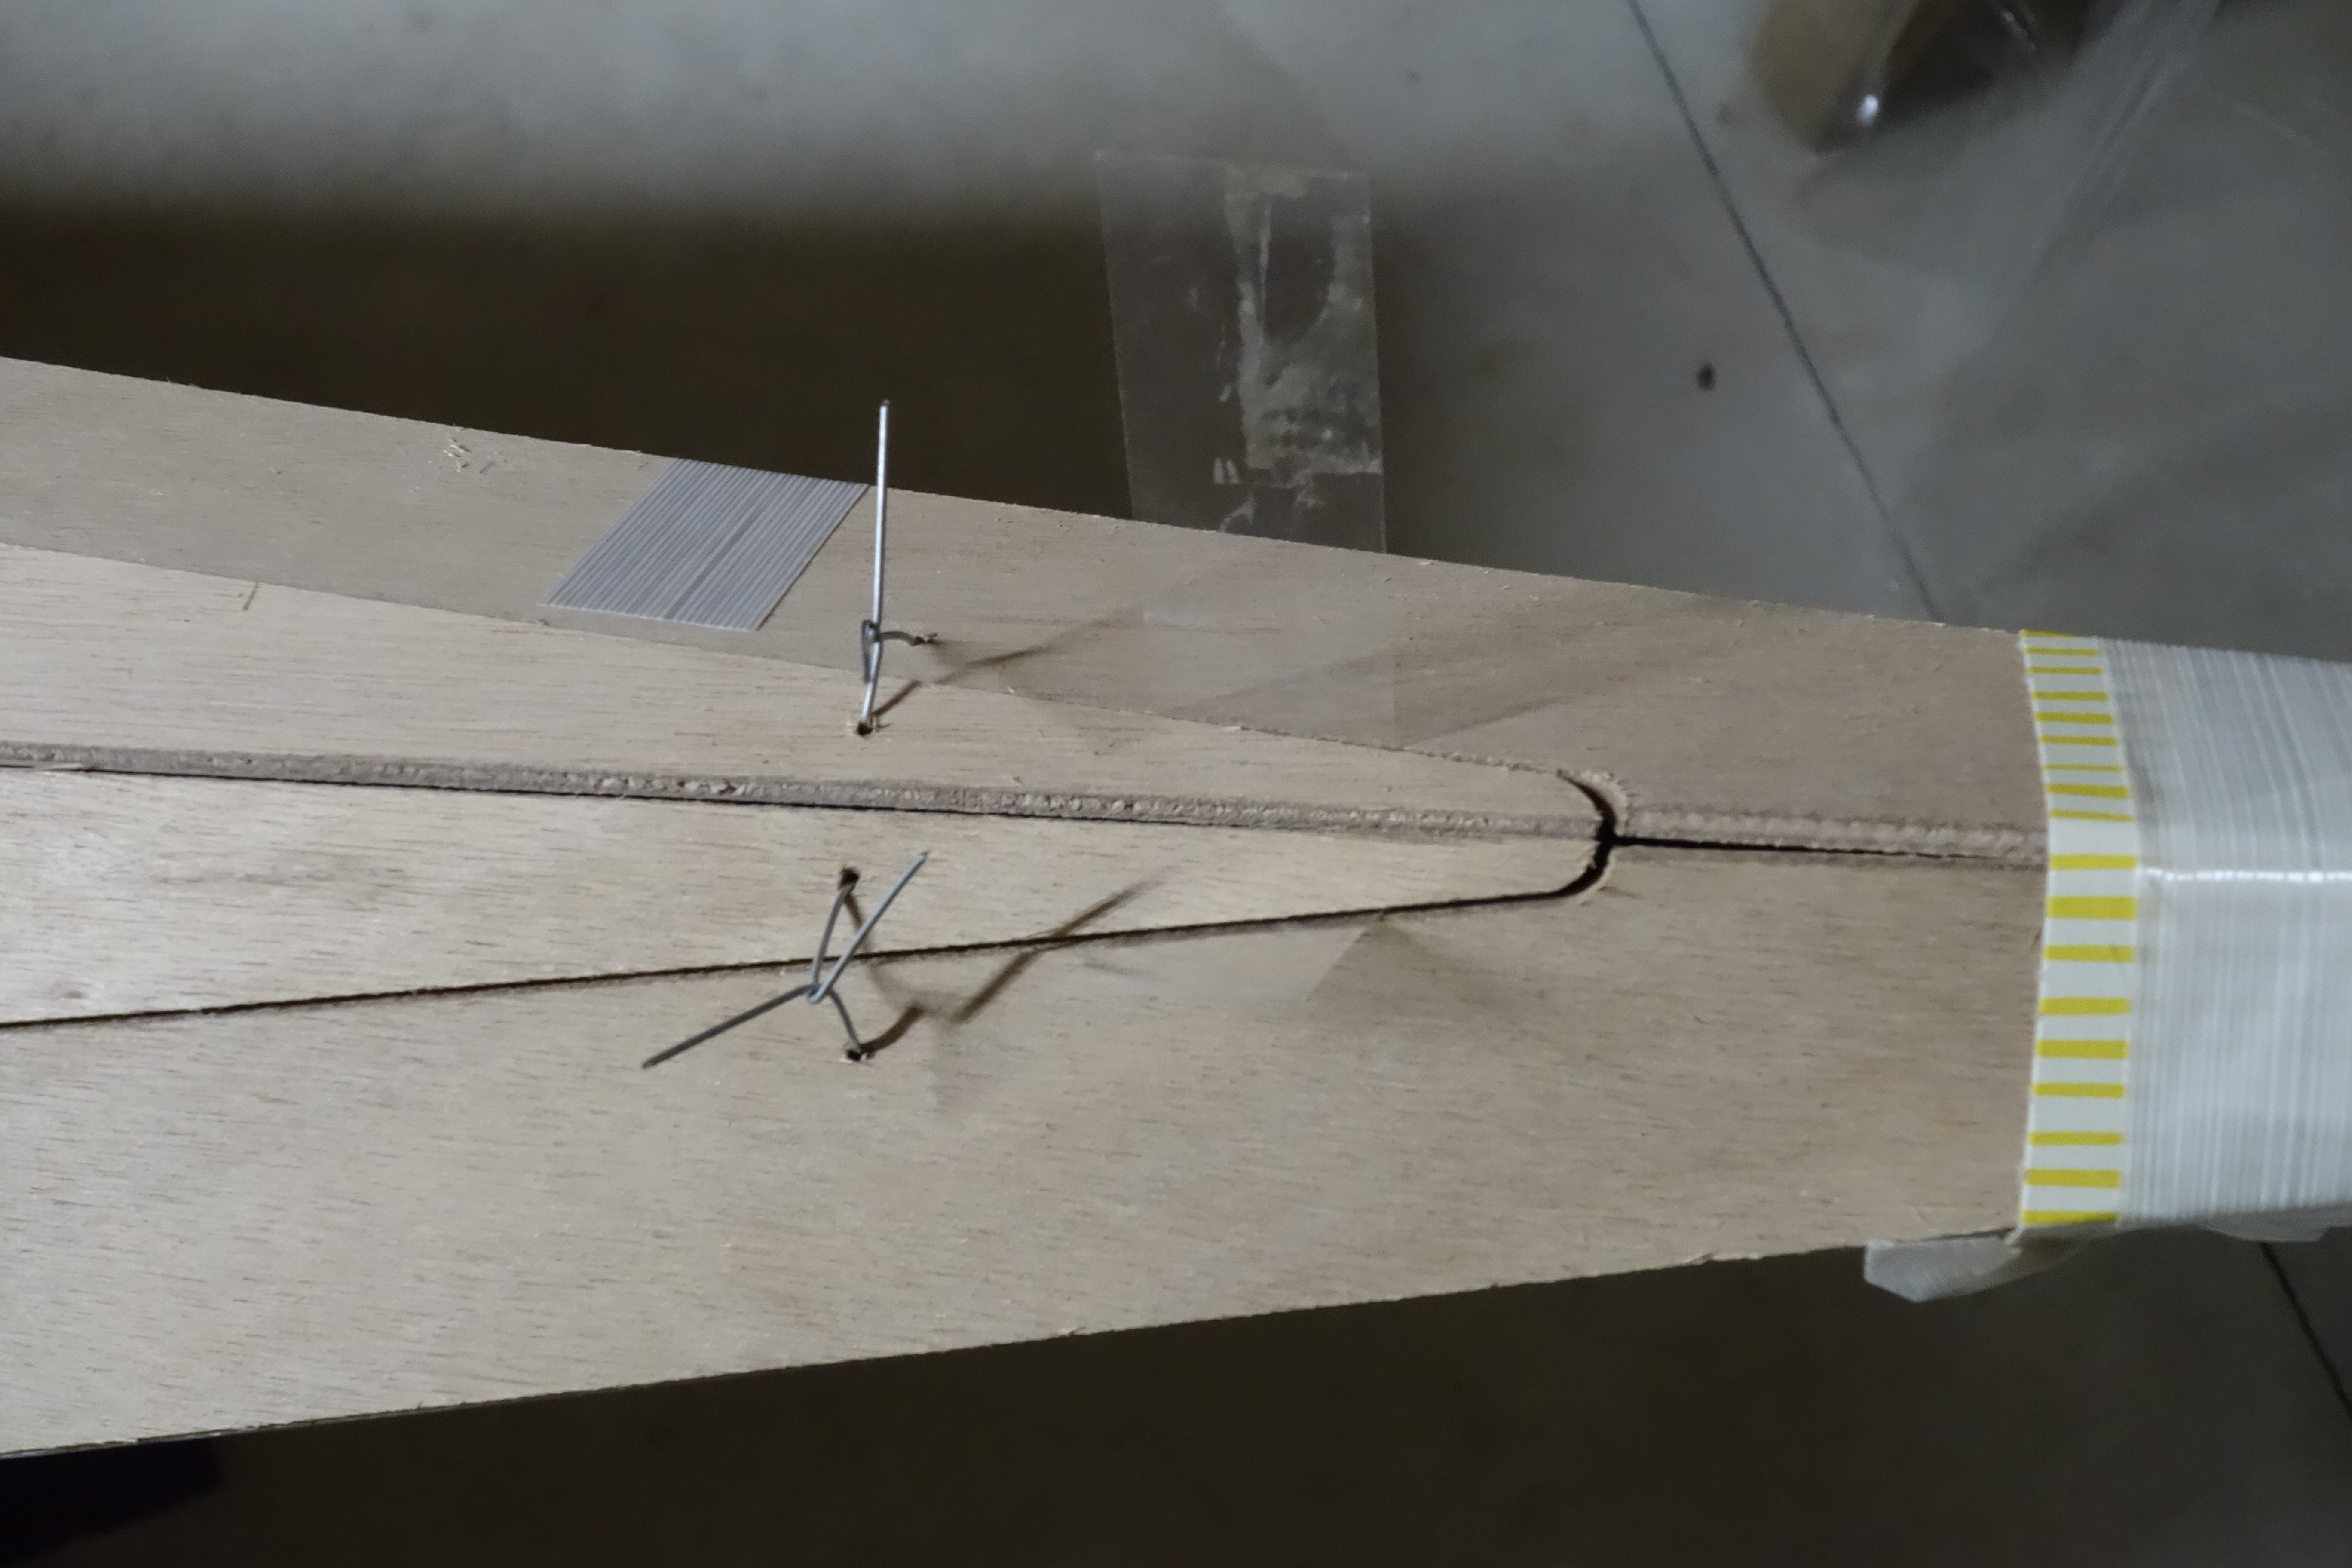
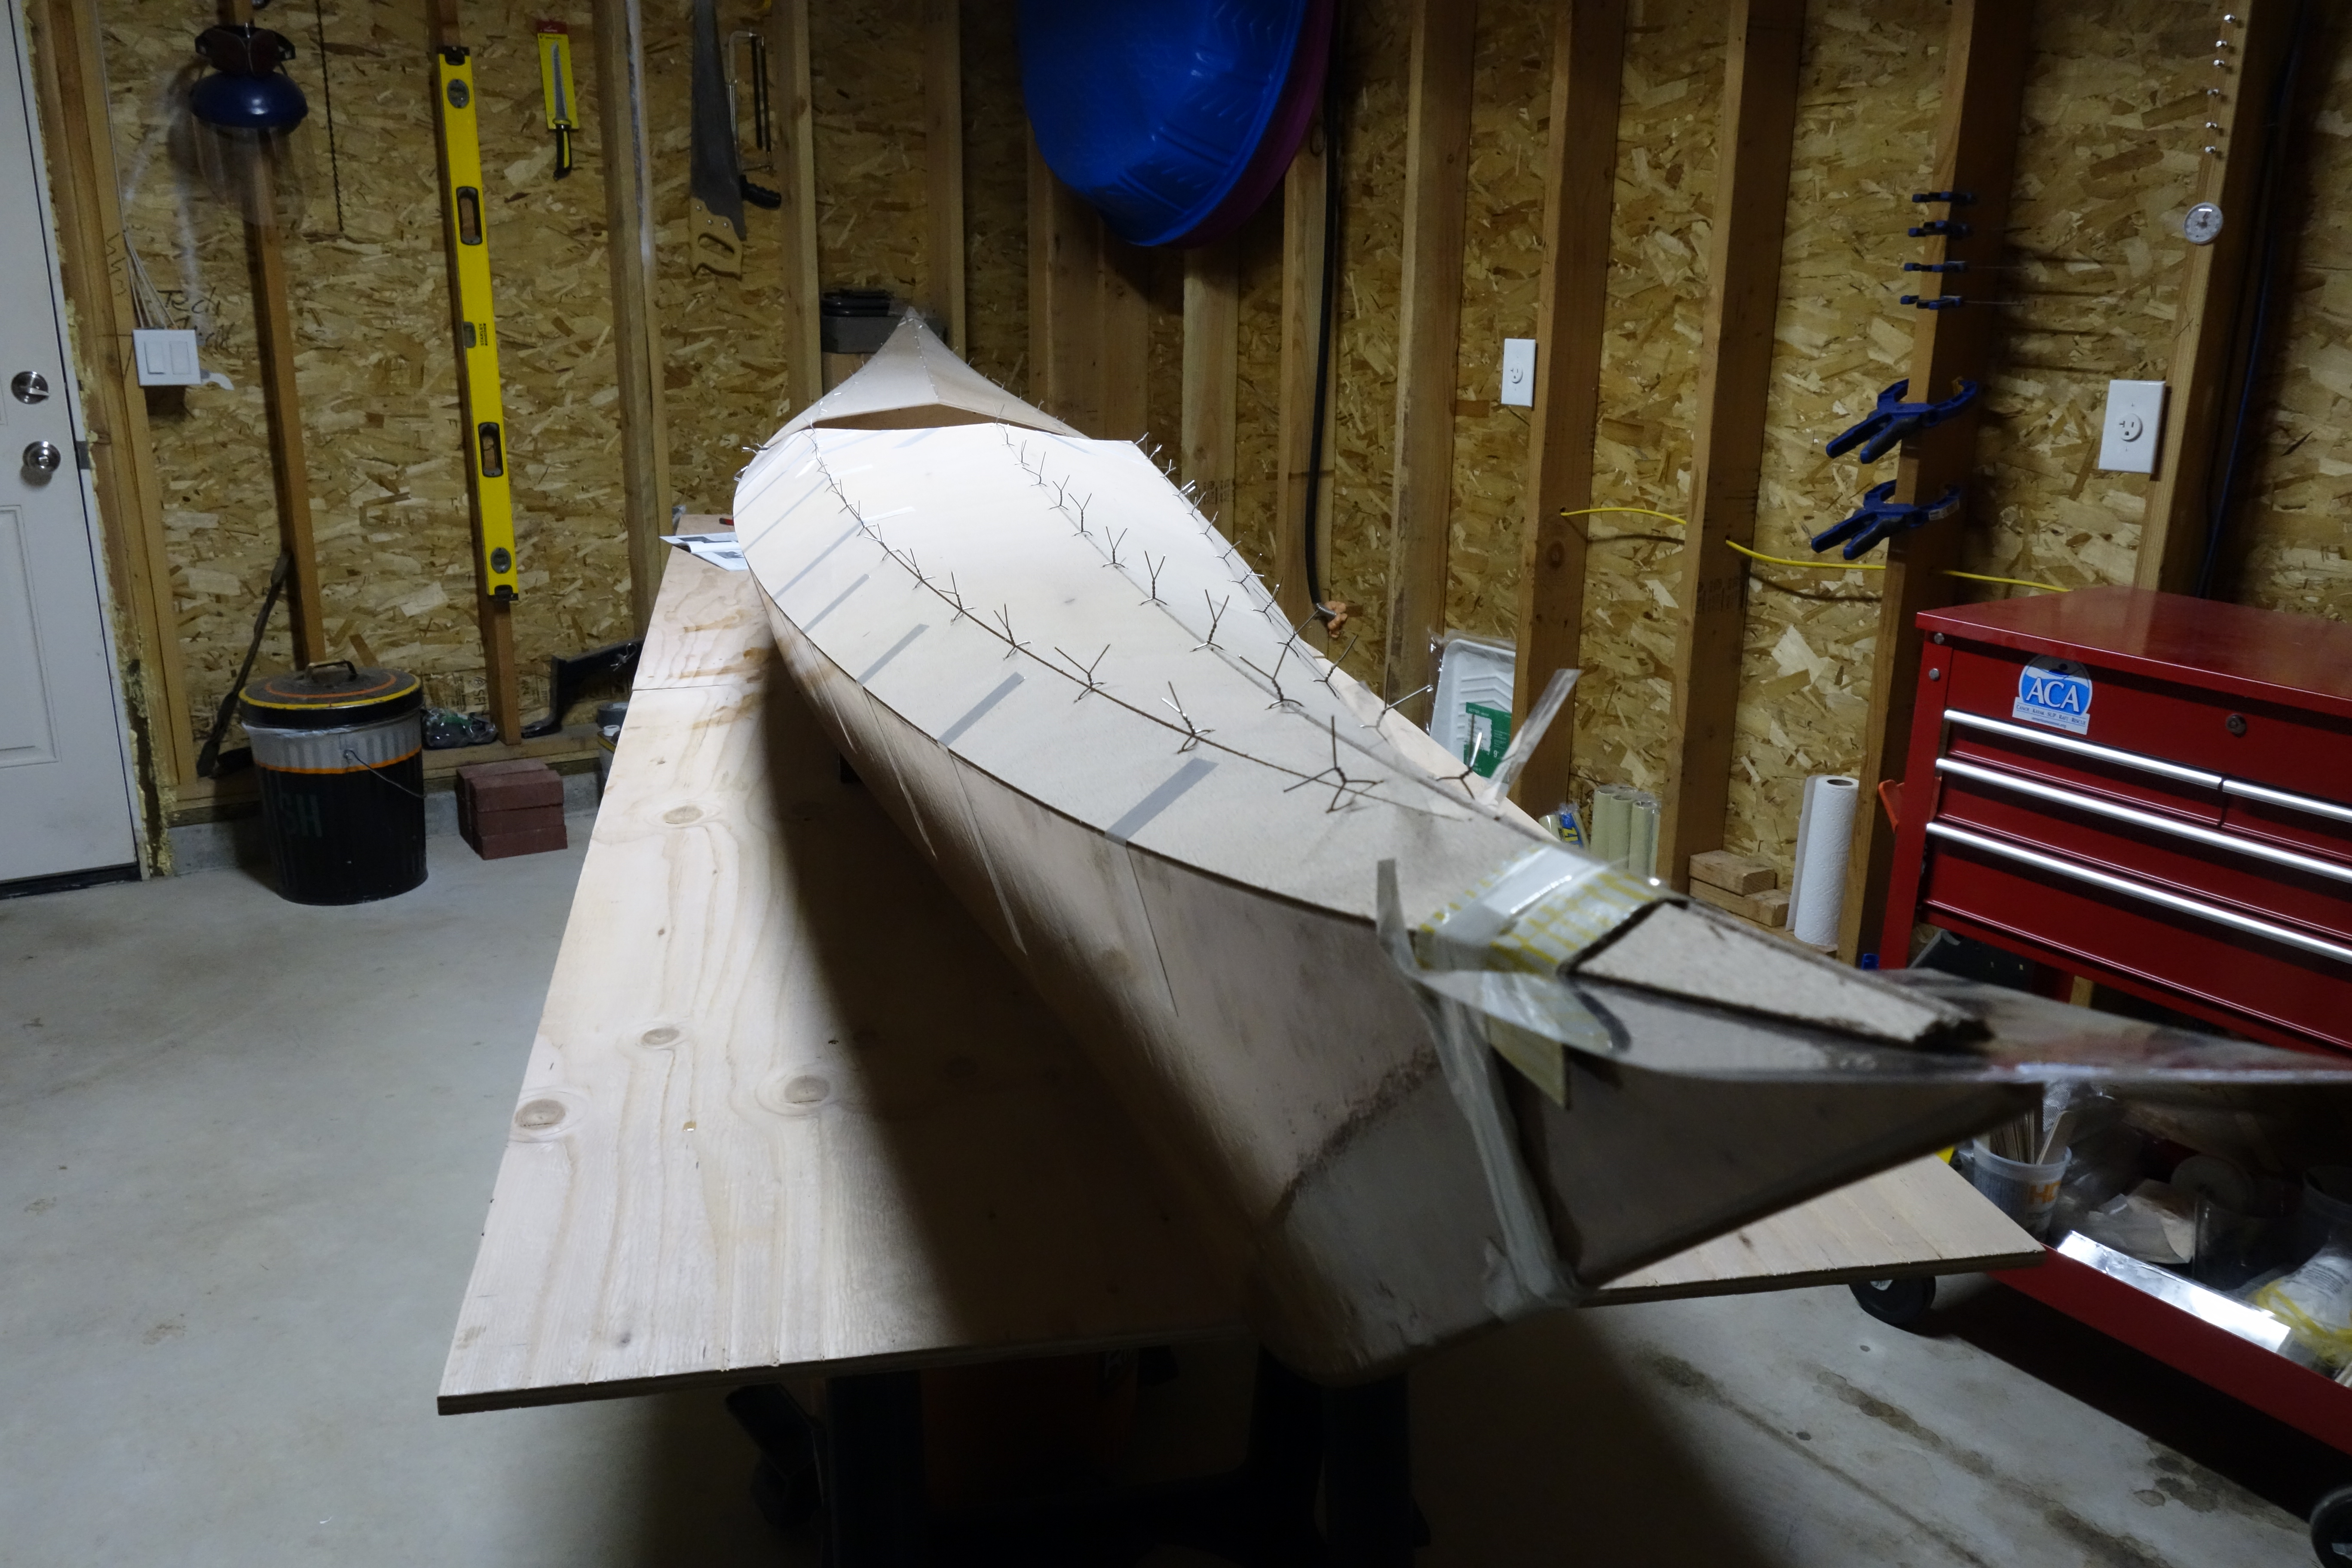
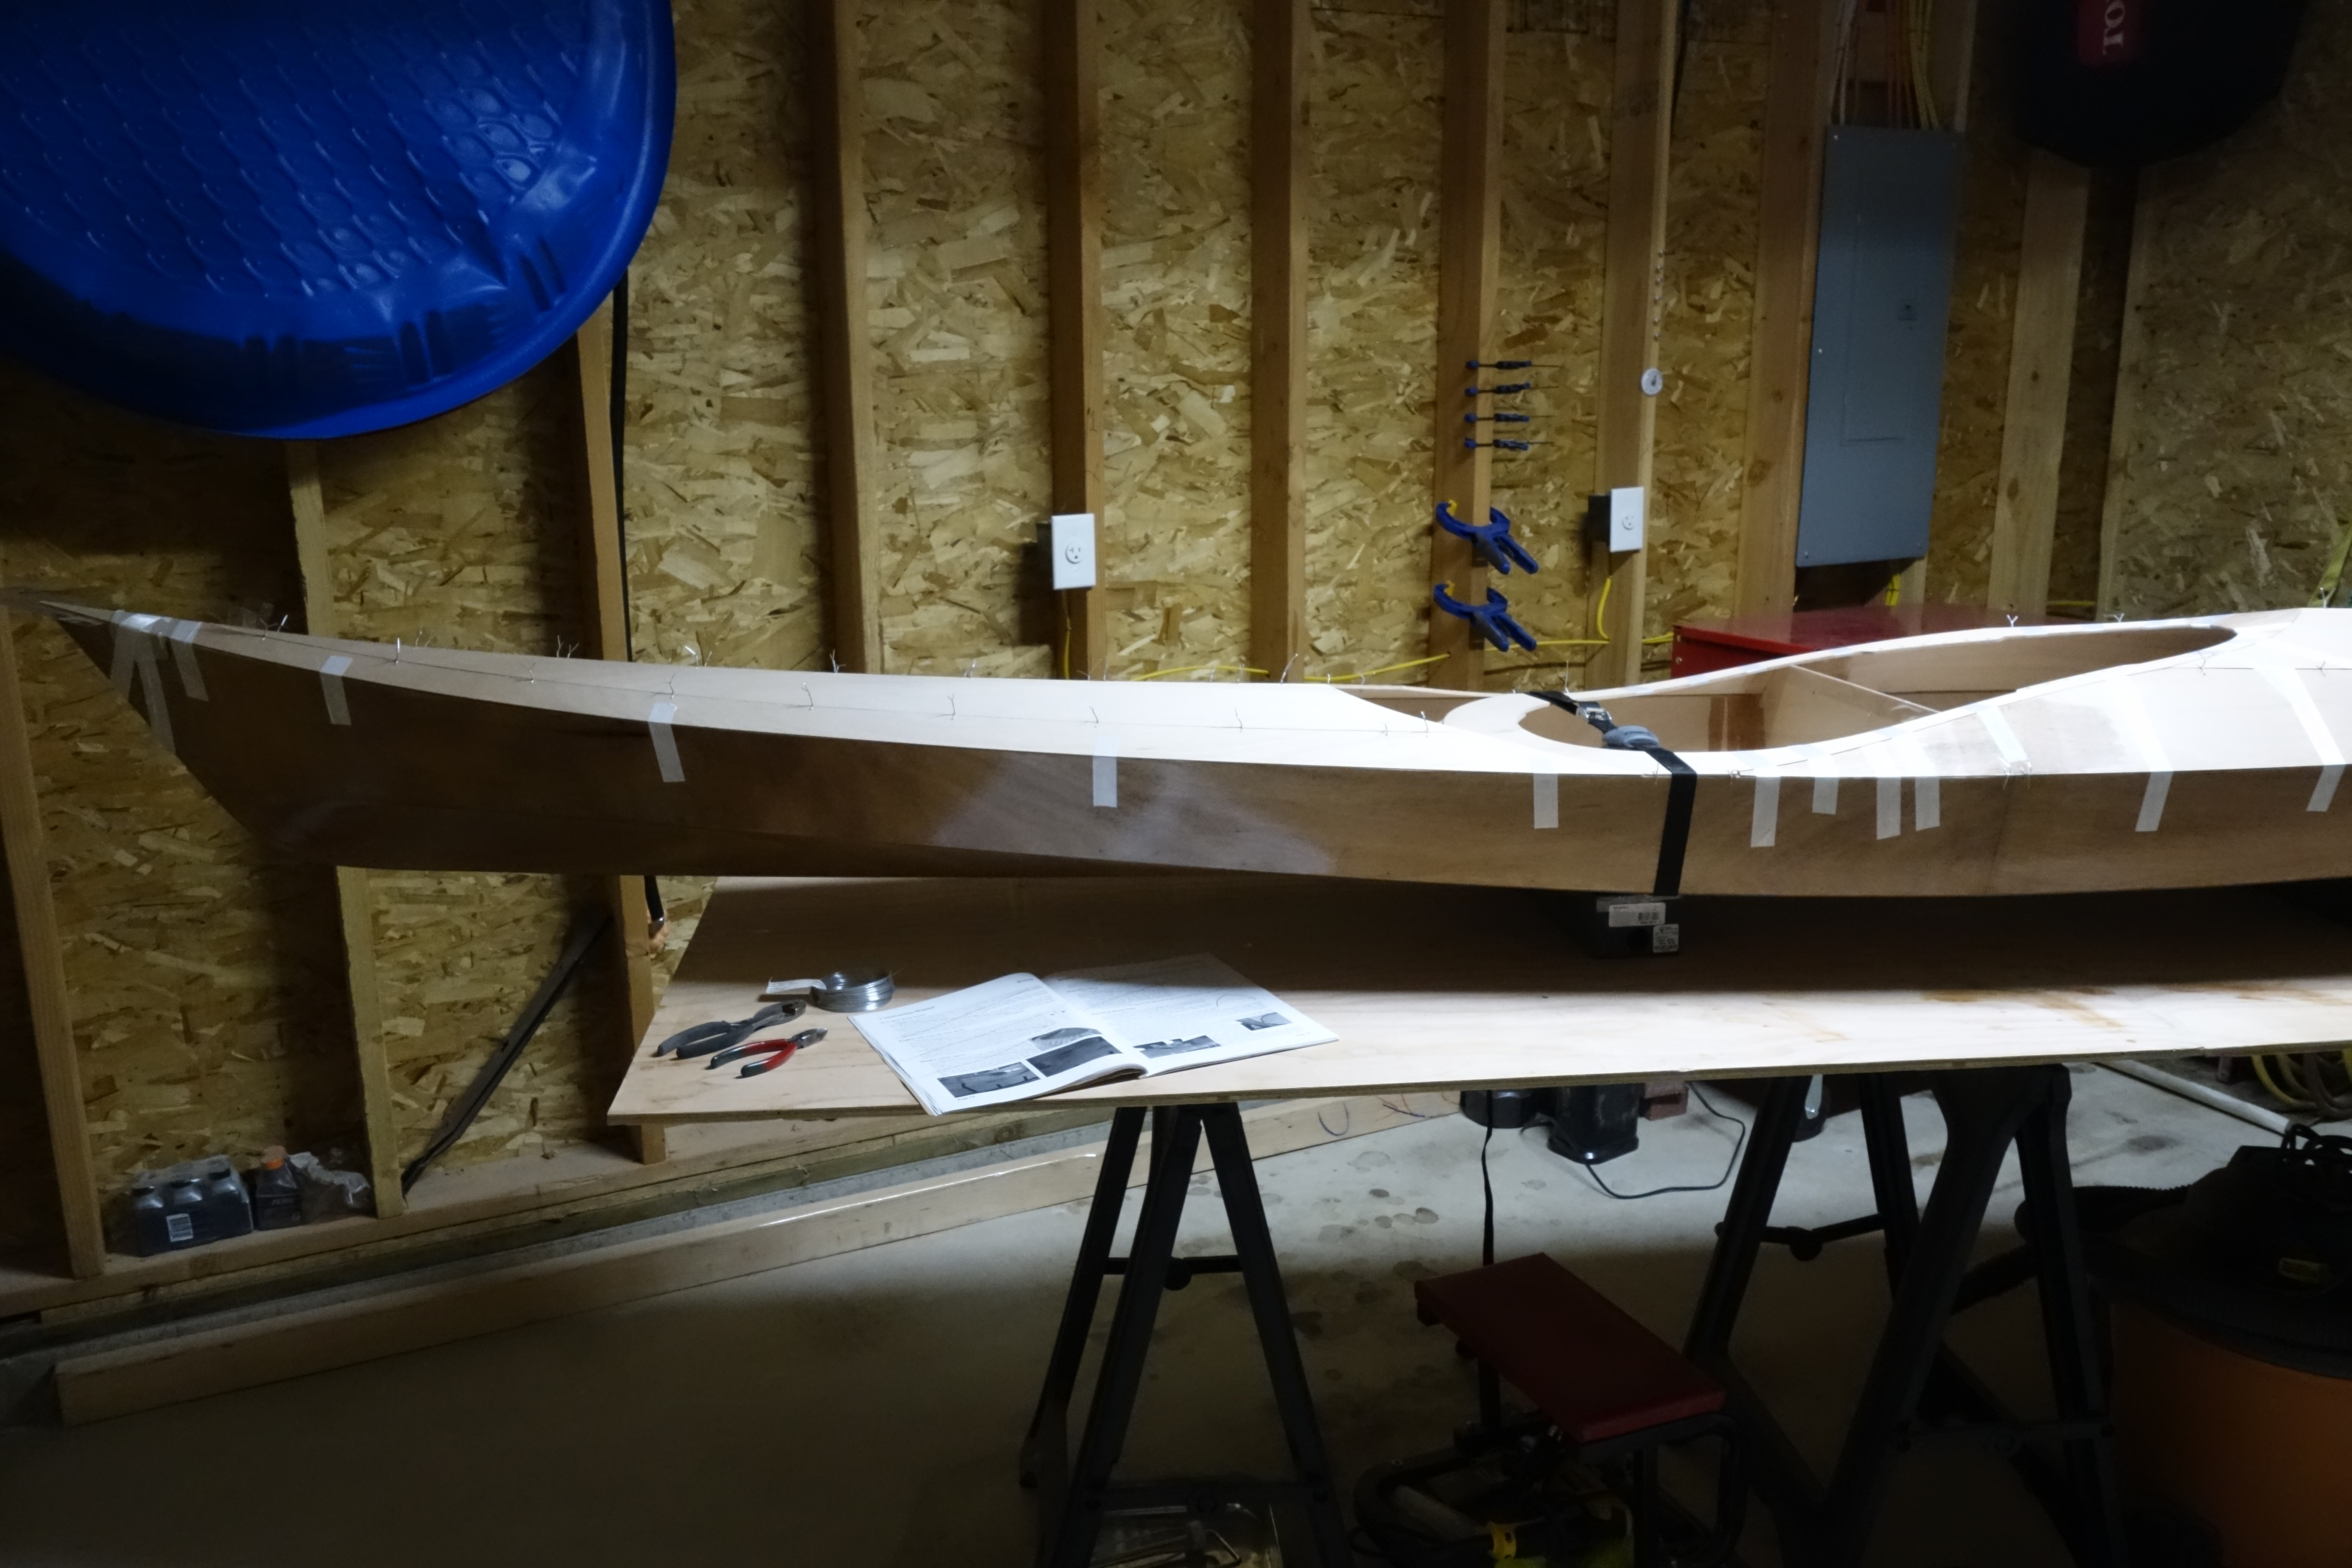
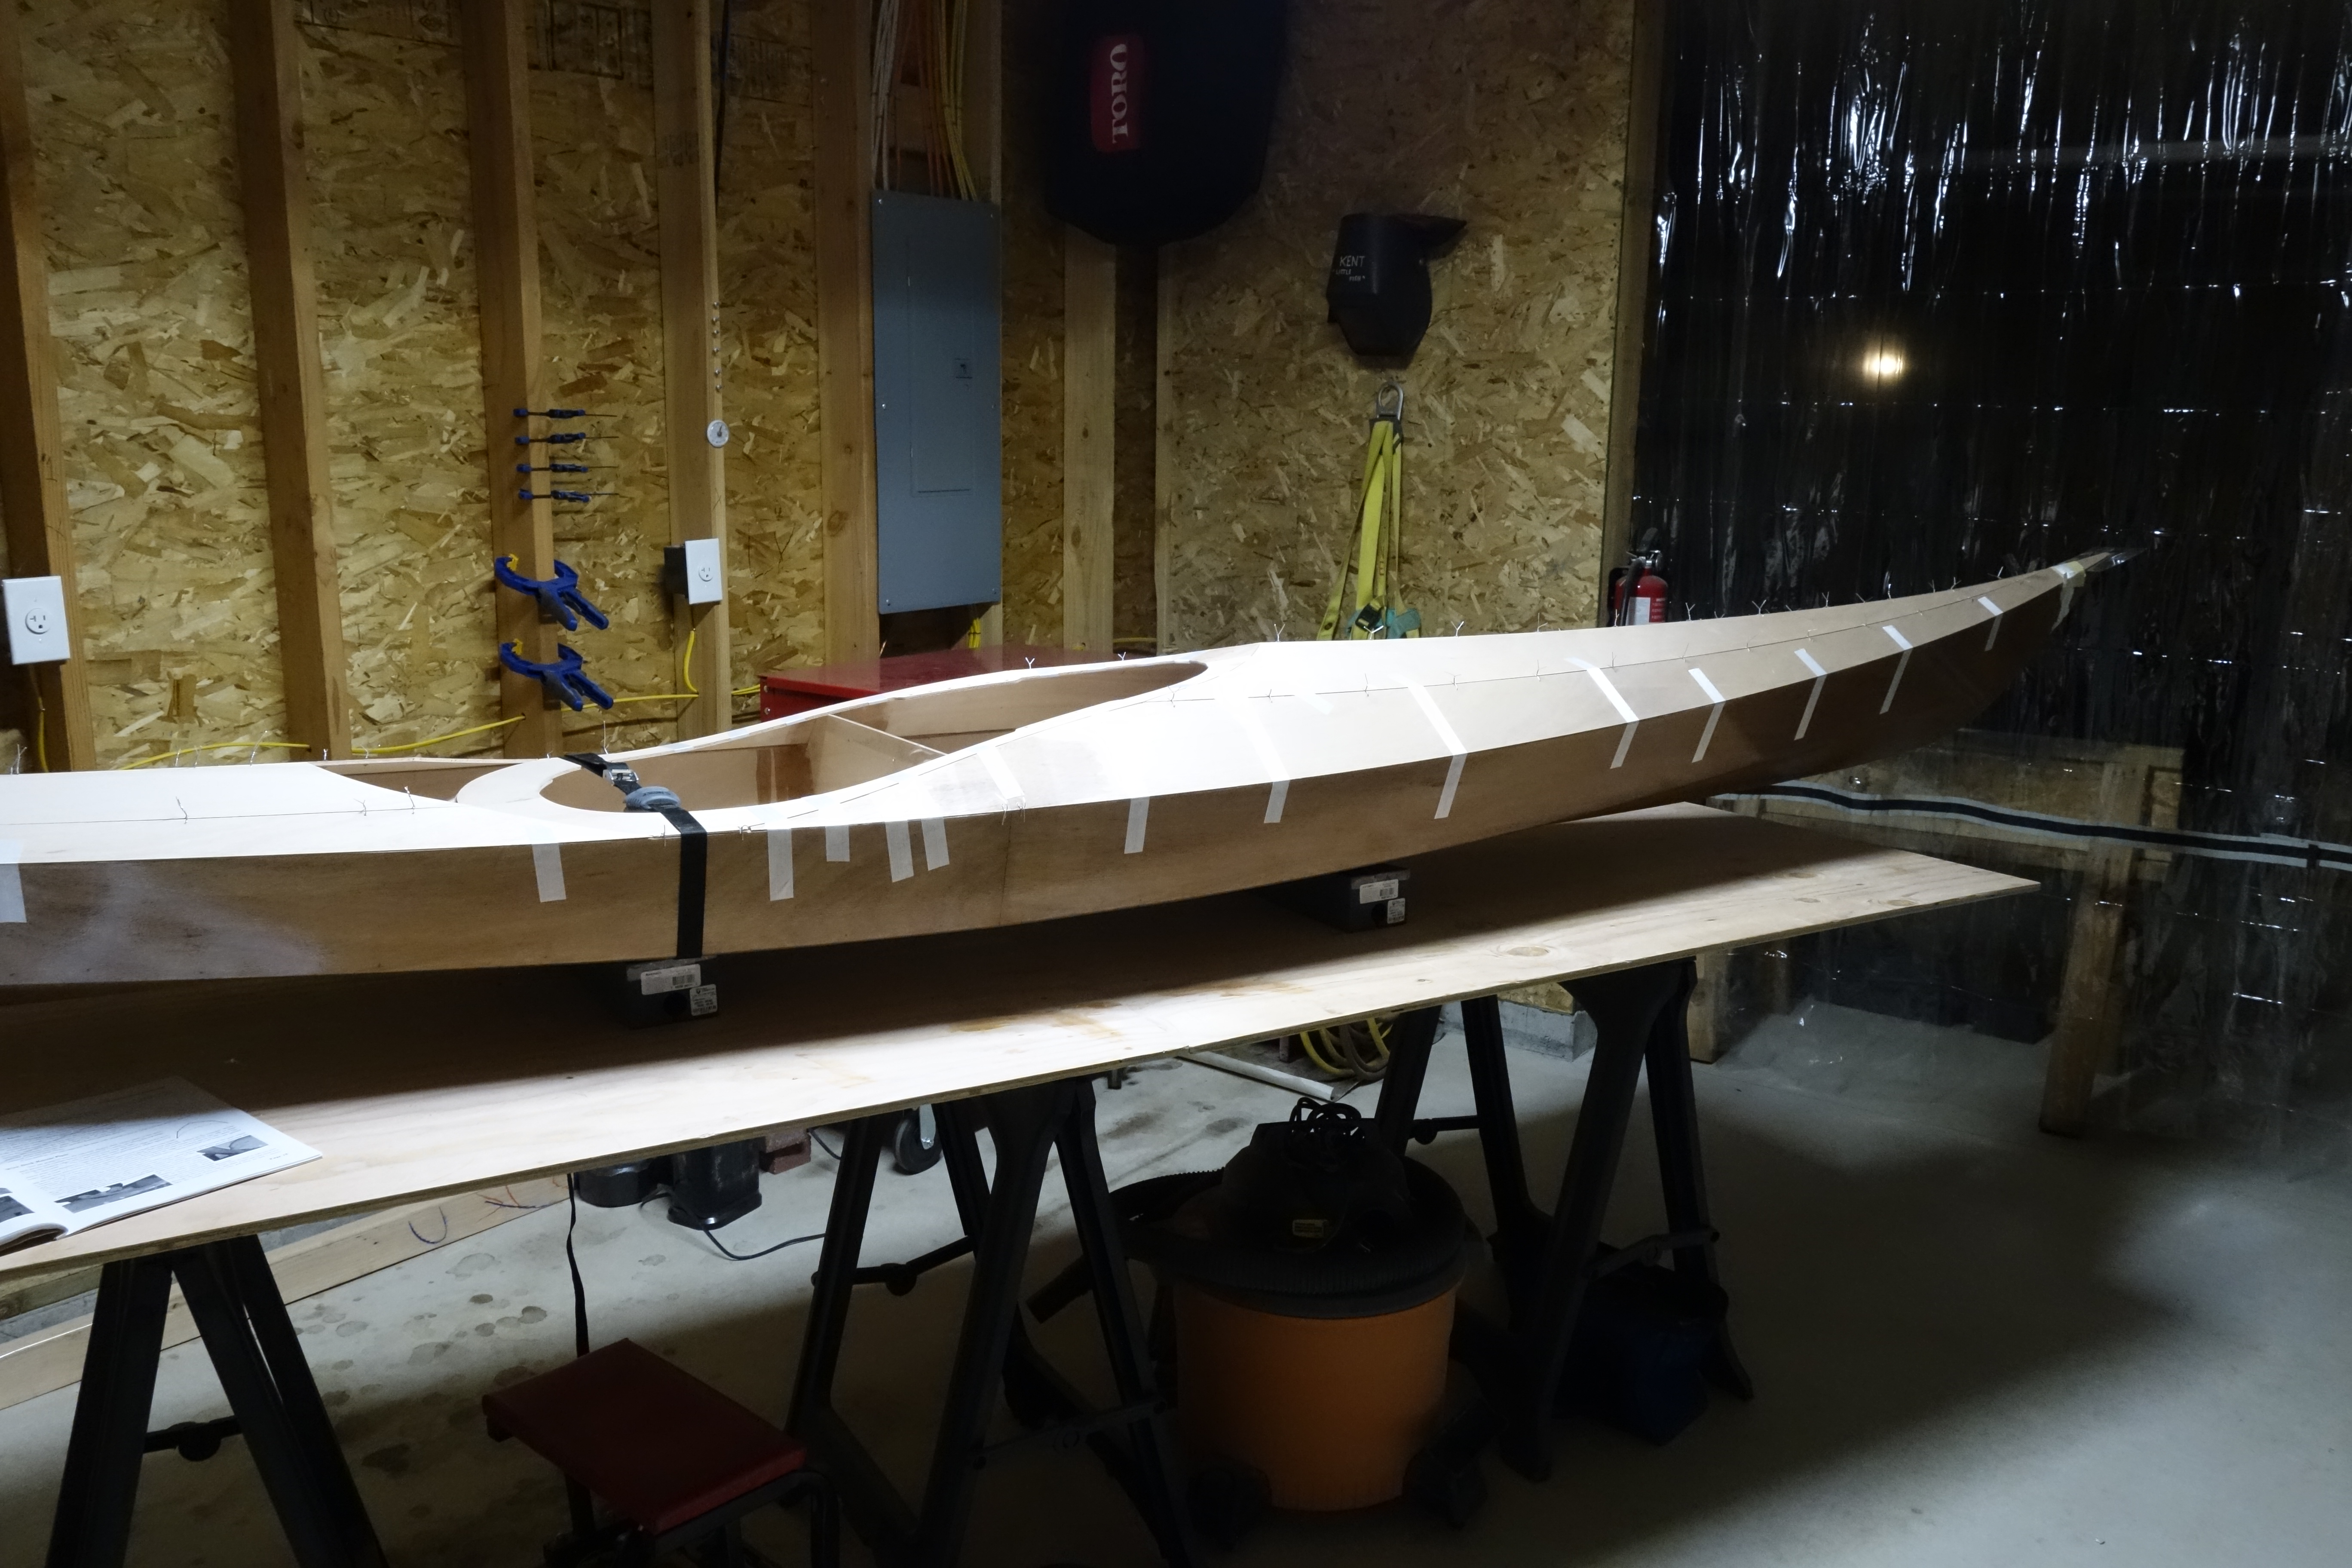
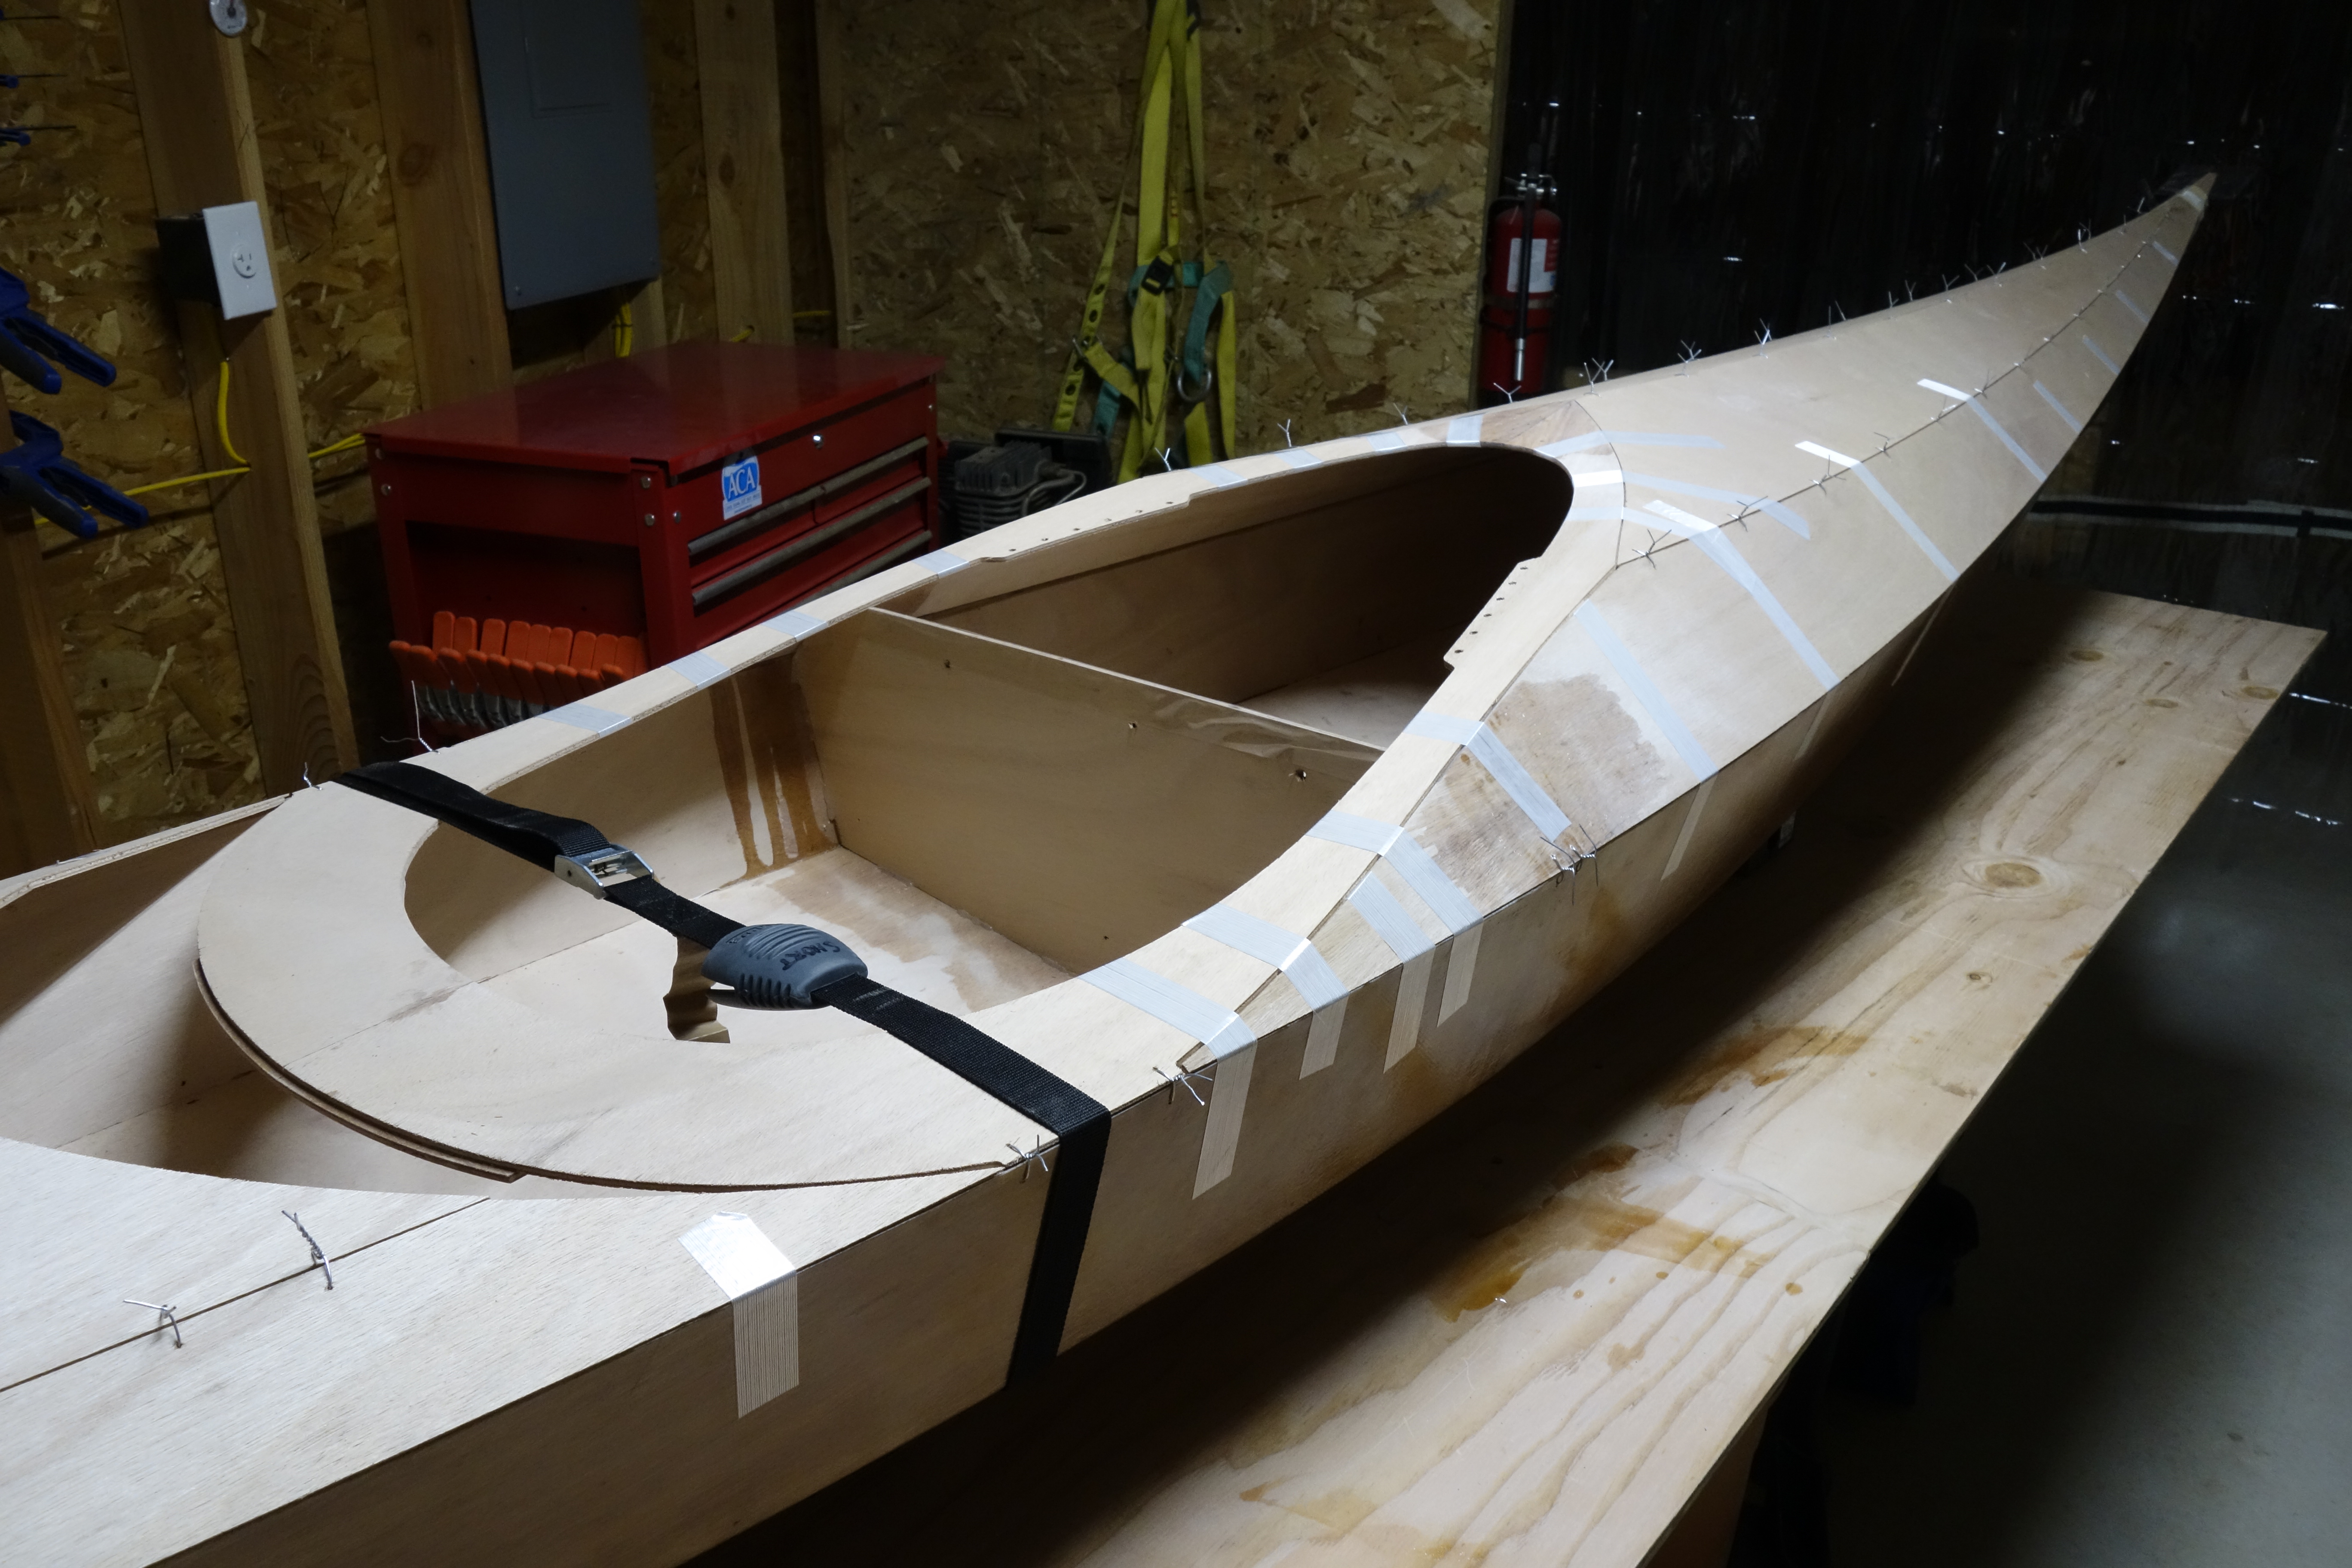
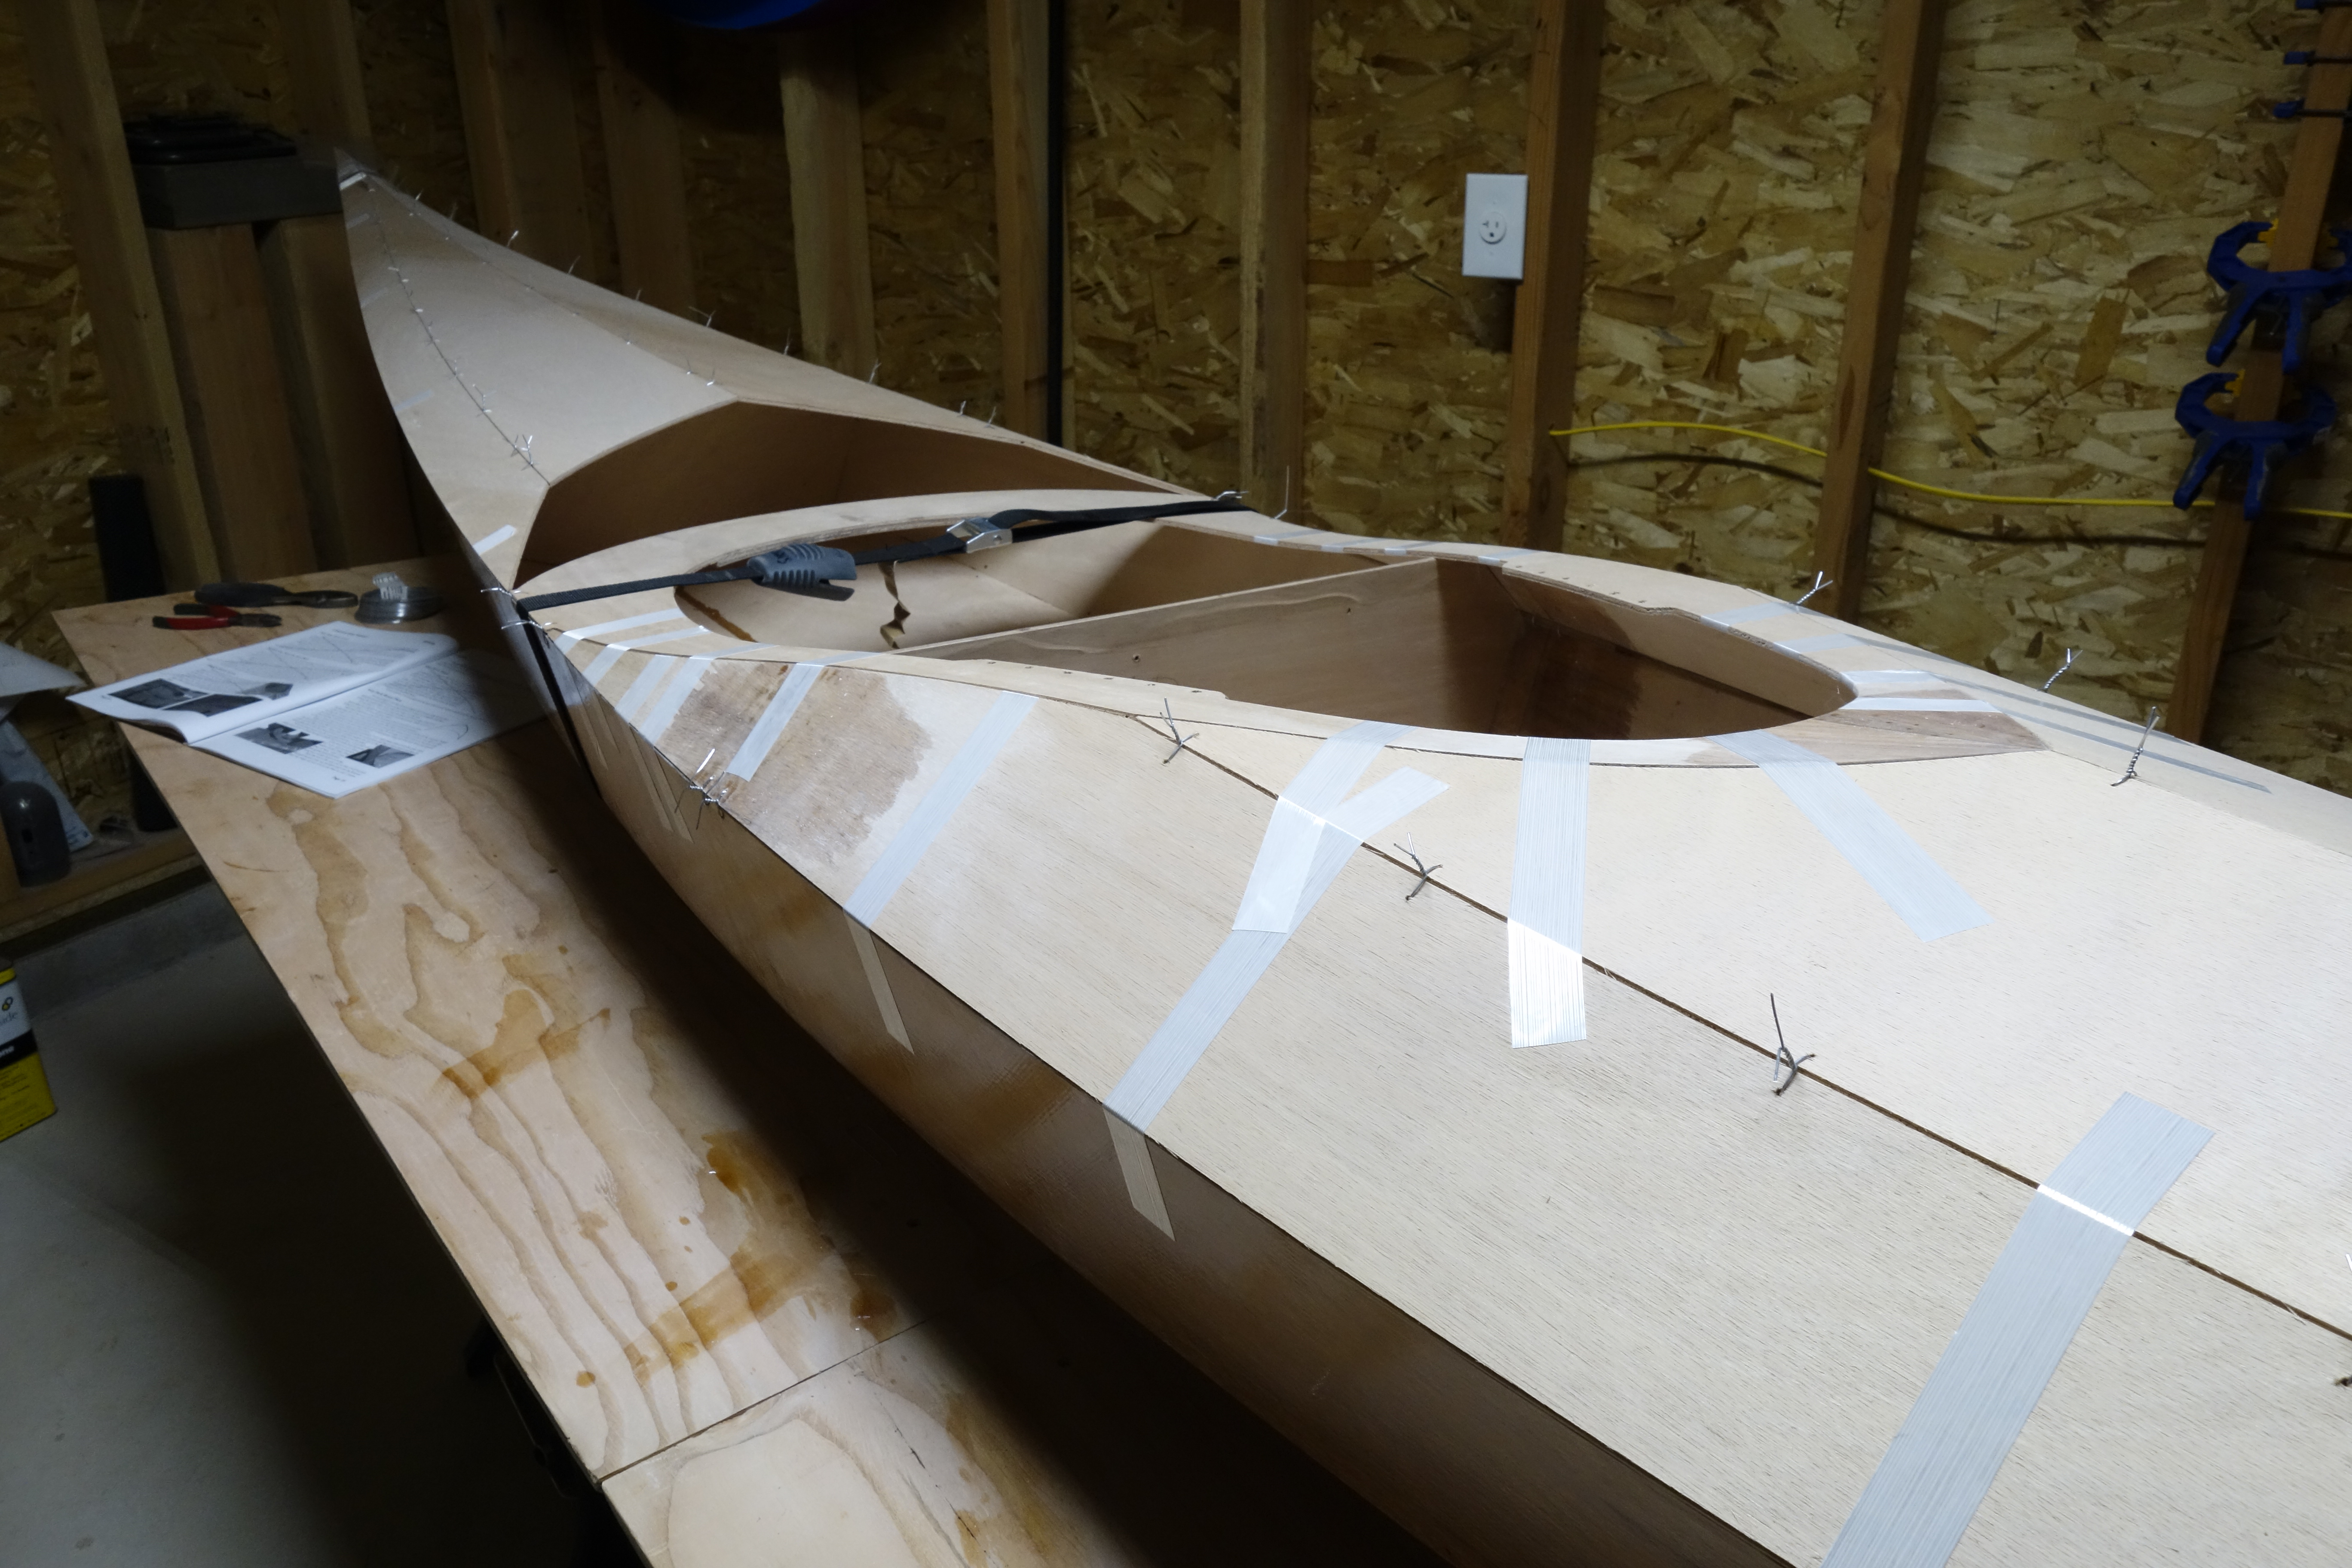
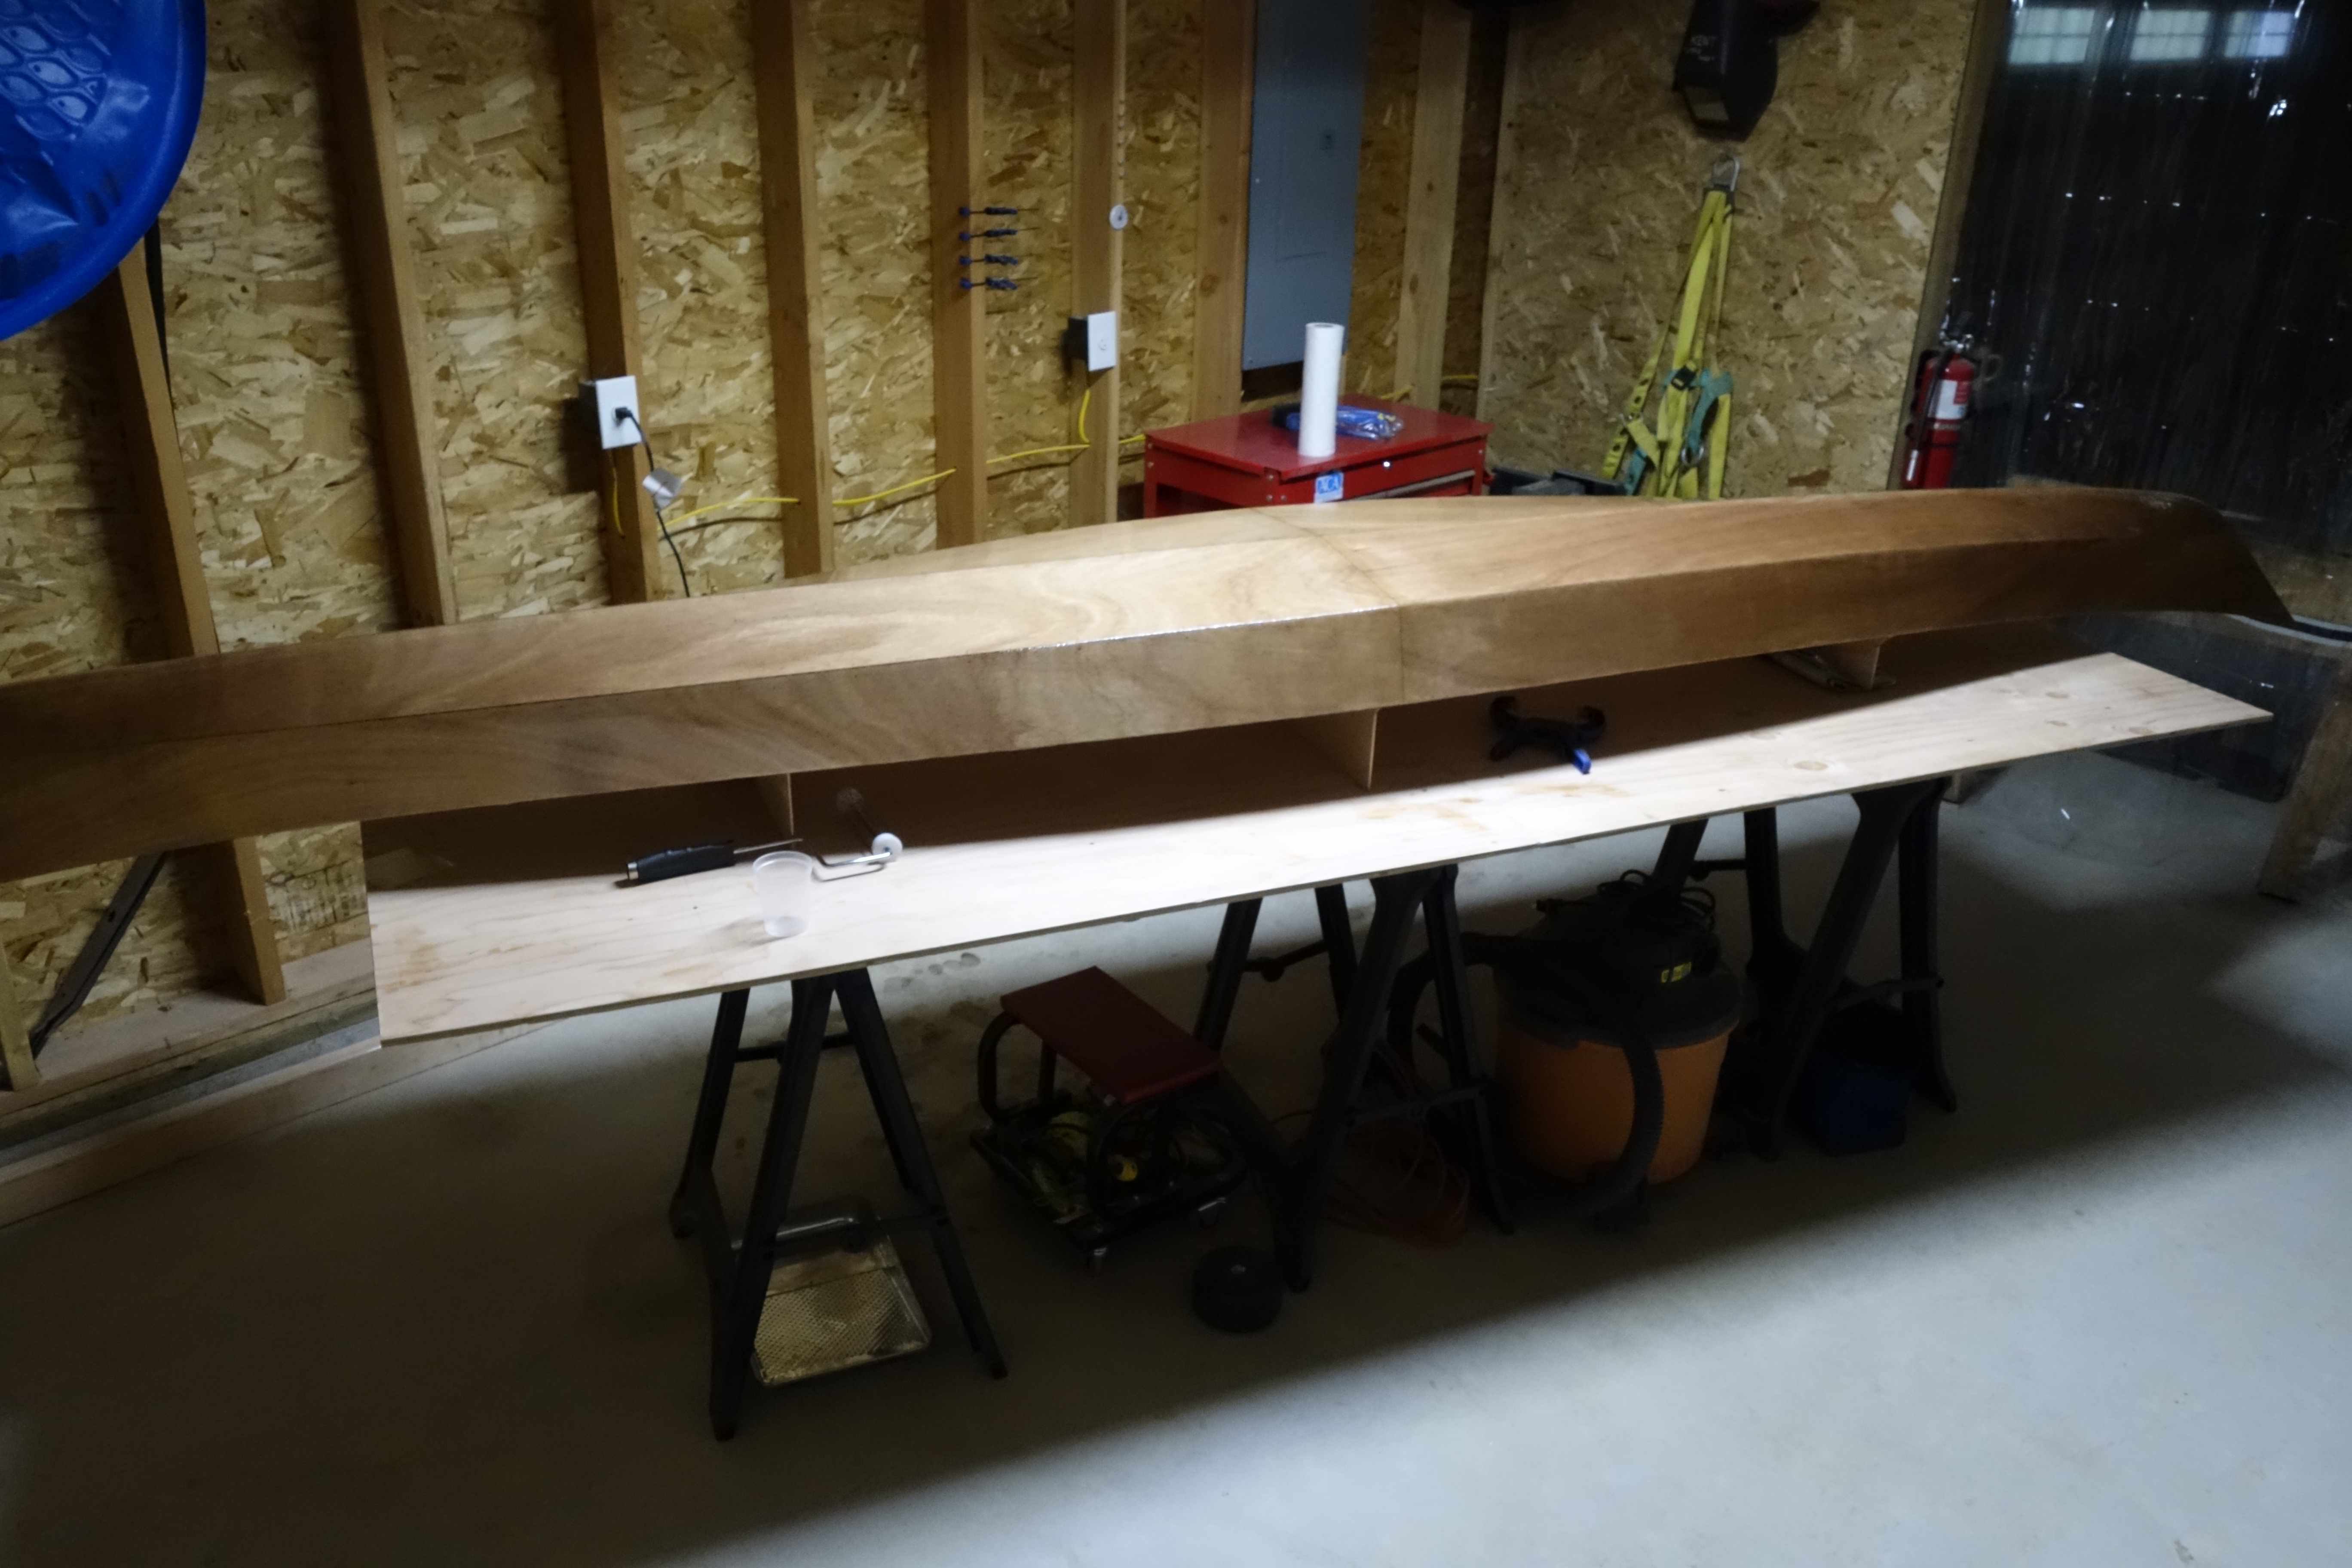
With the outside of the hull finished, construction of the deck can begin. The deck panels have been drilled in much the same way as the hull panels were, and will be stitched together atop the temporary frames in the hull. The spacers that were screwed to the frames during hull construction have been removed so now the frames will guide the shape of the deck as it is wired together.

At this stage, fiberglass strapping tape is used to hold the deck in place on the hull.
Bow deck loosely wired together.
Bow deck panels carefully aligned, but not yet wired tight.
Bow and stern deck panels wired, except for the deck recess plate. It goes in last and requires some careful flexing and fitting to get to fit correctly. The piece of mylar that you can see in the foreground of the photo, between the hull and deck bow tip is there to keep me from accidentally gluing the deck to the hull before I finish the inside of the deck! There is one at the stern tip as well.

Hull fill coats and sacrificial keel tape.

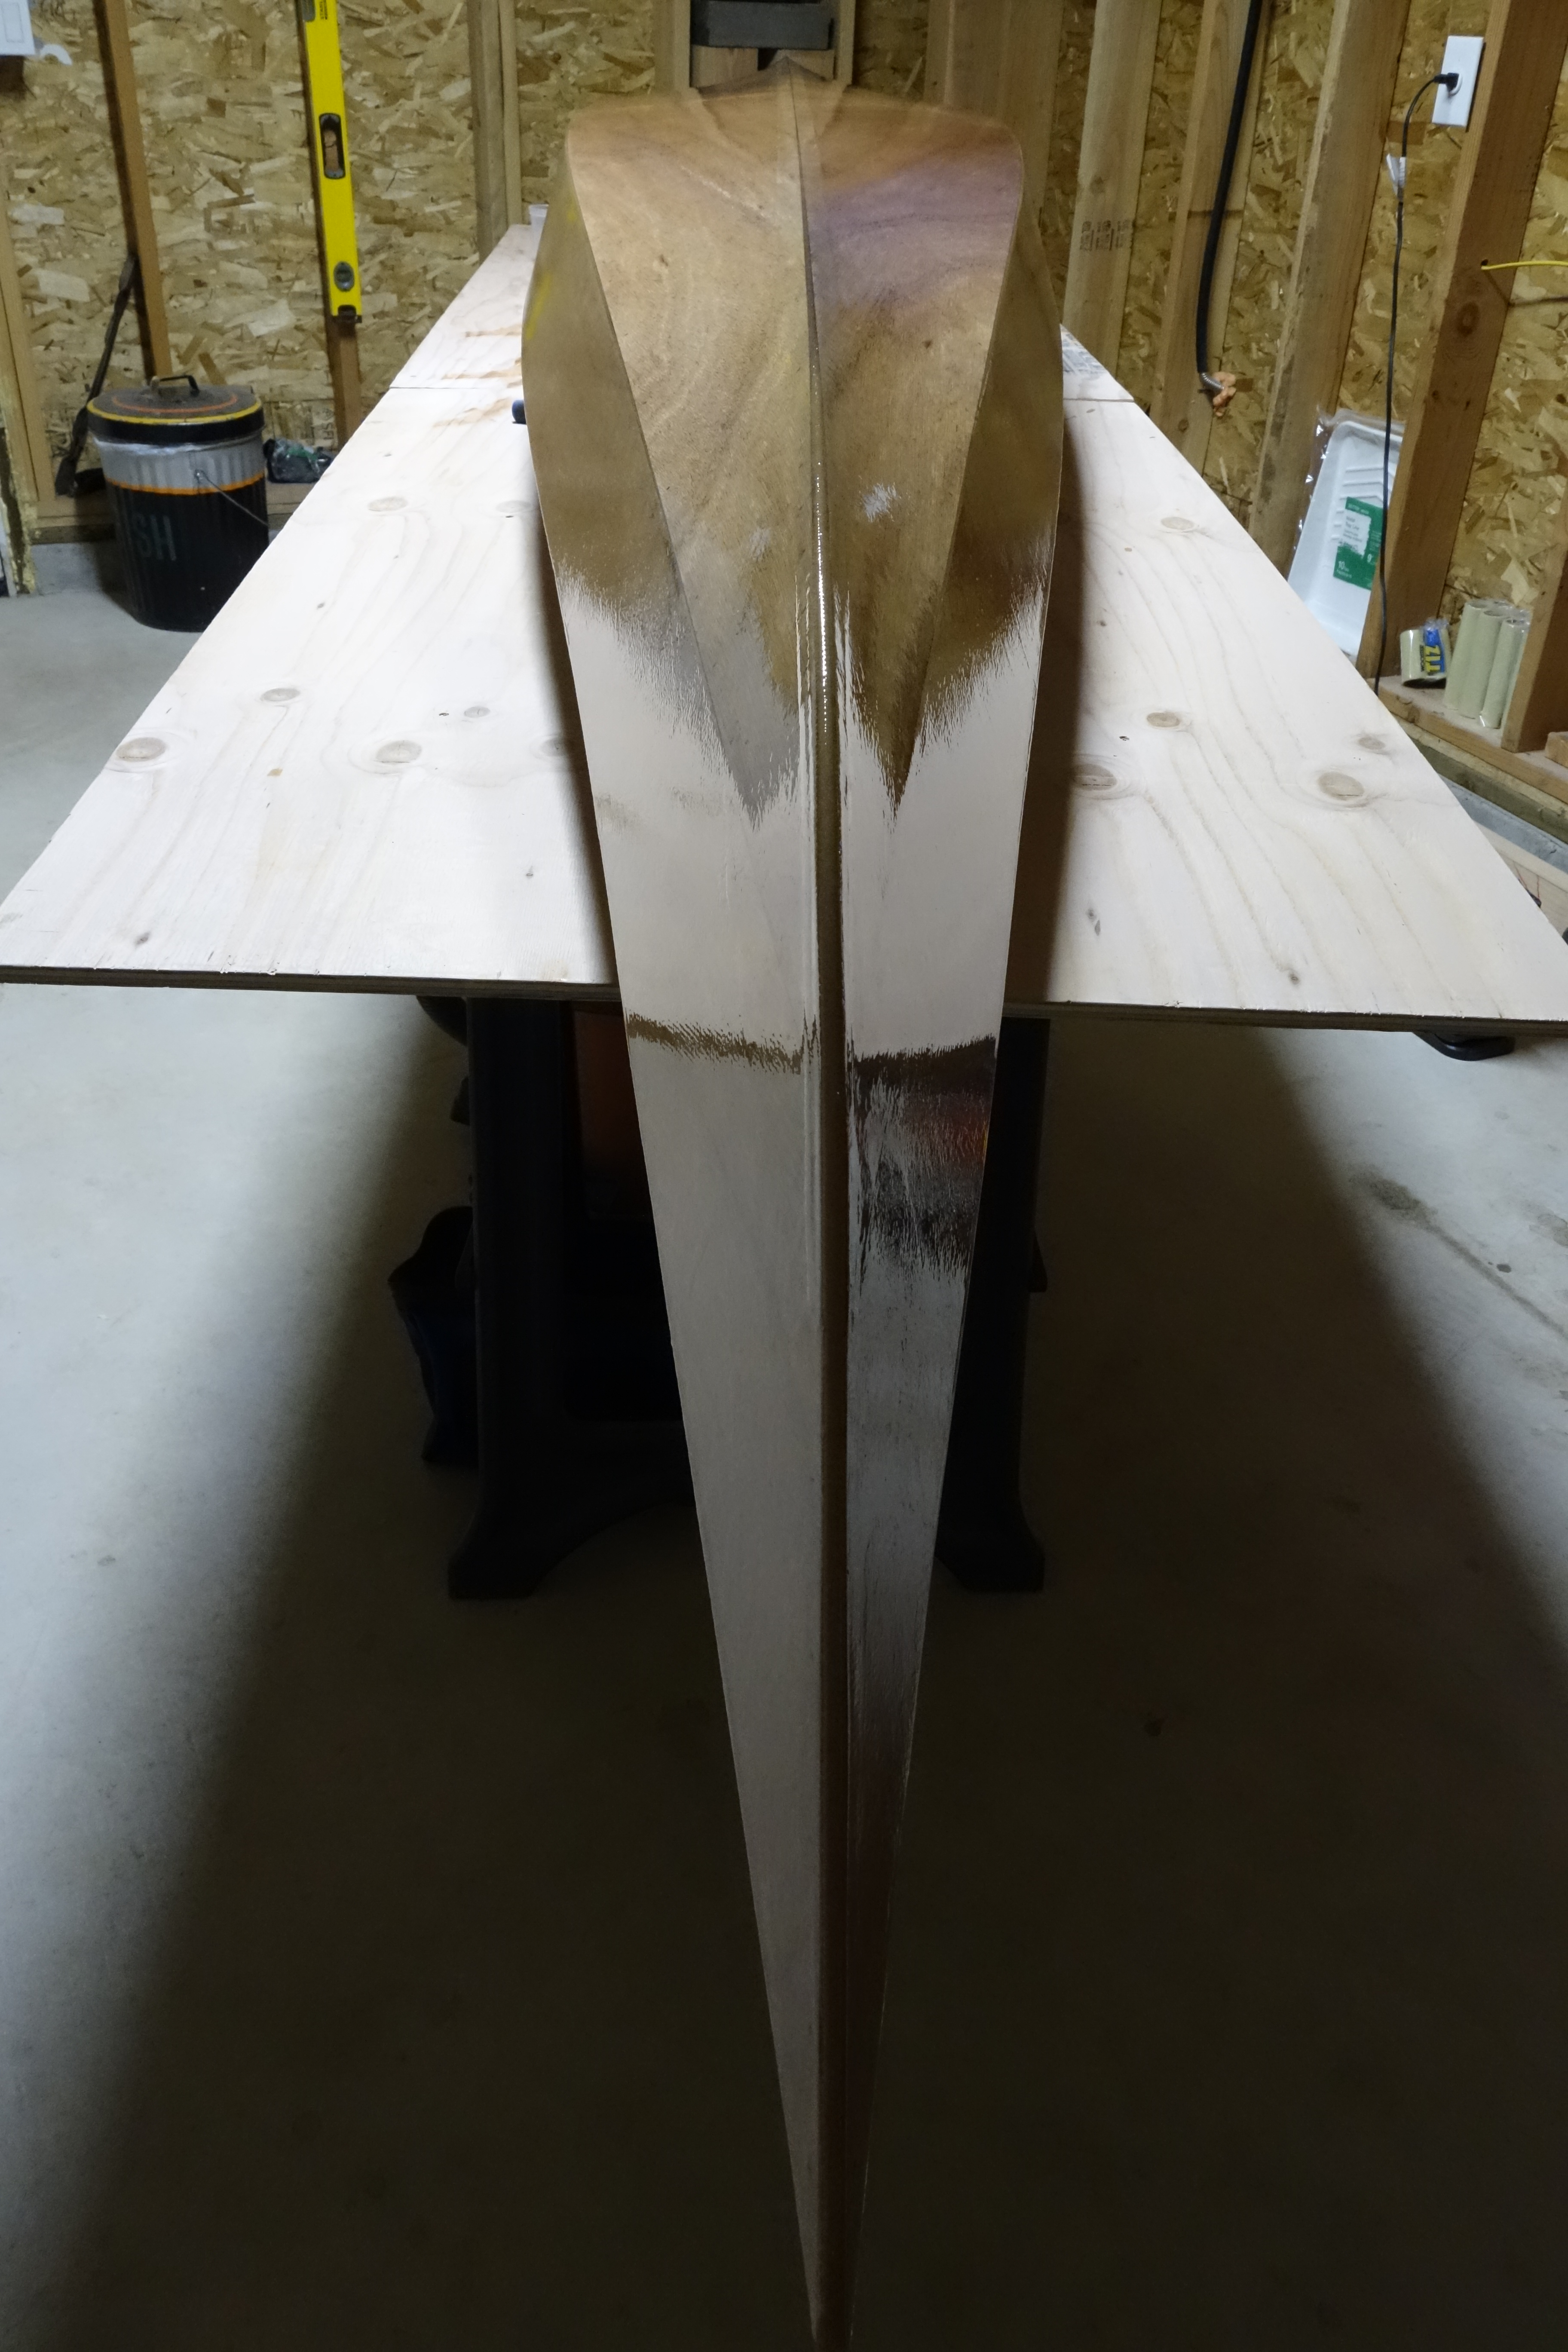
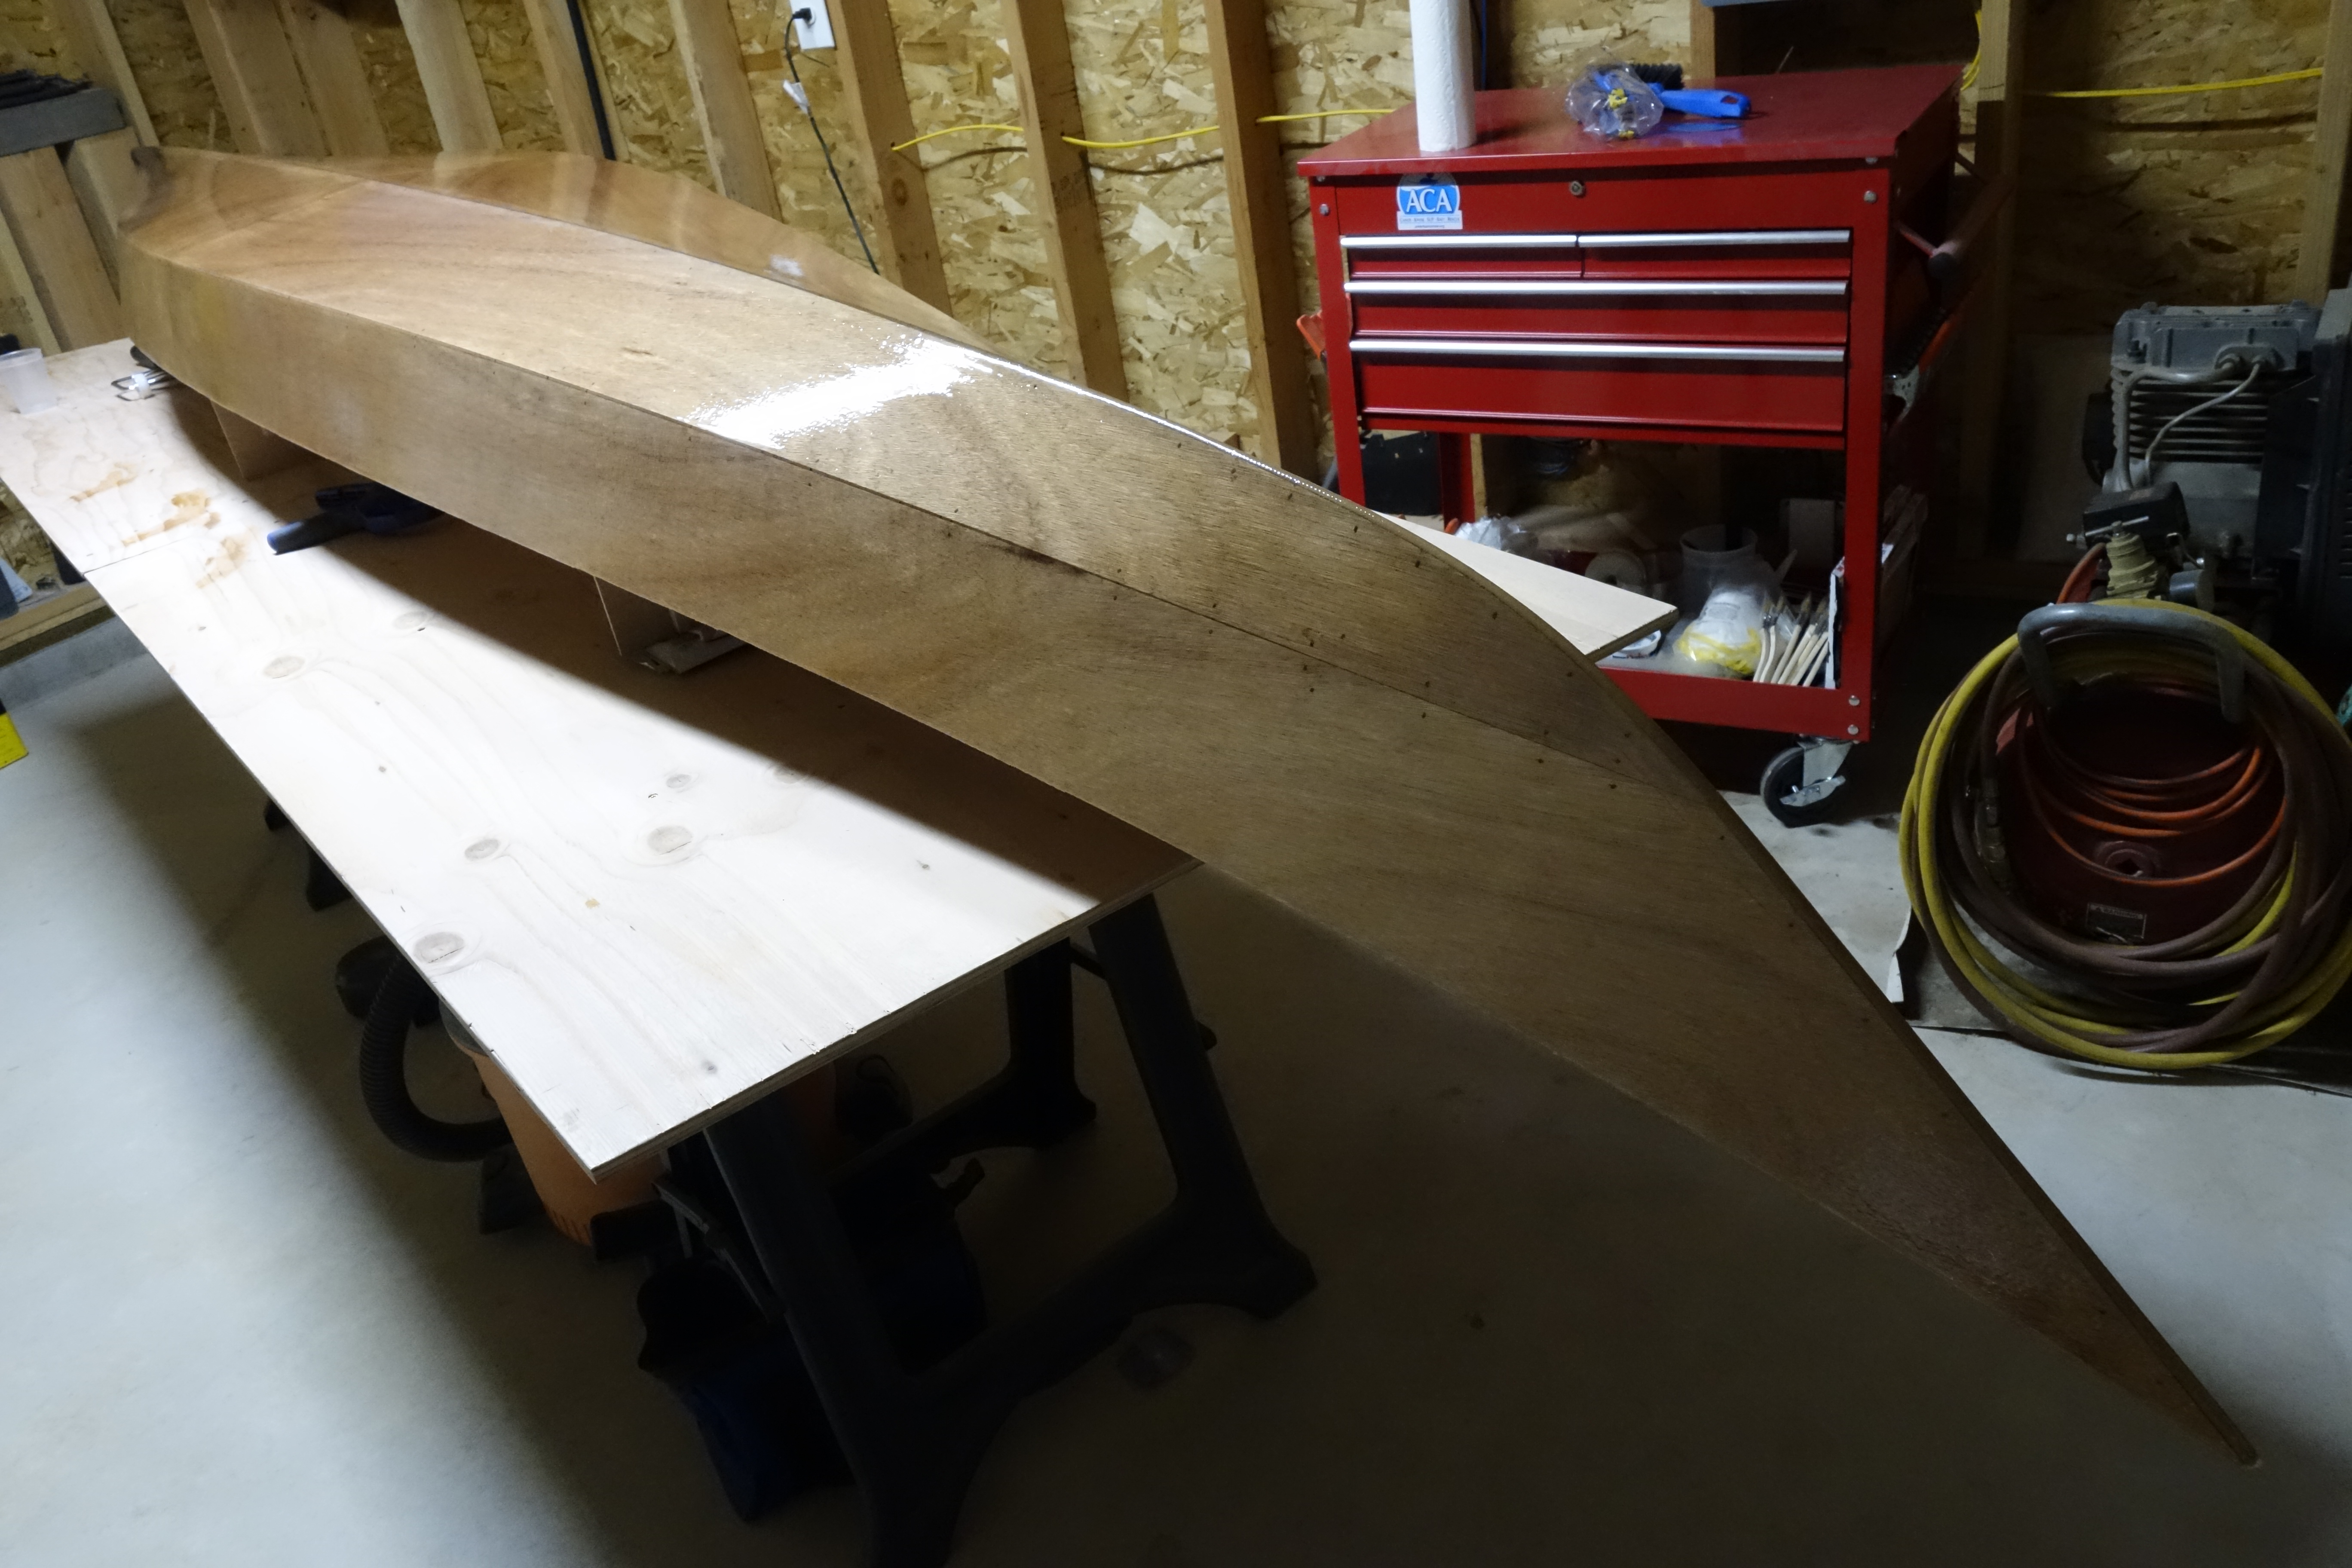
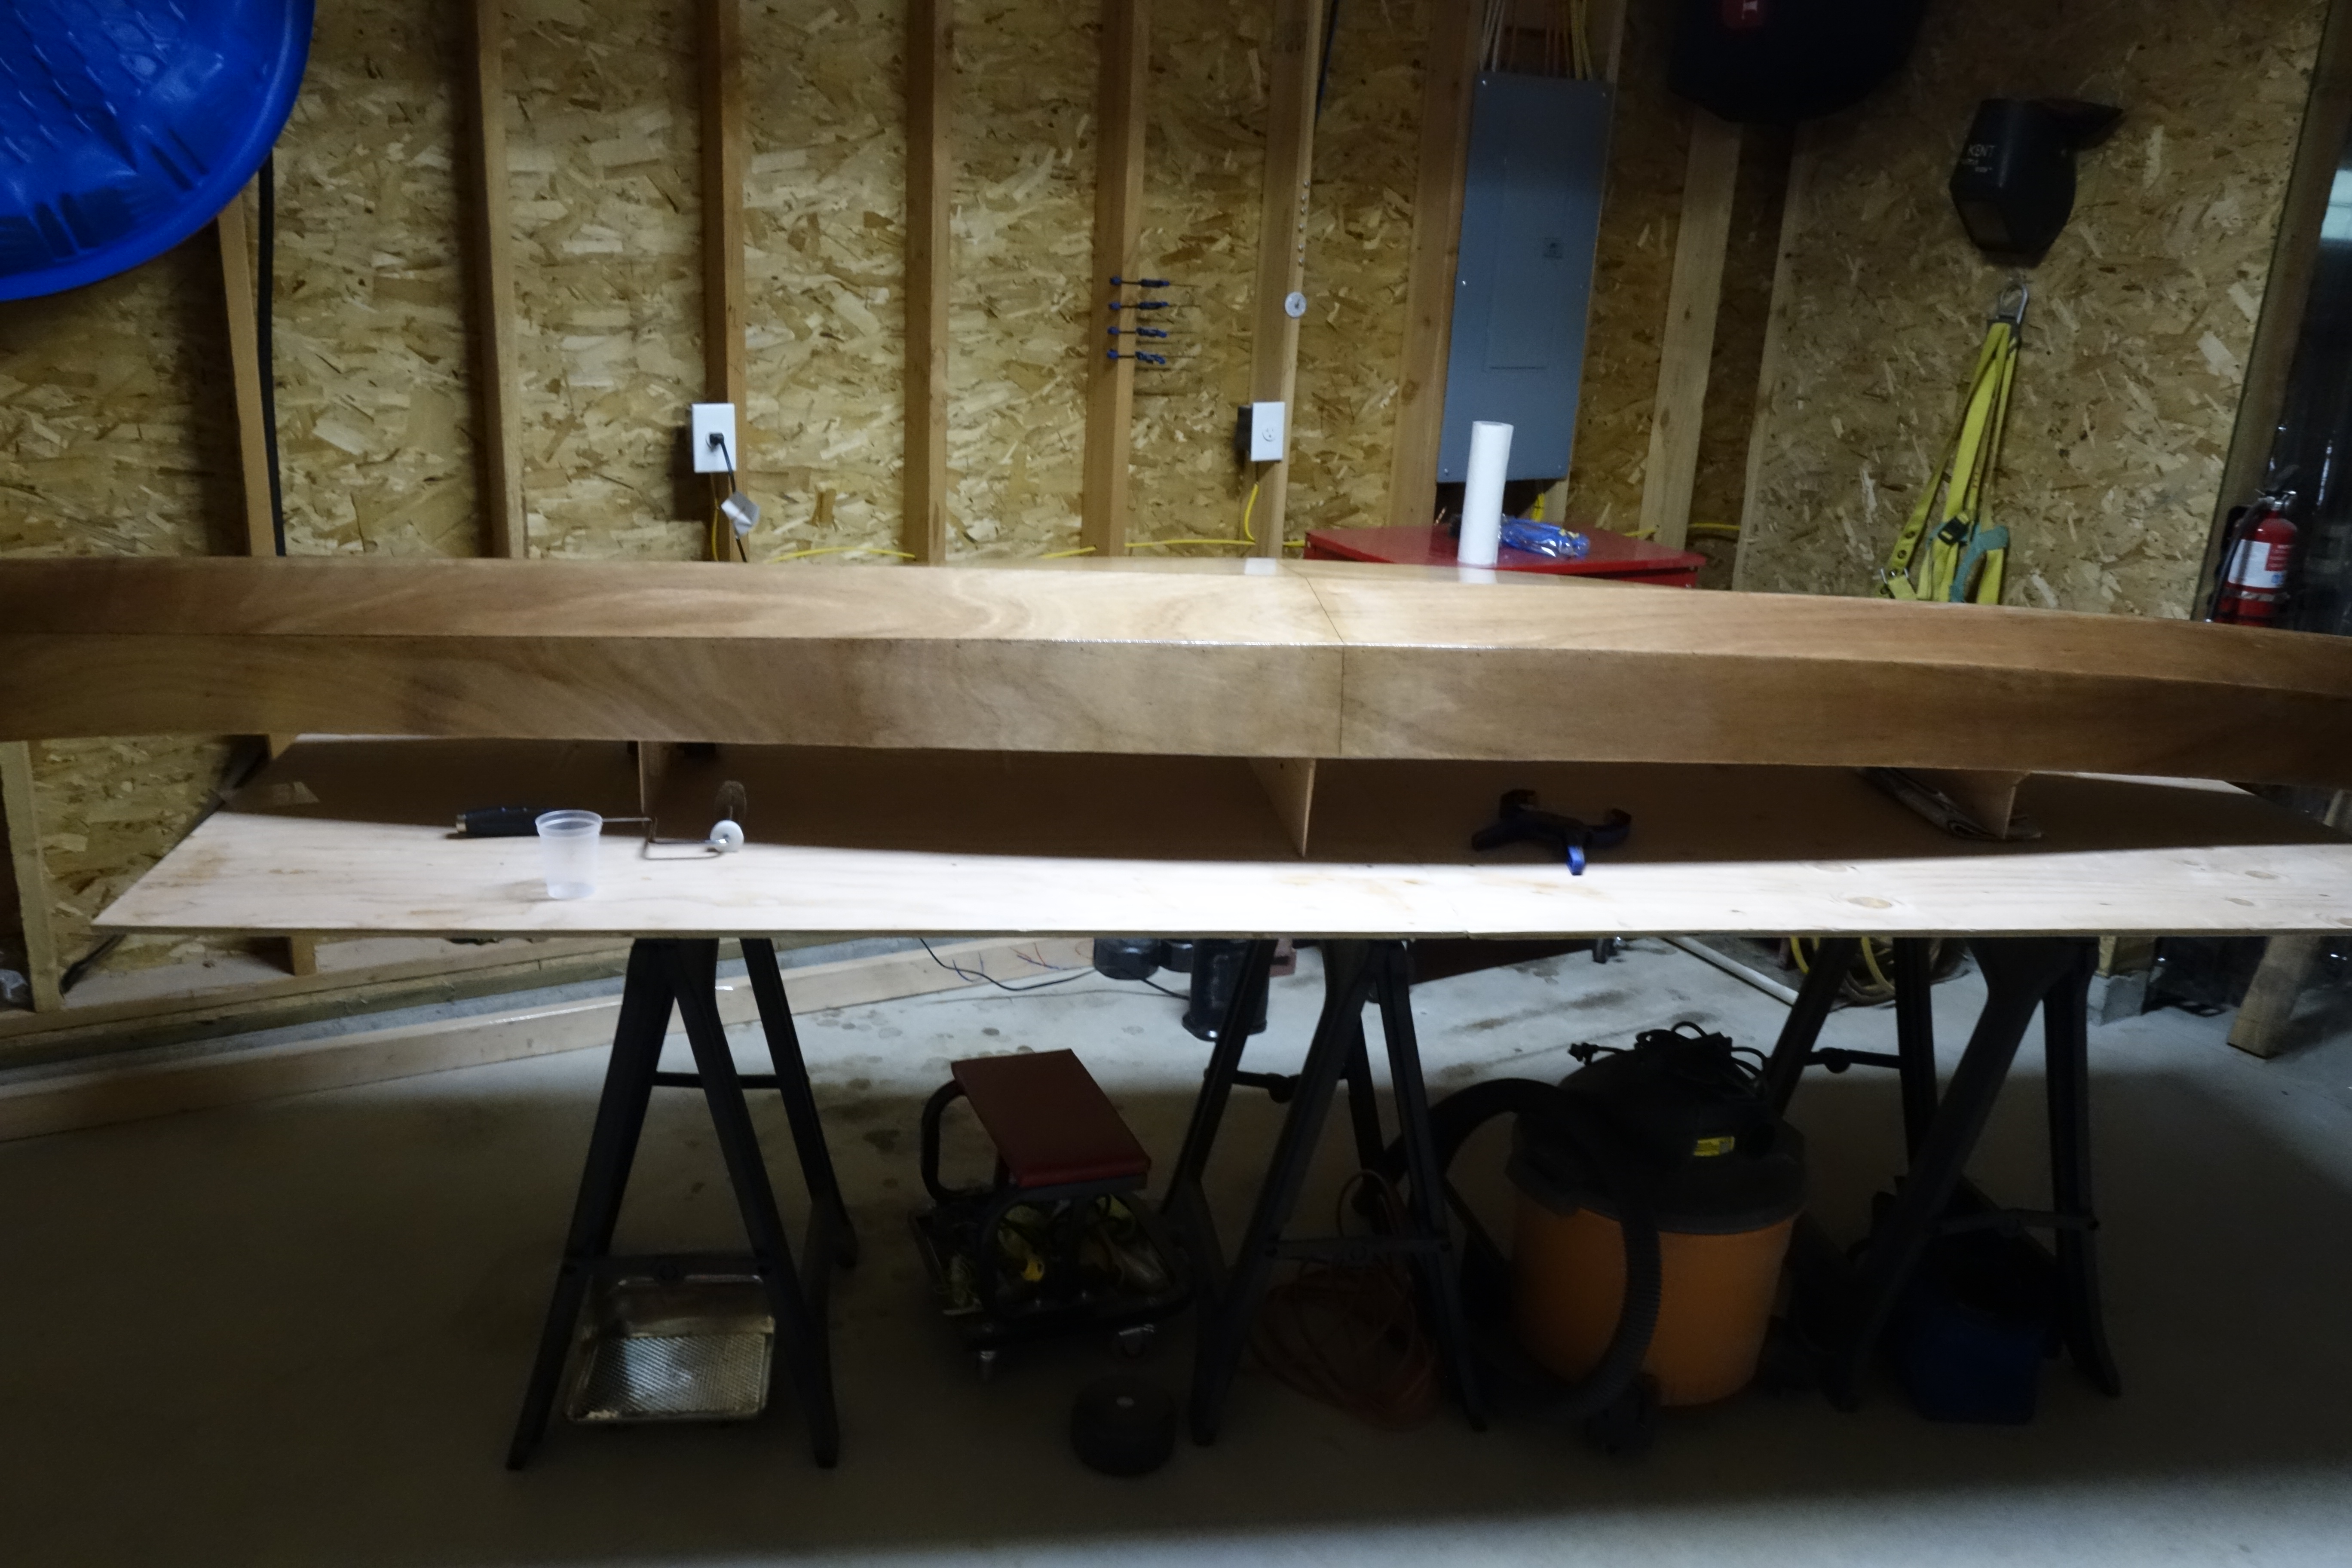
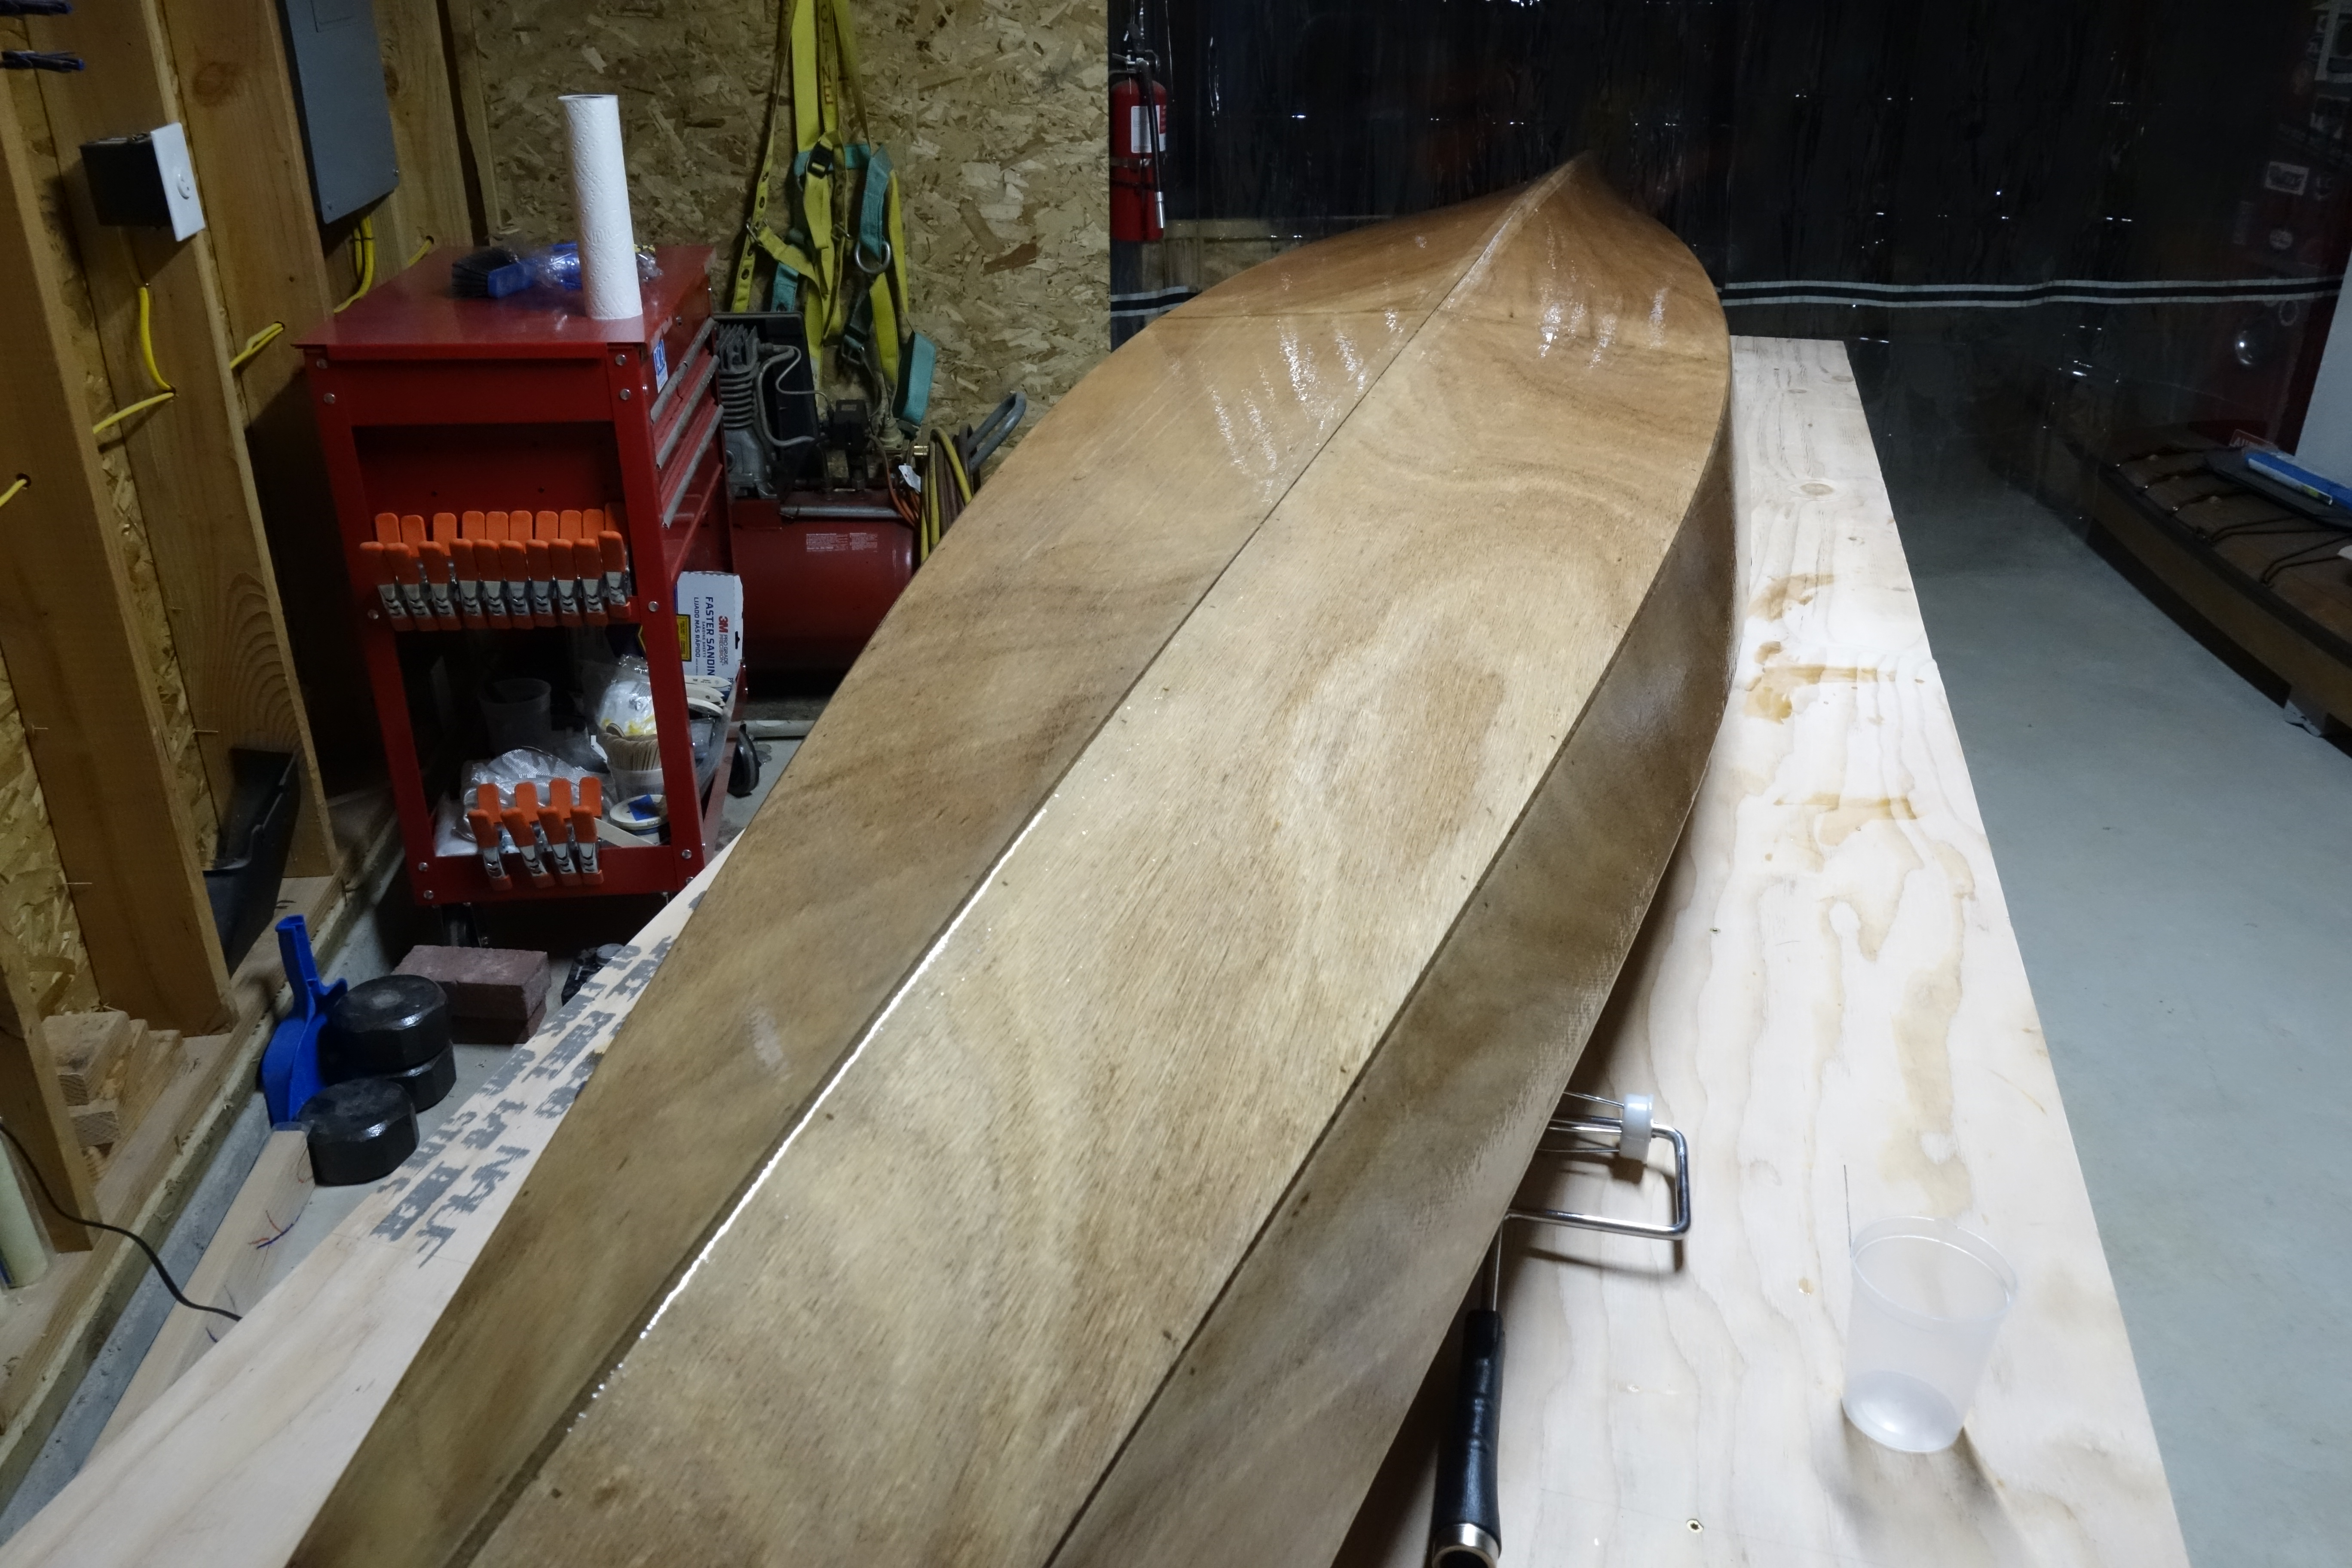
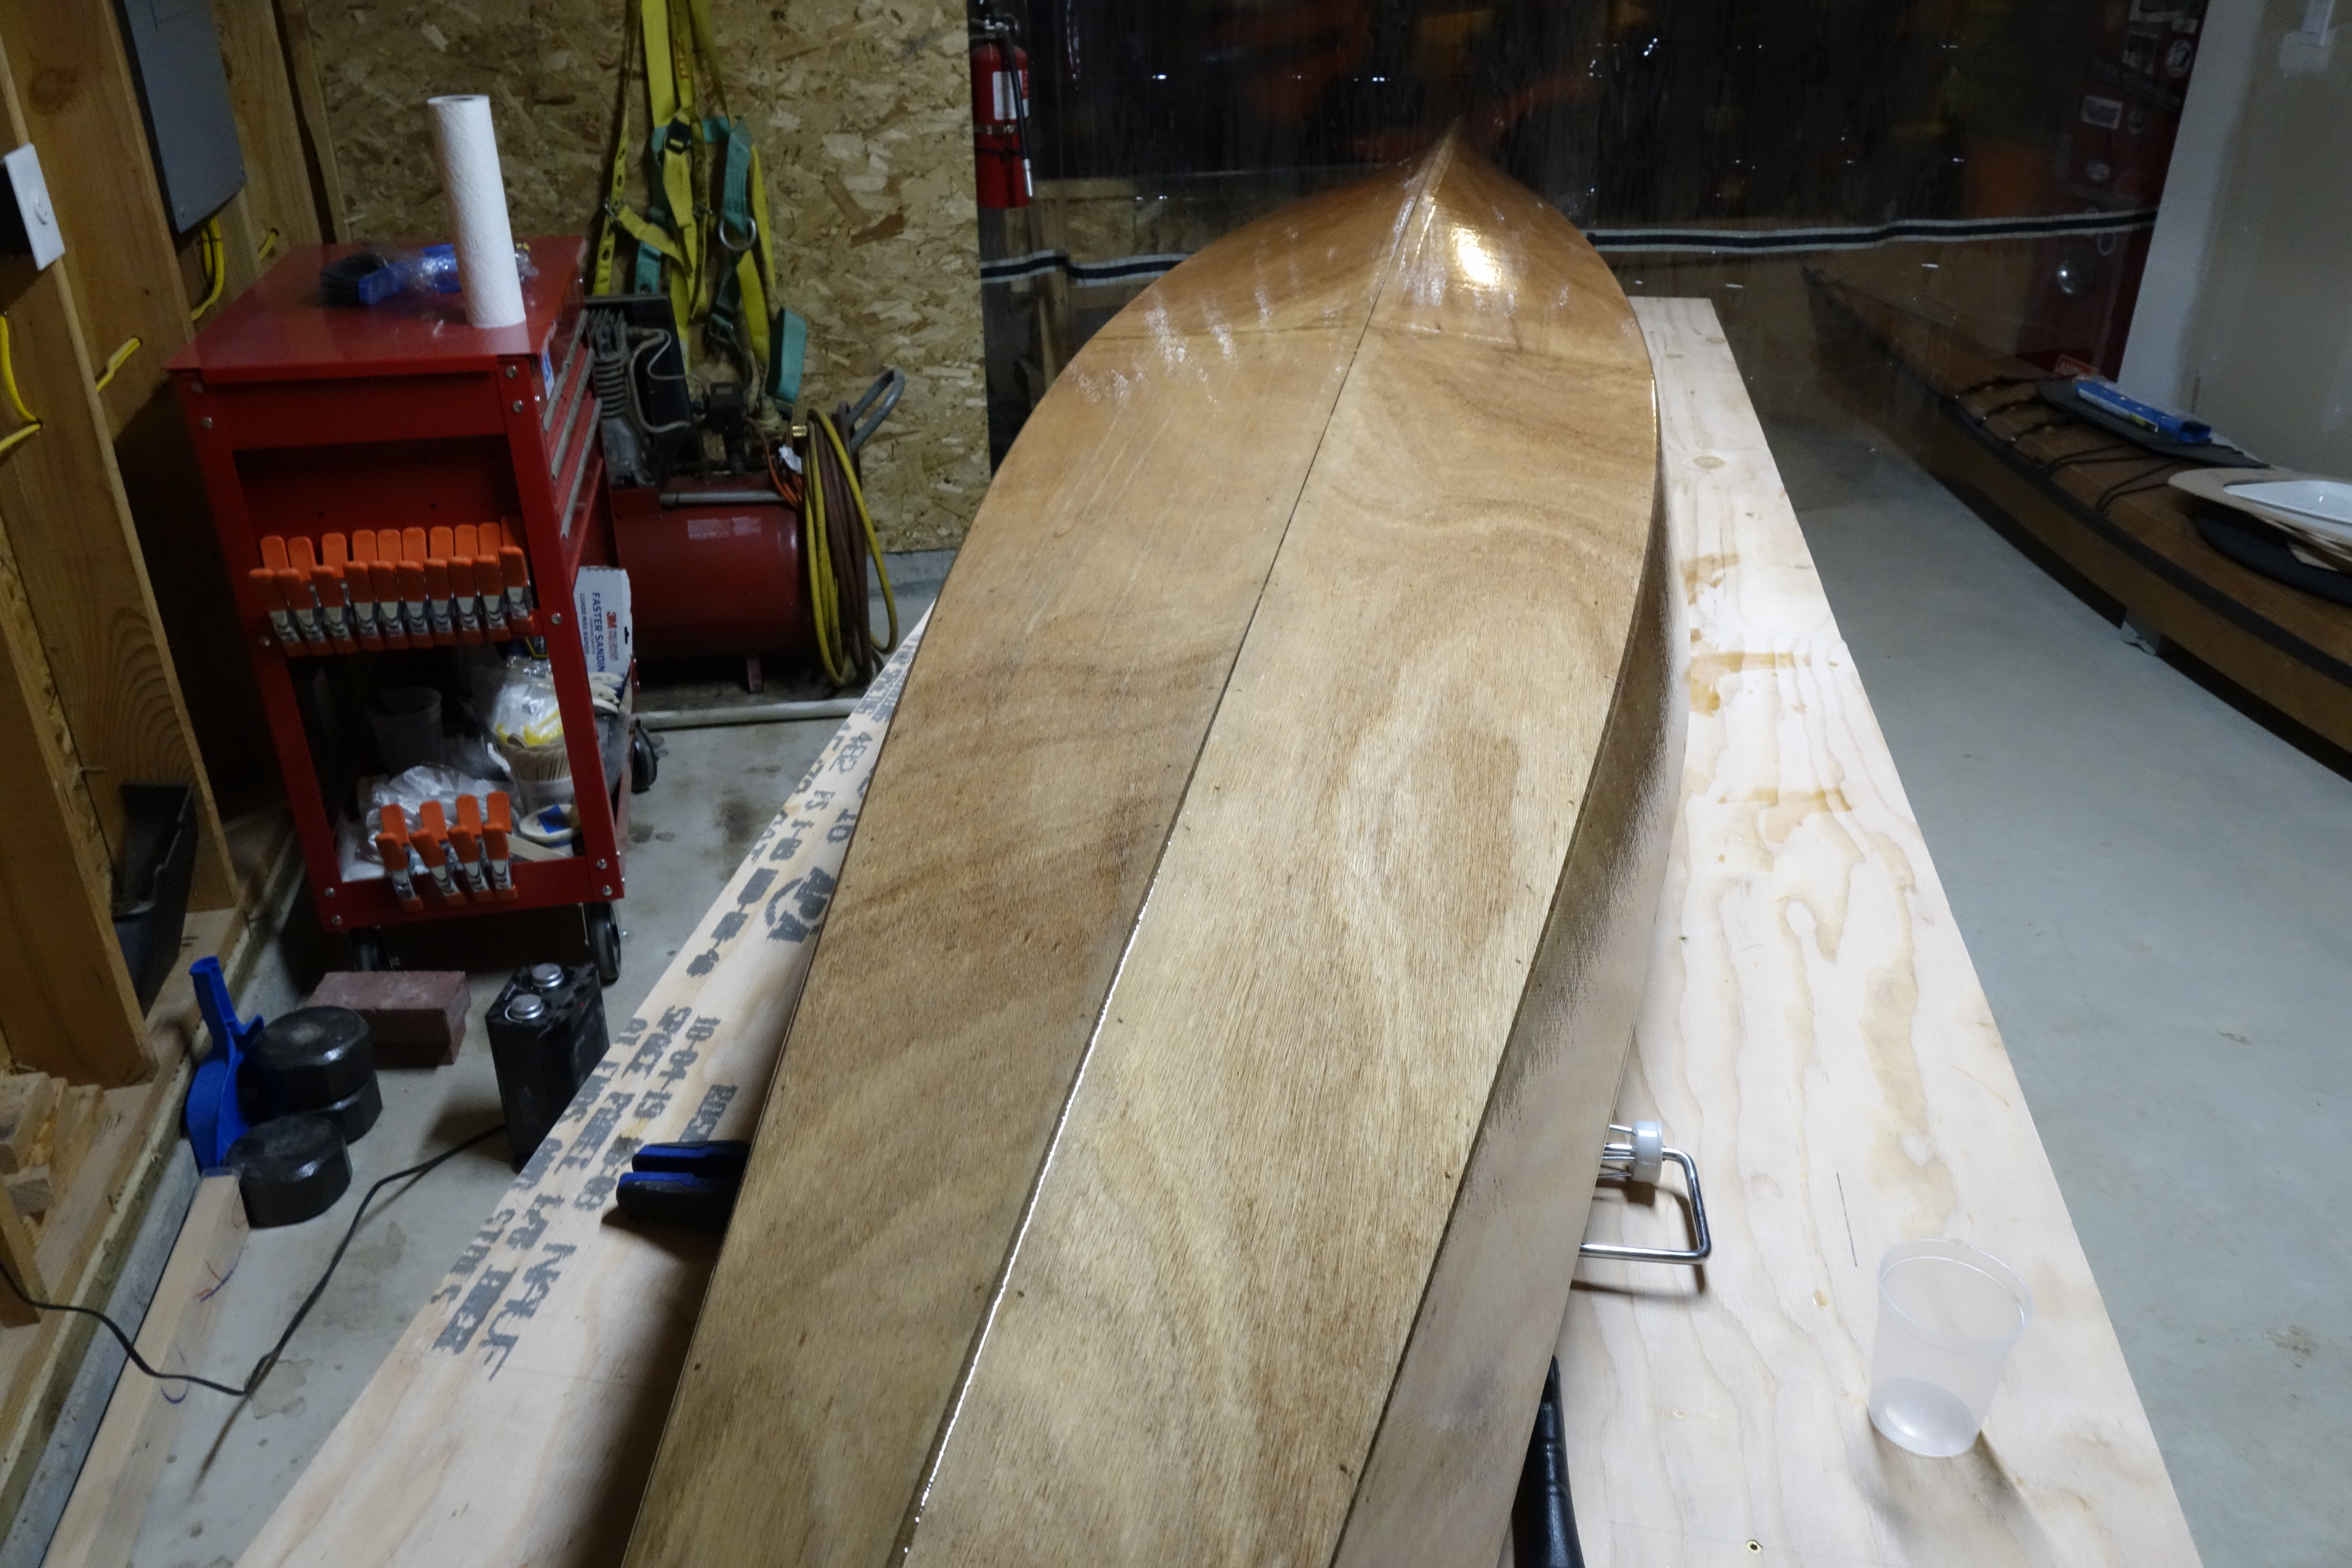
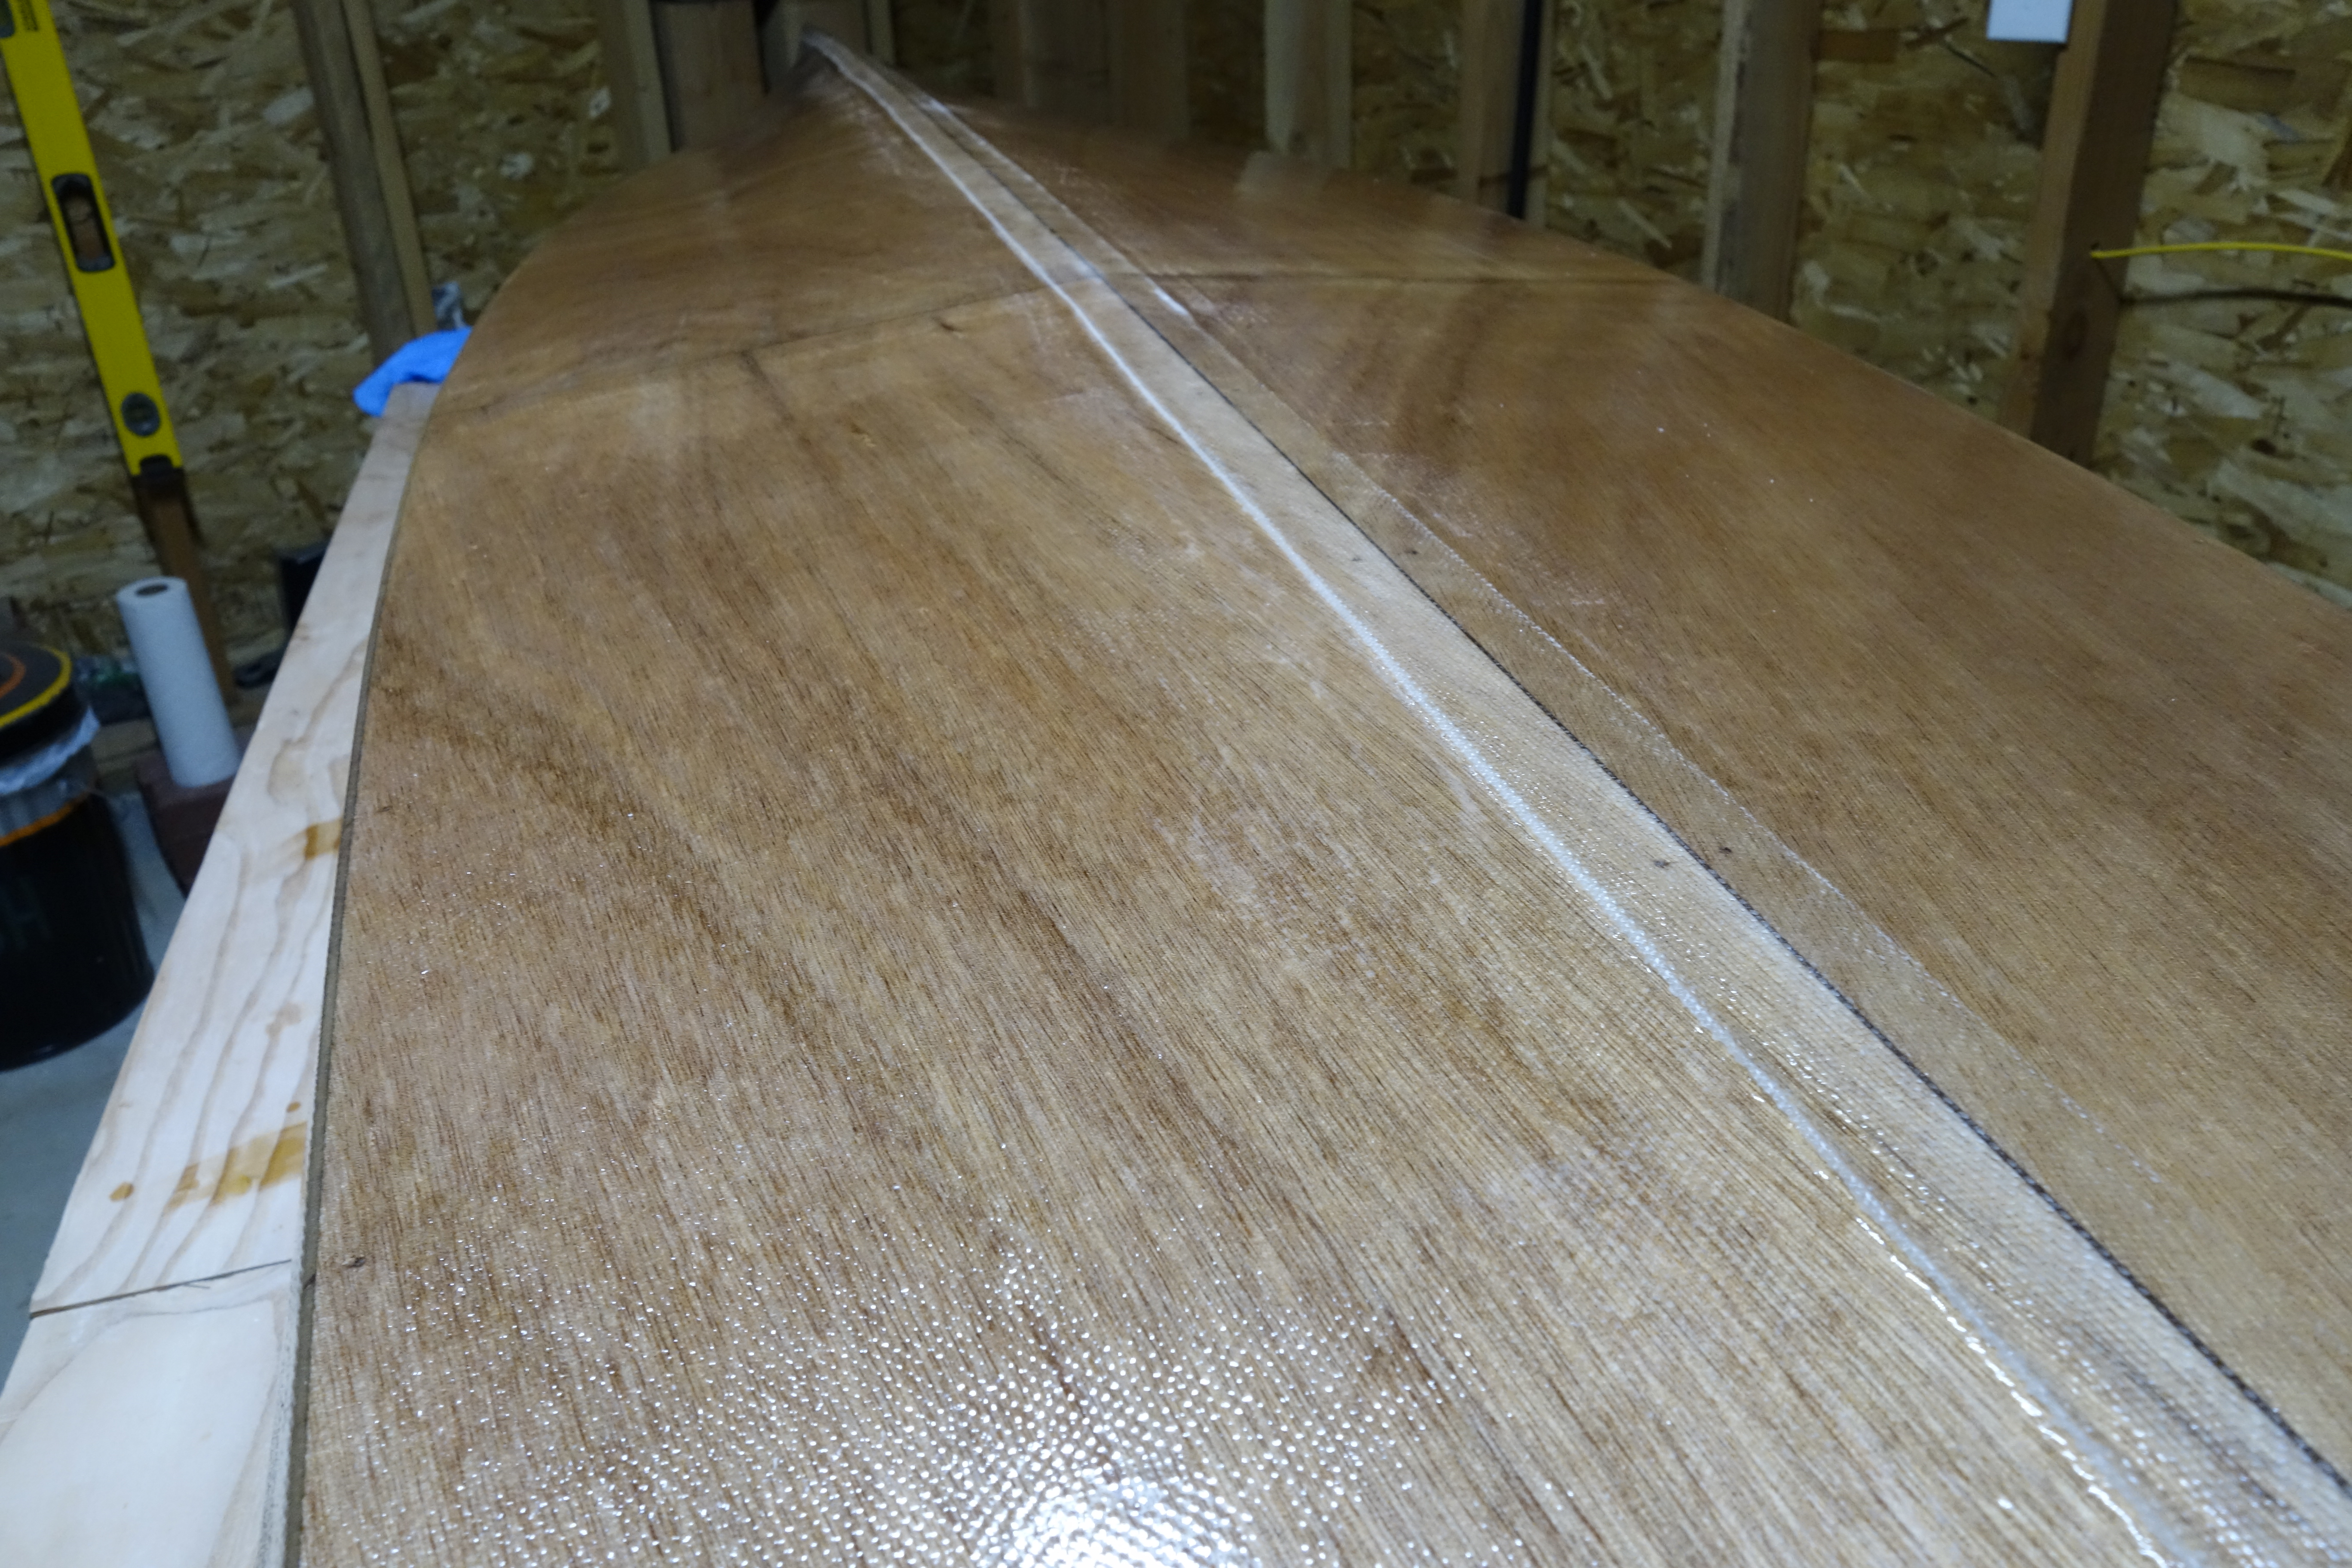
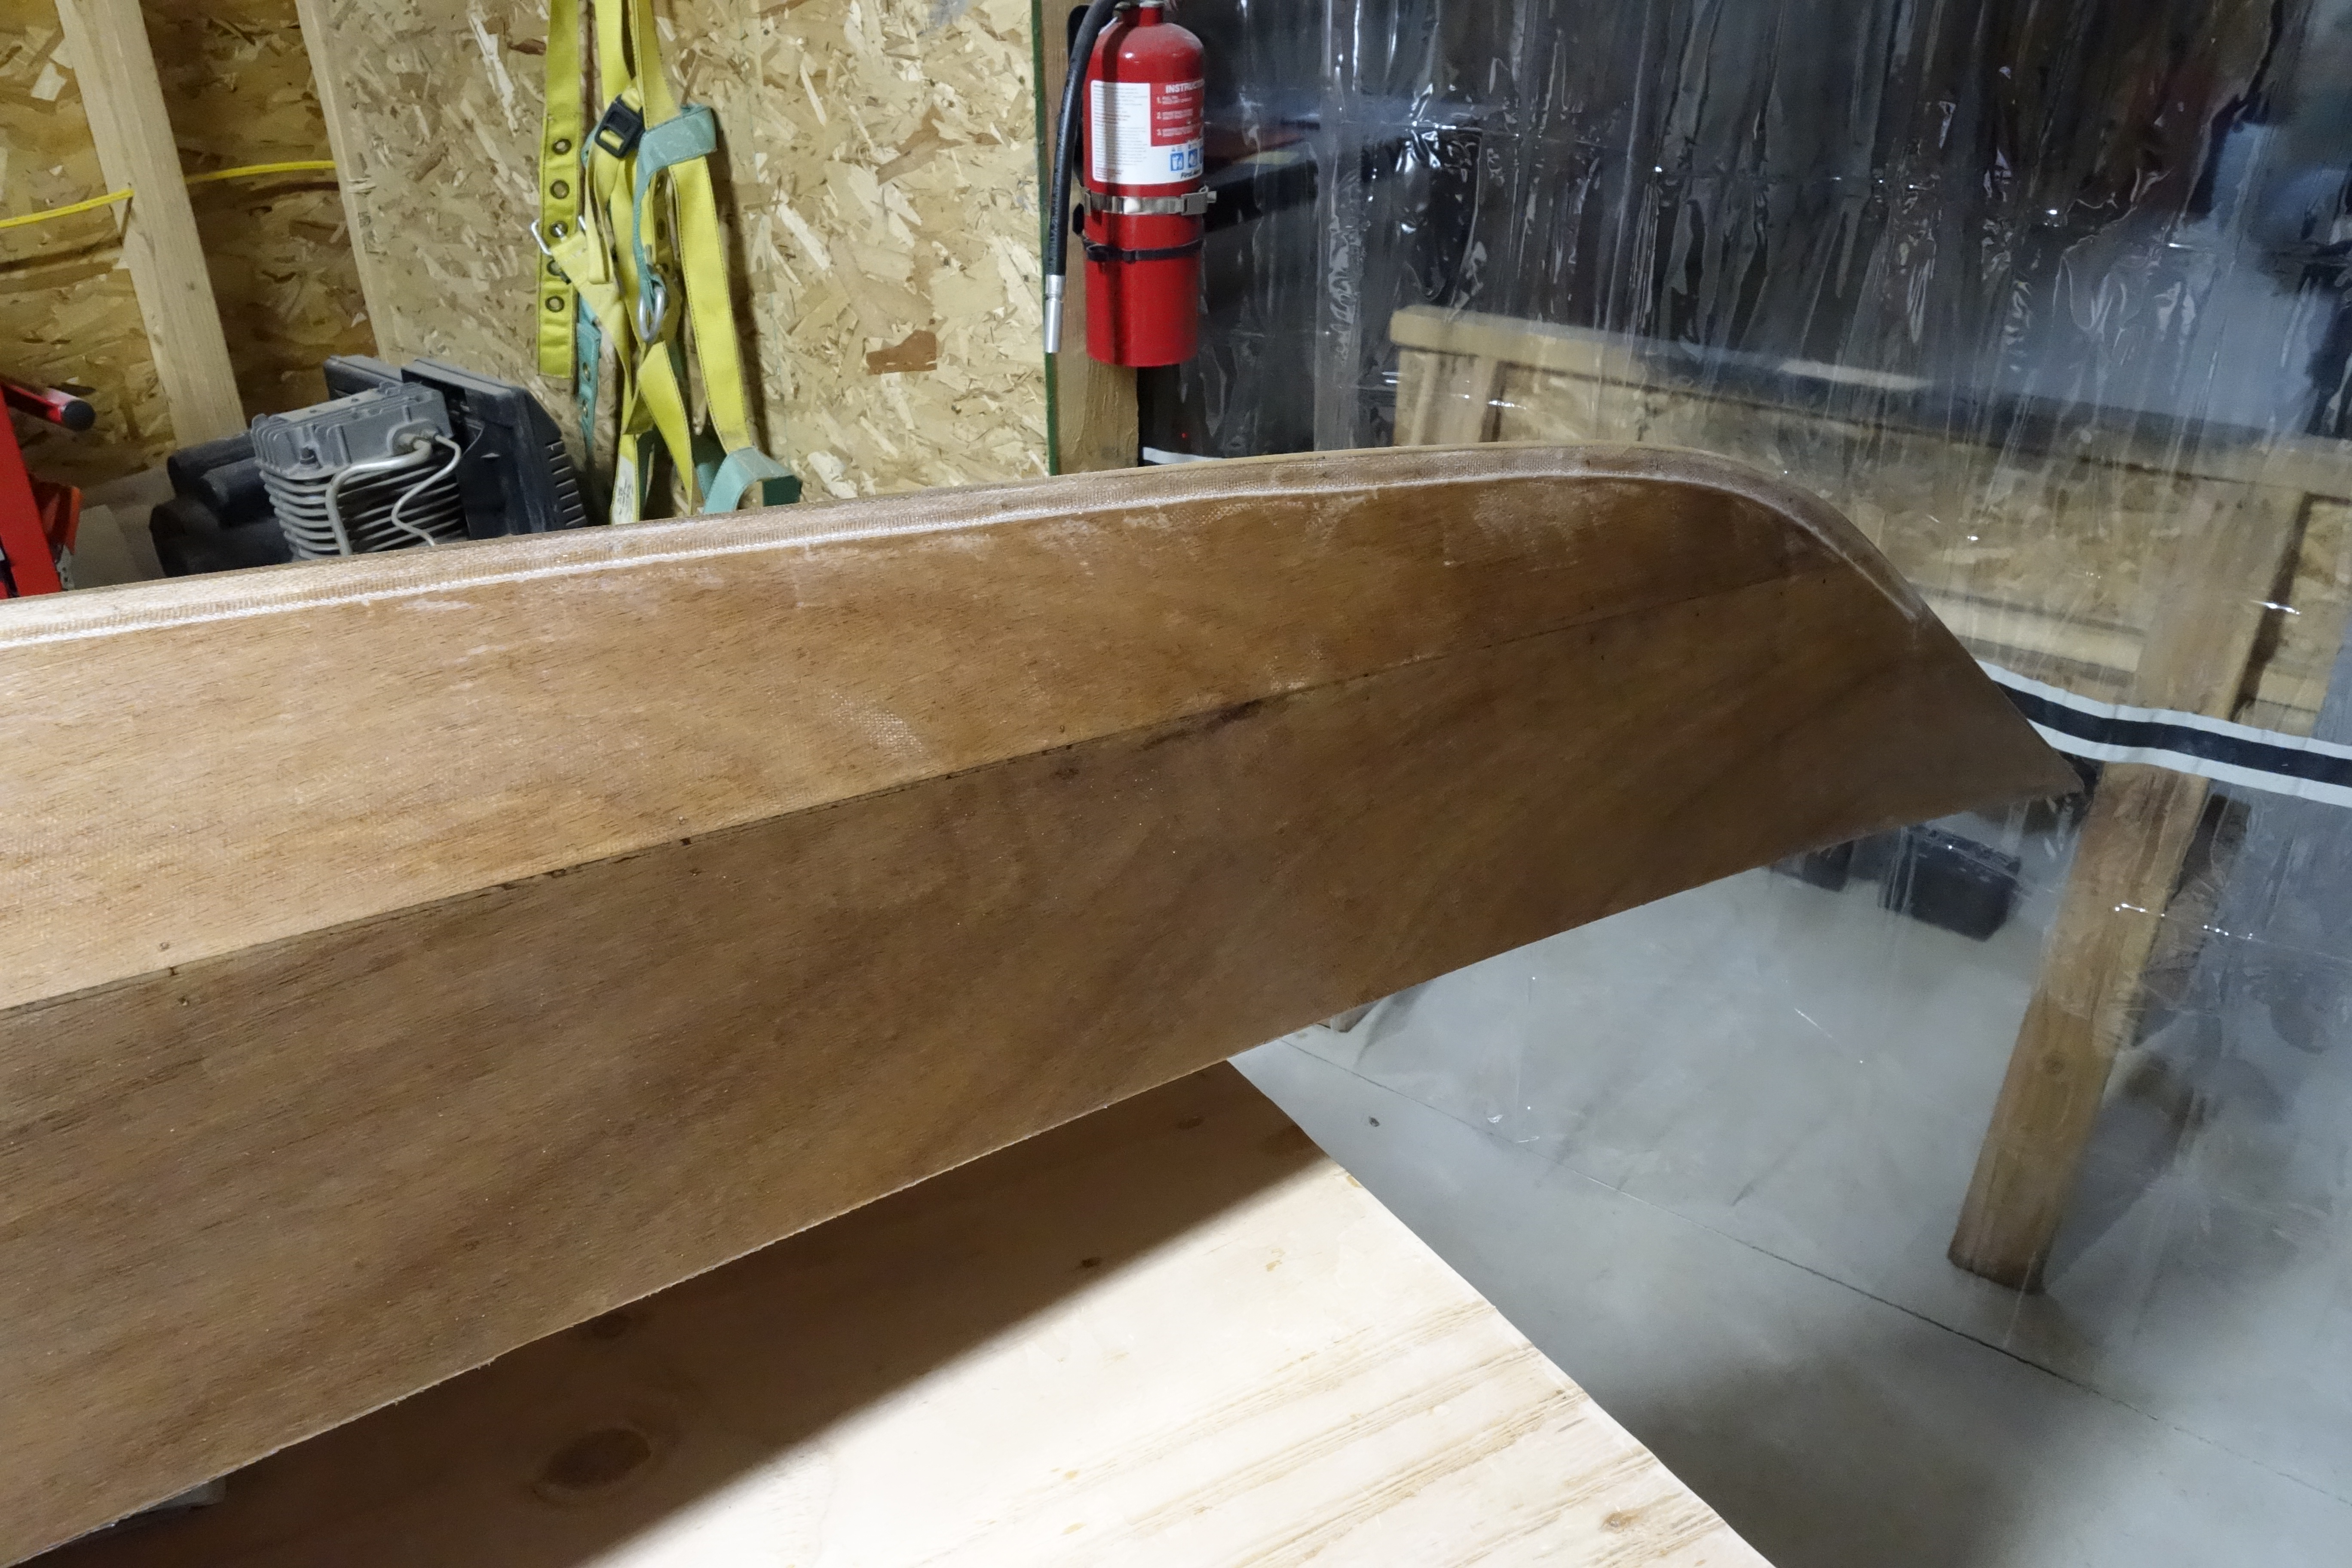
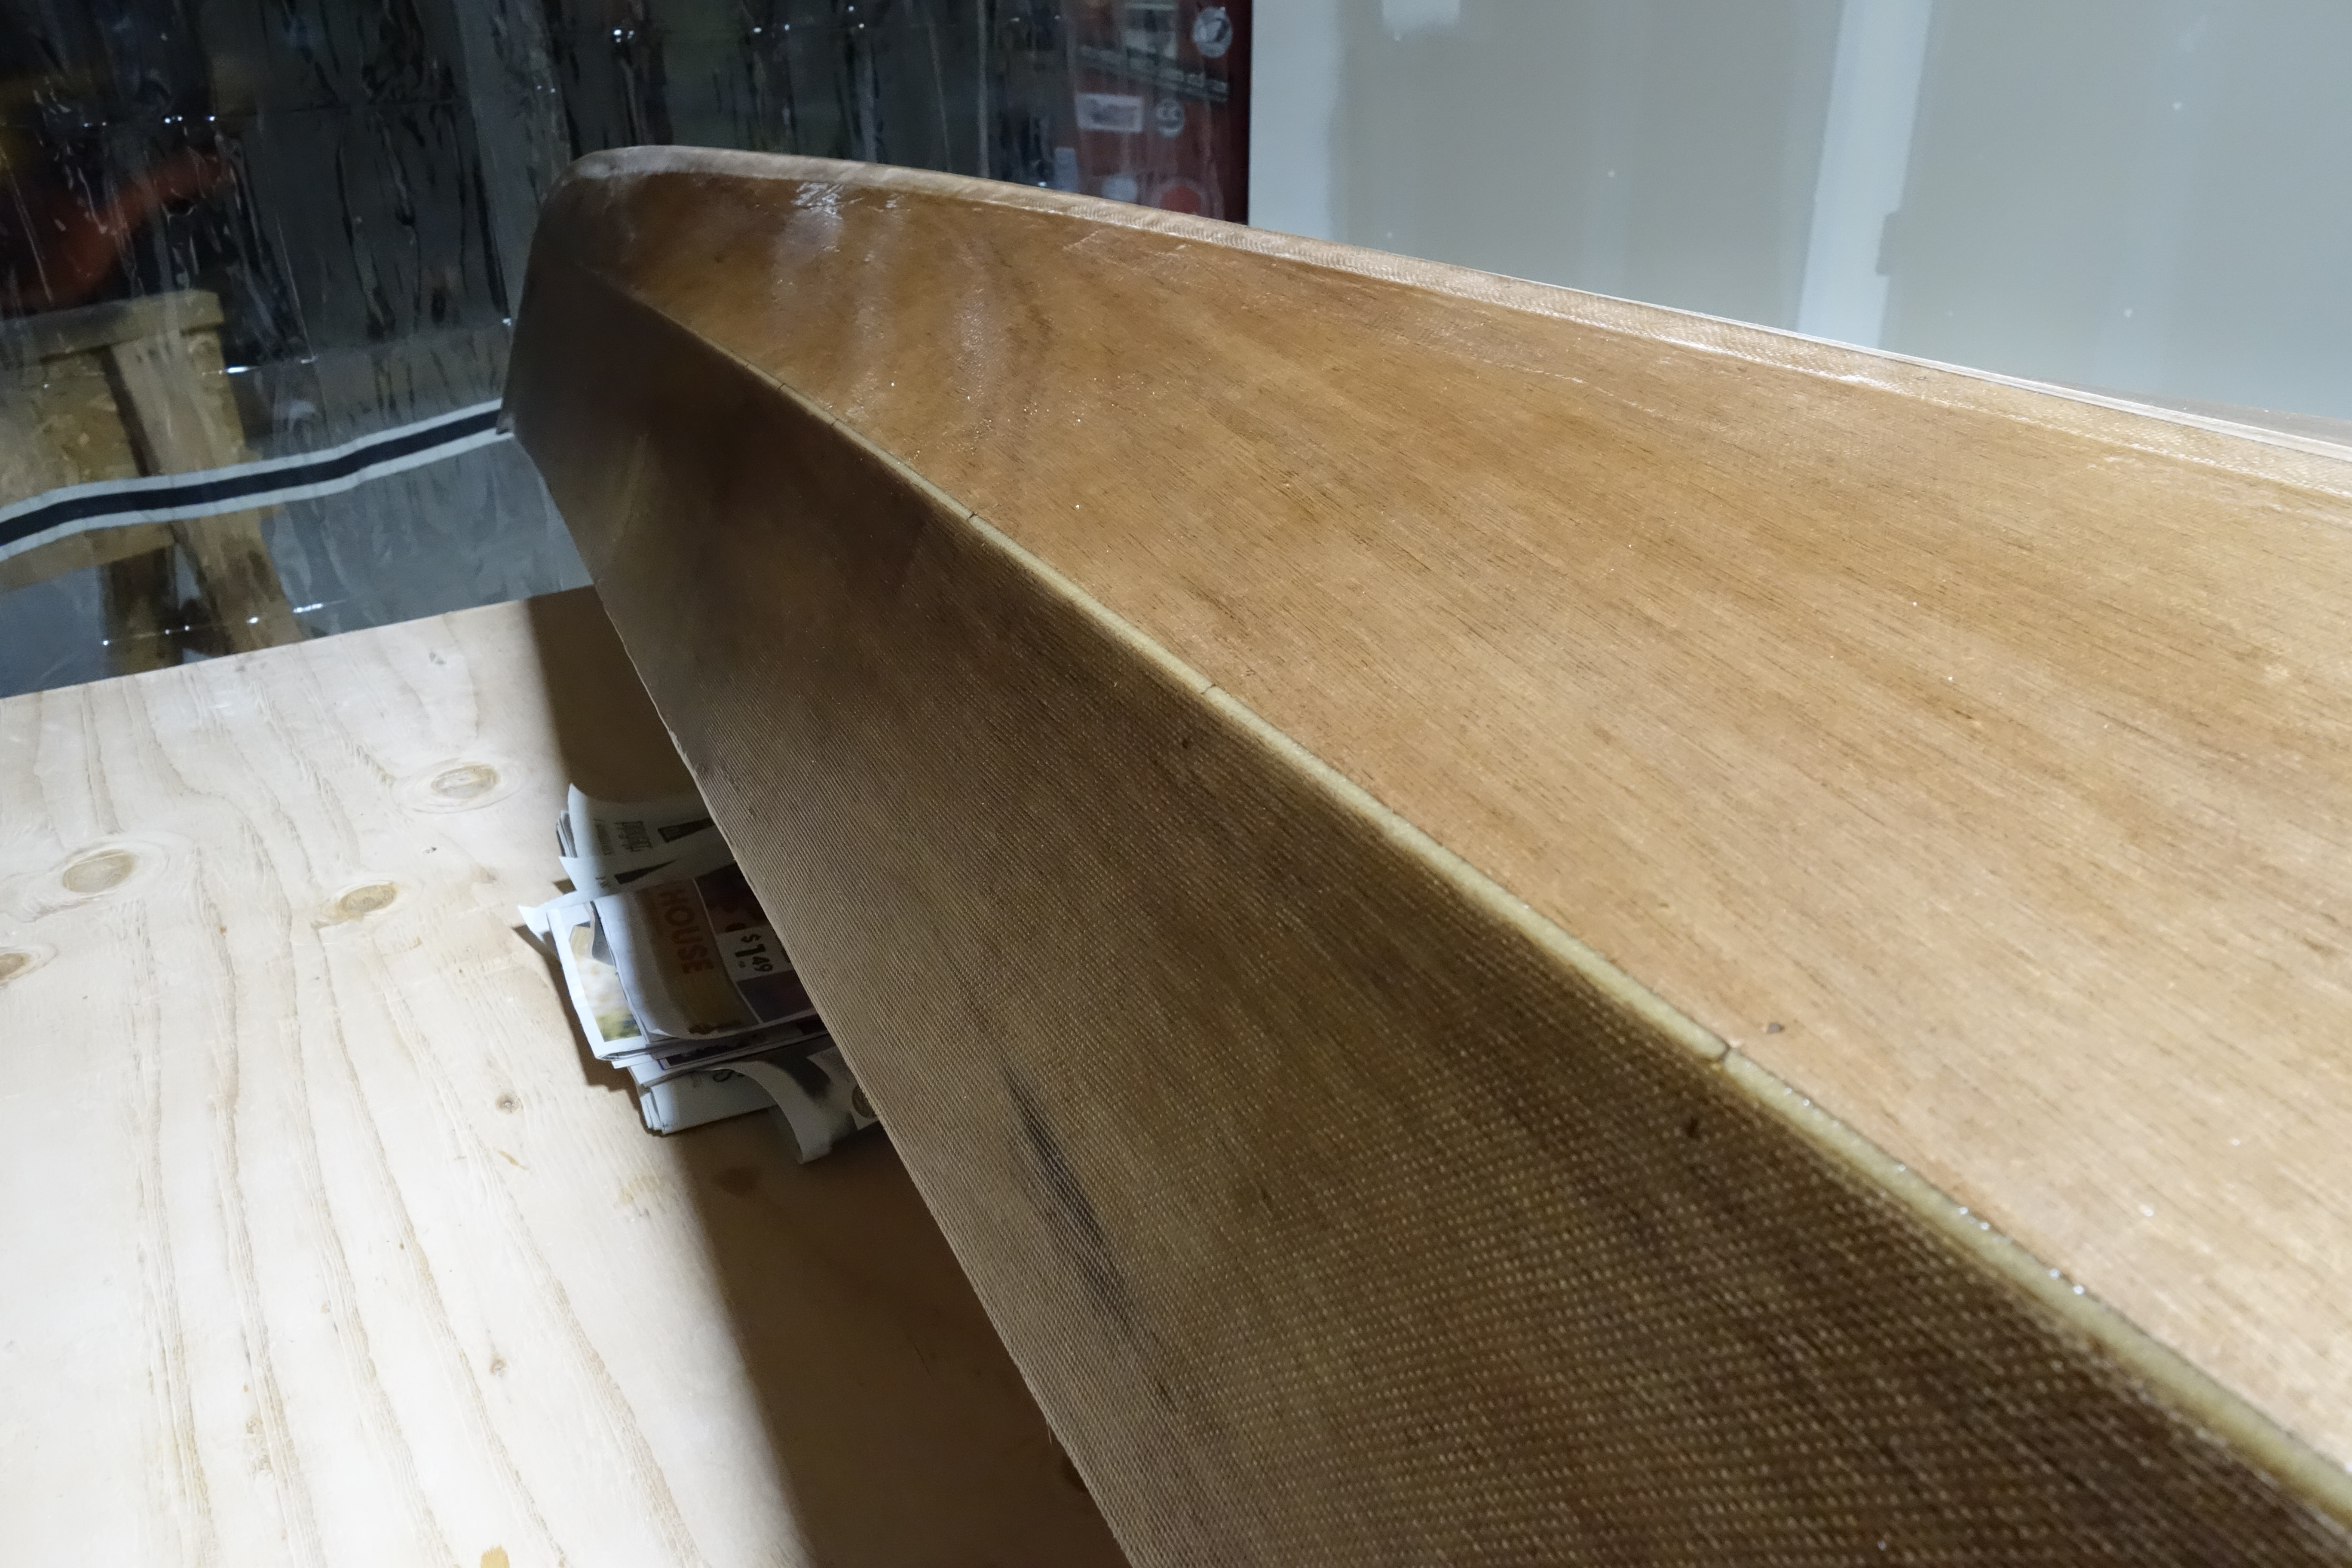
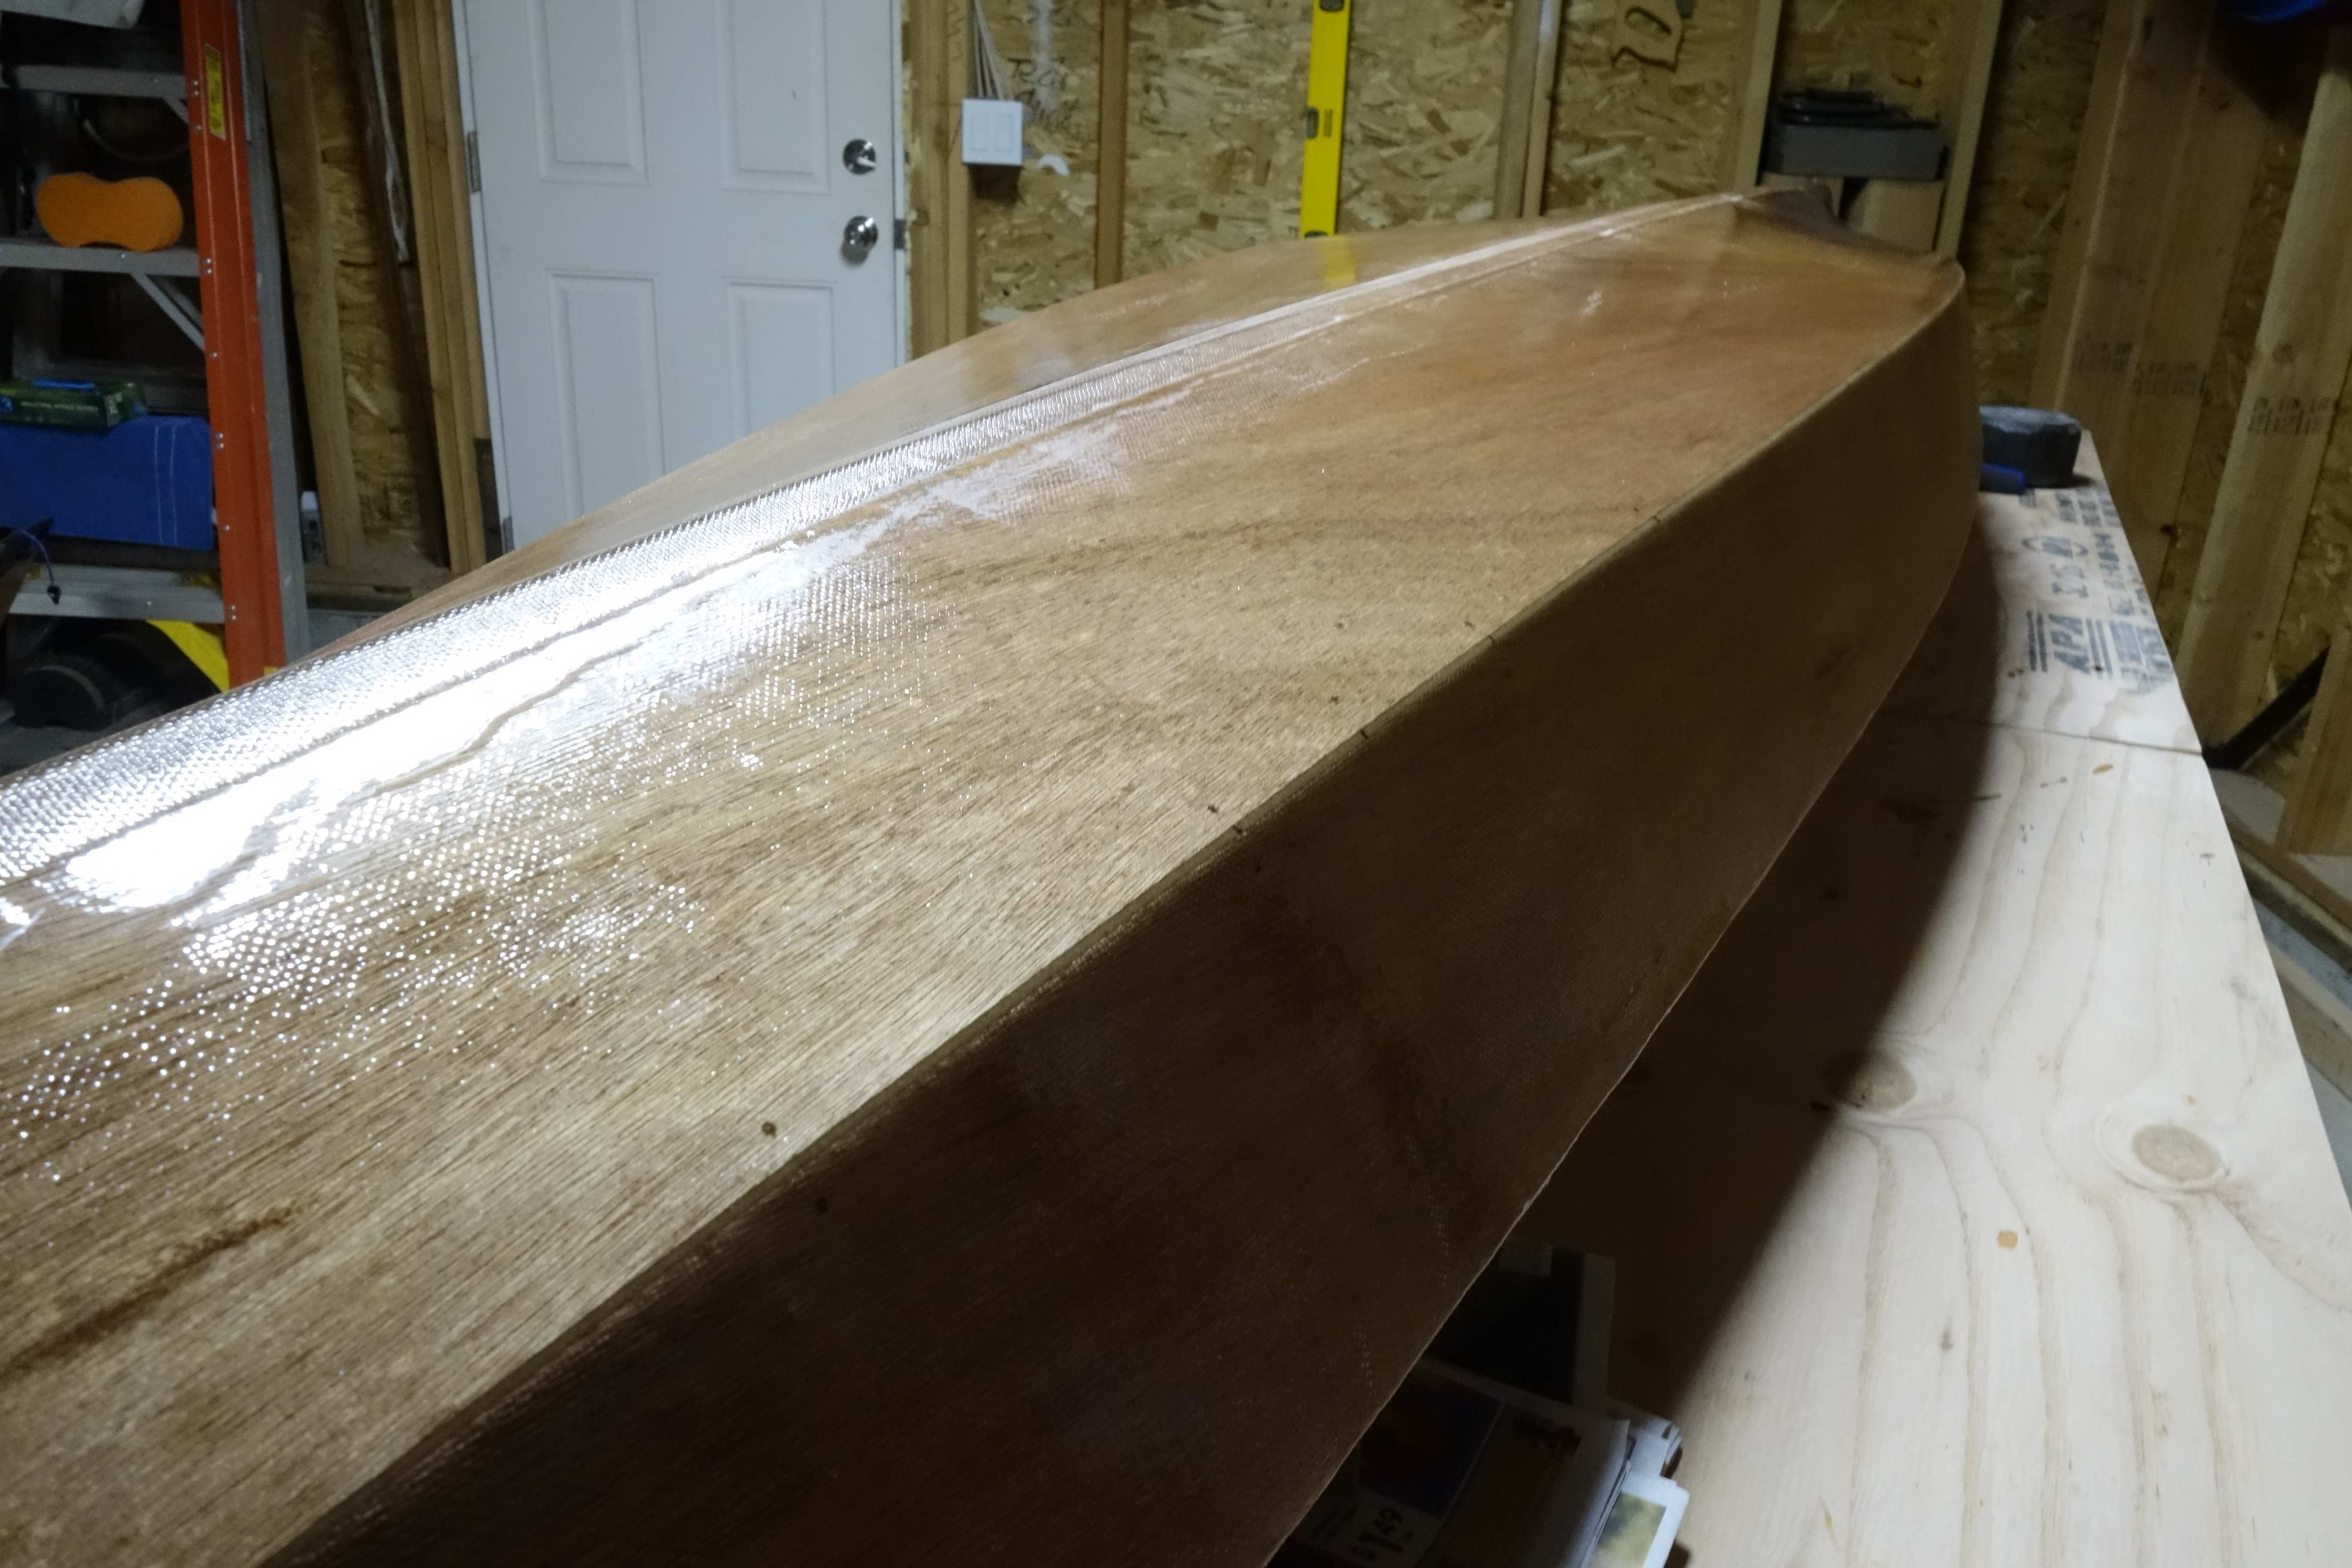
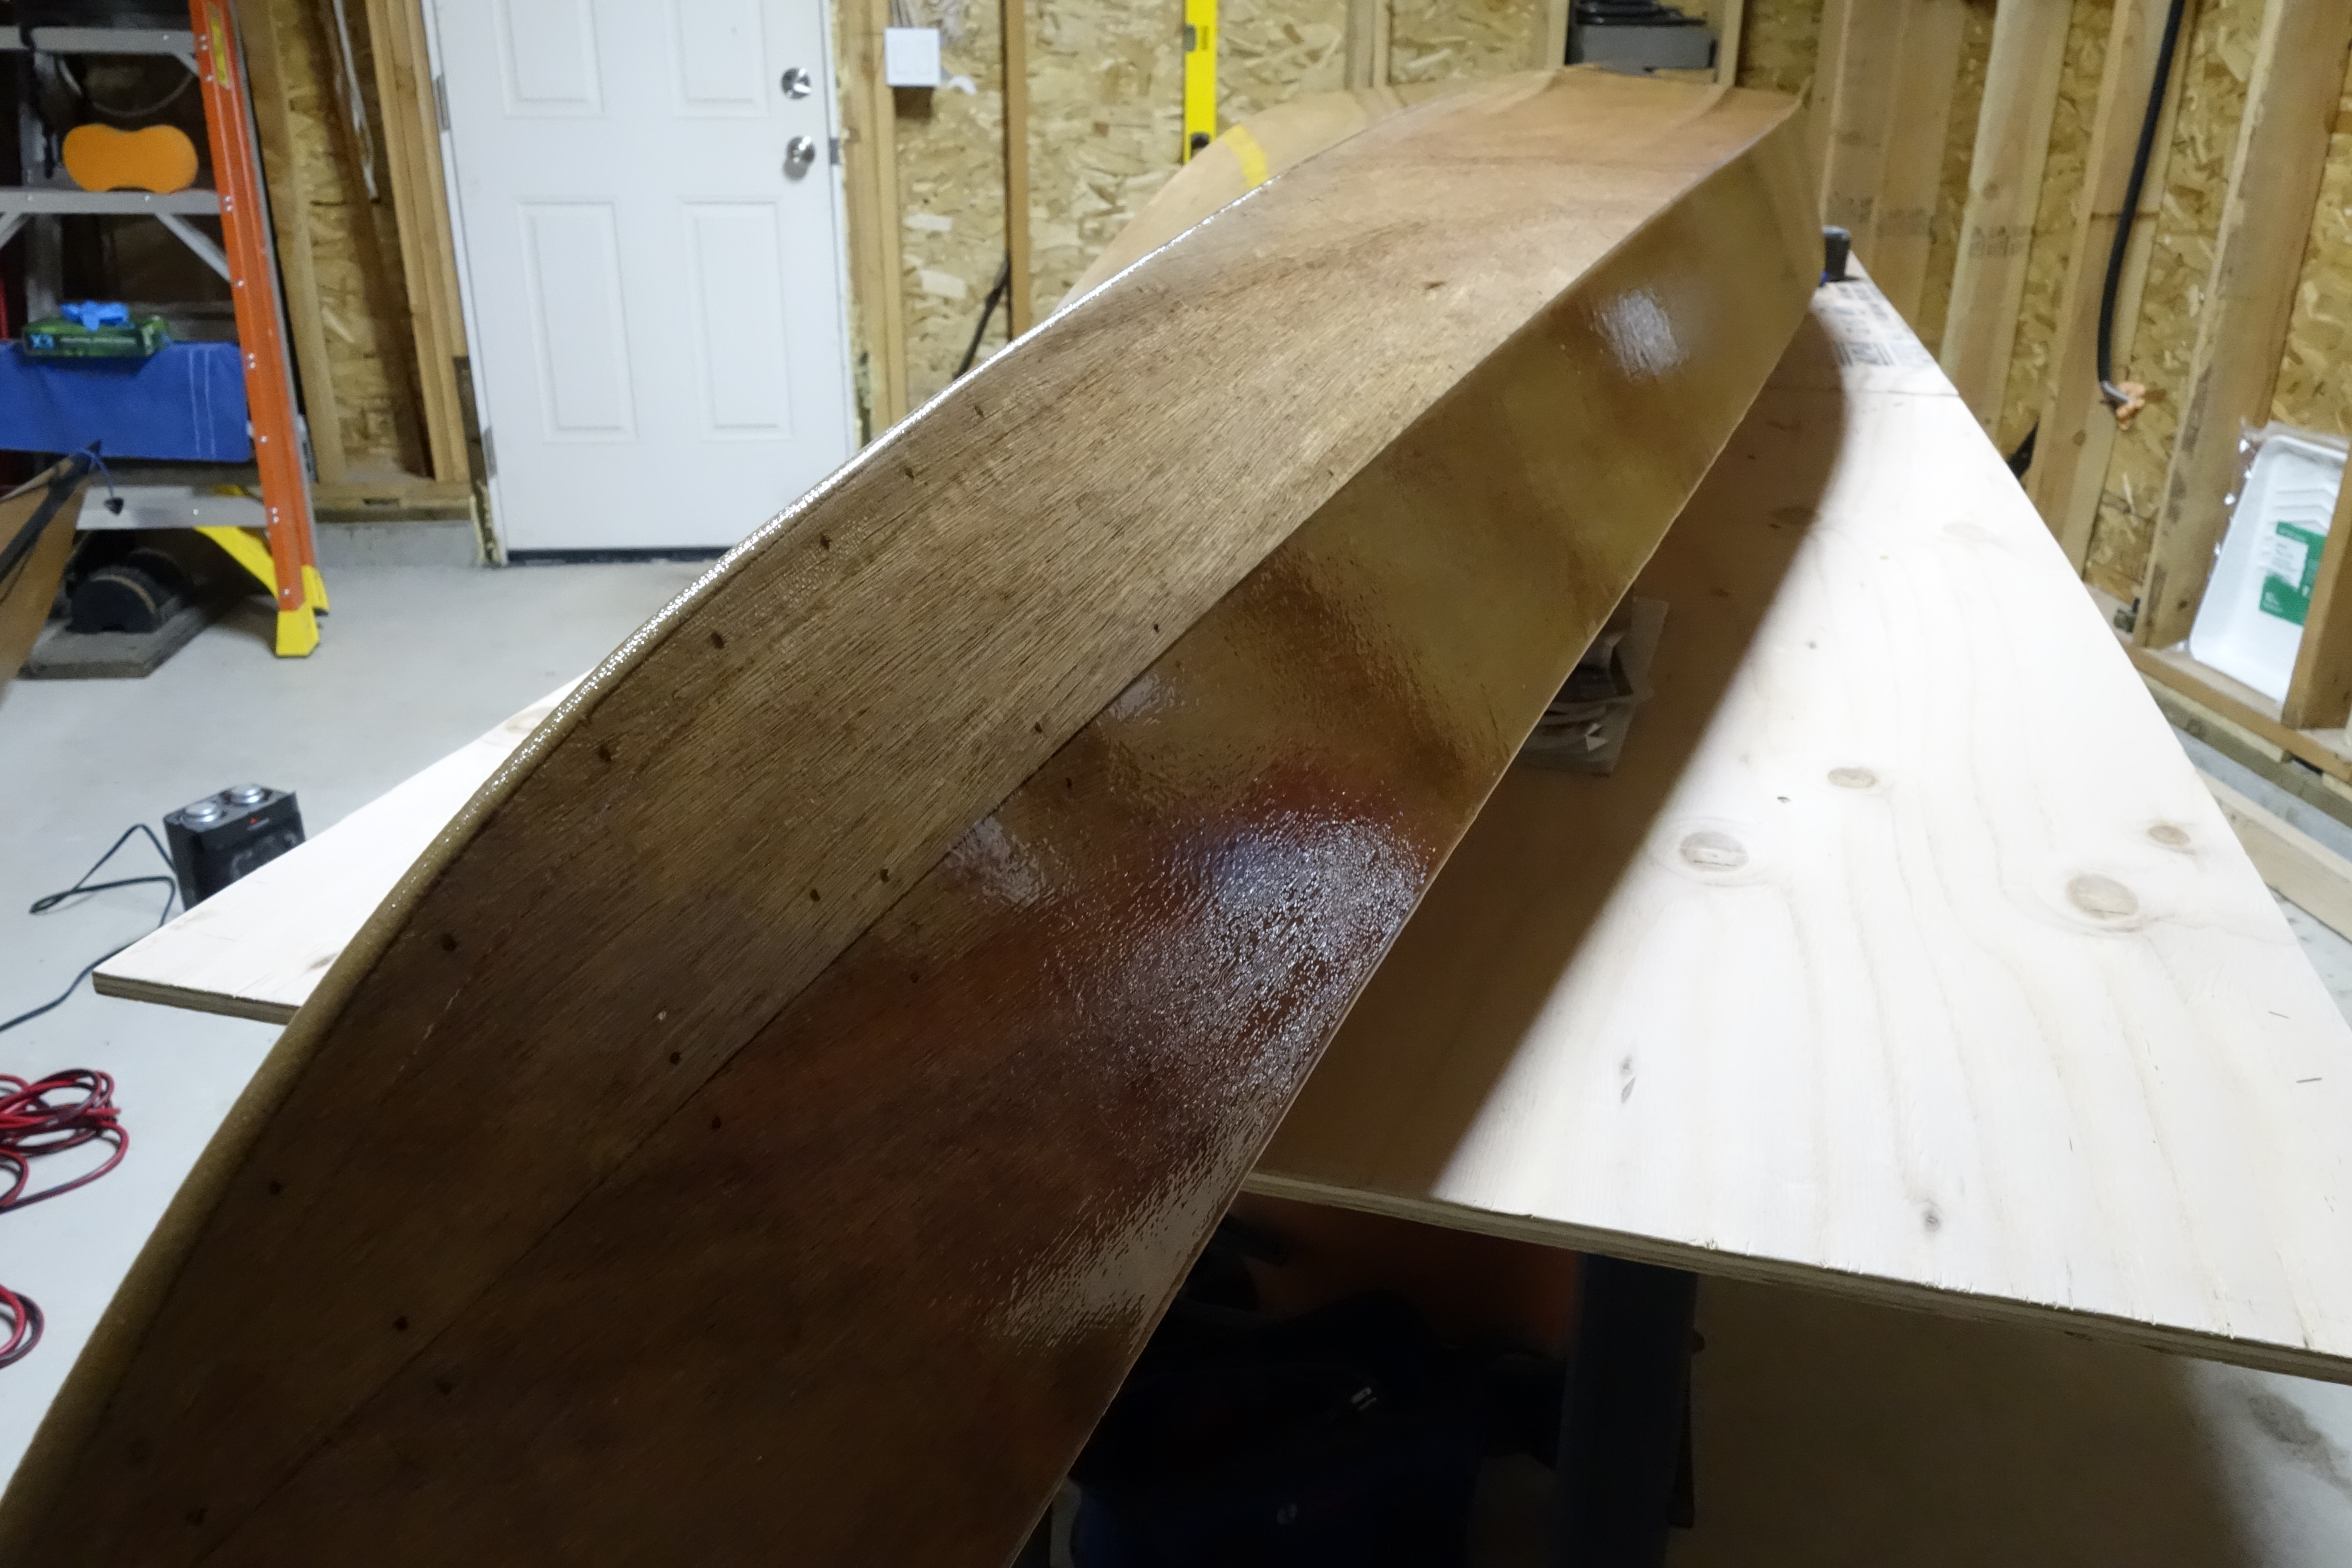
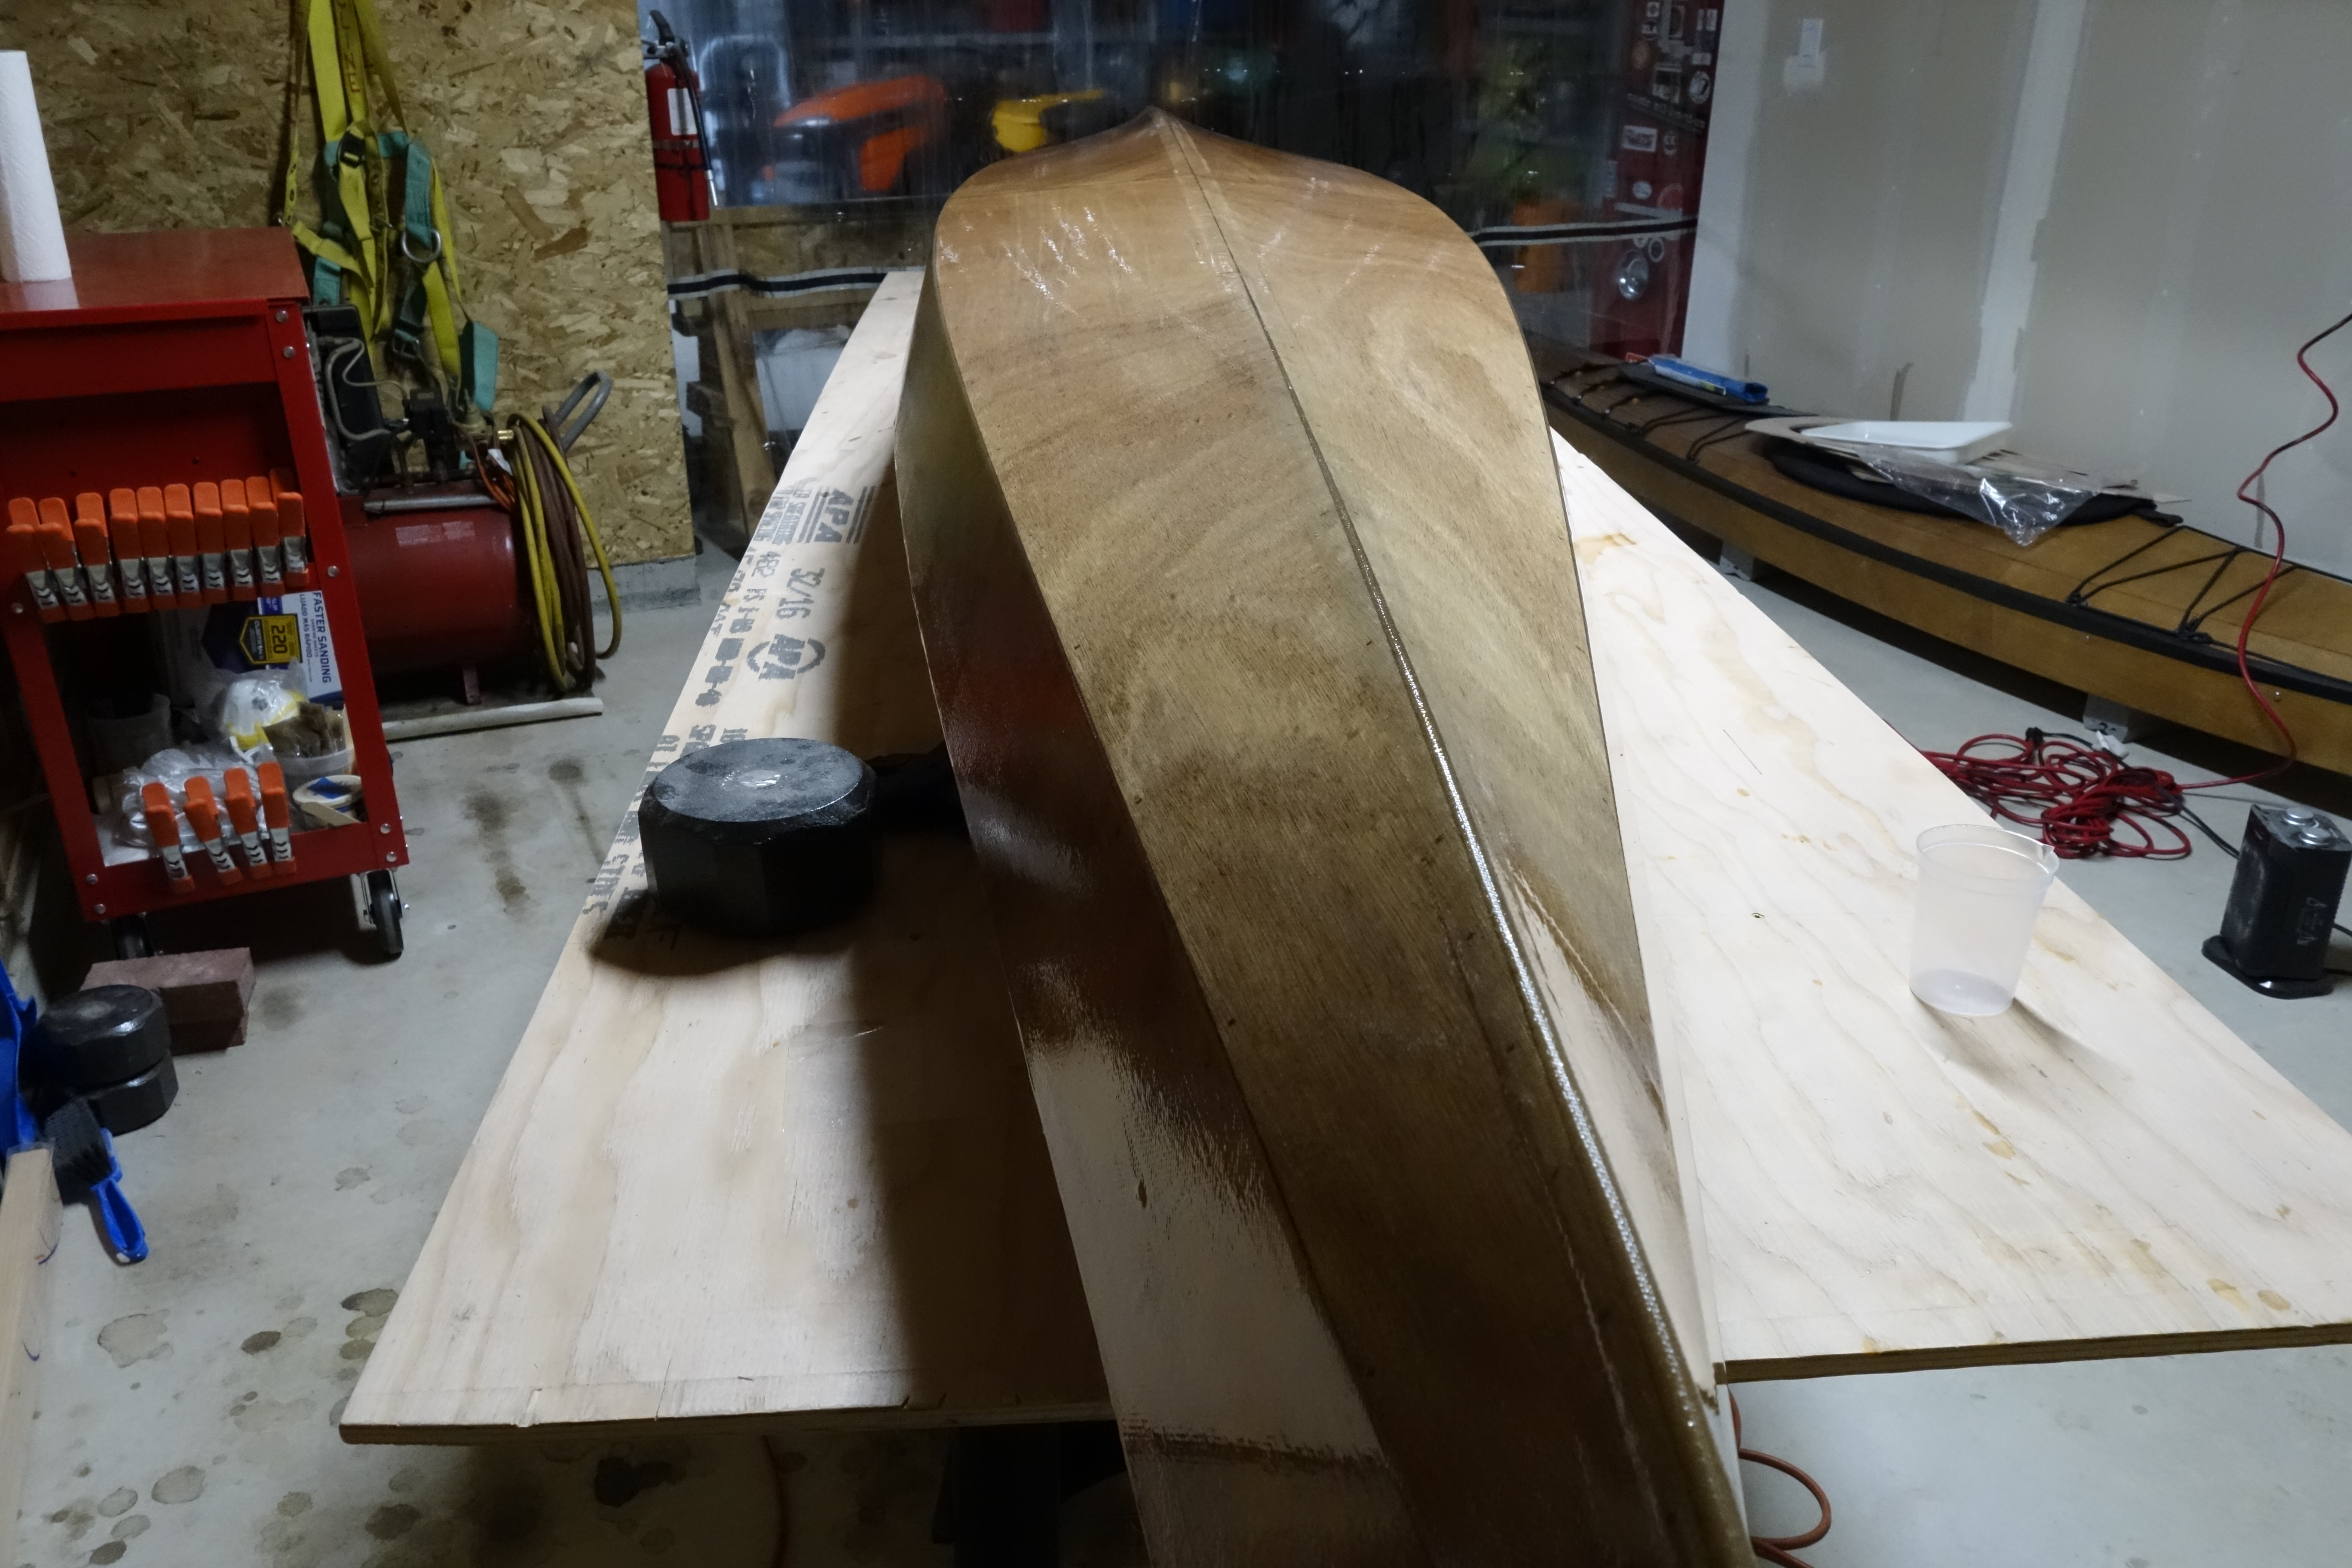
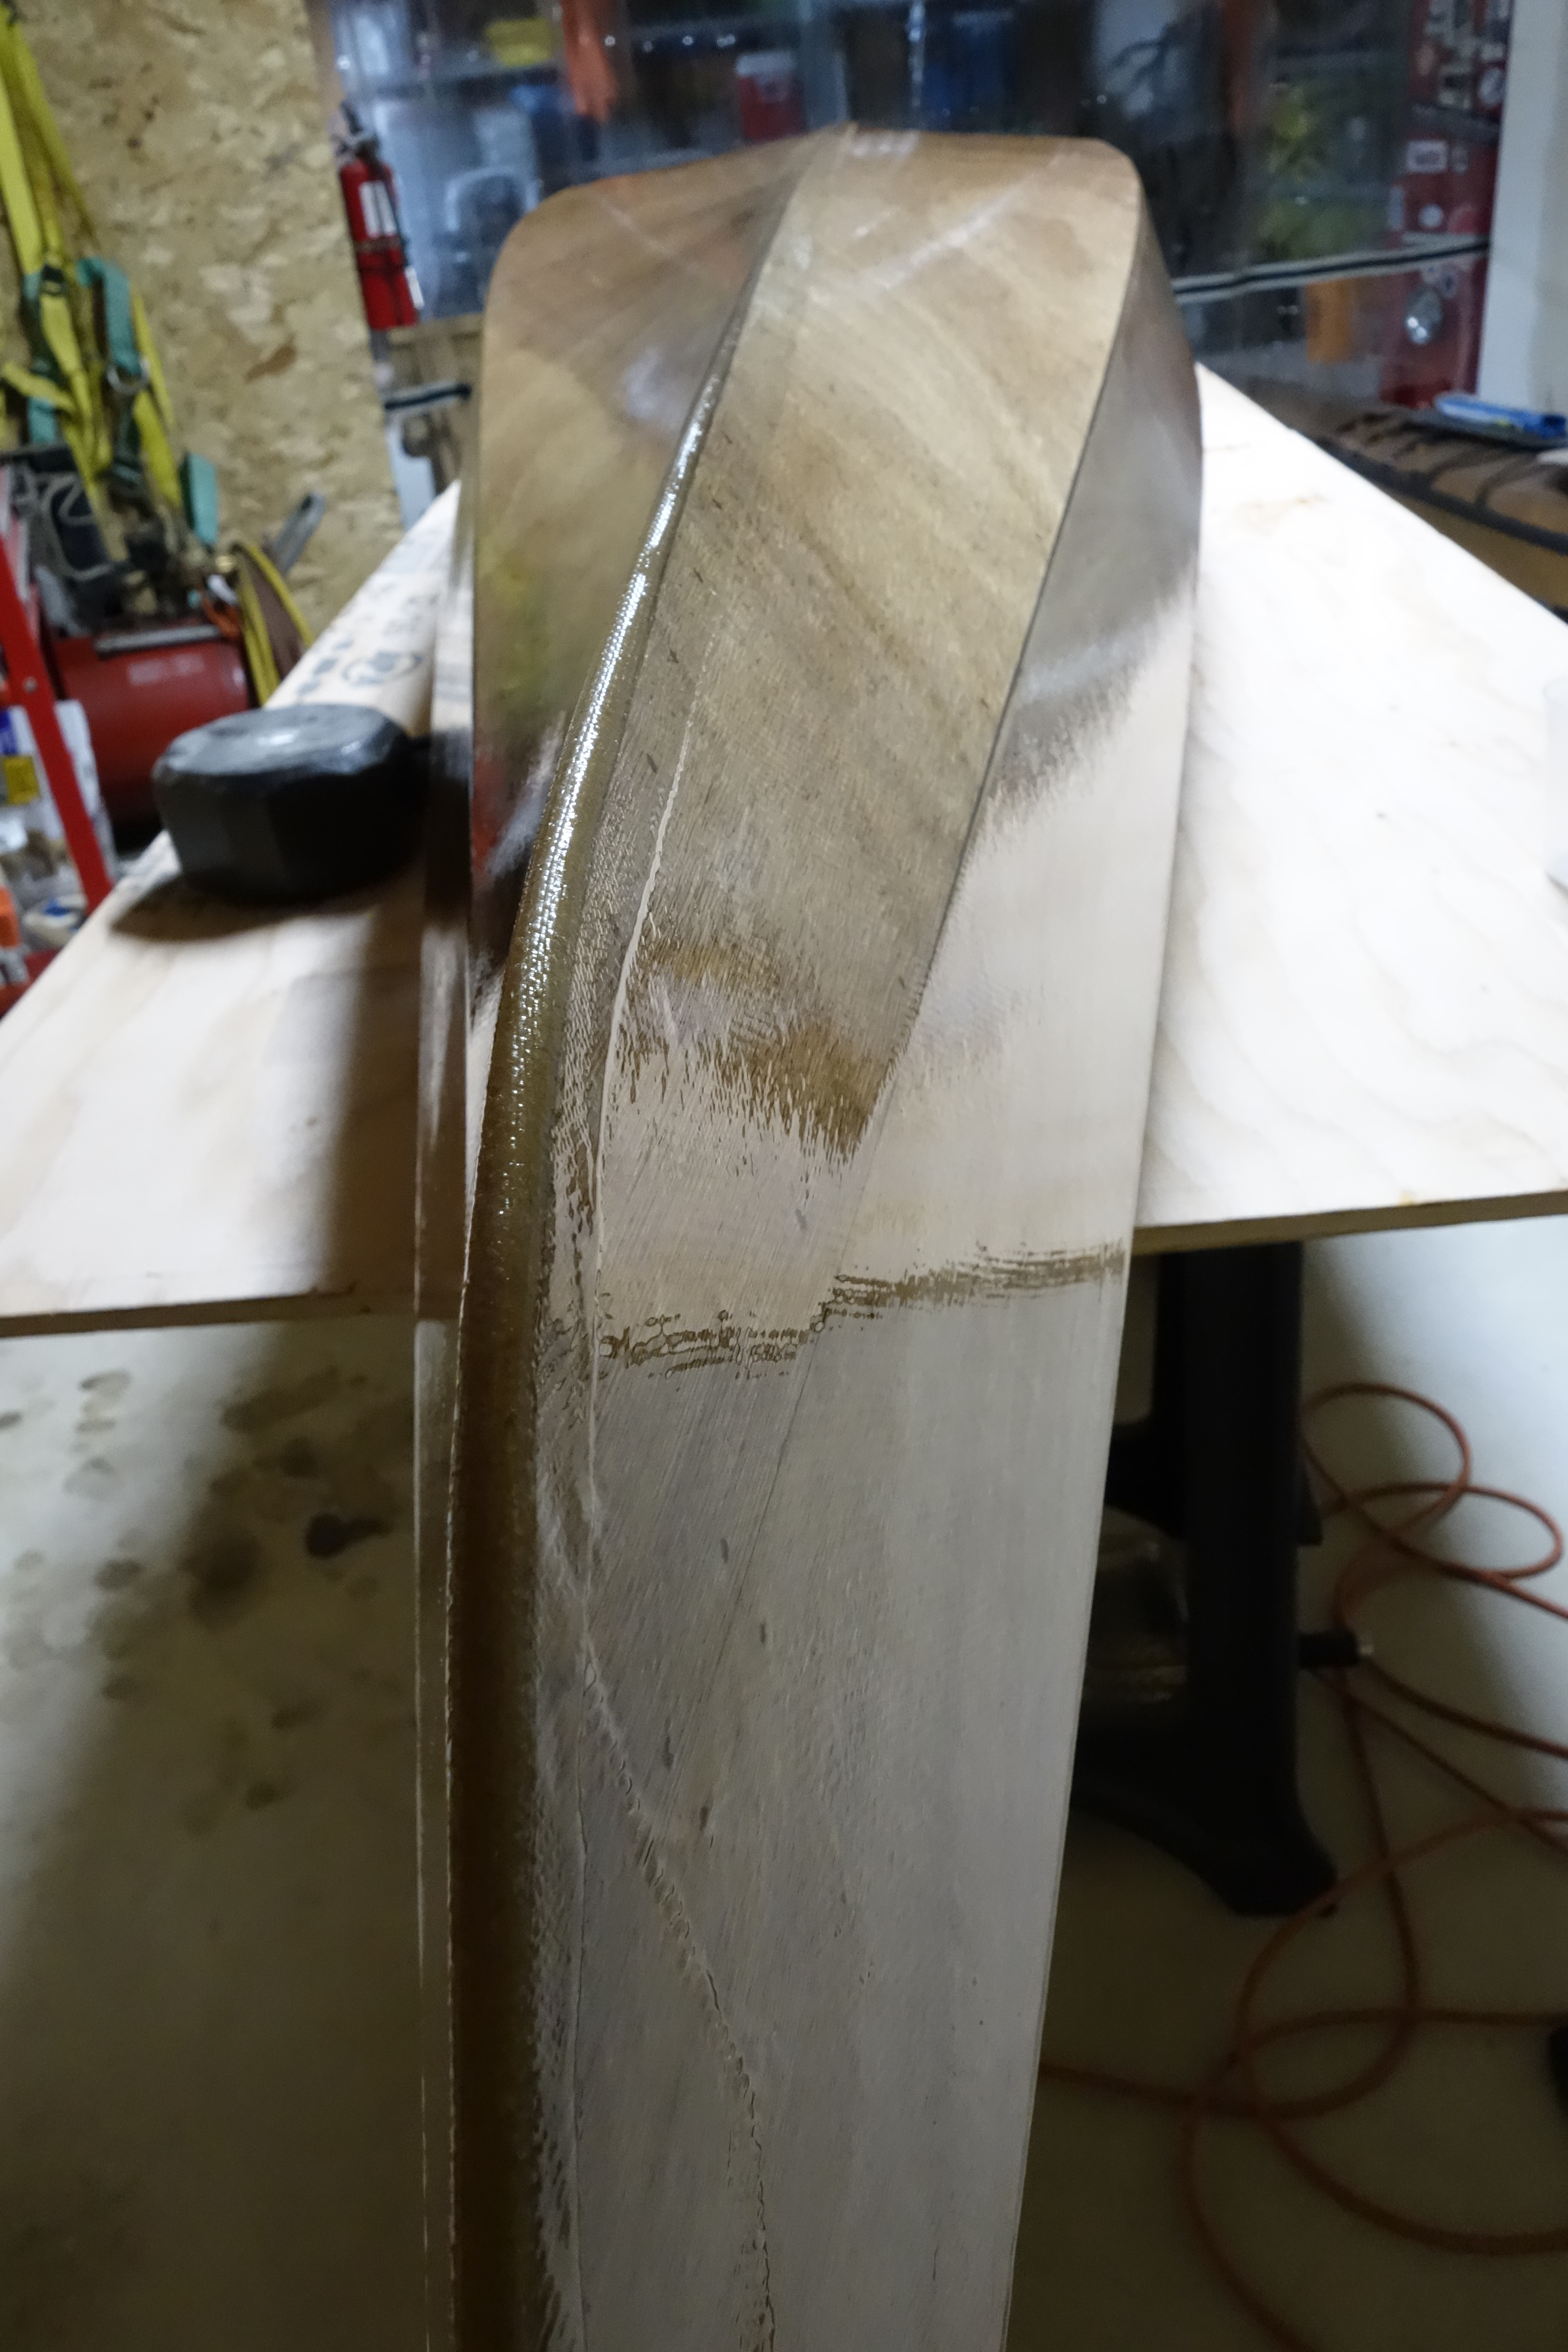
The hull will get three fill coats of epoxy. It will also get a sacrificial strip of fiberglass tape that will run the length of the hull and most of the way up the bow and stern stems. This tape will provide protection to the keel of the kayak when beaching the boat on sandy or rocky shores. This strip will get replaced/renewed every few years when the kayak gets refinished.

Getting the sacrificial keep tape to lay down straight, and smoothly was difficult for me. I really struggled to get the air out from under the fiberglass tape and keep the edges from lifting off the keel in the bow and stern curves. I thought it would be an easy step, but not so much. It worked out ok though.
The sacrificial keep strip will be feathered in by sanding and with each fill coat of epoxy will become smother and less noticeable.
Here the keel tape has been feathered in, and the hull has a couple of fill coats. I am sanding between coats with 220 grit sandpaper using a Bosch random orbital sander.
This photo must be out of order as it is clear that I haven’t yet sanded smooth the fiberglass overlap or the keel tape.