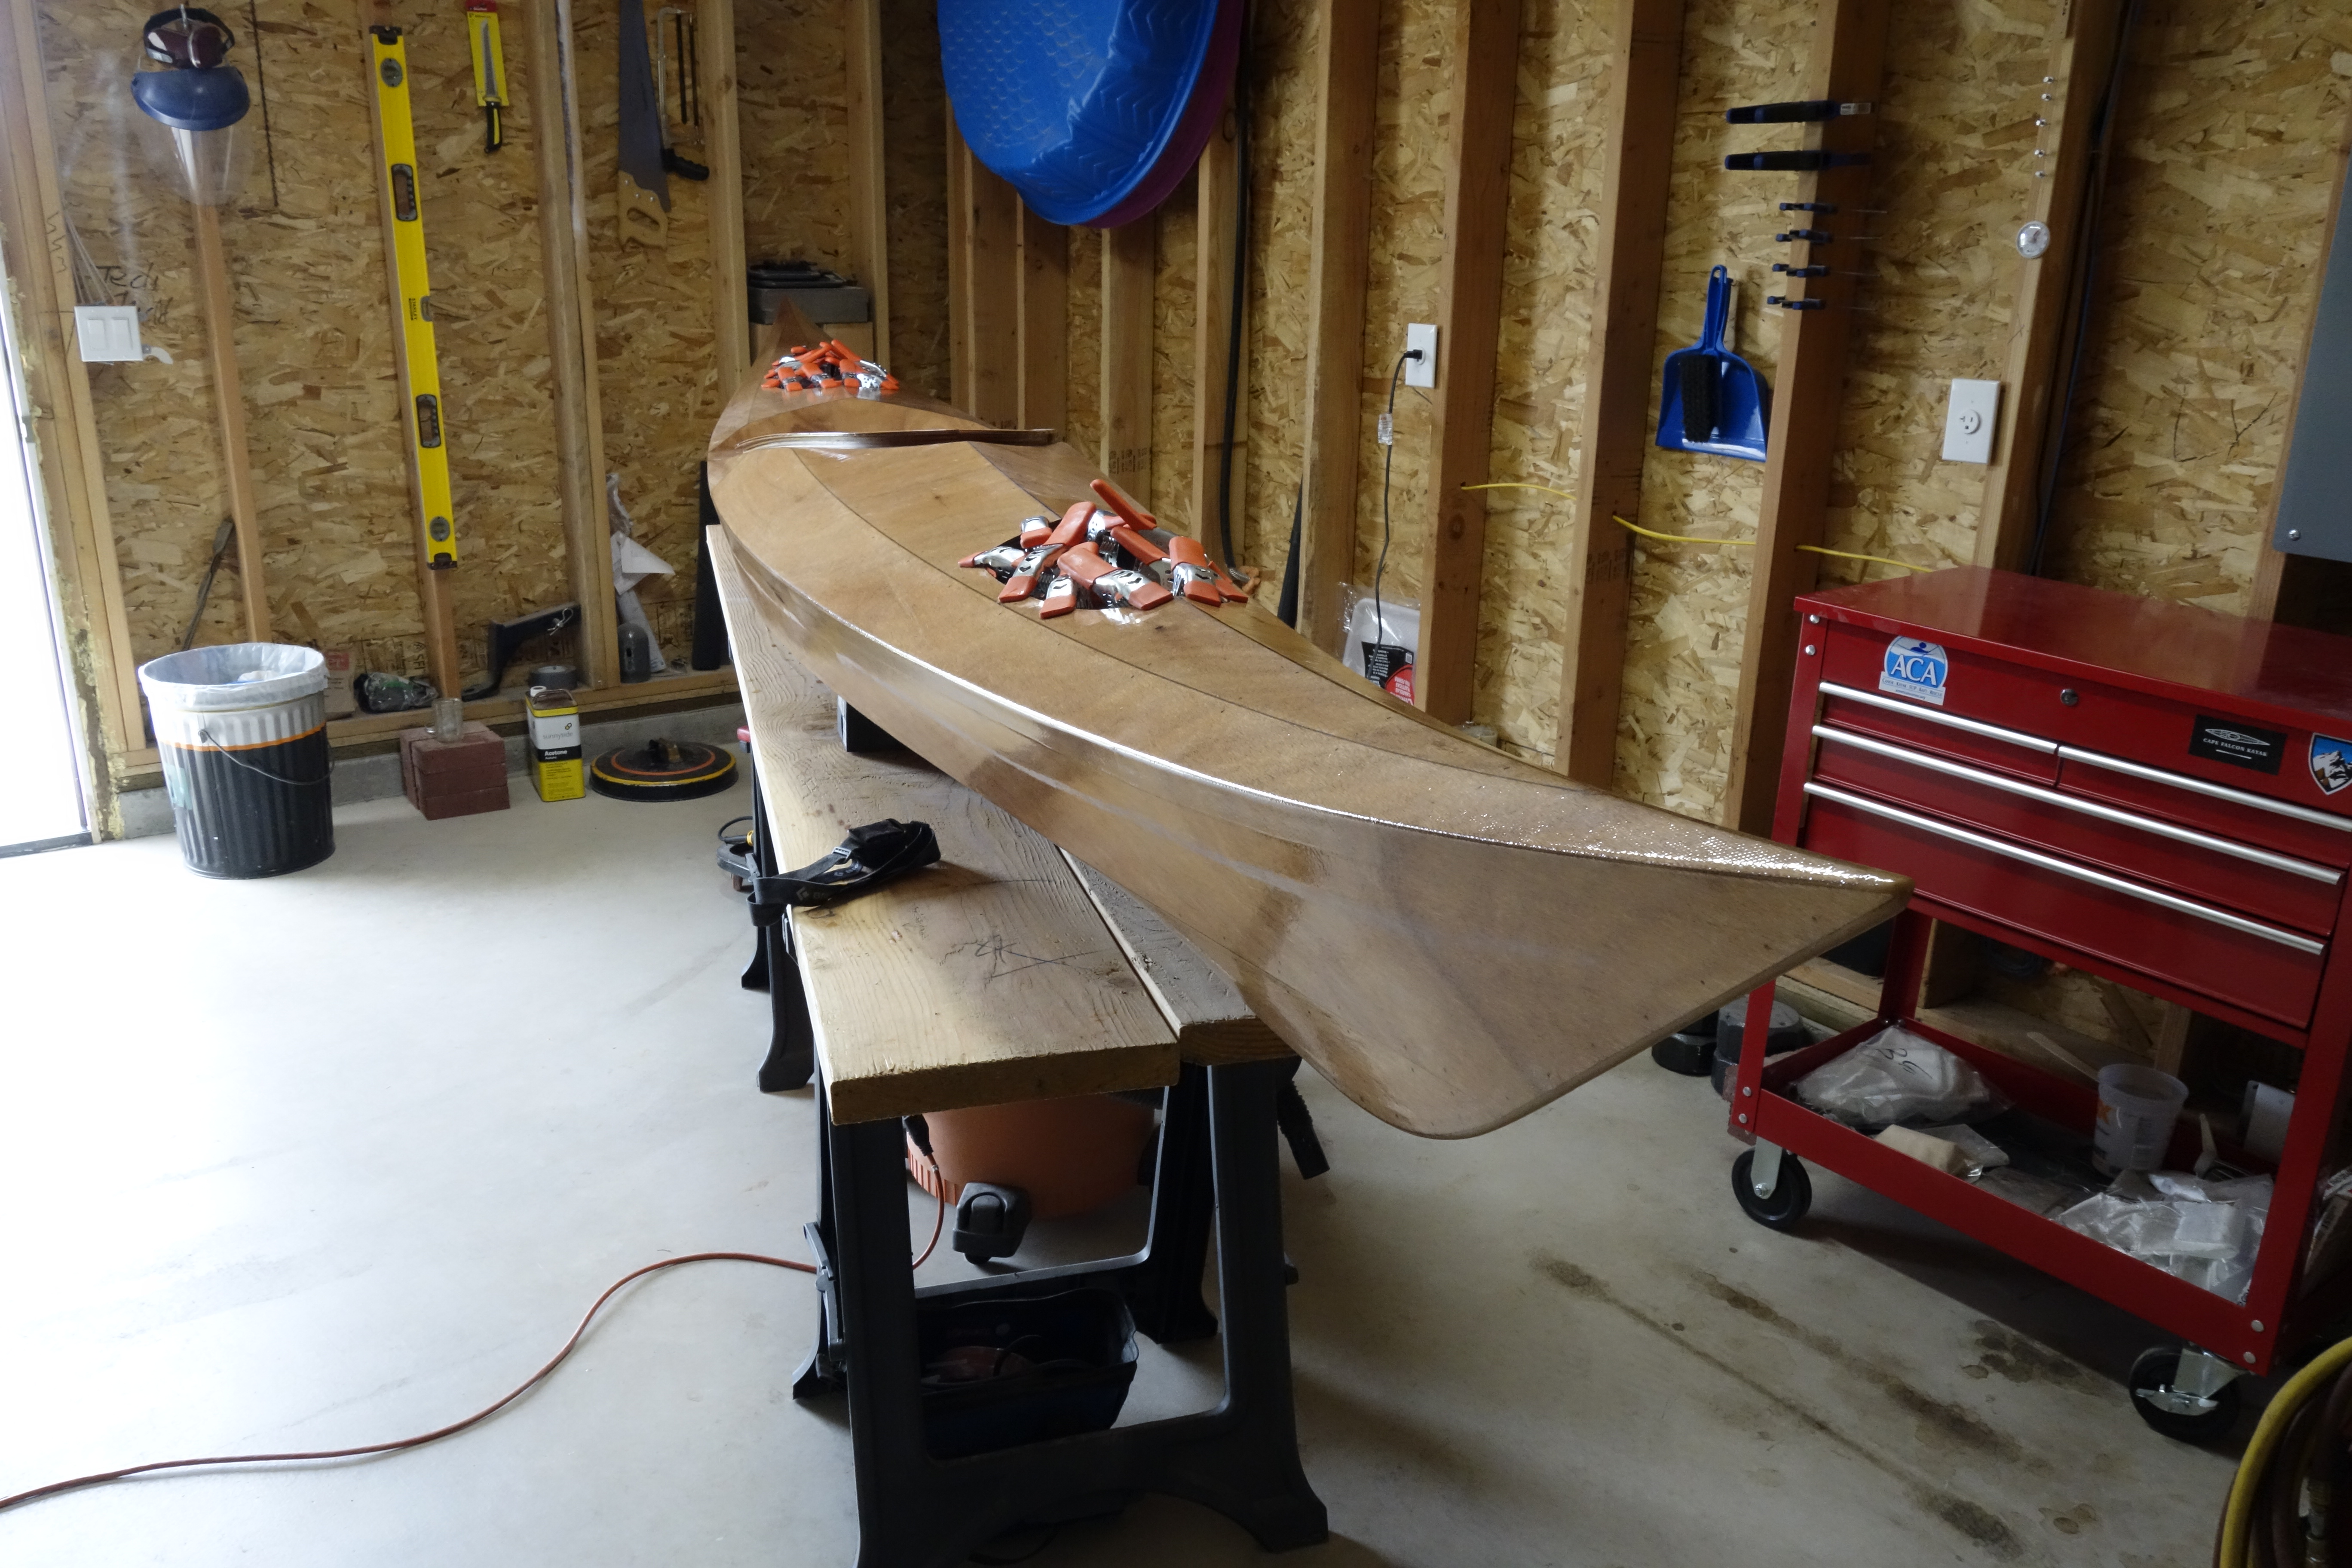
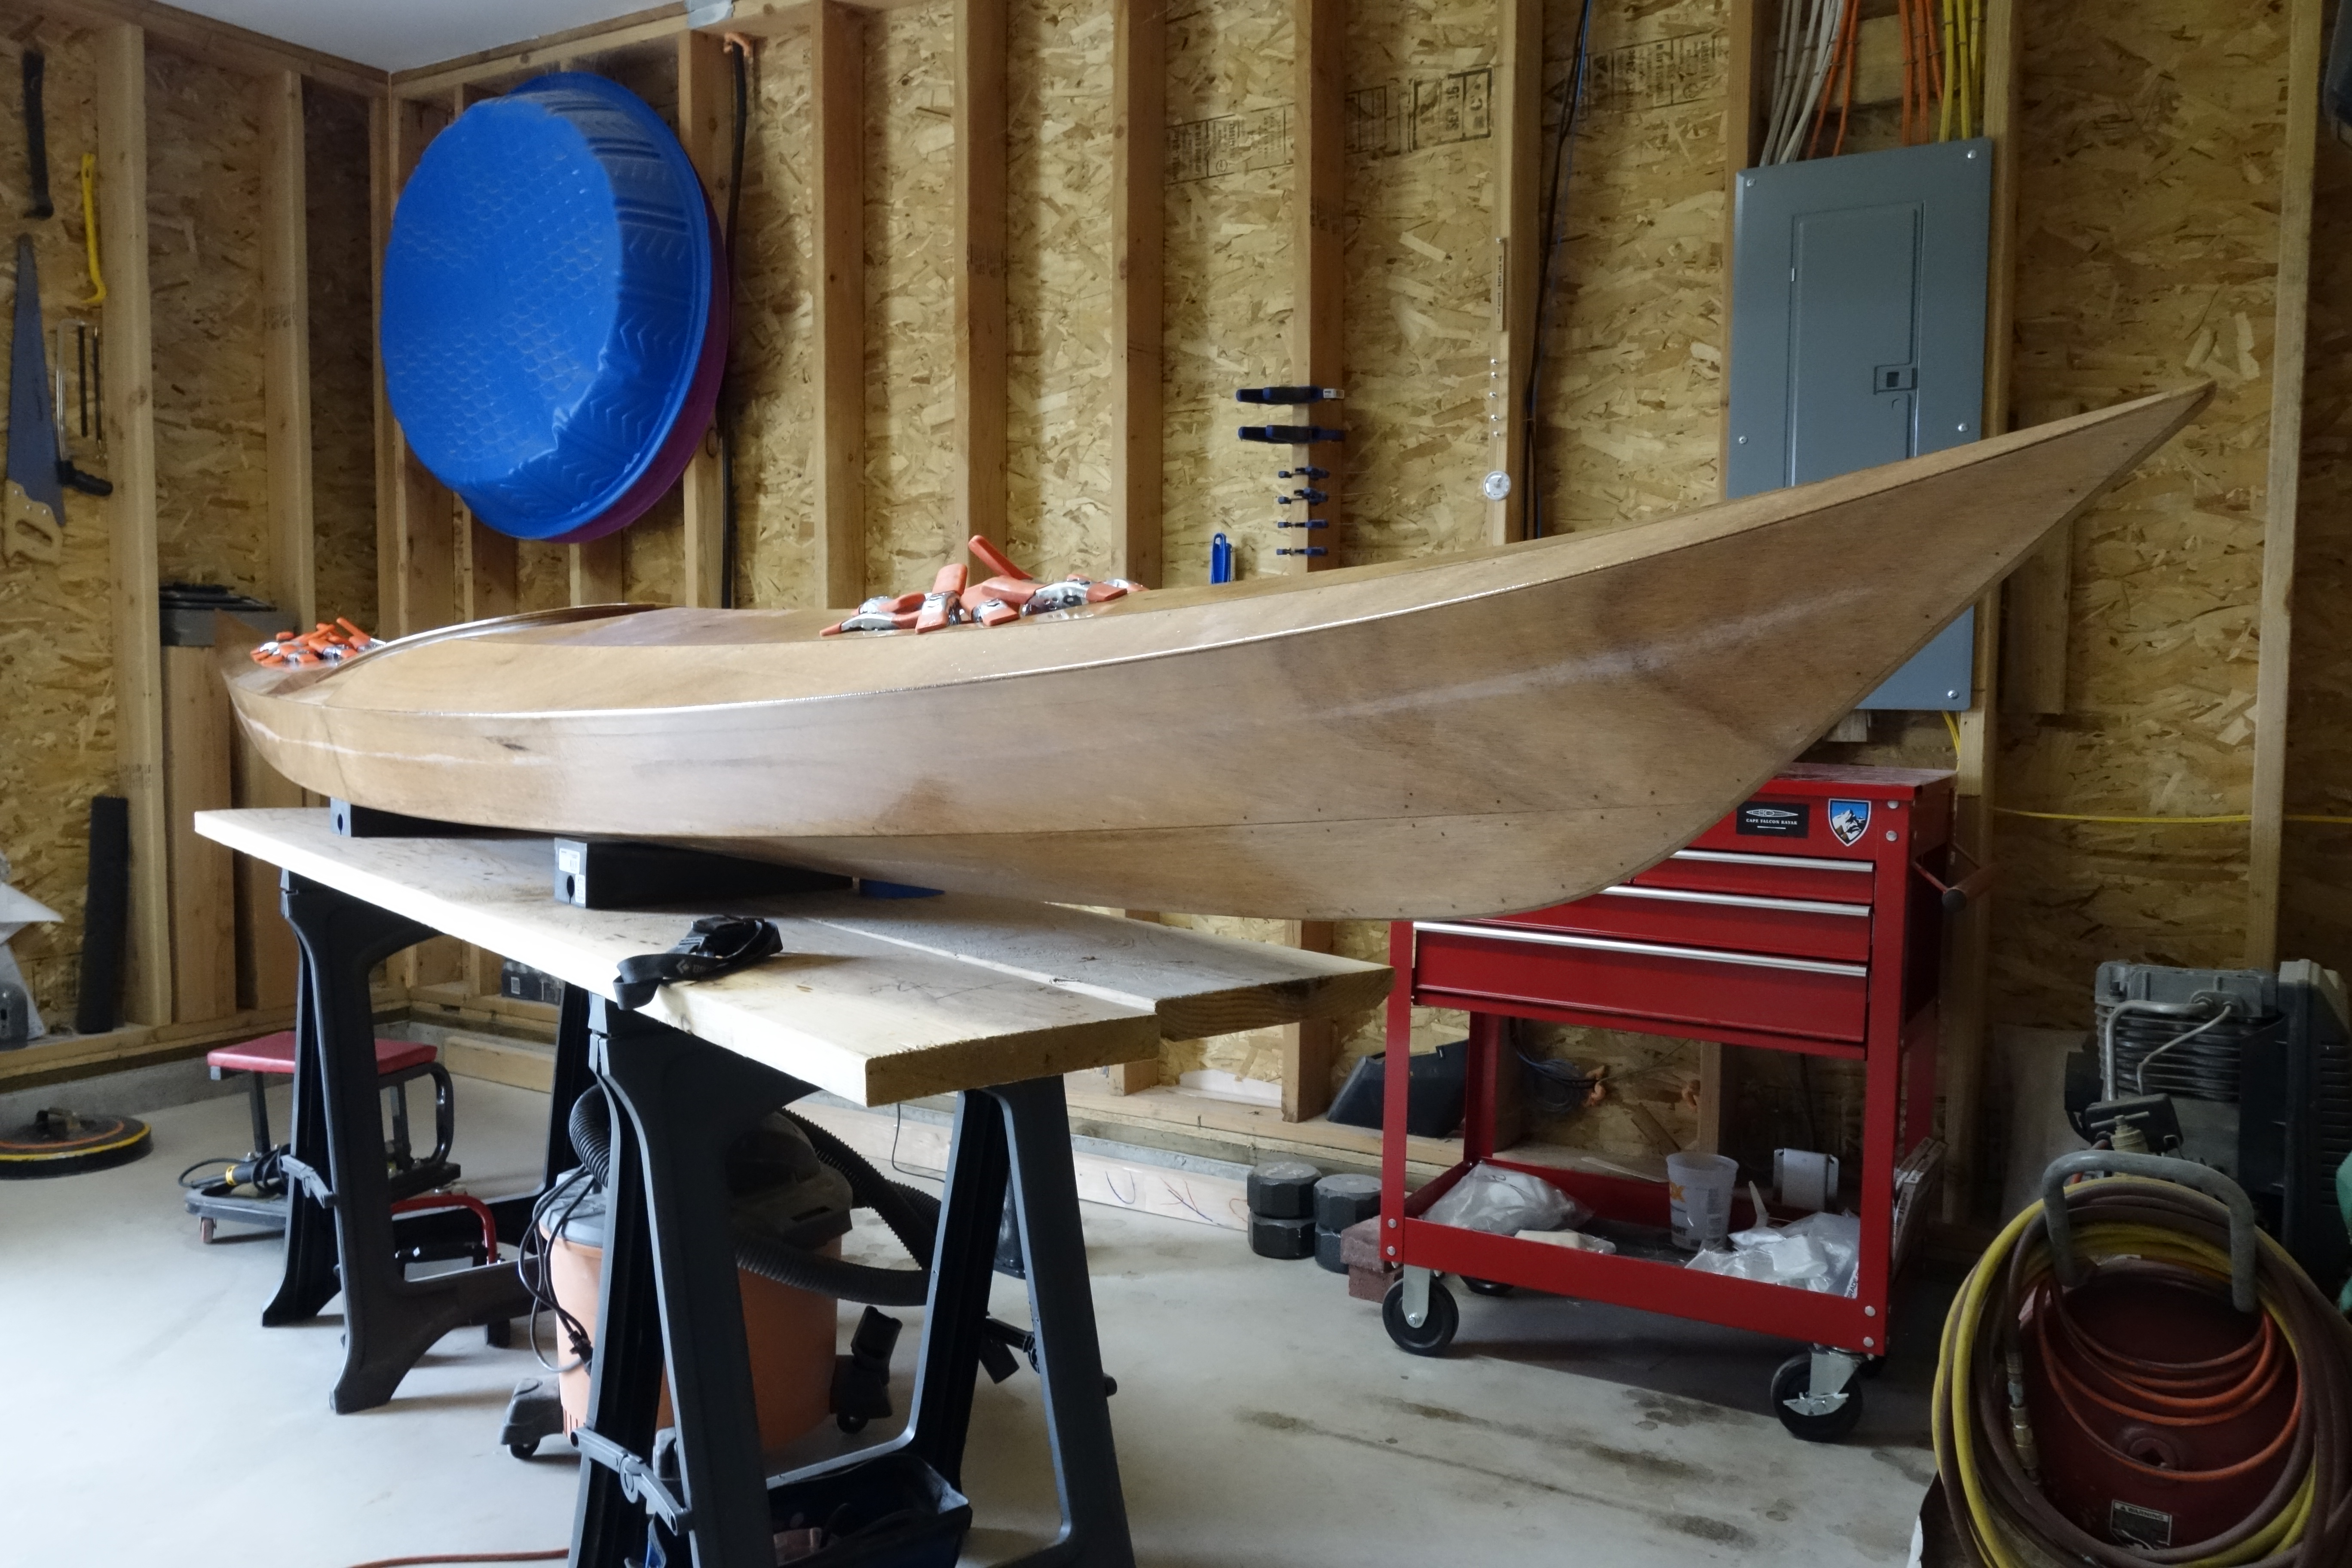
I am officially done laminating fiberglass to this kayak!
Only four steps remain (or ten I suppose, if you count the individual parts of each step). End pours. Sanding and one more fill coat of epoxy over entire kayak. Sanding and varnishing entire kayak. Installing deck rigging, perimeter lines, foam on hatch lips, seat, and back band.
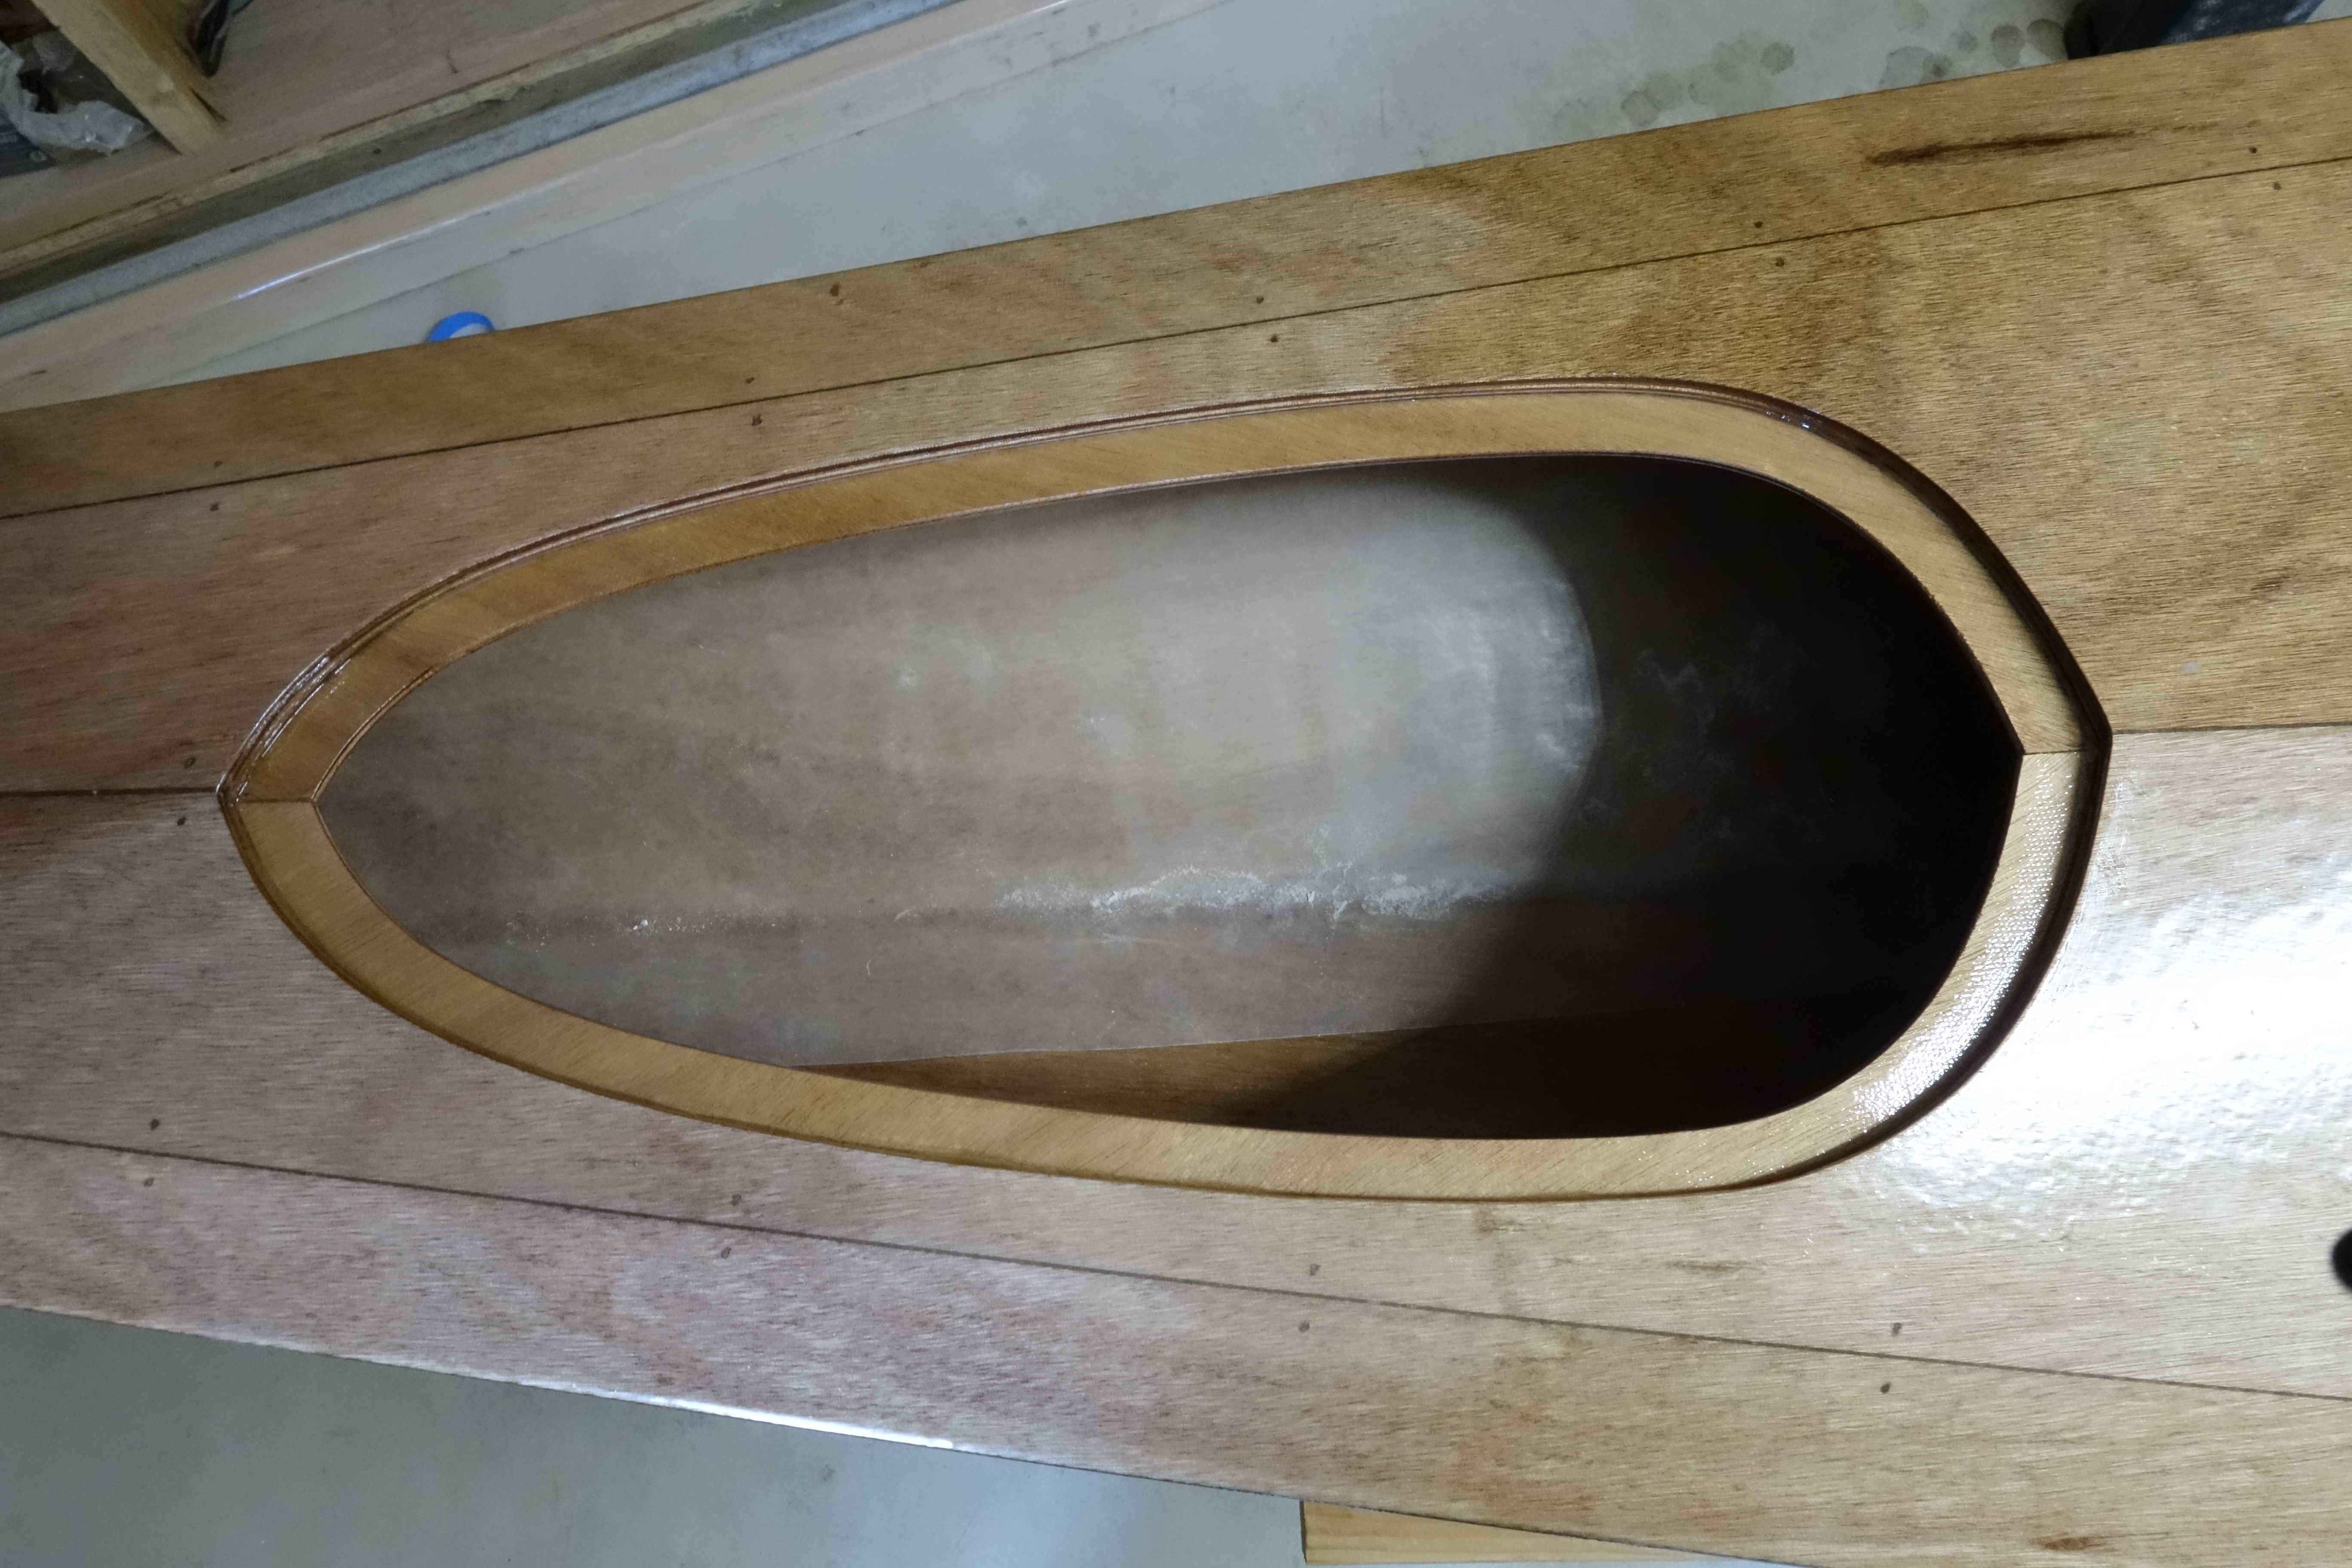
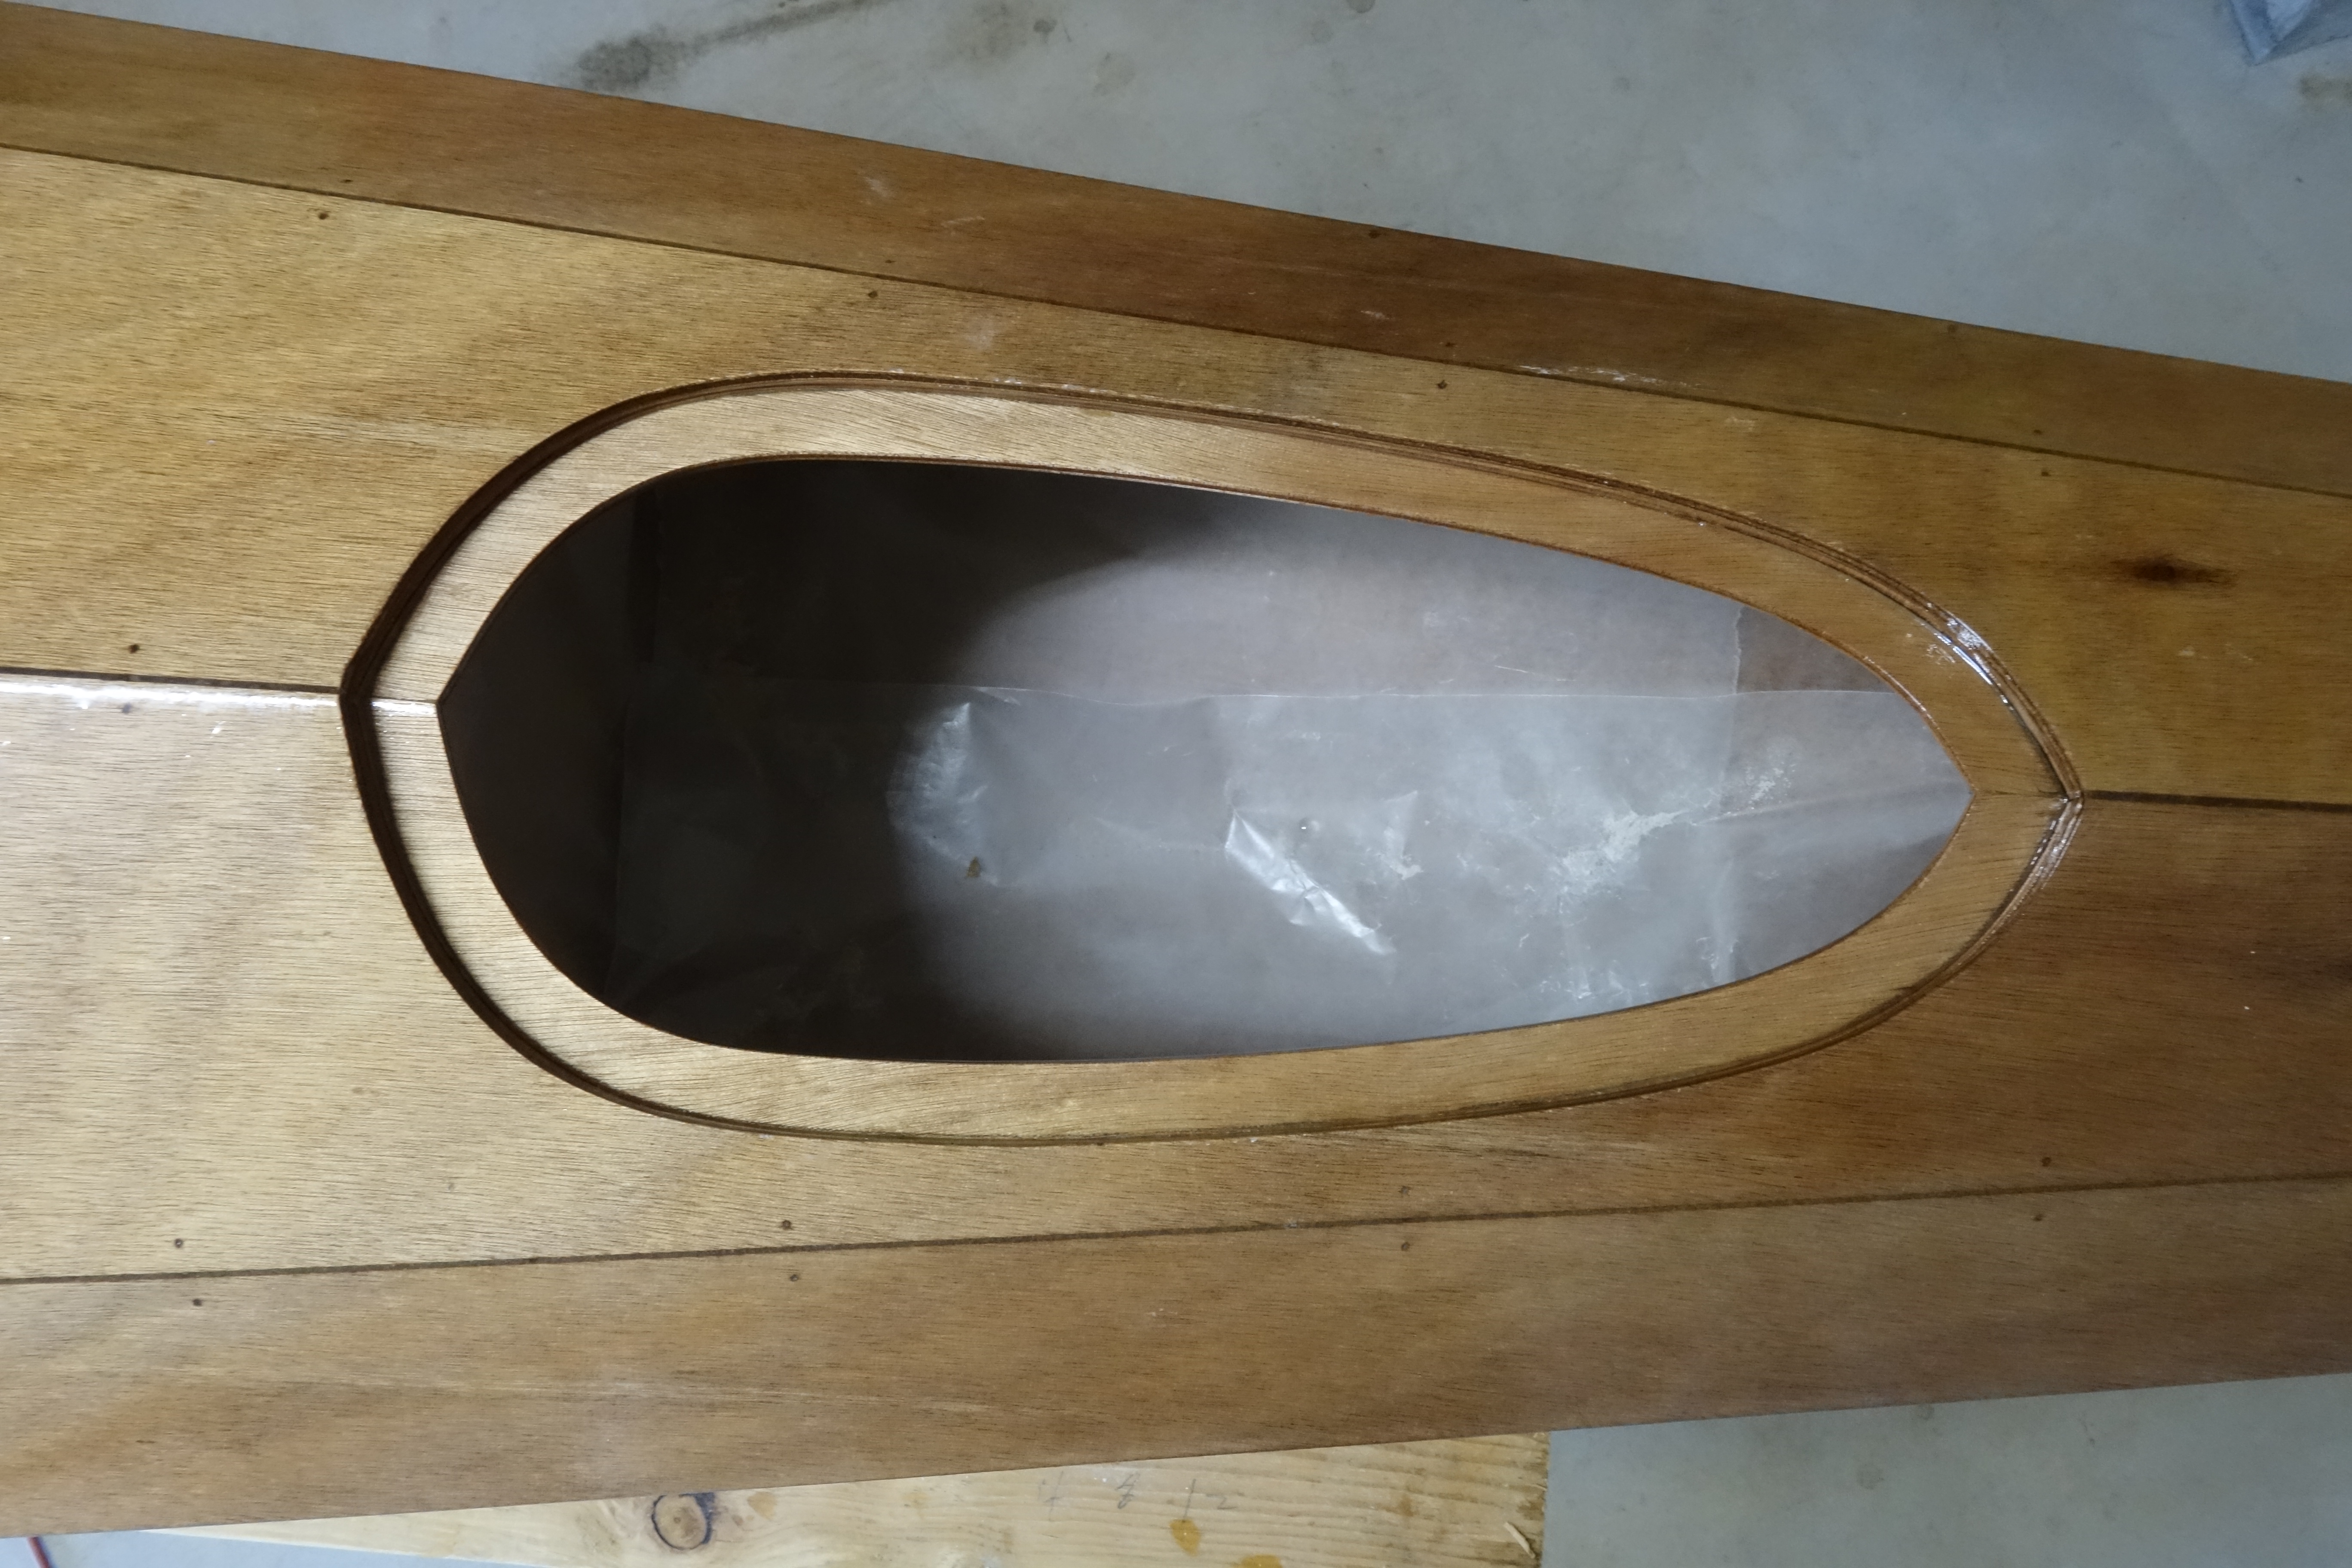
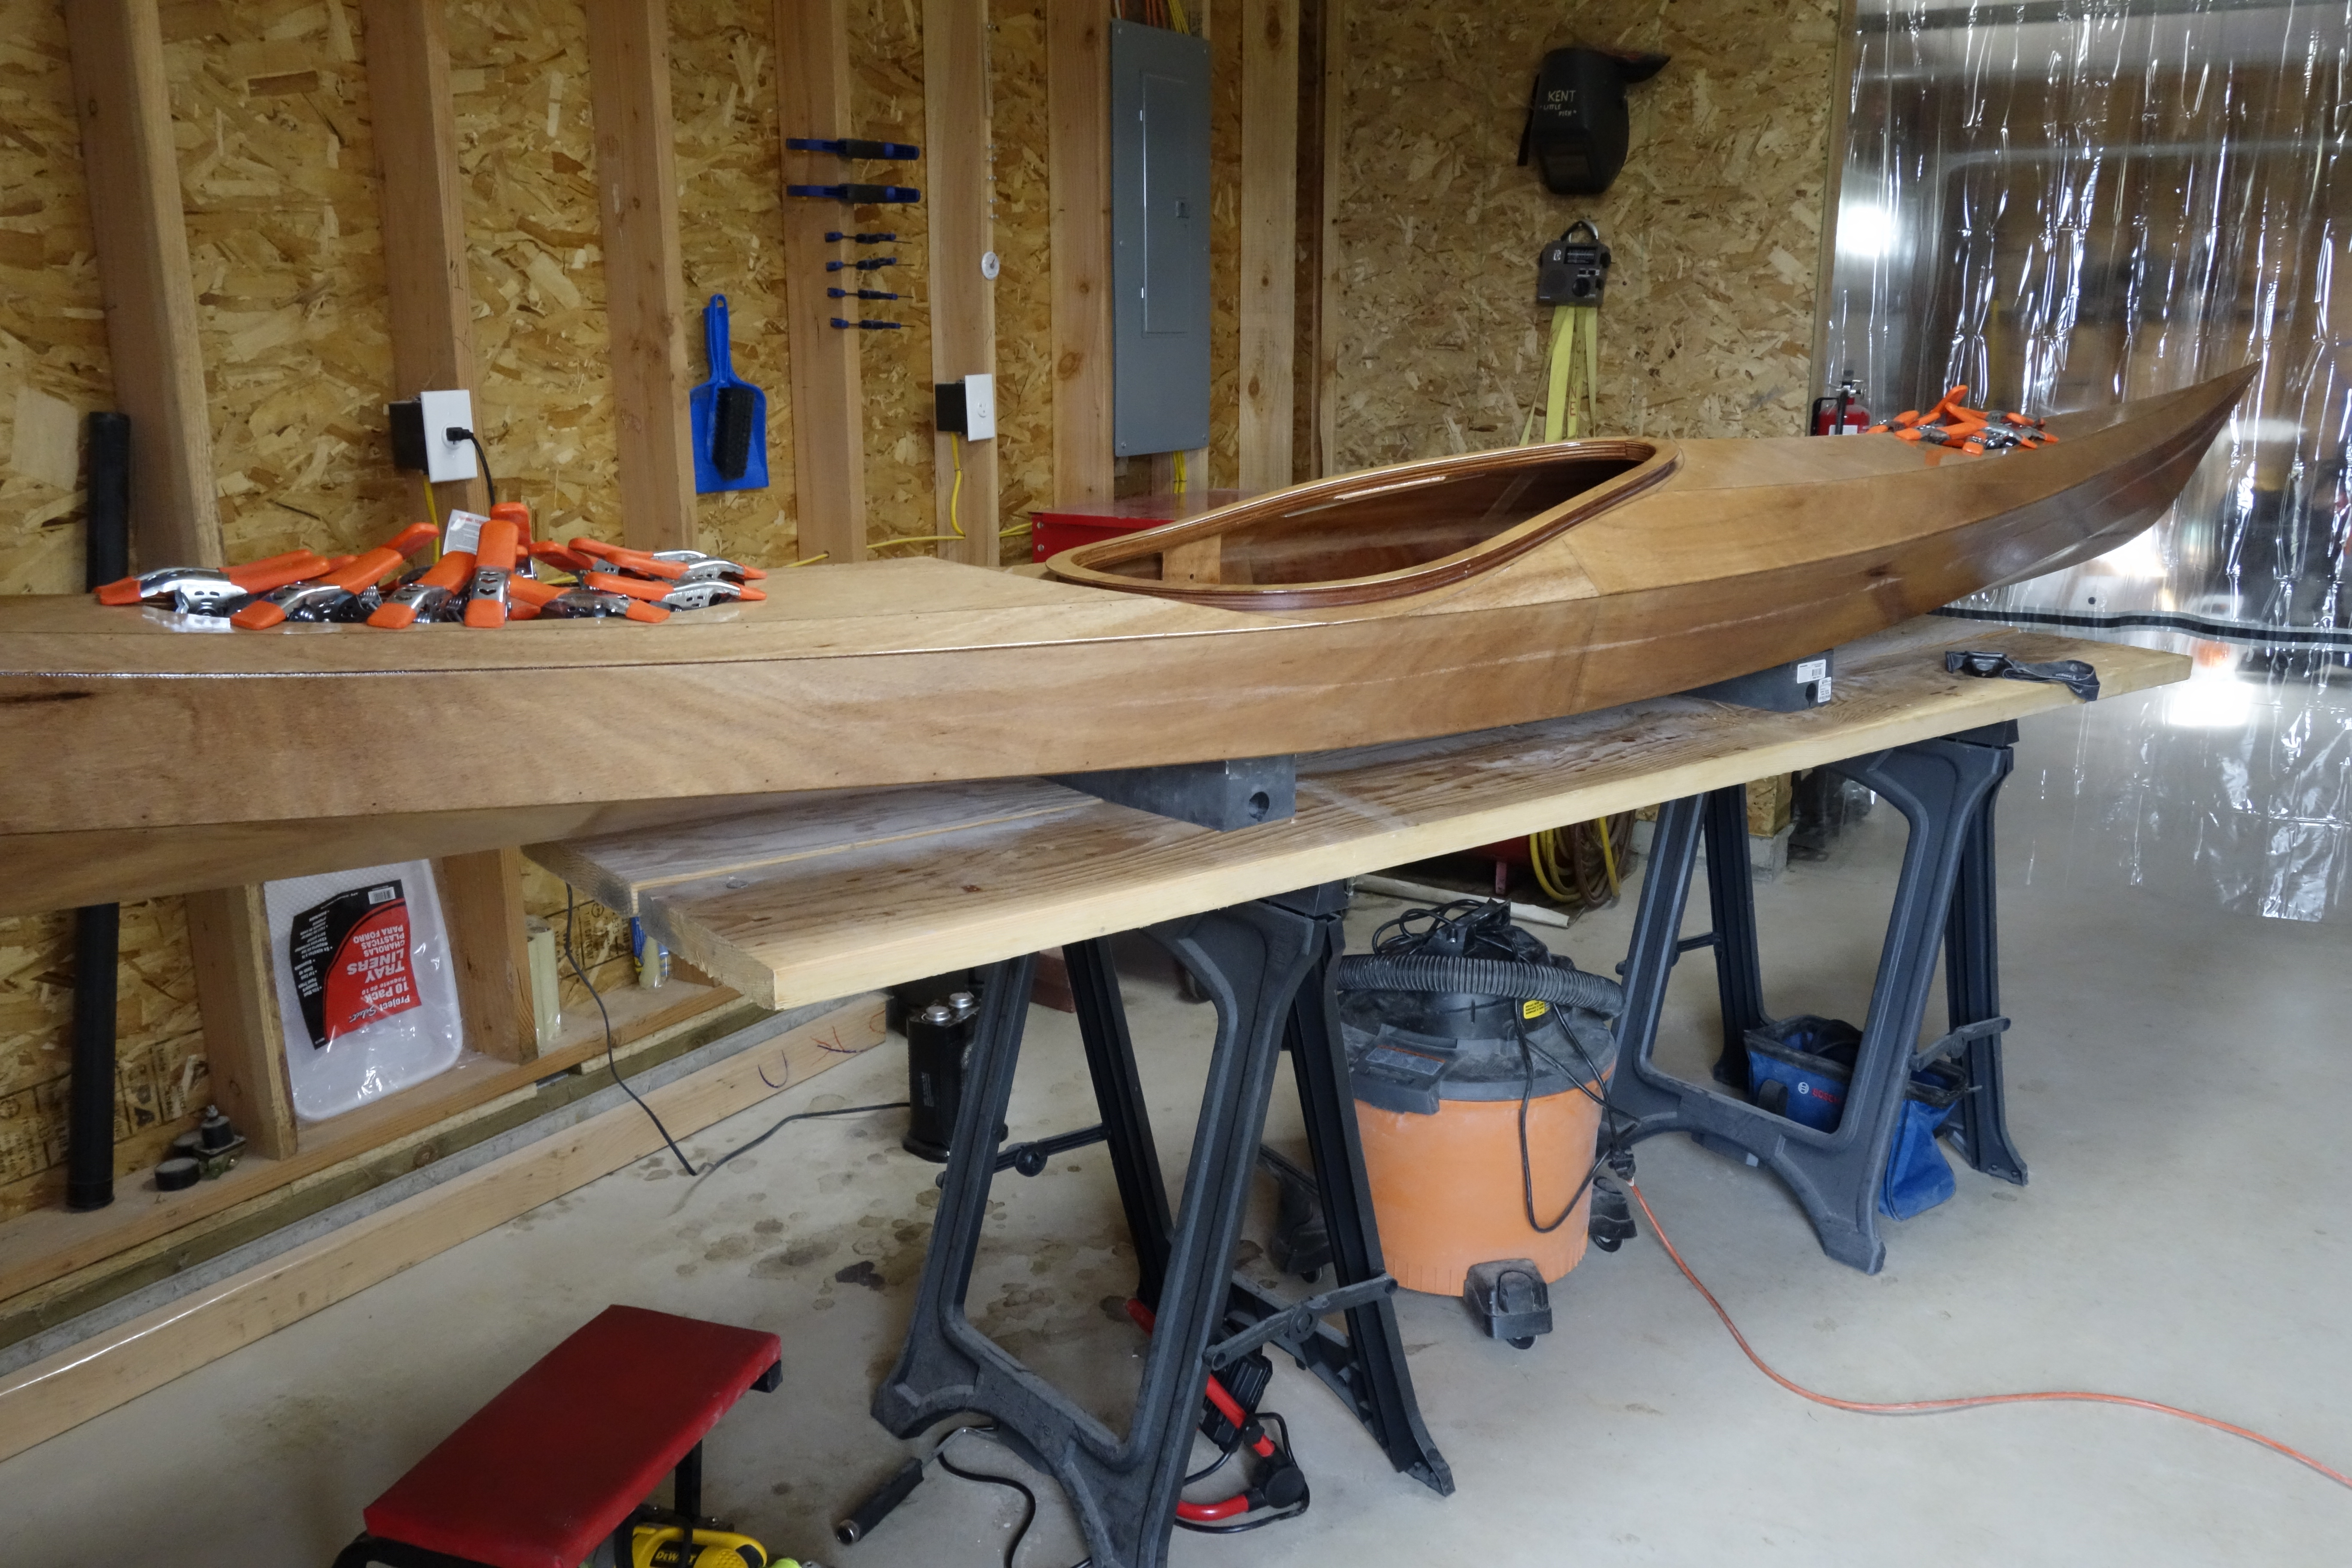
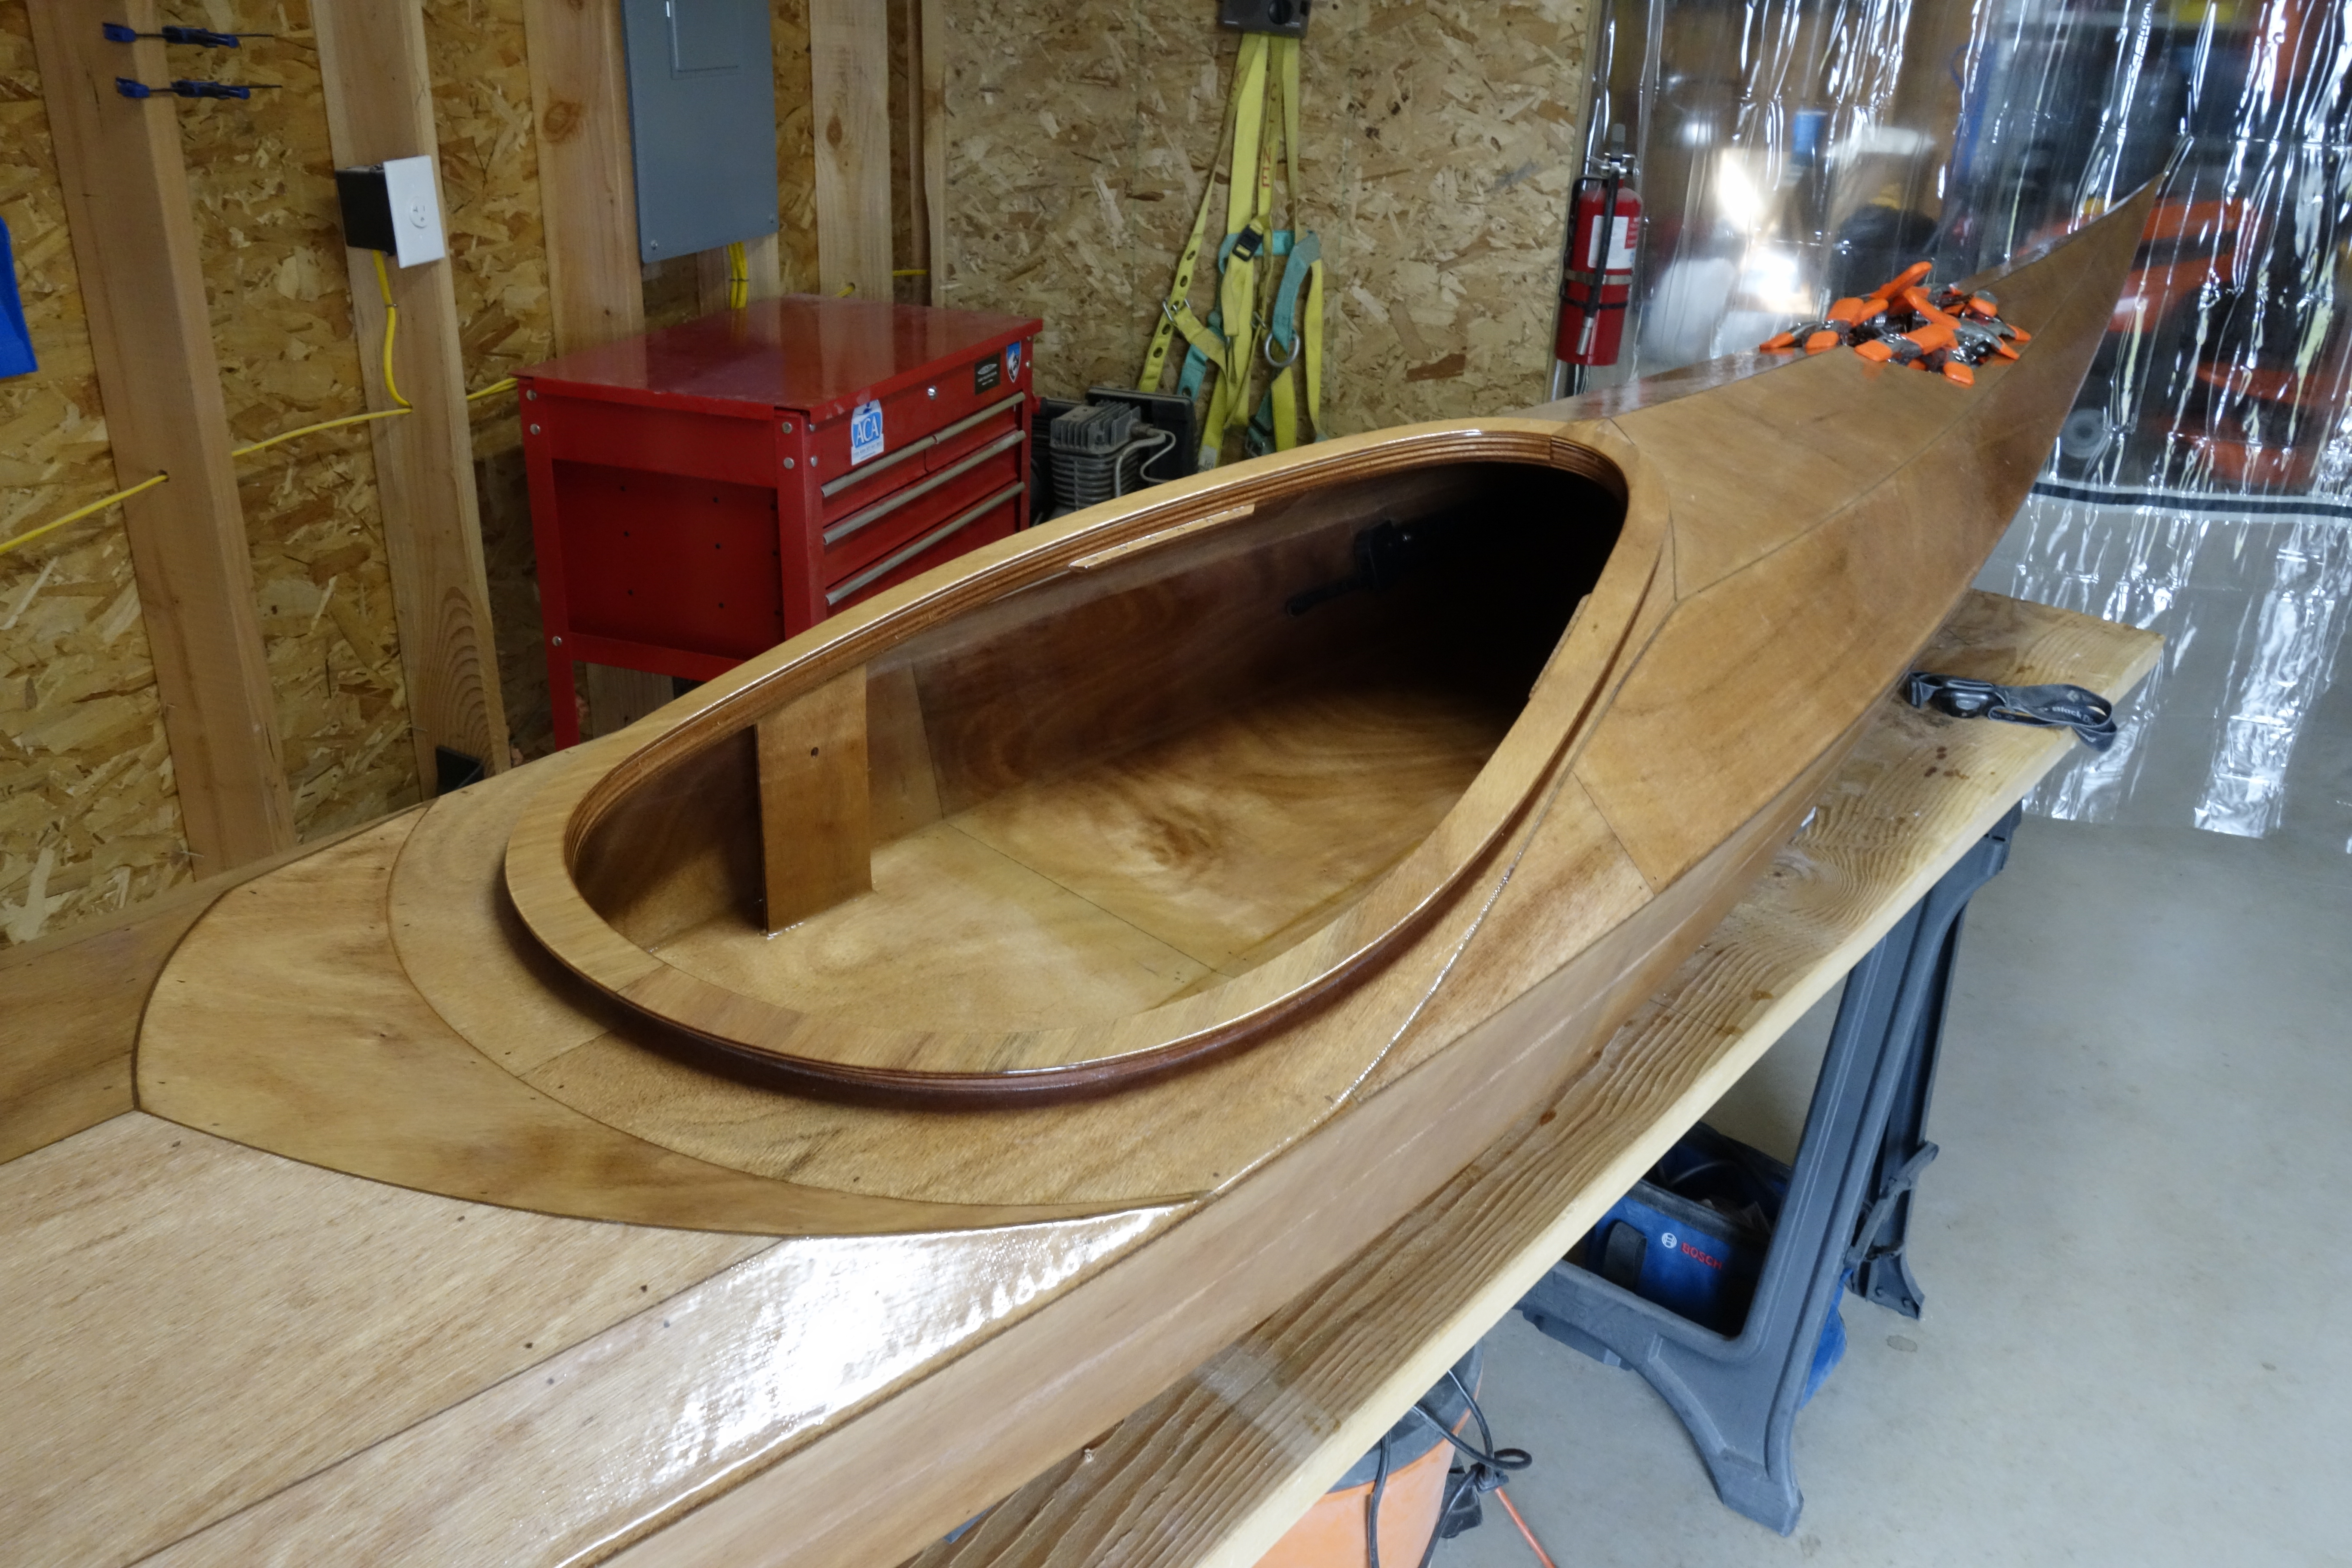
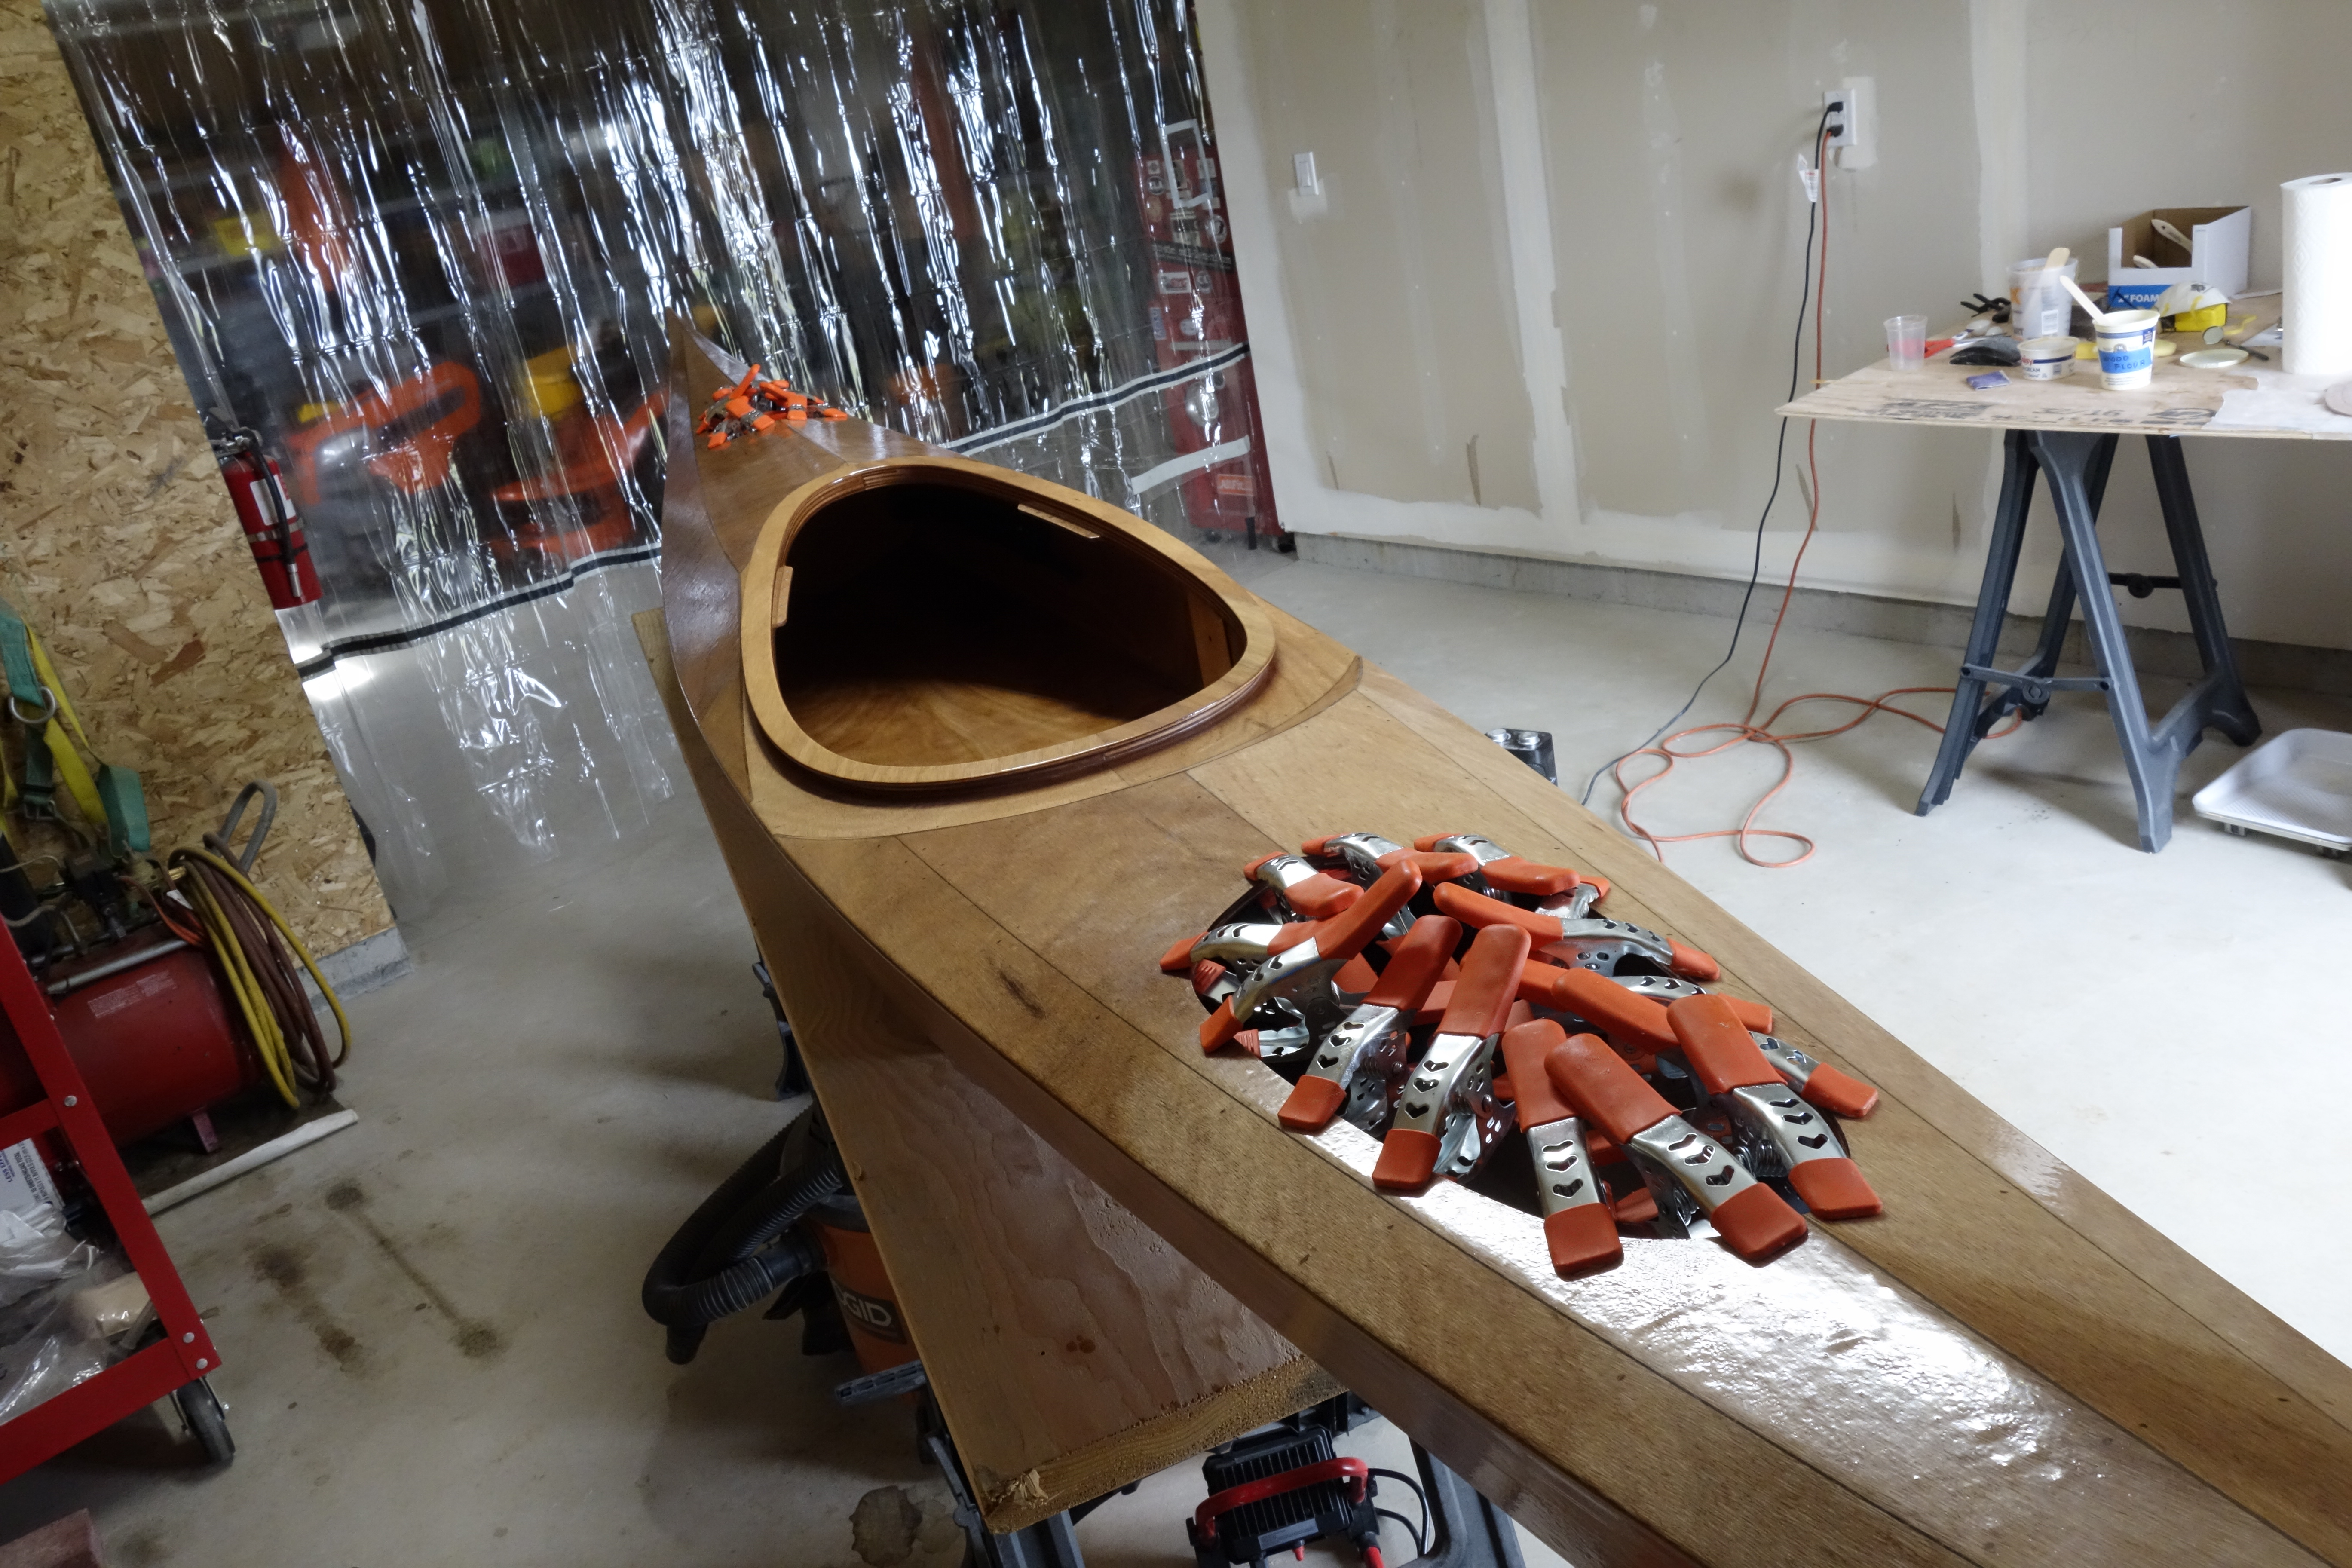
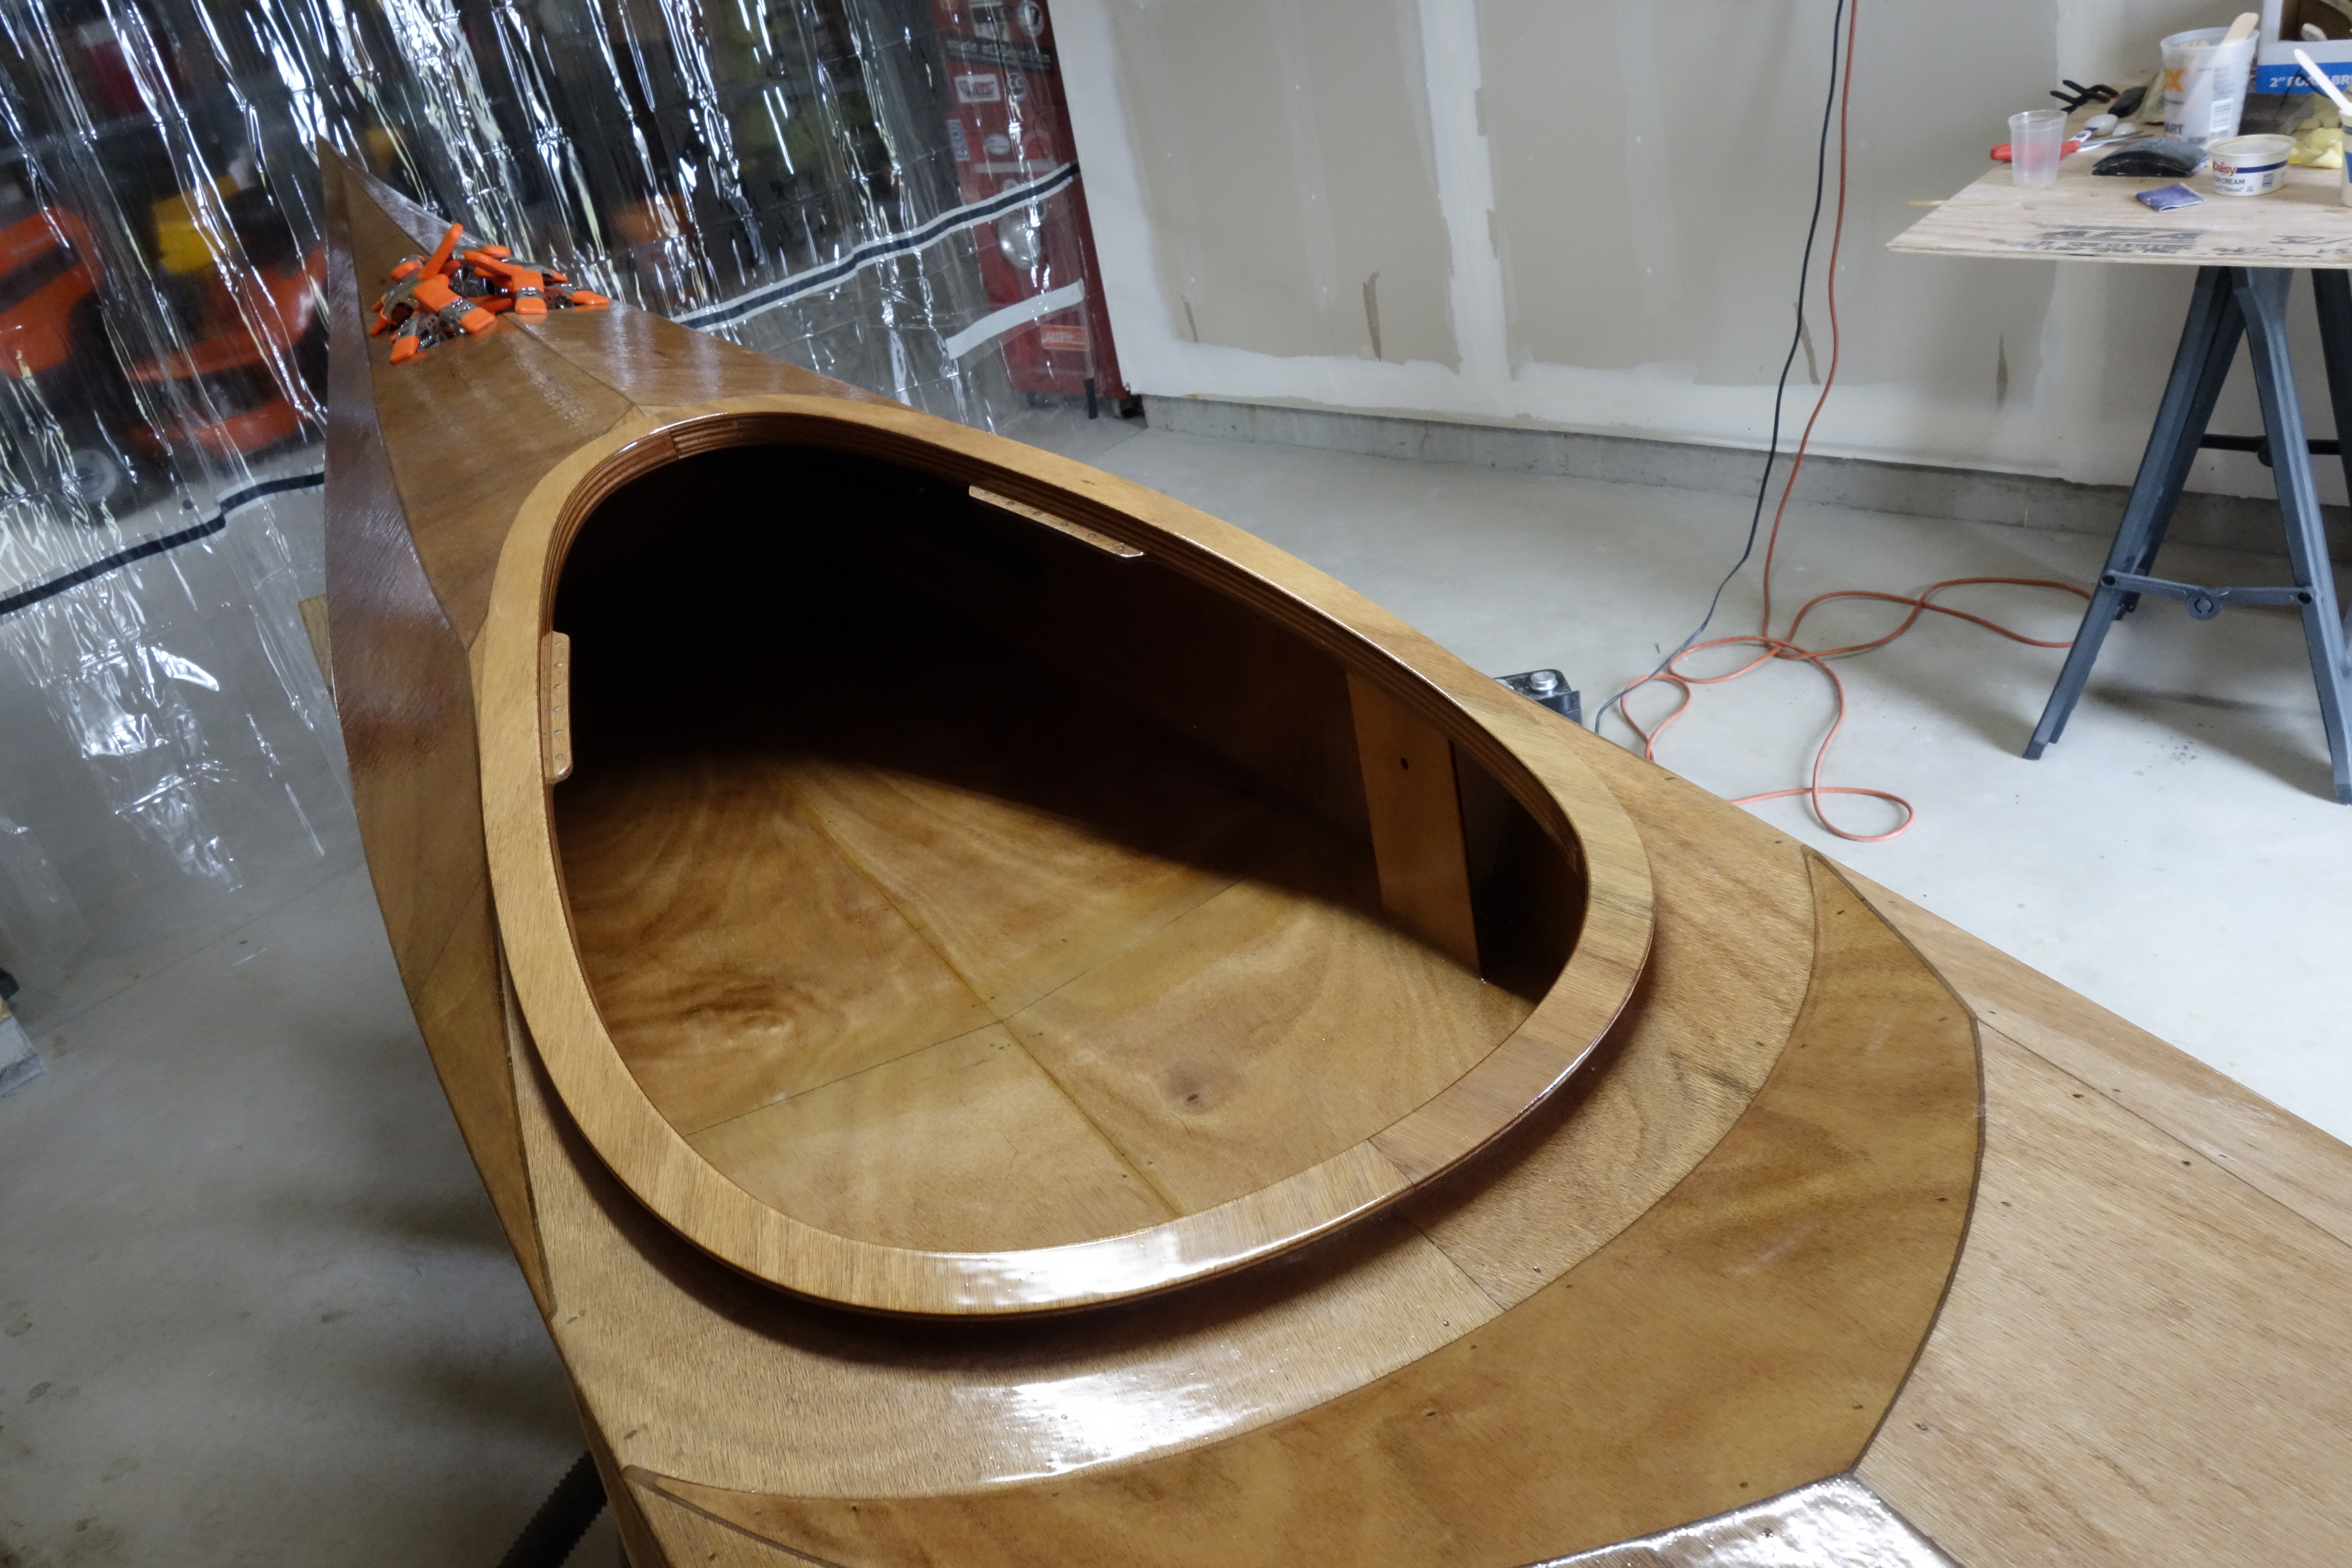
This evening when I got home from work I was able to give the hatch lips their final adjustments and epoxy them in place. All that remains to do on the hatch lips is to laminate a little fiberglass cloth at each seam to make them one solid piece. This is a HUGE milestone, as it is the last fiberglass that I have to apply to the Ronan.
EDIT: I’m going to have to wait a couple of days to finish the hatches. The weather is pretty good for the next couple of days, so I am going to have to mow the property after work instead of working on the Ronan.
Then a little cleanup with fine sandpaper and a light coat of epoxy over all to make them pretty. That’s it! Well, almost it. After the finish work, the hatch lips get a foam strip all the way around to create a watertight seal between the lip and the lid. But I am going to wait until I have finished sanding and varnishing the entire kayak before I do that. The foam will happen at the same time as the deck rigging. The only construction steps that remain are the “end pours.” I am not sure when I will be able to do those, as they are weather dependent. As I mentioned in an earlier post, I need two dry, warm (over 55 degrees F) days to do the end pours, because the kayak must be taken outside to stand on end (probably strapped to a ladder) until the epoxy cures, in order to create a solid epoxy plug in each end of the kayak so that I can drill 1/2″ holes for the hand toggles and perimeter lines and not have any leaks.
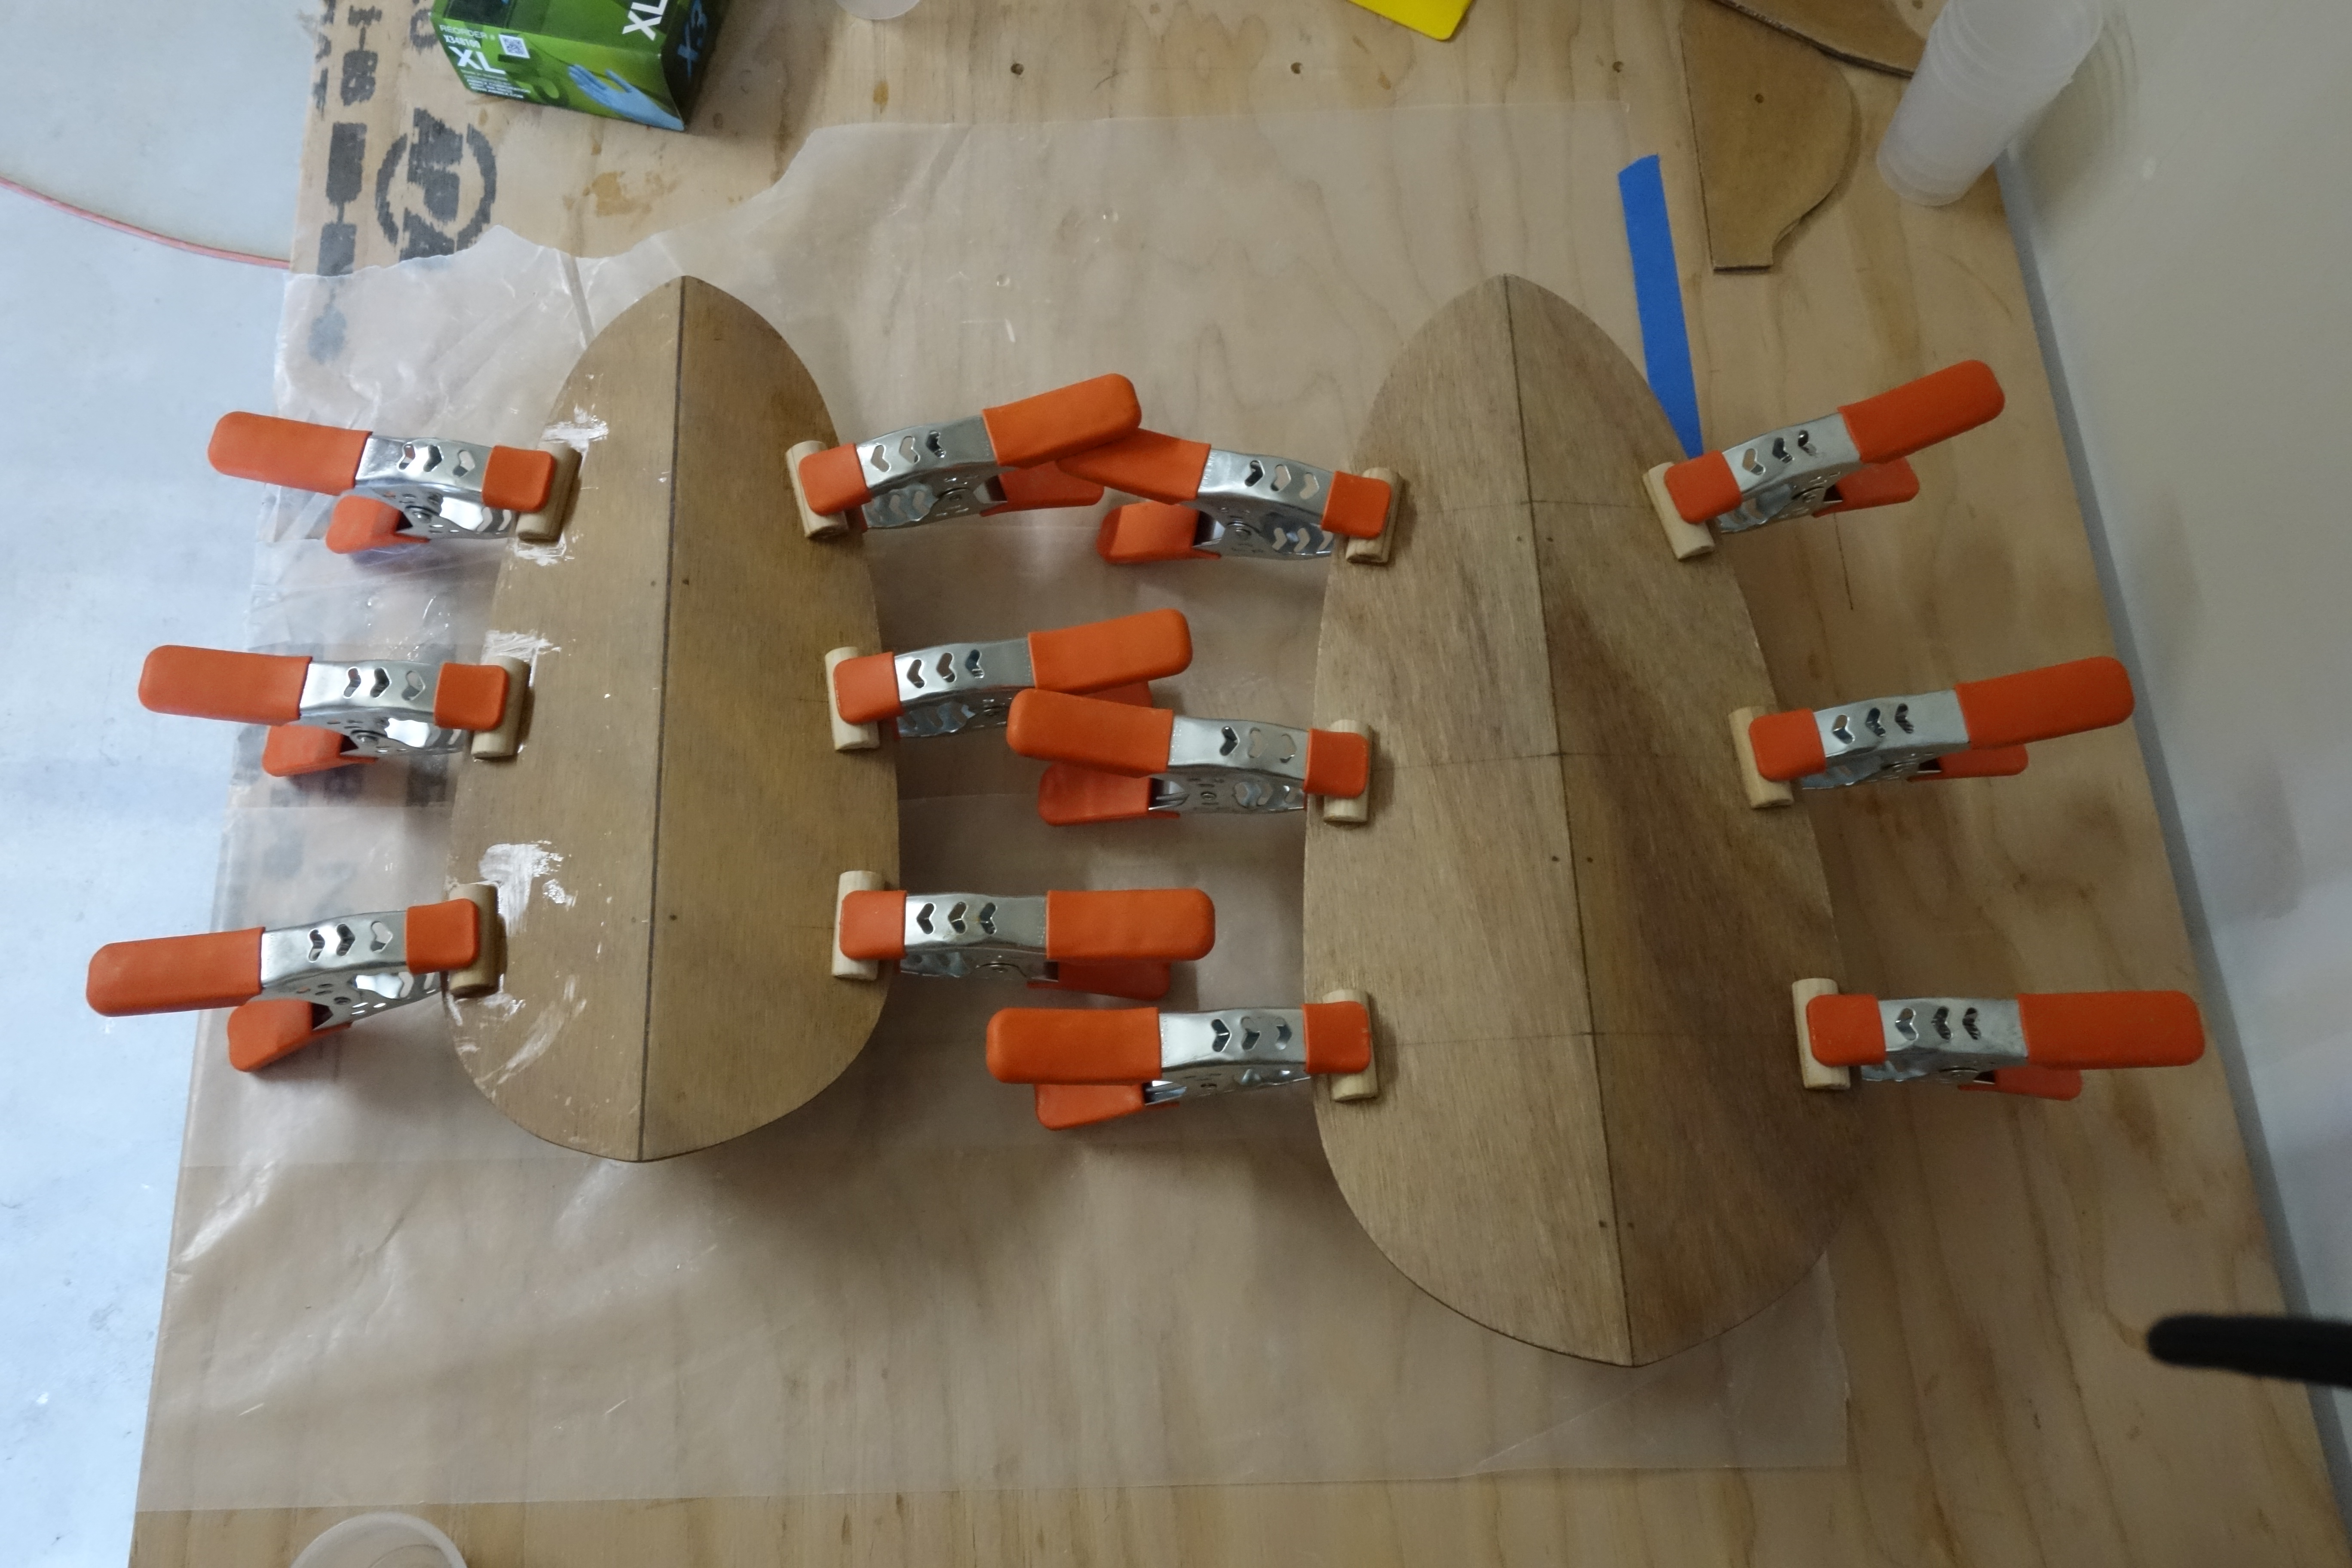
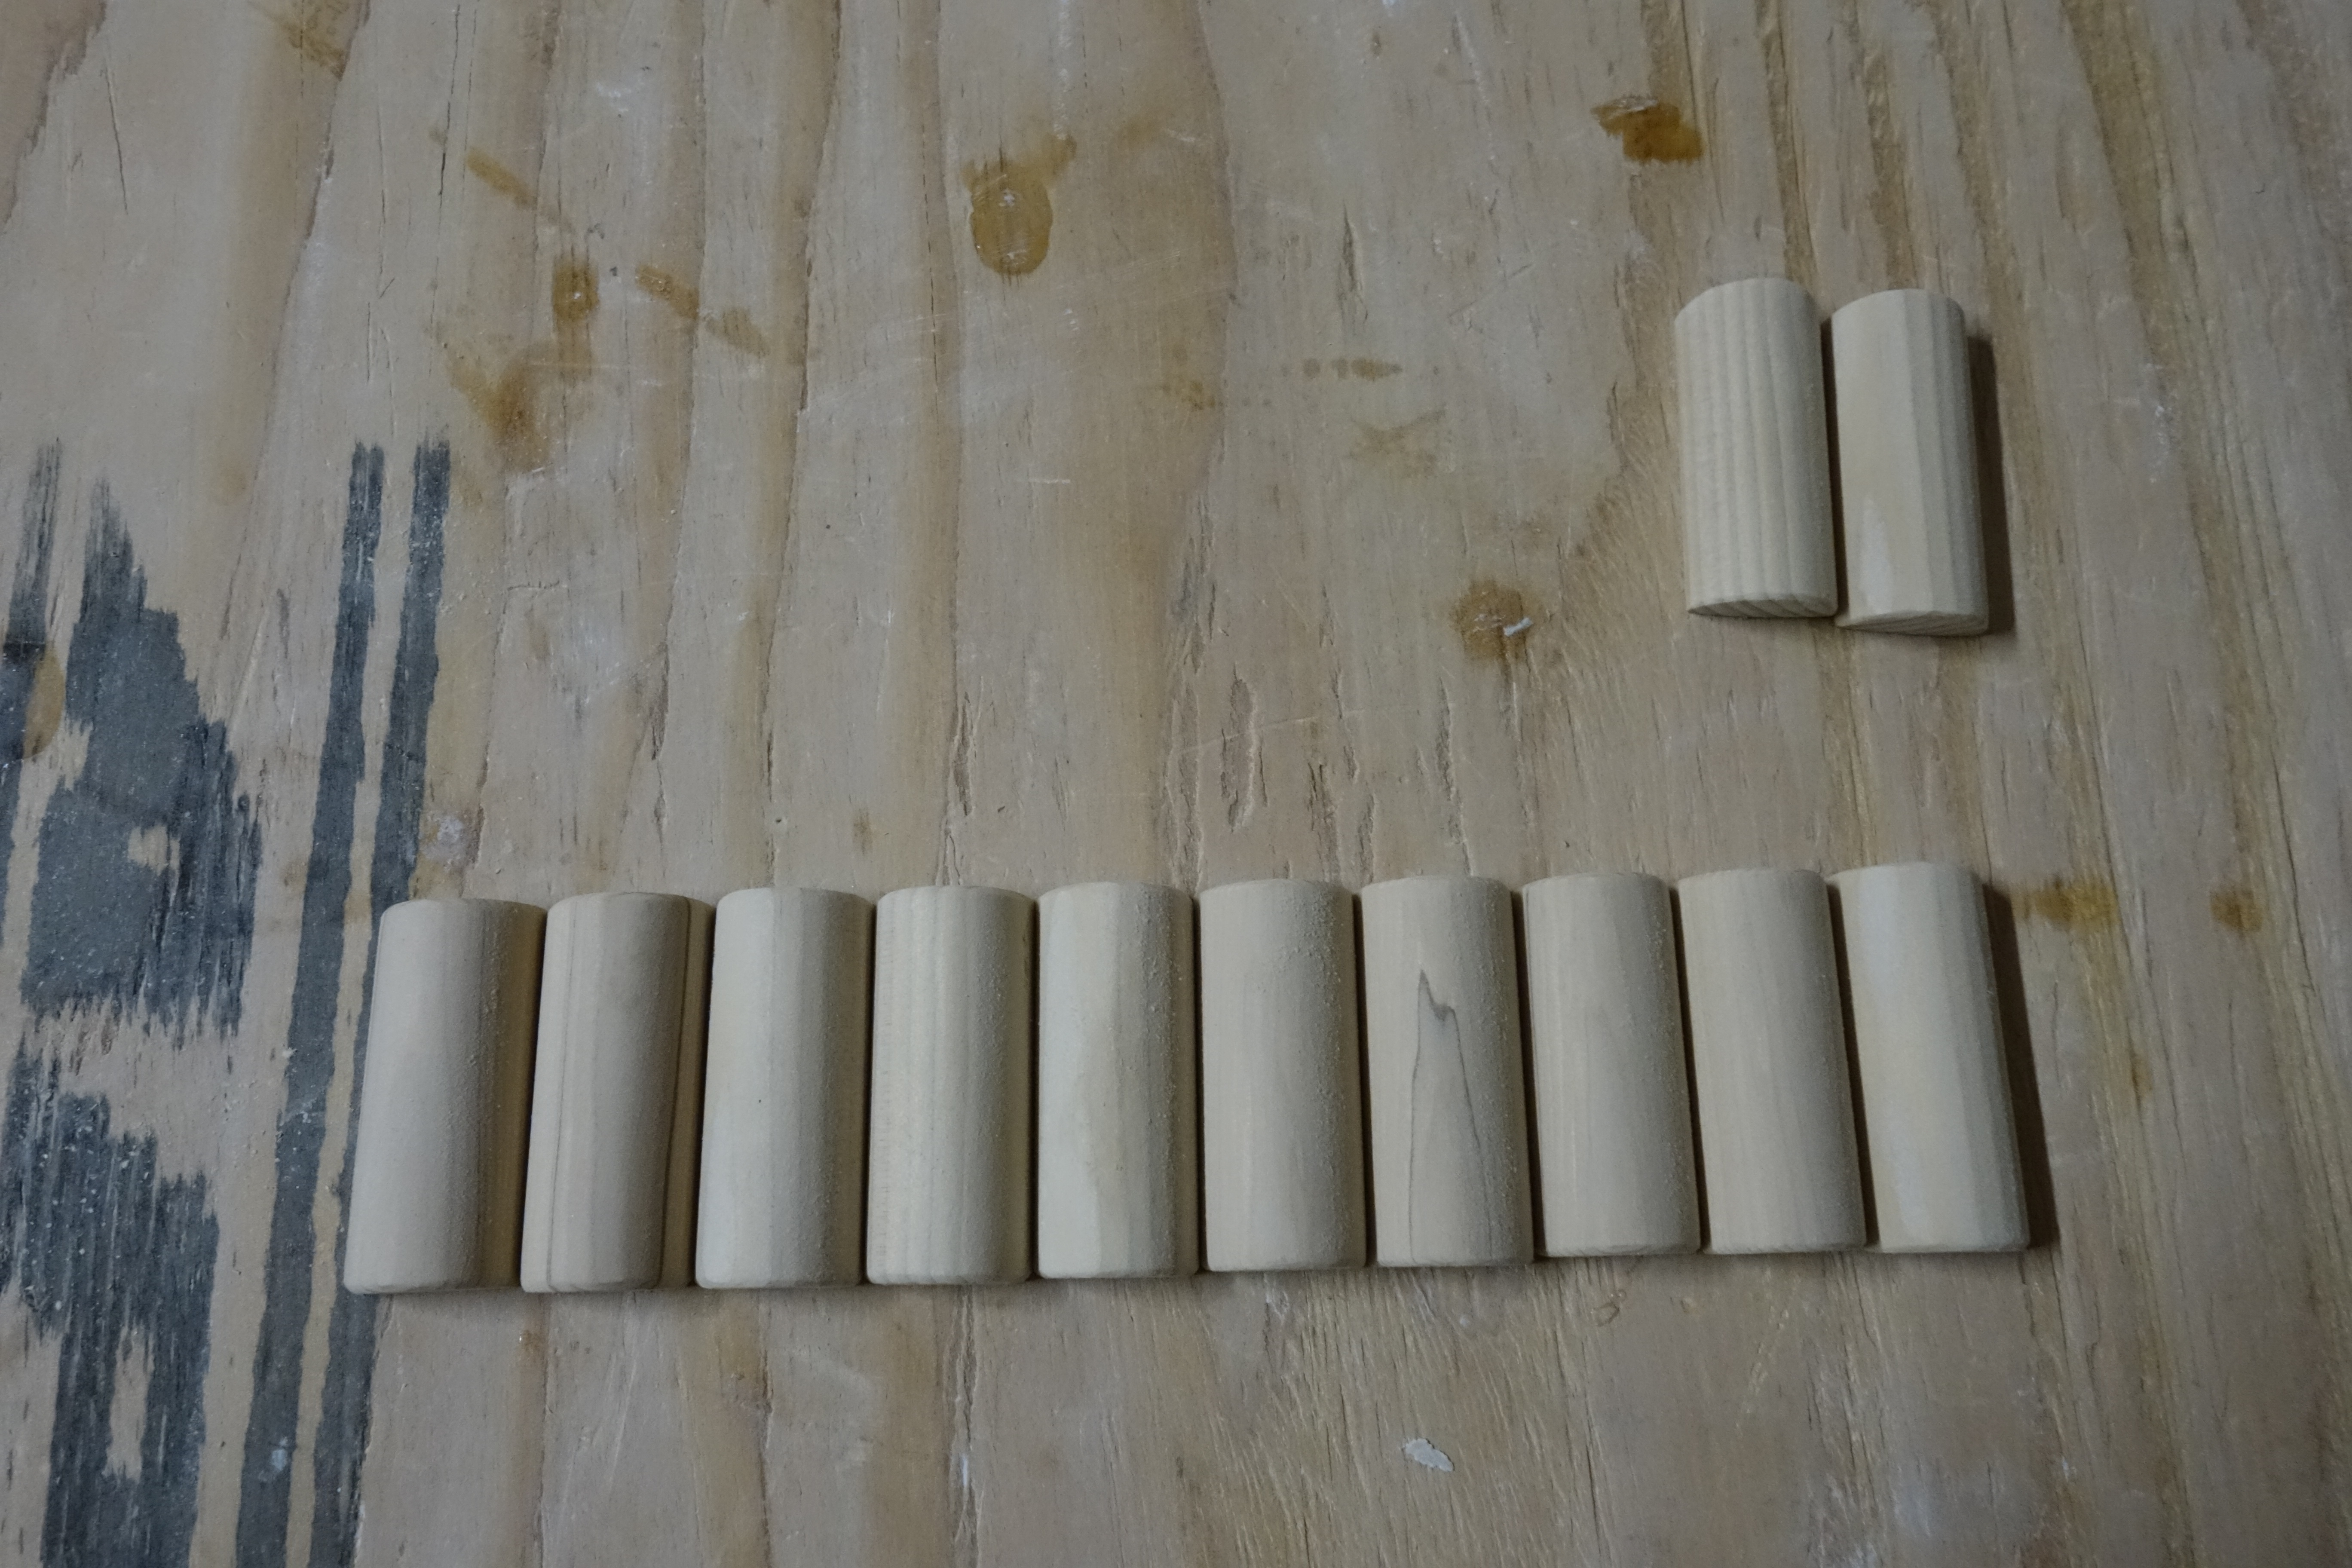
Hatch lid spacers installed. I also cut the half-round pieces that will live on the hatch covers to provide a elevated surface for the tie down straps to ride on. These will allow the straps to provide enough pressure on the hatch lids to create a good seal against the foam that will eventually go on the hatch lip. The next step will be to install the hatch lips themselves, and to glue the half-round pieces onto the hatch covers.
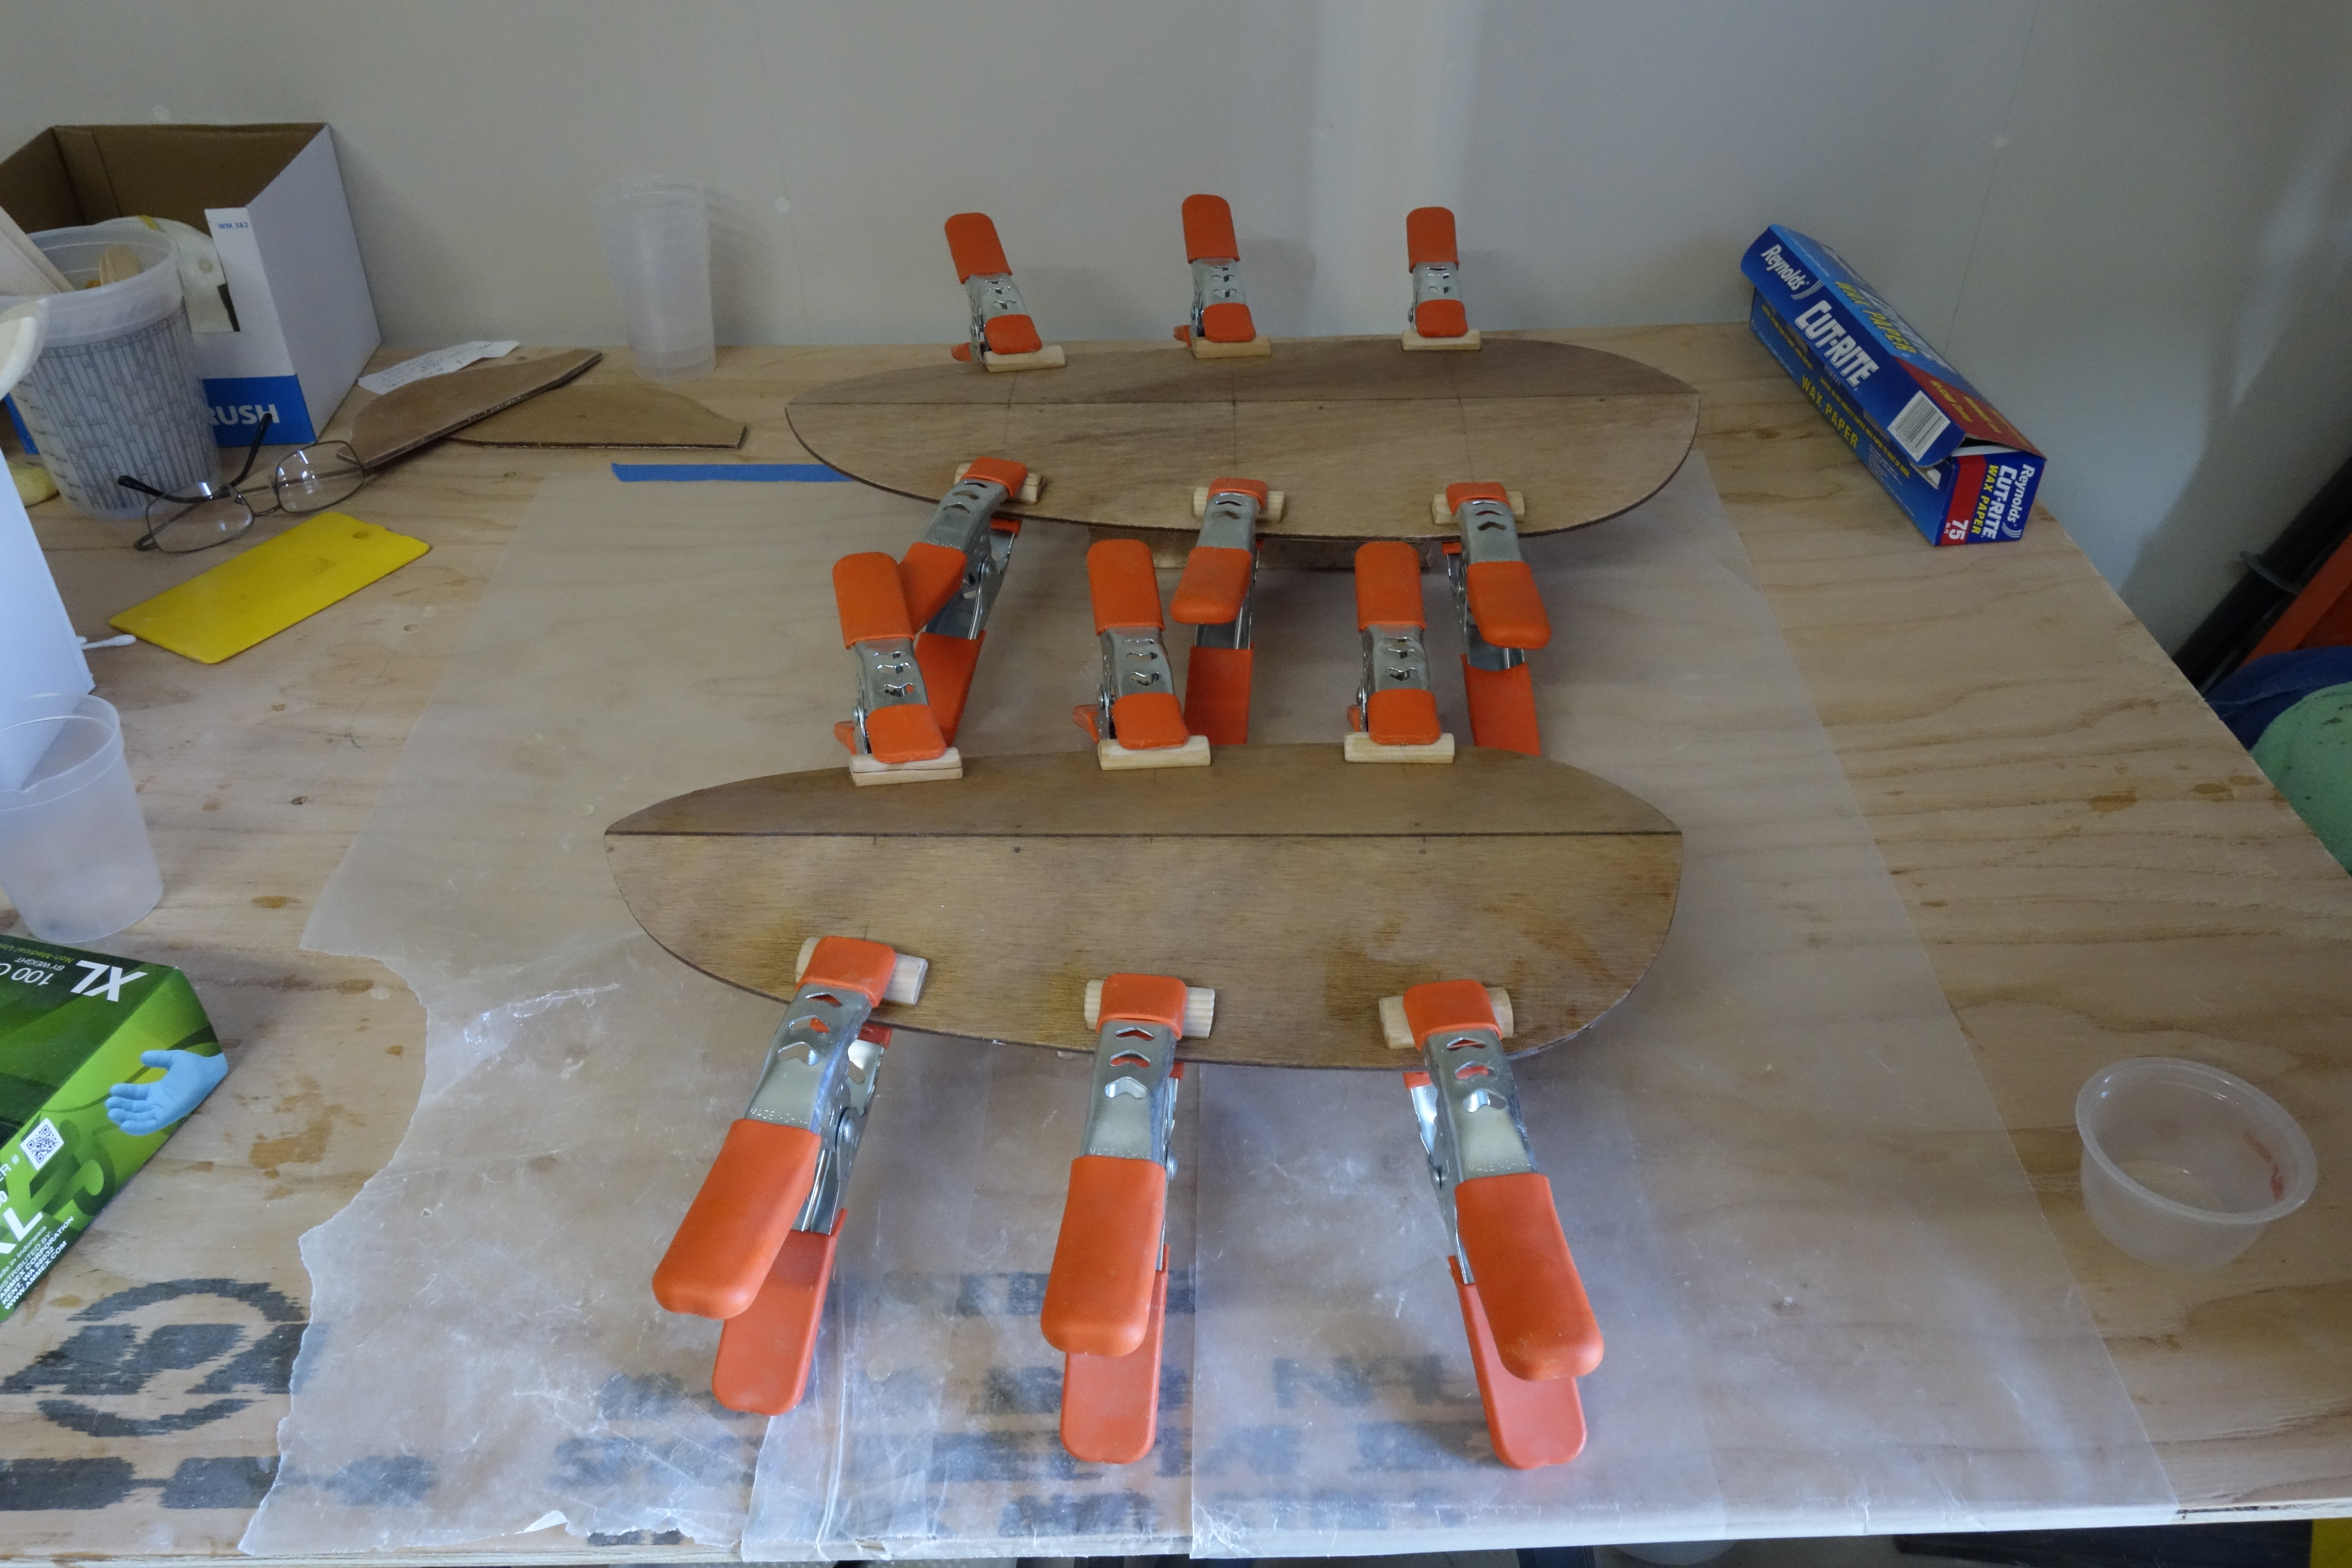
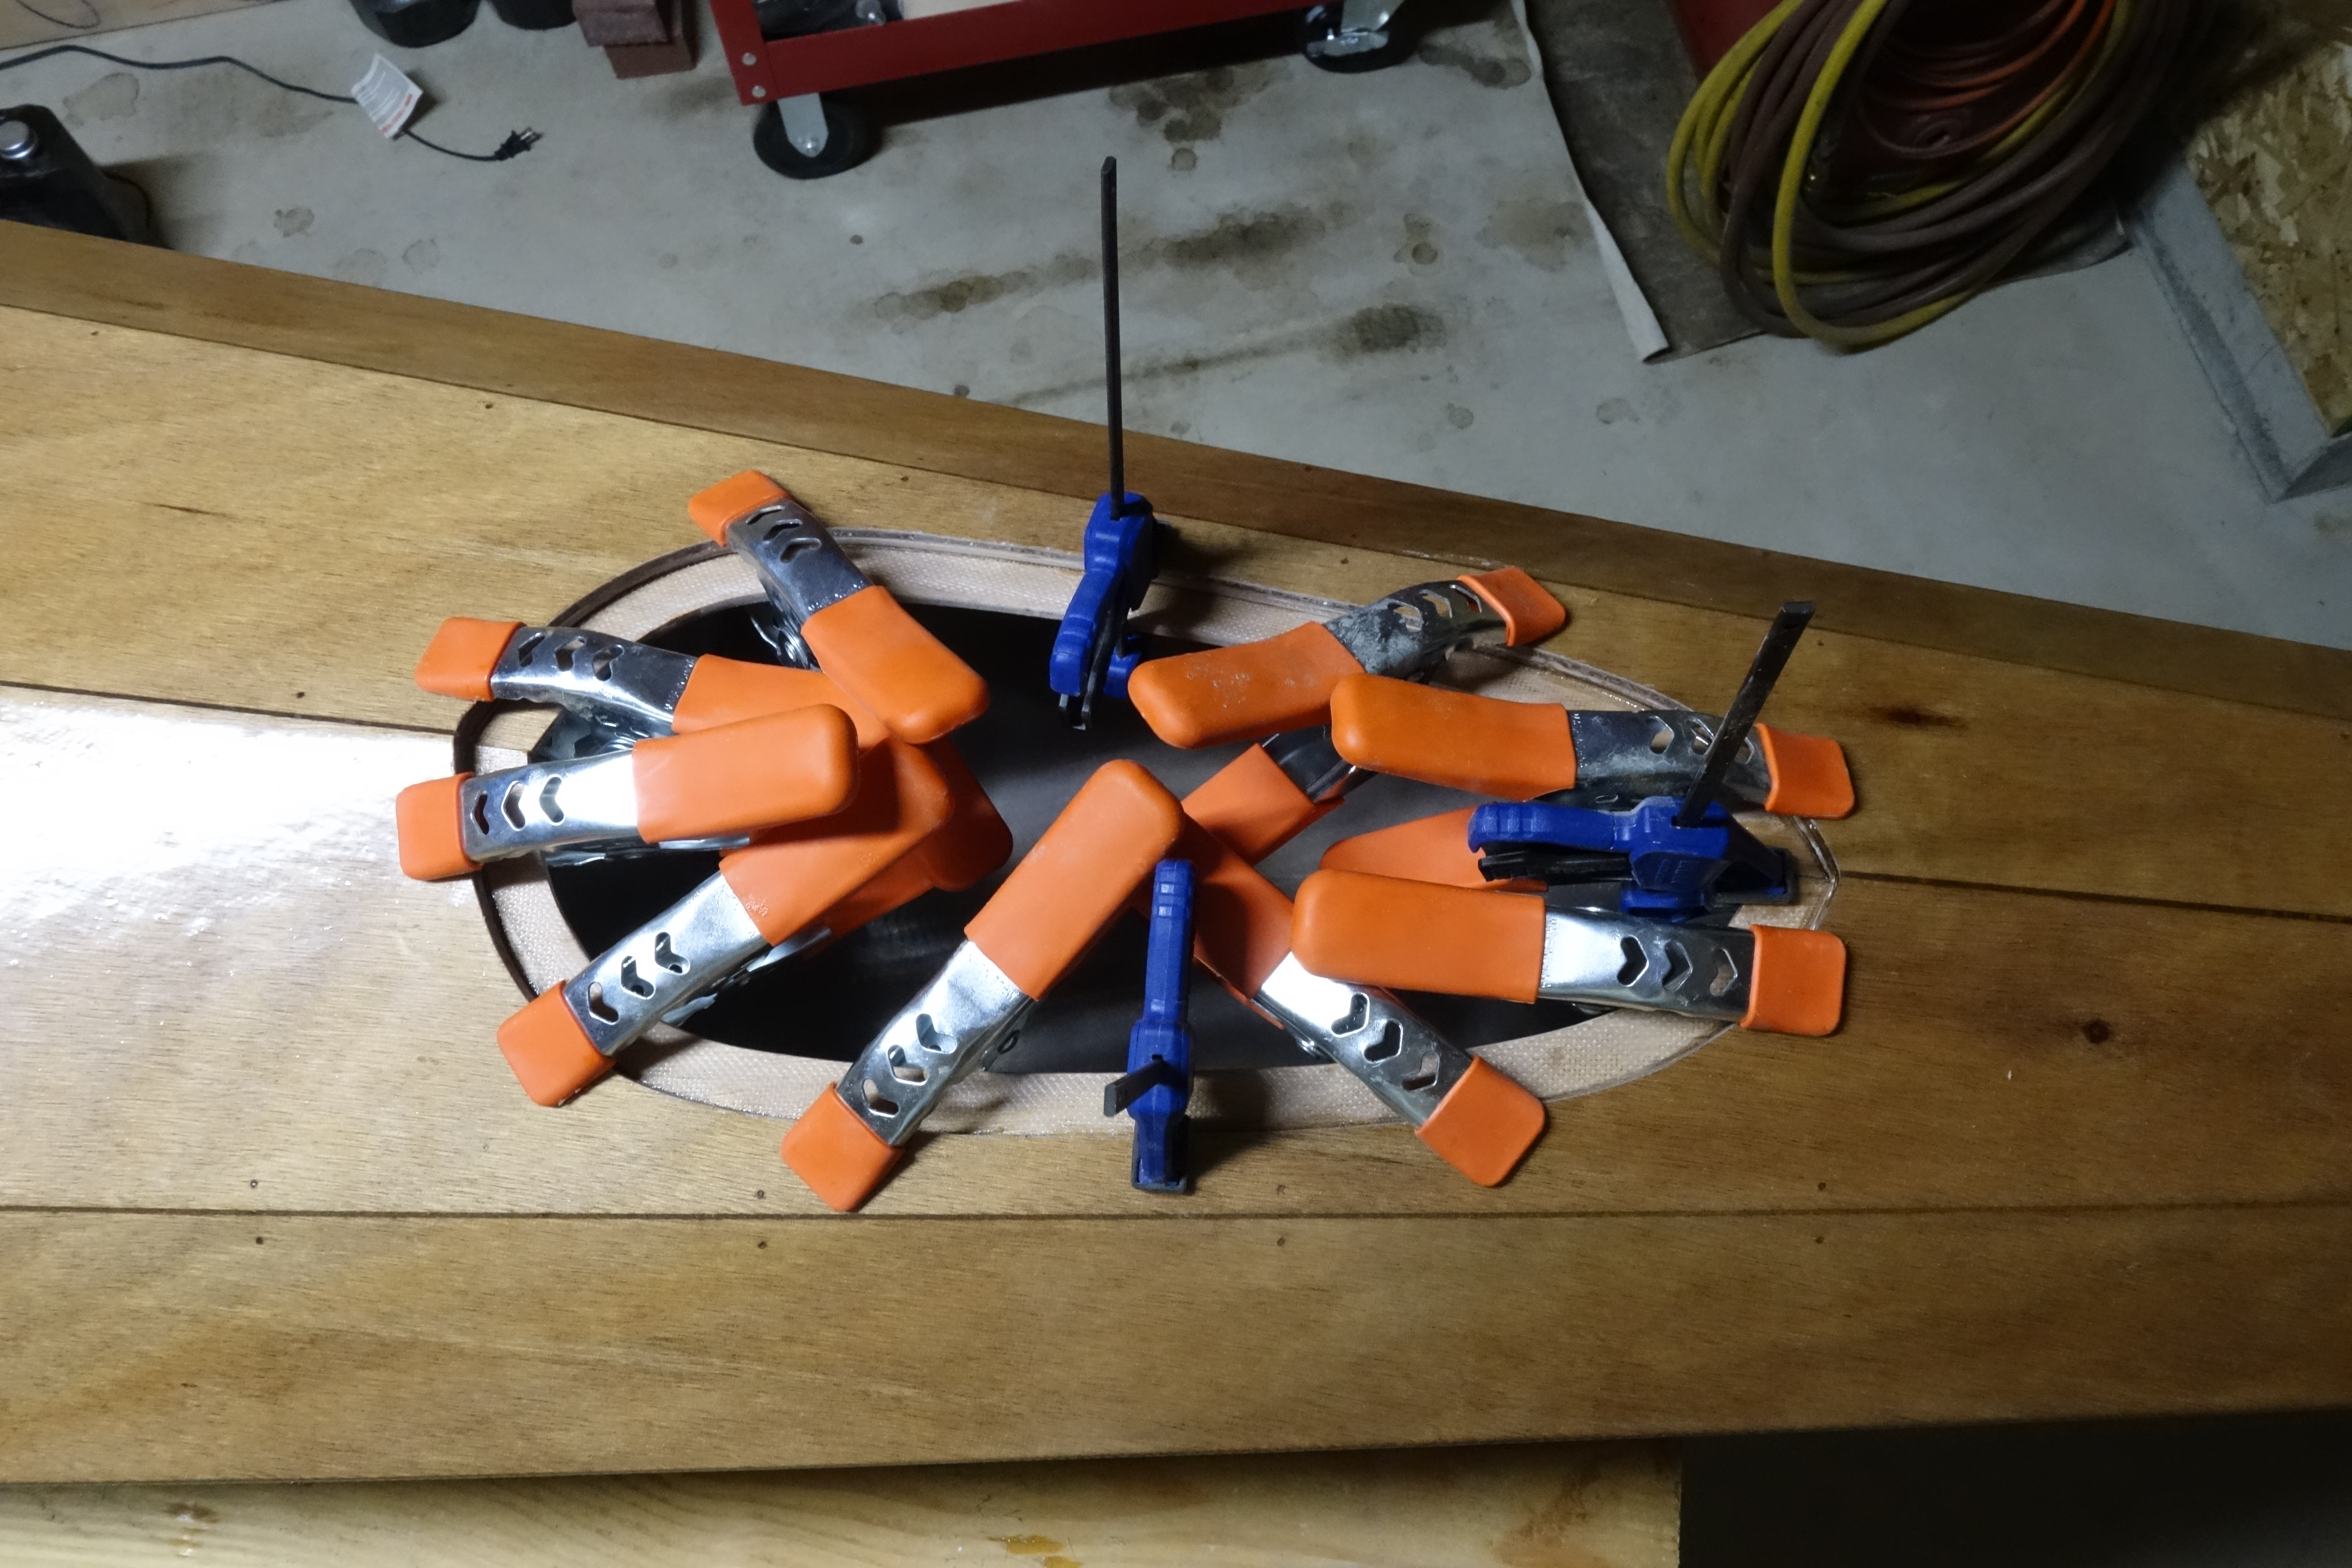
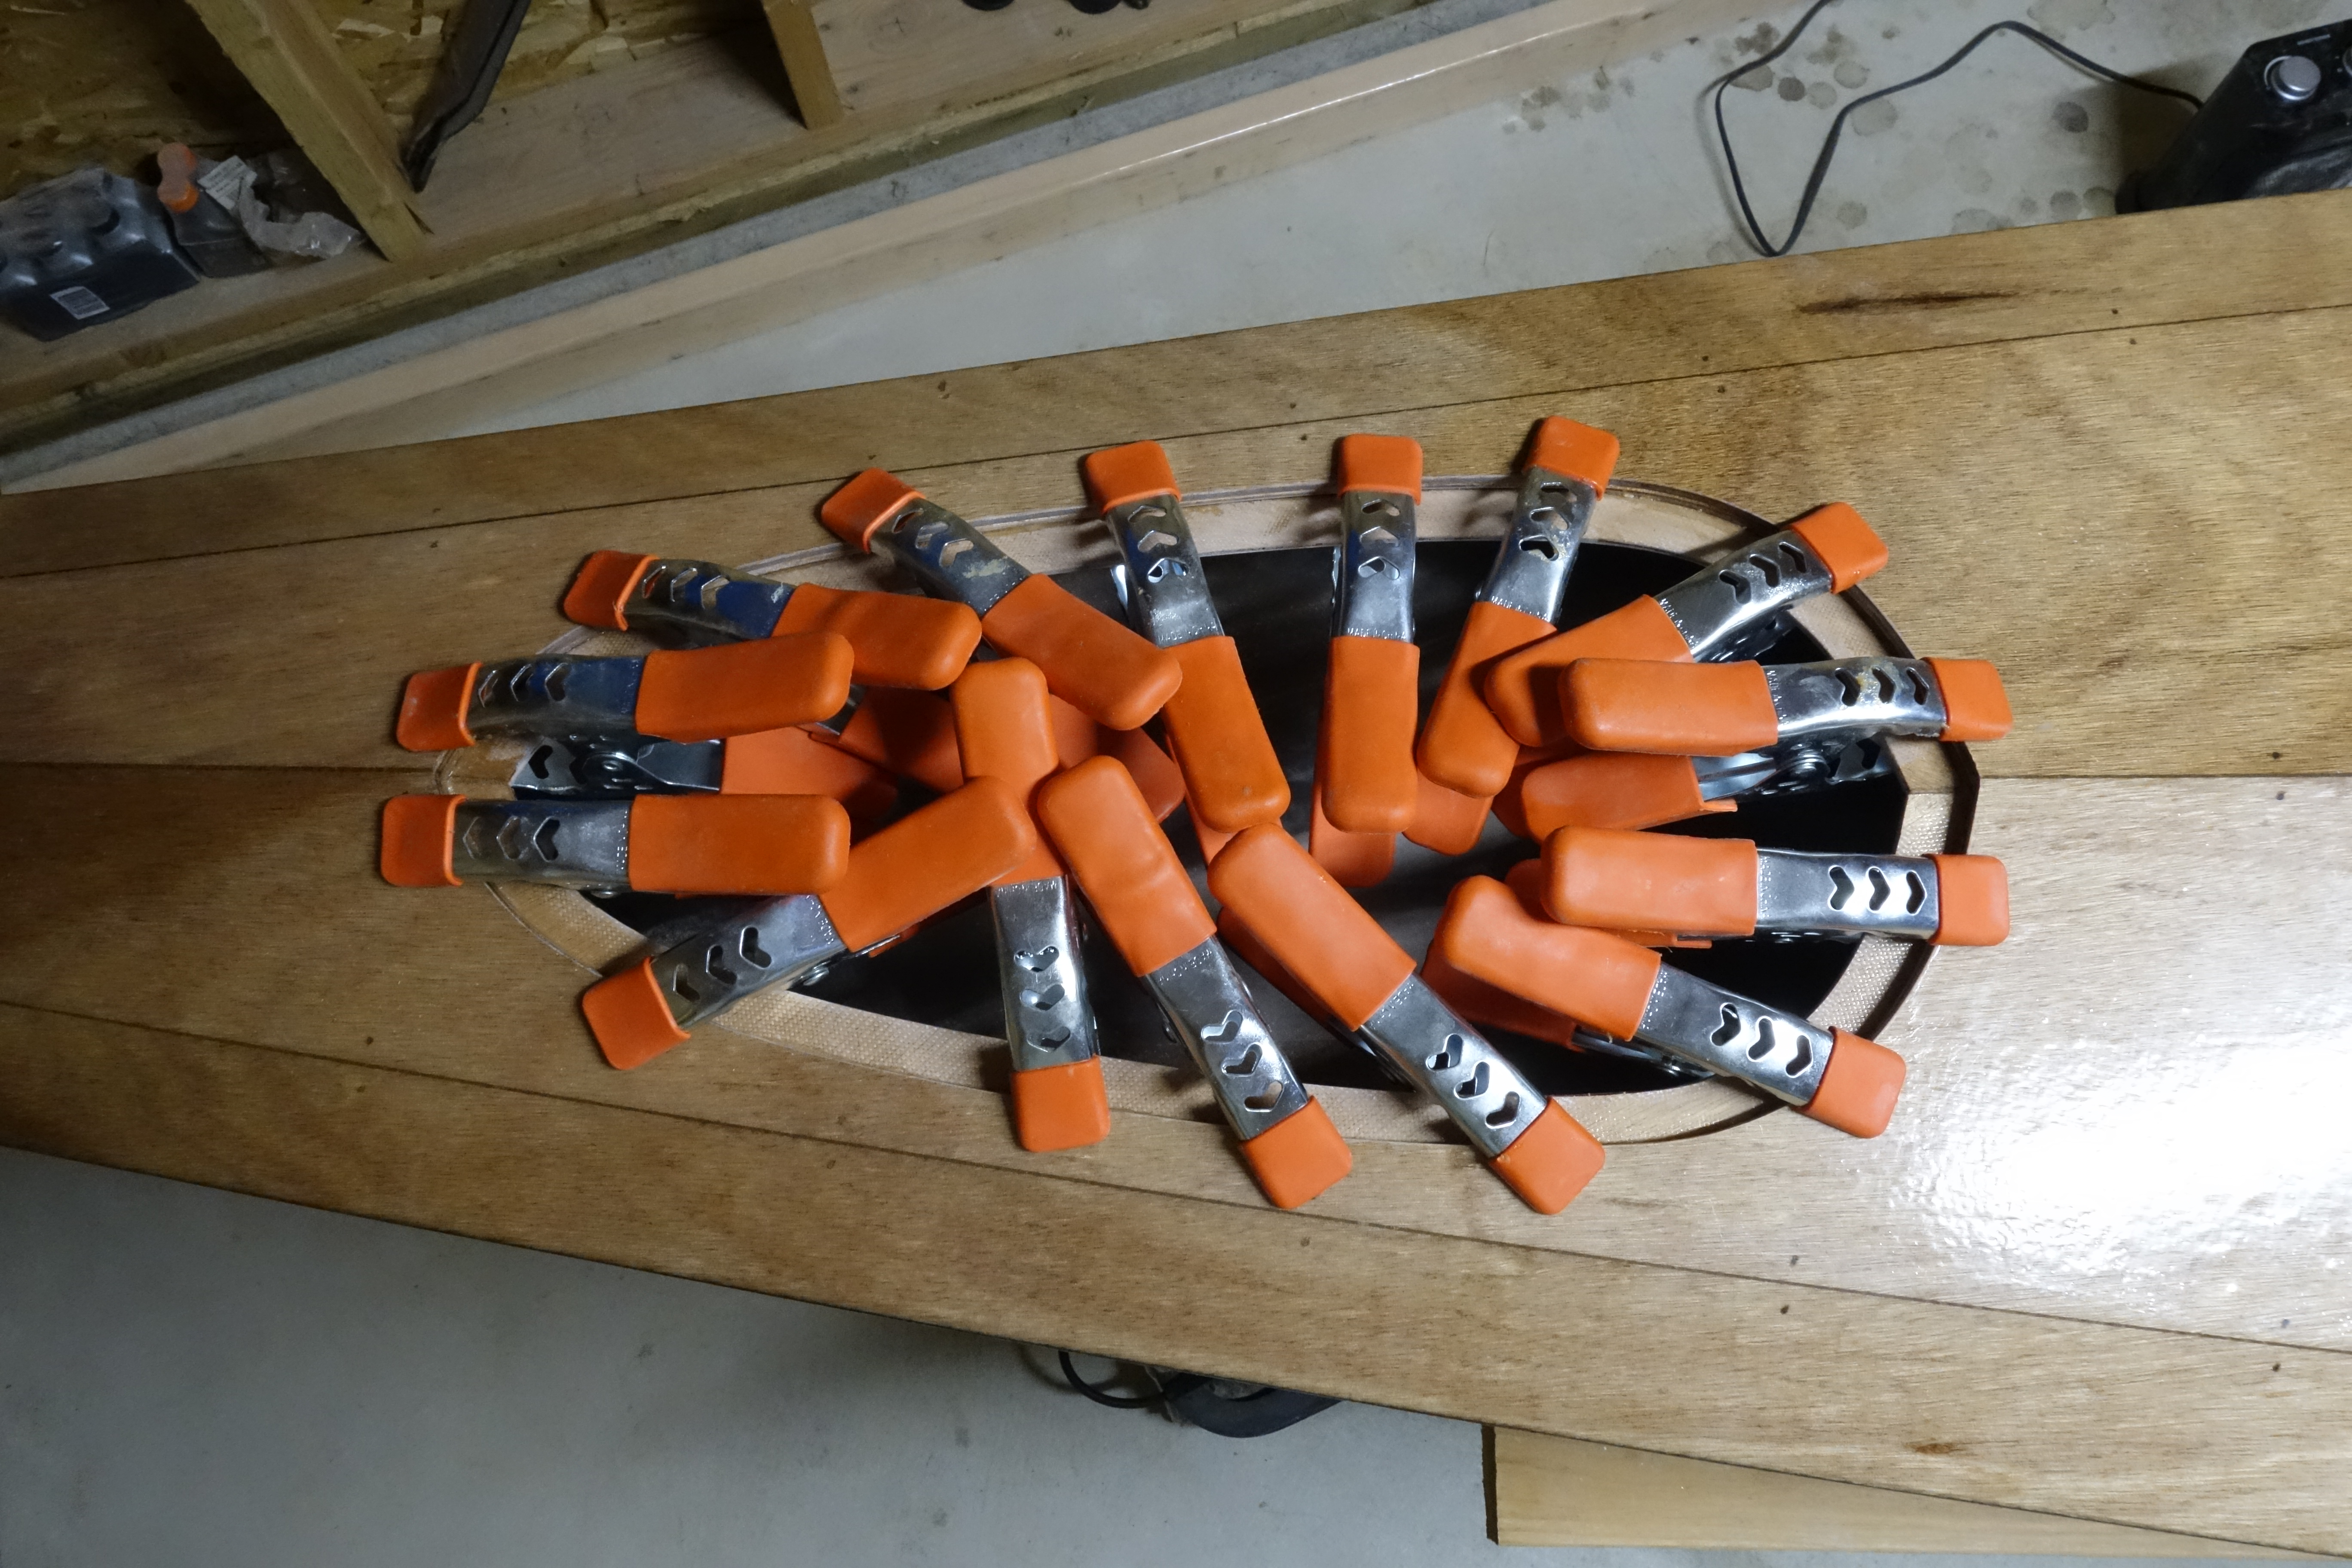
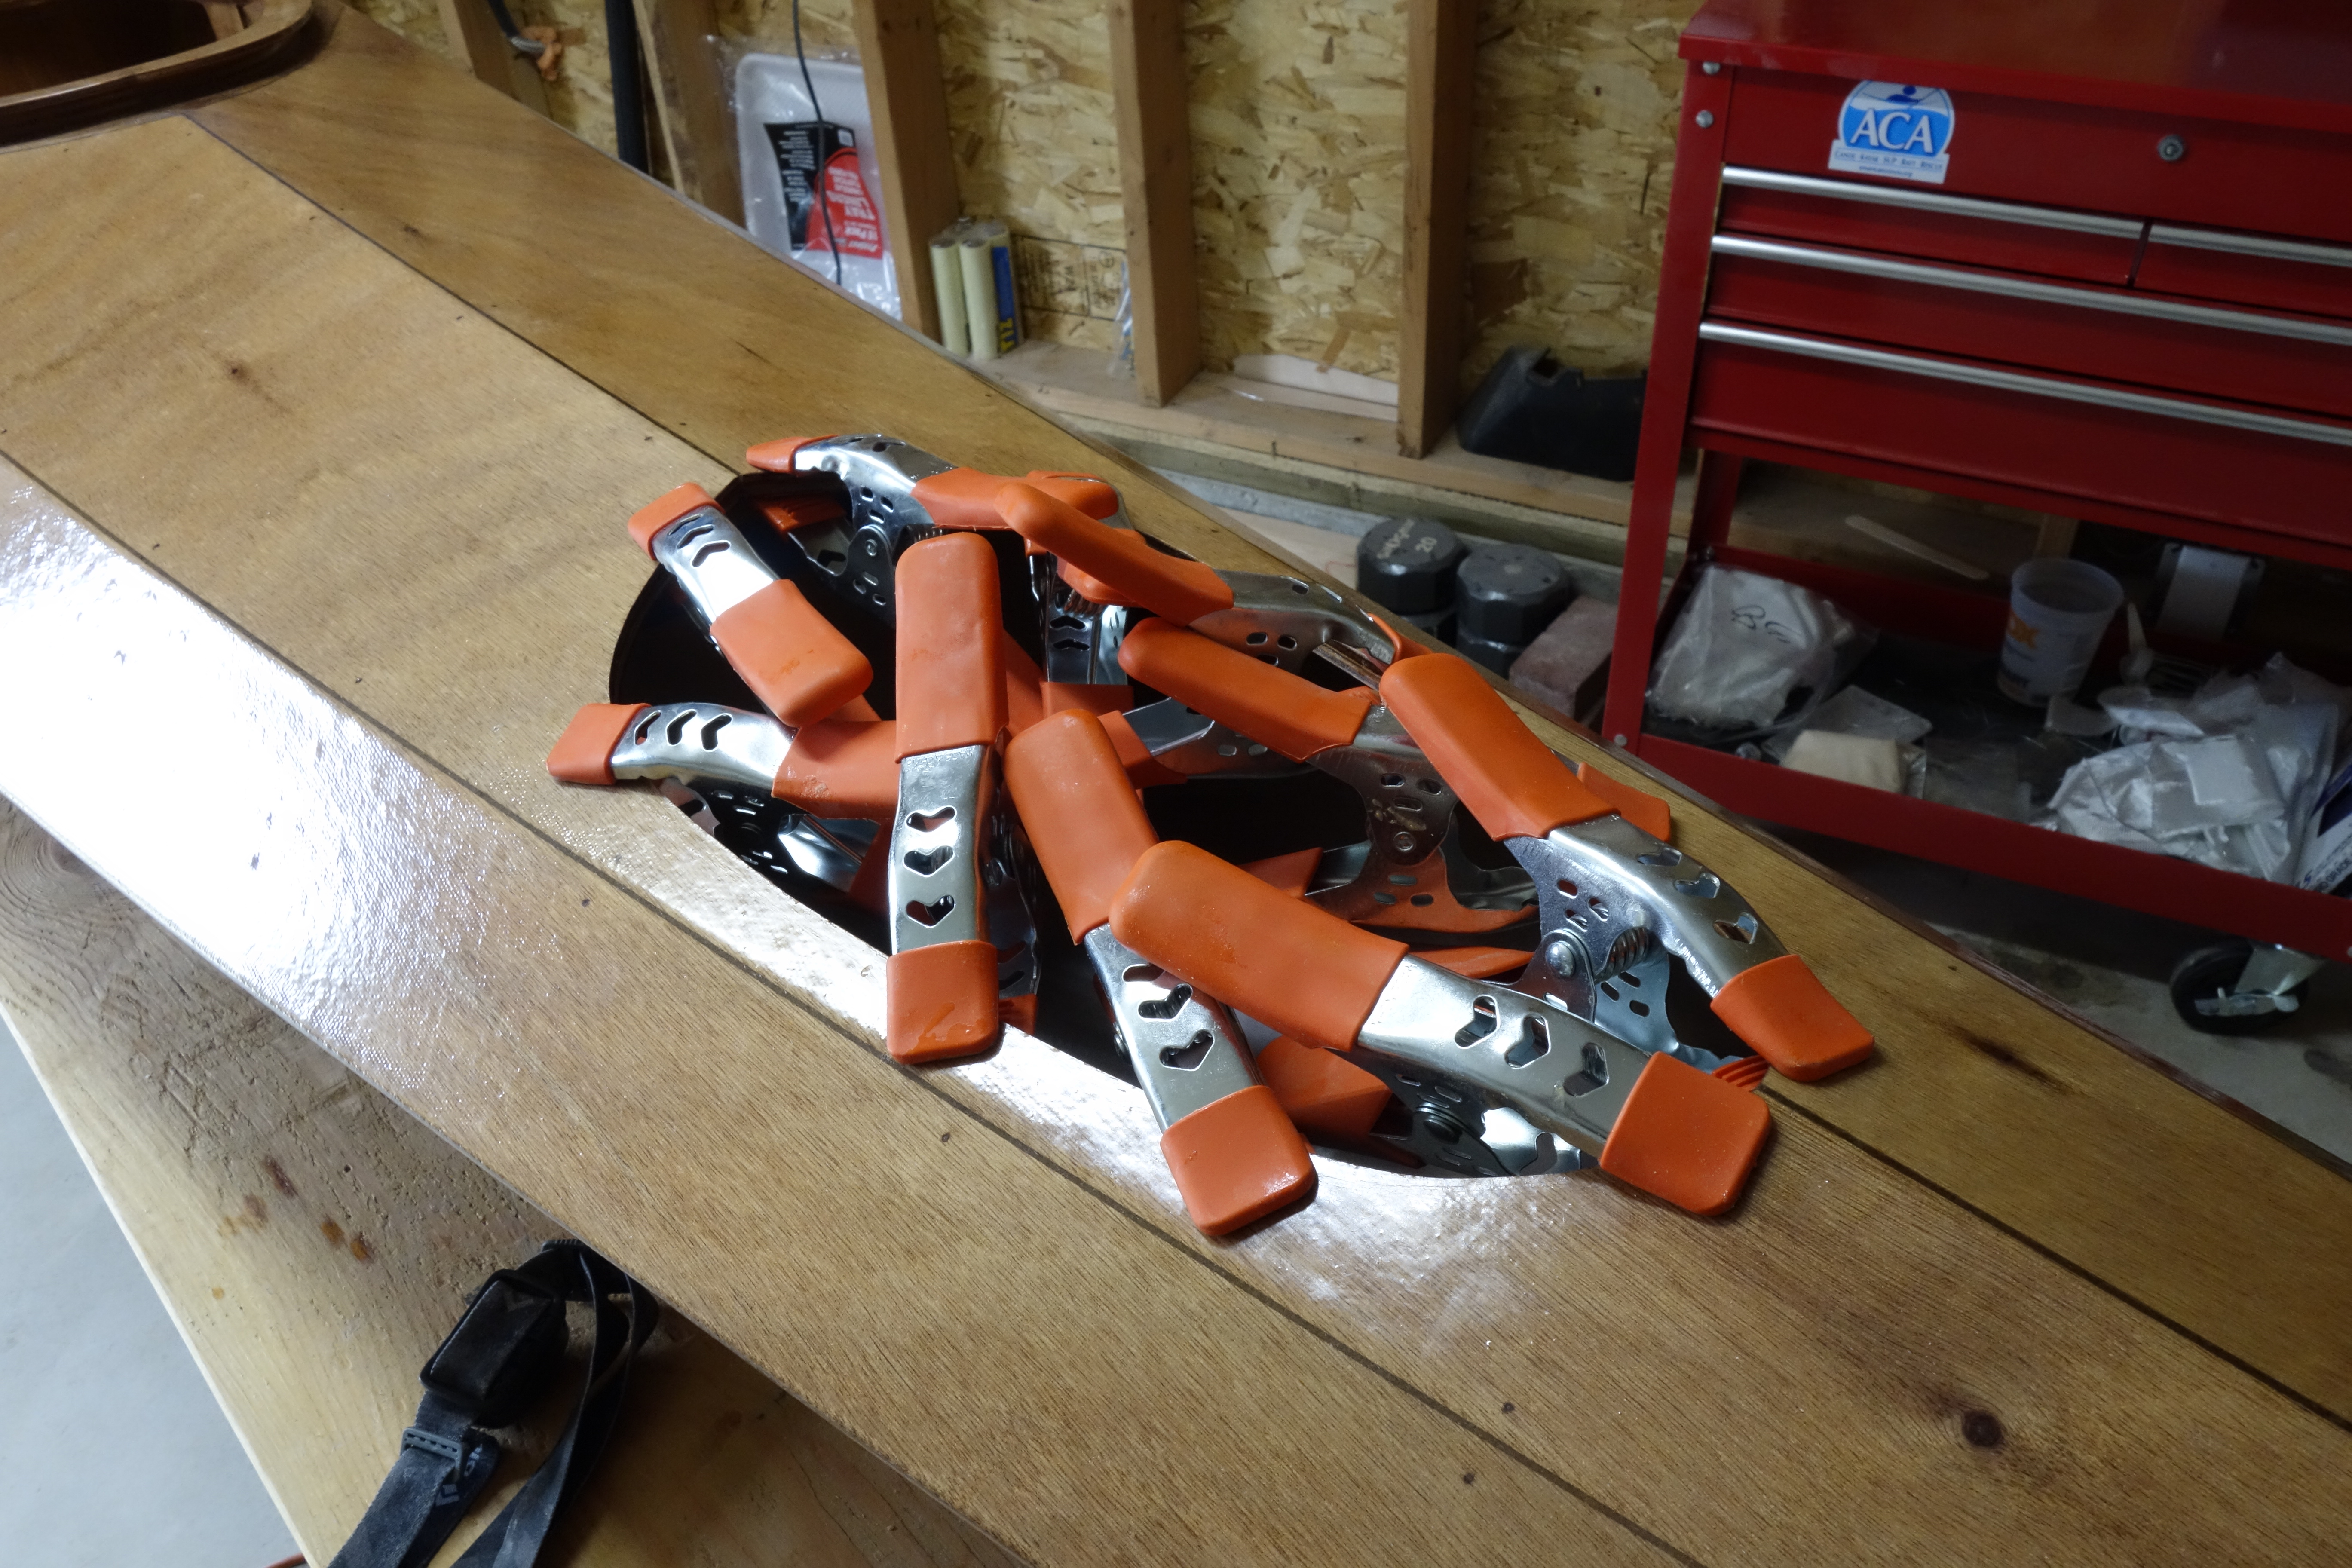
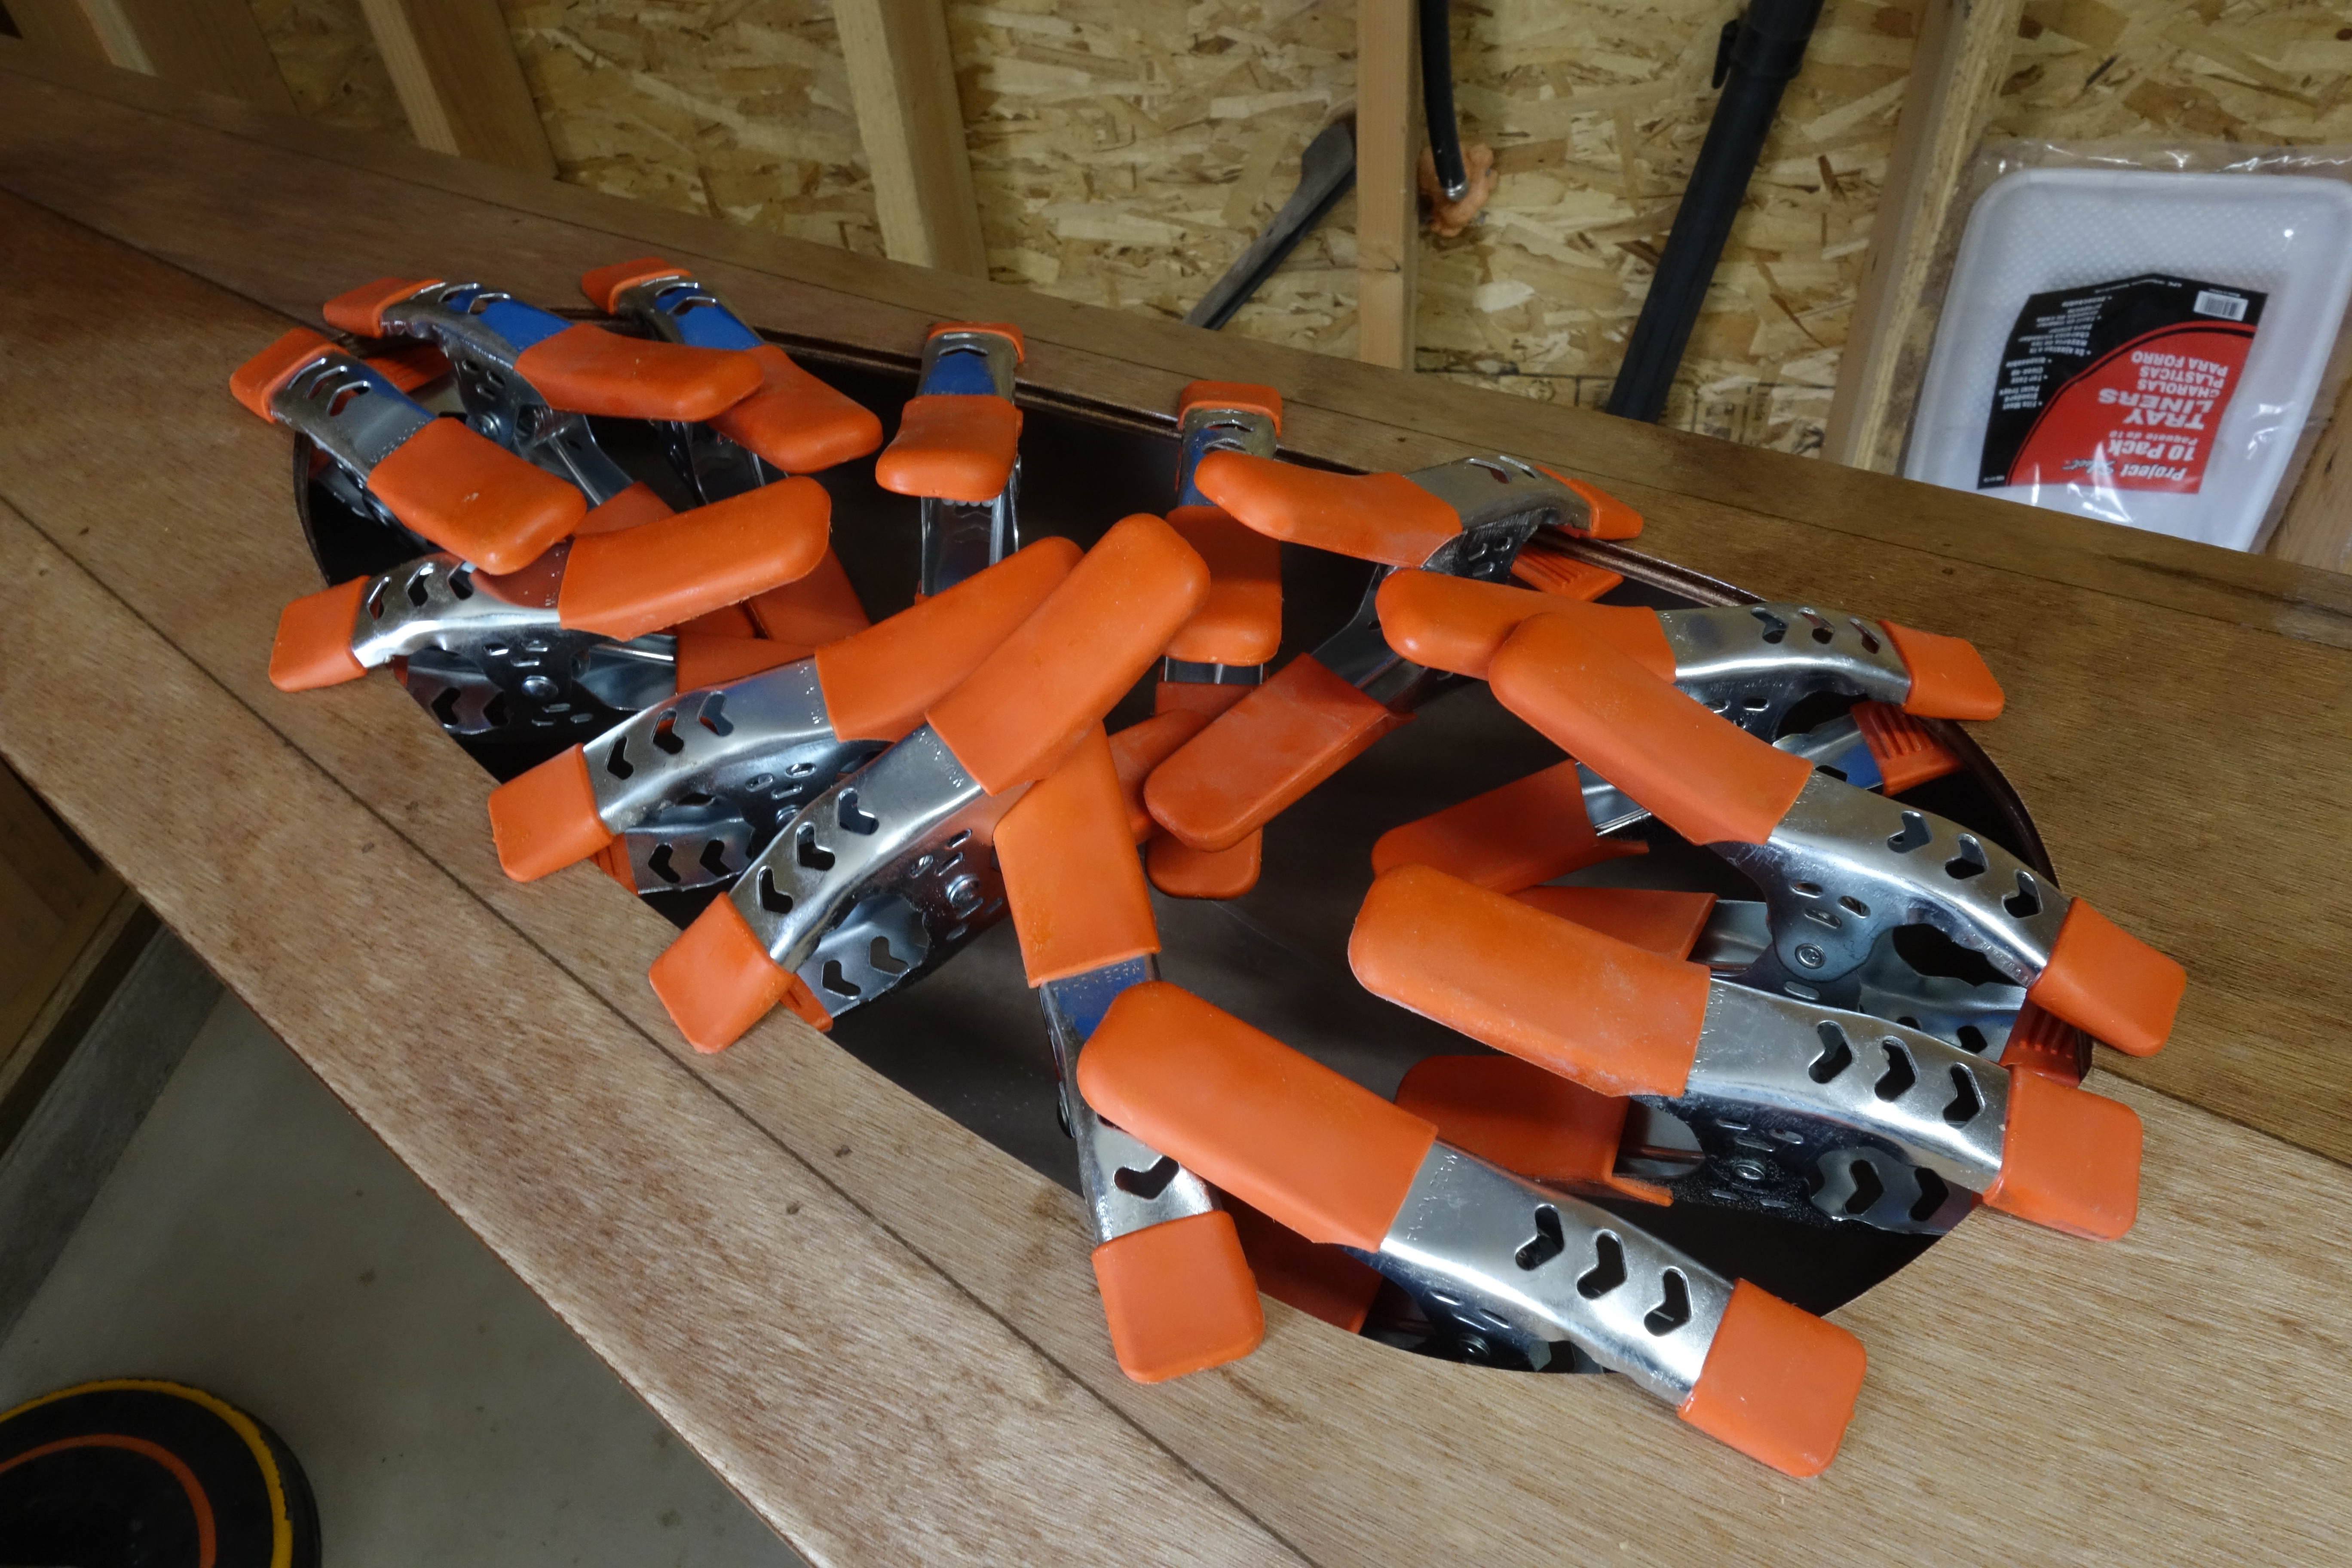
Forward hatch above, aft hatch below. A wad of clamps. Another angle on the wad of clamps.I can’t wait to sand that line out of the hull and give the whole kayak one more fill coat of epoxy. Then a ton of sanding, and finally, varnish. This thing really is getting pretty close to finished. Still a lot of work to do, but from the perspective of the entire build, I’m definitely in the home stretch!These are the half-round pieces that will go on the hatch covers. The two pieces in the upper right are beveled to be a bit wider at the top, to make them easier to grab if there is suction on the inside of the hatch lid caused by a temperature/pressure difference between the inside of the cargo hold and the ambient air temp/pressure.