Detail of cockpit apron glue up.

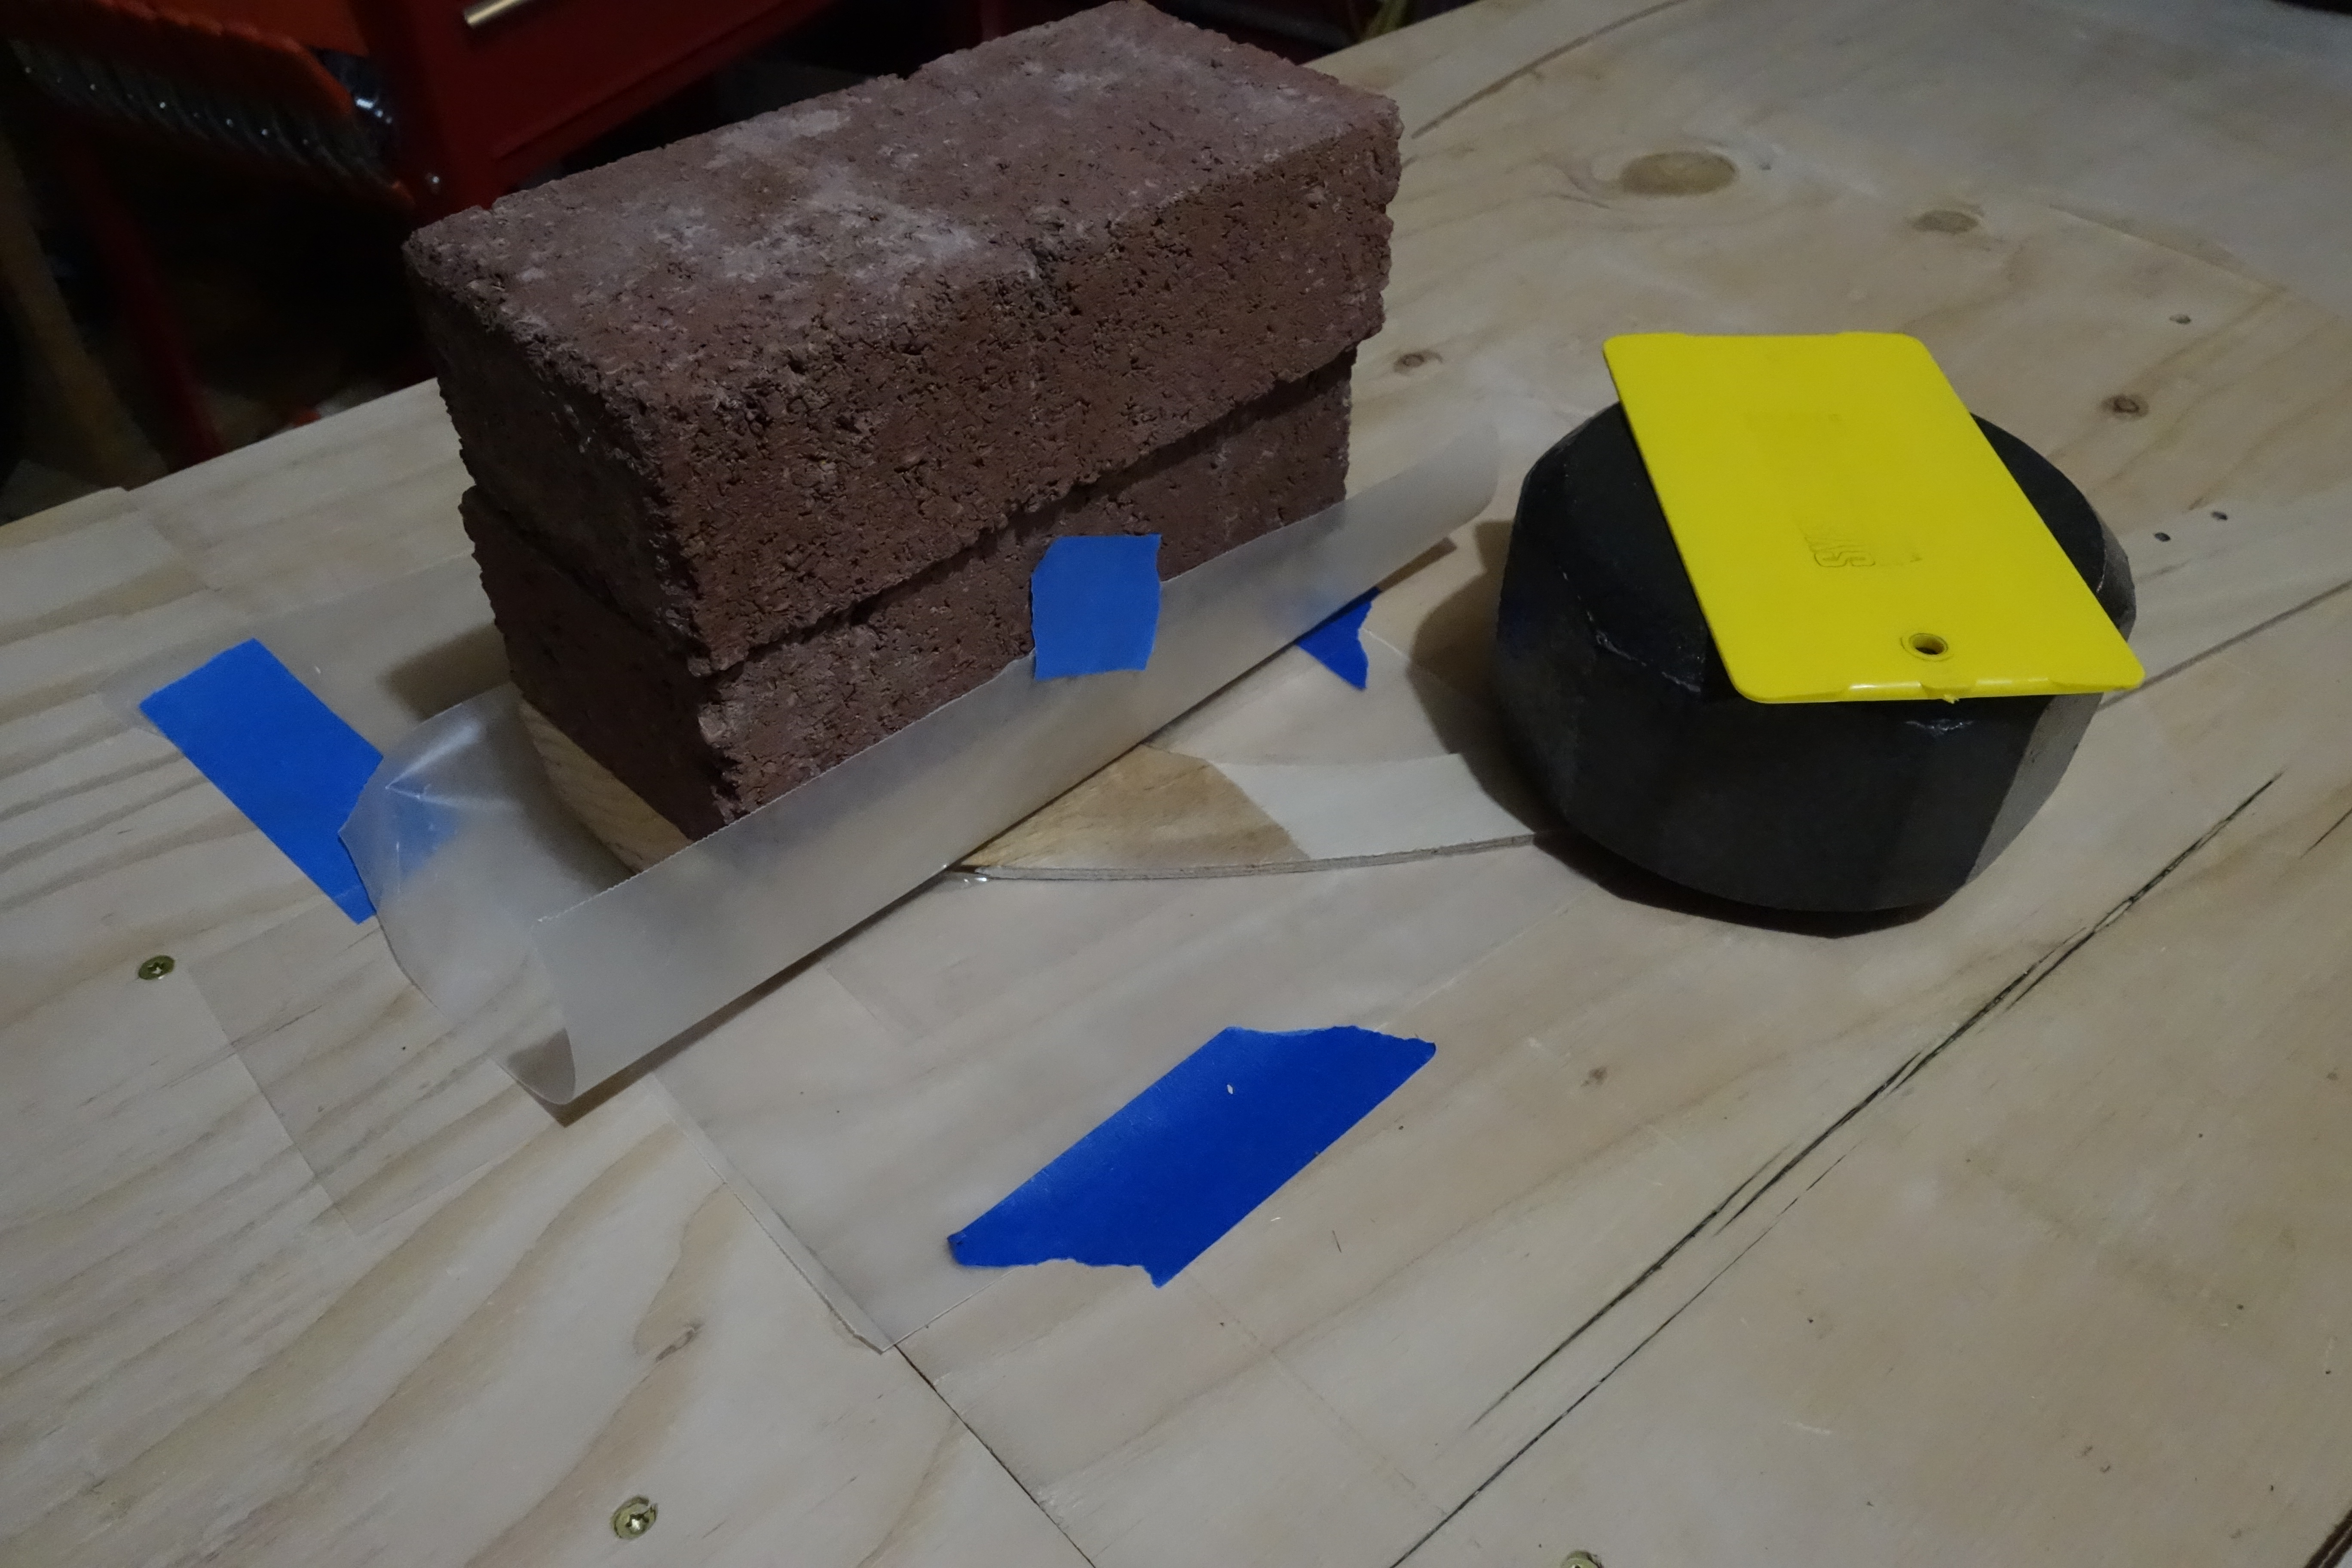
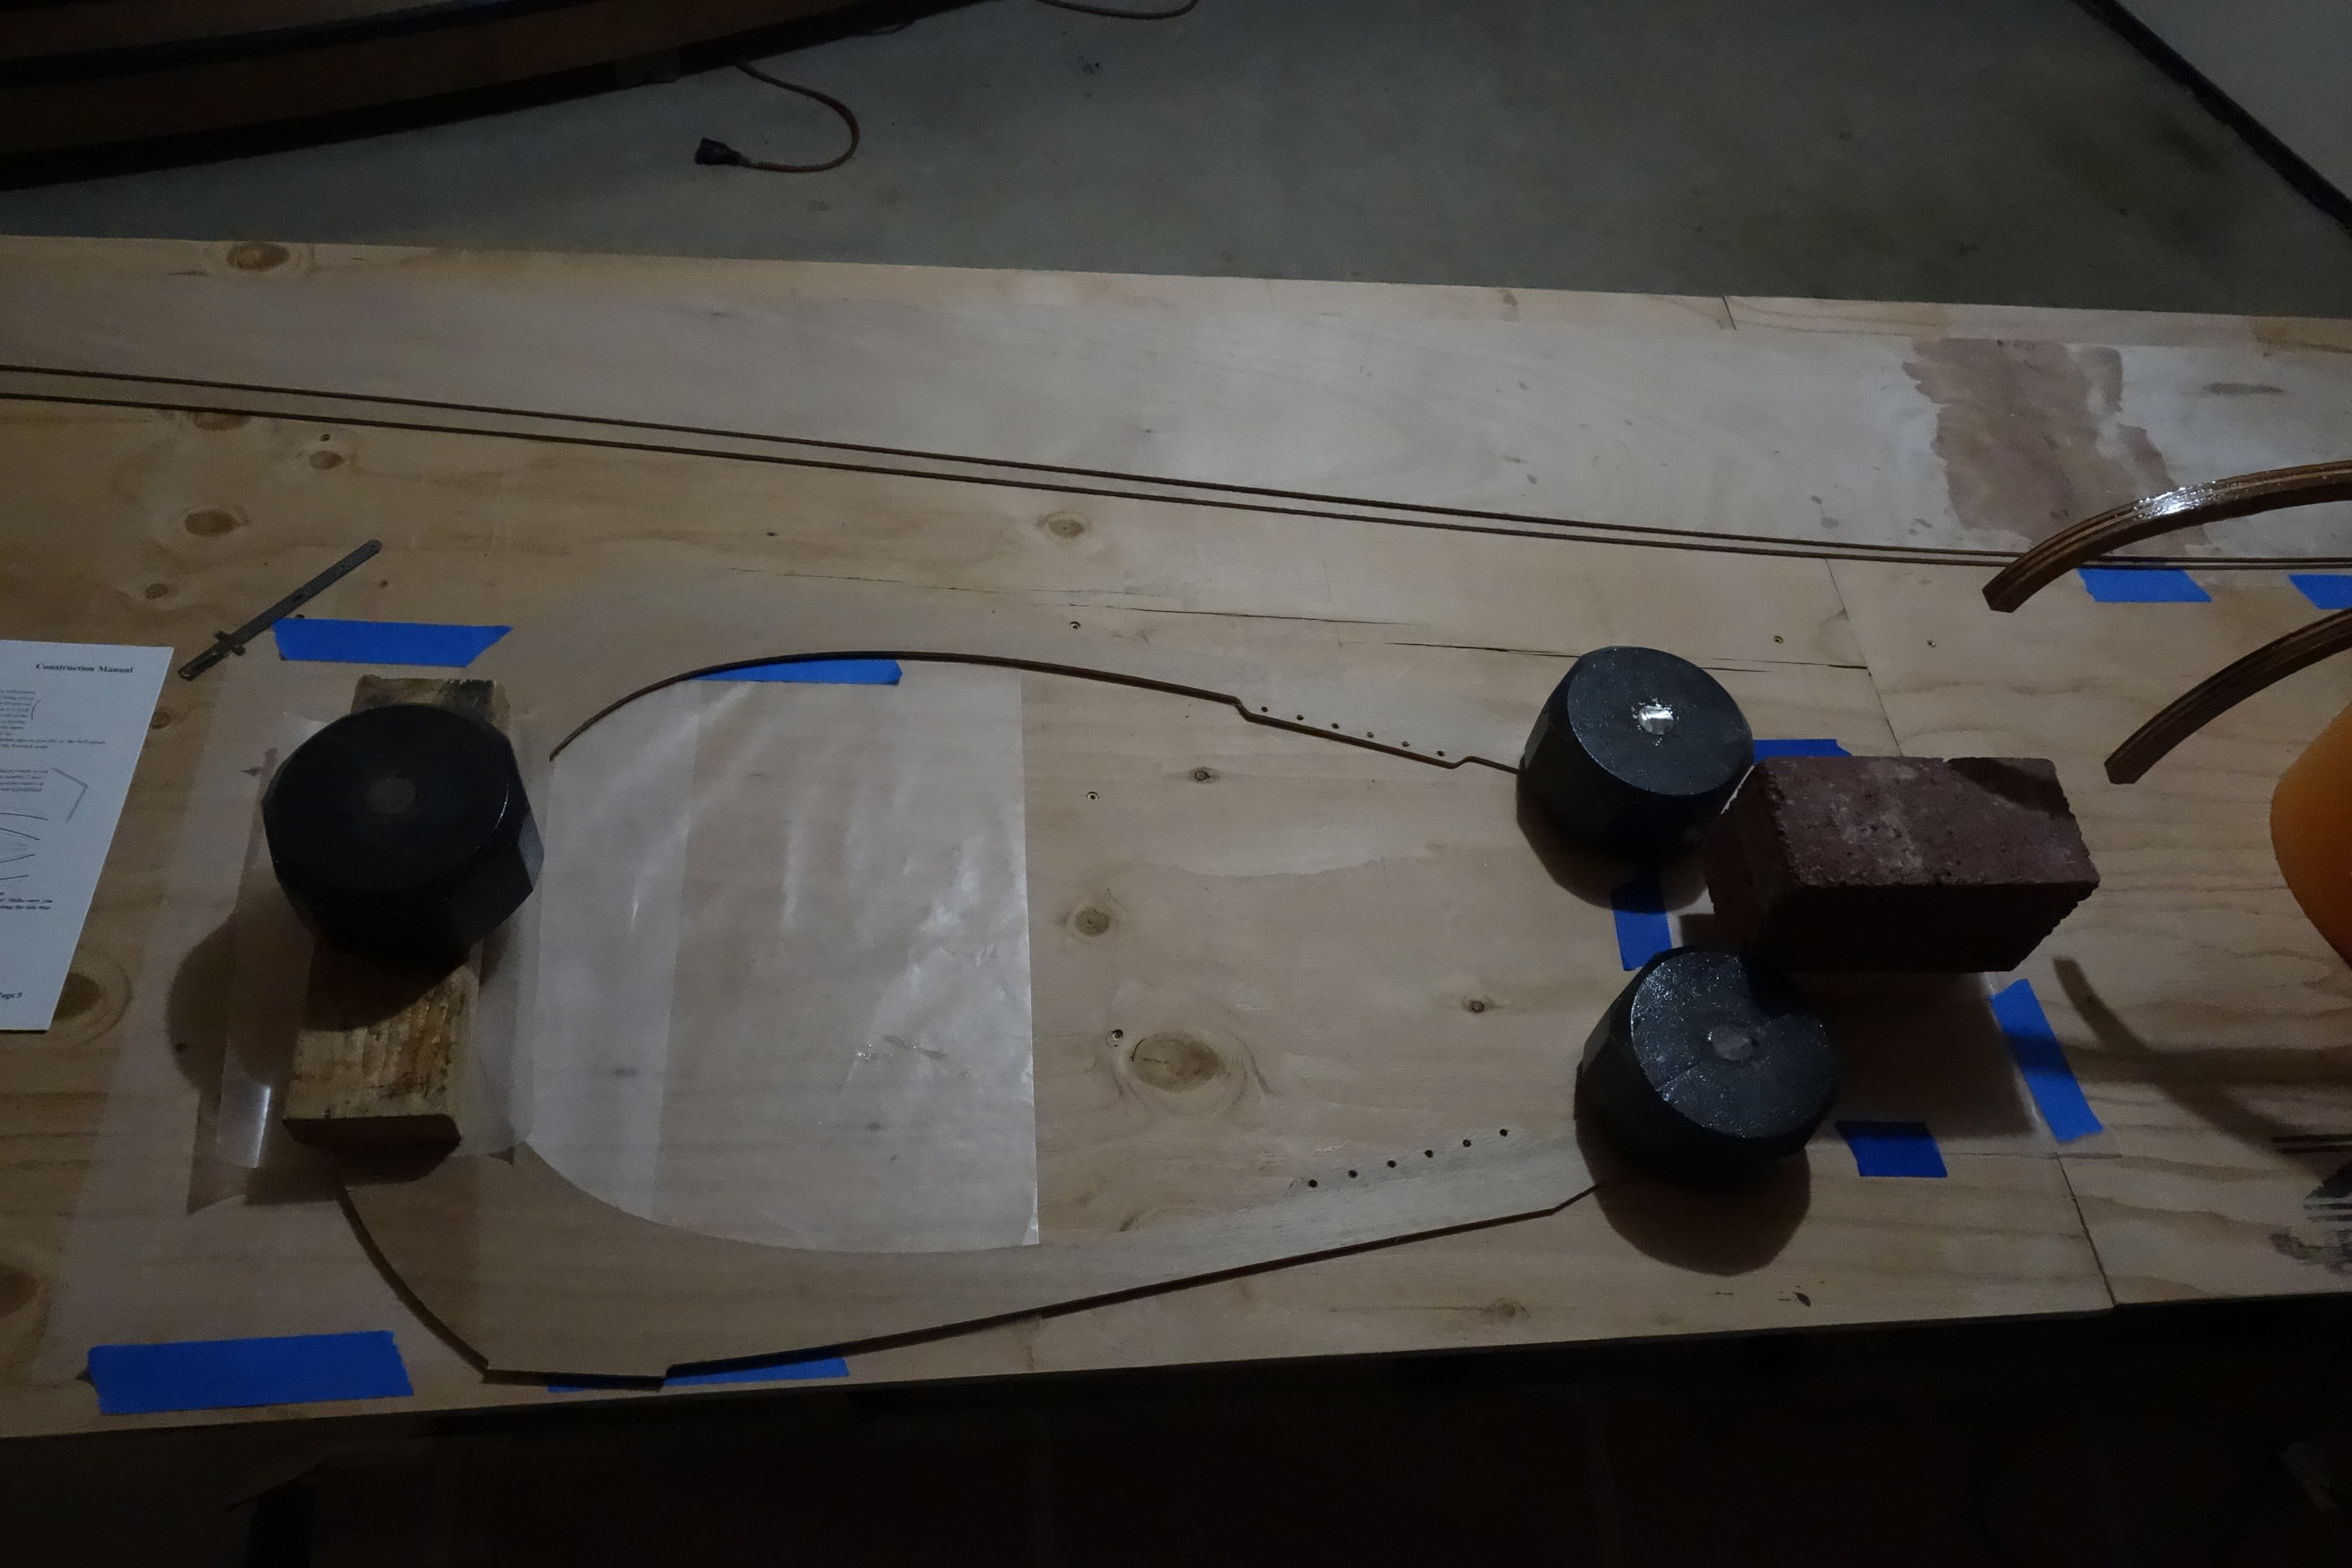
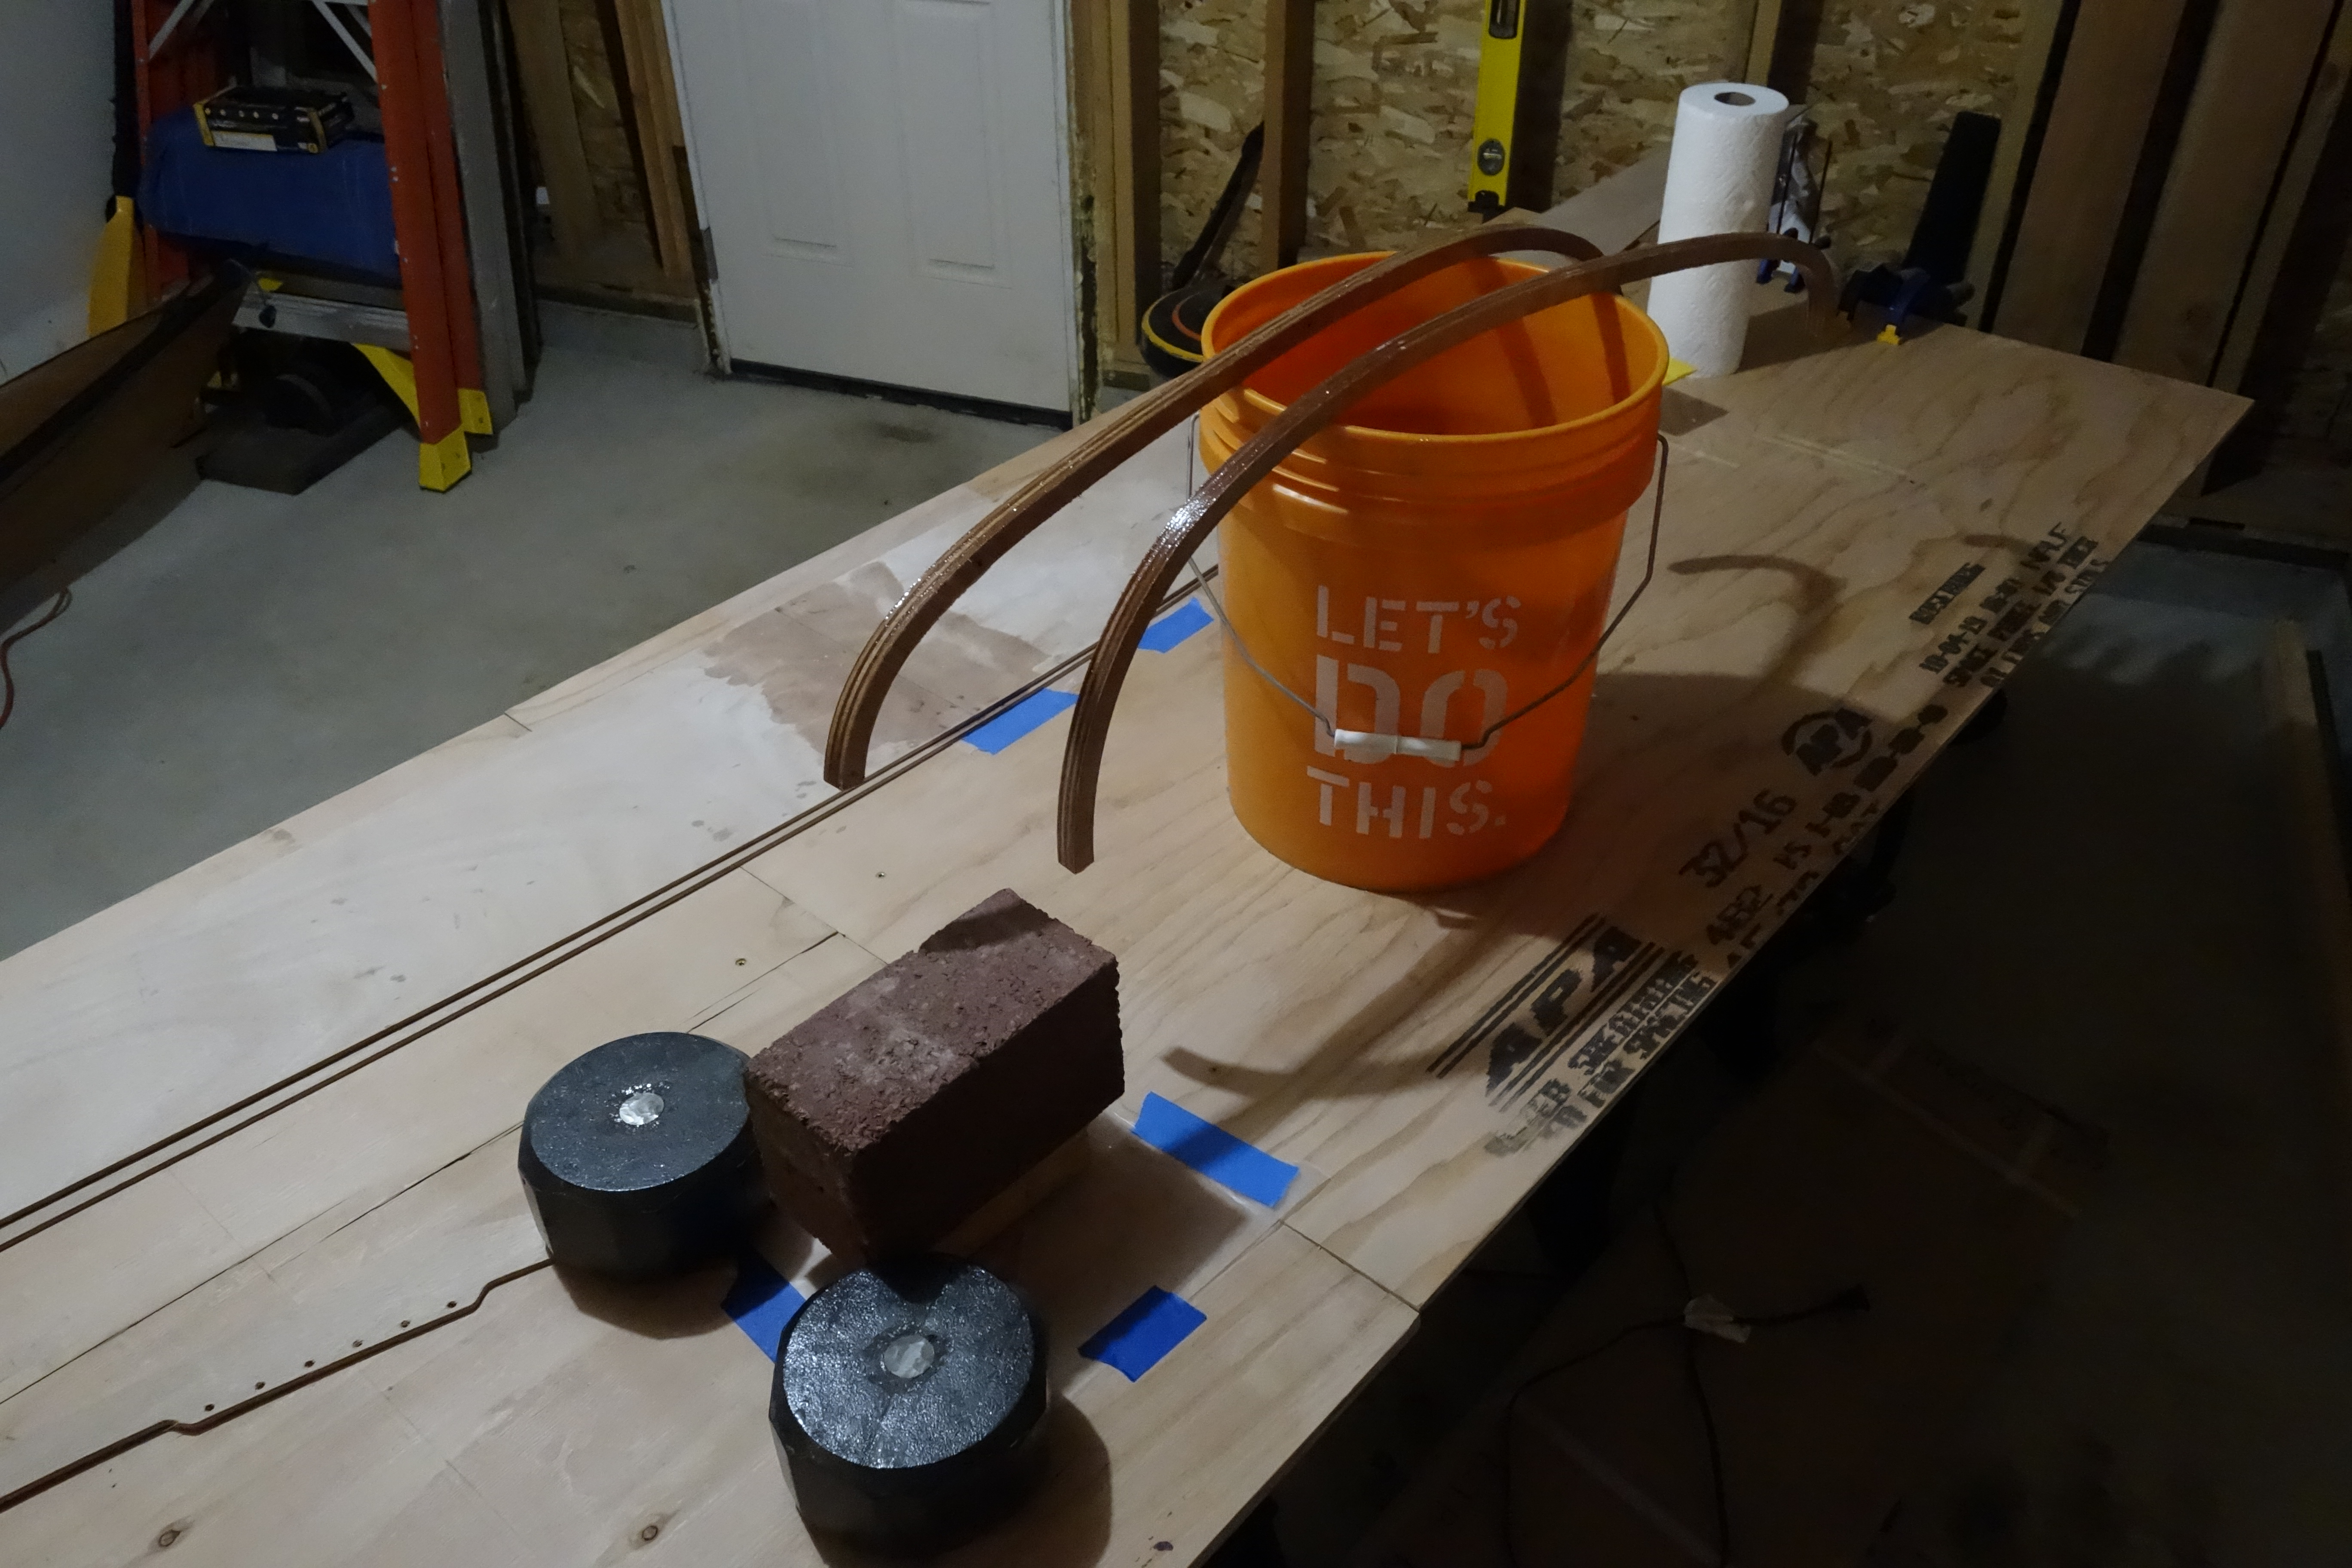
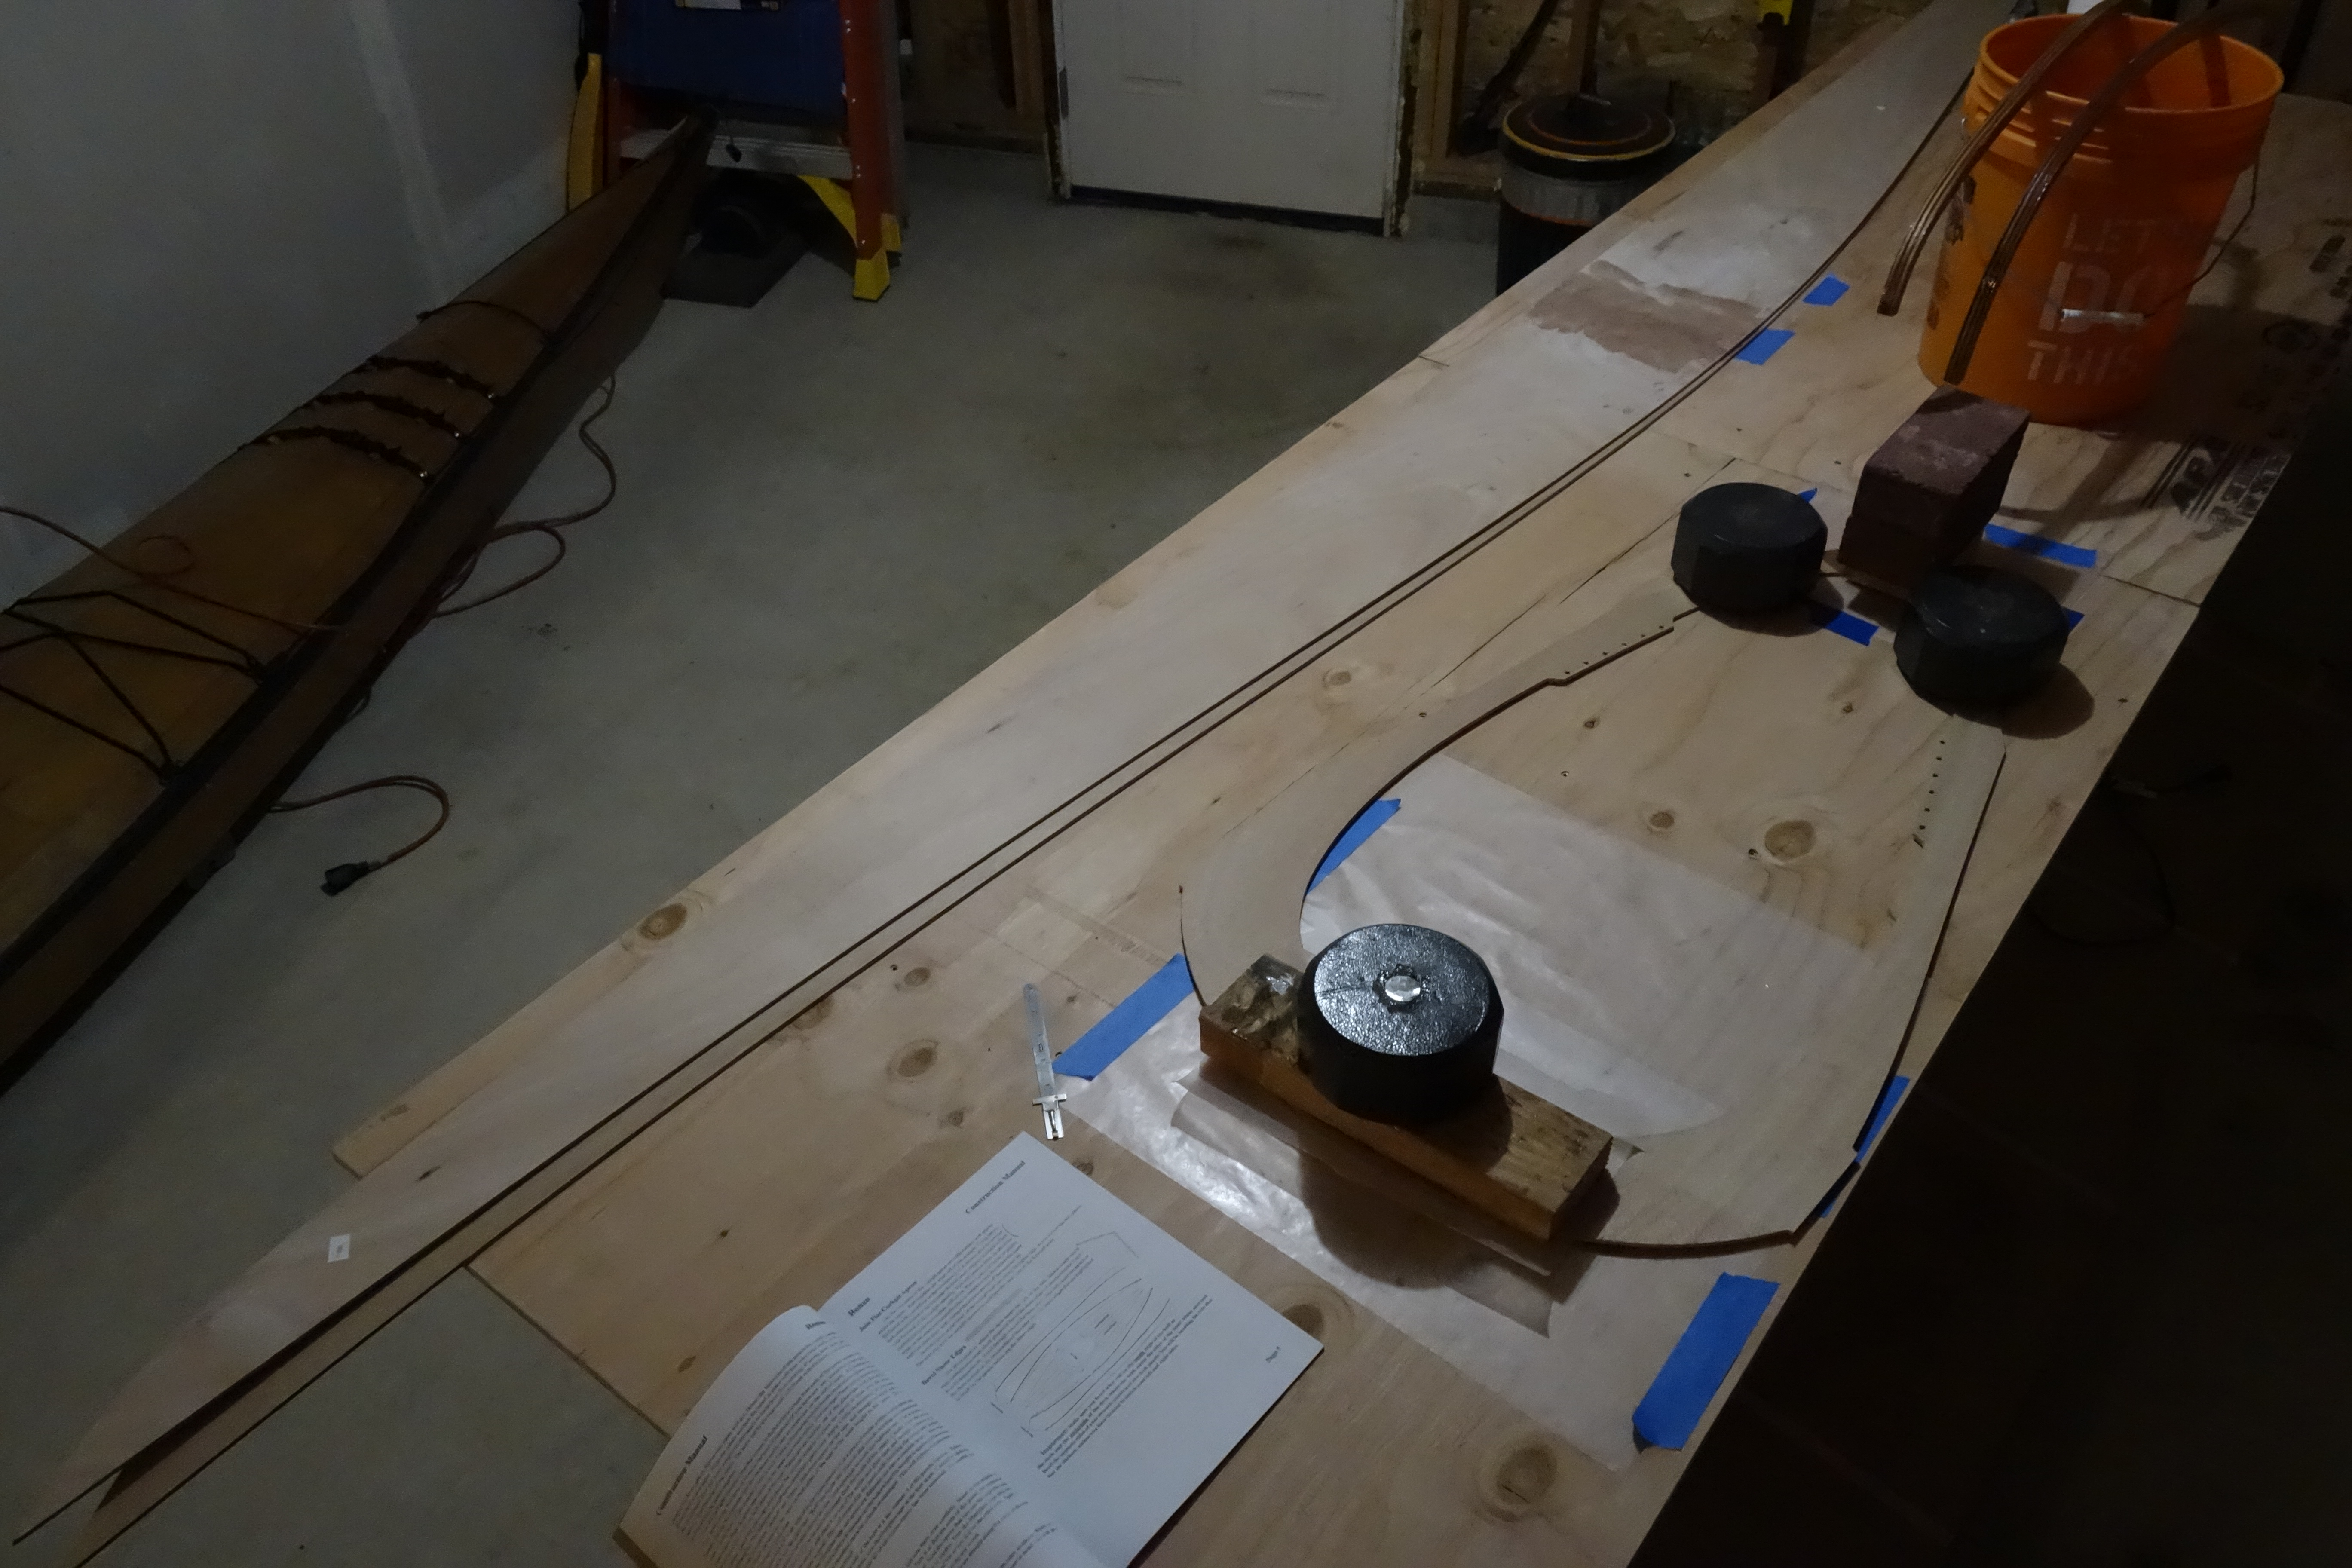
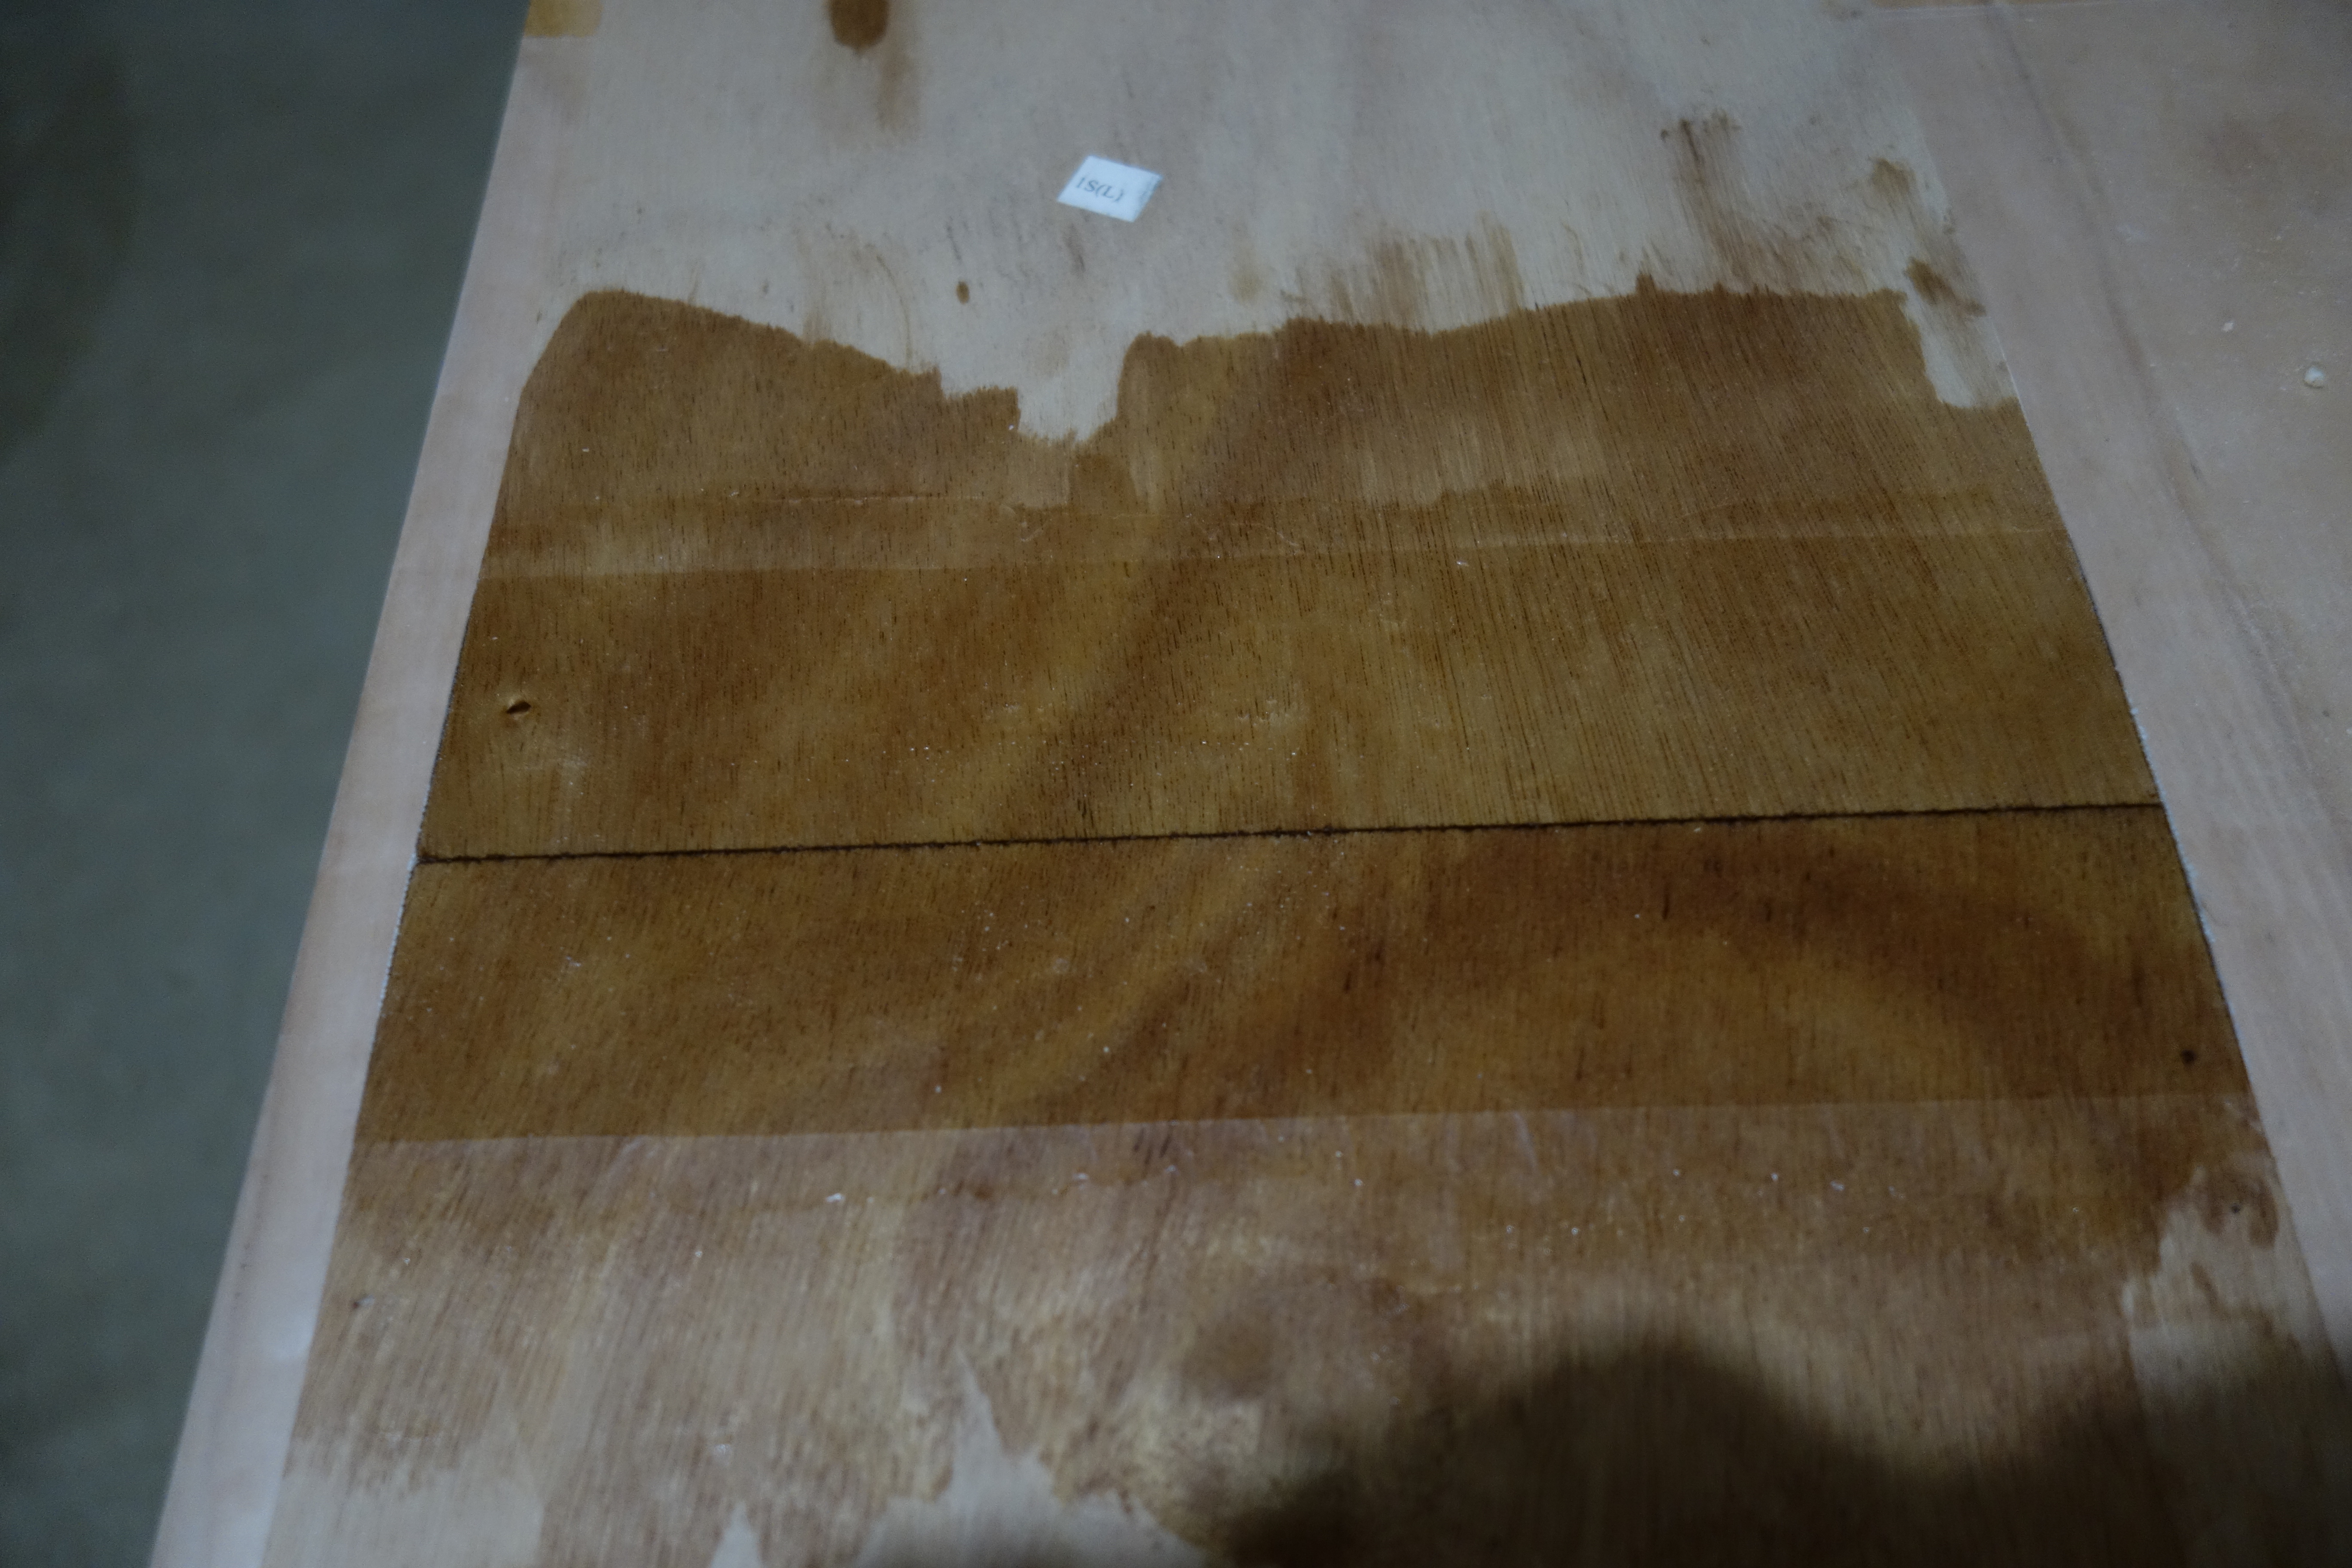
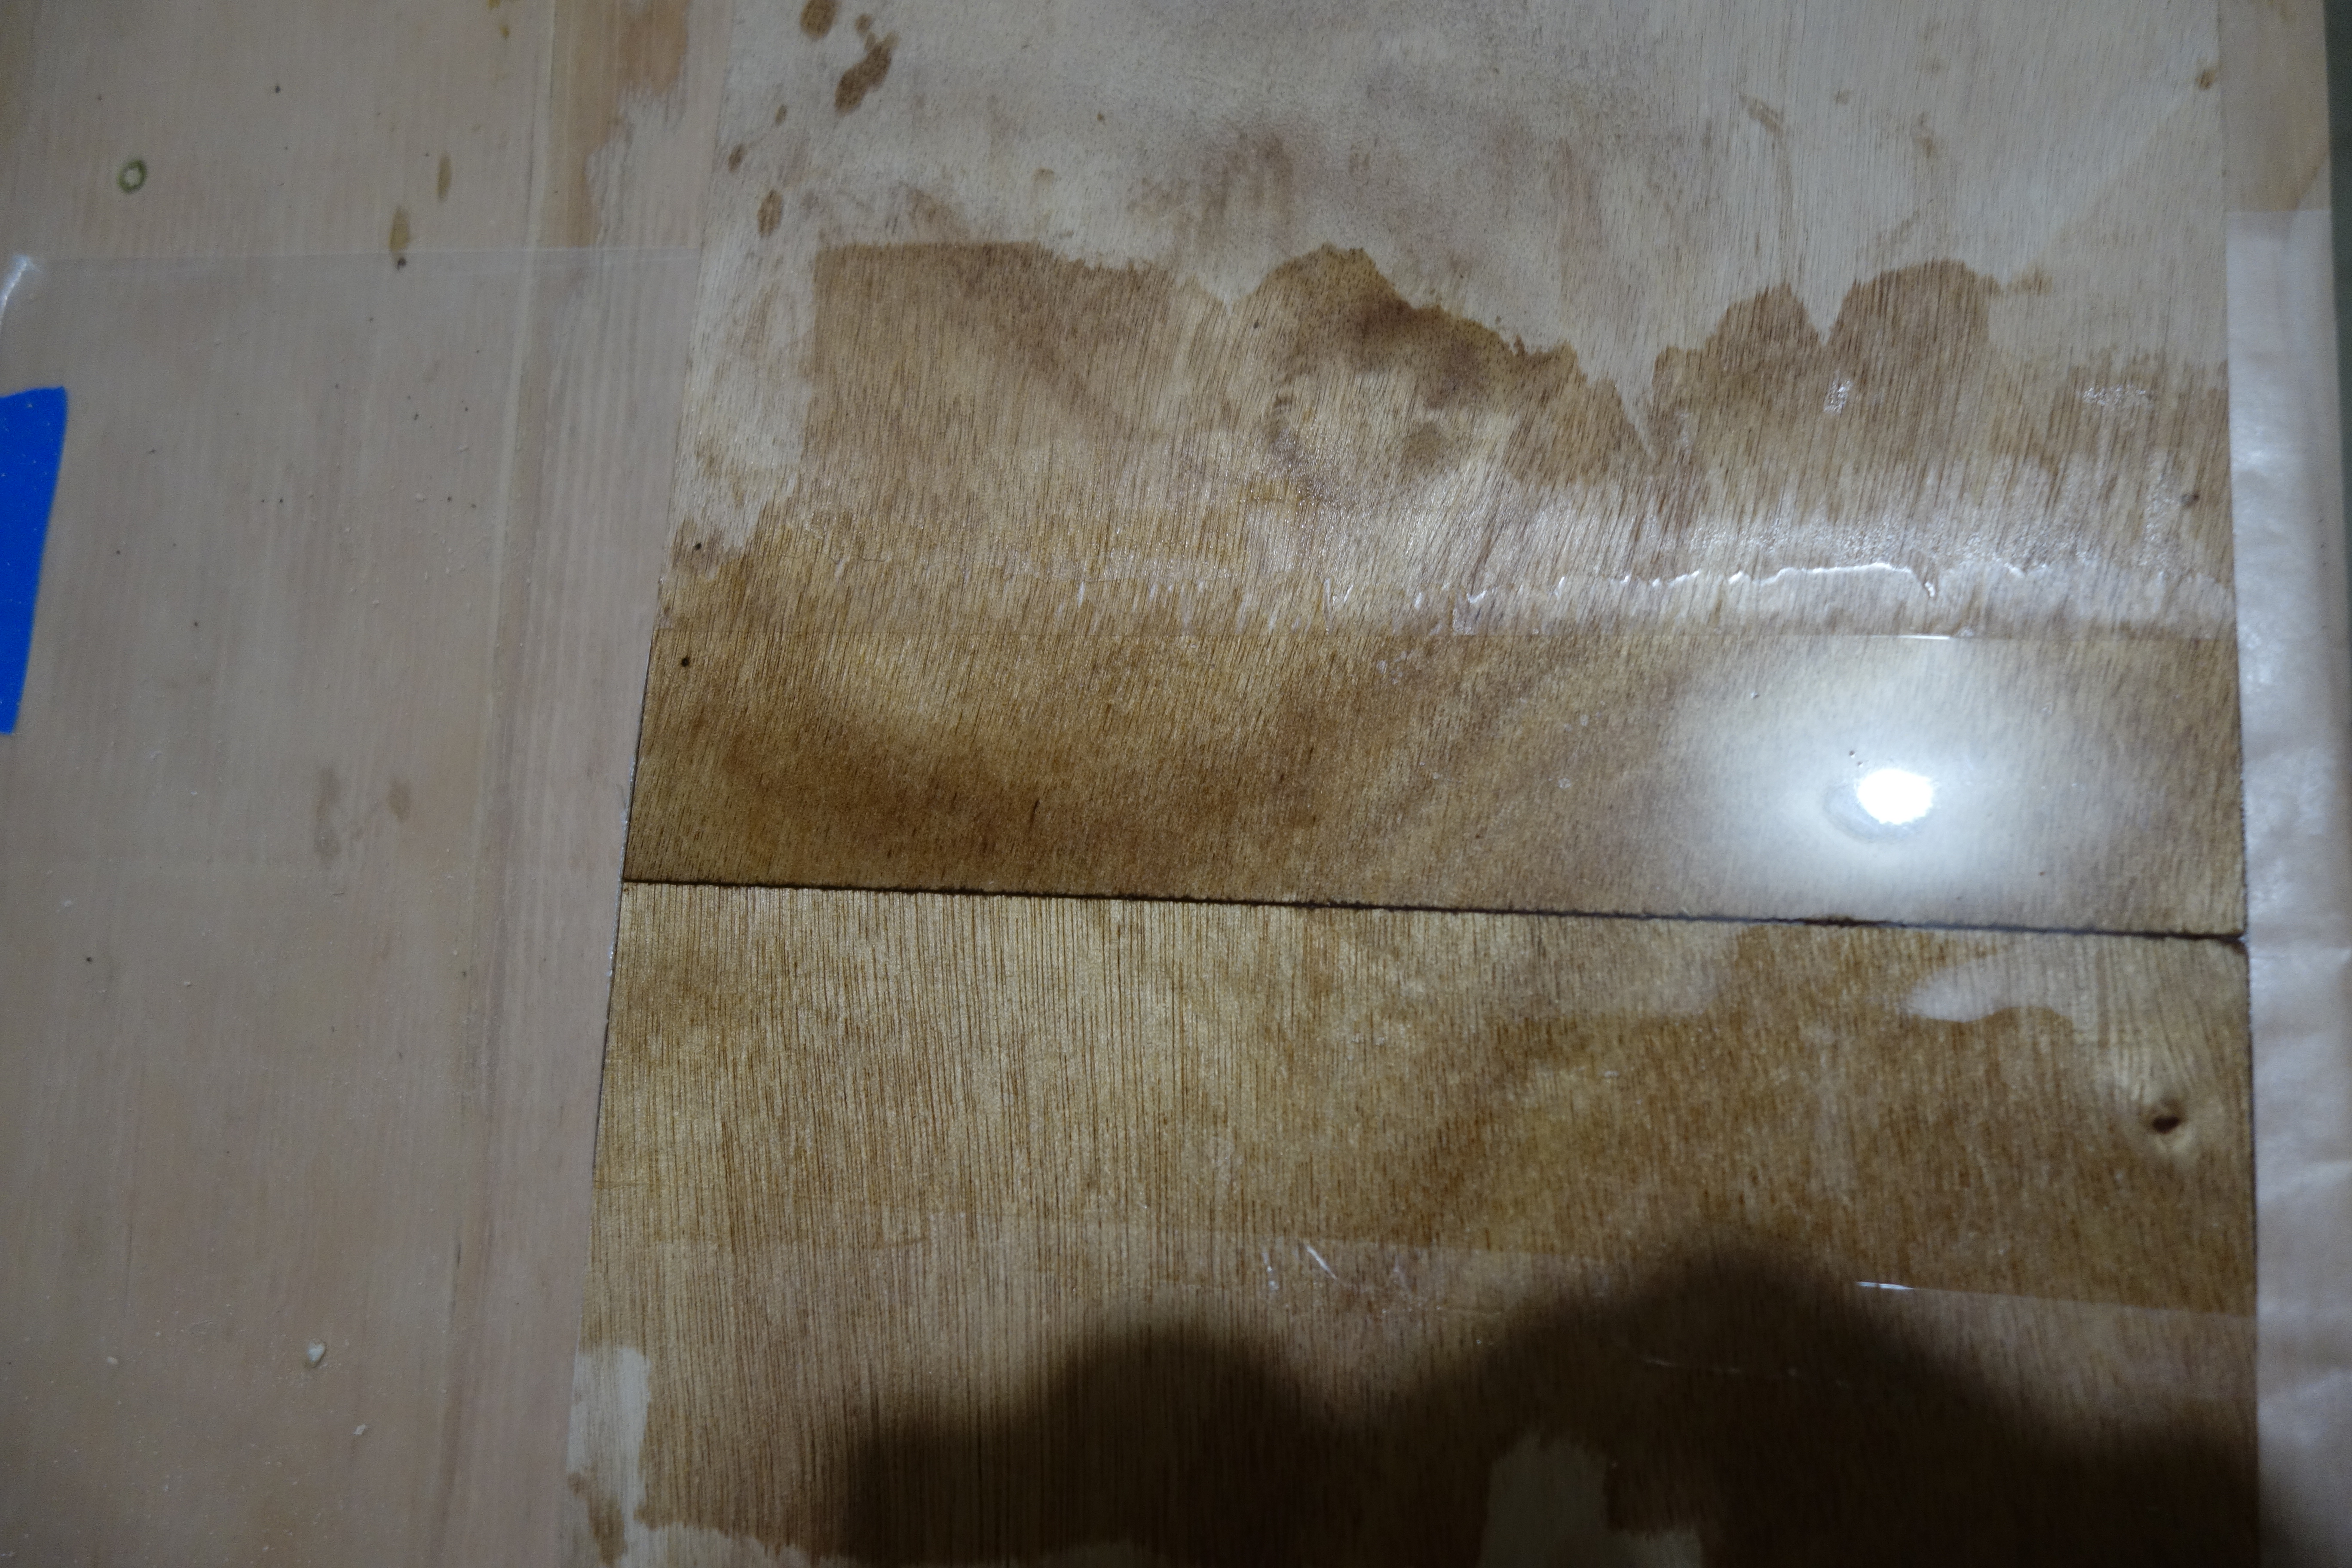
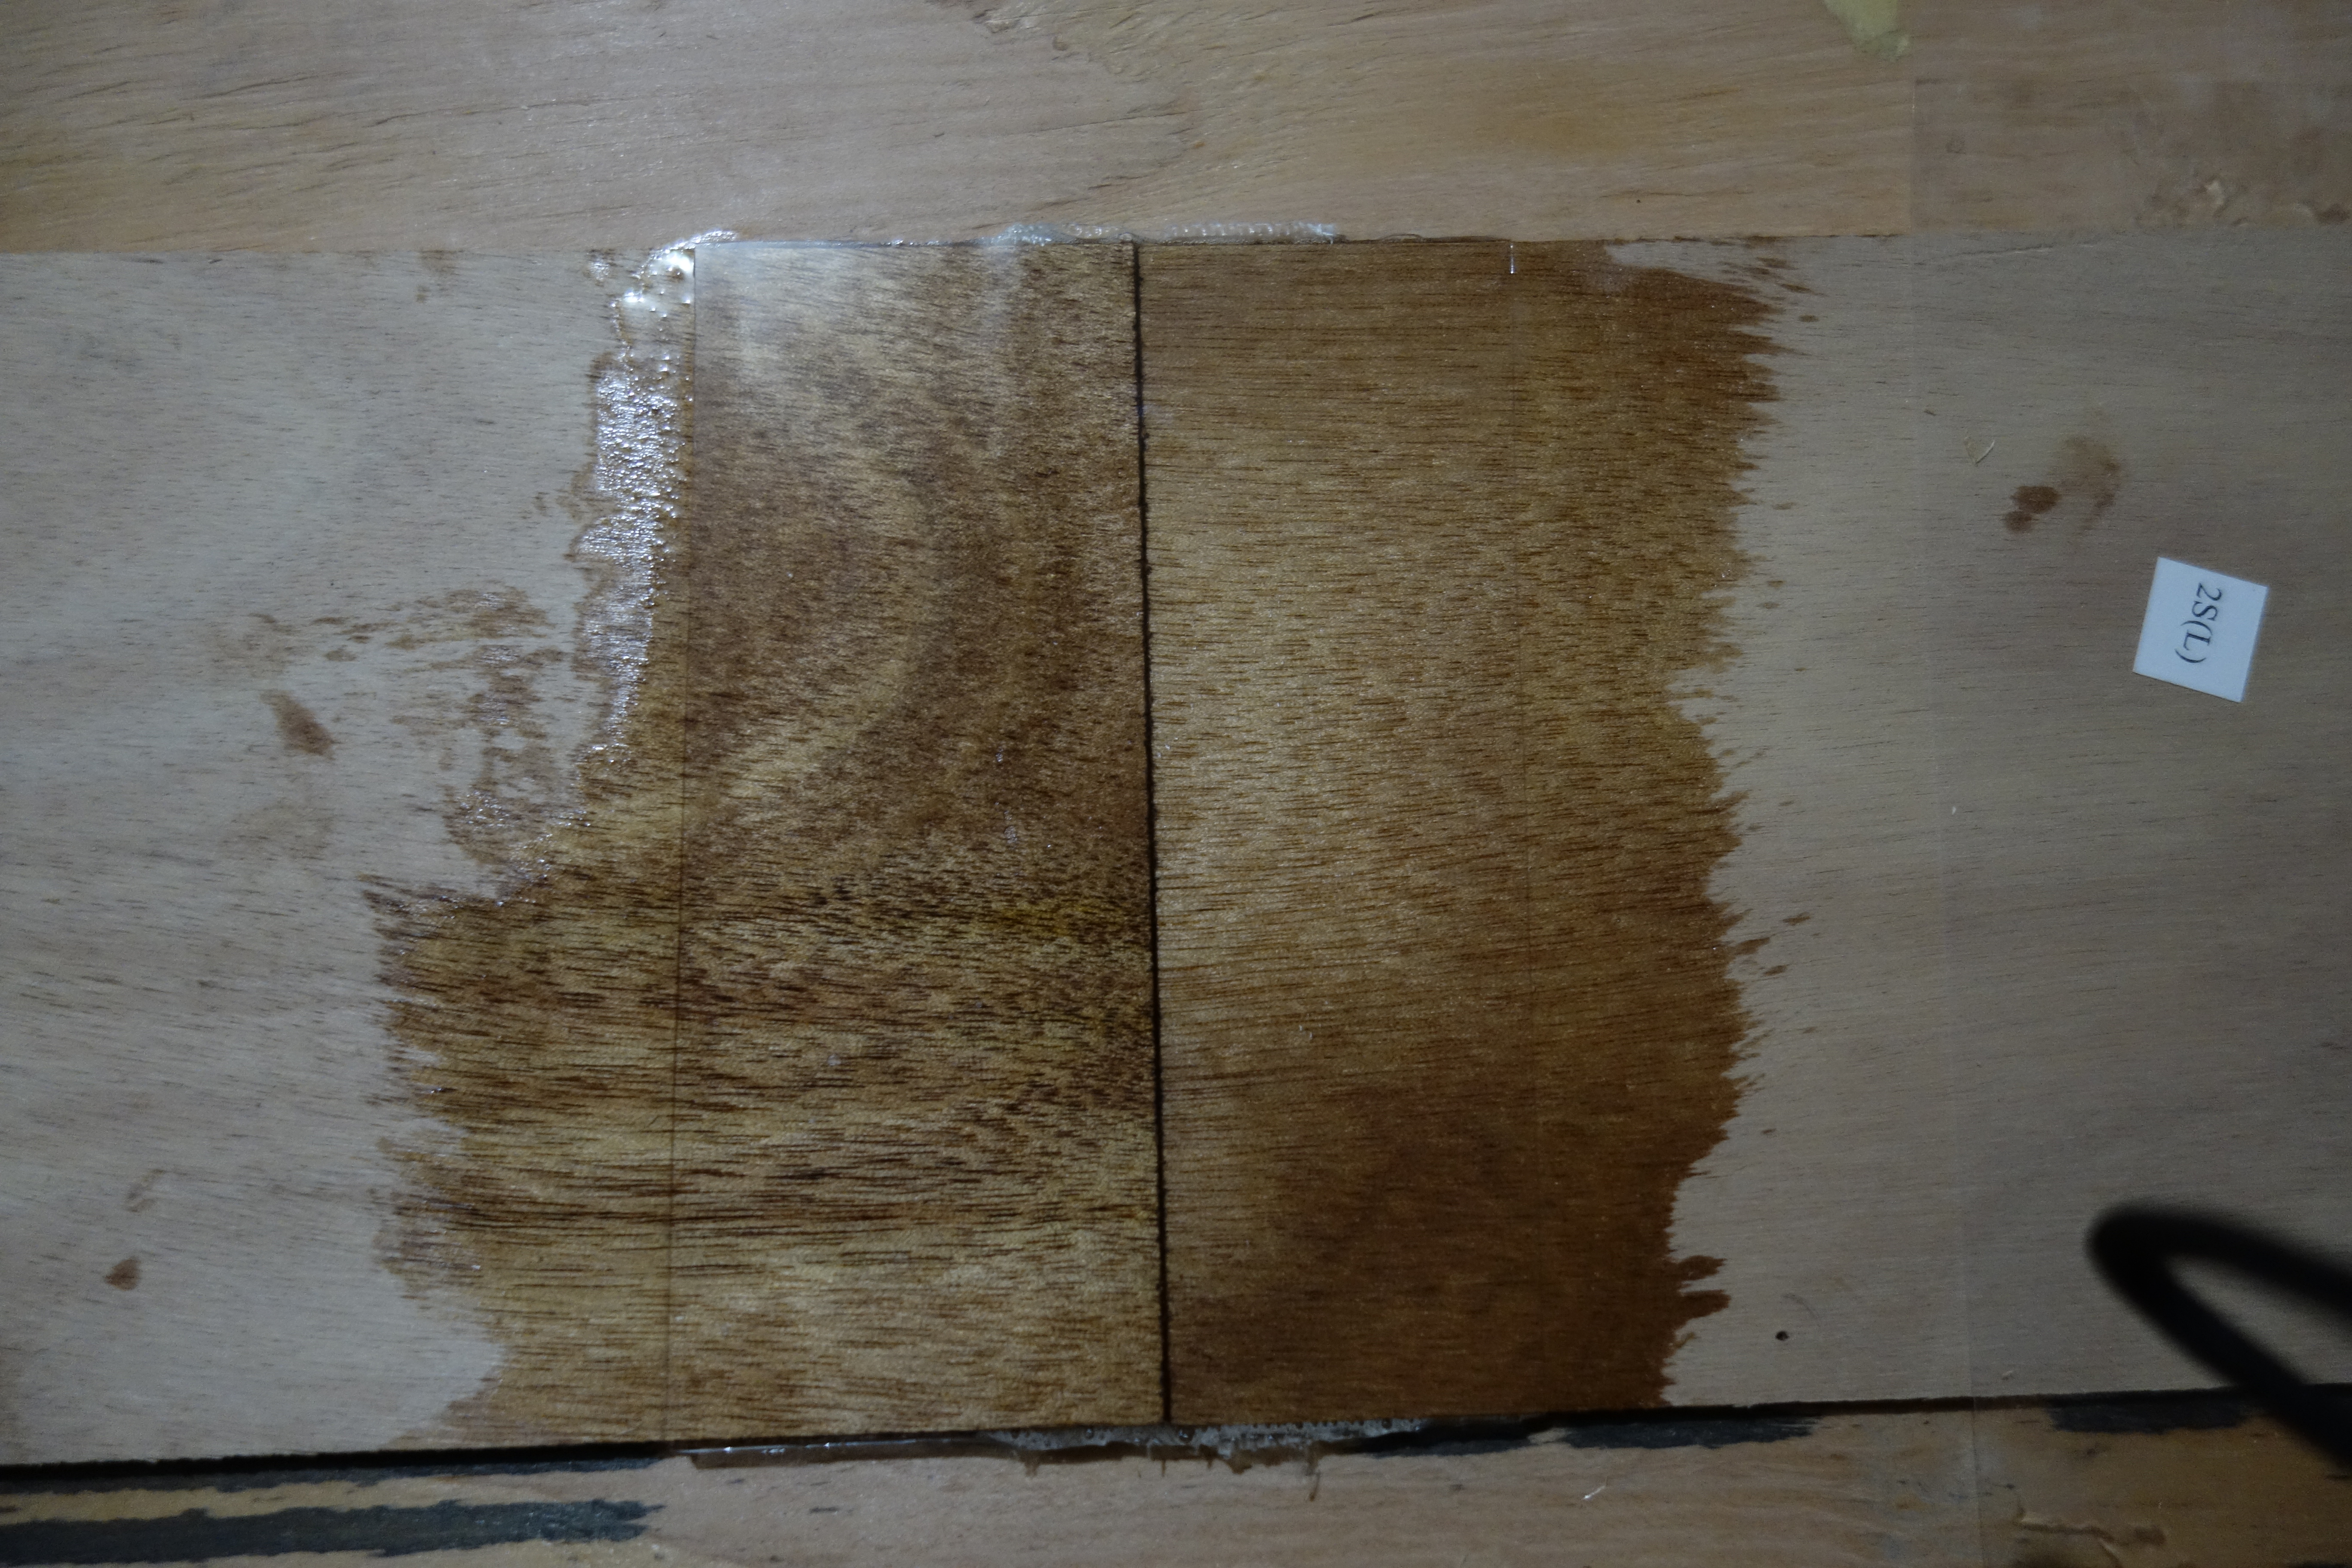
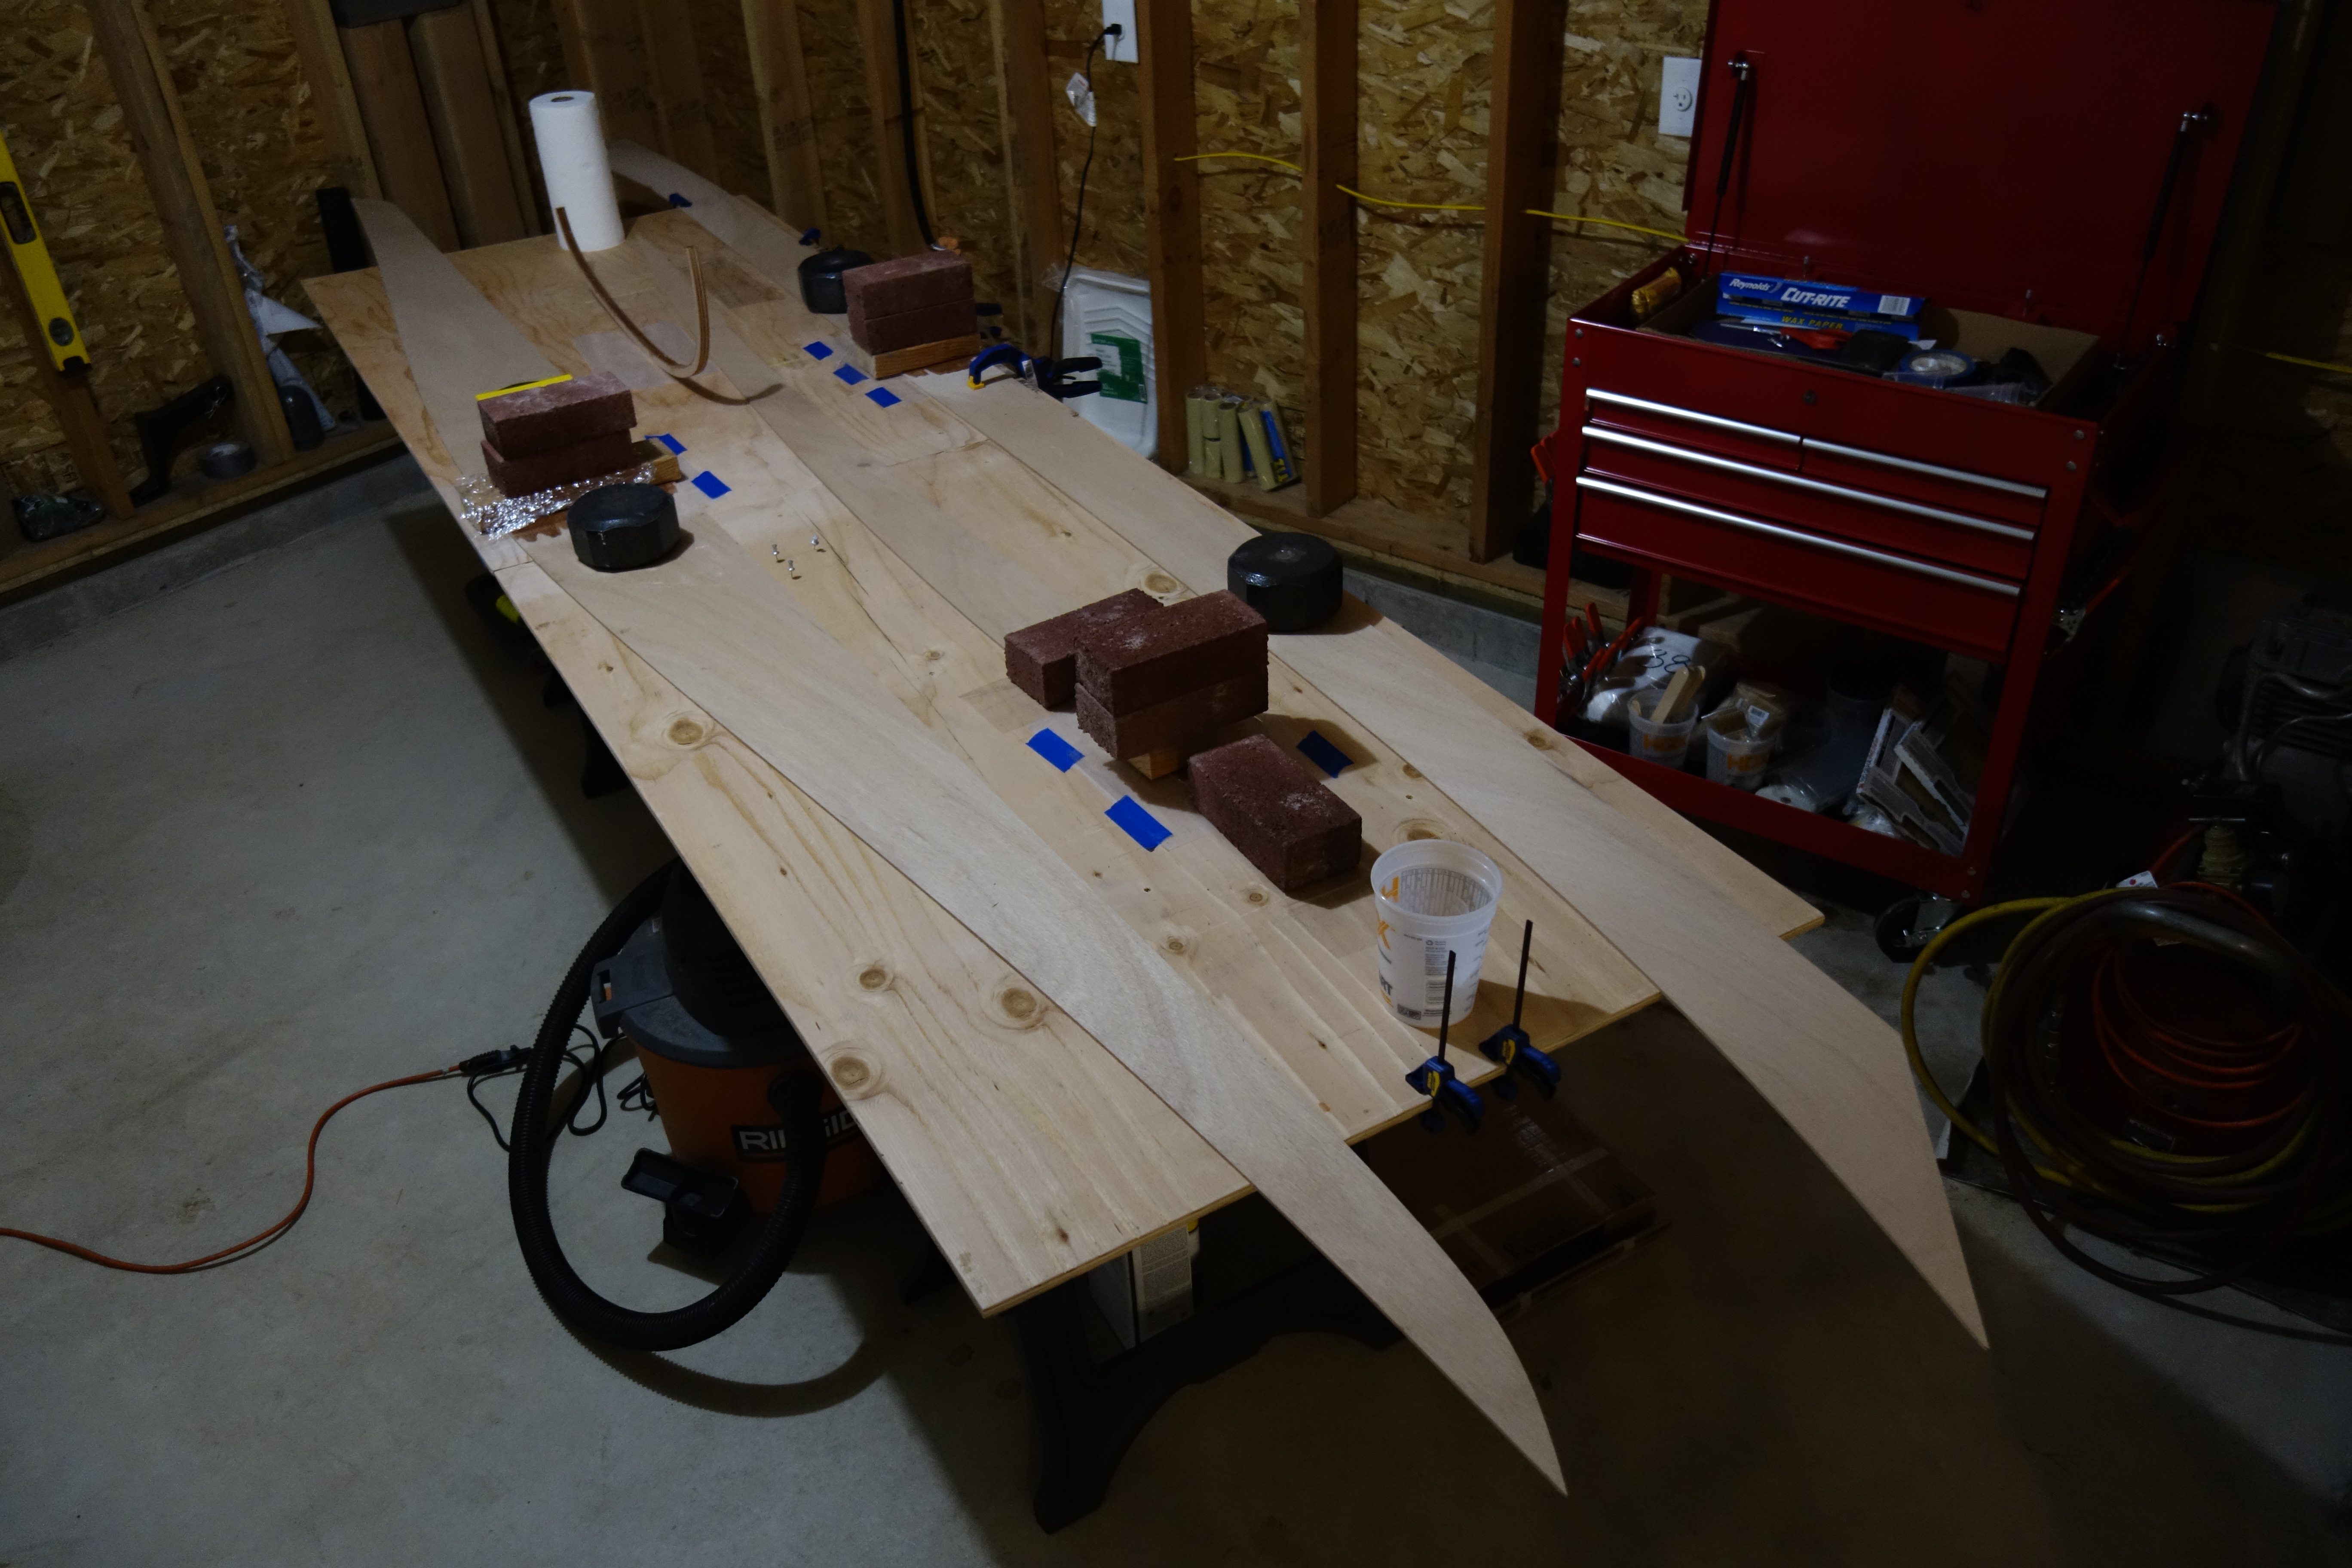
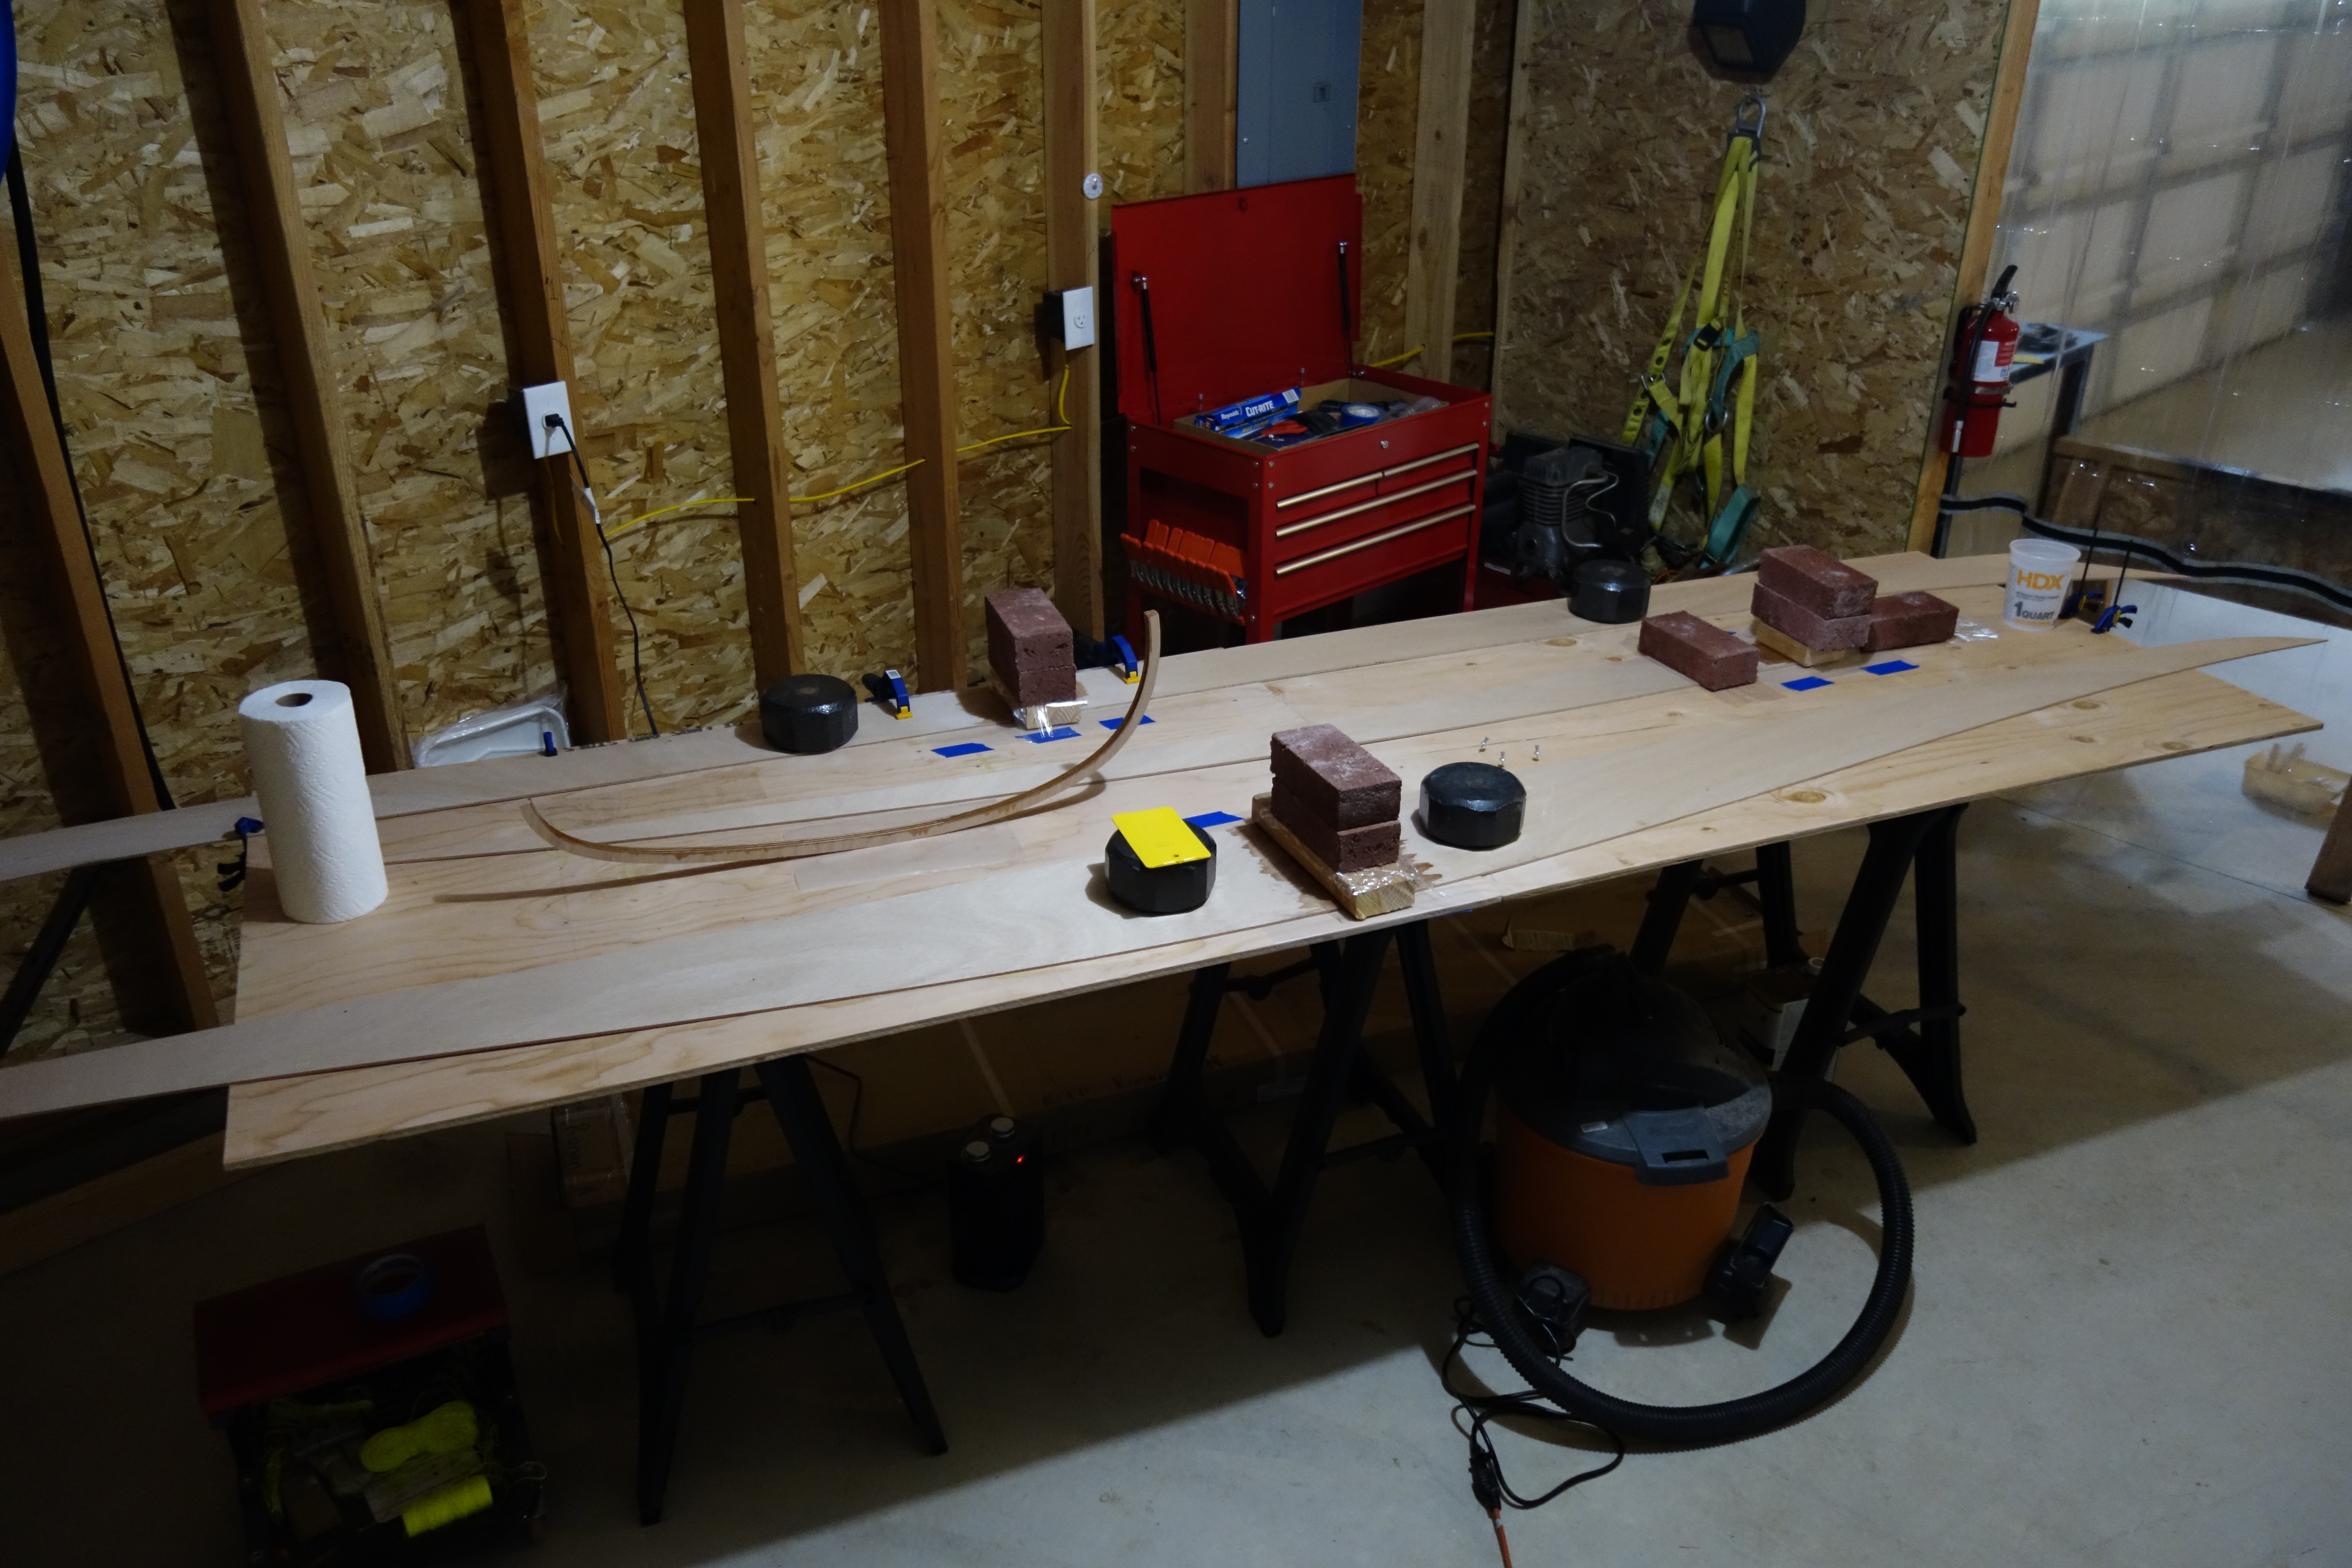
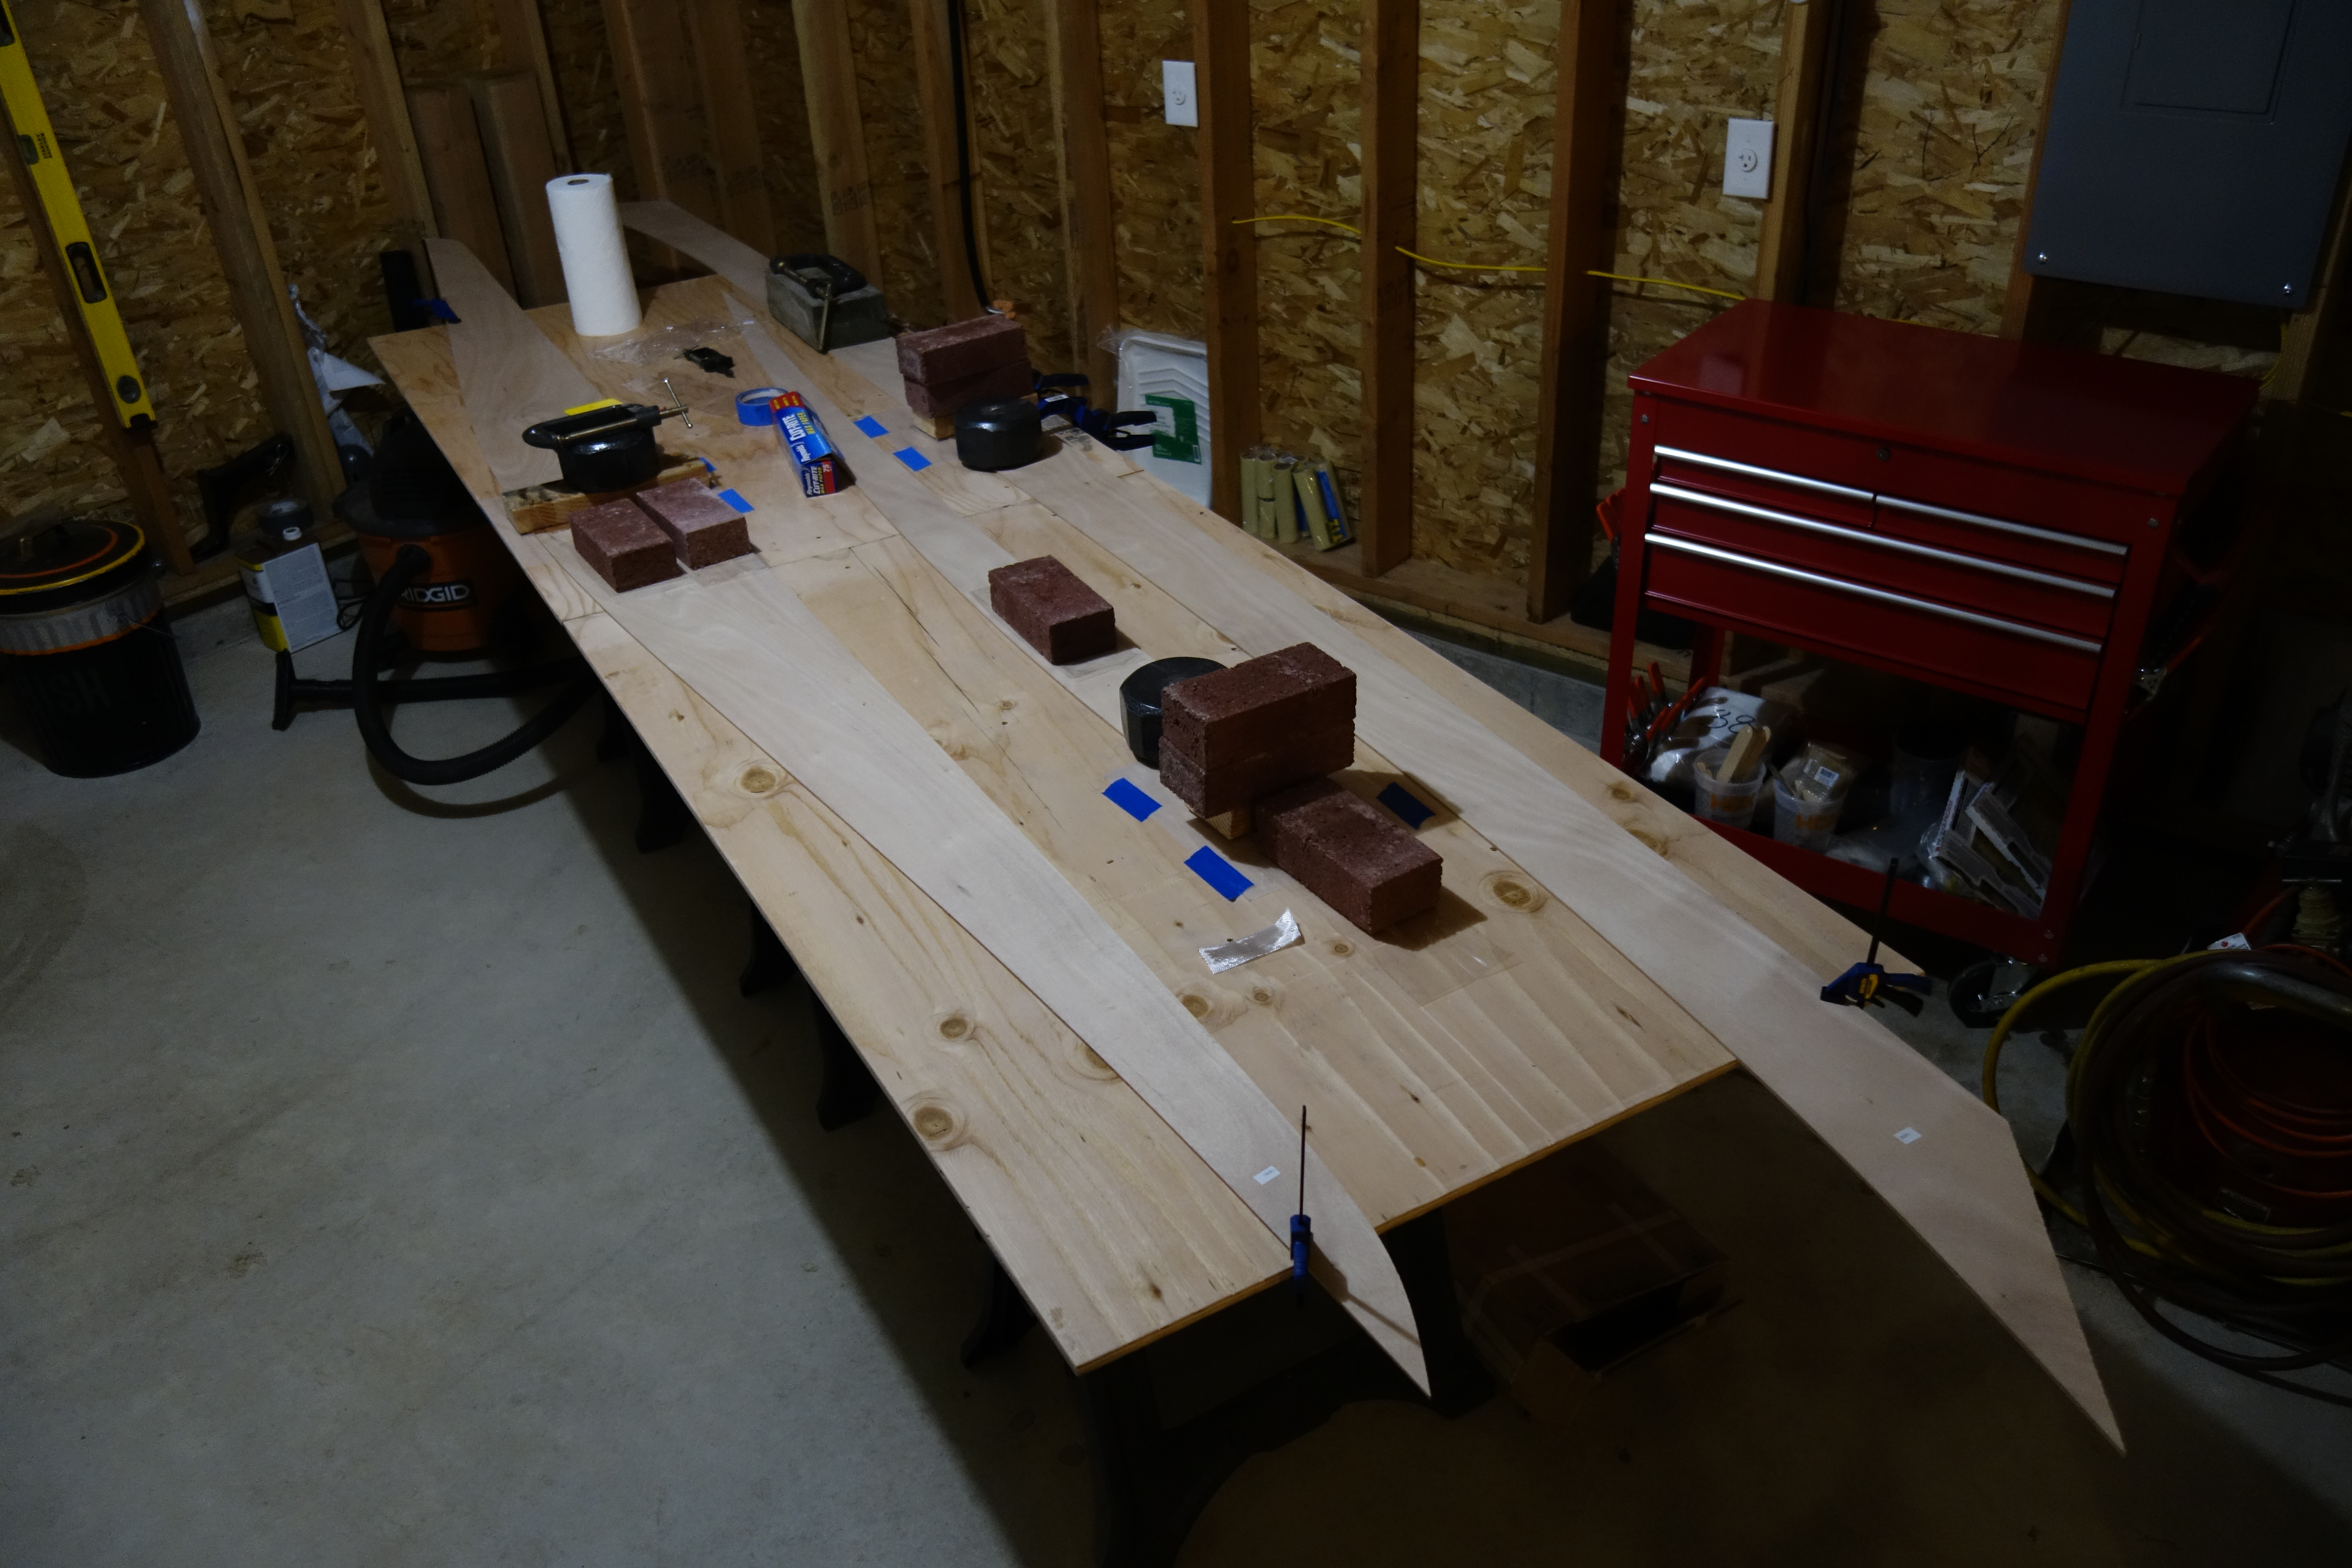
This photo show a bit more detail of the panel gluing process. Epoxy won’t stick to wax paper, so I use that between the epoxy and anything I don’t want it to stick to. As you can see, the weights are improvised. I sawed apart a couple of 20 lb. dumb-bells that I no longer use for weight lifting, so that I would have four 10 lb. weights. For additional weights, bricks were easily acquired and very inexpensive.

Continuing to glue panels.

What you are seeing here is the butt seam where two halves of a panel are glued together. The reason that it looks so uniform, almost like a sheet of glass, is that the seams are joined by a strip of light fiberglass tape, which is thoroughly wetted out with epoxy, and then epoxy is liberally applied (piled up for want of a better term) for a couple of inches on both sides of the tape. The epoxy and fiberglass are then covered with a piece of 4″ wide mylar, which the epoxy will not stick to, and then weighted down with a few bricks or some other weight. After the epoxy cures, the tape is completely invisible and it looks like this! The edges are then “feathered in” so that the transition between the wood and the epoxy layer is smooth. This process is repeated on the other side of each panel.
Starboard side panels glued to full length and out of the way so that the other side can be glued.
Starboard side panels.

Hull panels laid out.

Hull panels out of the box and laid out, ready to be glued to their full lengths. You can see the deck panels still in the box on the floor. I will actually glue all of the panels for one side of the kayak at at time. I just had the hull panels for both sides on the table to look at the grain and kind-of get the “lay of the land.”