The hatch covers needed one more coat of epoxy before being varnished.

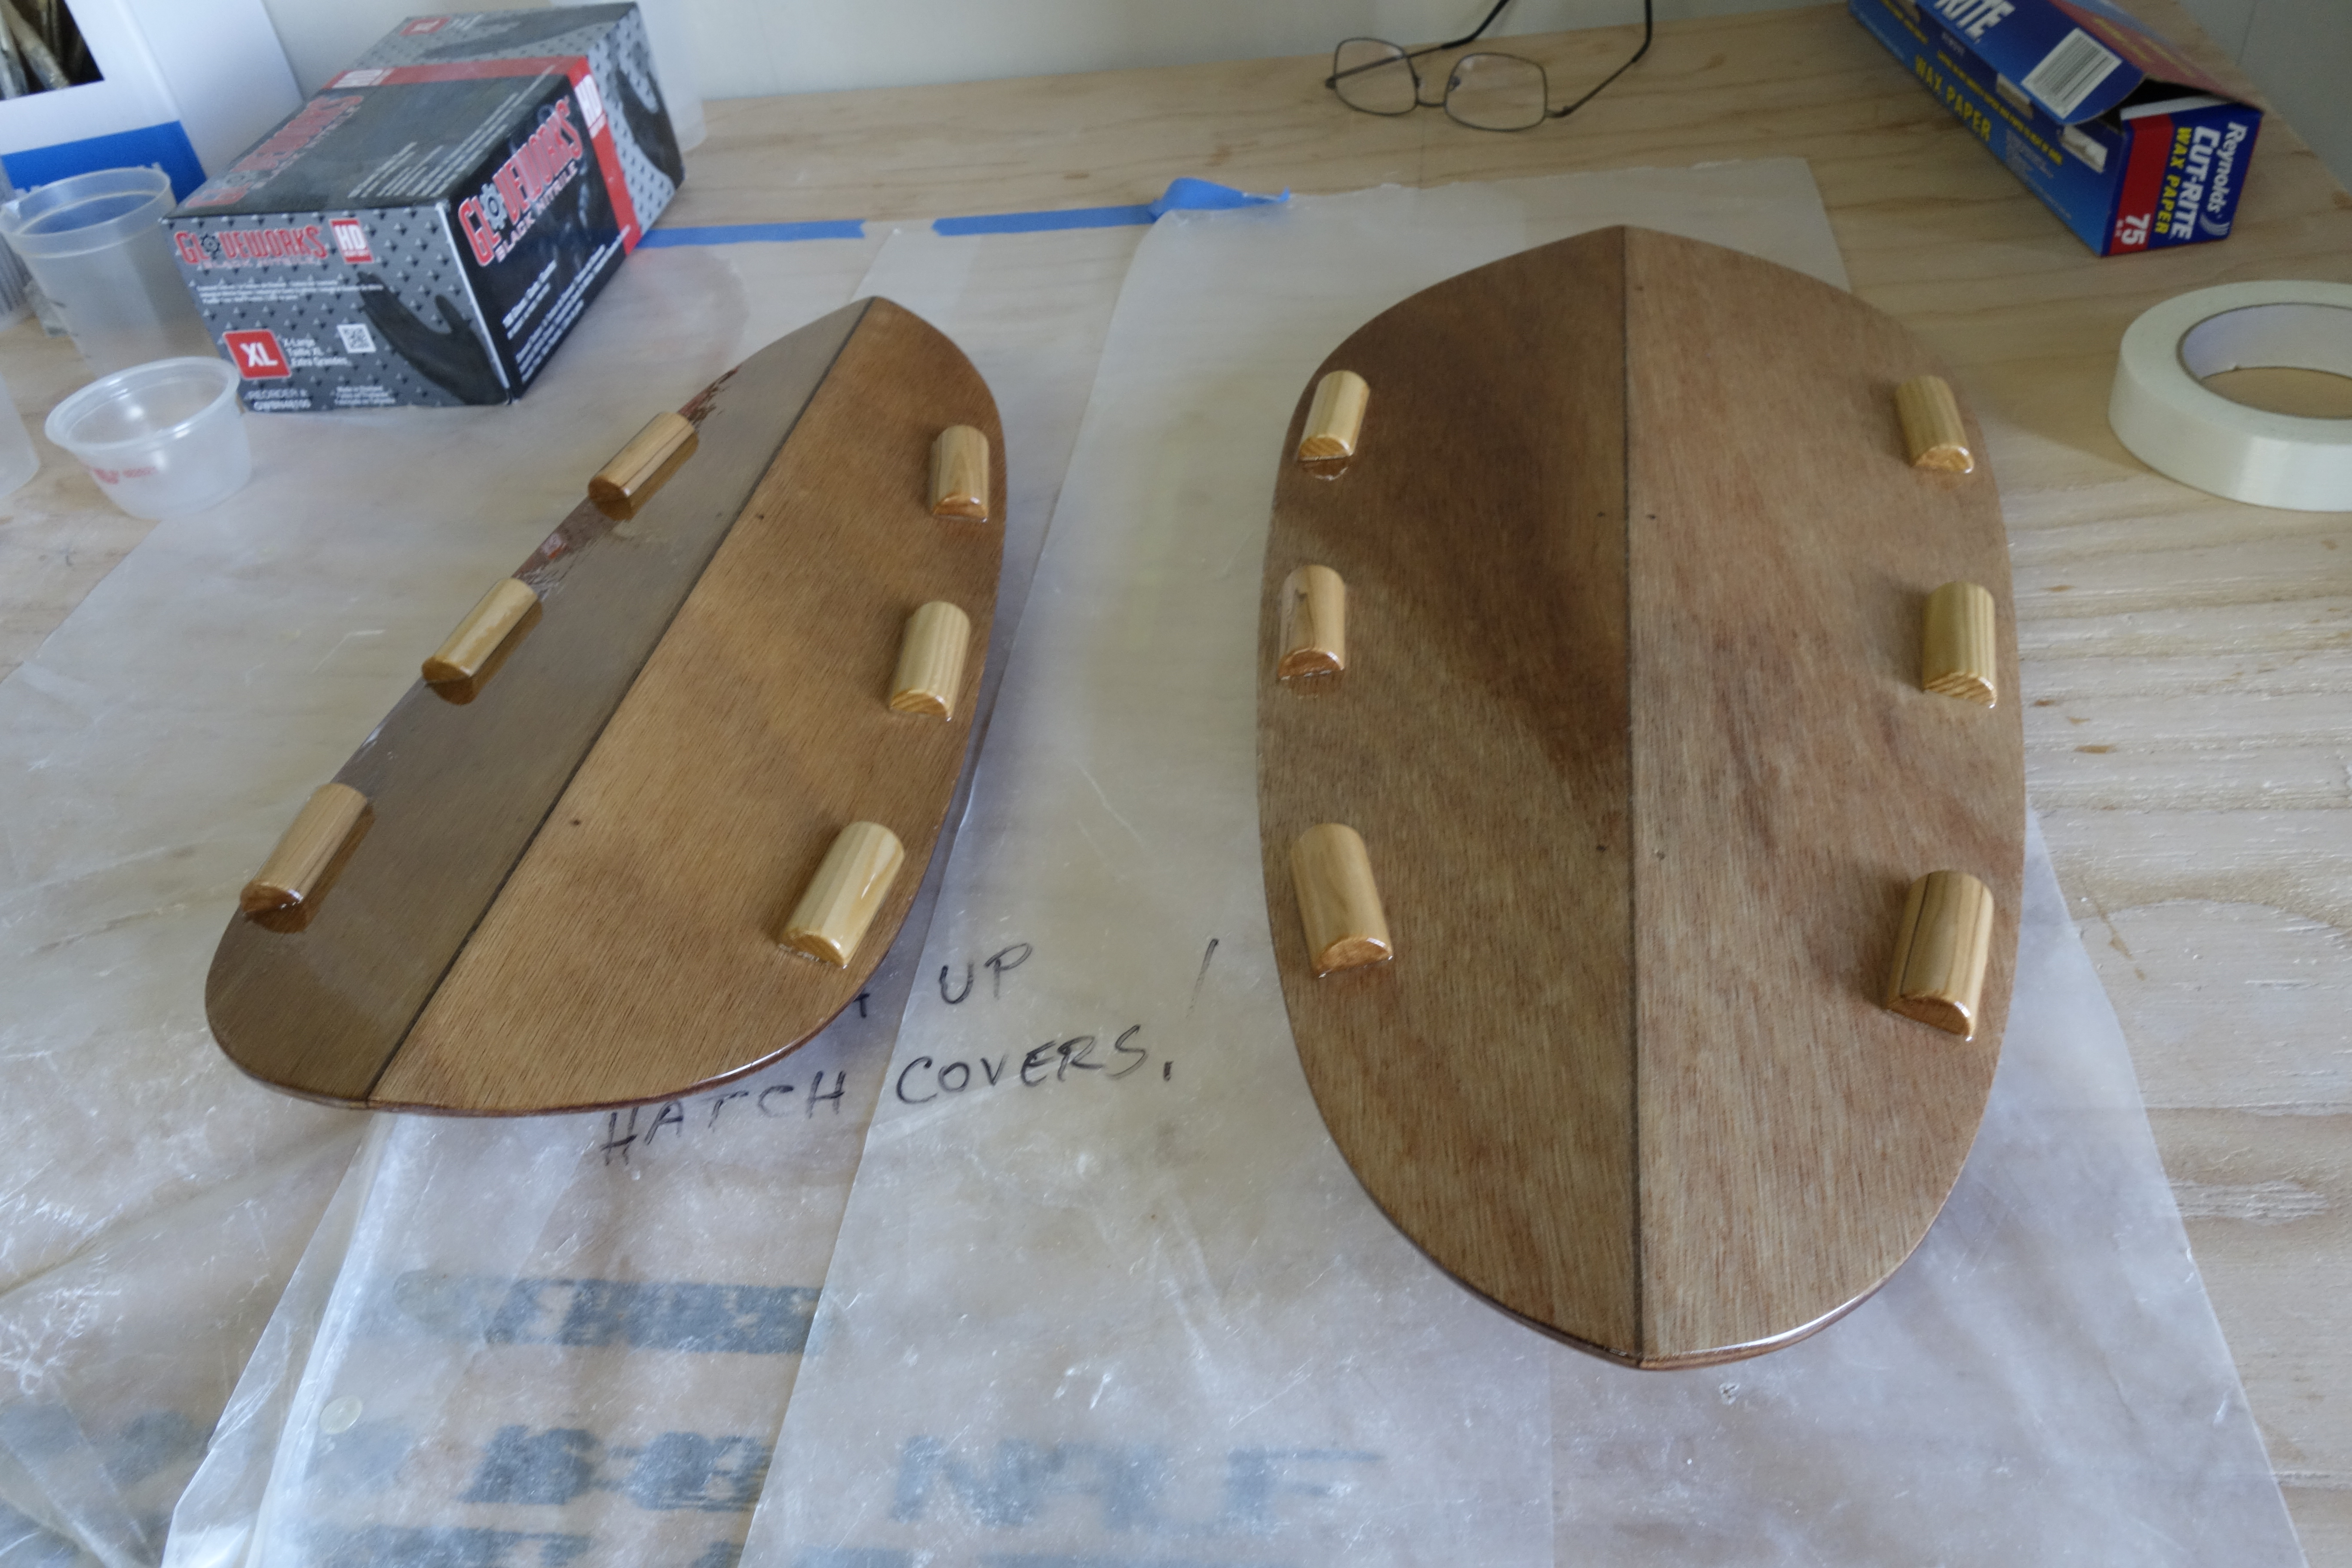
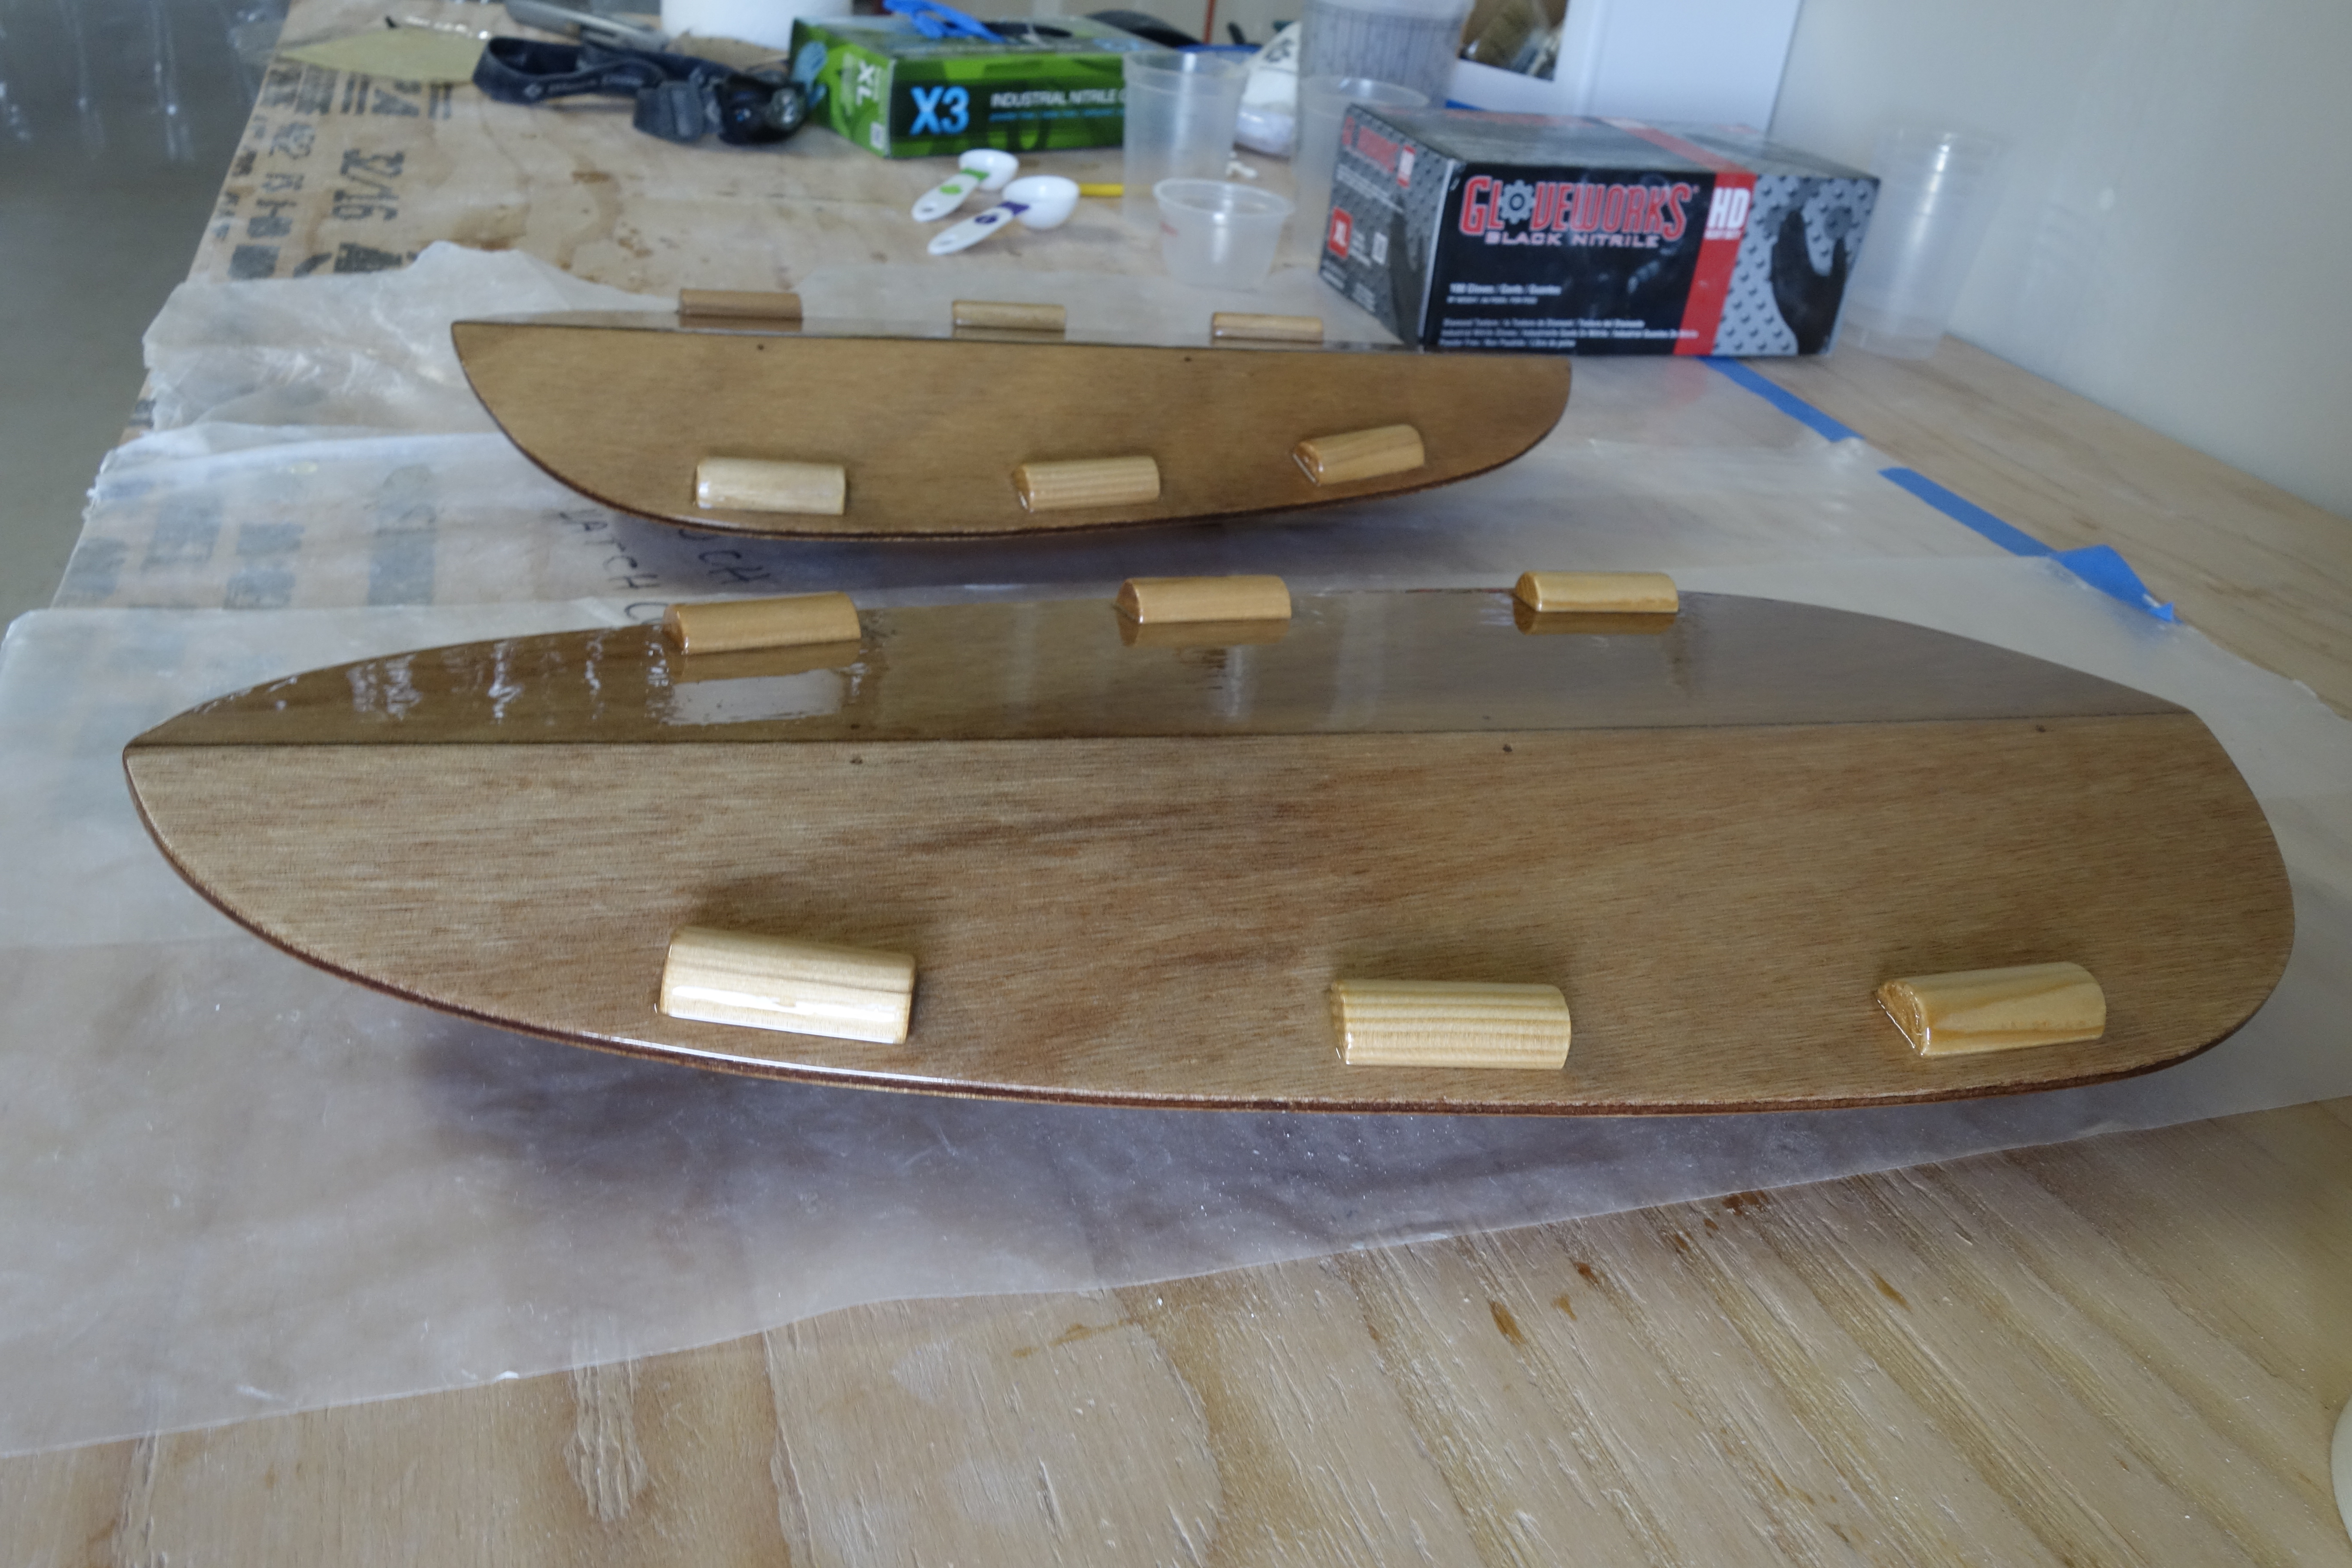
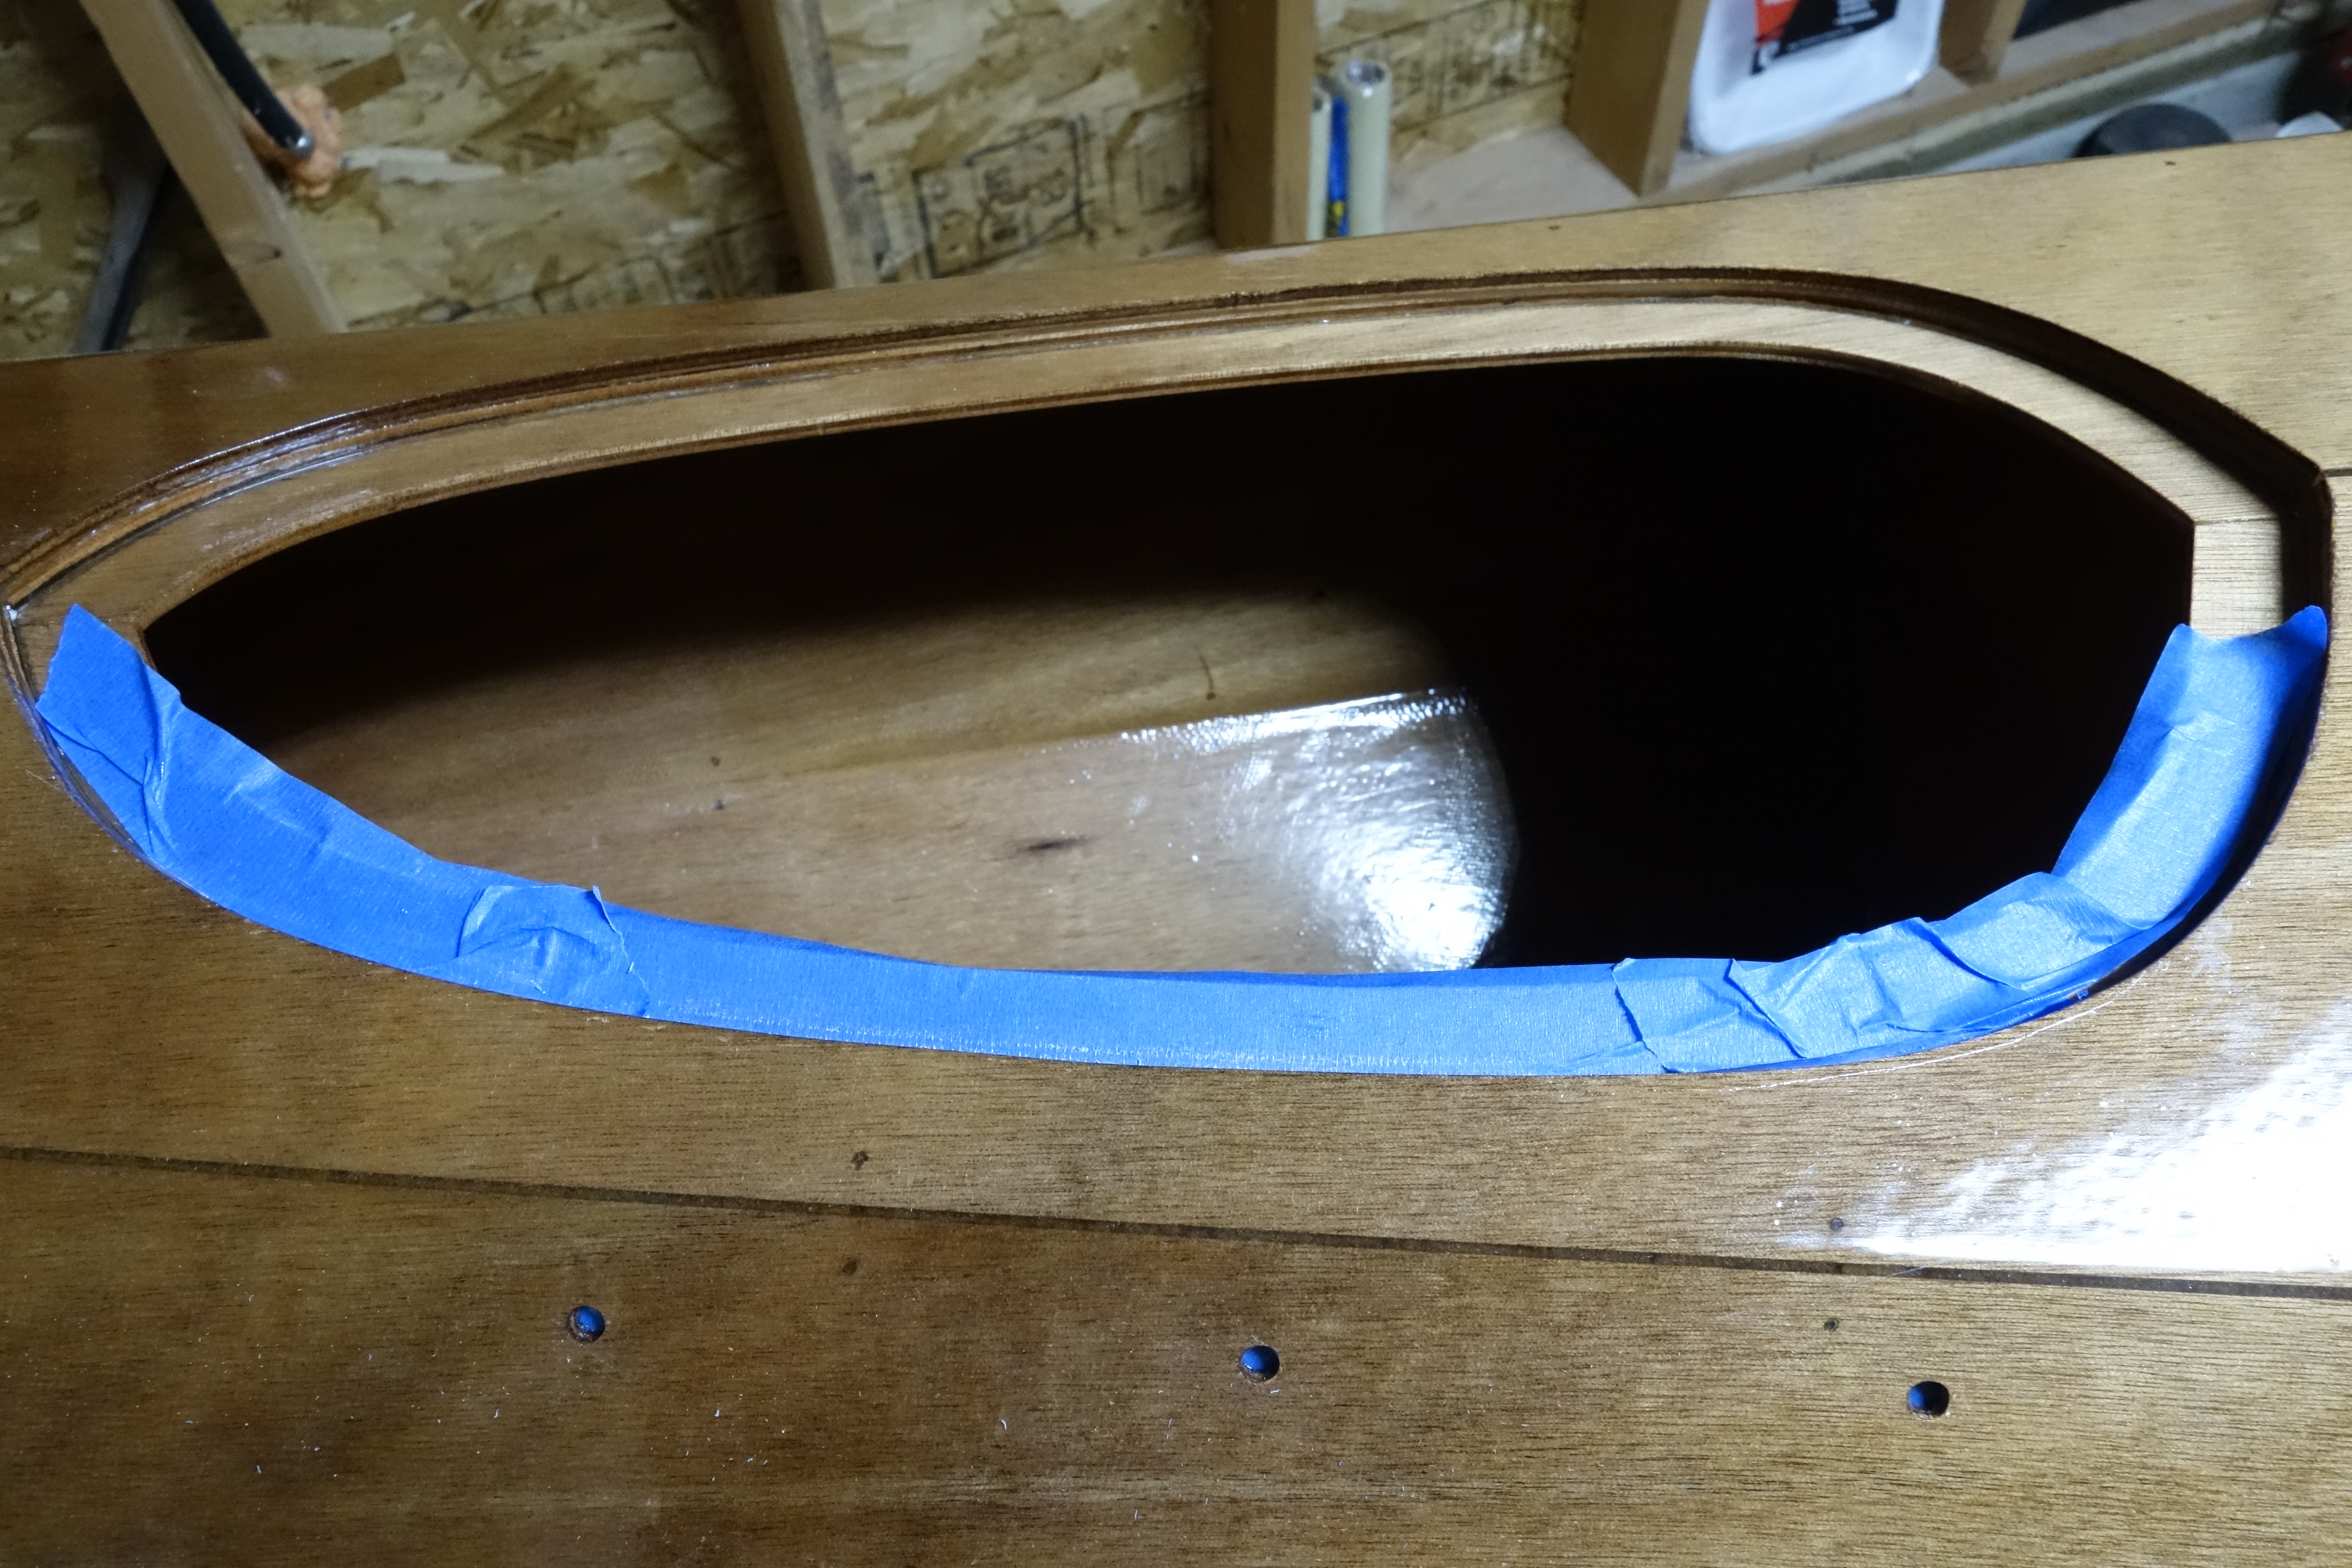
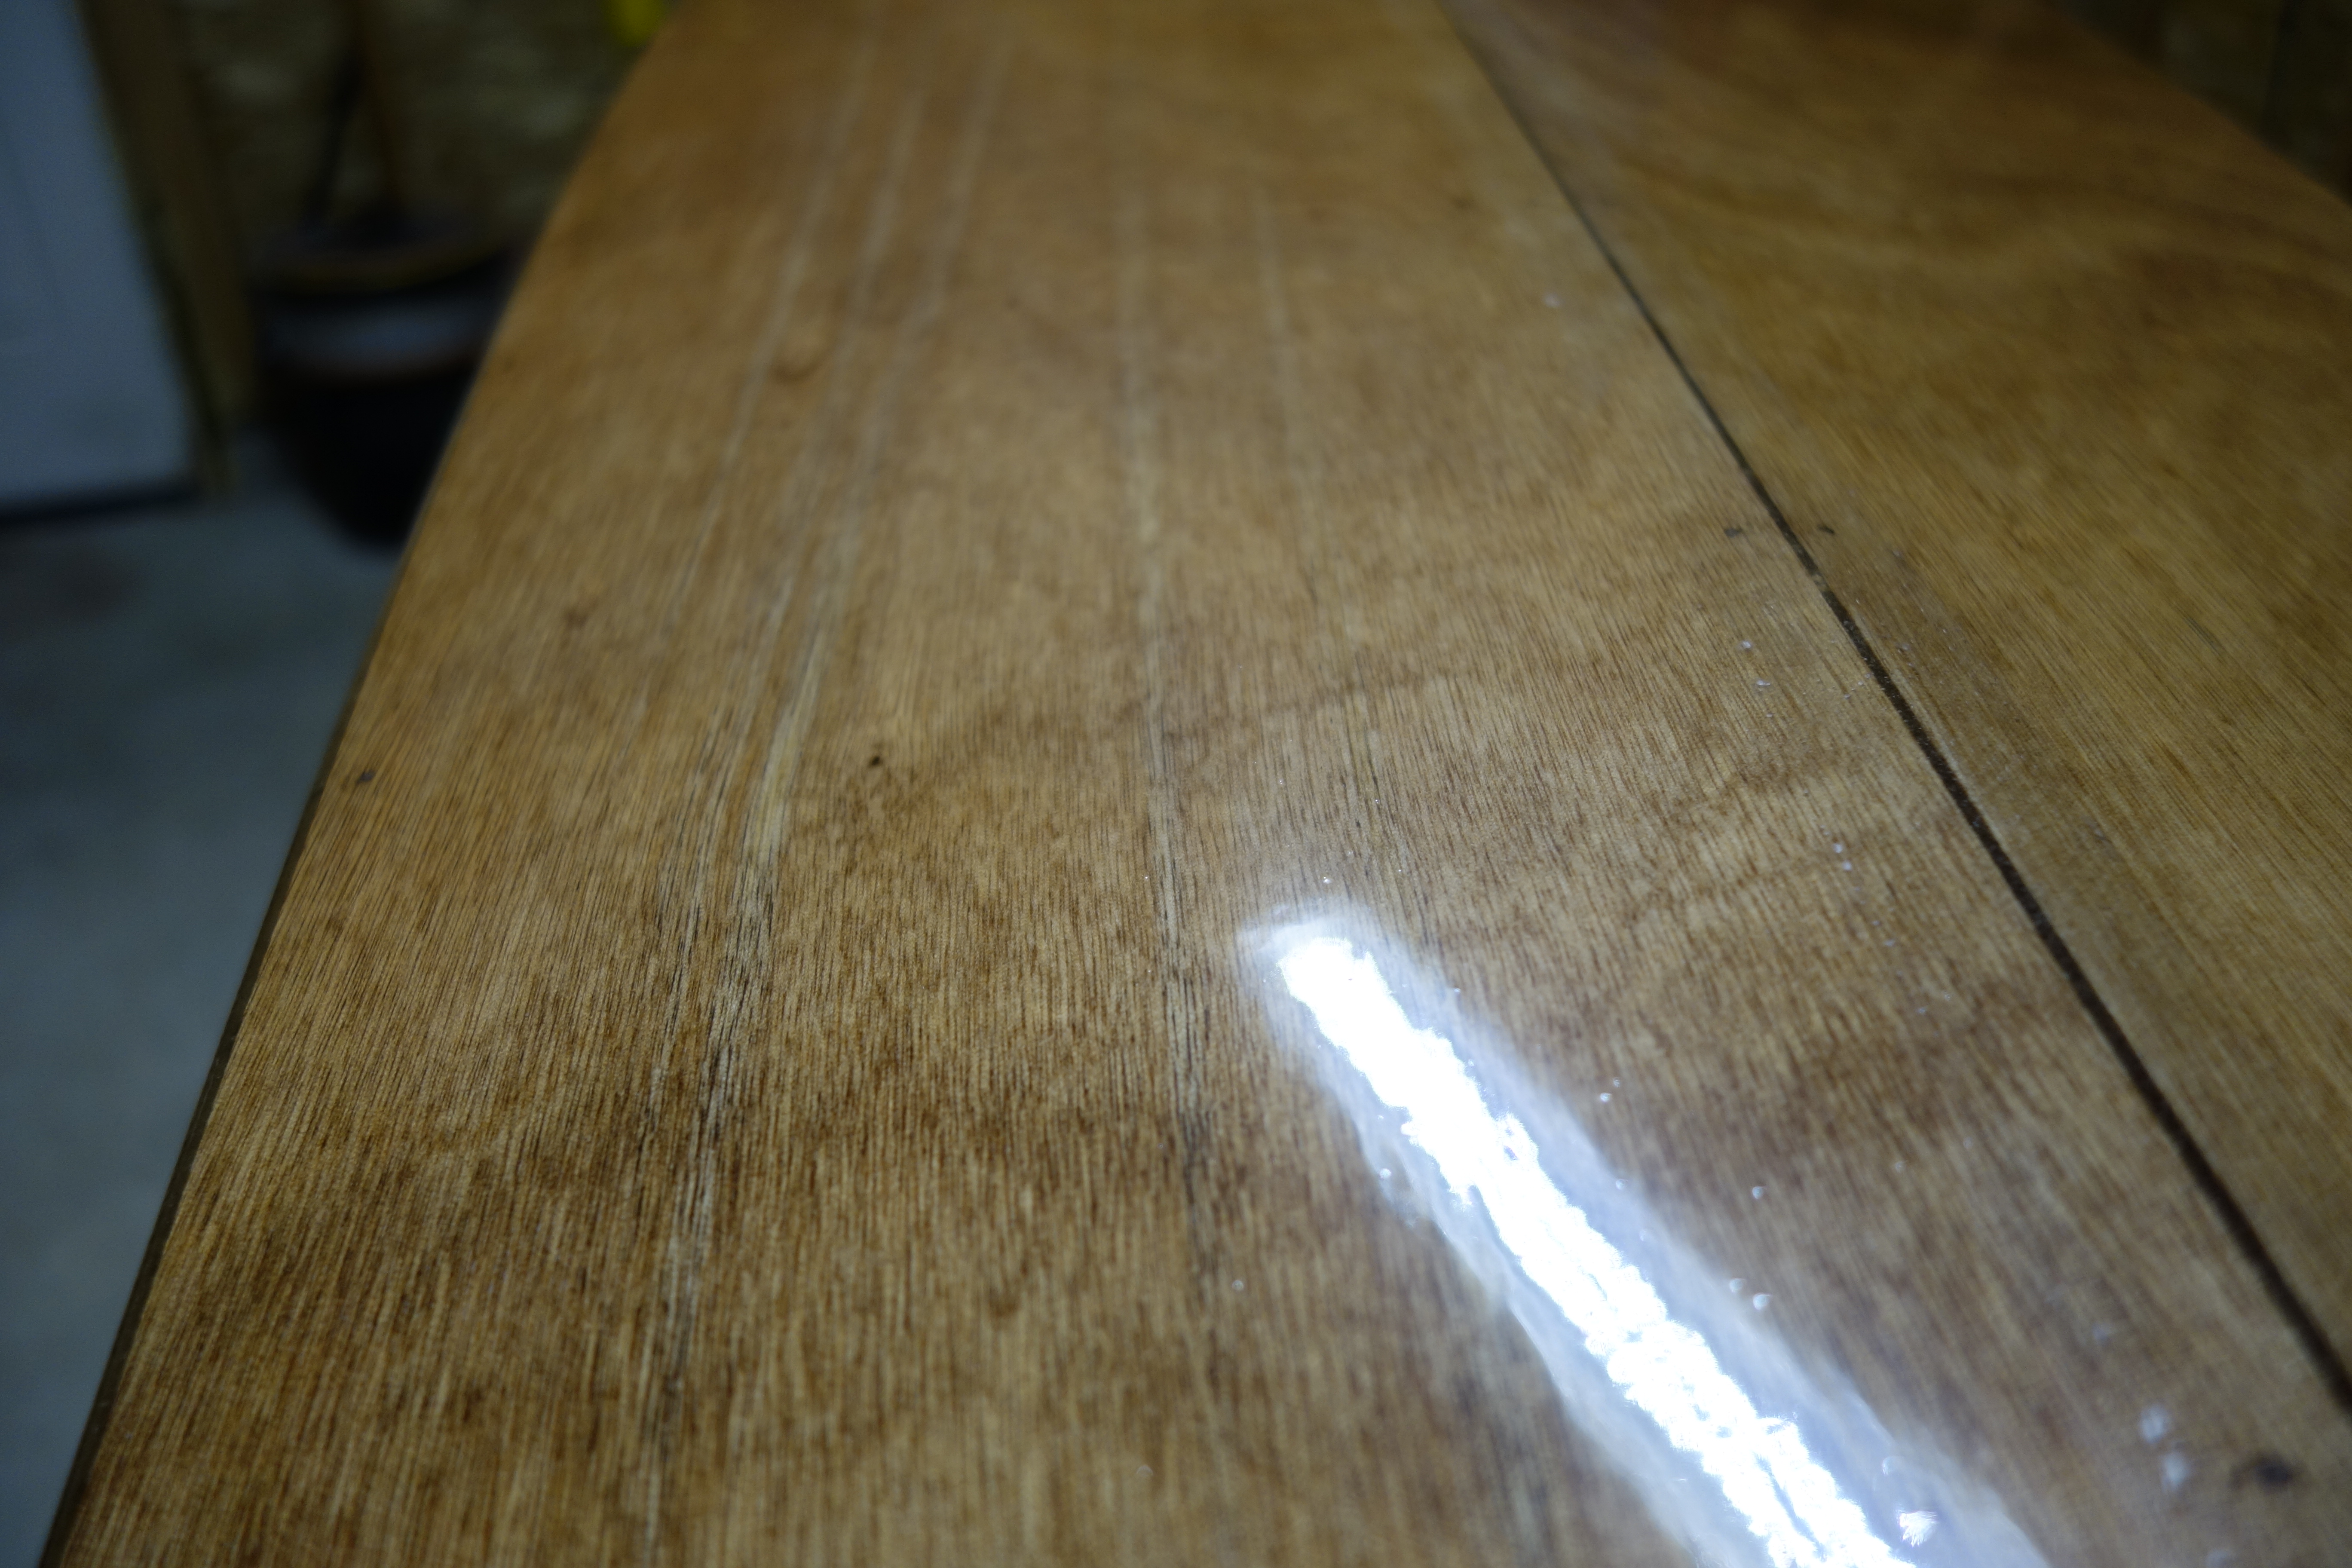
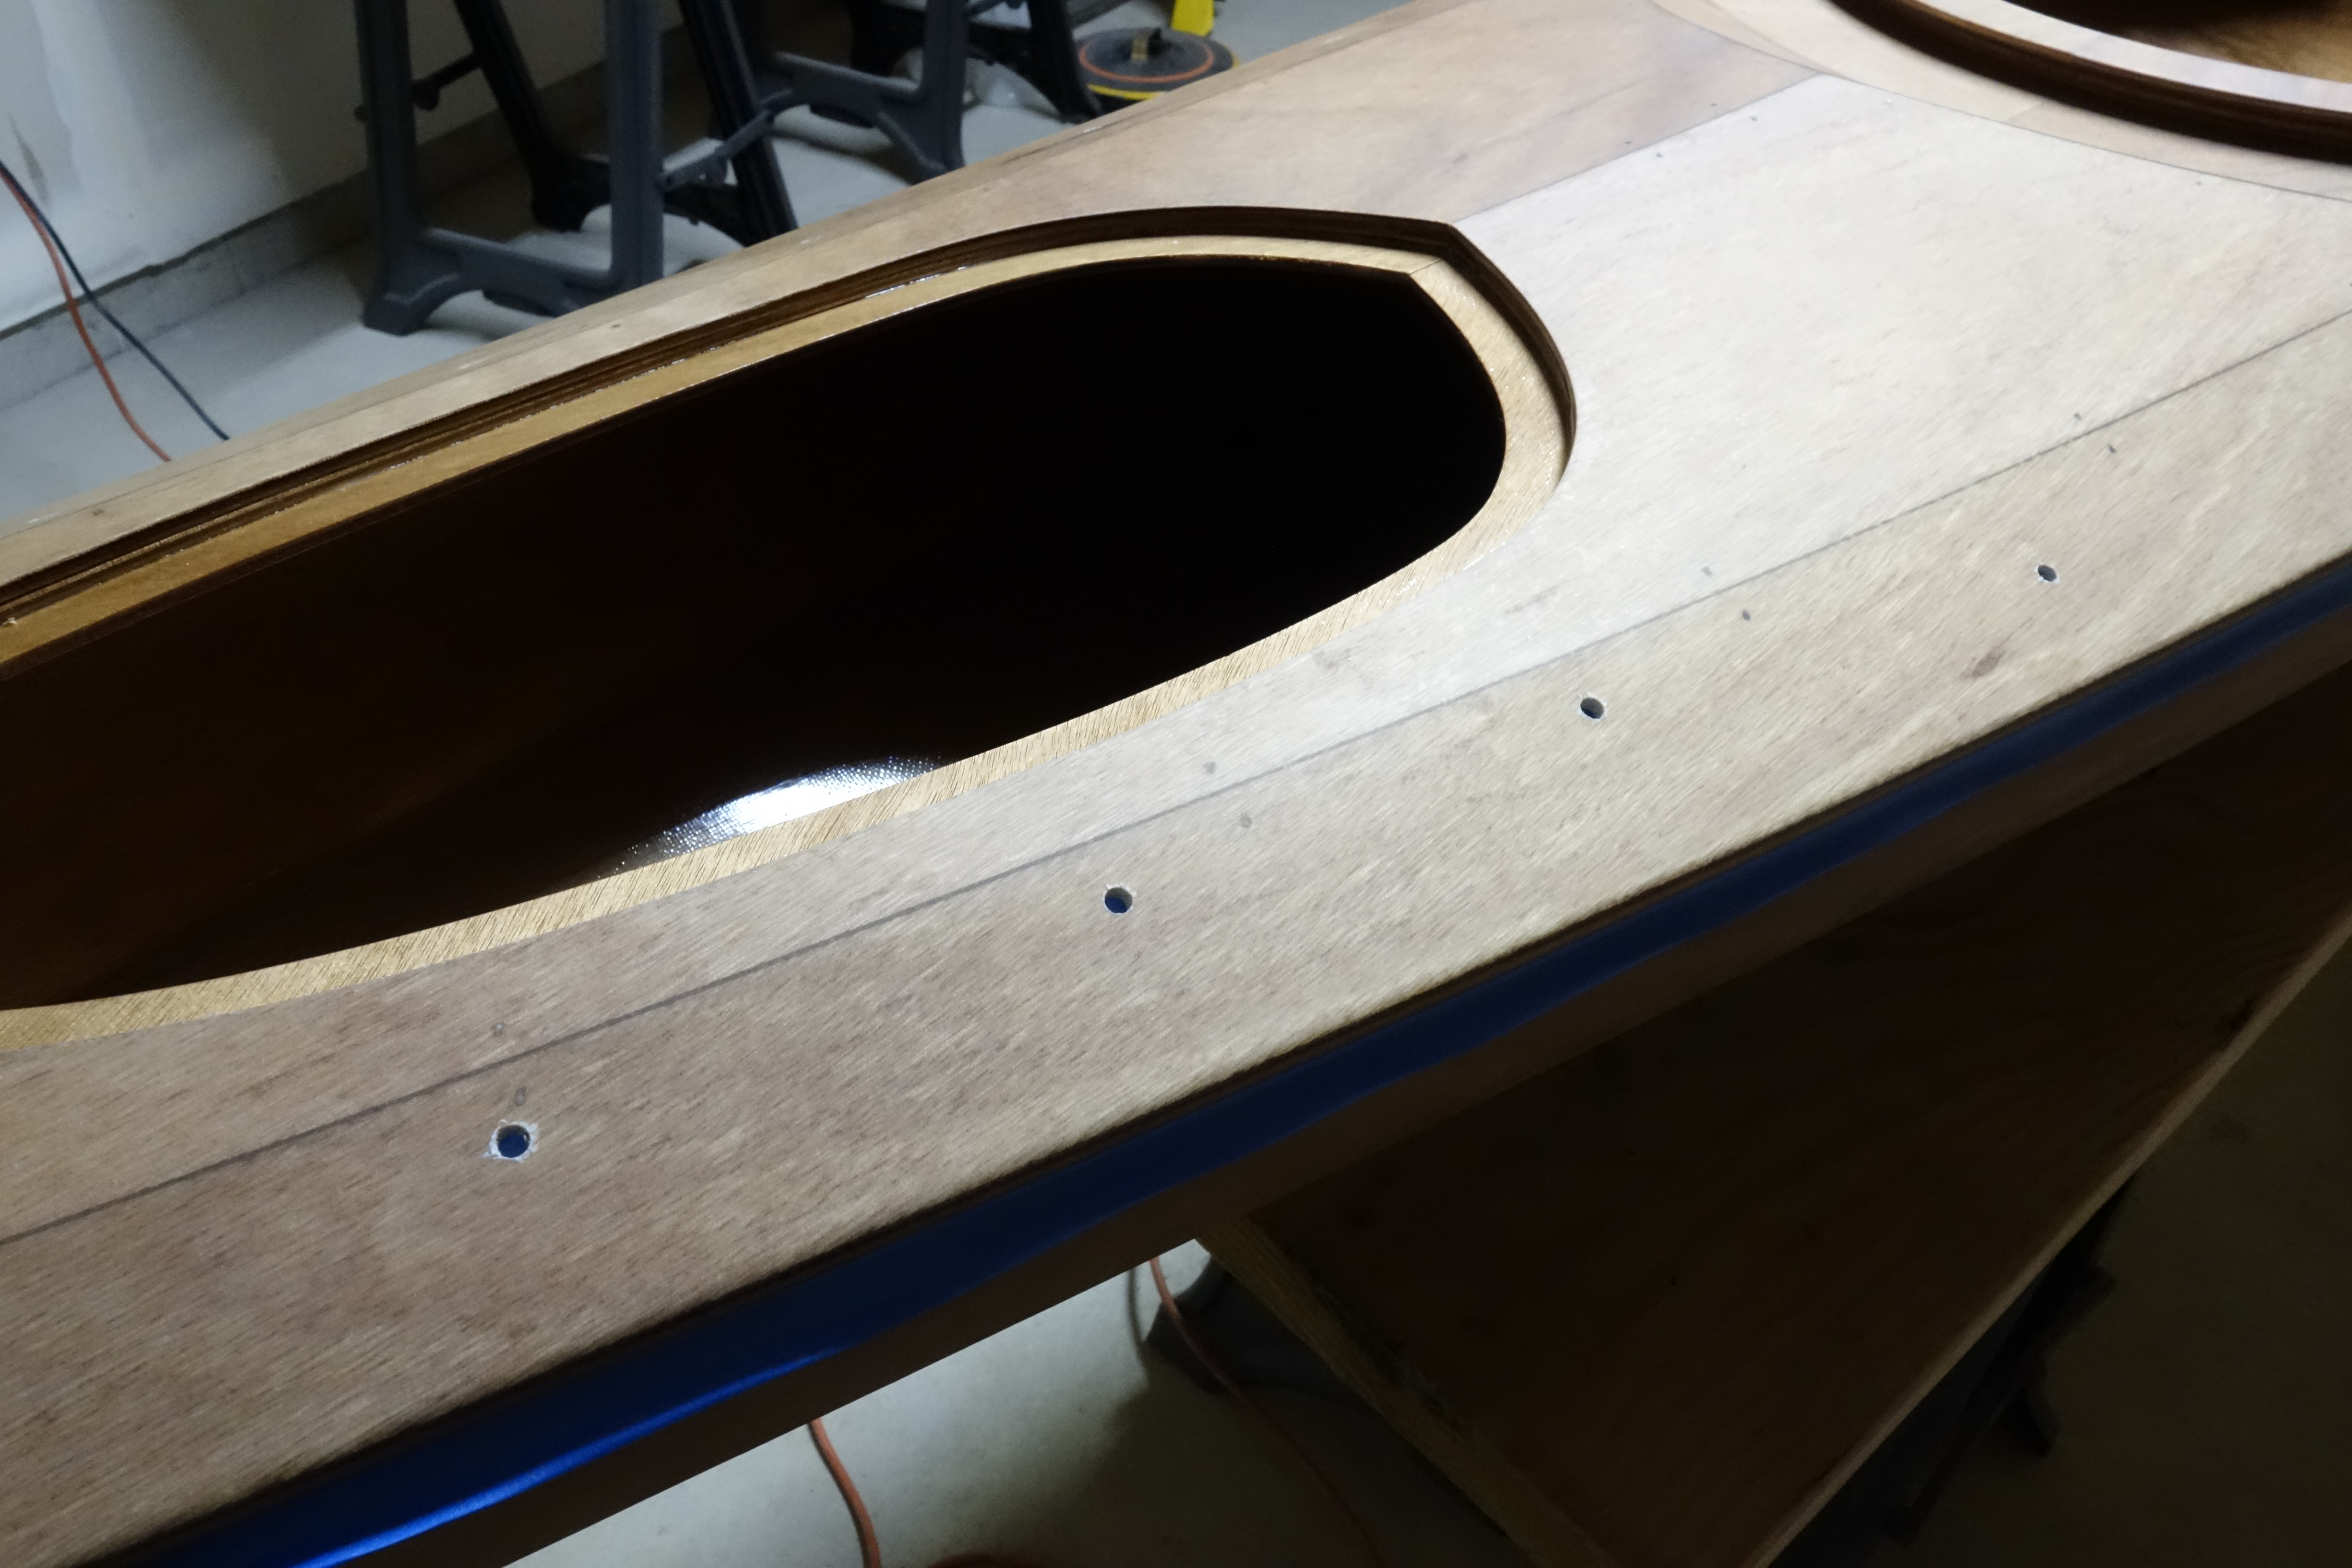
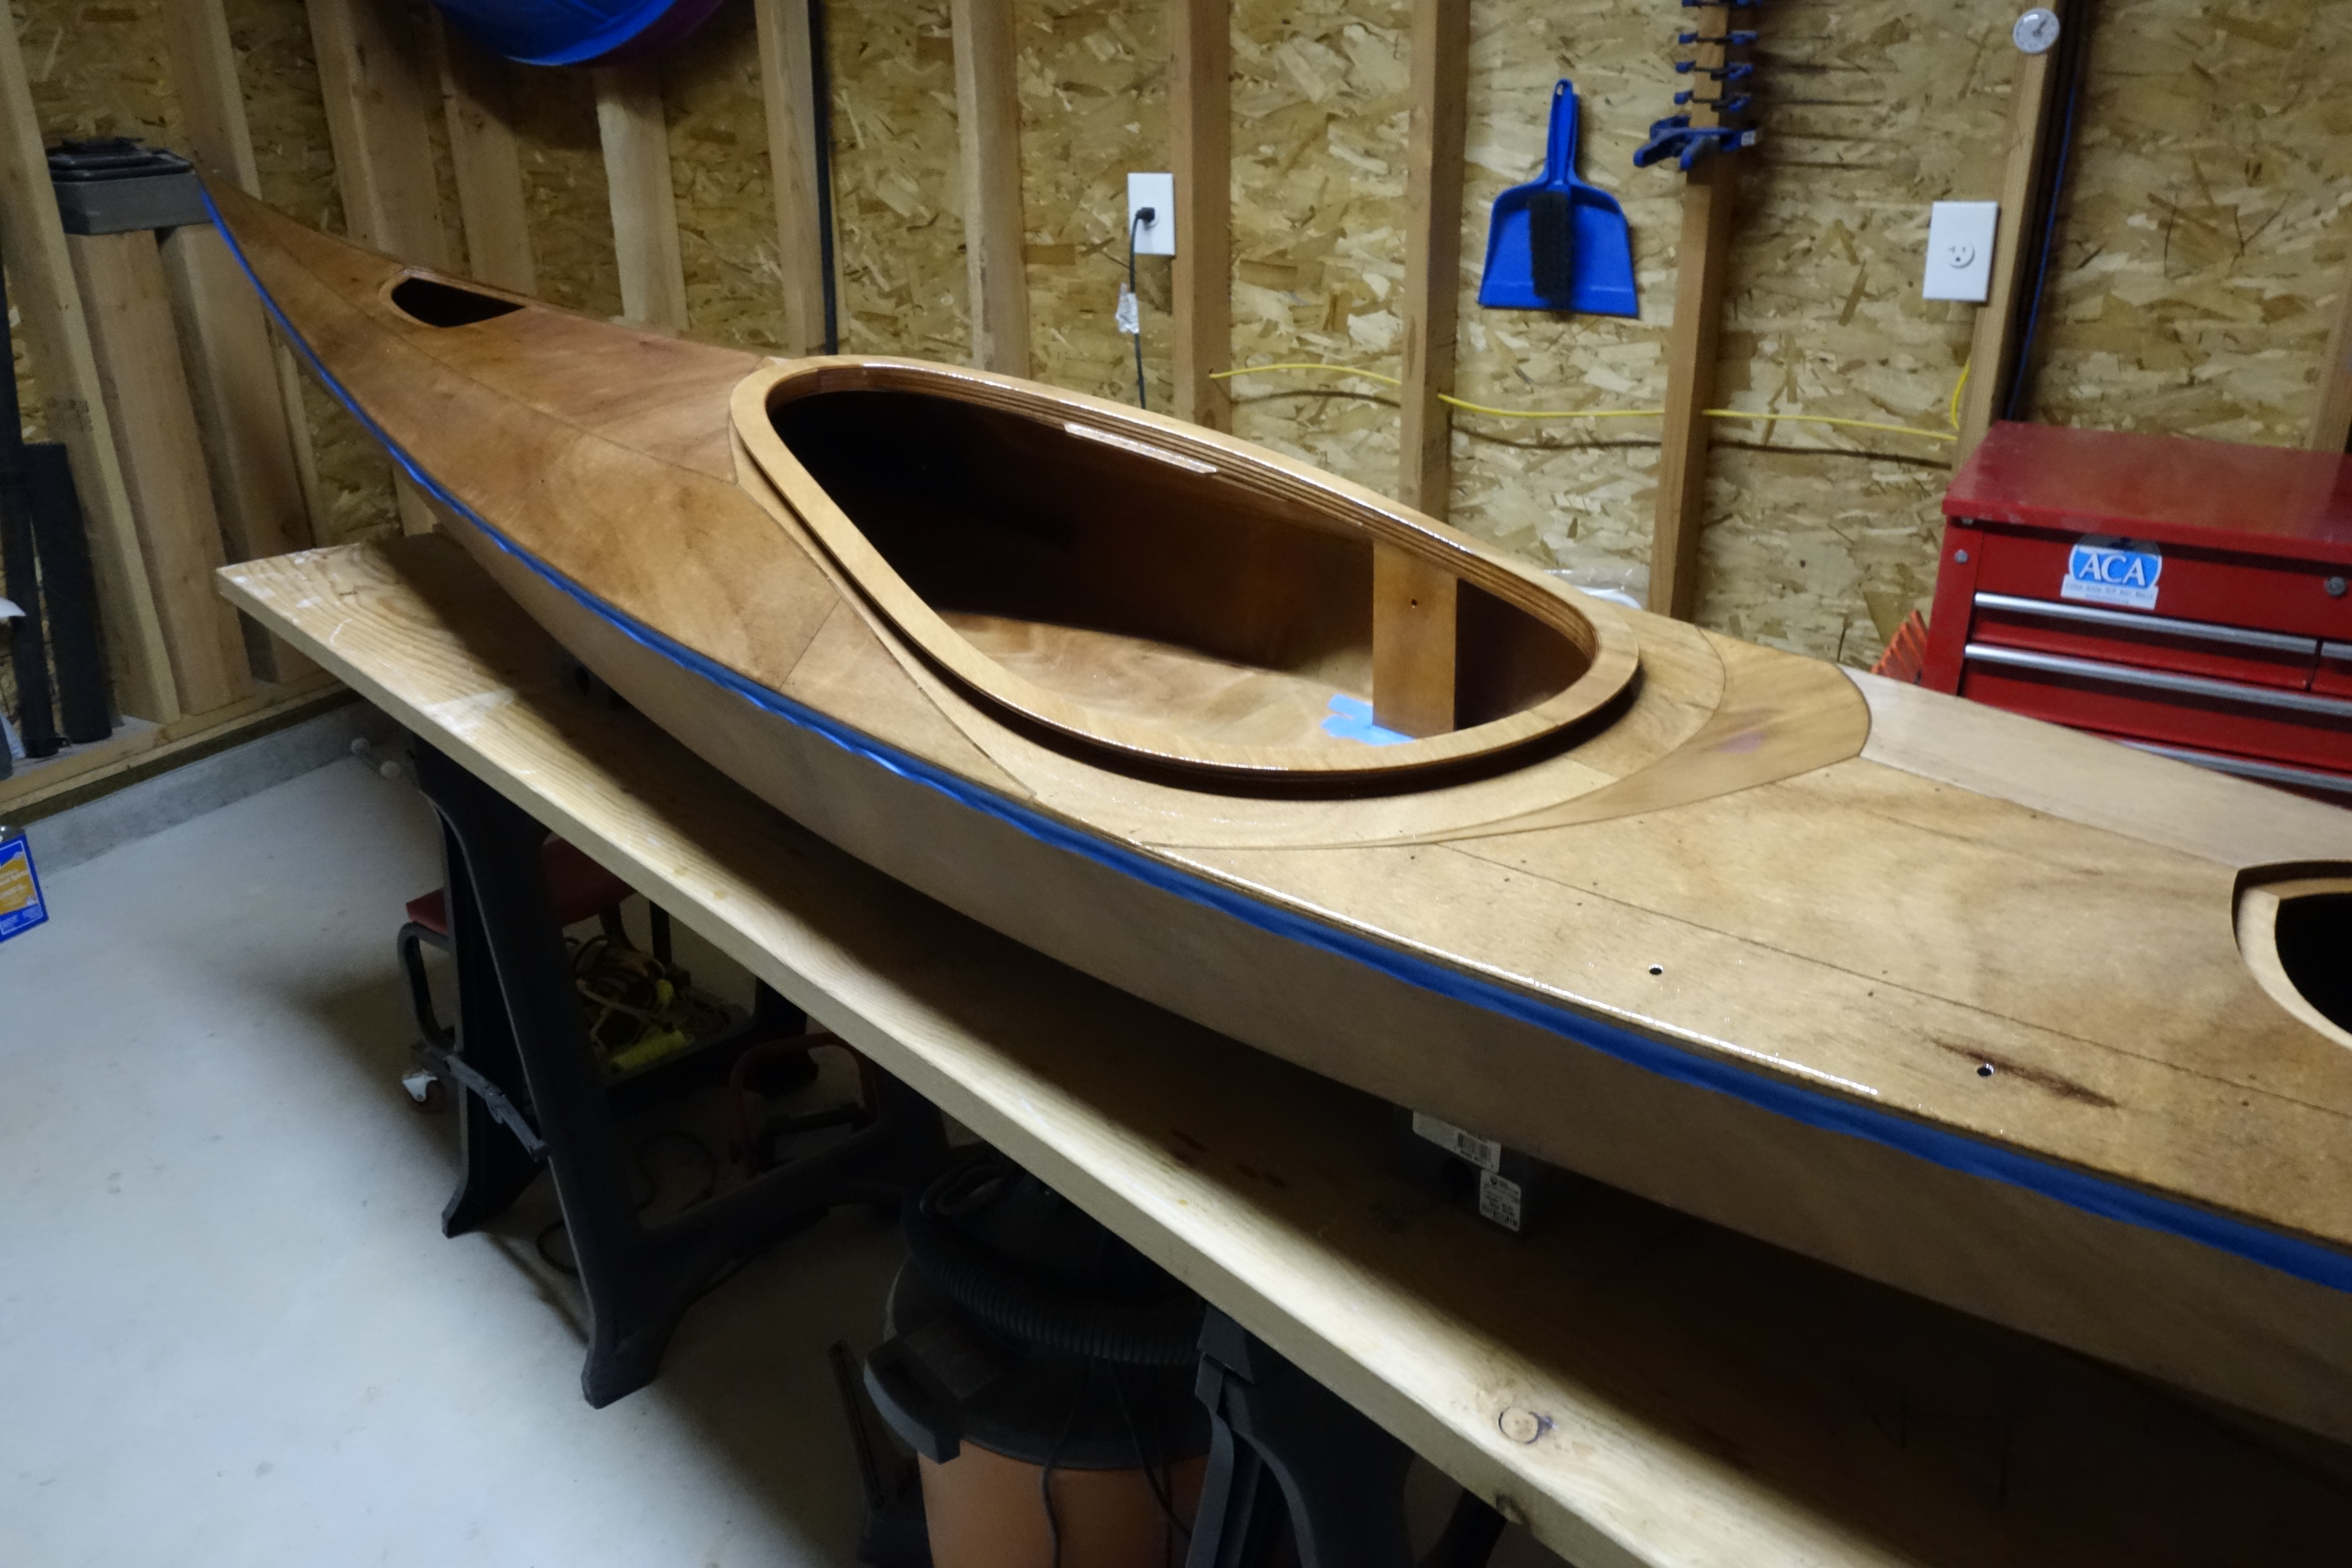
The deck and hull had gotten one fill coat of epoxy that the hatch covers had not, and I want the deck and the hatch covers to have the same depth of epoxy protection before I varnish. So I sanded the hatch covers and gave them one more coat of epoxy. There were also a couple of areas around the port edge of the forward hatch opening where the fiberglass cloth got chewed up a little bit when I was sawing the opening. They showed up after I epoxied as white specks around the opening. At first I thought they would be ok, but the longer I looked at them the more more I realized that they would bug me for the rest of my kayaking life if I didn’t fix them. So I did. It’s not perfect, but it’s better.

It is not easy to see in the photo above, where I sanded and re-applied epoxy to the edge of the forward hatch, but if you look carefully you can see it on the deck, right at the edge of the hatch.

Final fill coat on the hull finished.

After the epoxy that I just applied to the hull cures, all that is left to do is sand, then varnish, then sand, then varnish, then sand, then varnish. Repeat until satisfied. Then clean the Ronan inside and out, and install the seat pad, back band, and deck rigging. Then paddle.

Shear line masked right on the edge of the epoxy that I applied yesterday to the deck. This should blend well enough that there will not be a significant bump or trough, and it will be sanded before varnish is applied anyway. Also, I chose to mask right below the shear seam, so that will help hide any imperfections when the kayak is in its normal orientation (deck side up).
Shiny!
This was applied with a foam roller and tipped off with a 3″ foam brush, as was done with the deck yesterday.

Holes drilled for the deck rigging, and then the final epoxy fill coat on the deck.

I spent the morning deciding where I wanted my deck rigging and paddle park, and drilling the holes in the deck for that stuff. Then I rolled on, and tipped off the final fill coat of epoxy on the deck. The hull comes tomorrow.

I taped just below the shear line and folded the tape under, on itself so that any epoxy that might run over the shear wouldn’t run down the hull, but would drip onto the bench or floor instead. I spent too much time sanding the hull smooth to have to do it all over again to get rid of runs and drips.
Here you can see the holes for the straps on the port side, forward hatch, and the forward hole for the bow deck rigging. I will make sure that the open grain in all these holes is saturated with epoxy. I have pipe cleaners specifically for this purpose.
Holes for port side, aft hatch cover and deck rigging.
Starboard side, aft.
Starboard side, forward.
View up the port side.
As per Pygmy’s recommendation, I use 1/8″ nap, foam rollers to apply the epoxy to large surface areas. I have found that cutting the 7″ roller covers in half, using a sharp utility knife works very well for reaching the tighter areas on the kayak. It also doubles the number of covers available to use during each application. This is important because in a relatively short time, the epoxy starts to become foamy in the roller cover and the cover must be discarded, otherwise, the epoxy finish will be cloudy rather than clear. That said, I was able to coat the entire deck using only one half of a roller cover. I may need to use two for the hull as it has a larger surface area.
Epoxy rolled on with a foam roller, and tipped off with a 3″ foam brush.
I used a 2″ foam brush to carefully apply epoxy to the cockpit coaming and hip braces, and also under the cockpit coaming and around the cockpit apron. I did this before I rolled out the rest of the deck so that when I tipped everything off it would all blend as I worked into the wet edge of where I worked on the coaming area.