About K. D. Cline

I'm just a guy with some gray in his beard, who is passionate enough about kayaking to build his own.

Holes drilled through the hull for hand toggles and perimeter lines.

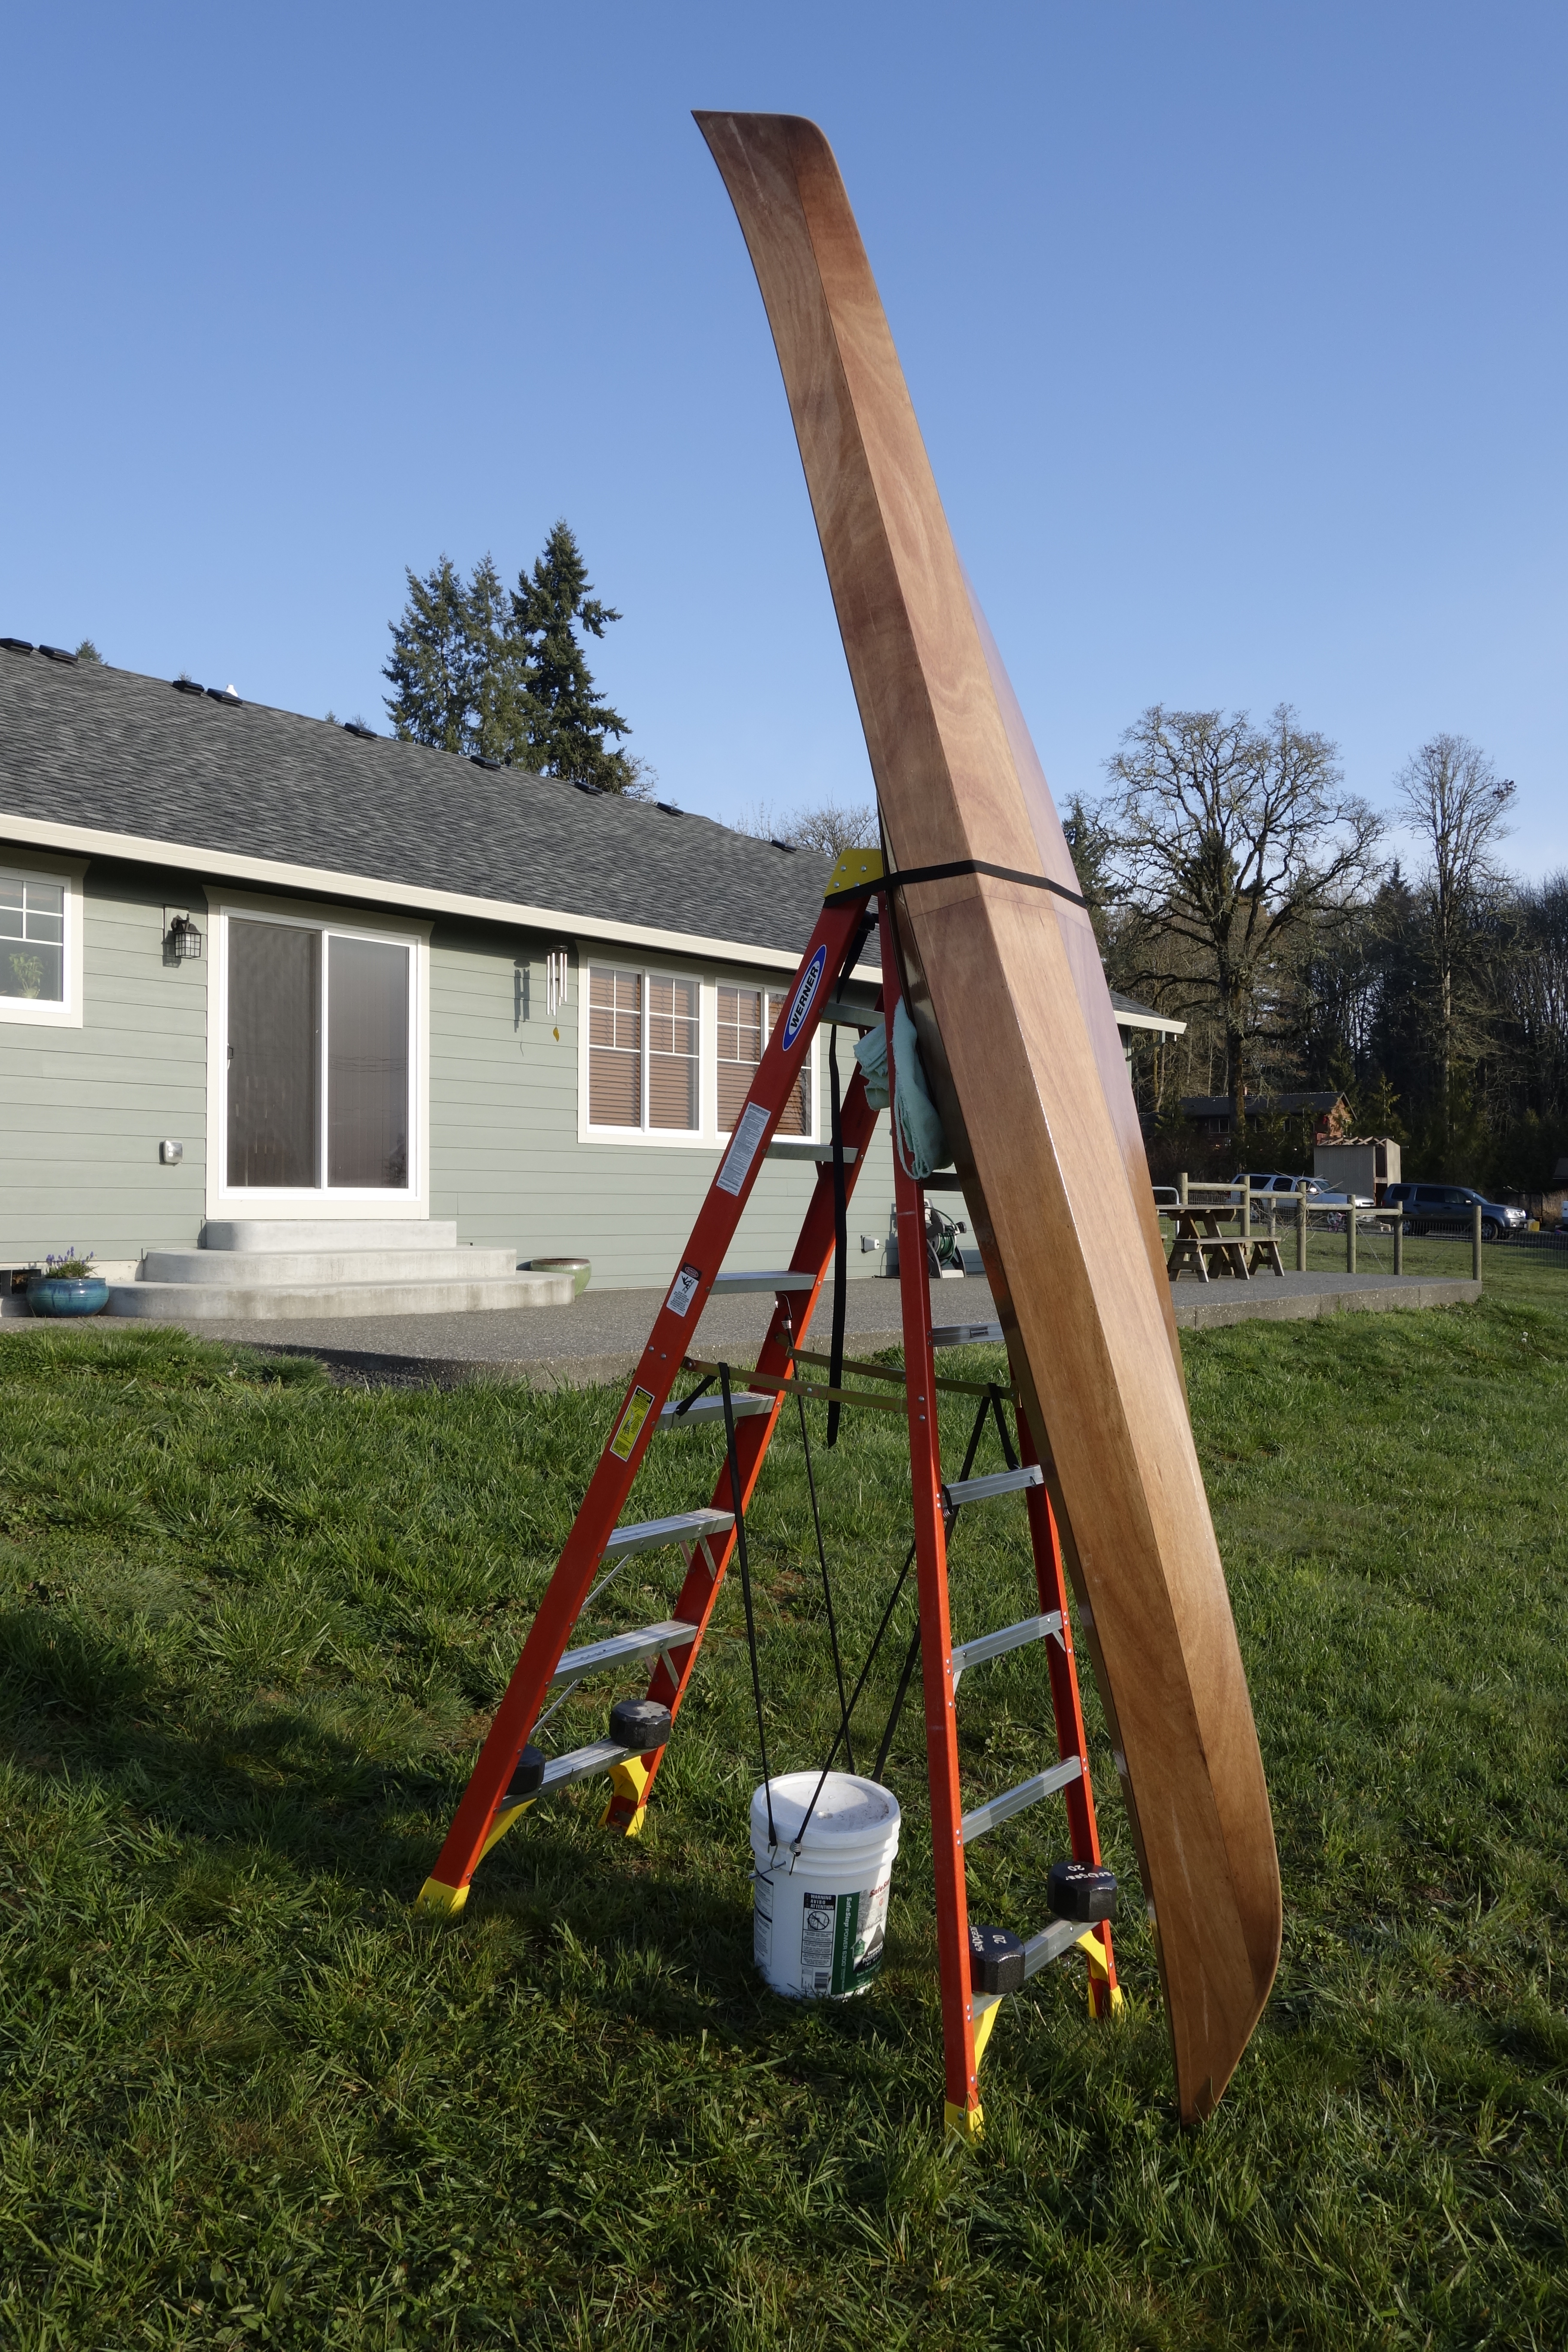
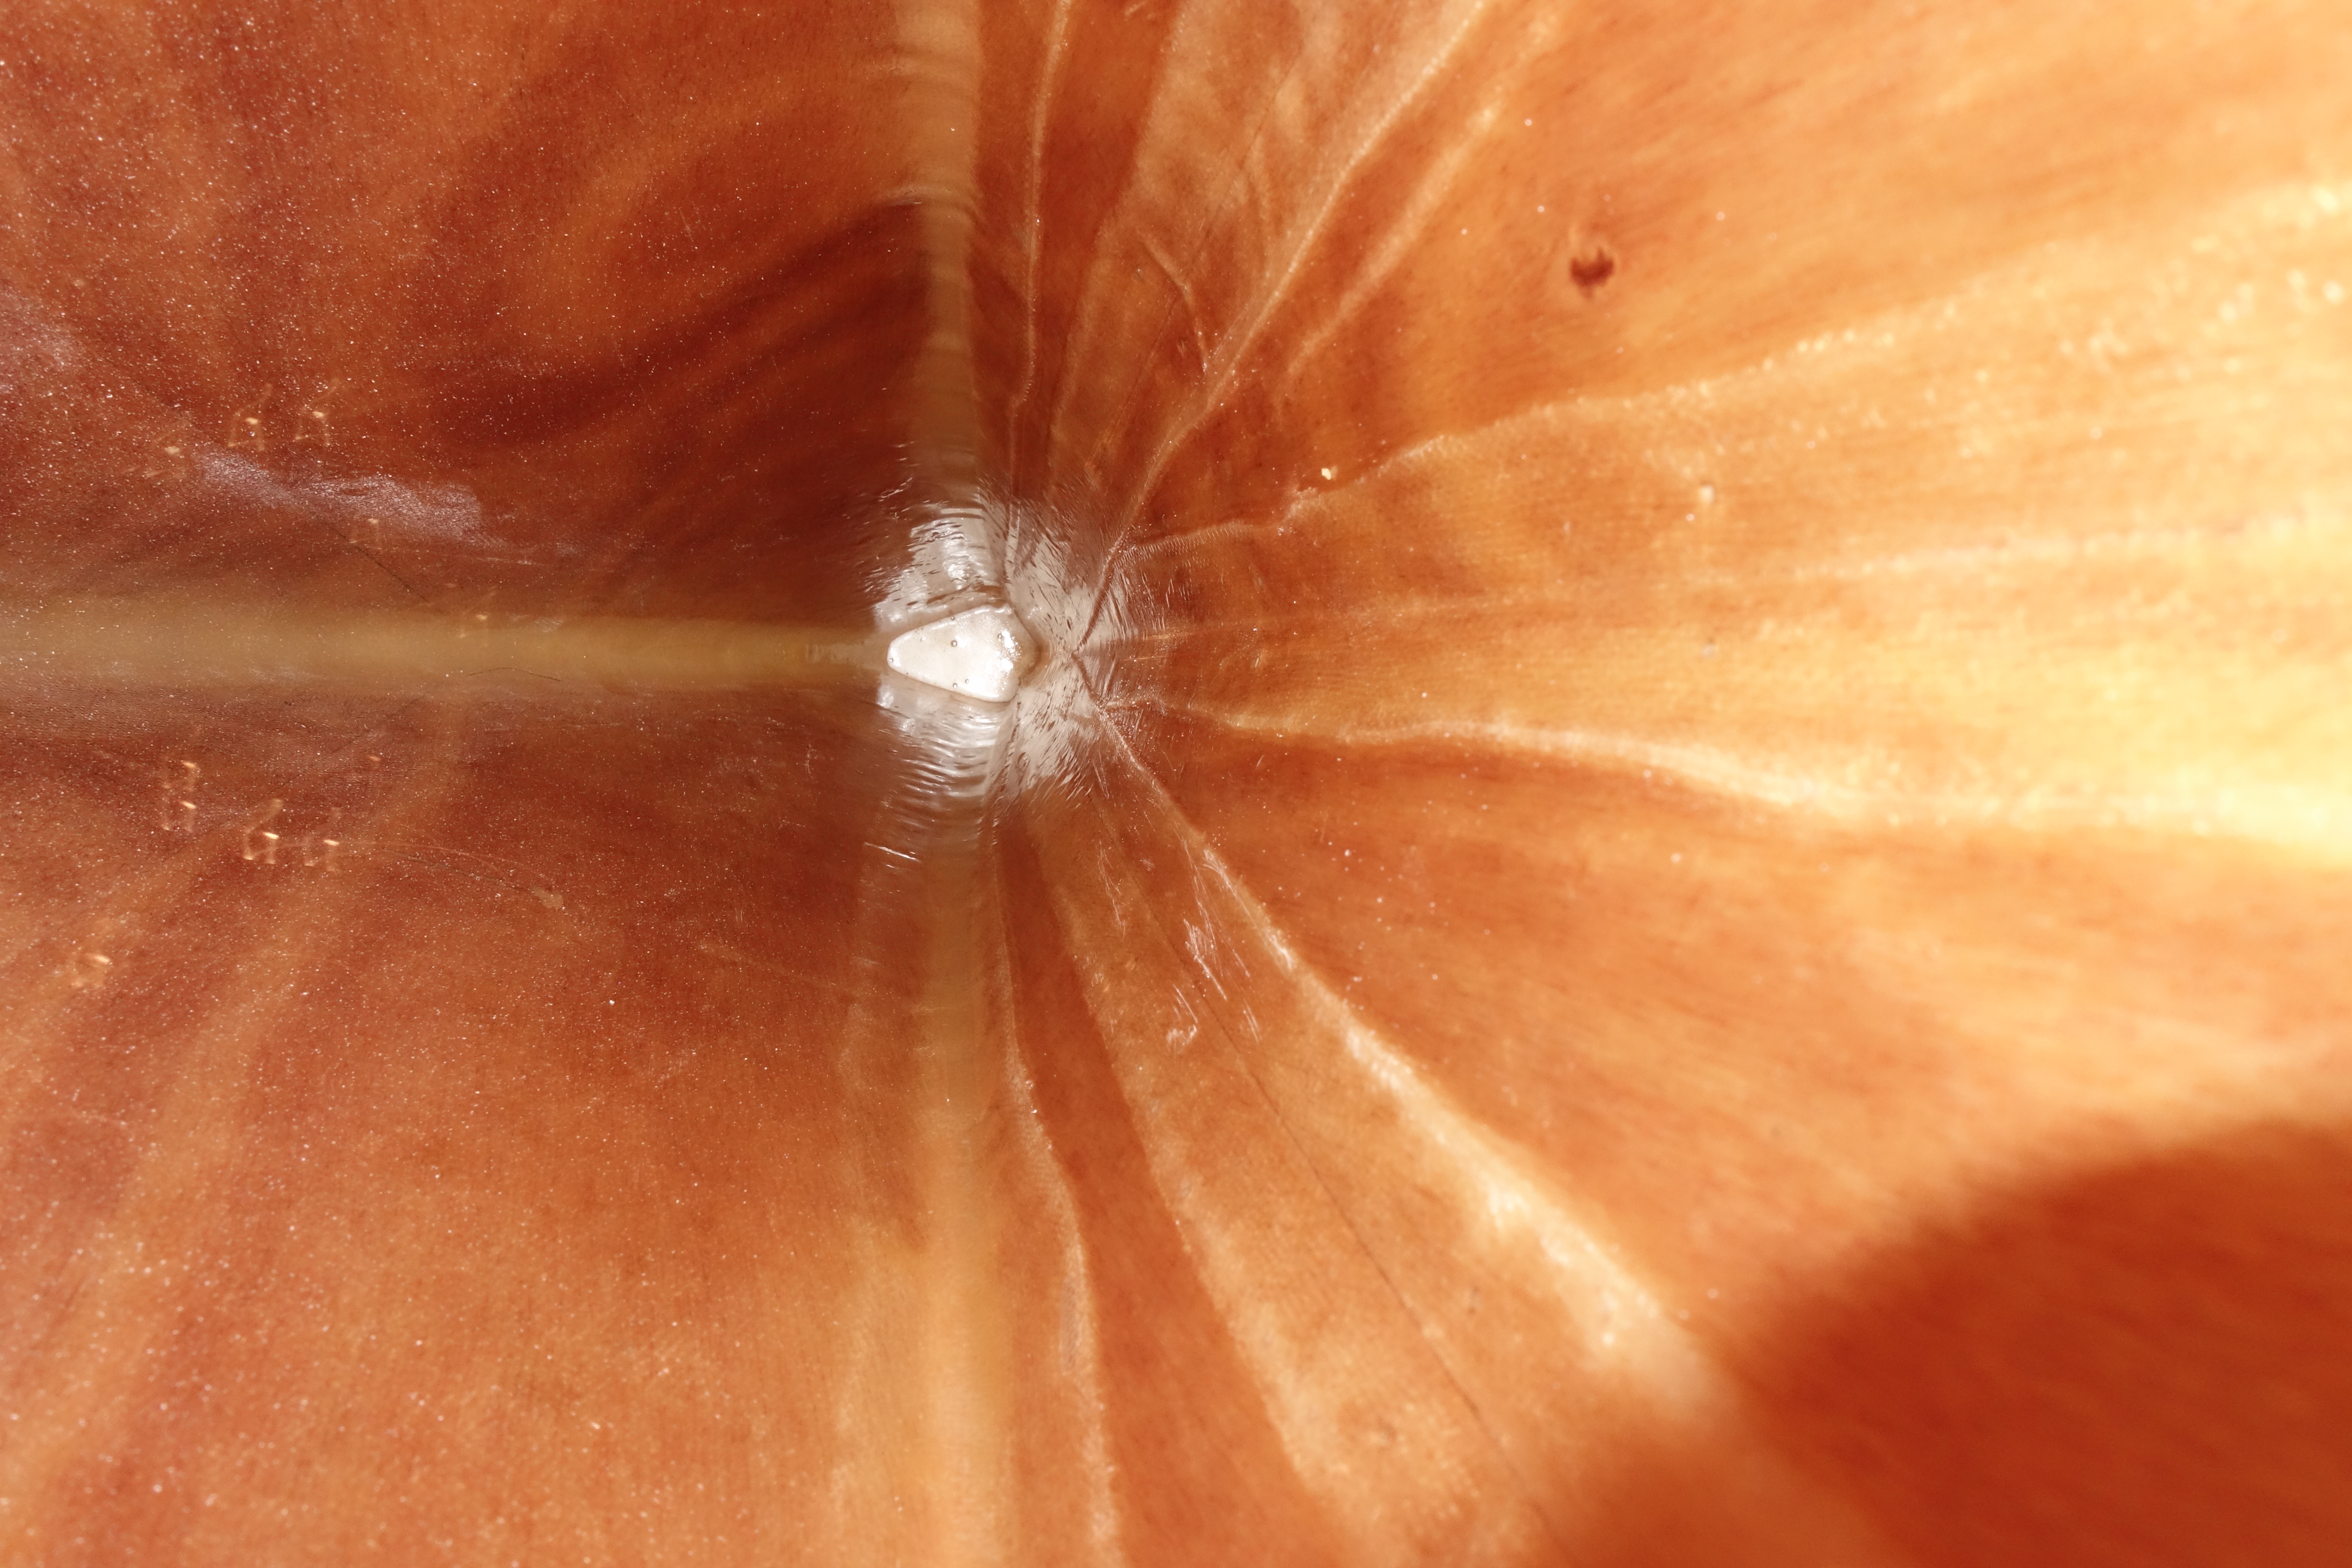
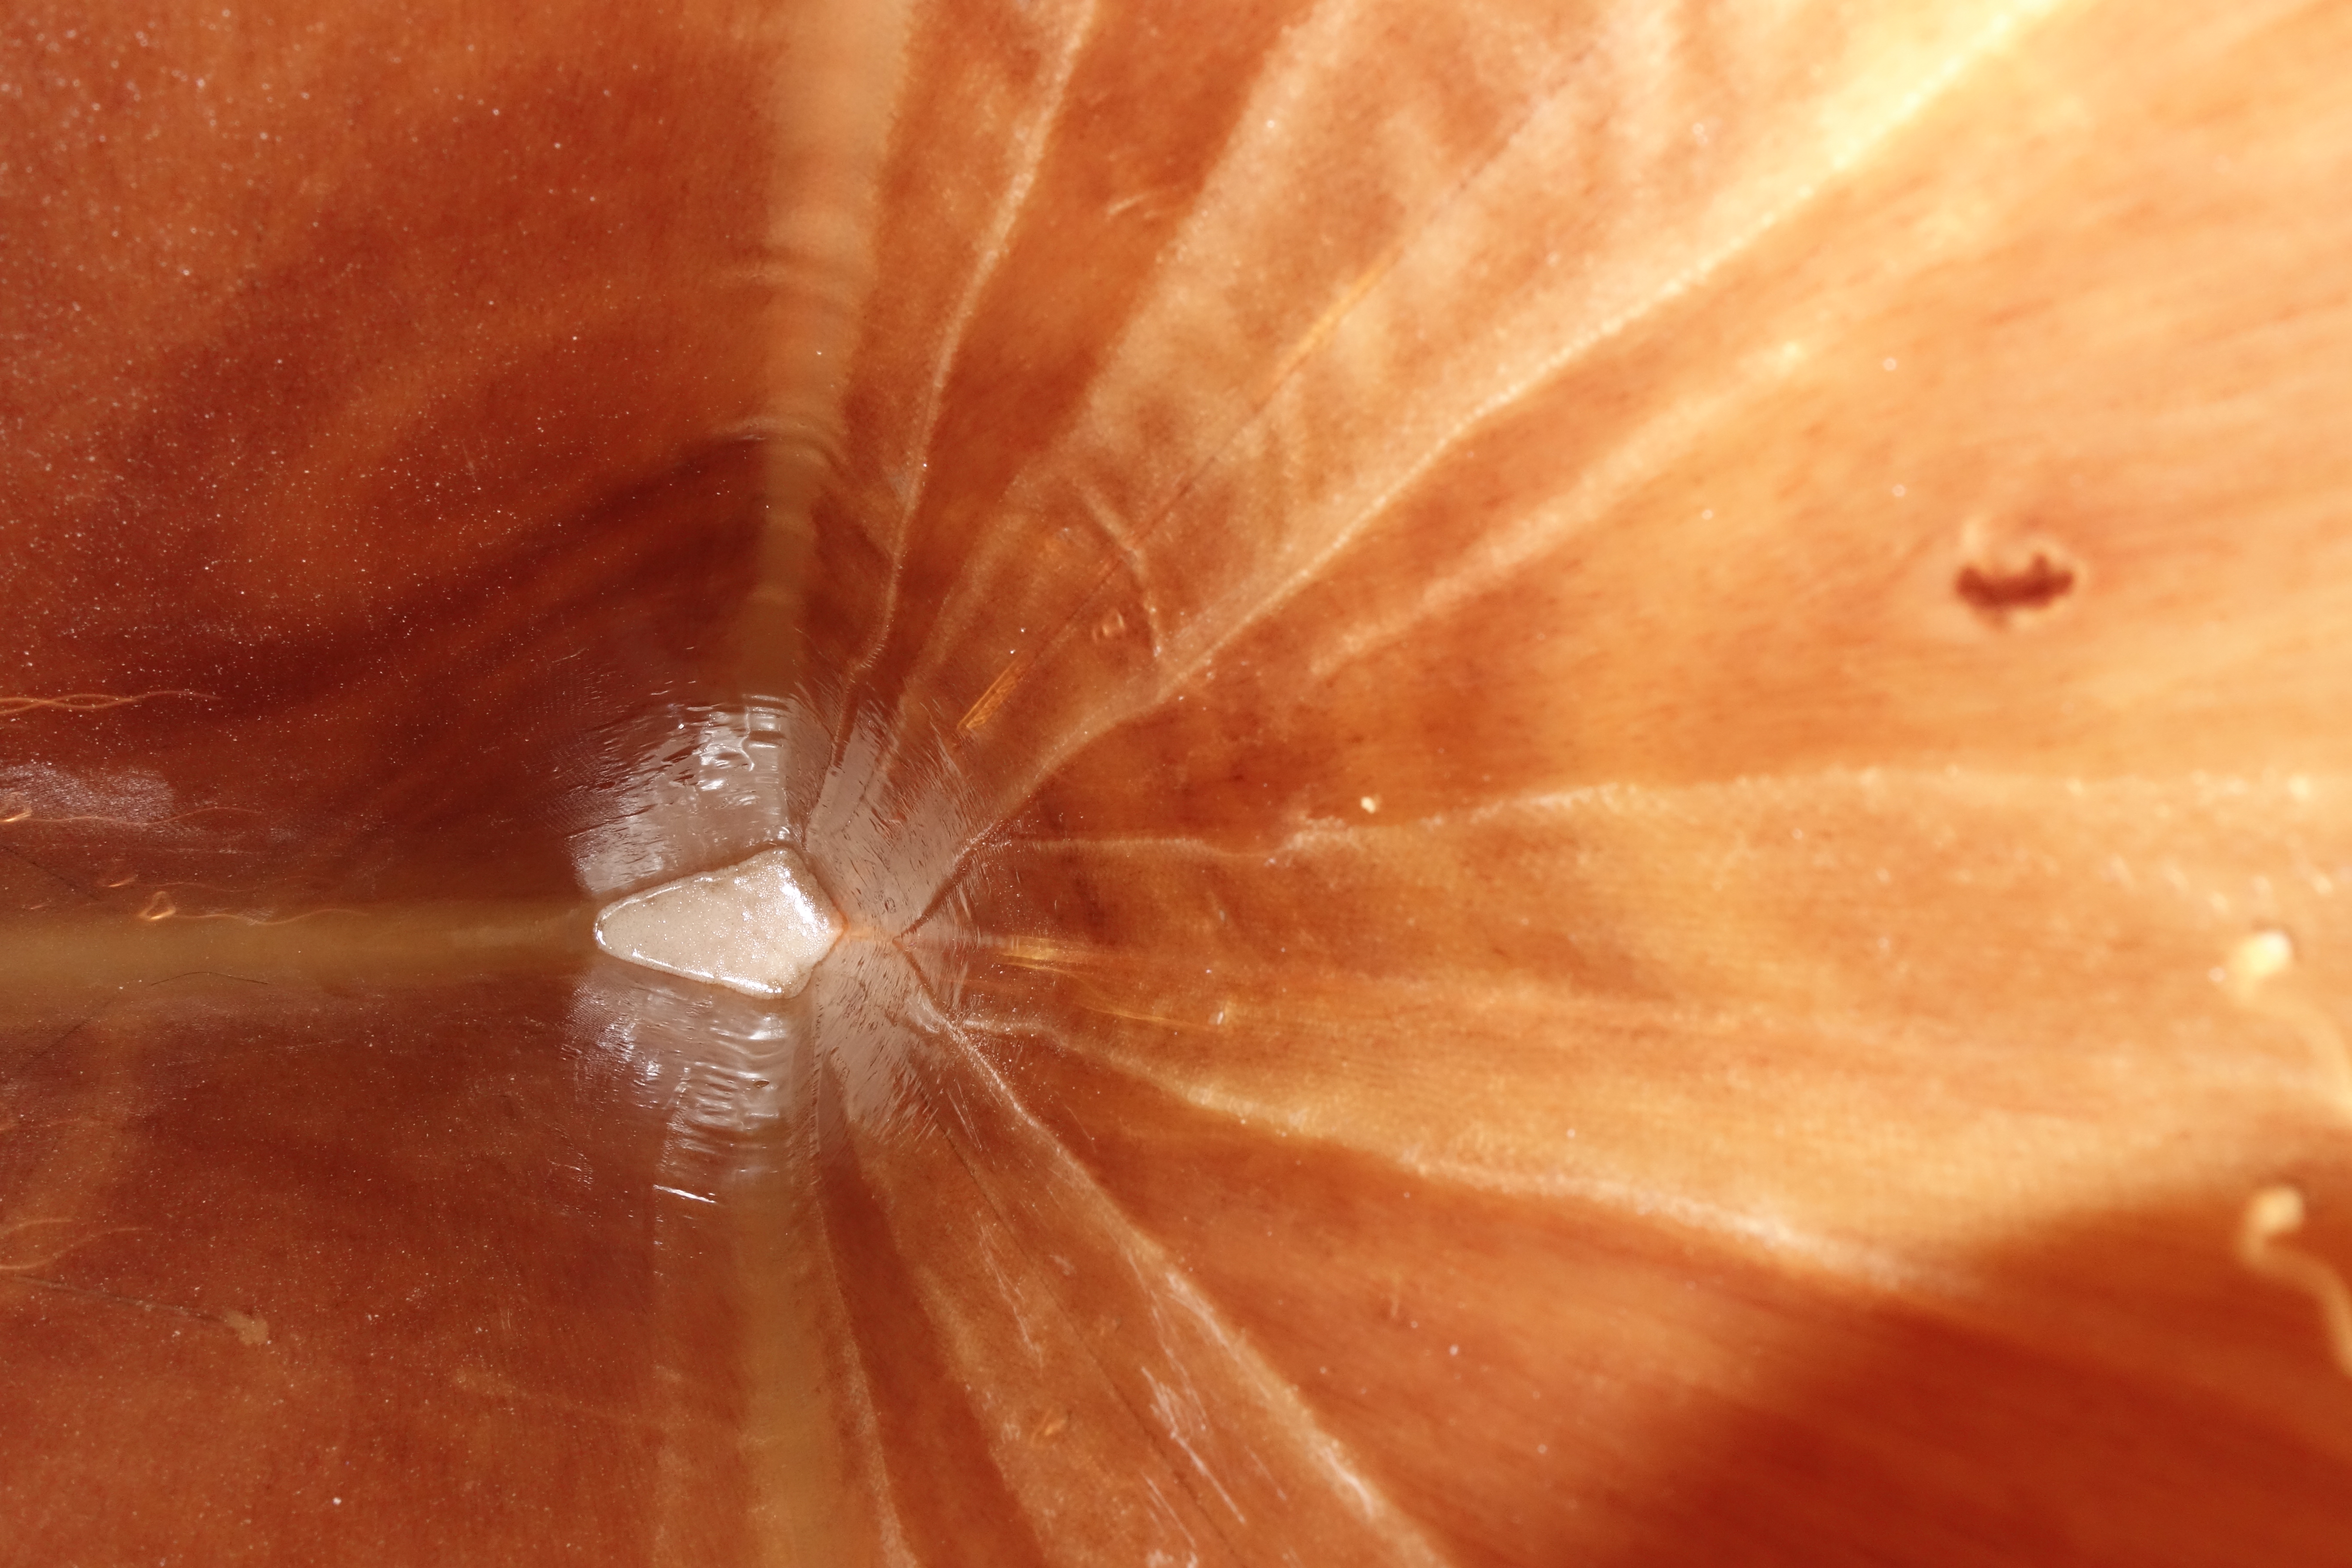
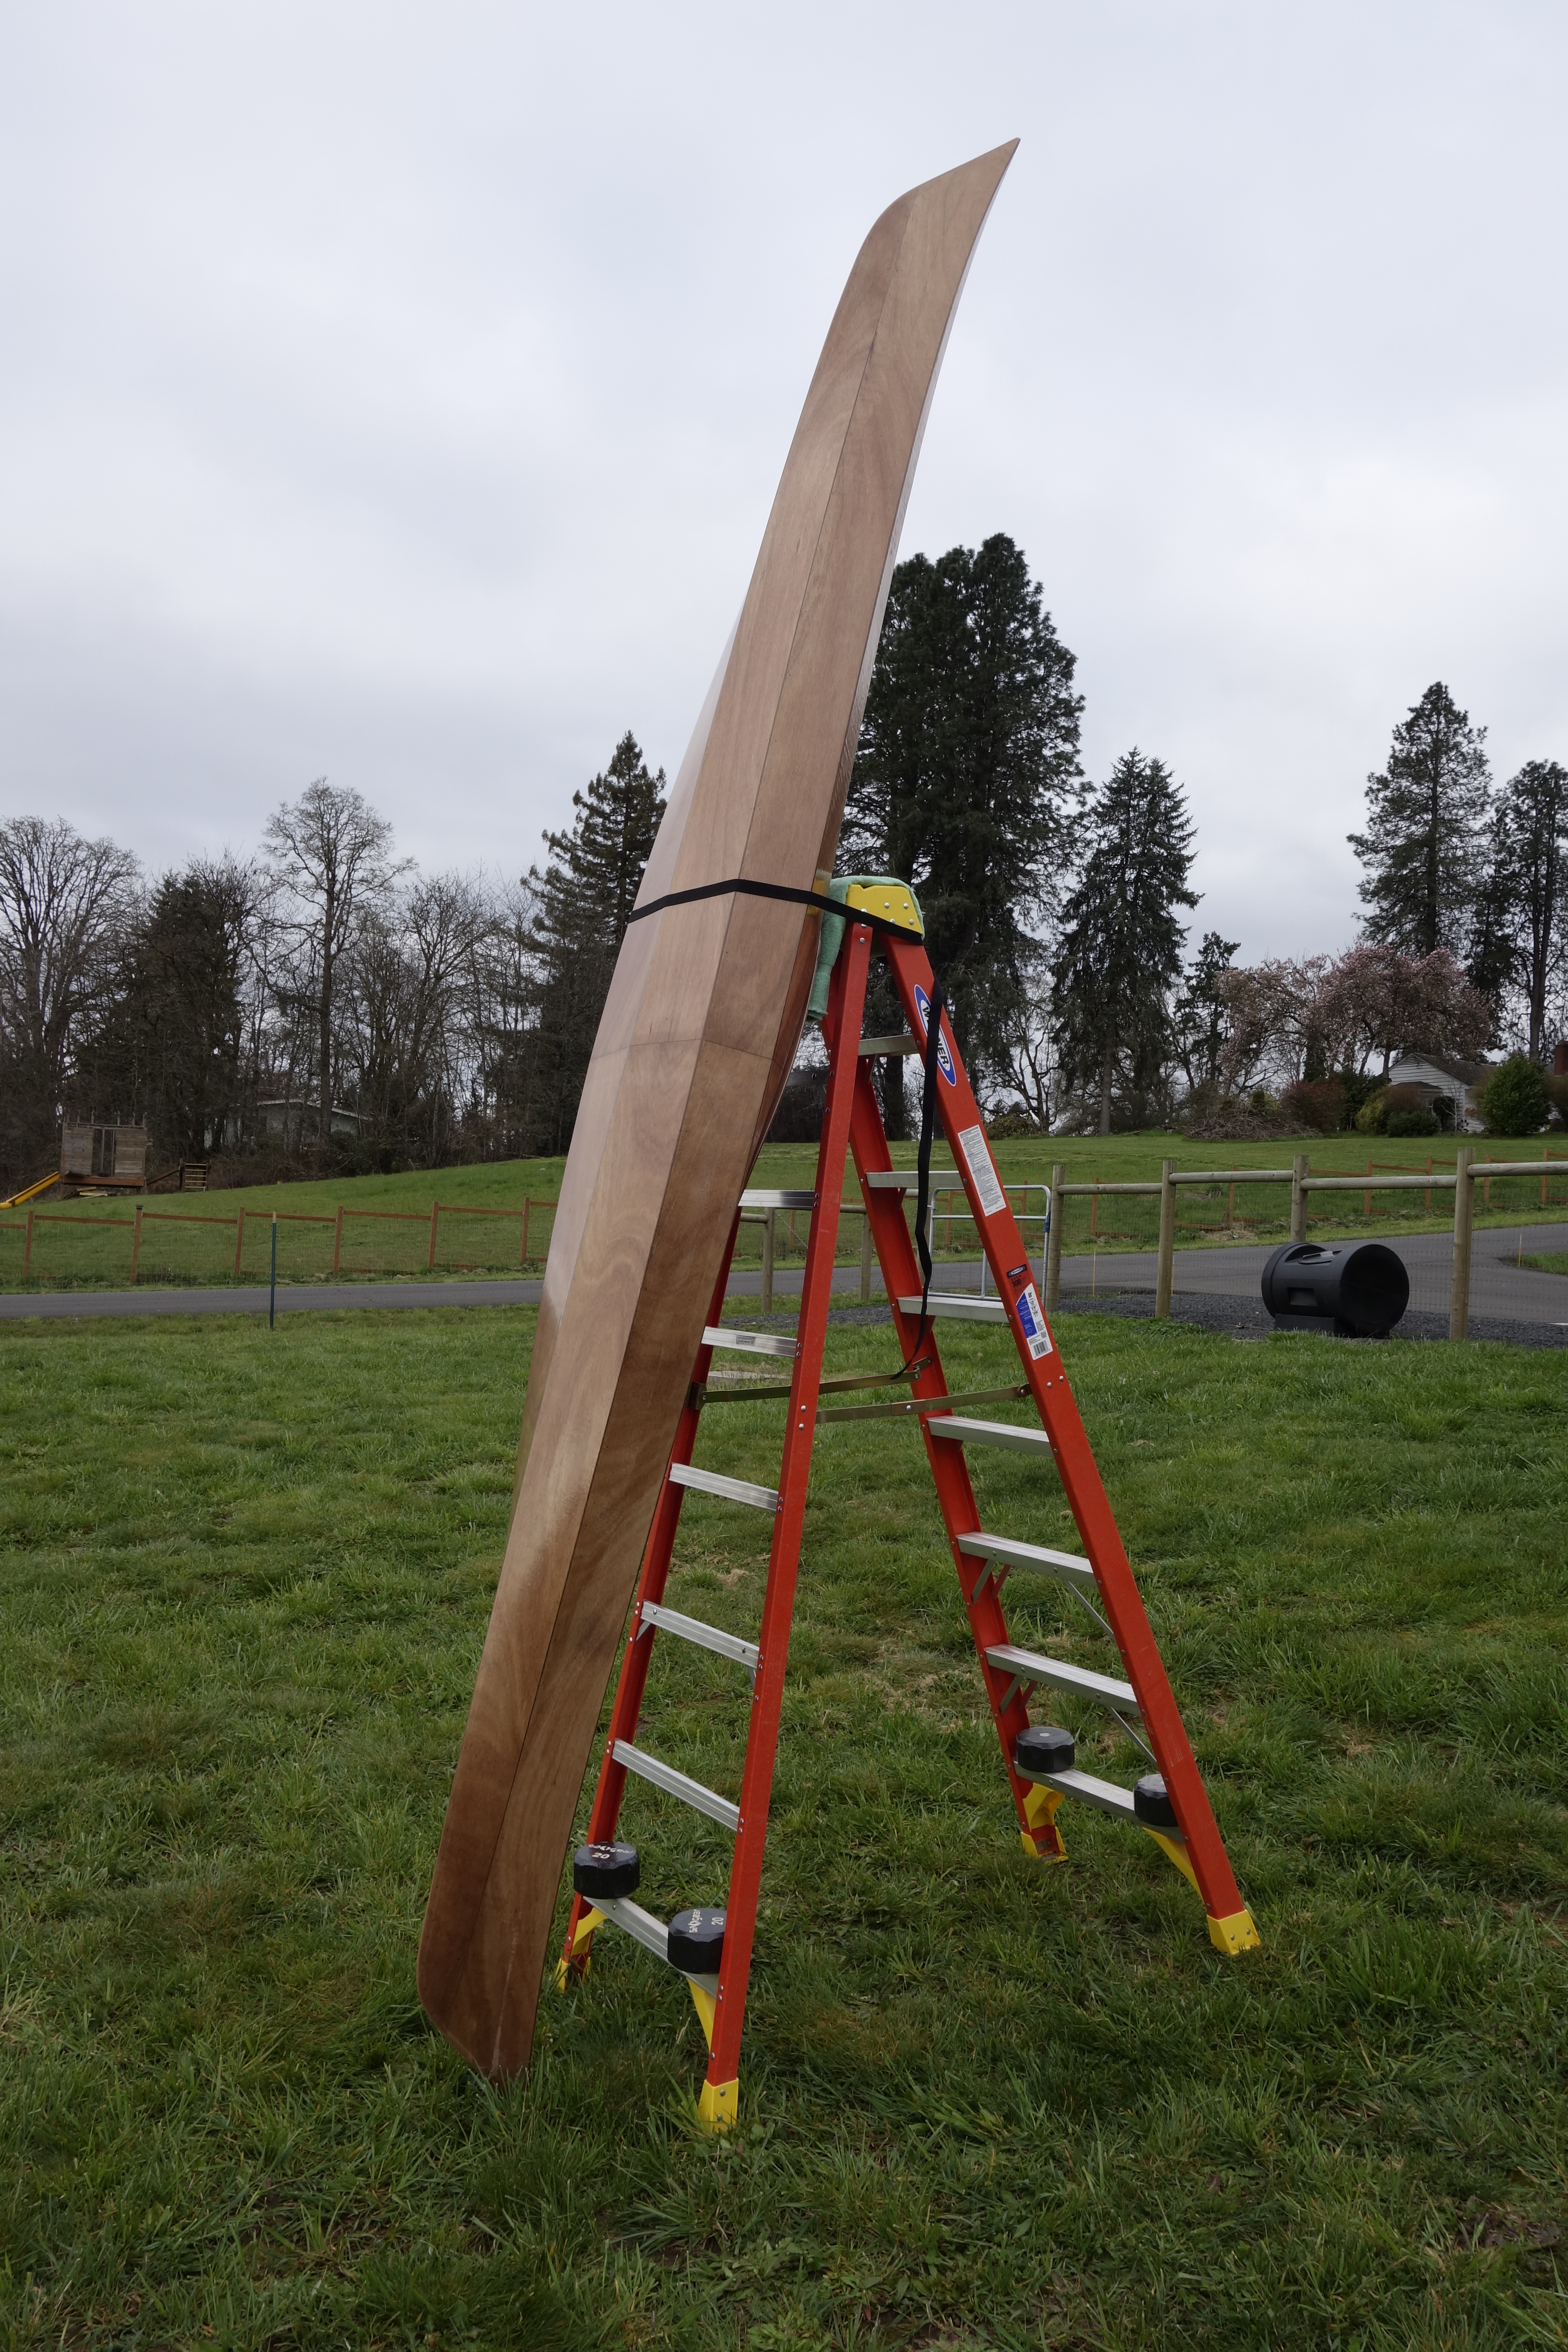
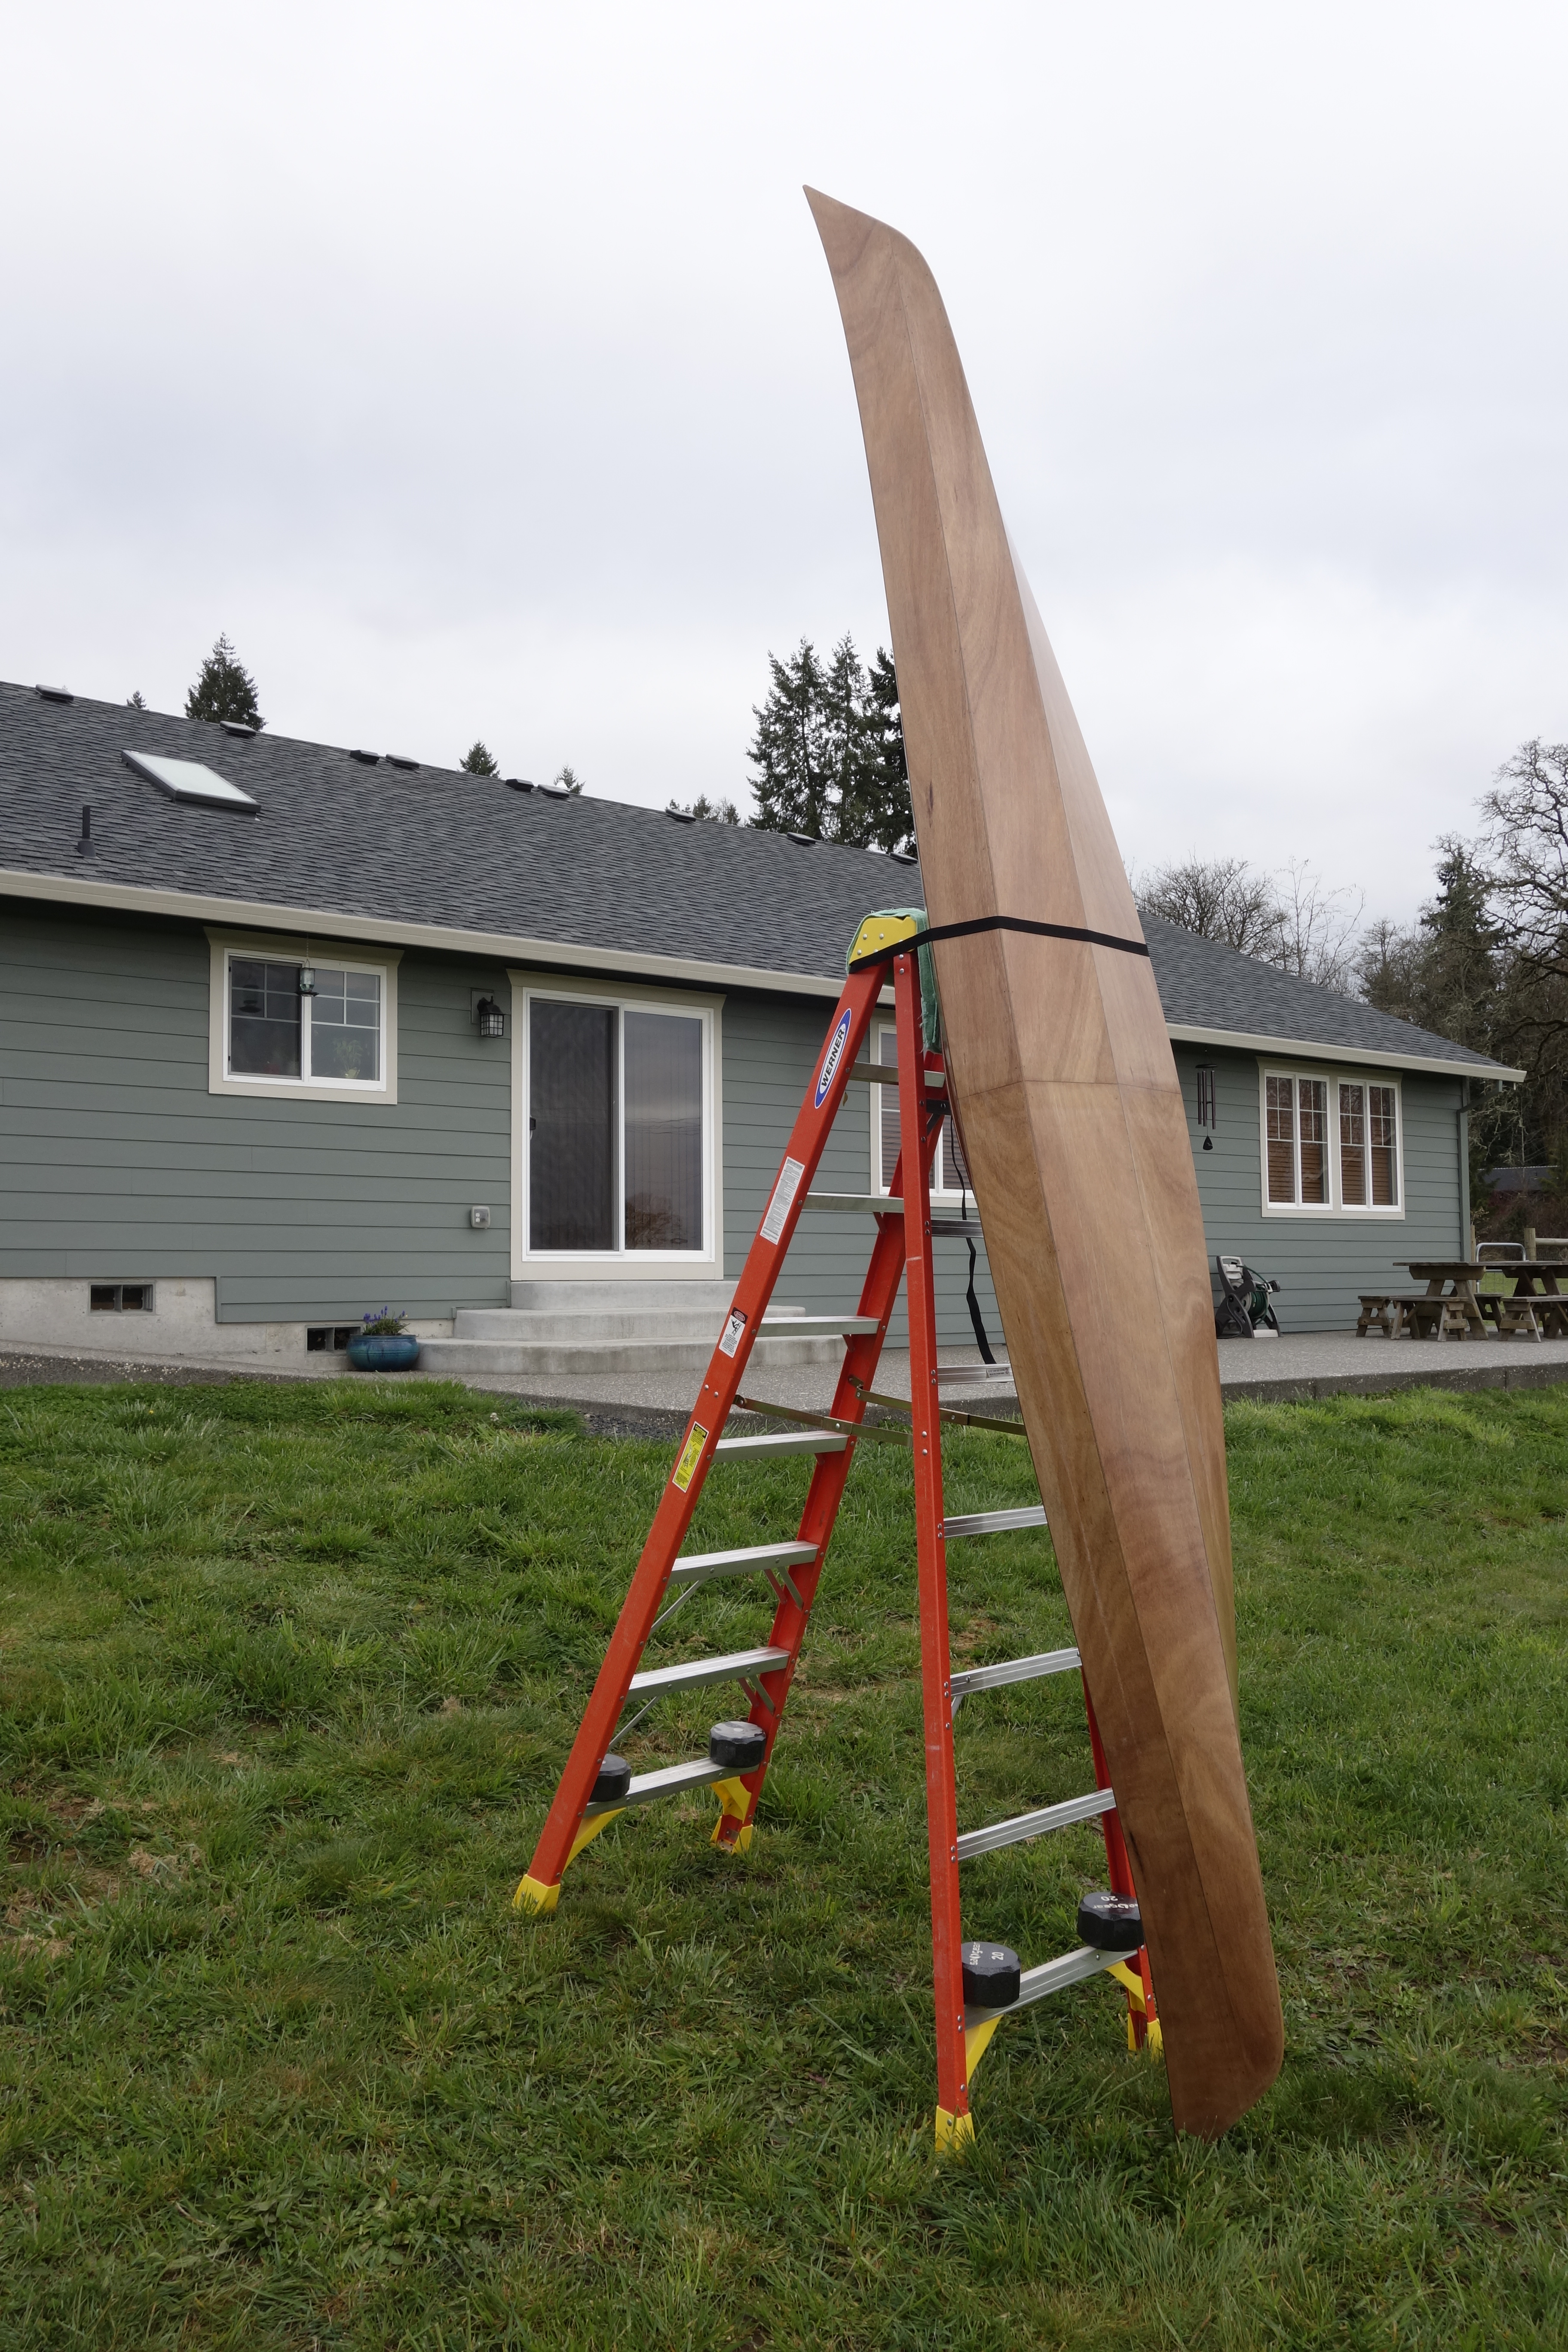
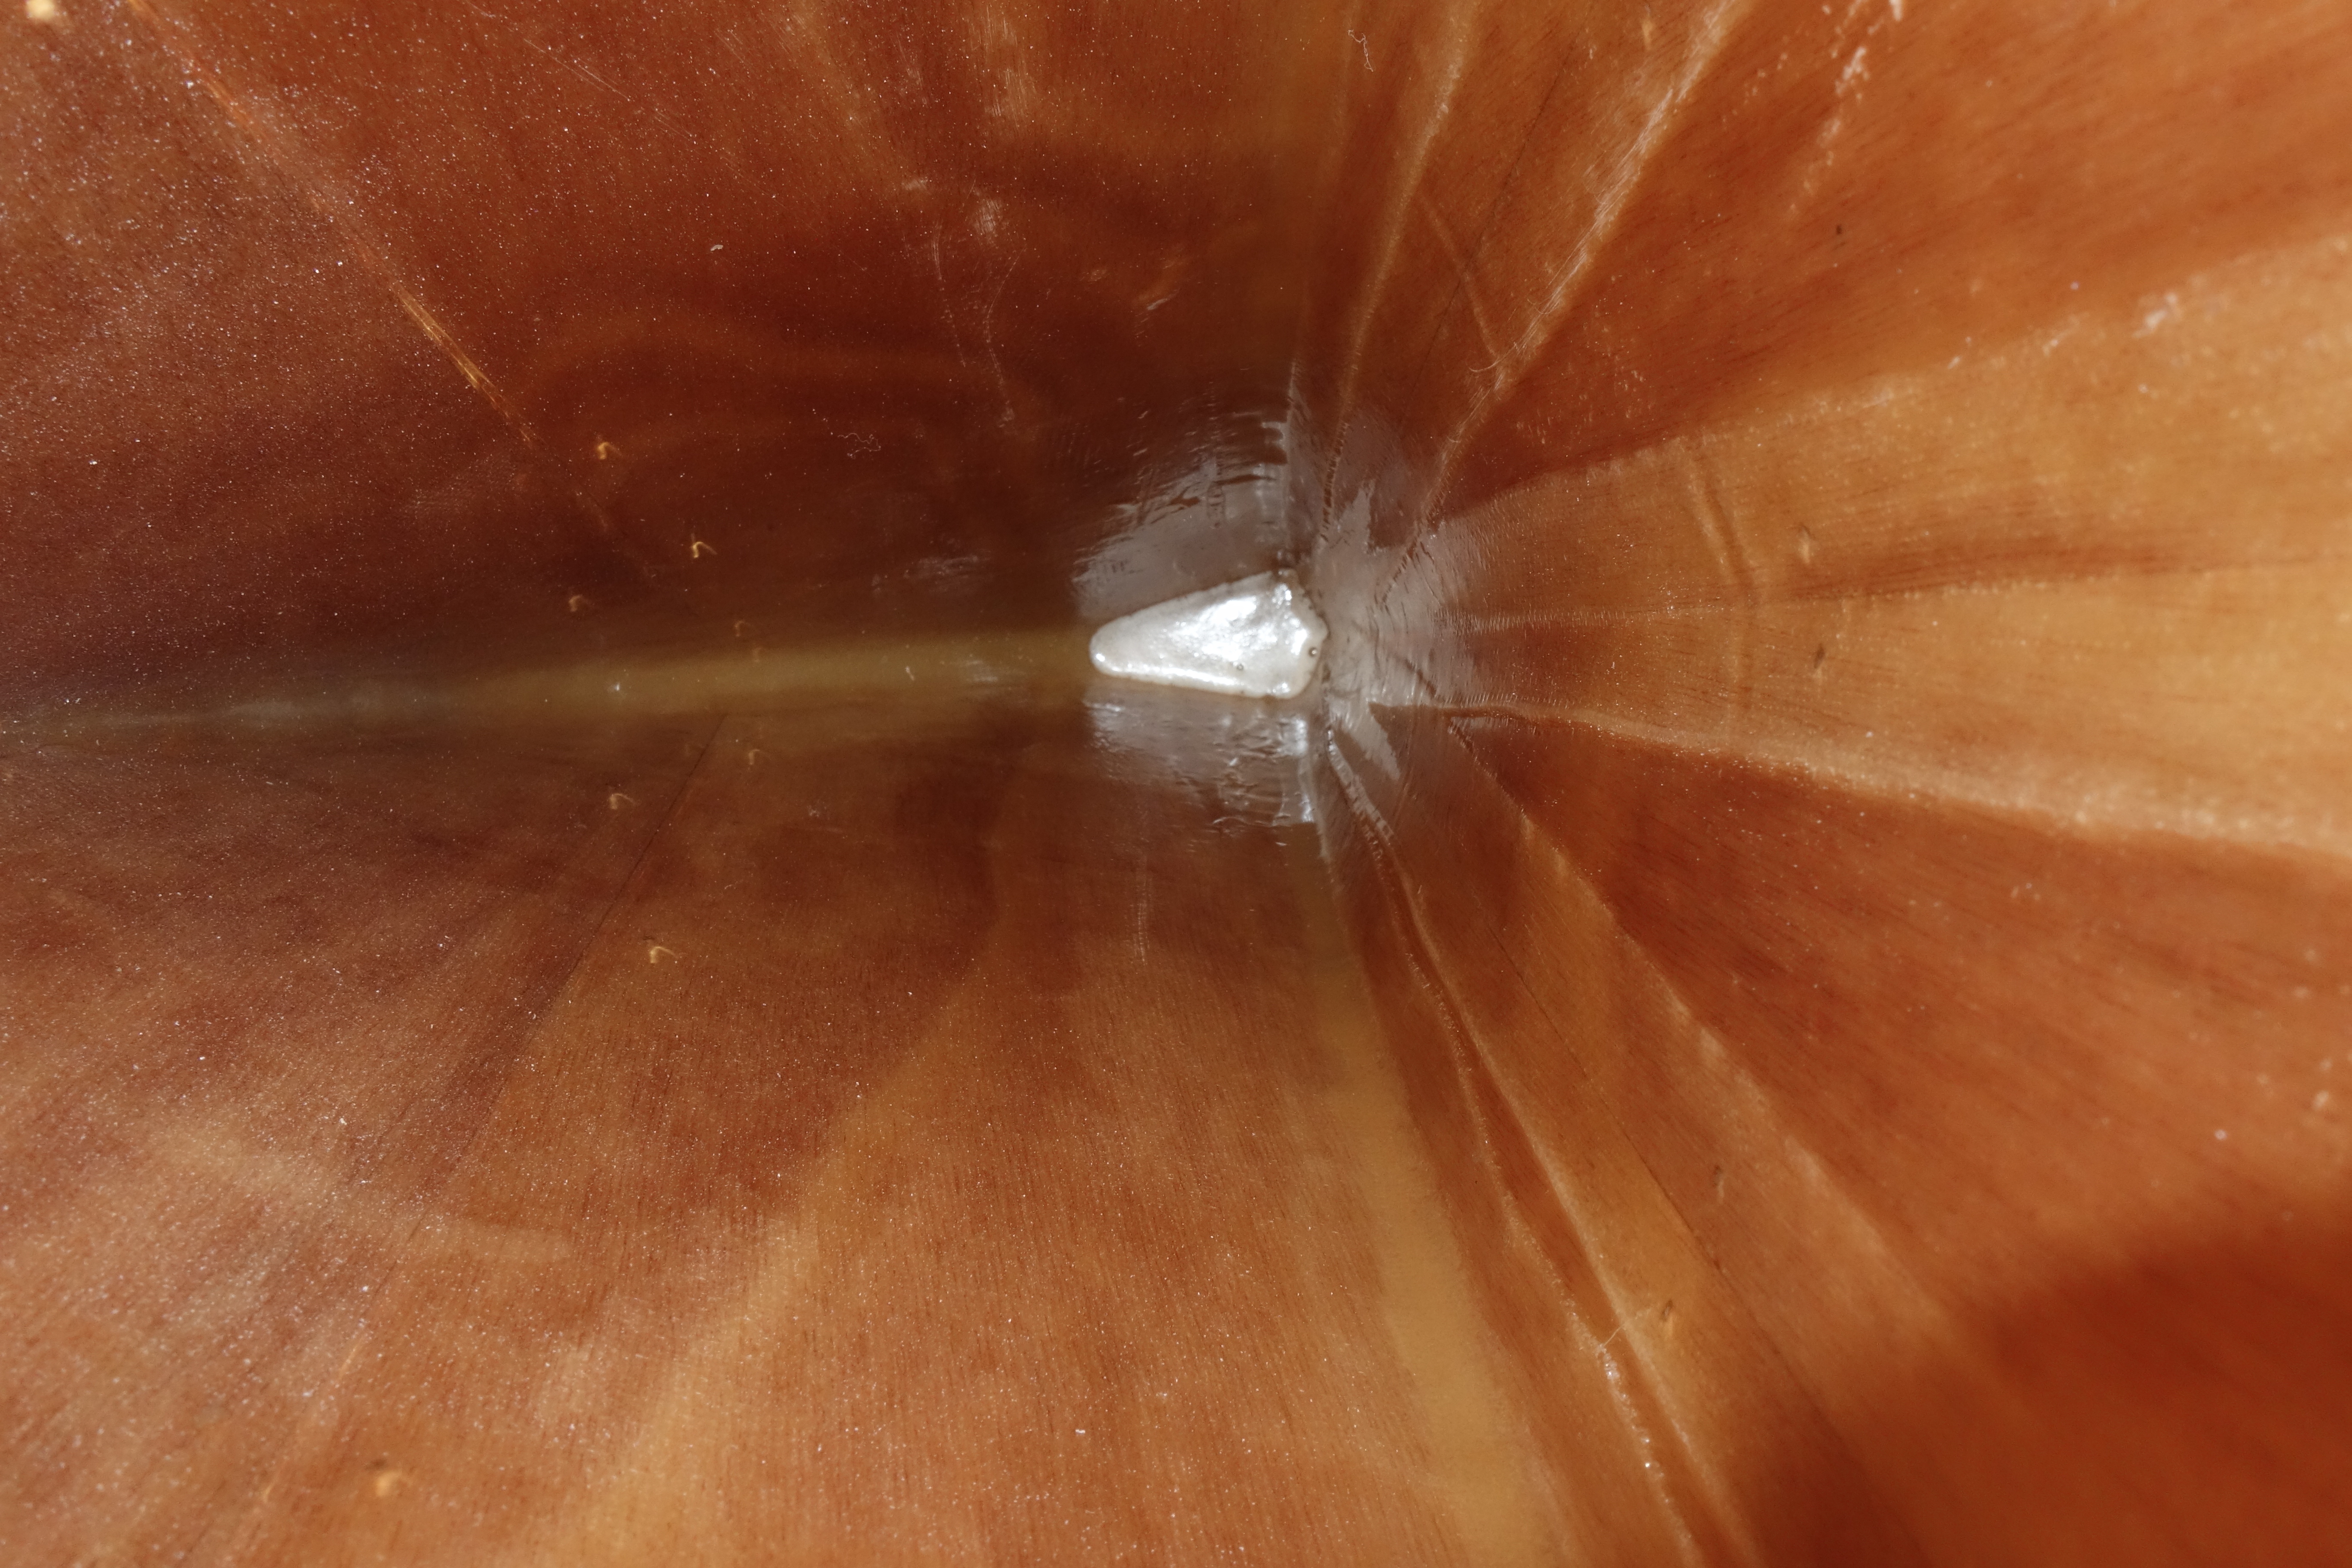
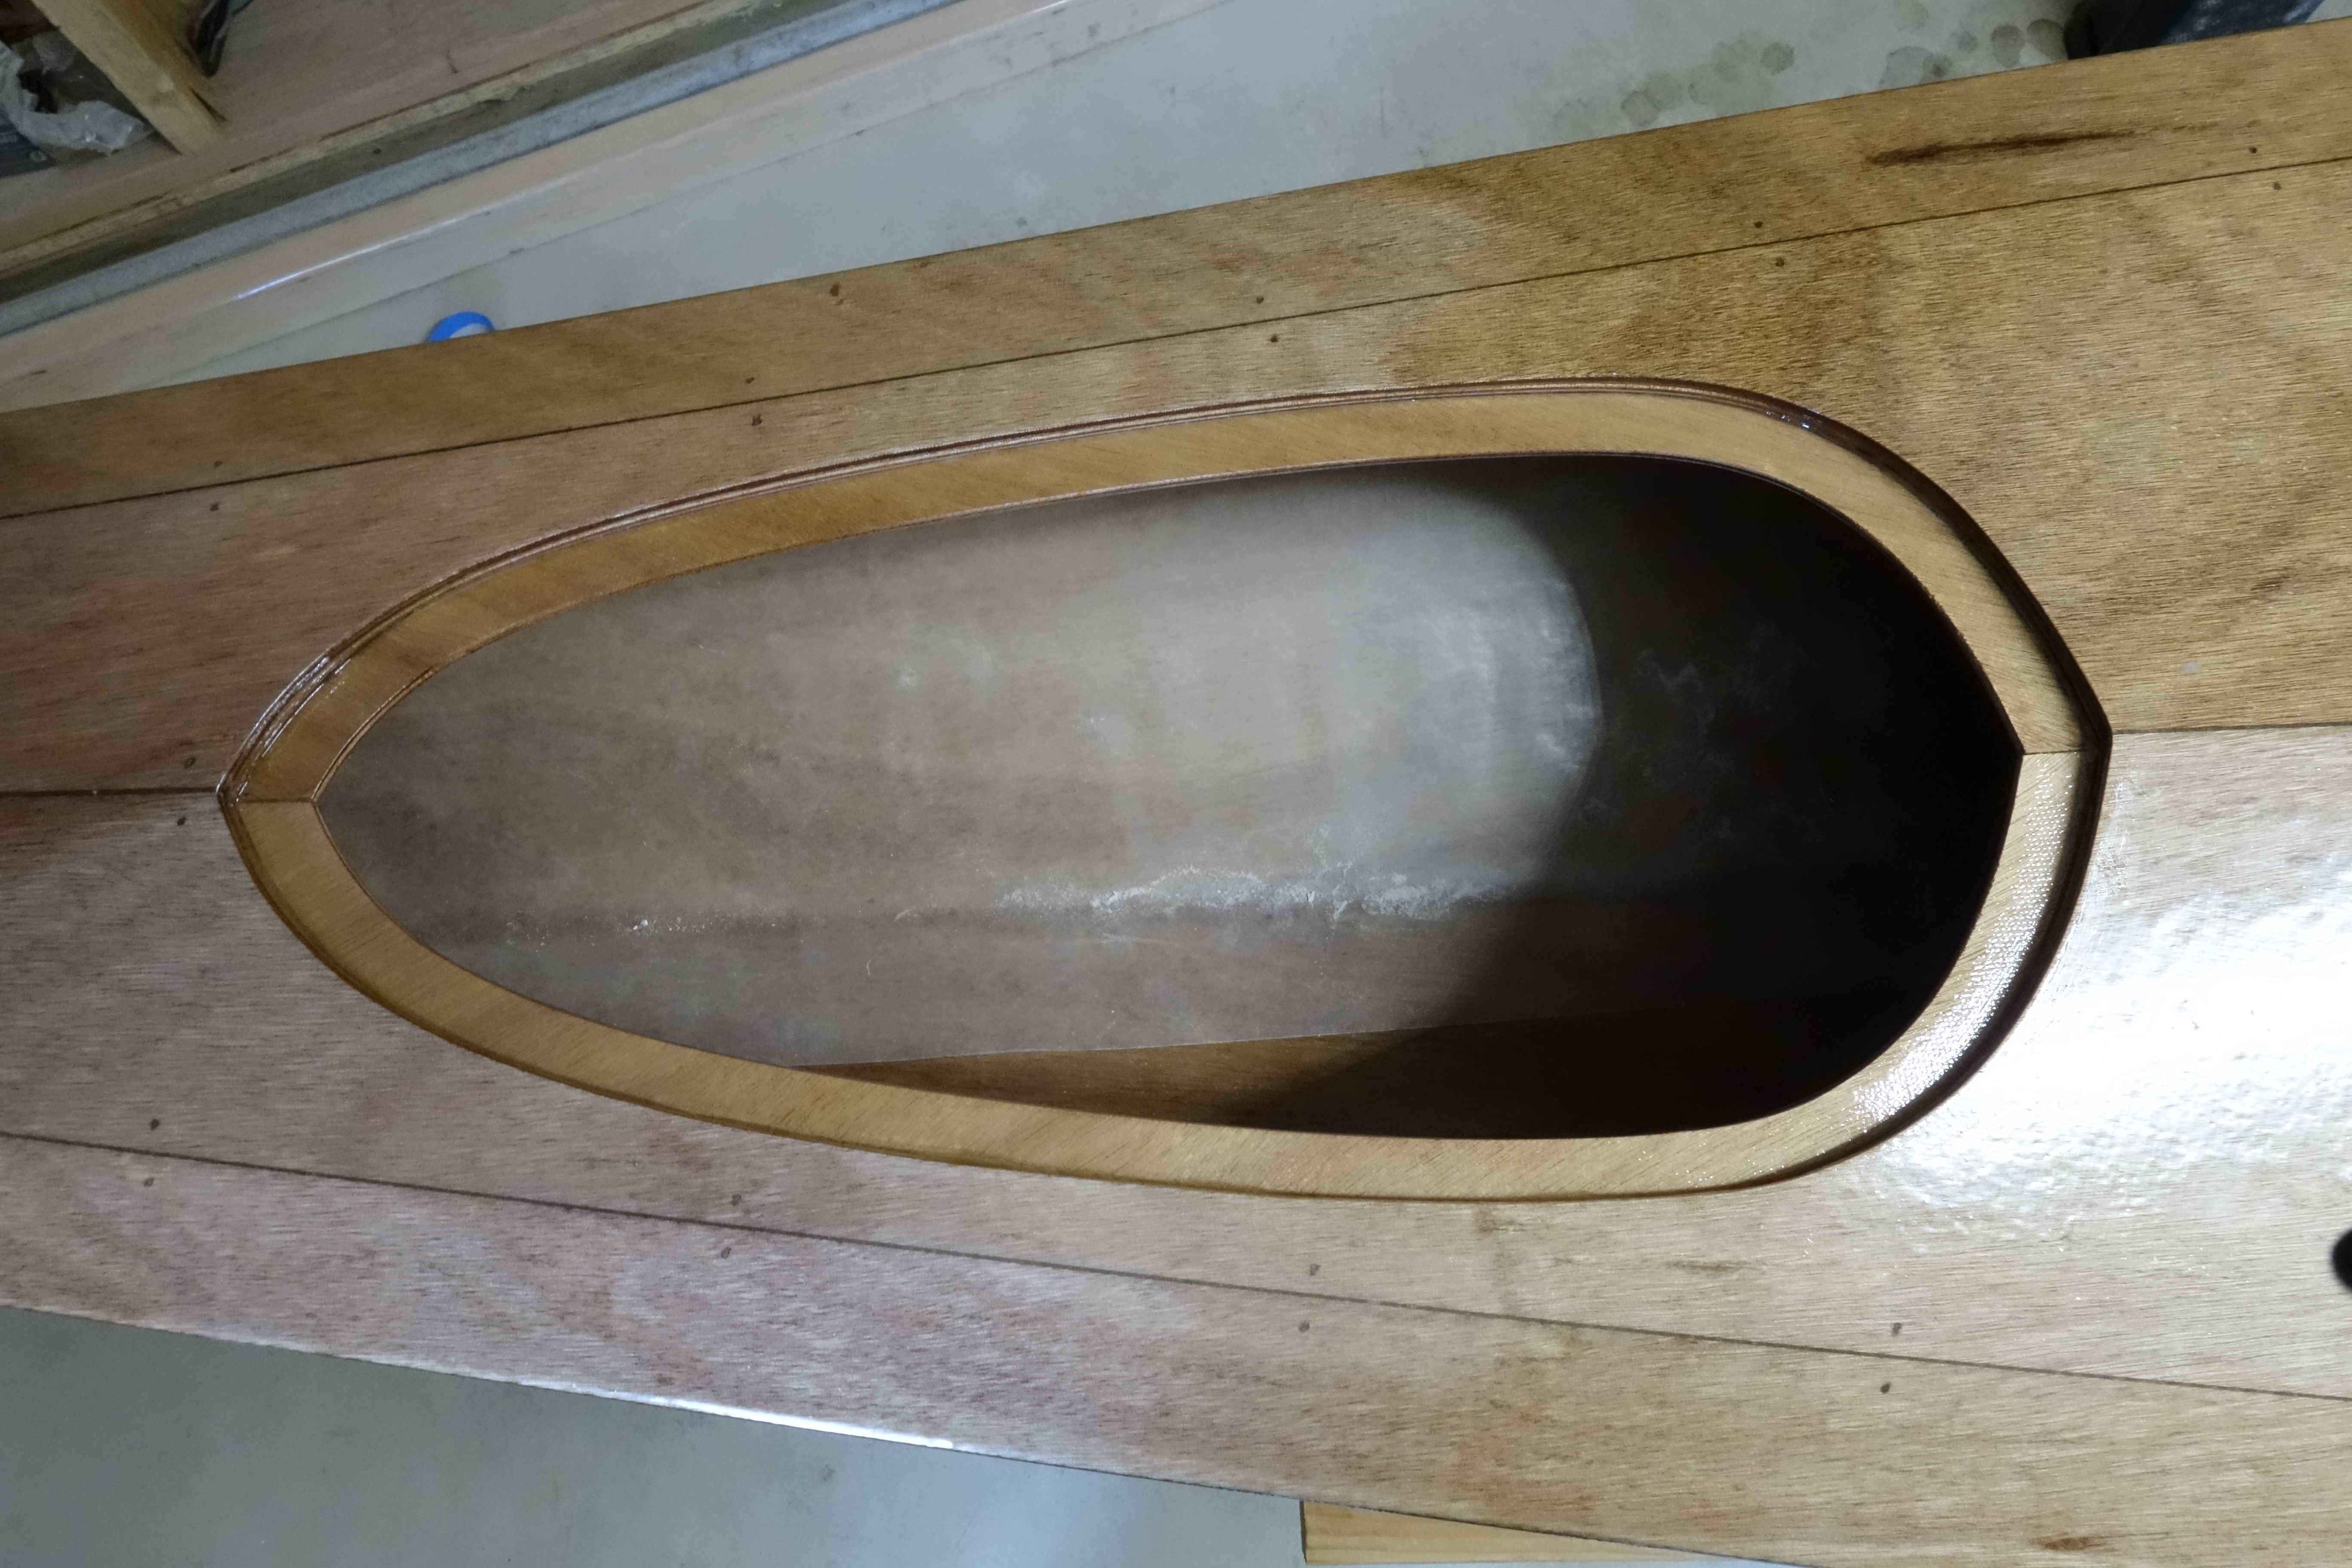
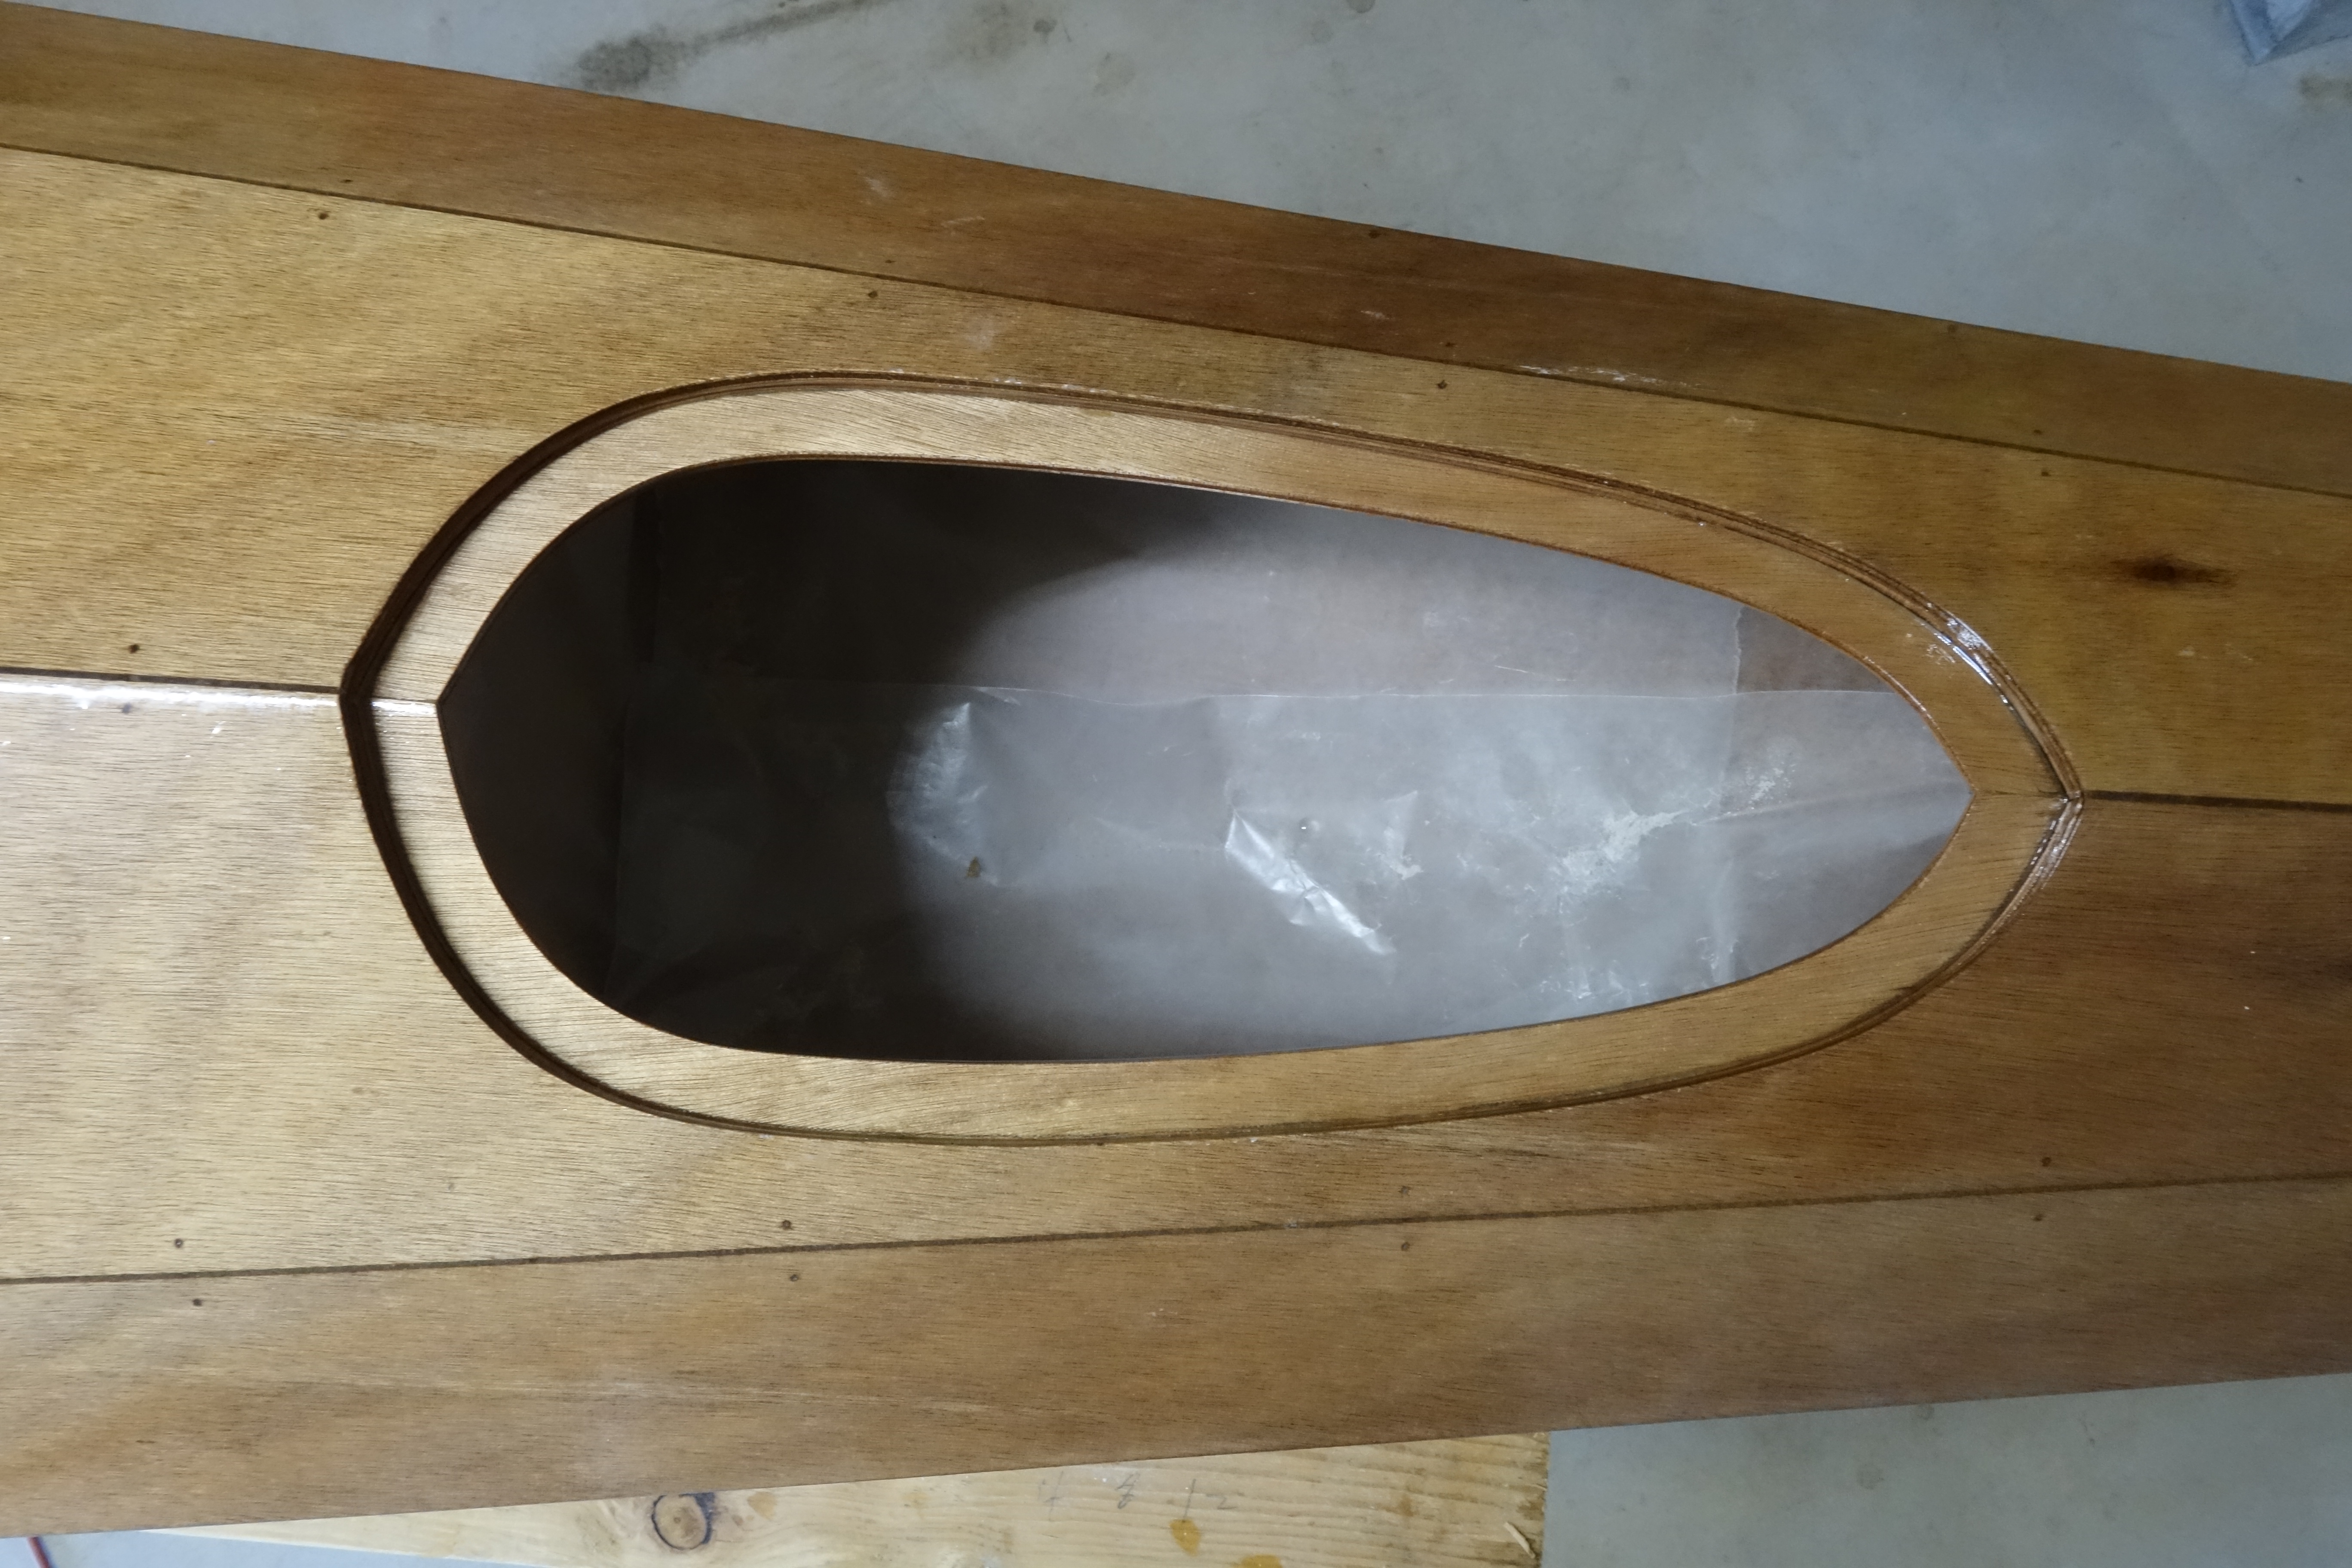
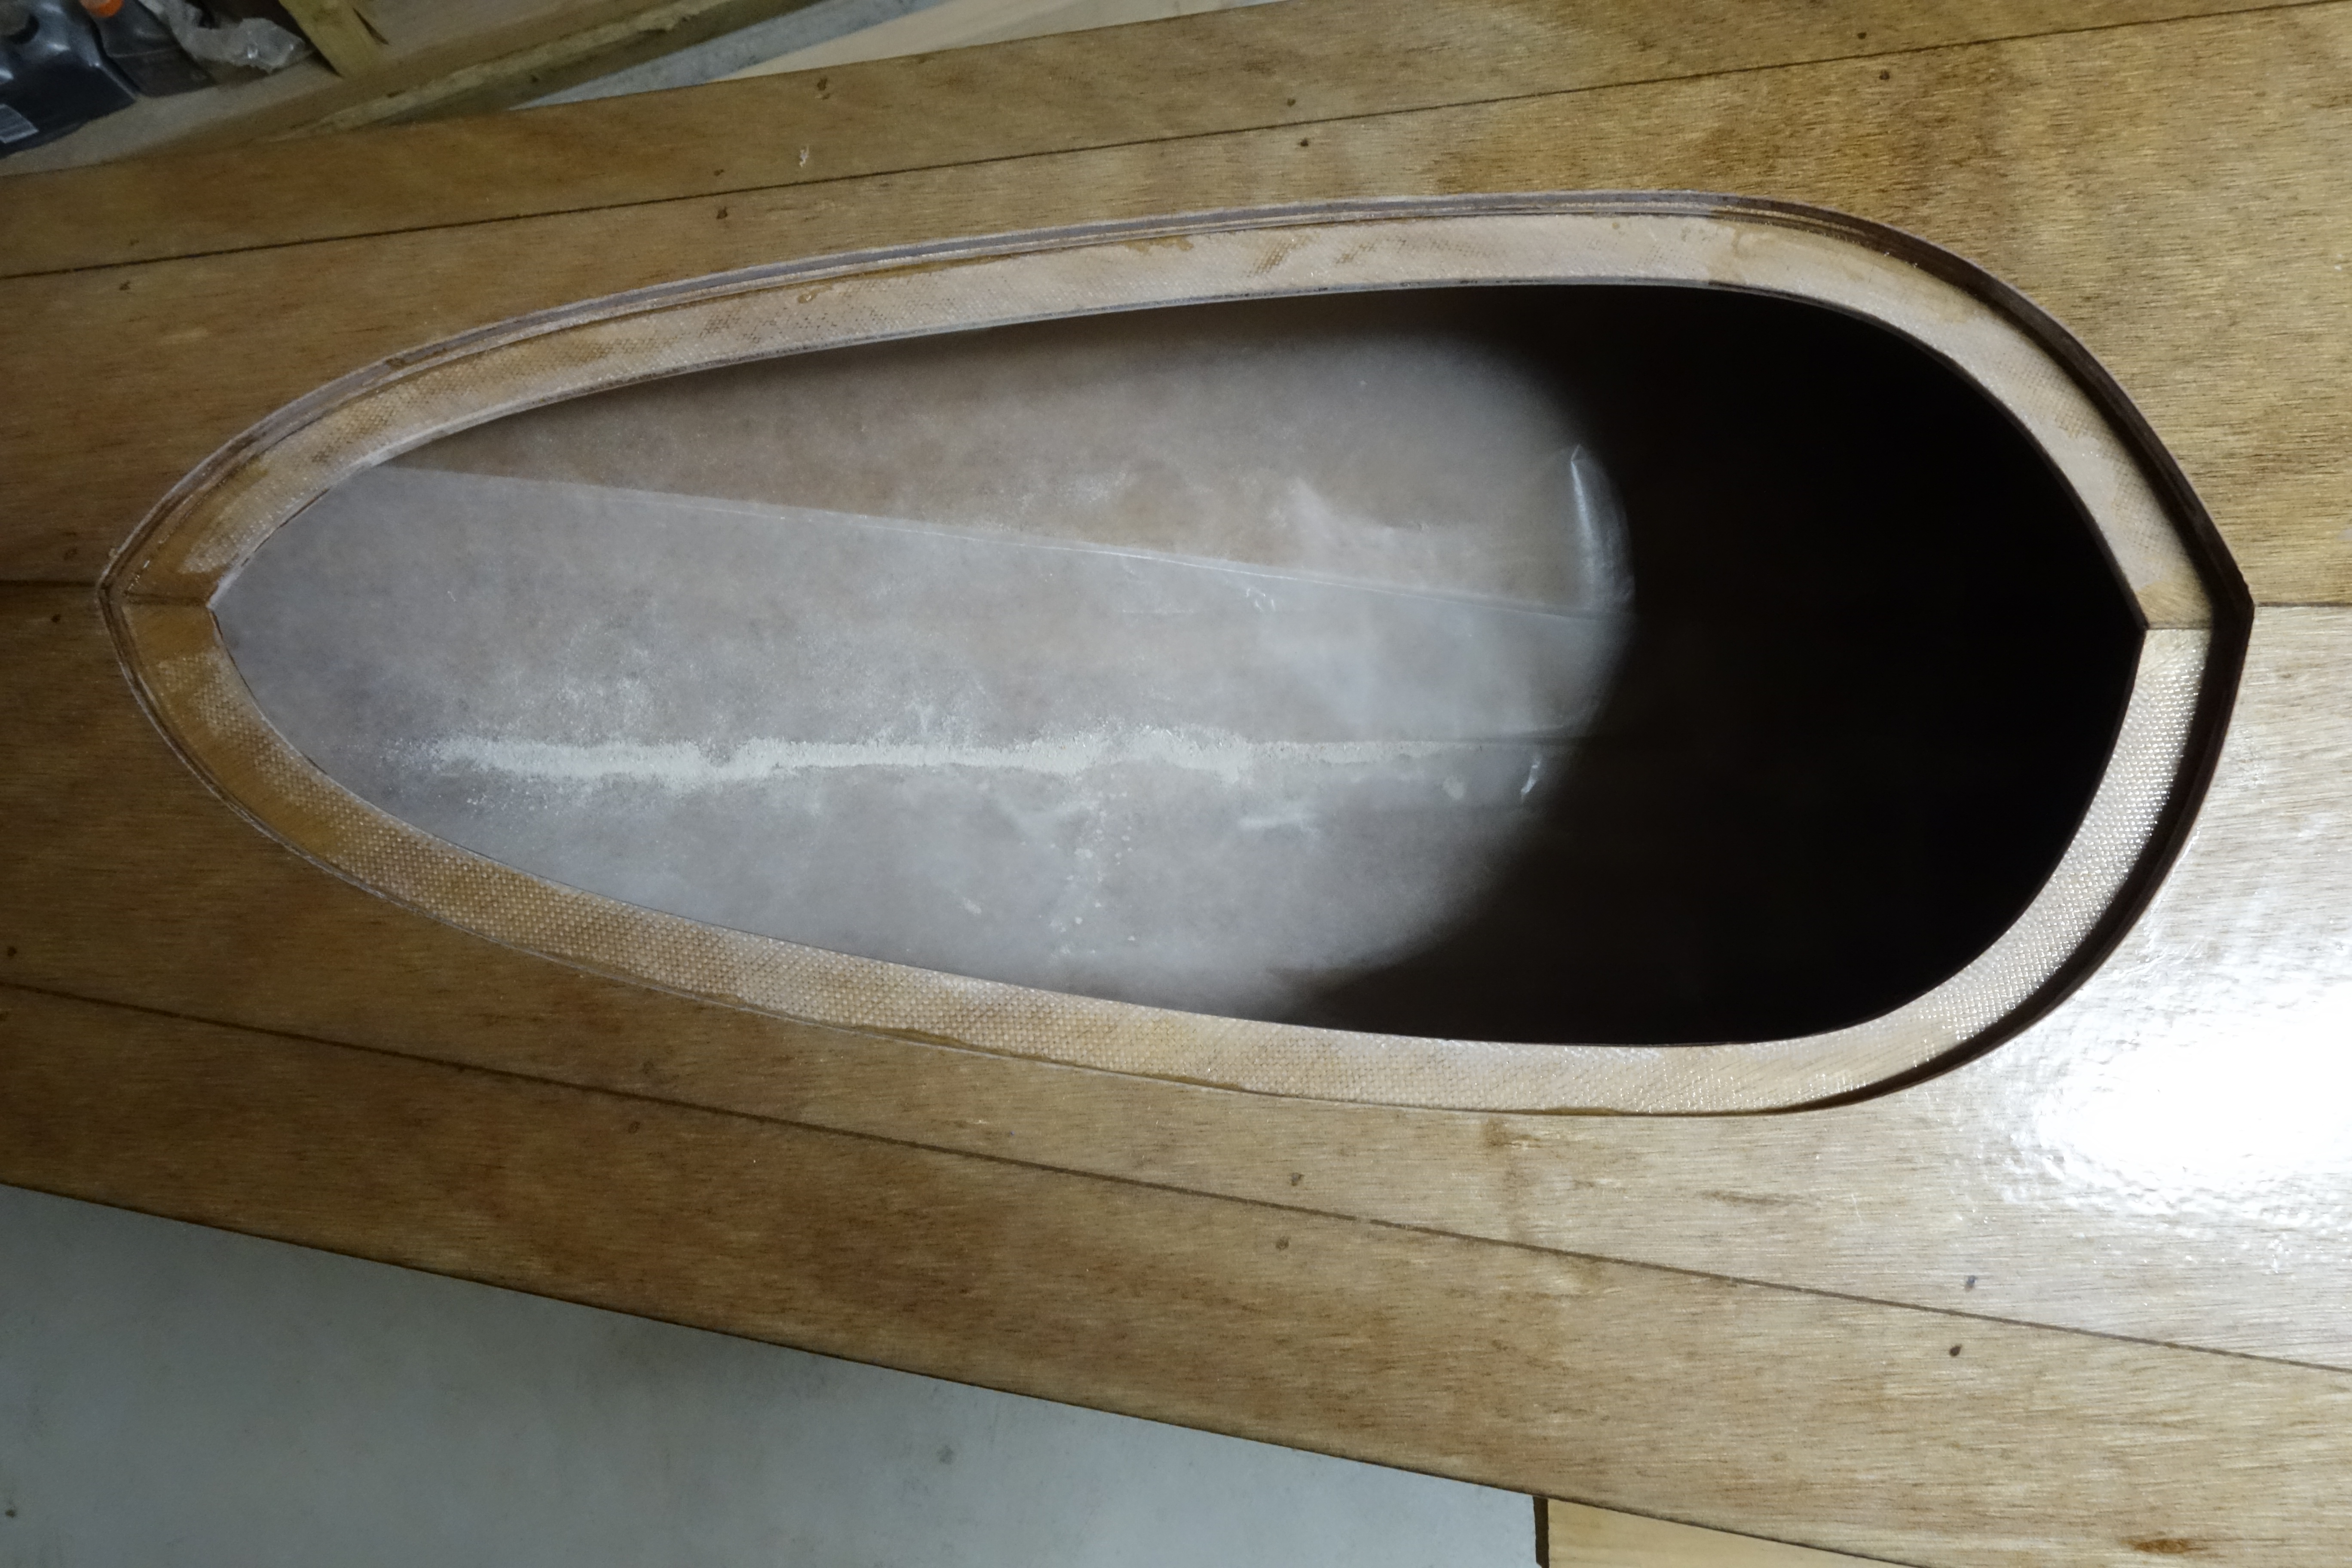
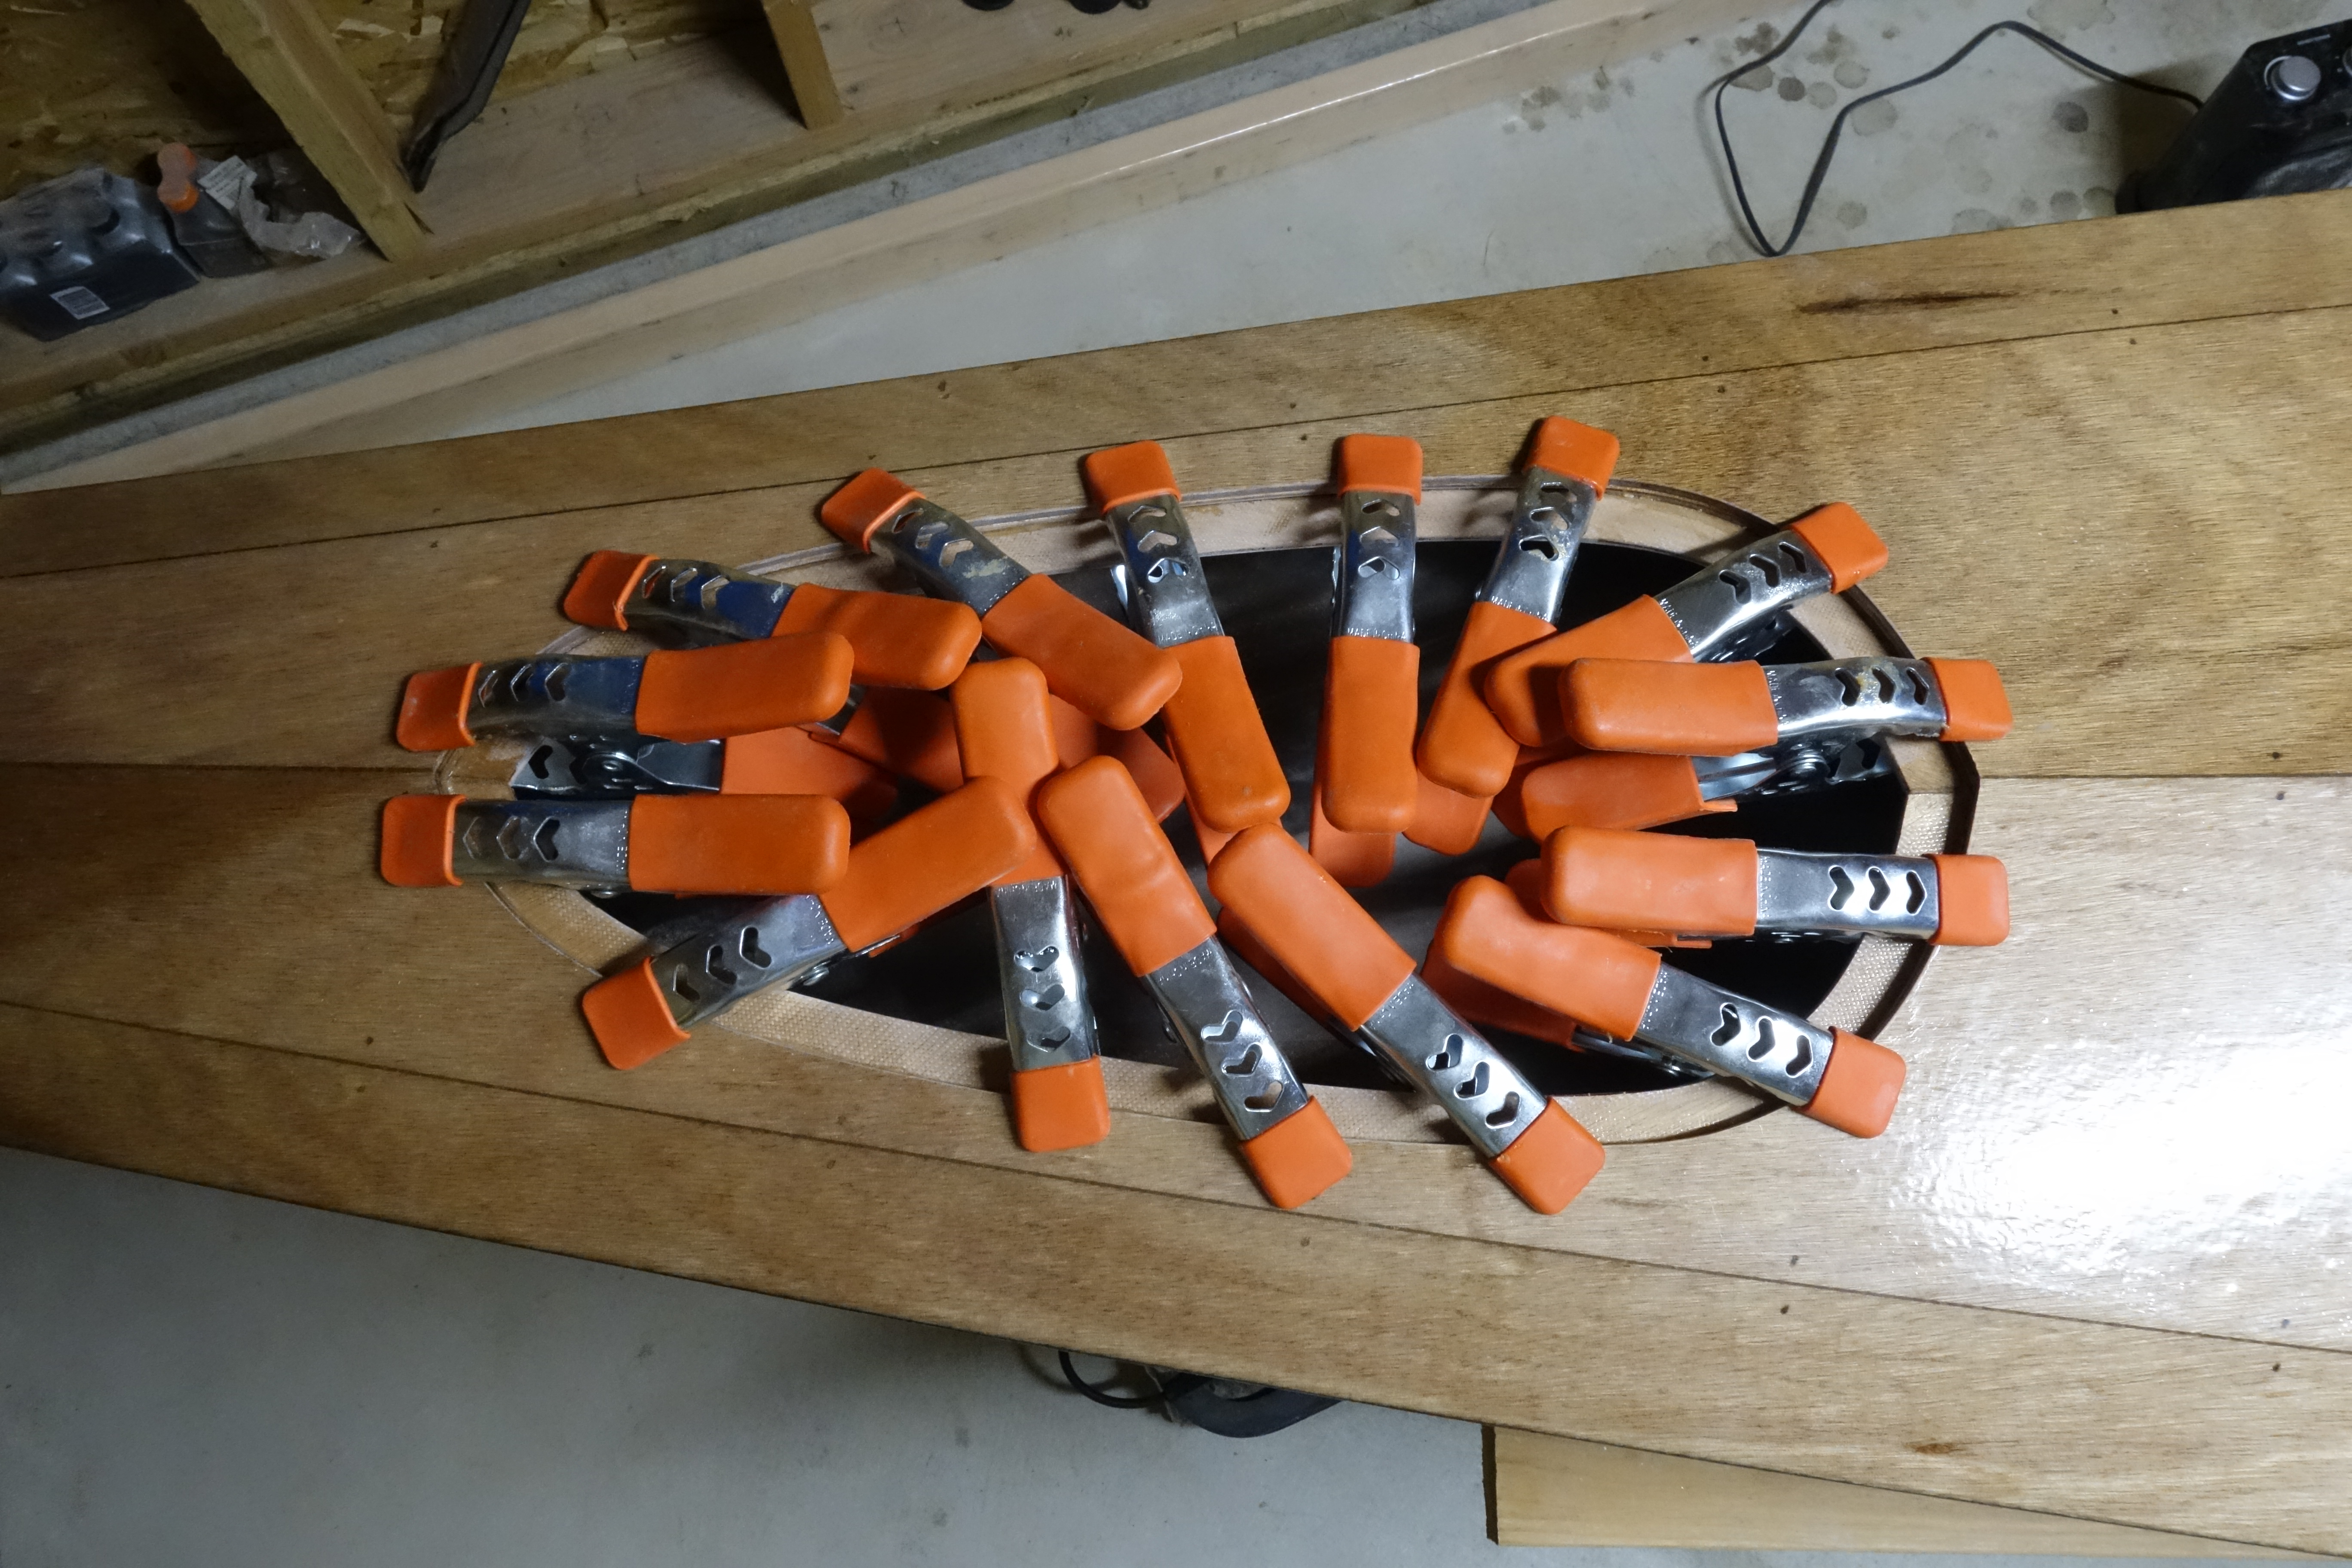
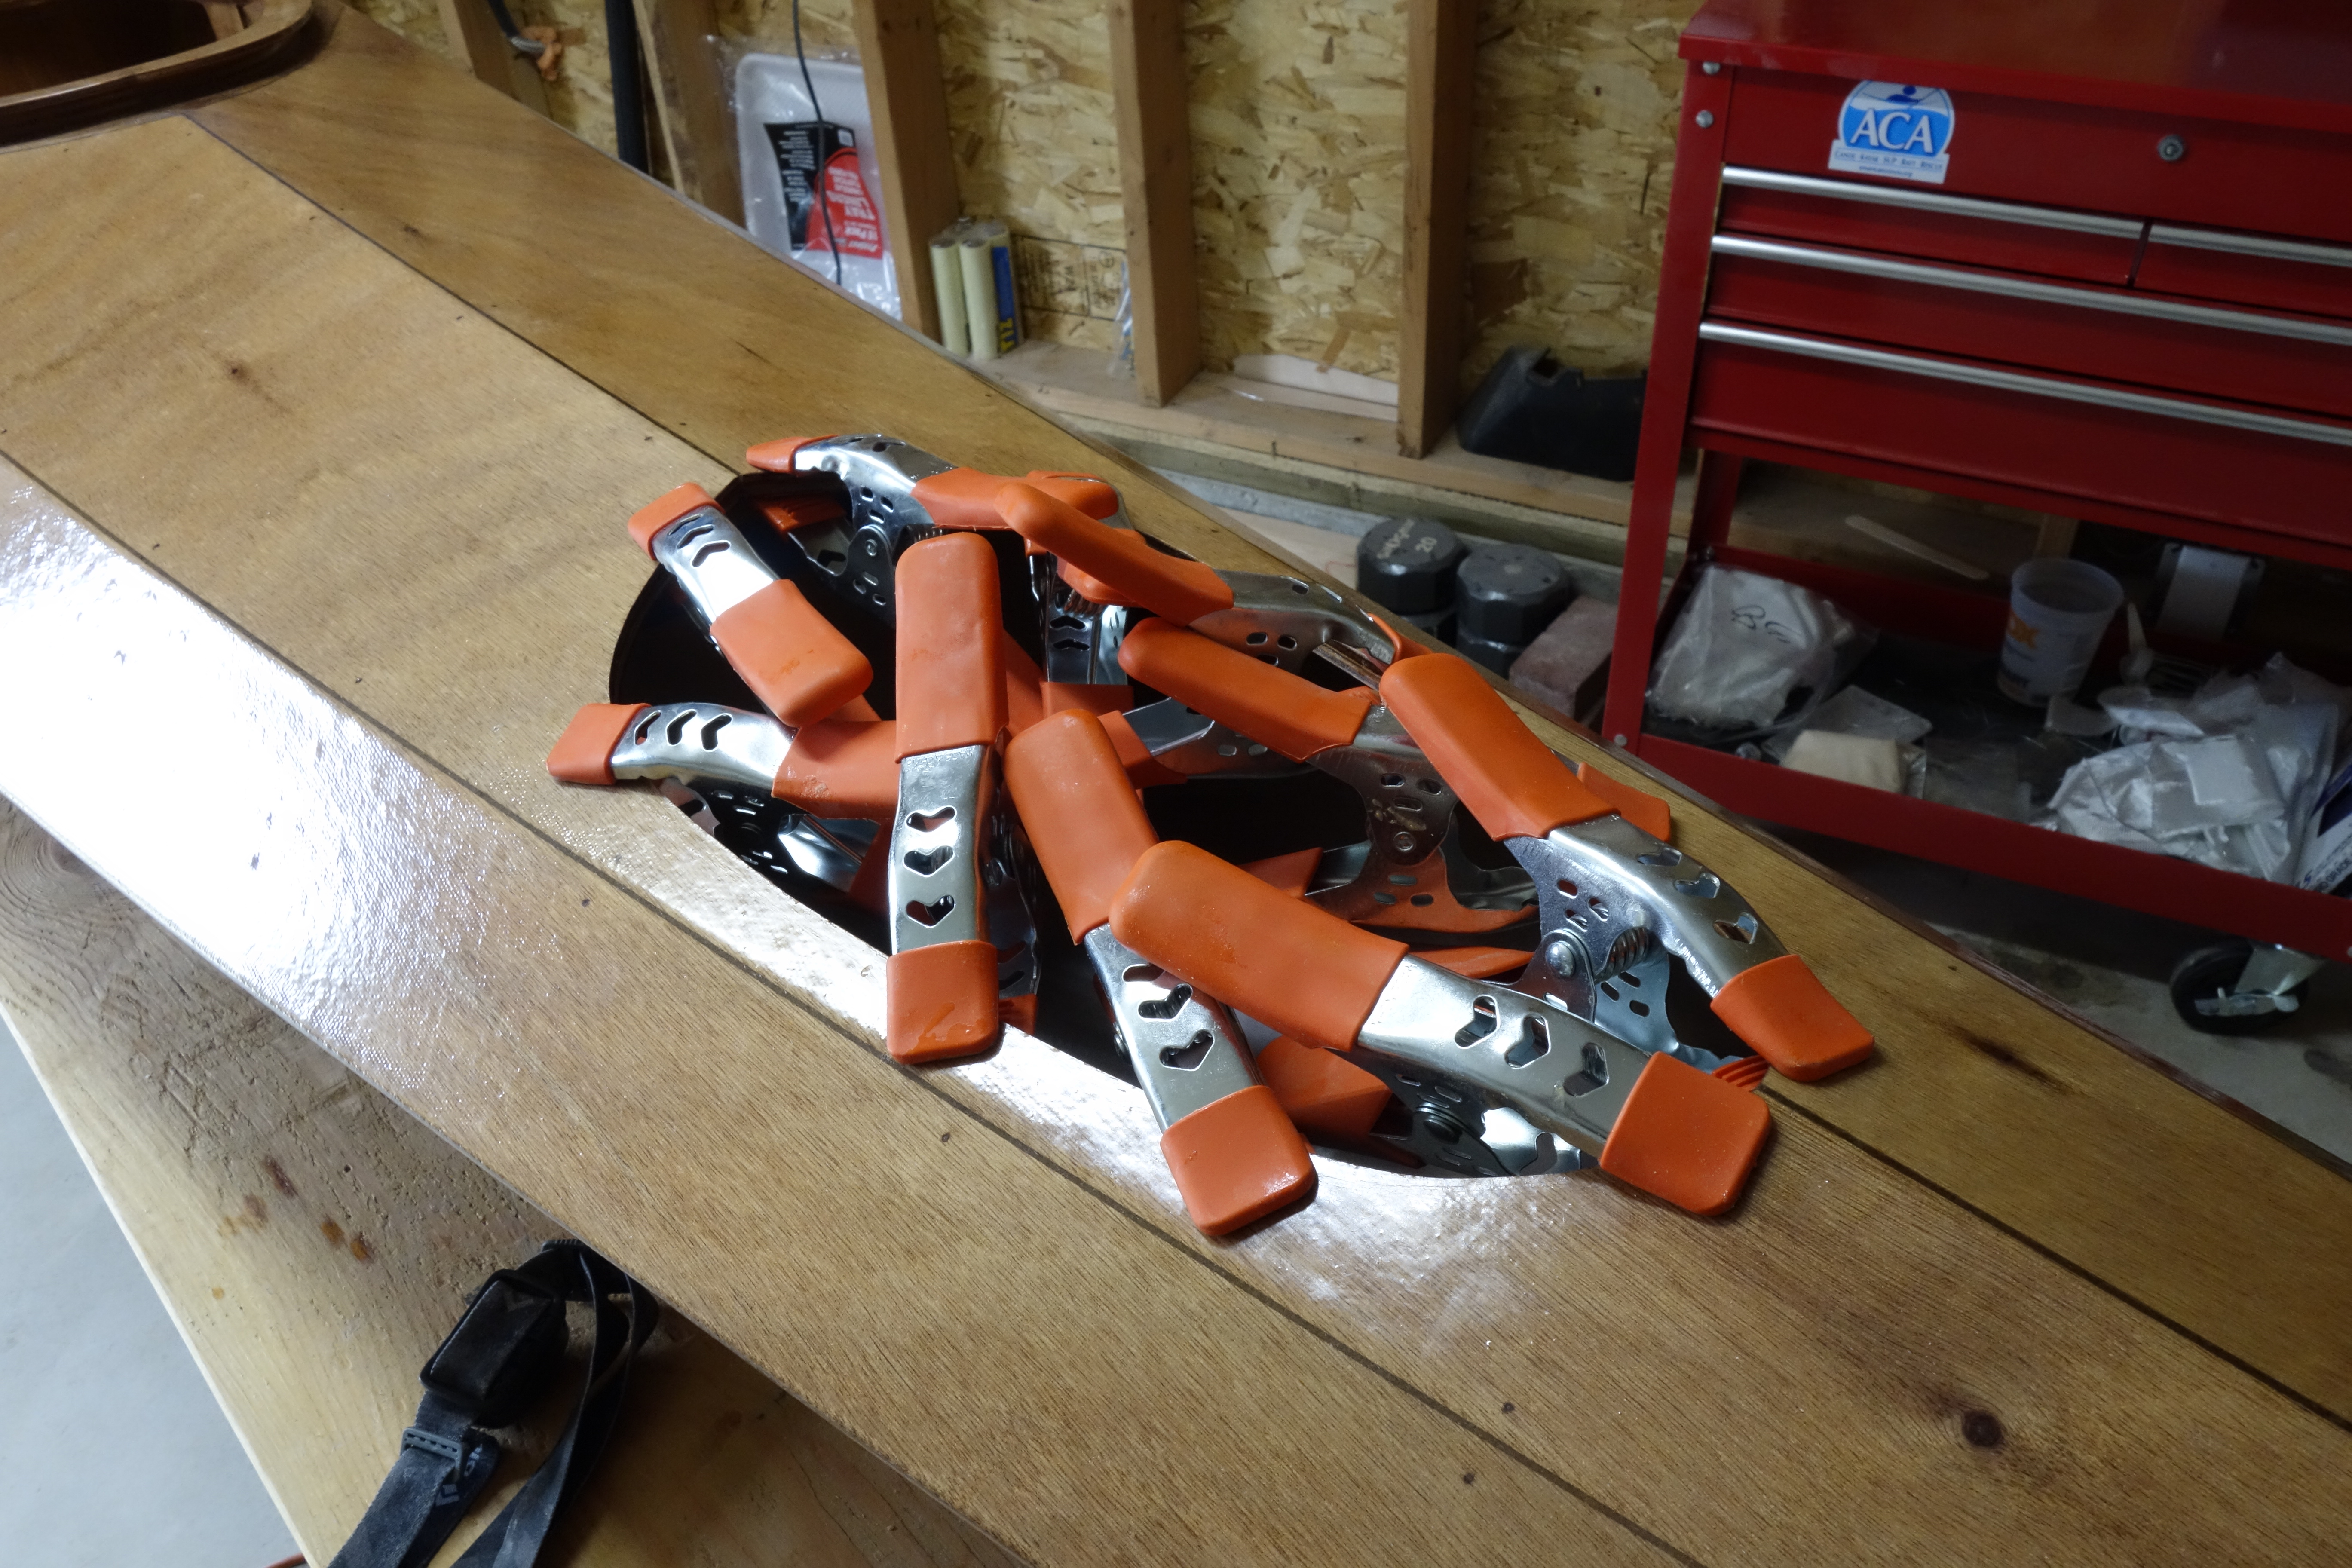
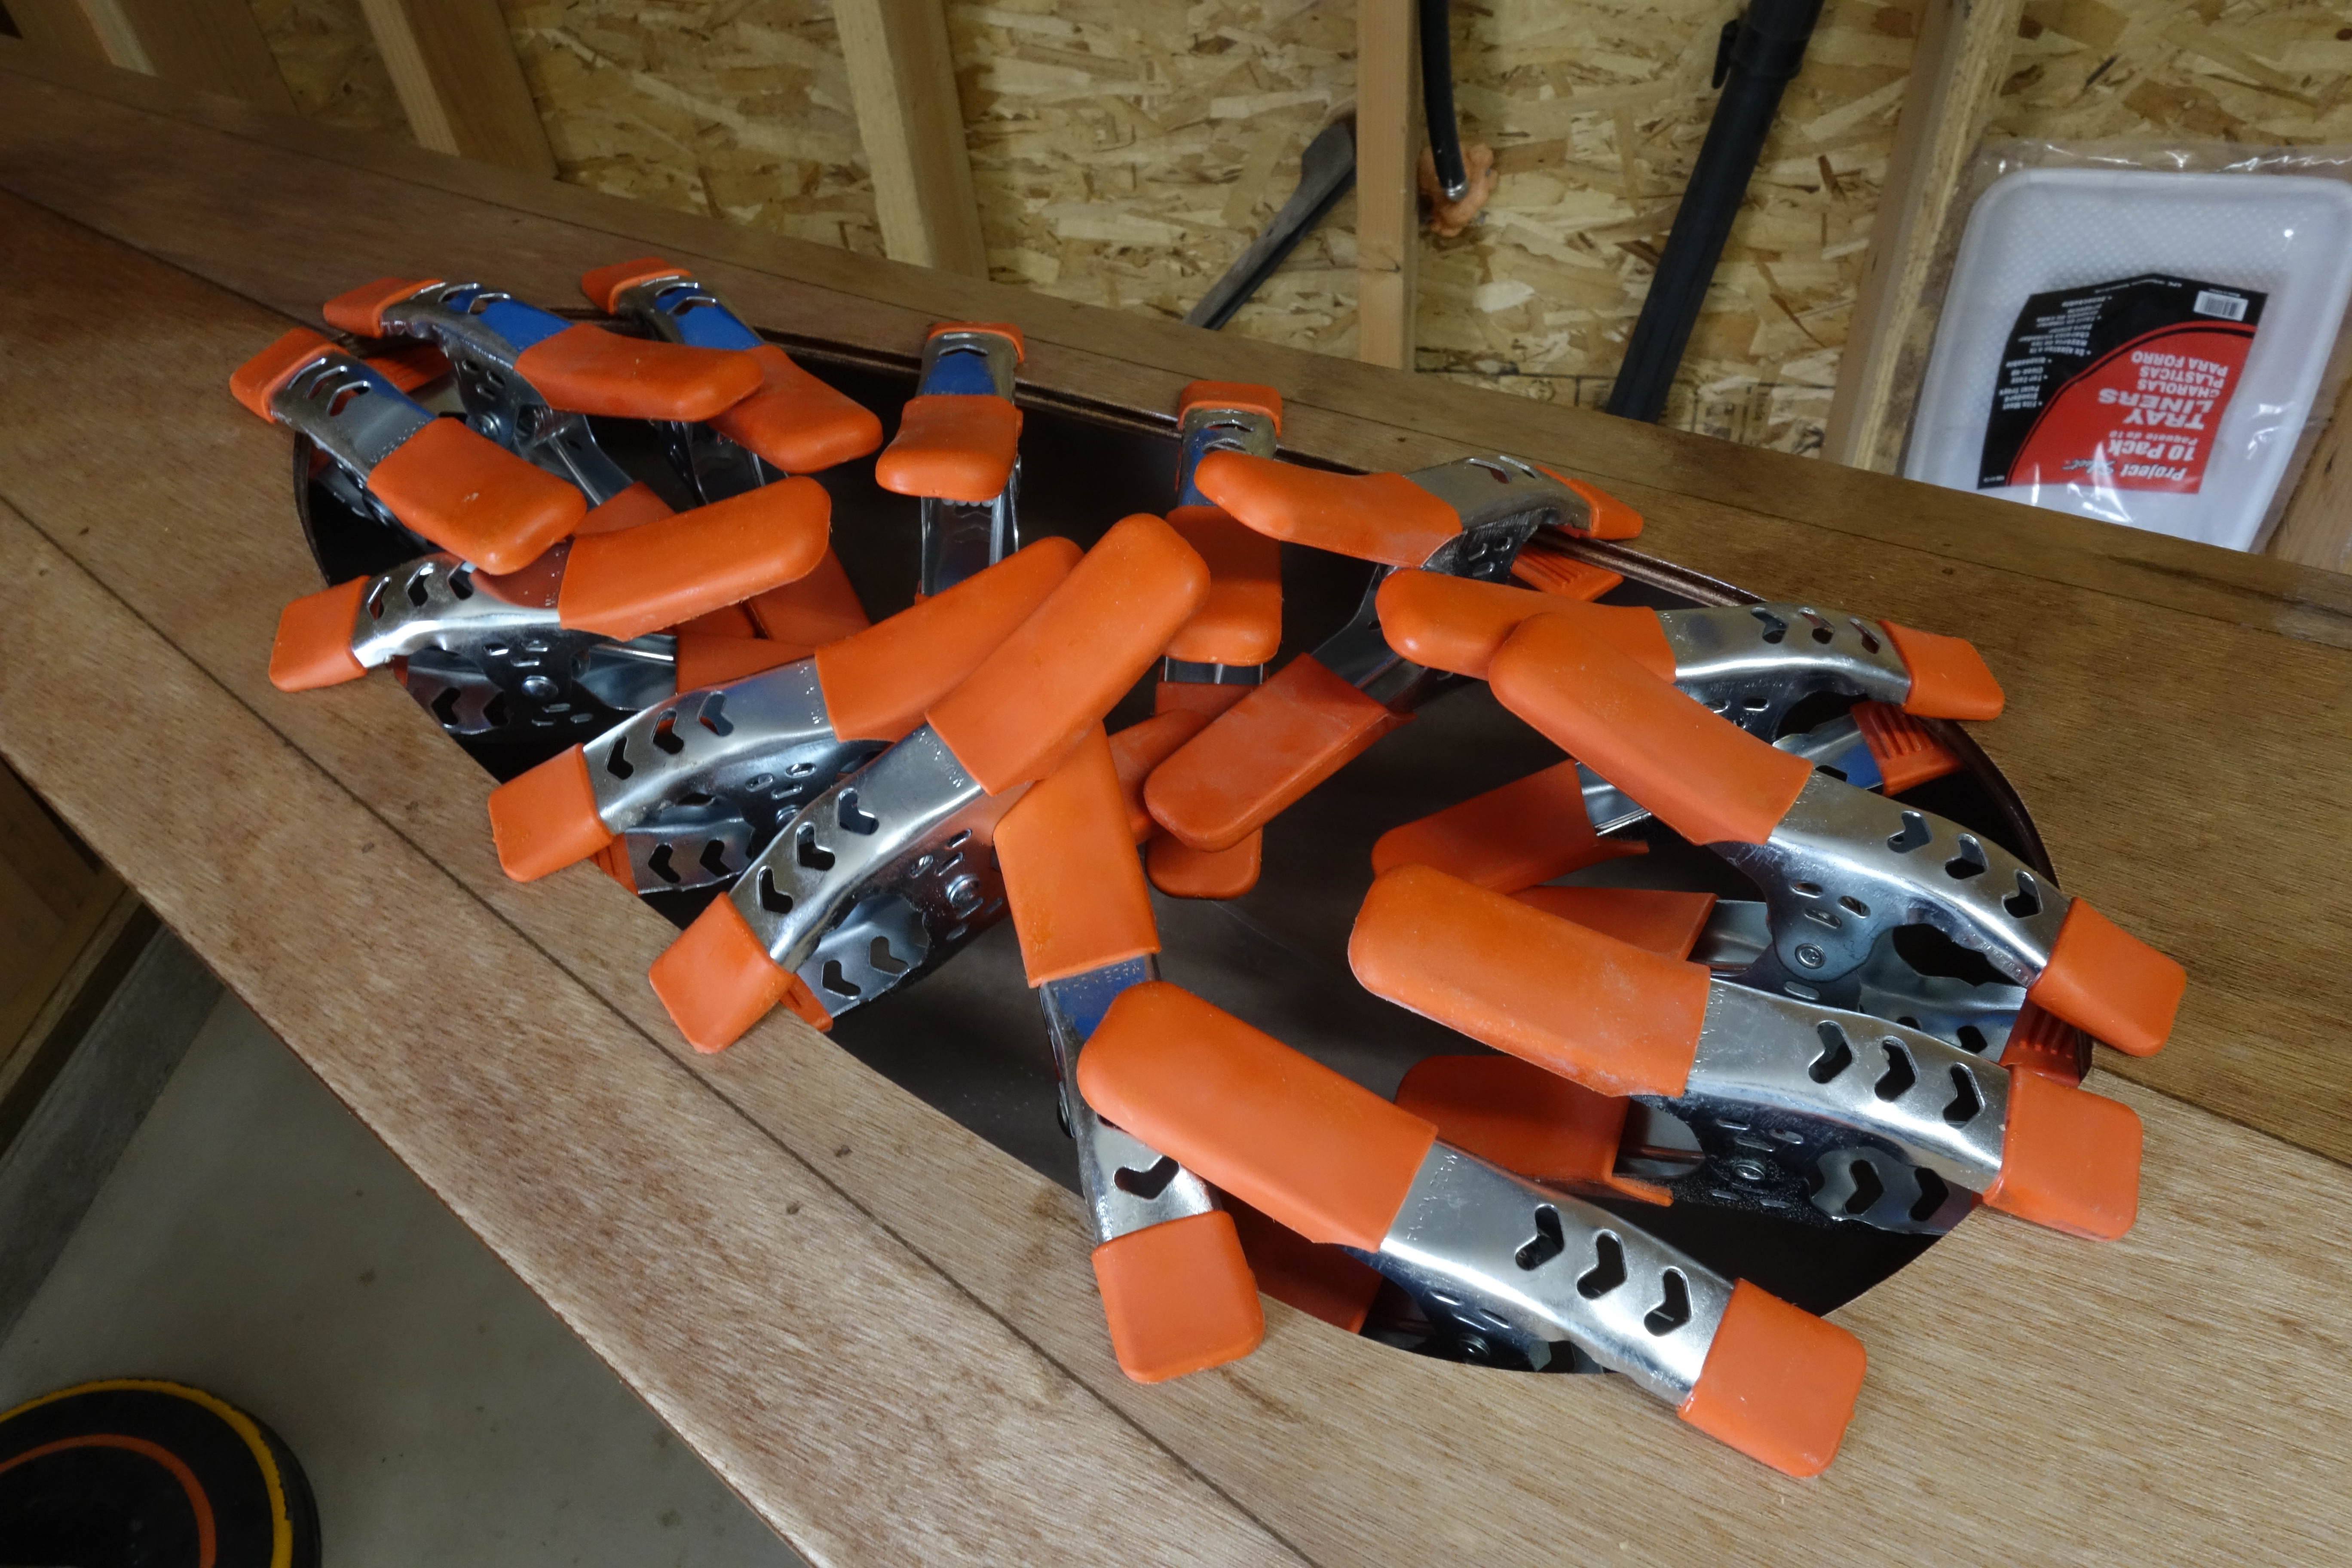
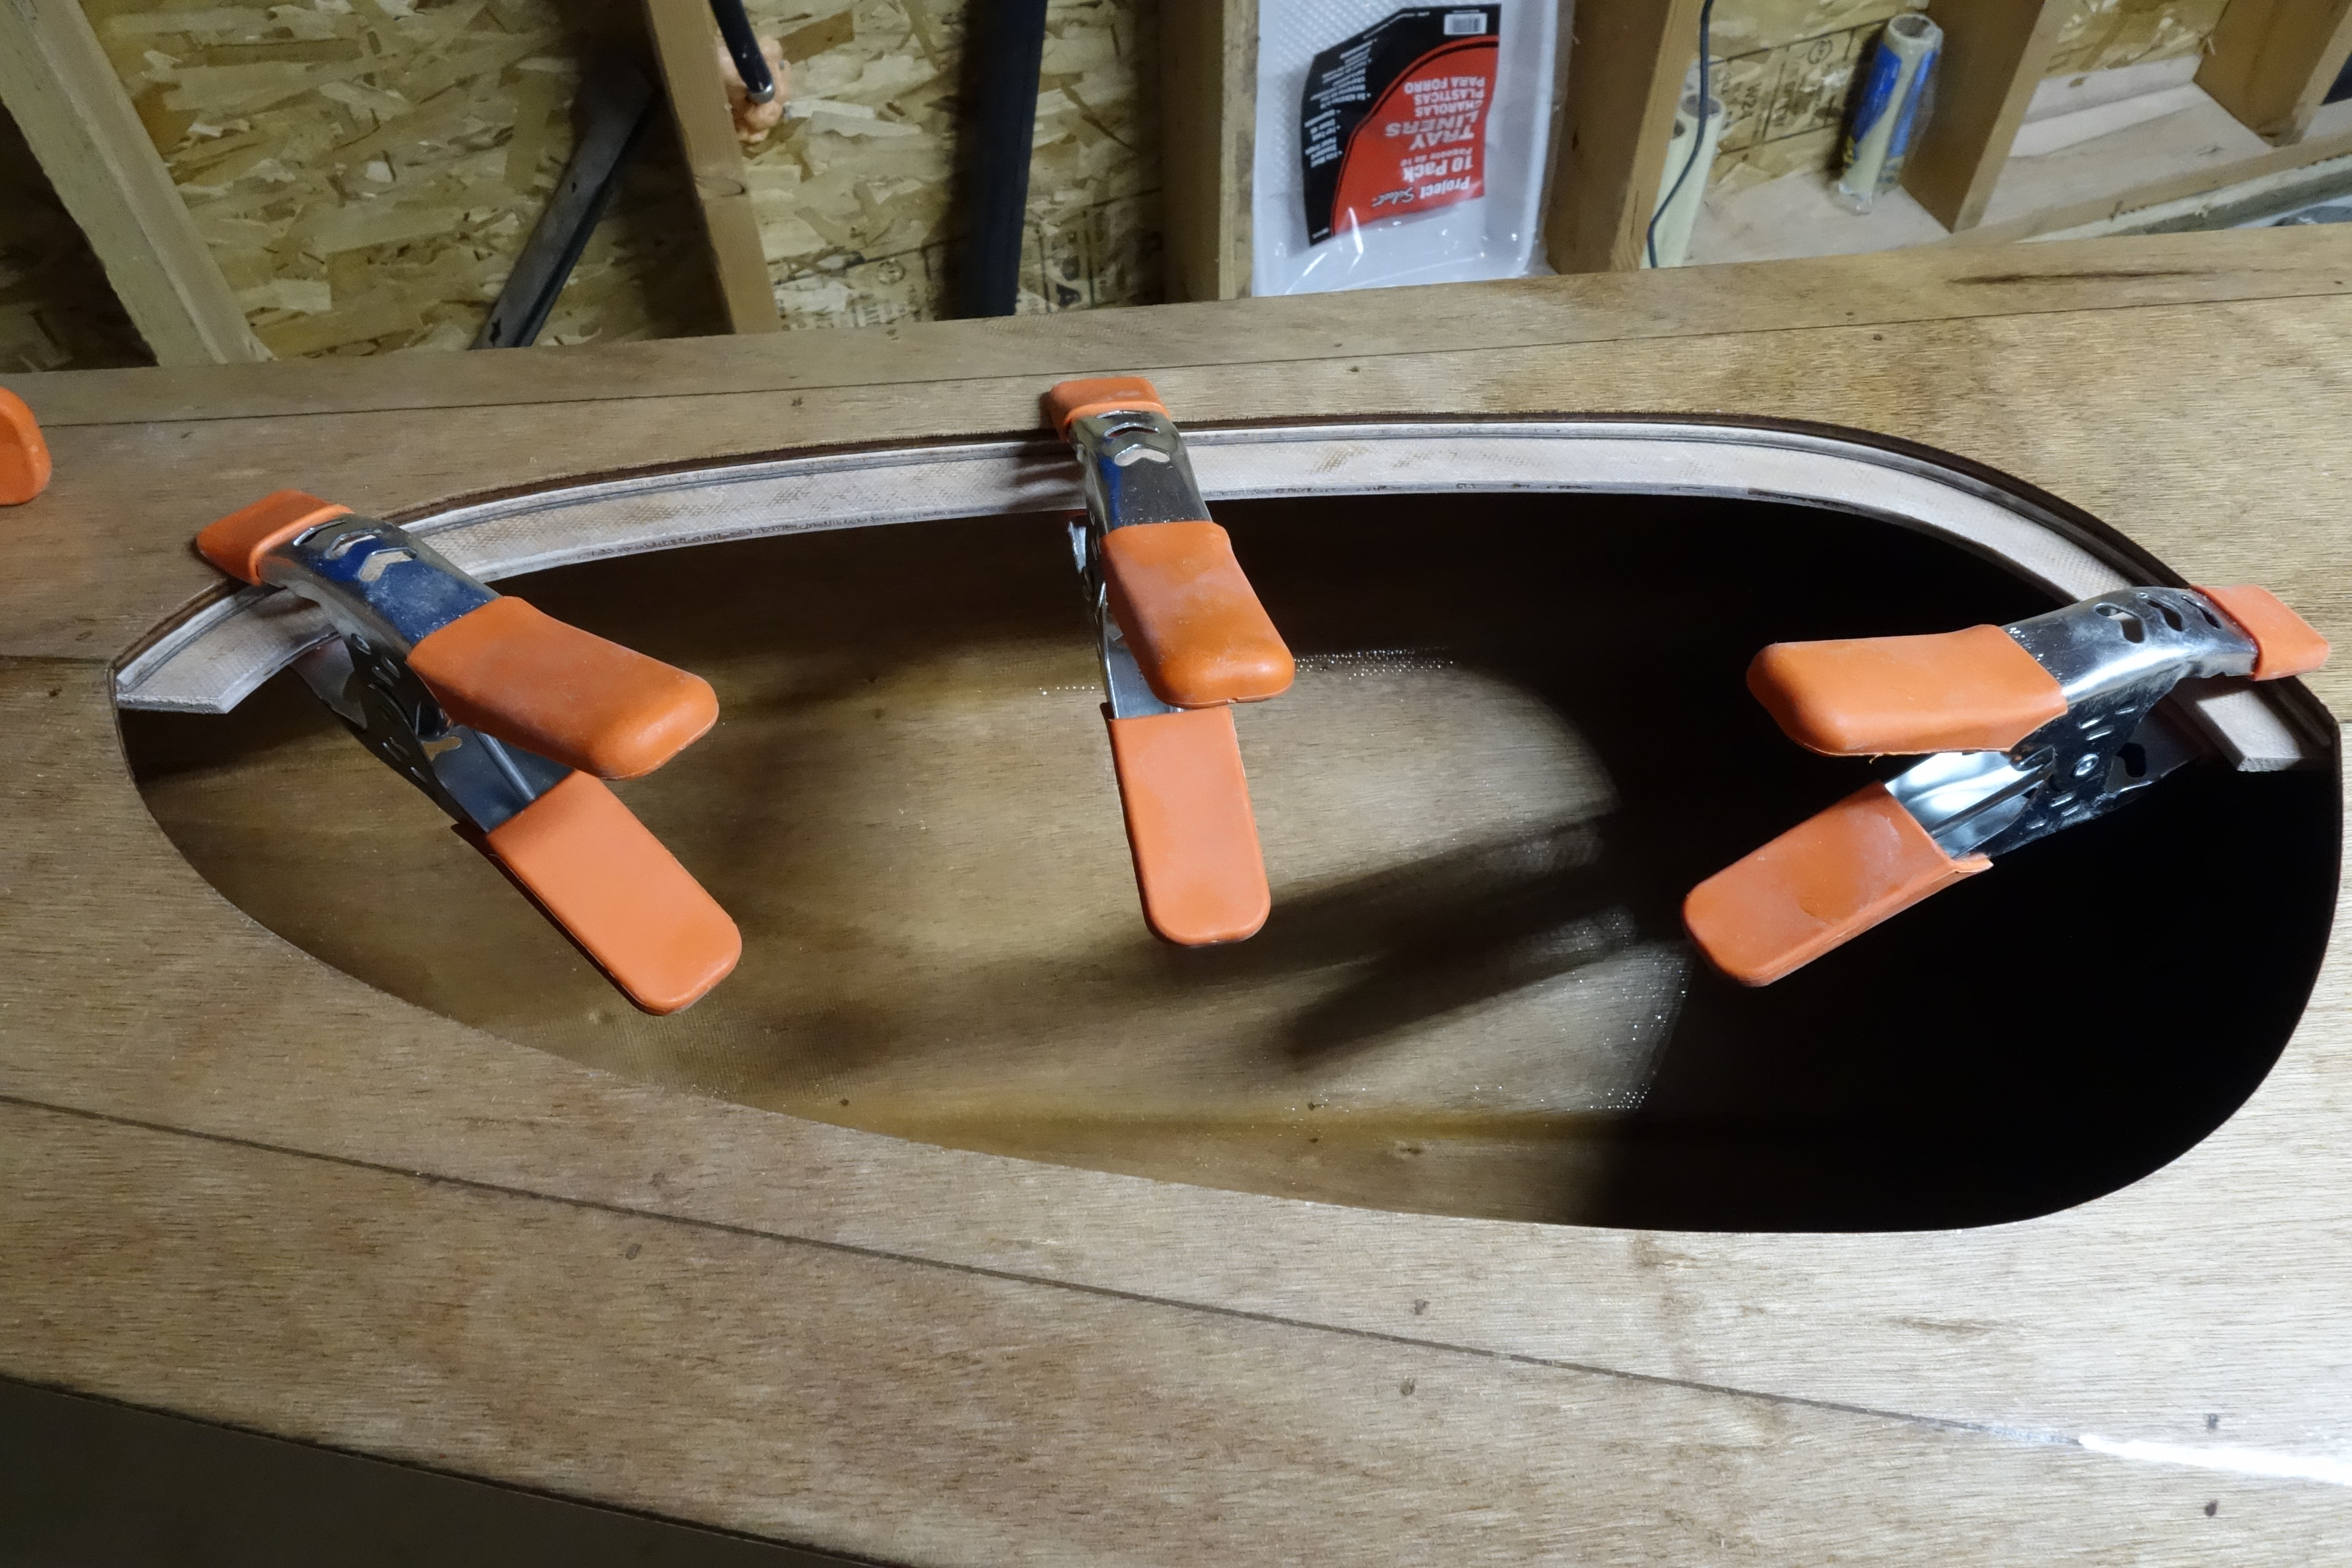
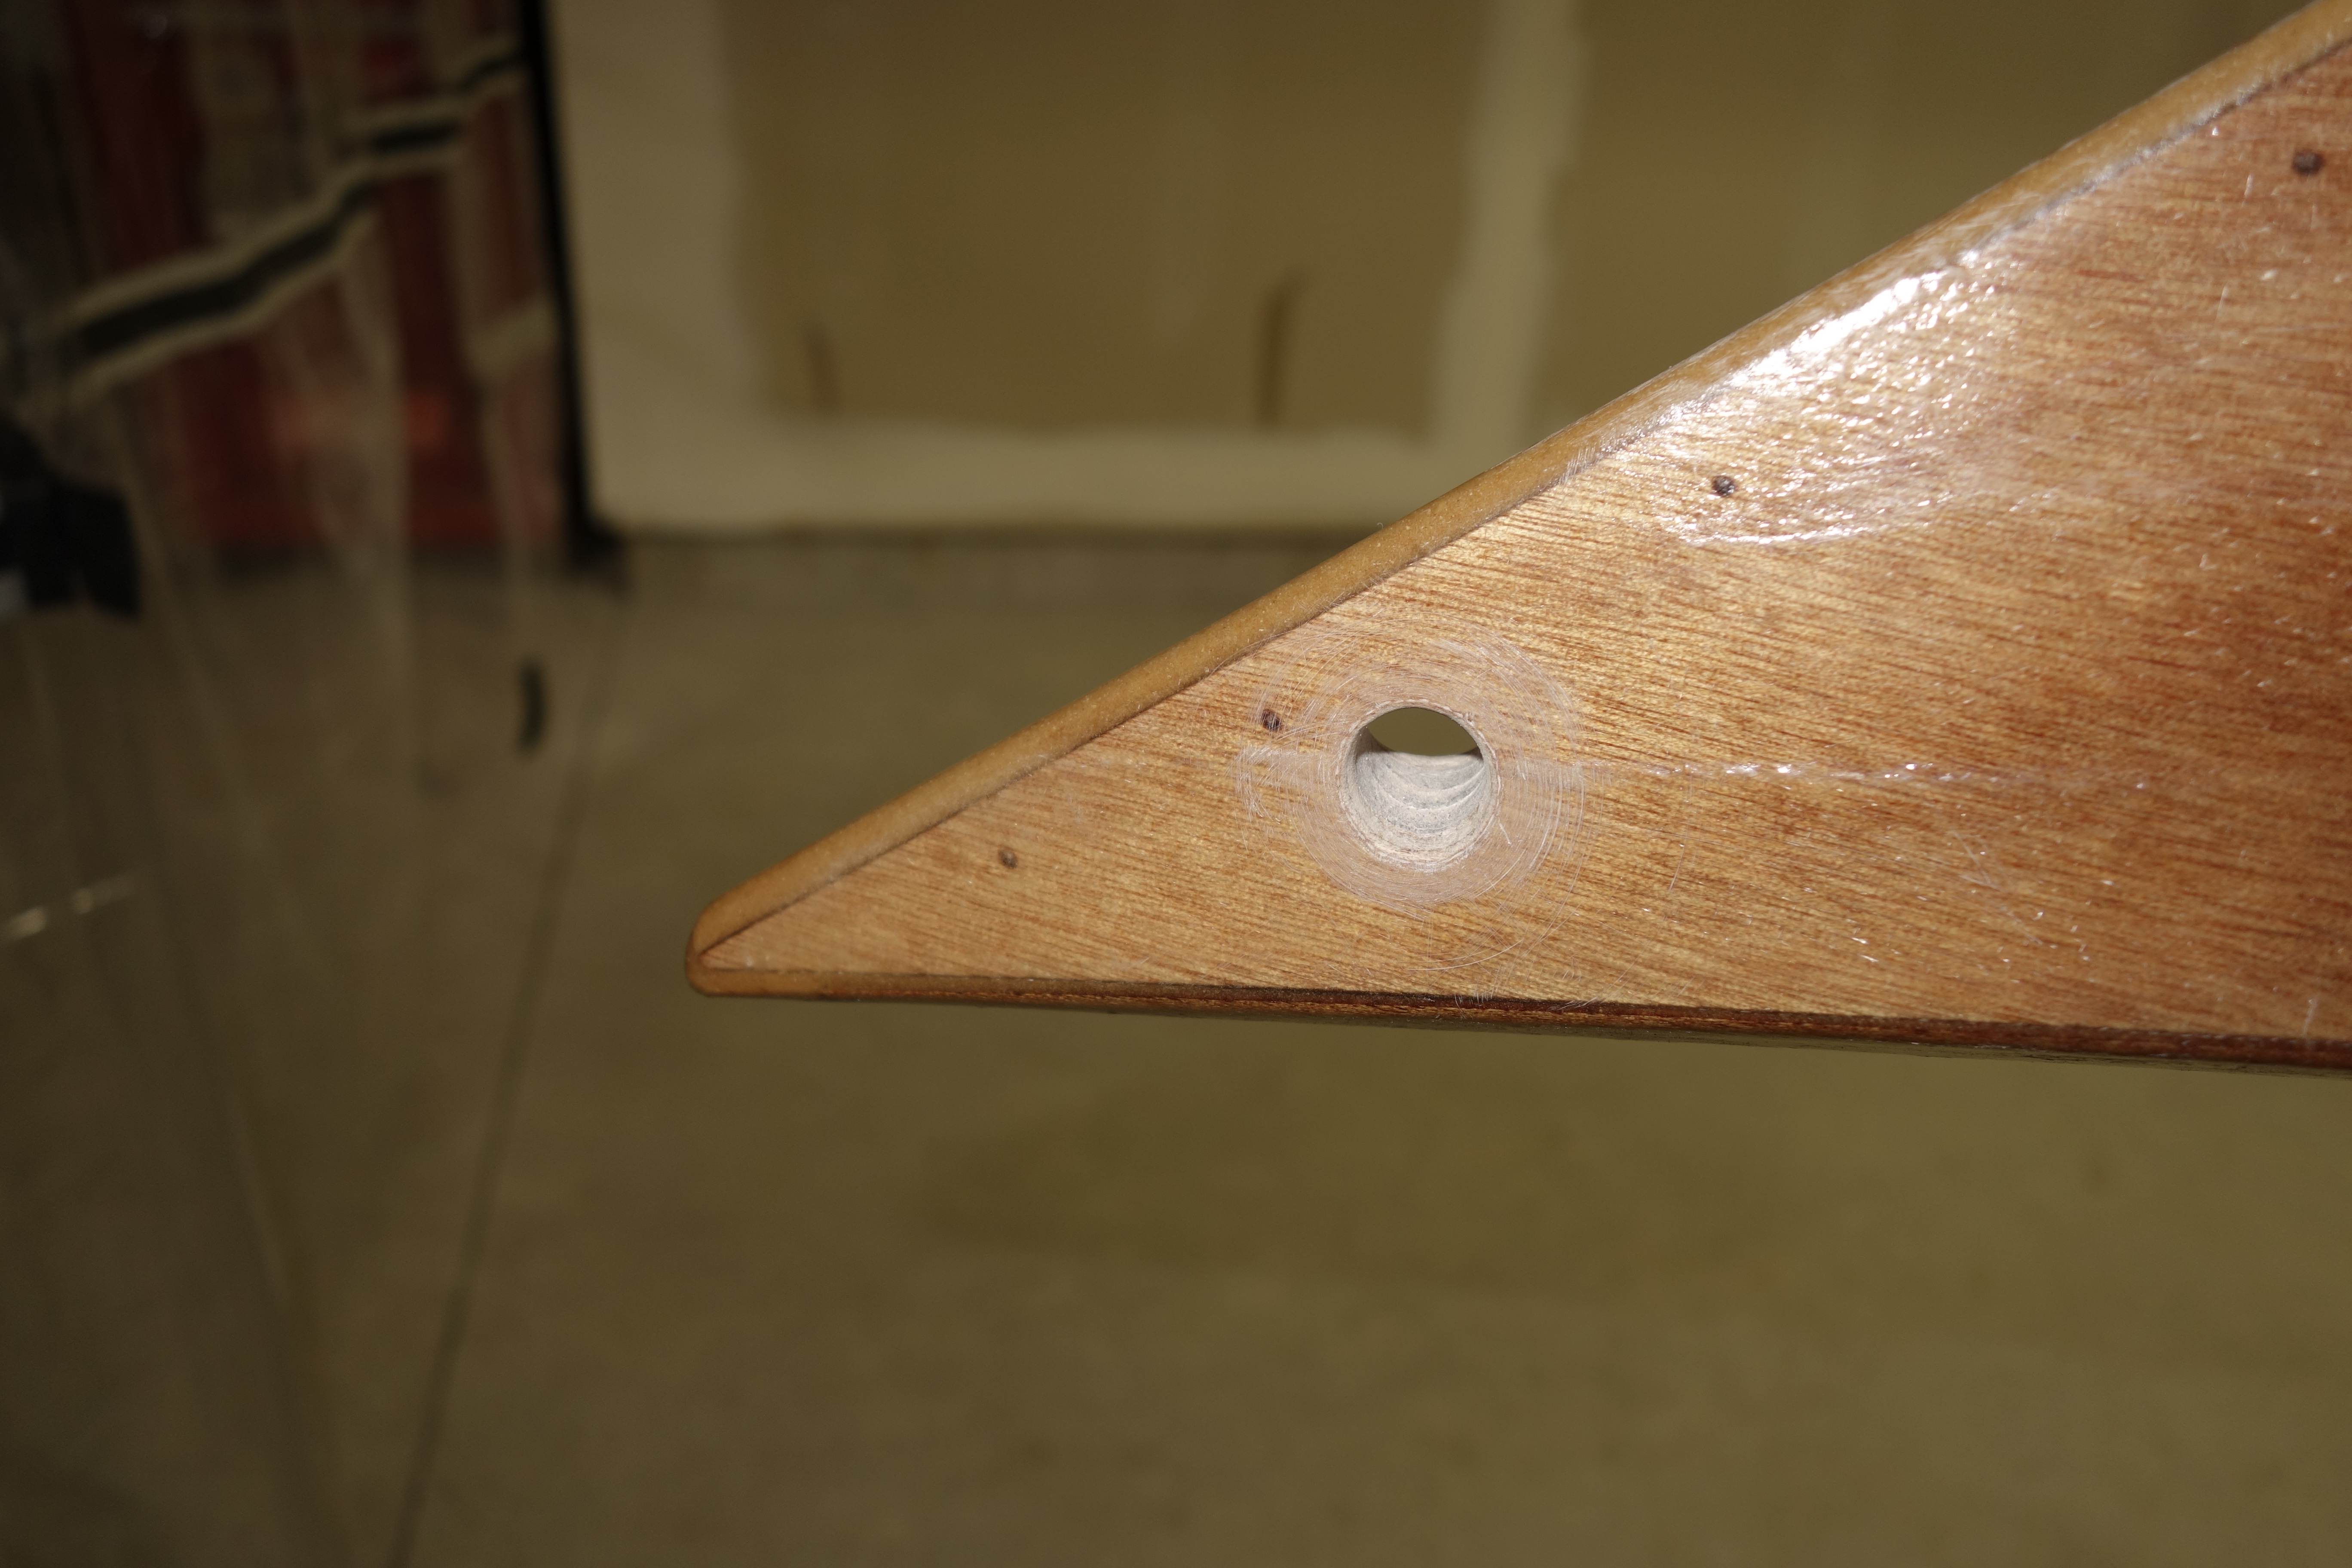
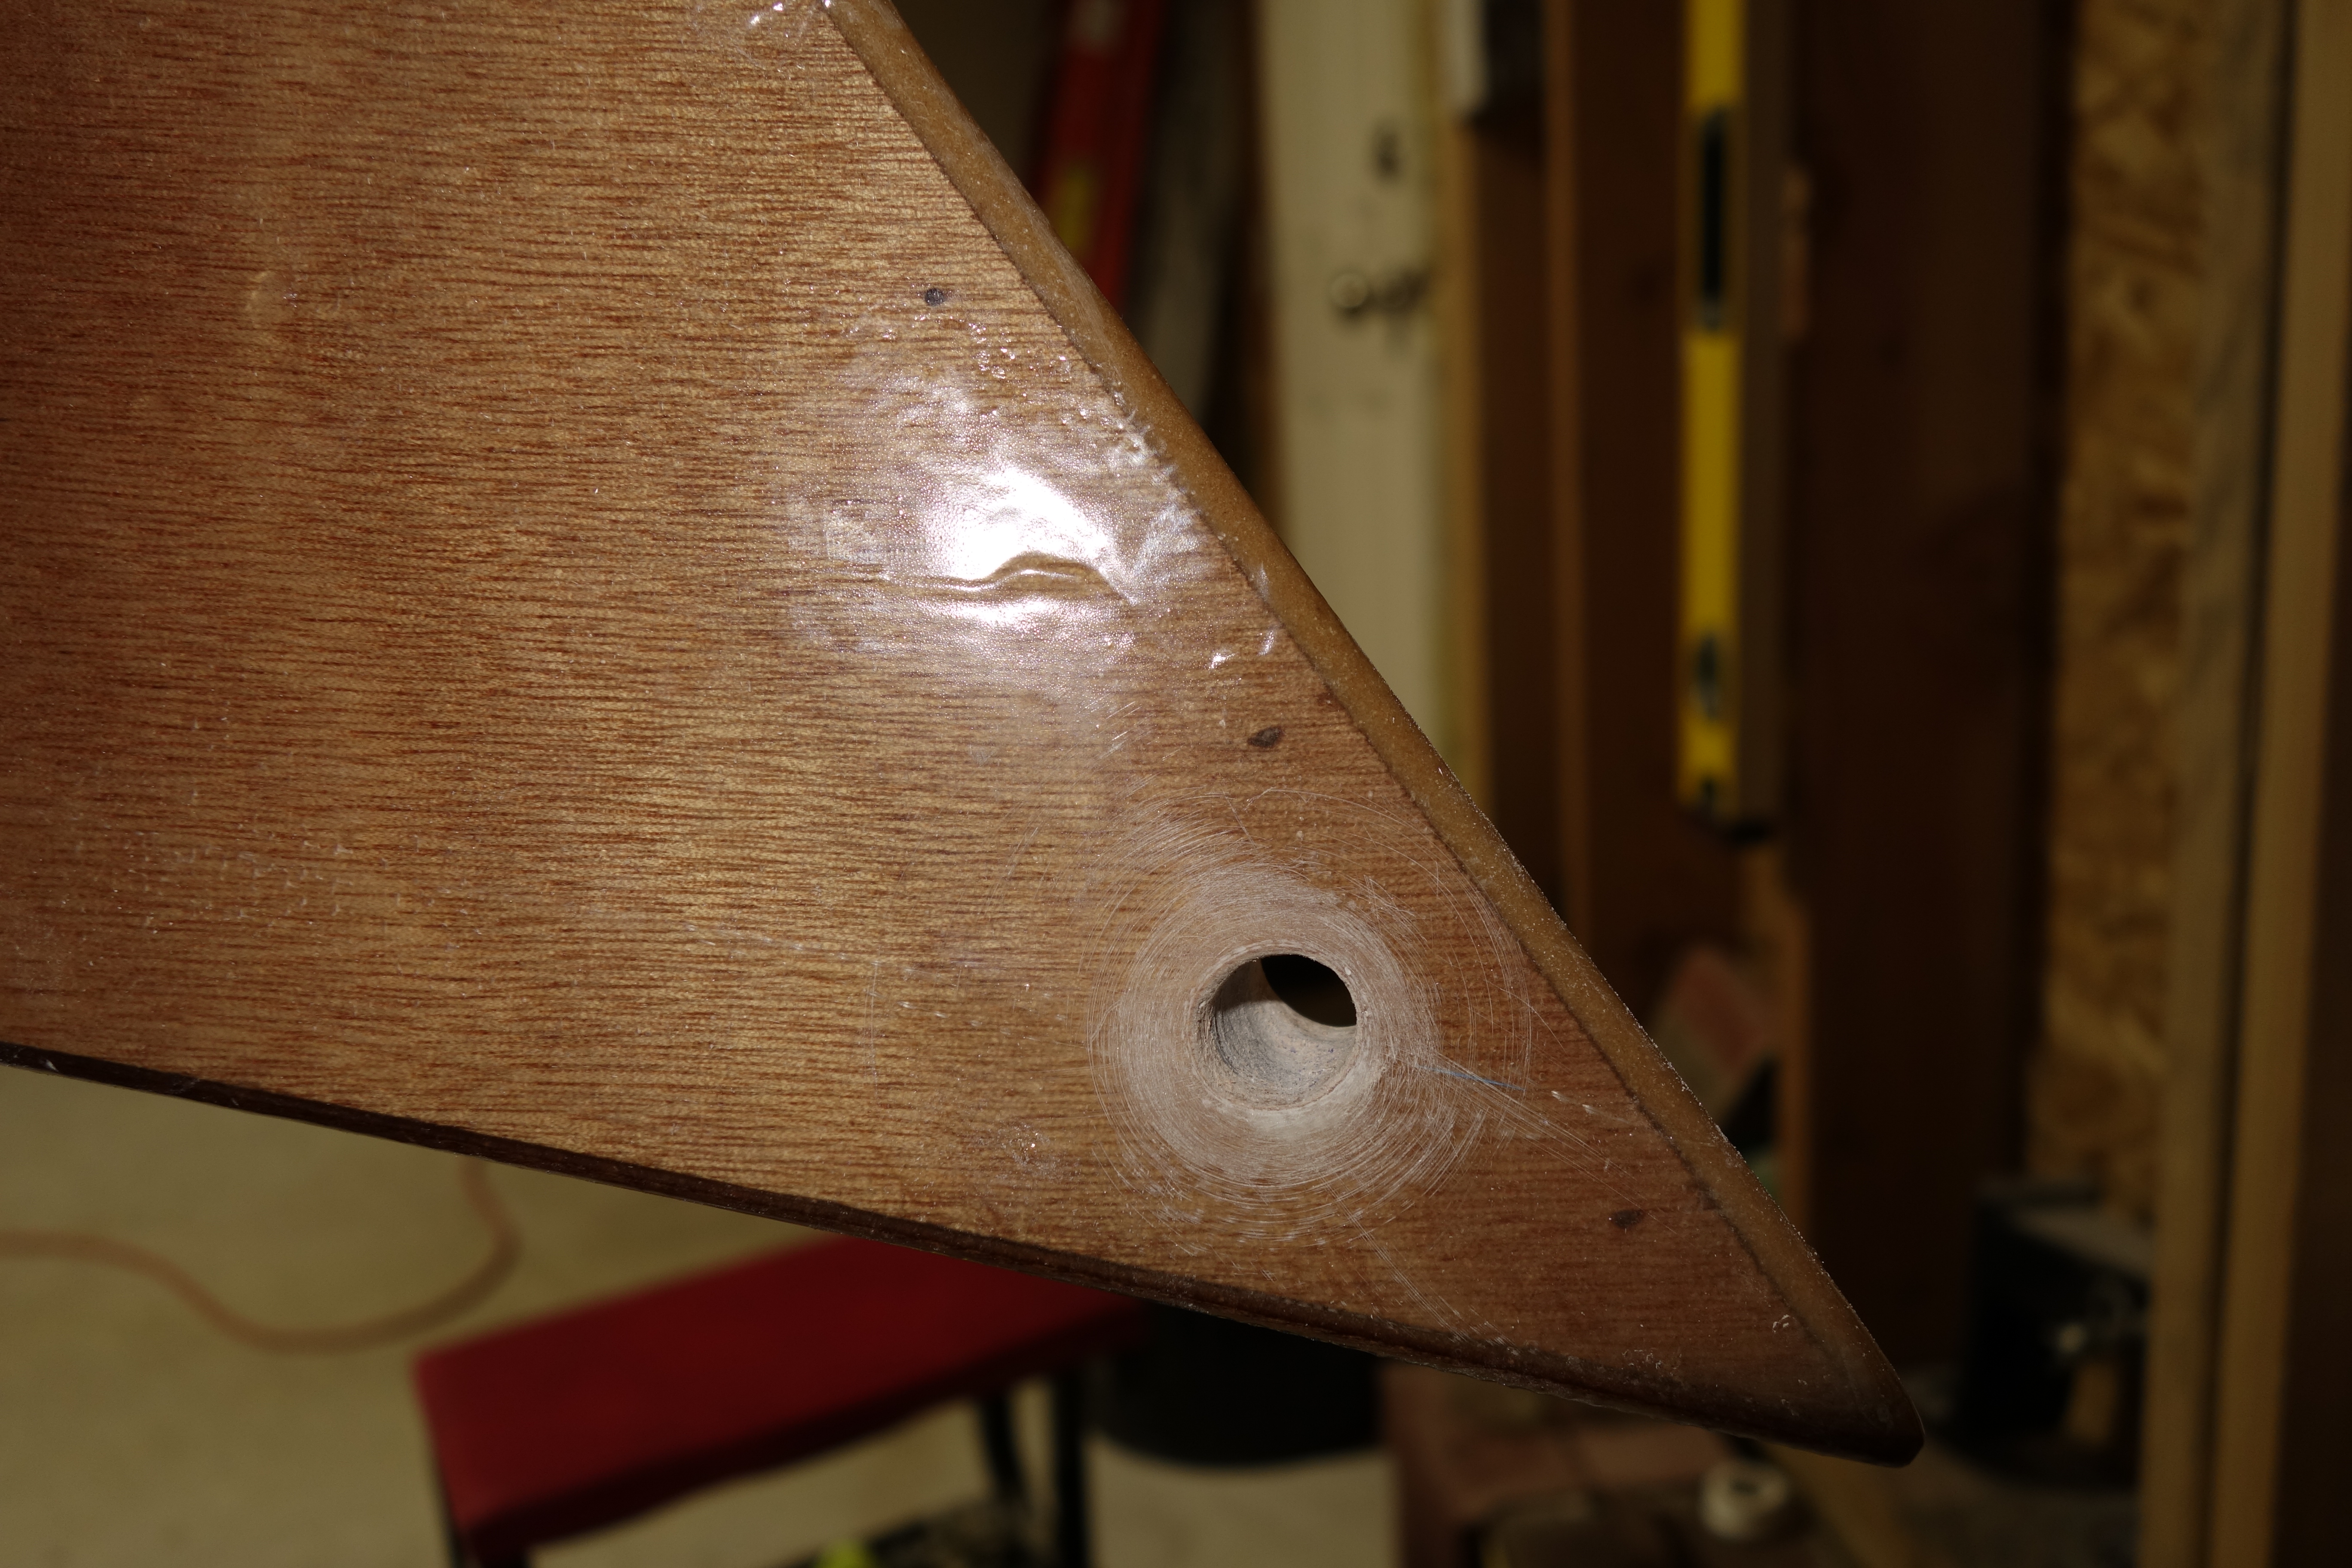
I drilled the 1/2″ holes through the hull at the bow and the stern that the hand toggles and perimeter lines will go through. The great news is that my end pours were definitely deep enough and I drilled through wood and epoxy as planned. The not-so-great news is that I was worried that I wasn’t going to get the holes drilled straight through the hull perpendicular to the center line, and my fears were somewhat justified. The holes aren’t perfect, but nothing else on the kayak is perfect either. I think that once the holes are saturated with epoxy and the hand toggles and perimeter lines are installed, that the fact that the holes are a little wonky won’t be so obvious.

Bow hole, starboard side (with flash).
Bow hole, port side (without flash).
Stern hole, starboard side (with flash).
Stern hole, port side (with flash).

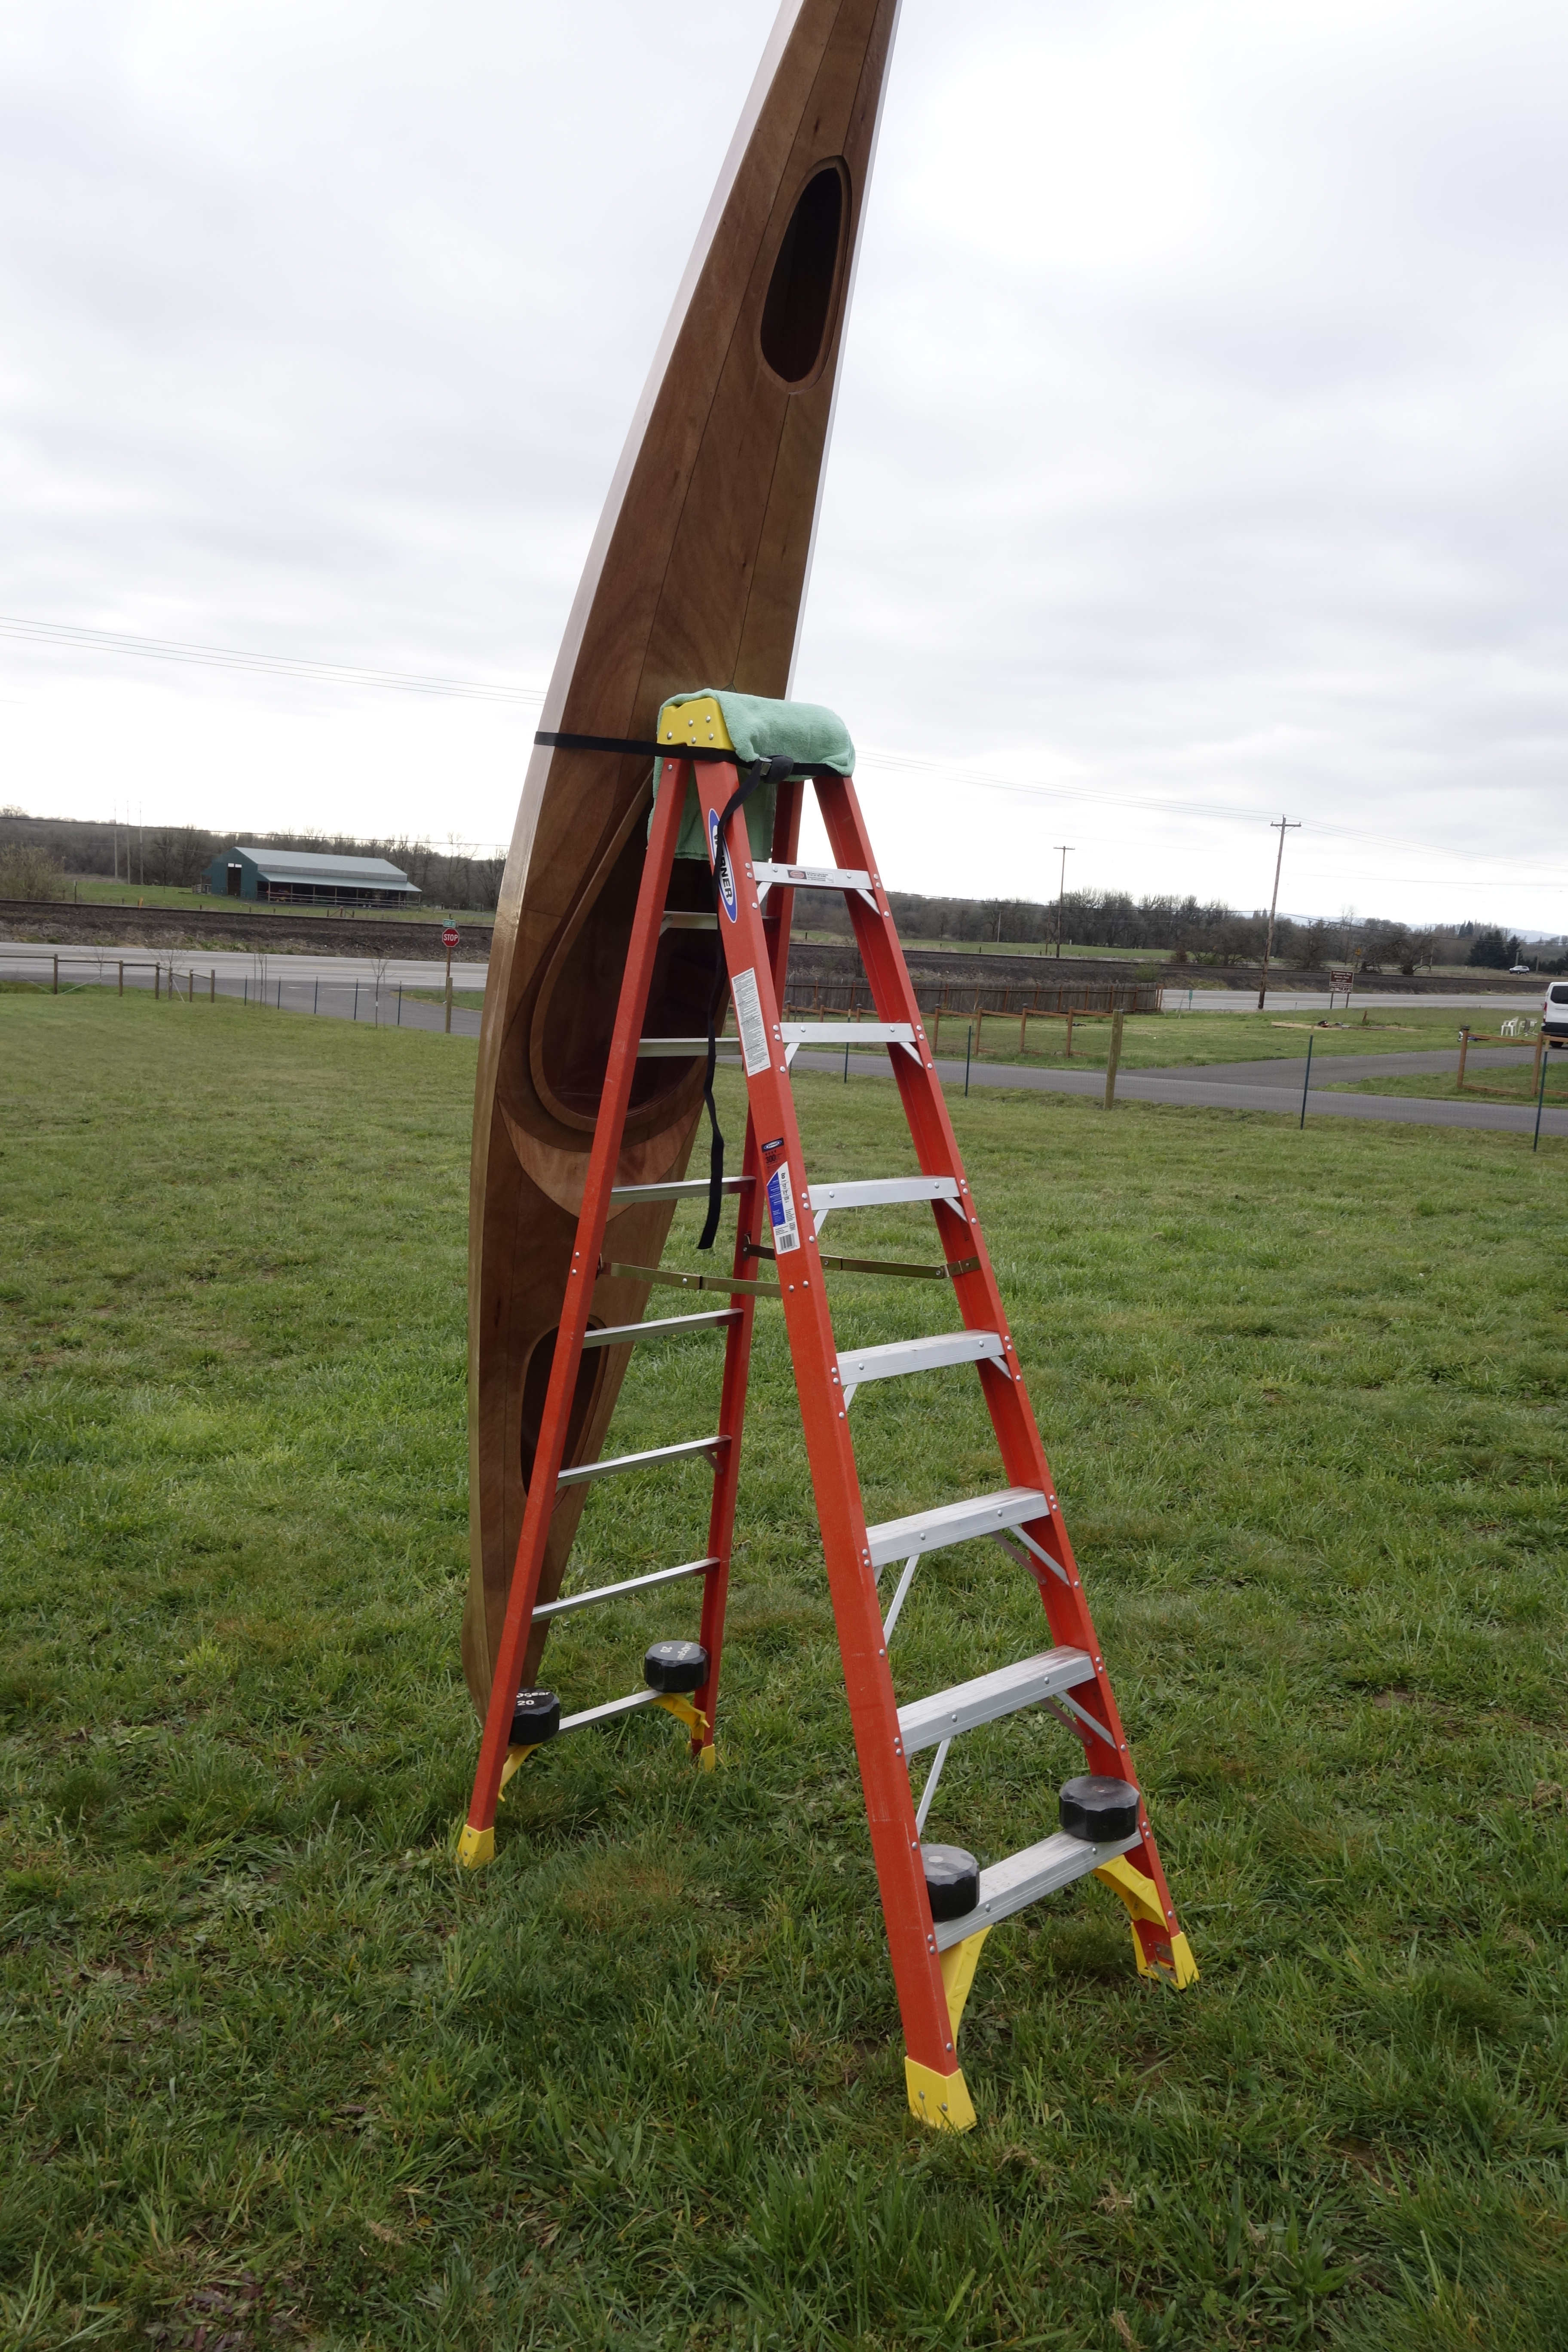
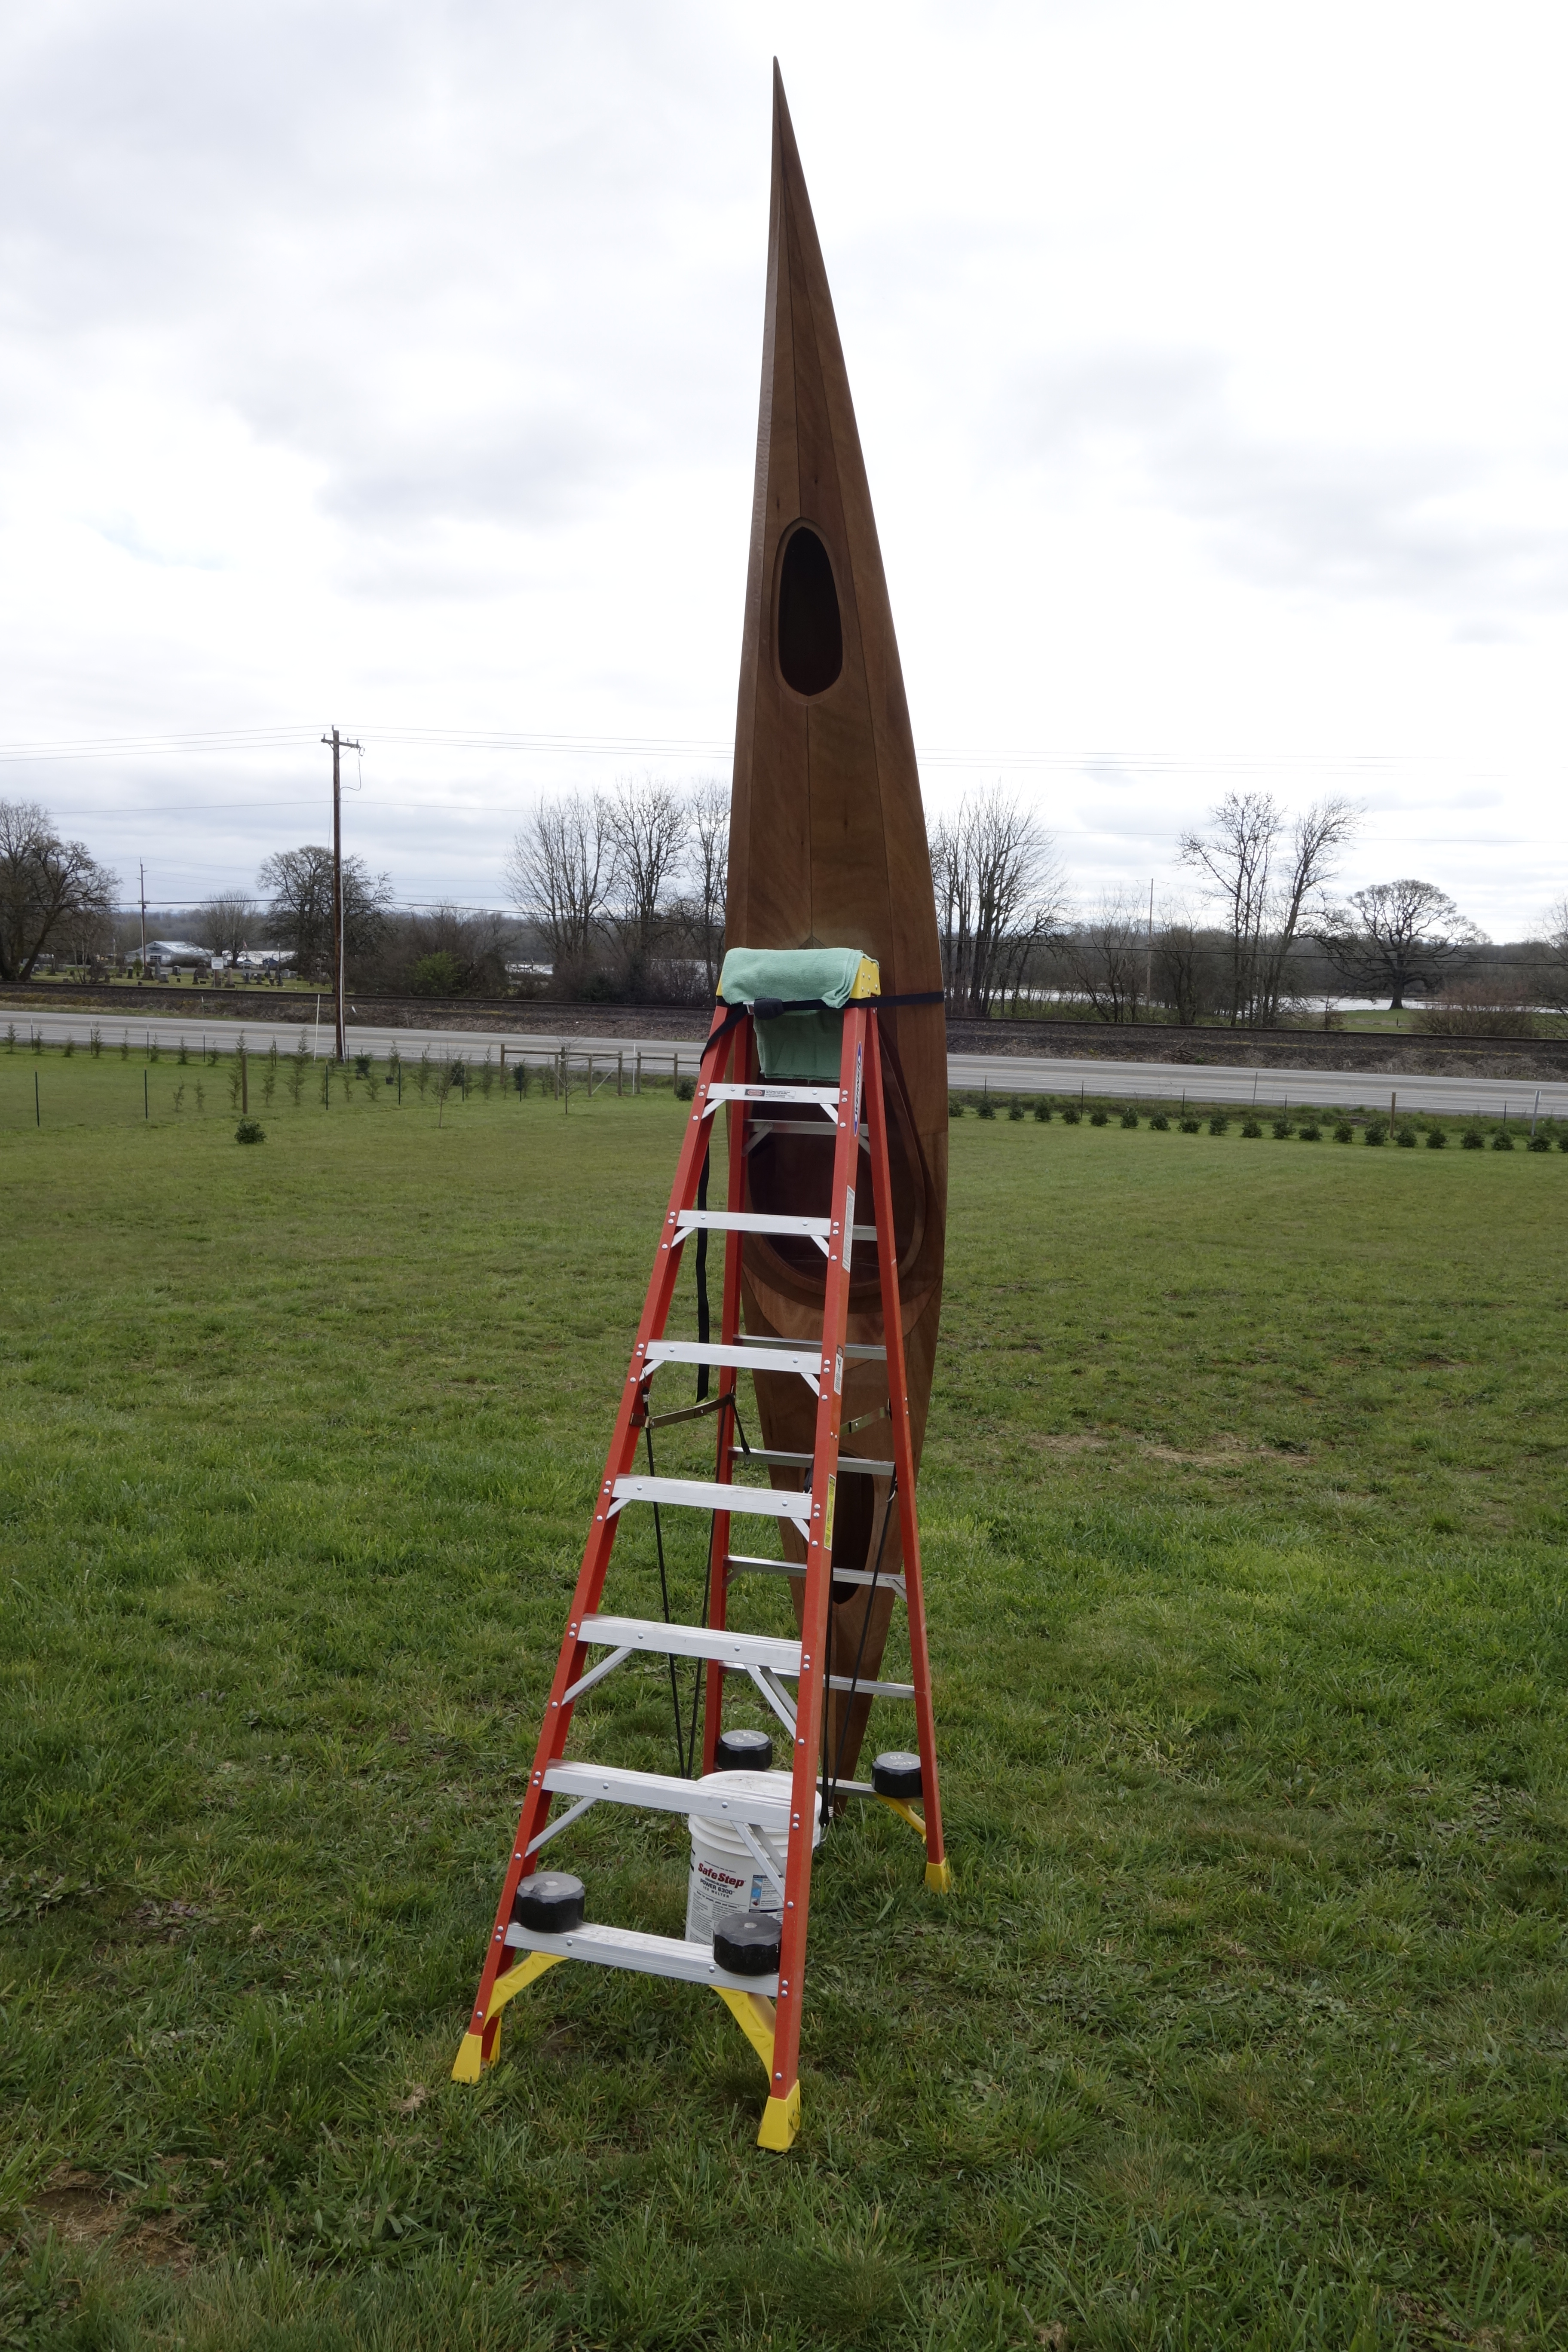
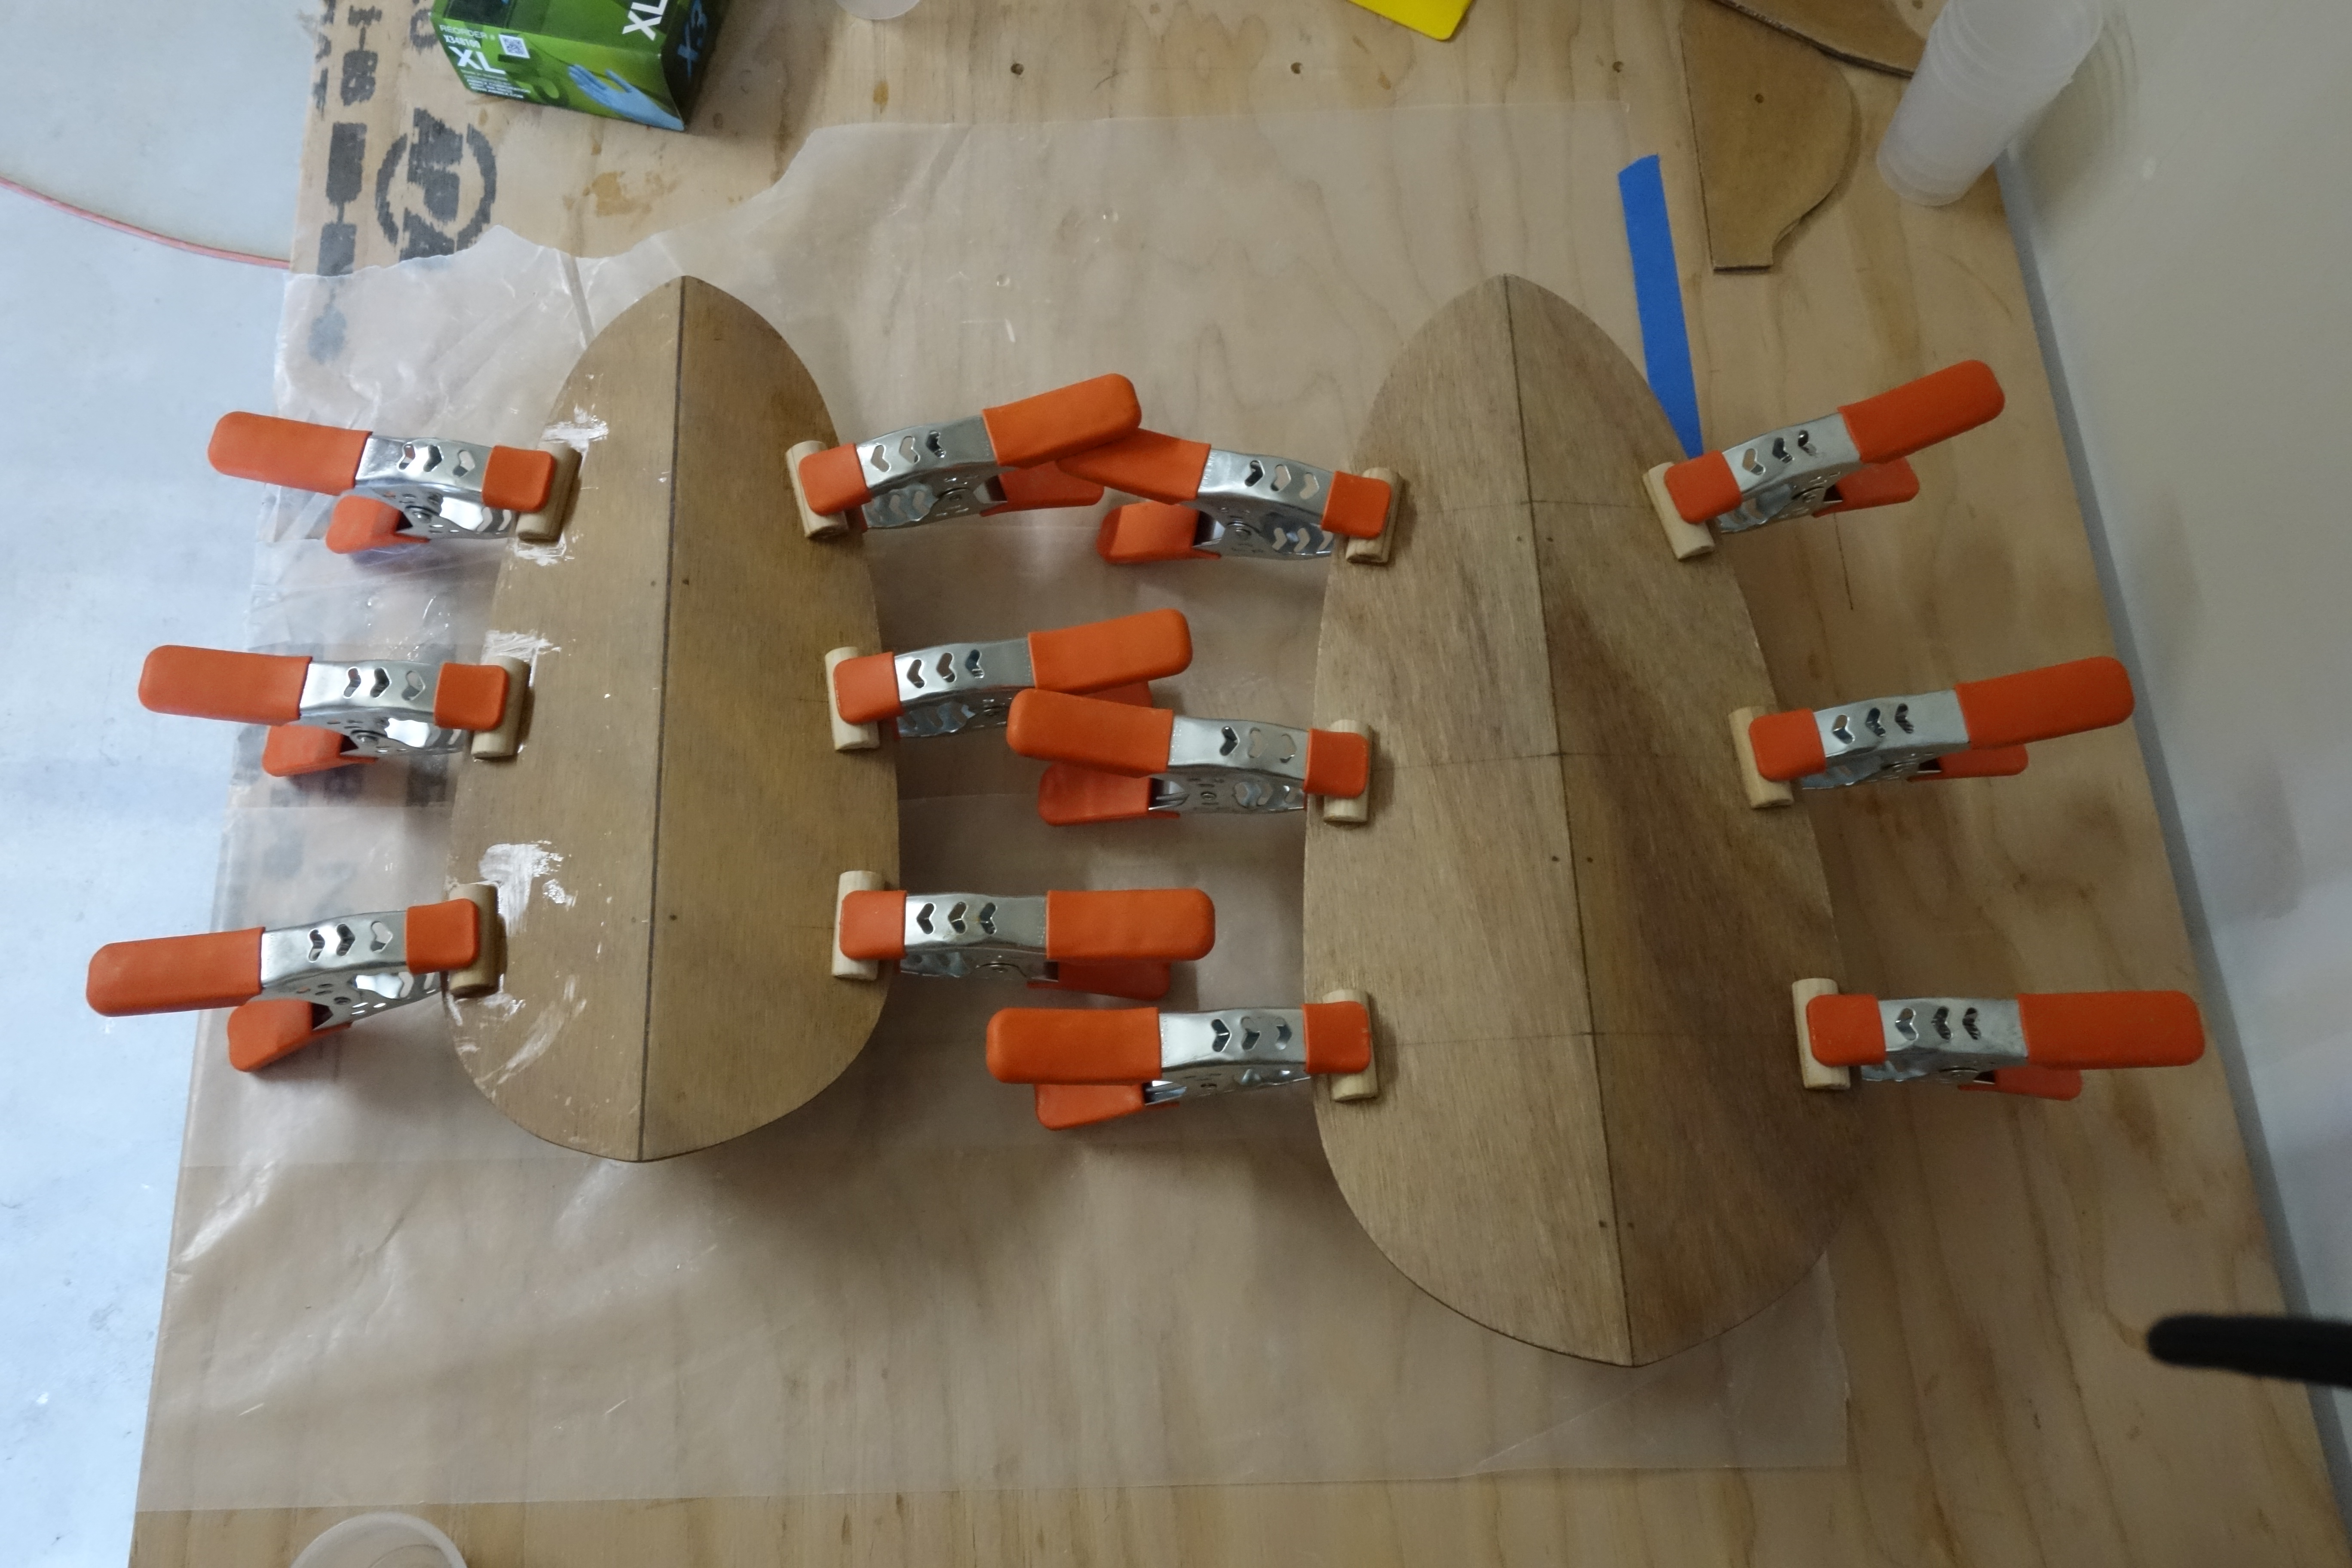
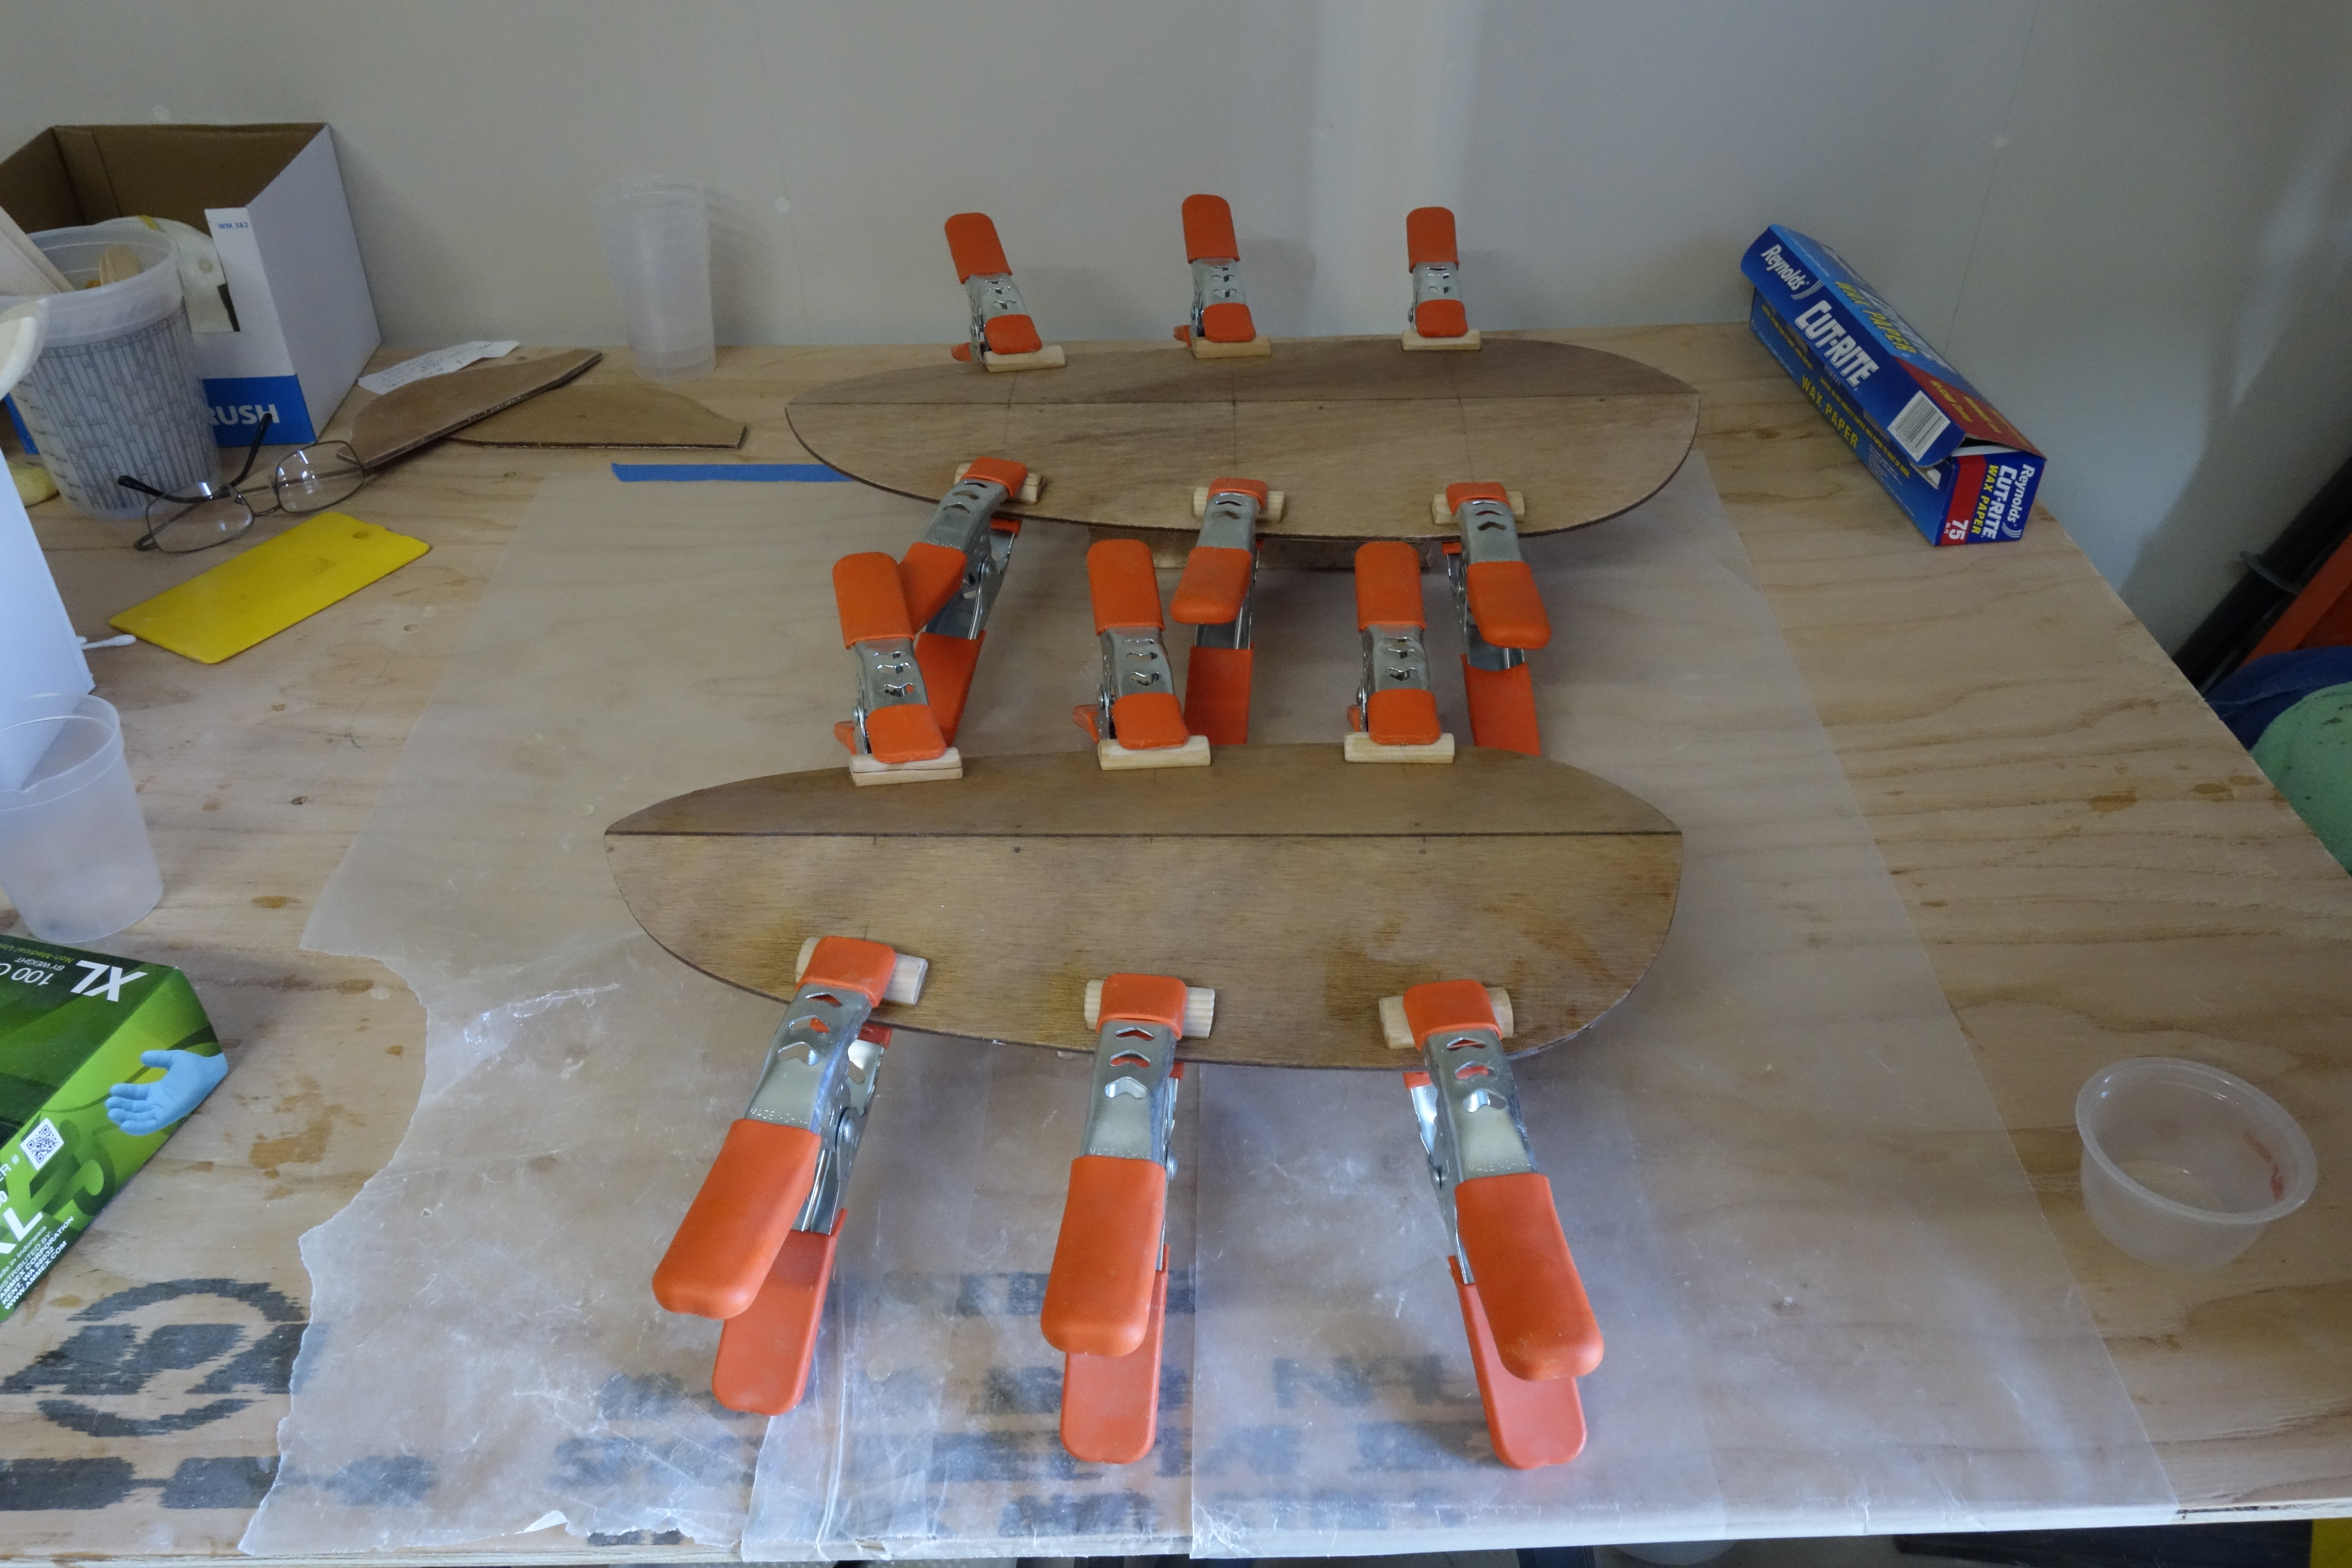
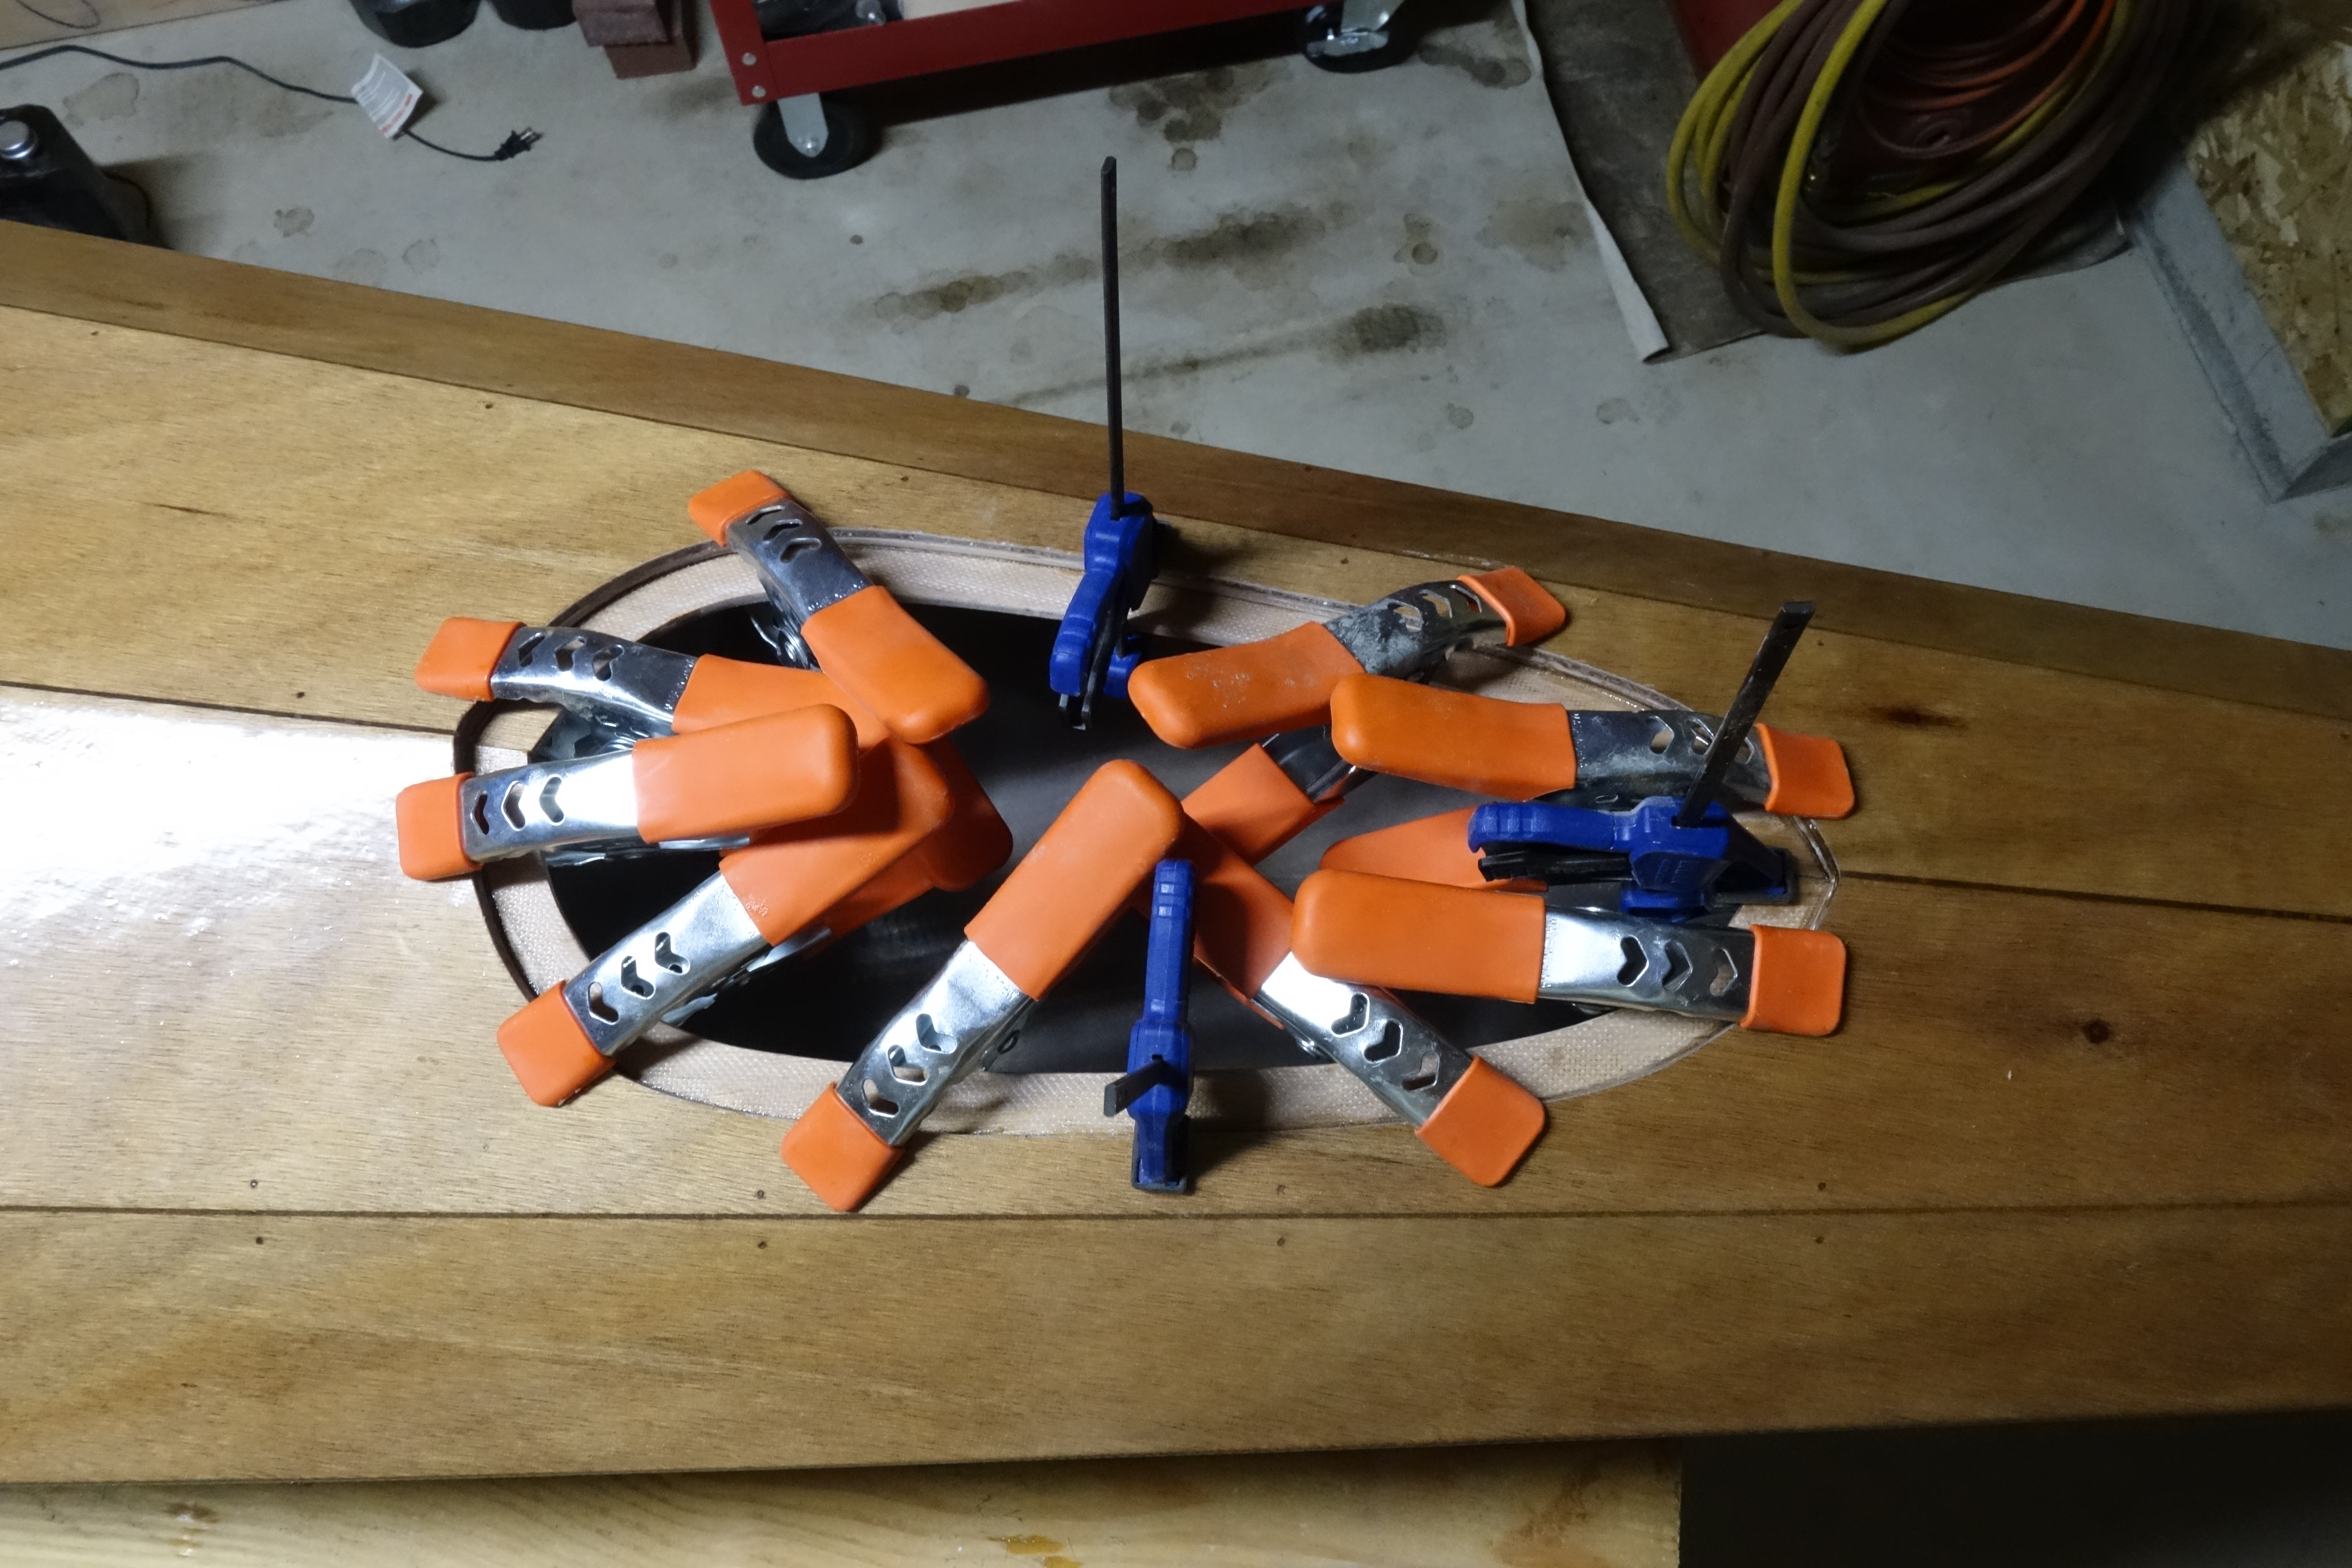
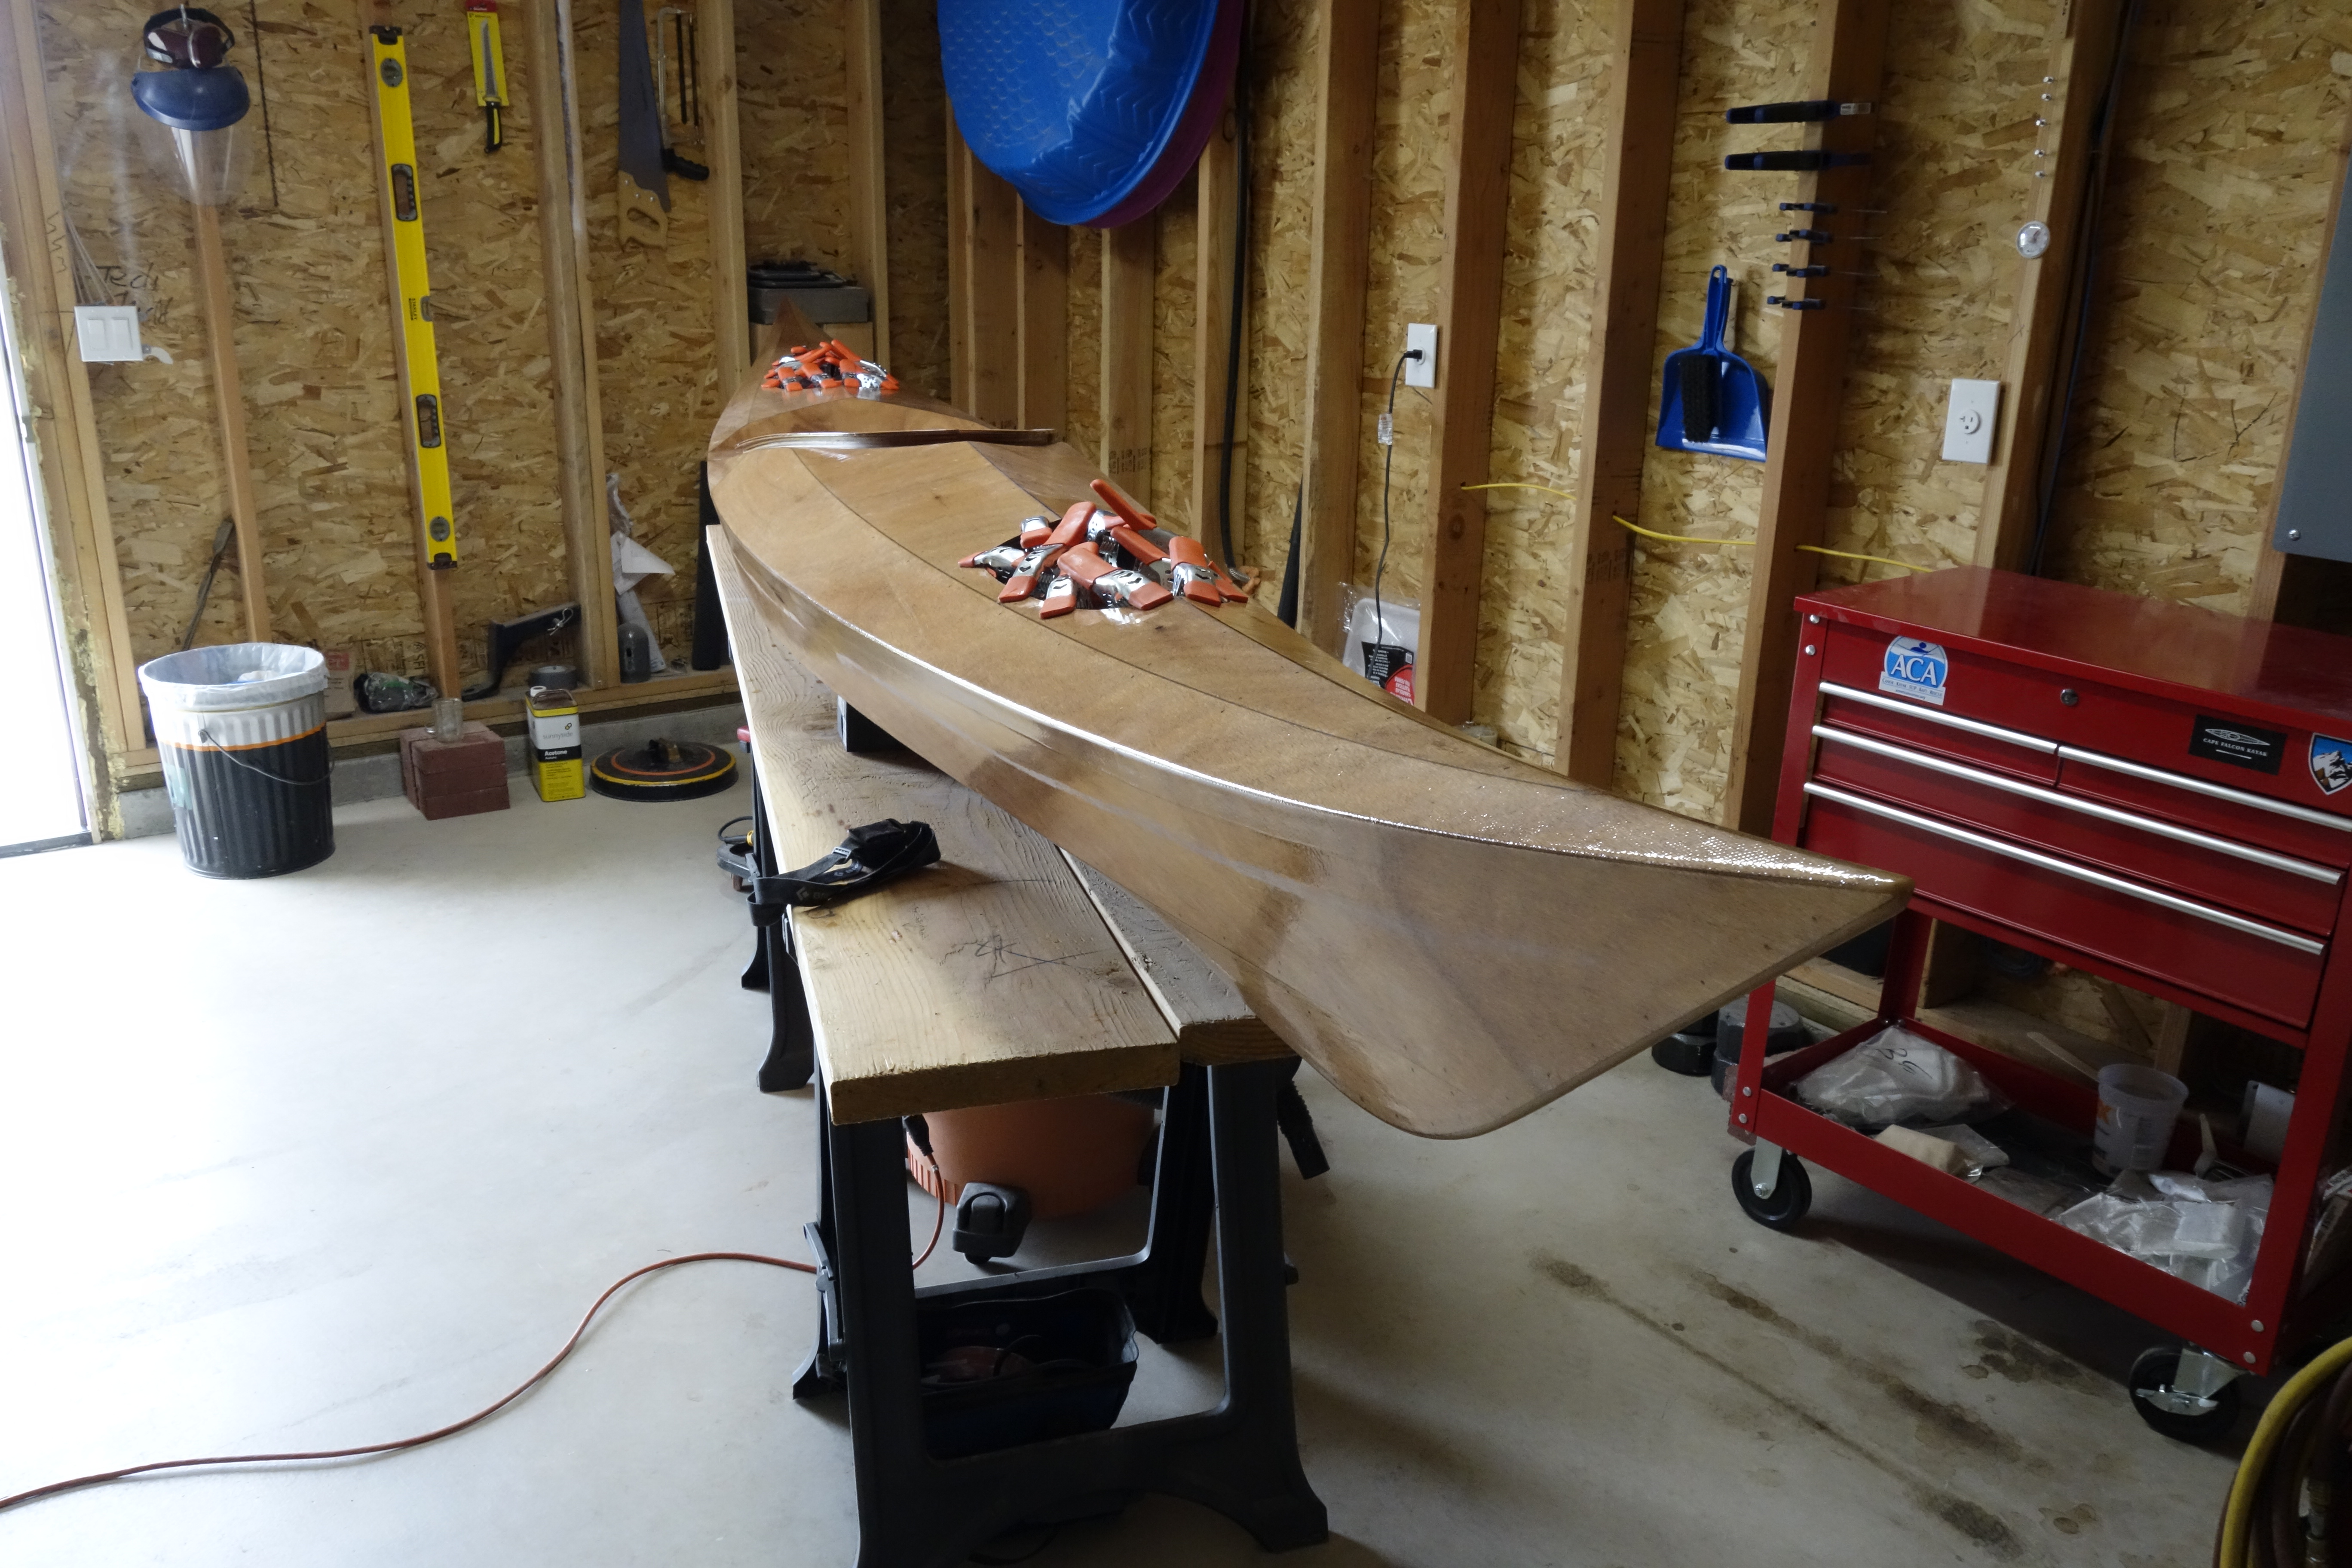
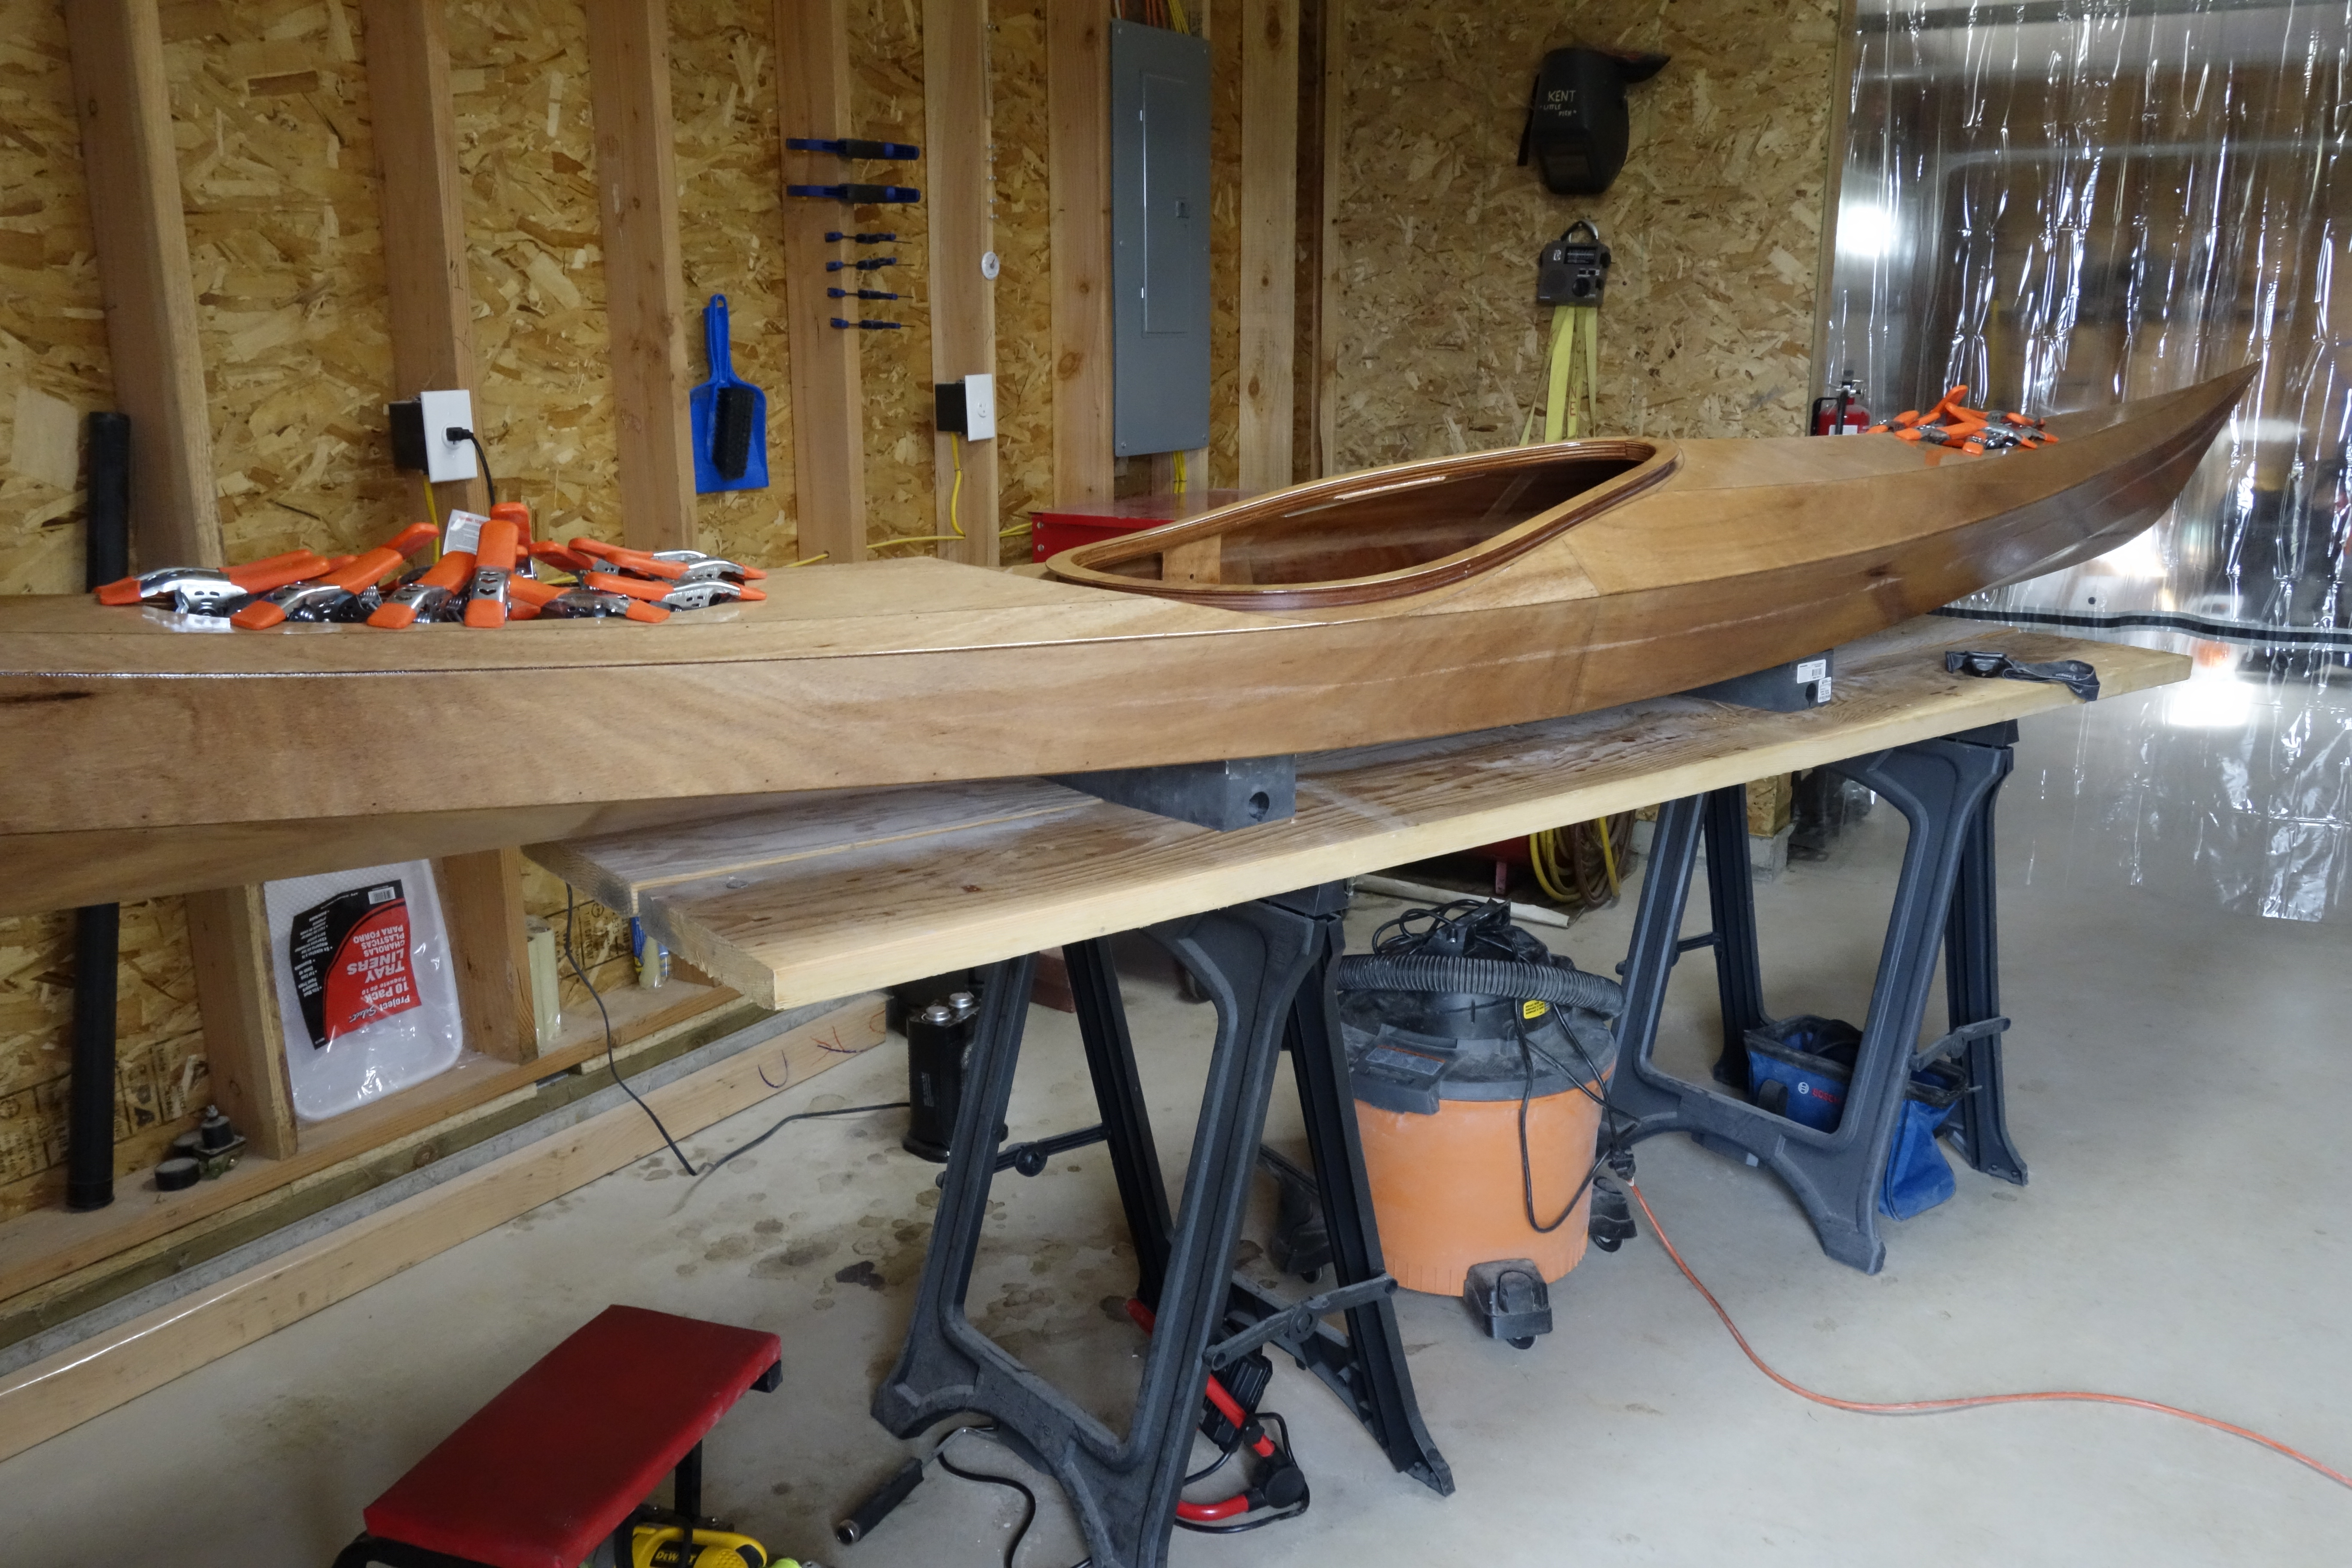
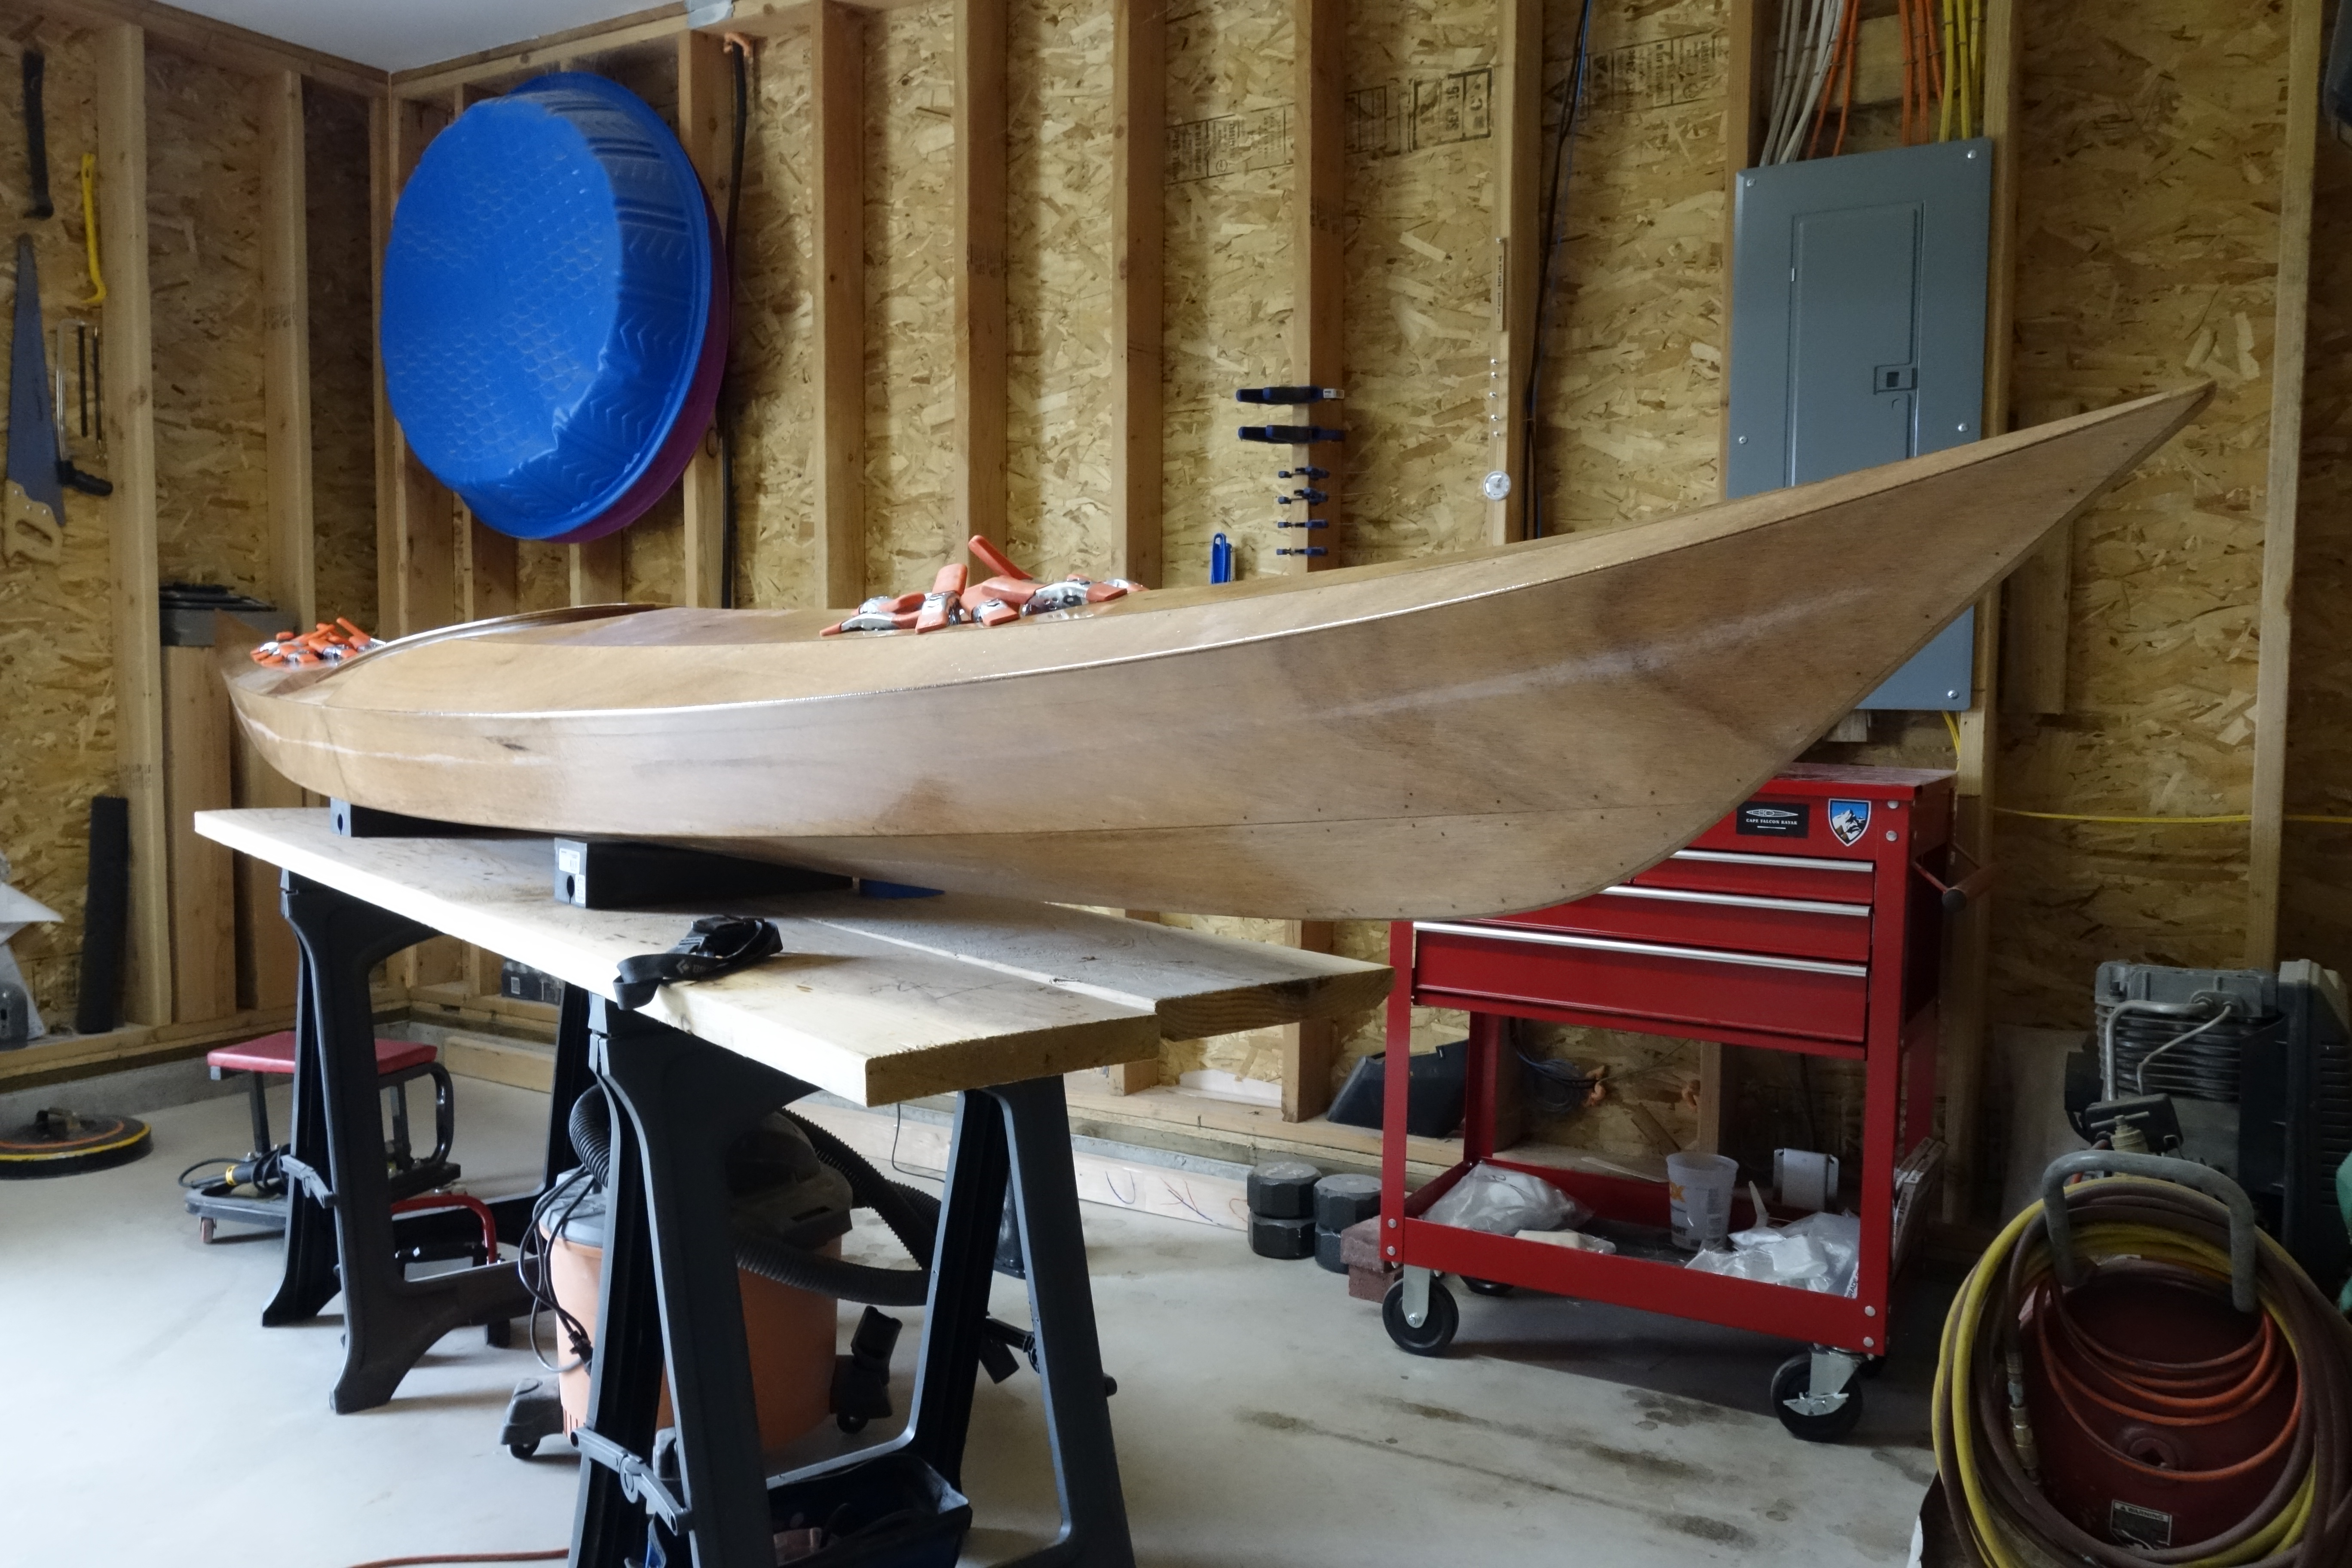
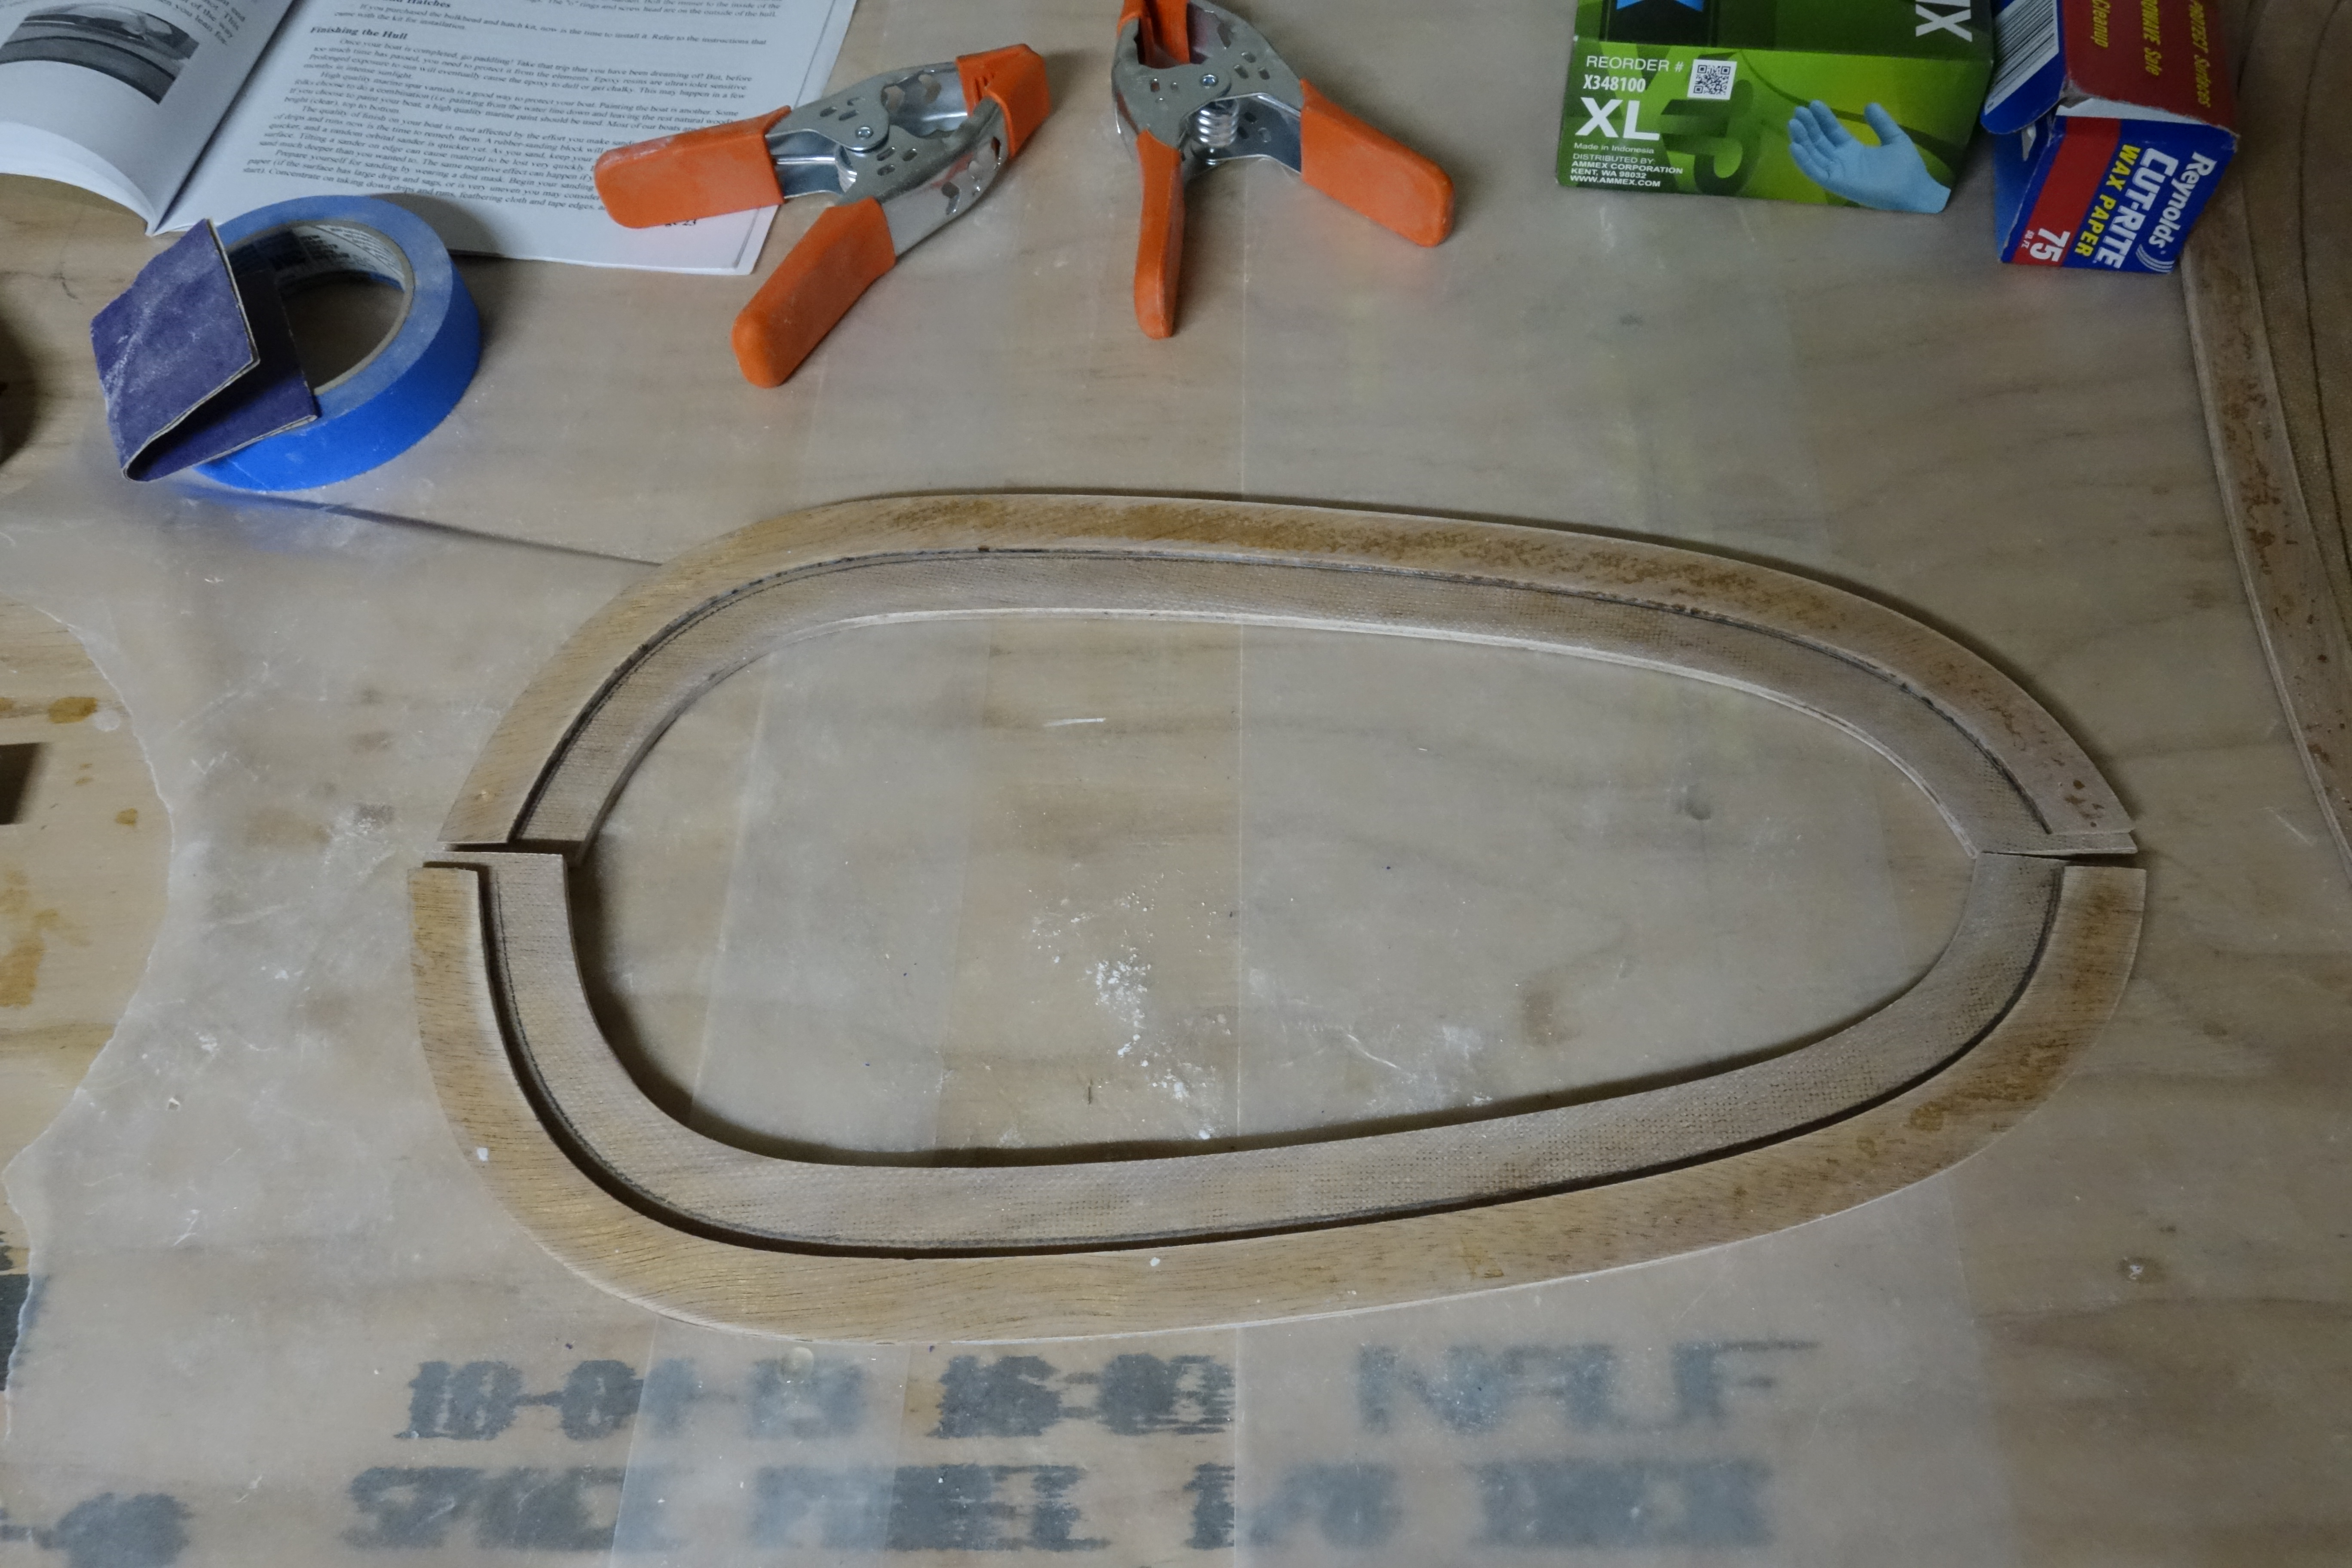
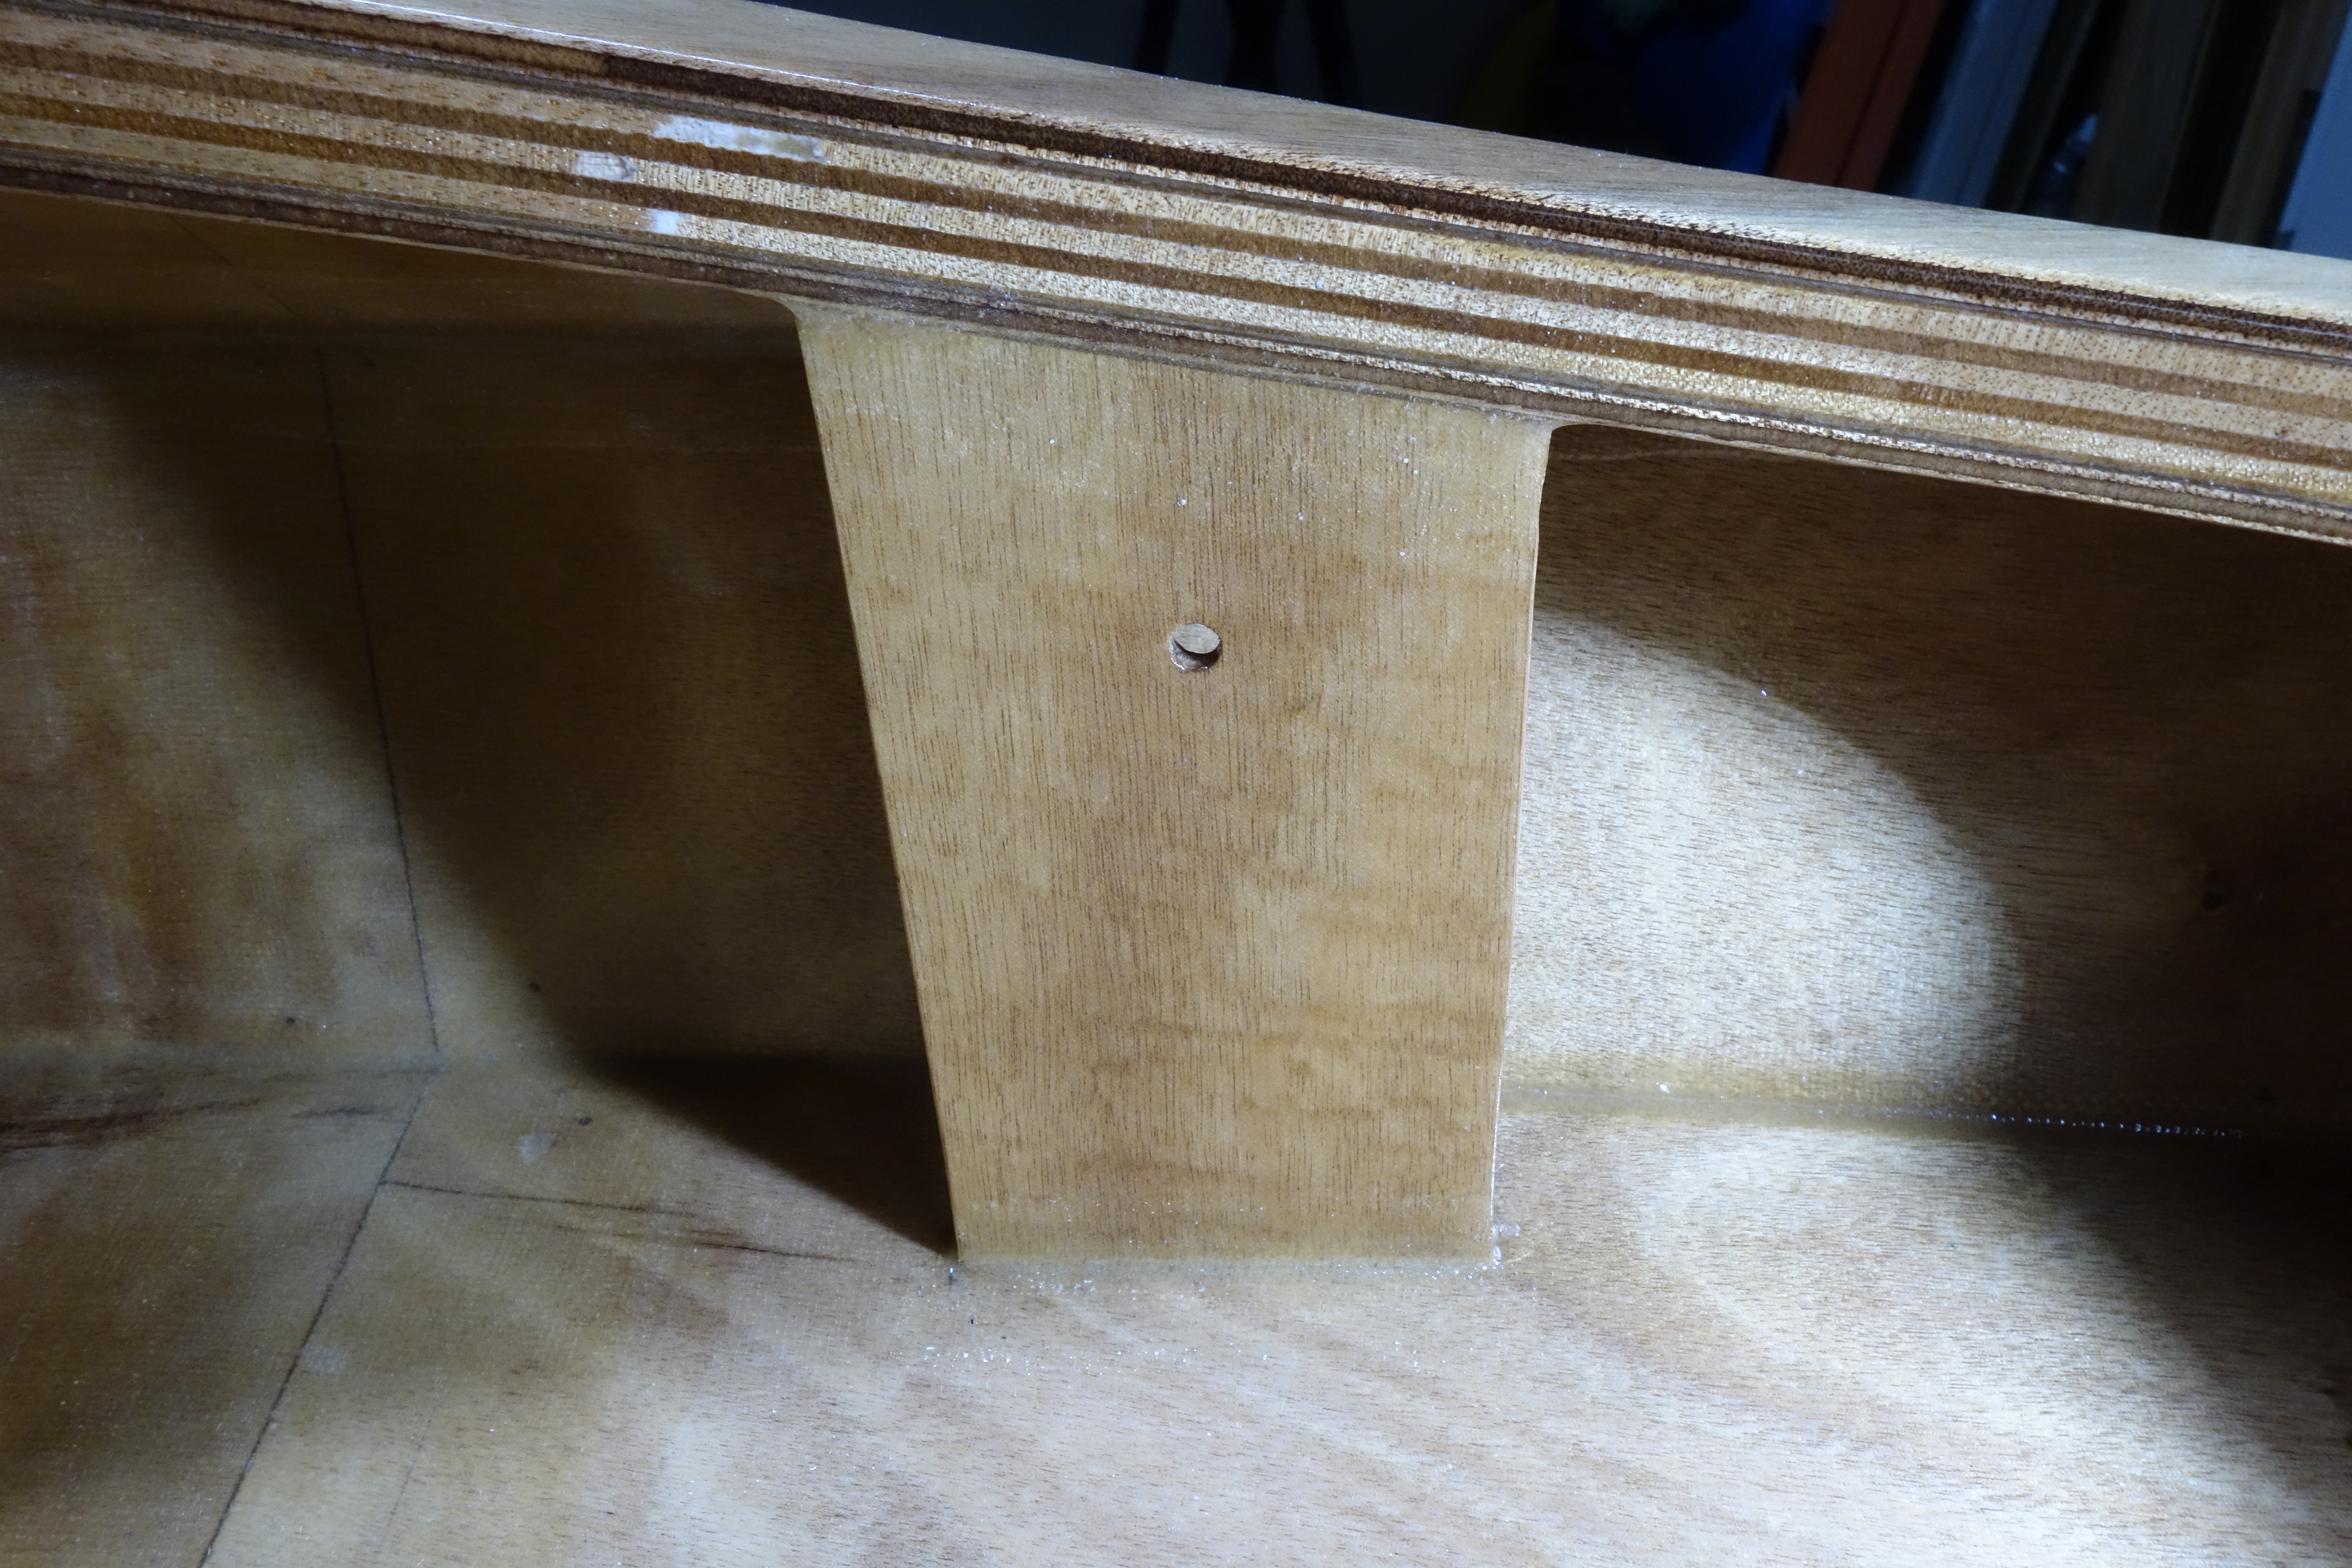
I know that everything kind-of looks like hell right now, but these should look a lot better once everything is sanded smooth and gets a coat of epoxy. That goes for the hull and deck too. This is one of those times when I have to make things ugly in the short term, to make them pretty at the end of the process.

Bow end pour.

This morning bright and early, I took the Ronan back outside to do the two bow end pours. After the epoxy cures completely I will drill the 1/2″ holes in the bow and stern for the hand toggles and perimeter lines. The only things that remain after that are the sanding and varnishing, and installing the seat and deck rigging, etc. As of this writing, the first three ounce pour is done and I’ll pour the second three ounces about ninety minutes after the first one. Then it is just a matter of waiting until I am certain that the epoxy has gelled enough that it won’t slump when I bring the kayak back inside. It certainly won’t hurt anything to leave it out all day, so that’s what I’ll do. I am very happy that I got a break from the weather this weekend as I have been waiting for fair weather for quite a while to get these end pours done, and it is supposed to start raining here again tomorrow and continue all next week.

First 3 oz. pour above, second 3 oz. pour below.

Stern end pour.

This morning I finally got the Ronan outside and standing on her stern tip, strapped to a ladder. I poured three ounces of thickened epoxy into the stern tip. It looks to have filled about 4″ of the tip of the kayak, but I am not sure that is quite enough, so after this batch of epoxy has finished its exothermic reaction I will mix and pour another three ounces in just to make certain that when I drill the holes for the hand toggles/perimeter lines that I will be drilling through wood and epoxy. I will repeat this in the bow tip tomorrow.

First 3 oz. pour above, second 3 oz. pour below.
The wind picked up a bit, and you can see in the photo above that in an abundance of caution I decided to add a five gallon bucket of deicer to the weights I used to make sure the ladder wouldn’t tip over!

Hatches finished. Half-round pieces applied to hatch covers. Four more steps and the Ronan is done.

I am officially done laminating fiberglass to this kayak!

Only four steps remain (or ten I suppose, if you count the individual parts of each step). End pours. Sanding and one more fill coat of epoxy over entire kayak. Sanding and varnishing entire kayak. Installing deck rigging, perimeter lines, foam on hatch lips, seat, and back band.

That’s it.

Hatch lips epoxied in place.

This evening when I got home from work I was able to give the hatch lips their final adjustments and epoxy them in place. All that remains to do on the hatch lips is to laminate a little fiberglass cloth at each seam to make them one solid piece. This is a HUGE milestone, as it is the last fiberglass that I have to apply to the Ronan.

EDIT: I’m going to have to wait a couple of days to finish the hatches. The weather is pretty good for the next couple of days, so I am going to have to mow the property after work instead of working on the Ronan.

Then a little cleanup with fine sandpaper and a light coat of epoxy over all to make them pretty. That’s it! Well, almost it. After the finish work, the hatch lips get a foam strip all the way around to create a watertight seal between the lip and the lid. But I am going to wait until I have finished sanding and varnishing the entire kayak before I do that. The foam will happen at the same time as the deck rigging. The only construction steps that remain are the “end pours.” I am not sure when I will be able to do those, as they are weather dependent. As I mentioned in an earlier post, I need two dry, warm (over 55 degrees F) days to do the end pours, because the kayak must be taken outside to stand on end (probably strapped to a ladder) until the epoxy cures, in order to create a solid epoxy plug in each end of the kayak so that I can drill 1/2″ holes for the hand toggles and perimeter lines and not have any leaks.

Bow hatch above, stern hatch below.

Hatch lip spacers epoxied in place and half-round pieces for the hatch lids cut to size and finish sanded.

Hatch lid spacers installed. I also cut the half-round pieces that will live on the hatch covers to provide a elevated surface for the tie down straps to ride on. These will allow the straps to provide enough pressure on the hatch lids to create a good seal against the foam that will eventually go on the hatch lip. The next step will be to install the hatch lips themselves, and to glue the half-round pieces onto the hatch covers.

Forward hatch above, aft hatch below.
A wad of clamps.
Another angle on the wad of clamps.
I can’t wait to sand that line out of the hull and give the whole kayak one more fill coat of epoxy. Then a ton of sanding, and finally, varnish. This thing really is getting pretty close to finished. Still a lot of work to do, but from the perspective of the entire build, I’m definitely in the home stretch!
These are the half-round pieces that will go on the hatch covers. The two pieces in the upper right are beveled to be a bit wider at the top, to make them easier to grab if there is suction on the inside of the hatch lid caused by a temperature/pressure difference between the inside of the cargo hold and the ambient air temp/pressure.

Progress on the hatch lips.

Today I got the spacers for the hatch lips fitted, and the hatch lips themselves cut to size and ready to get their final fit. I will glue up the spacers tomorrow and should have the hatch lips finished by the middle of next week.

Forward hatch lips and spacers (above). The hatch lips have been fiberglassed on both sides earlier, and the spacers have gotten a coat of epoxy on all surfaces, with special attention be paid to the open grain on the edges.
Half of the hatch lip and spacer for the aft hatch, in place and ready for final dry fit. The spacers are all ready for epoxy. It is just the lips that need their final adjustments.

Hip braces done. Cockpit essentially finished.

I finally had time after work to get the hip braces finished. IMHO they look good. I also sanded the hull inside the cockpit as far forward as I could easily reach, and gave the whole thing a light coat of epoxy since I had to feather in around the braces anyway. It covered a multitude of sins. I still need to mount the back band and glue the Velcro patches on the hull that will hold the seat pad, but I will do that after I have sanded and varnished the outside of the kayak so that I don’t coat them in sanding dust, etc. Otherwise, the inside of the kayak is complete!

Starboard above, port below.