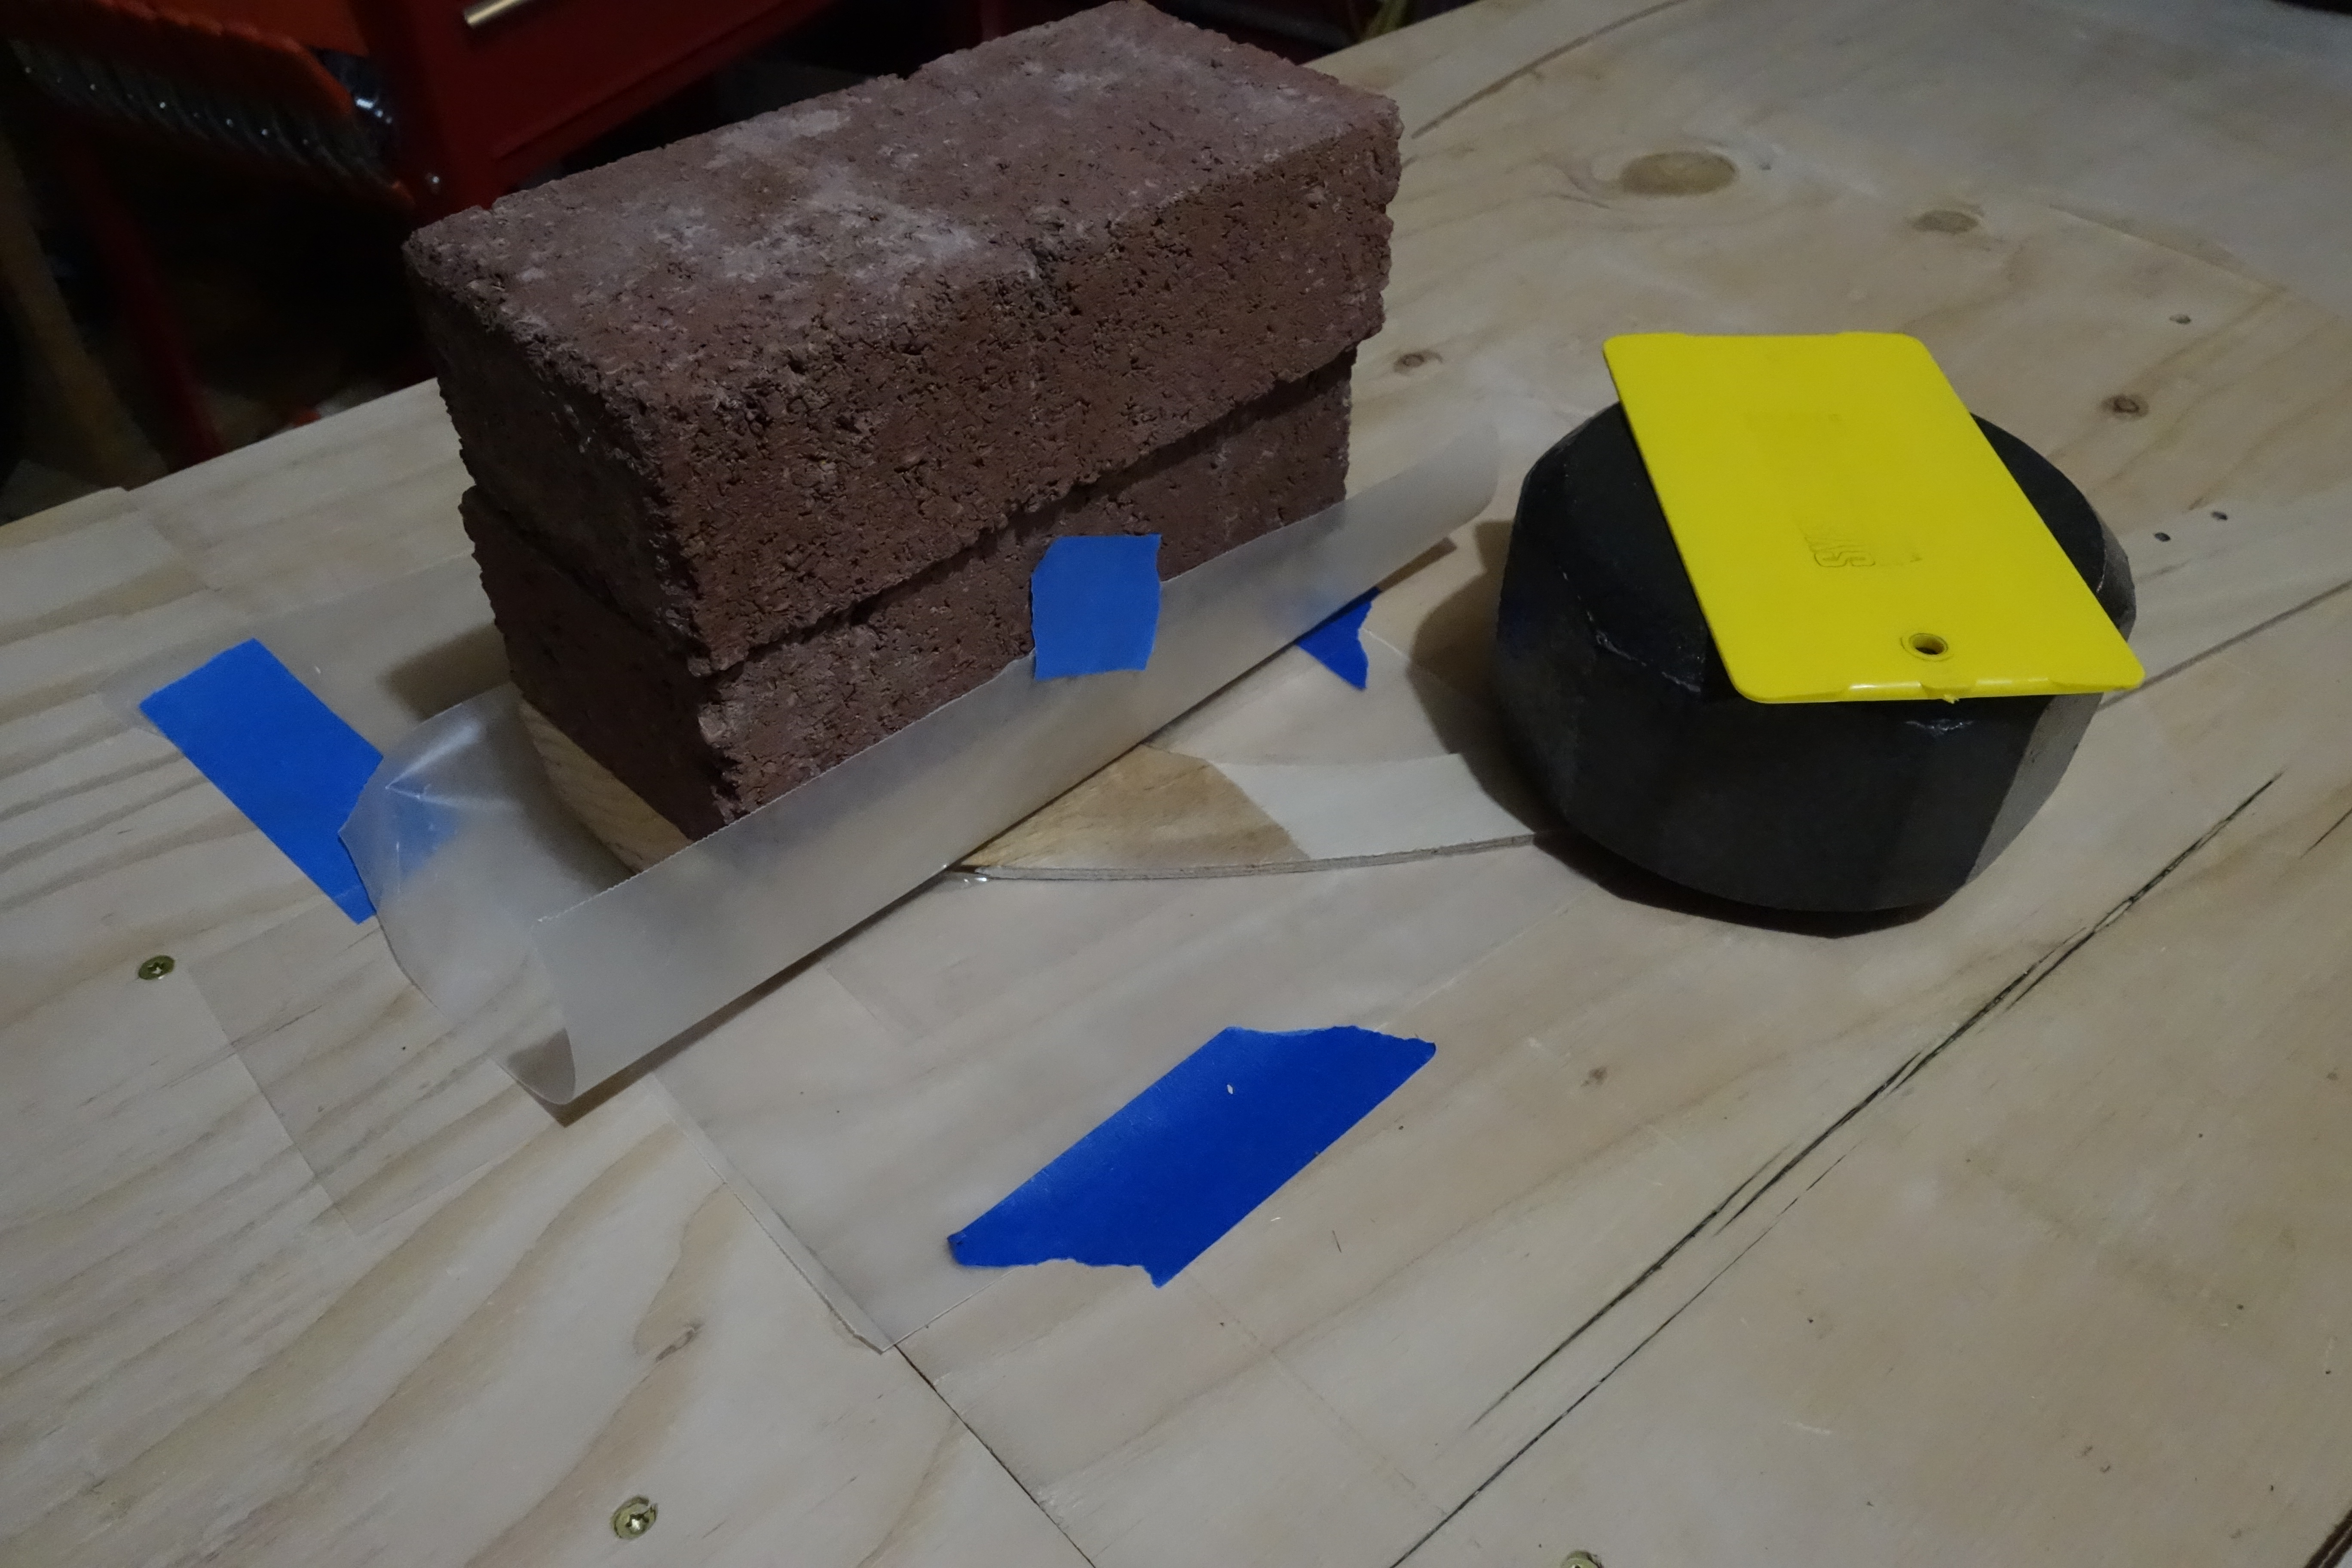
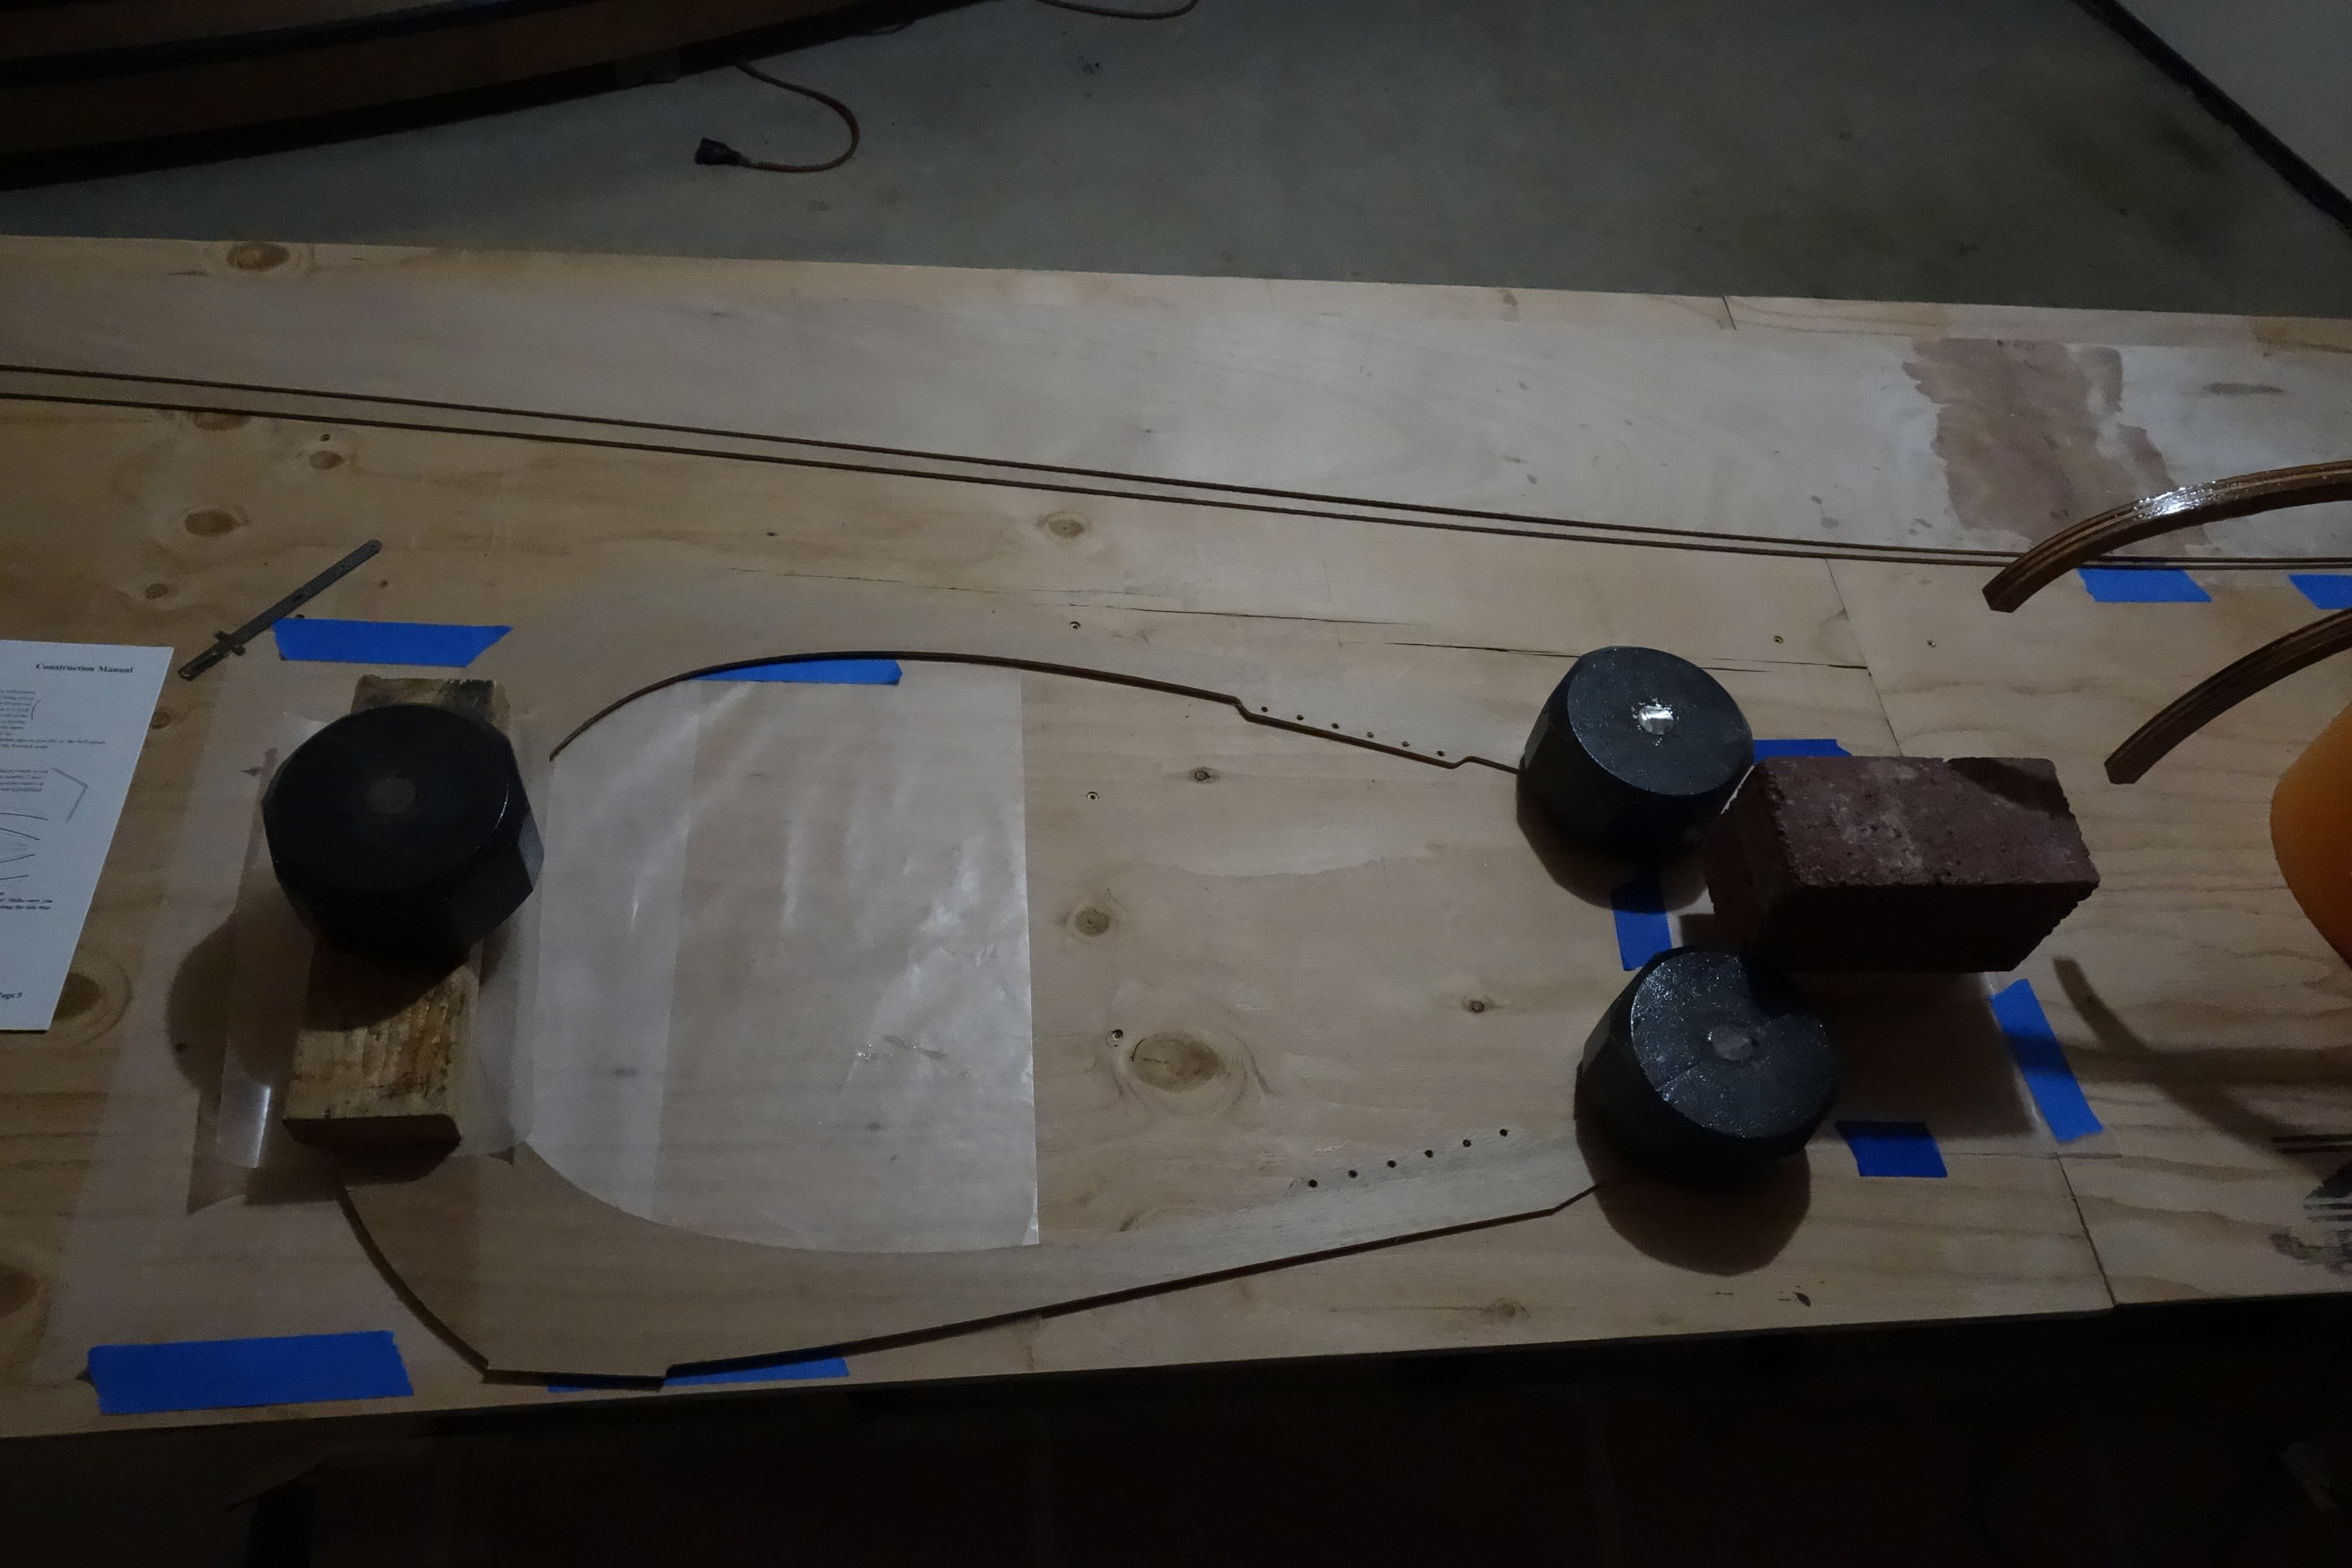
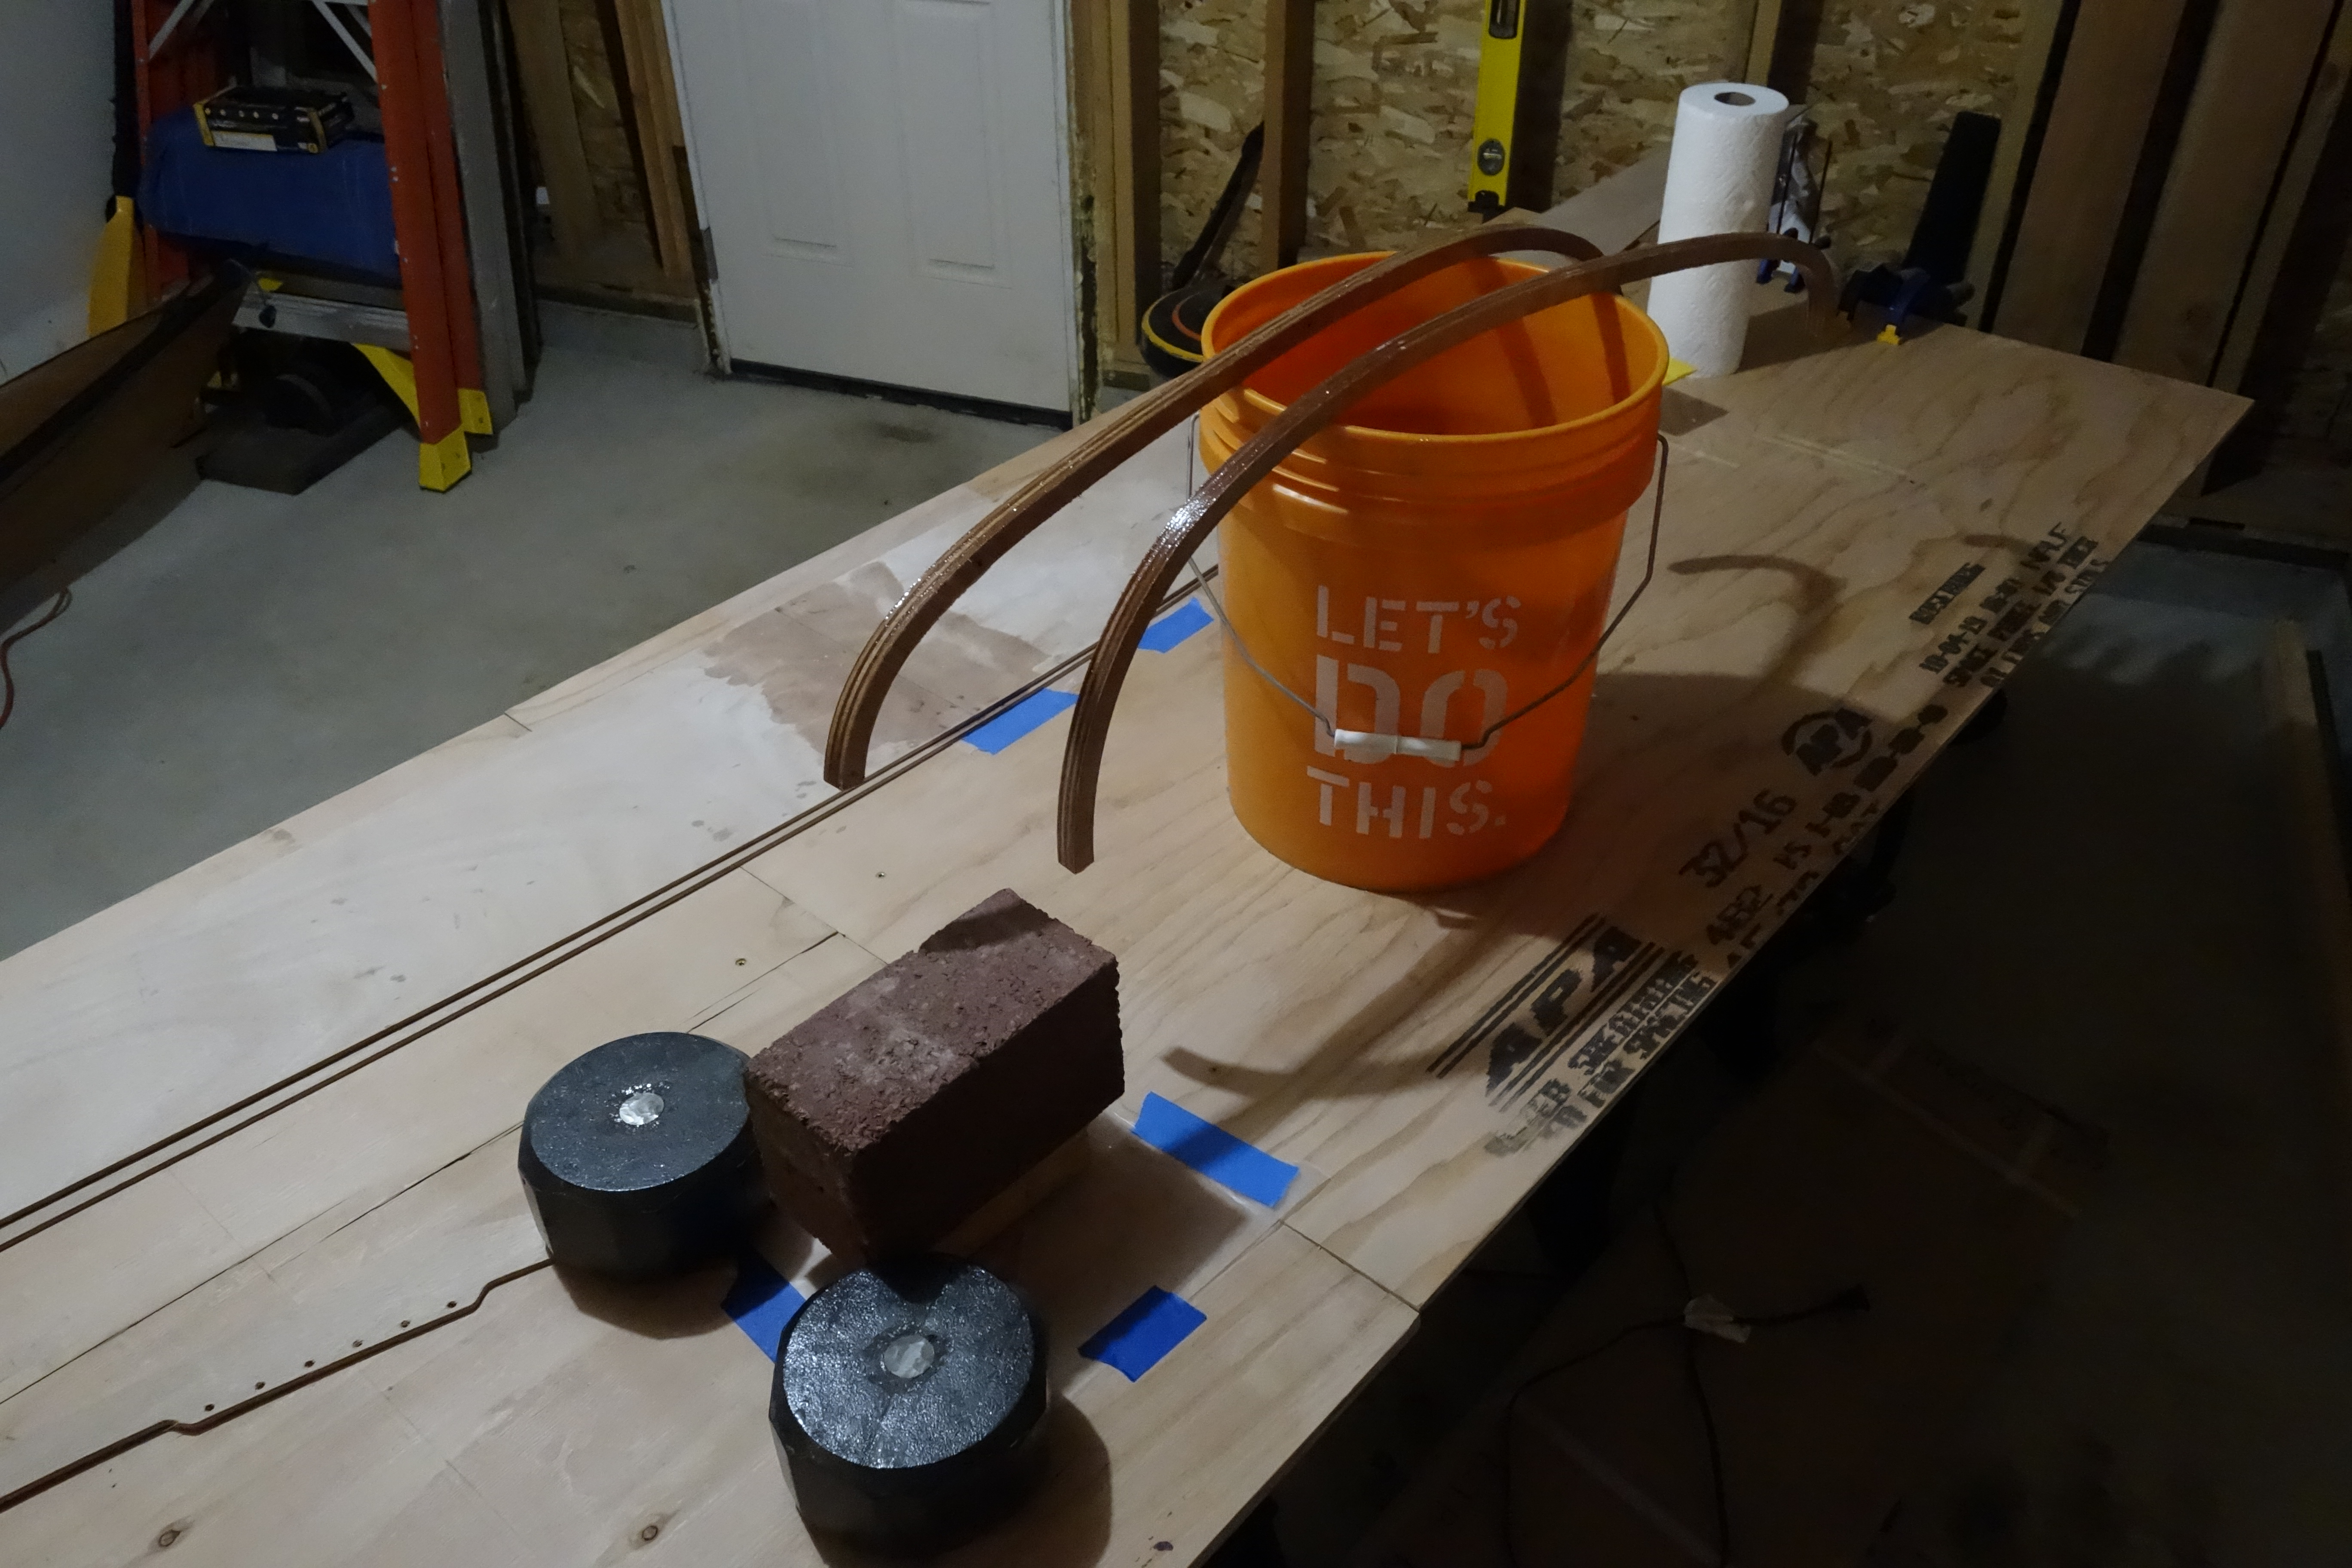
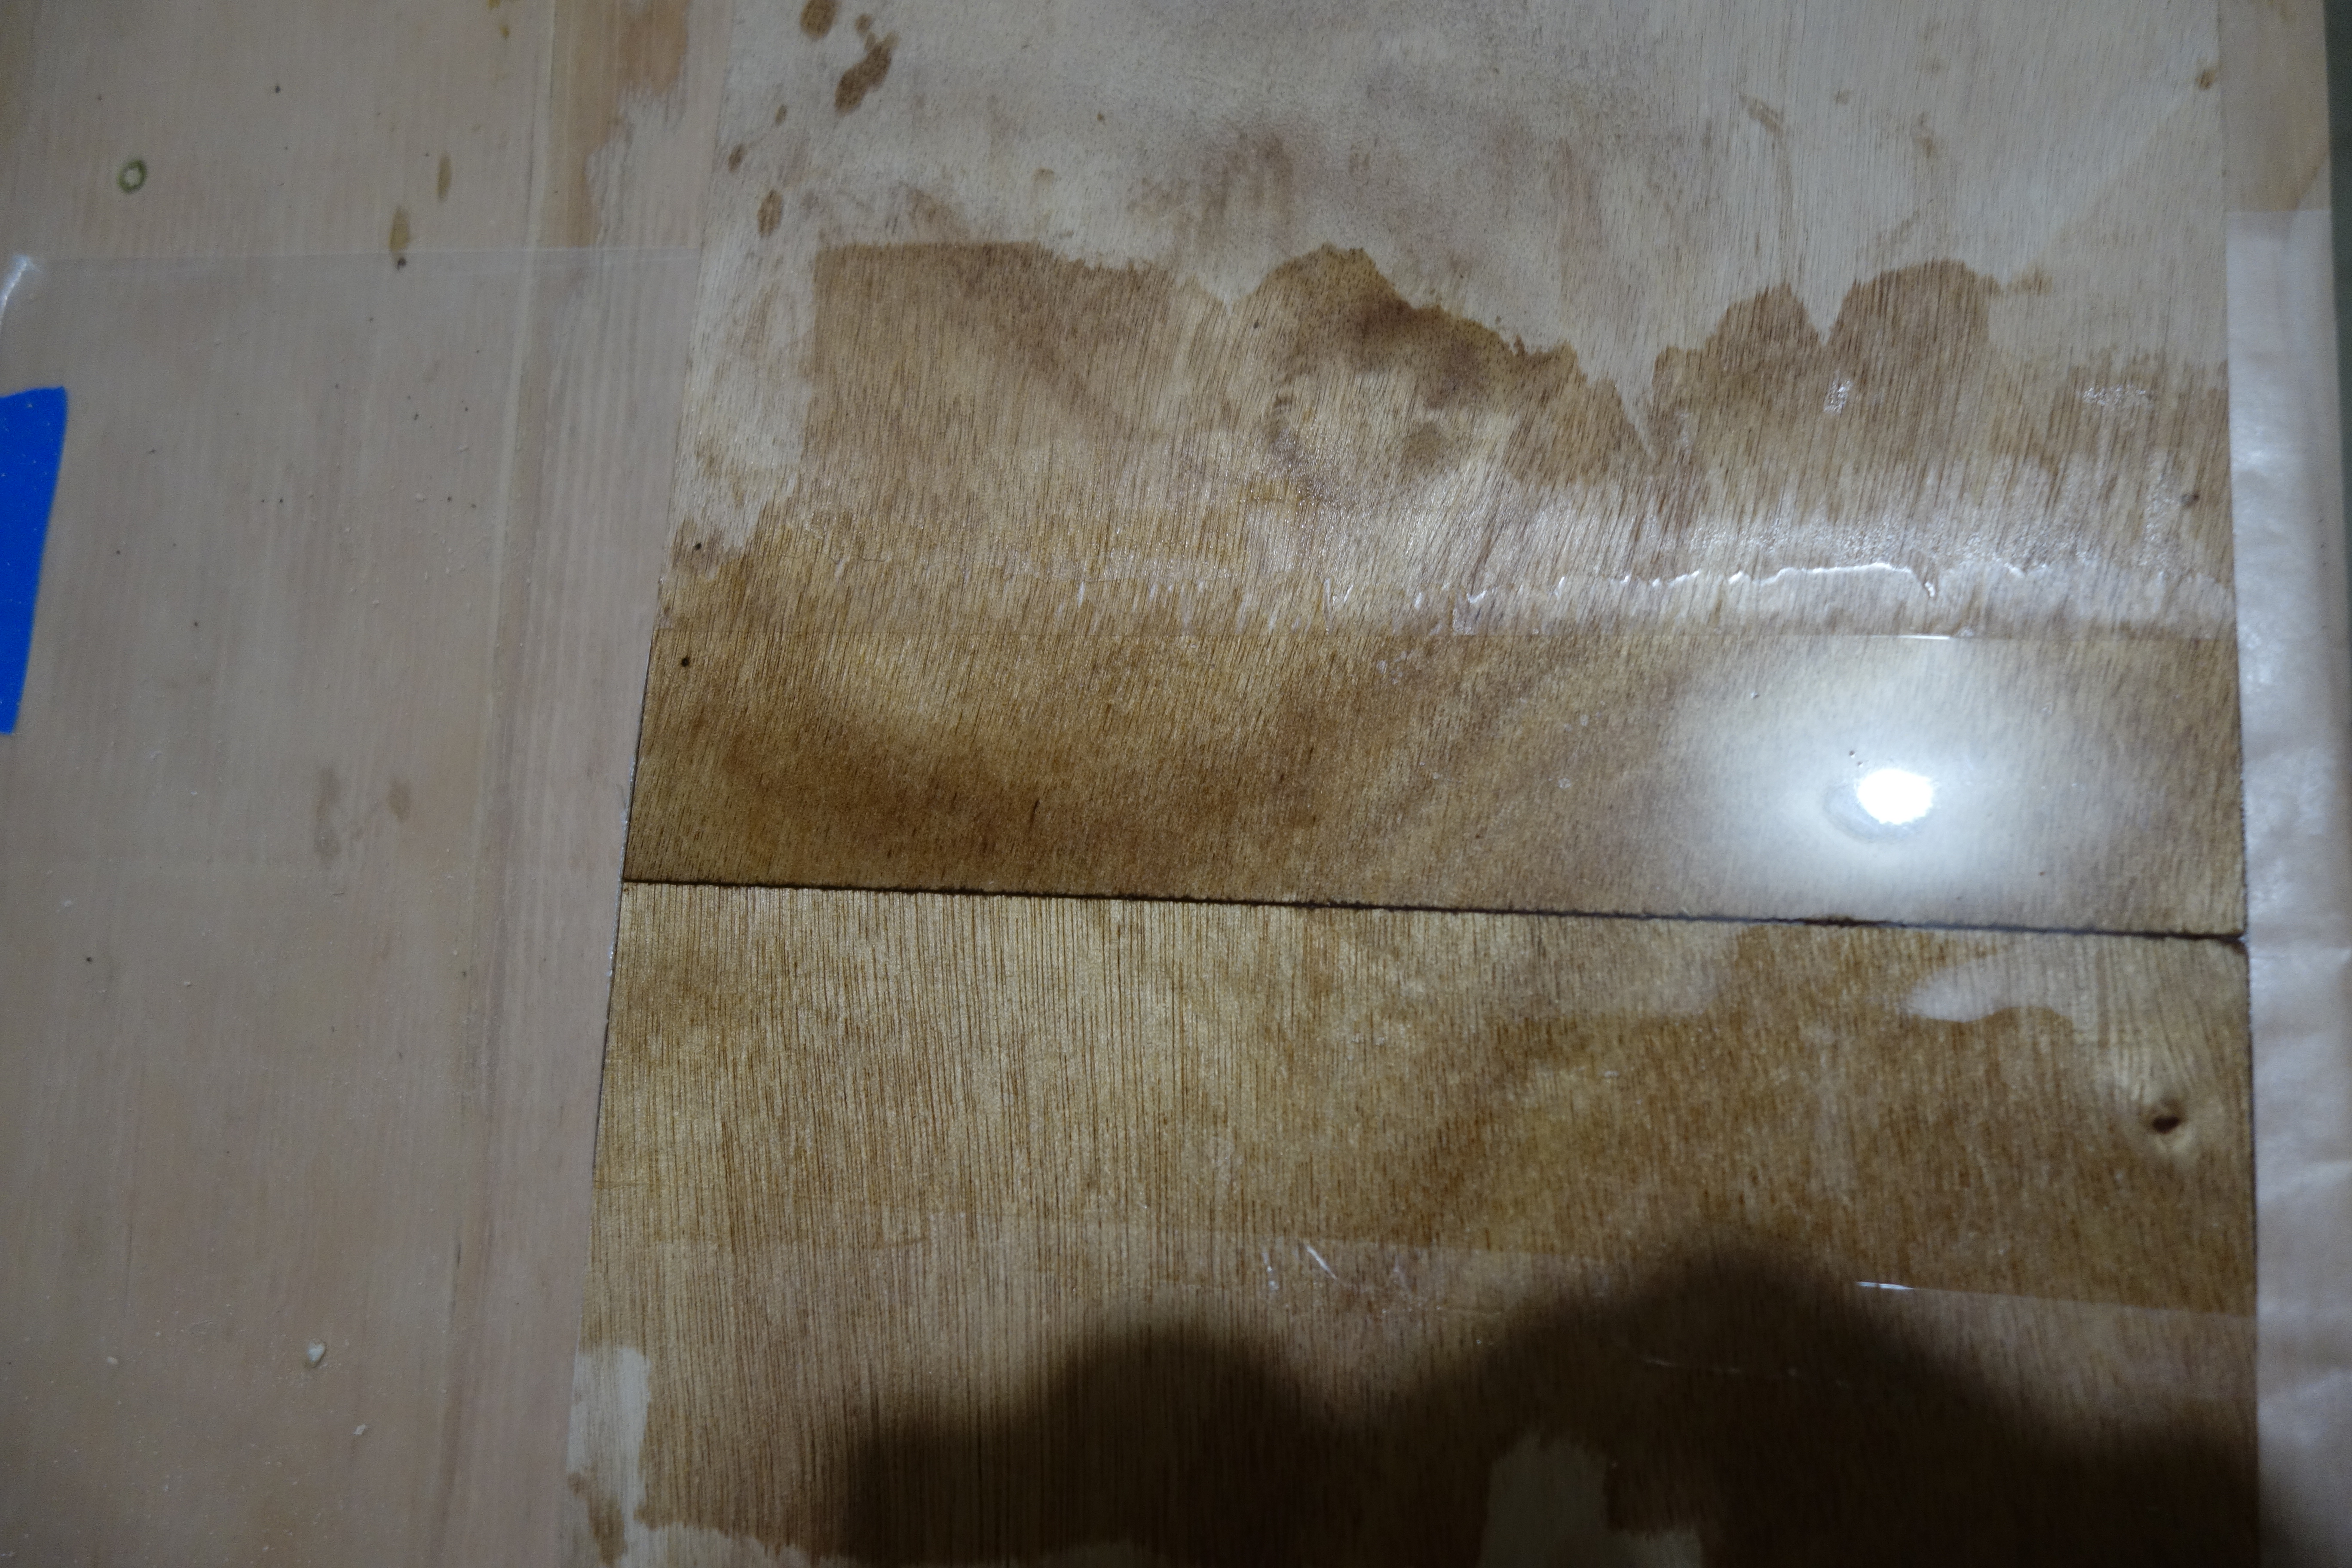
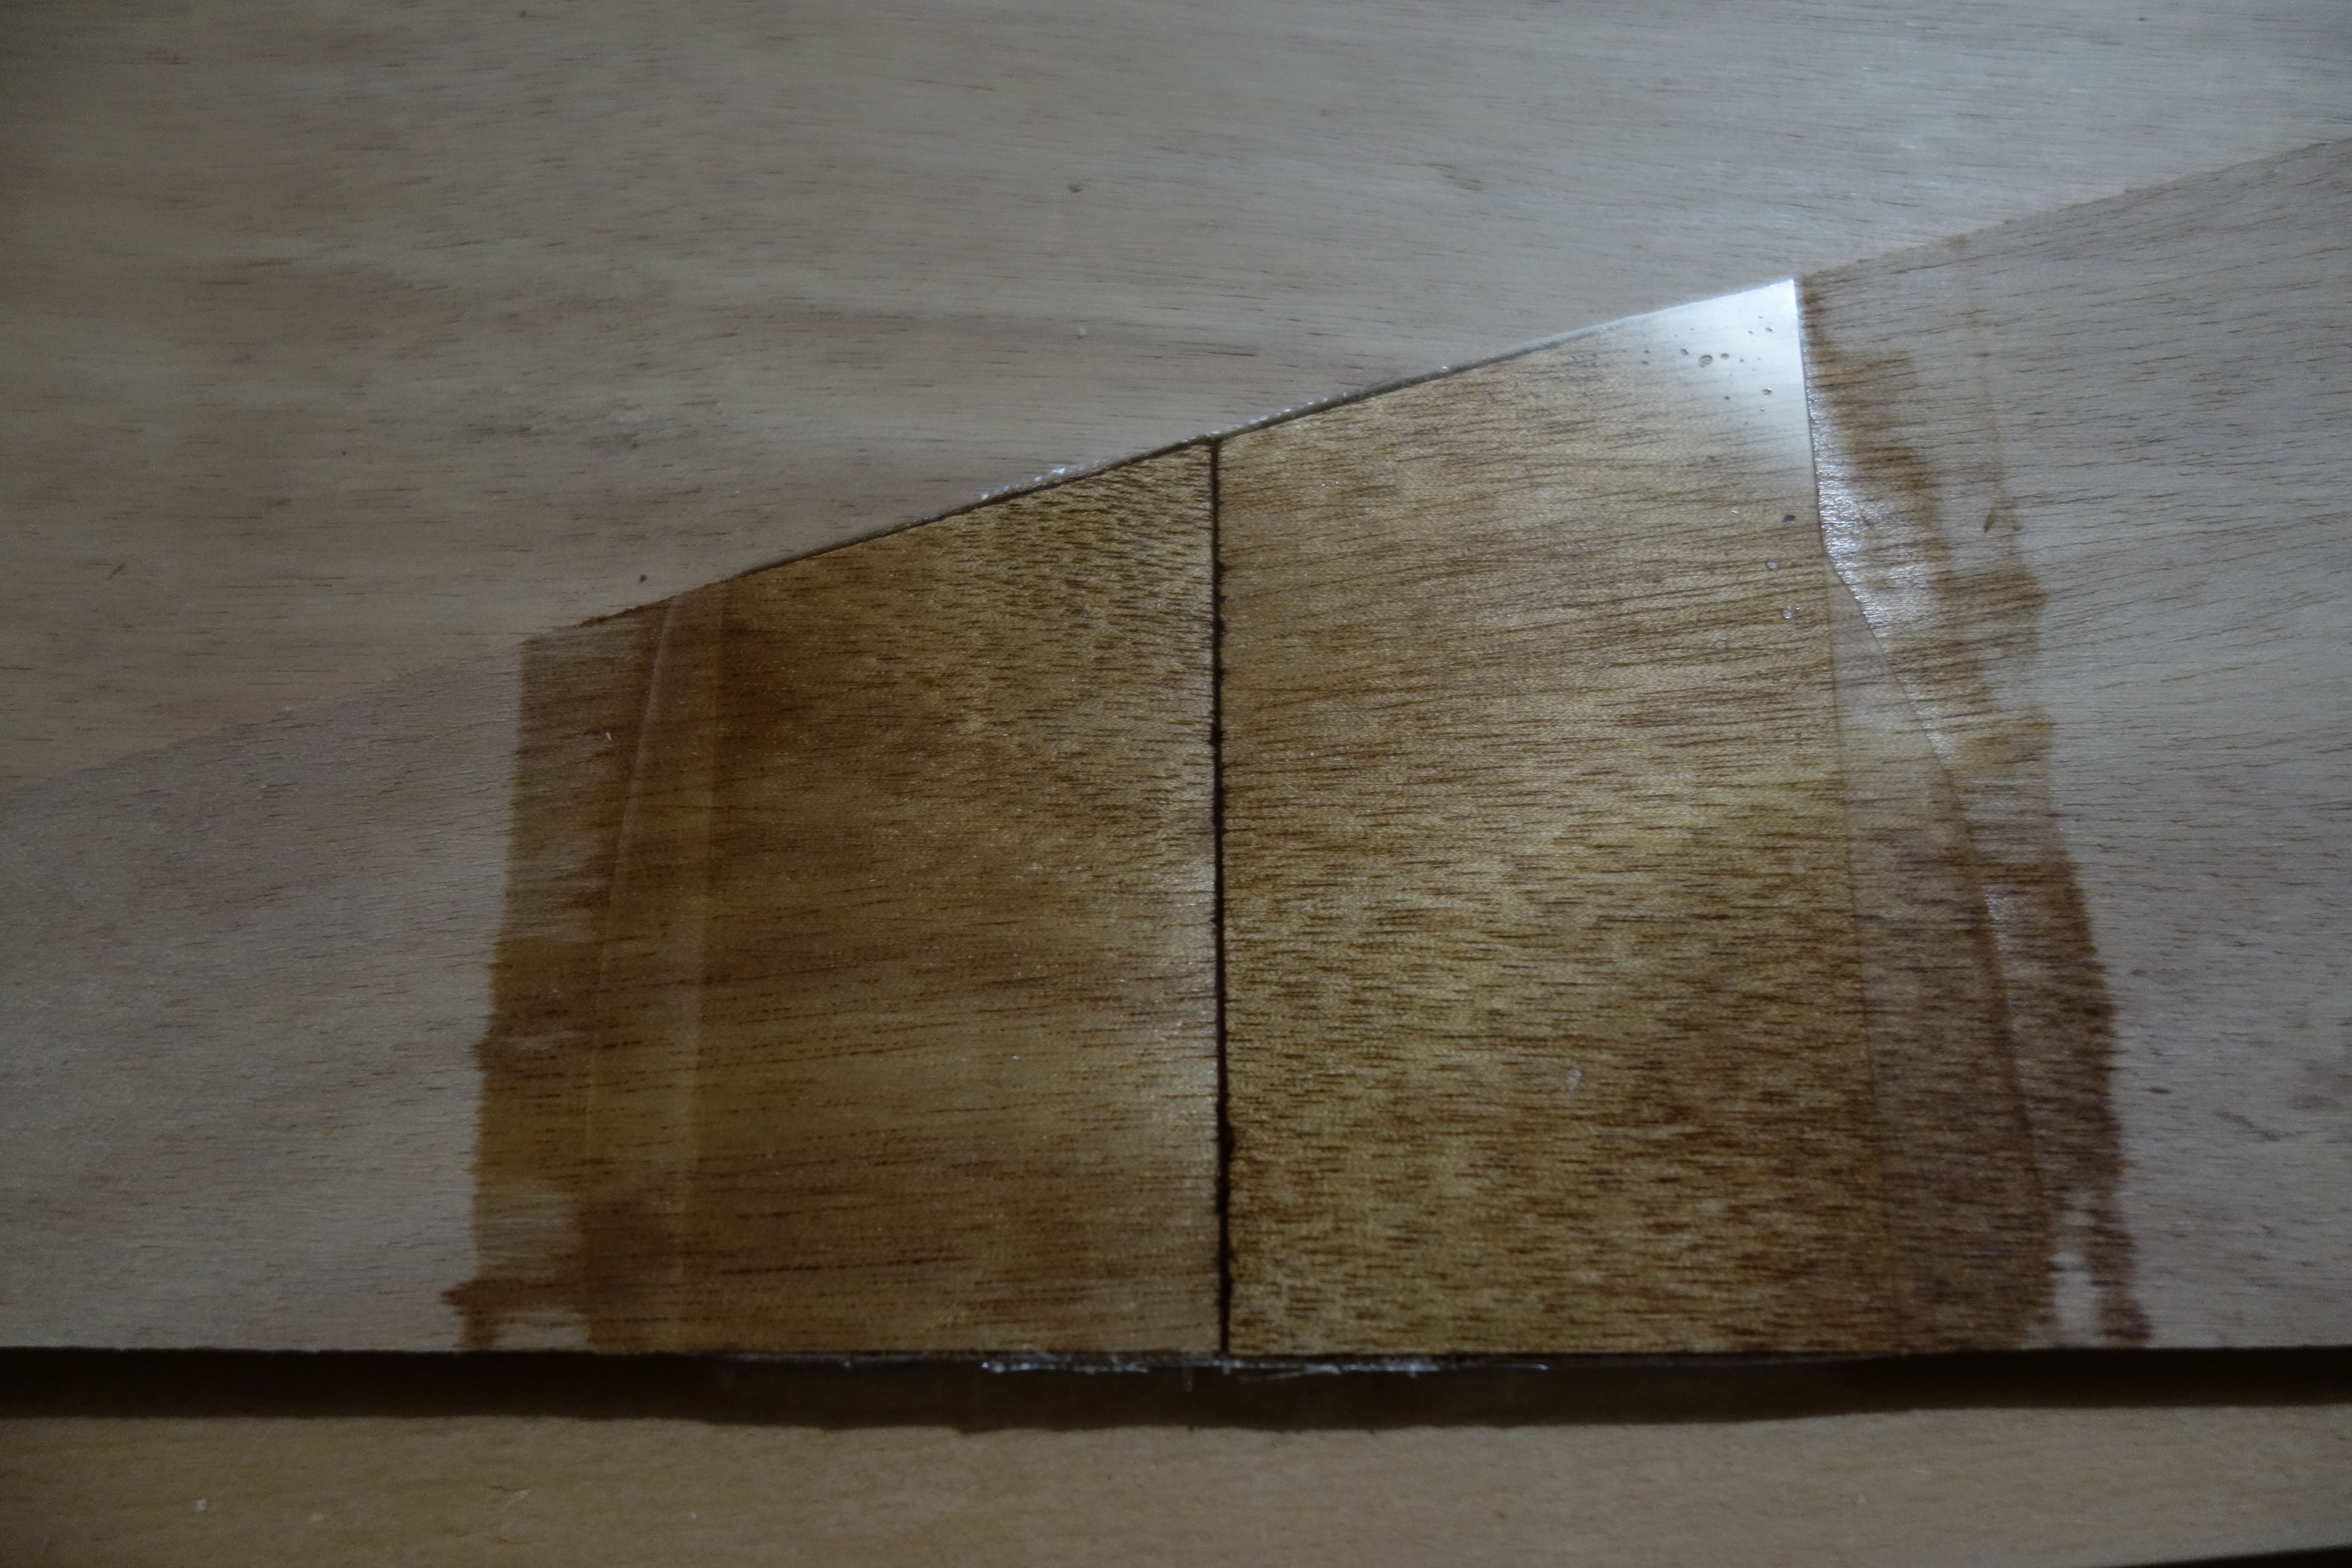
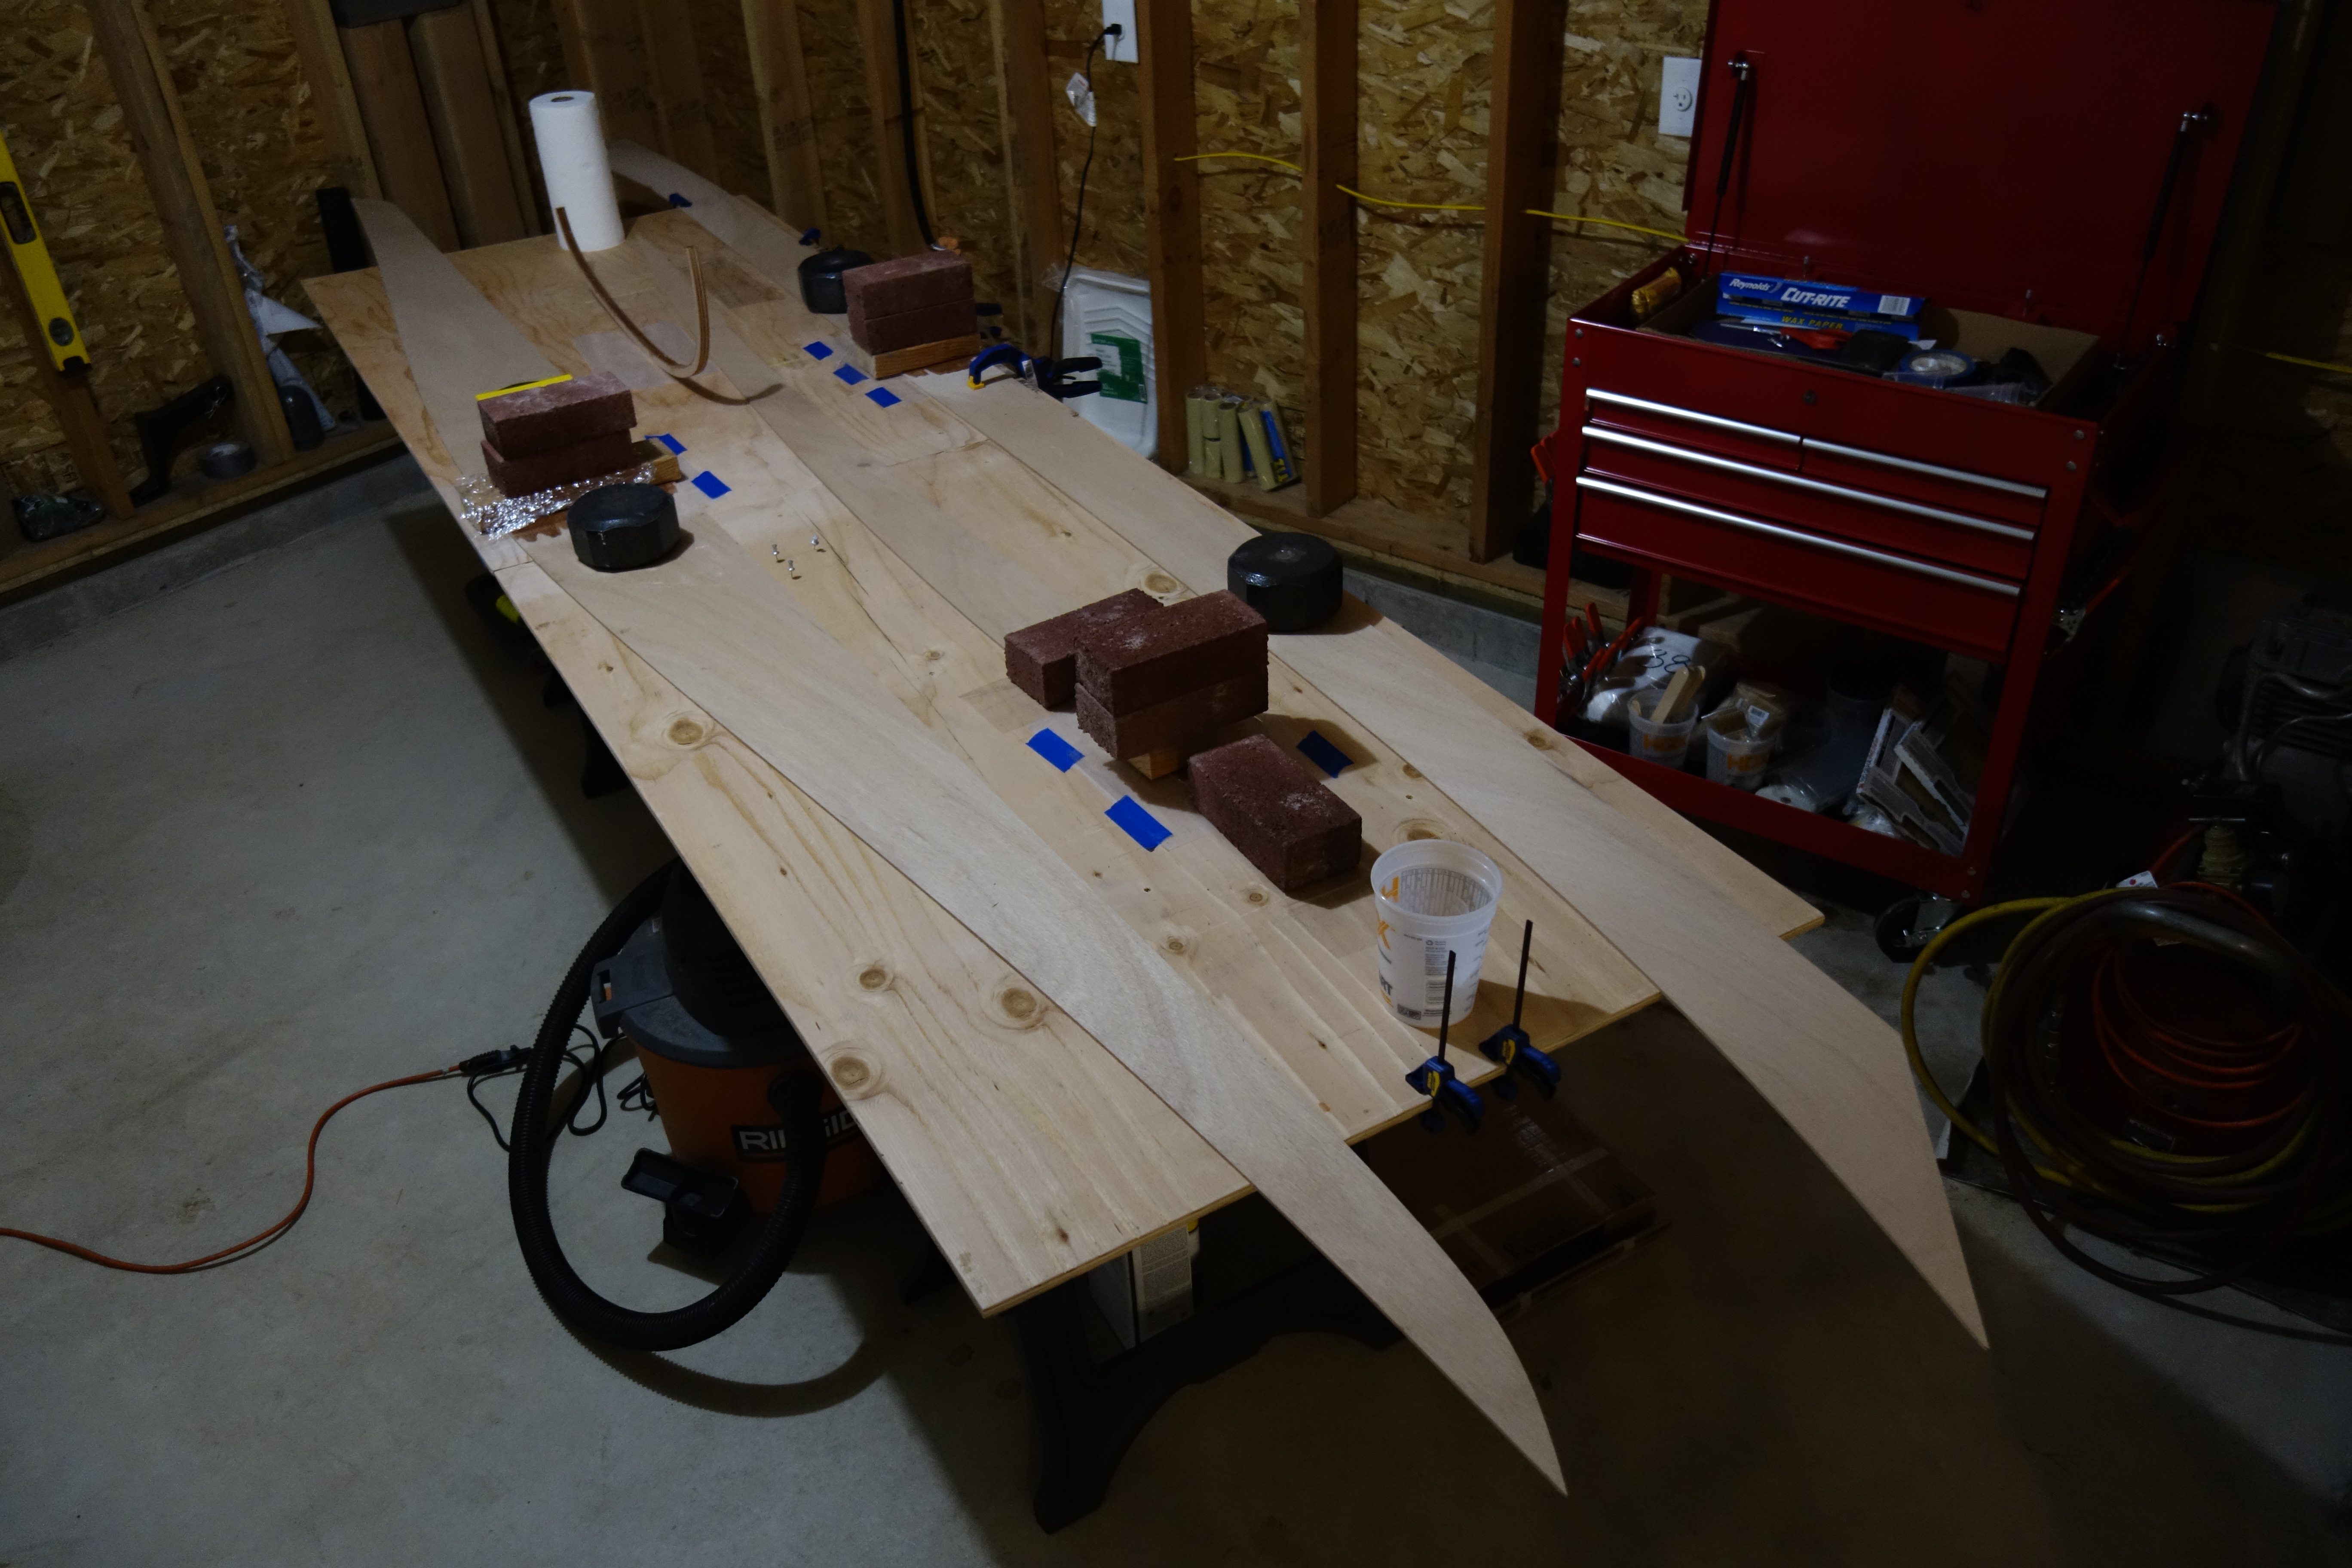
This photo show a bit more detail of the panel gluing process. Epoxy won’t stick to wax paper, so I use that between the epoxy and anything I don’t want it to stick to. As you can see, the weights are improvised. I sawed apart a couple of 20 lb. dumb-bells that I no longer use for weight lifting, so that I would have four 10 lb. weights. For additional weights, bricks were easily acquired and very inexpensive.
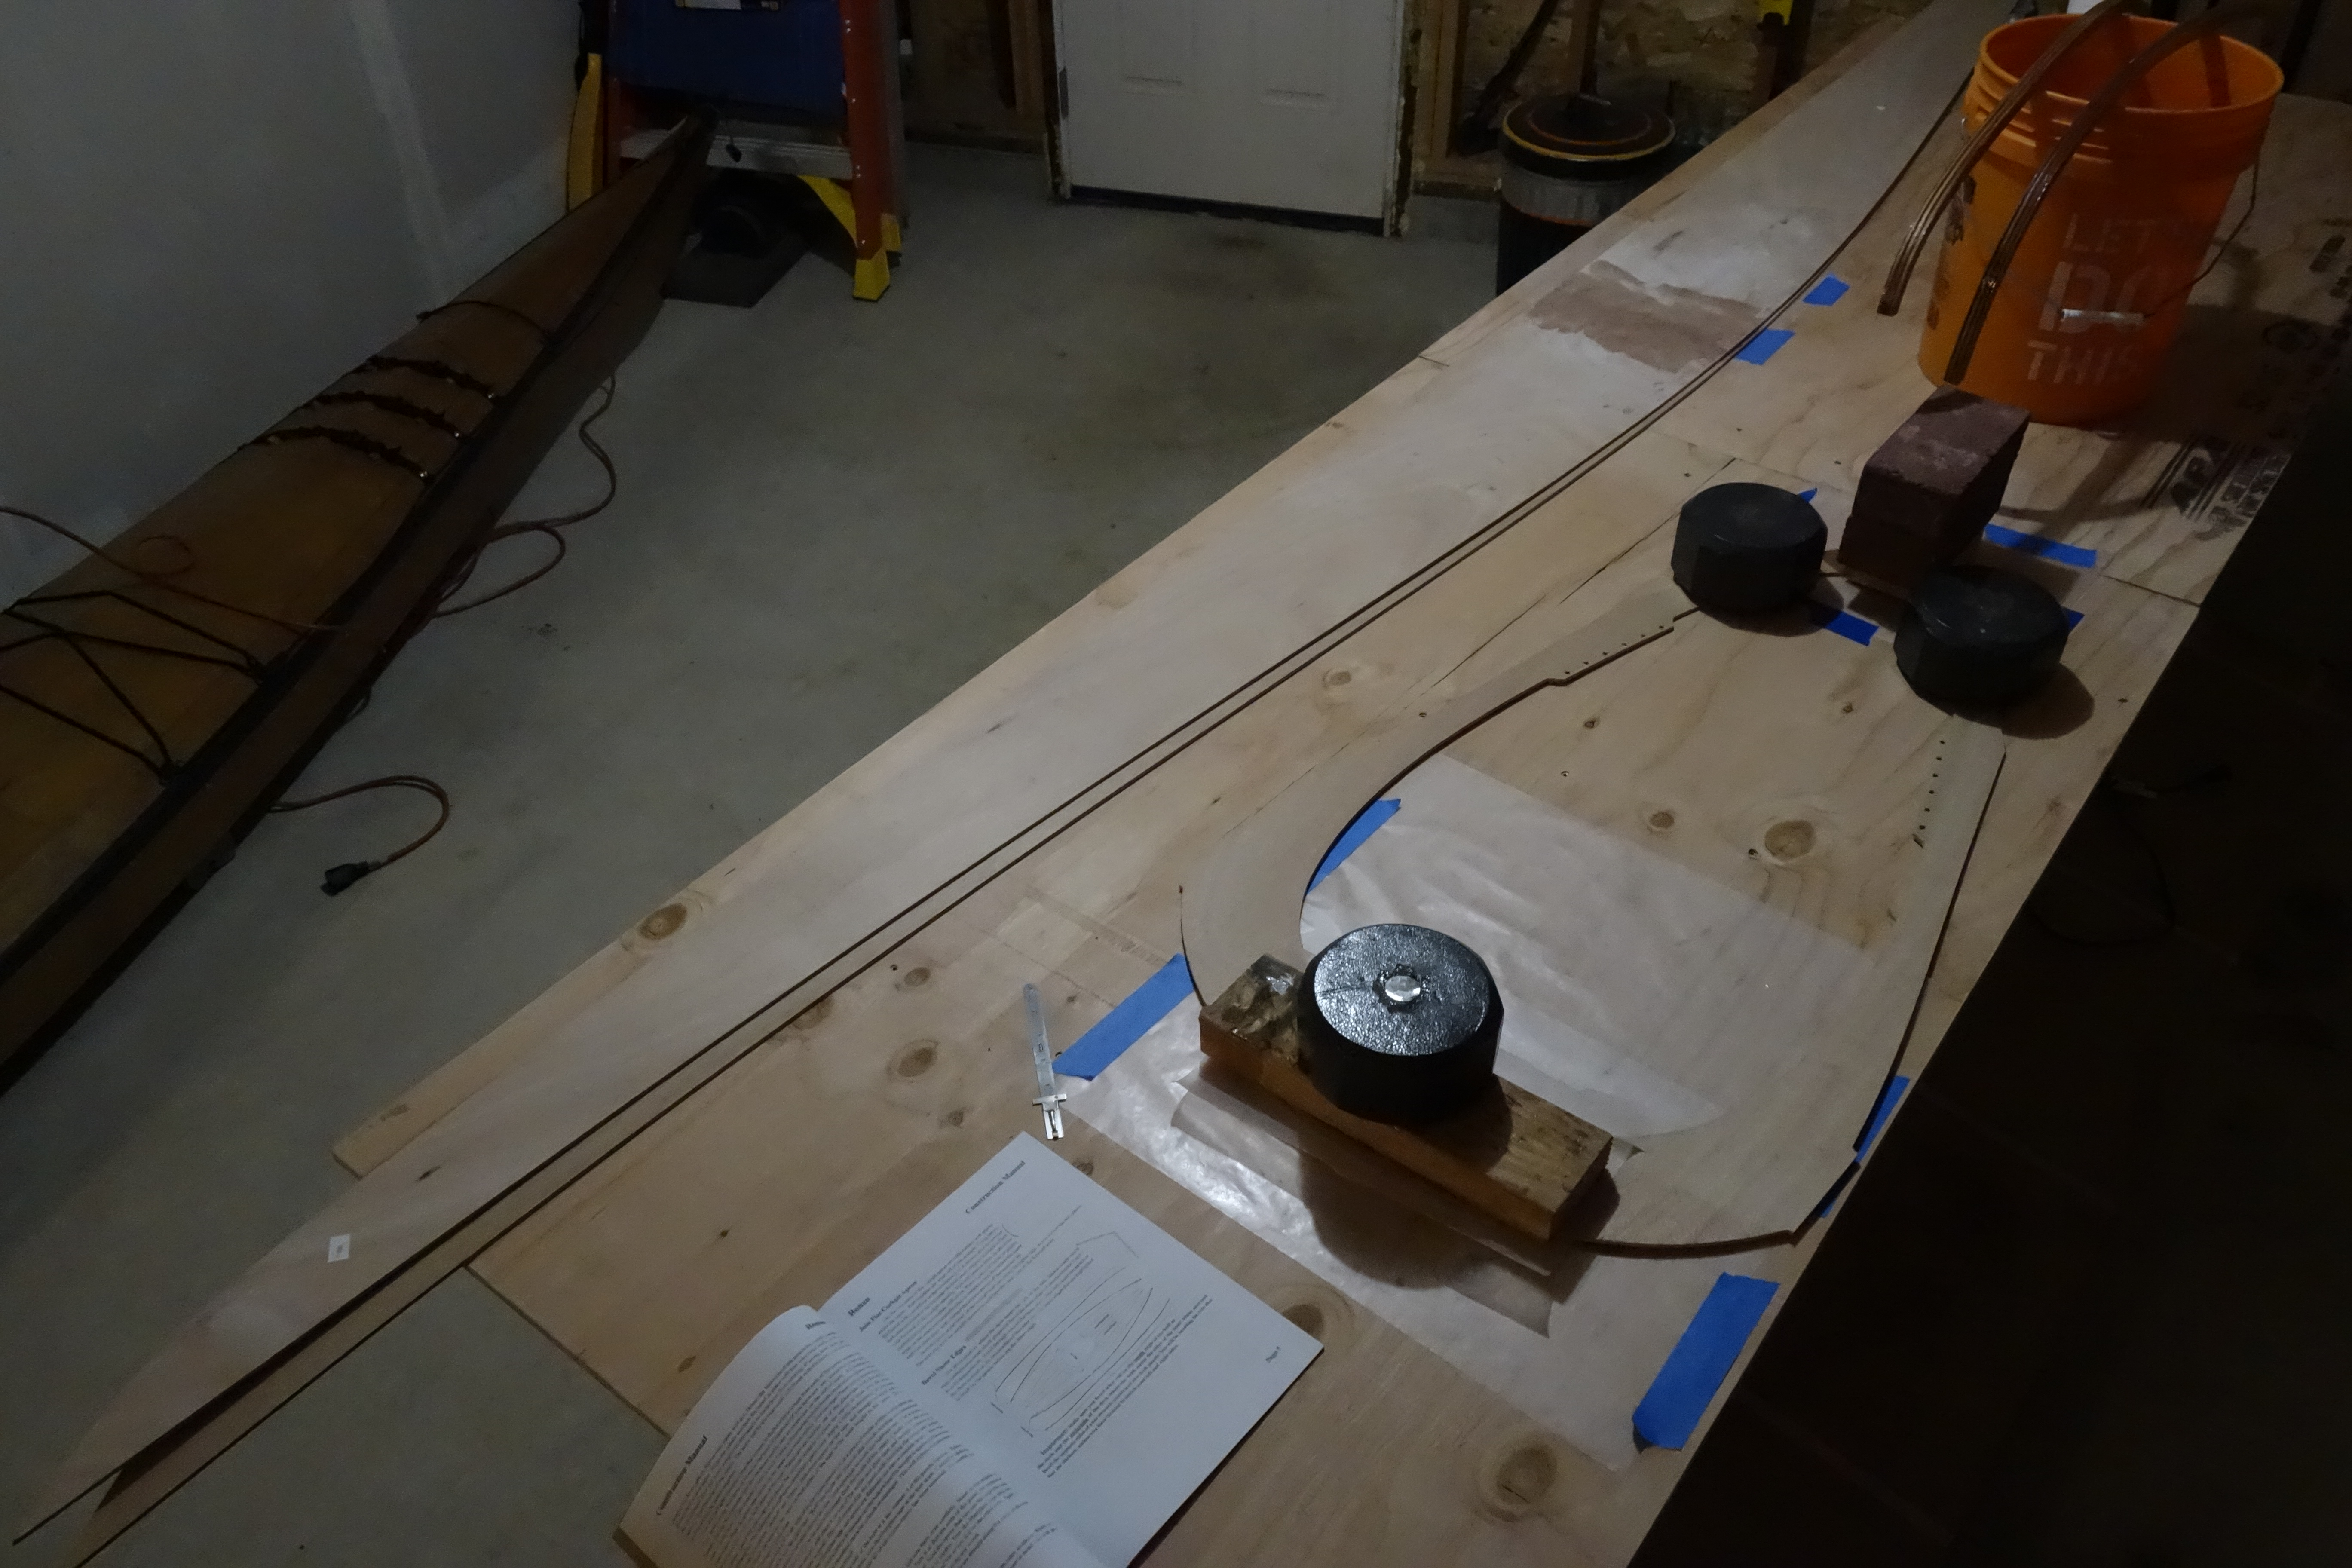
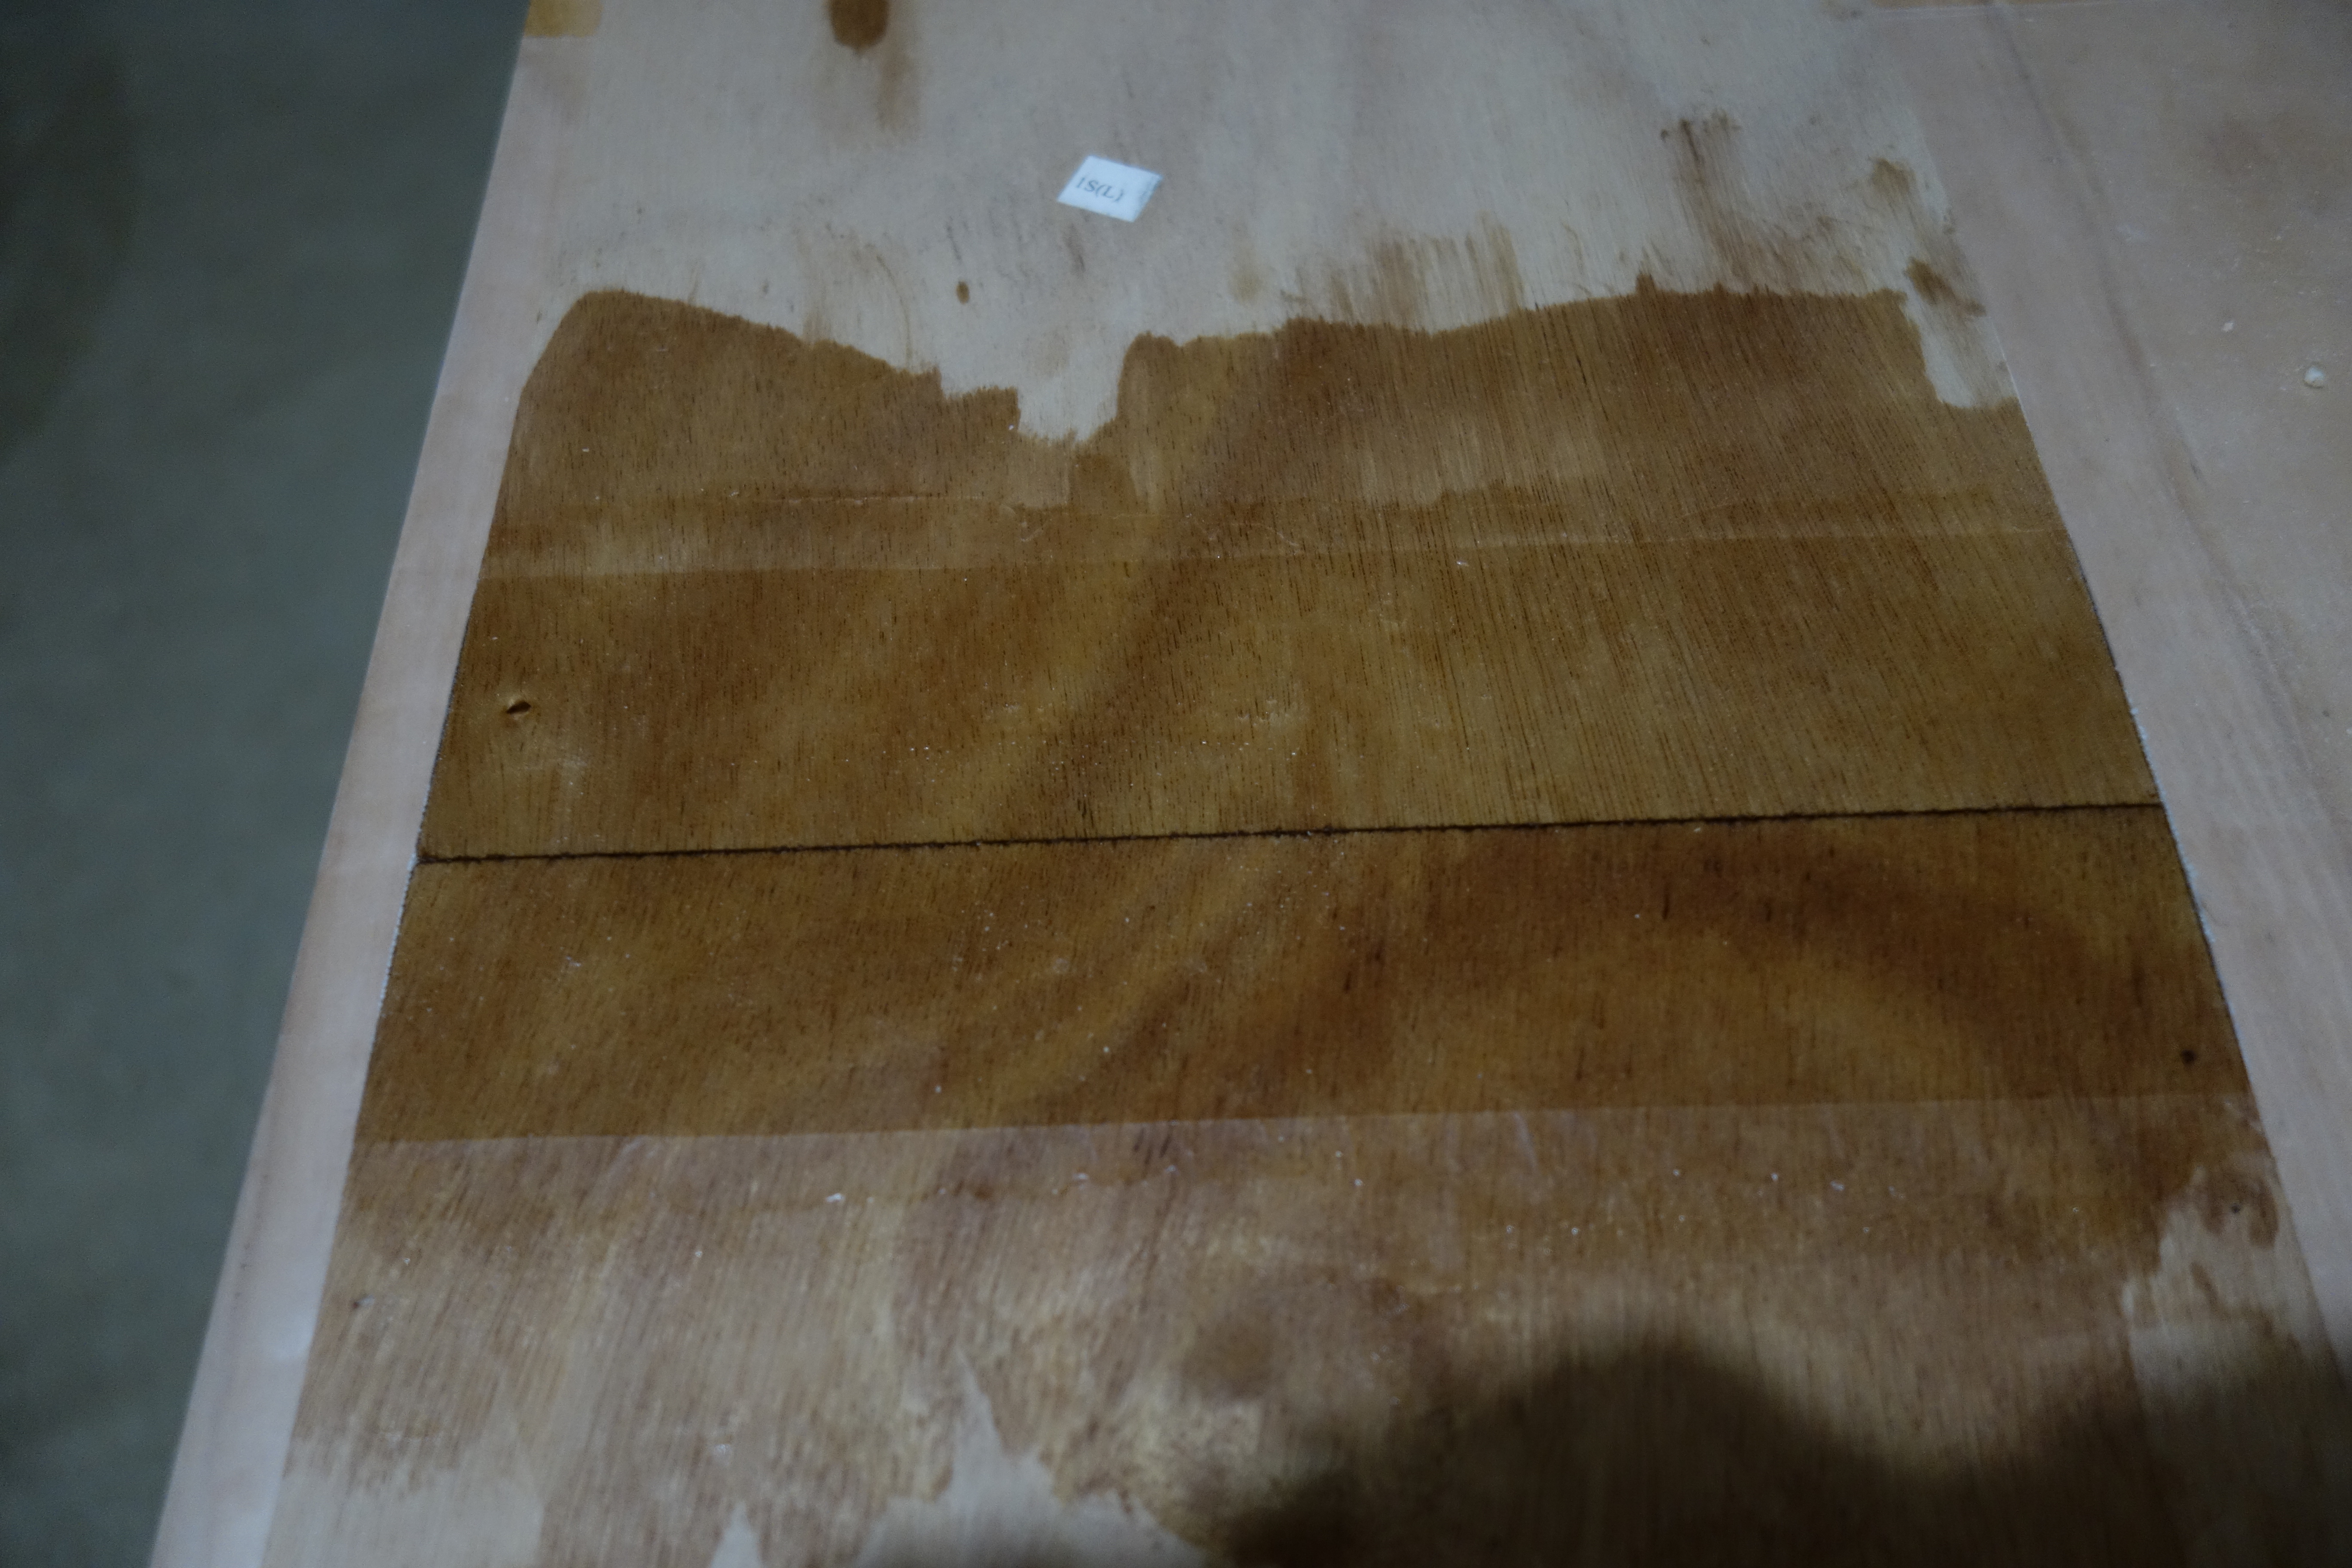
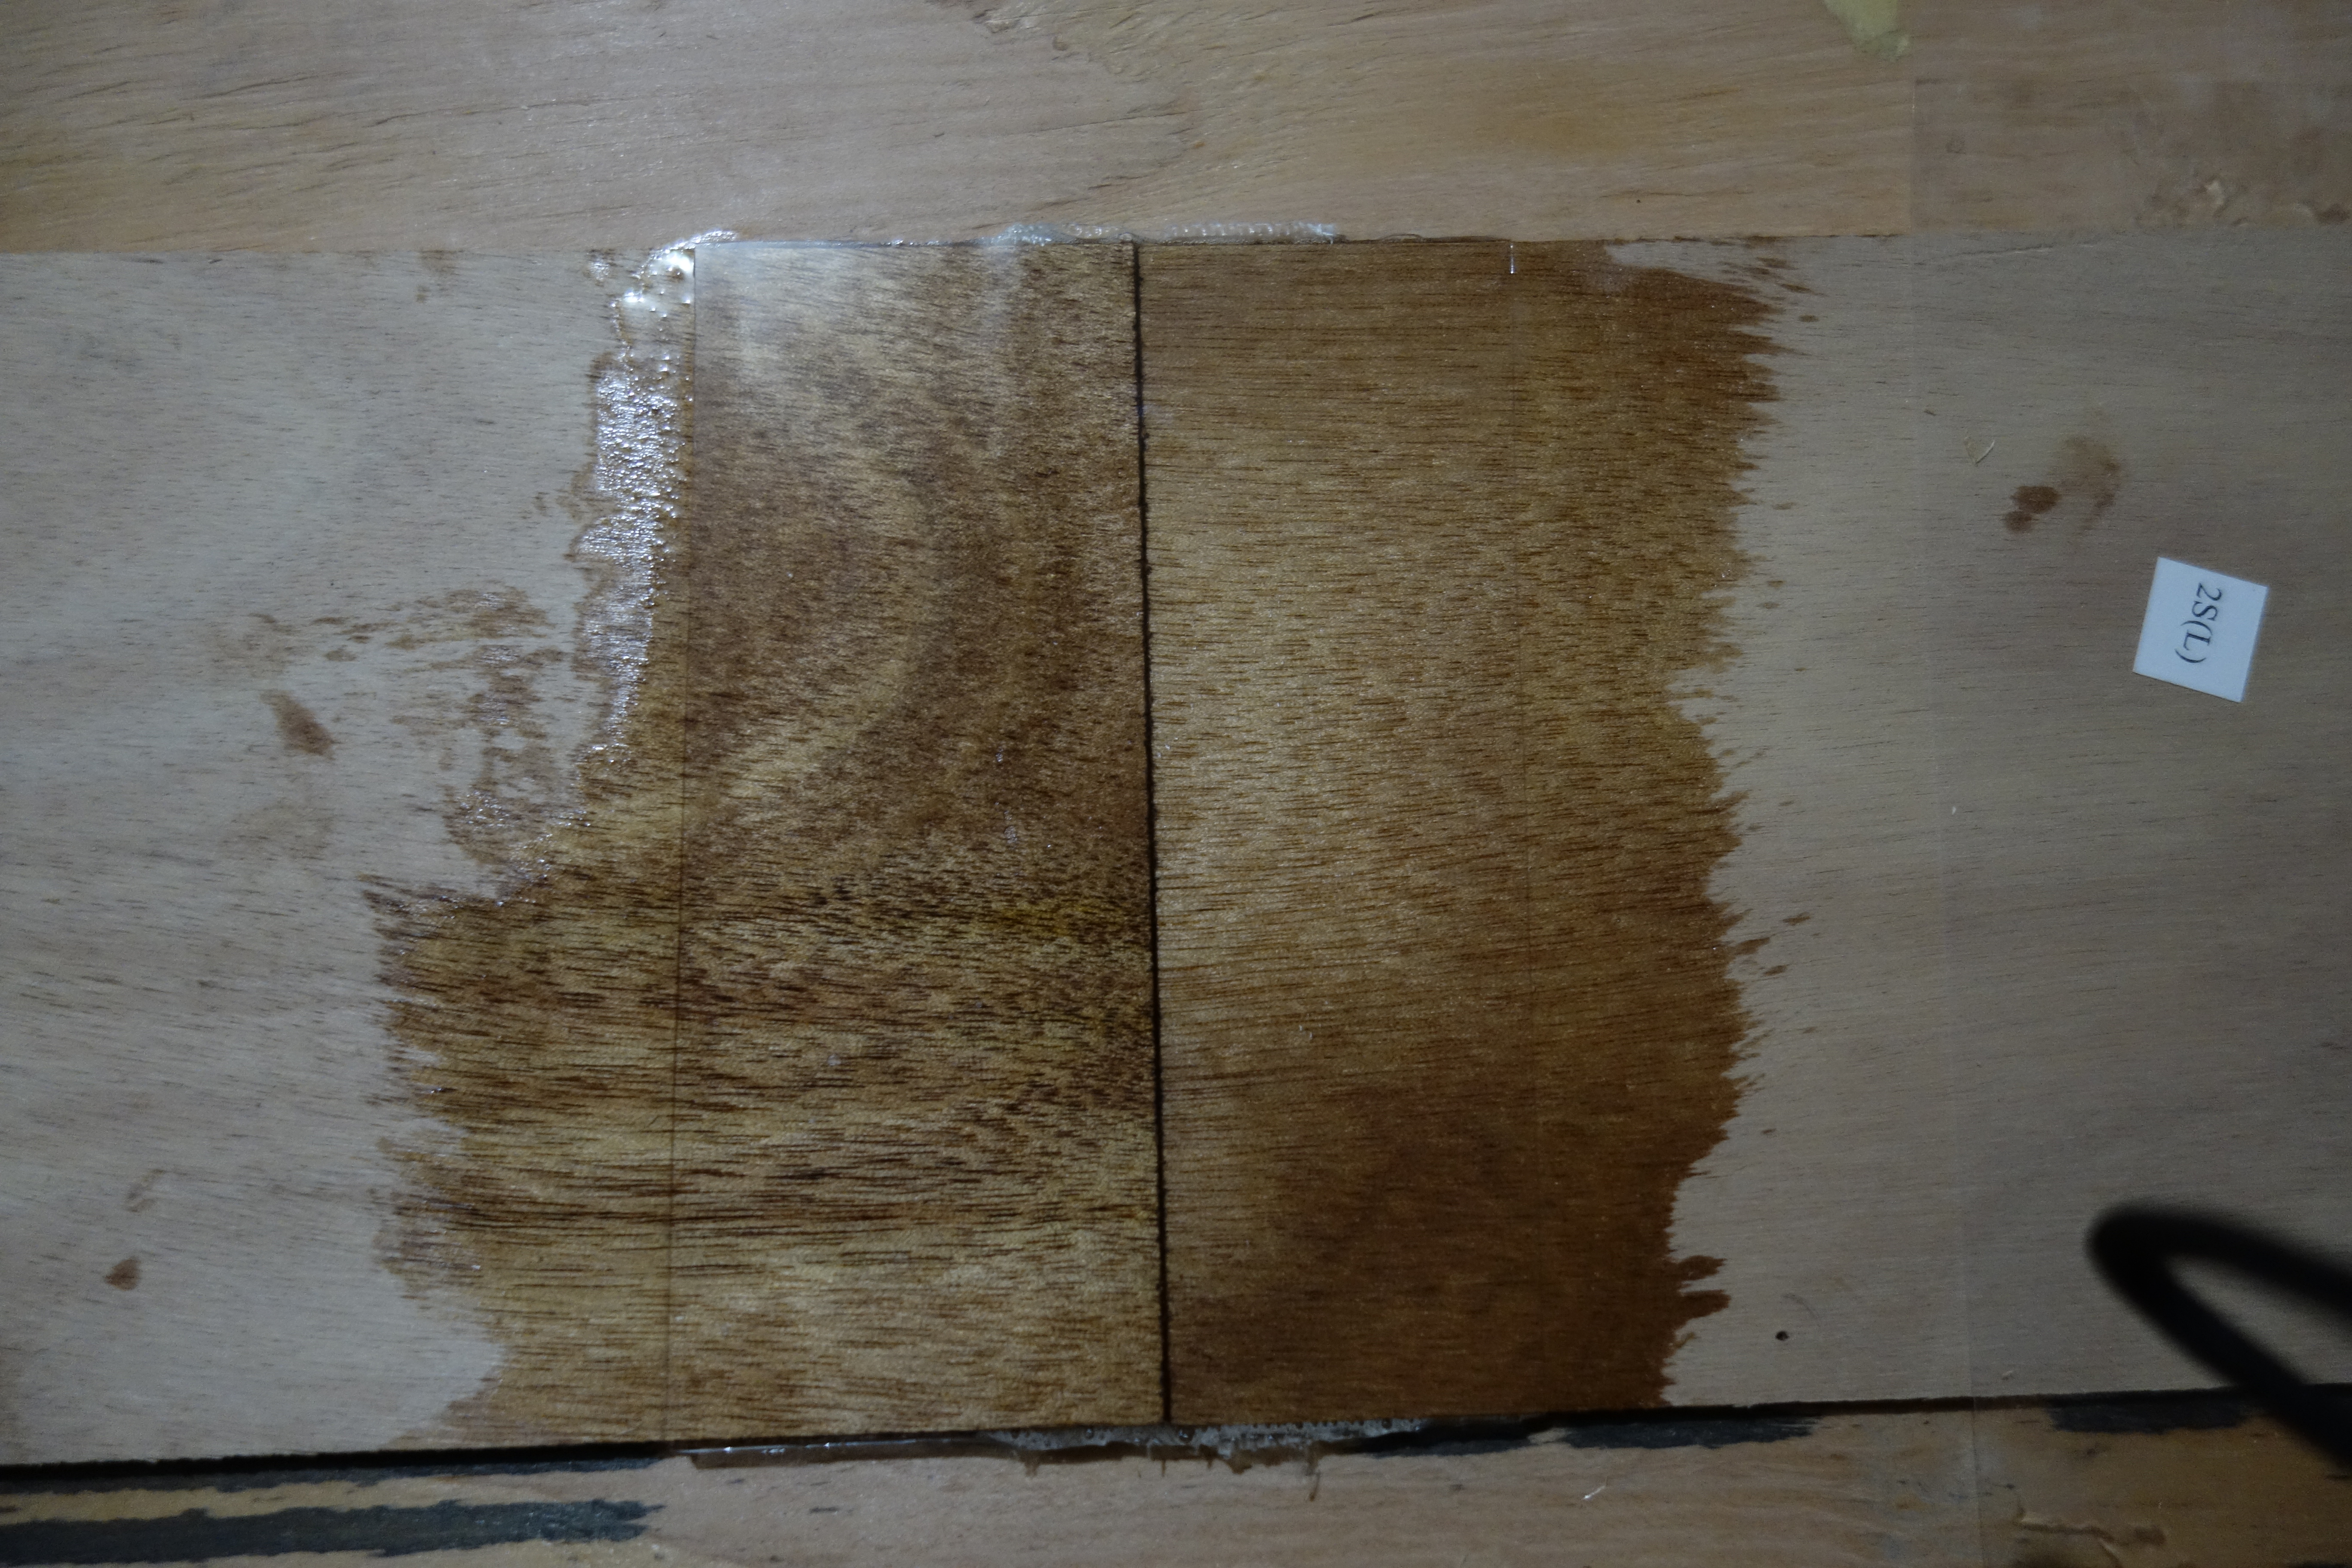
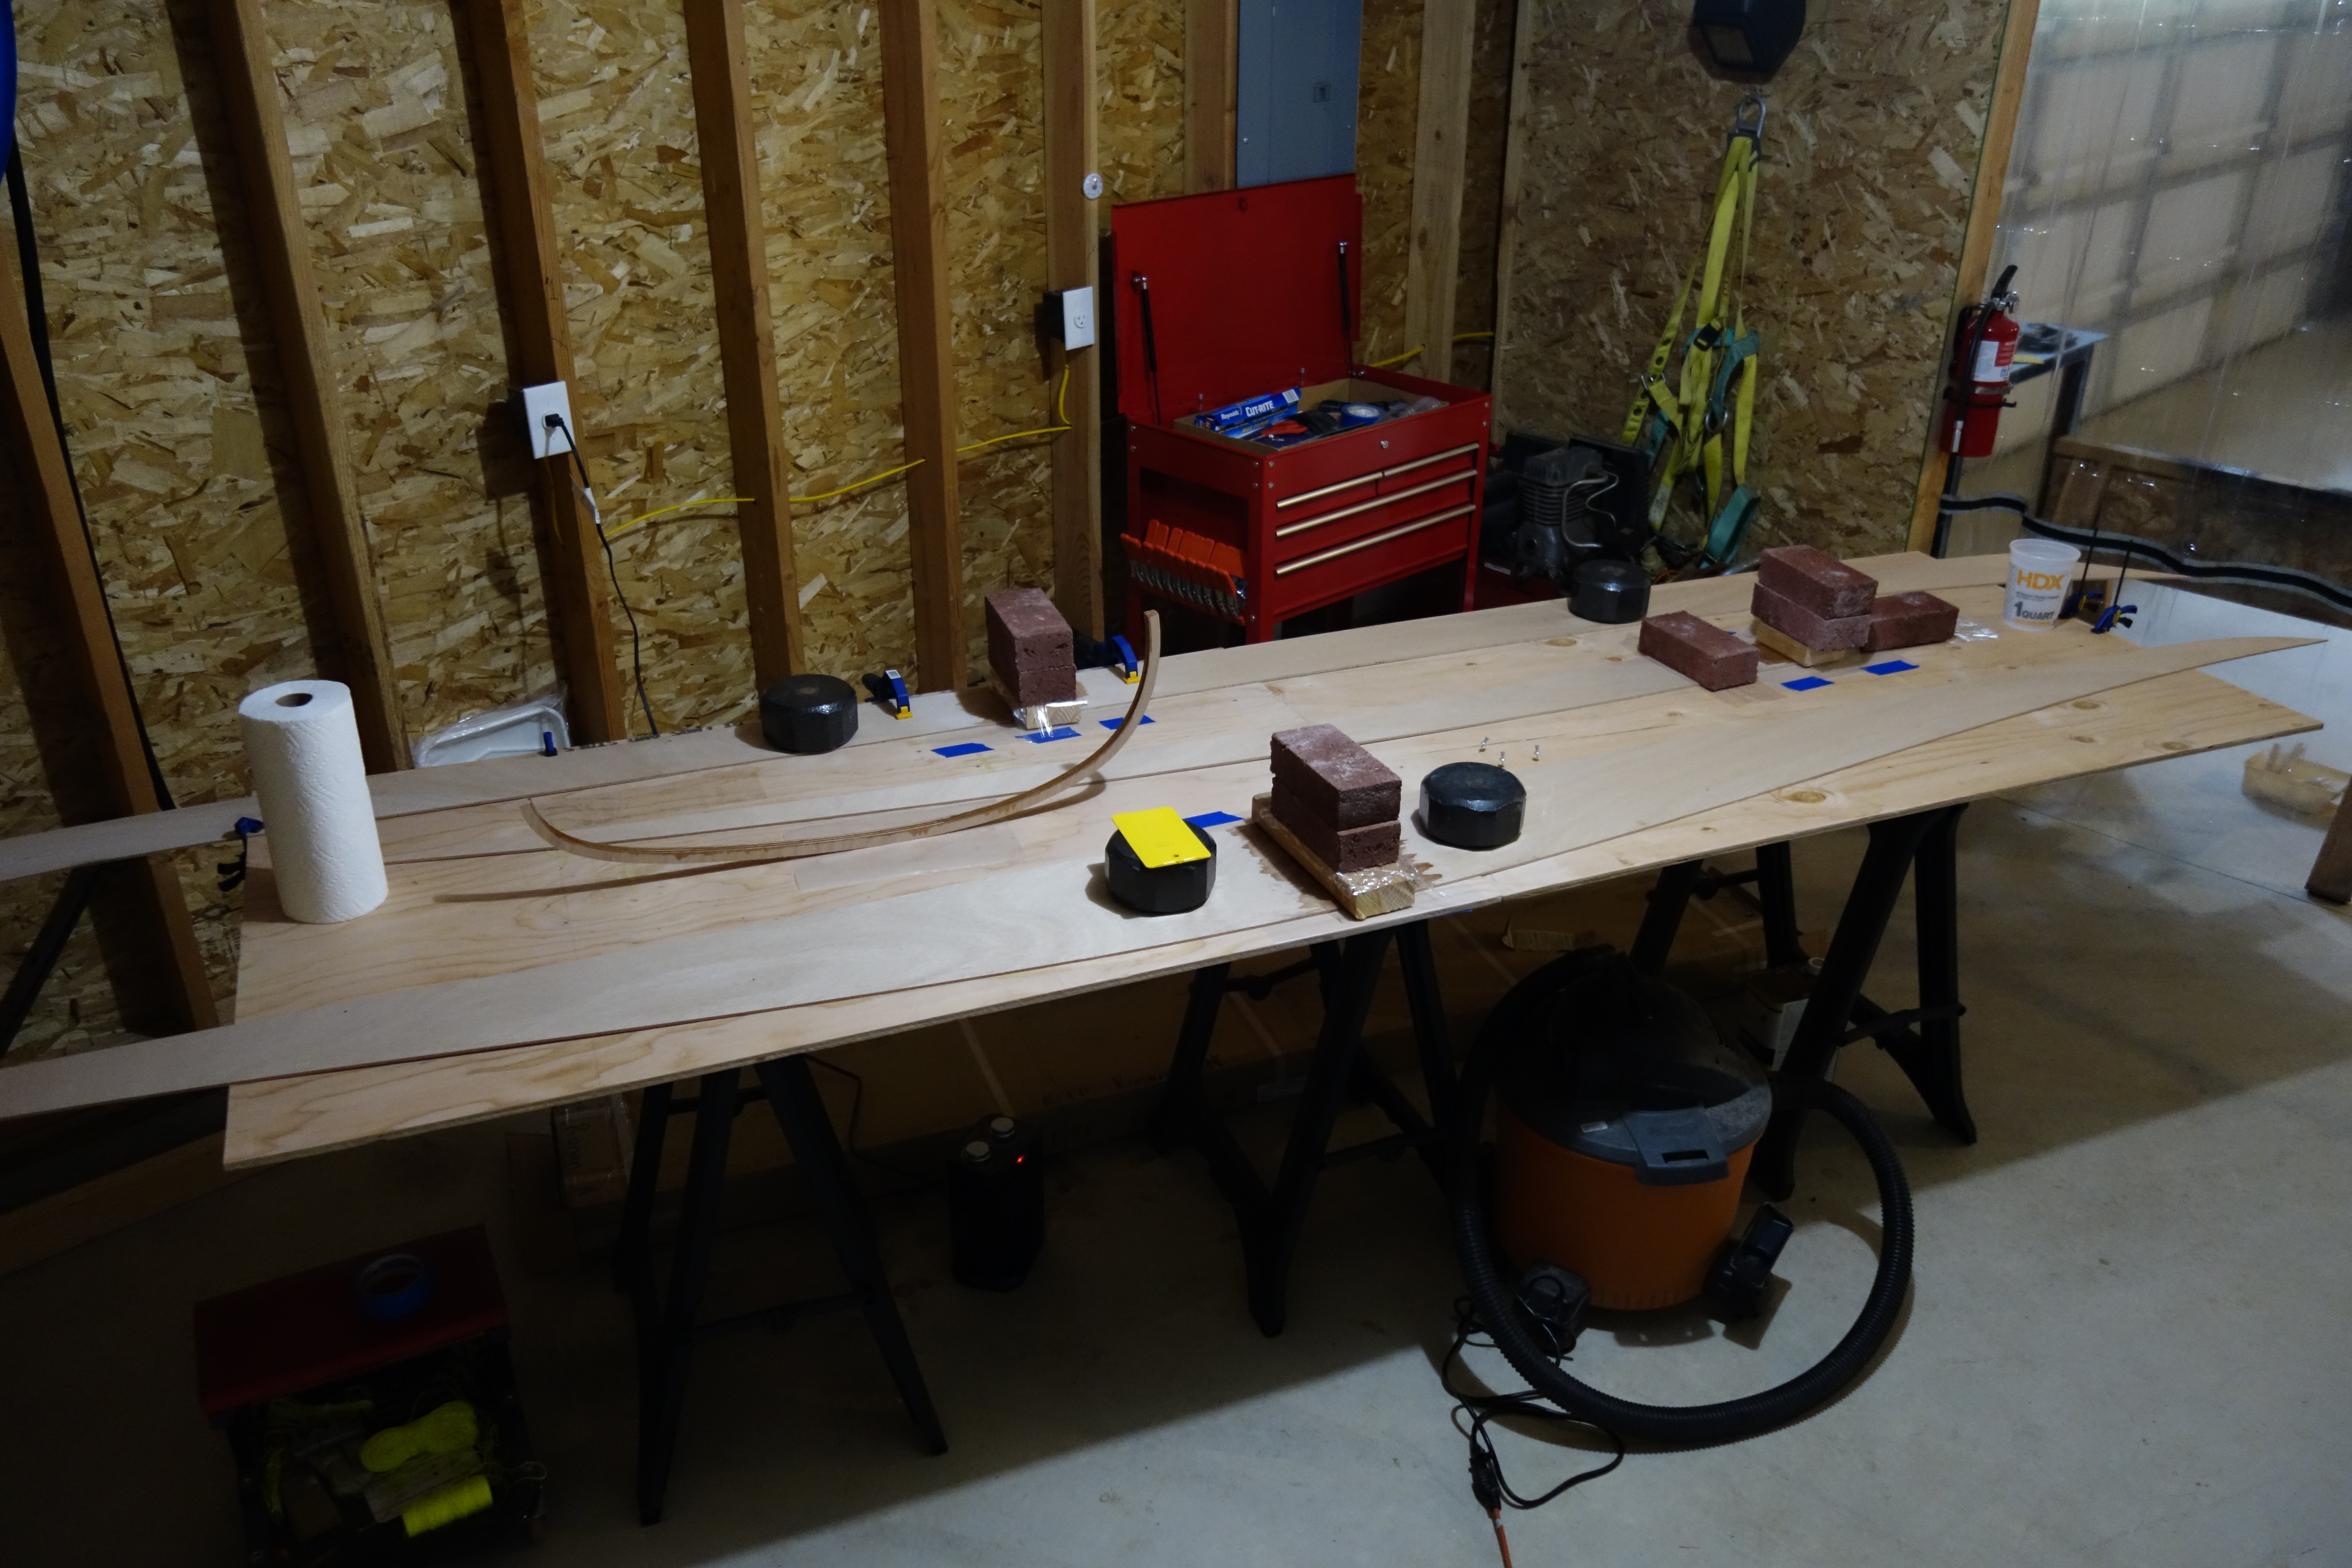
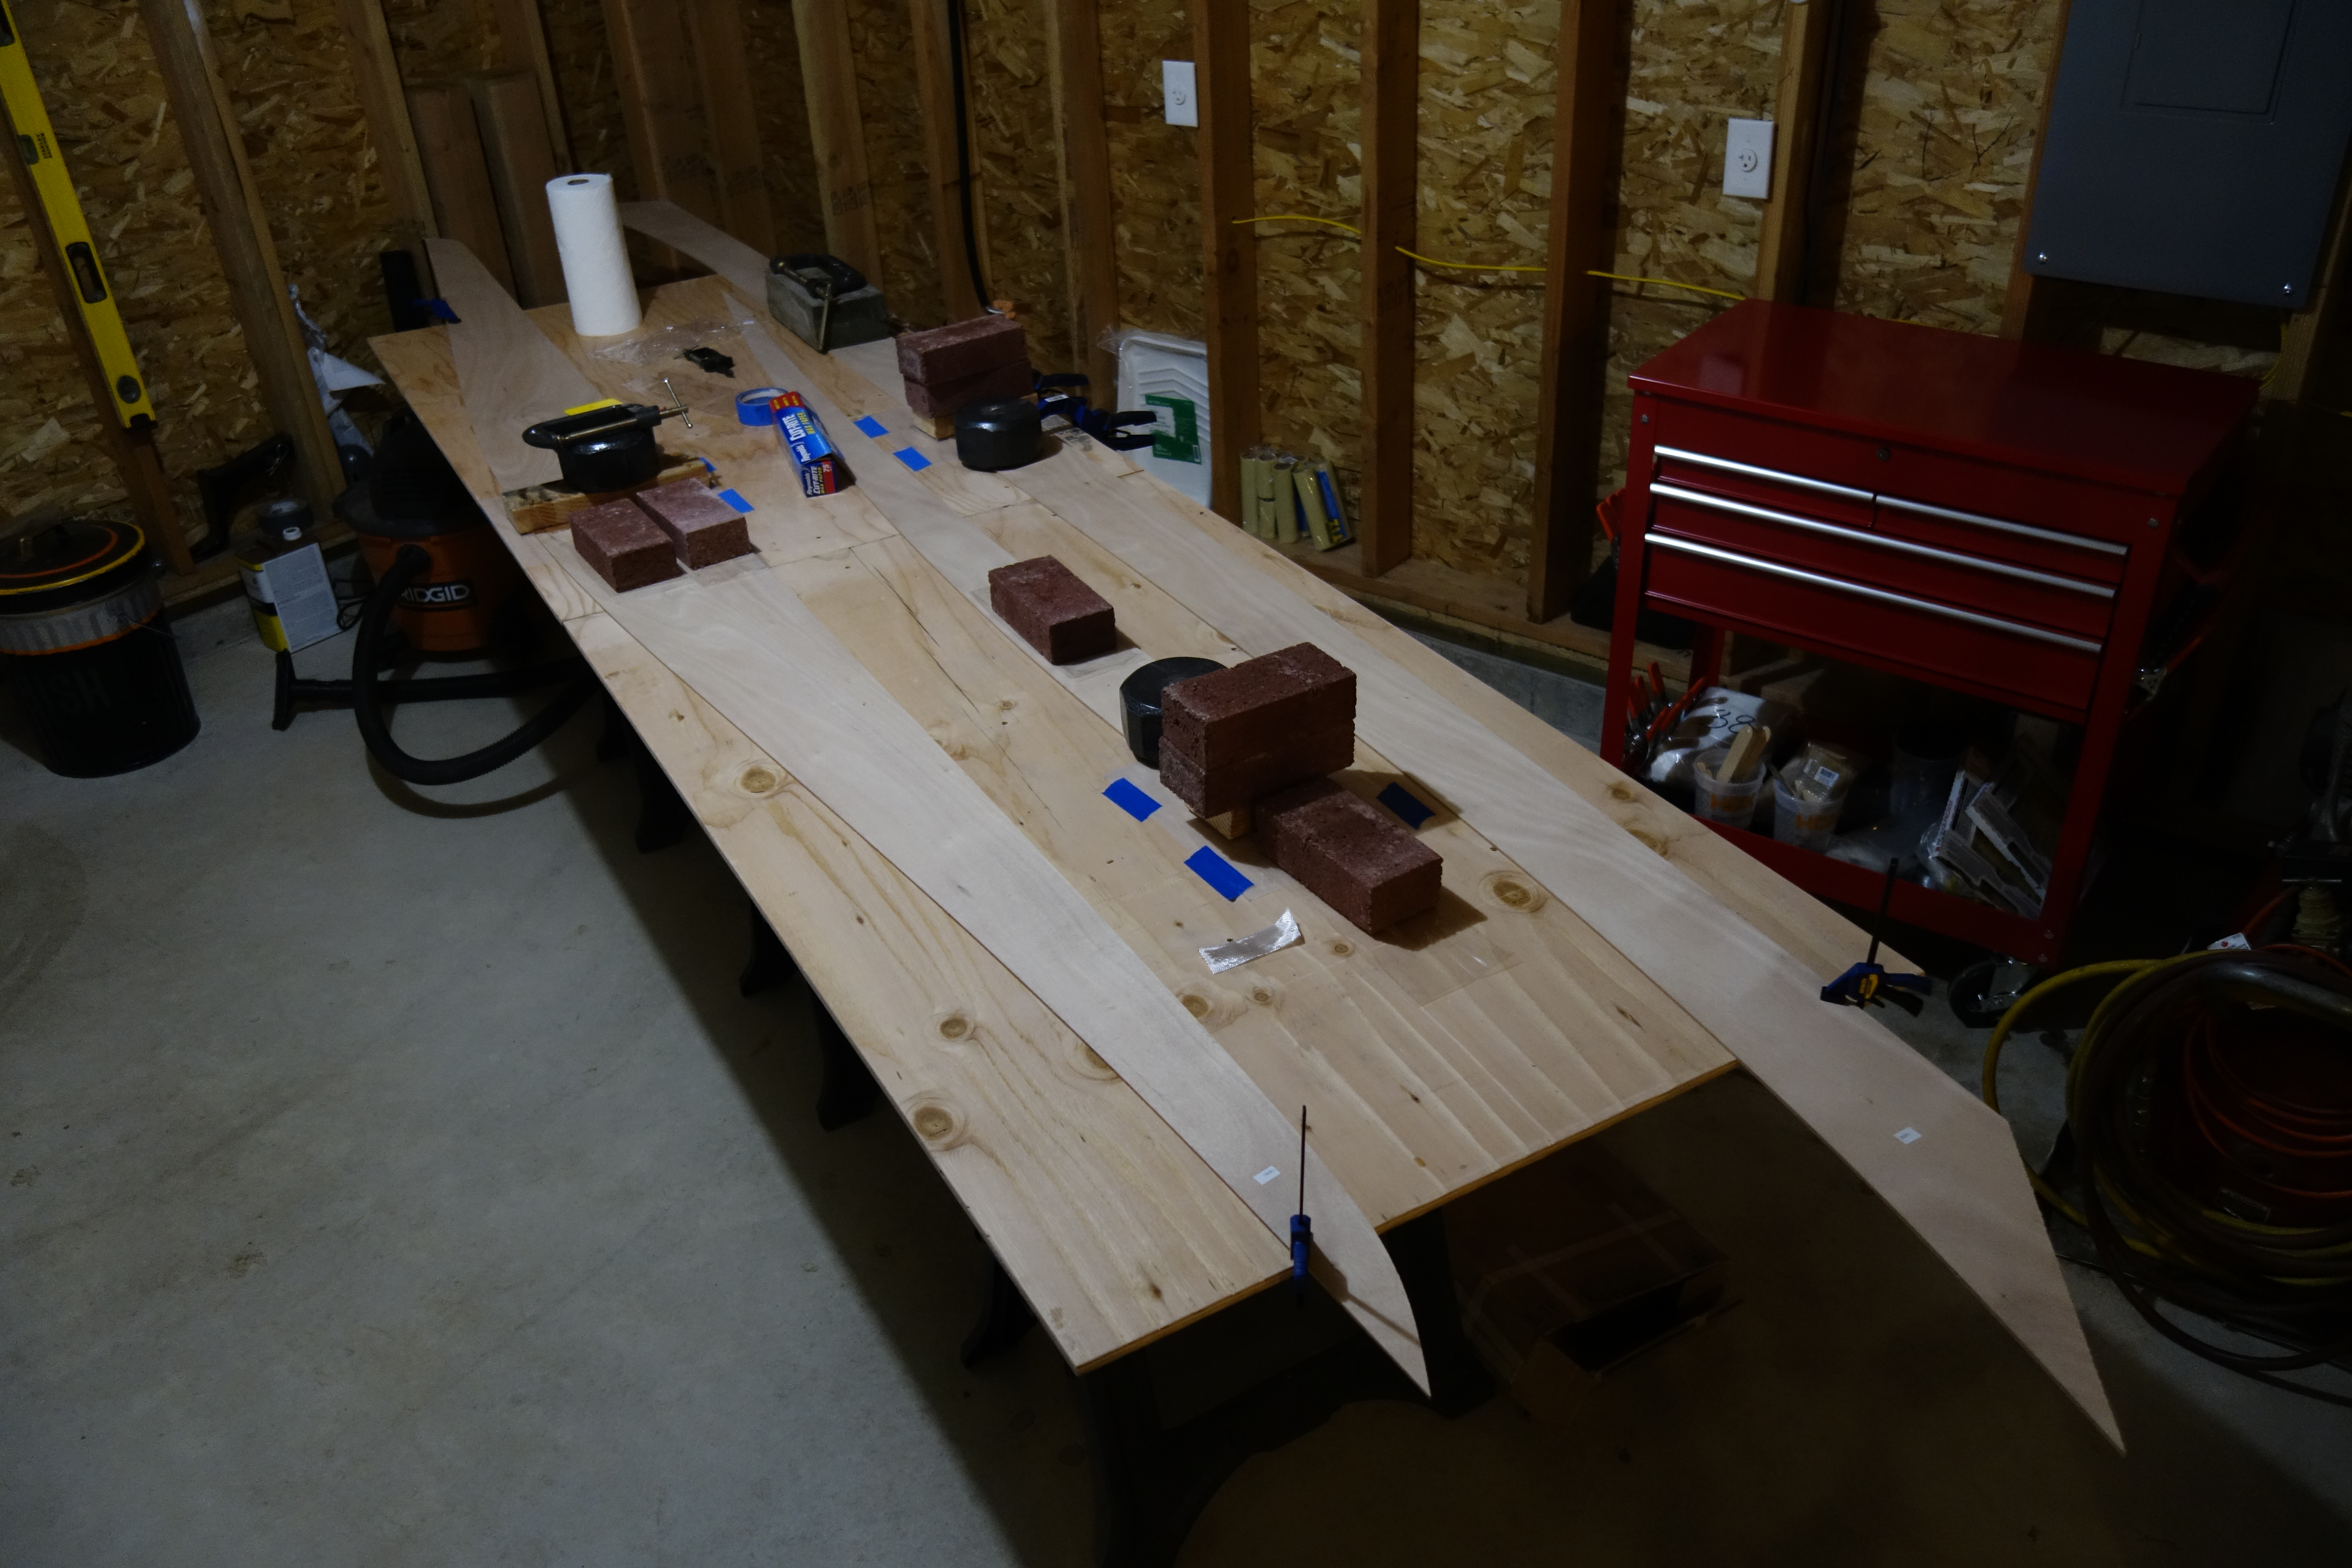
What you are seeing here is the butt seam where two halves of a panel are glued together. The reason that it looks so uniform, almost like a sheet of glass, is that the seams are joined by a strip of light fiberglass tape, which is thoroughly wetted out with epoxy, and then epoxy is liberally applied (piled up for want of a better term) for a couple of inches on both sides of the tape. The epoxy and fiberglass are then covered with a piece of 4″ wide mylar, which the epoxy will not stick to, and then weighted down with a few bricks or some other weight. After the epoxy cures, the tape is completely invisible and it looks like this! The edges are then “feathered in” so that the transition between the wood and the epoxy layer is smooth. This process is repeated on the other side of each panel. Starboard side panels glued to full length and out of the way so that the other side can be glued.Starboard side panels.
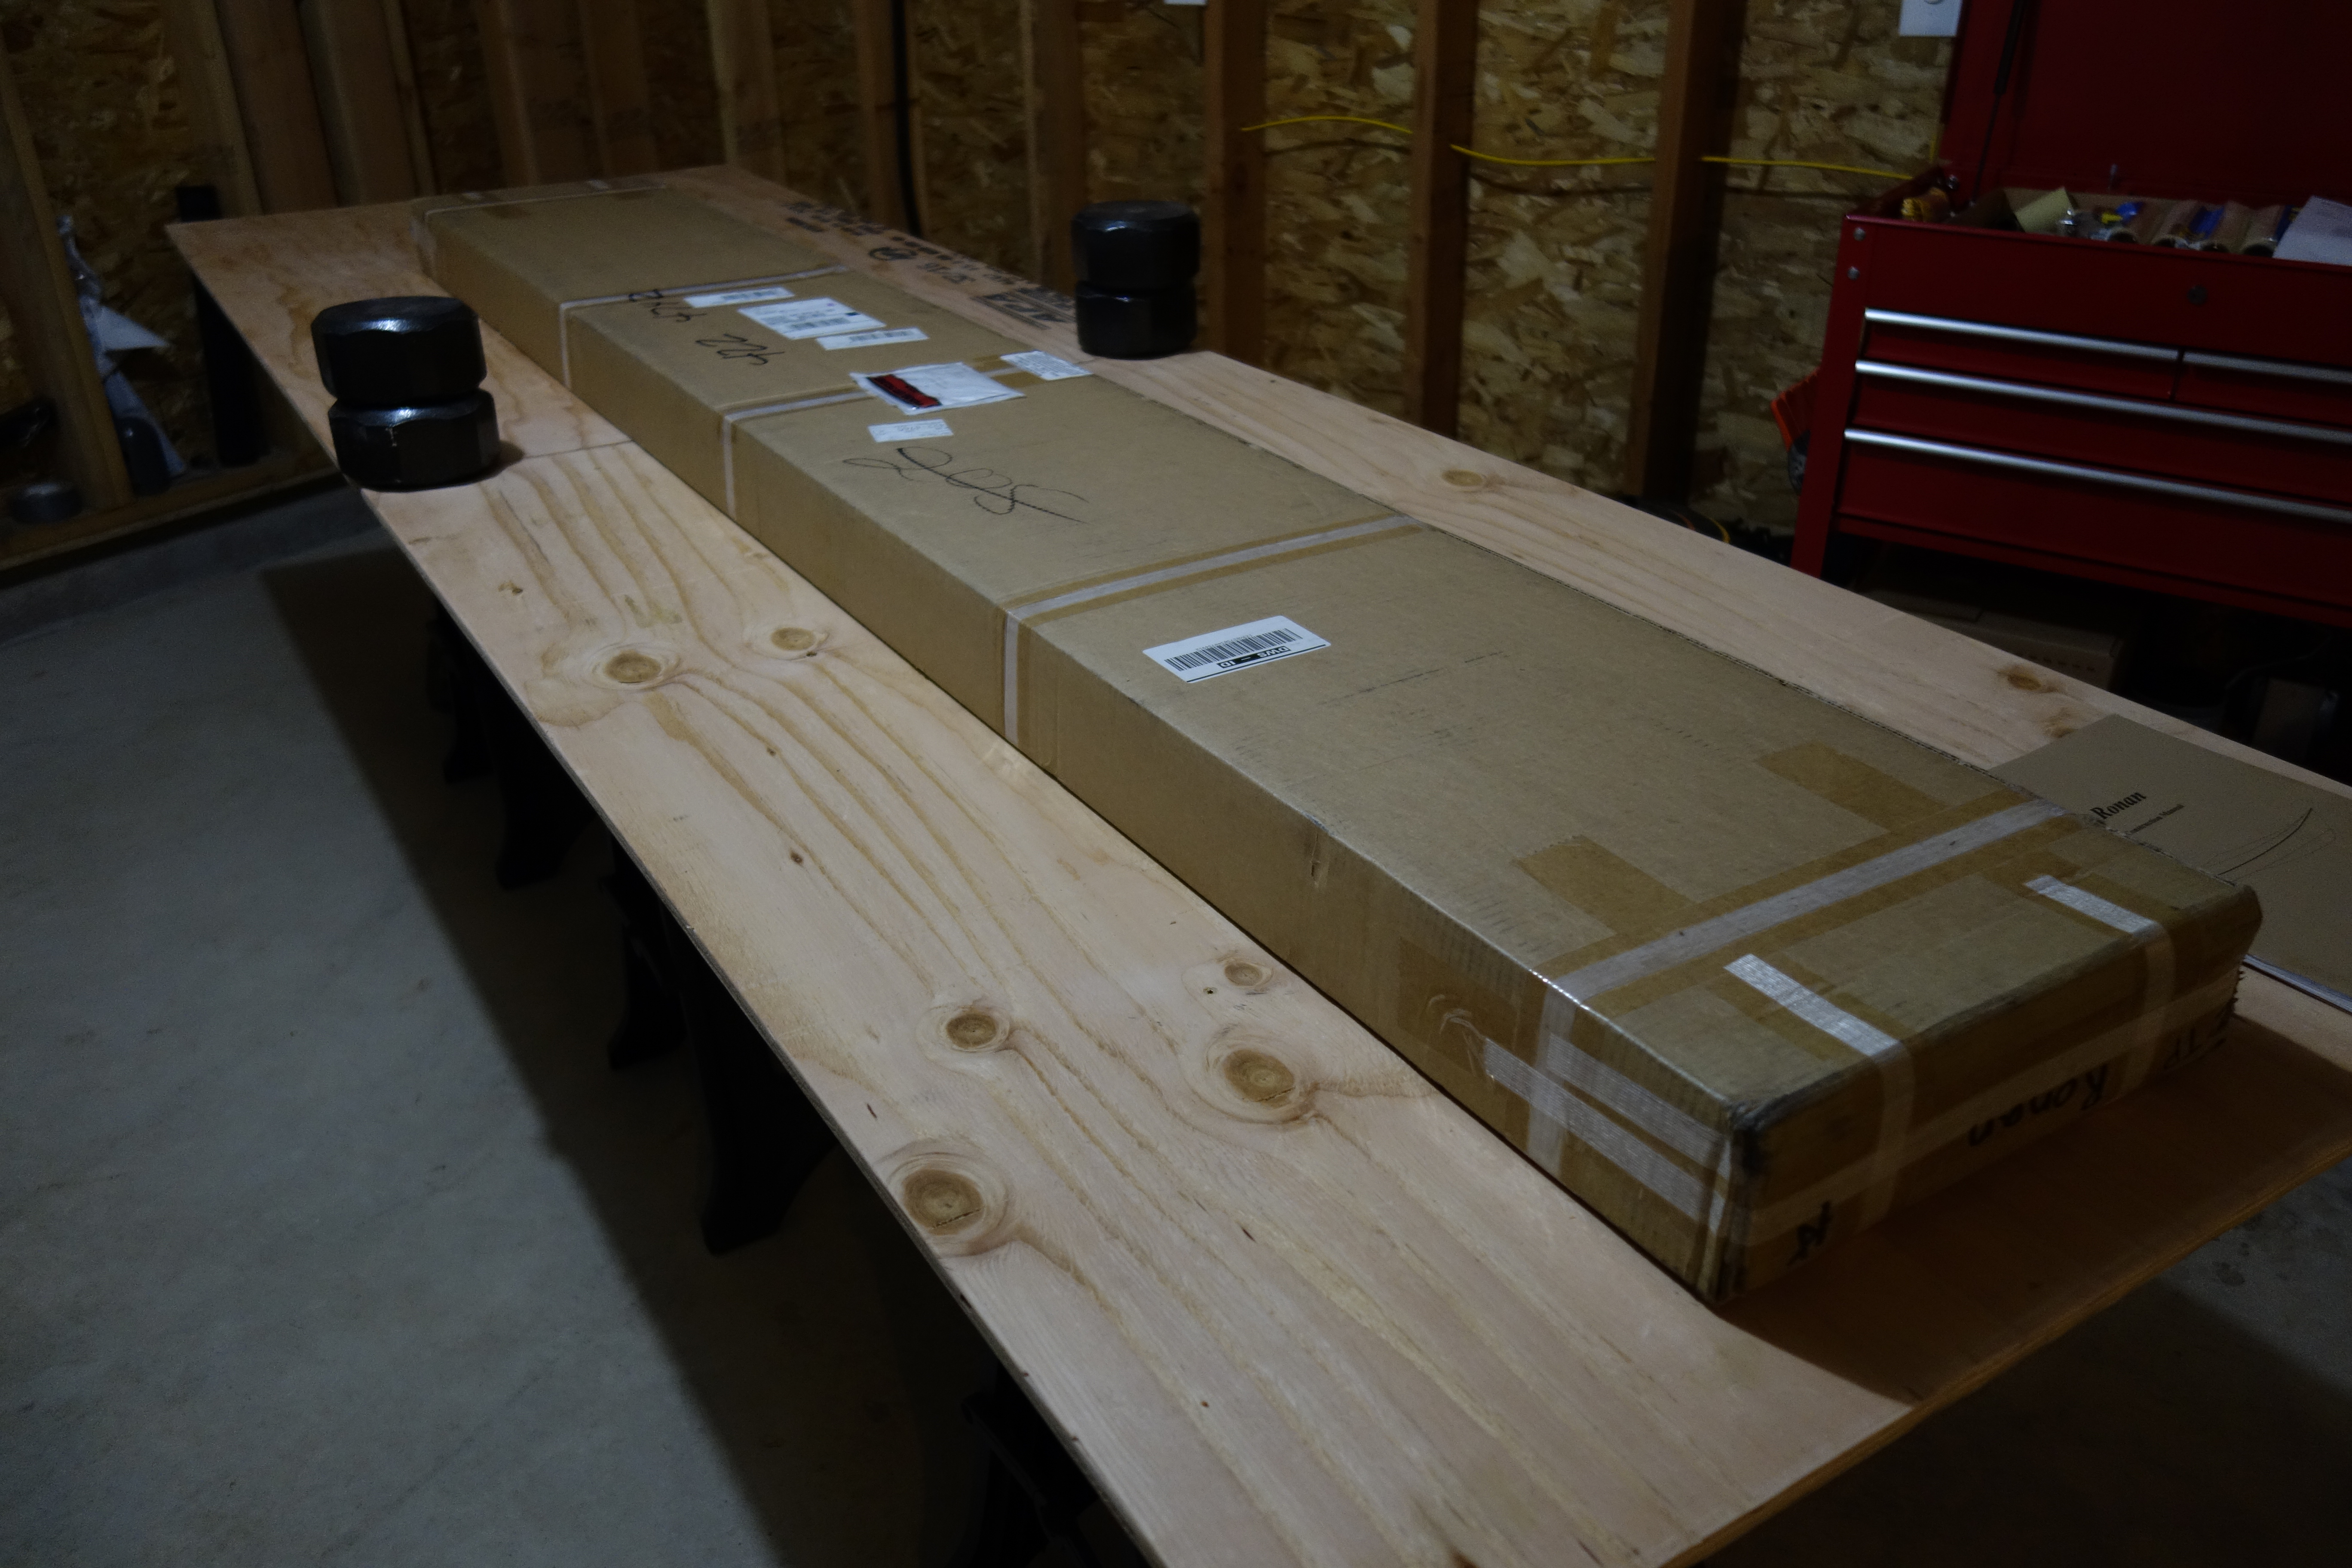
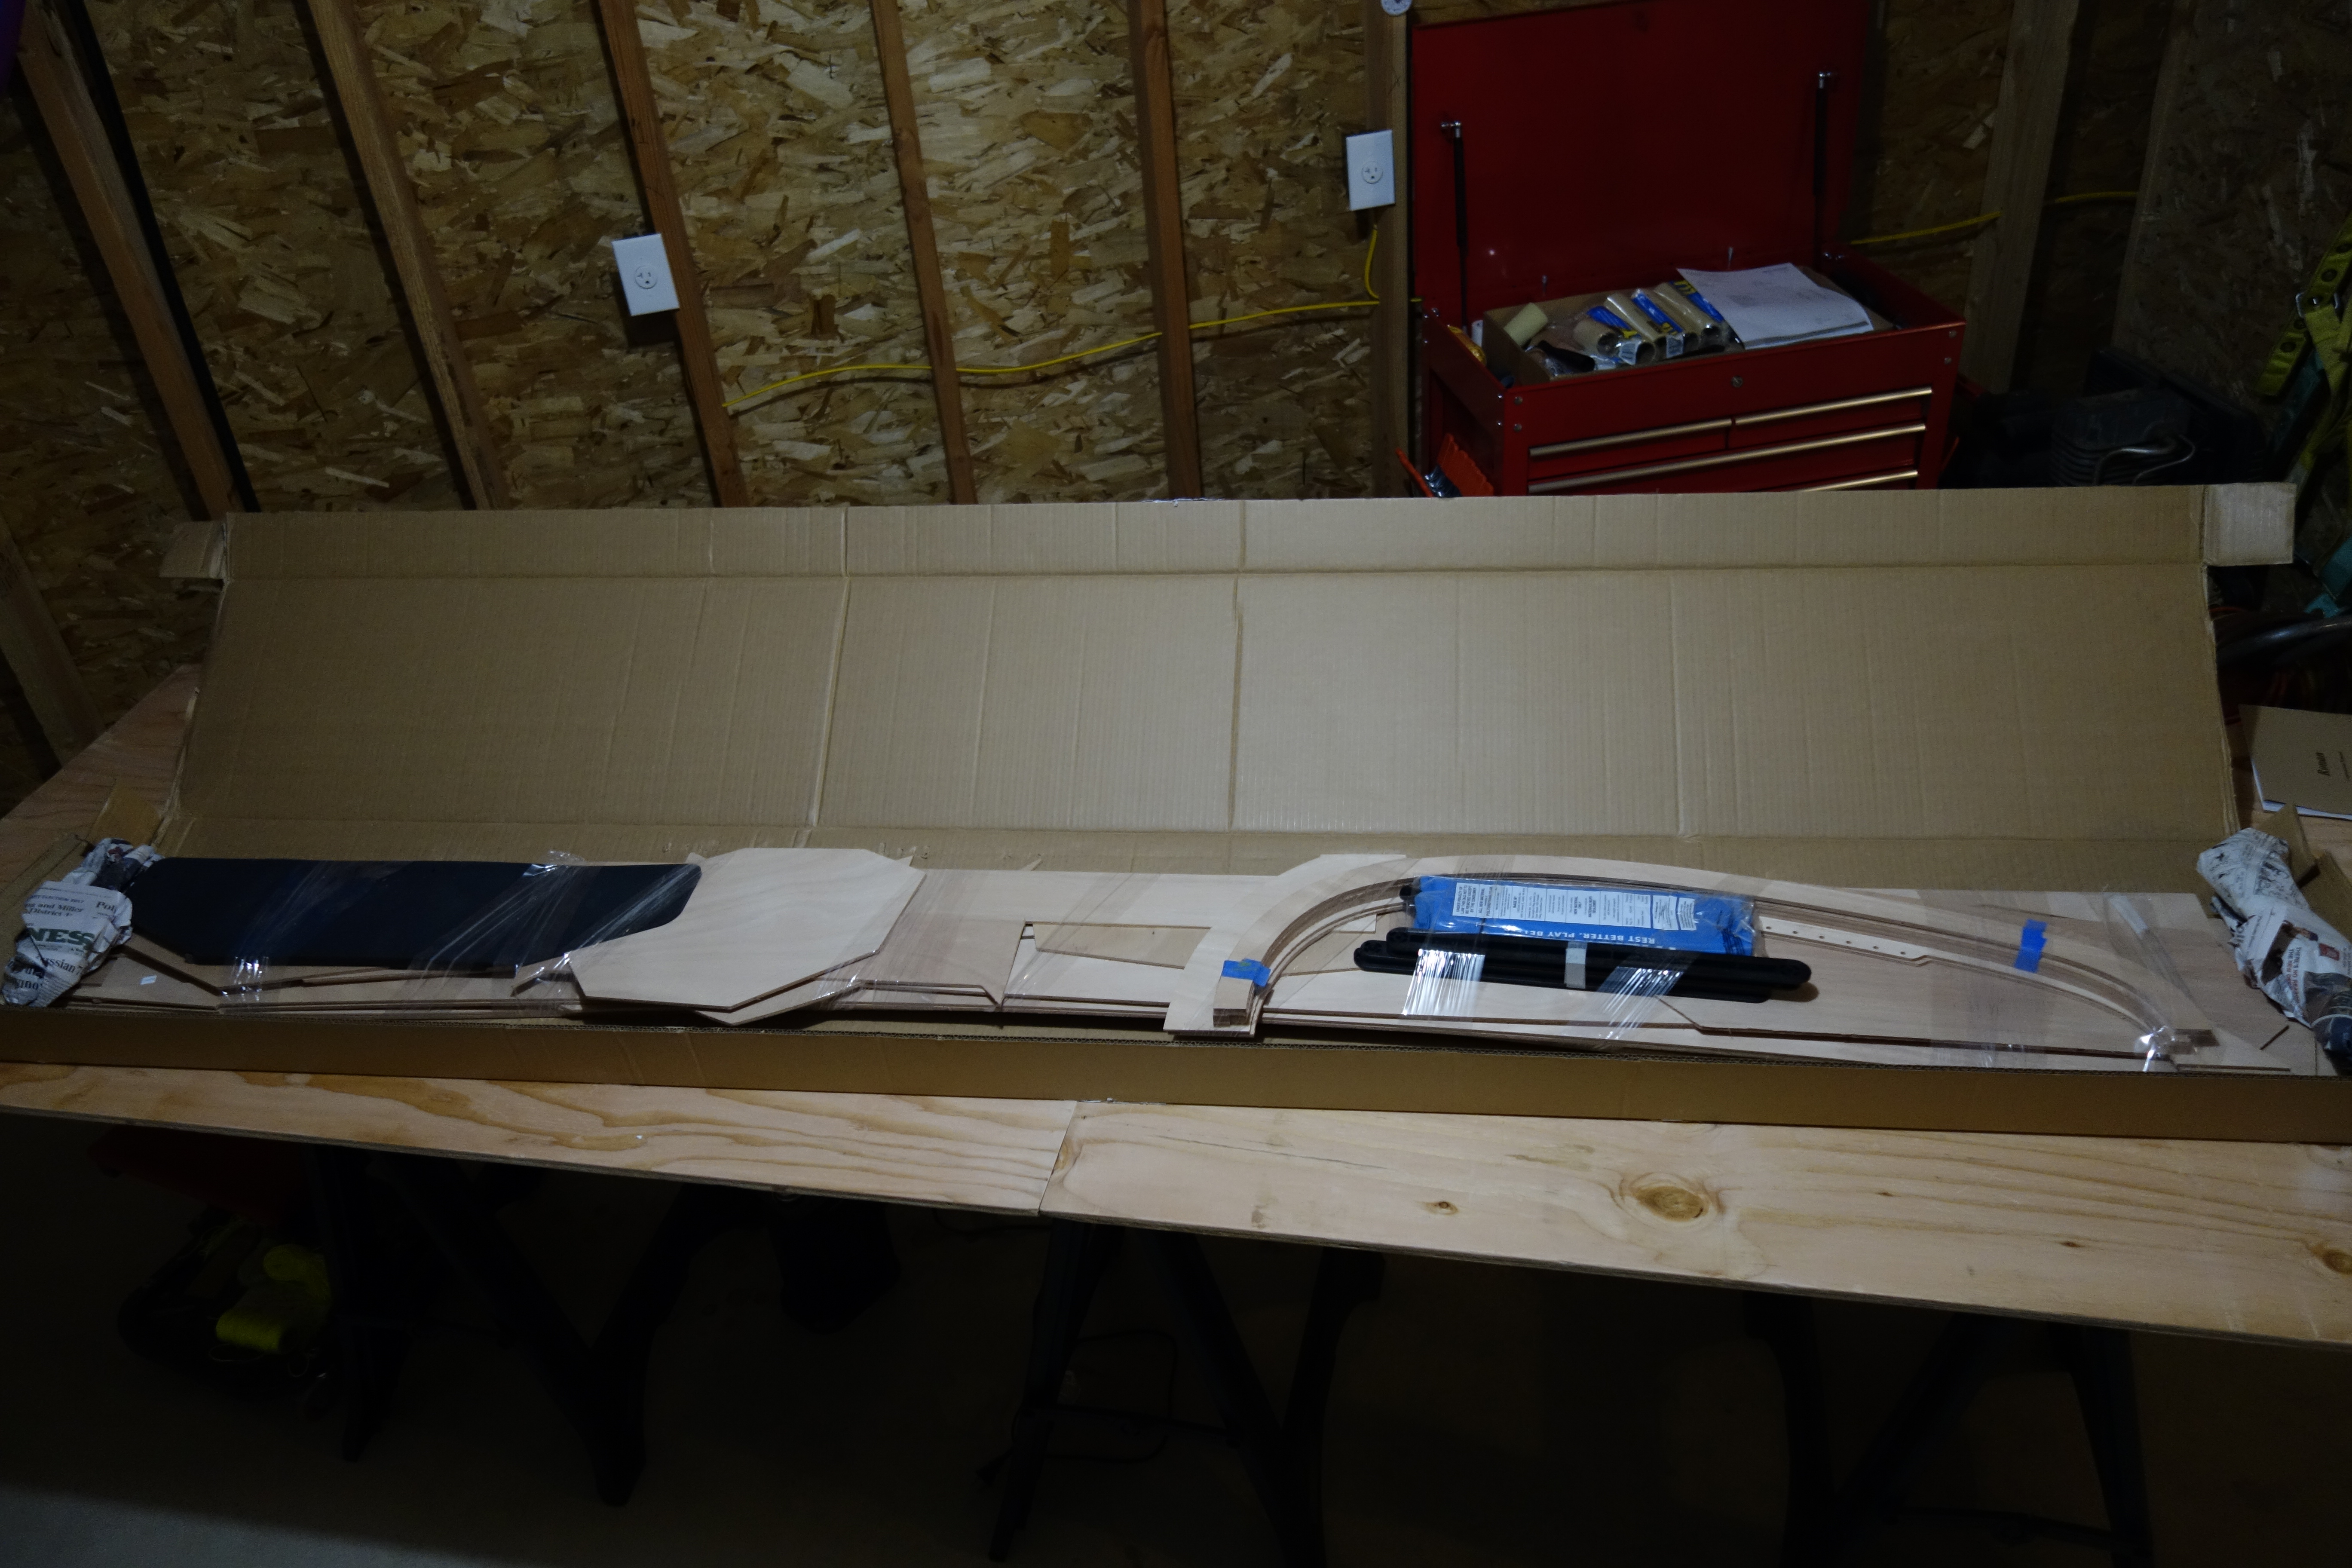
Hull panels out of the box and laid out, ready to be glued to their full lengths. You can see the deck panels still in the box on the floor. I will actually glue all of the panels for one side of the kayak at at time. I just had the hull panels for both sides on the table to look at the grain and kind-of get the “lay of the land.”
I built a dust barrier out of scrap wood, shower curtain liners, and gaffer’s tape. I hope it will help to hold heat in the shop side of the garage and keep the sanding dust somewhat isolated.
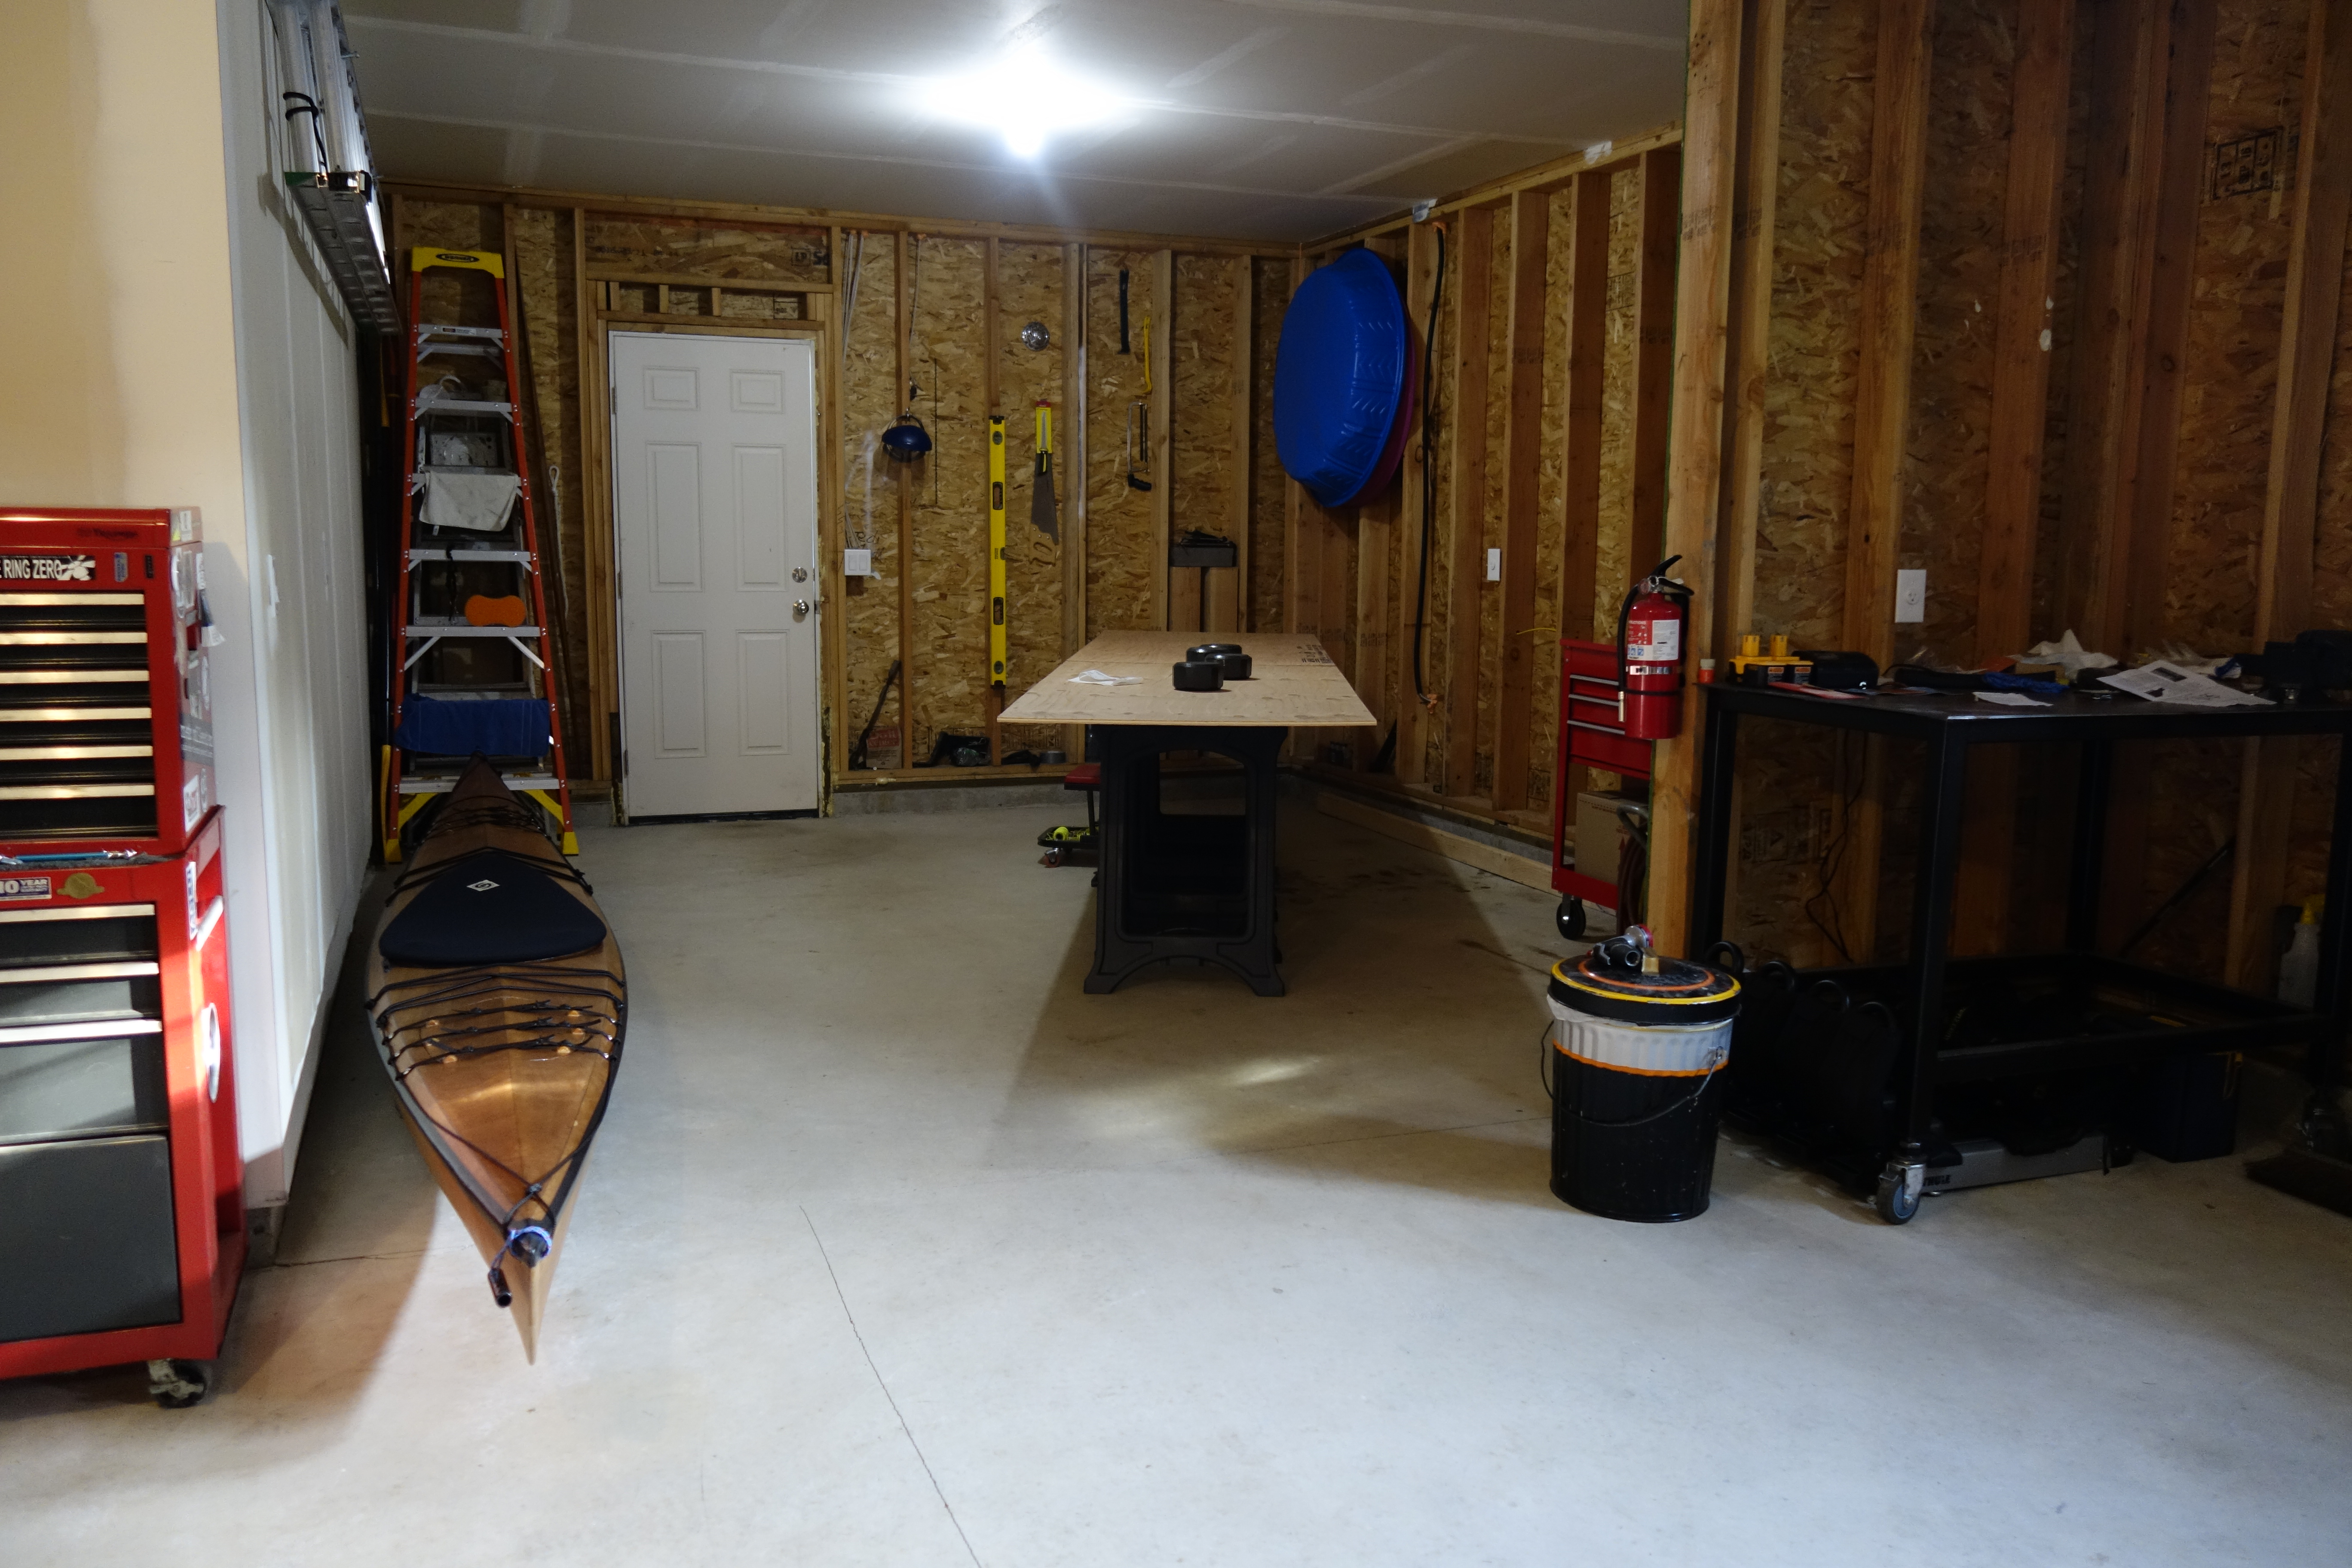
I built a platform out of saw horses, 2 X 12s, and a couple of sheets of plywood, and made sure that it was flat and level.
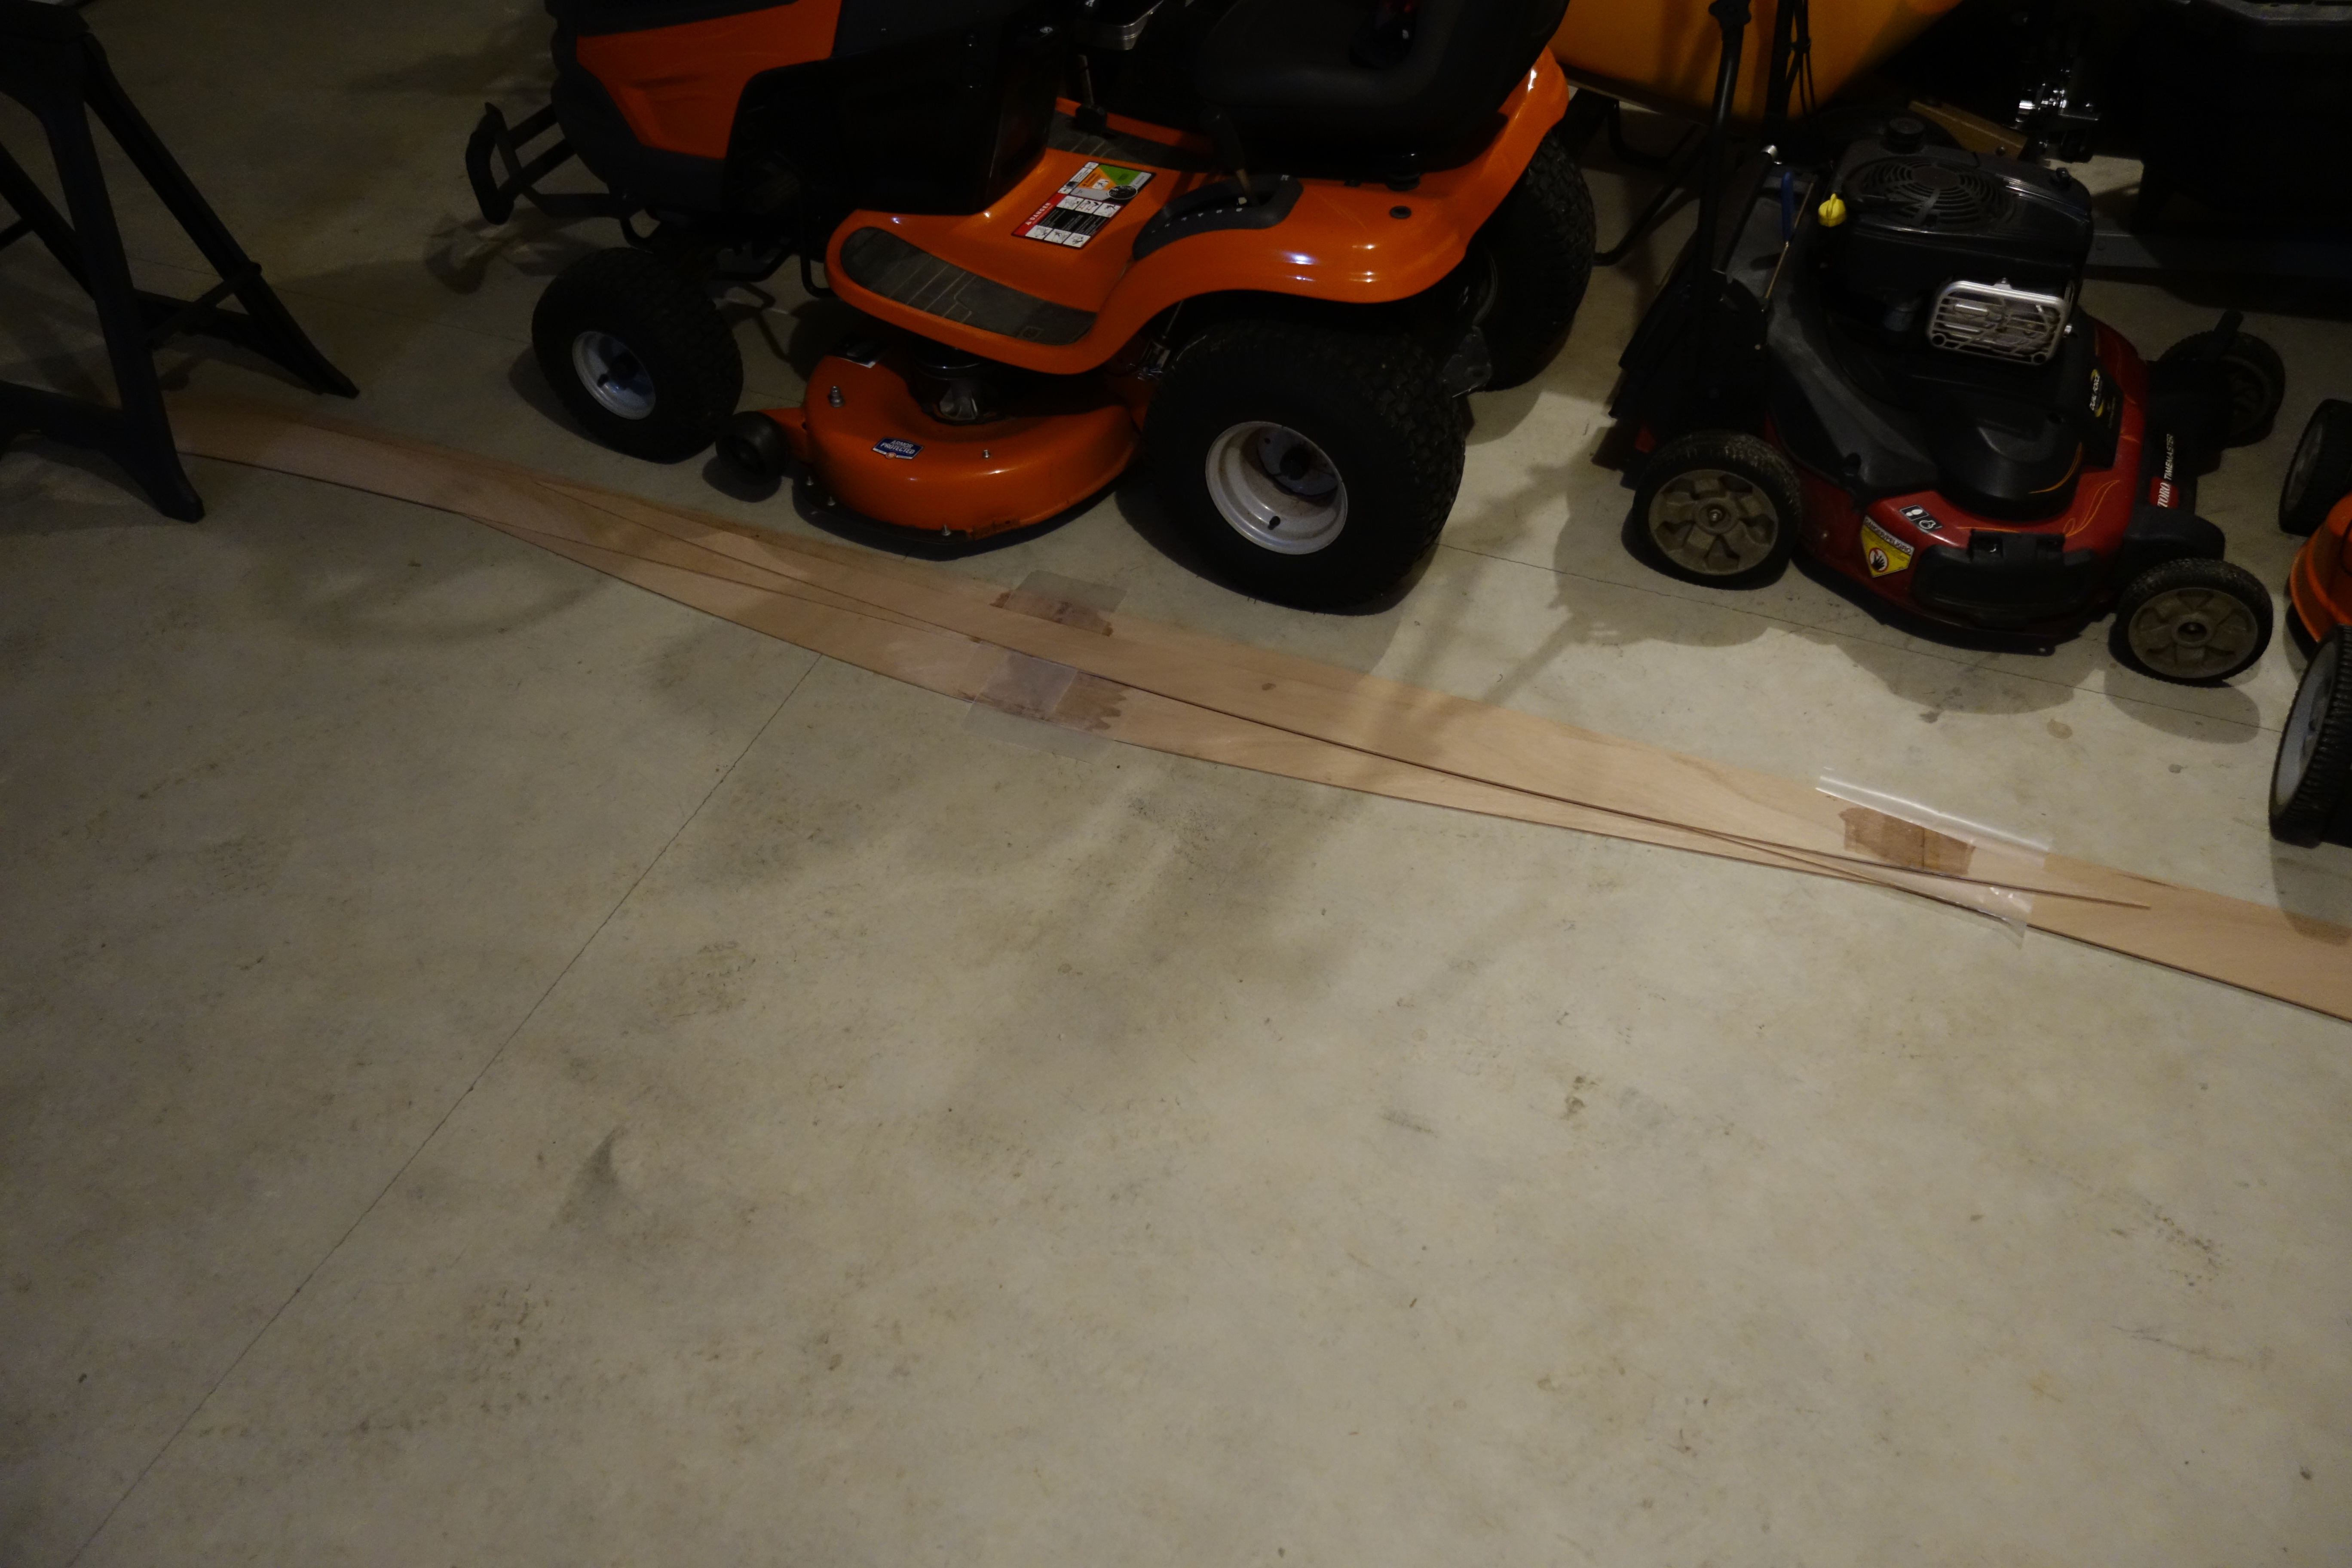
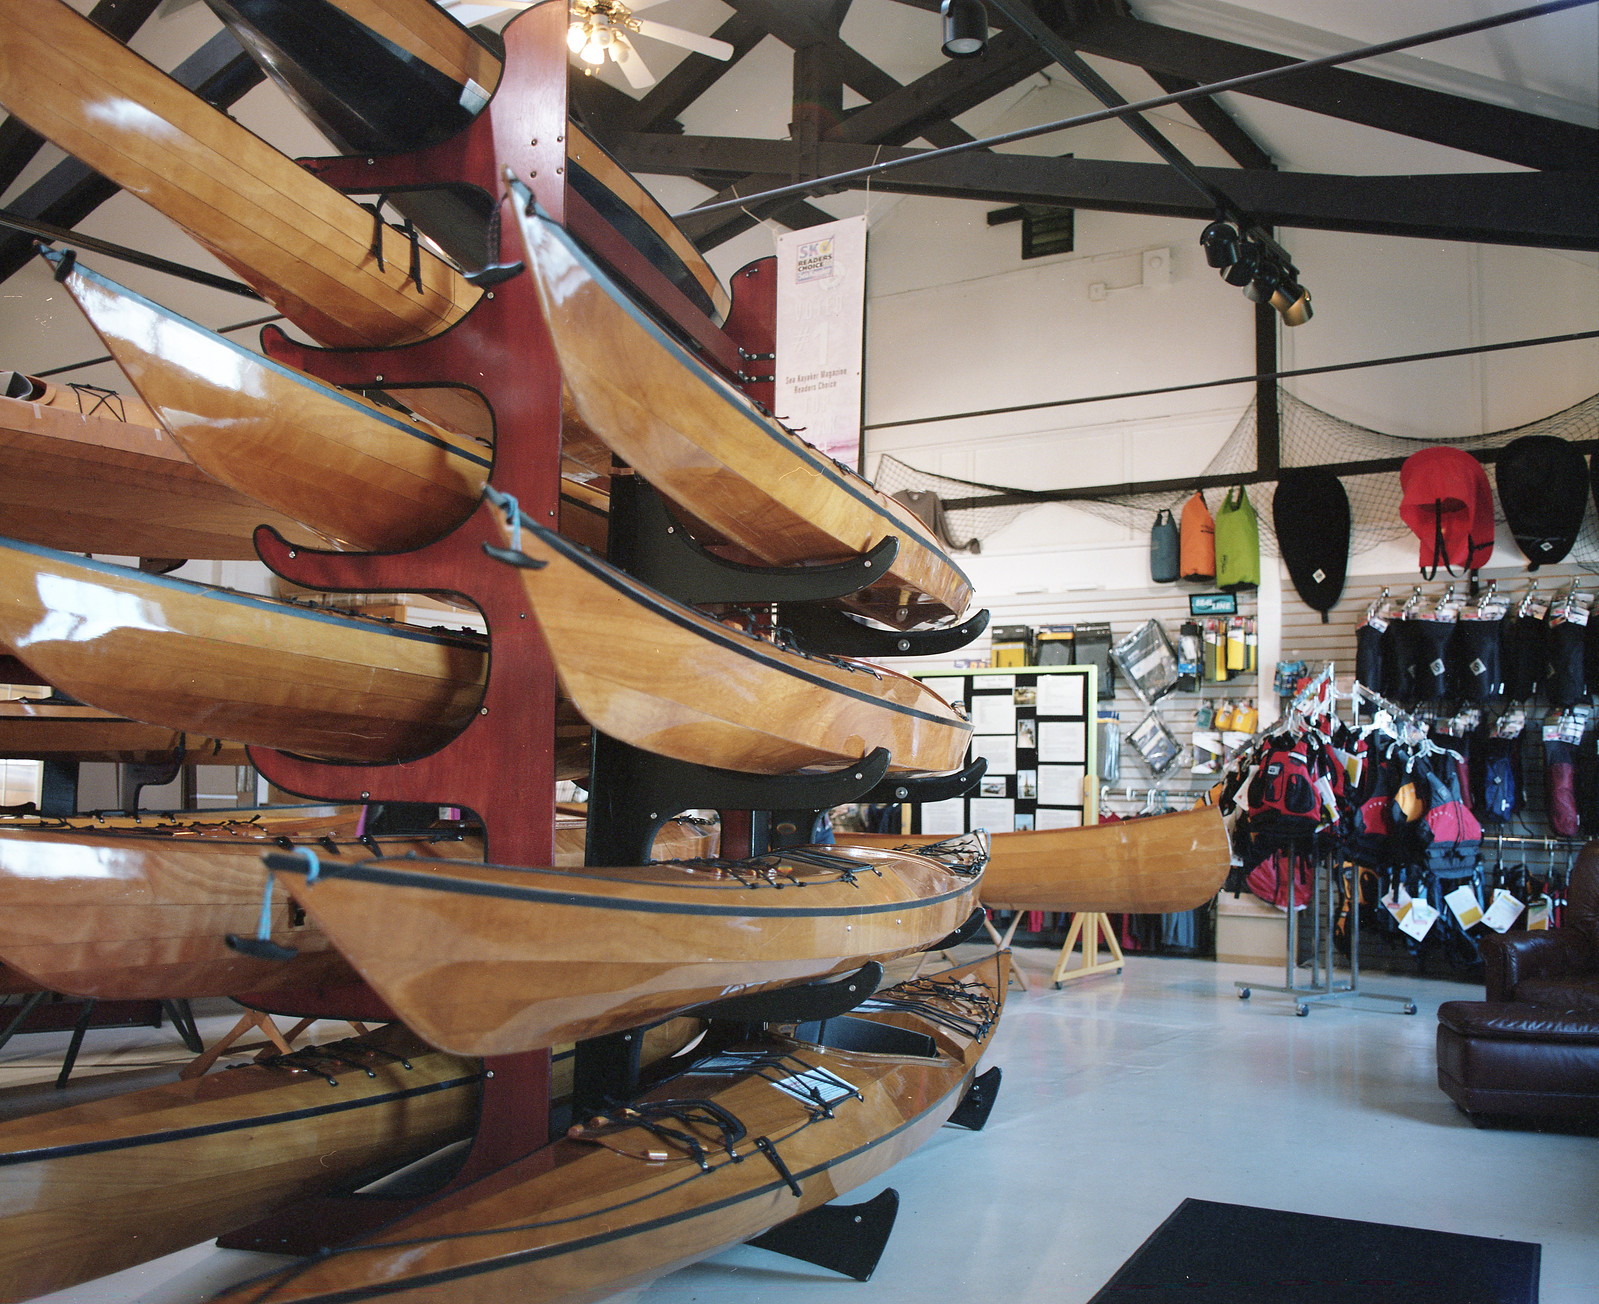
The kayak you see on the floor is a Pygmy, Arctic Tern. I bought her used at Portland Kayak Company and I loved her from the minute I first paddled her. There were two drawbacks for me with this kayak: One was that this Arctic Tern is a 17 foot touring kayak, built to haul a person and everything else including the kitchen sink. I really wanted a smaller “play” boat. And two, she was built by someone else. They did a fine job, but I saw things right away that I knew I would do differently (to put it as tactfully as I can). Also, every time I took her out on the water people would tell me what a beautiful kayak she is, and ask me if I built her, and it stung a little to have to tell them that I hadn’t. I knew after my first paddle that I was going to have to build my own or I’d never be able to look myself in the mirror.
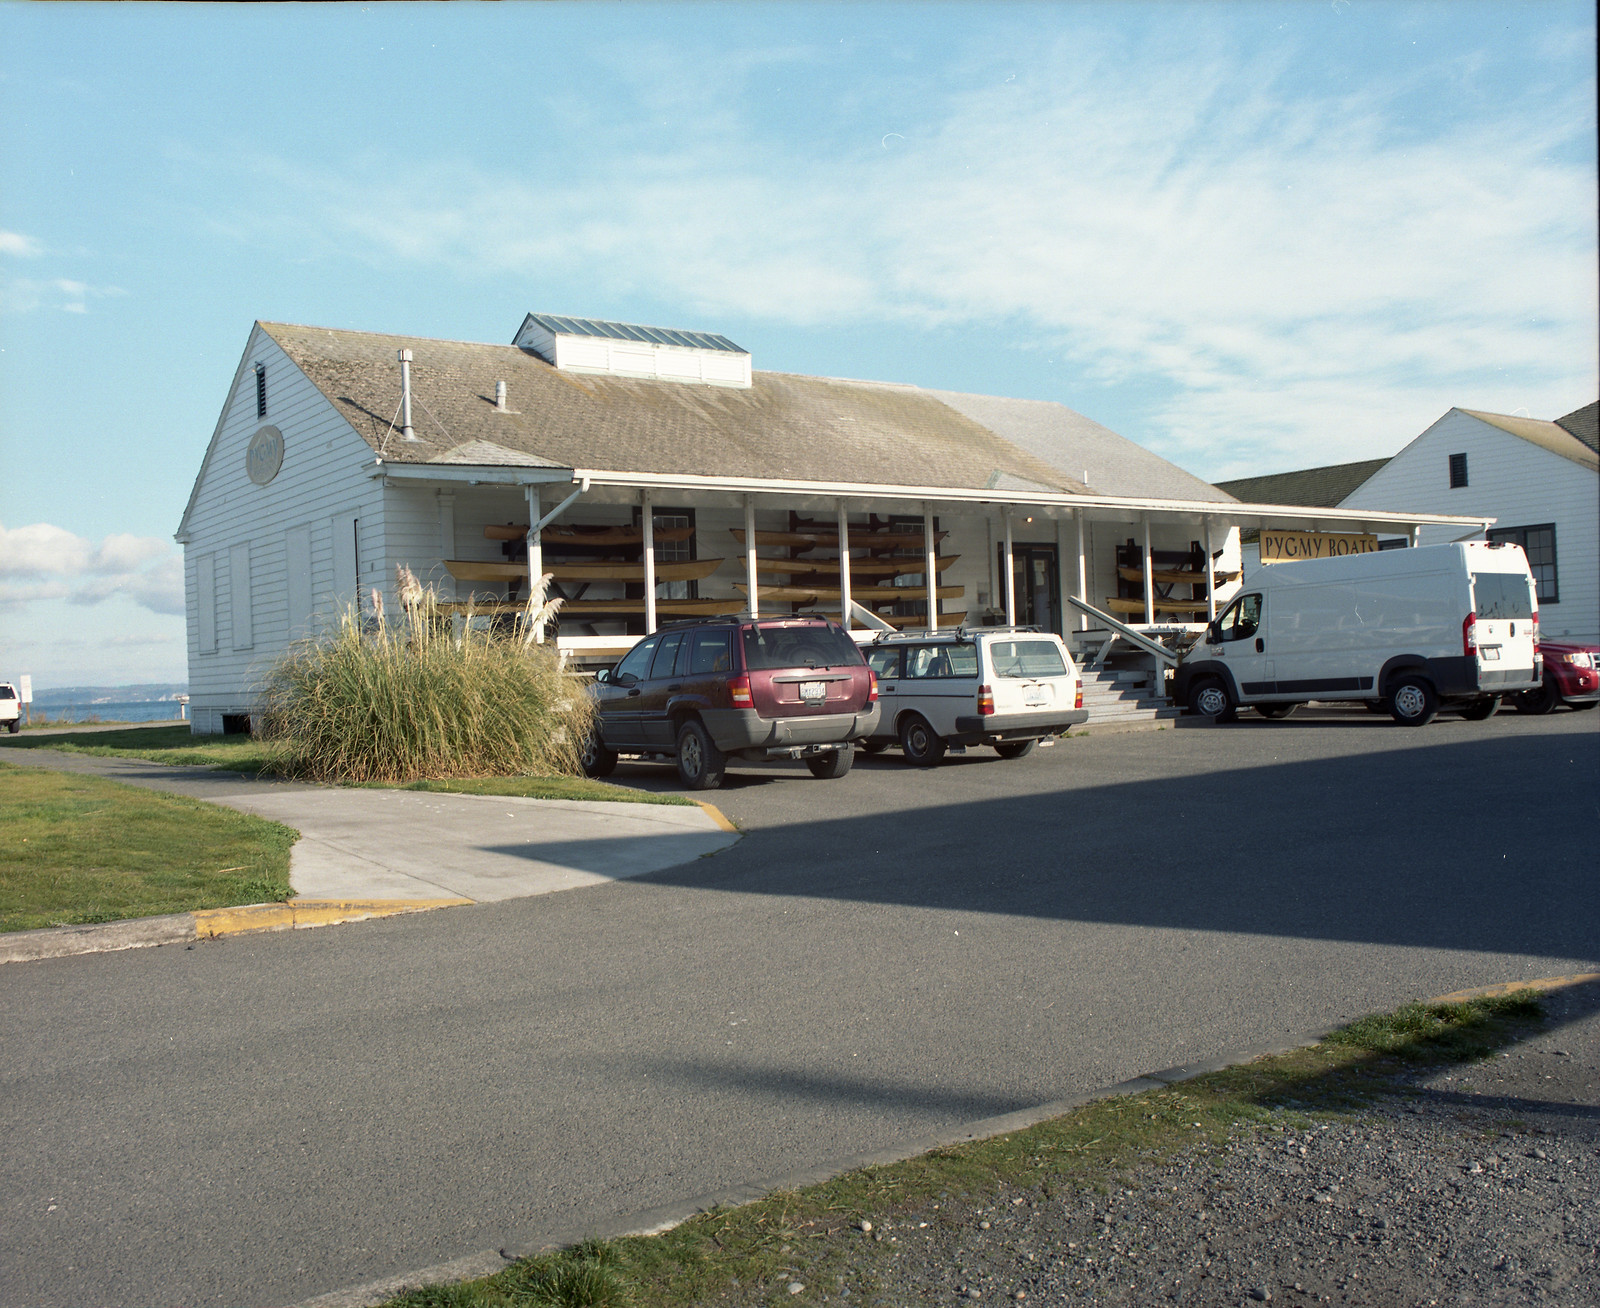
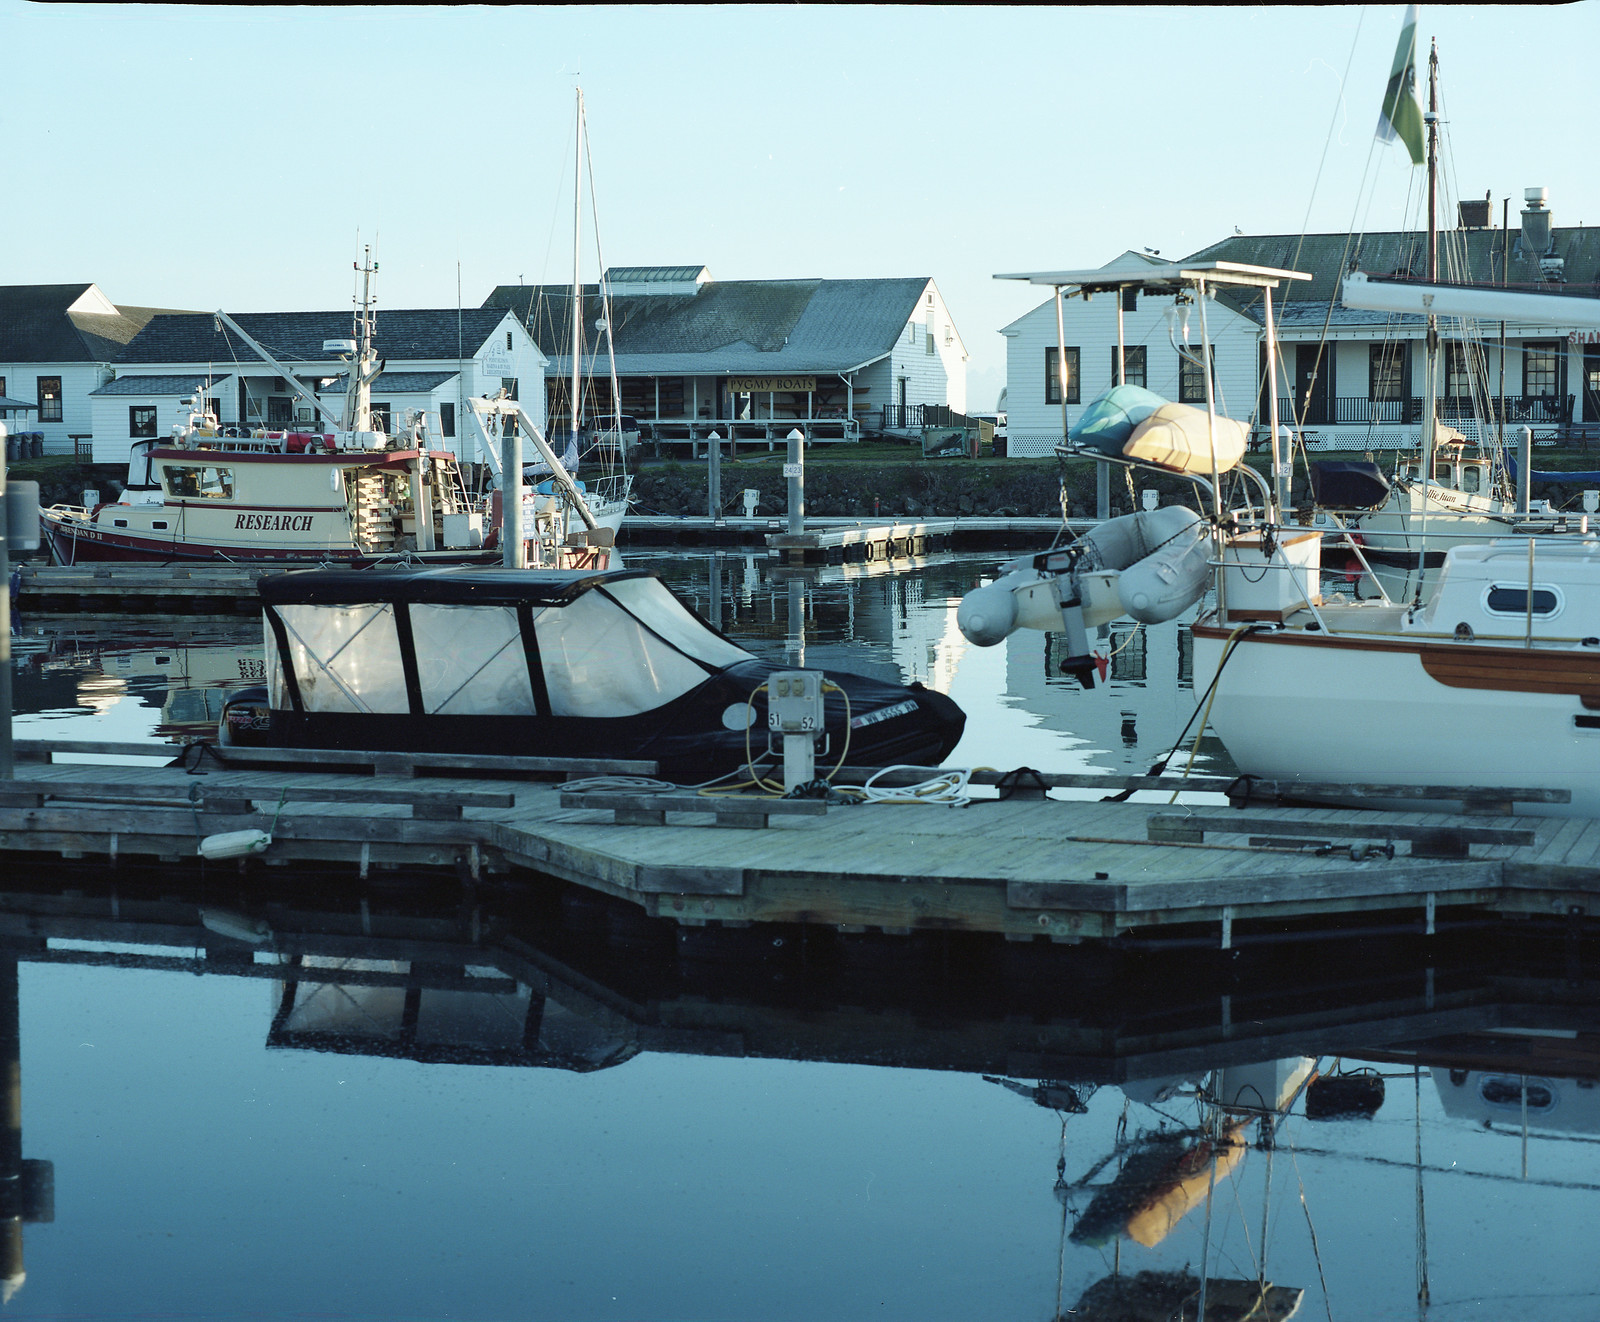
This week my wife and I drove to Port Townsend, Washington, the home of Pygmy Boats. We were there to decide if the original Pygmy Ronan would fit me, and if so, to buy the kit. So started my kayak building adventure.
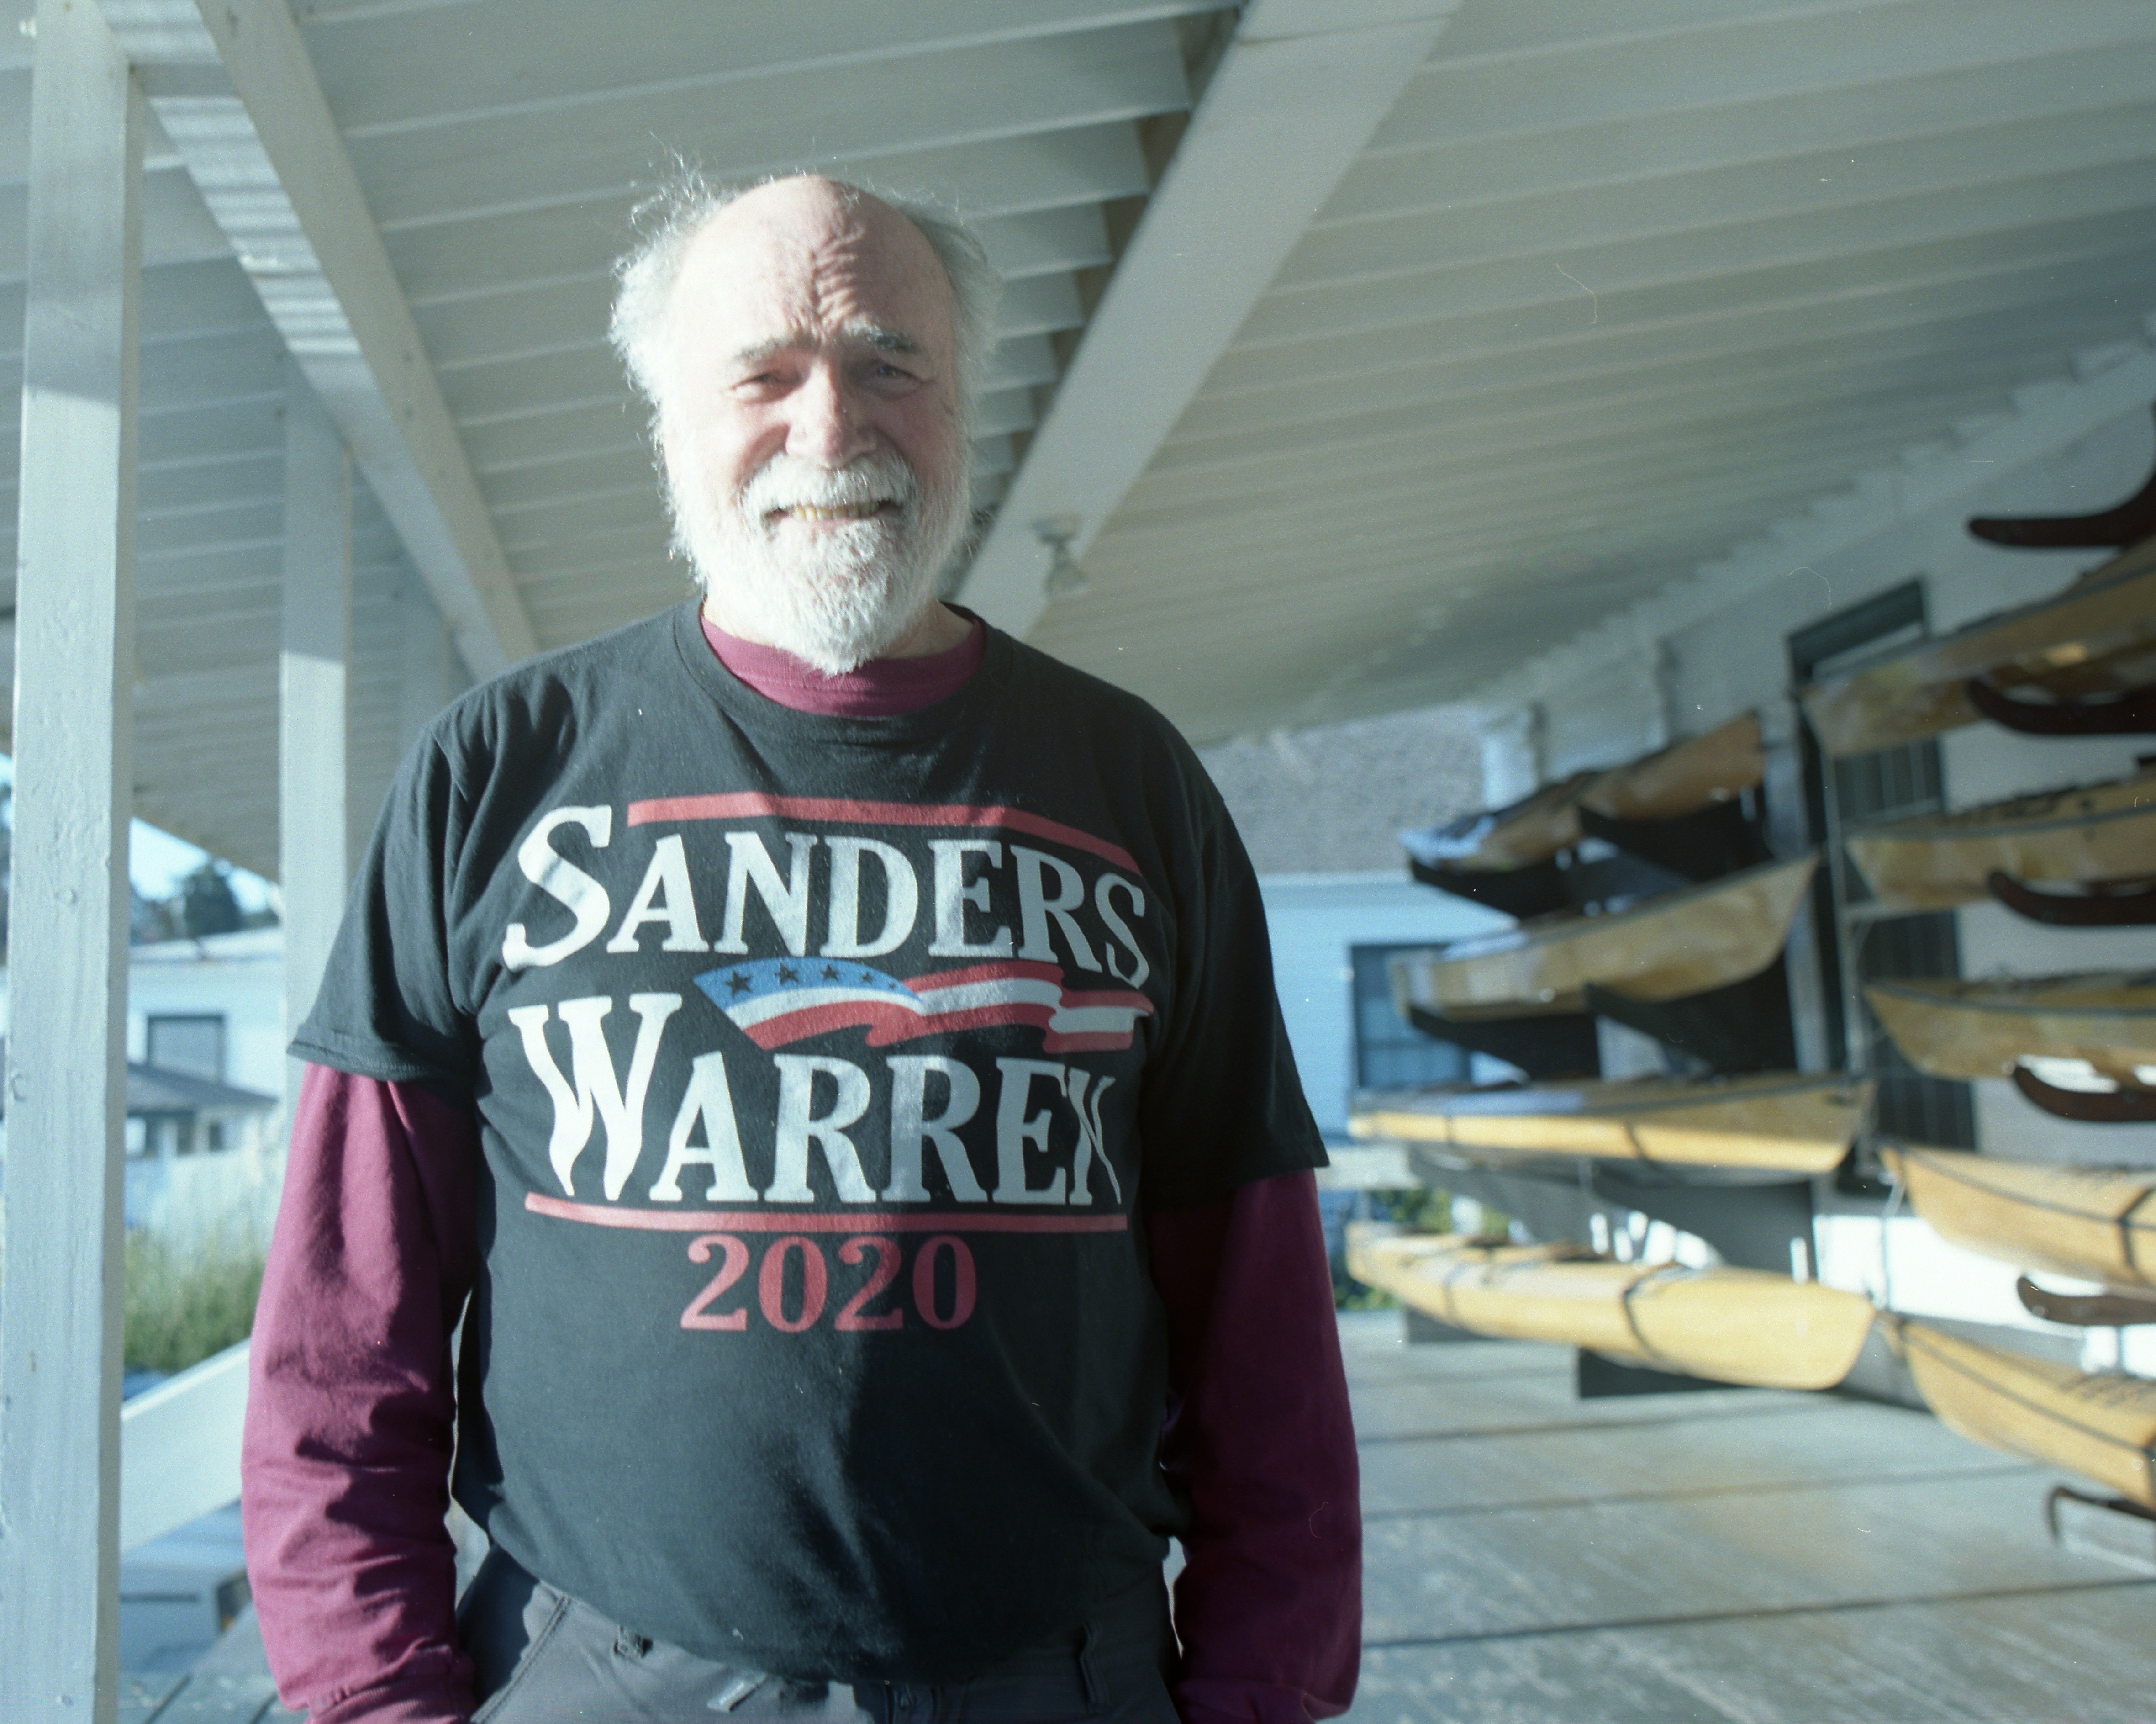
Mr. John Lockwood. Owner and designer of Pygmy Boats.