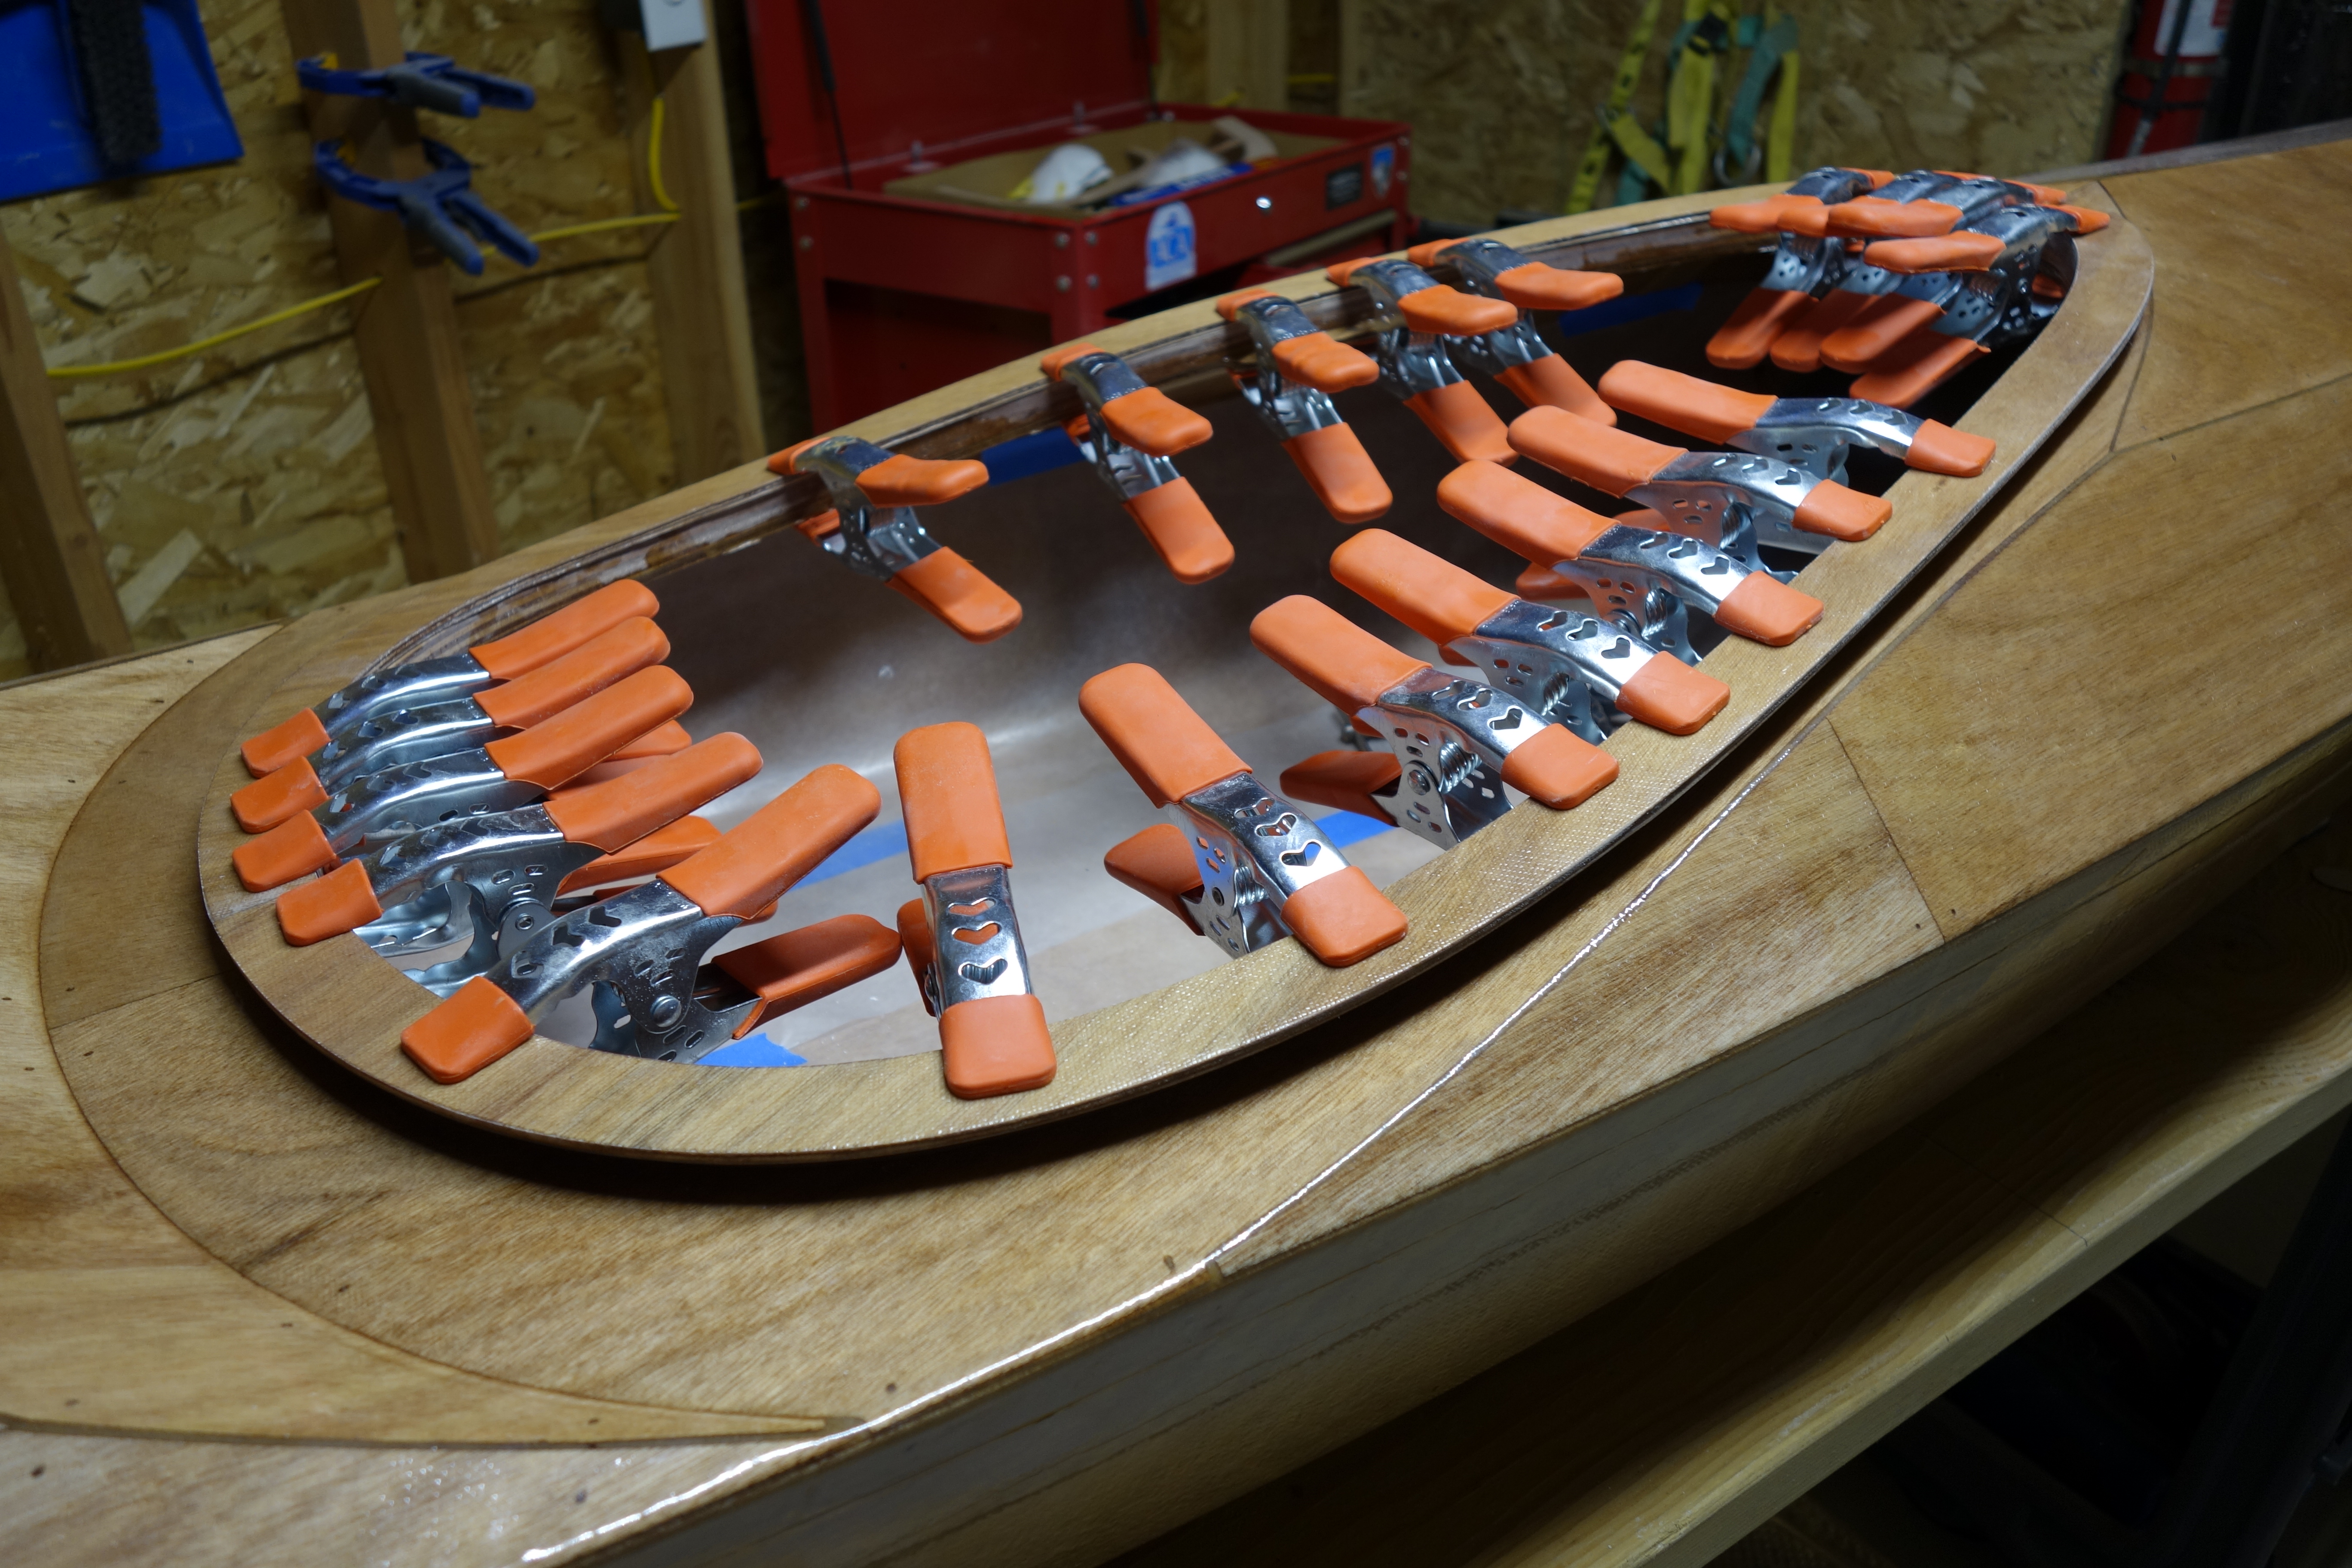
I’ll make some small descriptive comments in the photos themselves. Otherwise, the pictures will speak for themselves.


Same process on the starboard side tomorrow.

I’ll make some small descriptive comments in the photos themselves. Otherwise, the pictures will speak for themselves.
Same process on the starboard side tomorrow.
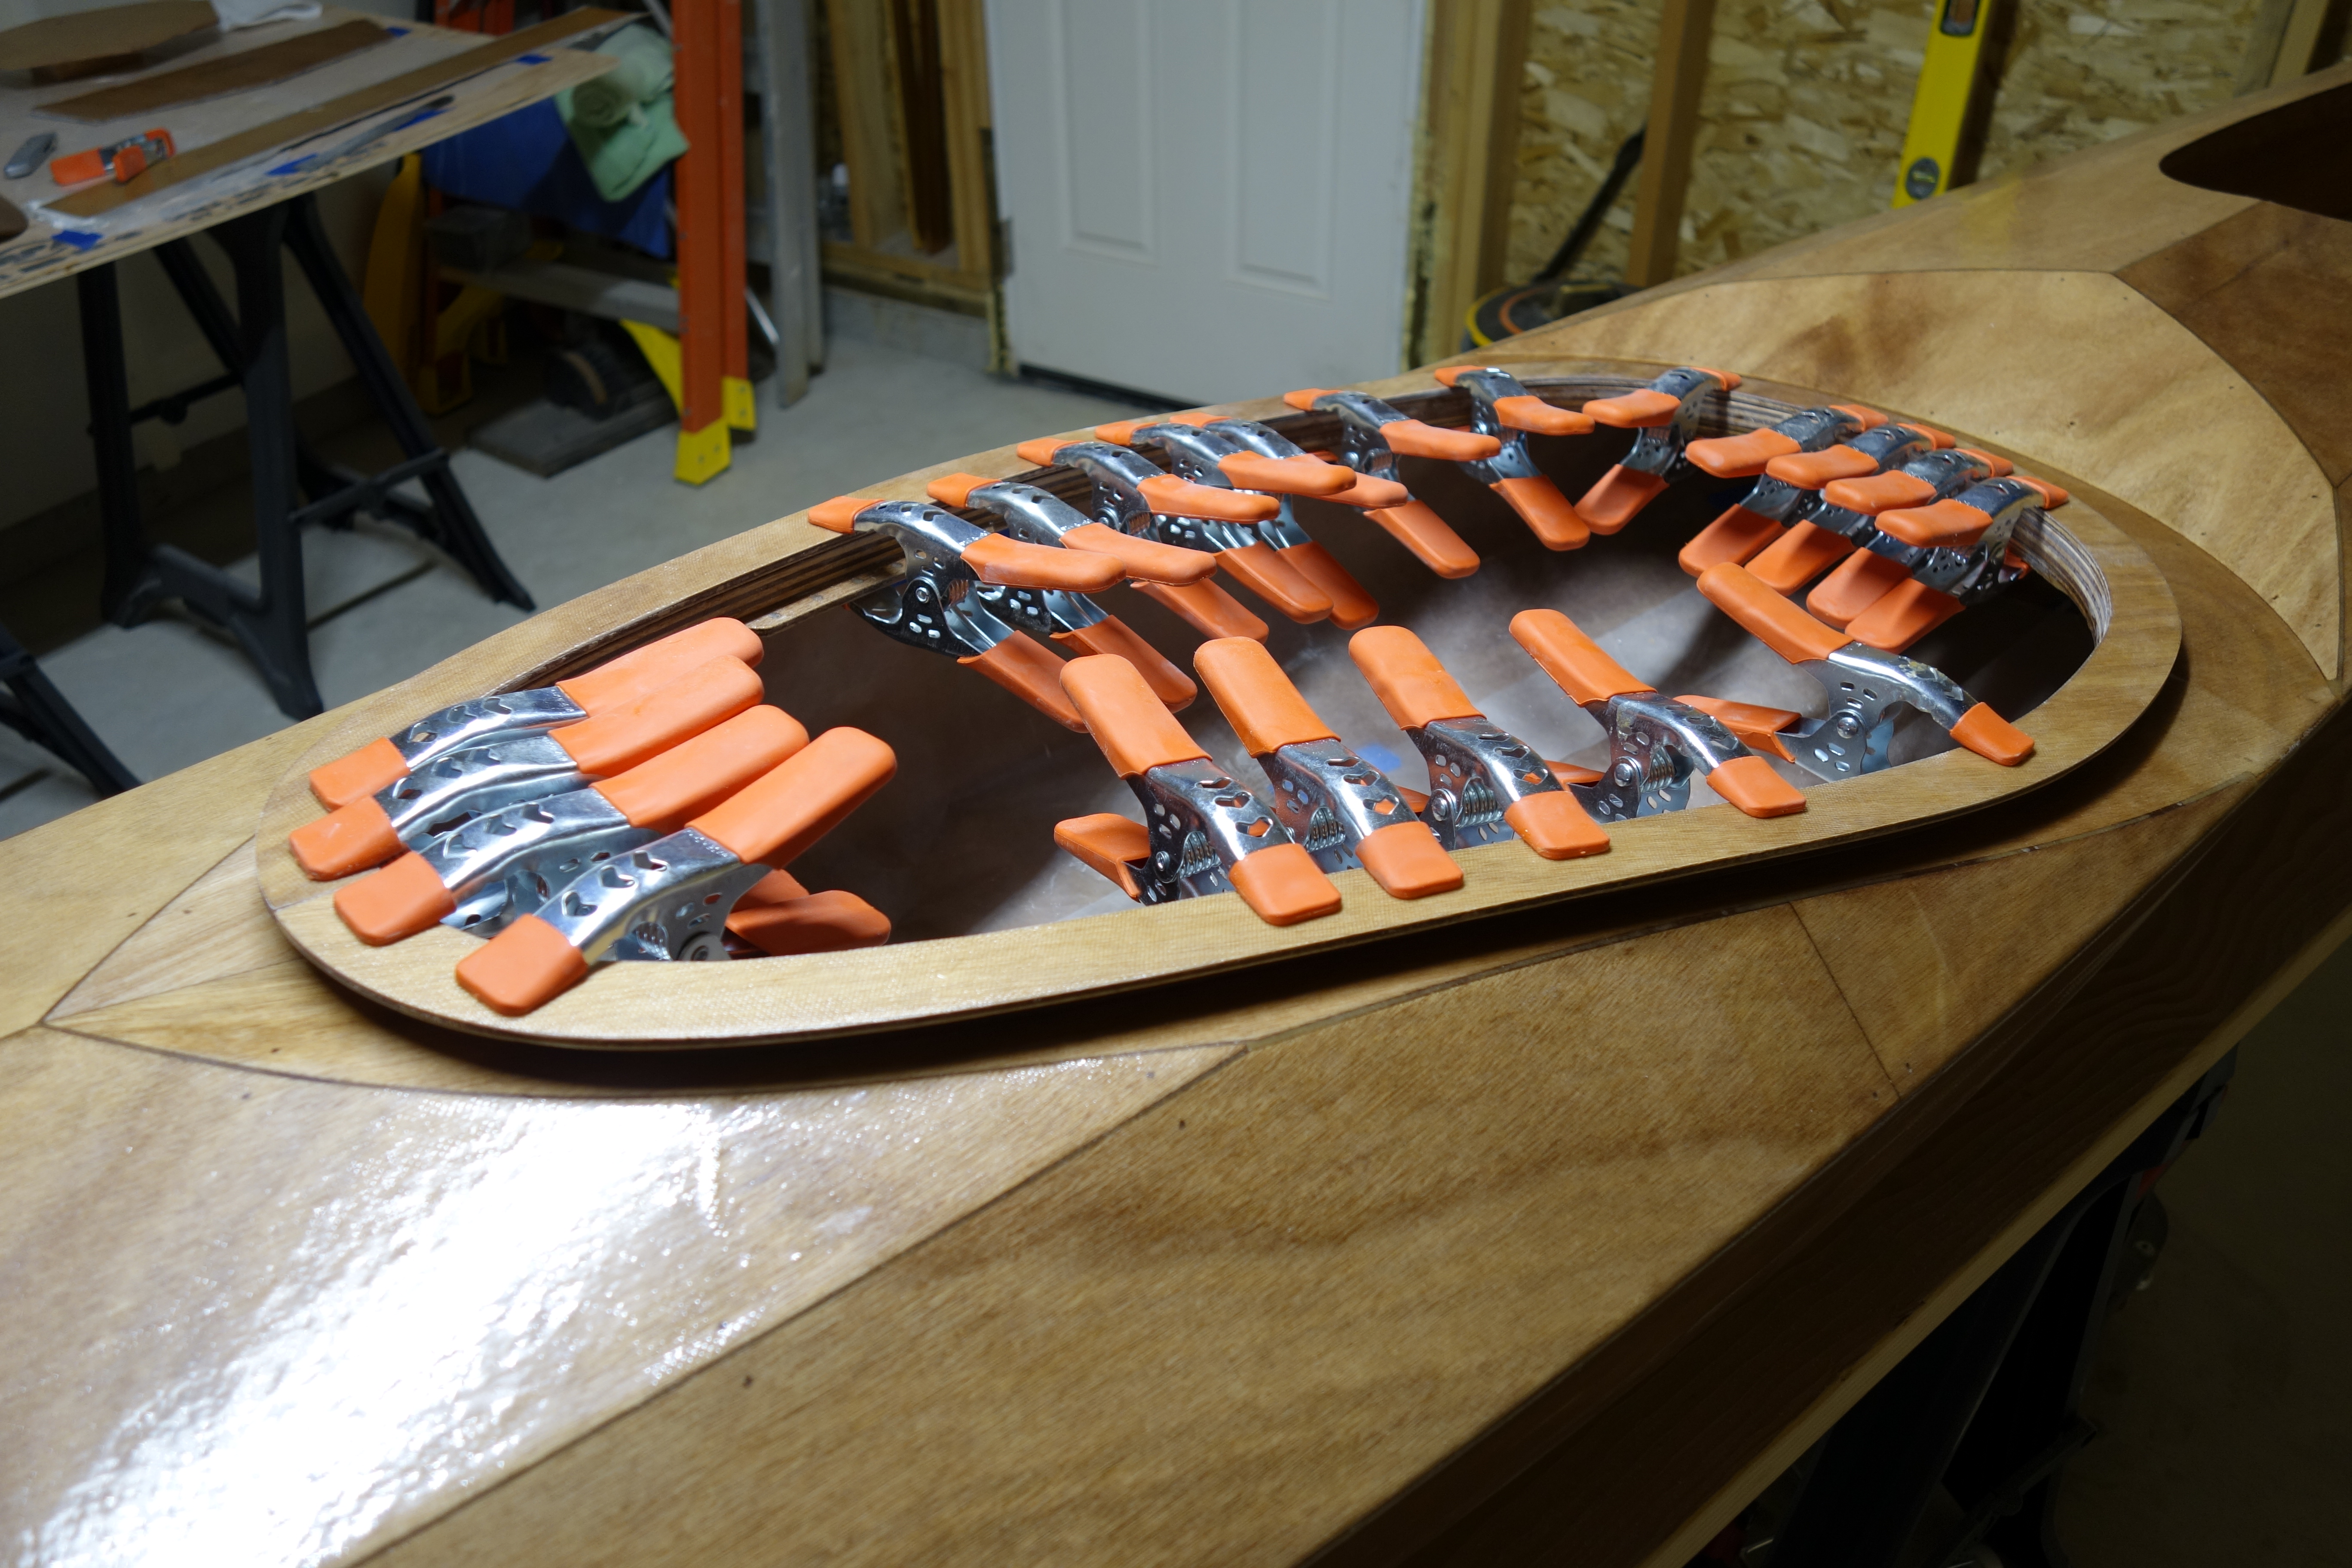
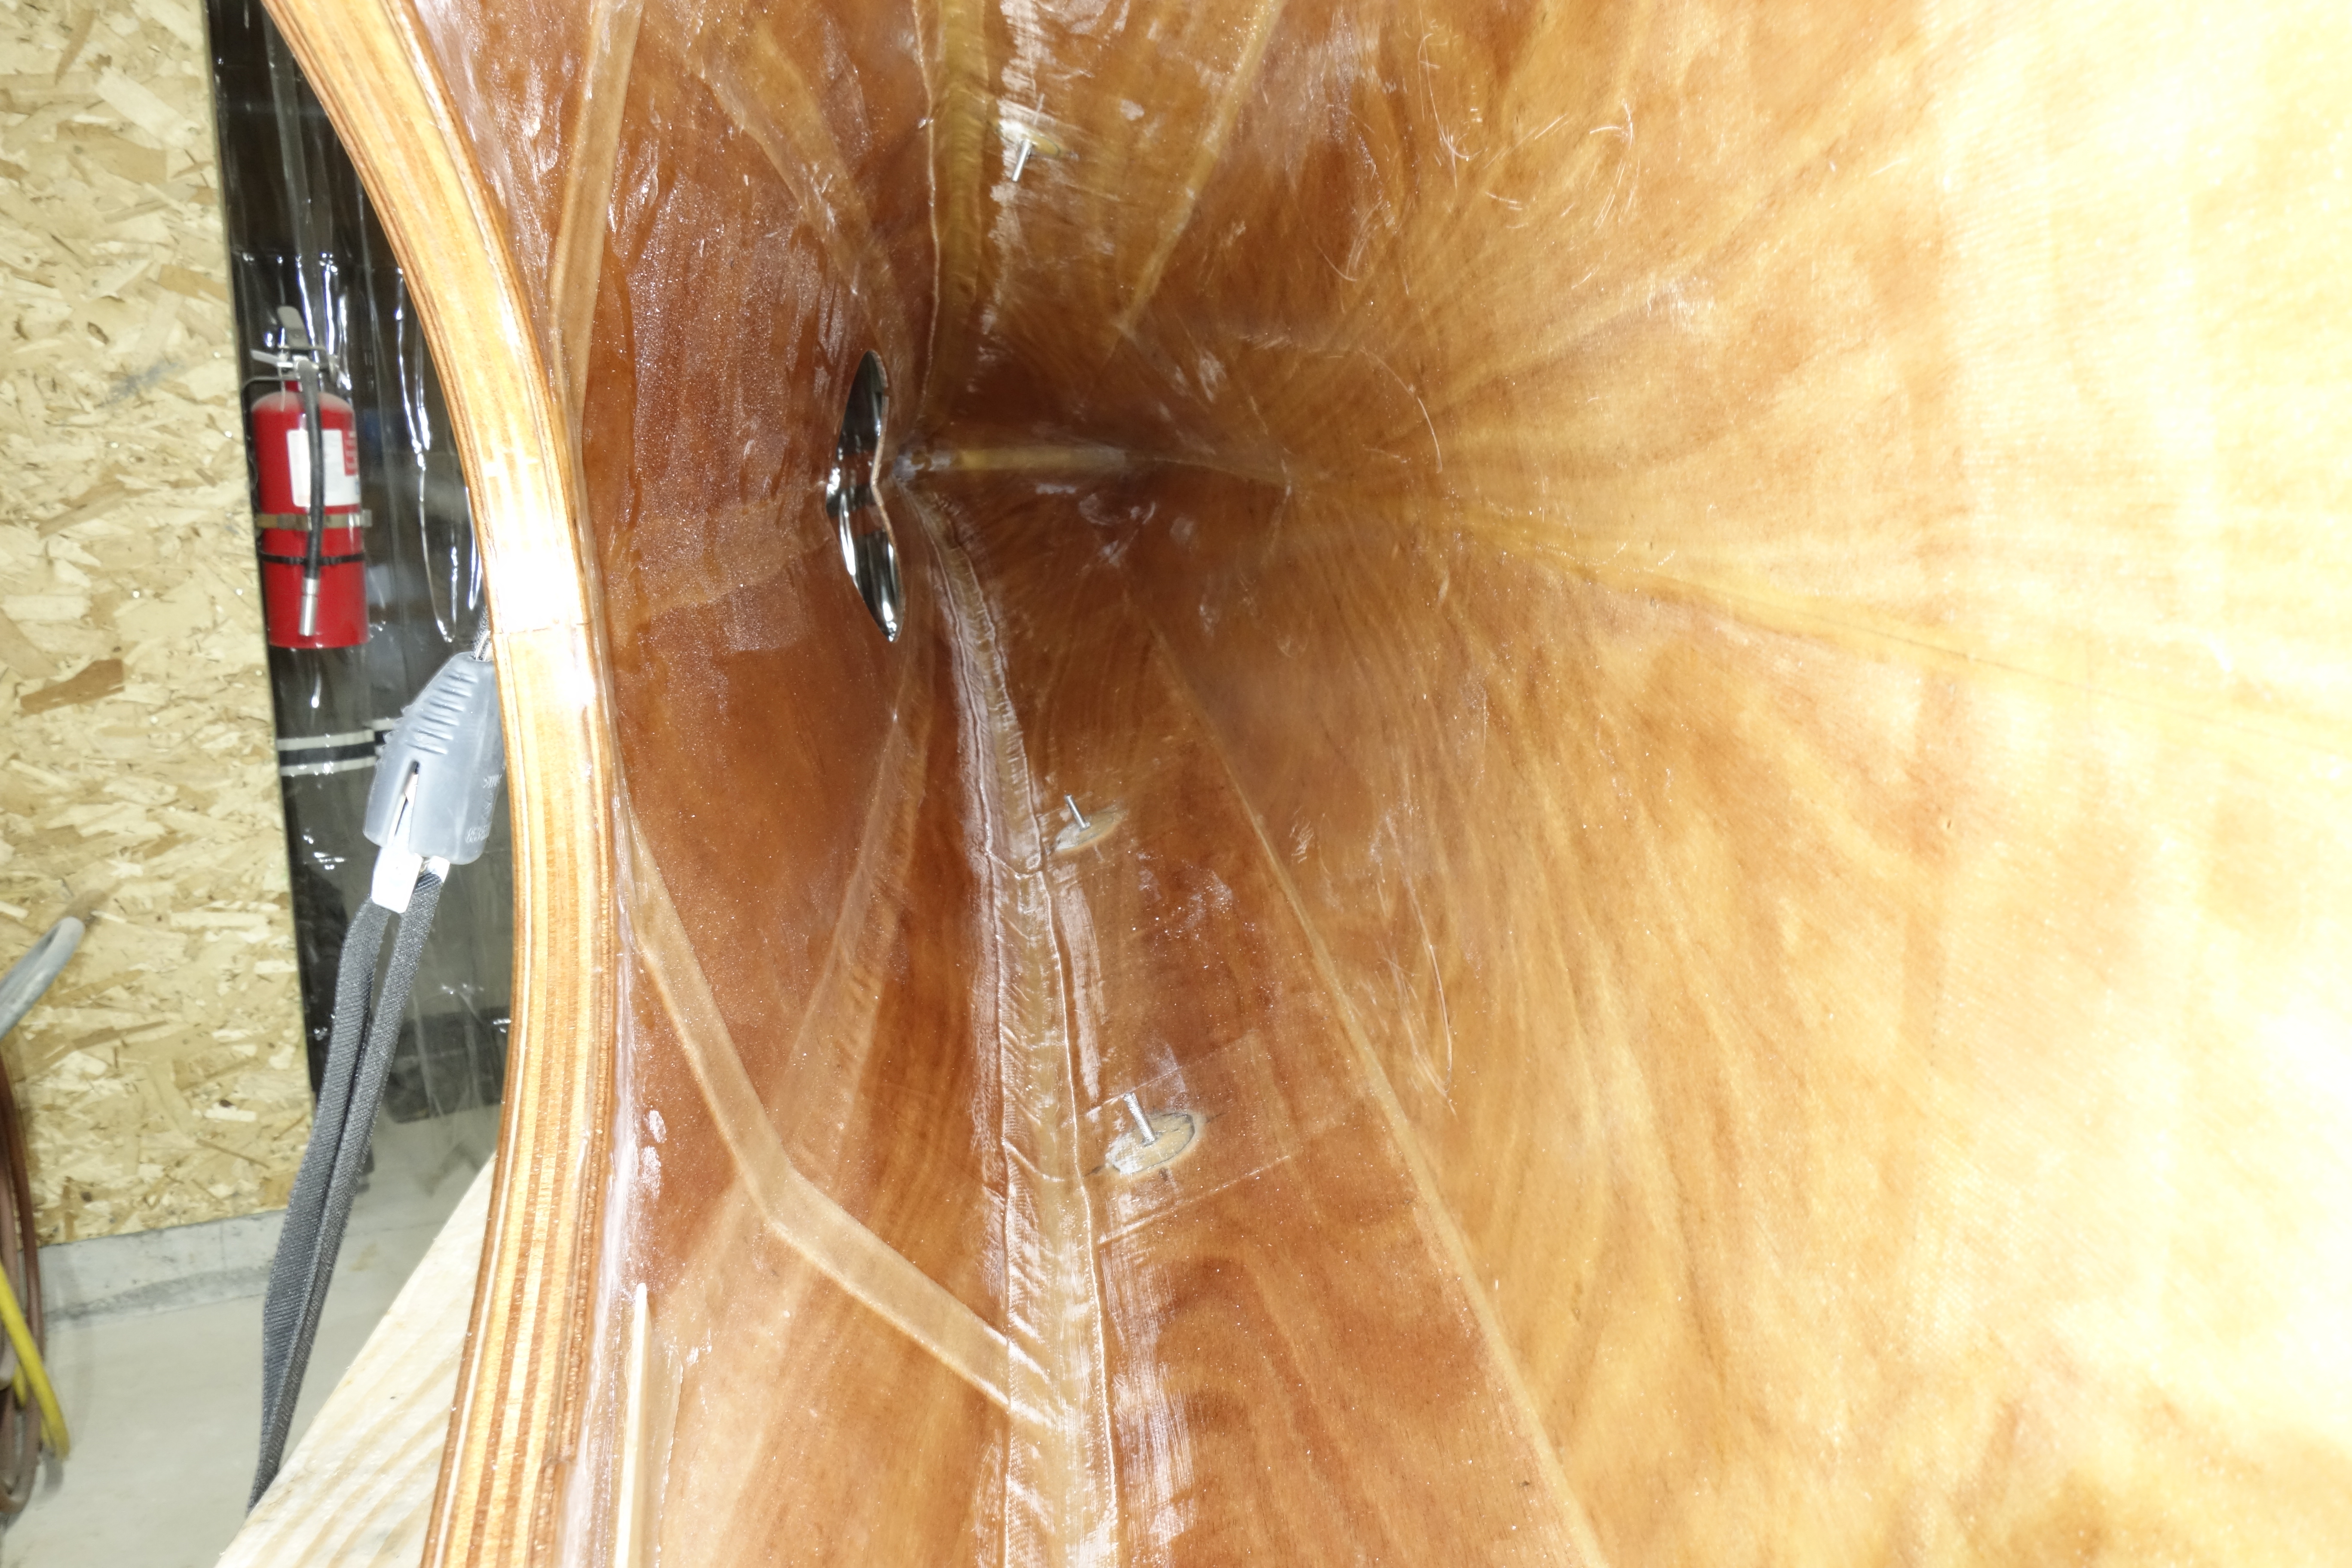
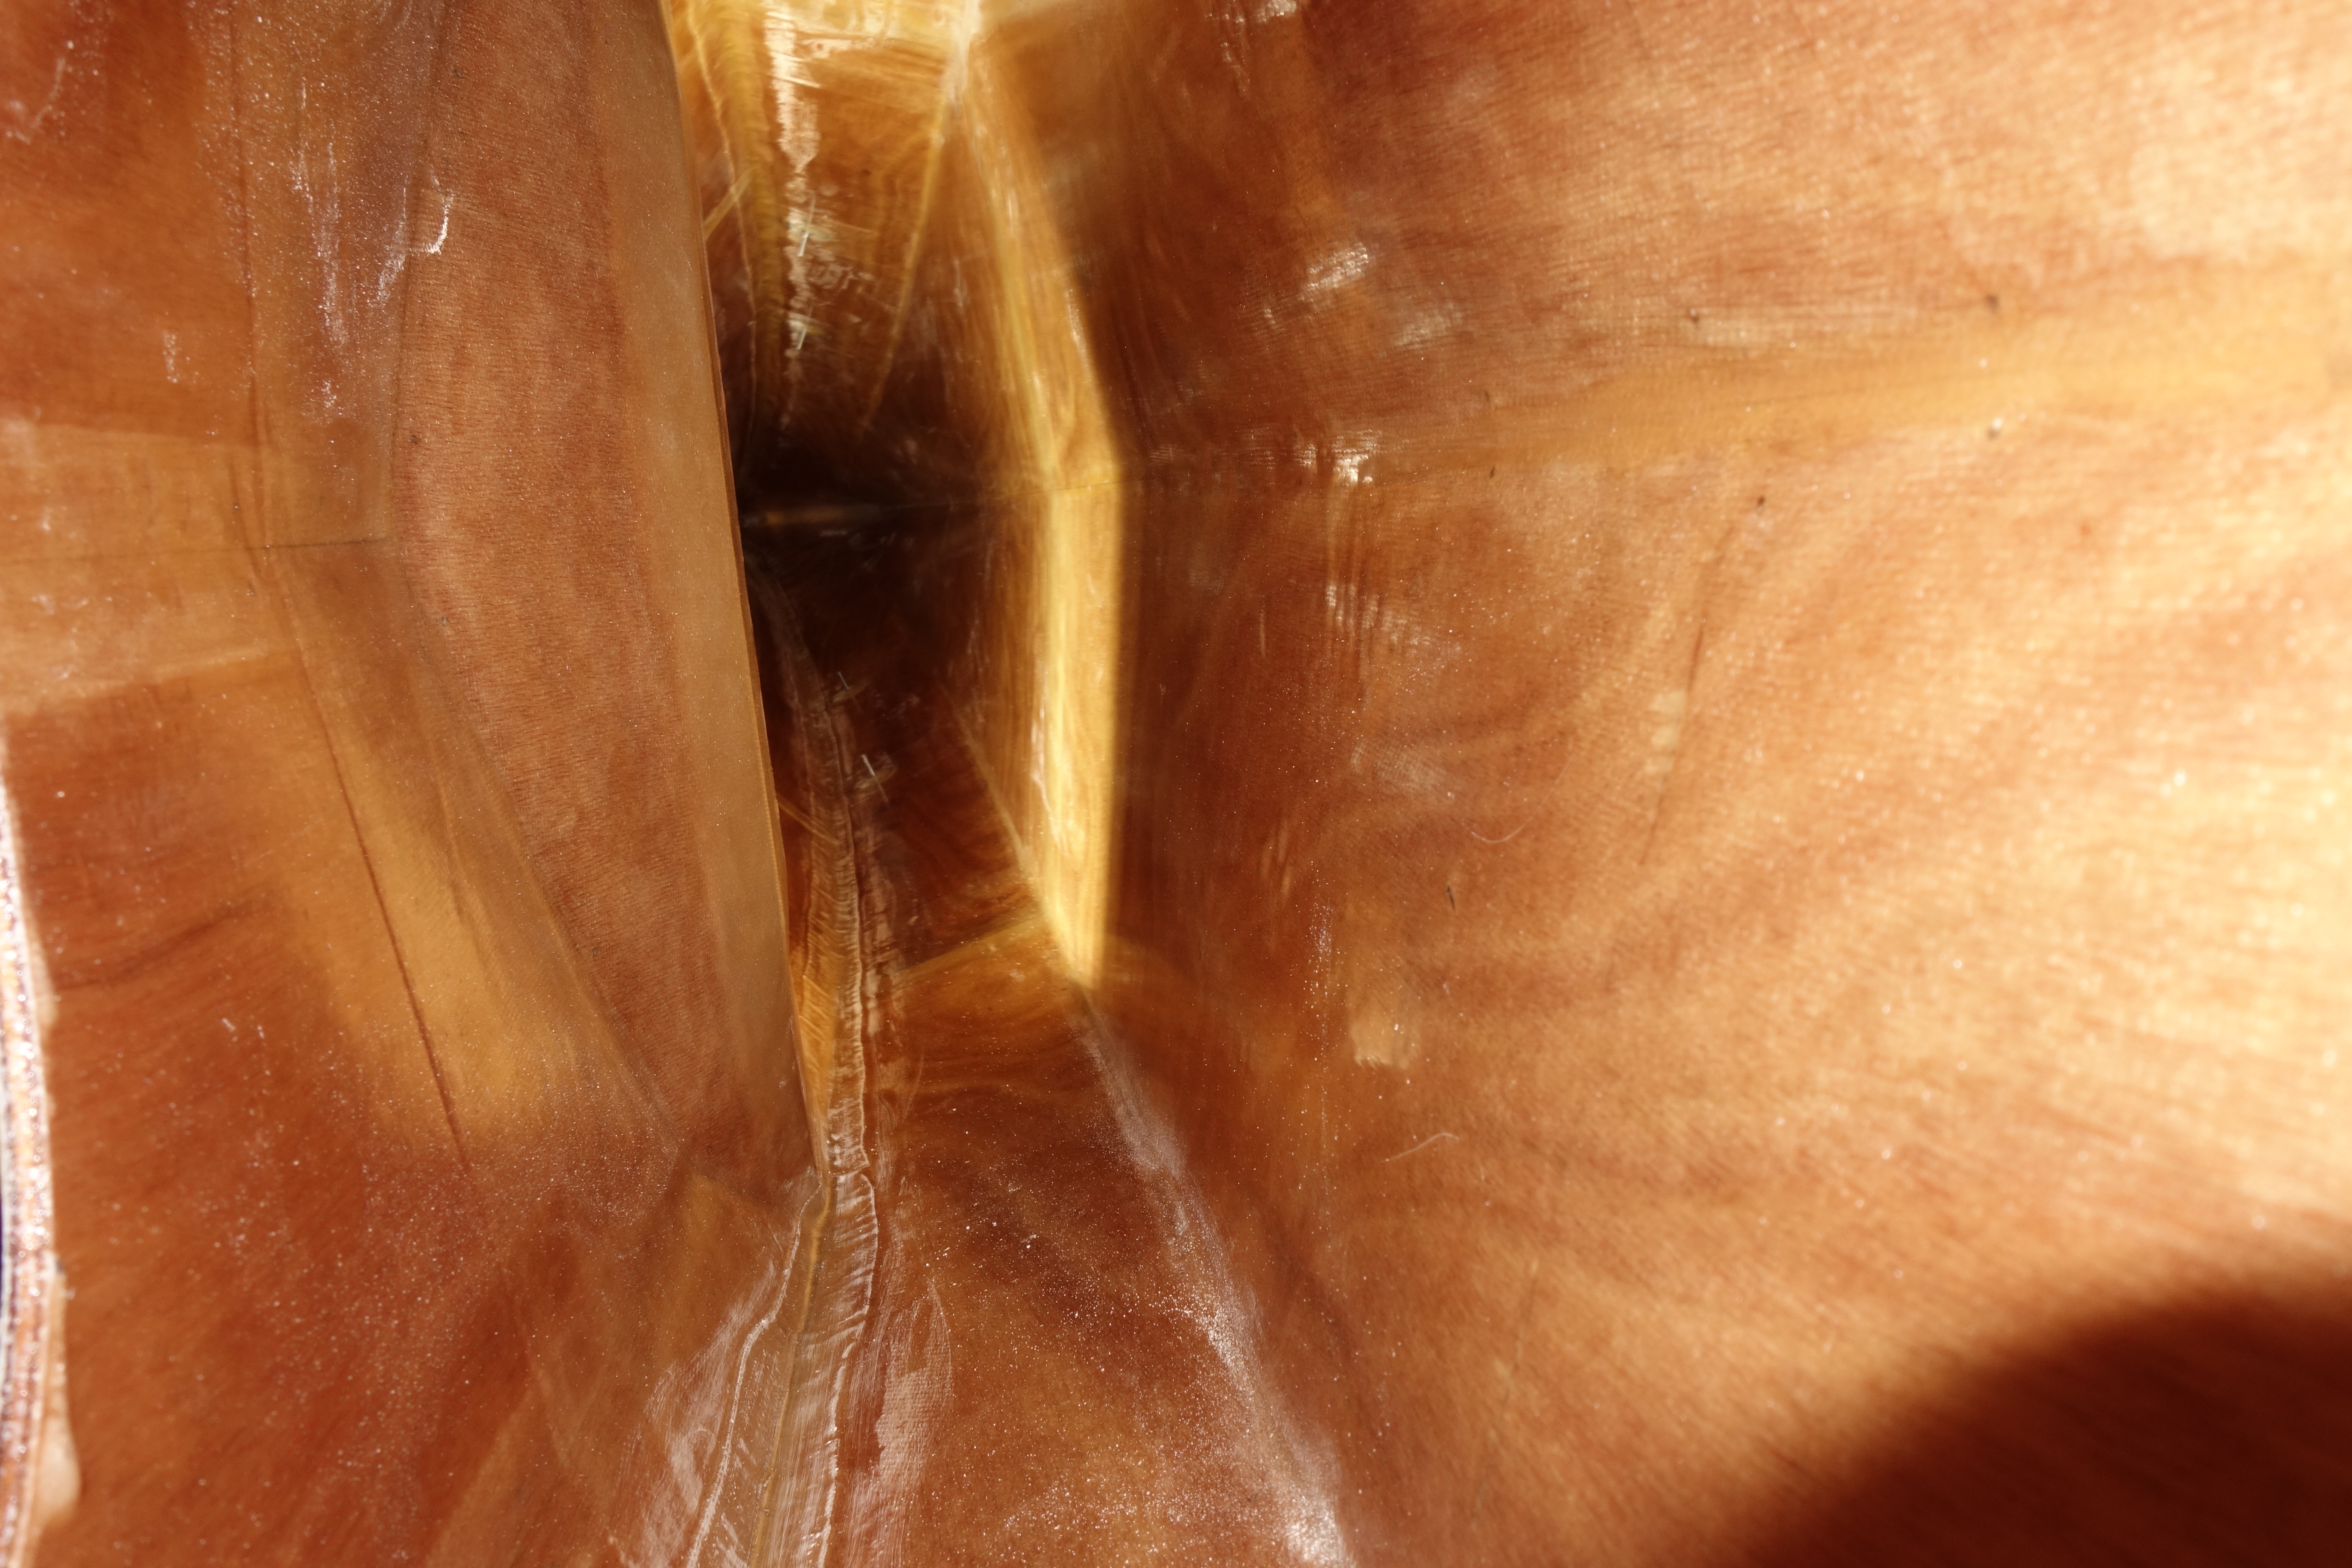
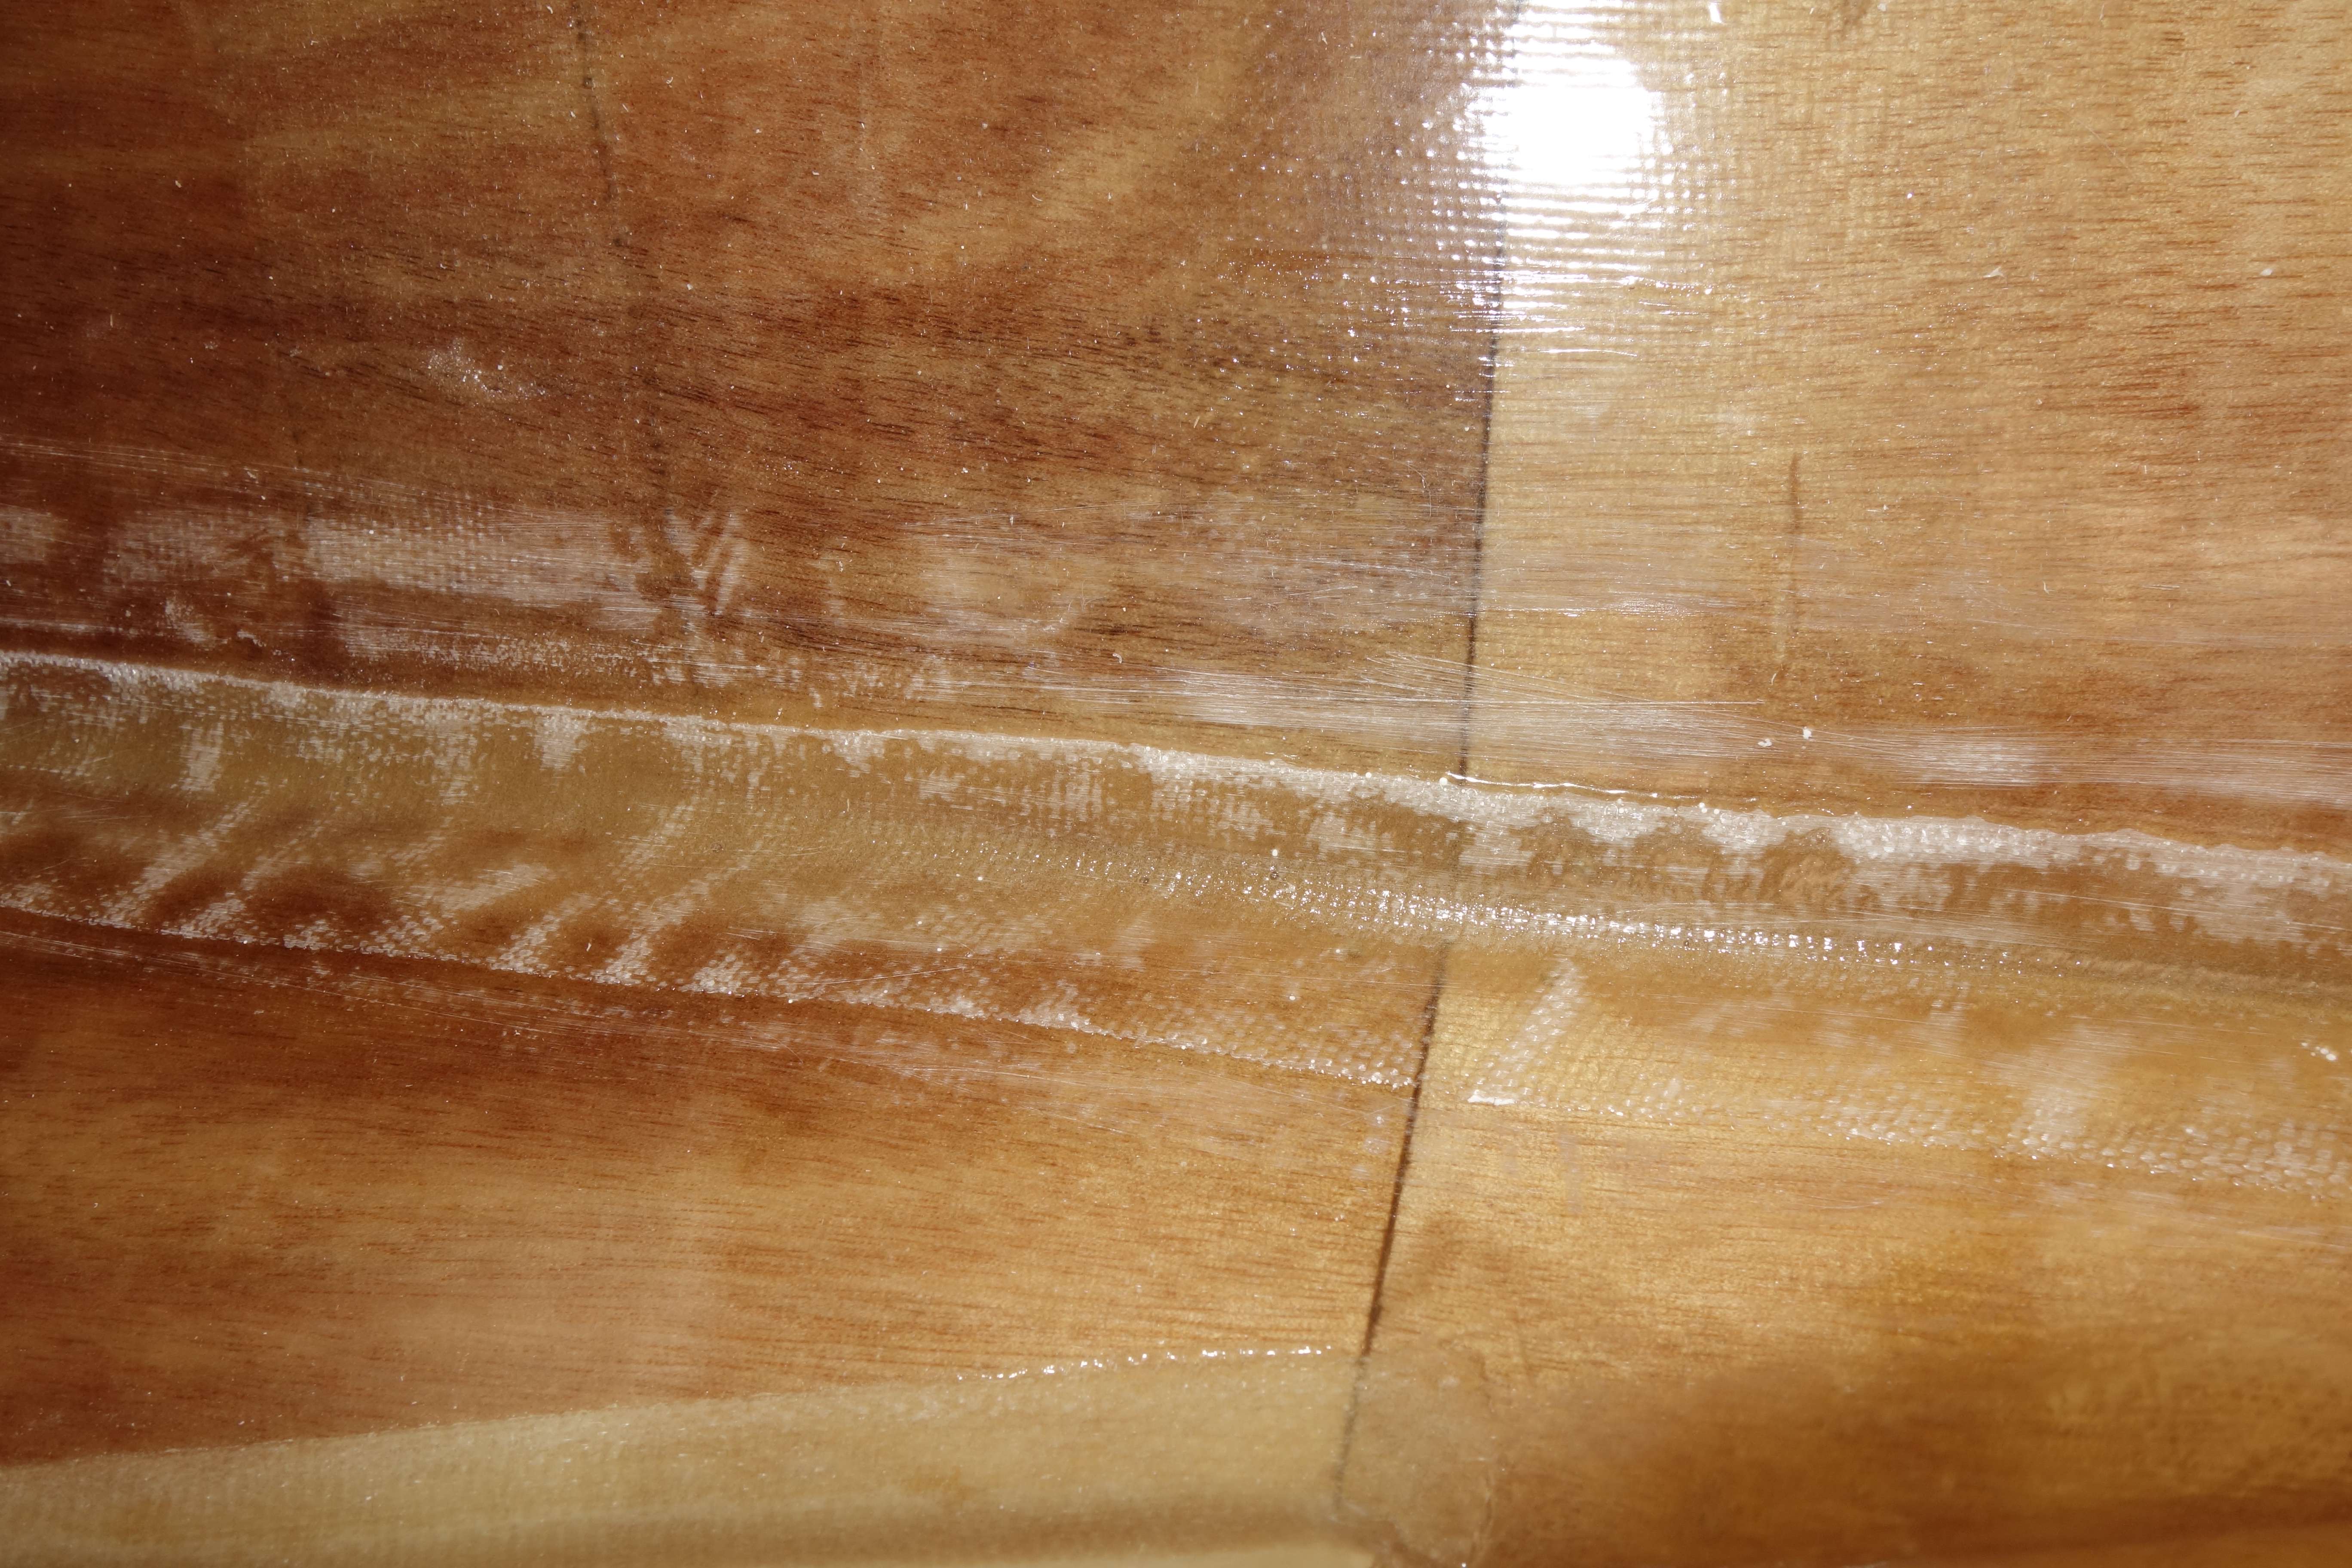
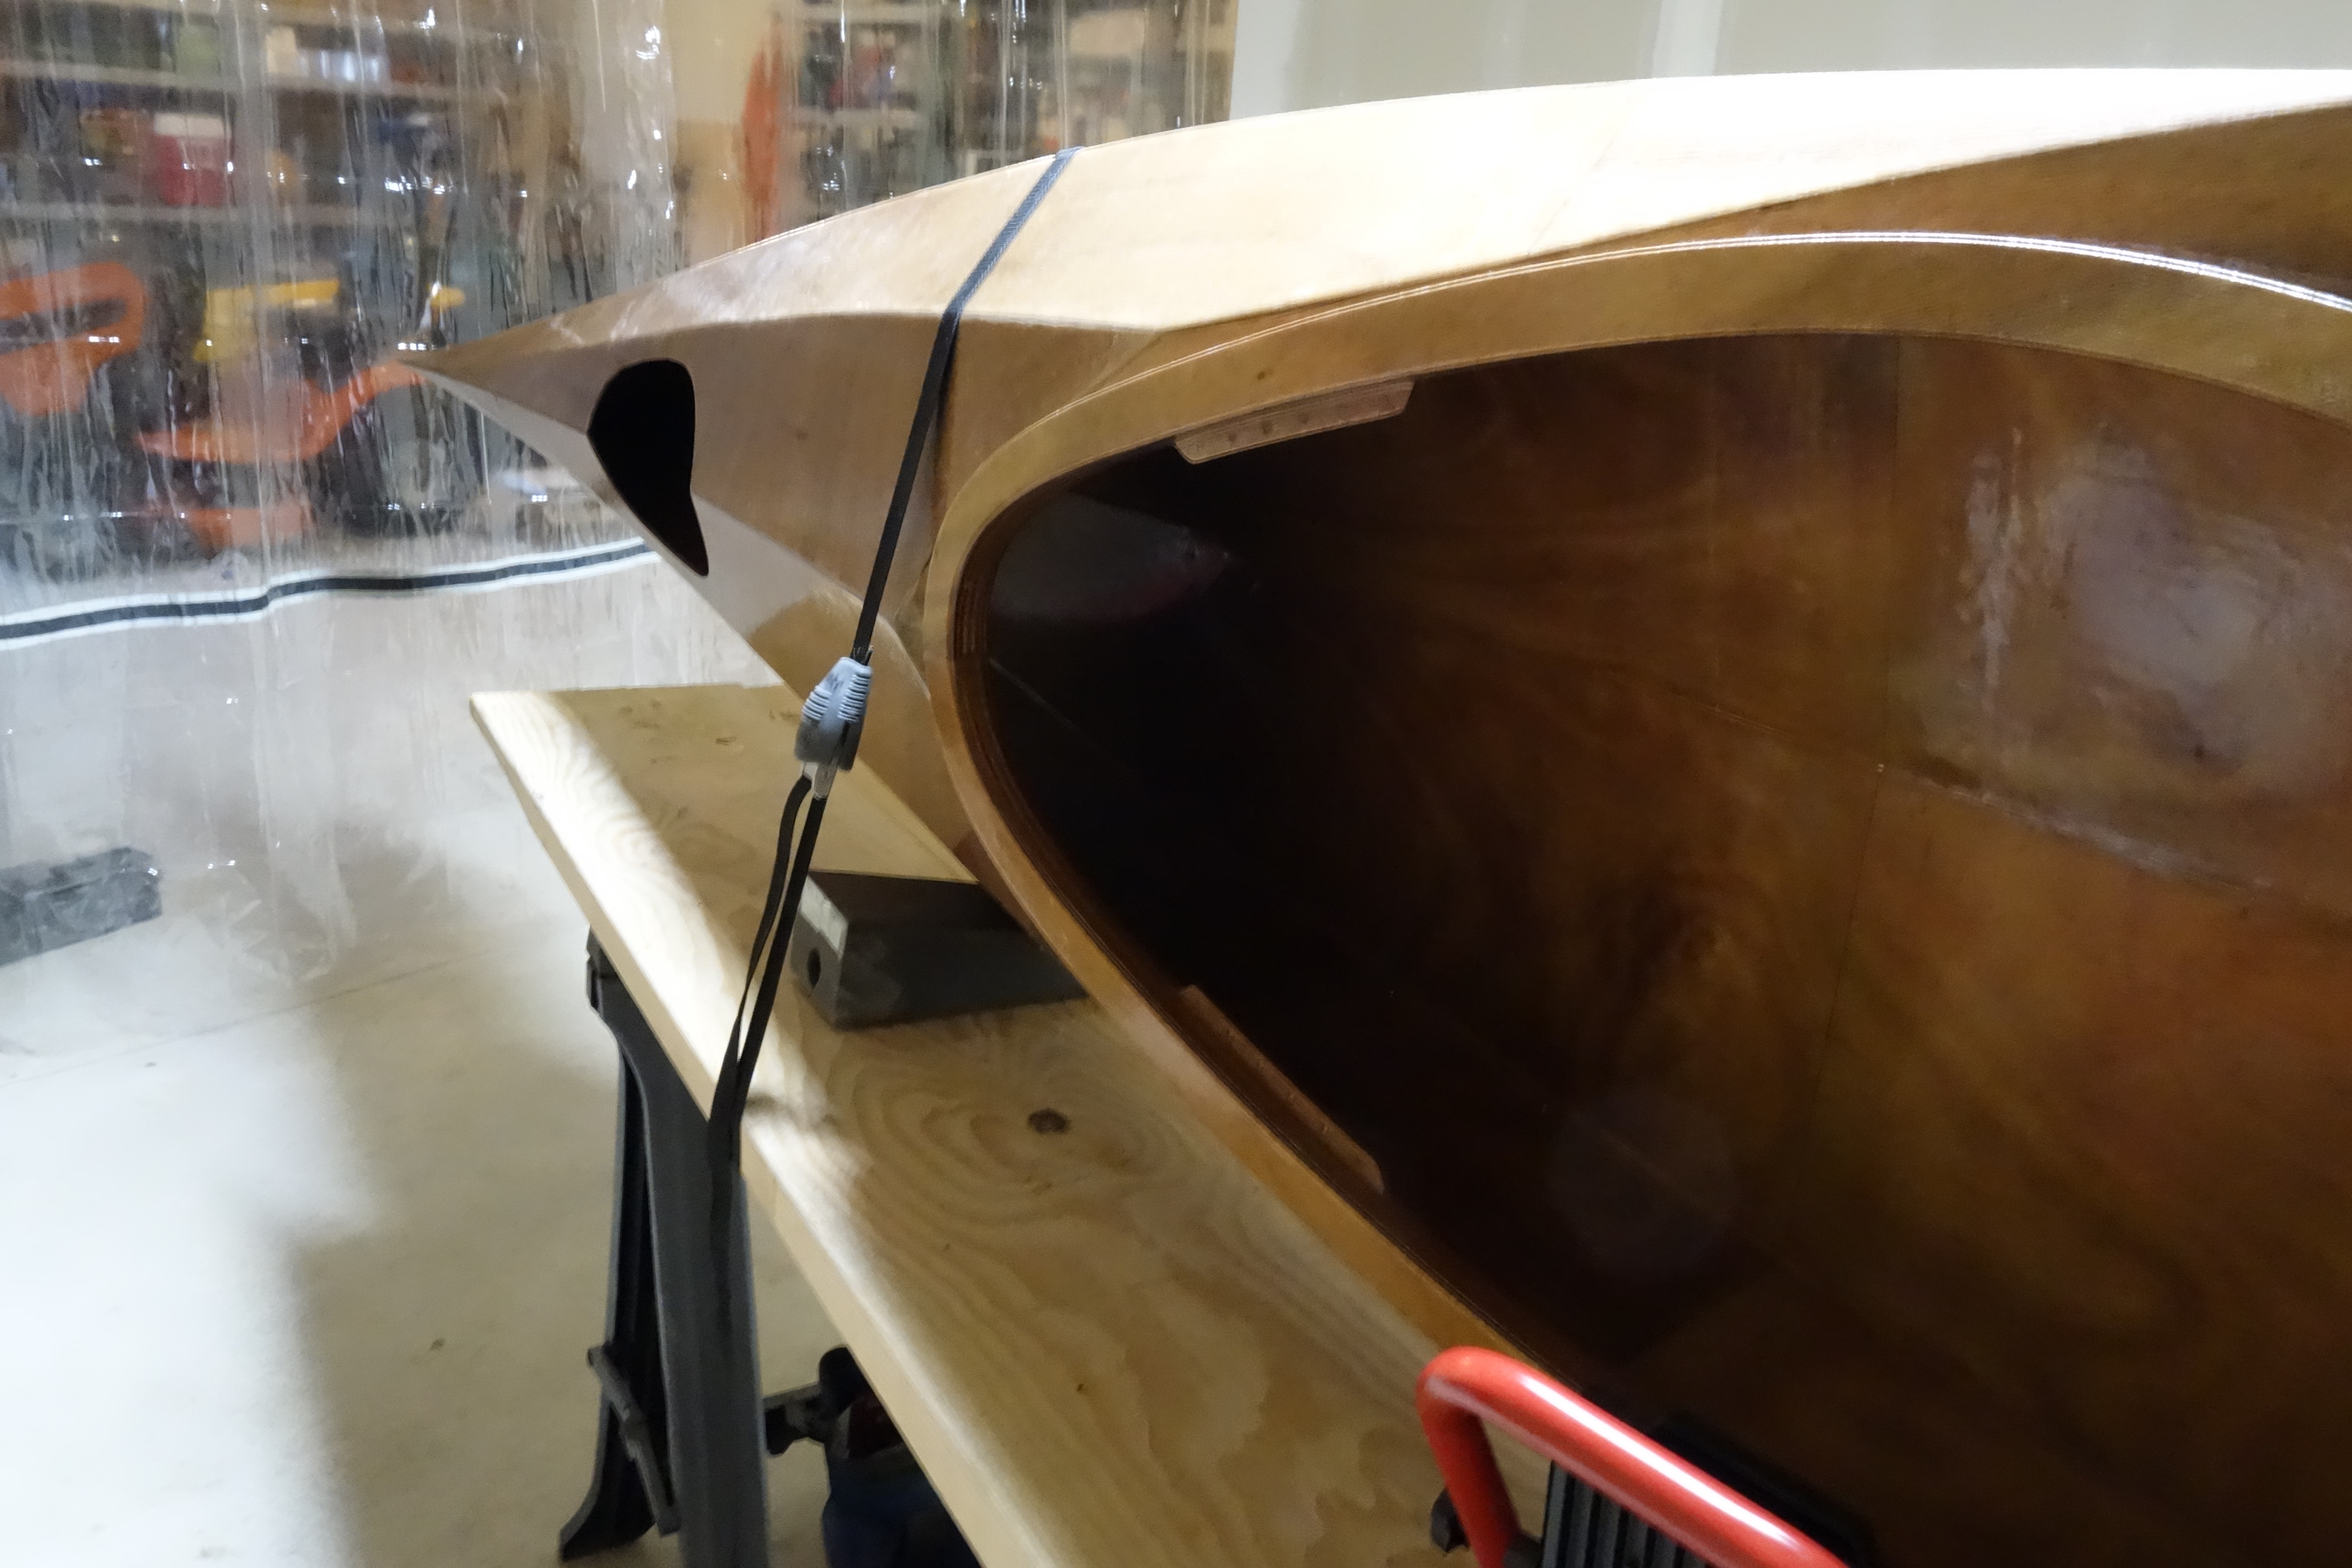
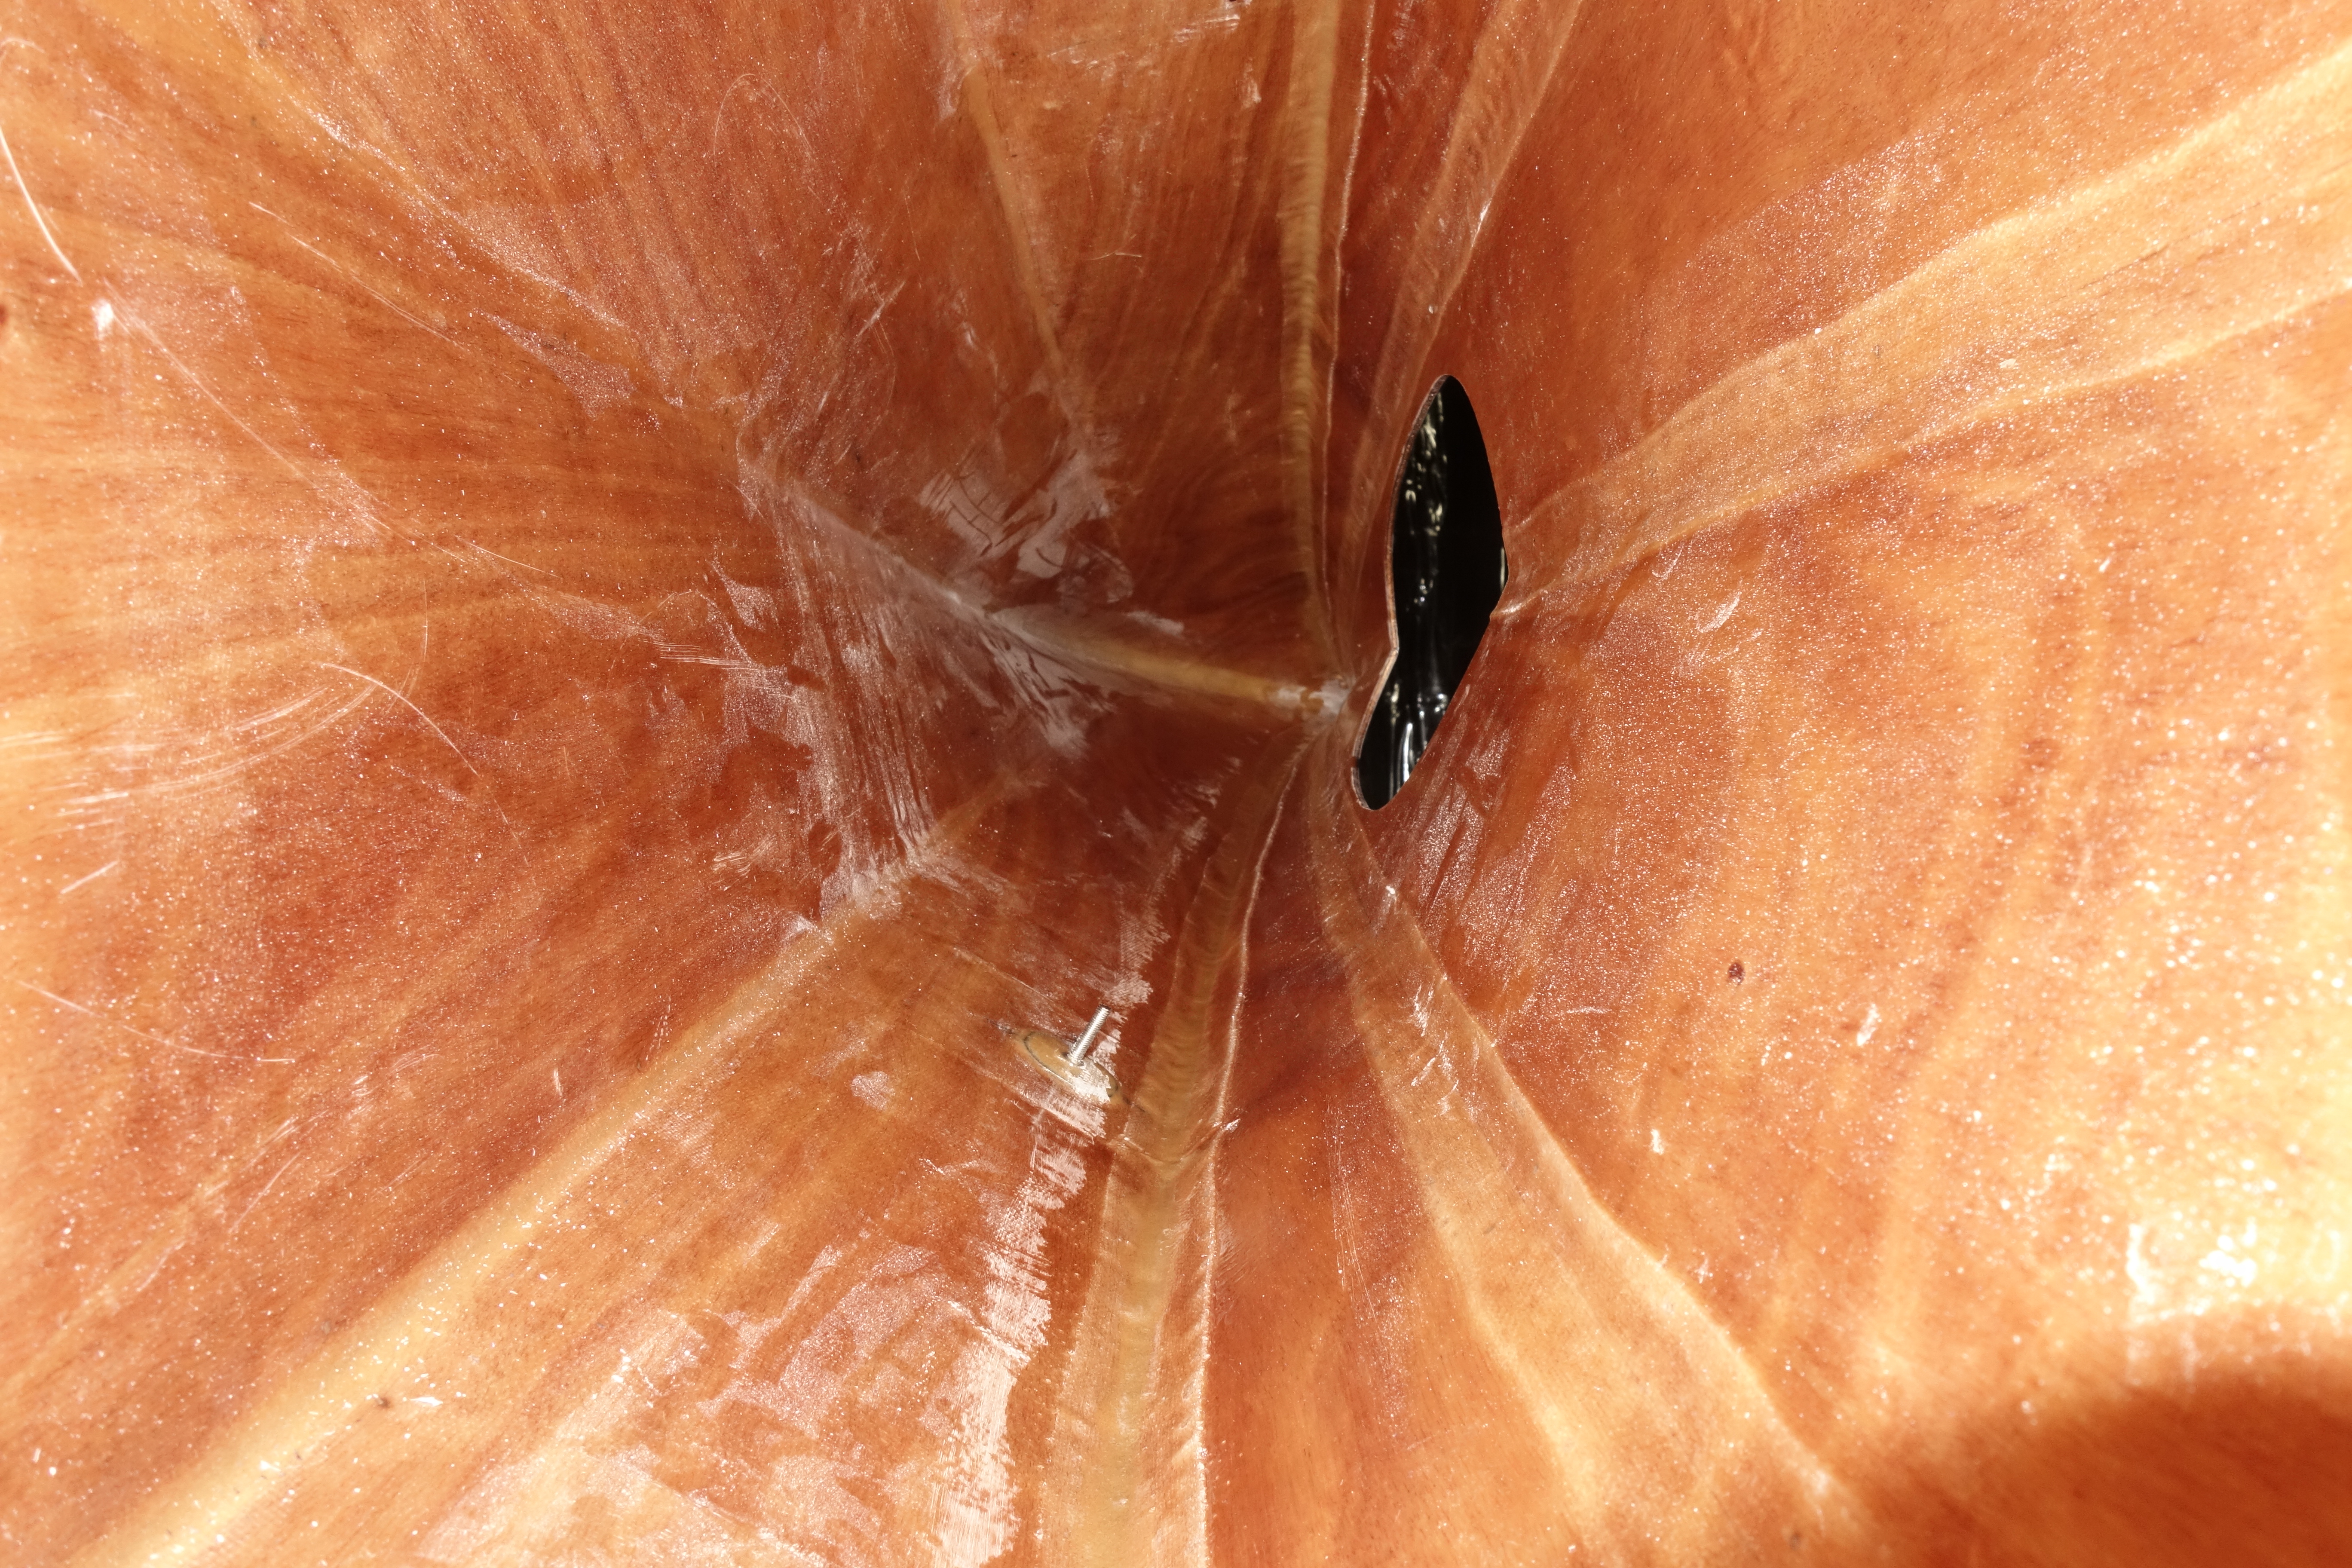
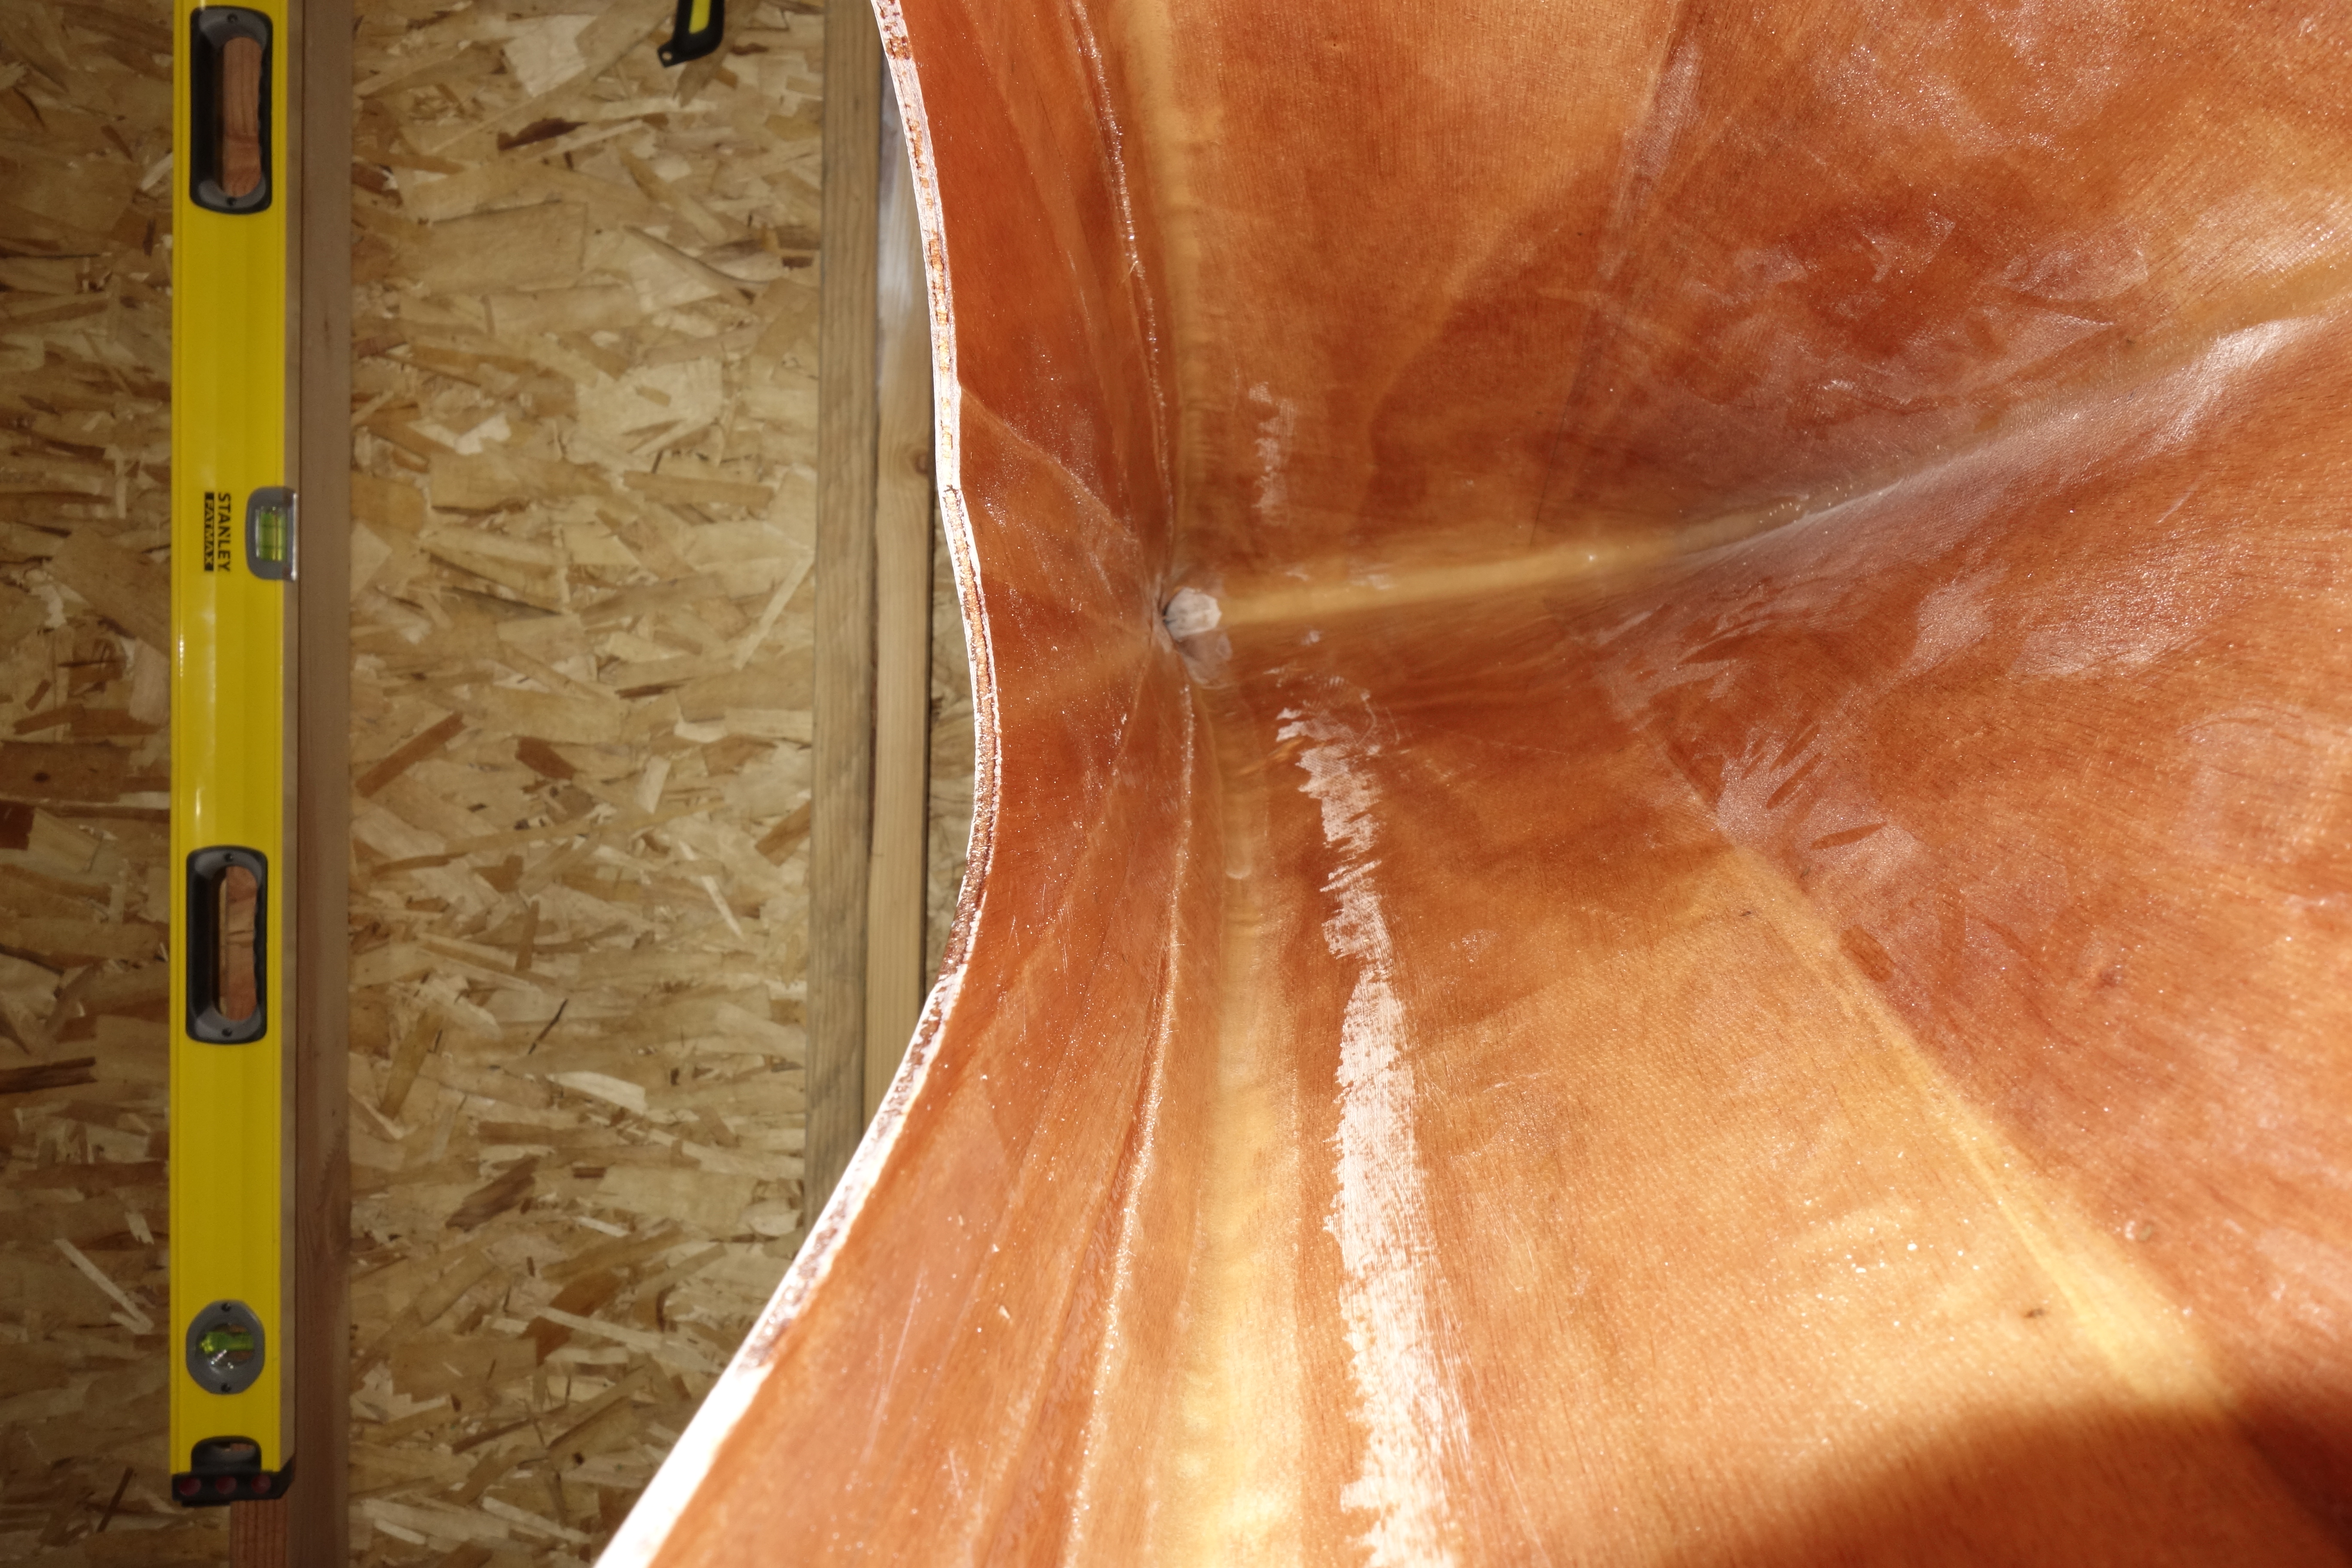
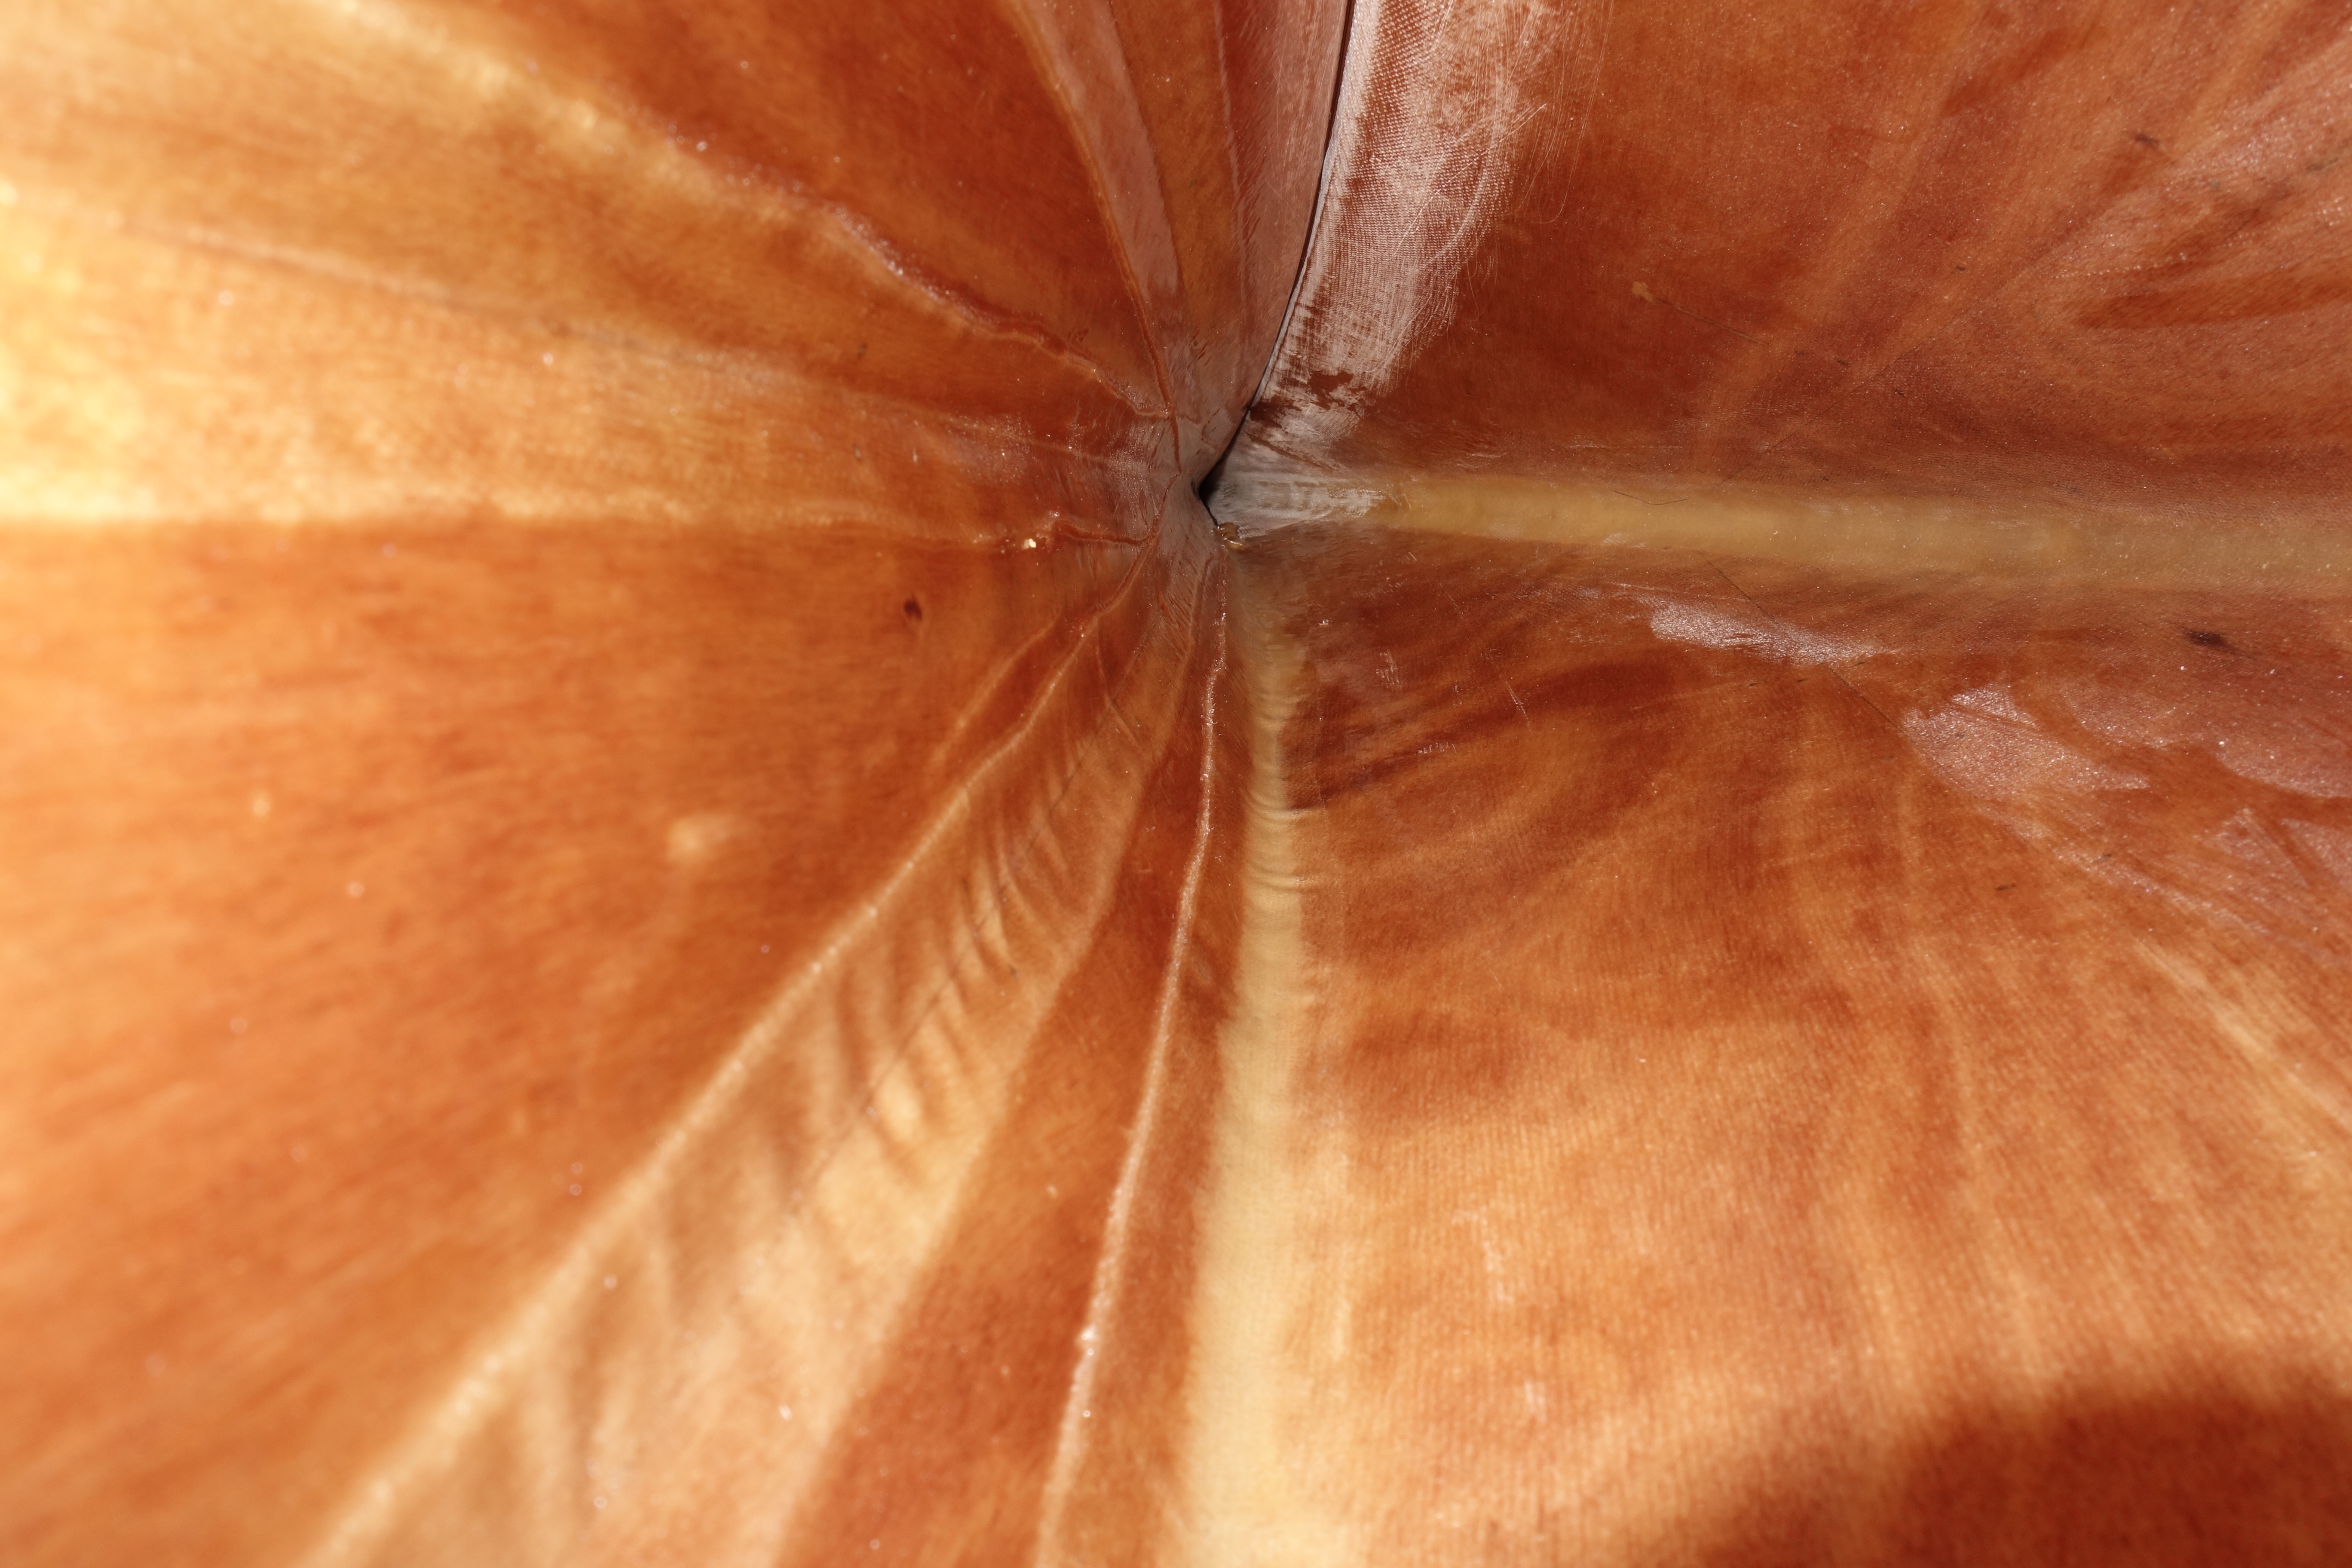
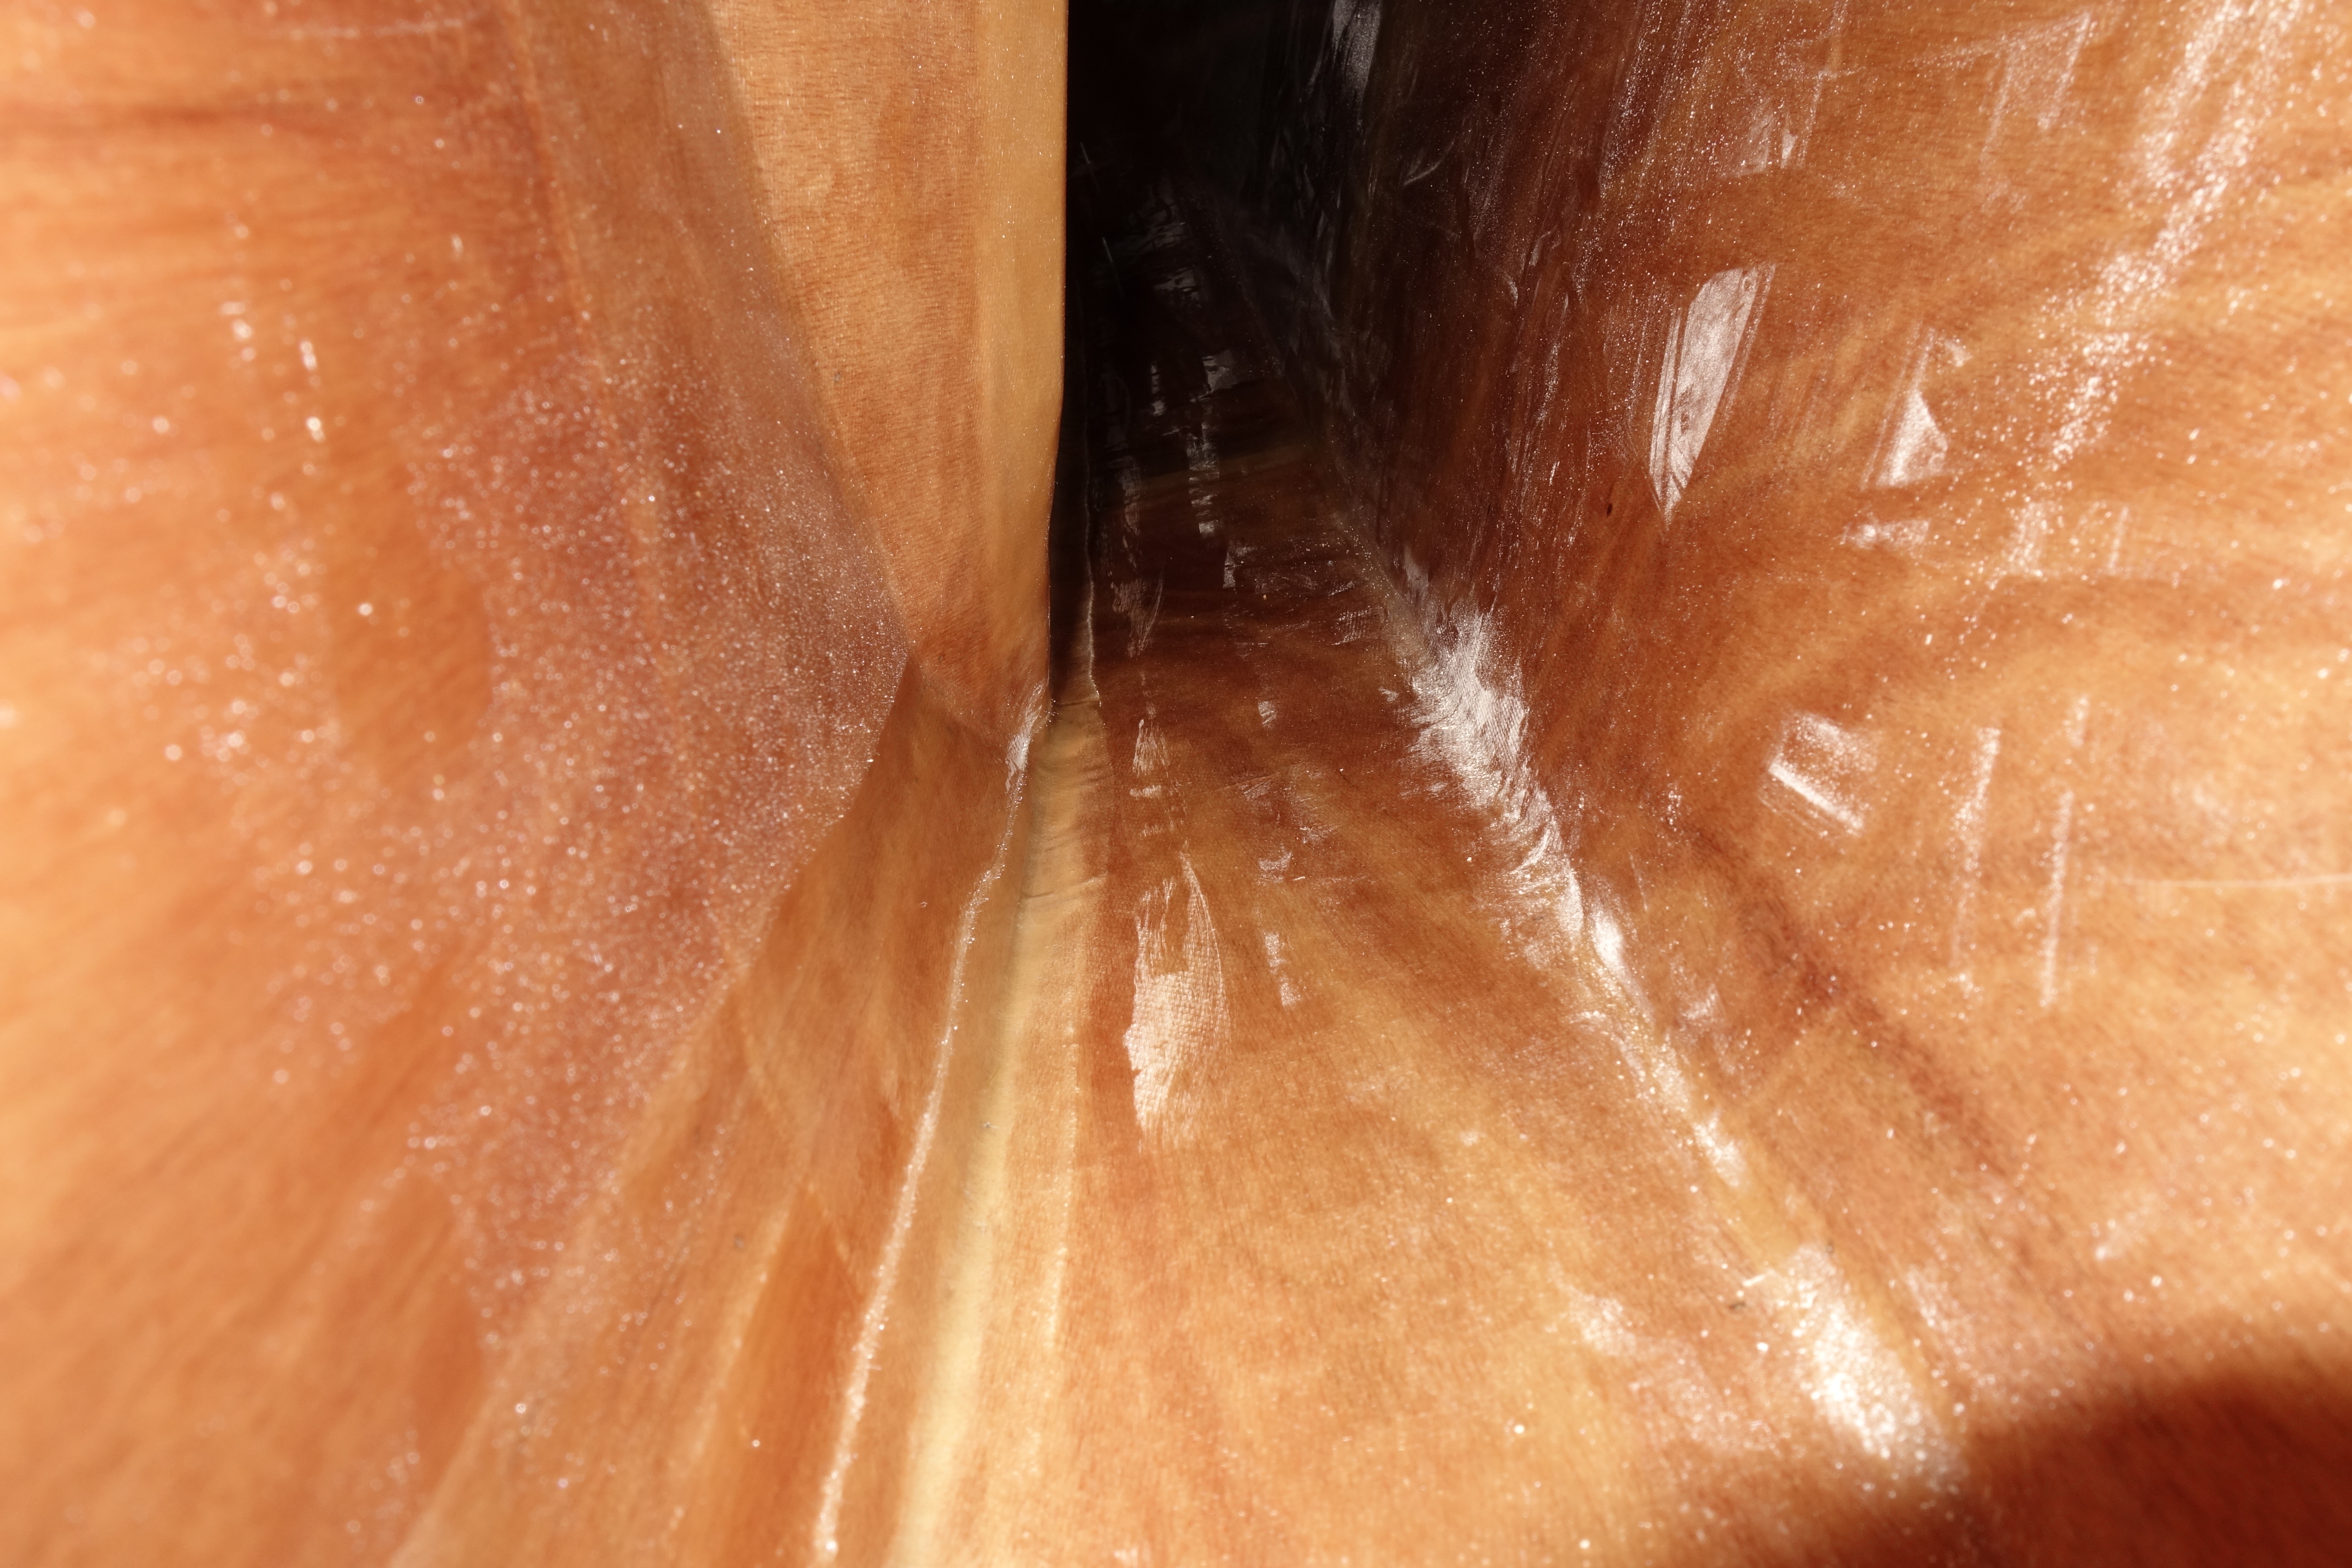
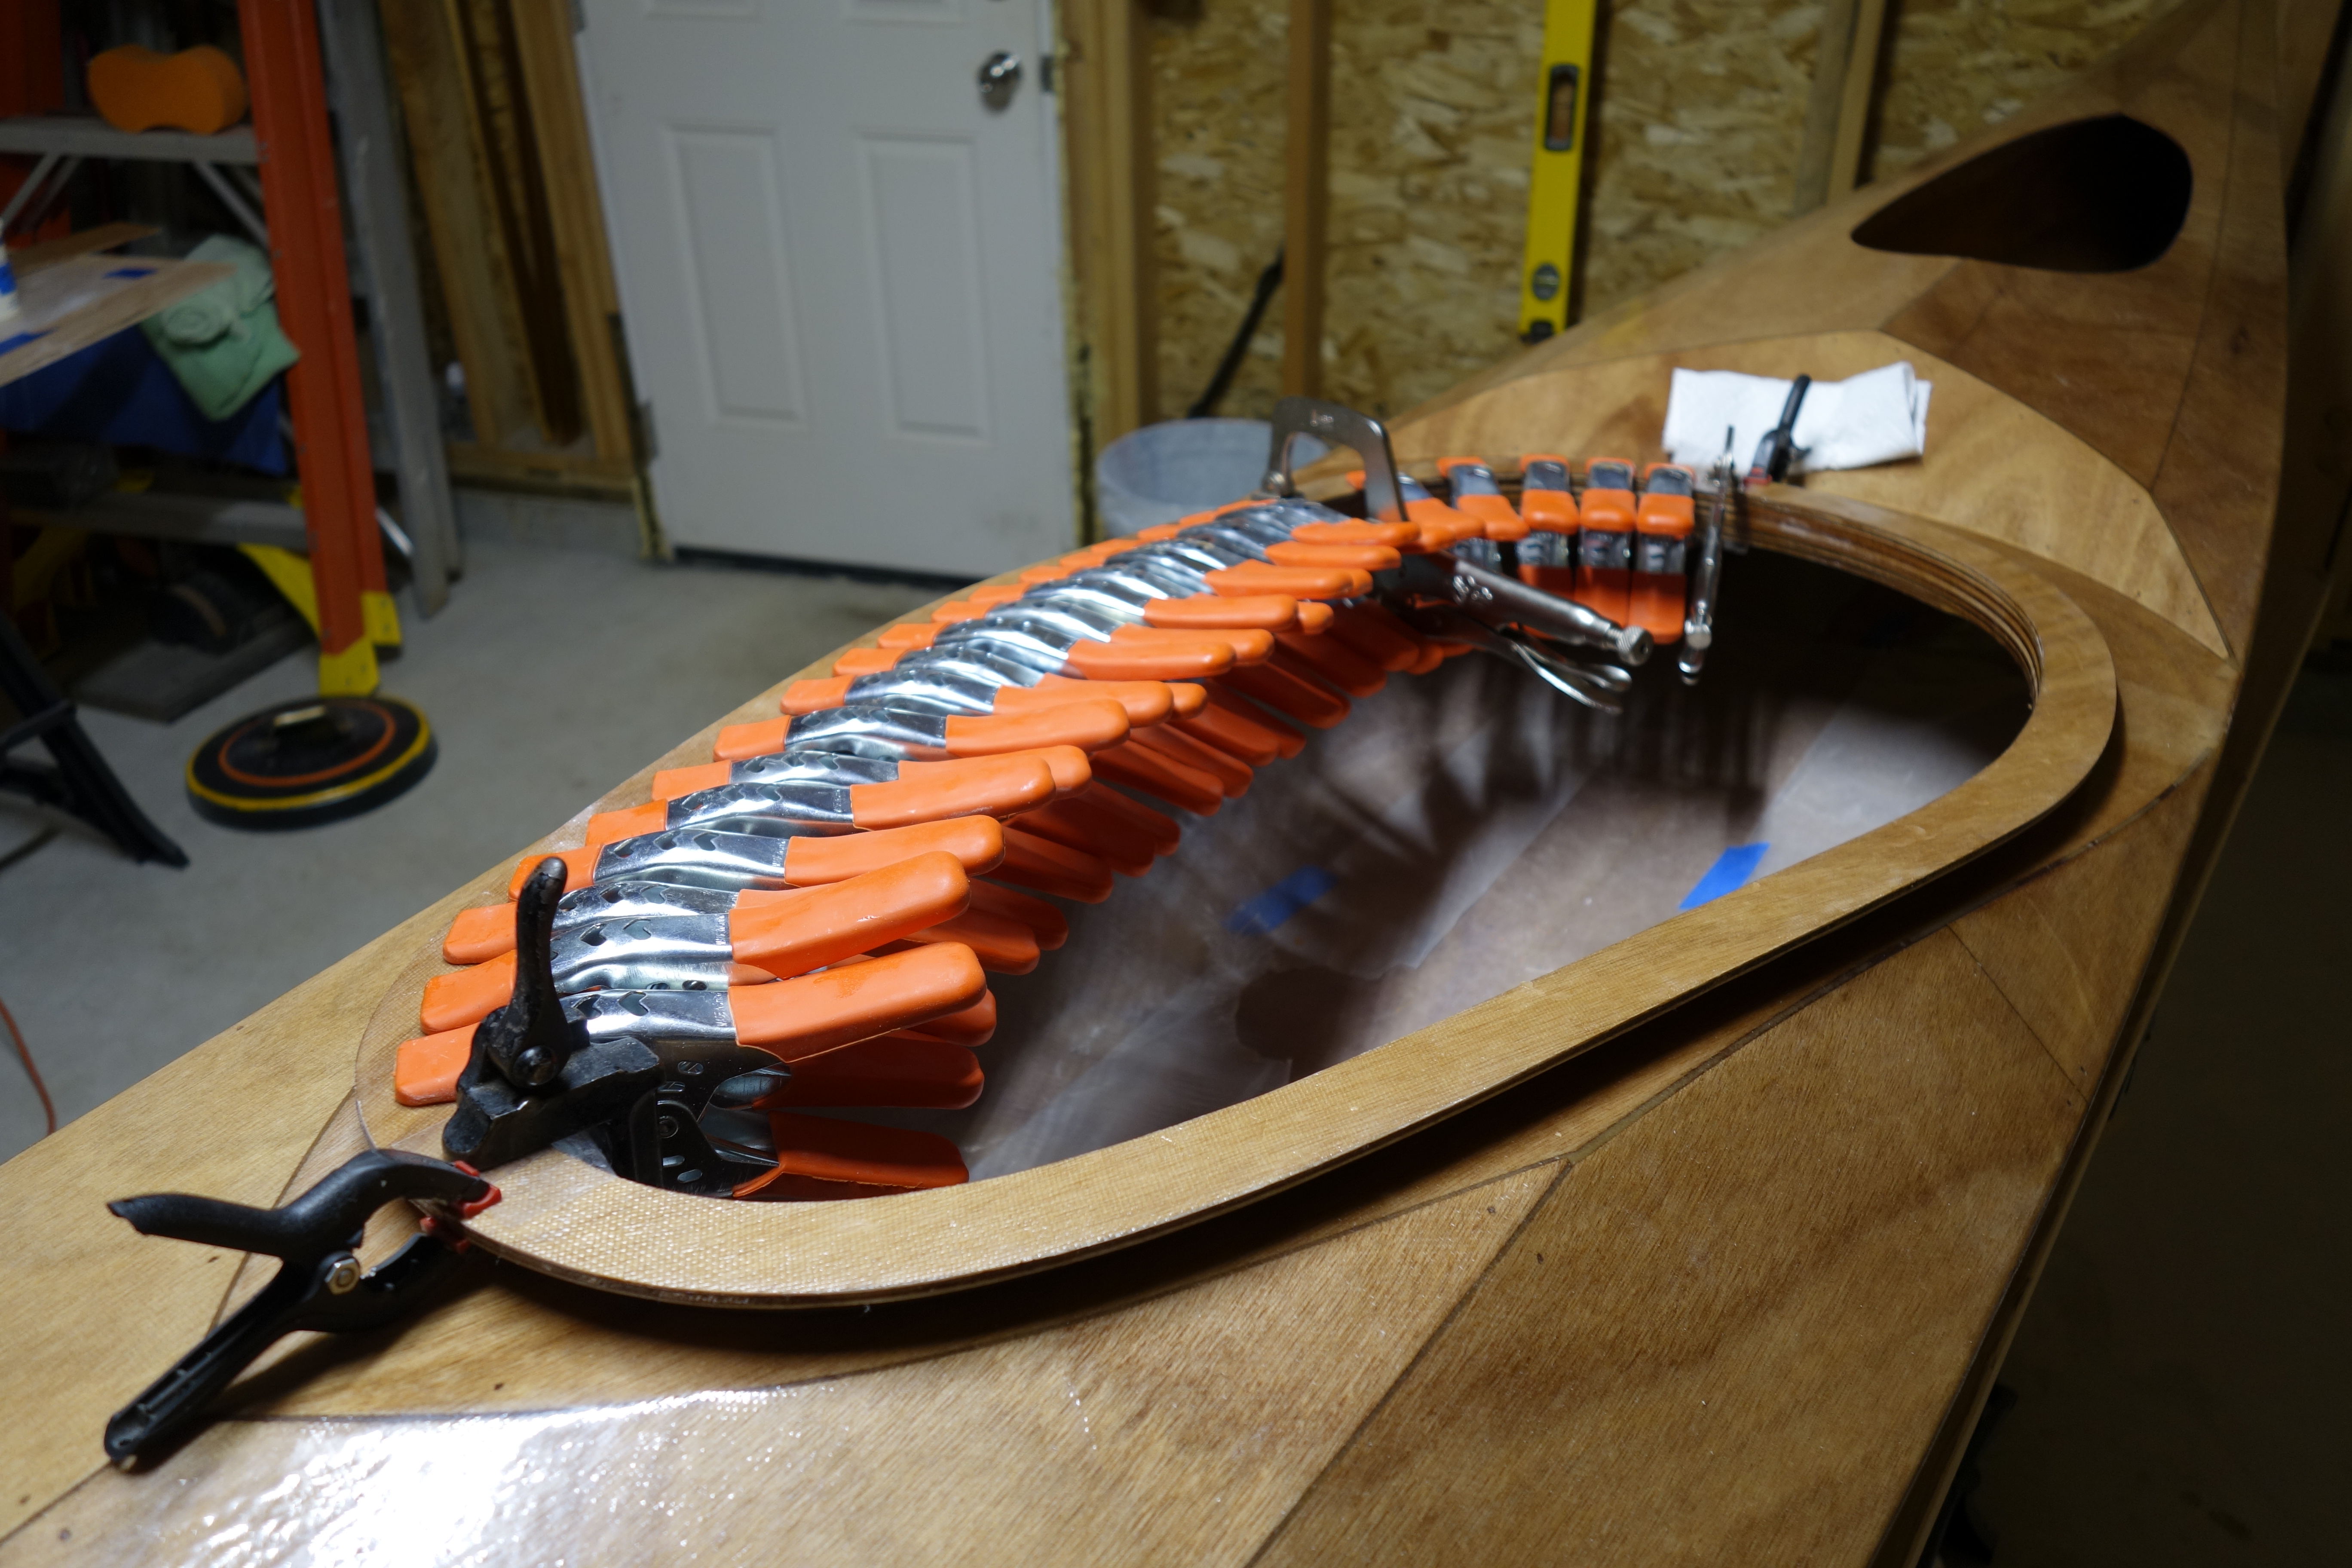
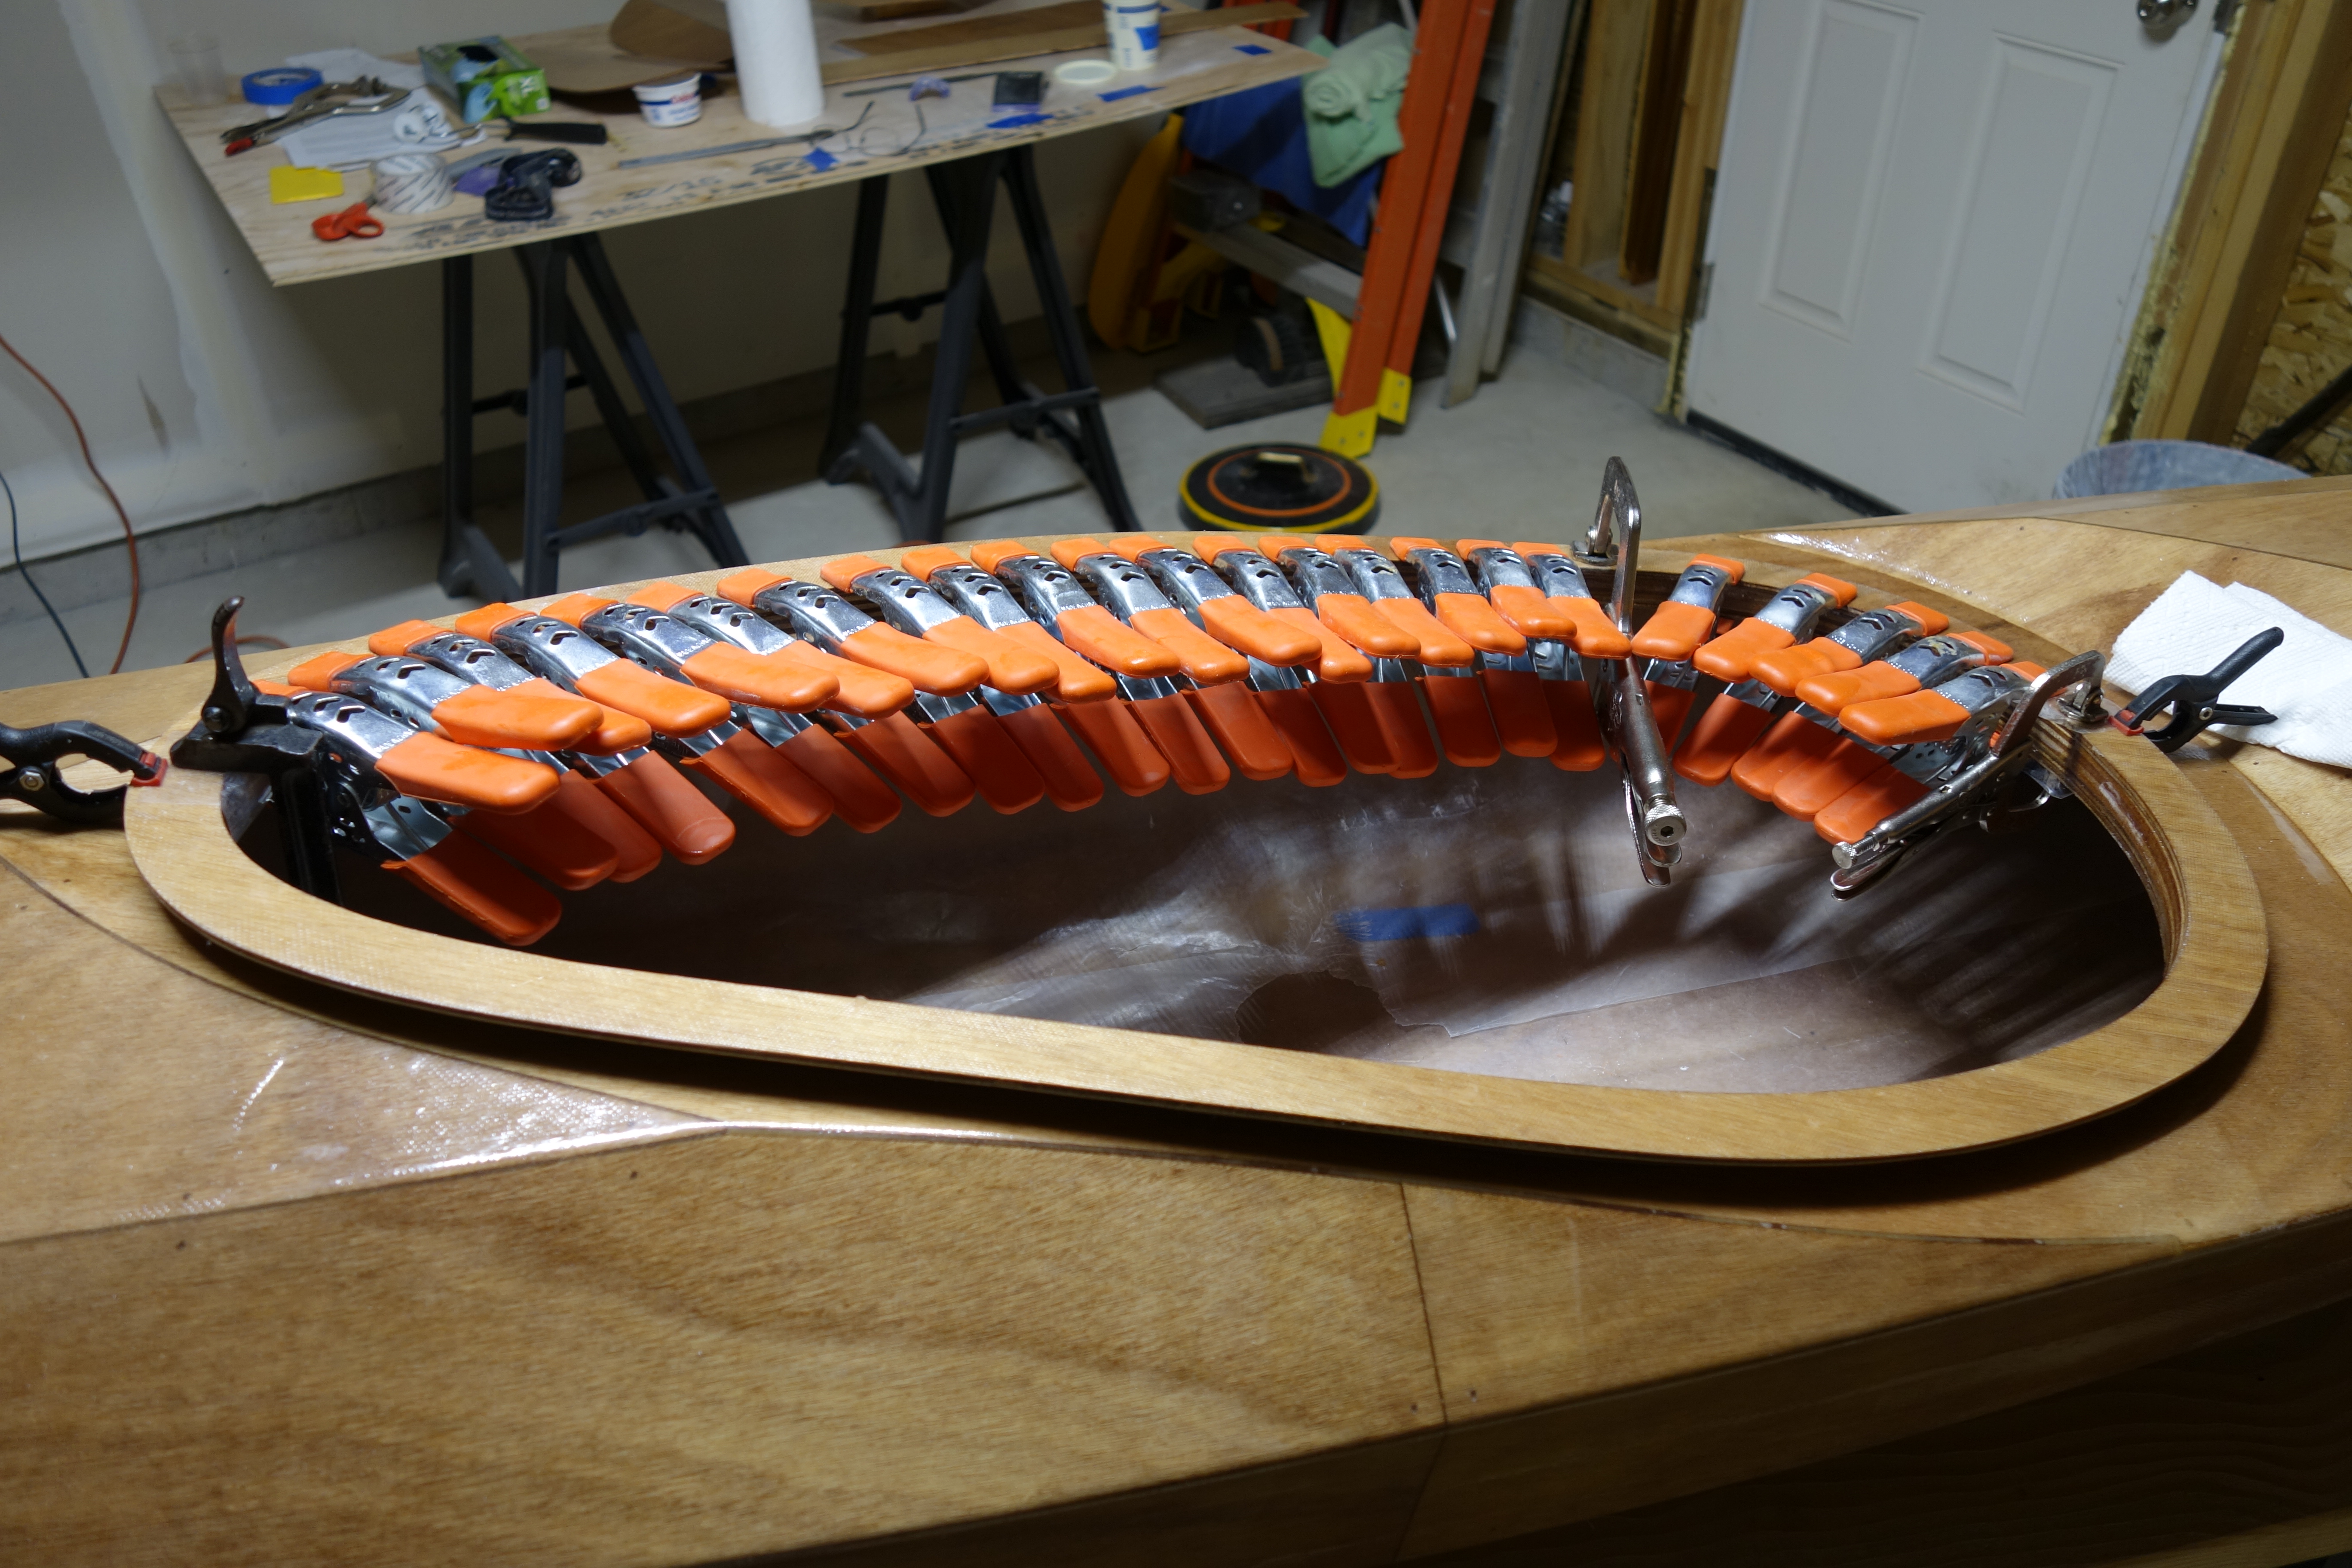
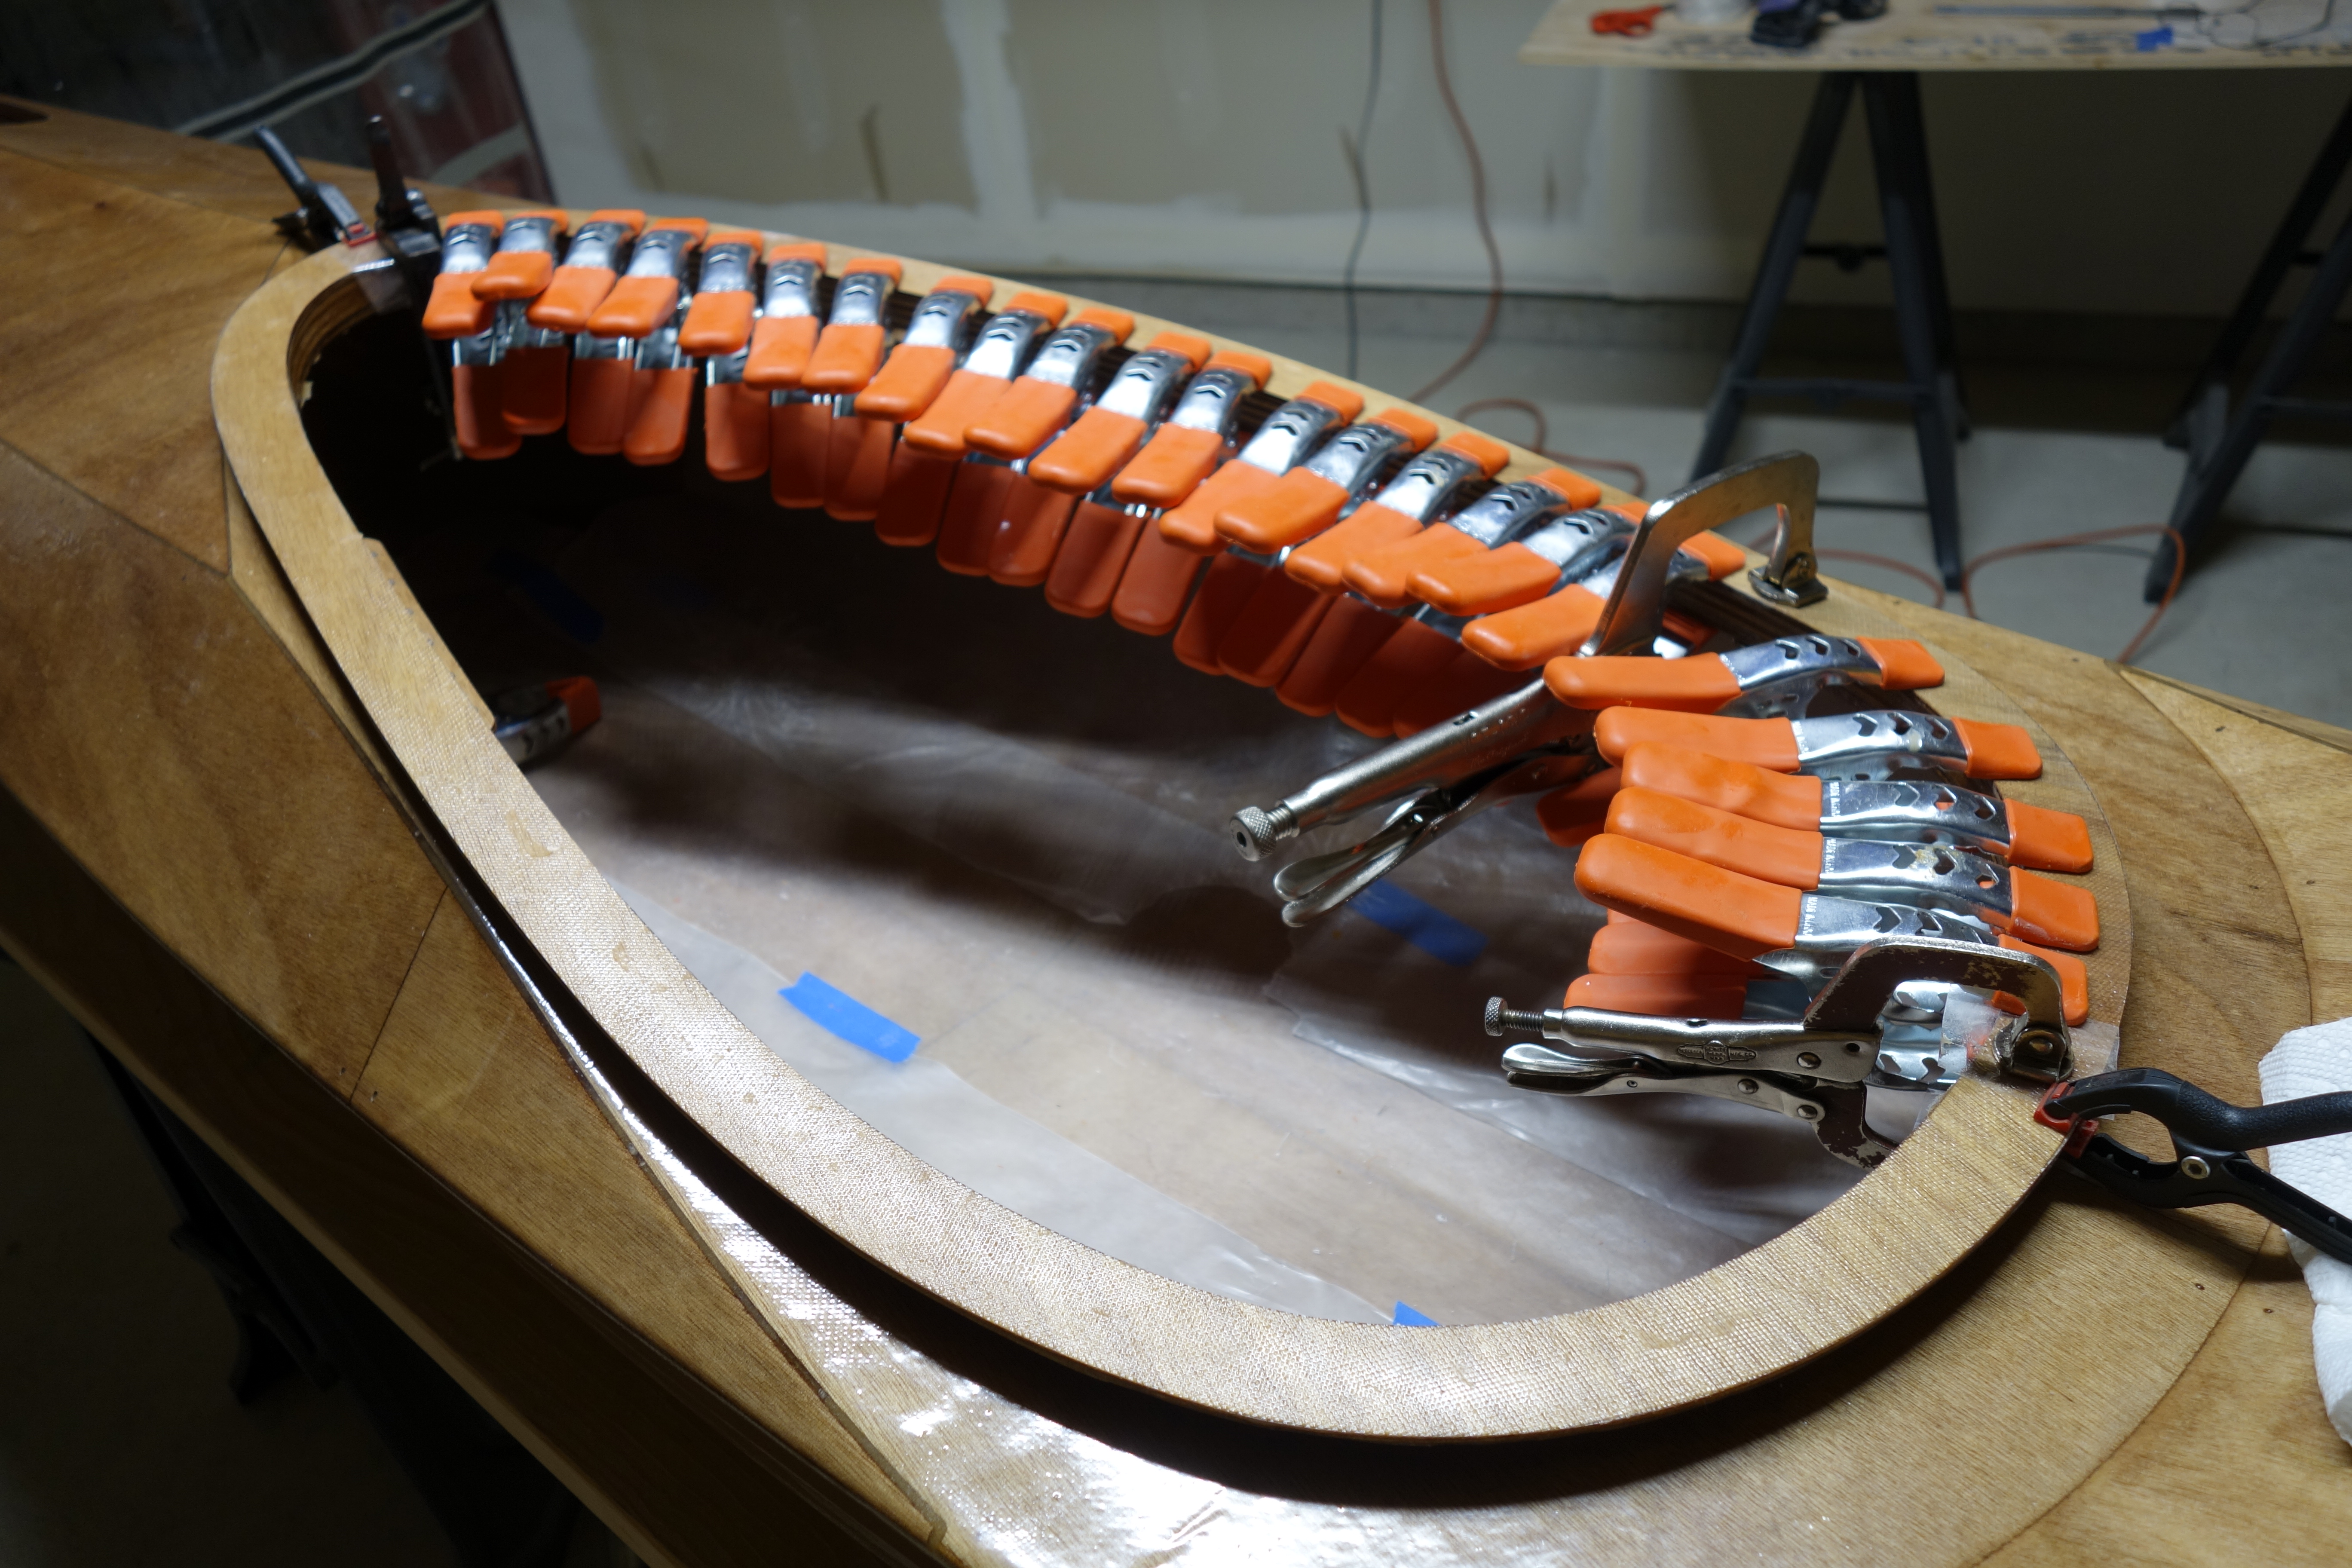
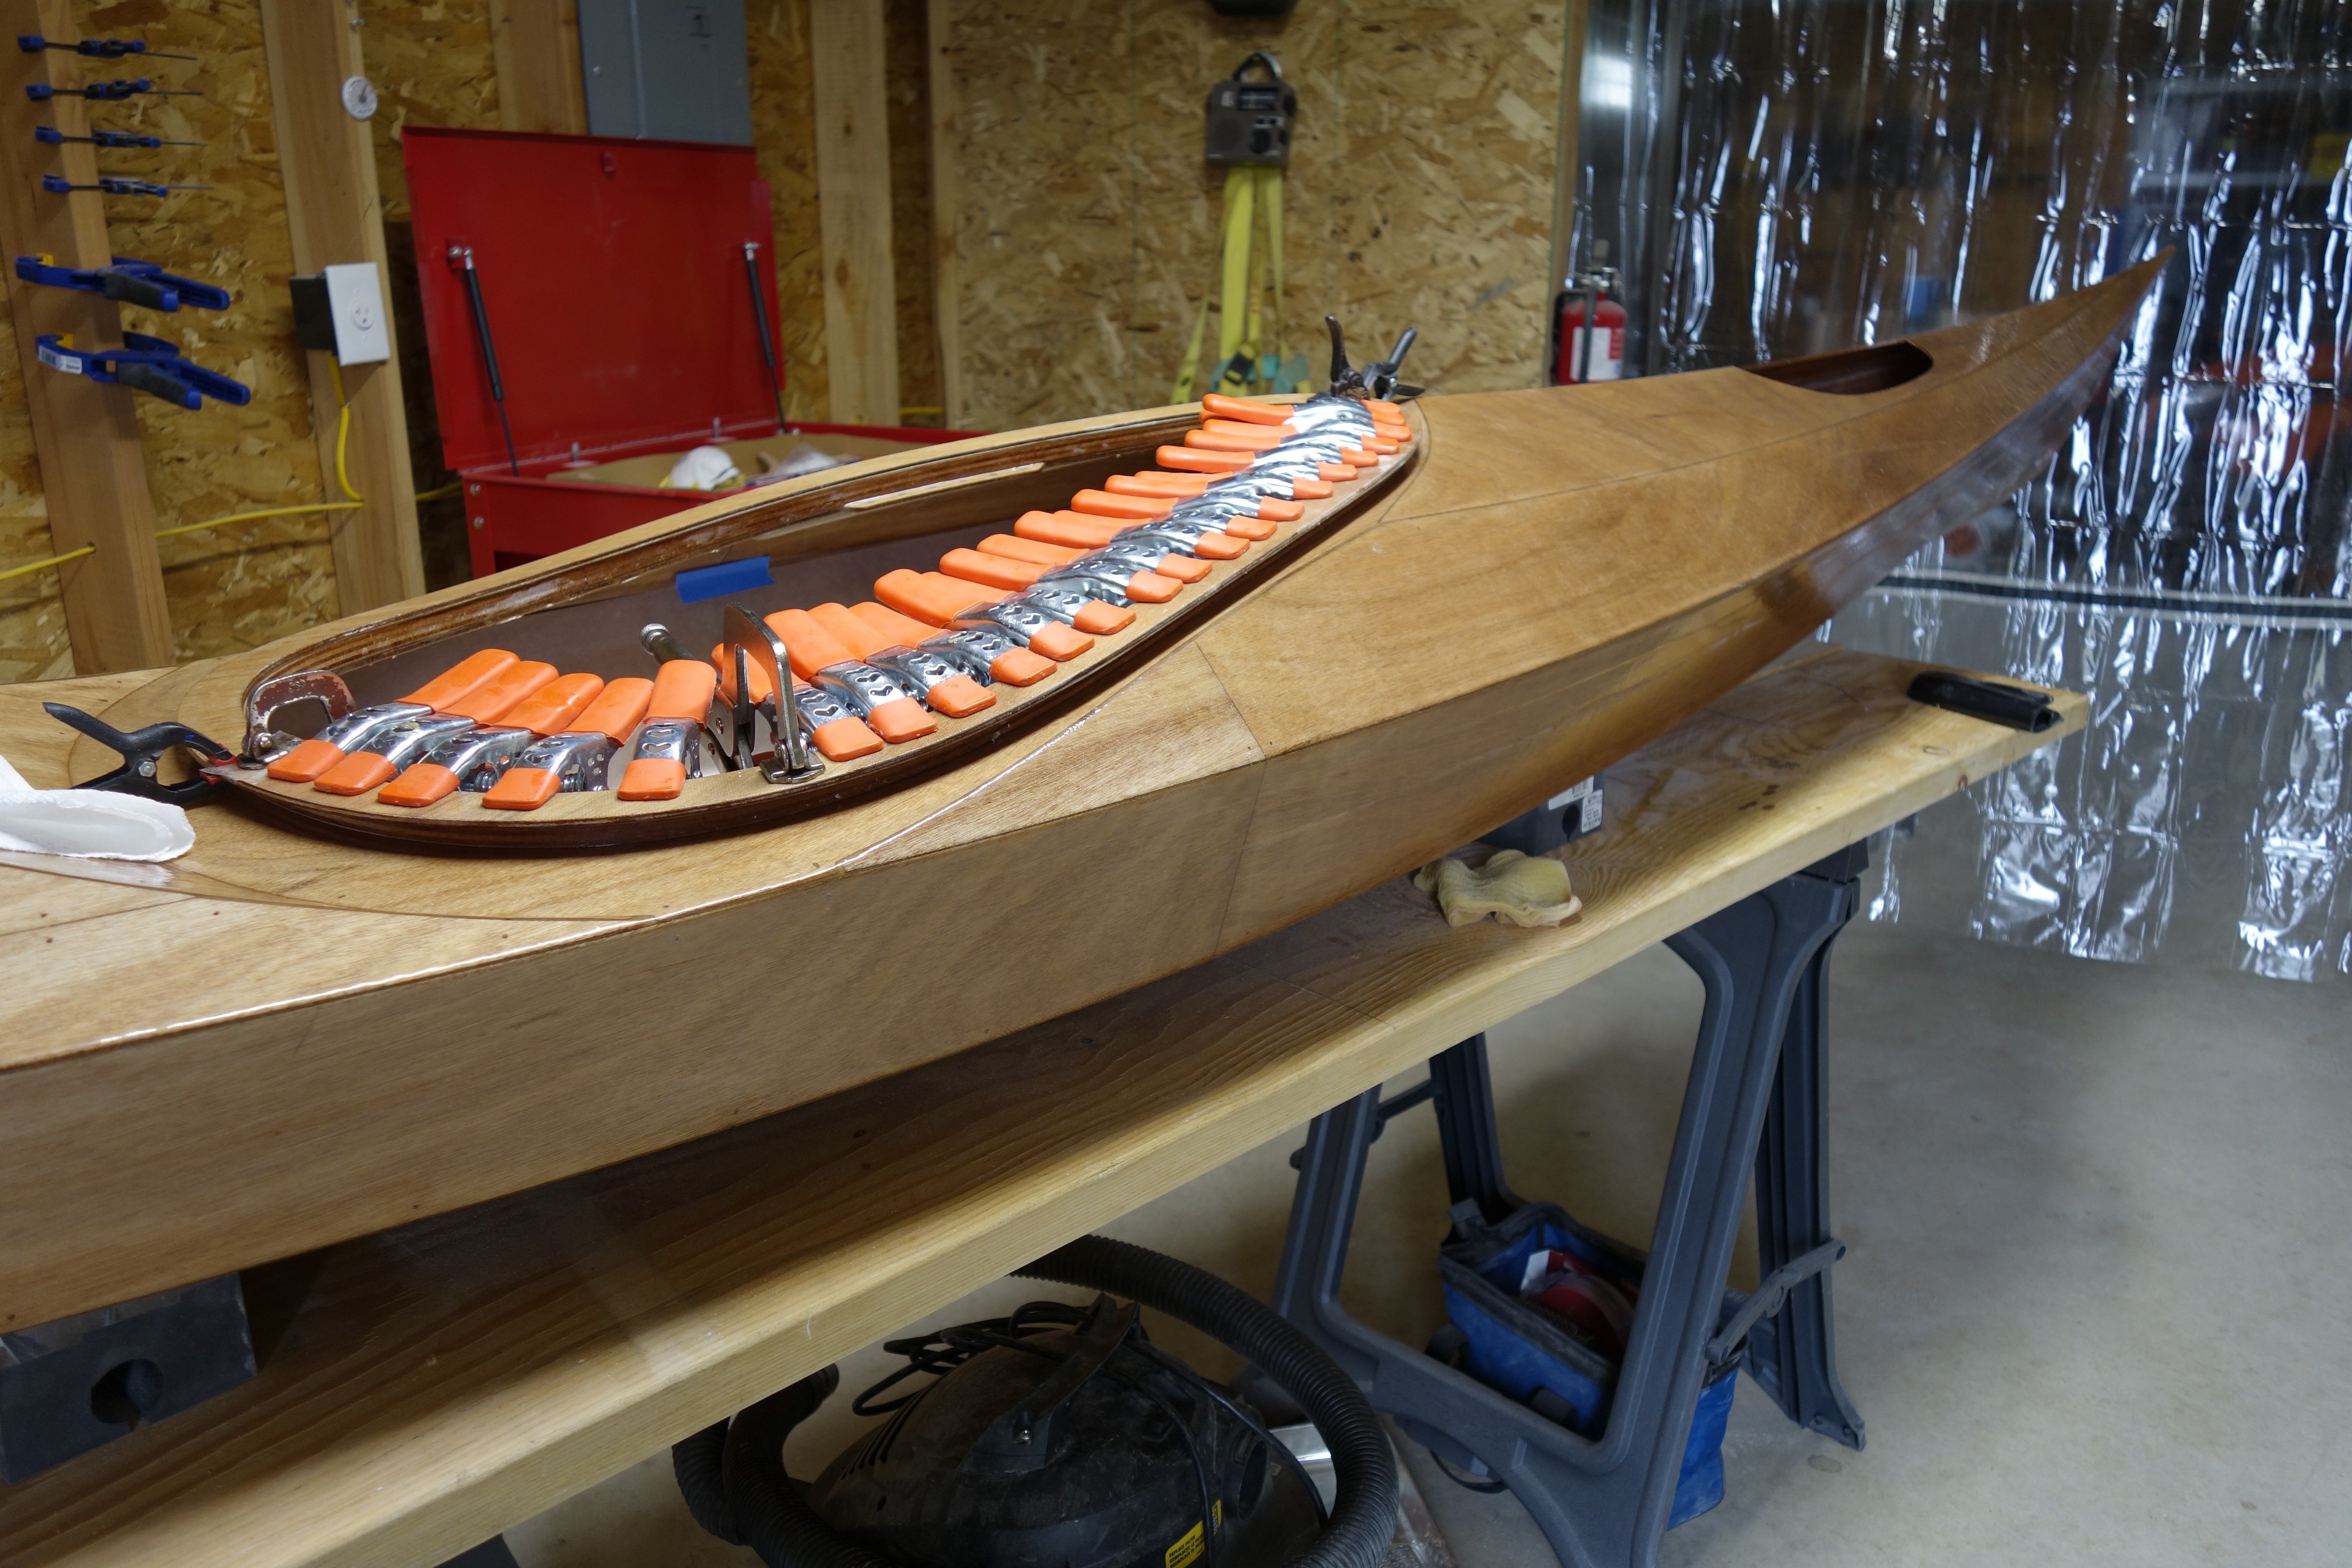
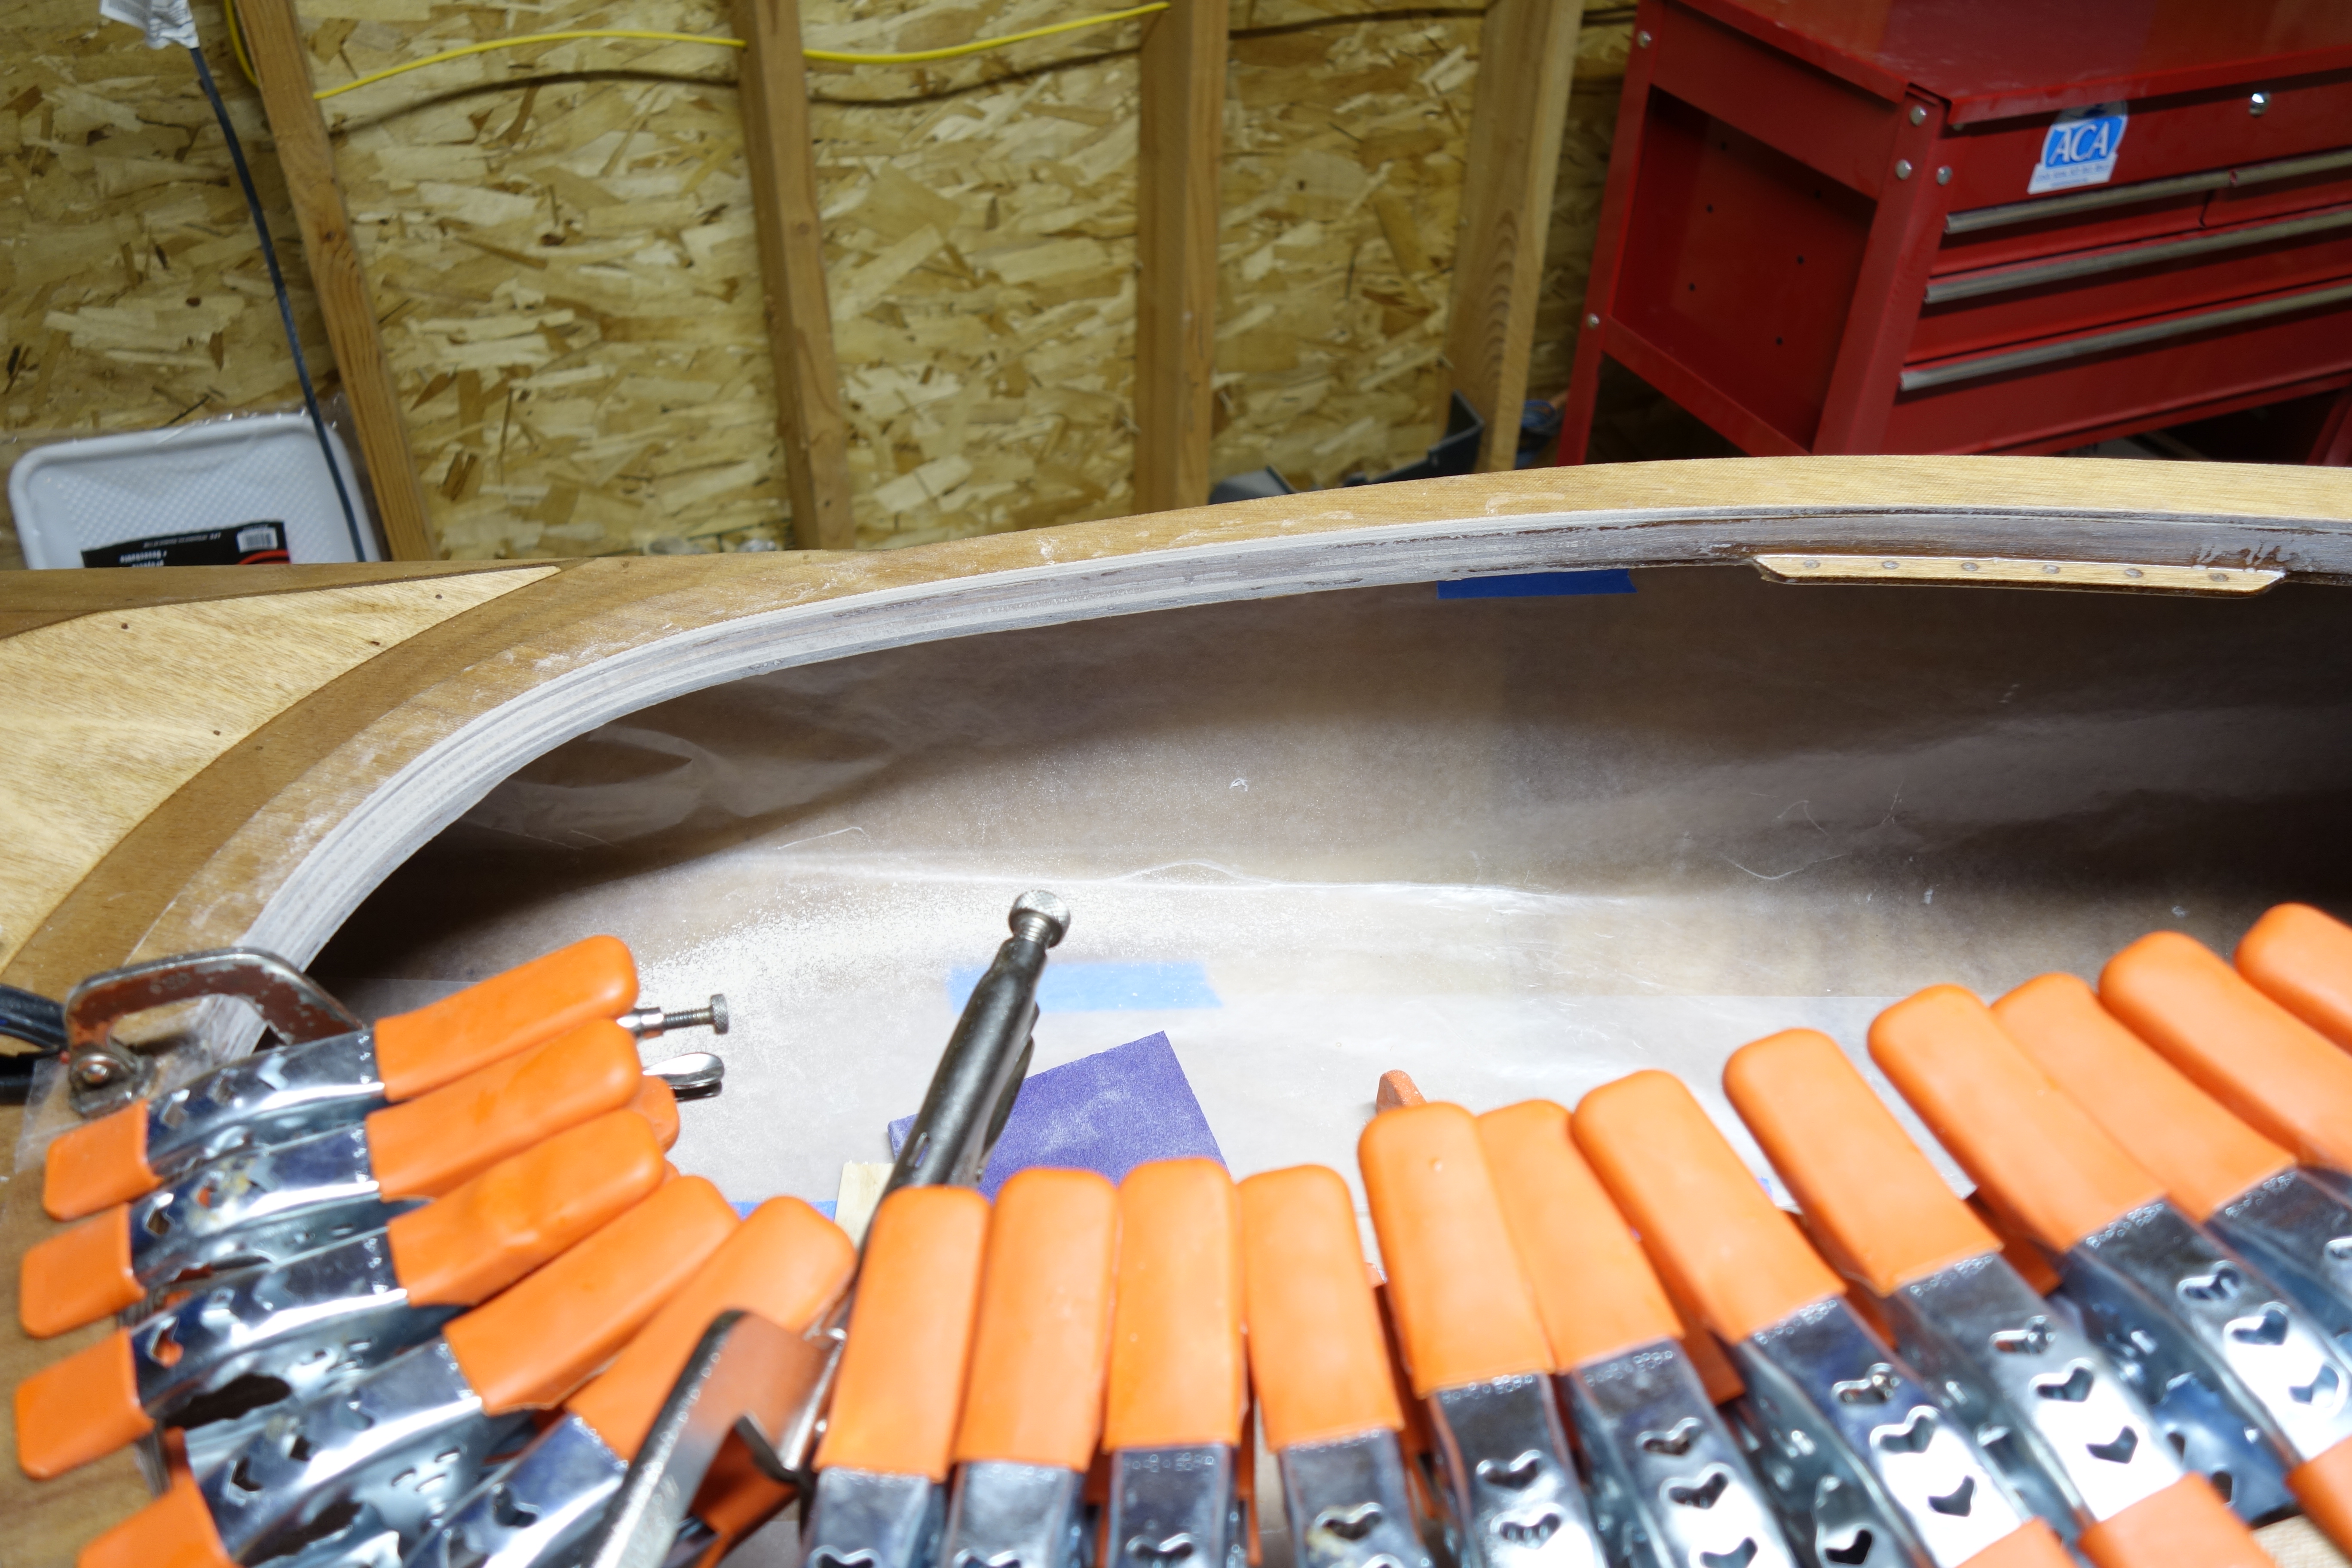
Well, I feel better now that the starboard shear seam is done. It went better than the port side did, and overall it worked out fine. If I had one bit of advice to give to anyone who is going to do this themselves, I would say to make sure that the fiberglass tape is well “bedded” in the epoxy fillet before you start to try to wet it out. This helped quite a bit to help keep the tape from shifting around when I was wetting it out. This was especially true in the bow and stern where I was working blind because I couldn’t get my head and my arm in the hatch opening at the same time!

The entire inside of the kayak will be cleaned and I’ll lightly sand any high spots in the tape and give it a light coat of epoxy, and then my plan is to put one coat of varnish over the entire inside of the kayak. EDIT: I talked with Suzanne at Pygmy Boats today and asked about varnishing inside the kayak, and she said in no uncertain terms, that it was a bad idea and that Pygmy advises against it. OK then. No varnish on the inside of the kayak. I’ll have to figure out another way to make the inside pretty.
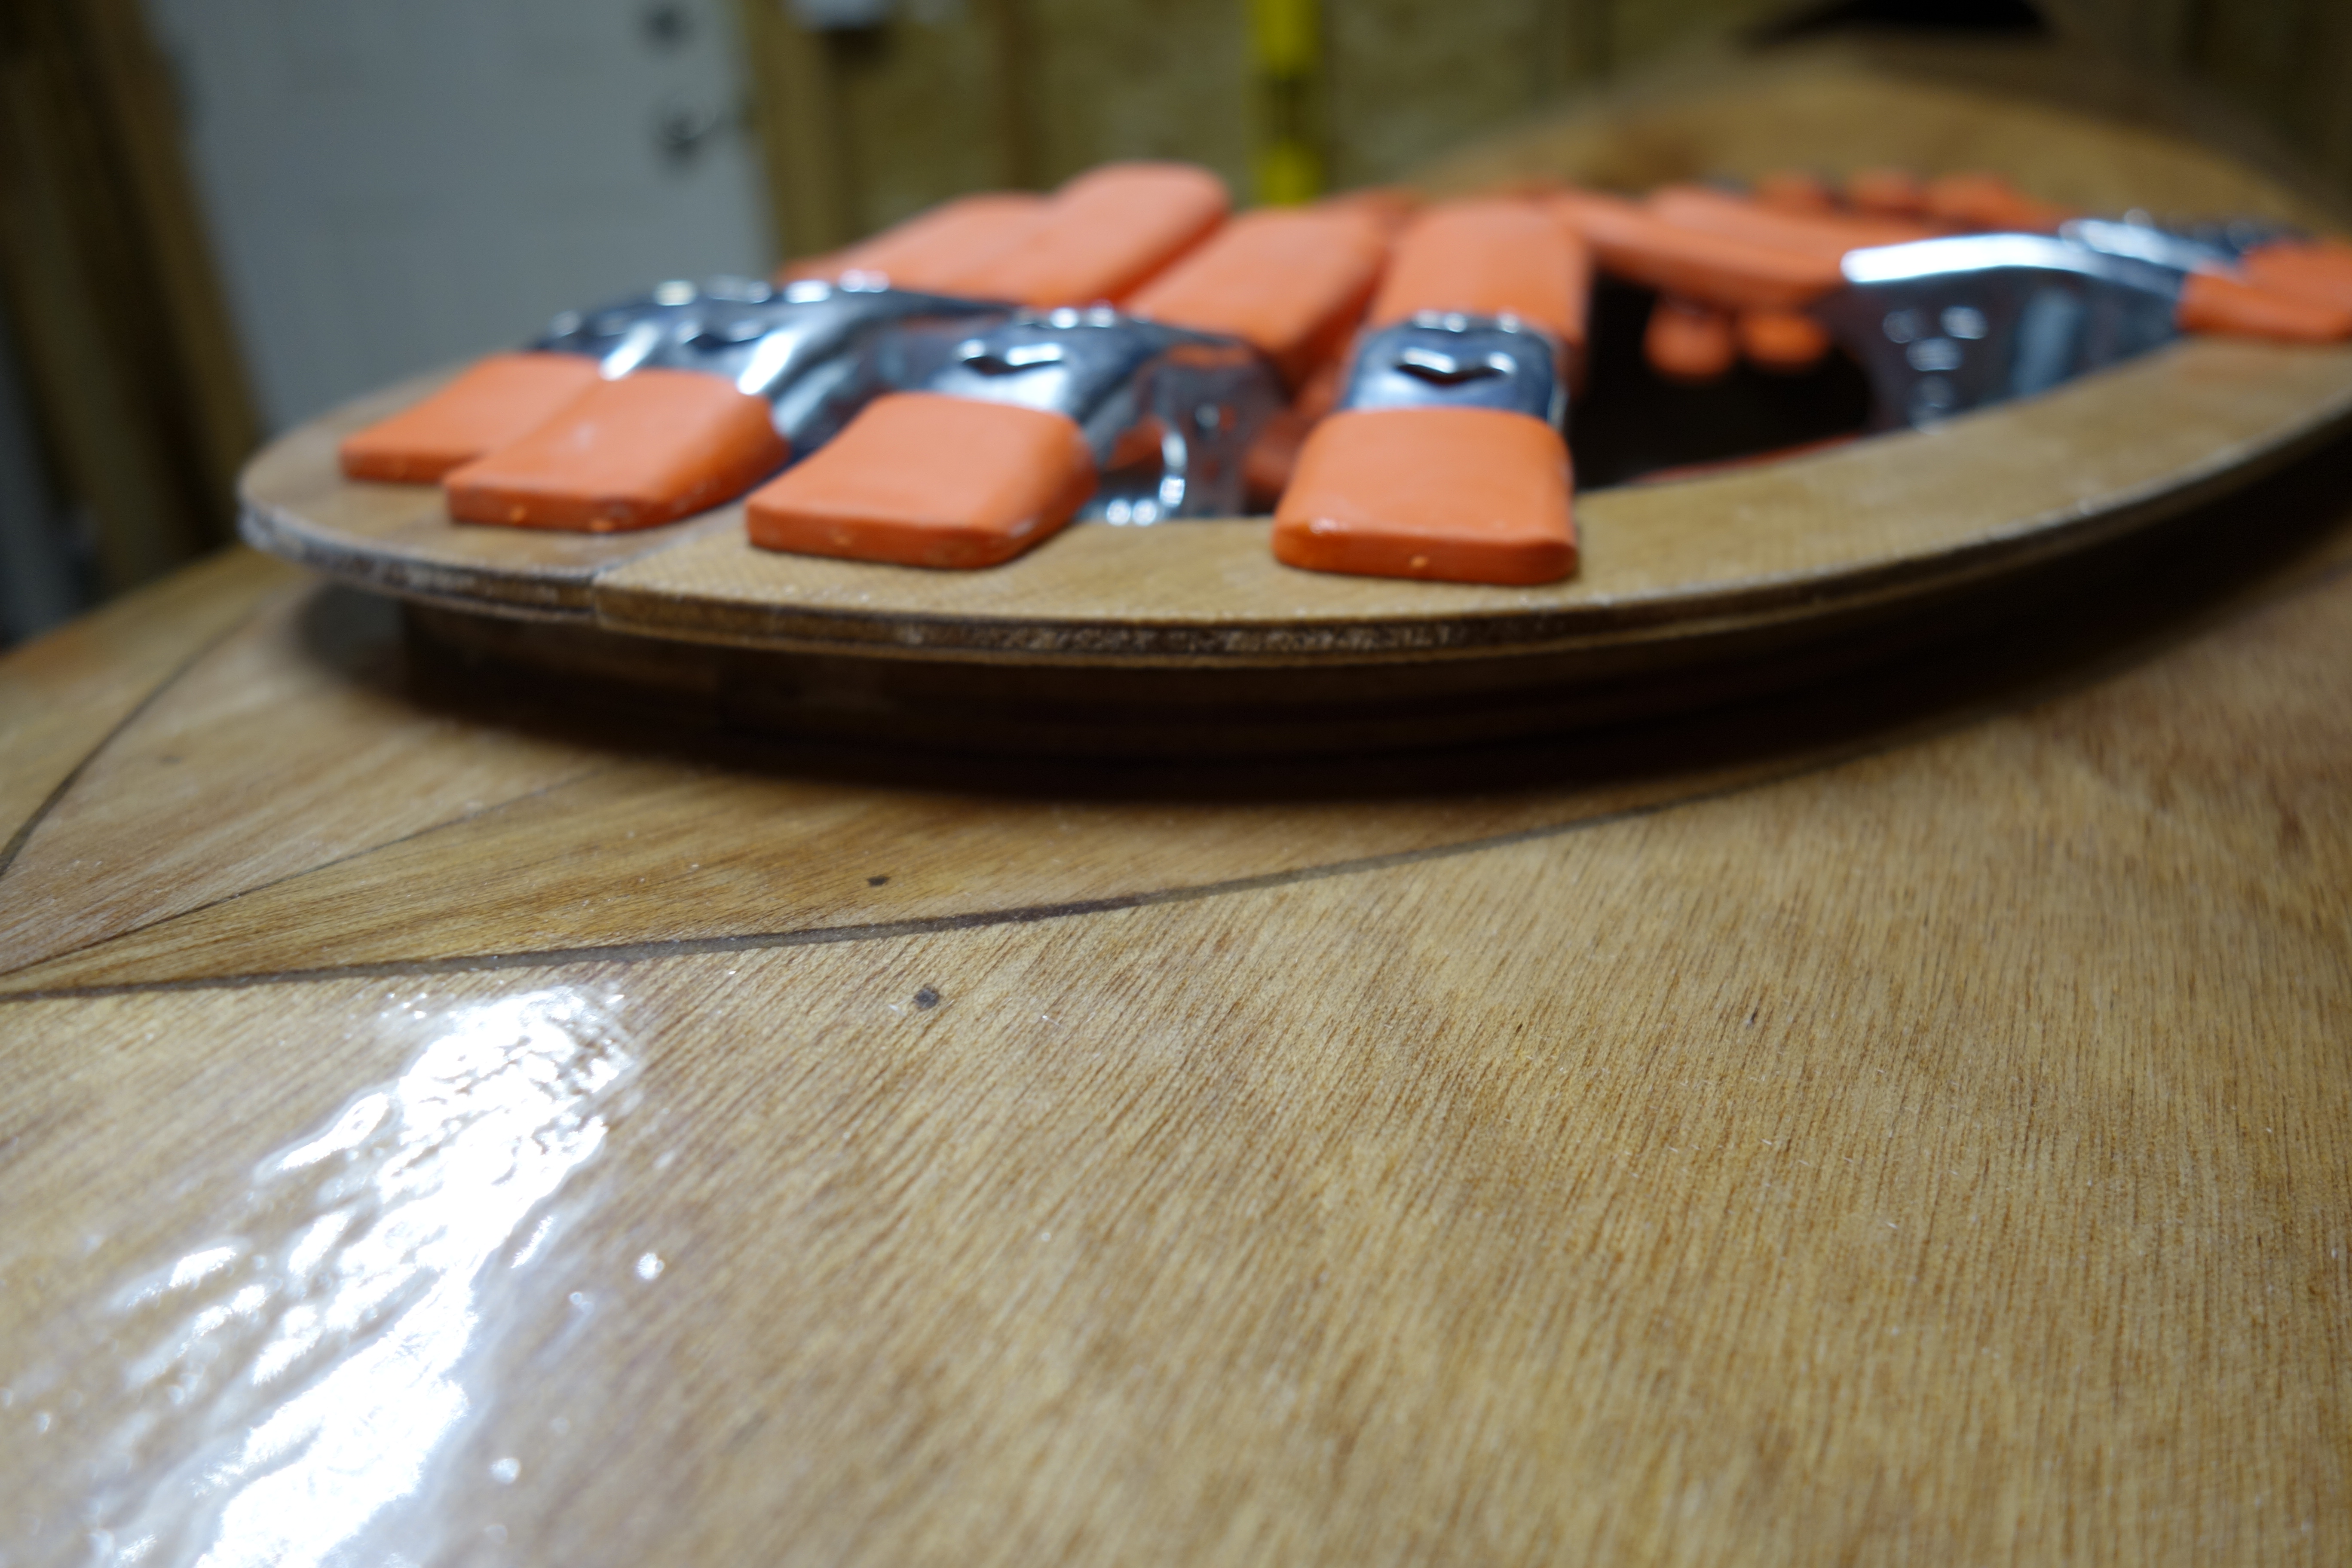
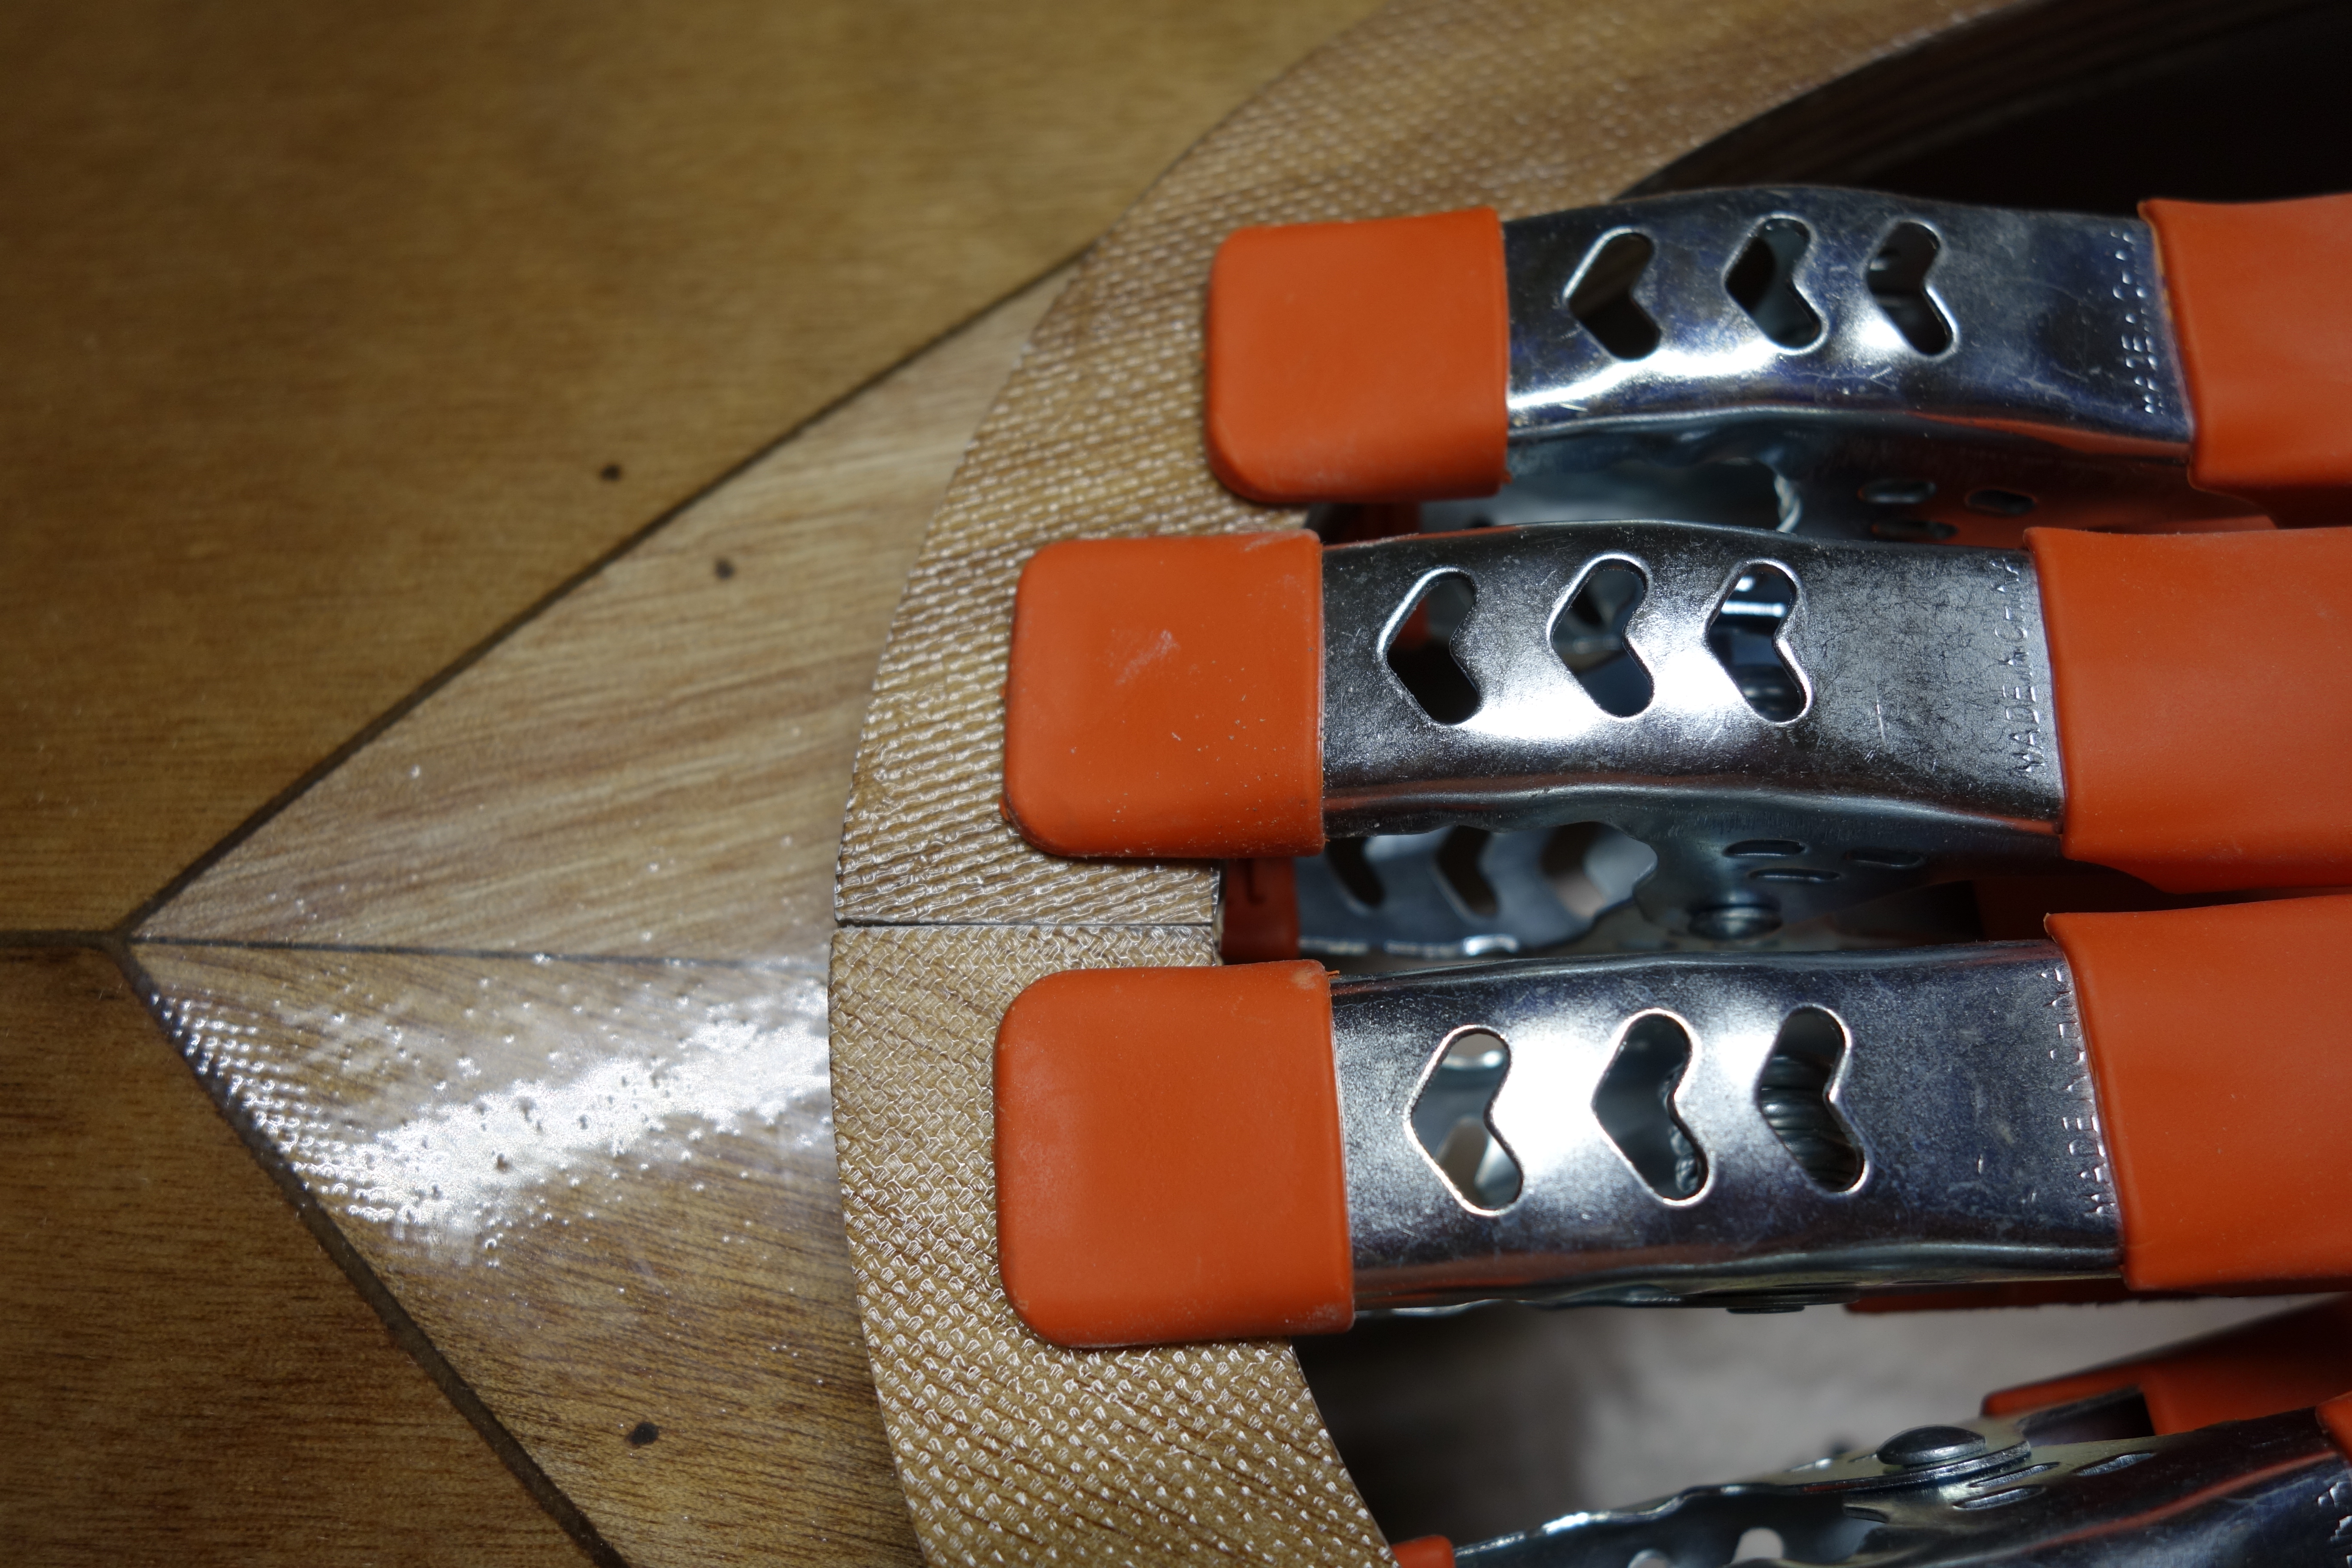
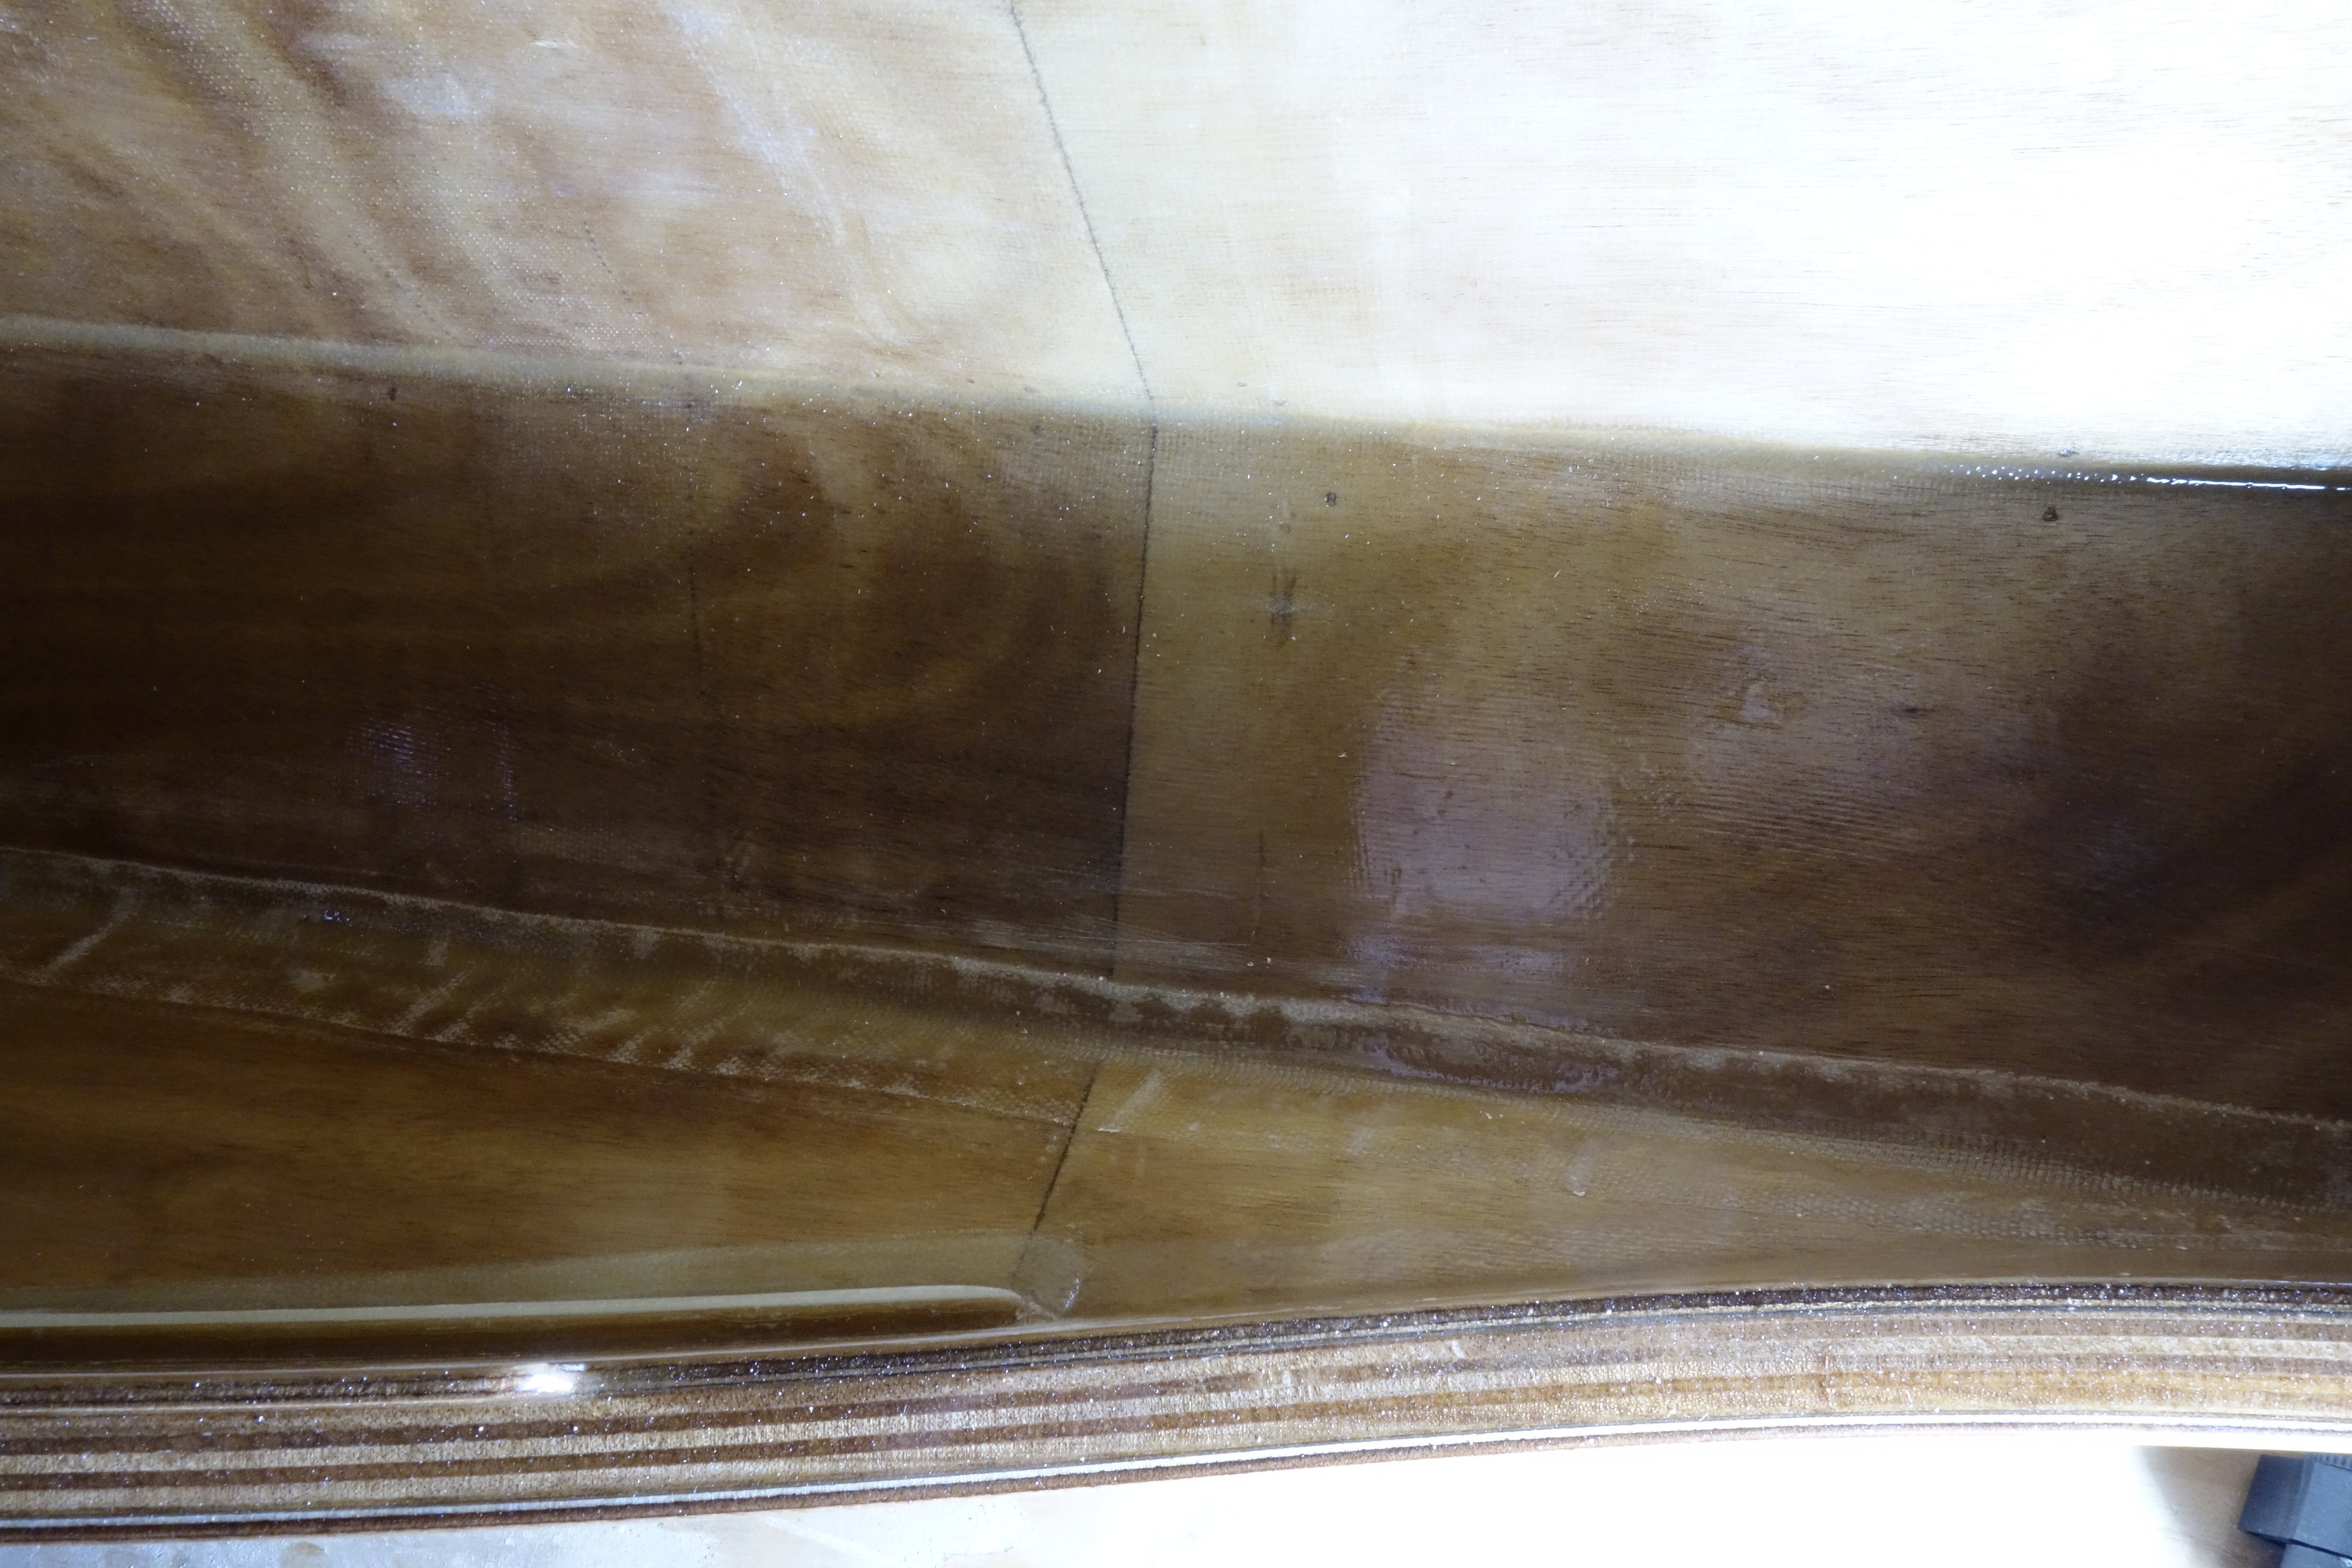
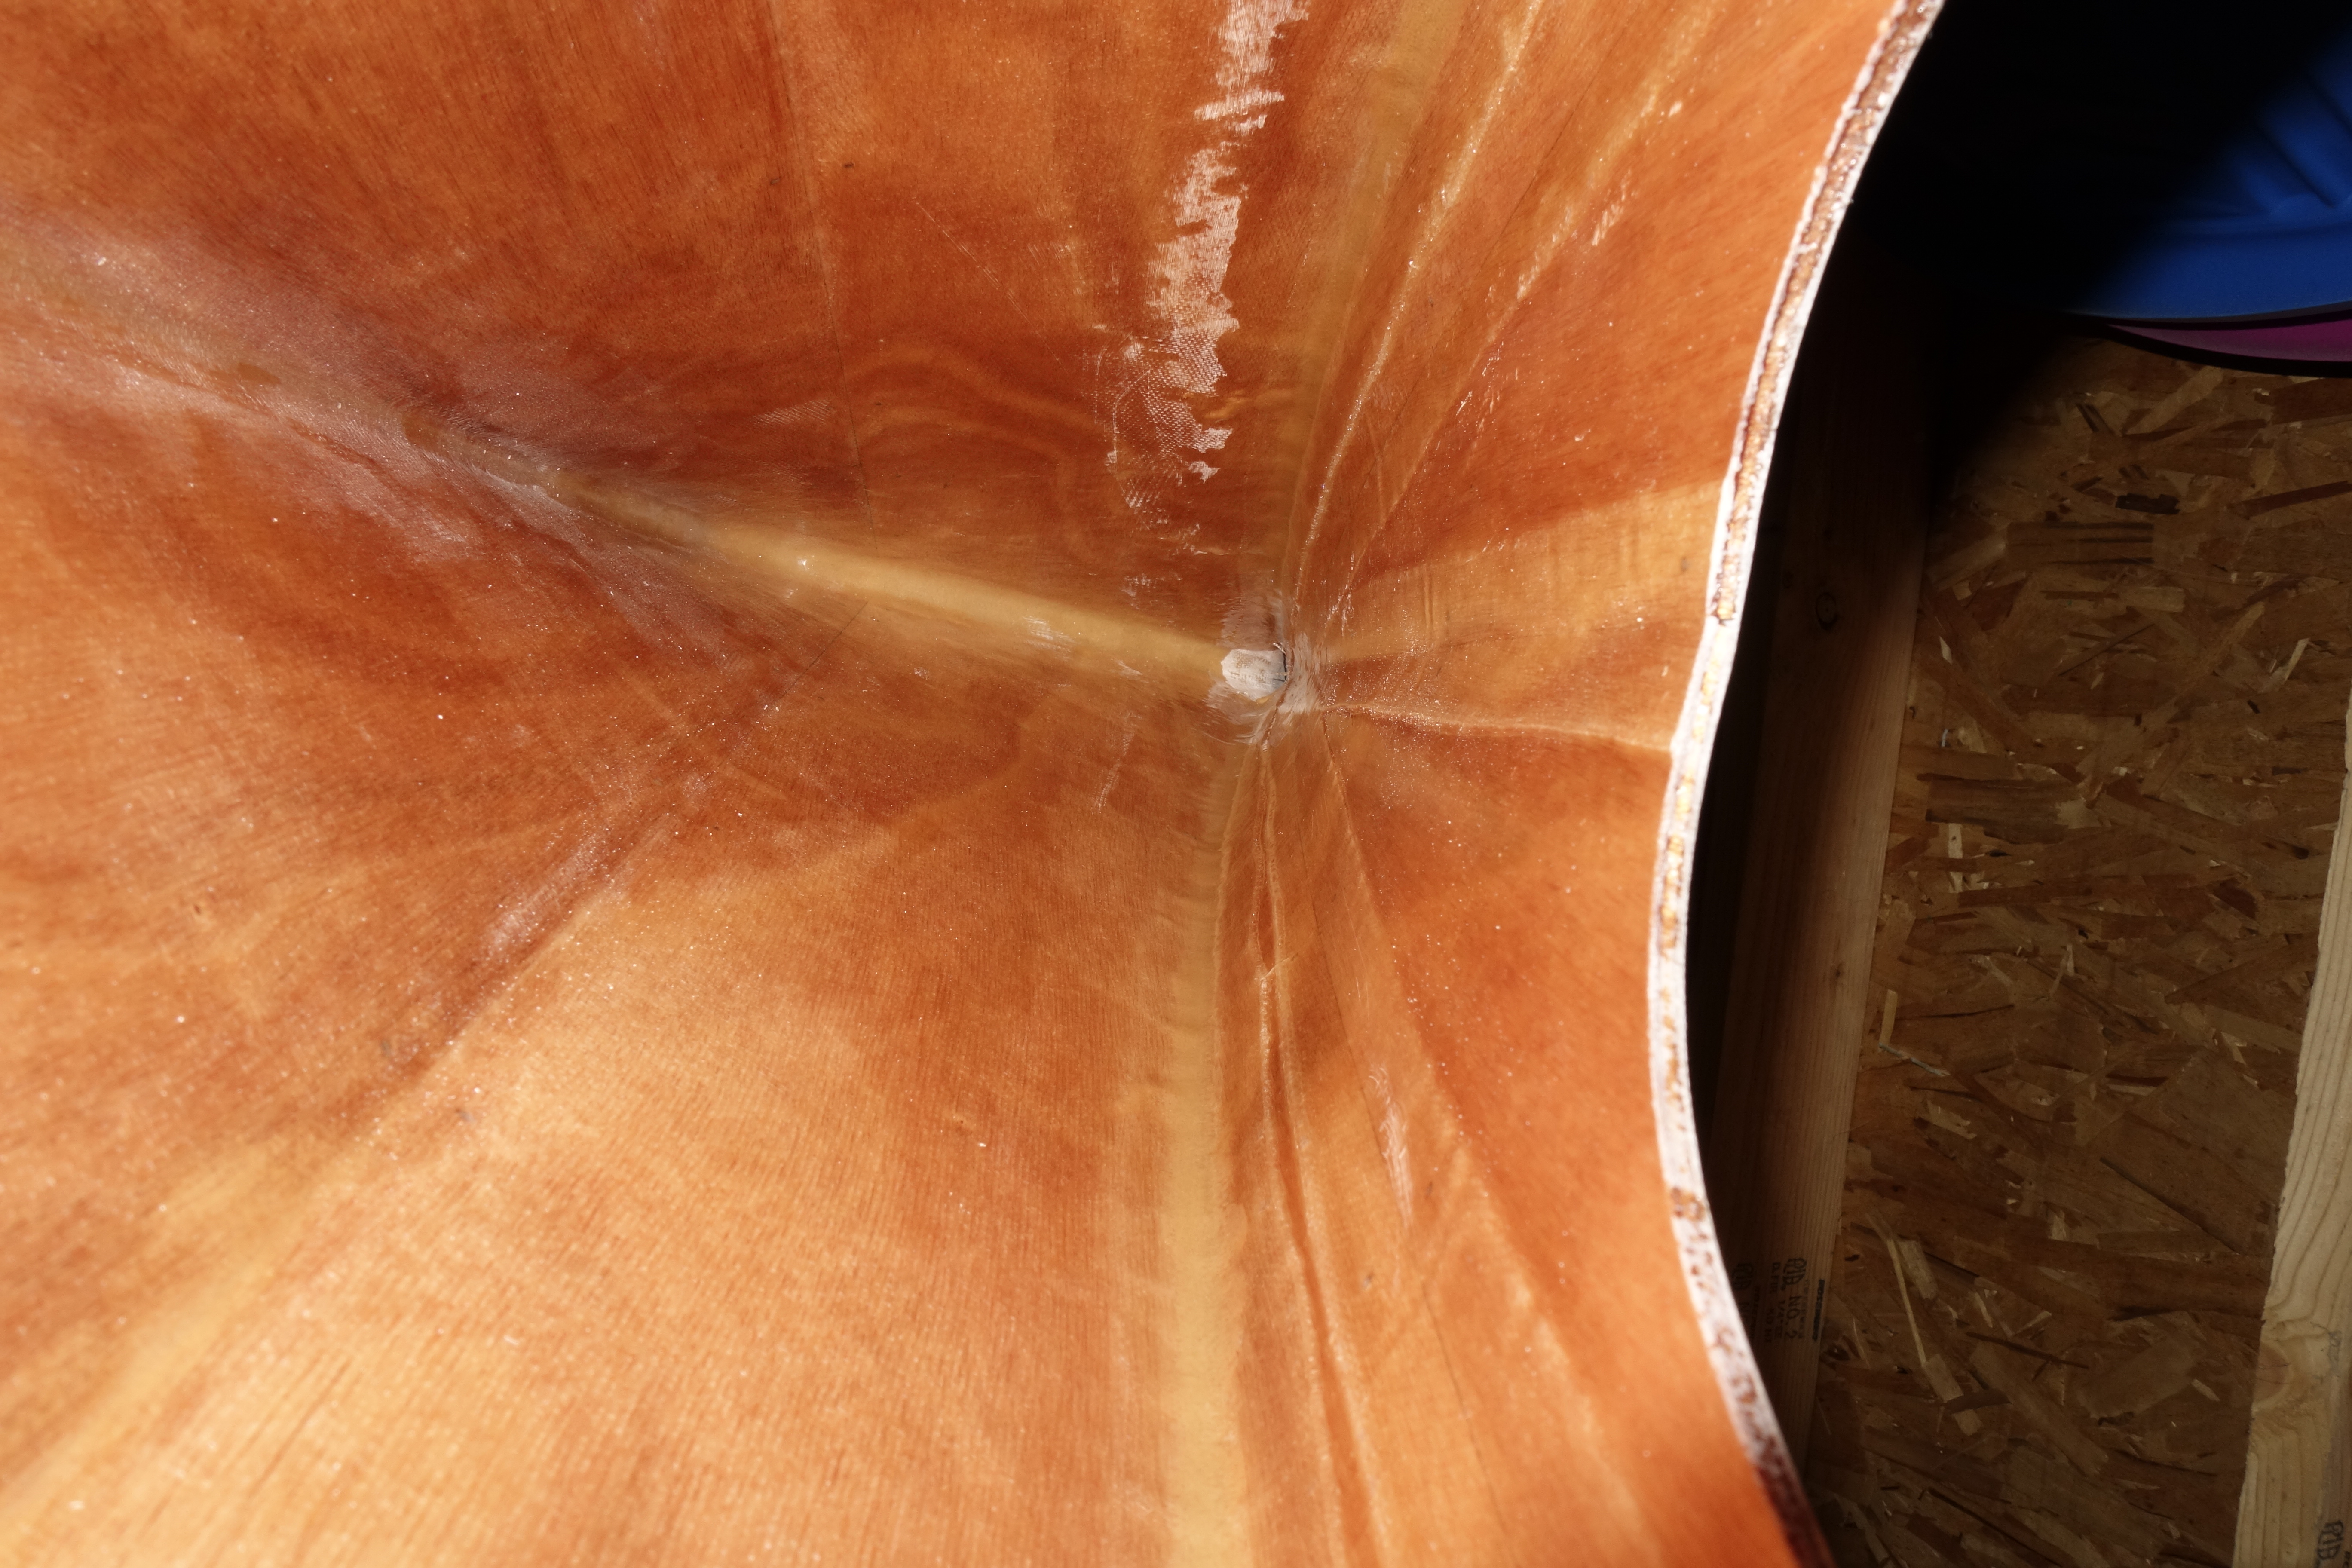
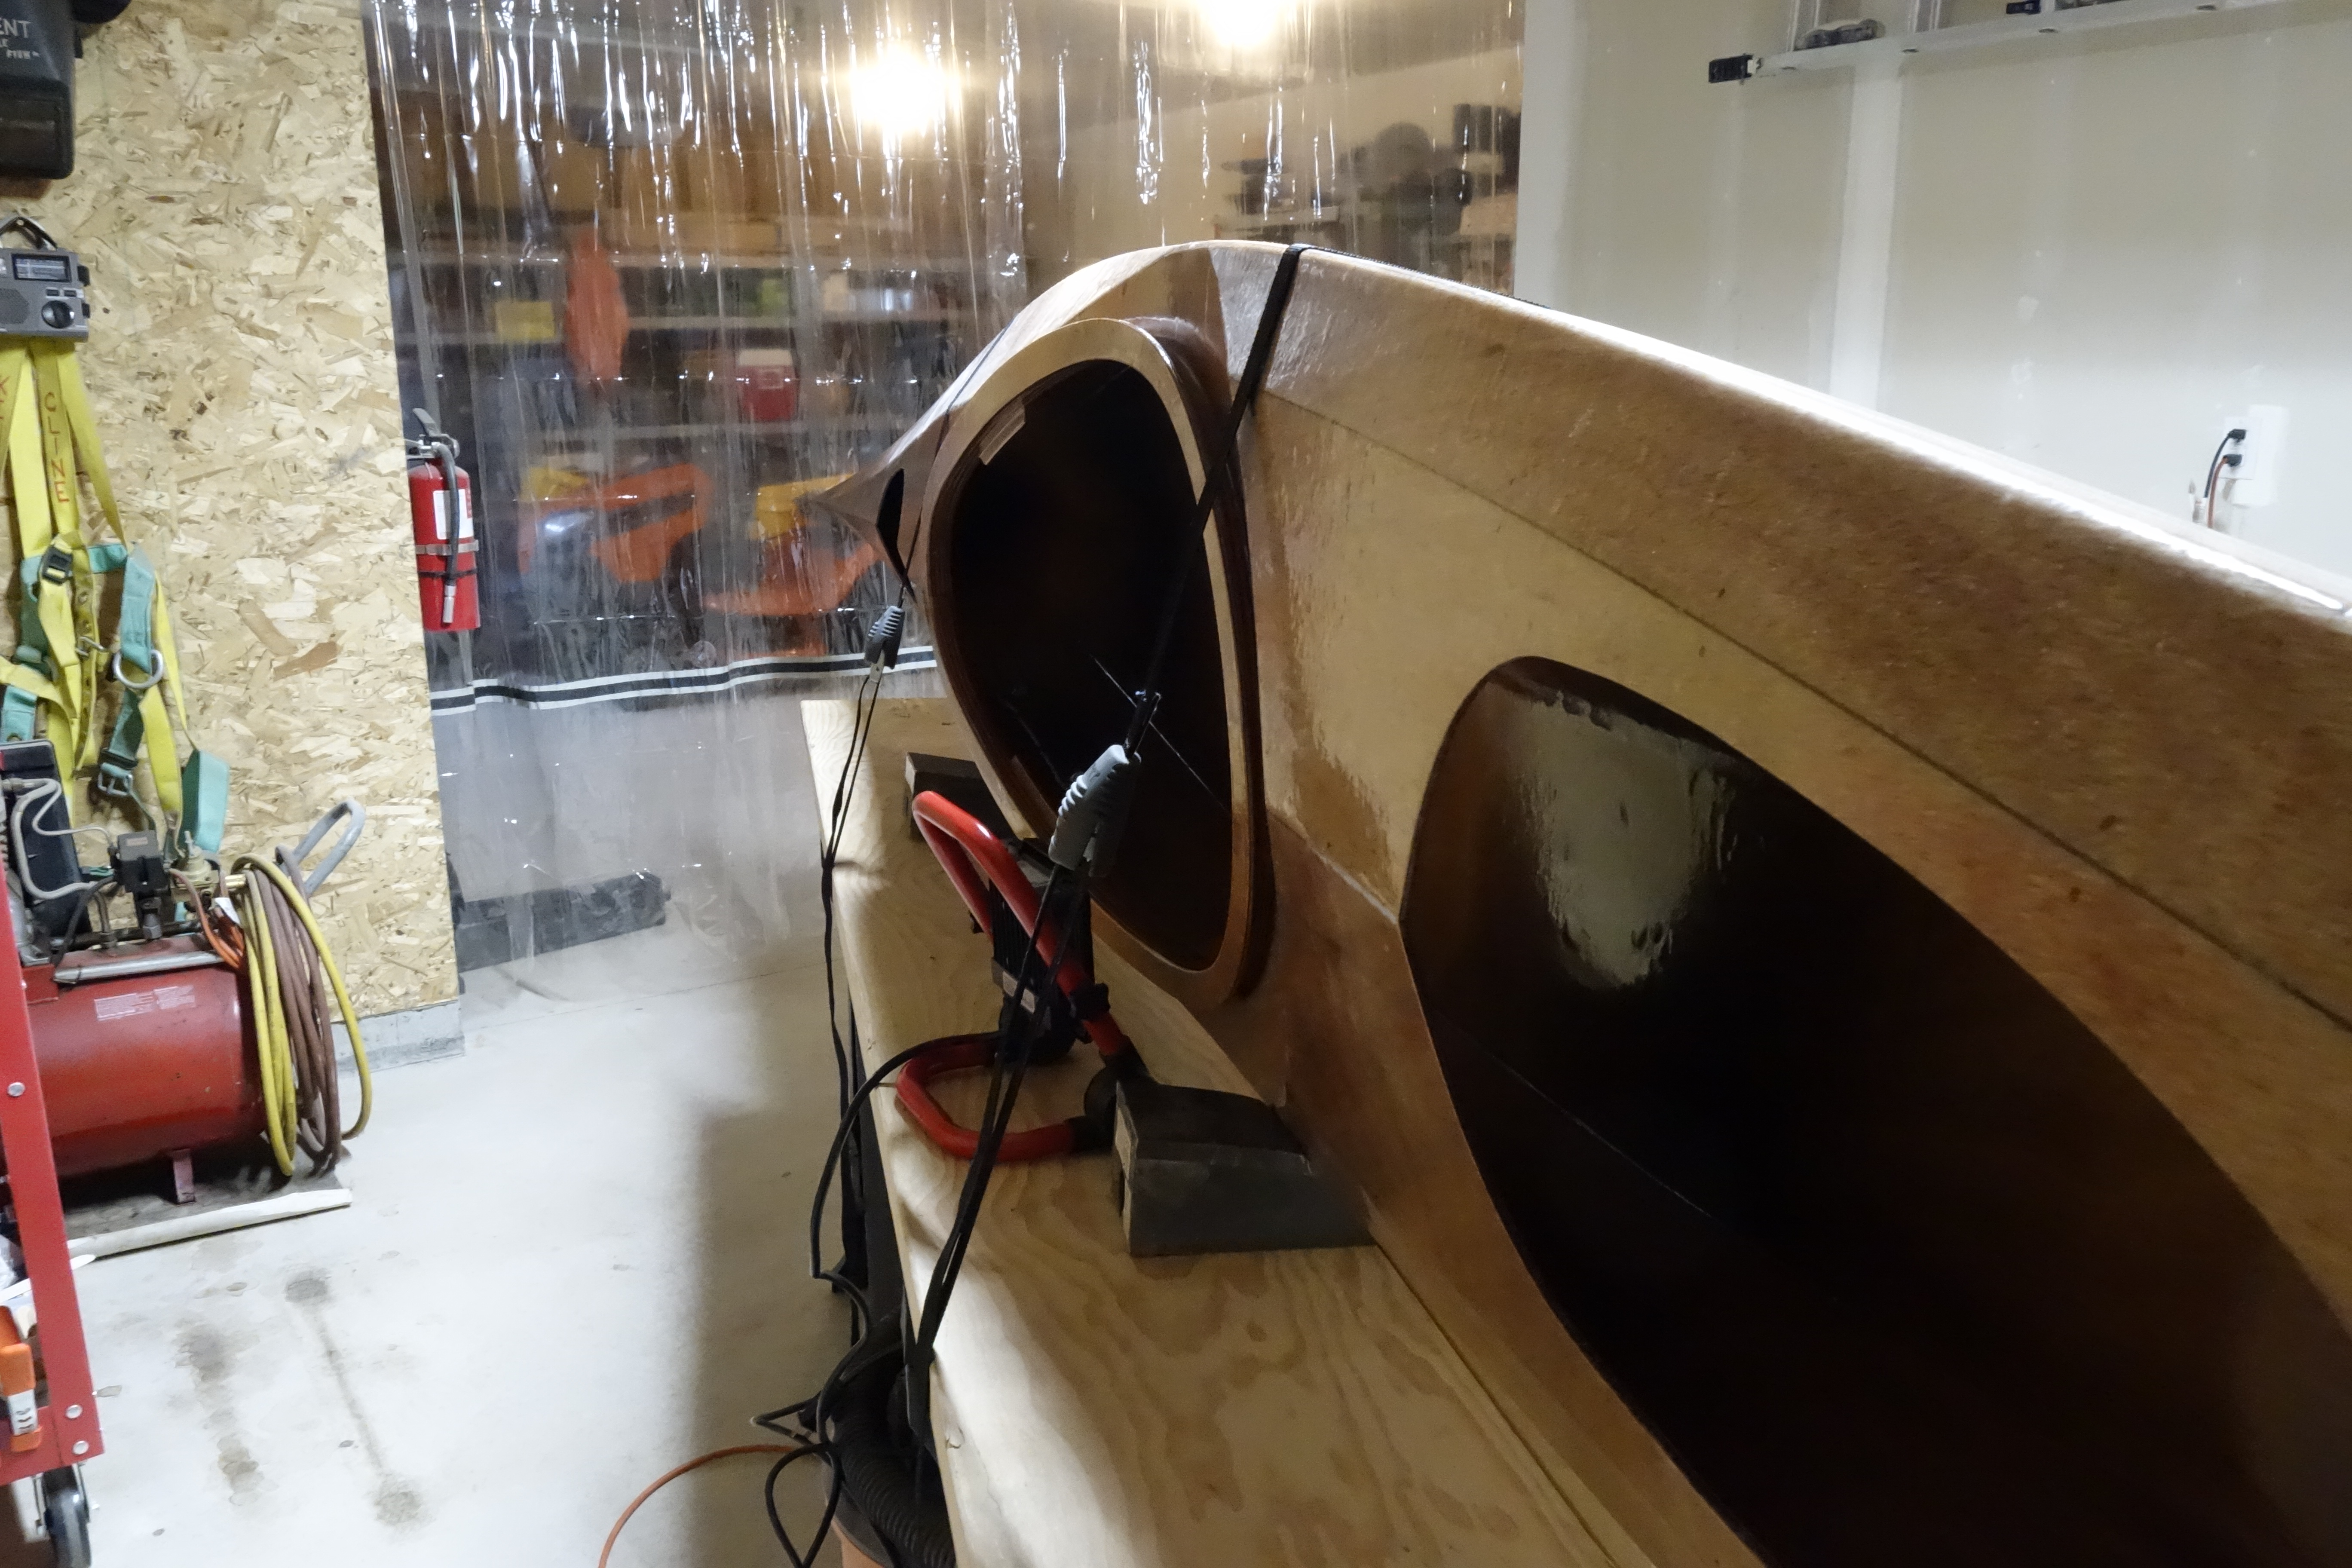
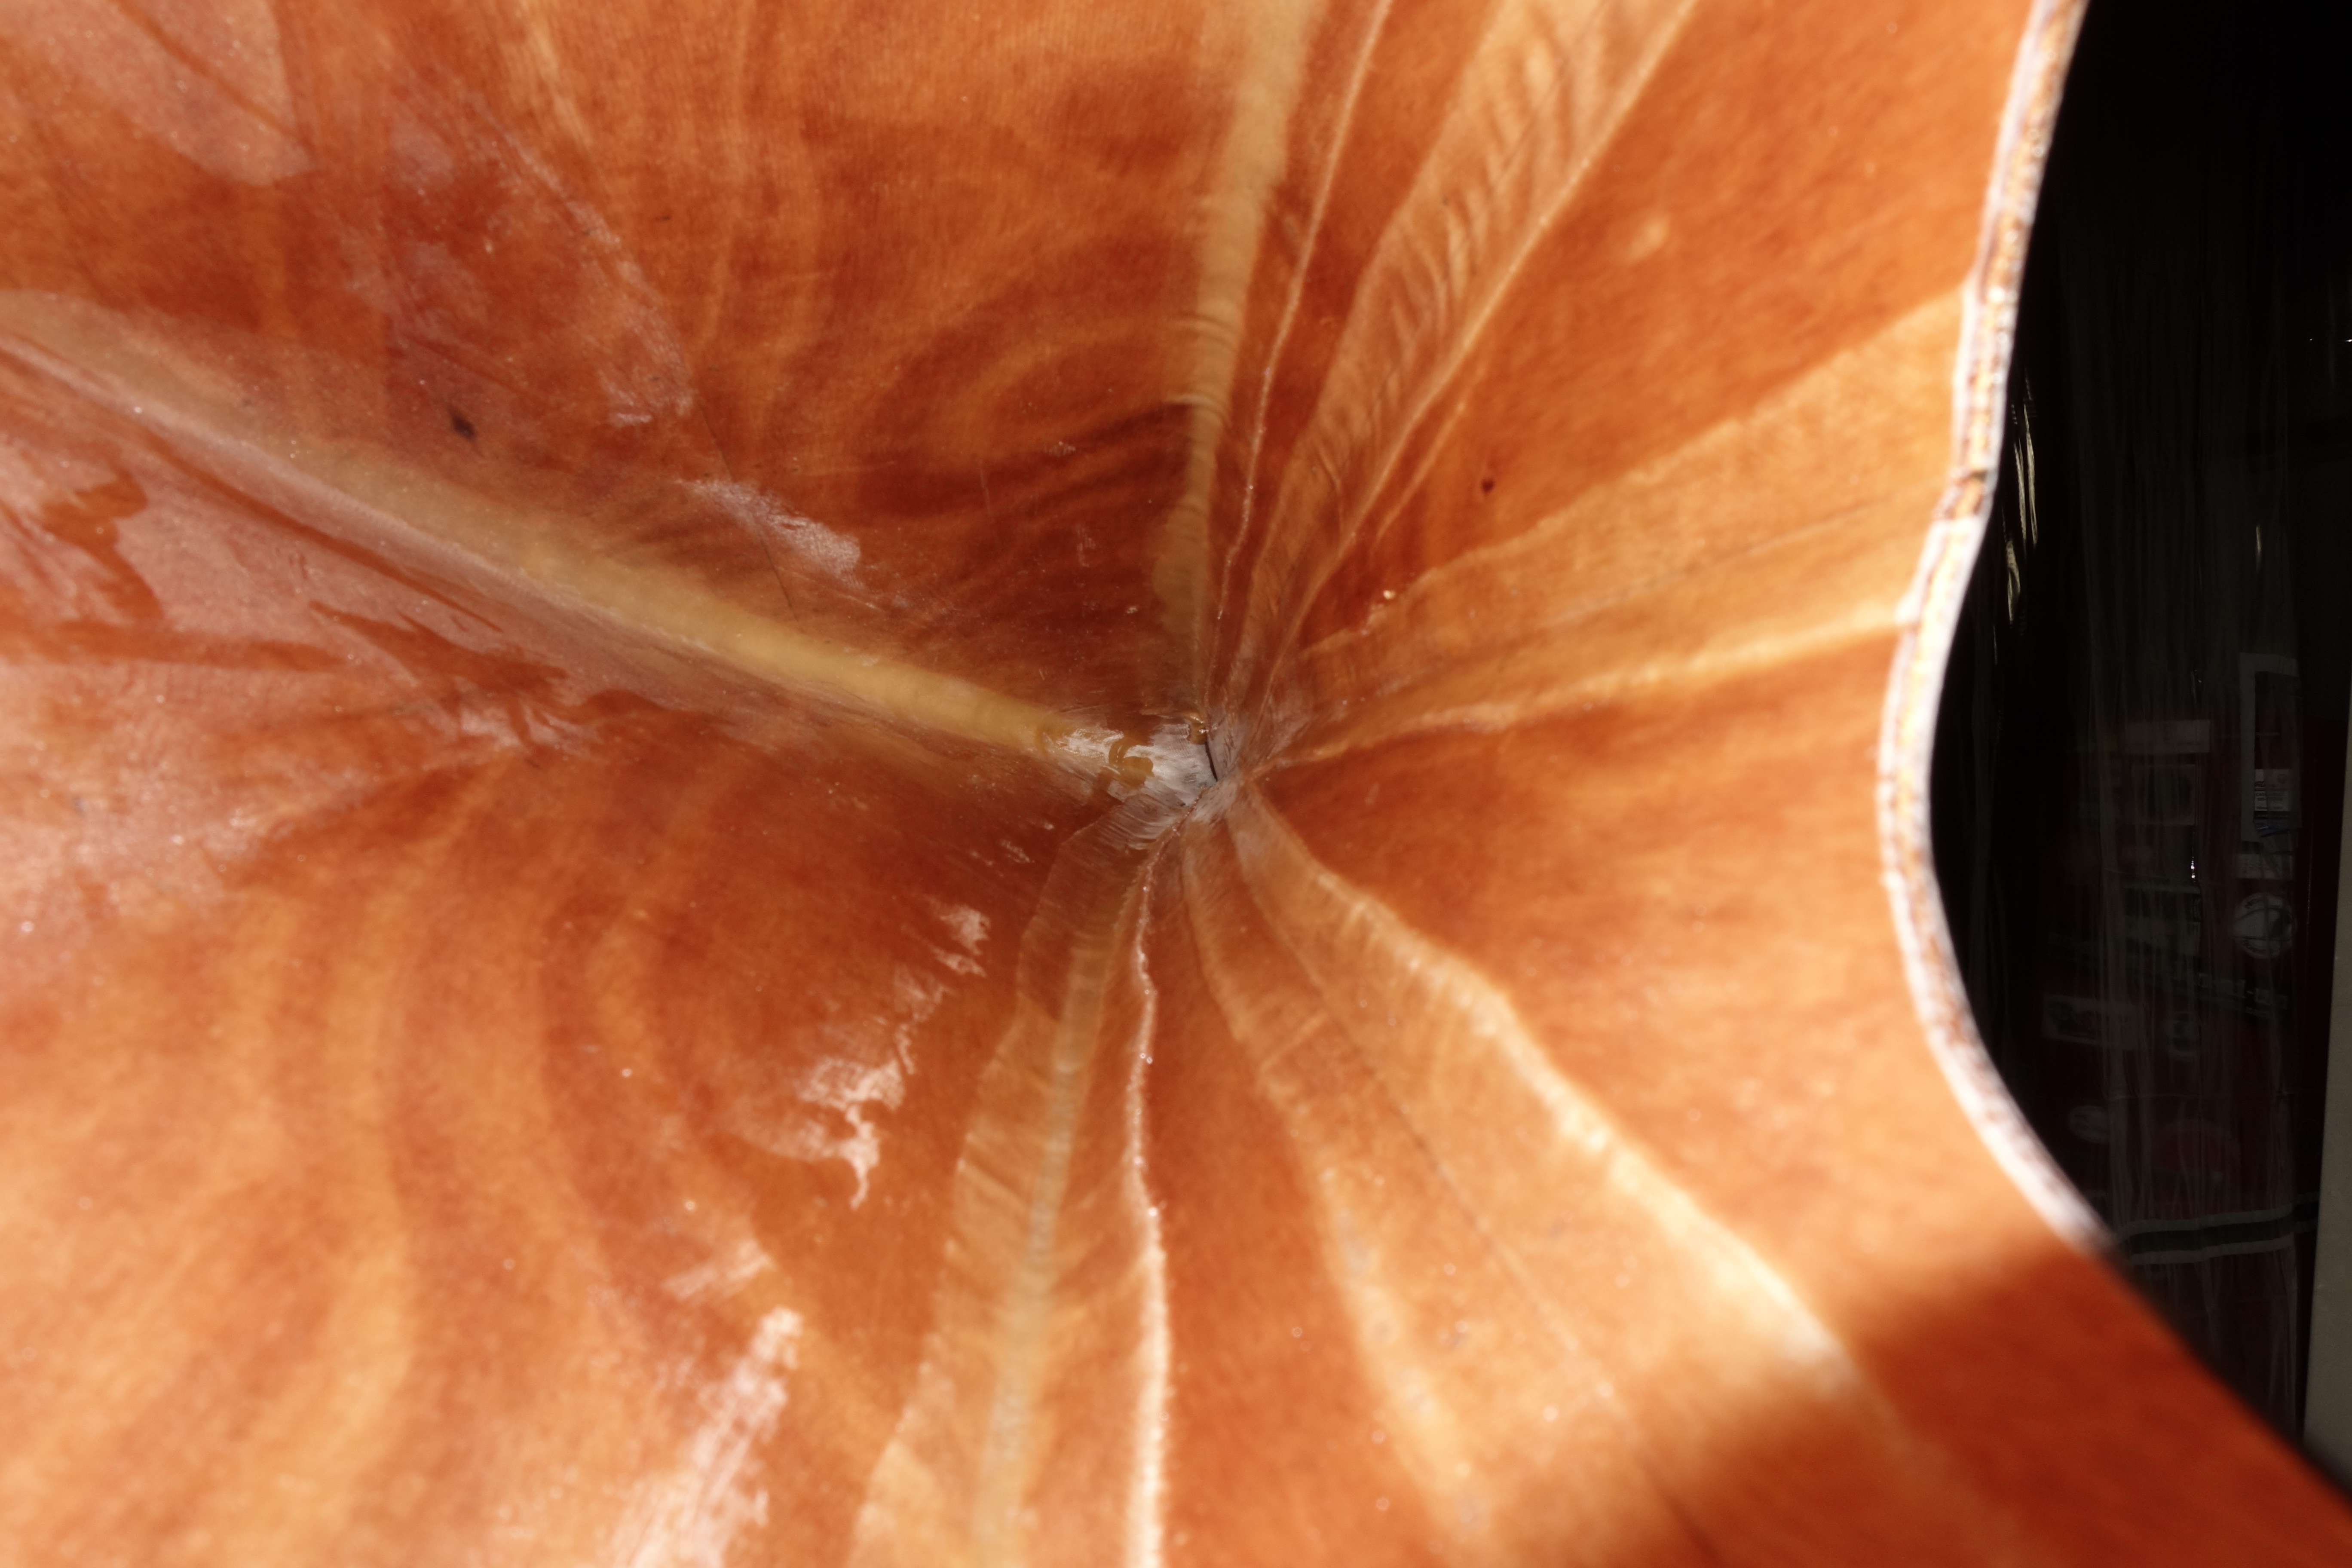
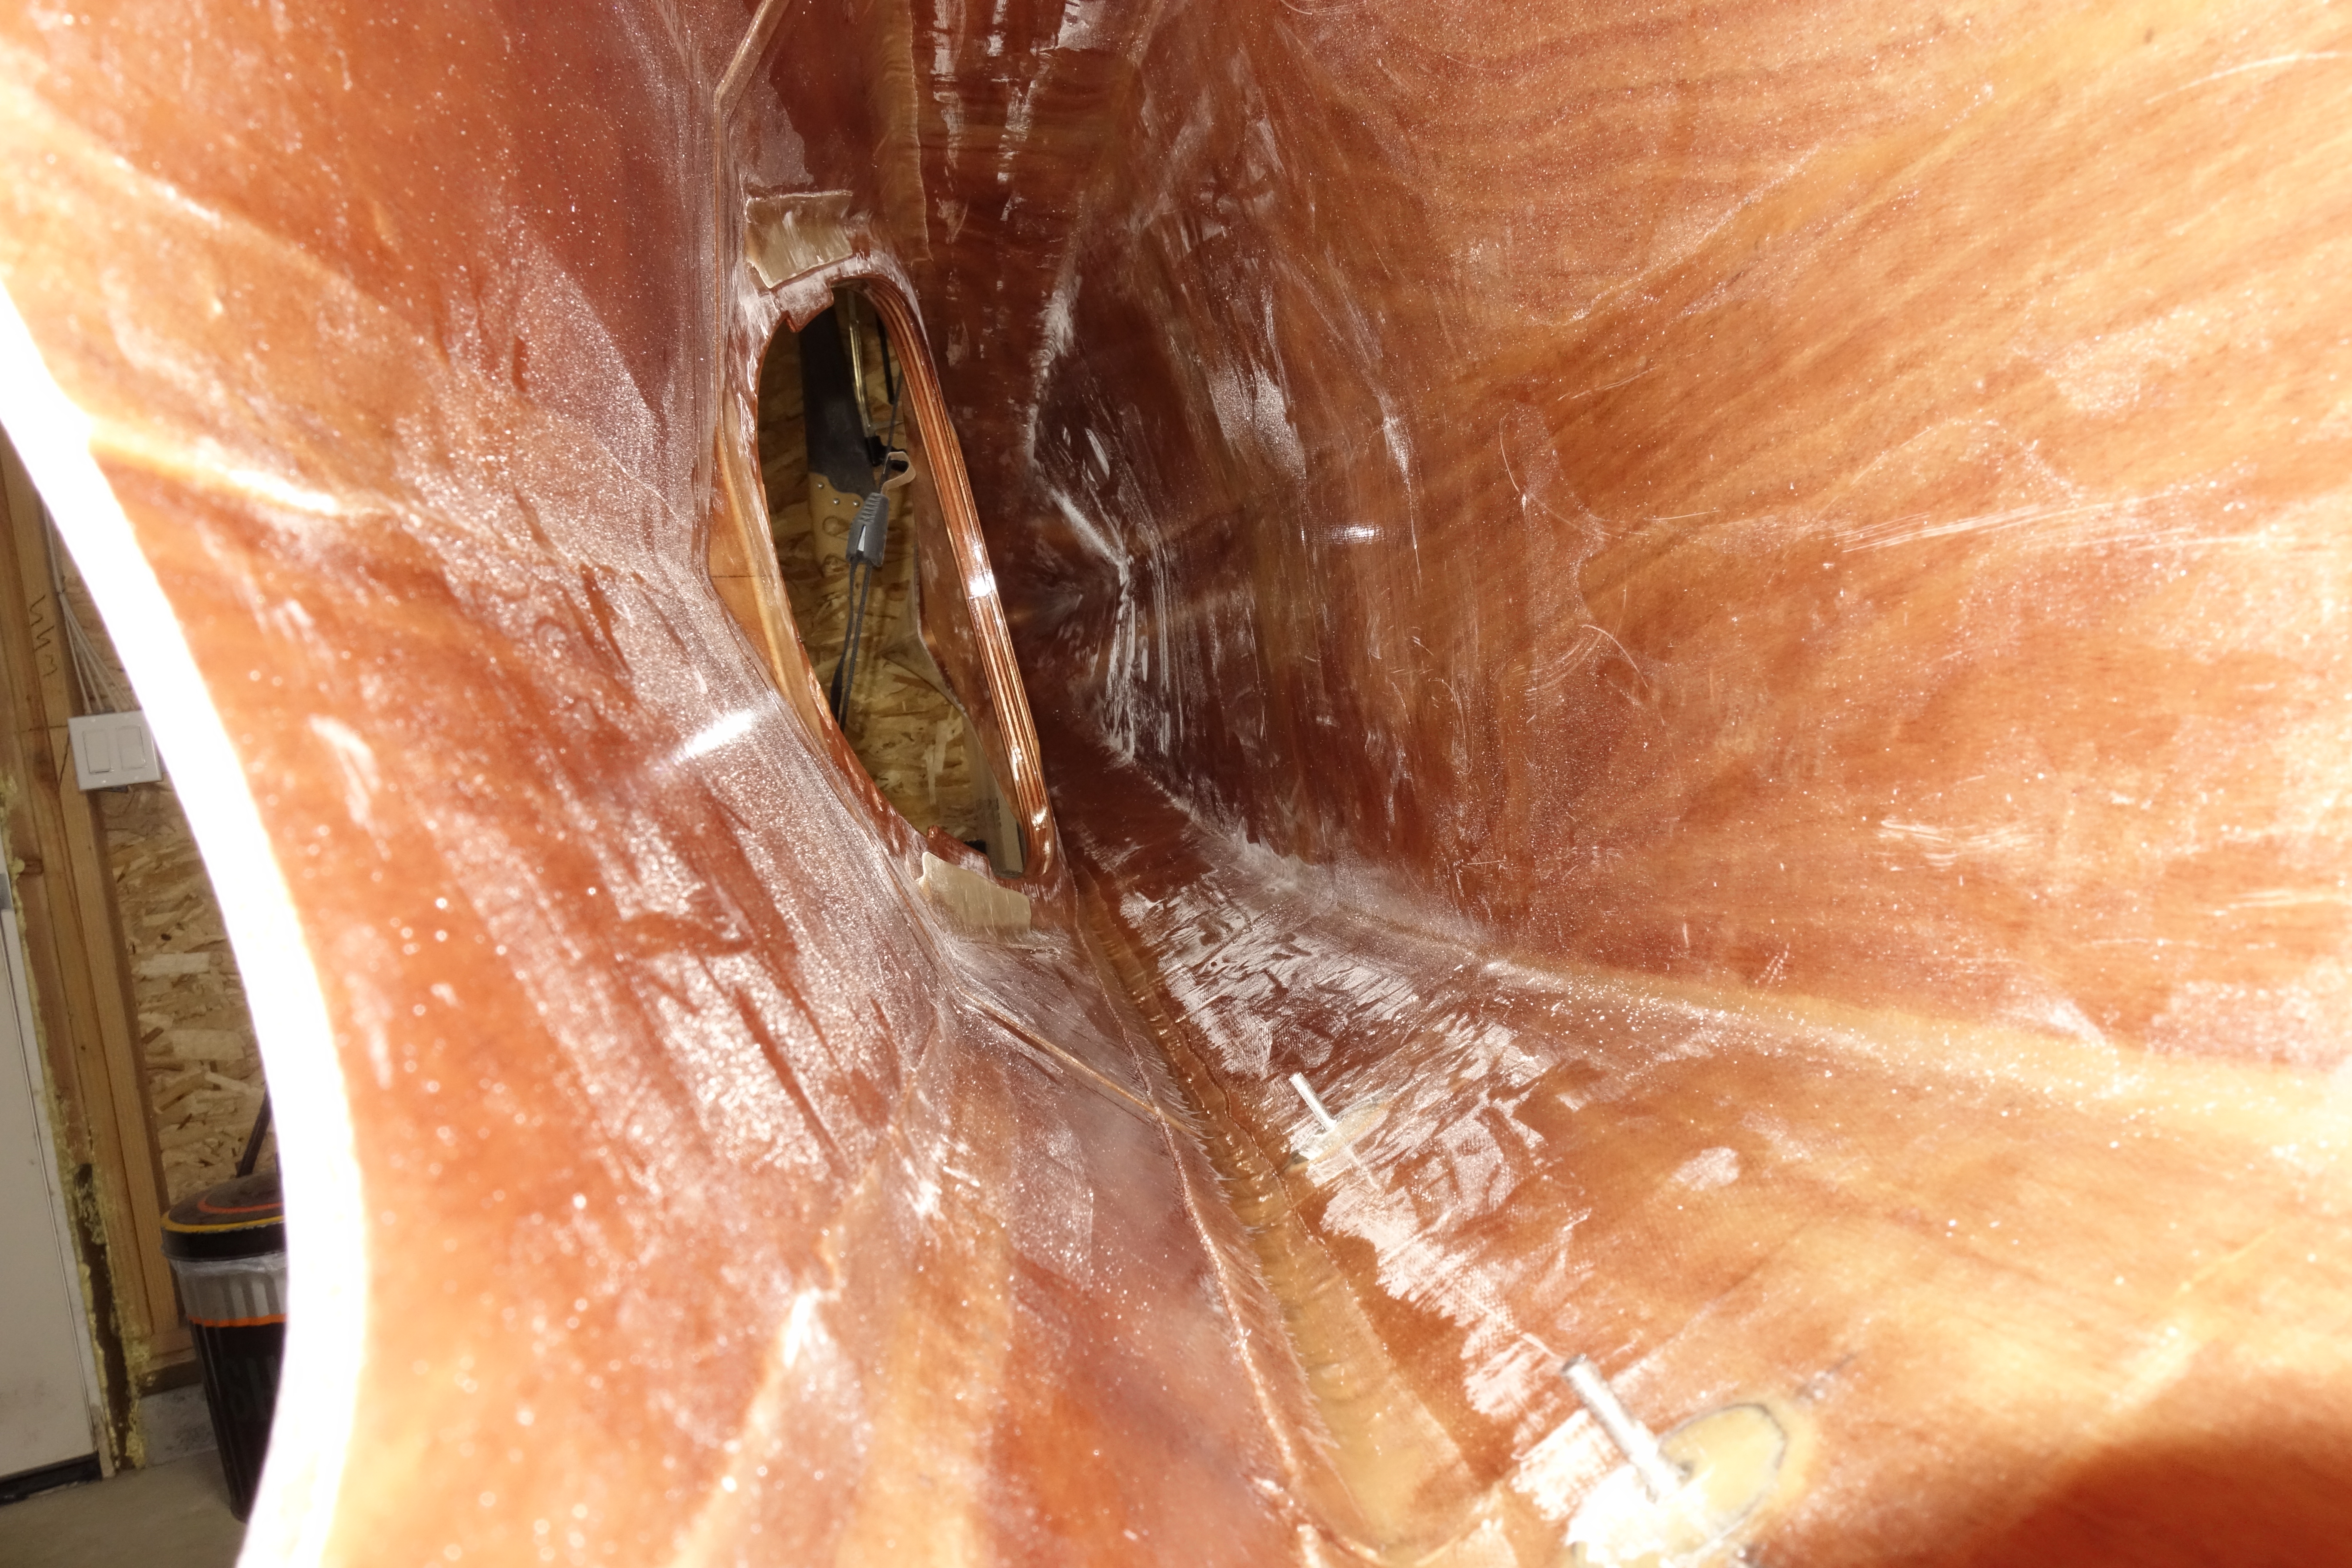
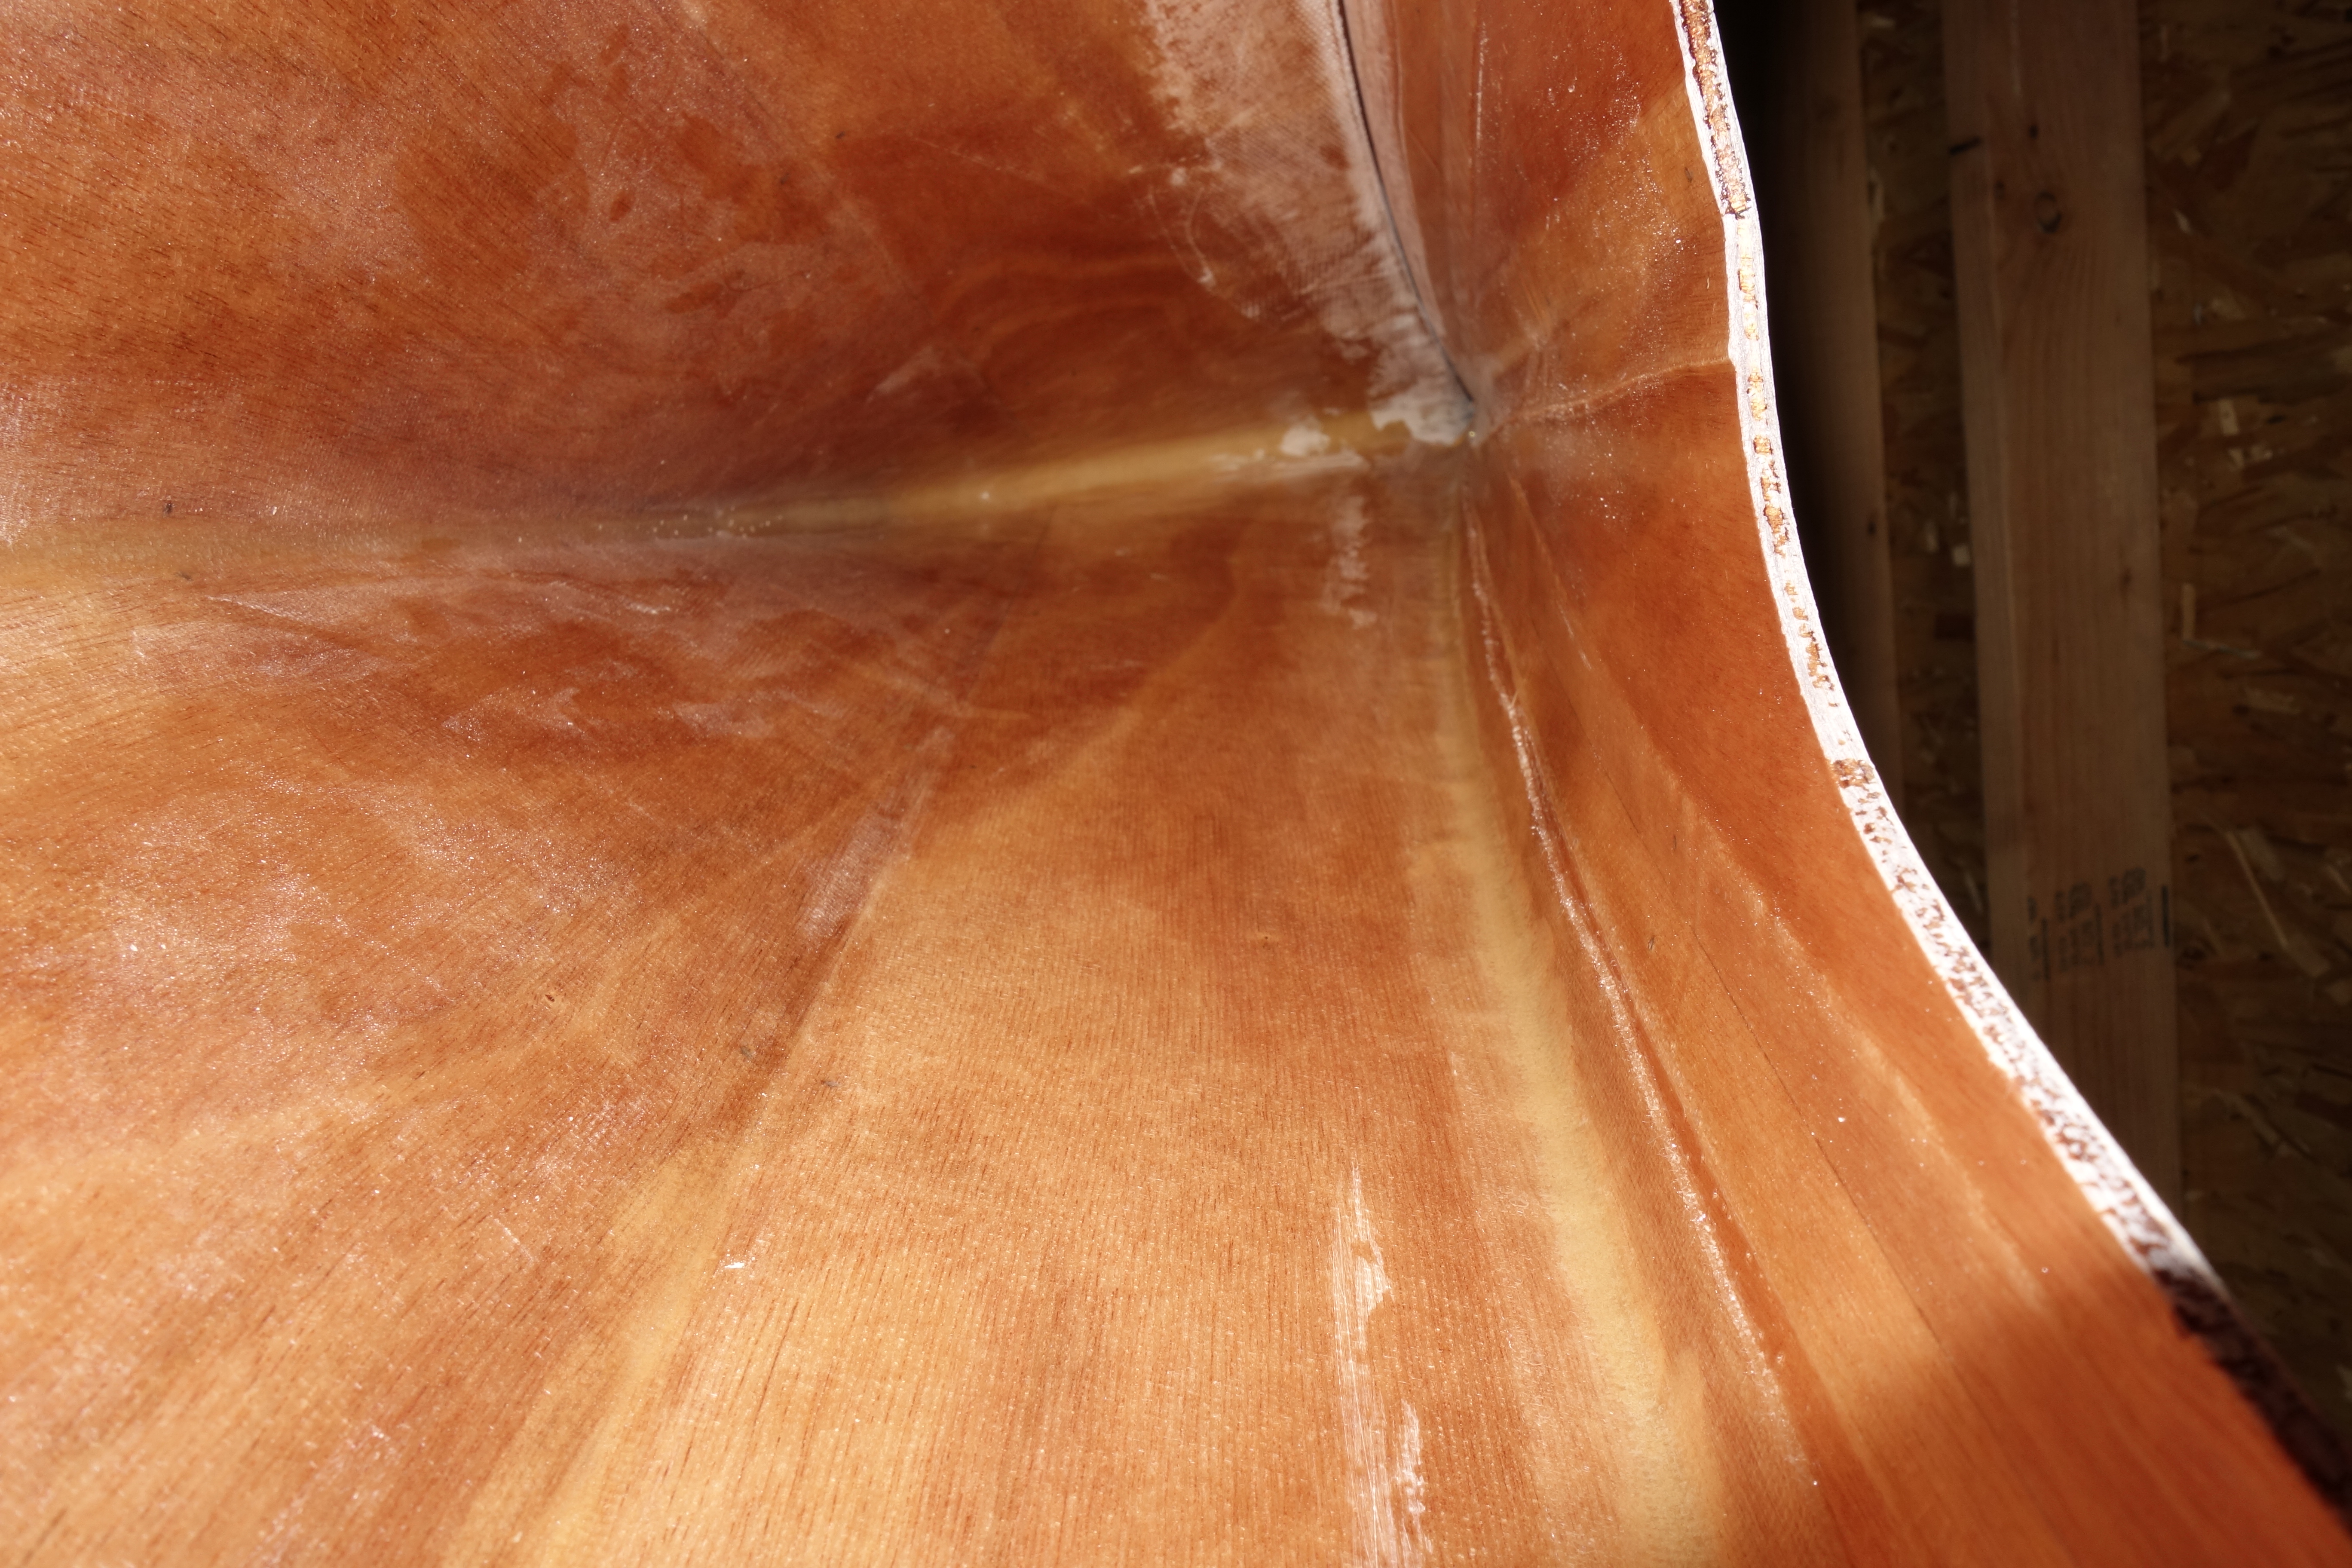
Now is the time to fillet and tape the insides of the shear seams. The first shear seam I worked on (on the port side) was challenging for me. The instructions for this process say to thicken epoxy with wood flour until it will sag, but not run and make a fillet down the seam, and to then bed the tape in the wet fillet and wet it out with epoxy, with a bristle brush. Seems simple enough, but I had some trouble getting the tape to lay down smoothly, etc. The good news is that because I waited until I cut the hatches before I did the shear seams I was able to get epoxy and tape almost all the way to the bow and stern tips, and the “end pours” that I will do later will definitely reach the rest of the way. I’ll do the starboard side tomorrow after work. When I am finished with the starboard side I will try to pass on any helpful advice I have (if I have any) about how to complete these seams with less stress and difficulty than I had on this first side of the kayak.

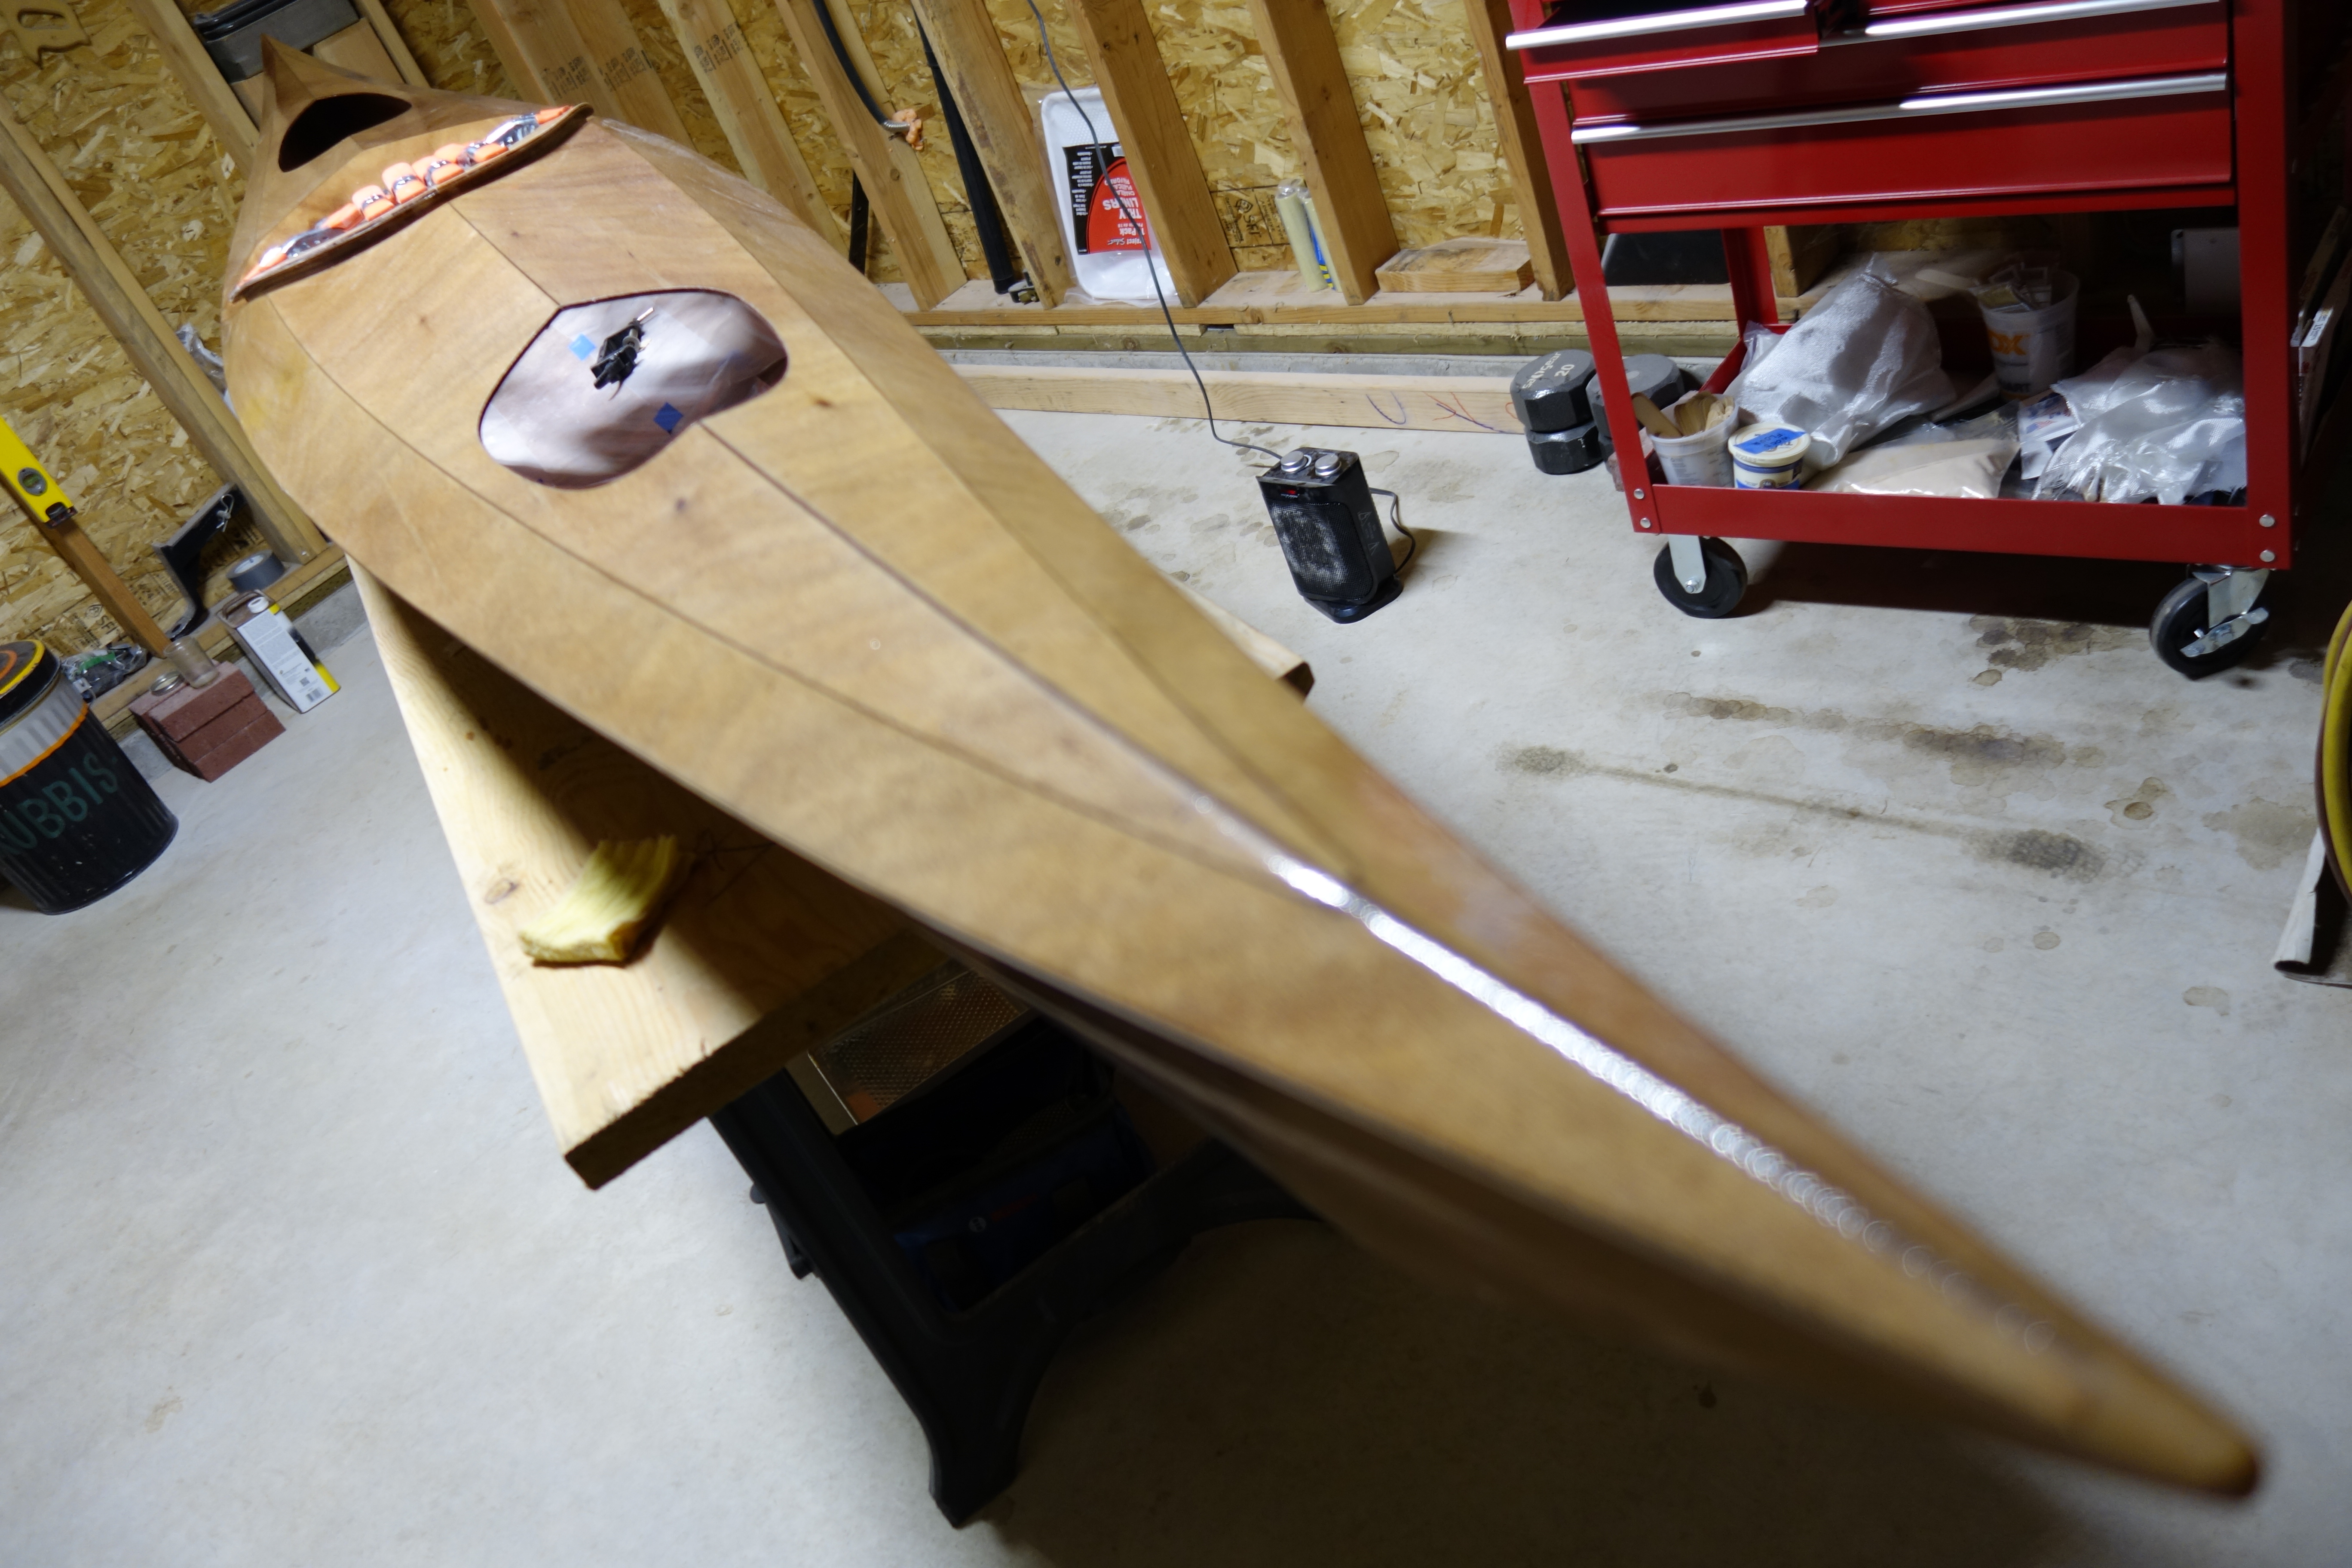
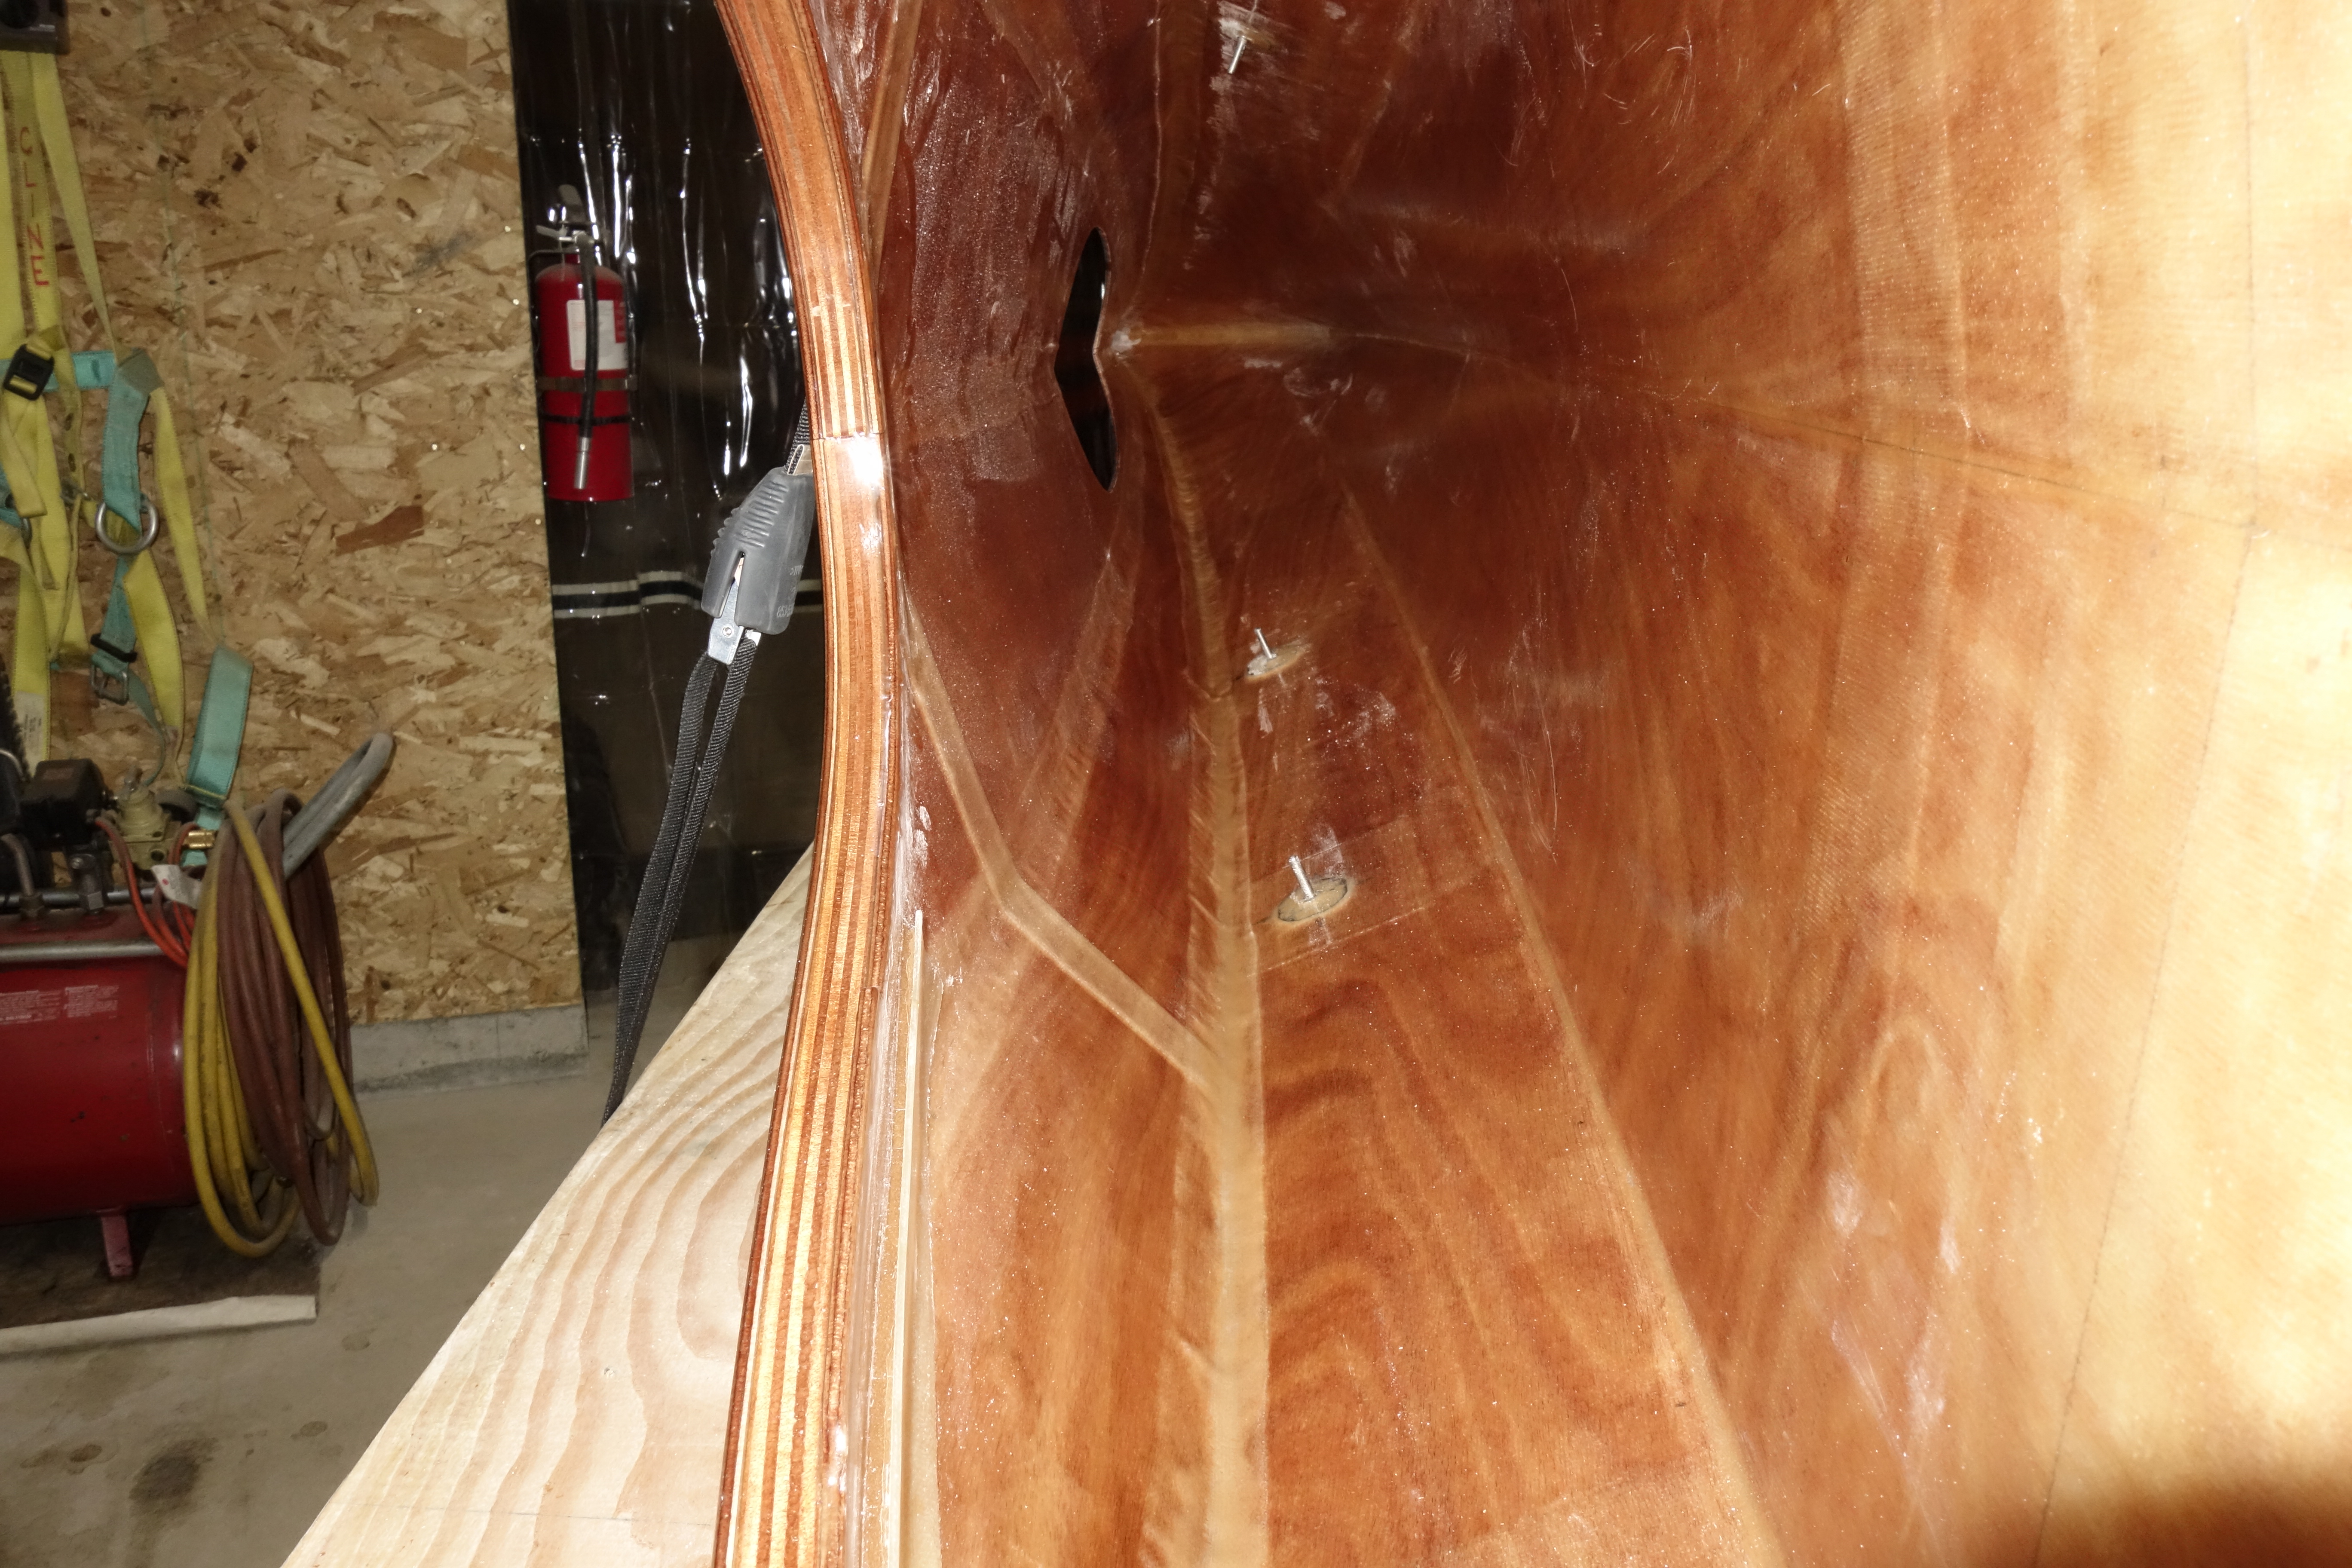
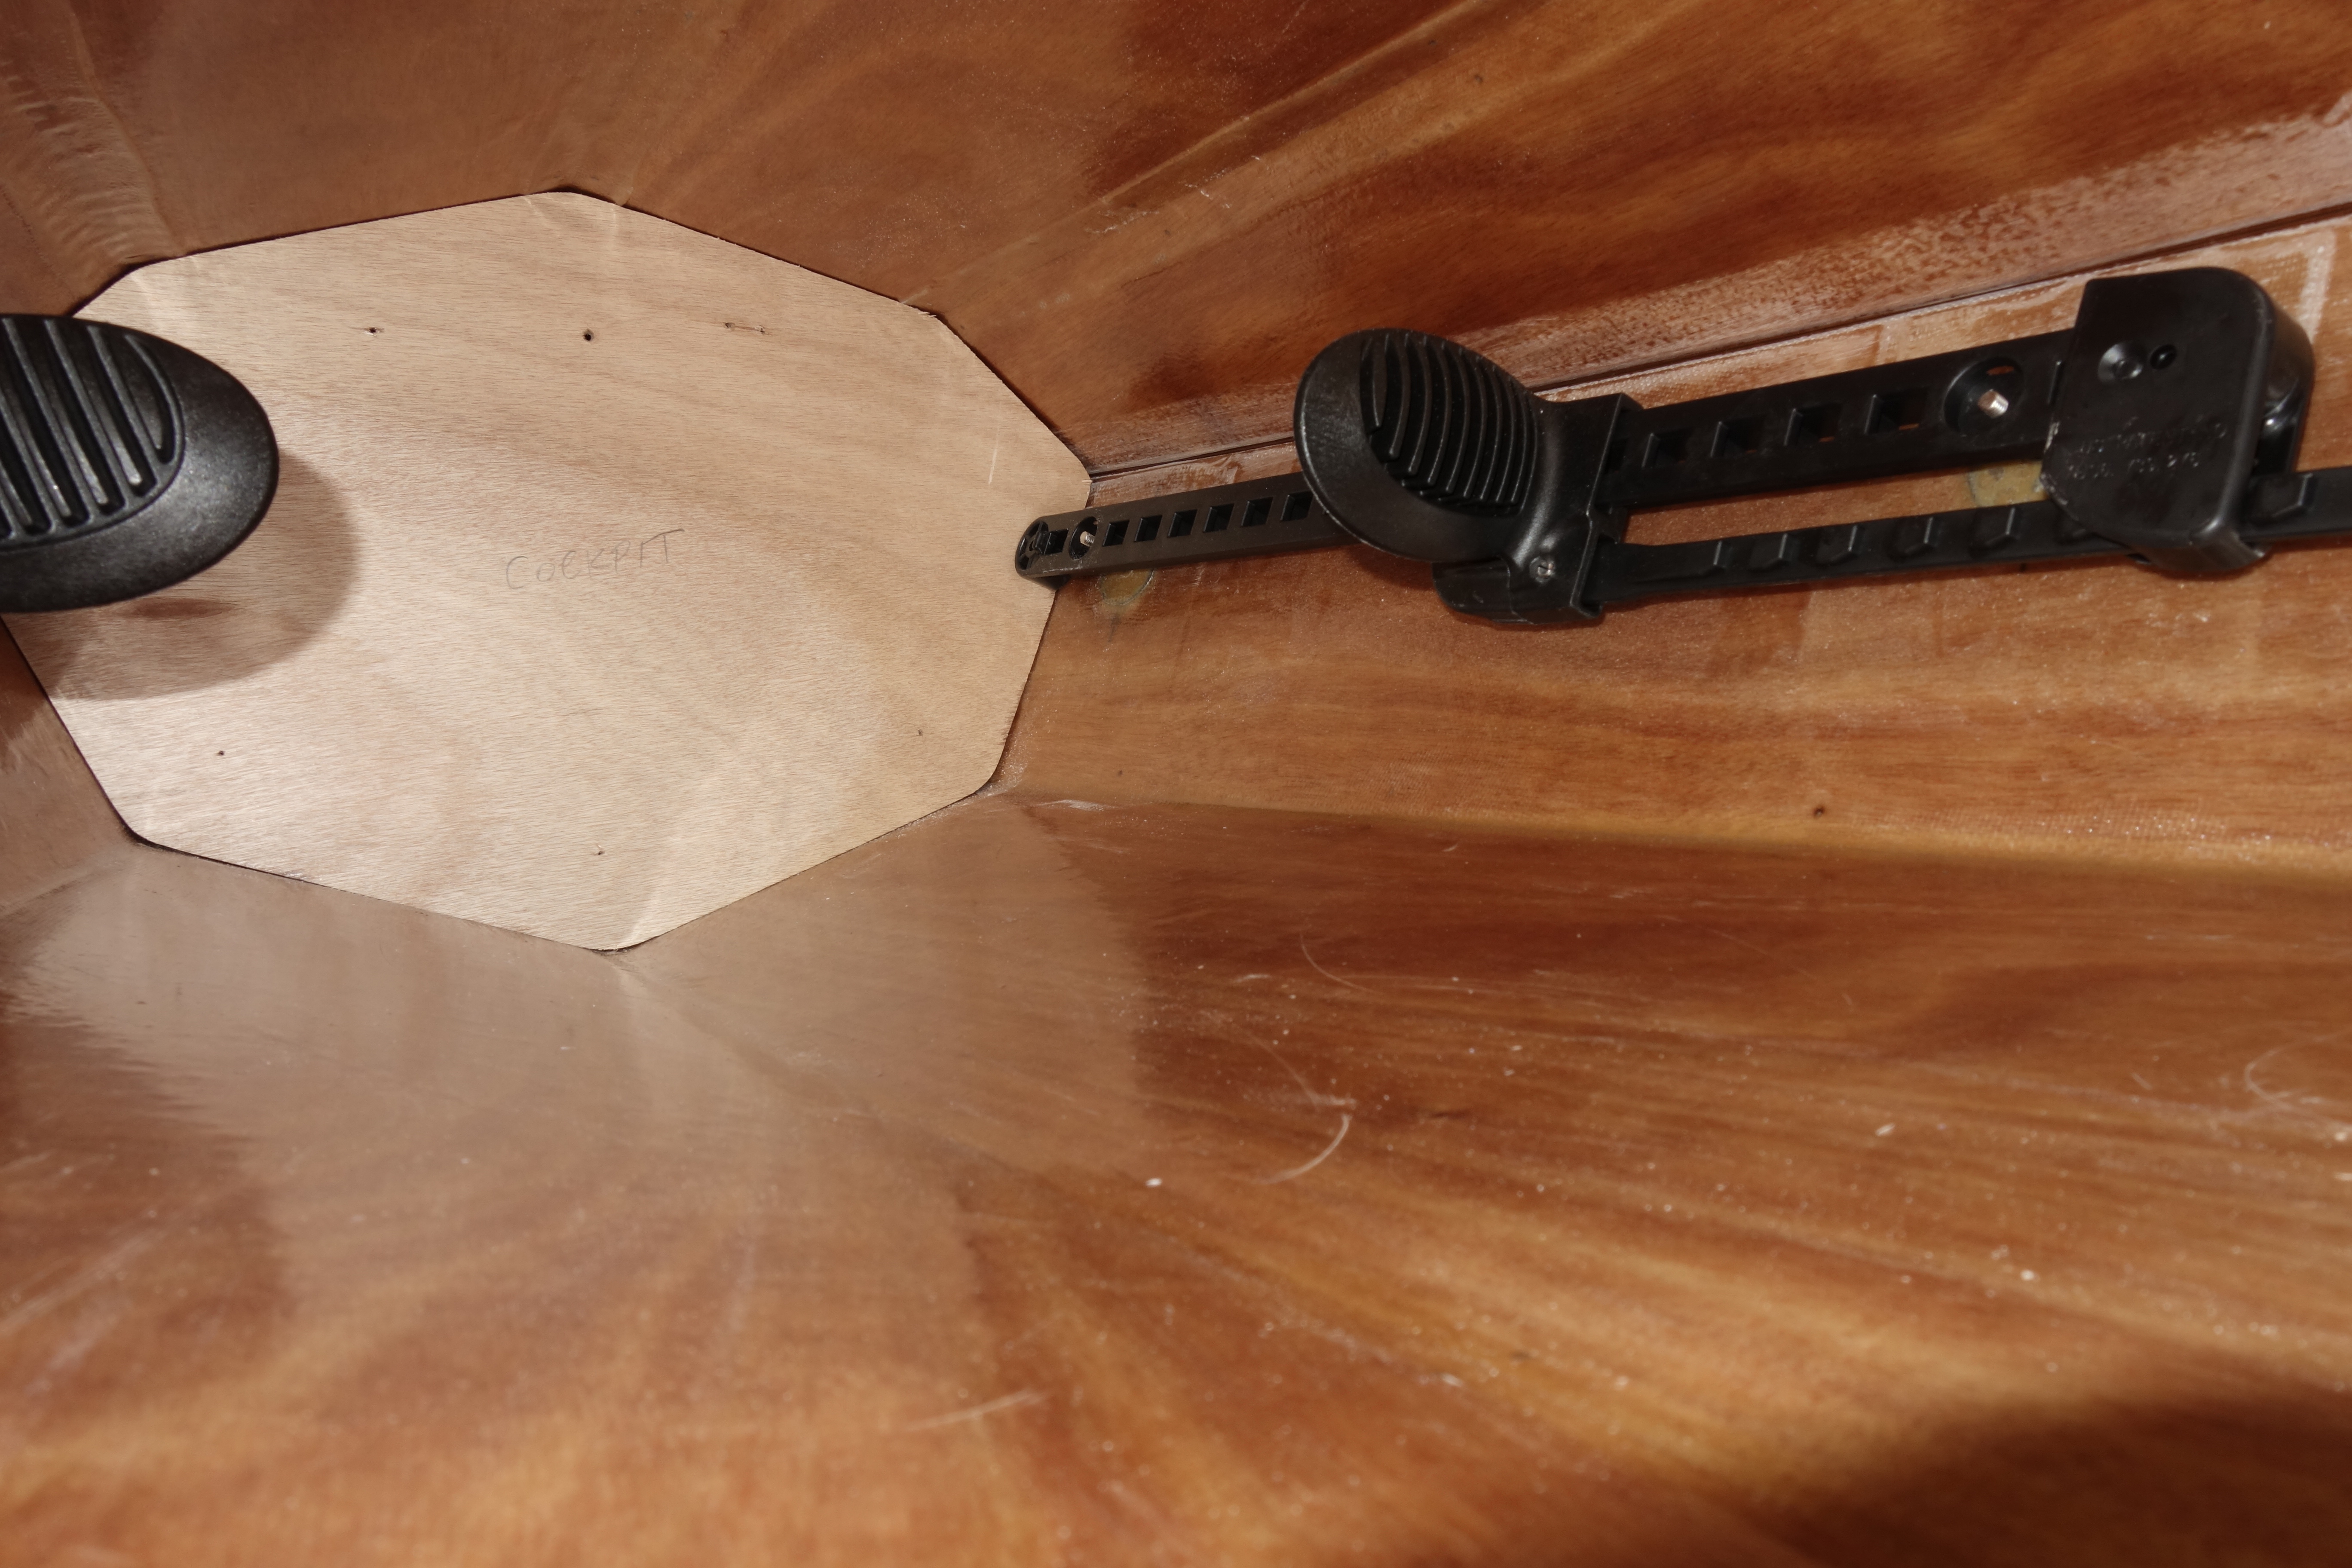
Well, I can stop worrying about the bulkhead fitting (or not!) in front of the foot brace rails. I made bulkhead templates that I could file and adjust as much as I want without worrying about wrecking the actual bulkheads. I was able to get both the fore and aft bulkheads sized to fit and the forward bulkhead fits in front of the foot brace rails and leaves just enough room between the bulkhead and the front hatch for the internal spacer and lip for the hatch lid. As I thought it might be, it’s very close. But it will work and I won’t have to cut the foot brace rails. Had I decided to try the Slidelock foot braces before I put the studs in the kayak or cut the hatches, I could have moved the hatch forward an inch or two, or moved the mounting studs back an inch or two. But of course I didn’t decide until both were already “written in stone.” But now I don’t have to worry about it any longer. I may have to fiddle around a bit to get the epoxy fillets and fiberglass tape that will hold the bulkhead in and make it water tight, so that it doesn’t interfere with the internal hatch parts. I am certain I can do that. Now that my template pieces are shaped the way I want them I will trace them onto the actual bulkheads, which have been fiberglassed on both sides, and cut or file the bulkheads until they match the templates, and Bob’s your uncle!


As I build the Rónán I am doing my best to ensure that each step is done exactly to Pygmy specifications. From my perspective there is a very good reason for this. John Lockwood has decades of experience designing and testing these beautiful boats so that they perform as beautifully as they look, and I want my kayak to meet those high performance standards. That said, one of the things that I really want in any kayak I paddle are foot braces that can be adjusted while I’m in the boat. I took a chance and ordered a Harmony Gear, Slidelock Foot Brace kit hoping that the hole pattern would be exactly the same as the rails for the Keepers Foot Braces that come in the Pygmy kayak kits, so that they would fit on the internal studs that I epoxied and fiberglassed into the boat. That way, I could have my Slidelock foot braces, and the foot brace placement would be exactly to spec. As far as I can tell, both kits are made by the same company so I had high hopes. I am happy to say they fit the studs perfectly!

I was a bit worried that because the Slidelock rails stick out in front of the forward studs by a couple of inches, I wouldn’t have room to position the bulkhead far enough forward to clear the rails, but not so far forward that it would interfere with the hatch opening (a pretty small window actually). I dry fit (sort-of) the bulkhead and it looks like it’s going to work fine. The bulkhead needs to be filed down to fit a bit further forward, and much better than it fits now. It will be a tight fit, but I am confident it will work. Worst case scenario if the bulkhead winds up too close to the hatch opening, I may have to trim the rails where they stick out in front of the studs. I should be able to do this without worrying about the foot braces sliding off the front end of the rail because the bulkhead would stop them! But I’ll know more after I get the bulkhead trimmed and see exactly where it lands.


This post is “pinned” to the top of the blog. The real content is below. If you have any questions or comments, feel free to ask in the comments below and I will happily answer as soon as I get a chance.
About this build and my goals: When I bought my kayak kit, my goal was to build a better performing, more beautiful kayak than I could otherwise buy. I received my kit on November 4, 2019, and started the actual construction of my kayak on November 10th, working in the evenings and on weekends, as time allowed. I finished construction on April 28, 2020. I think I have achieved my goal.
In this blog I document the order of the construction steps to build my kayak and describe how those steps went for me. That said, this blog is not a “how to” blog. Since this is my first attempt at anything like this, I hope that some of the things that went well for me might encourage someone who is apprehensive about a process in their own build. I also hope that by describing the steps that were challenging for me as a first-time builder, and why, I might make those steps a little easier for someone else.
All photos on this blog are protected by a Creative Commons license and cannot be used for commercial purposes without permission. Pygmy Boats has permission to use any part of this blog, including photographs, for whatever uses they see fit. I have not been compensated in any way by Pygmy Boats, or any other manufacturer or vendor whose products I have used in the construction of this kayak. If you want to use any of my photos for any reason please ask.
:^)
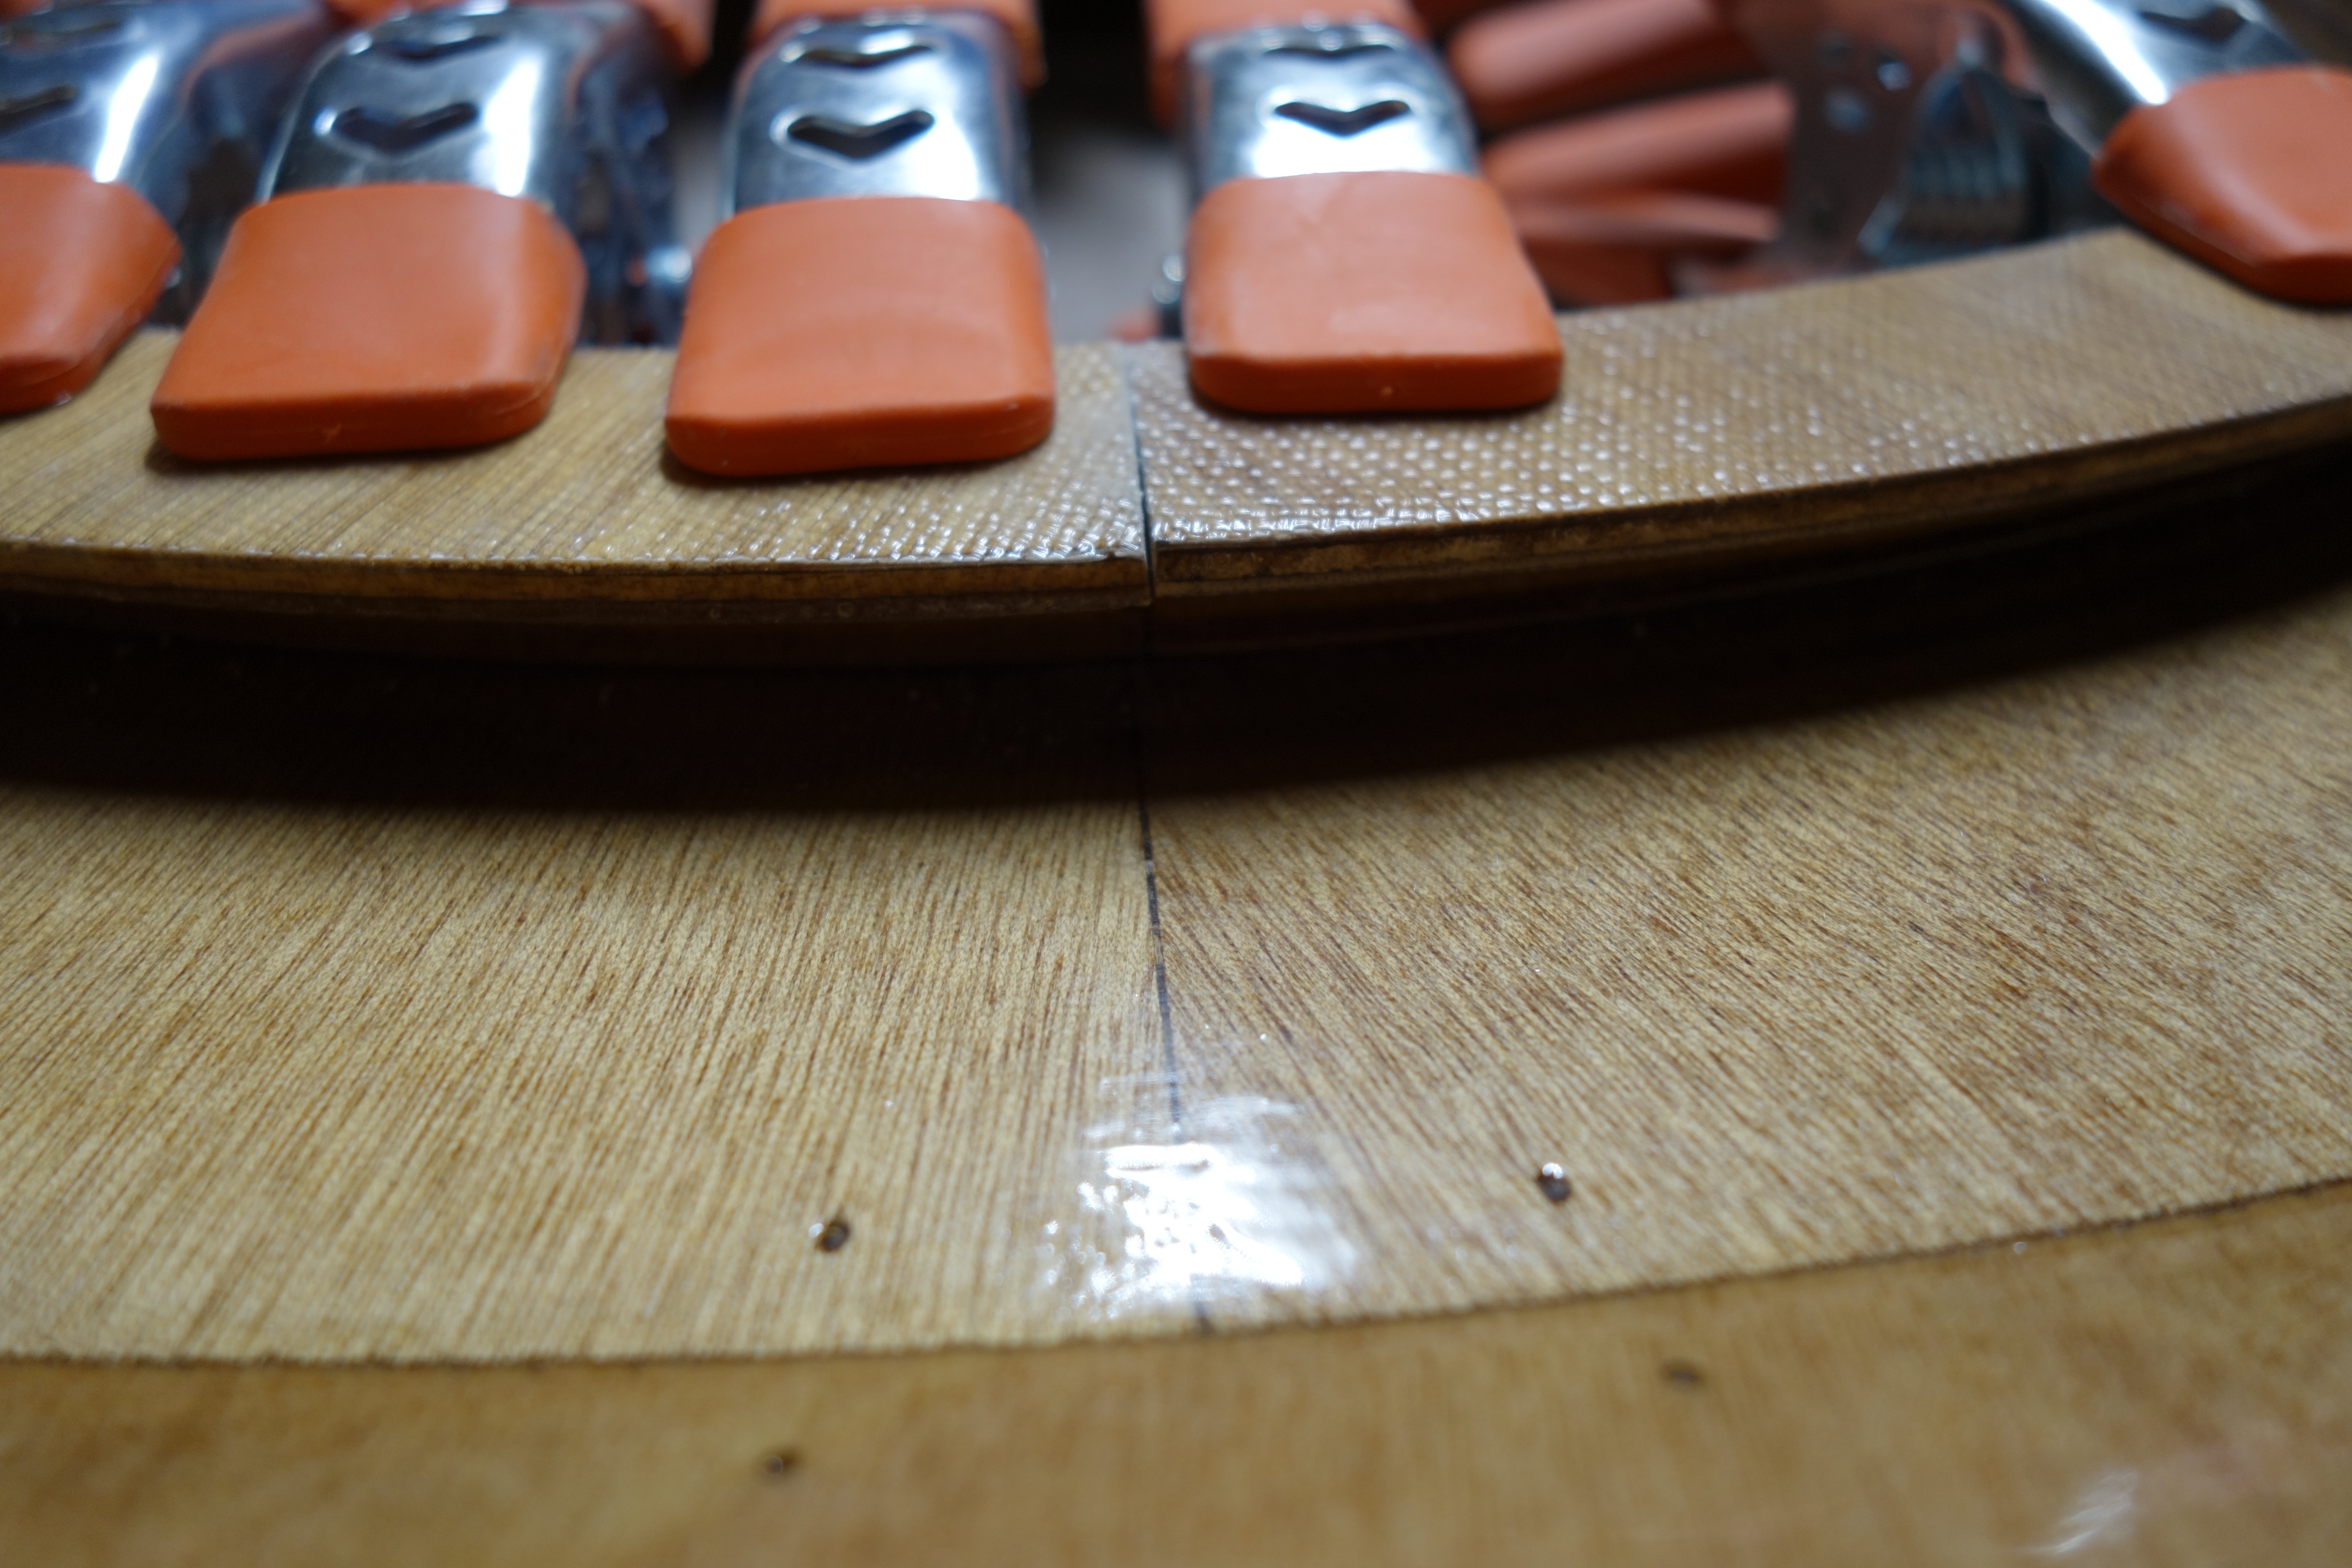
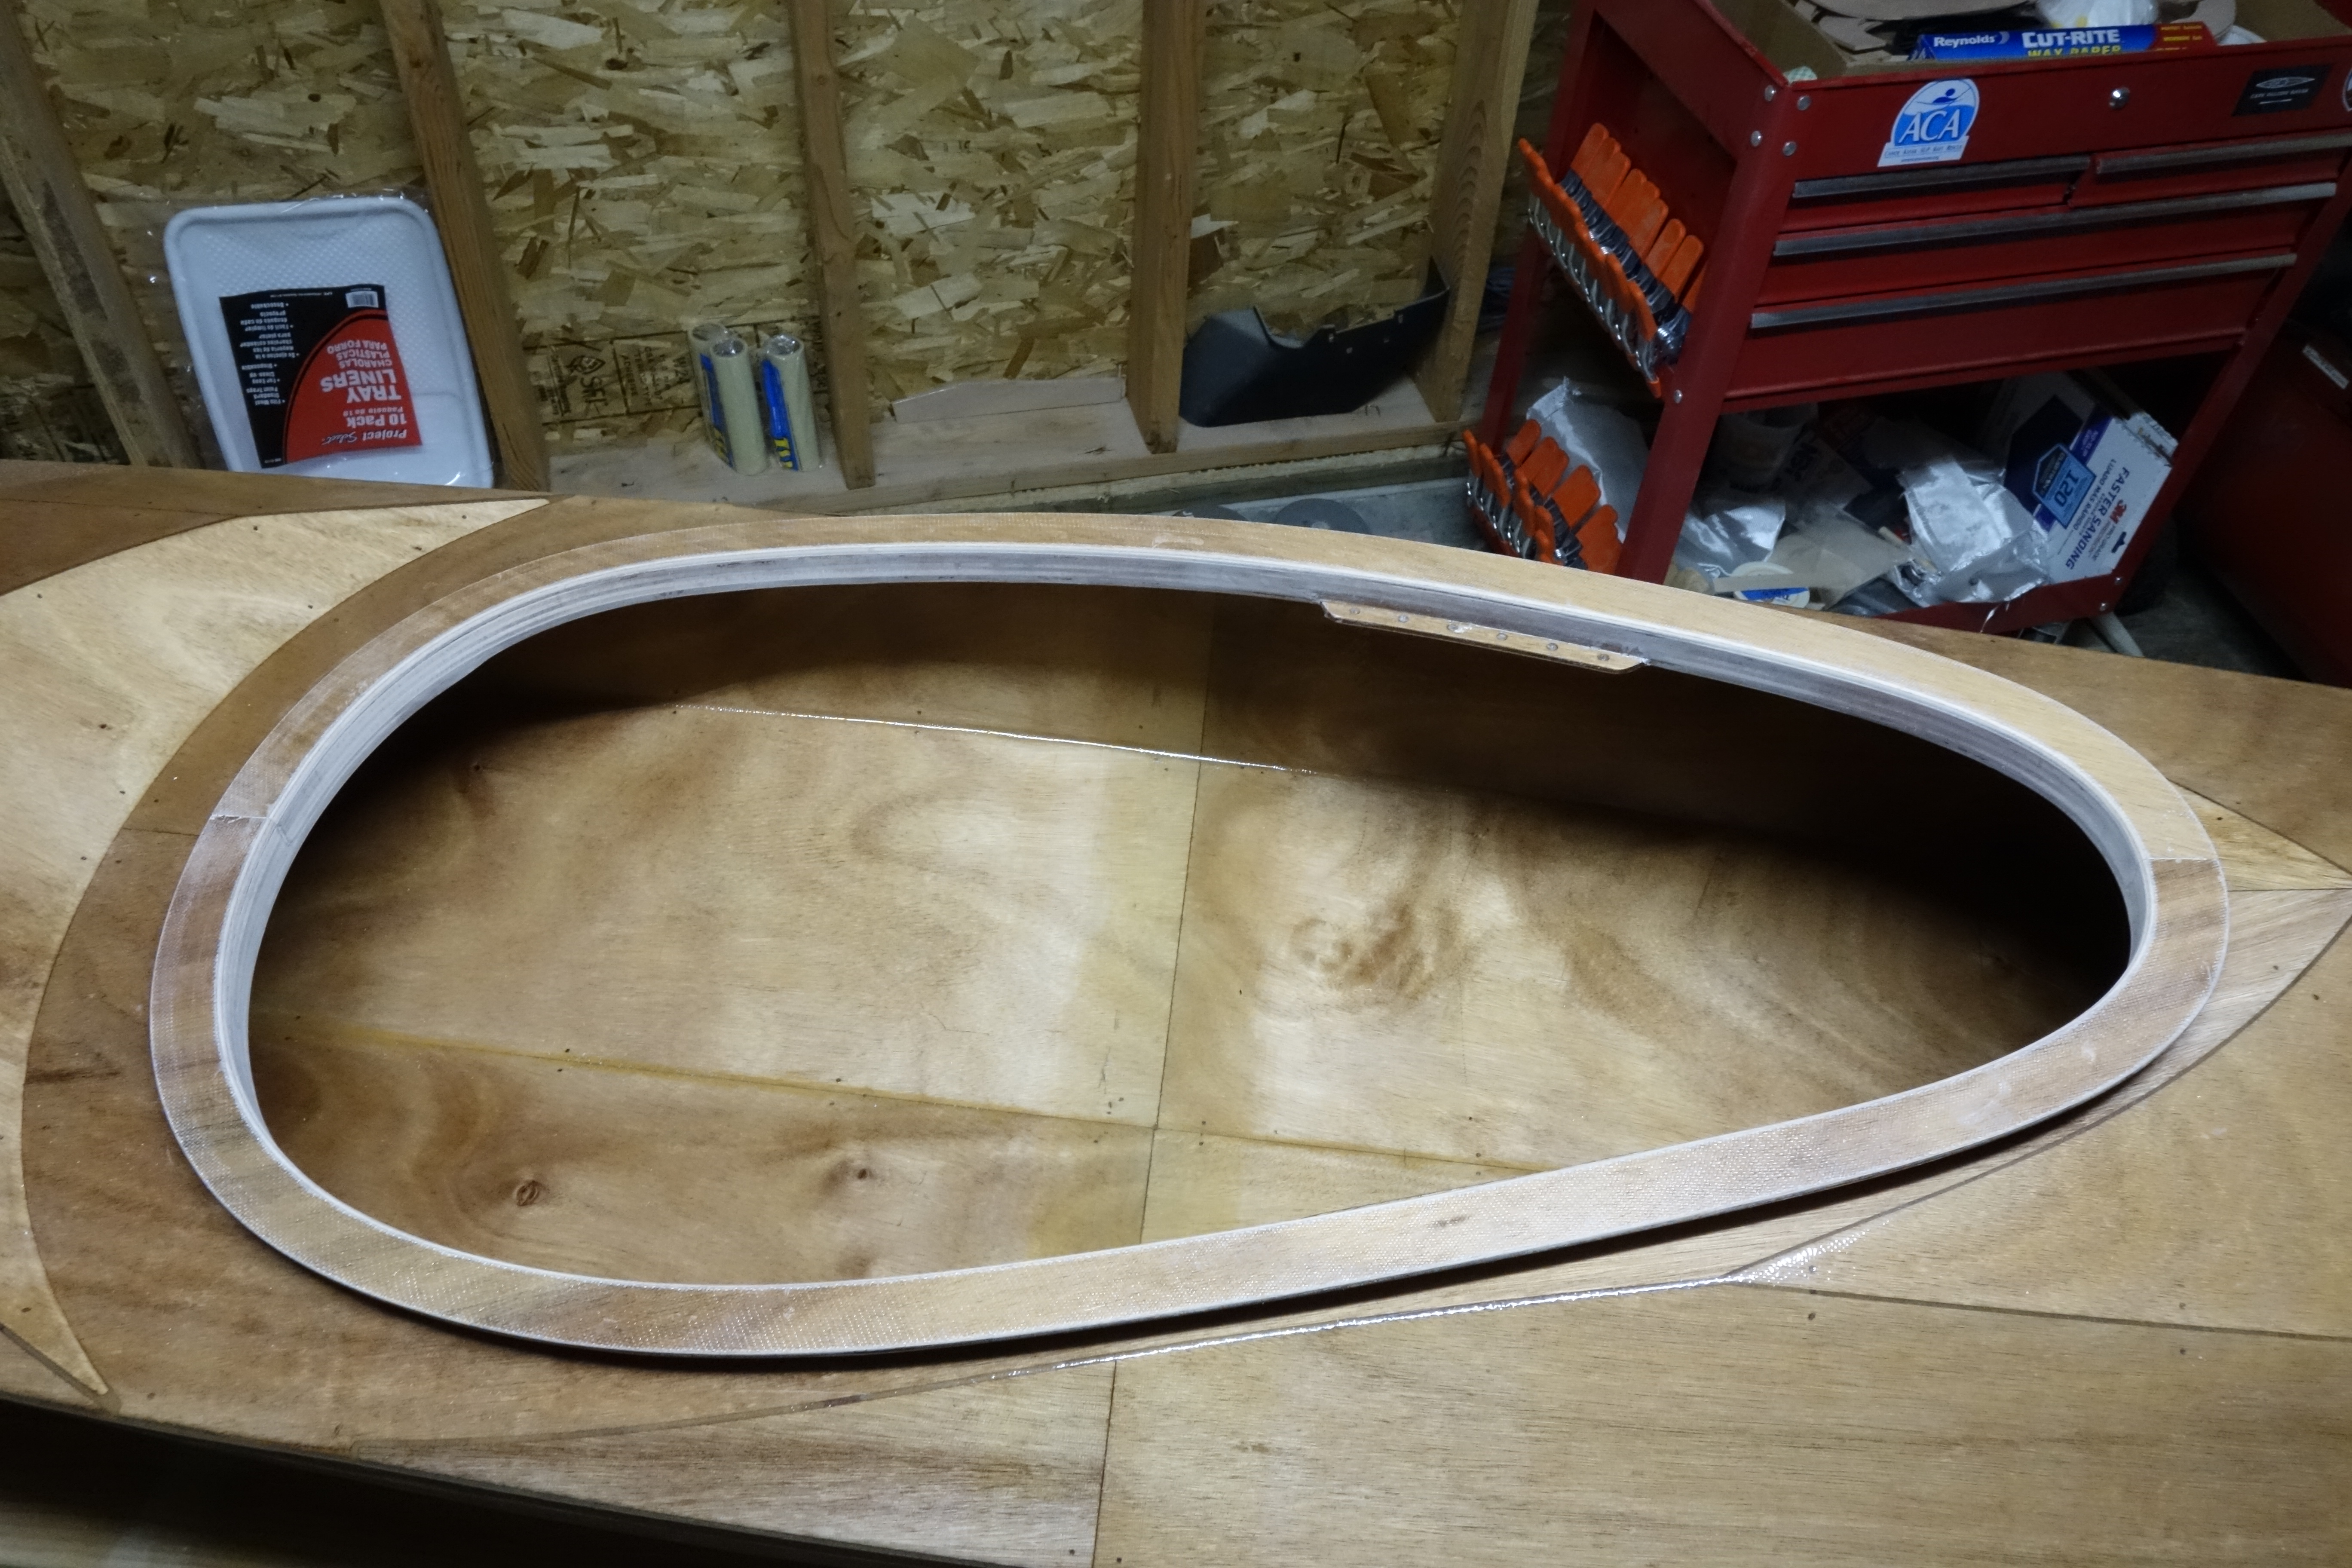
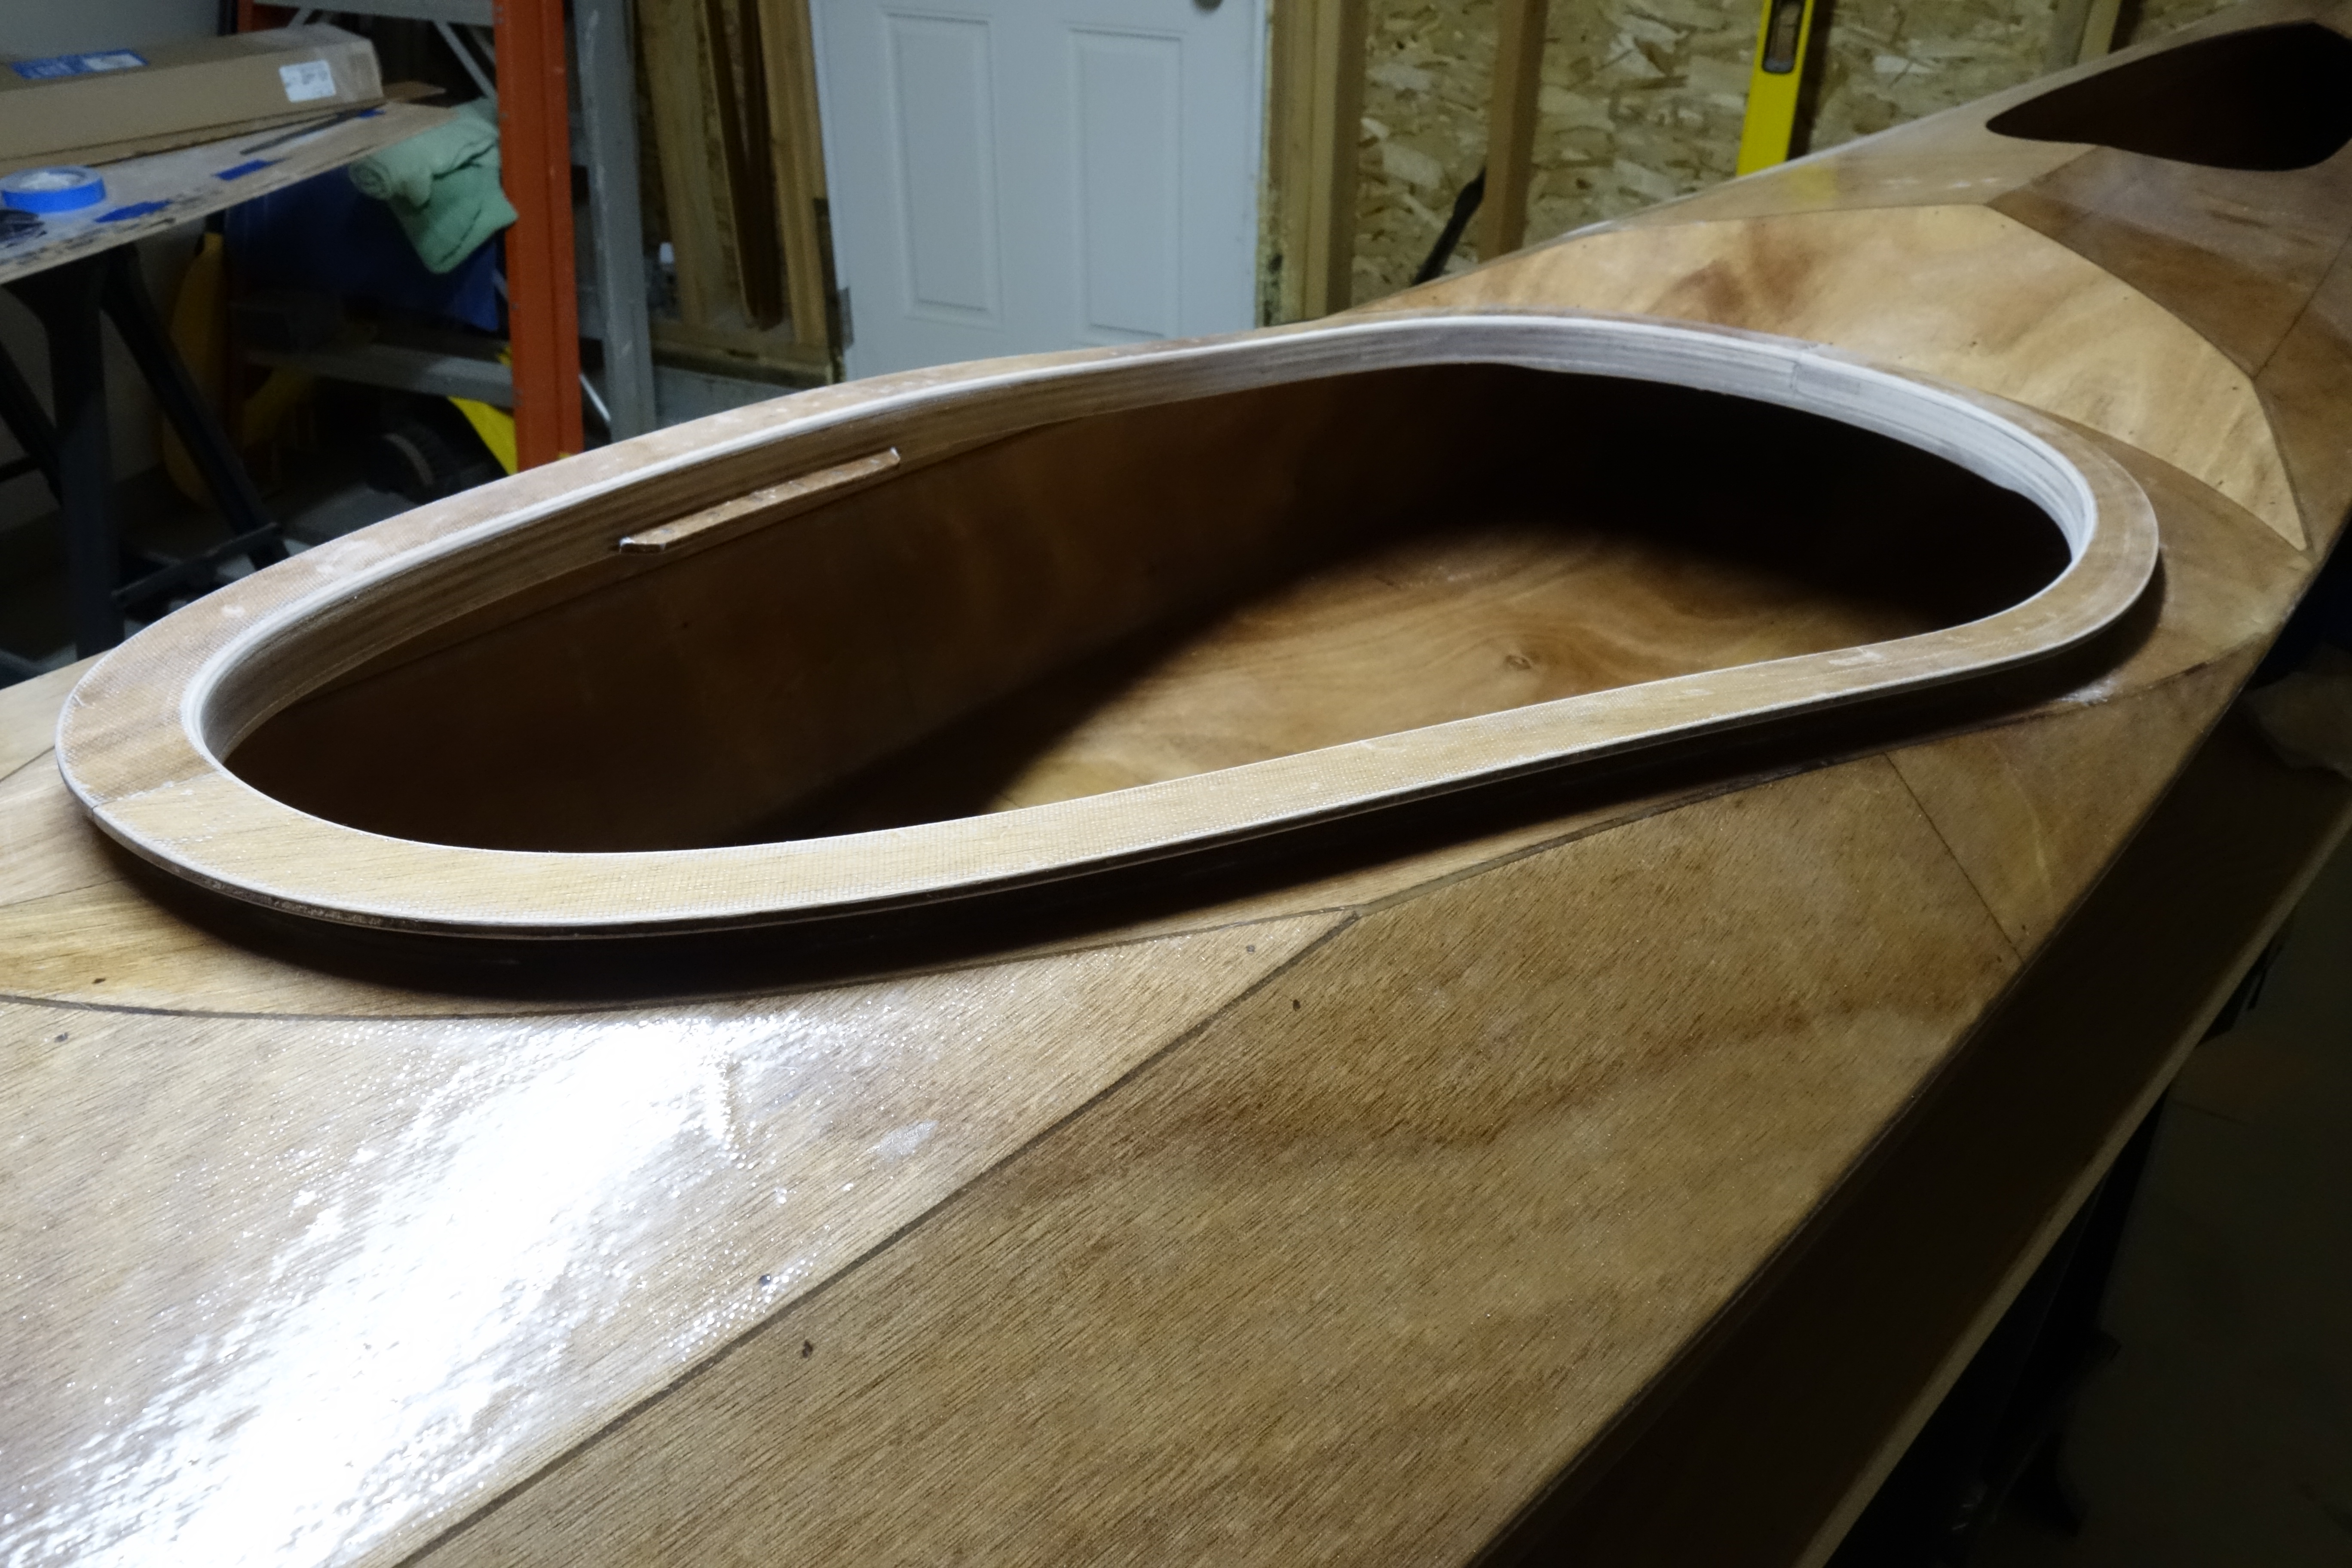
Filing and rough sanding done on the cockpit coaming. The upper coaming didn’t go together quite the way that I would have liked, but it turned out fine. There is probably something about fitting a fairly rigid curved piece of wood to another complex curve that eluded me, but would have been simple for someone else. Anyway, there have only been a couple of stages/processes in the entire build where I have wished that I could go back in time a day or two and try again and this was one of them. What happened in this case is that is that as I glued the upper coaming pieces, there were places that I couldn’t flex the upper pieces enough to make them “flush” everywhere with the inside of the lower coaming. In a couple of spots I thought that the upper pieces were only hanging over the inside of the coaming by an 1/16″ or so, but after the epoxy had cured and the clamps were removed, I found that in at least one section it was hanging over the inside edge as much as 3/16″, which is a lot when the overall width of the upper coaming piece is 1.25″. That meant that by sanding the insides of the upper coaming flush with the lower coaming, I was making the upper coaming narrower in a couple of places by nearly a 1/4″. This is definitely visible to the naked eye. I did my best to adjust both sides so that the kayak would have “bilateral symmetry”, but it isn’t perfect. Initially I was worried that maybe I really screwed up and actually made the outside of the coaming too shallow to hold a spray skirt securely, but I tested it and it’s fine. I may be the only one to ever notice this, but still…
Oh well, it’s not a Swiss watch. It just didn’t quite go to plan. I’m sure that before the kayak is completely finished there will be something else that bugs me as much, or more than this.
:^)
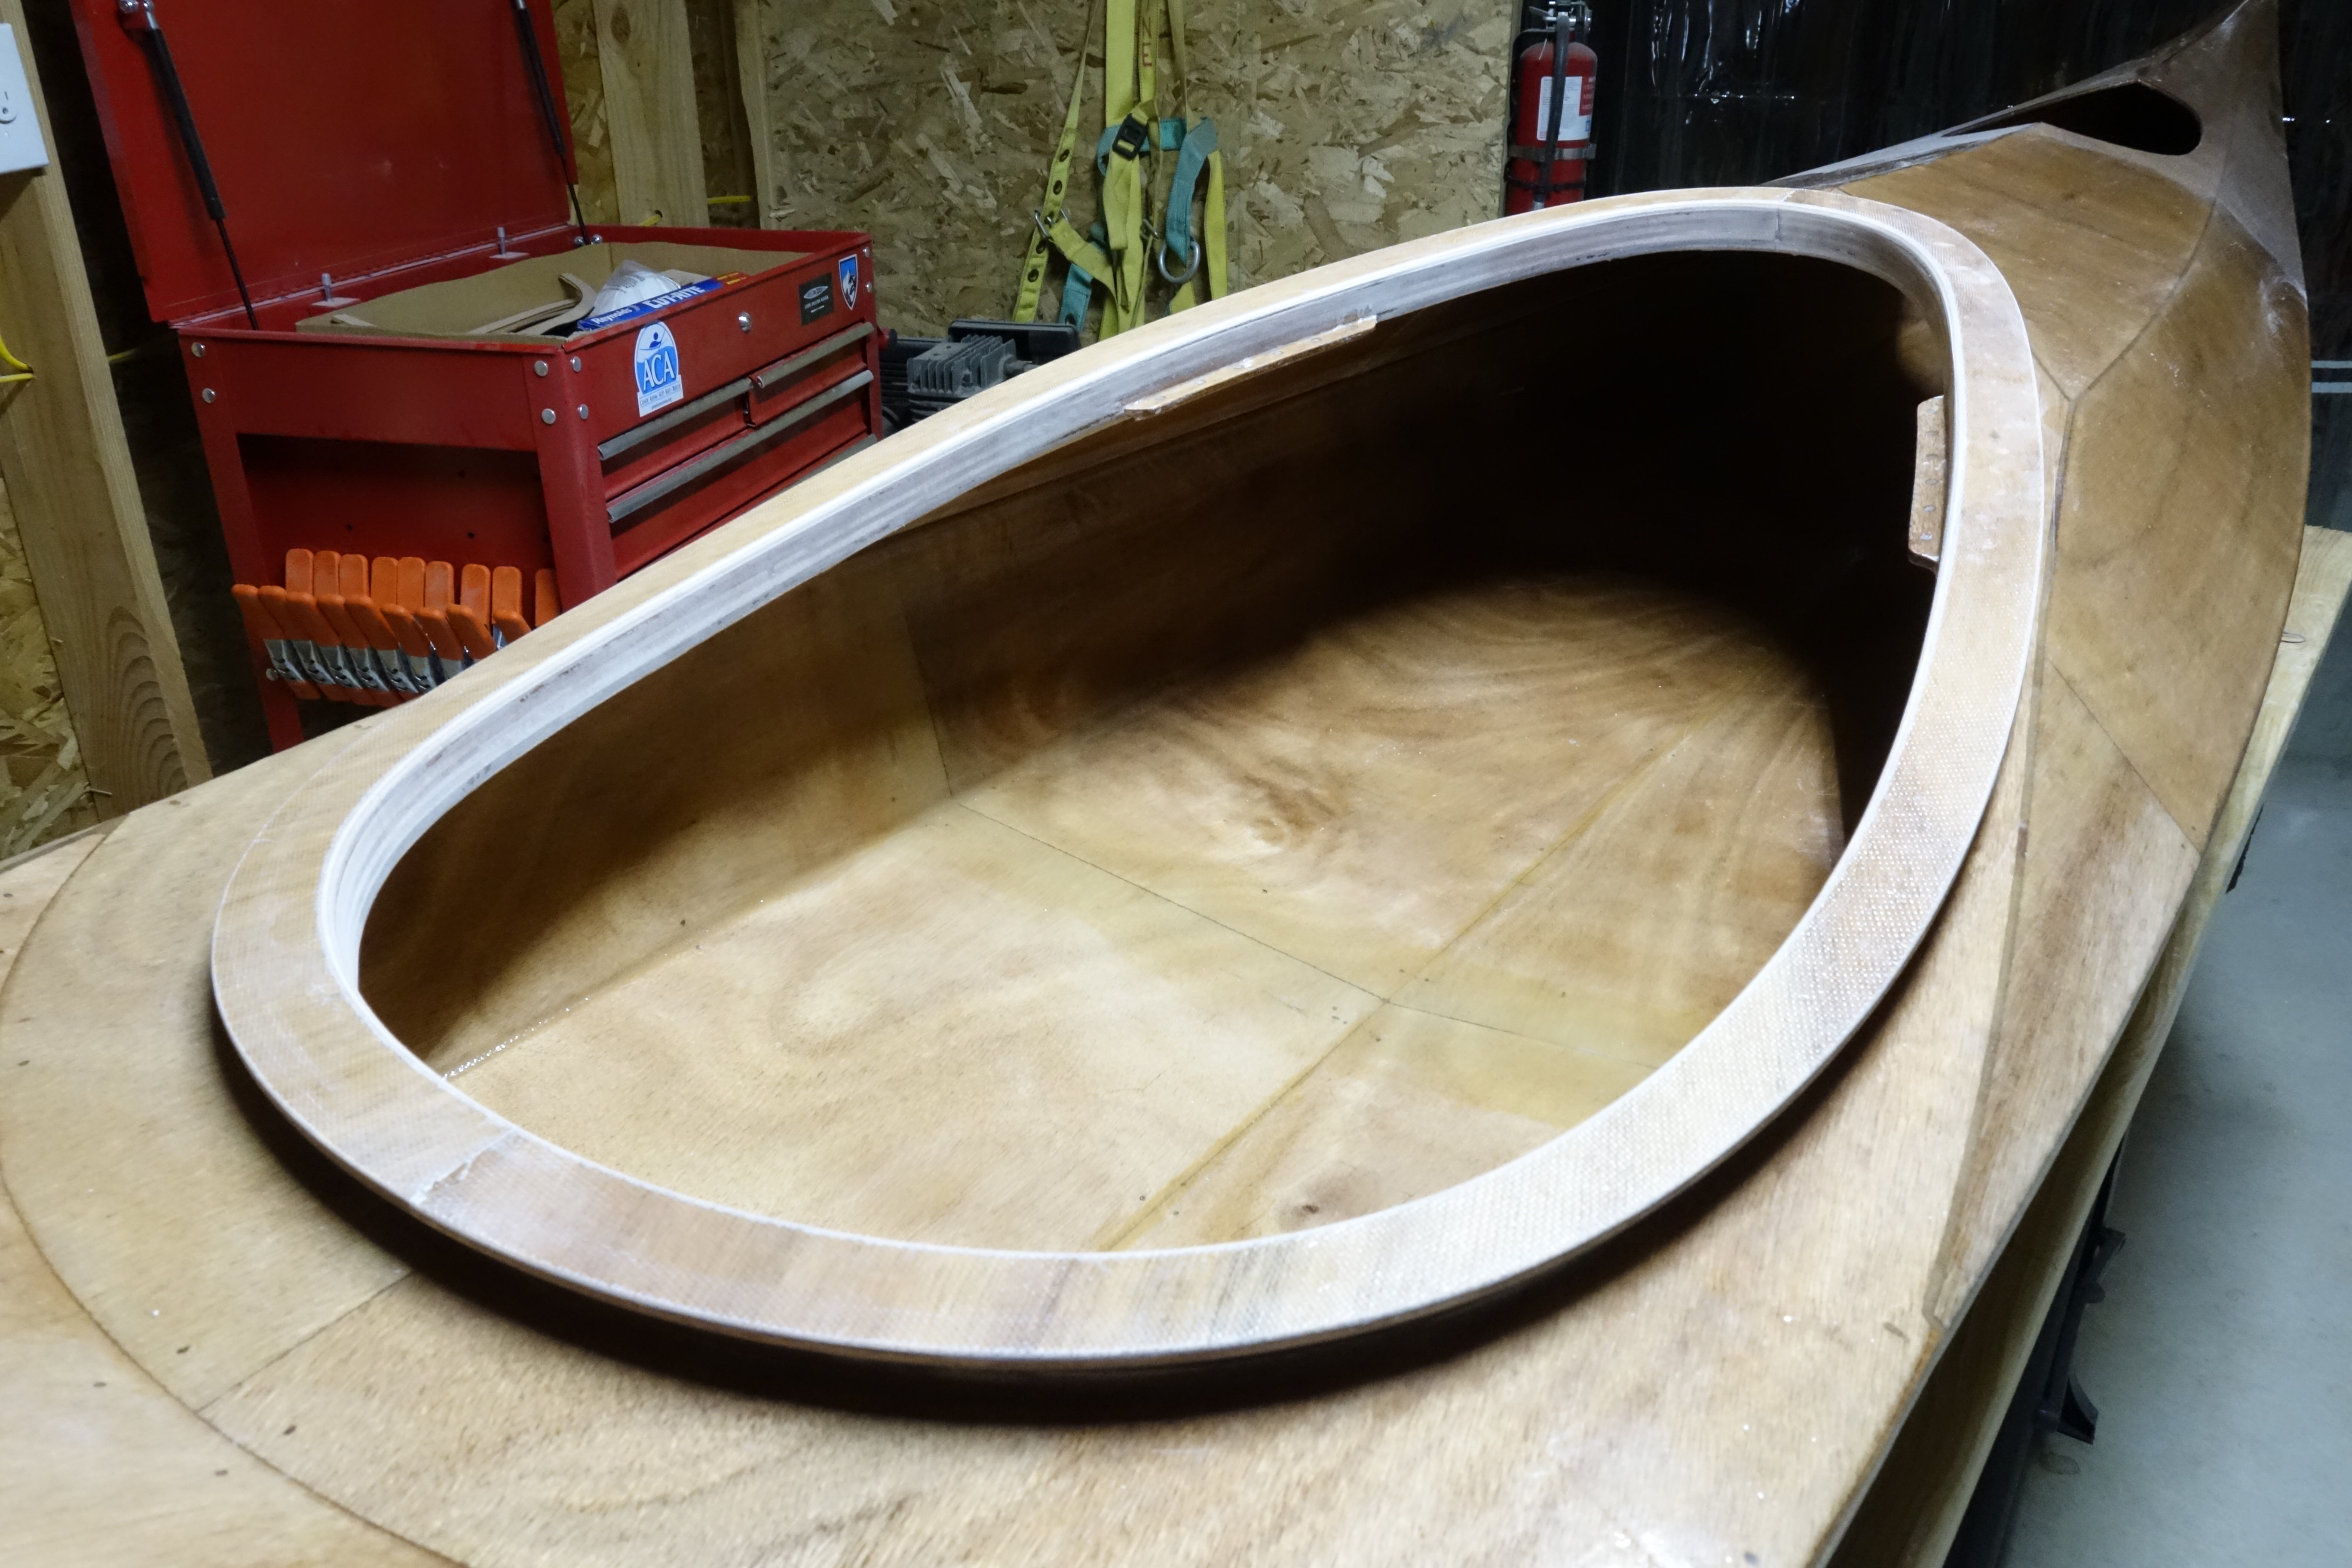
Next steps are to epoxy and fiberglass tape the shear seams inside the kayak. After that, installation of the bulkheads and hip braces, then end pours, then finishing the hatch openings and hatch covers and drilling the holes at the bow and stern for hand toggles. At that point, the kayak construction will be complete. All that will need to be done after that is hours of sanding and varnishing. Then deck rigging. Then paddling!
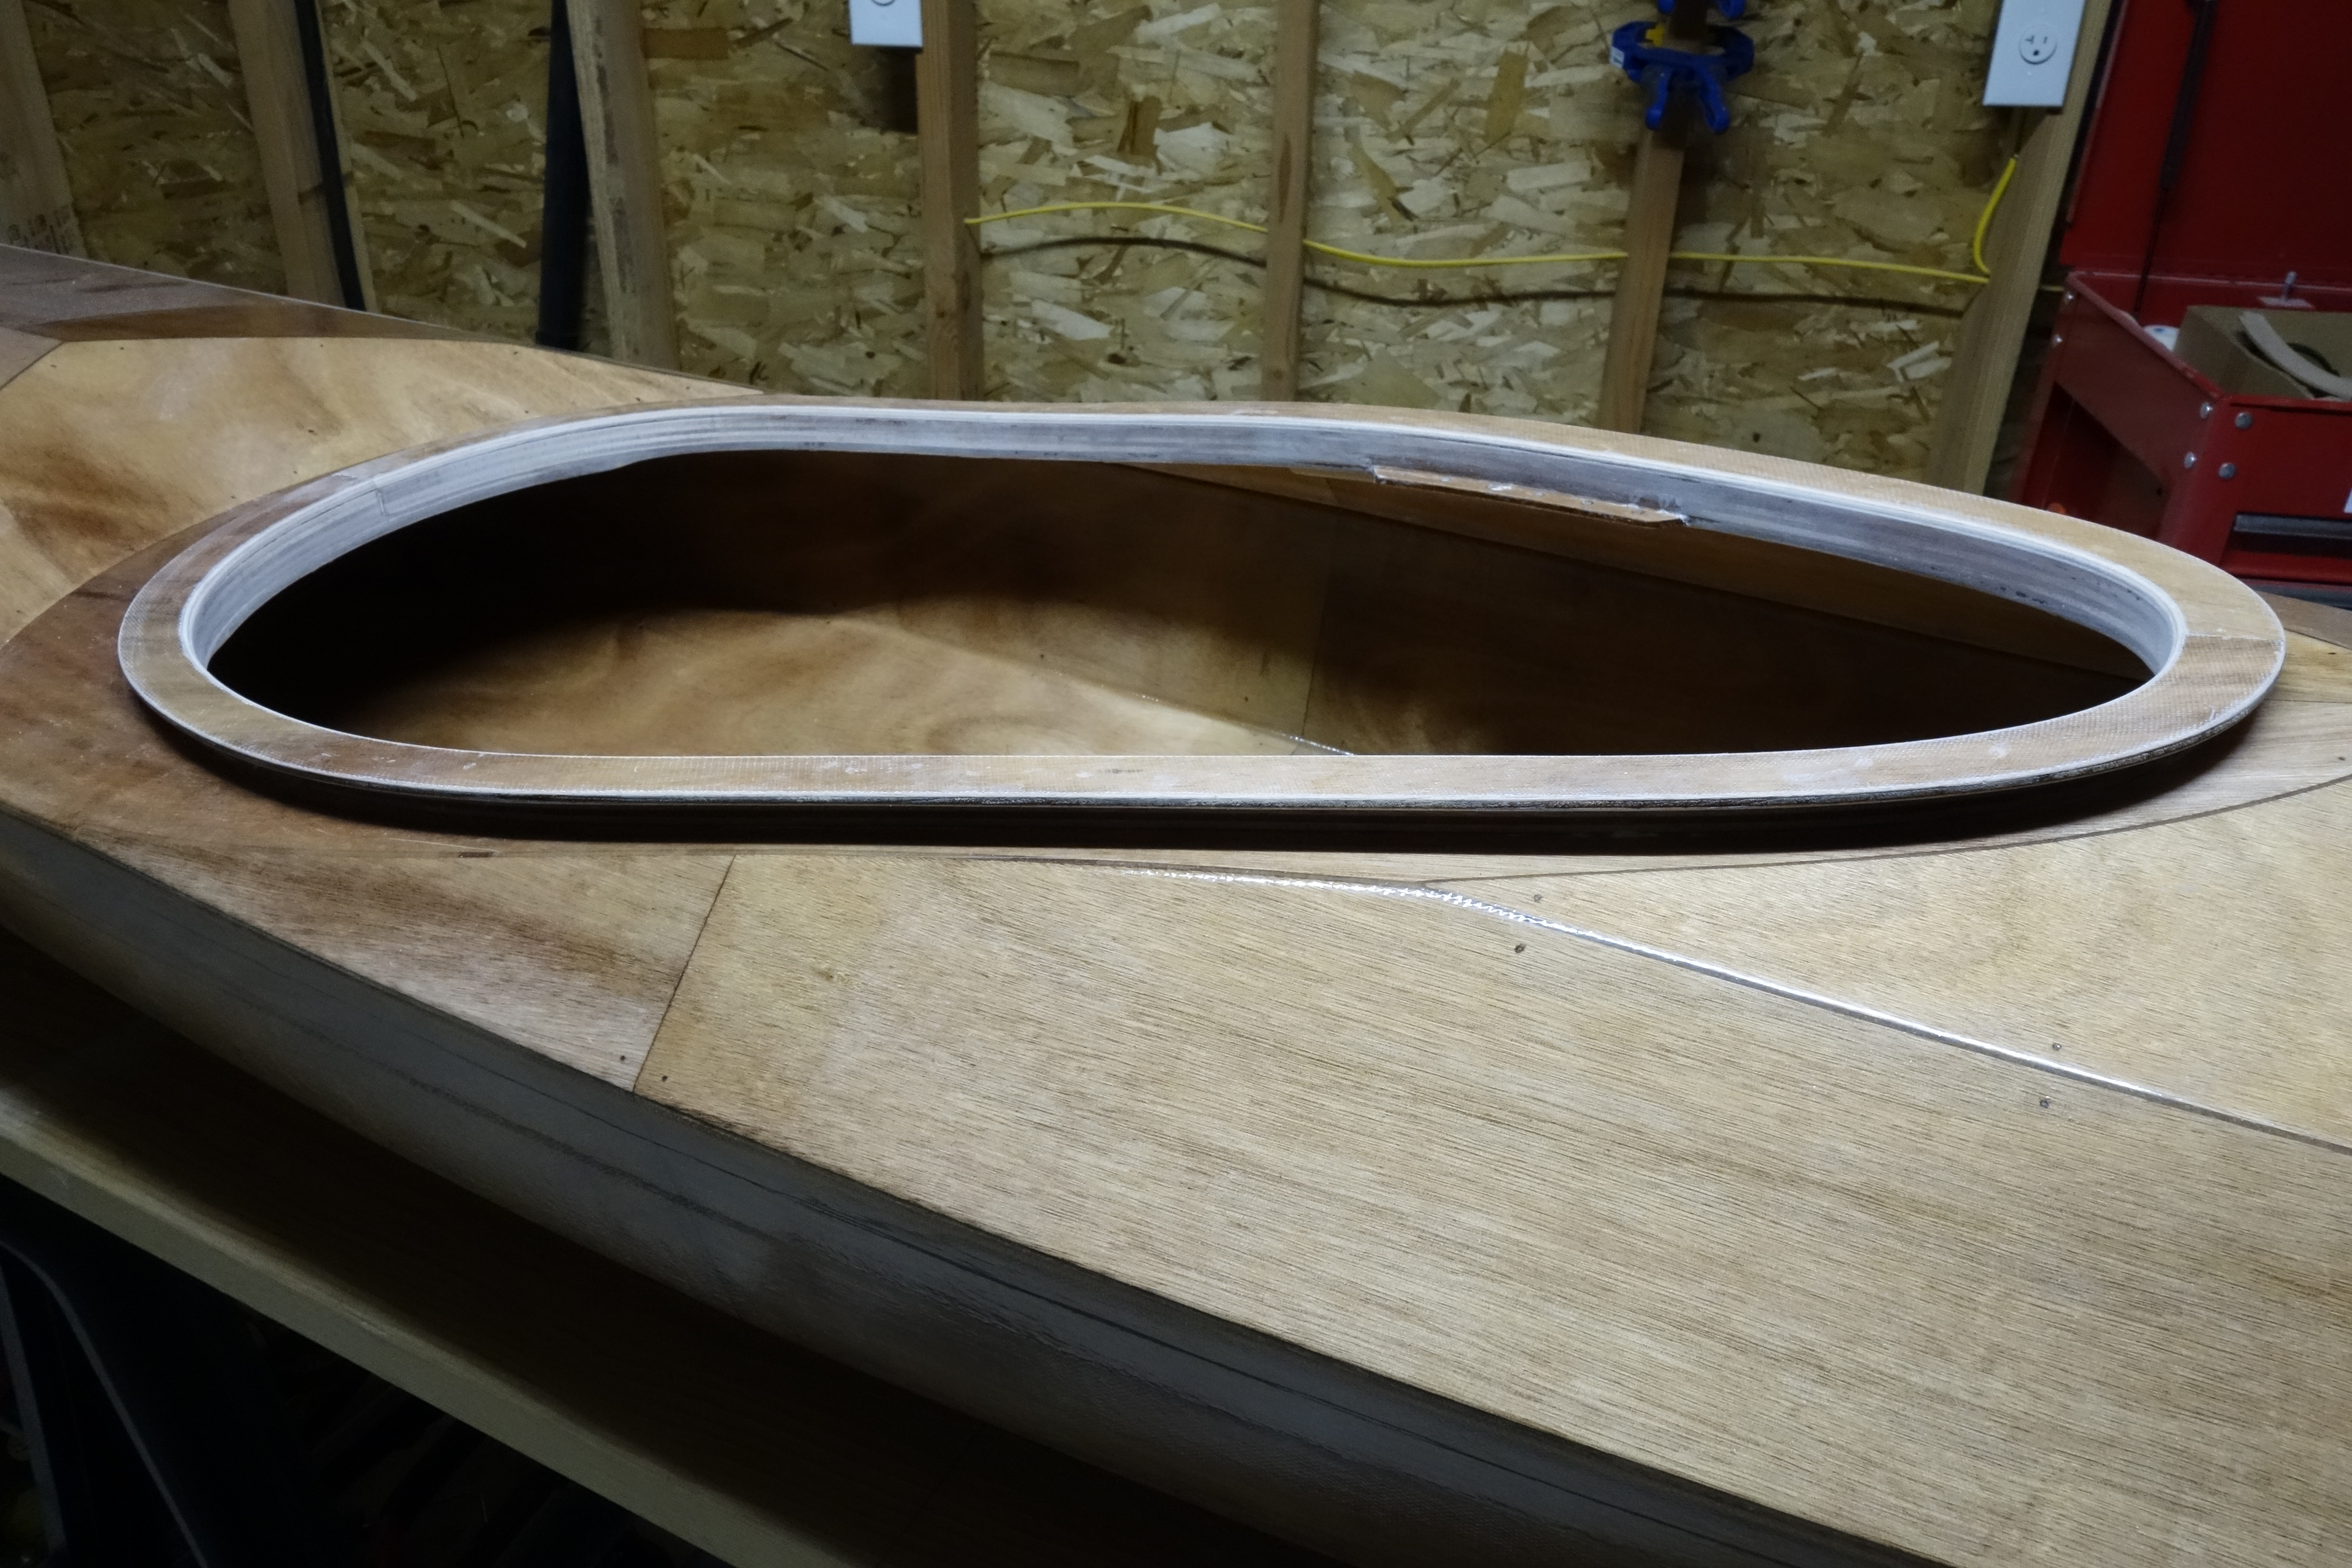
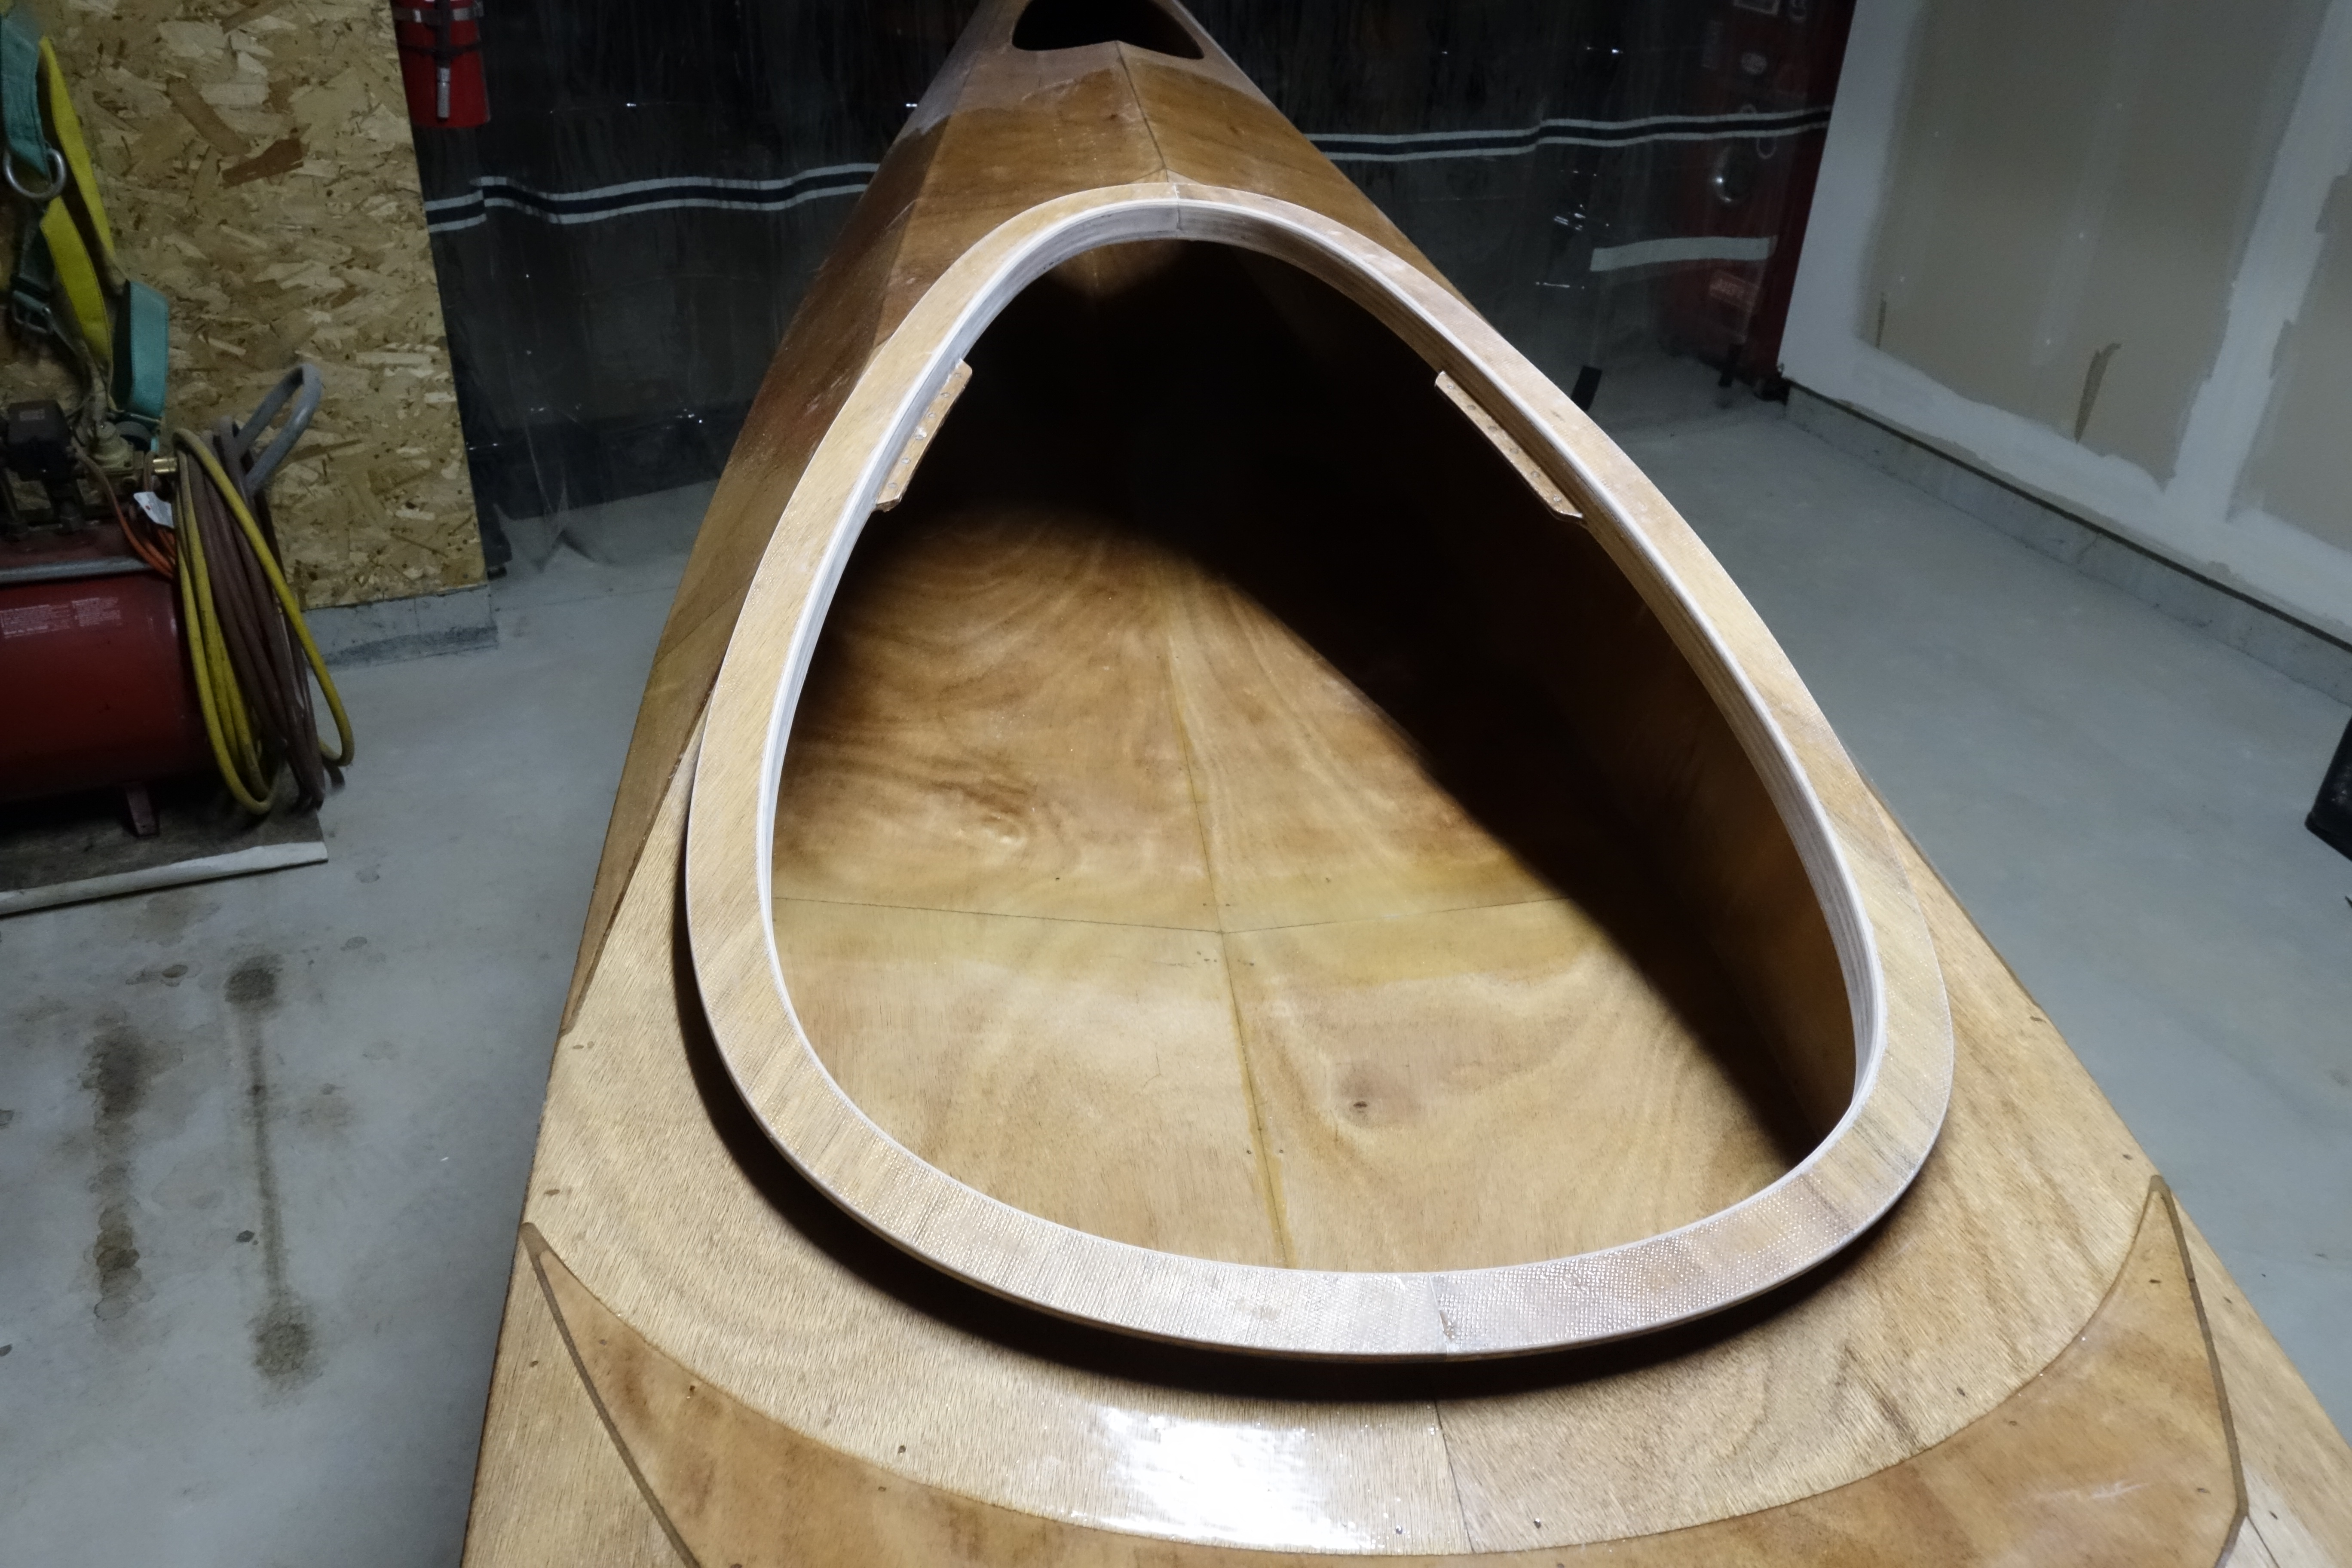
From these camera angles (photos above and below) the coaming looks great! I’ll just have to make sure that everyone looks at the kayak from these angles.
:^)
This morning I removed the clamps from the port side upper cockpit coaming and glued up the starboard side. I was able to get the seams between the two pieces to match very well. I am happy with the fit. Speaking of the fit, no matter how much filing, sanding, and flexing that I did I was not able to get the upper coaming pieces to perfectly match the inside dimensions of the lower pieces of the coaming. What I decided to do was to try to make sure that in the places where the upper coaming didn’t match exactly, that it would overhang the inside of the lower coaming rather than falling short. I reasoned that since the upper coaming pieces are only a 1/4″ thick on edge, that it would be much easier to sand the upper pieces to match the thicker lower pieces, than it would be to sand the lower pieces to match the upper ones. If you zoom in and look closely at the photos you should be able to see what I mean. If you have questions you are welcome to ask me anything in the comments and I will be happy to try to explain.
Here are a couple of photos of the port side coaming that I filed and sanded for a few minutes by hand. The top edge has not been rounded over as I will want to do that to the whole coaming at the same time so that I can make it uniform. Anyway, this will give some idea of how these separate pieces will come together after sanding. Looks good I think. I can’t wait to get the whole coaming sanded out and get a coat of epoxy on it so I can see how it will look finished!

I was able to get the first half of the upper cockpit coaming glued up. It will have to cure for at least 24 hours before I can move on to the other half. Then I’ll sand it all smooth and round over the edges, etc. After the cockpit coaming is done I will start doing the inside of the shear seams. The way my schedule is going, that will most likely be next weekend as I haven’t really had time to work on the kayak after work during the week.
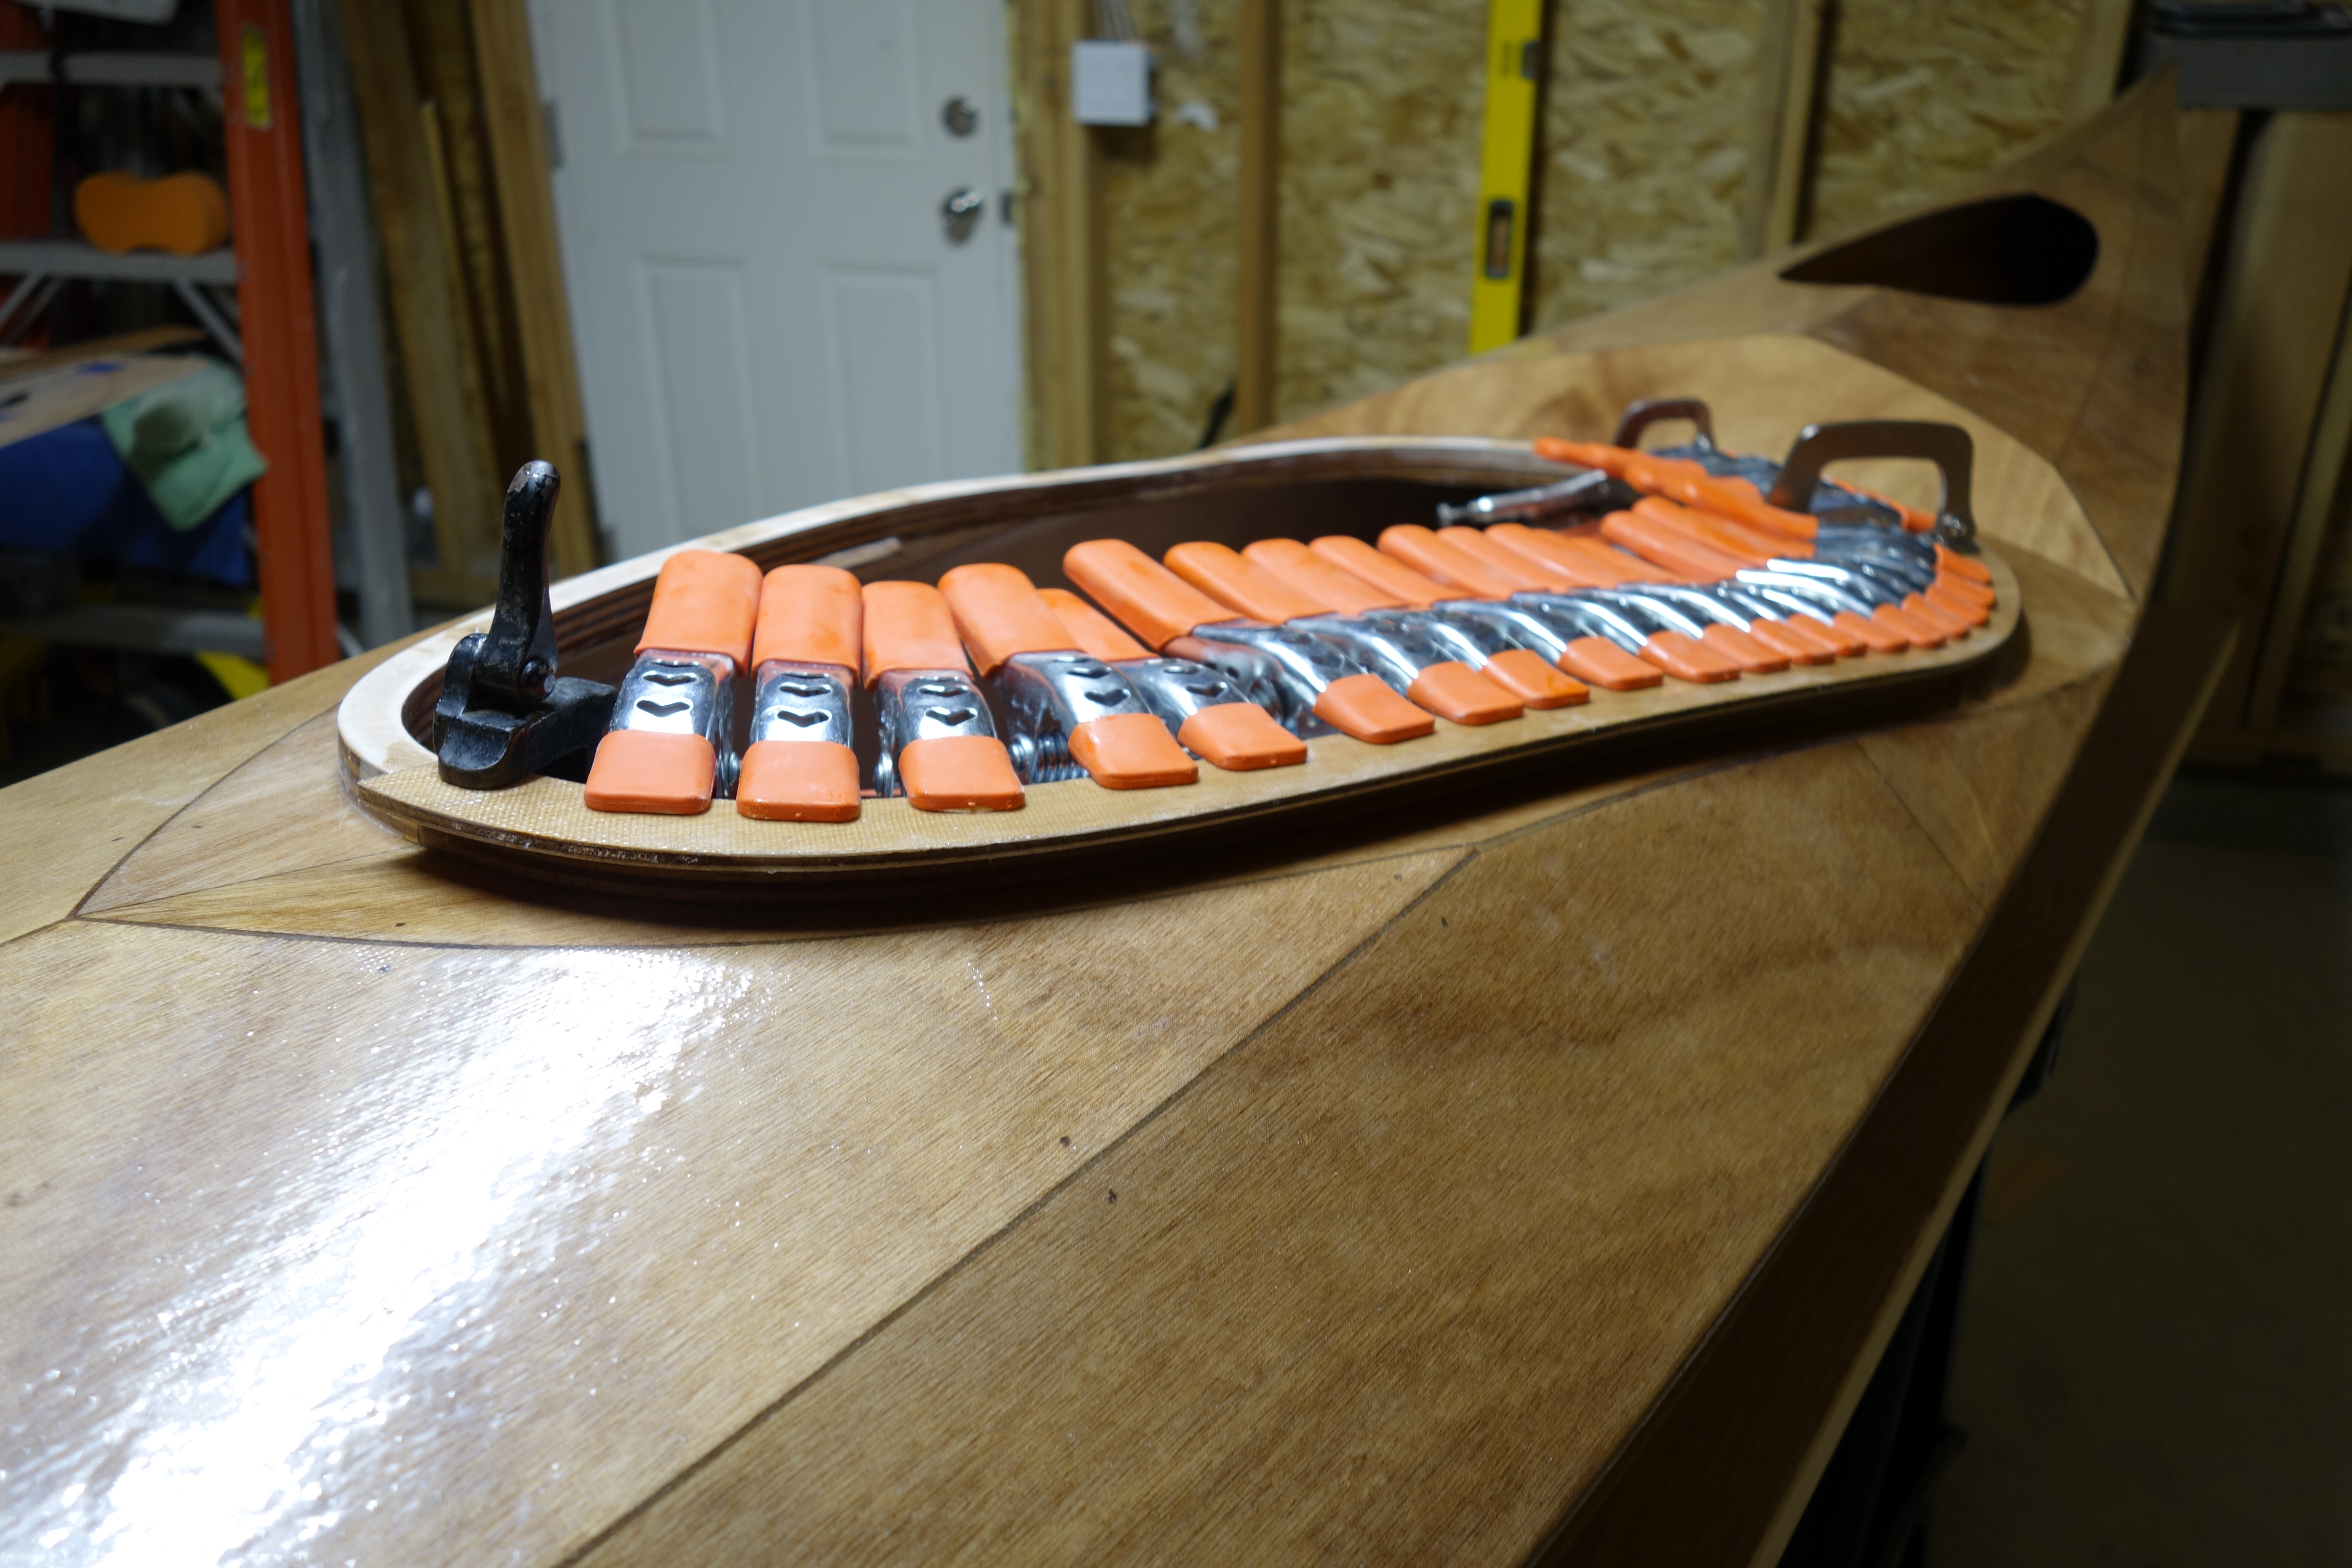


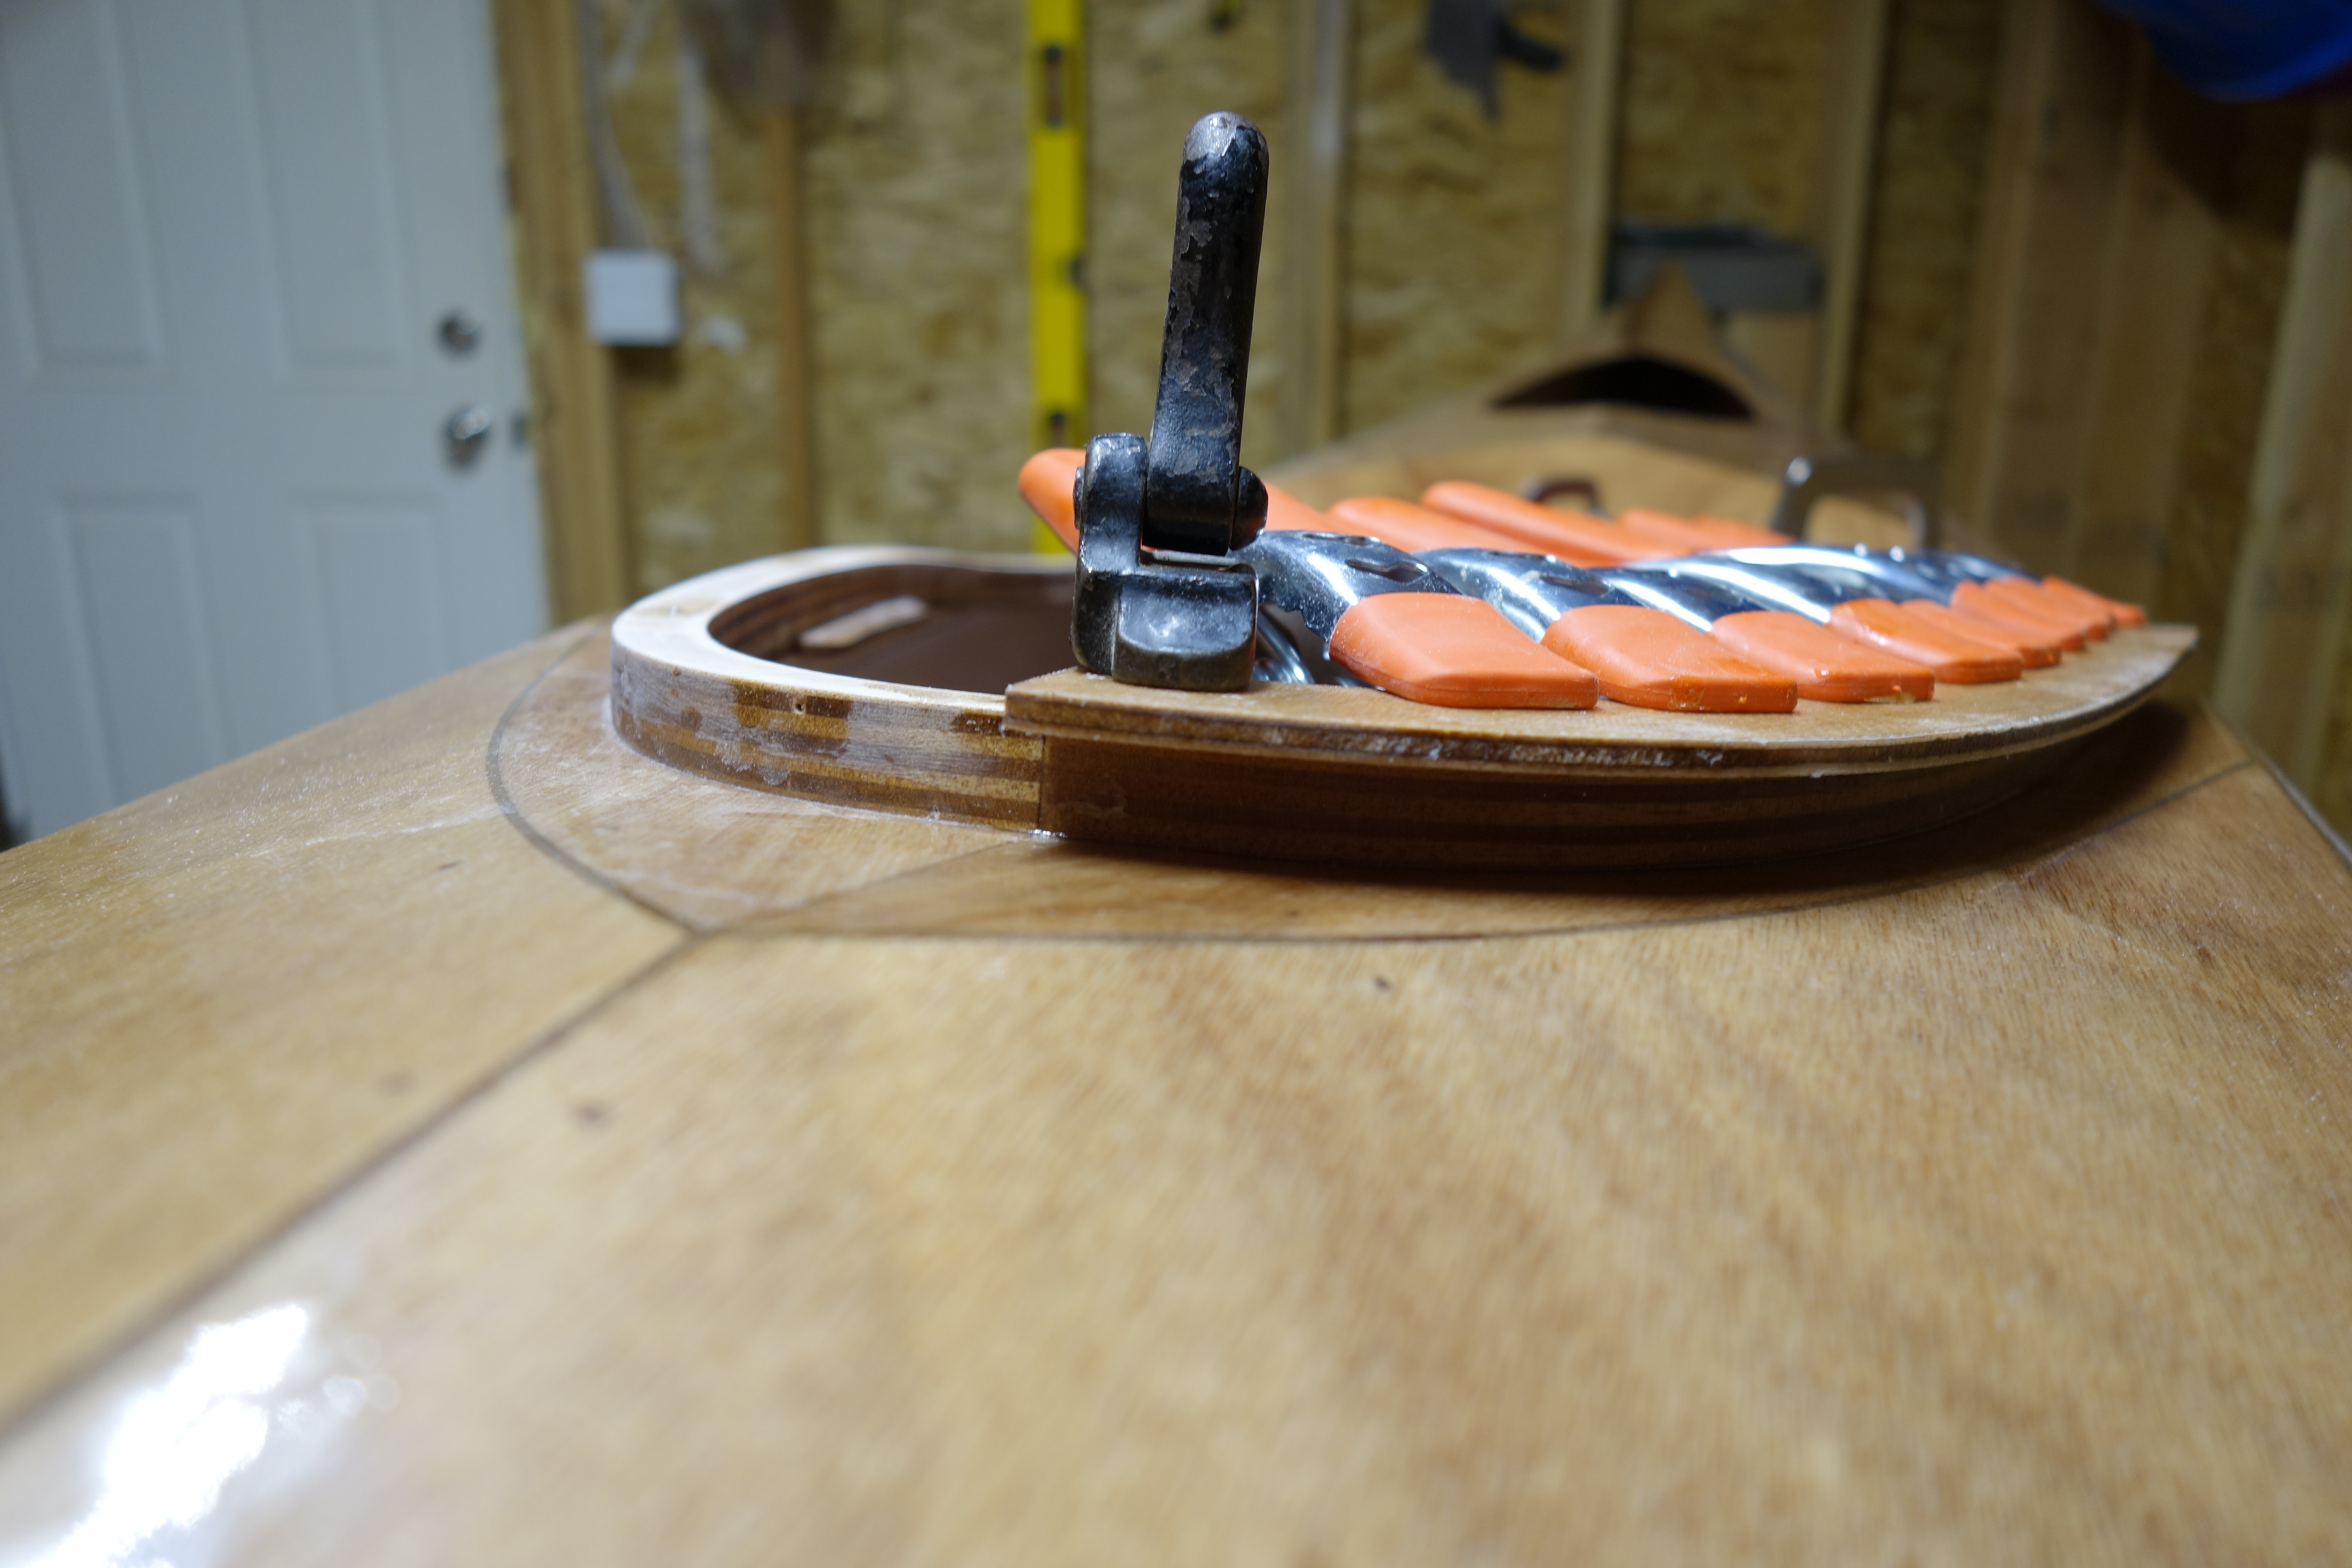

Using a flat wood file and sandpaper I am making fit adjustments to the upper cockpit coaming pieces. I will continue to adjust until I am happy with the dry fit and then in the next day or two I will glue them up one at a time like the lower coaming pieces. The cockpit coaming will be done this weekend and then I can finish the inside of the shear seams with epoxy and fiberglass tape. I had to wait until I cut the hatch openings so that I could more easily reach the entire length of the shear seams inside the kayak.