Epoxy touch up on cockpit coaming finished. Ready for varnish!

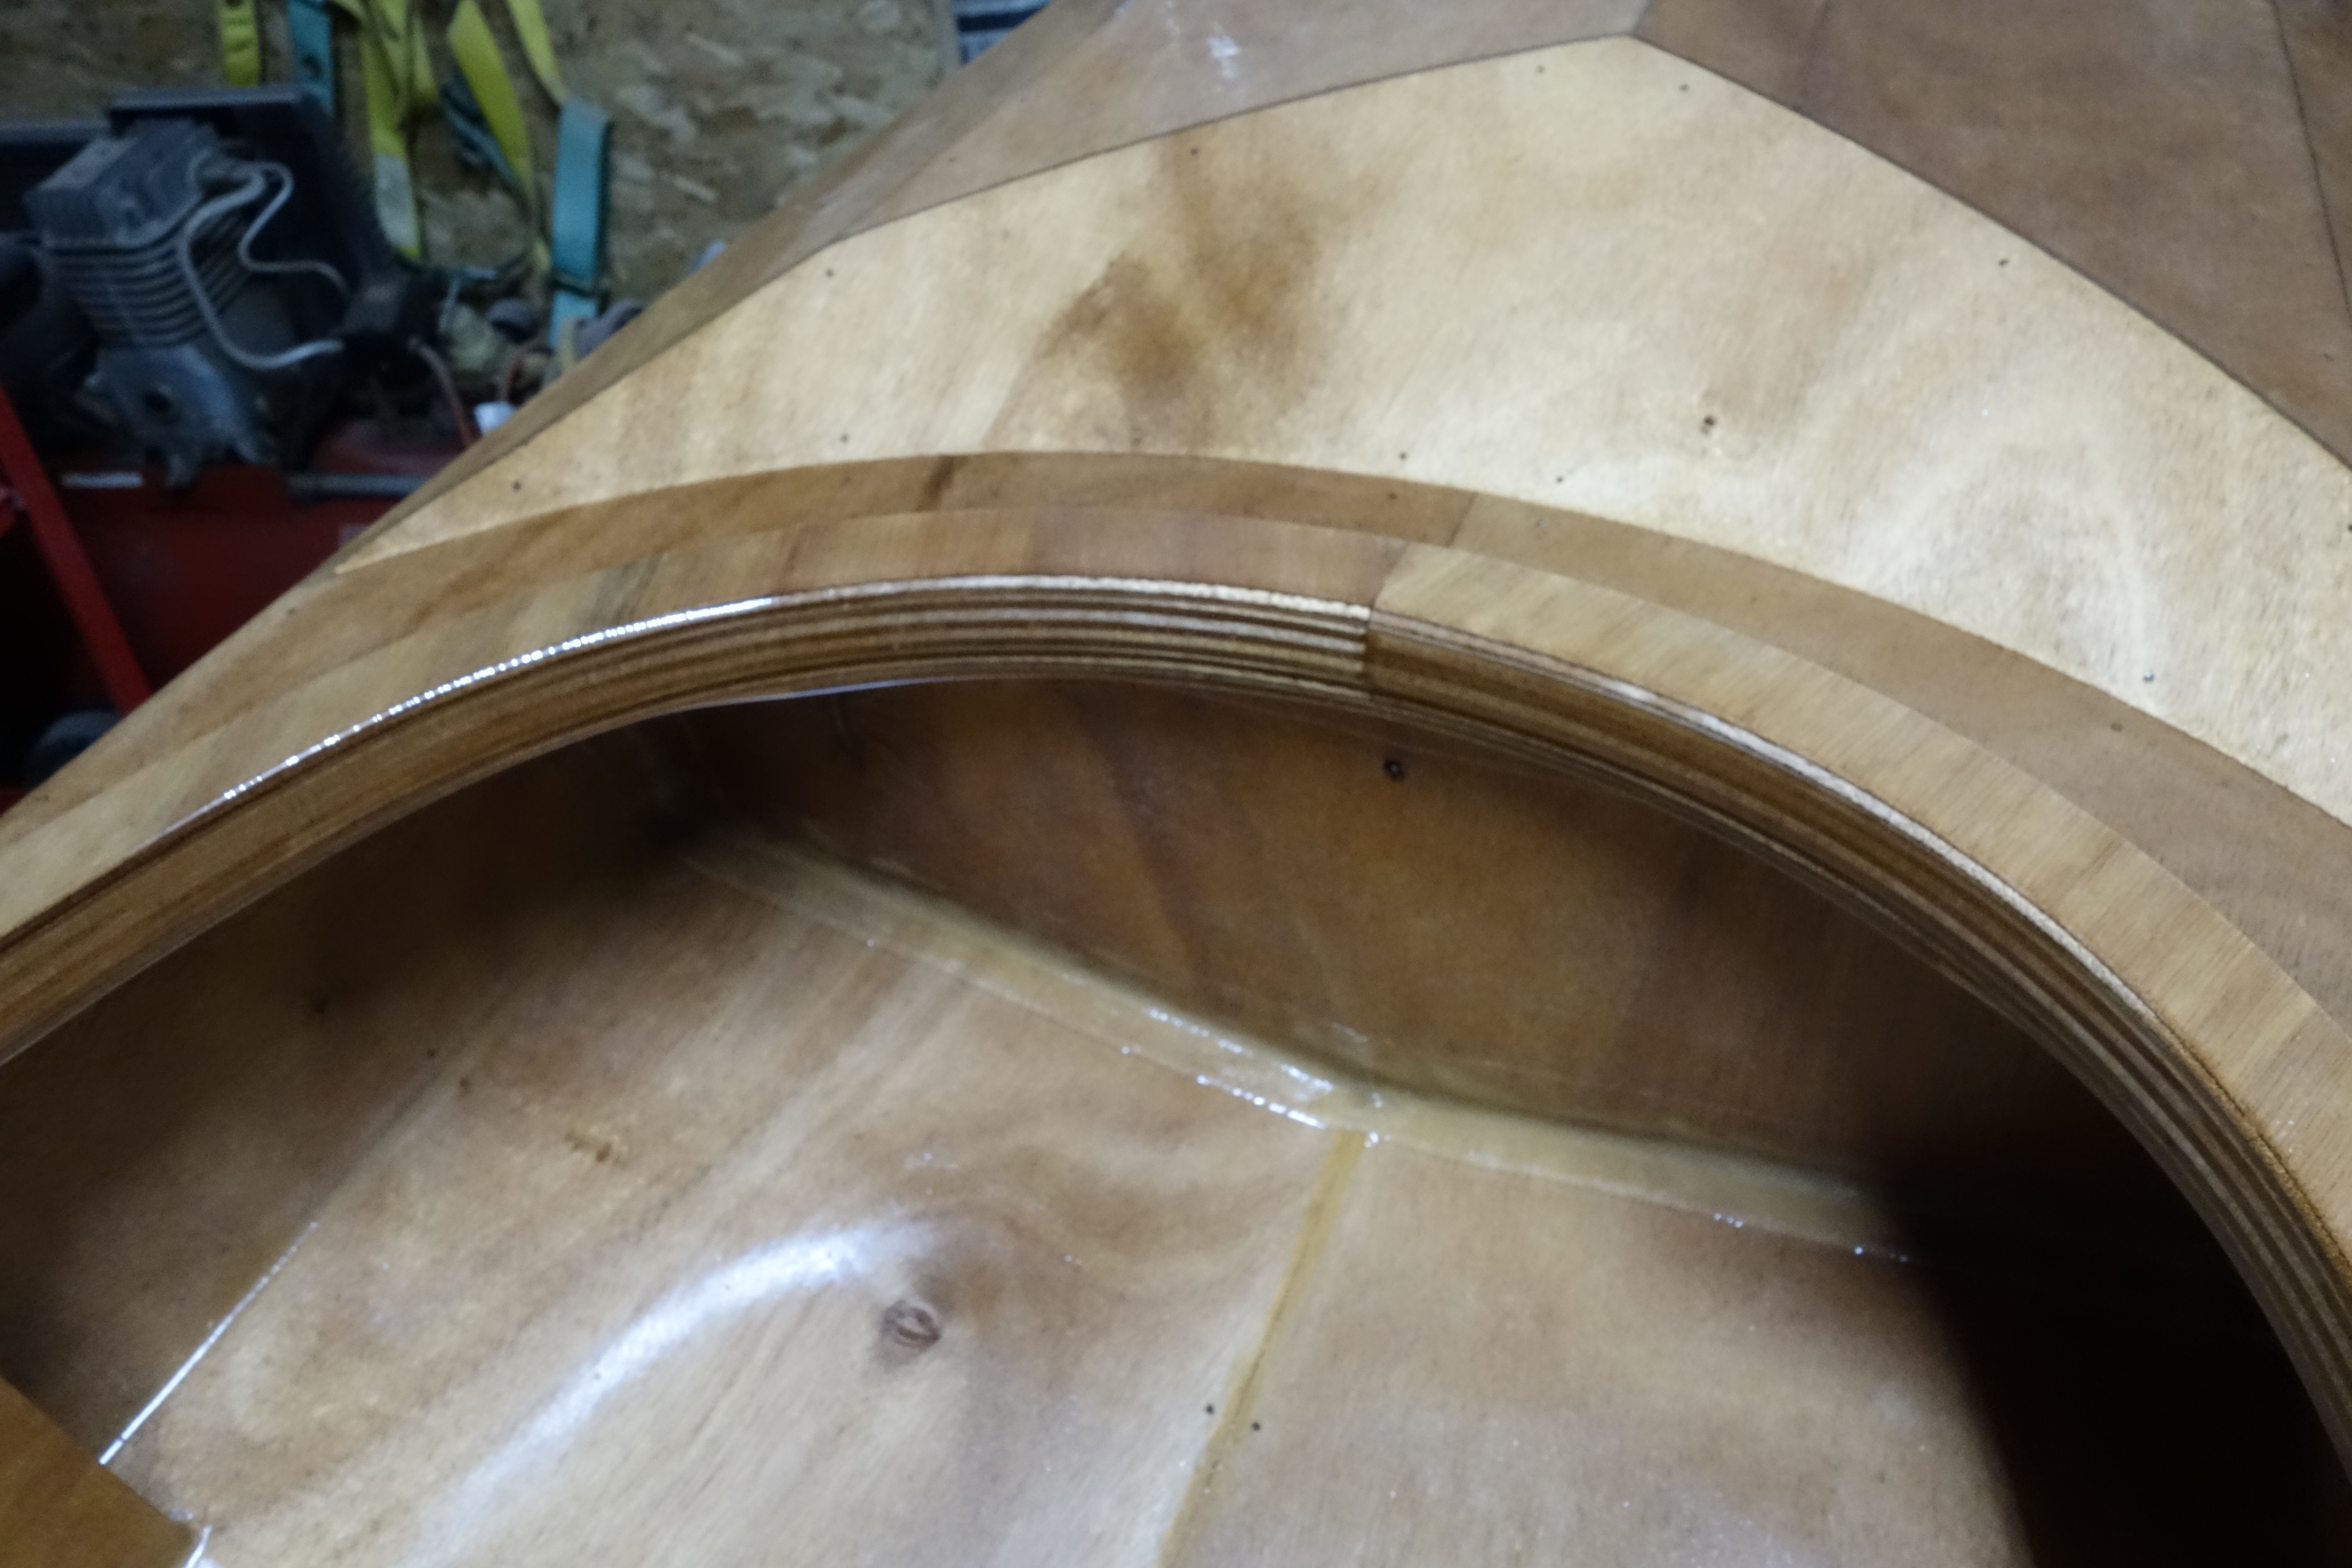
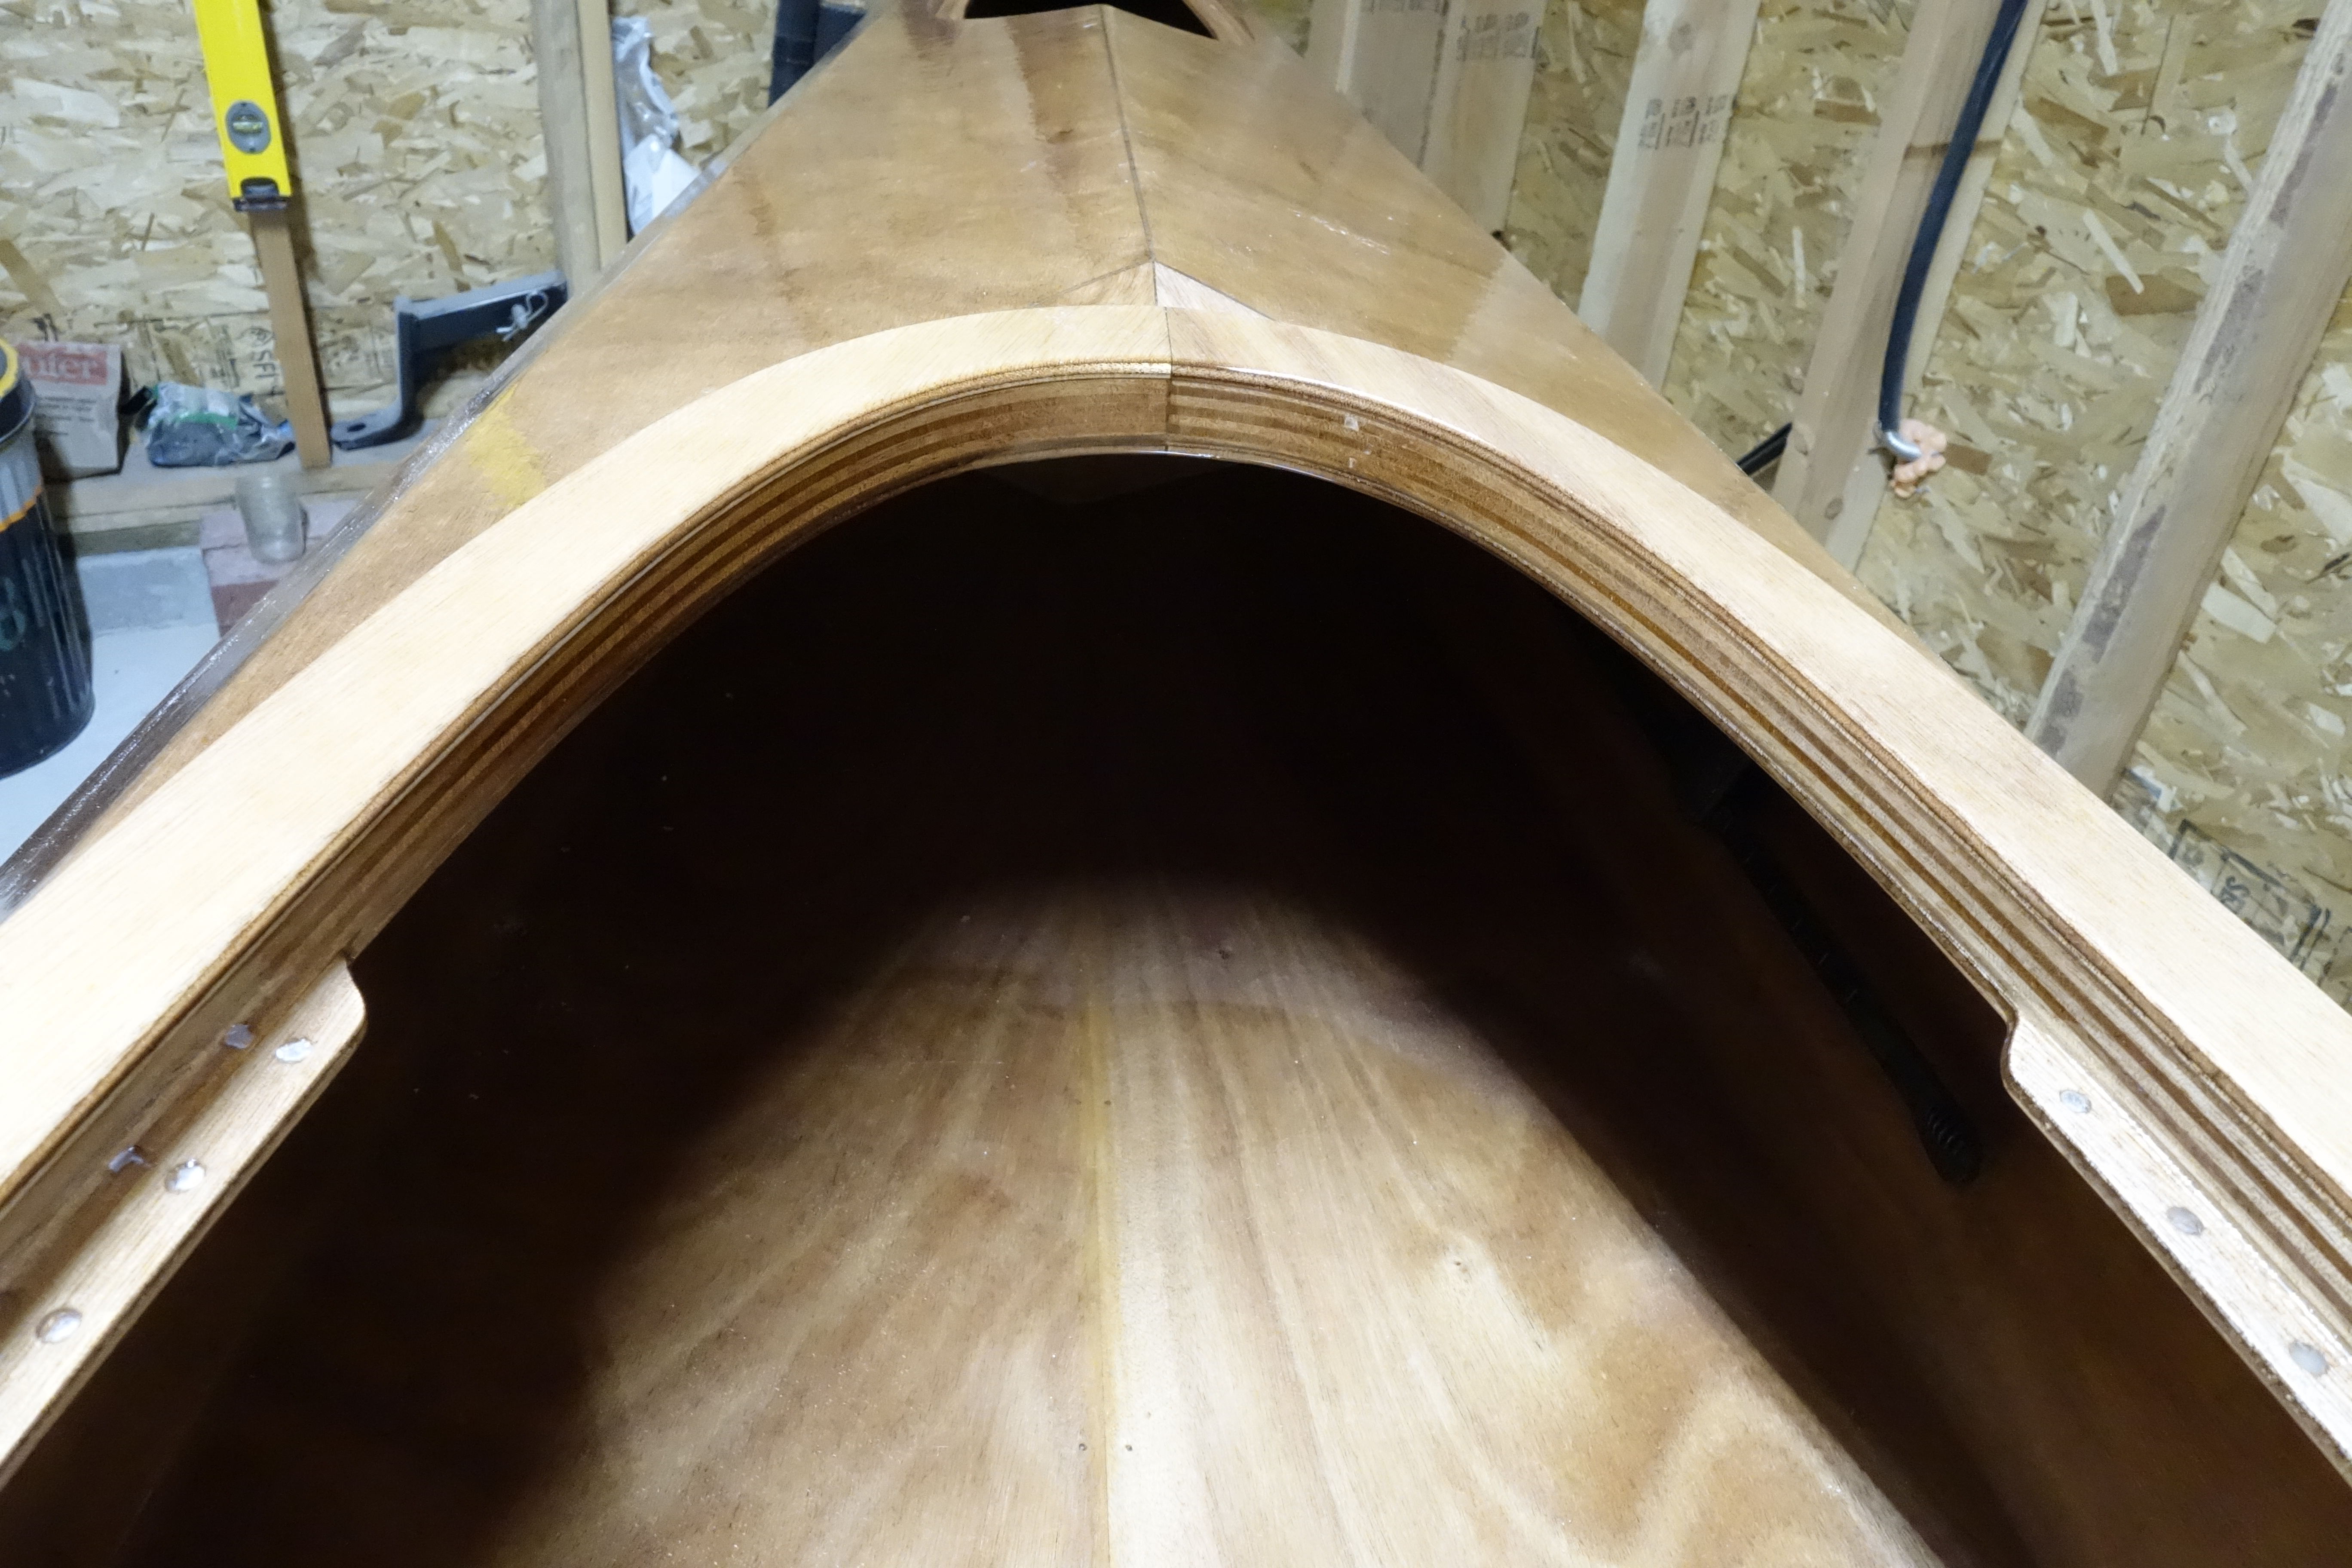
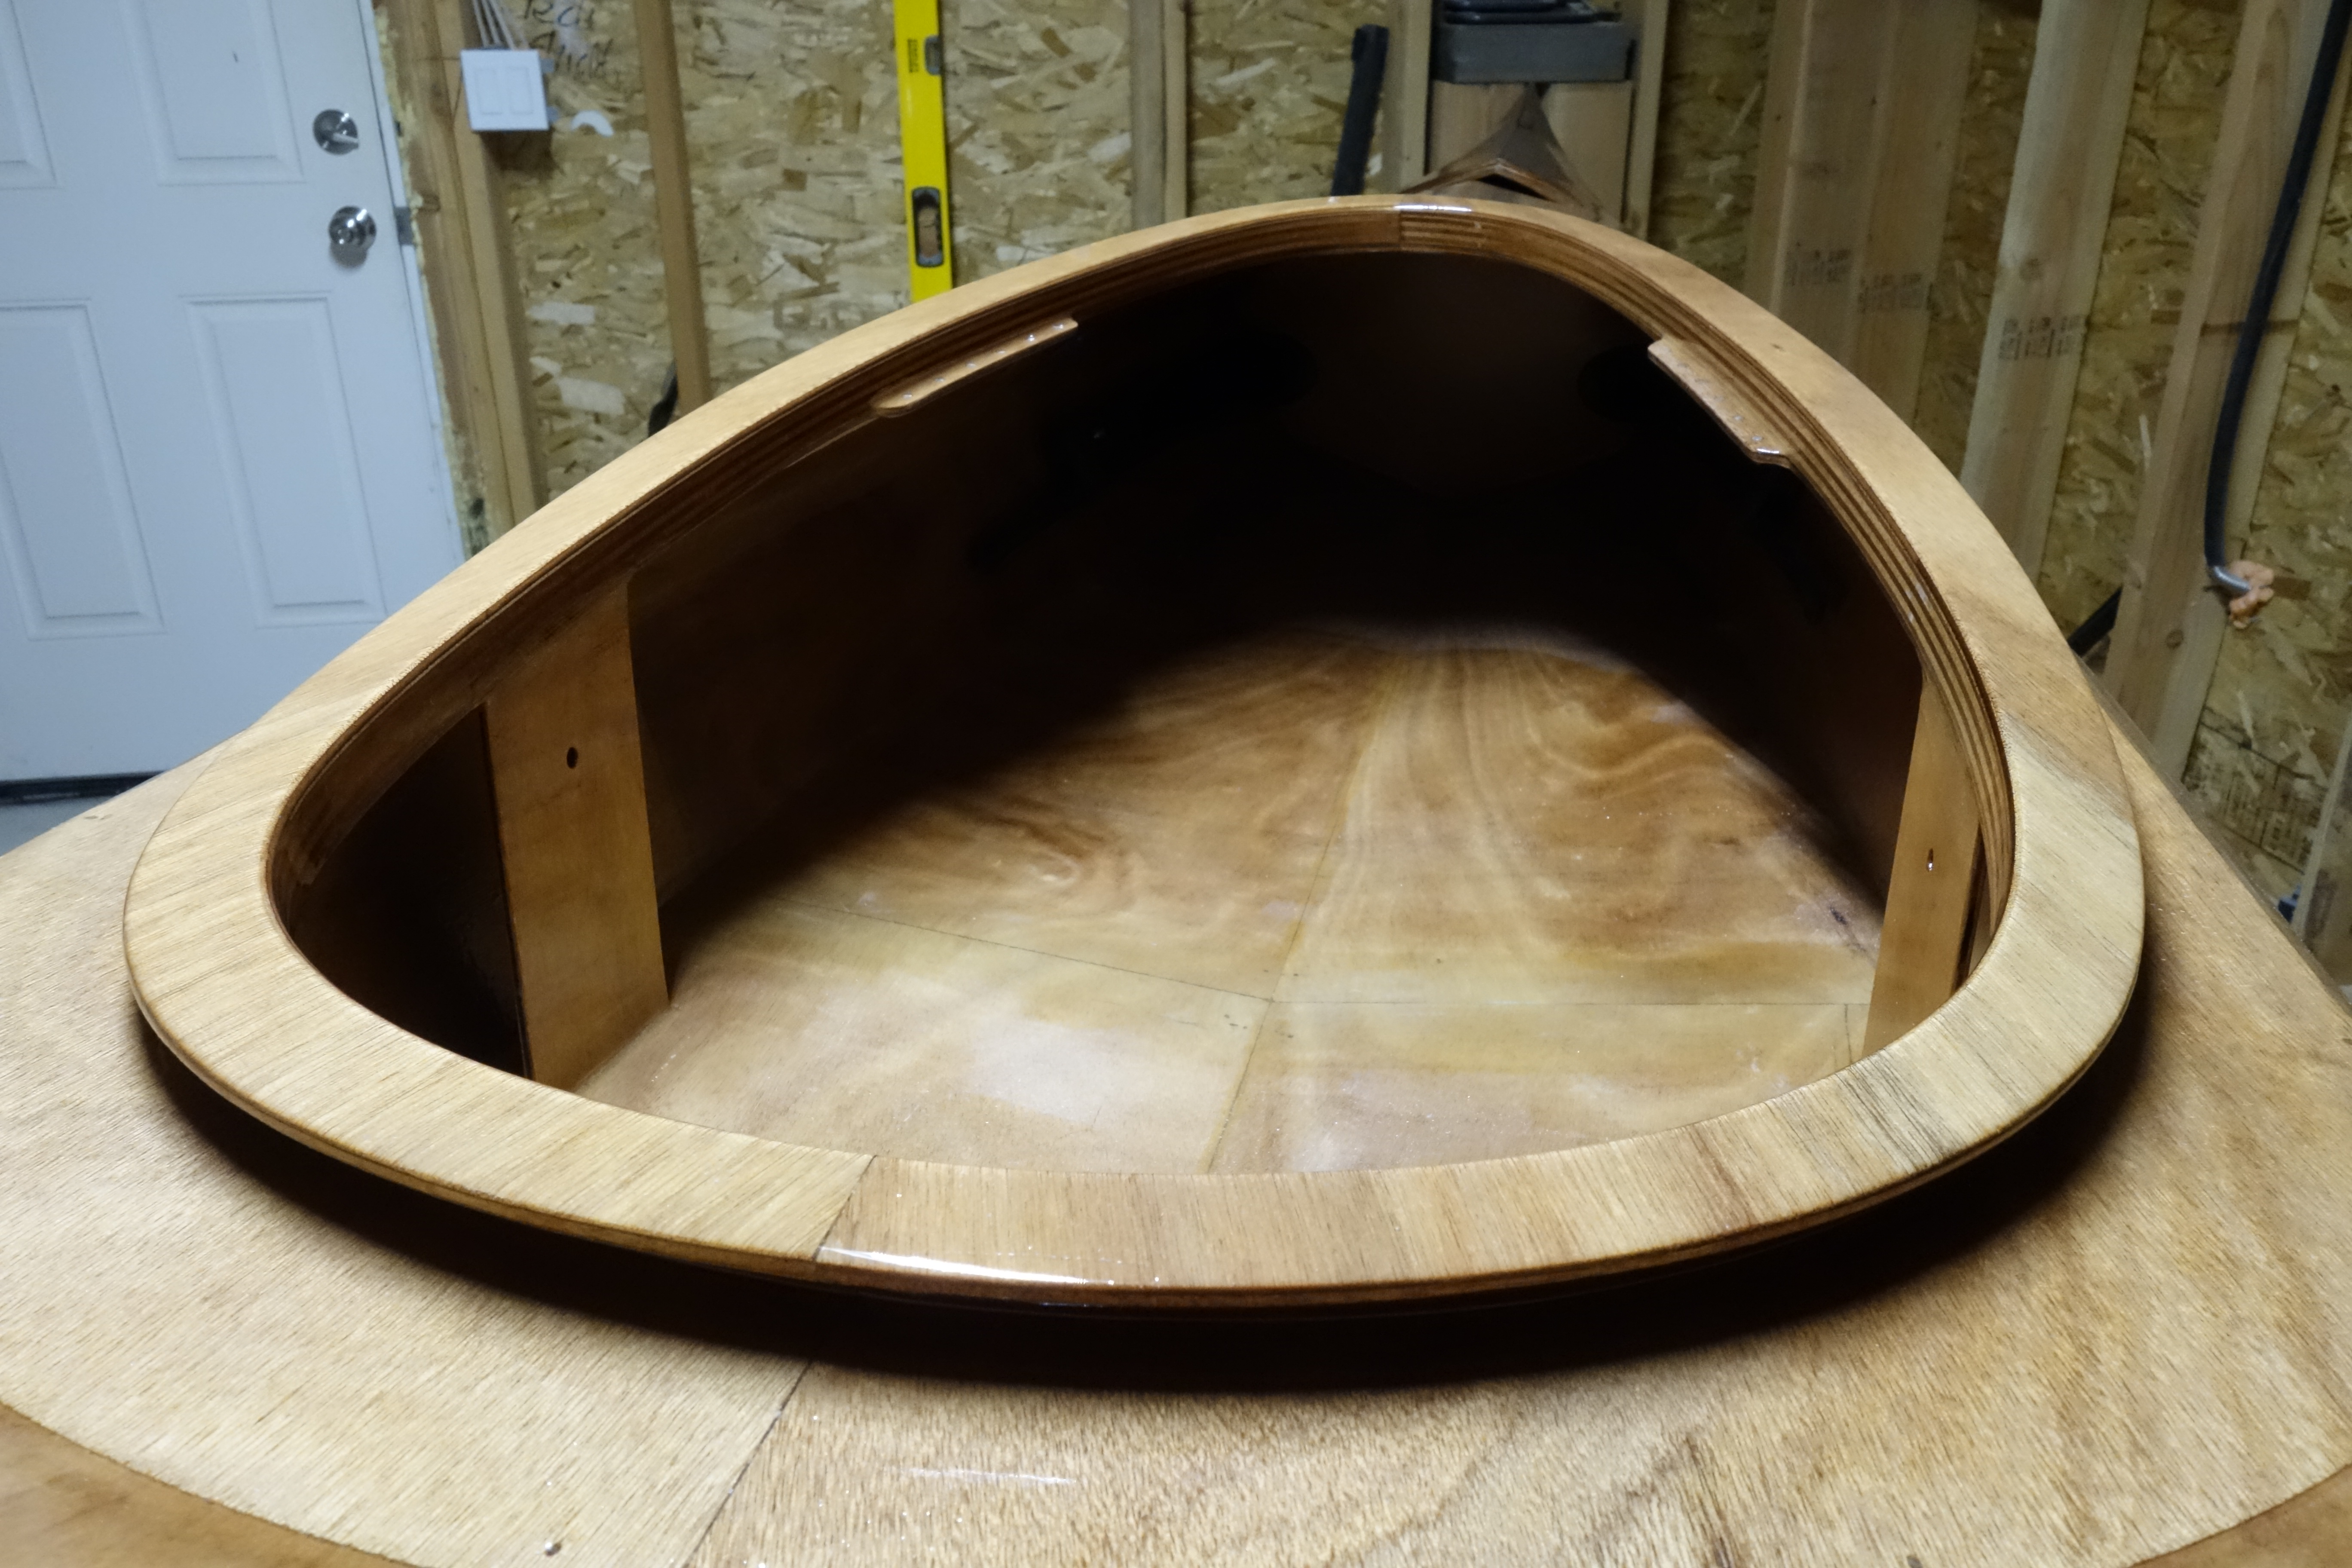
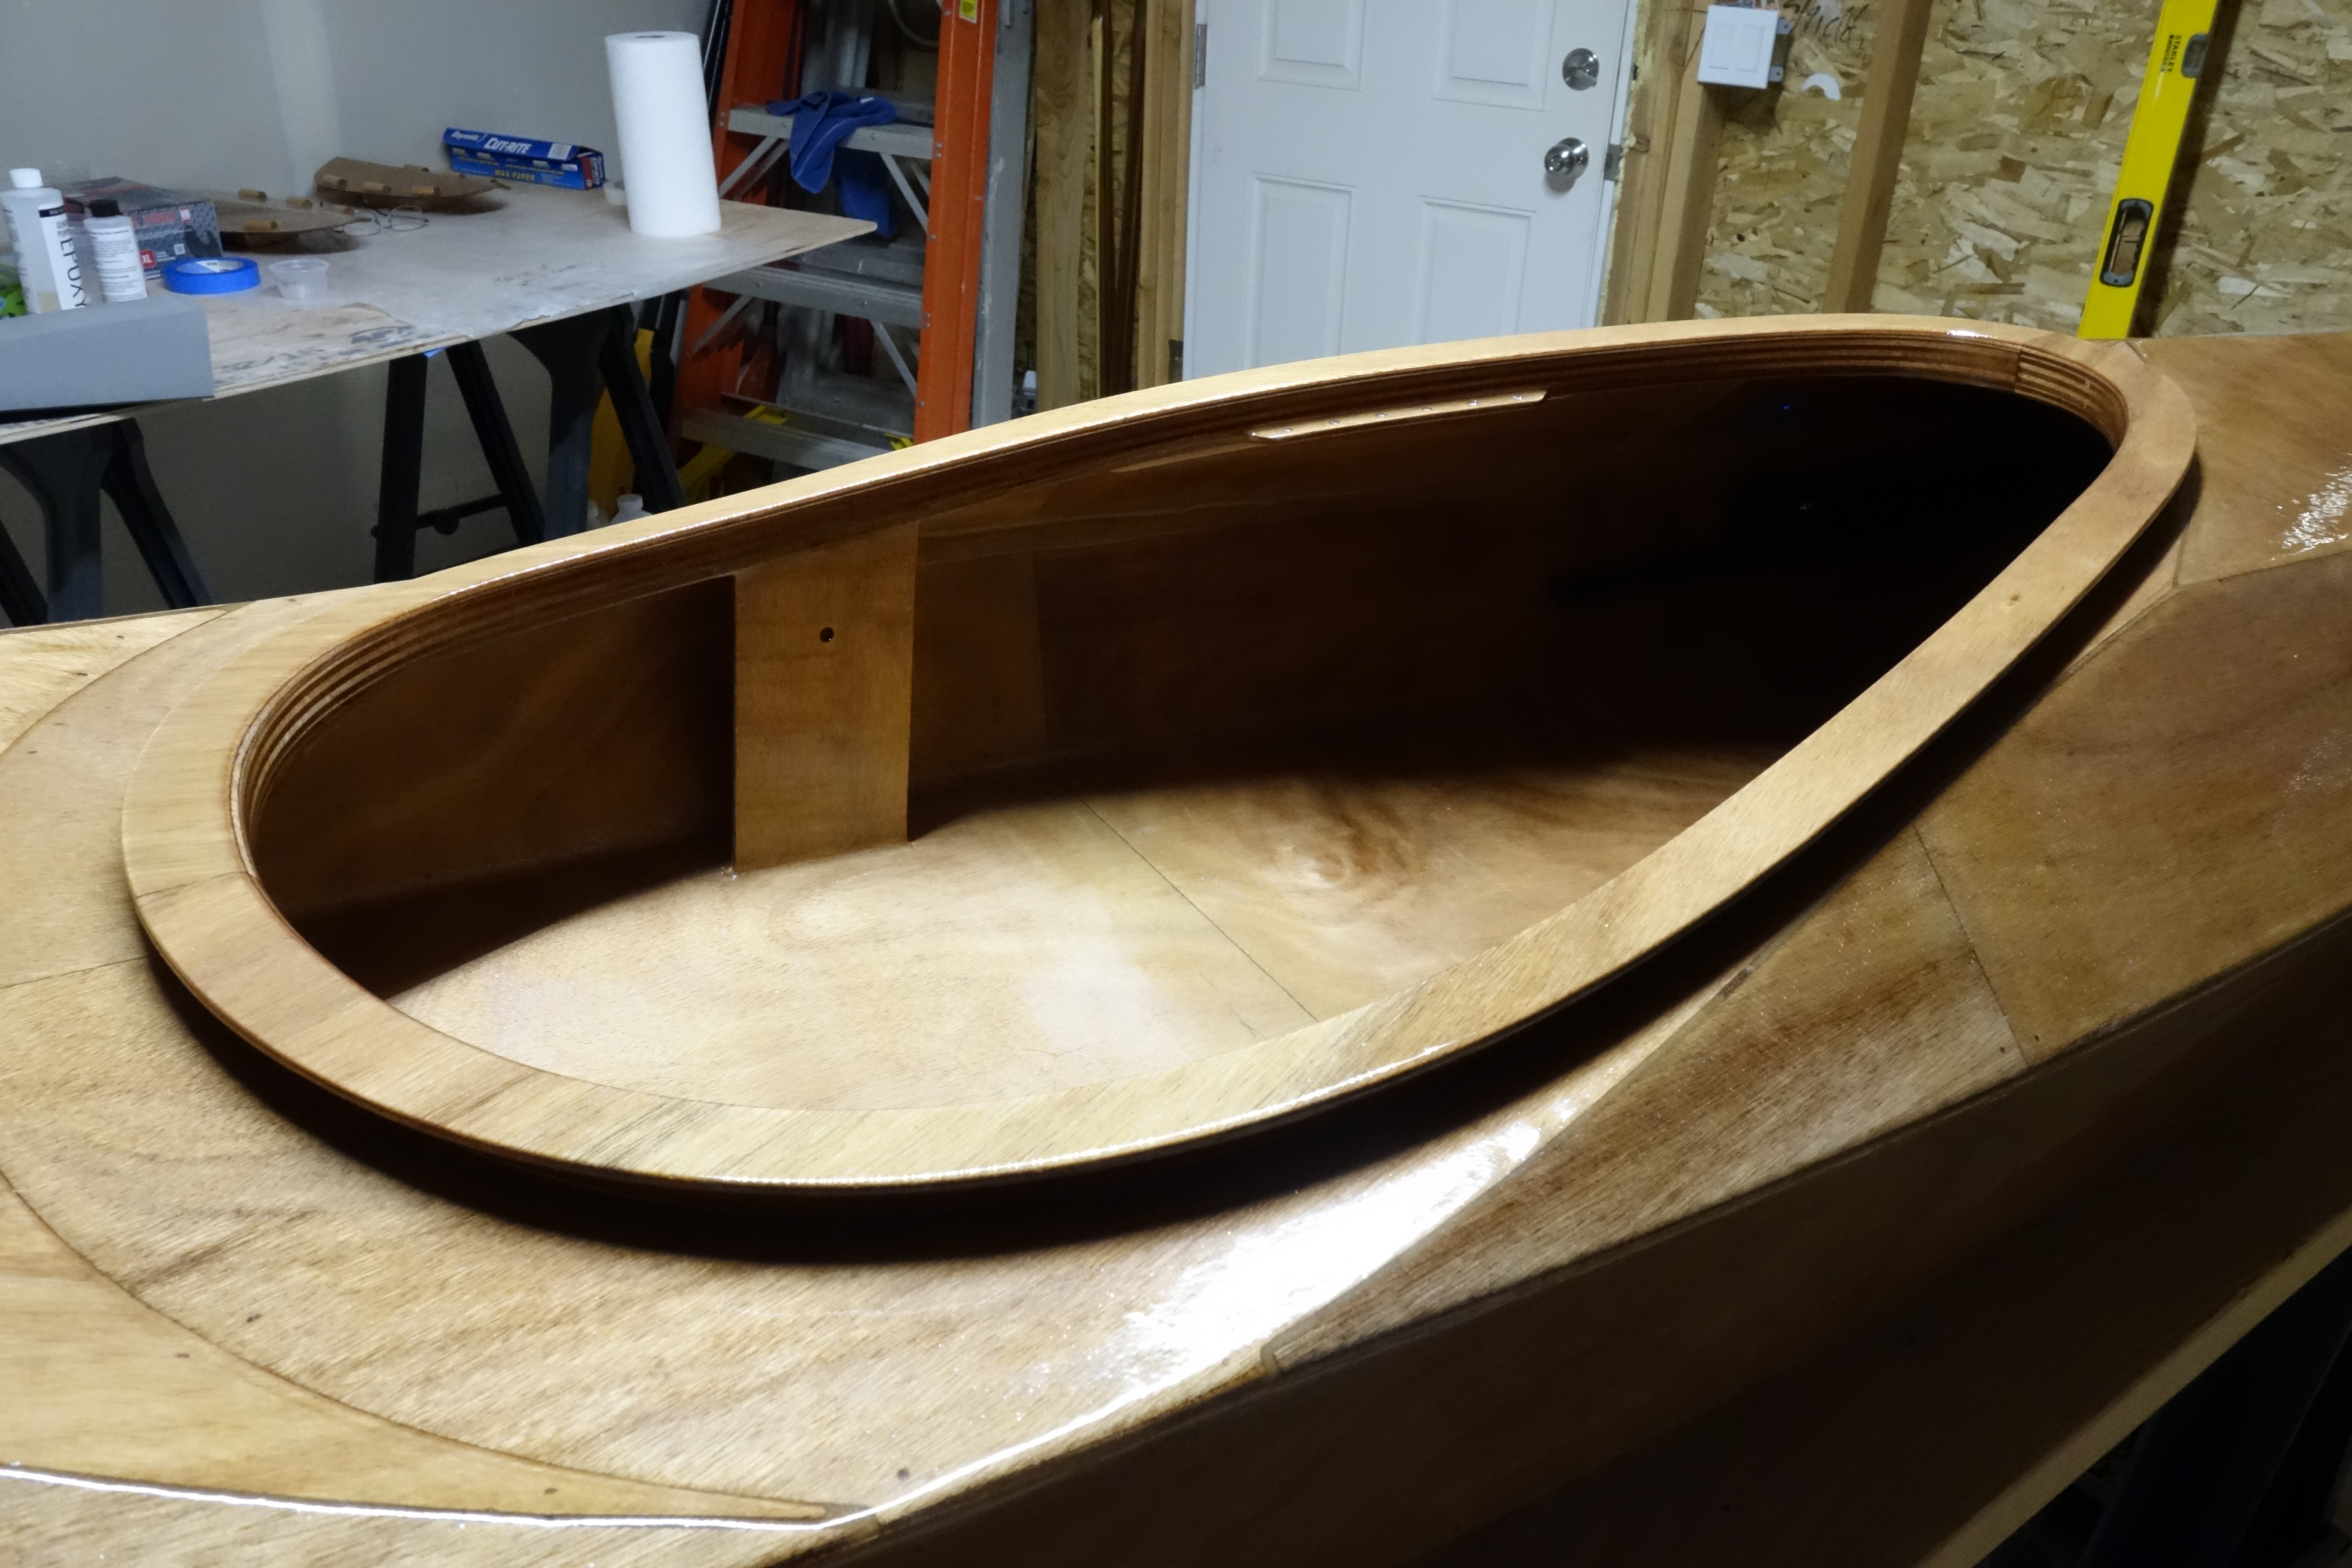
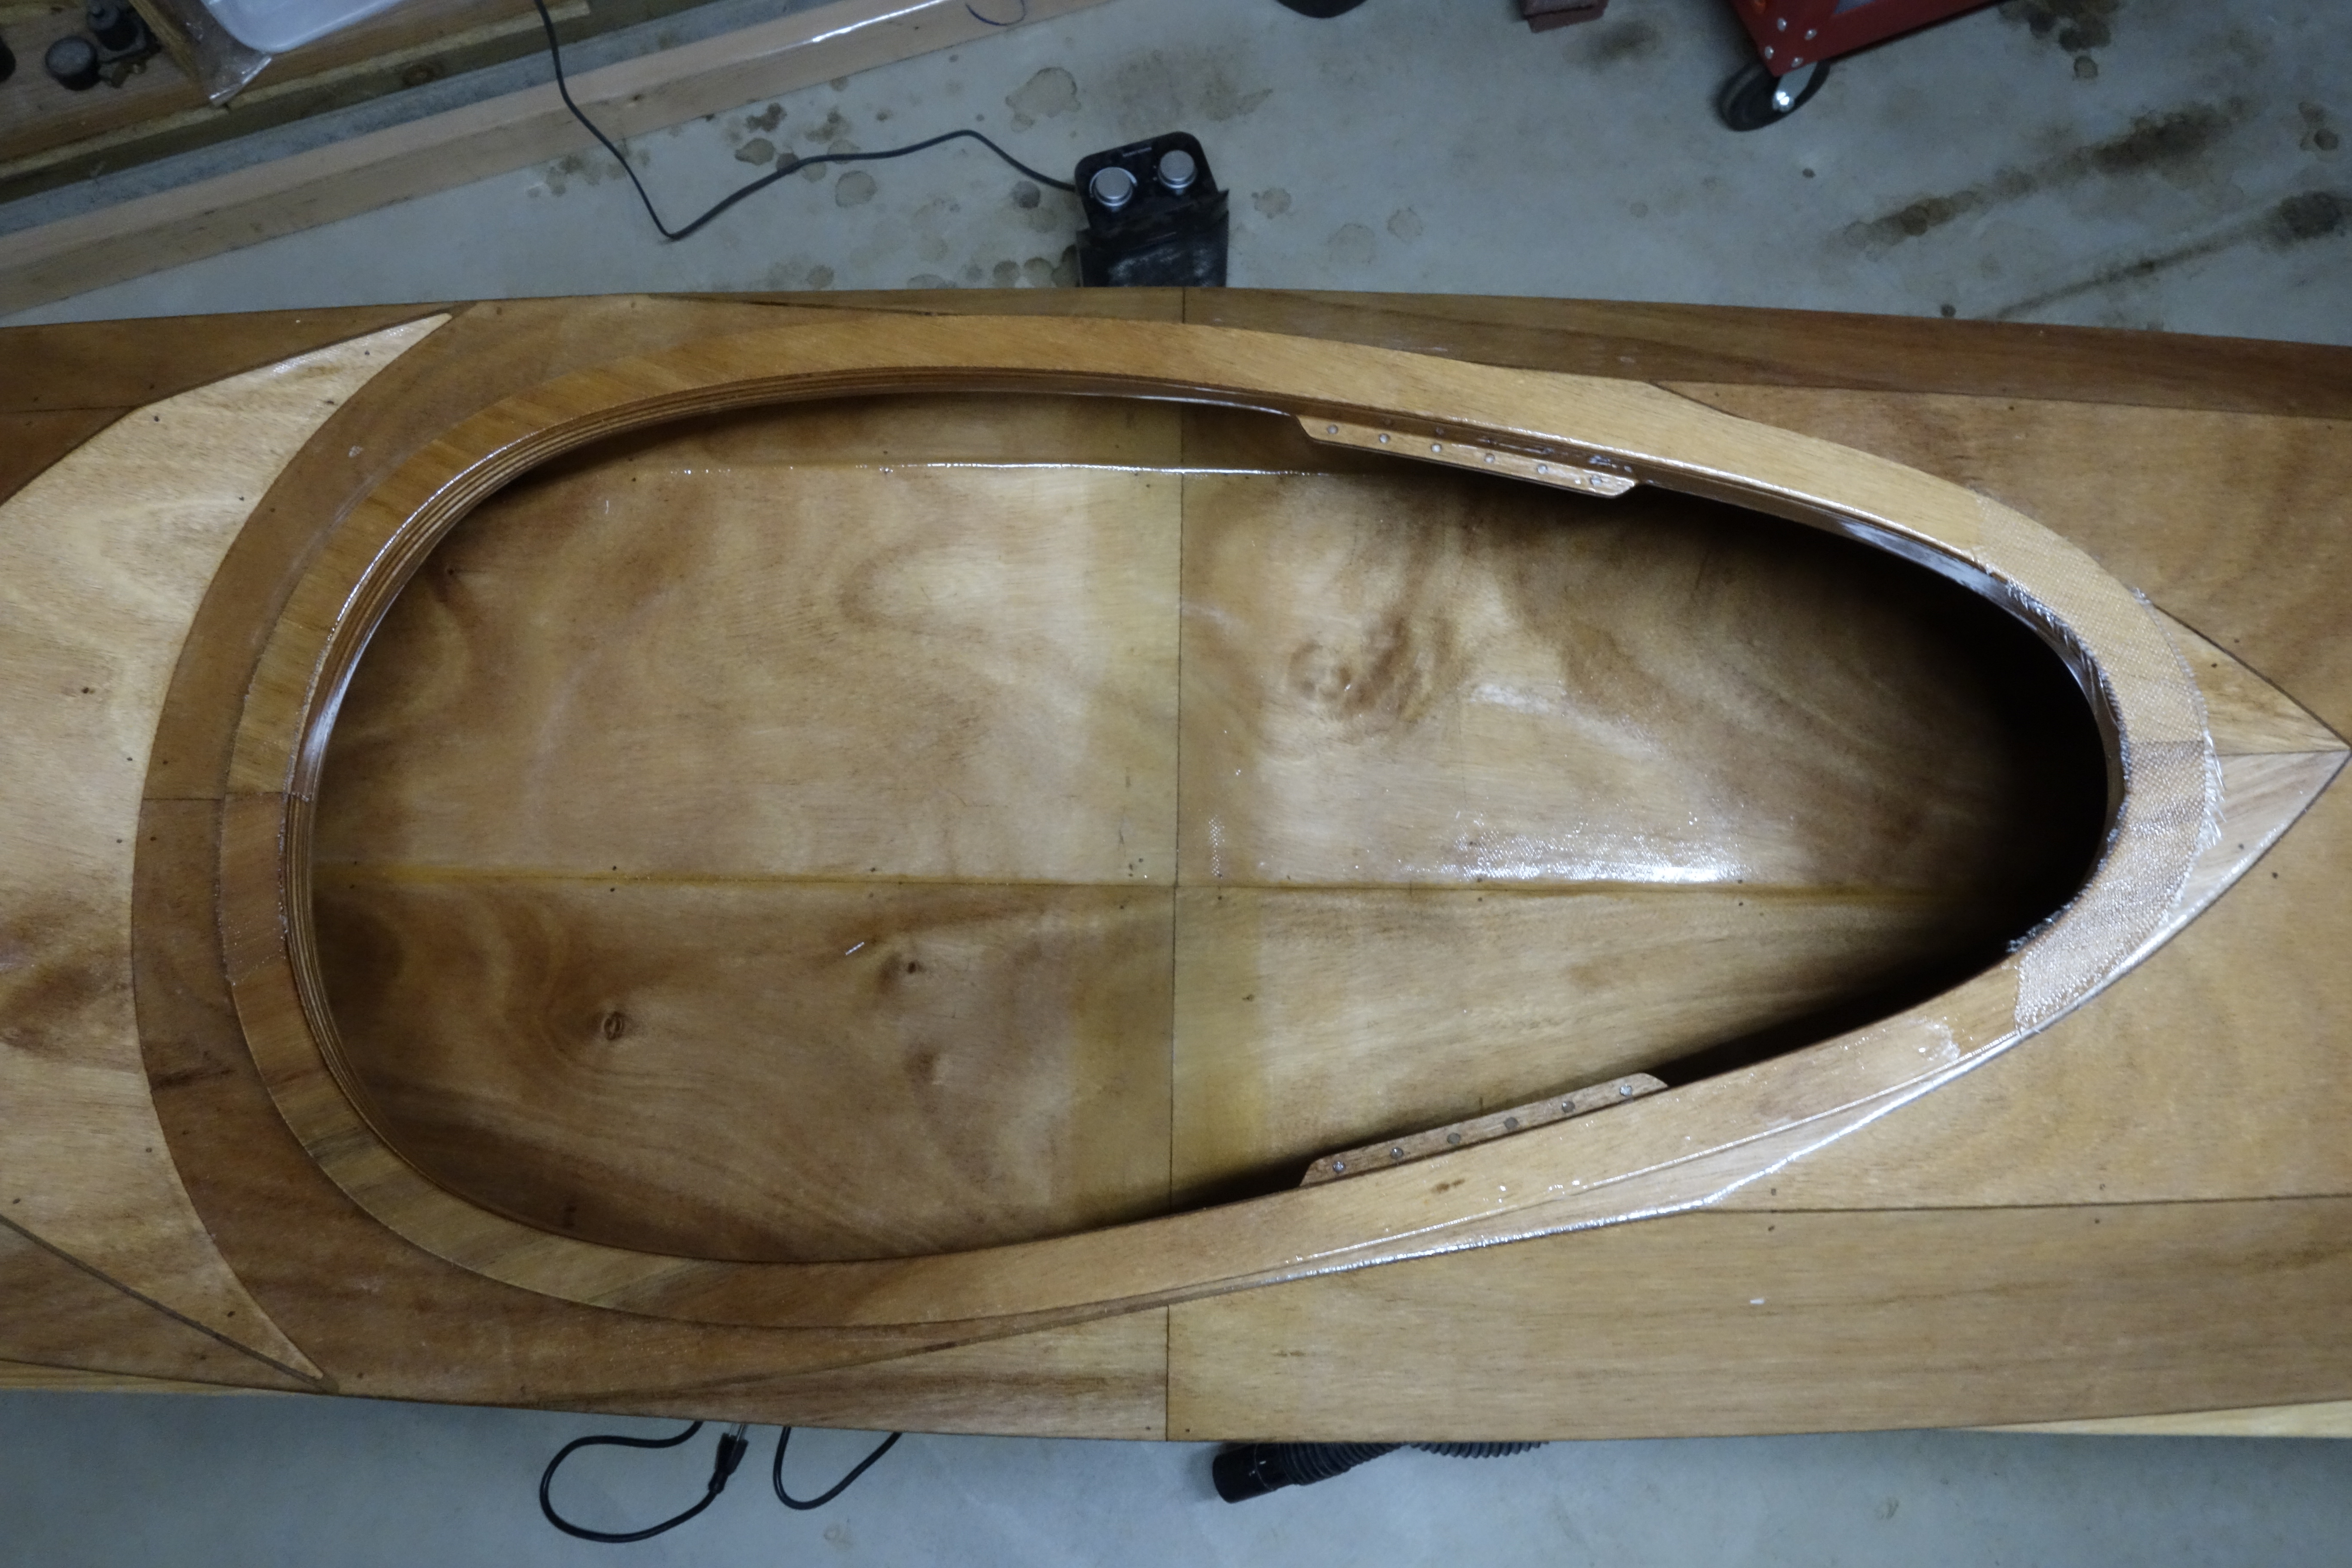
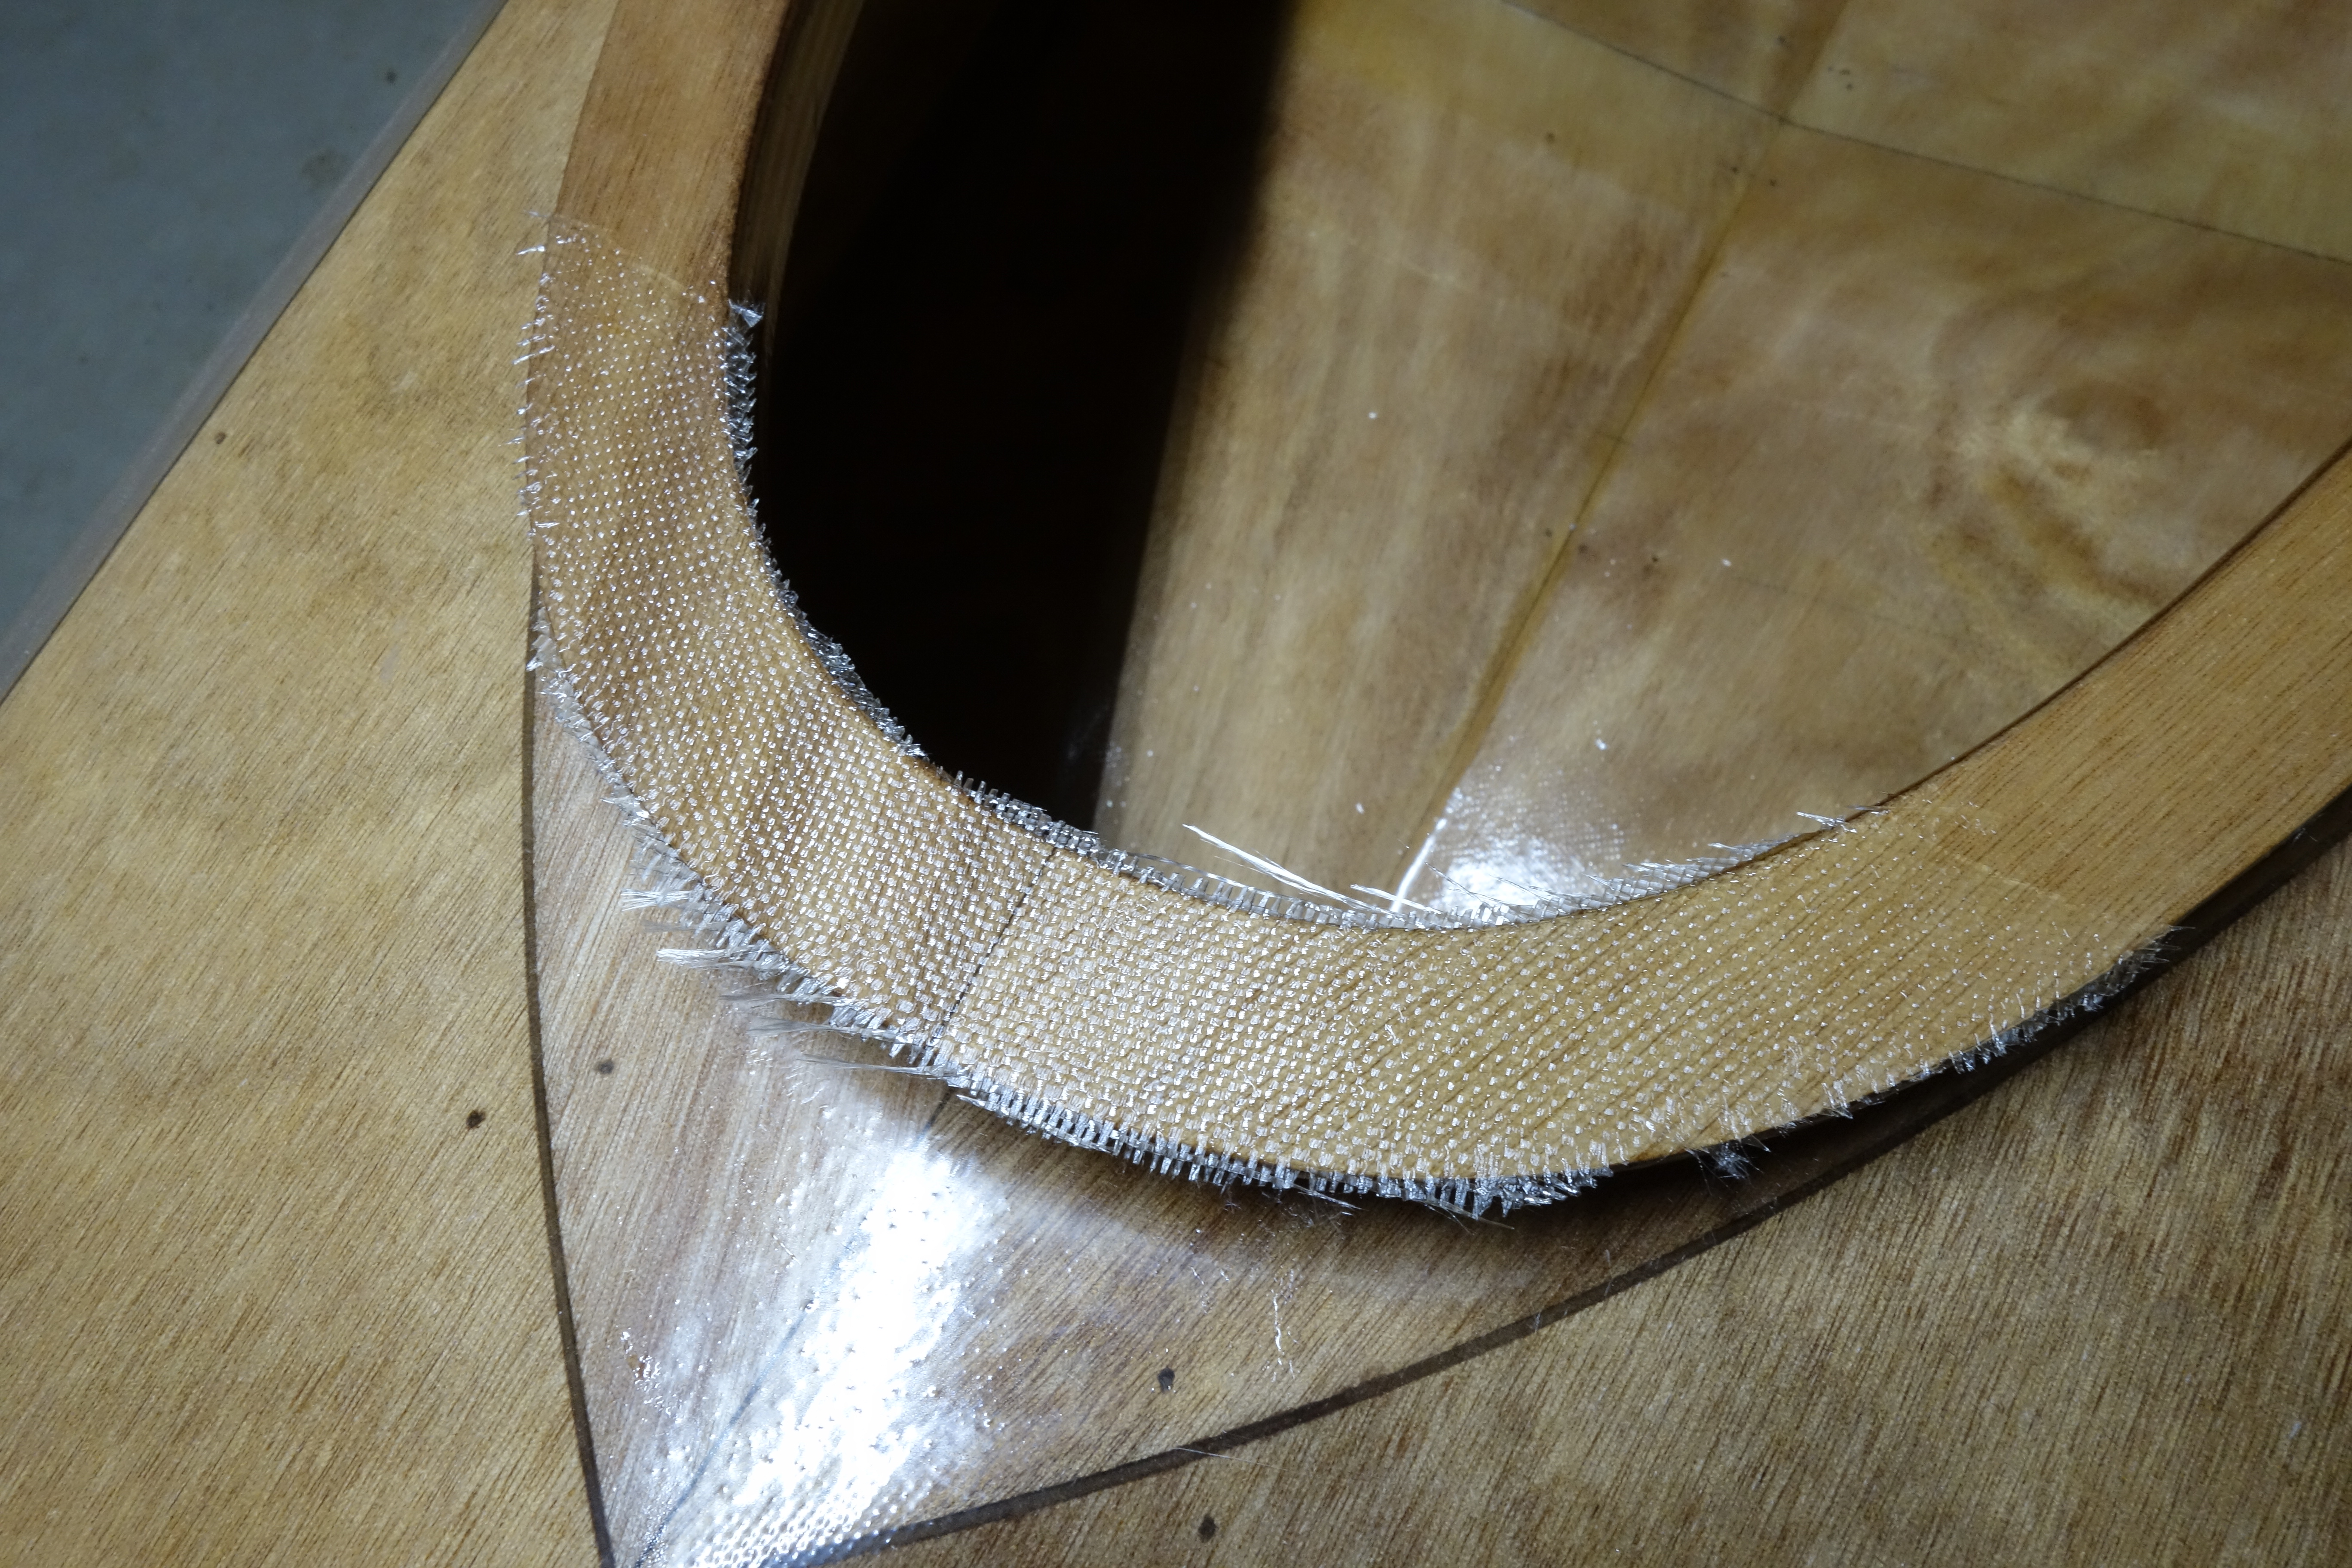
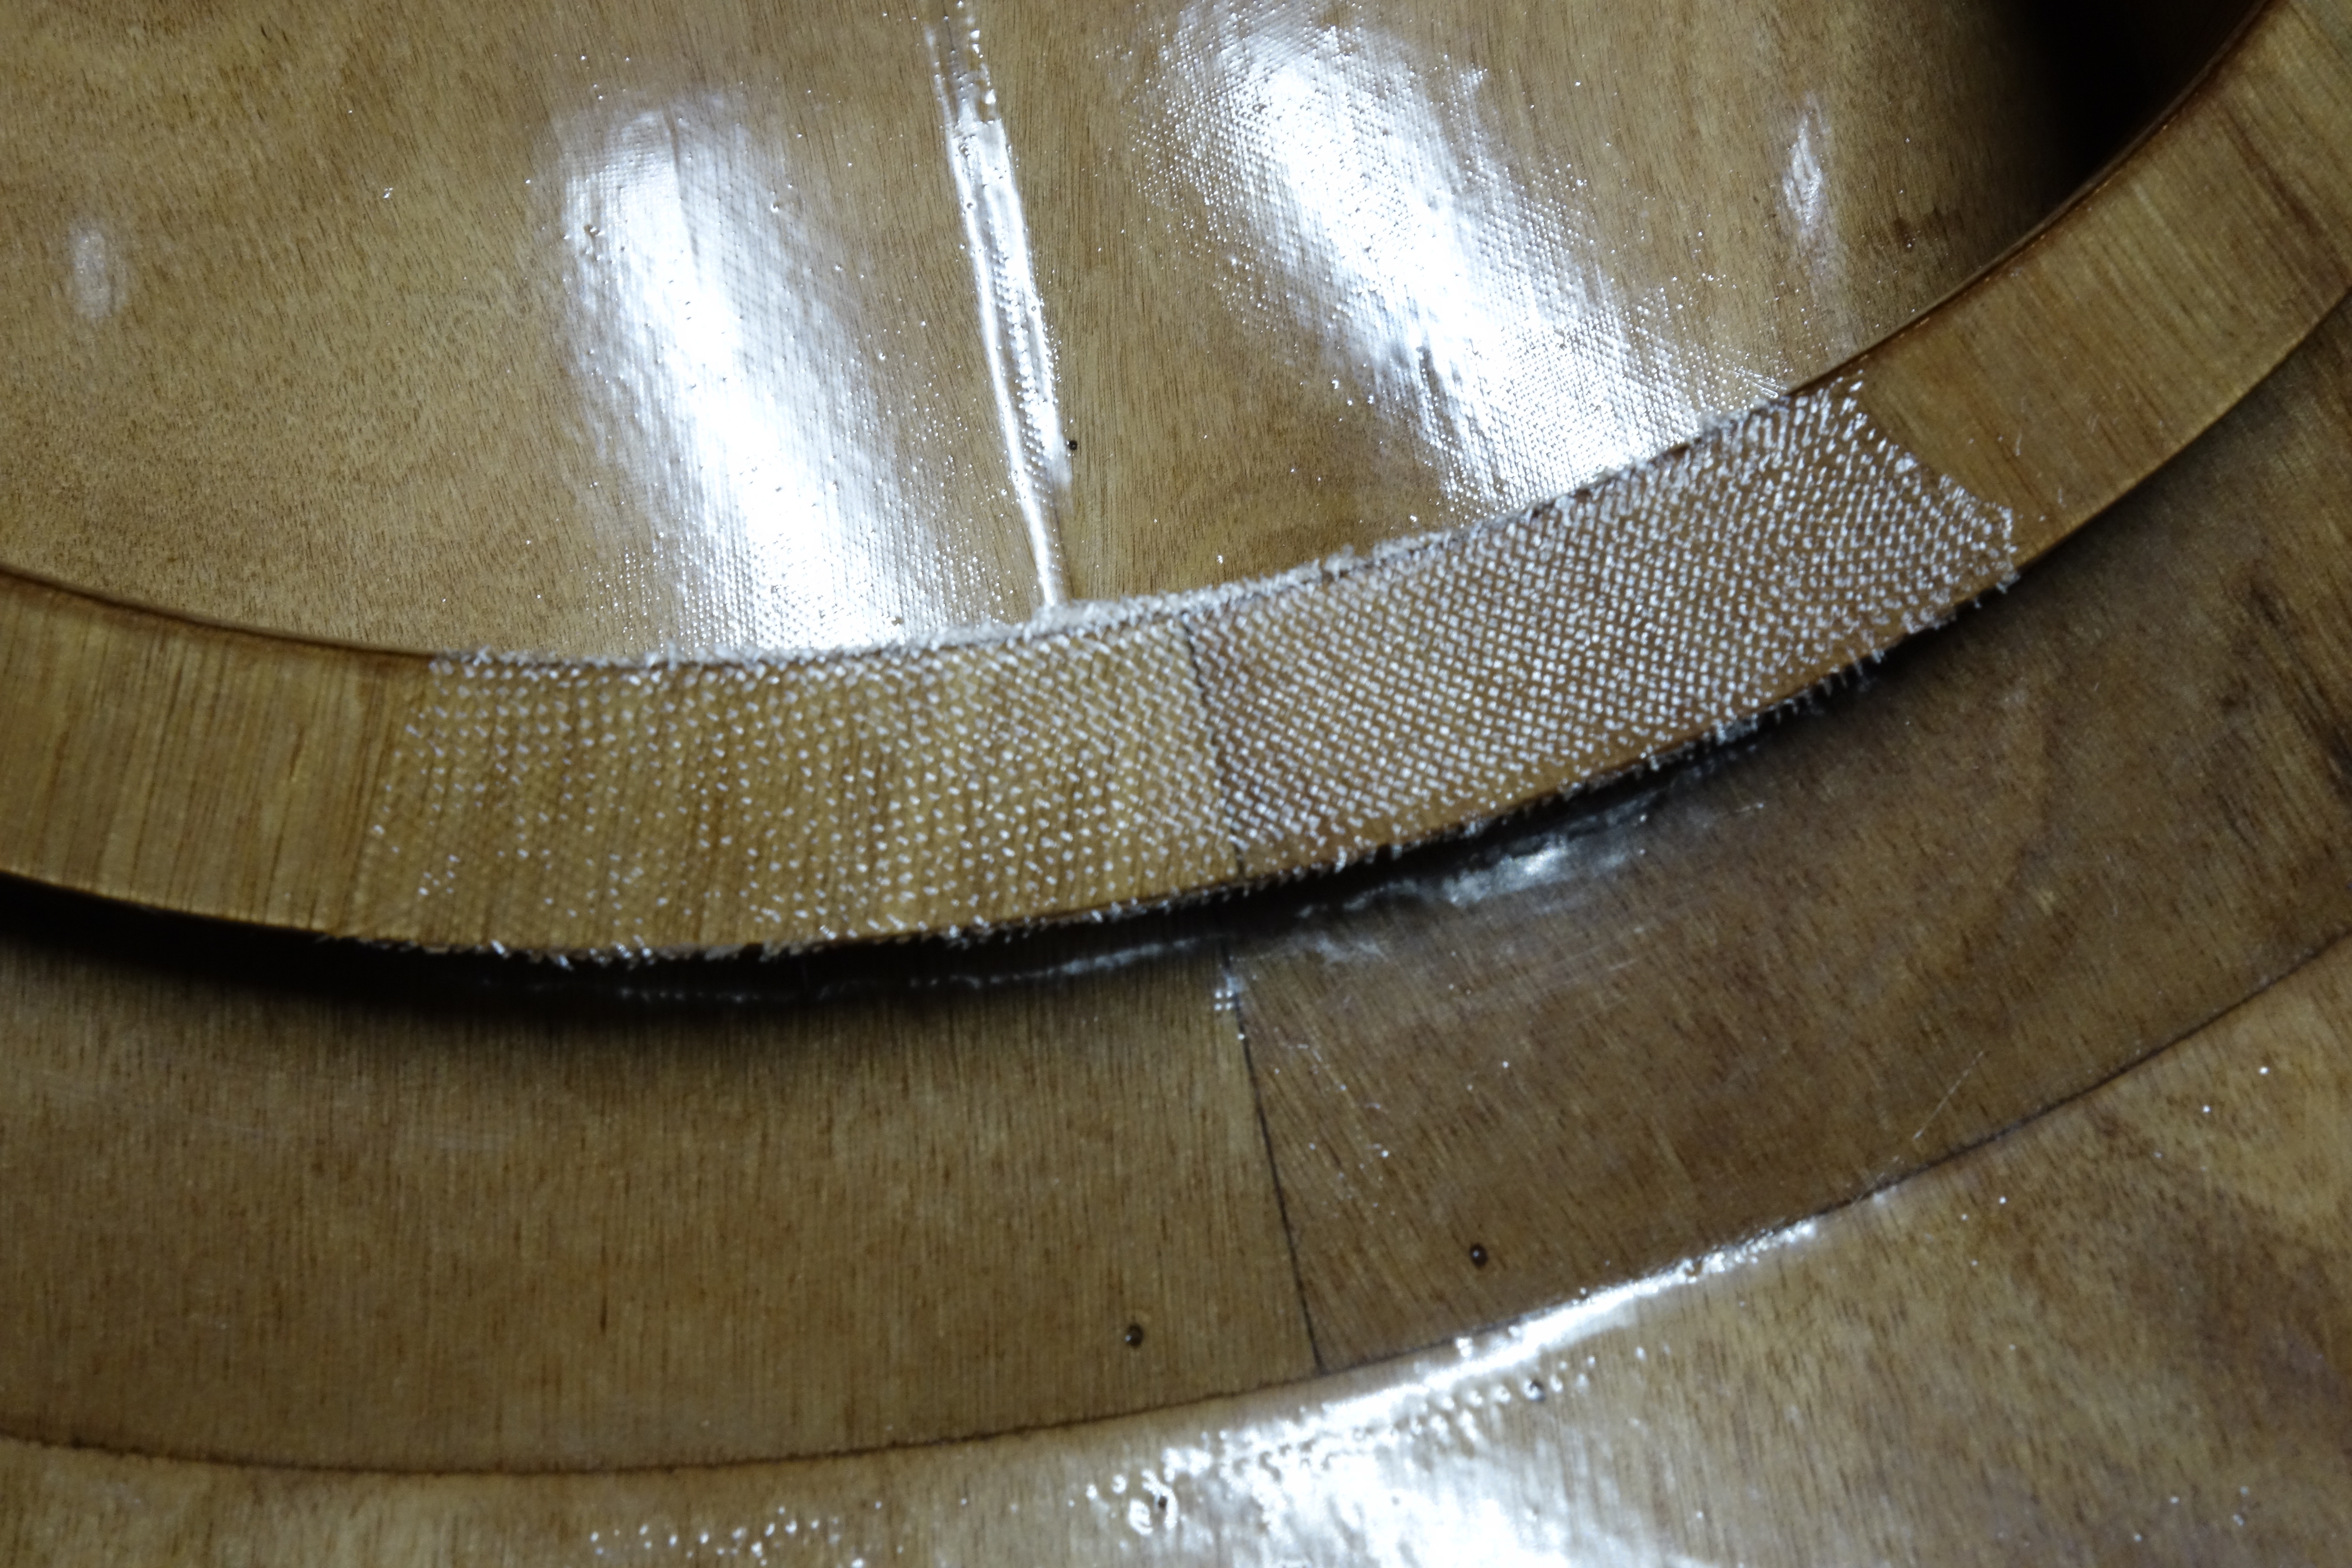
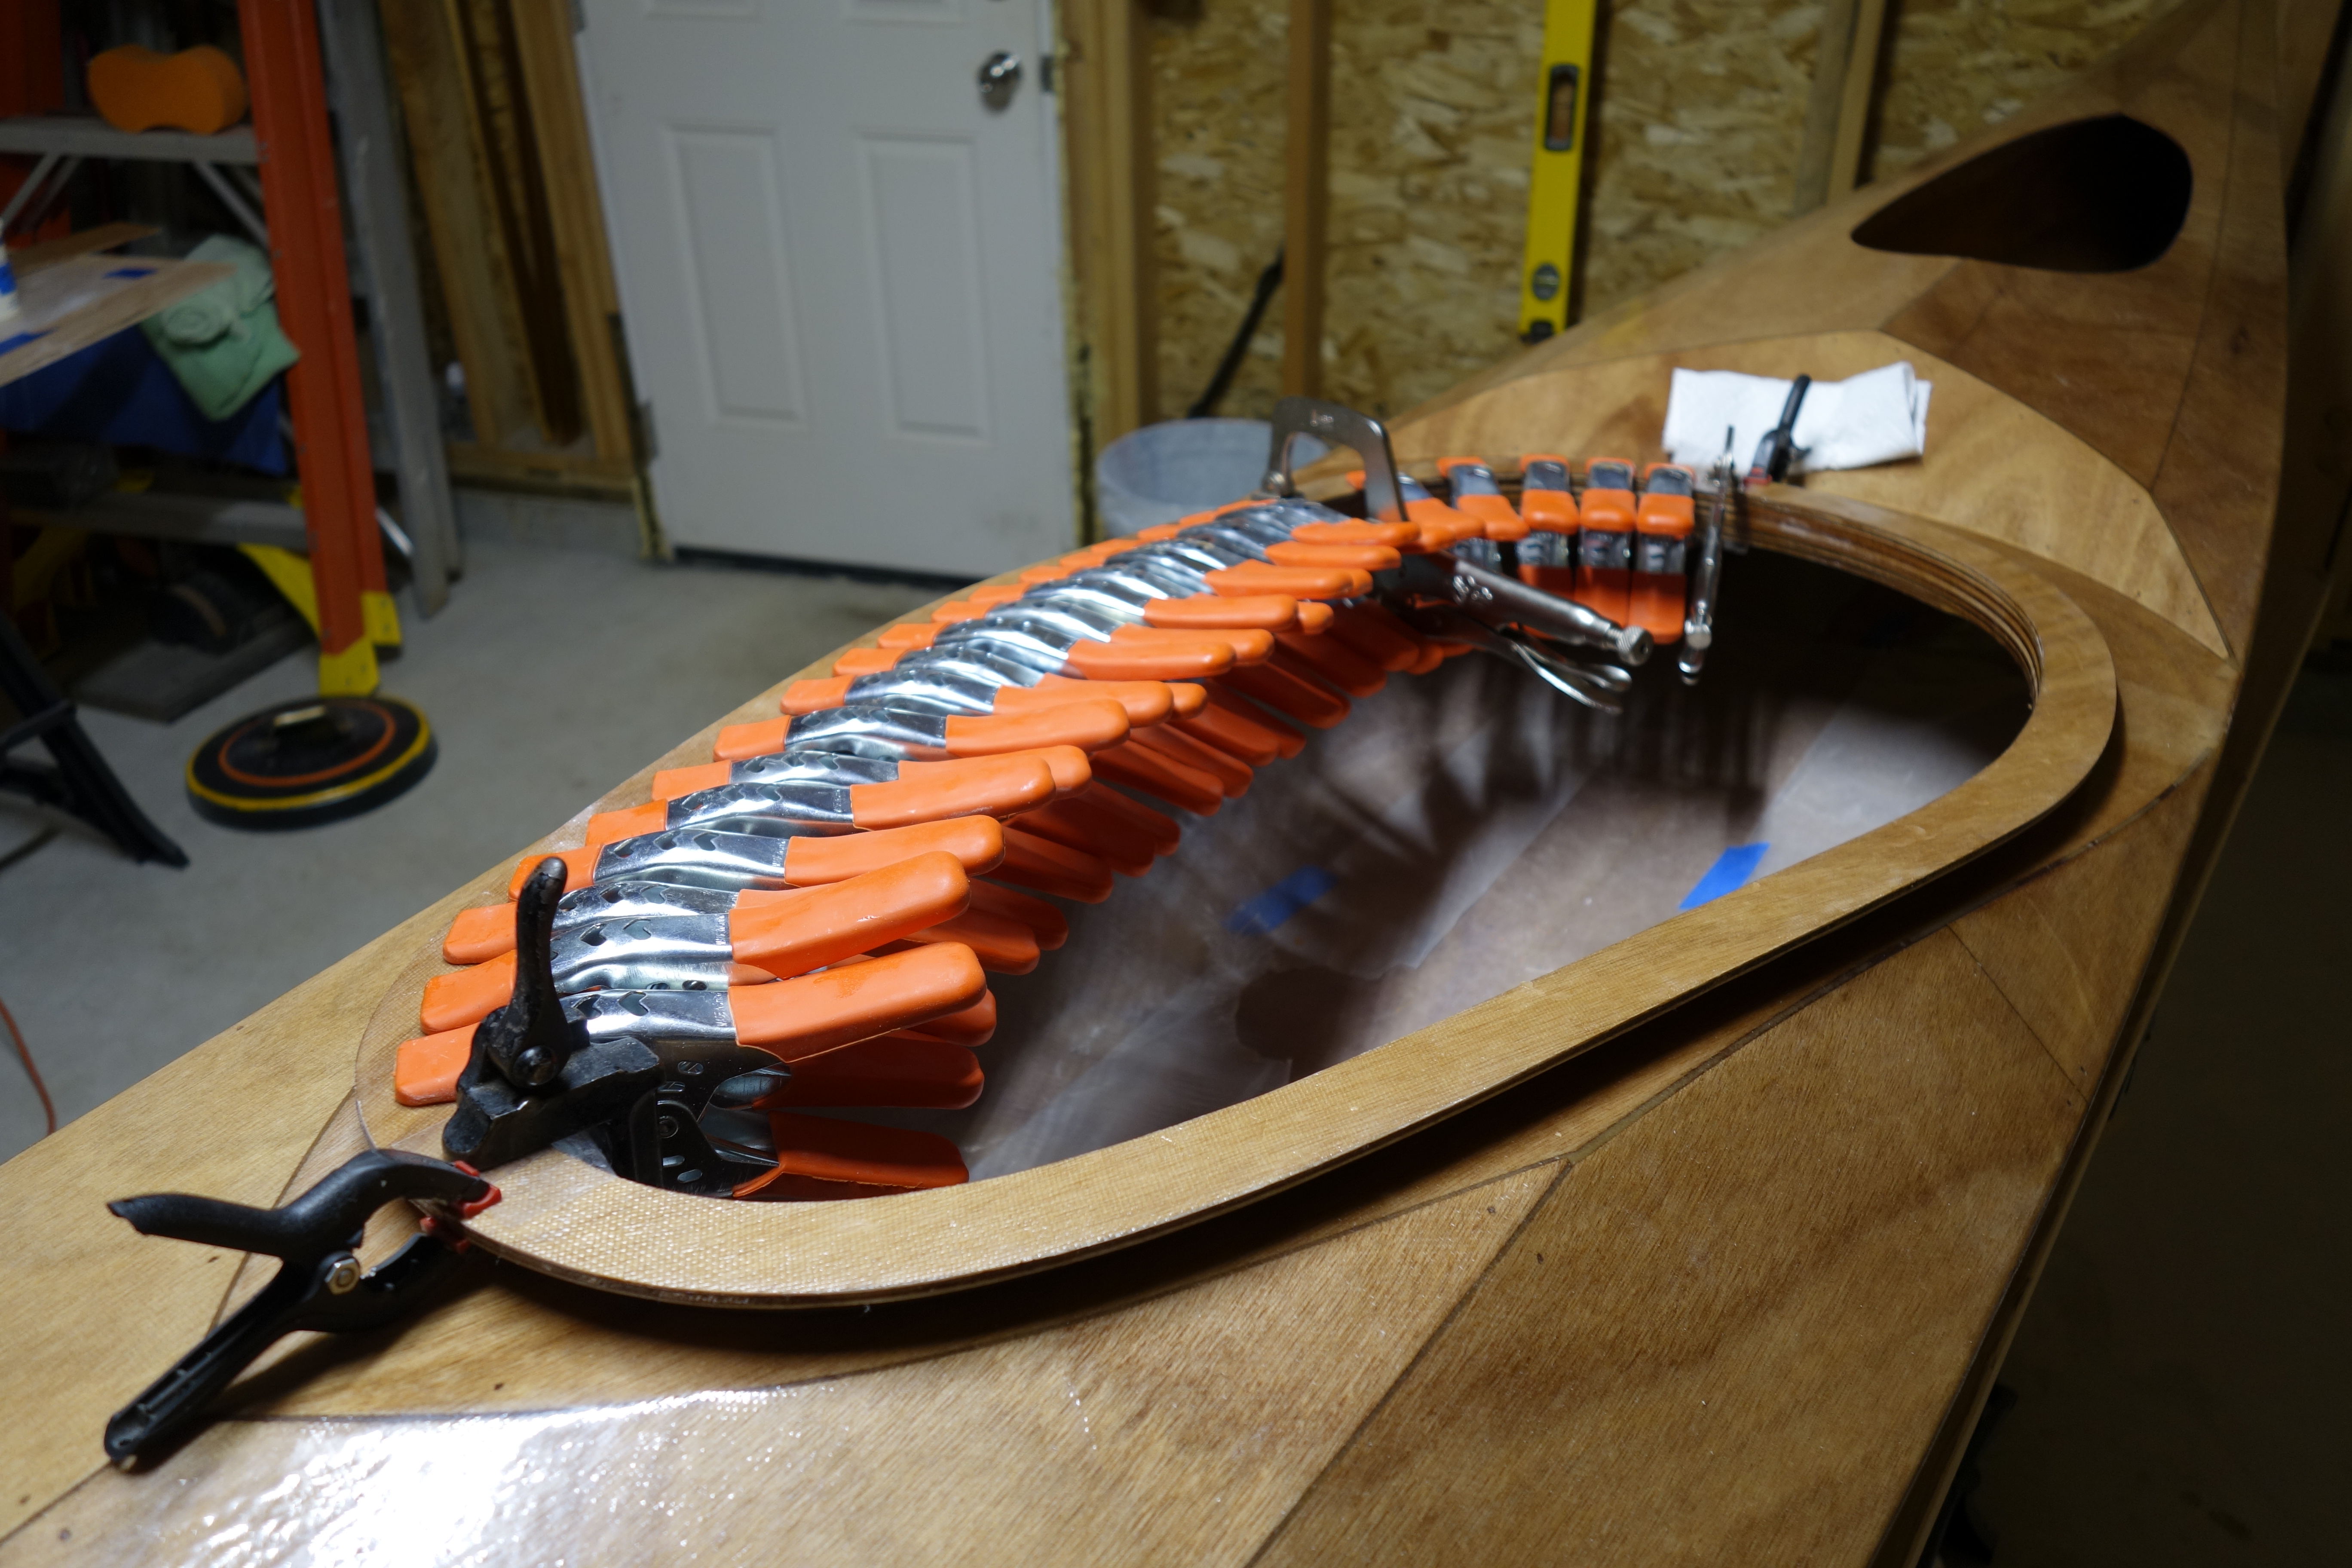
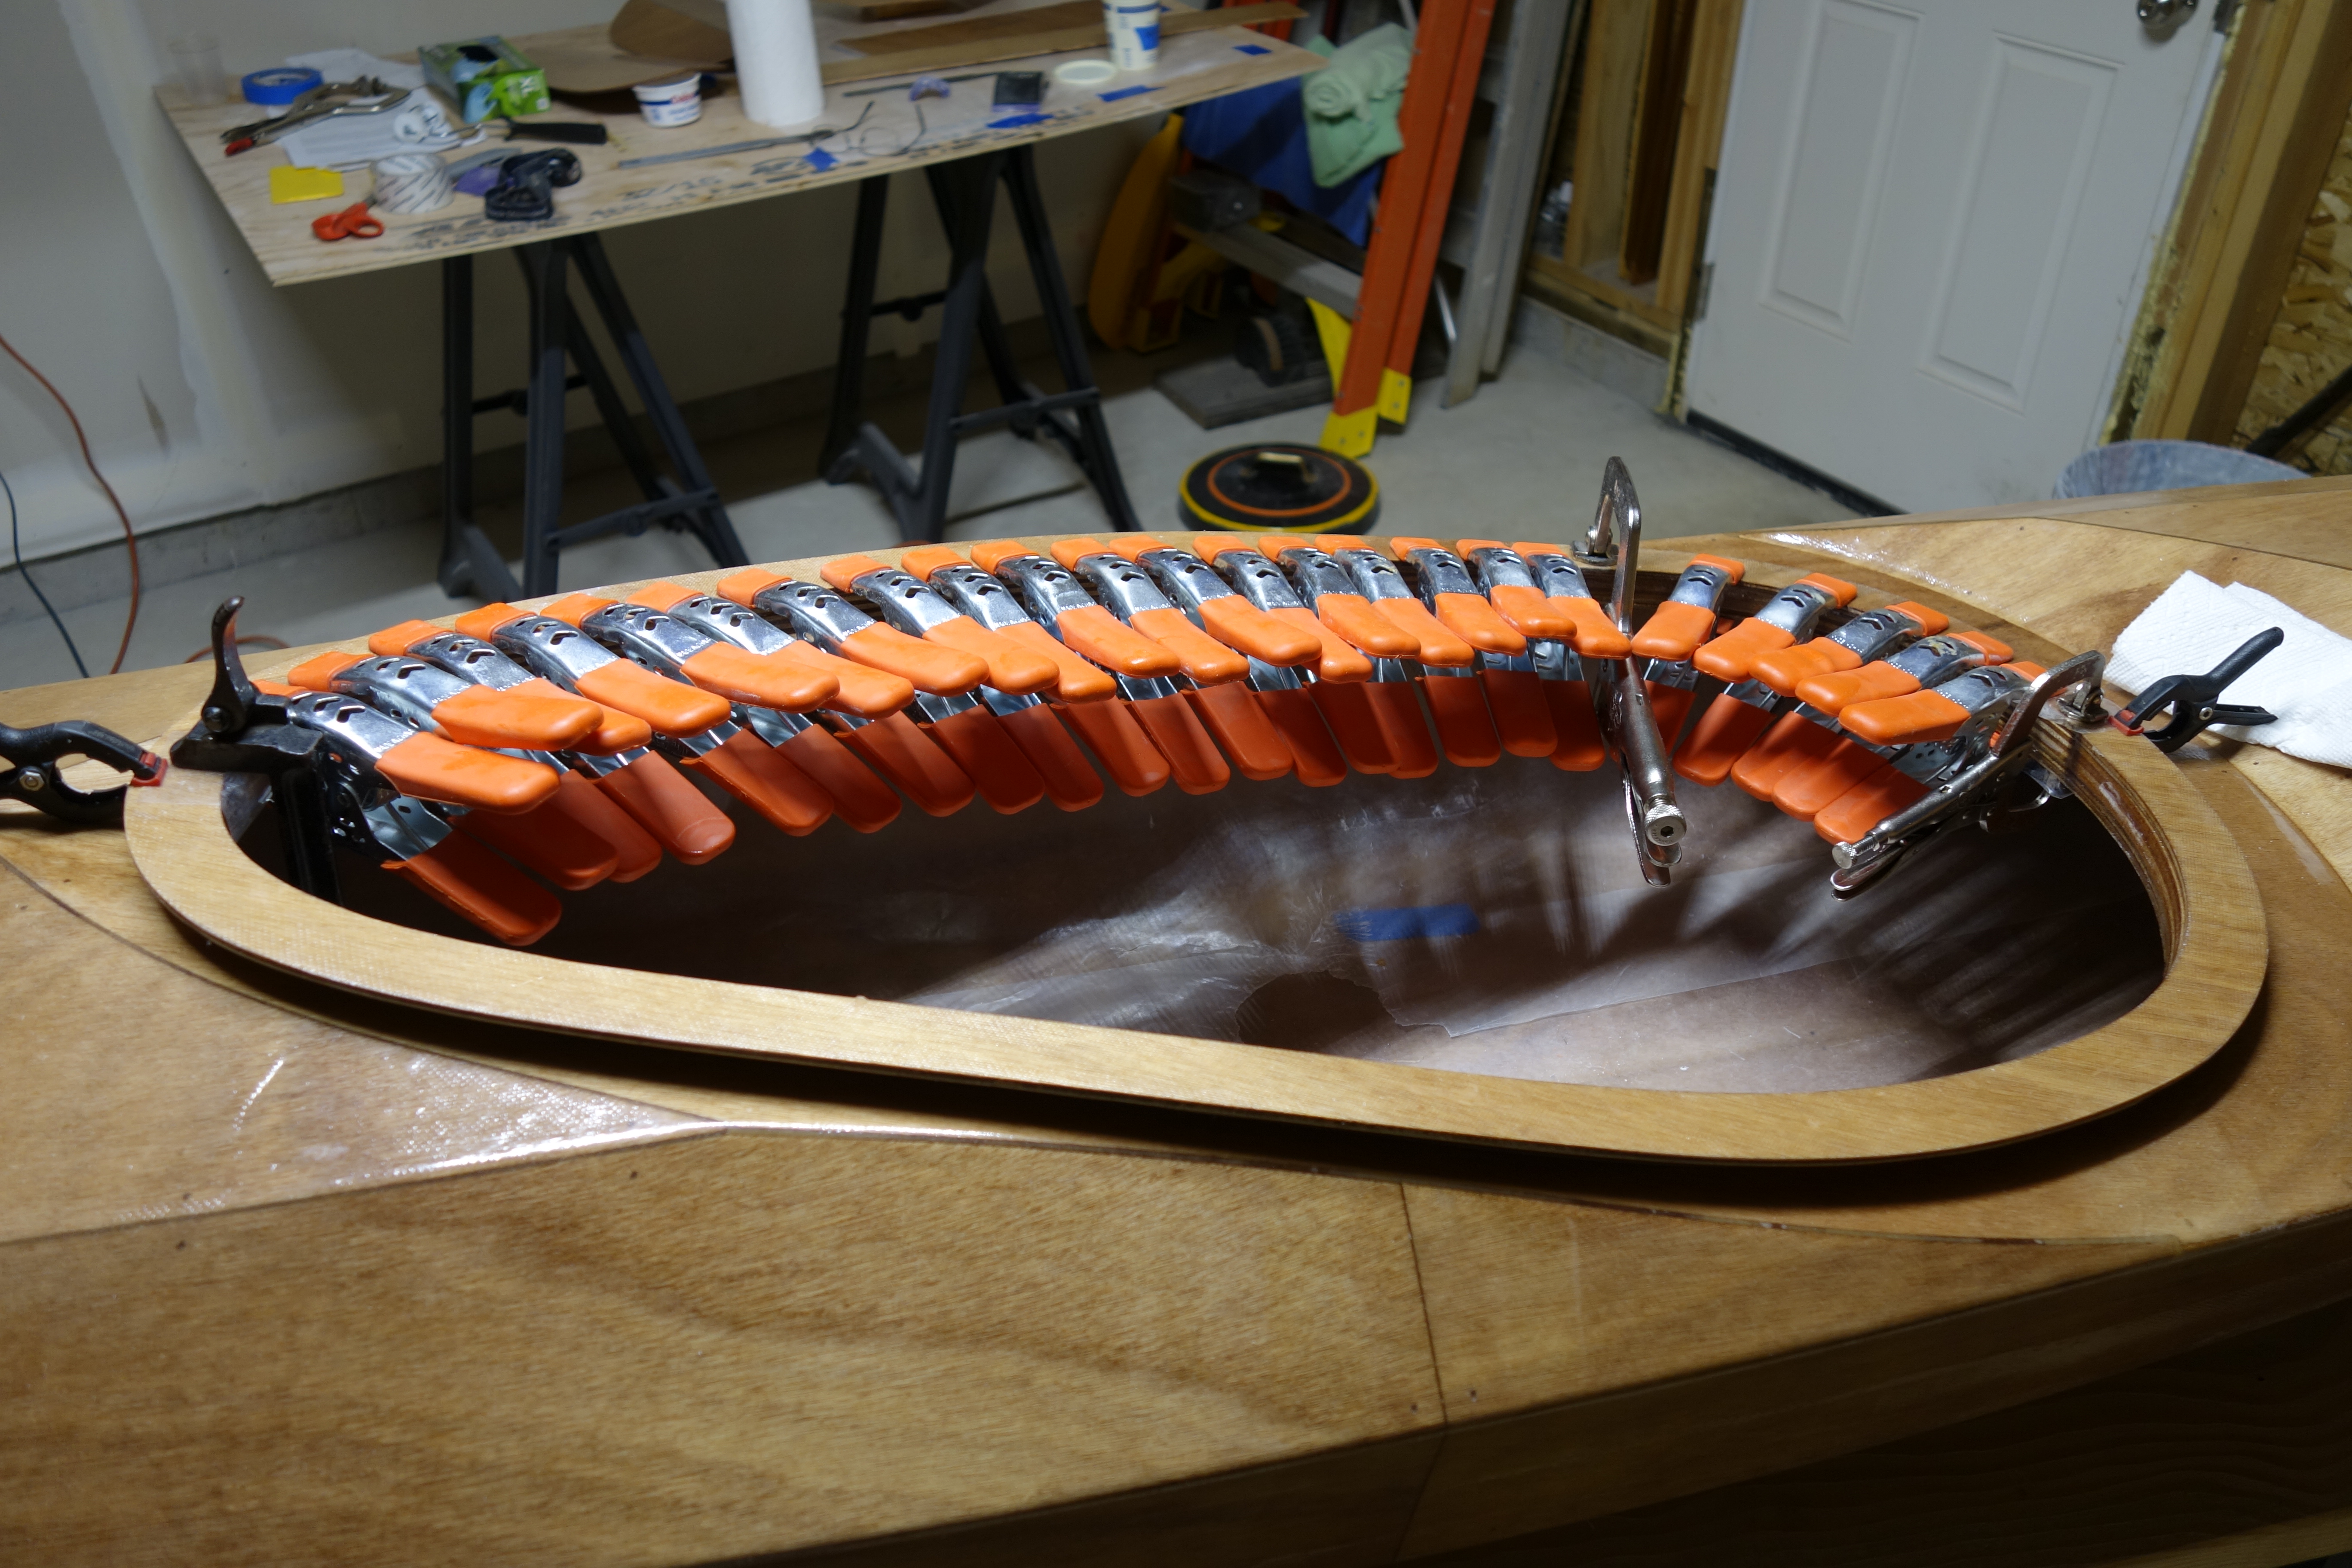
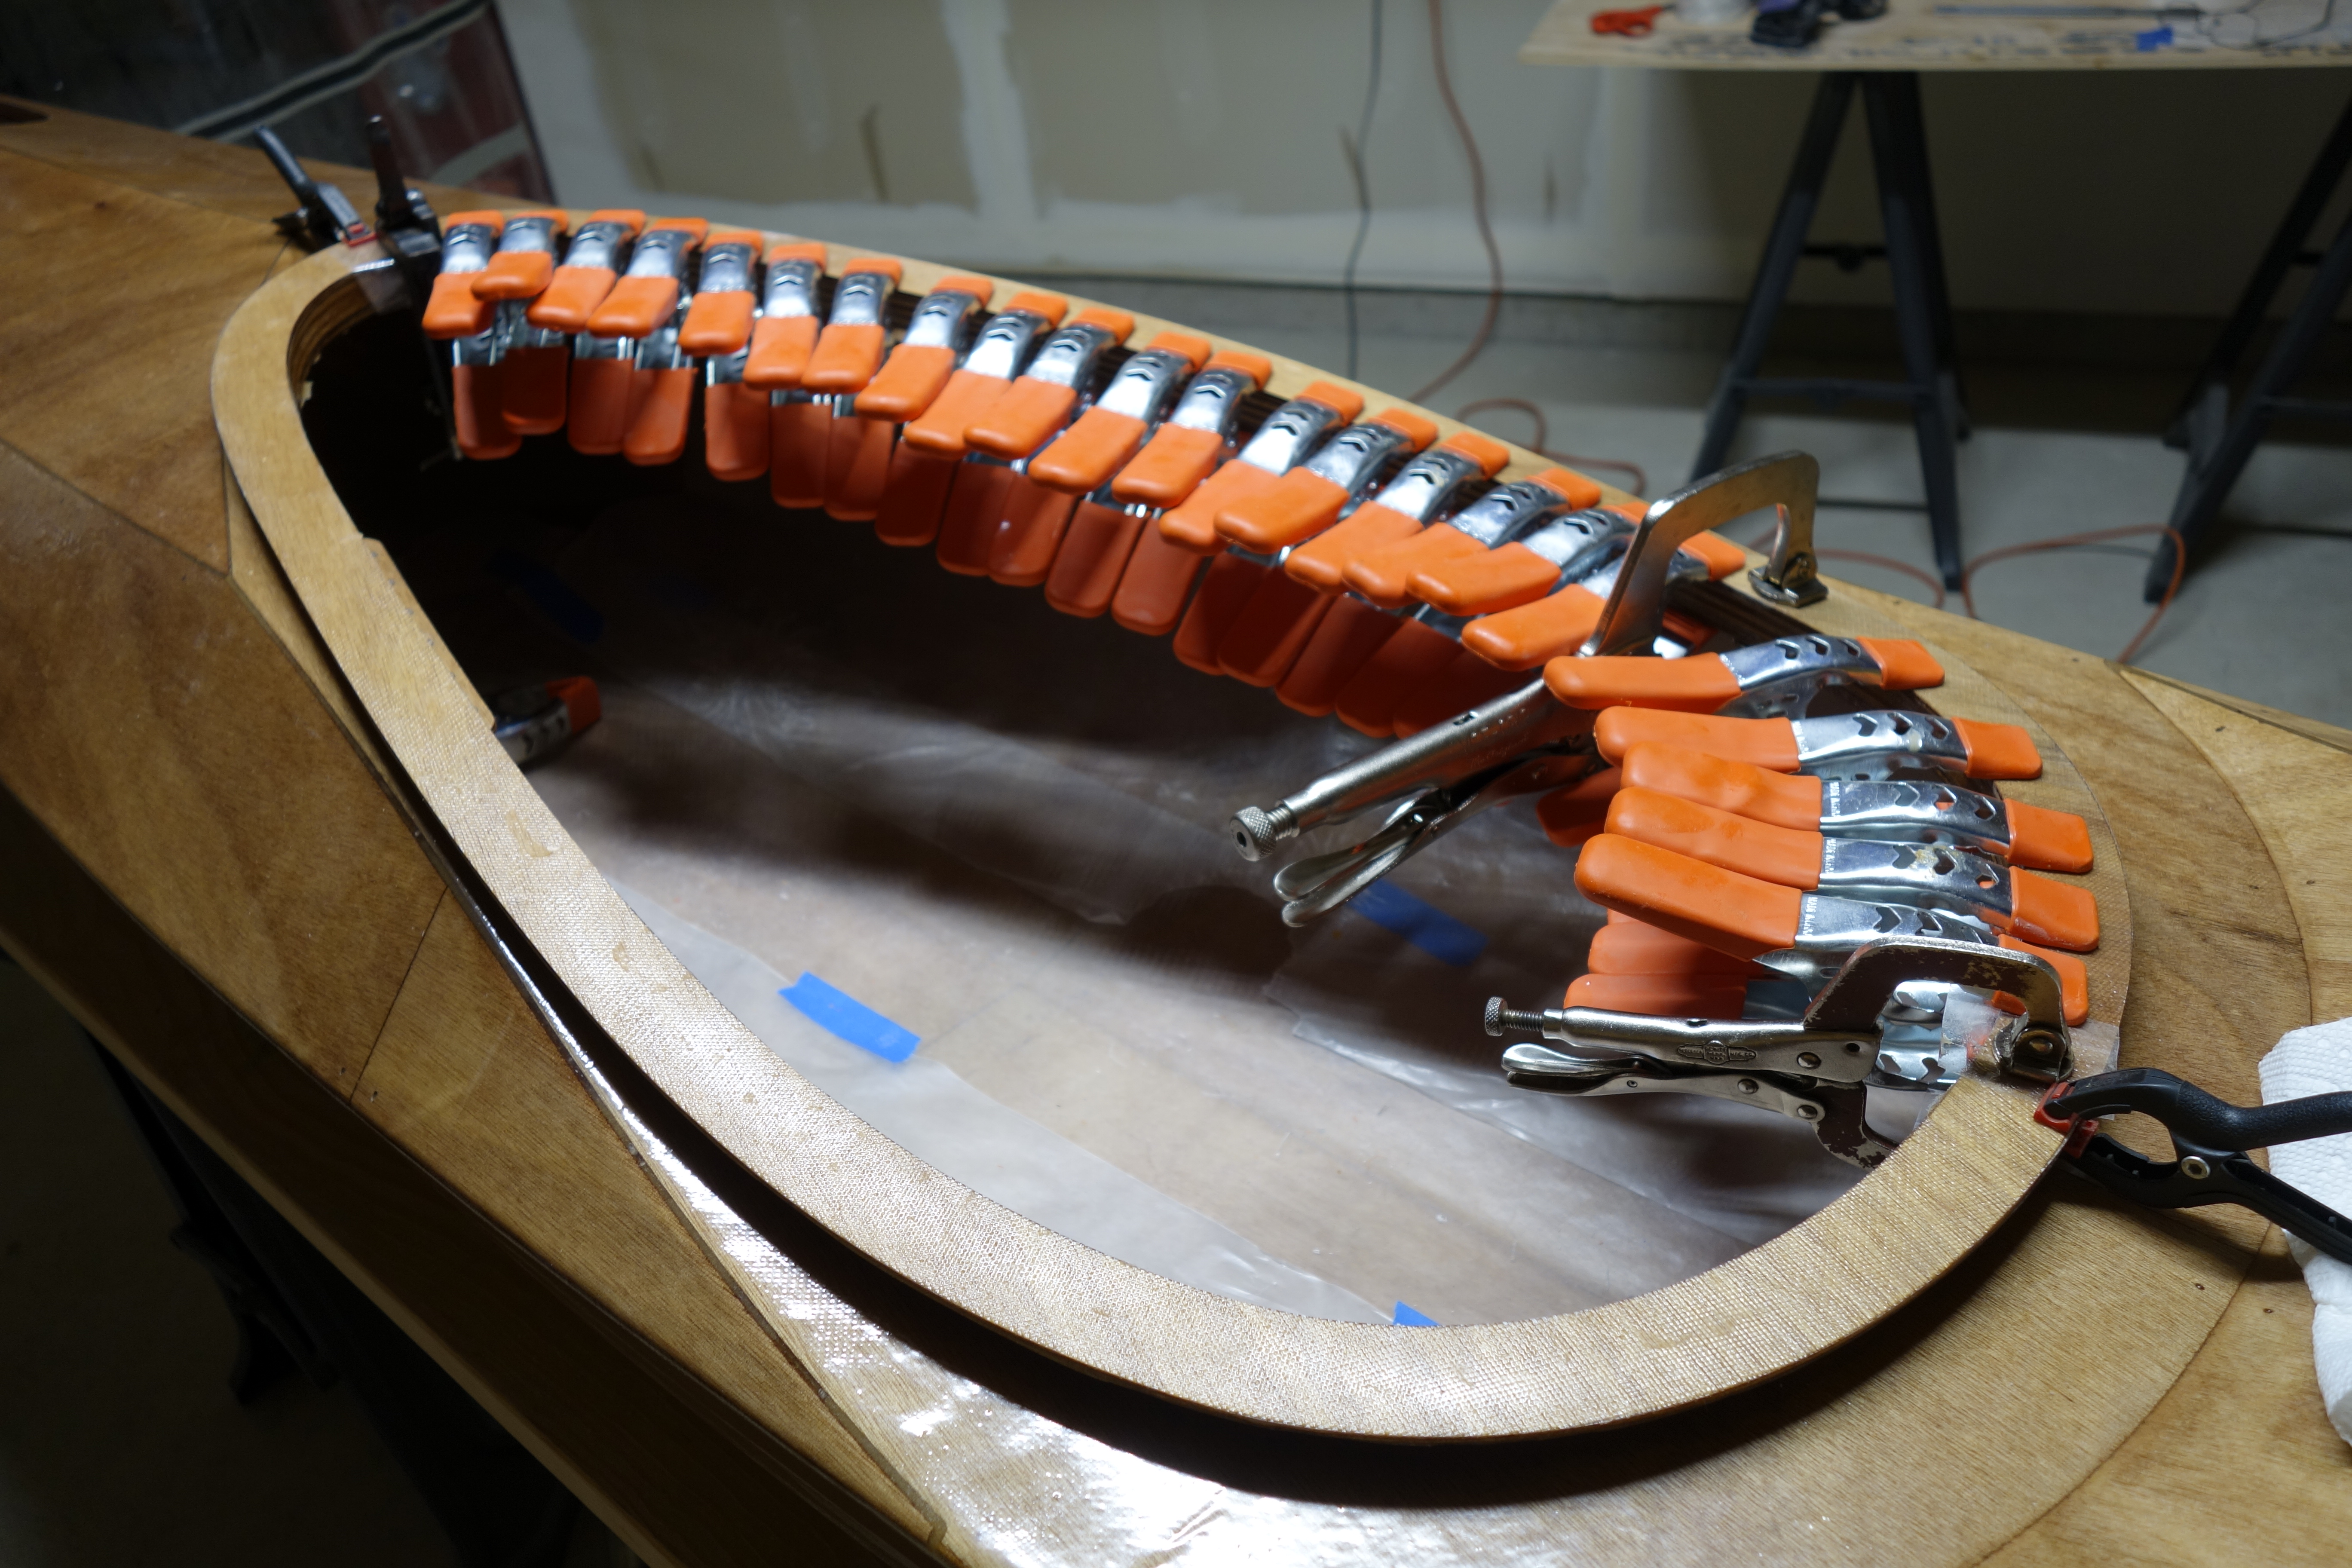
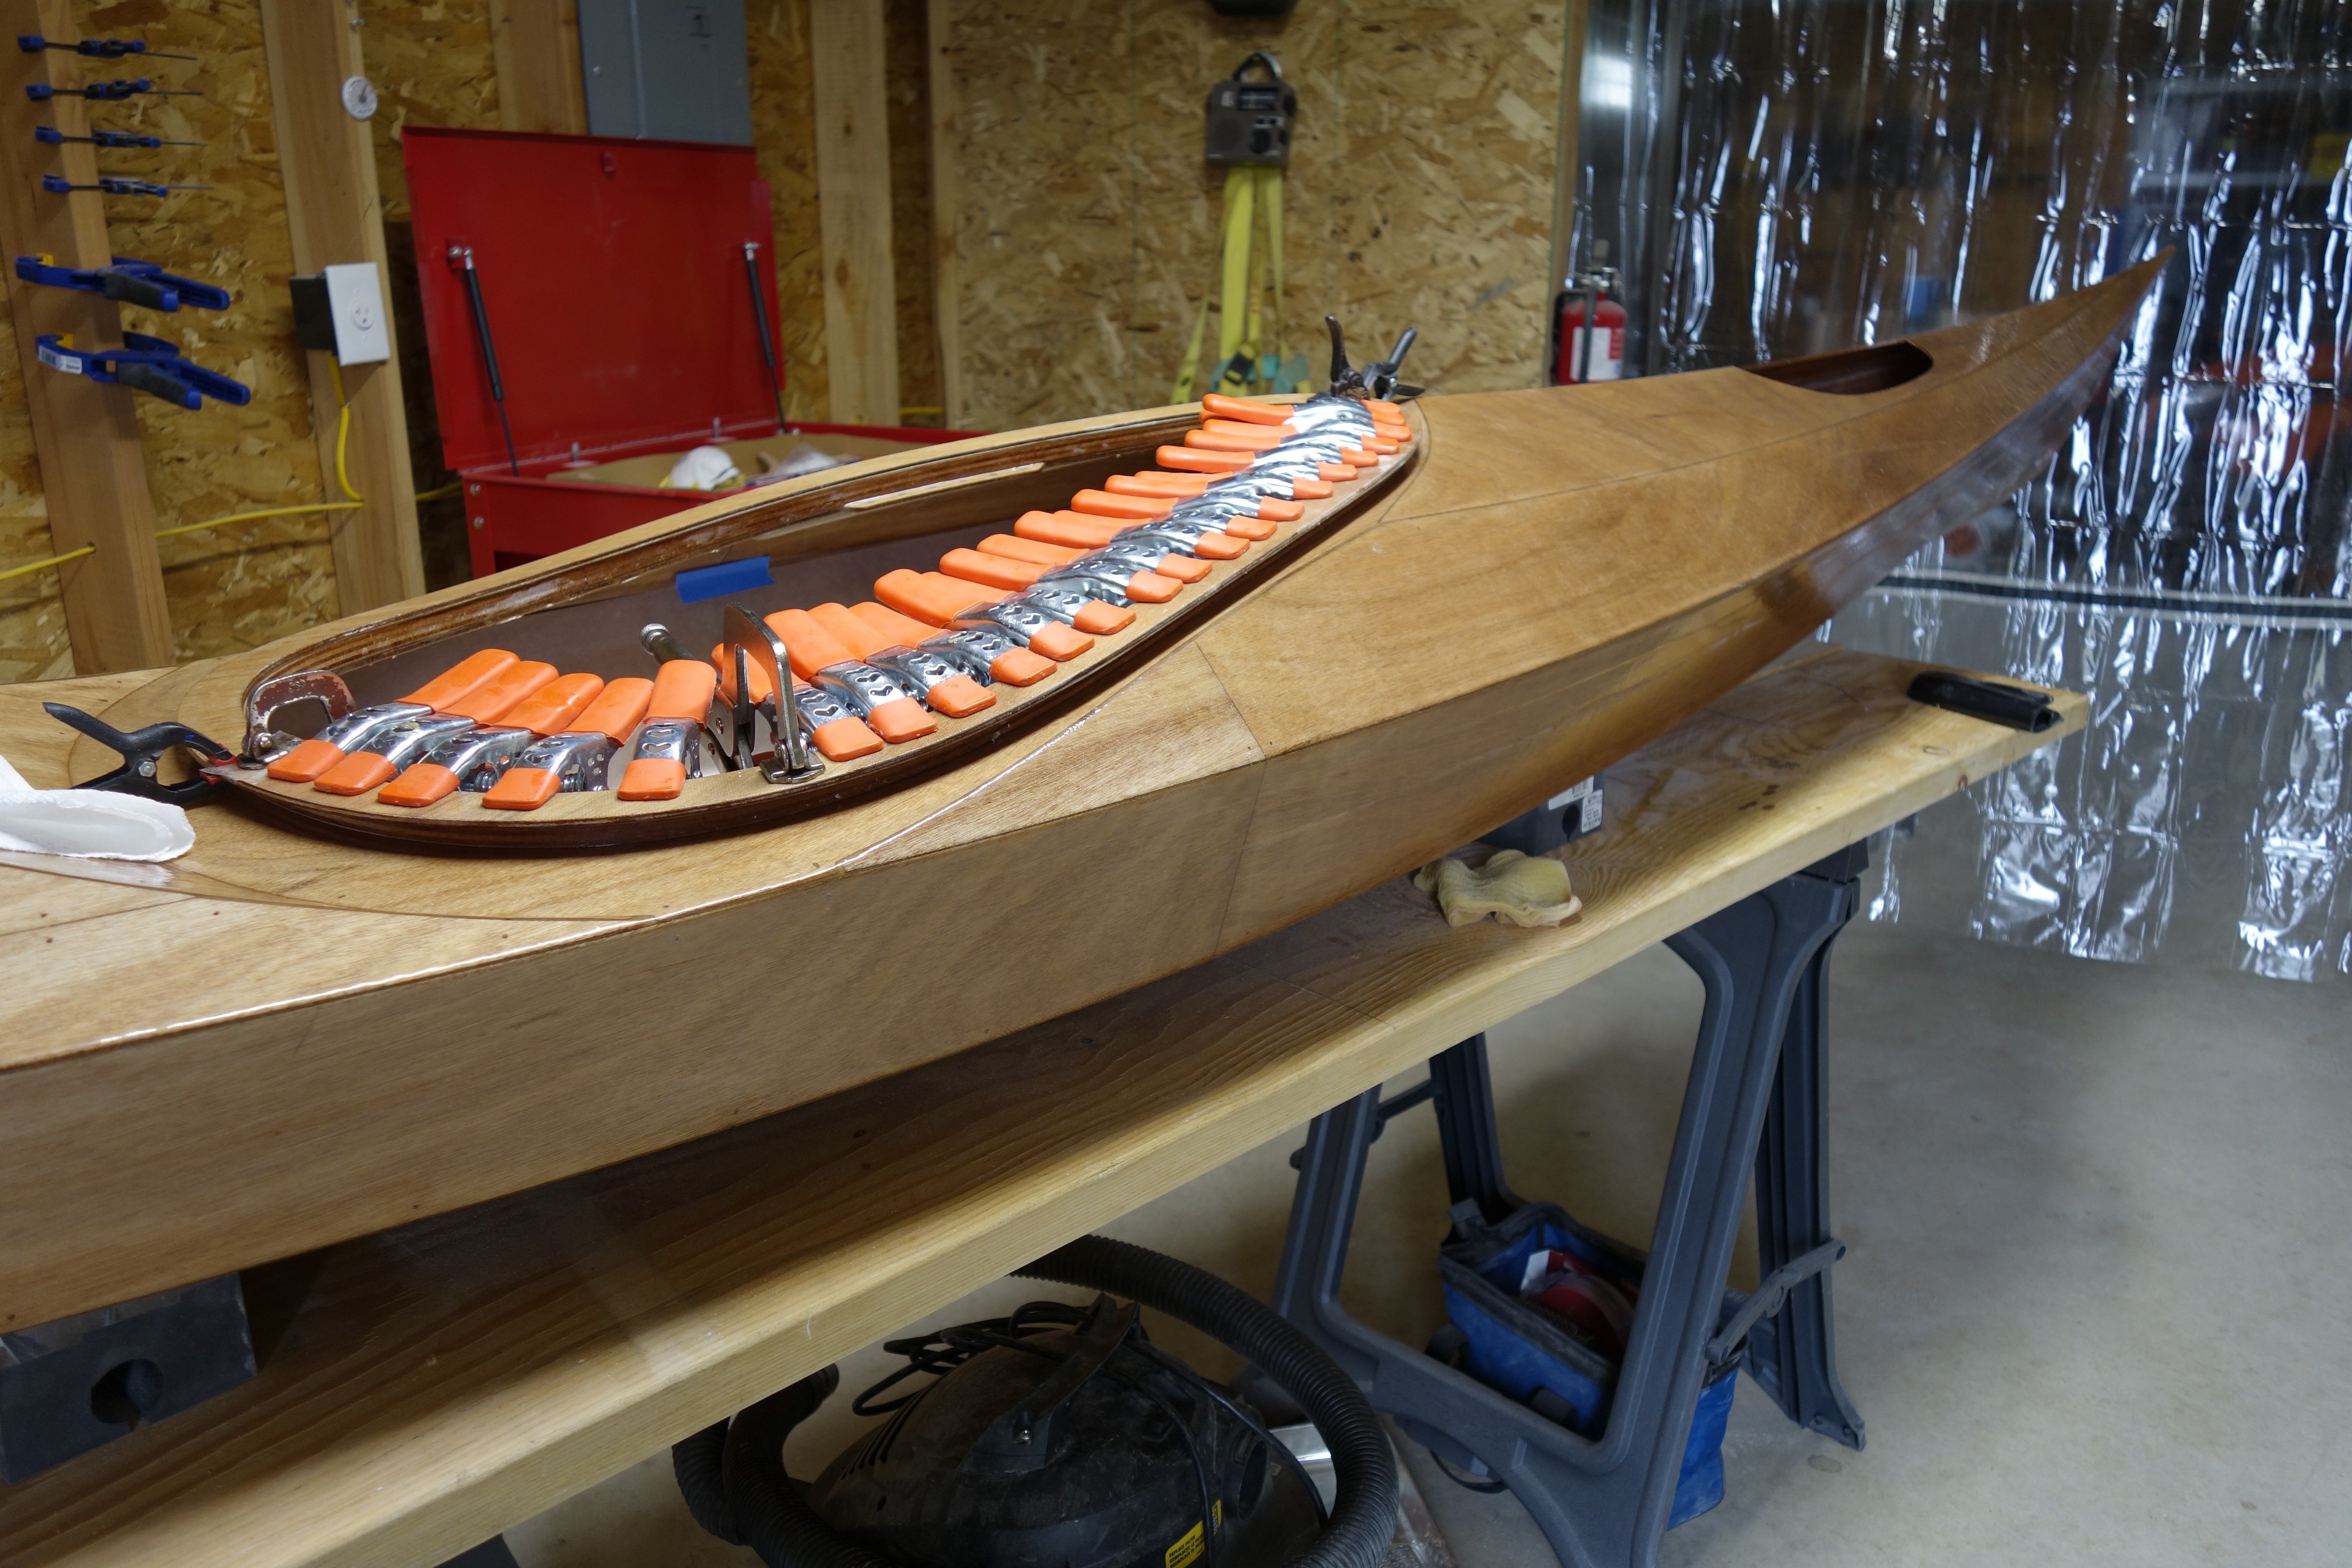
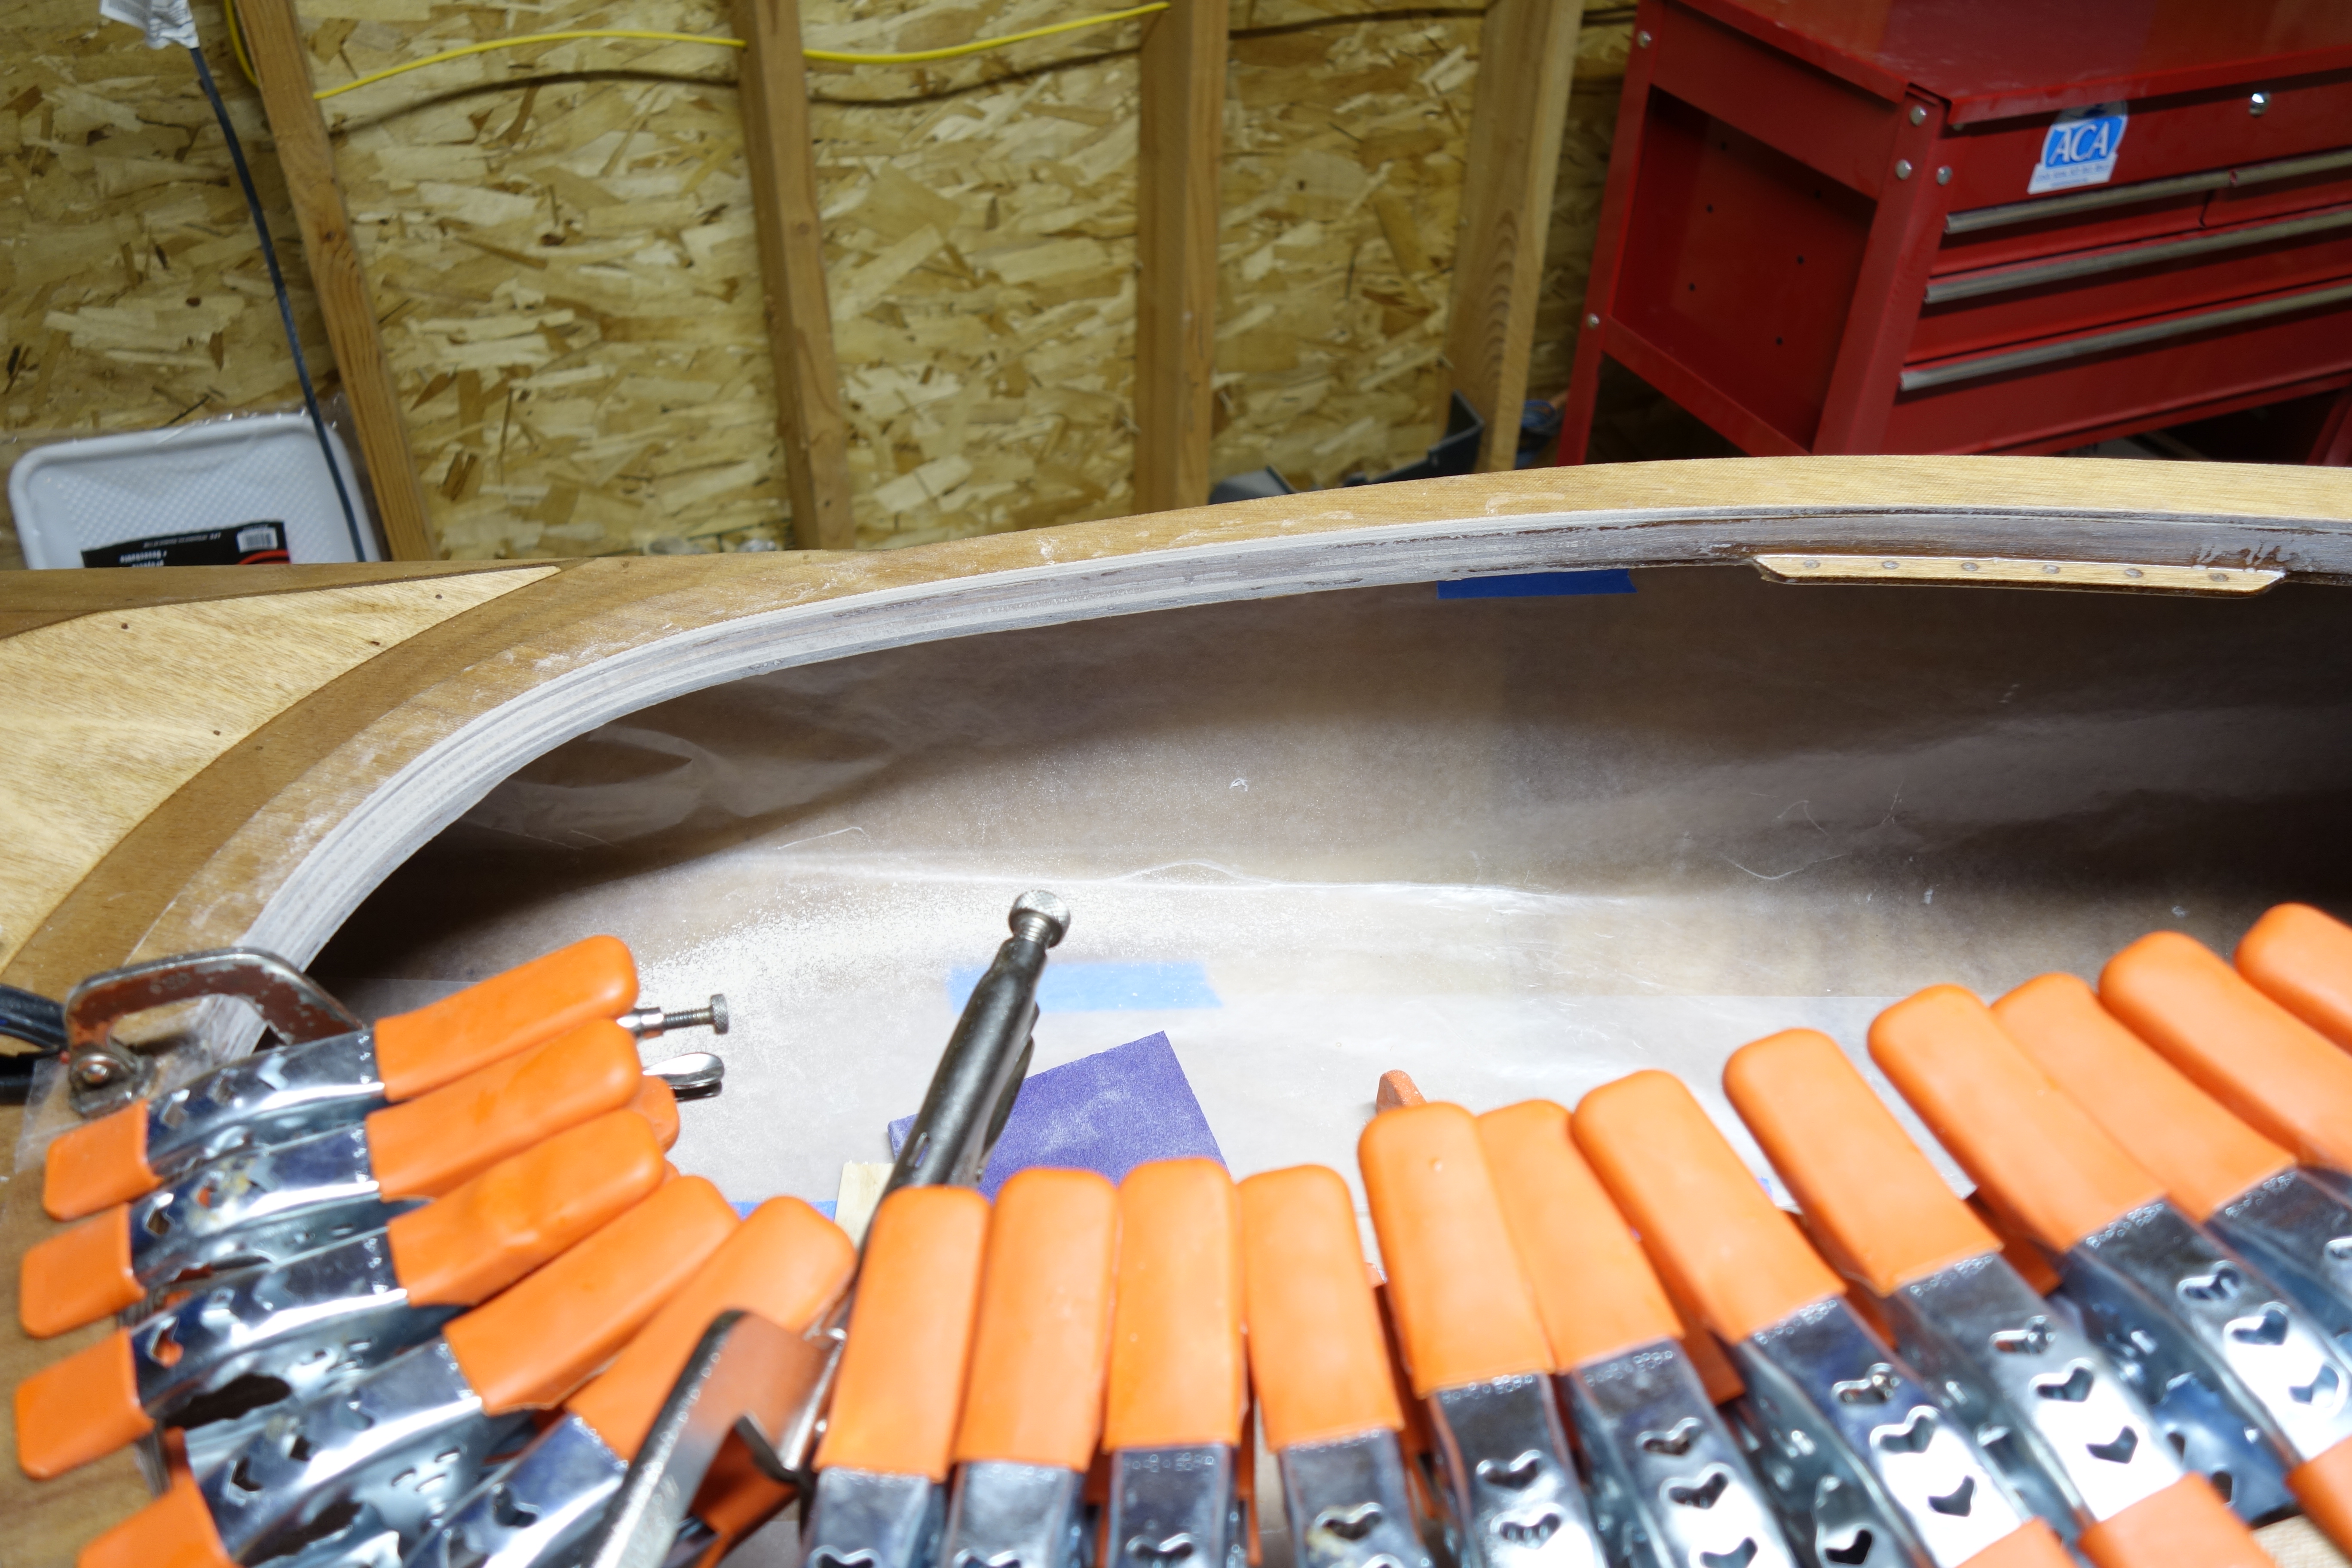
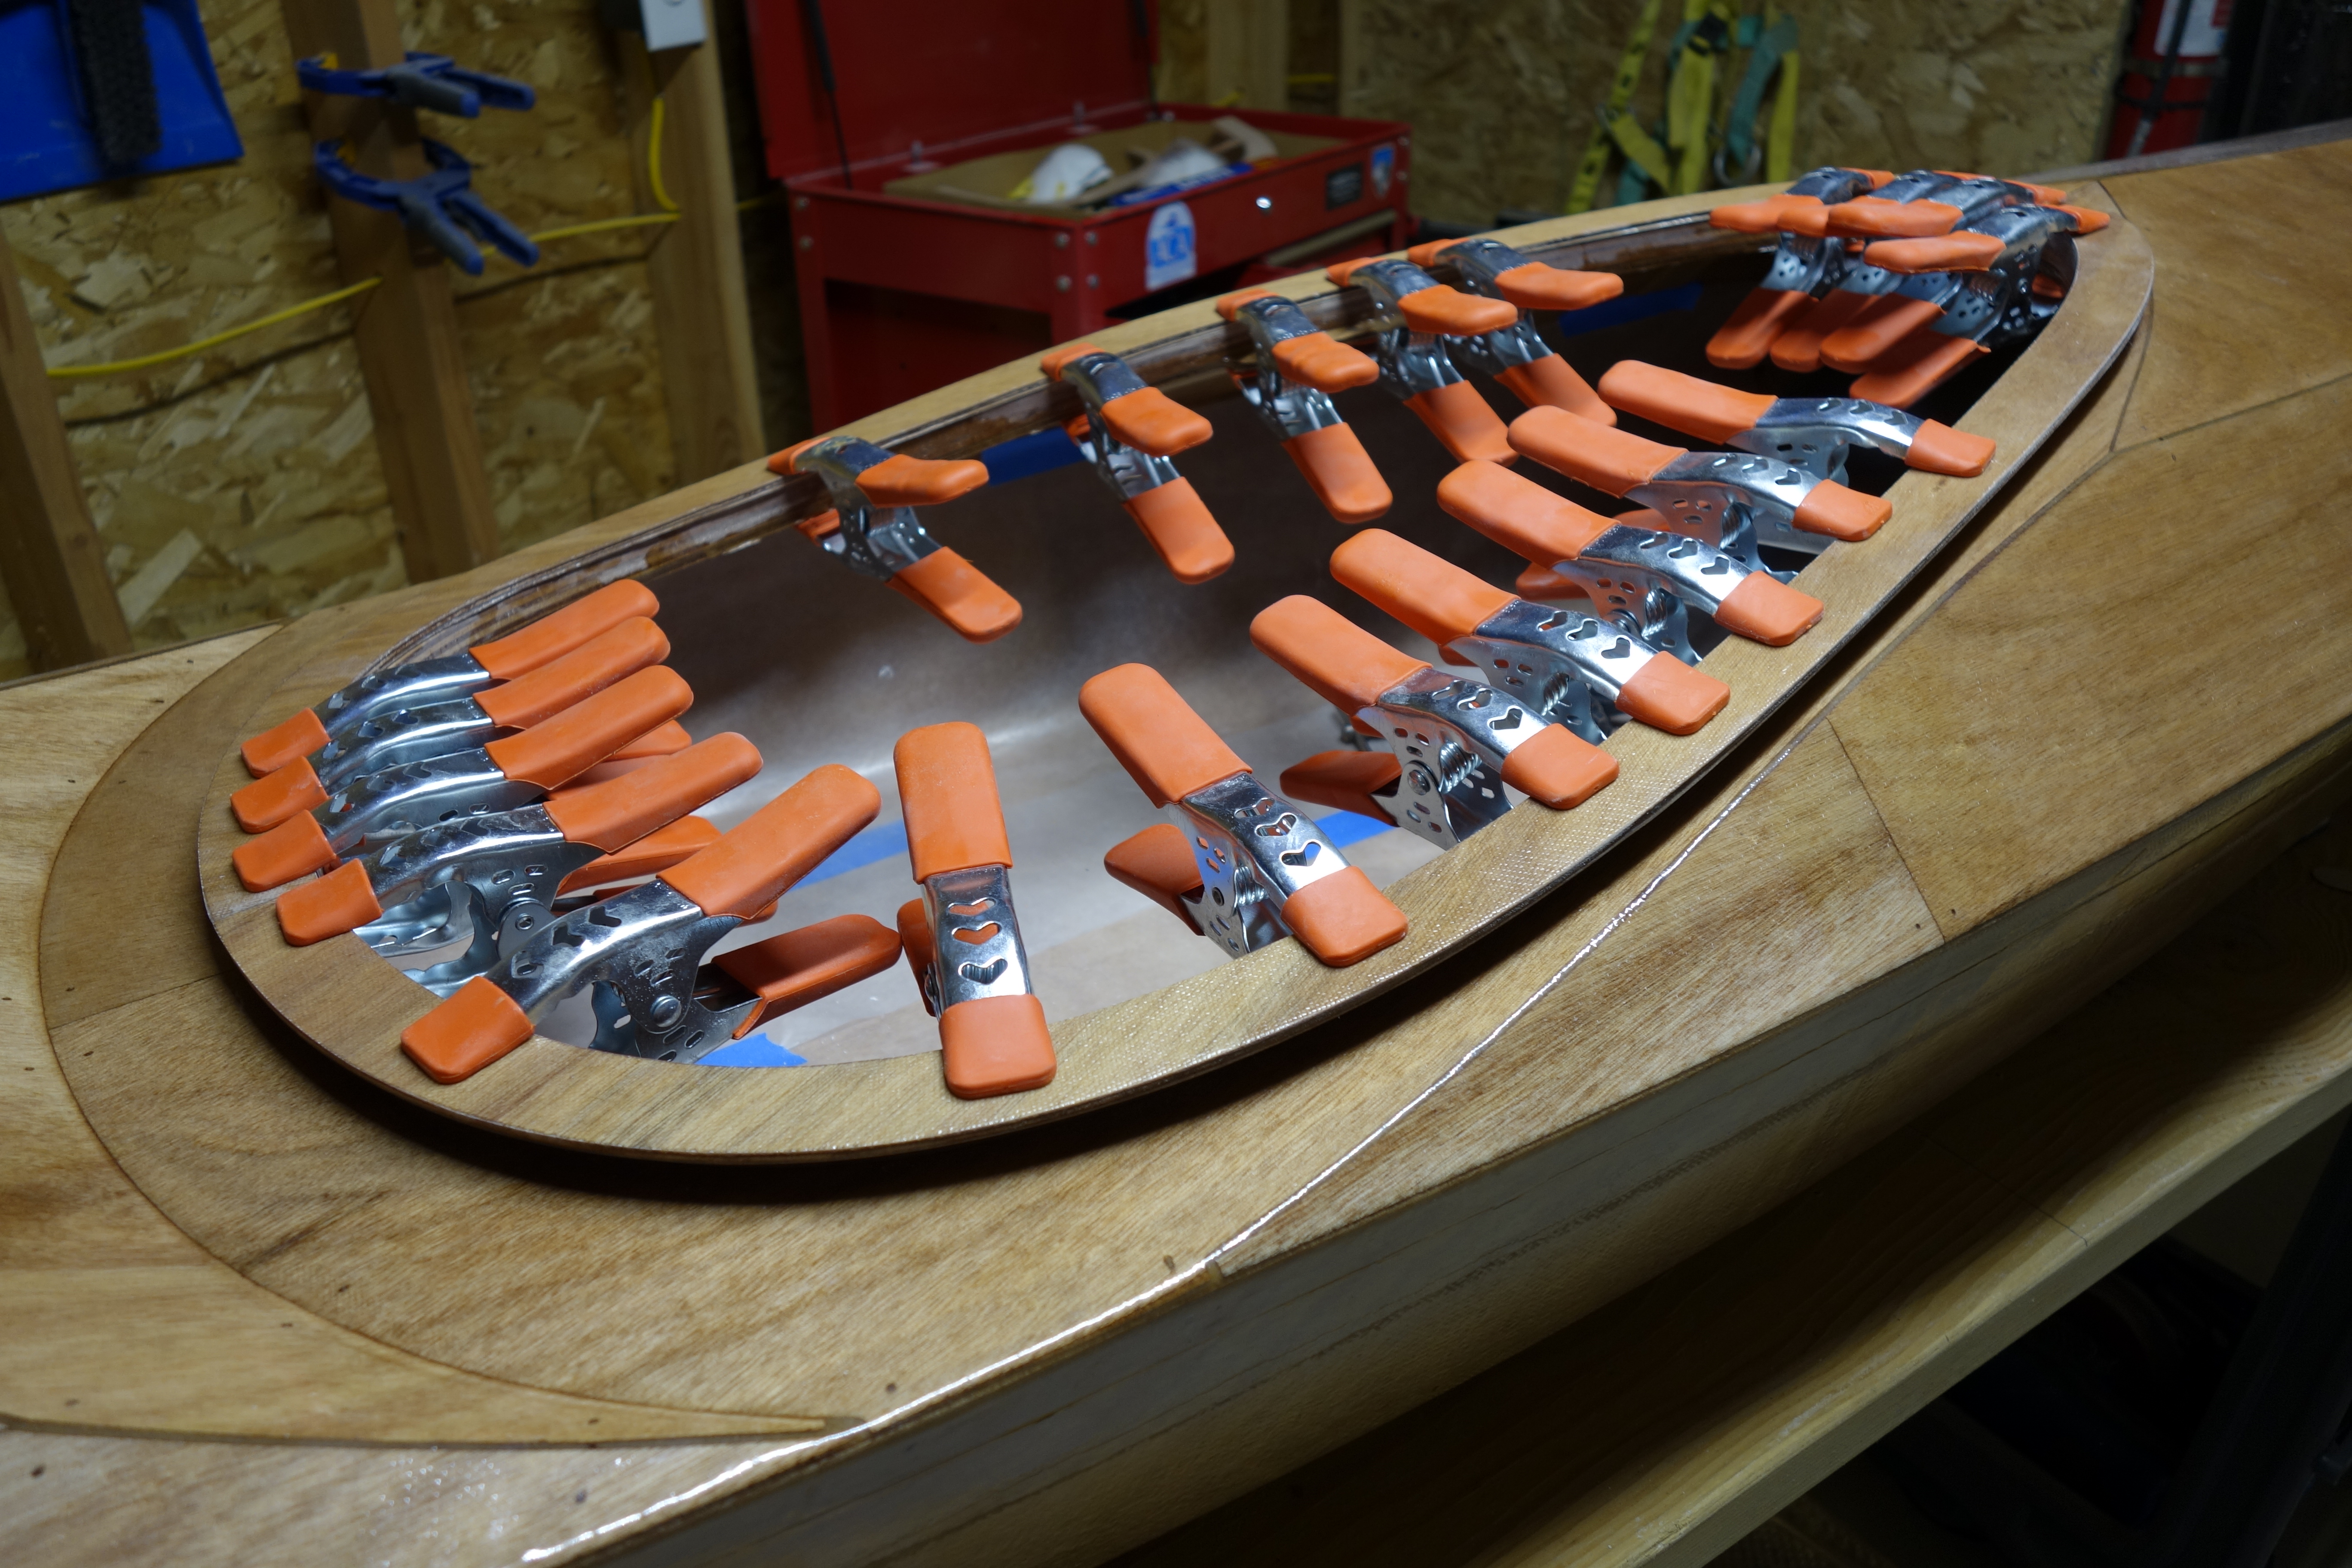
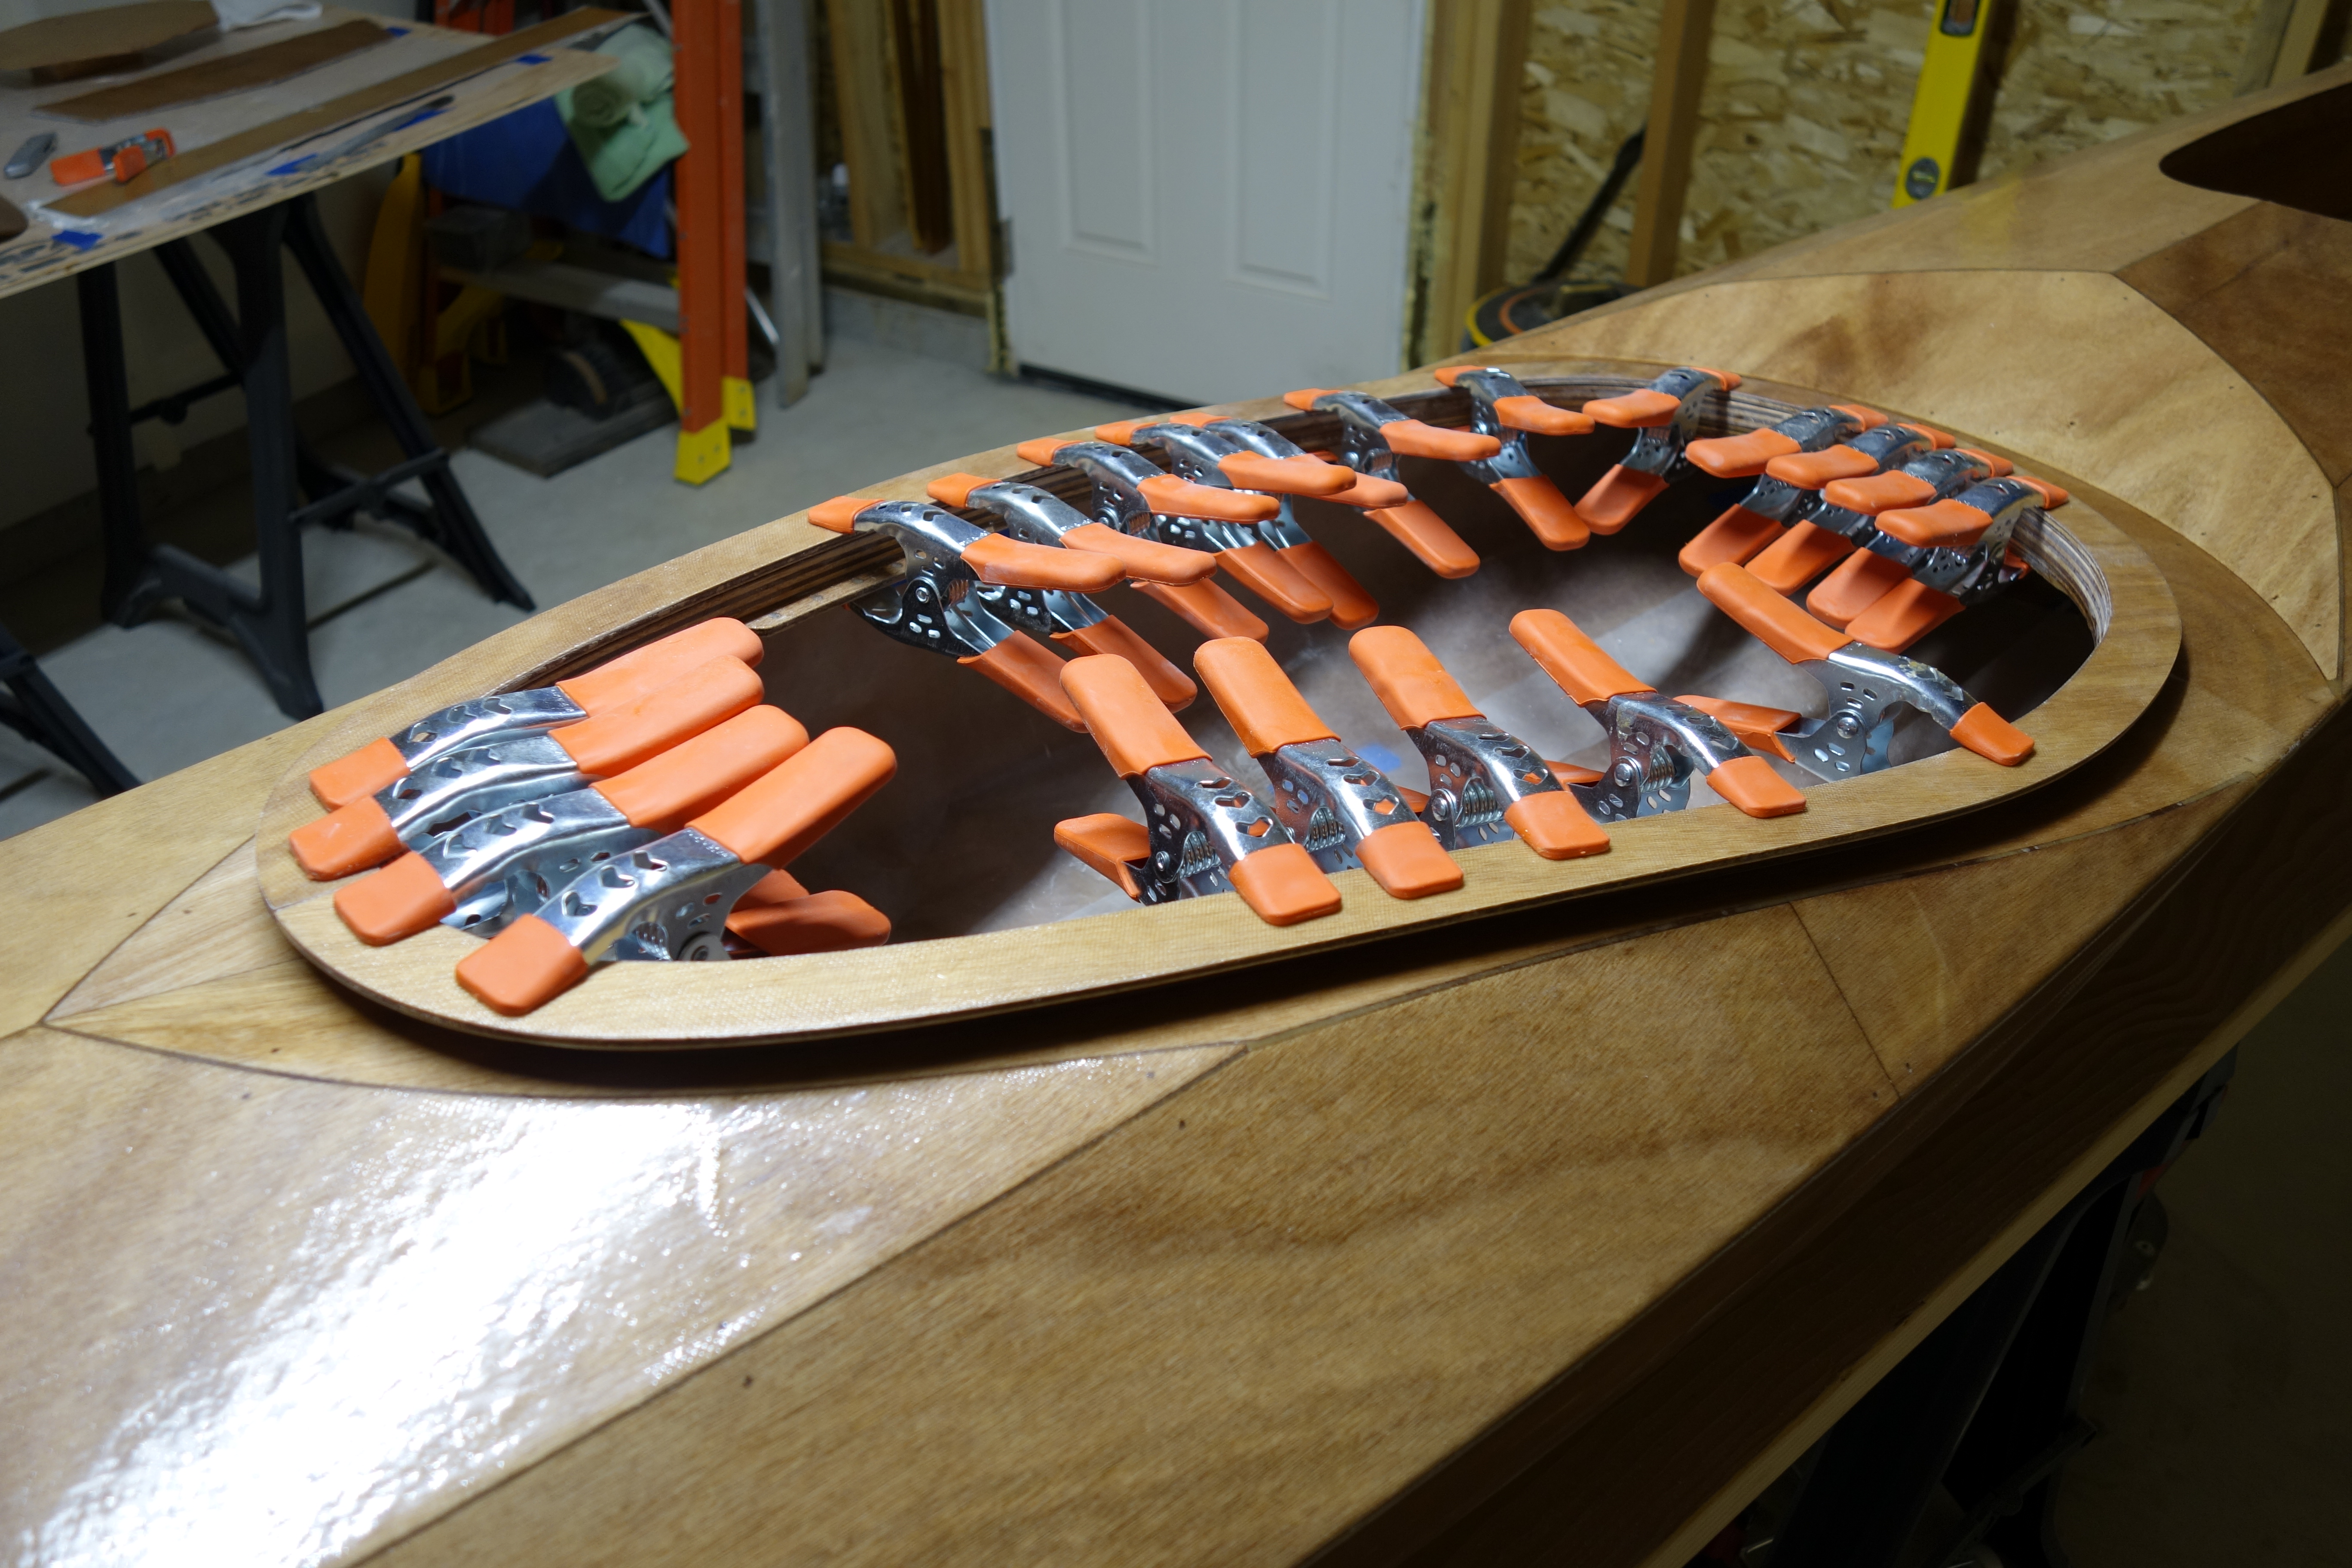
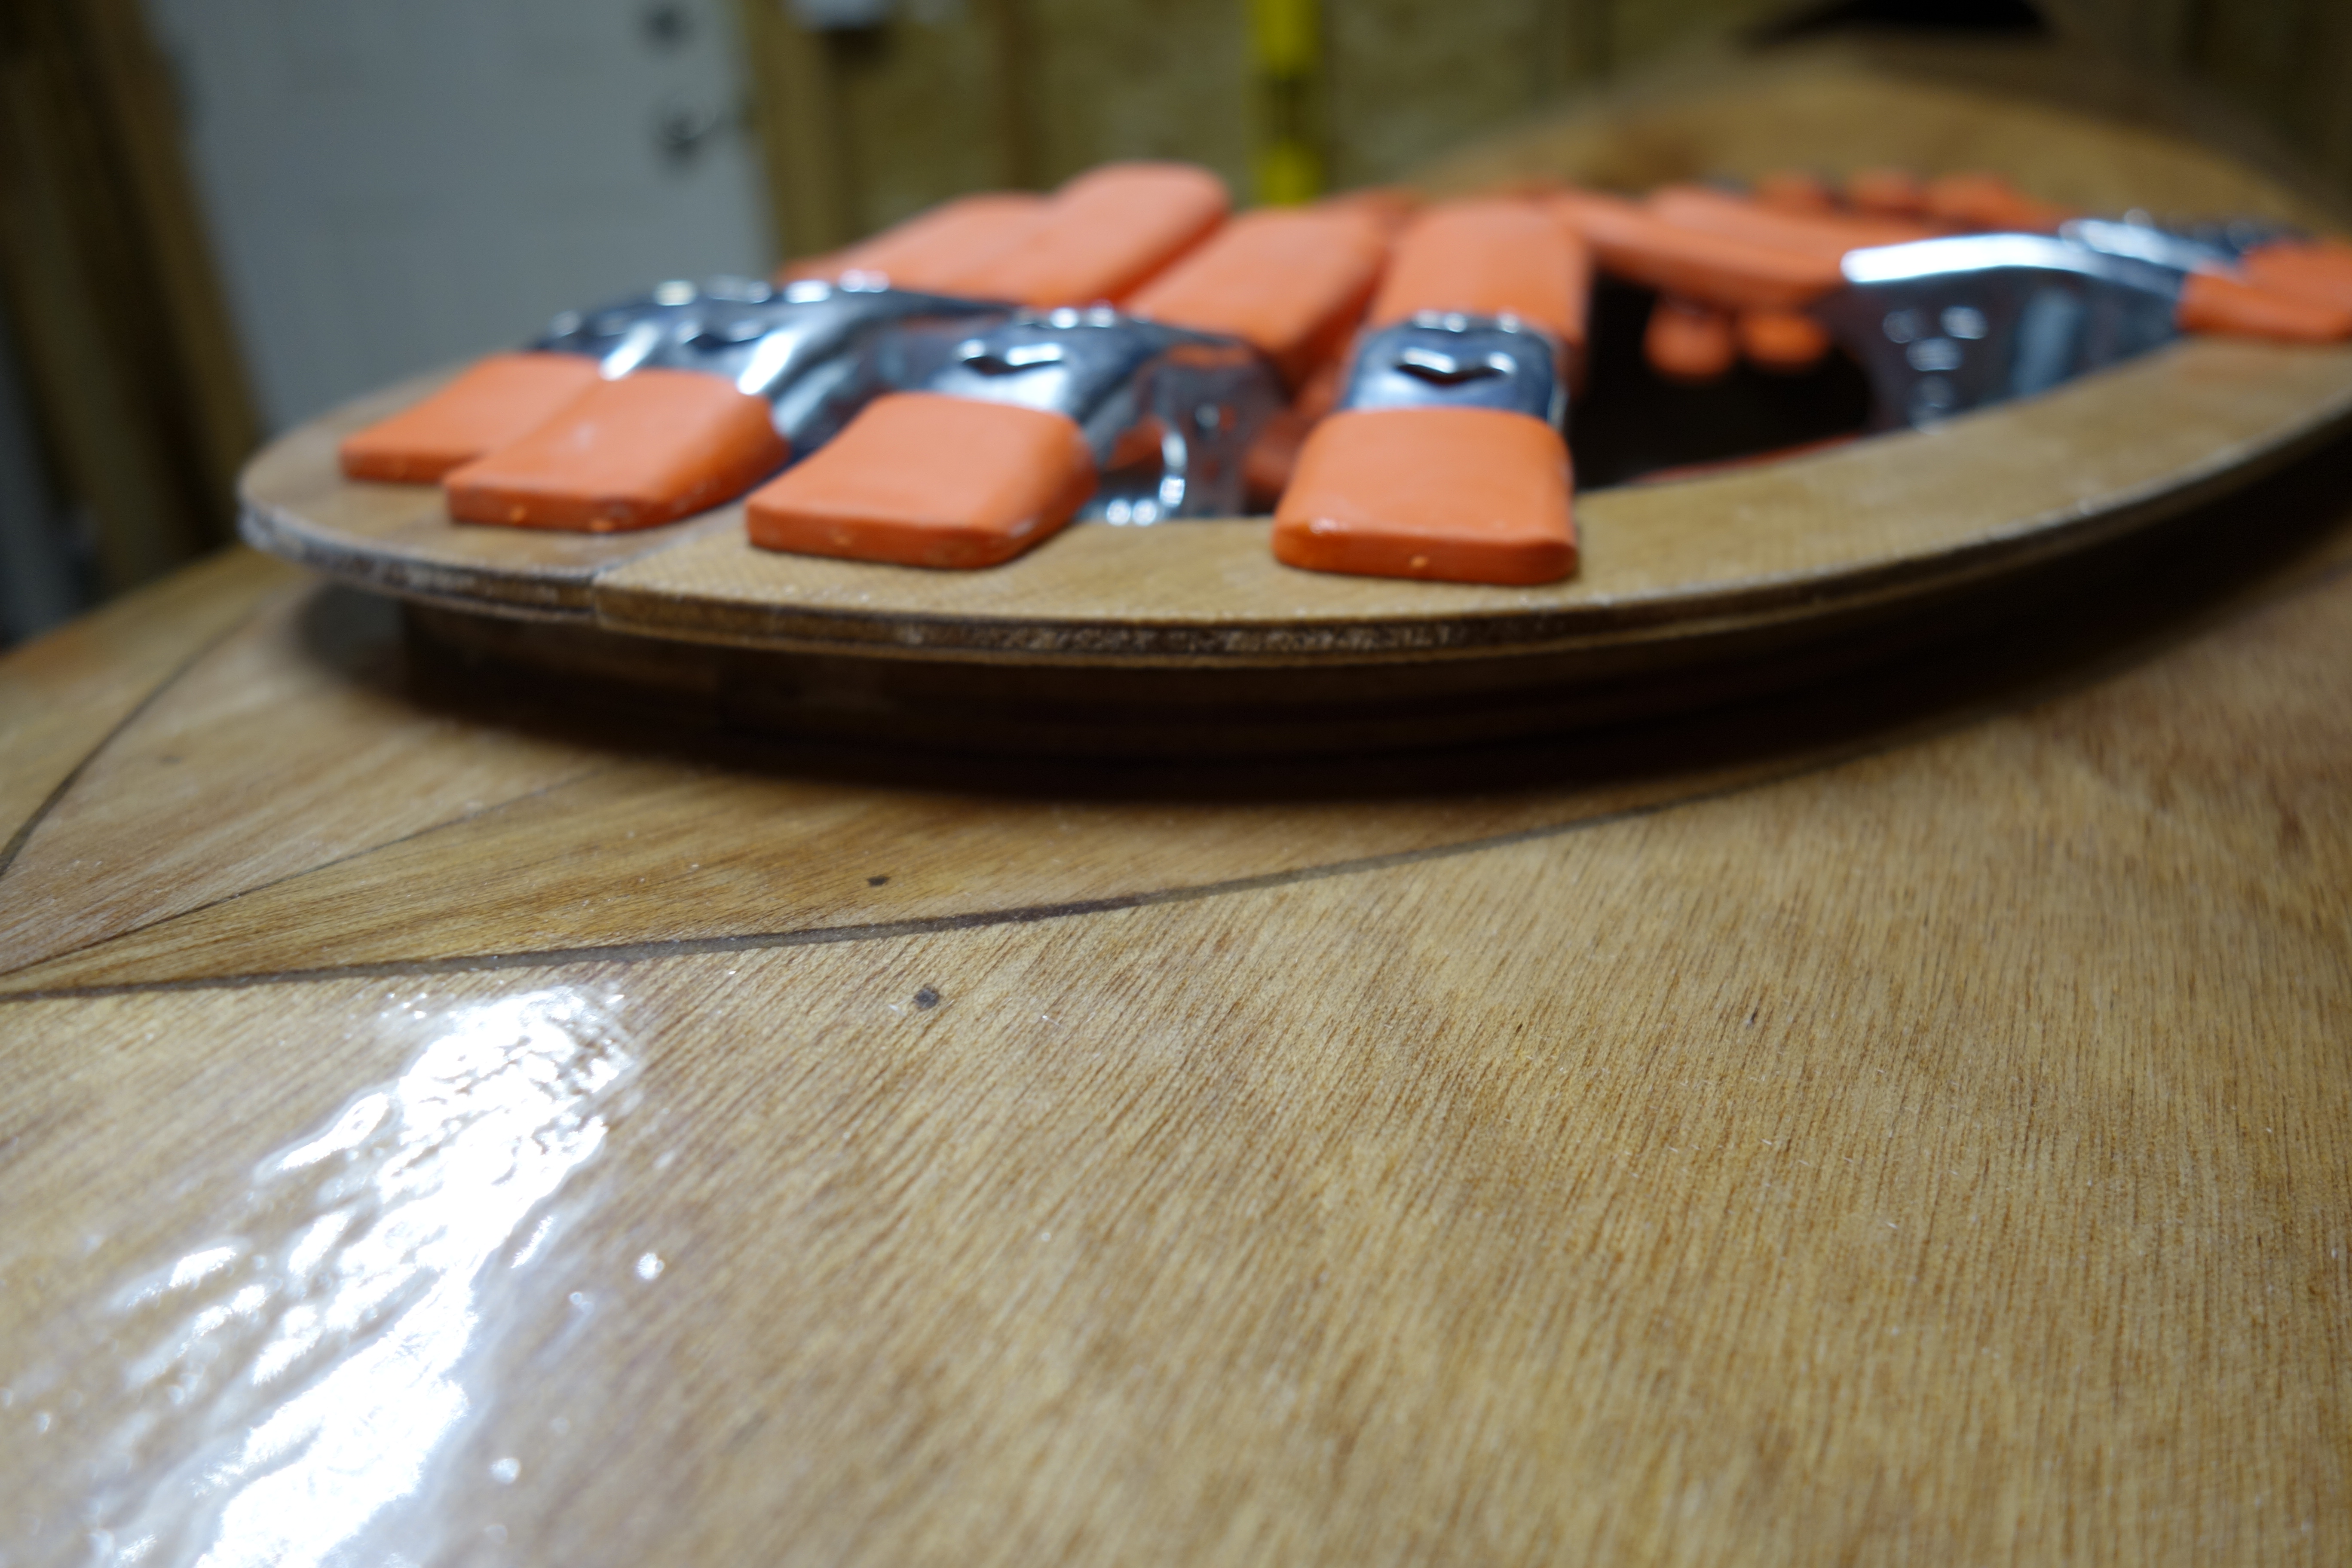
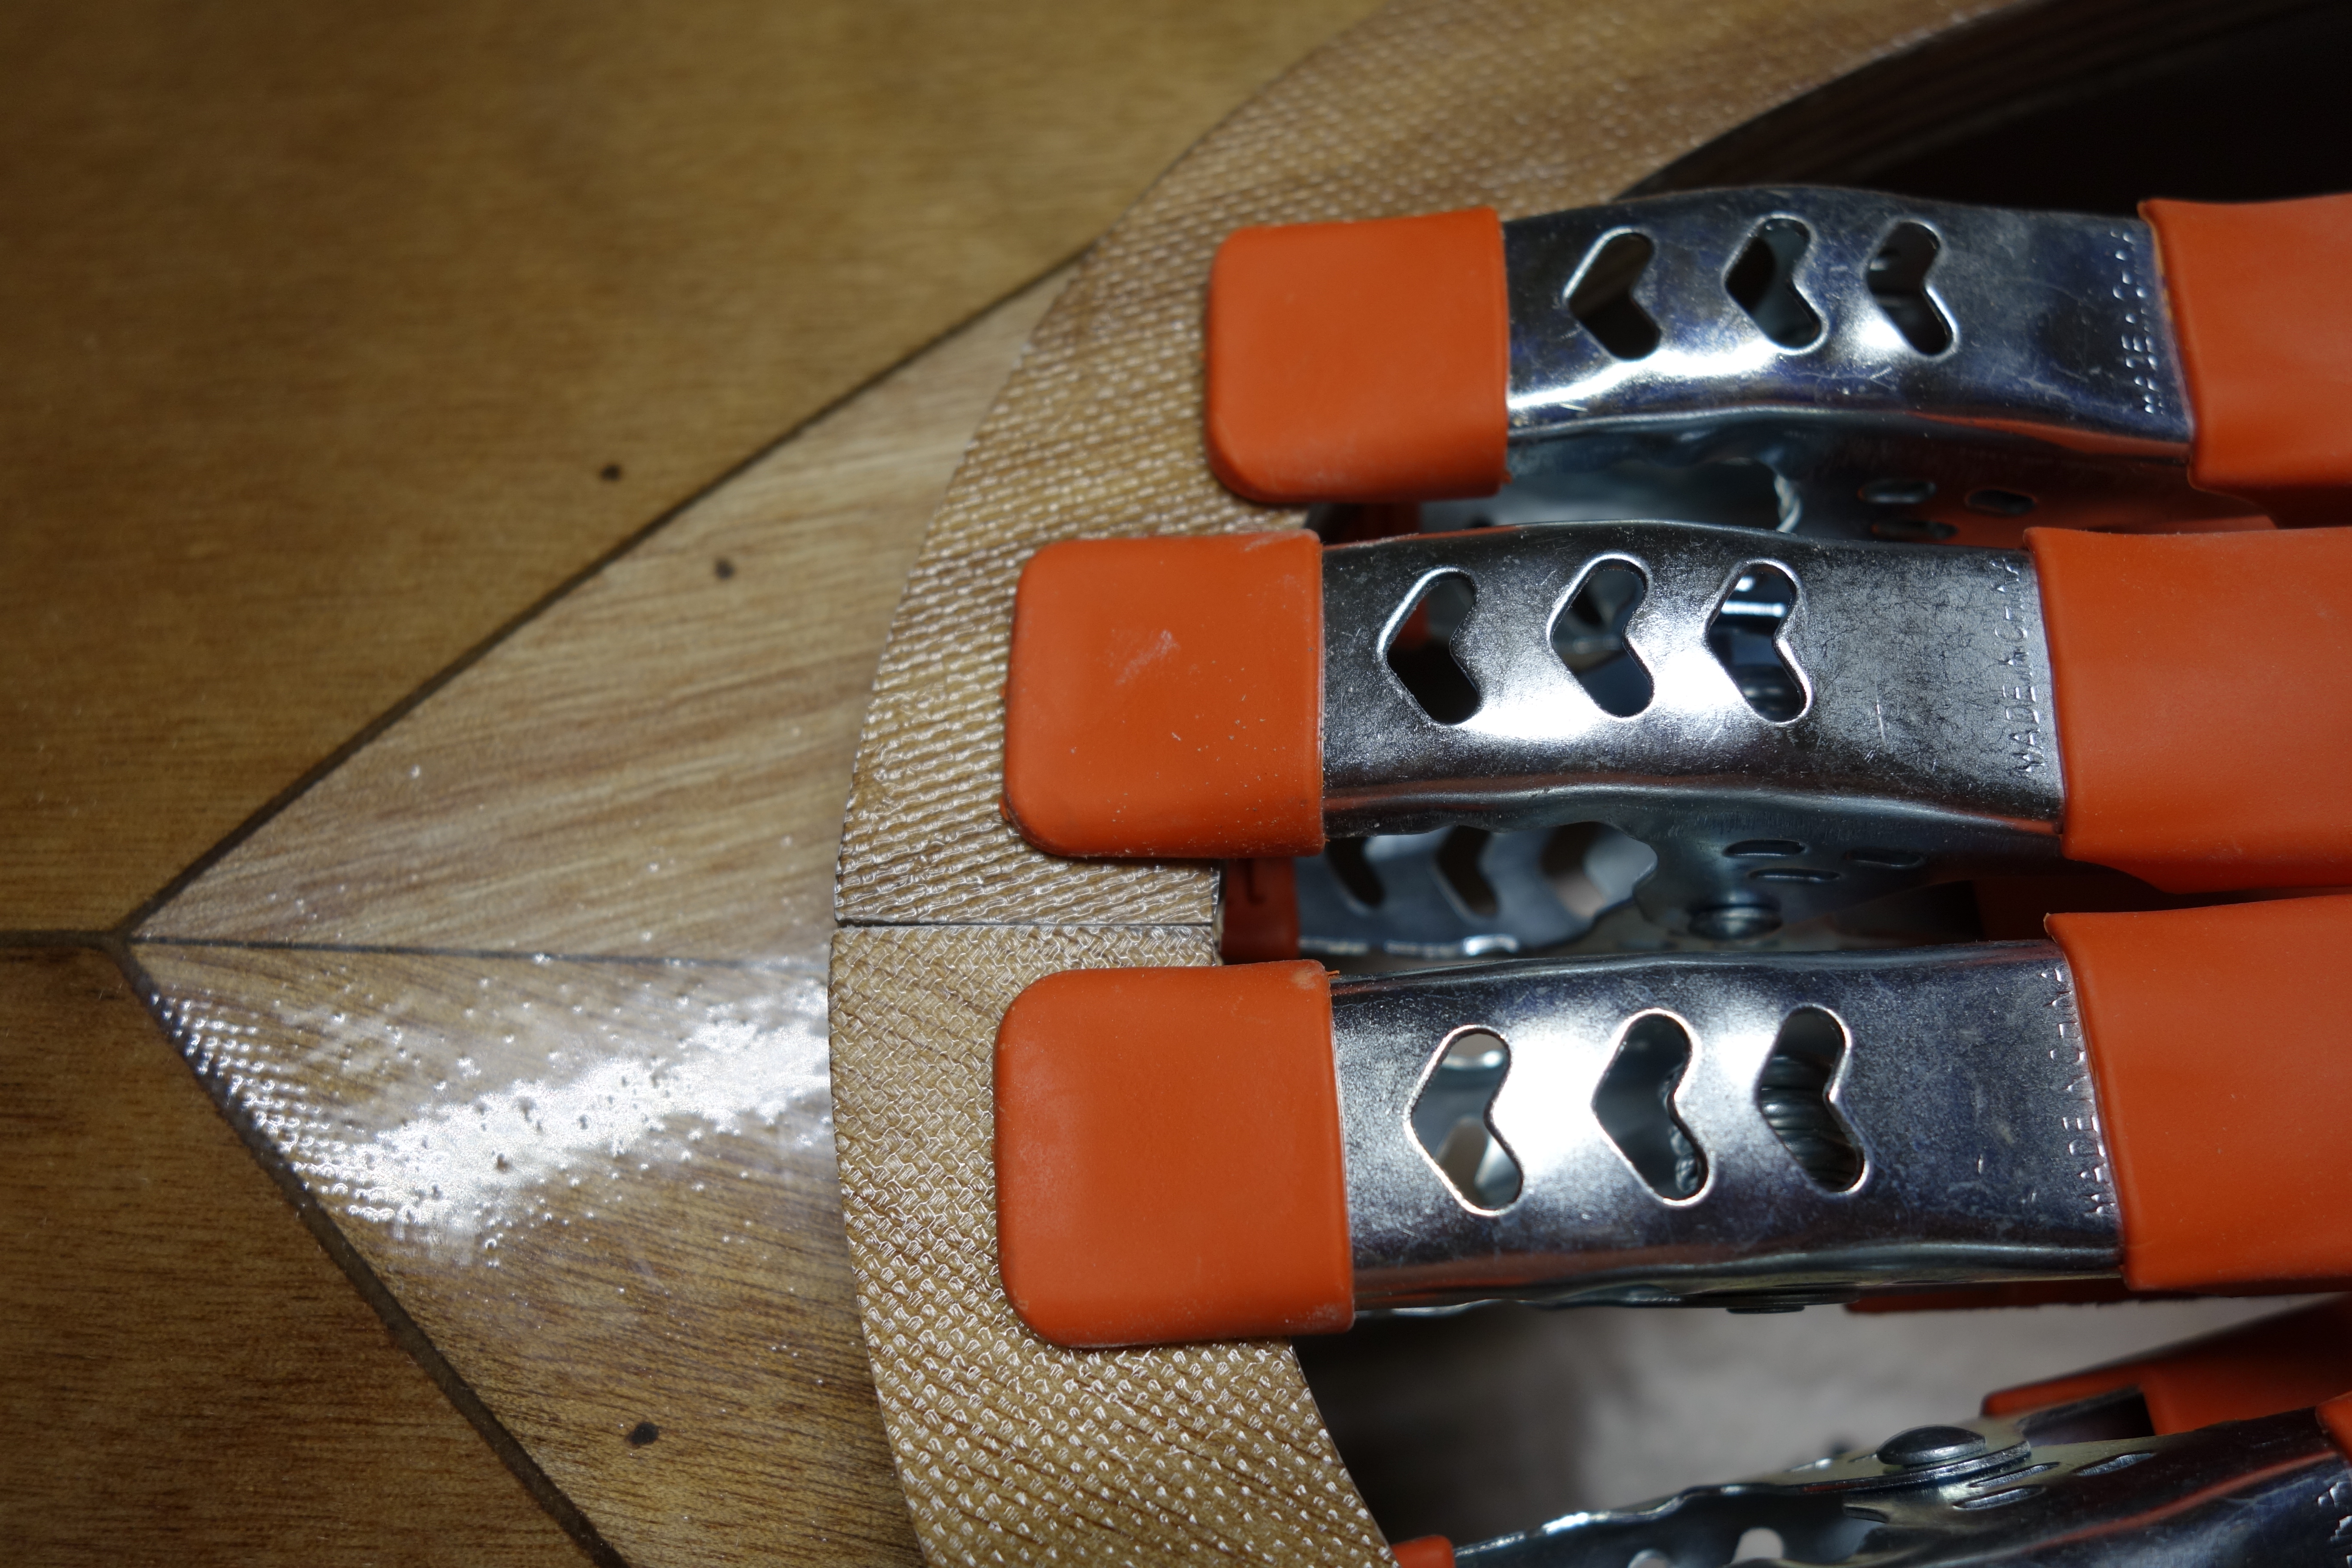
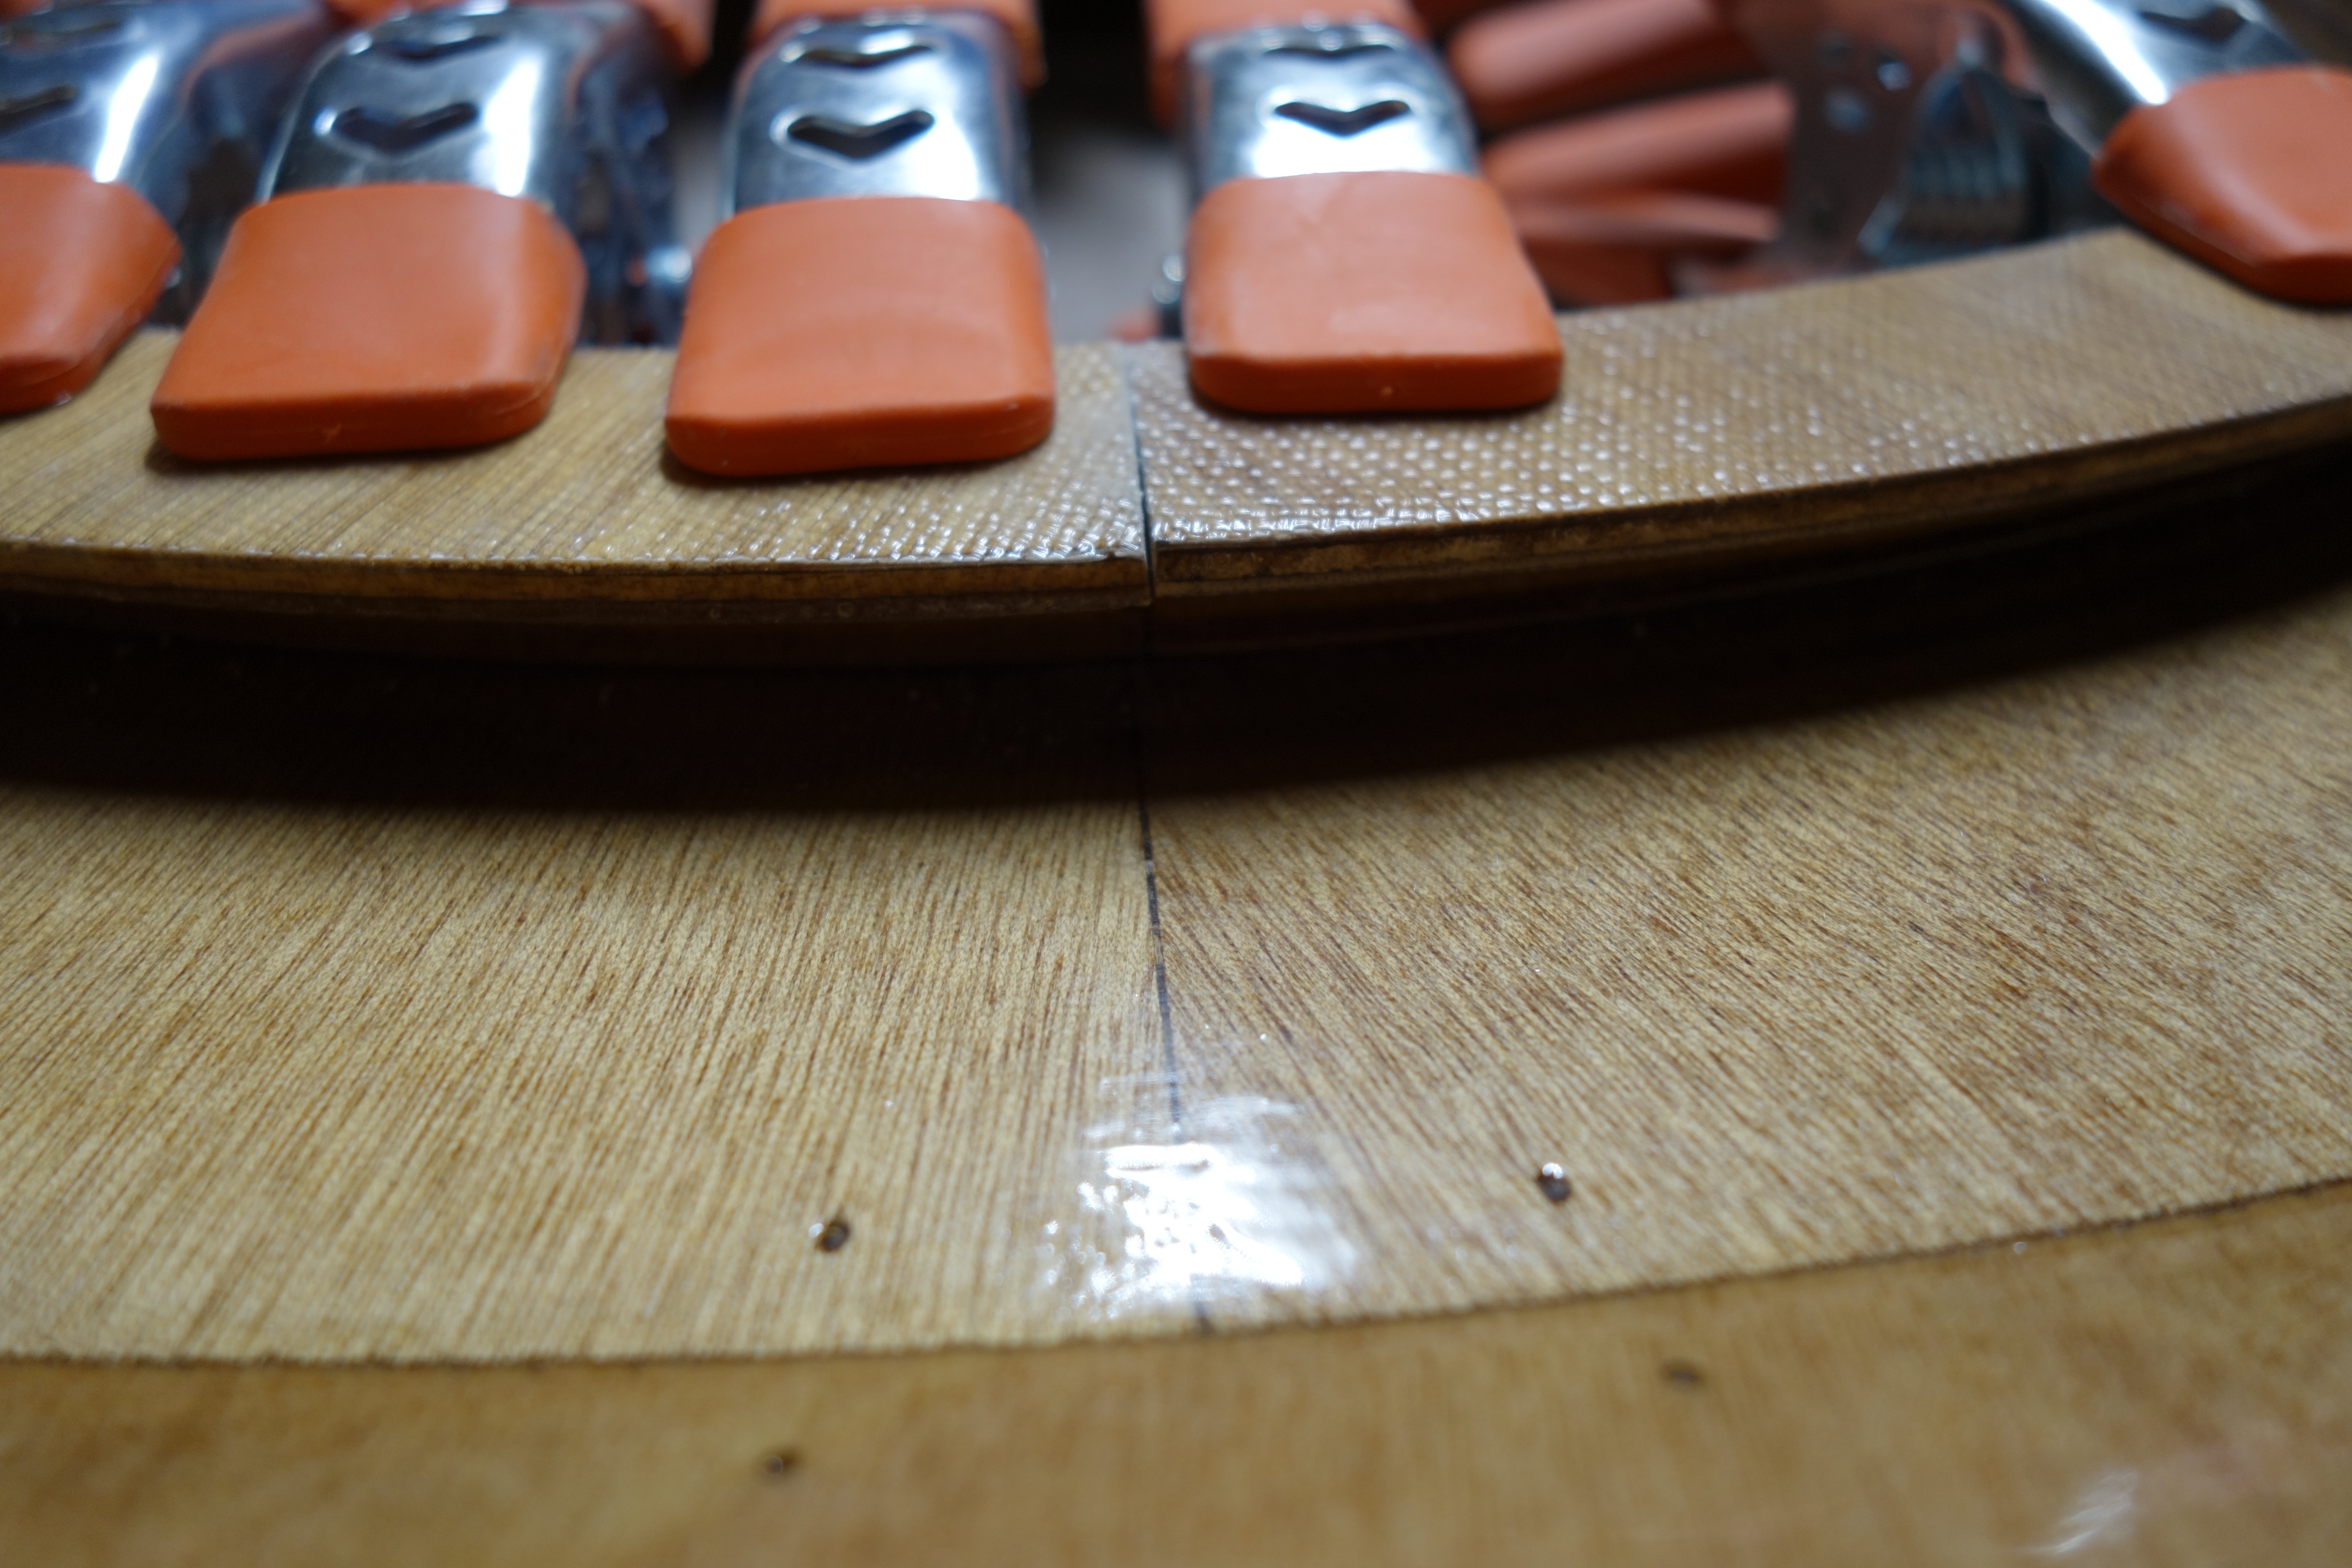
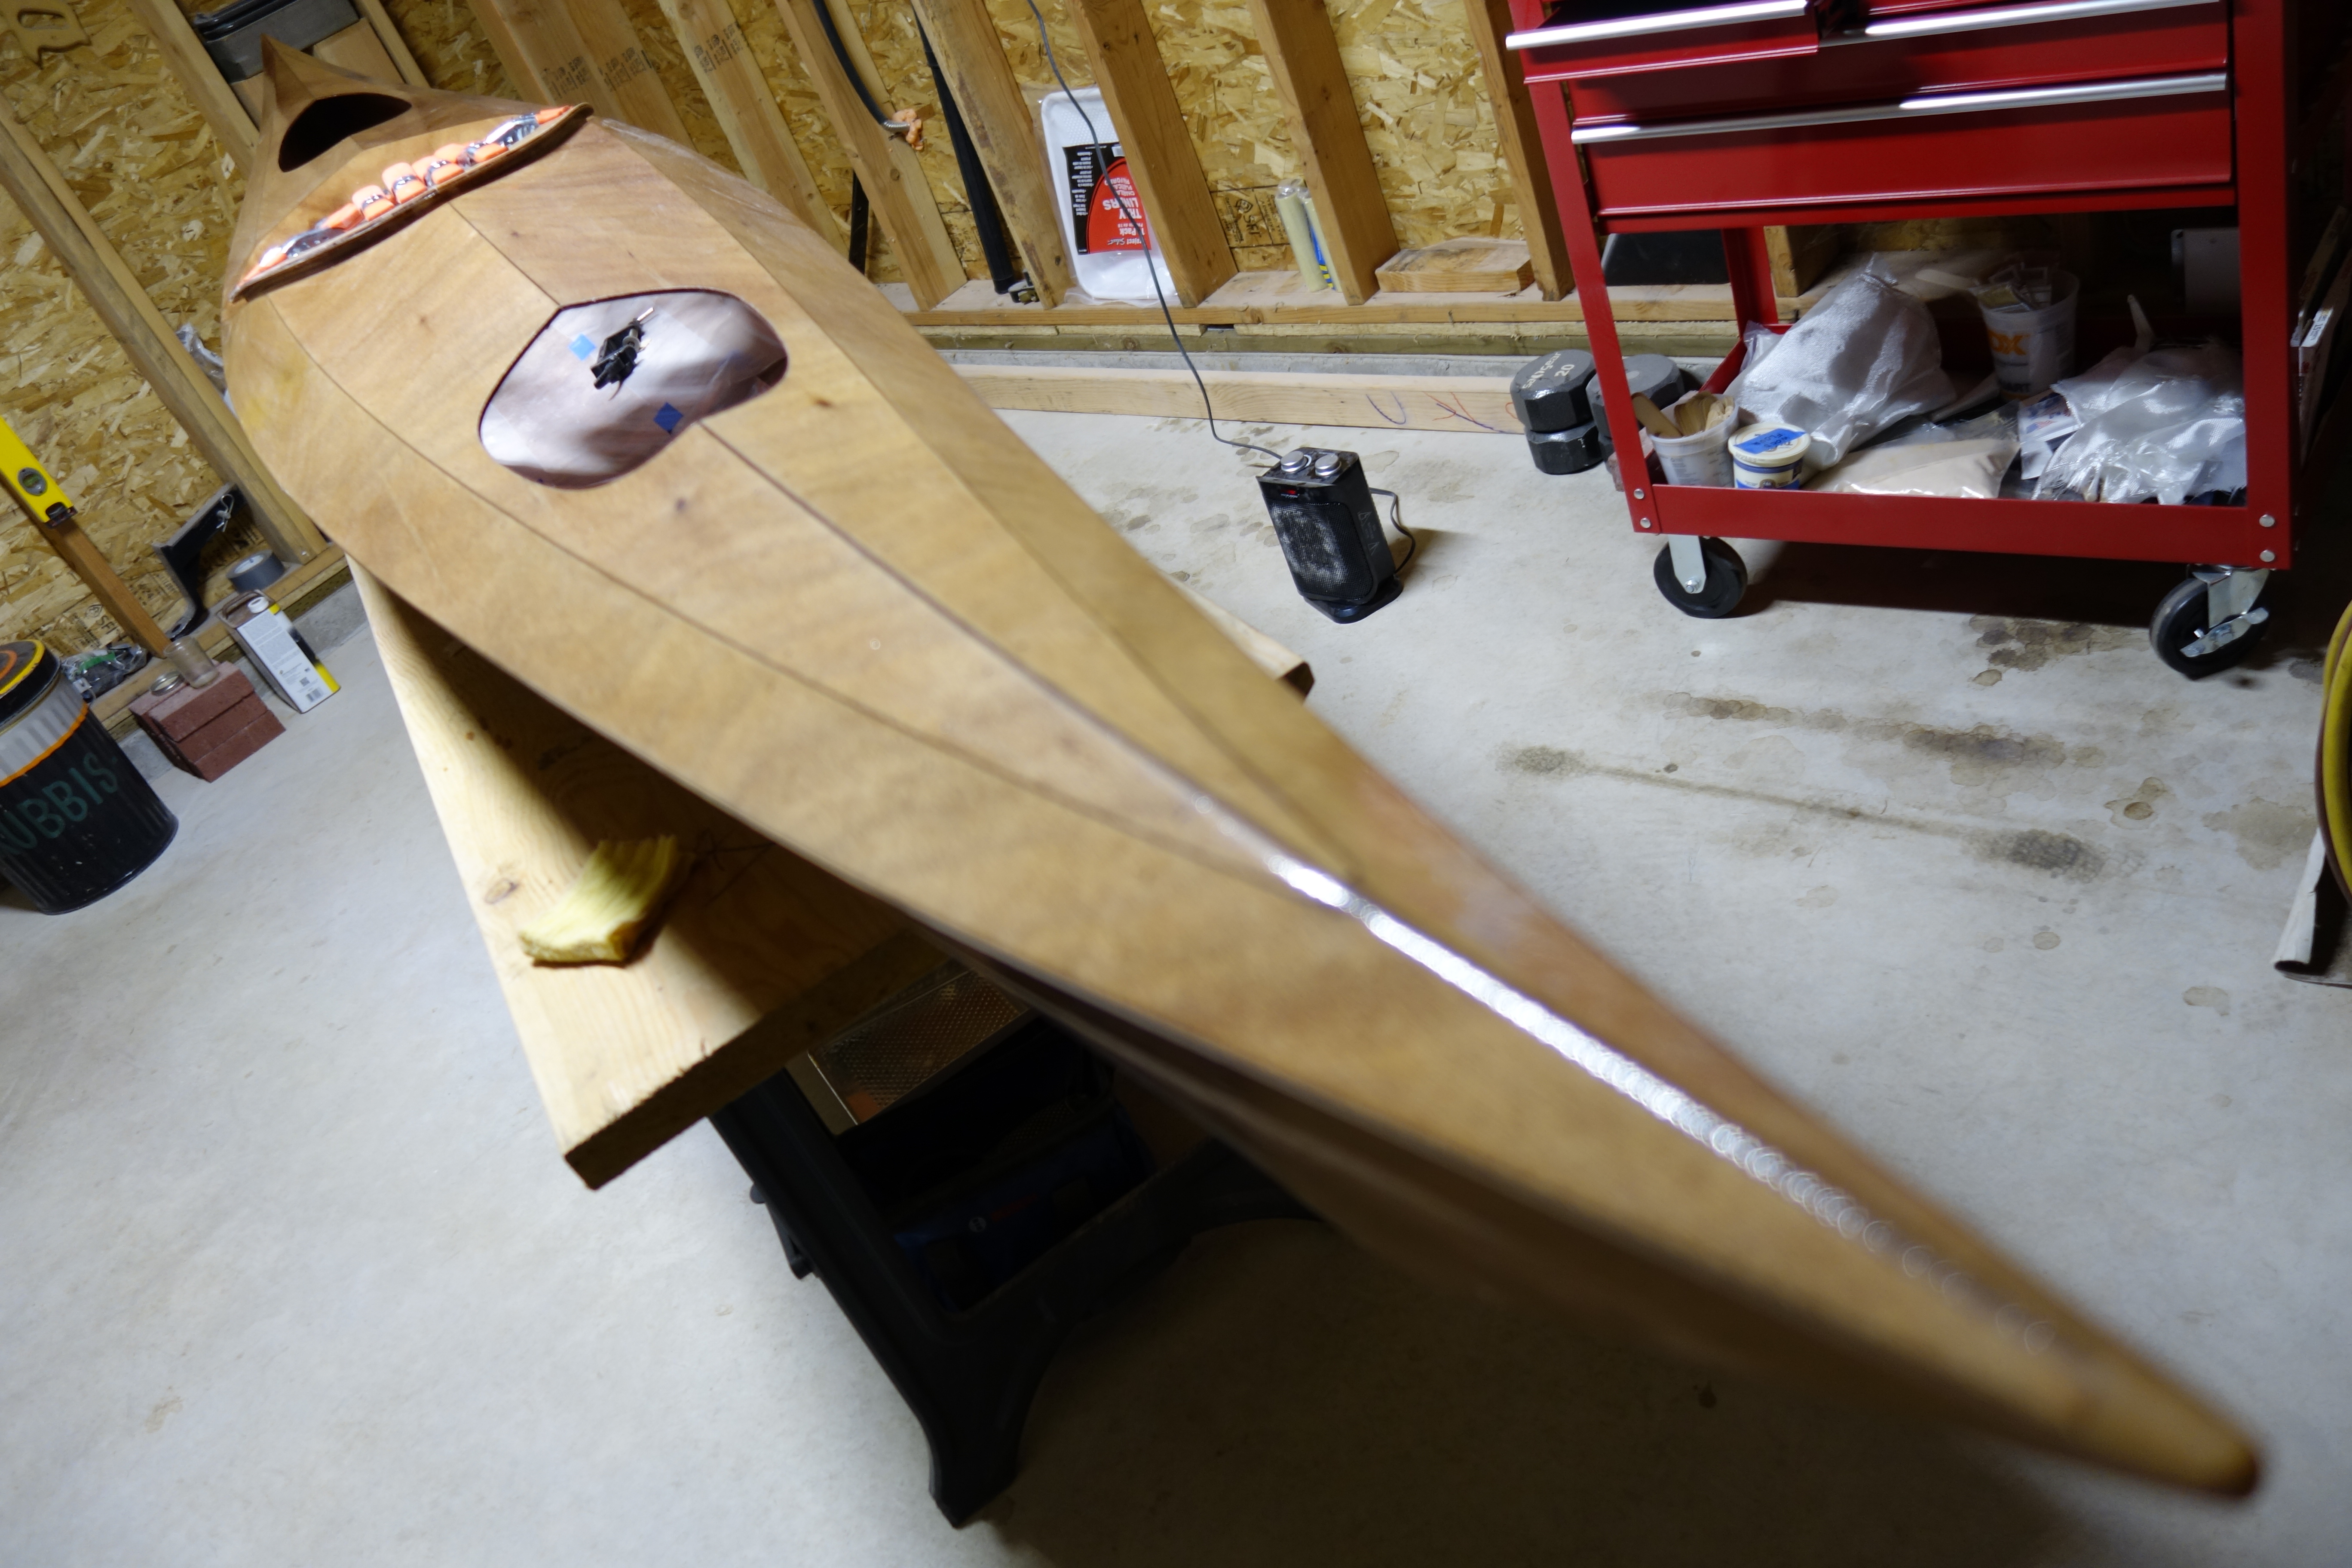
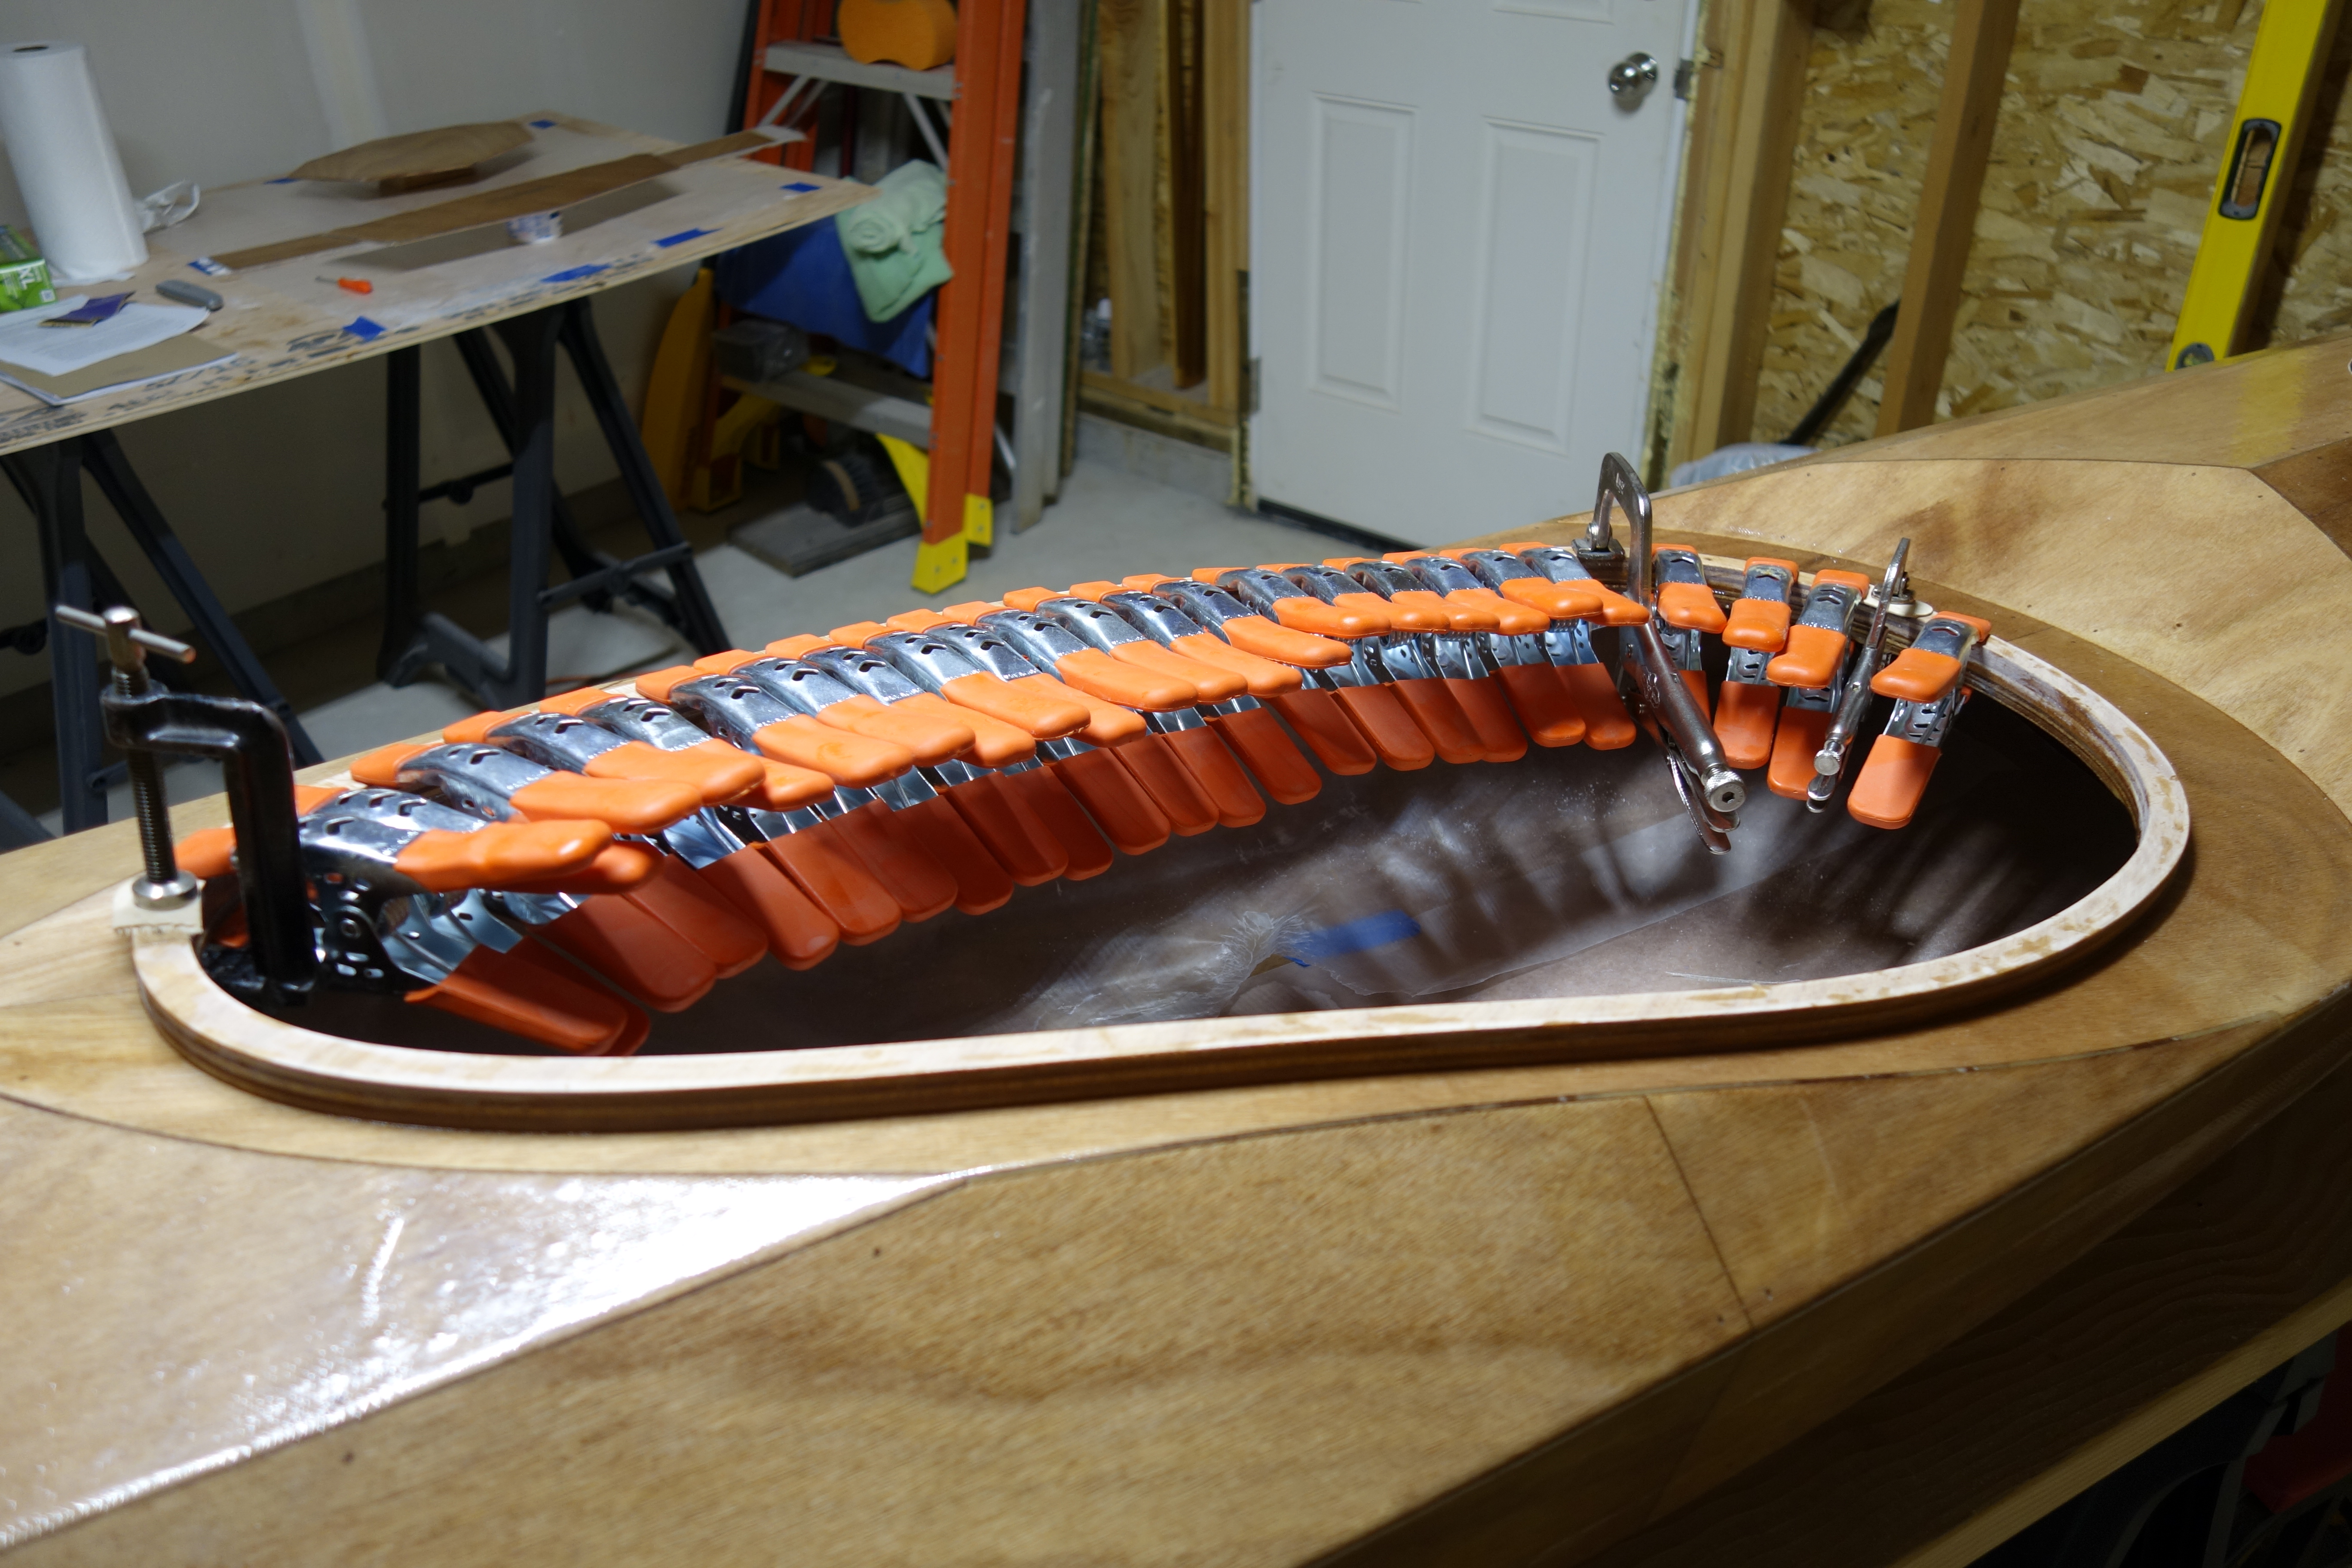
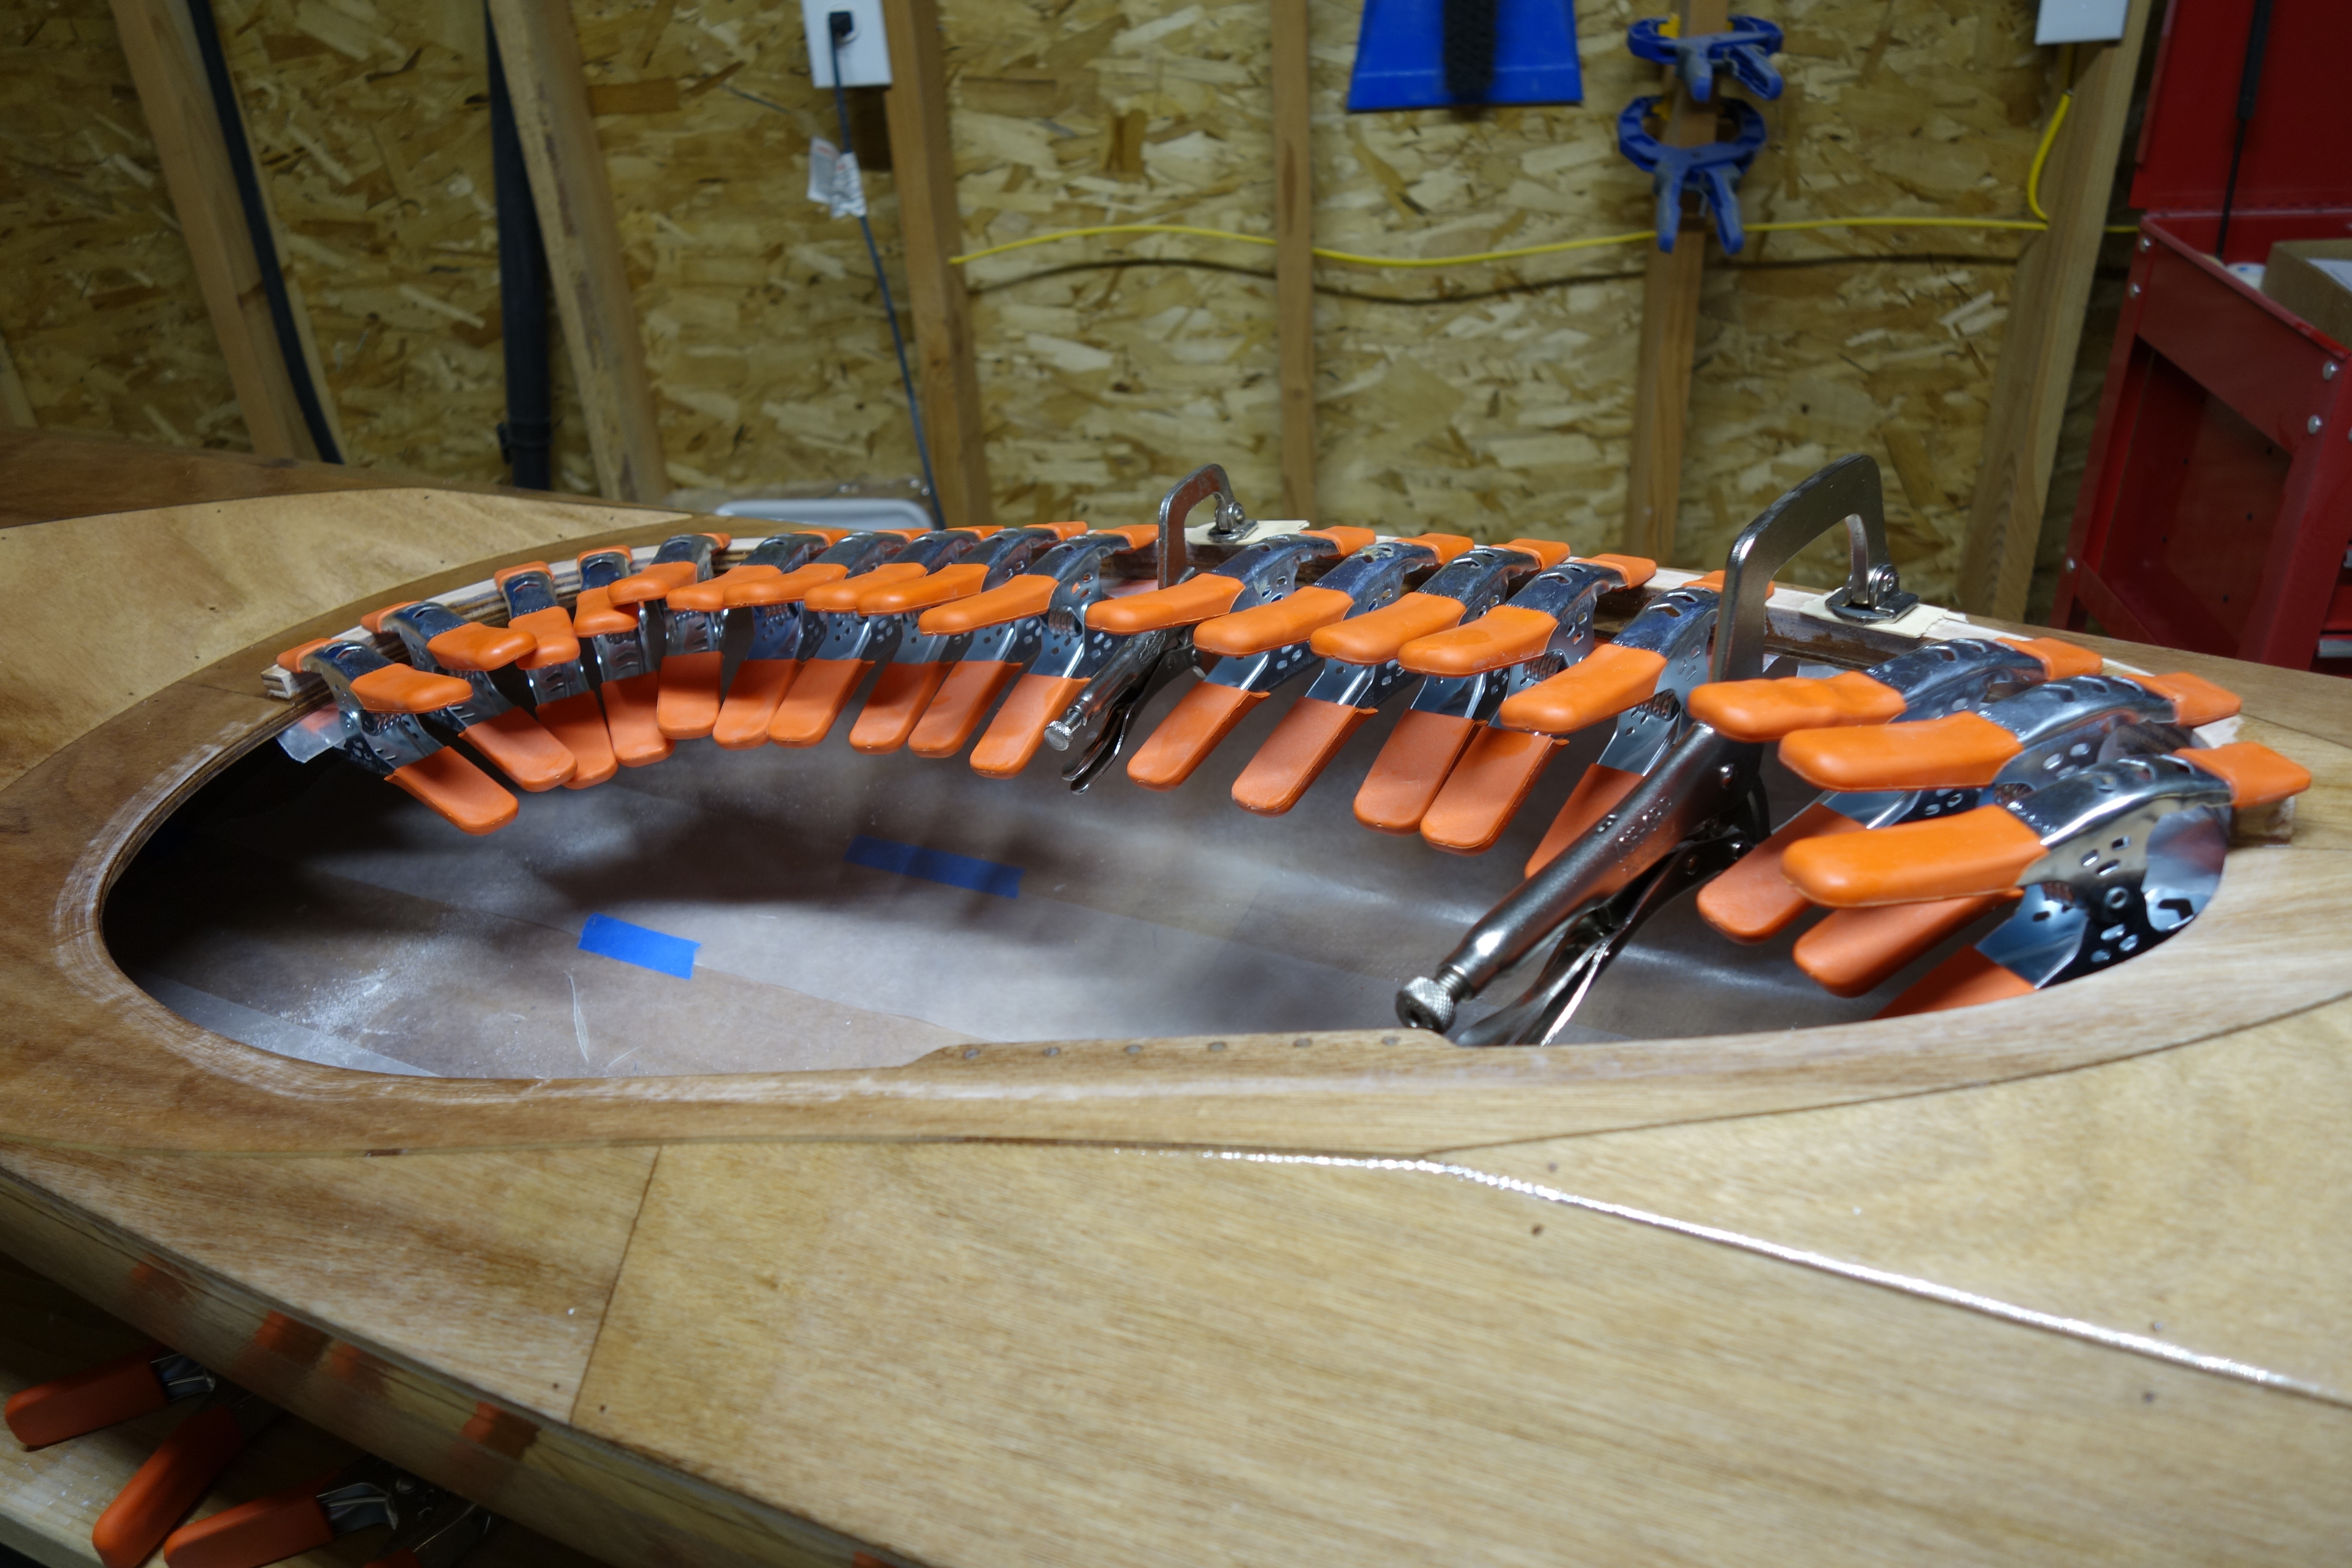
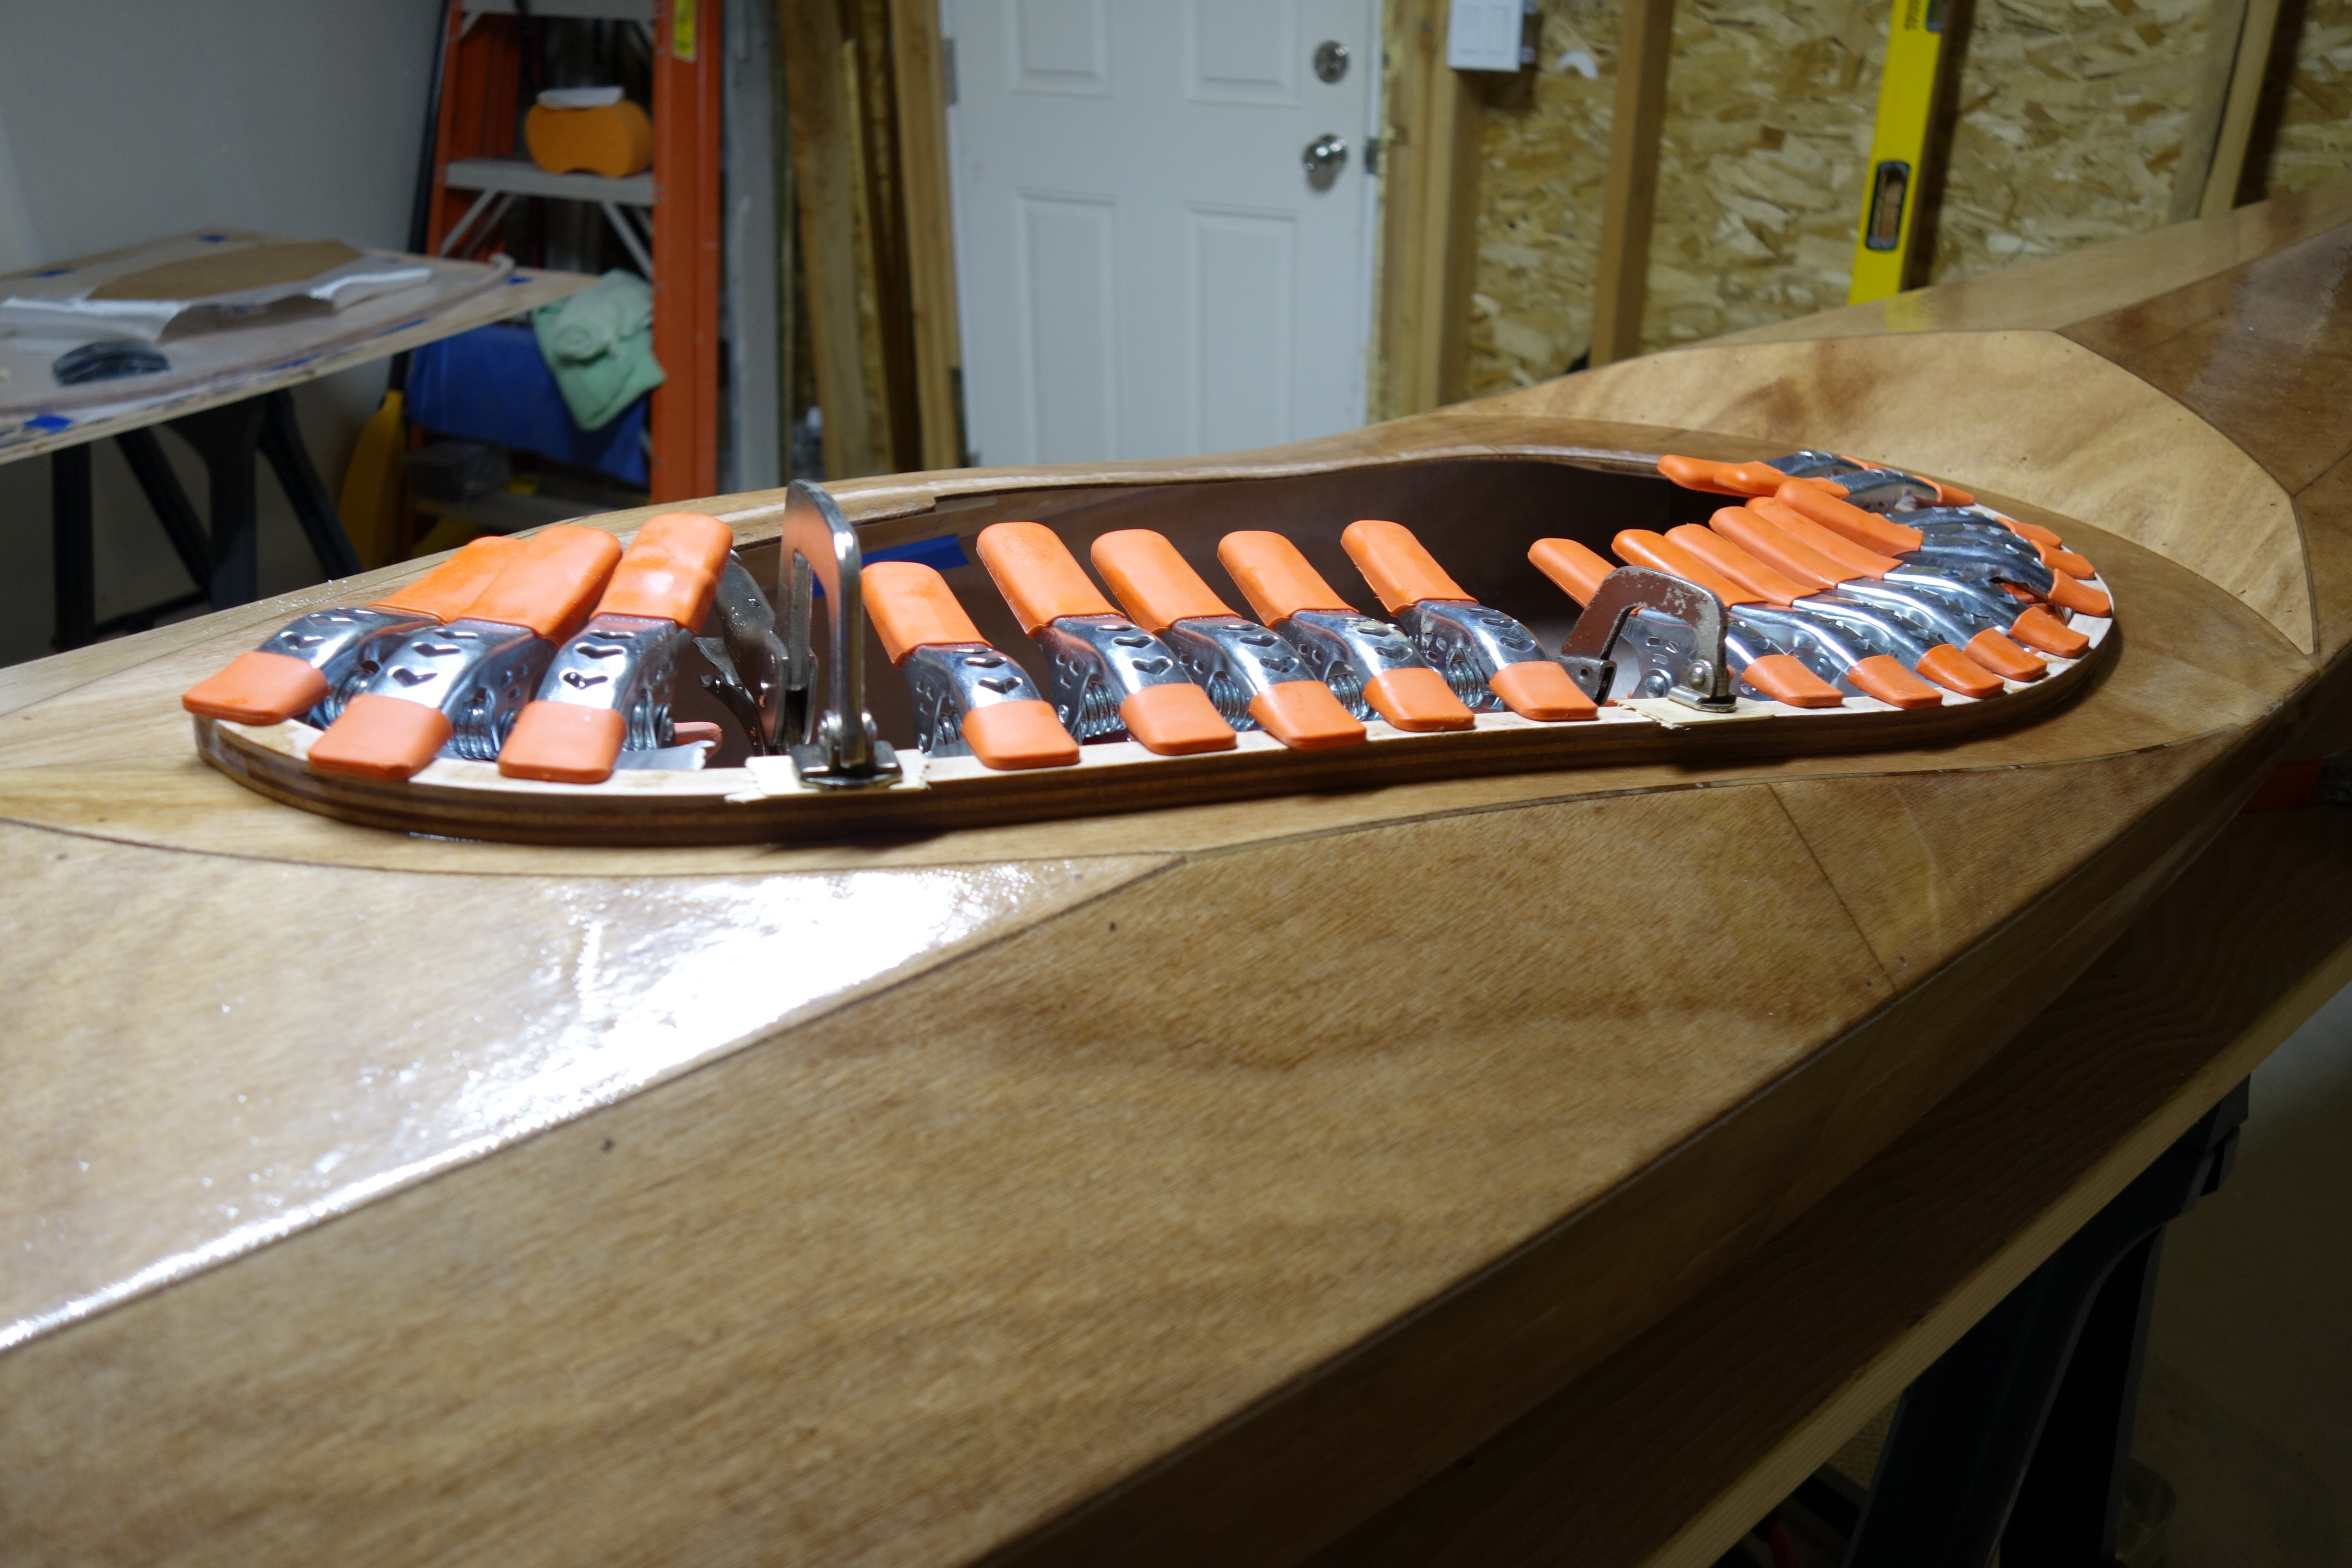
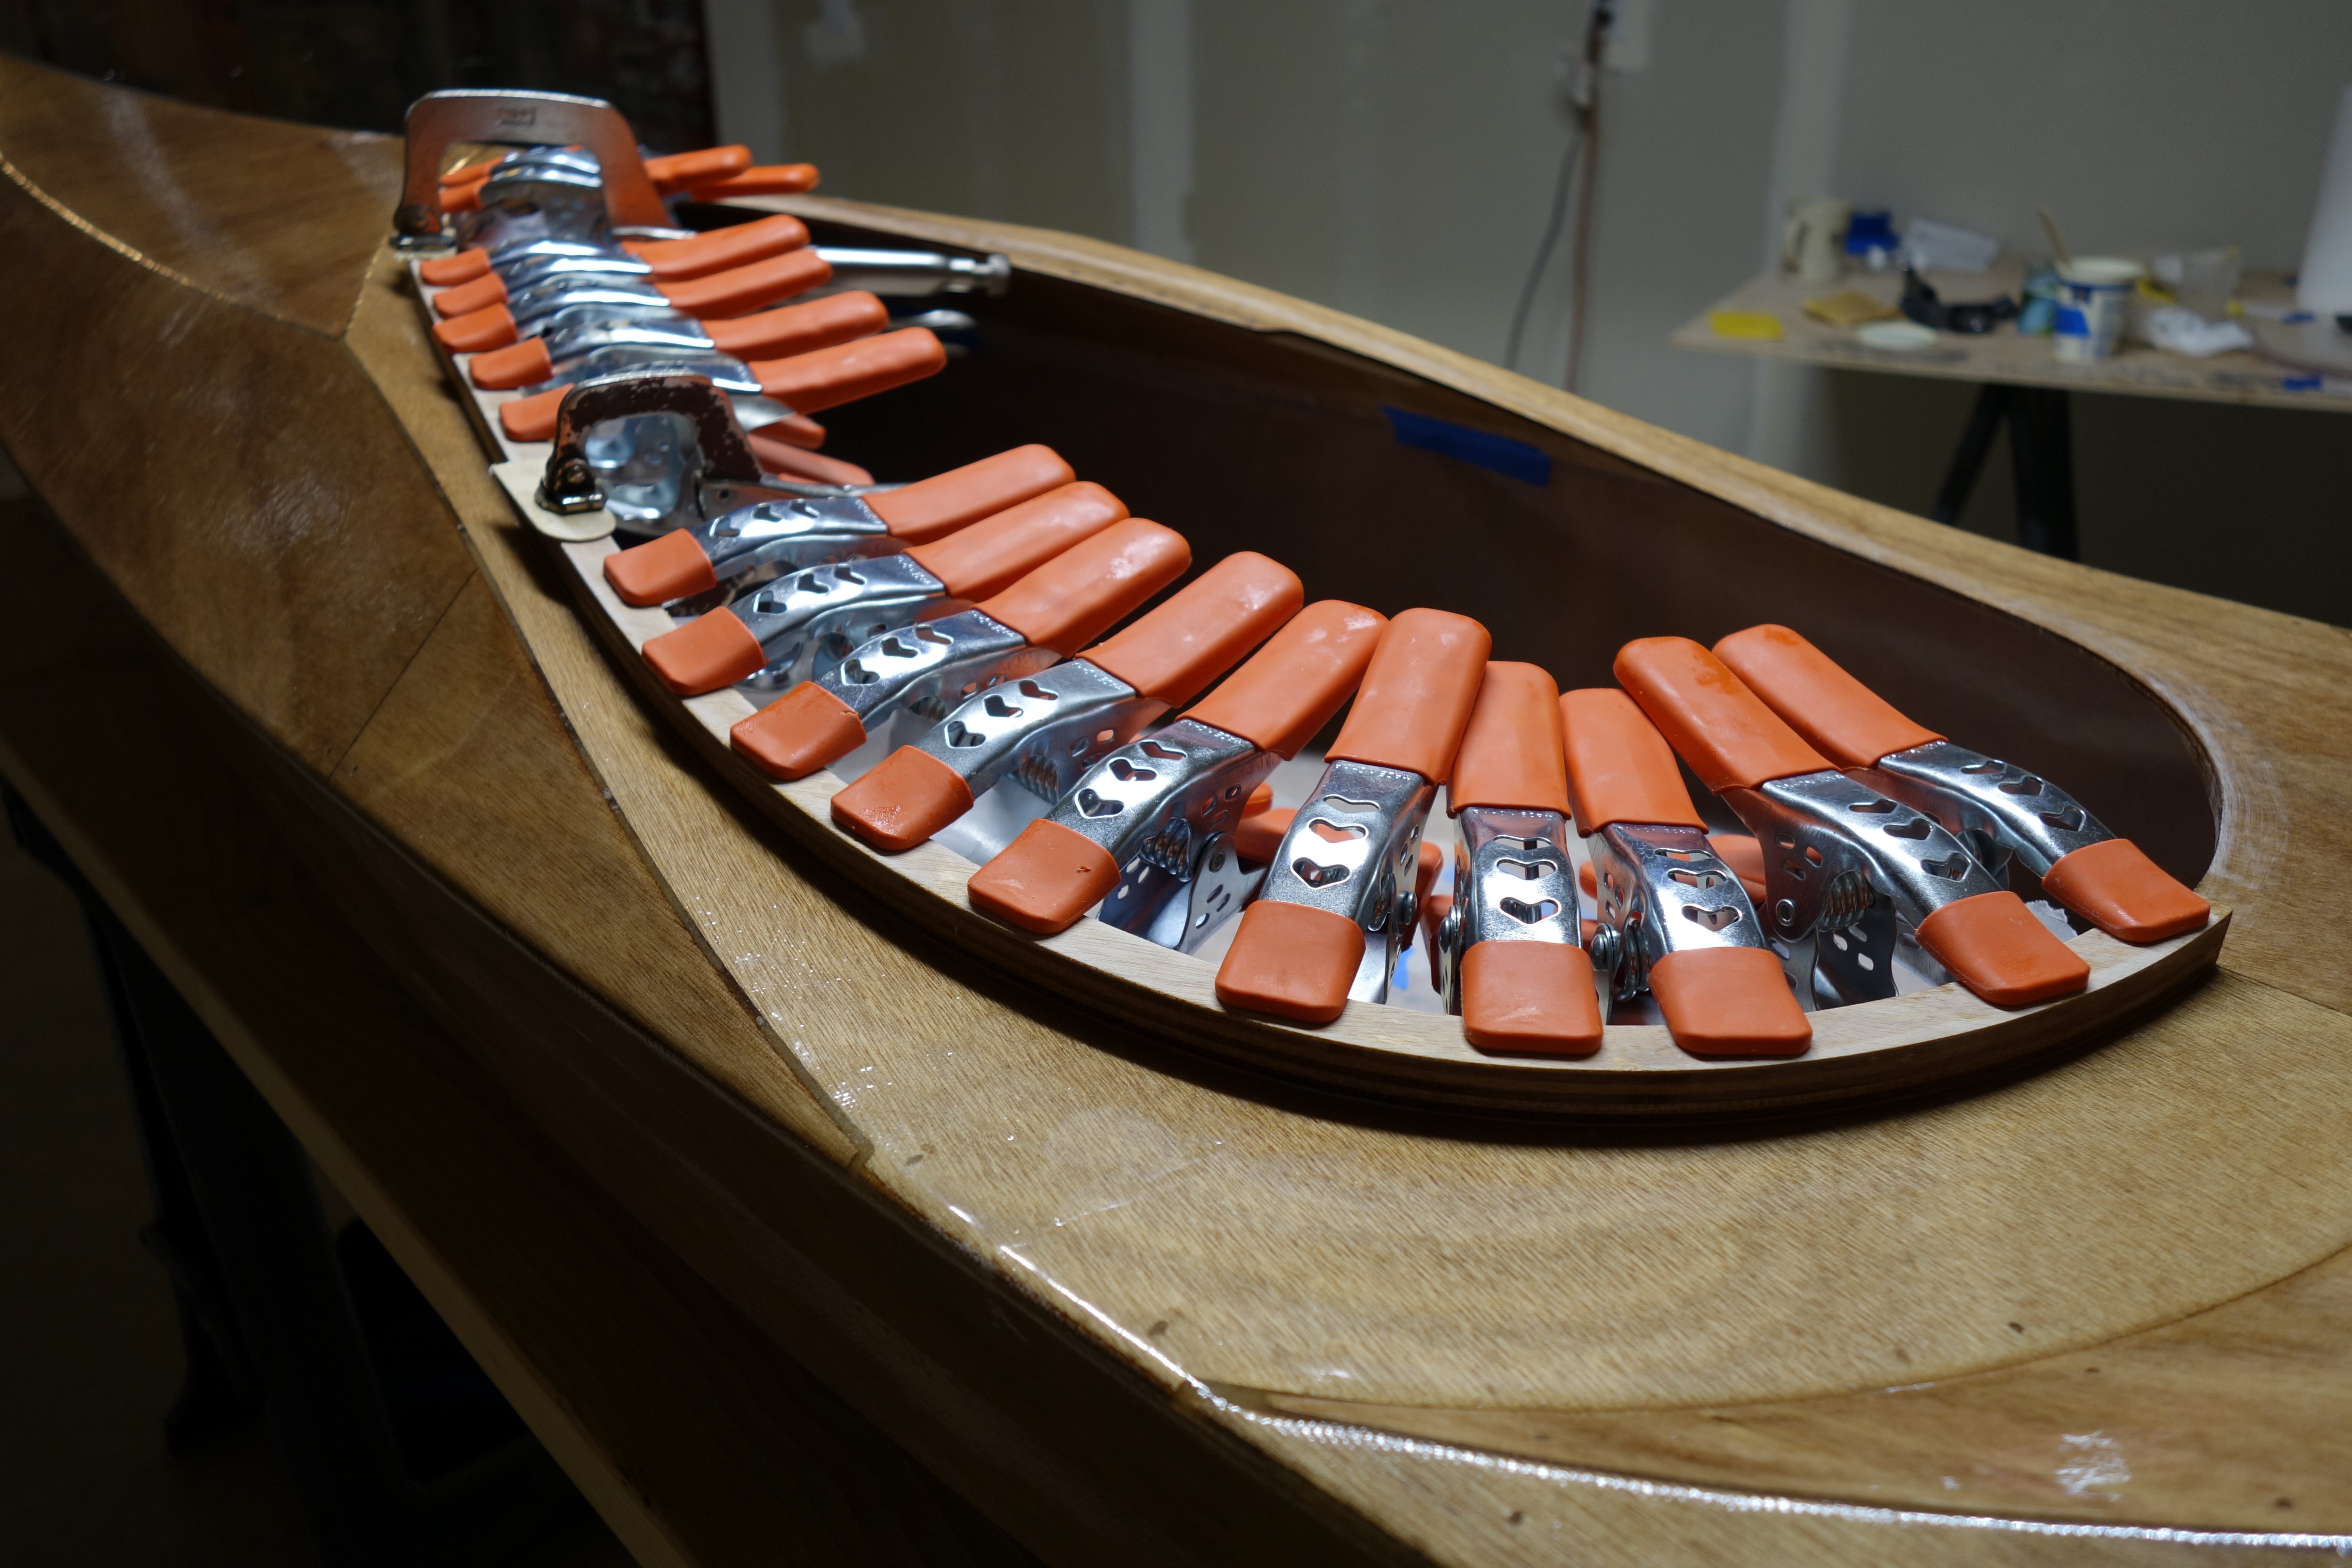
Late in the game I decided that I wanted to soften (sand down) the inner edge of the back of the cockpit coaming so that it wouldn’t bite into the small of my back when I am attempting layback rolls. When I did the final fill coat it was apparent to me that the coaming needed one more coat of epoxy in the area where I filed and sanded at the back of the cockpit. So I sanded the whole coaming and gave it all one more coat. I can still see that cut I accidentally made in the fiberglass cloth, deep under the epoxy, but I have made my peace with it. Overall, the coaming looks good I think.

Autofocus fail. Sorry.

Fiberglass on the cockpit coaming seams and the hatch lips.

I had time after work to fiberglass the second side of the hatch lips (I did the first side yesterday), and the fiberglass cloth over the seams on the top of the cockpit coaming. It will be good to have this done before I start on the bulkheads. The instruction manual has the hip braces and seat installation before the bulkheads and hatches, but I think that I will have more room to work on the rear bulkhead if I wait to do the hip braces until after I have the bulkheads in.

Front of the cockpit. The edges of this fiberglass cloth will get feathered in, and then fill coats of epoxy until it disappears. This will strengthen the coaming seams.
Back of the cockpit.
Hatch lips getting fiberglass cloth.

Second half of the upper cockpit coaming glued.

This morning I removed the clamps from the port side upper cockpit coaming and glued up the starboard side. I was able to get the seams between the two pieces to match very well. I am happy with the fit. Speaking of the fit, no matter how much filing, sanding, and flexing that I did I was not able to get the upper coaming pieces to perfectly match the inside dimensions of the lower pieces of the coaming. What I decided to do was to try to make sure that in the places where the upper coaming didn’t match exactly, that it would overhang the inside of the lower coaming rather than falling short. I reasoned that since the upper coaming pieces are only a 1/4″ thick on edge, that it would be much easier to sand the upper pieces to match the thicker lower pieces, than it would be to sand the lower pieces to match the upper ones. If you zoom in and look closely at the photos you should be able to see what I mean. If you have questions you are welcome to ask me anything in the comments and I will be happy to try to explain.

If you zoom into this photo (although it is slightly out of focus) you can see where the port side upper coaming piece hangs over the lower piece by an 1/16″ or so at the side of the cockpit. That was the best fit I could get, but it should be easy to sand smooth so that it matches perfectly without noticeably changing the dimensions of the coaming.

Here are a couple of photos of the port side coaming that I filed and sanded for a few minutes by hand. The top edge has not been rounded over as I will want to do that to the whole coaming at the same time so that I can make it uniform. Anyway, this will give some idea of how these separate pieces will come together after sanding. Looks good I think. I can’t wait to get the whole coaming sanded out and get a coat of epoxy on it so I can see how it will look finished!

Adjusting and dry fitting upper cockpit coaming pieces.

Using a flat wood file and sandpaper I am making fit adjustments to the upper cockpit coaming pieces. I will continue to adjust until I am happy with the dry fit and then in the next day or two I will glue them up one at a time like the lower coaming pieces. The cockpit coaming will be done this weekend and then I can finish the inside of the shear seams with epoxy and fiberglass tape. I had to wait until I cut the hatch openings so that I could more easily reach the entire length of the shear seams inside the kayak.

Both sides of the upper cockpit coaming dry fitted in place and held with clamps.
Where the upper coaming pieces meet at the bow end of the cockpit. Not a perfect fit yet.
Where upper coaming pieces meet at the aft end of the cockpit.
Another look at the aft end of the cockpit. I will get these to match better than this before I epoxy.
Bow end again. Close, but not quite close enough.

Second half of the lower cockpit coaming.

Second half glued up. The first half looks good and now the coaming and cockpit apron on that side look like one piece. It will need some sanding, but what doesn’t? As you can see below, I used every clamp I had on the second side. In this case, I think that more is better and since all twenty-four spring clamps (and three Vice-Grips, and one C-clamp) fit, that’s what I used. Just FYI, while the second half of the cockpit is curing I am fiberglassing the second sides of the bulkheads and hip brace material. These clamps won’t come off until Tuesday, February 4th (for an explanation, see my comment in the post for the first half of the coaming).

Here’s another picture of the aft hatch since the ones that I made in the post about the hatches are terrible!
Man, that’s a lot of clamps!

First half of the lower cockpit coaming.

My plan for the kayak when I got home from work this evening was to glue up the complete lower cockpit coaming, that is, both halves at once, but it didn’t work out that way. I have 24 spring clamps and when I dry fit the lower coaming pieces it looked like 12 clamps on each side would be plenty. But when I got thickened epoxy on one half of the lower coaming and started to clamp it up I could see that I wasn’t getting good squeeze out in places. I kept adding clamps, and finally resorted to Vice-Grips in a couple of places as well, and wound up using 18 of my clamps. I then had a devil of a time cleaning up the squeeze out so that it wasn’t all over the place because the clamps were in my way! I’ll use a bit less epoxy on the second side. I also wound up wasting about an ounce of thickened epoxy because I only glued up half as much as I thought I was going to. Now I have to wait until tomorrow to do the second half. Hurry up and wait! EDIT: After getting some advice from Suzanne at Pygmy, I opted to wait an additional day to remove the clamps and start on the second side. Because there is so much spring tension in the places where the coaming has been forced to conform to the curve of the cockpit apron, I want to be absolutely sure that the epoxy is fully cured. These photos were made on a Friday evening. I will not release the clamps (or the Kraken) until Sunday morning.