Installation of internal foot brace studs, day one.

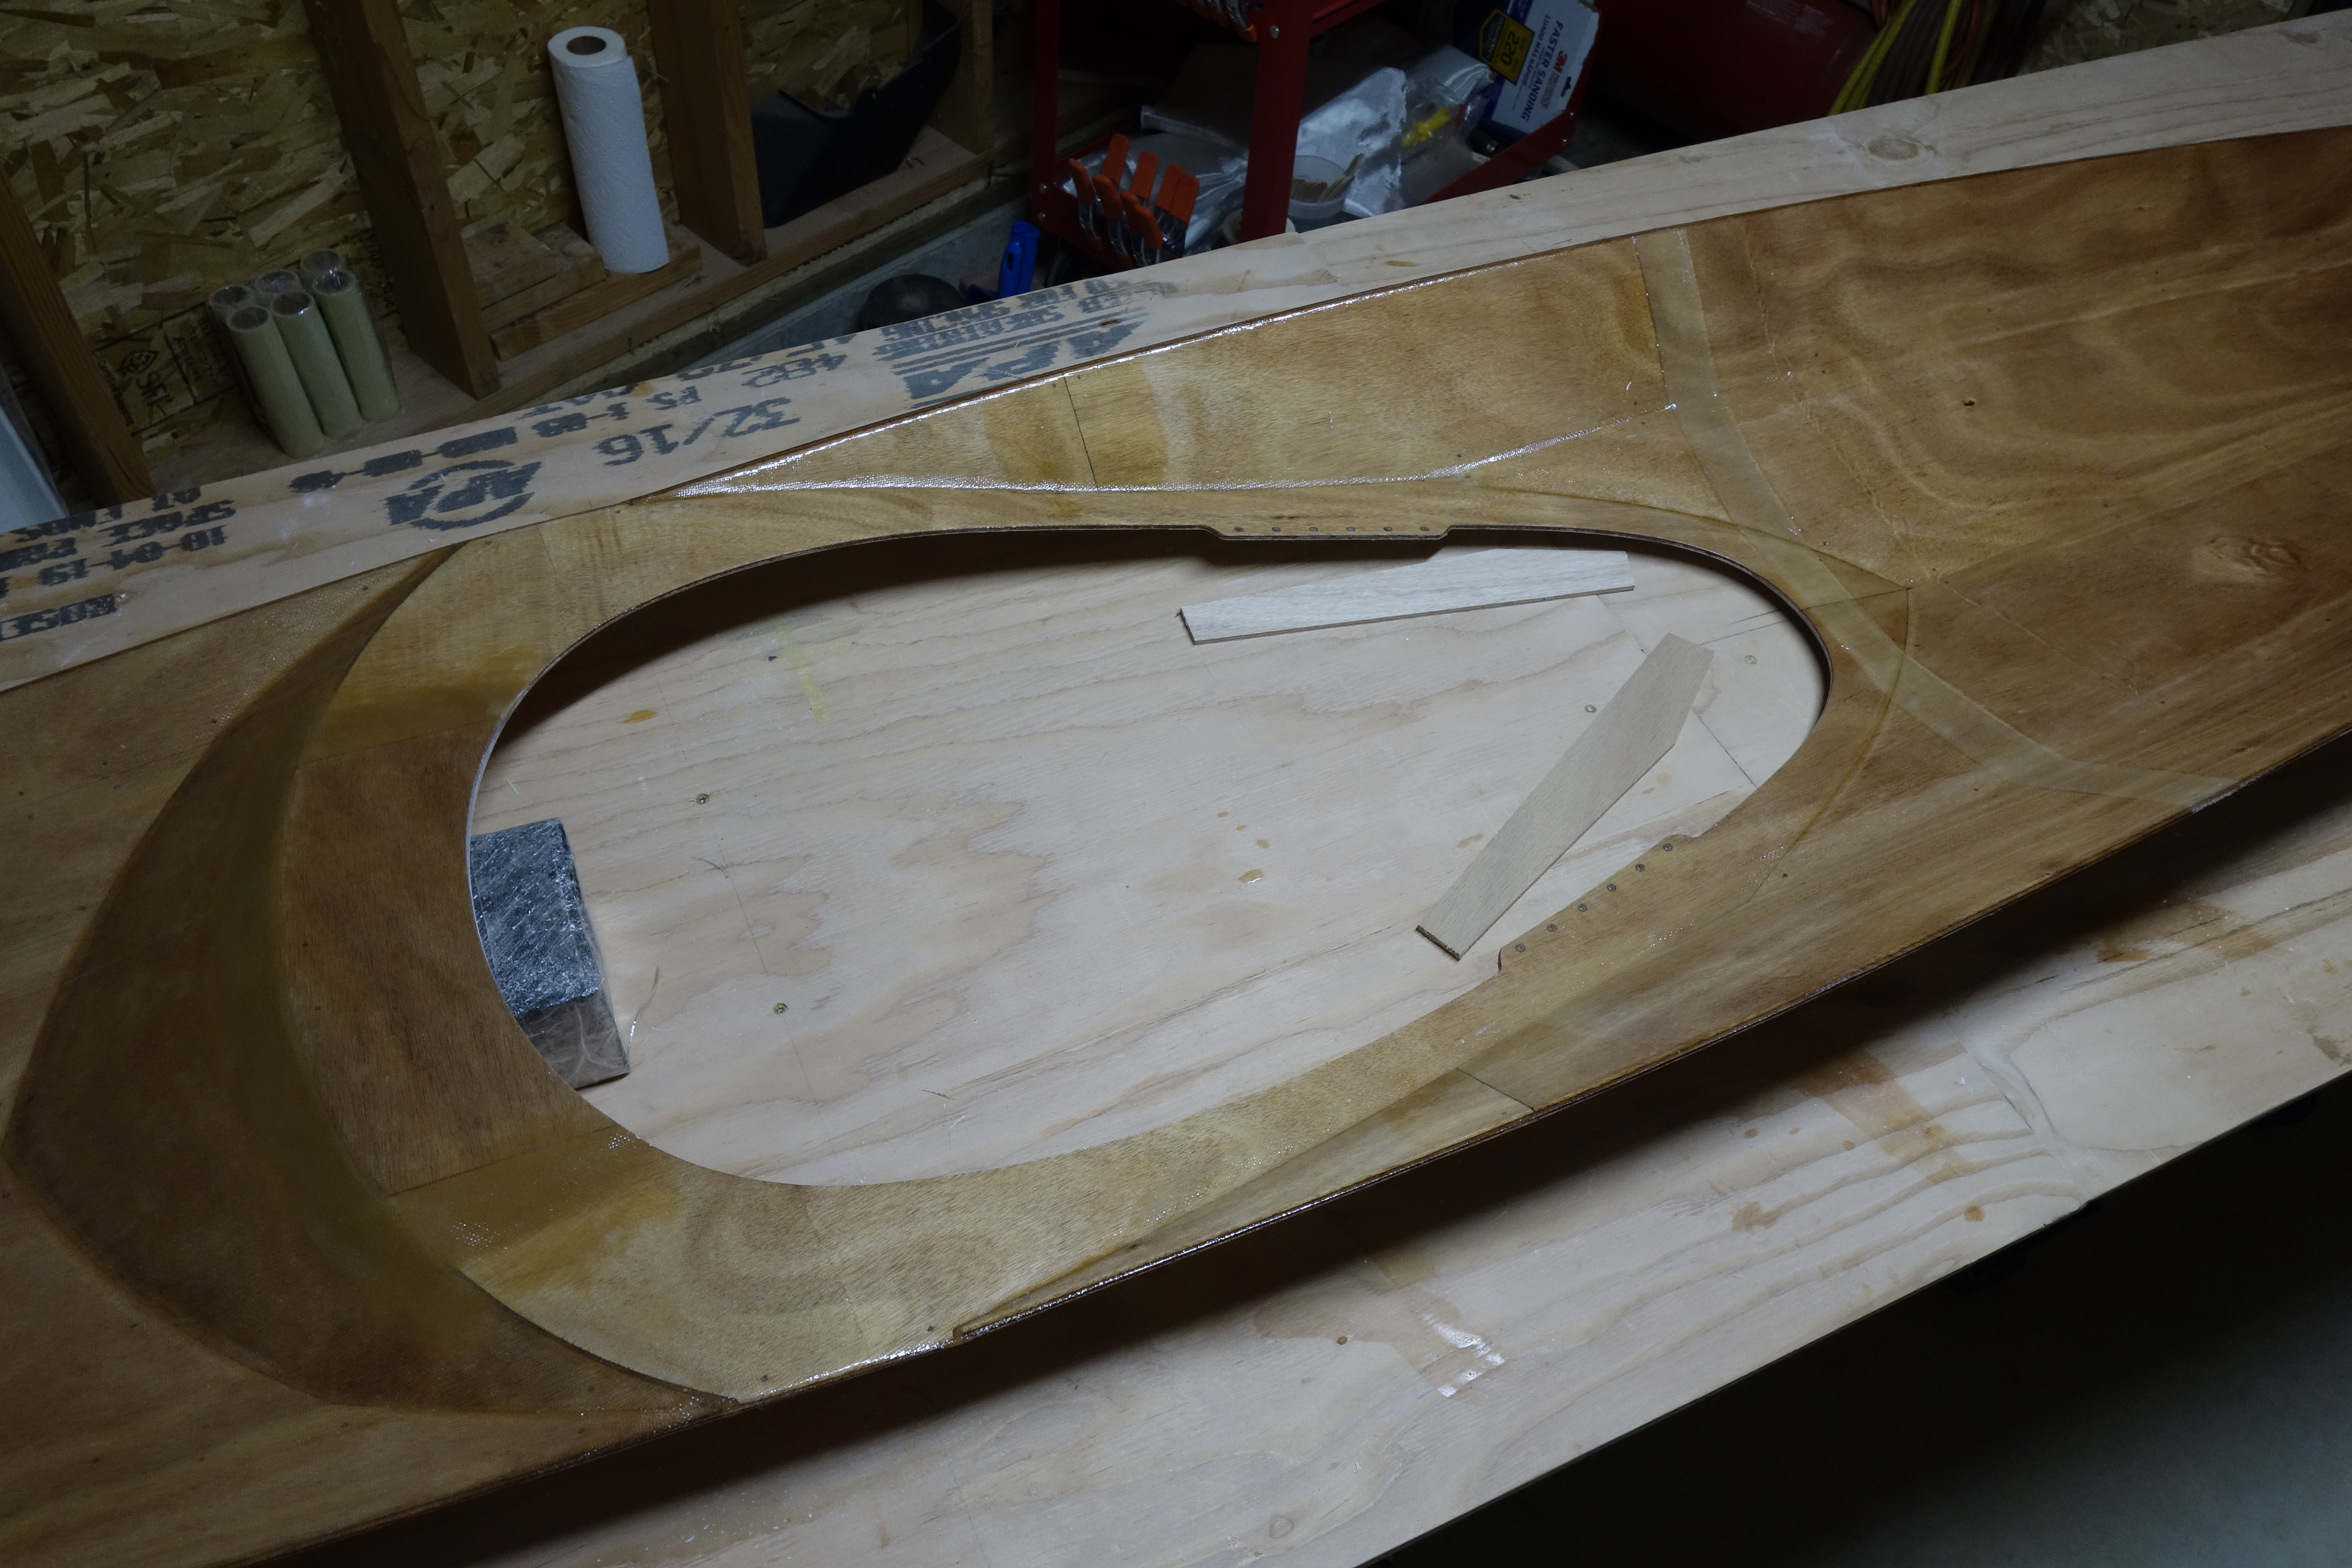
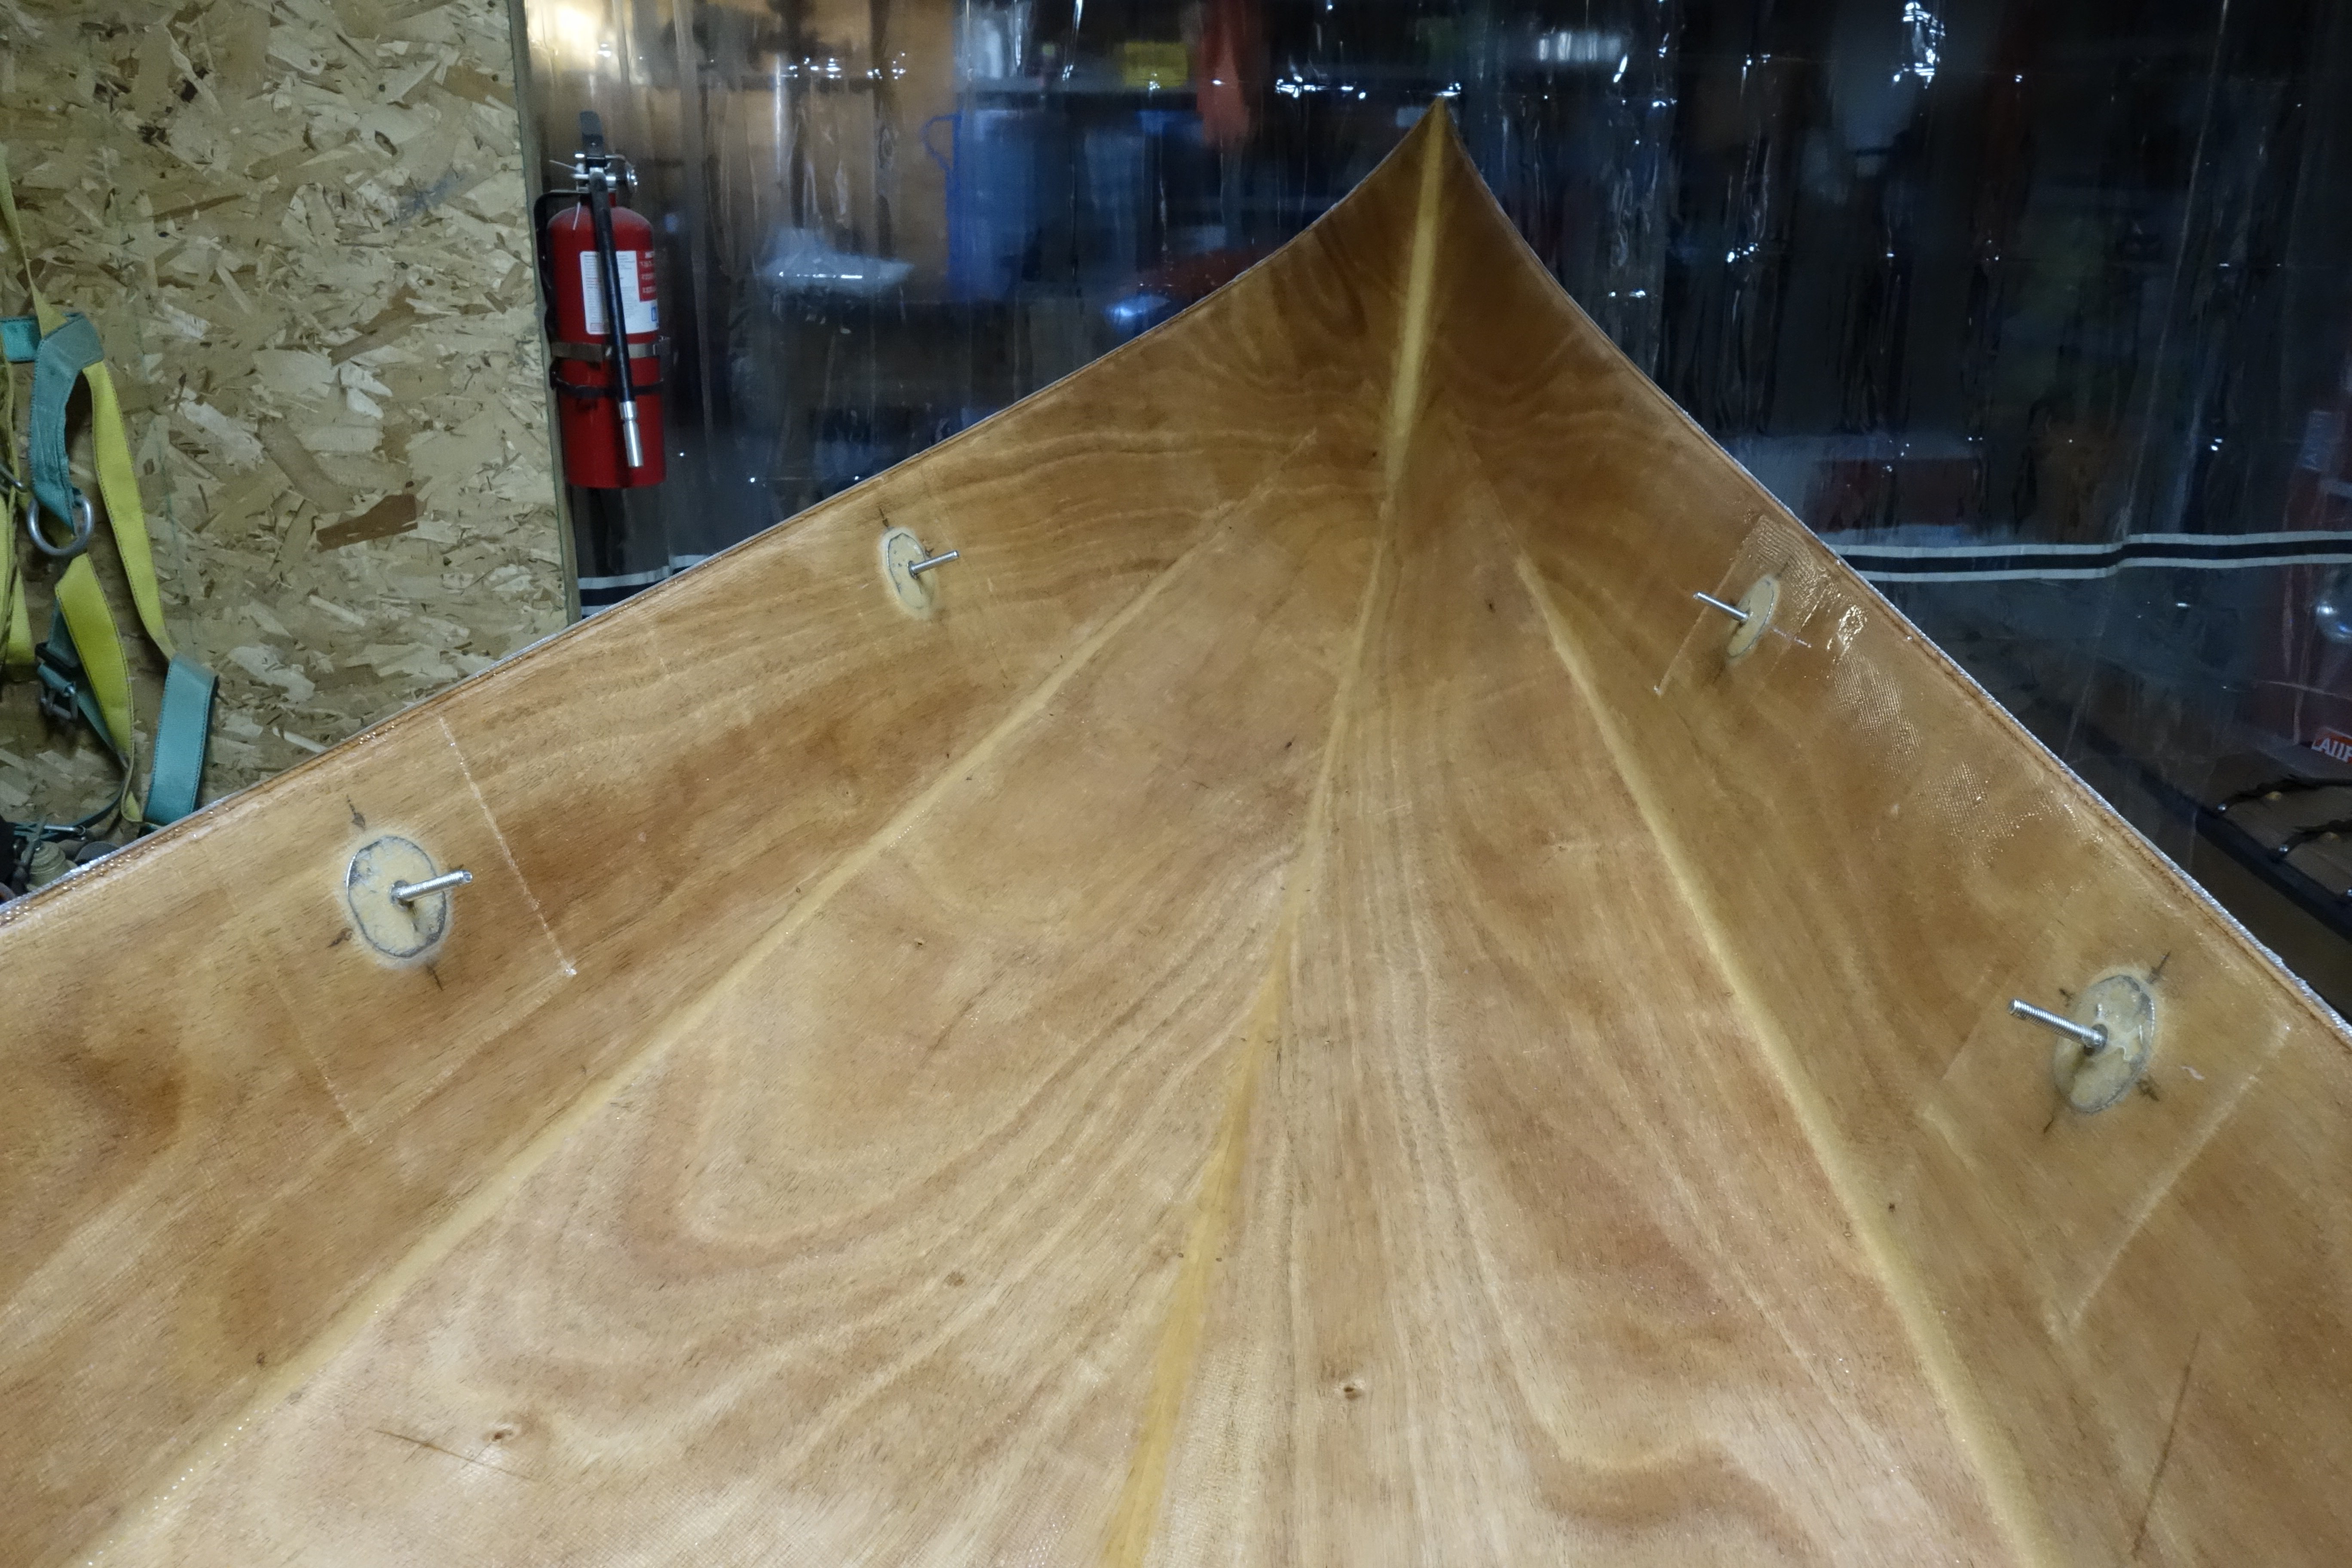
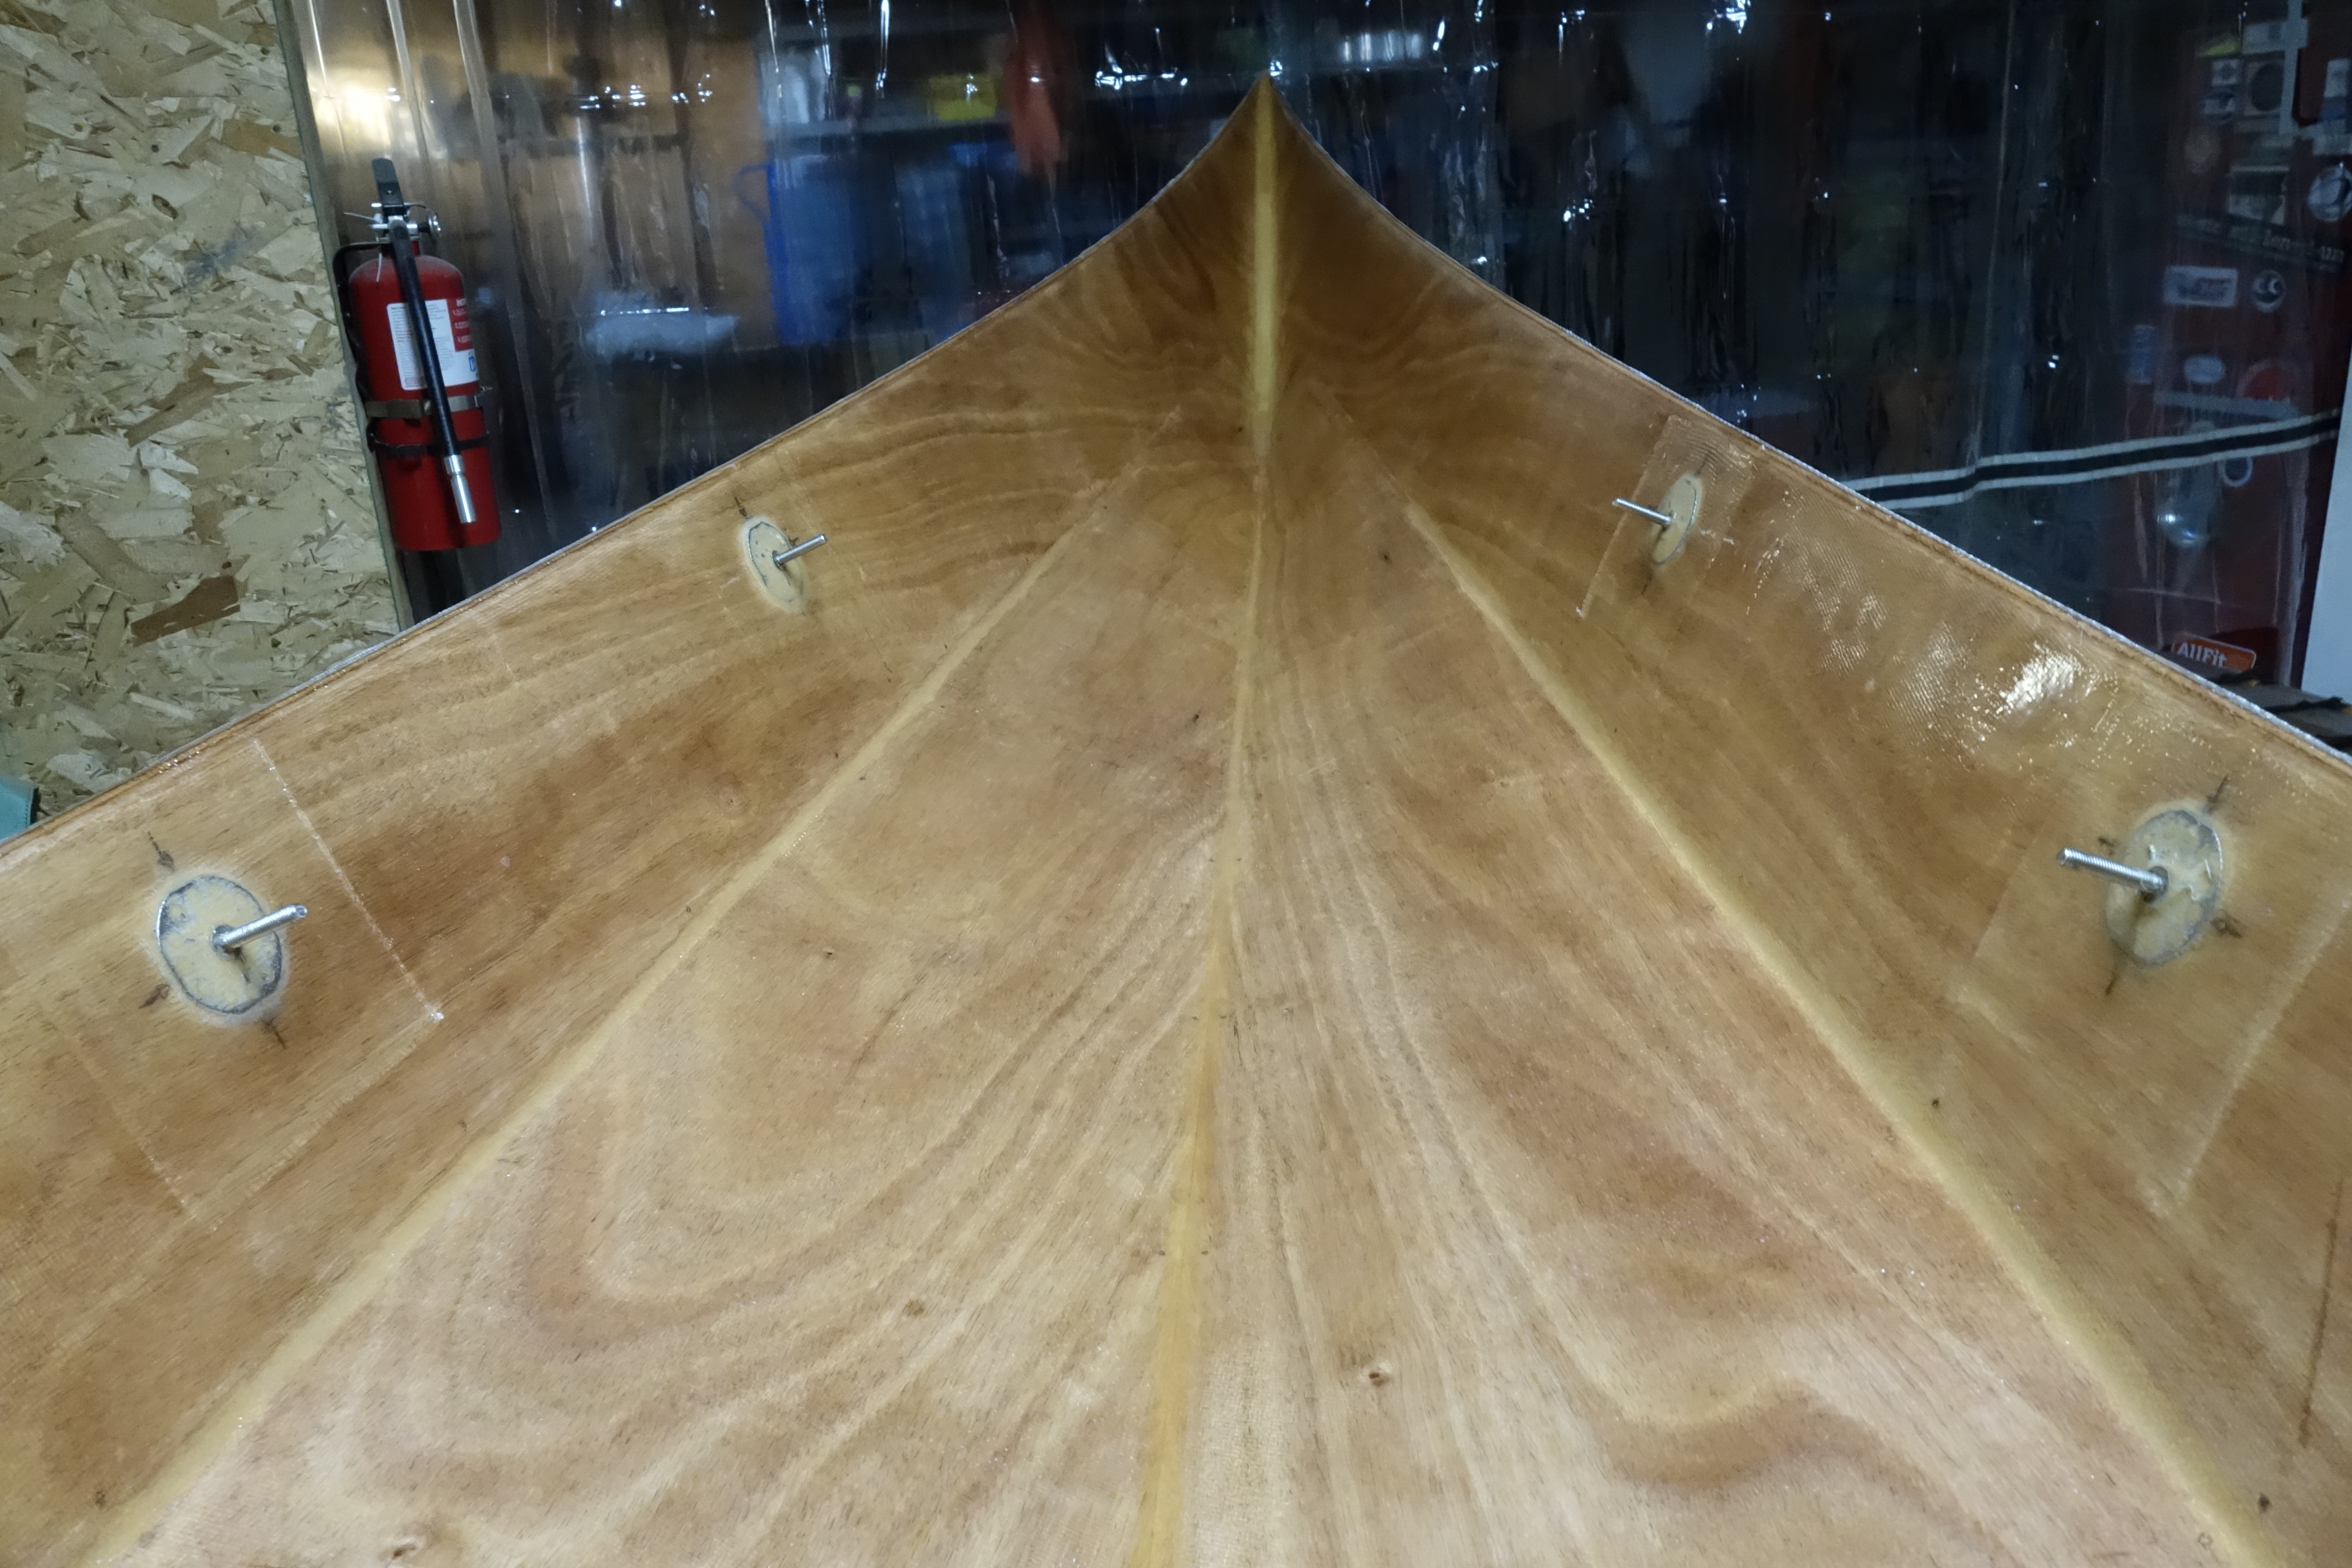
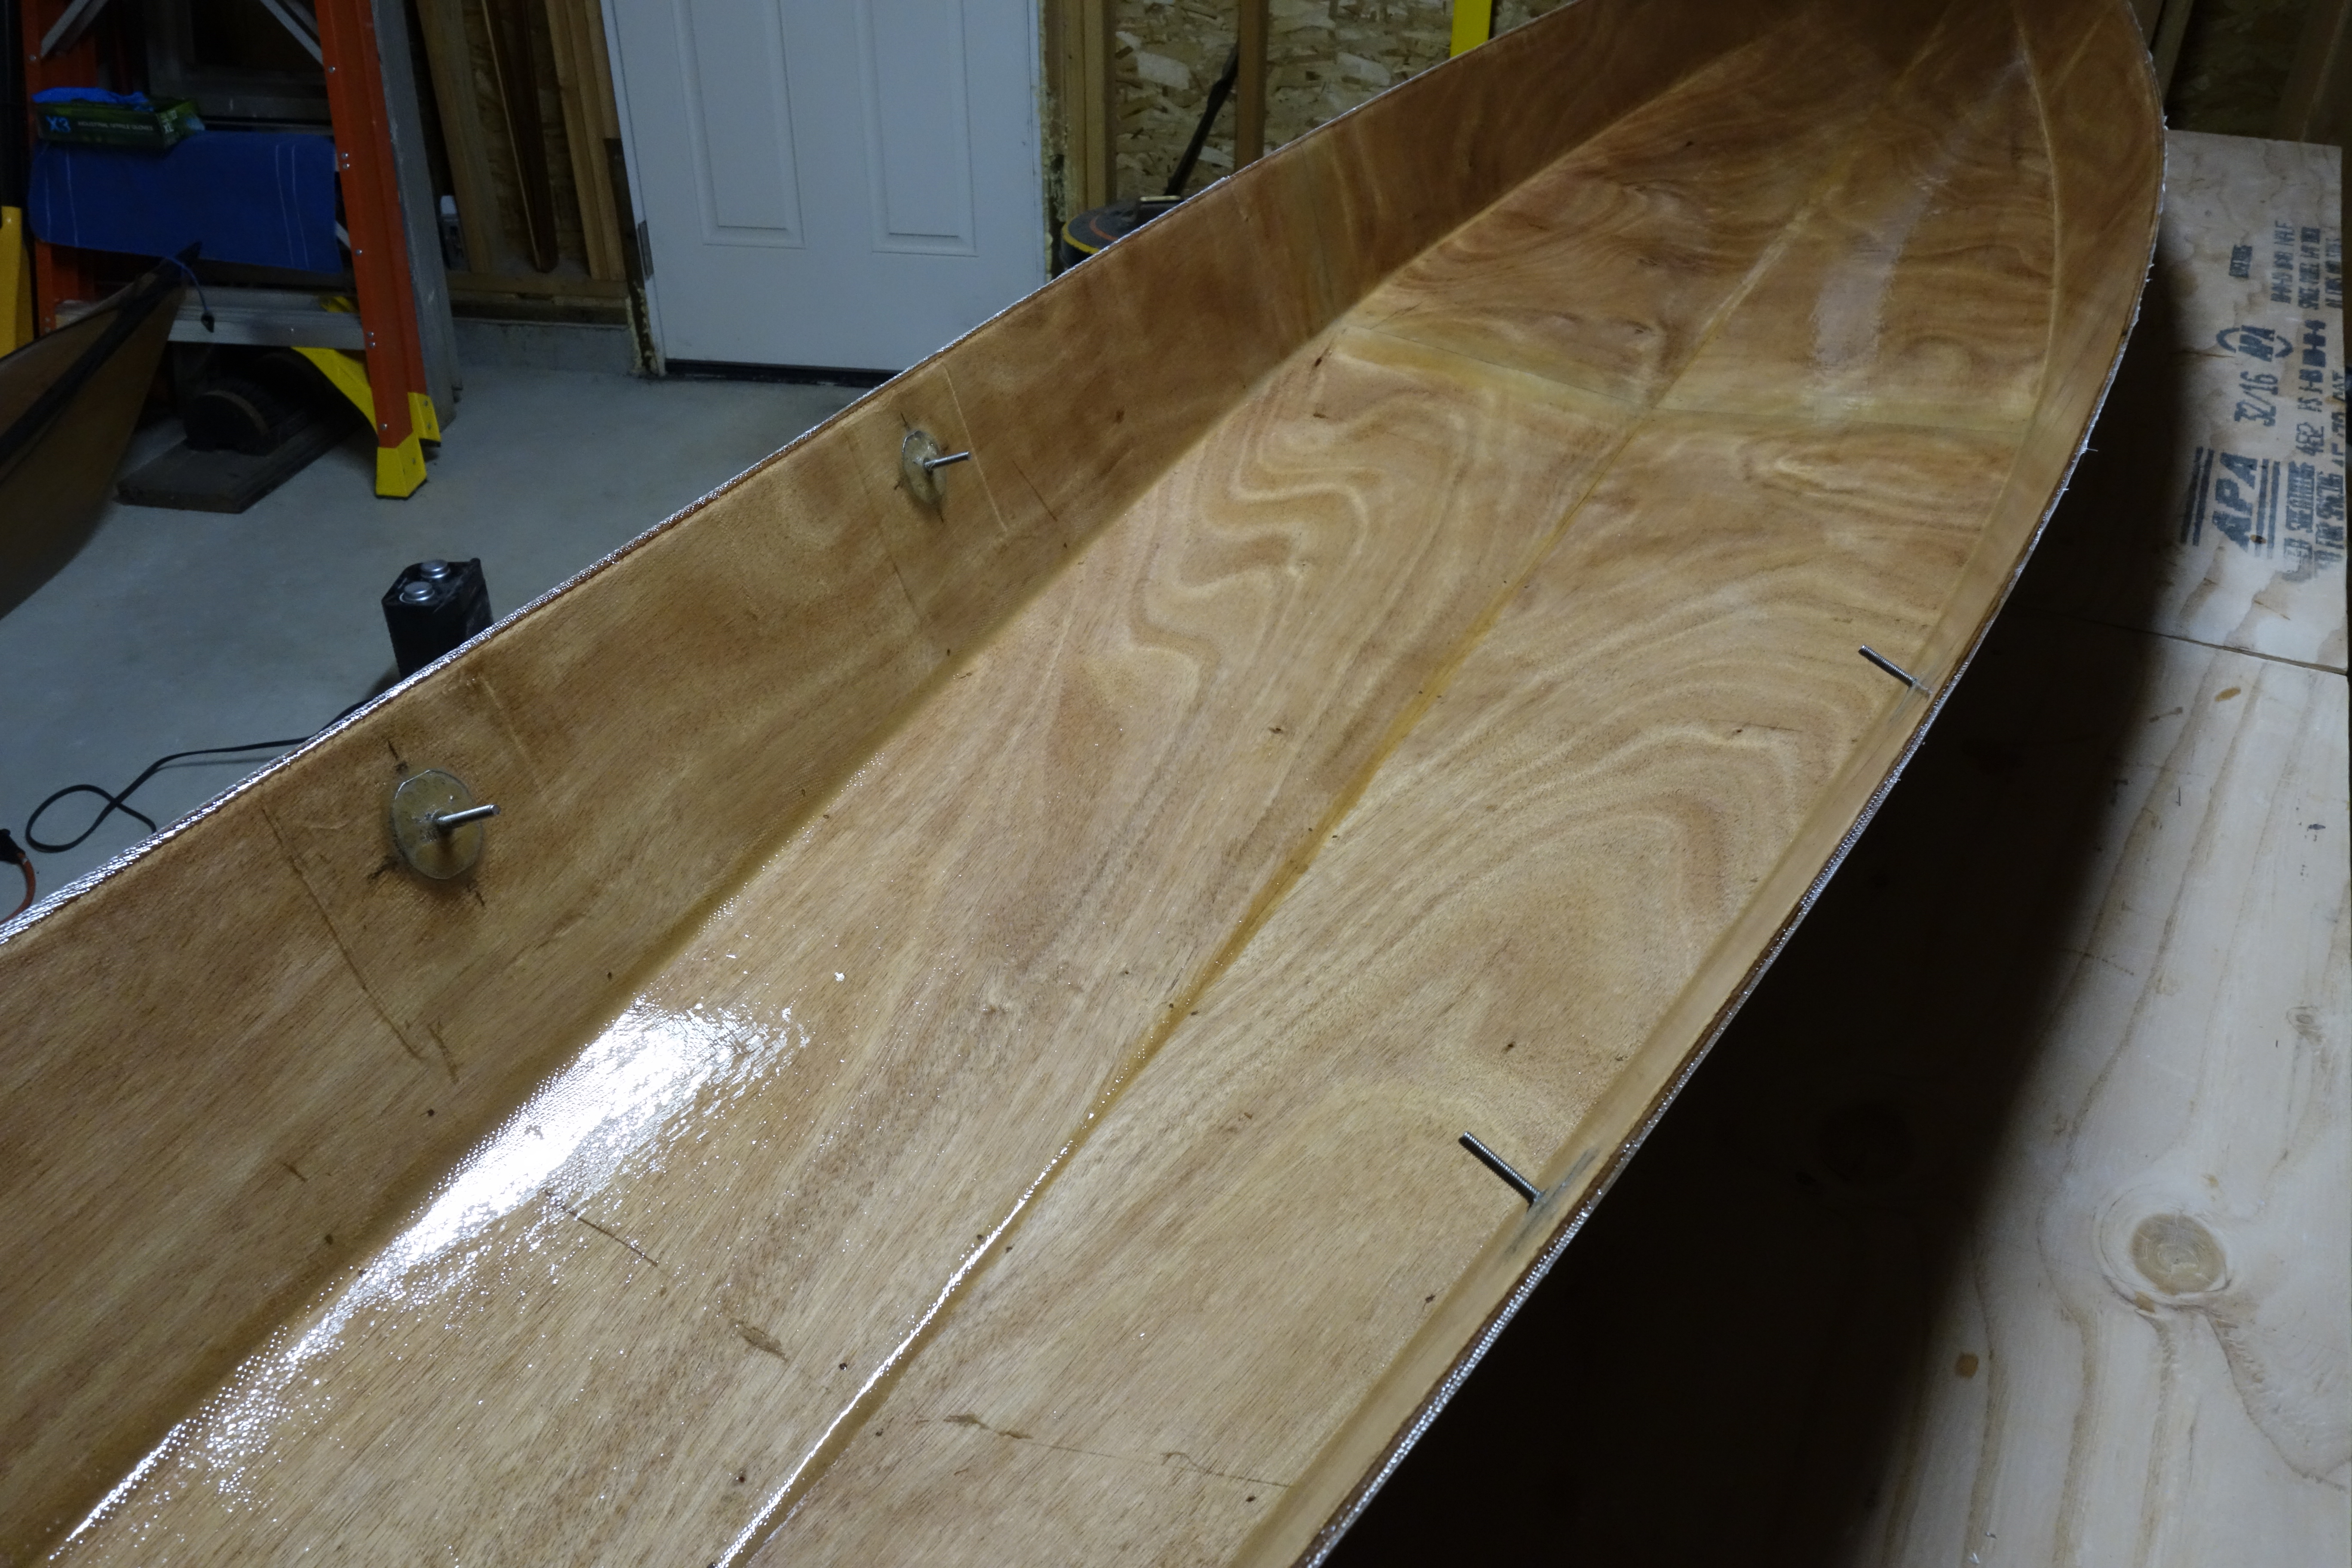
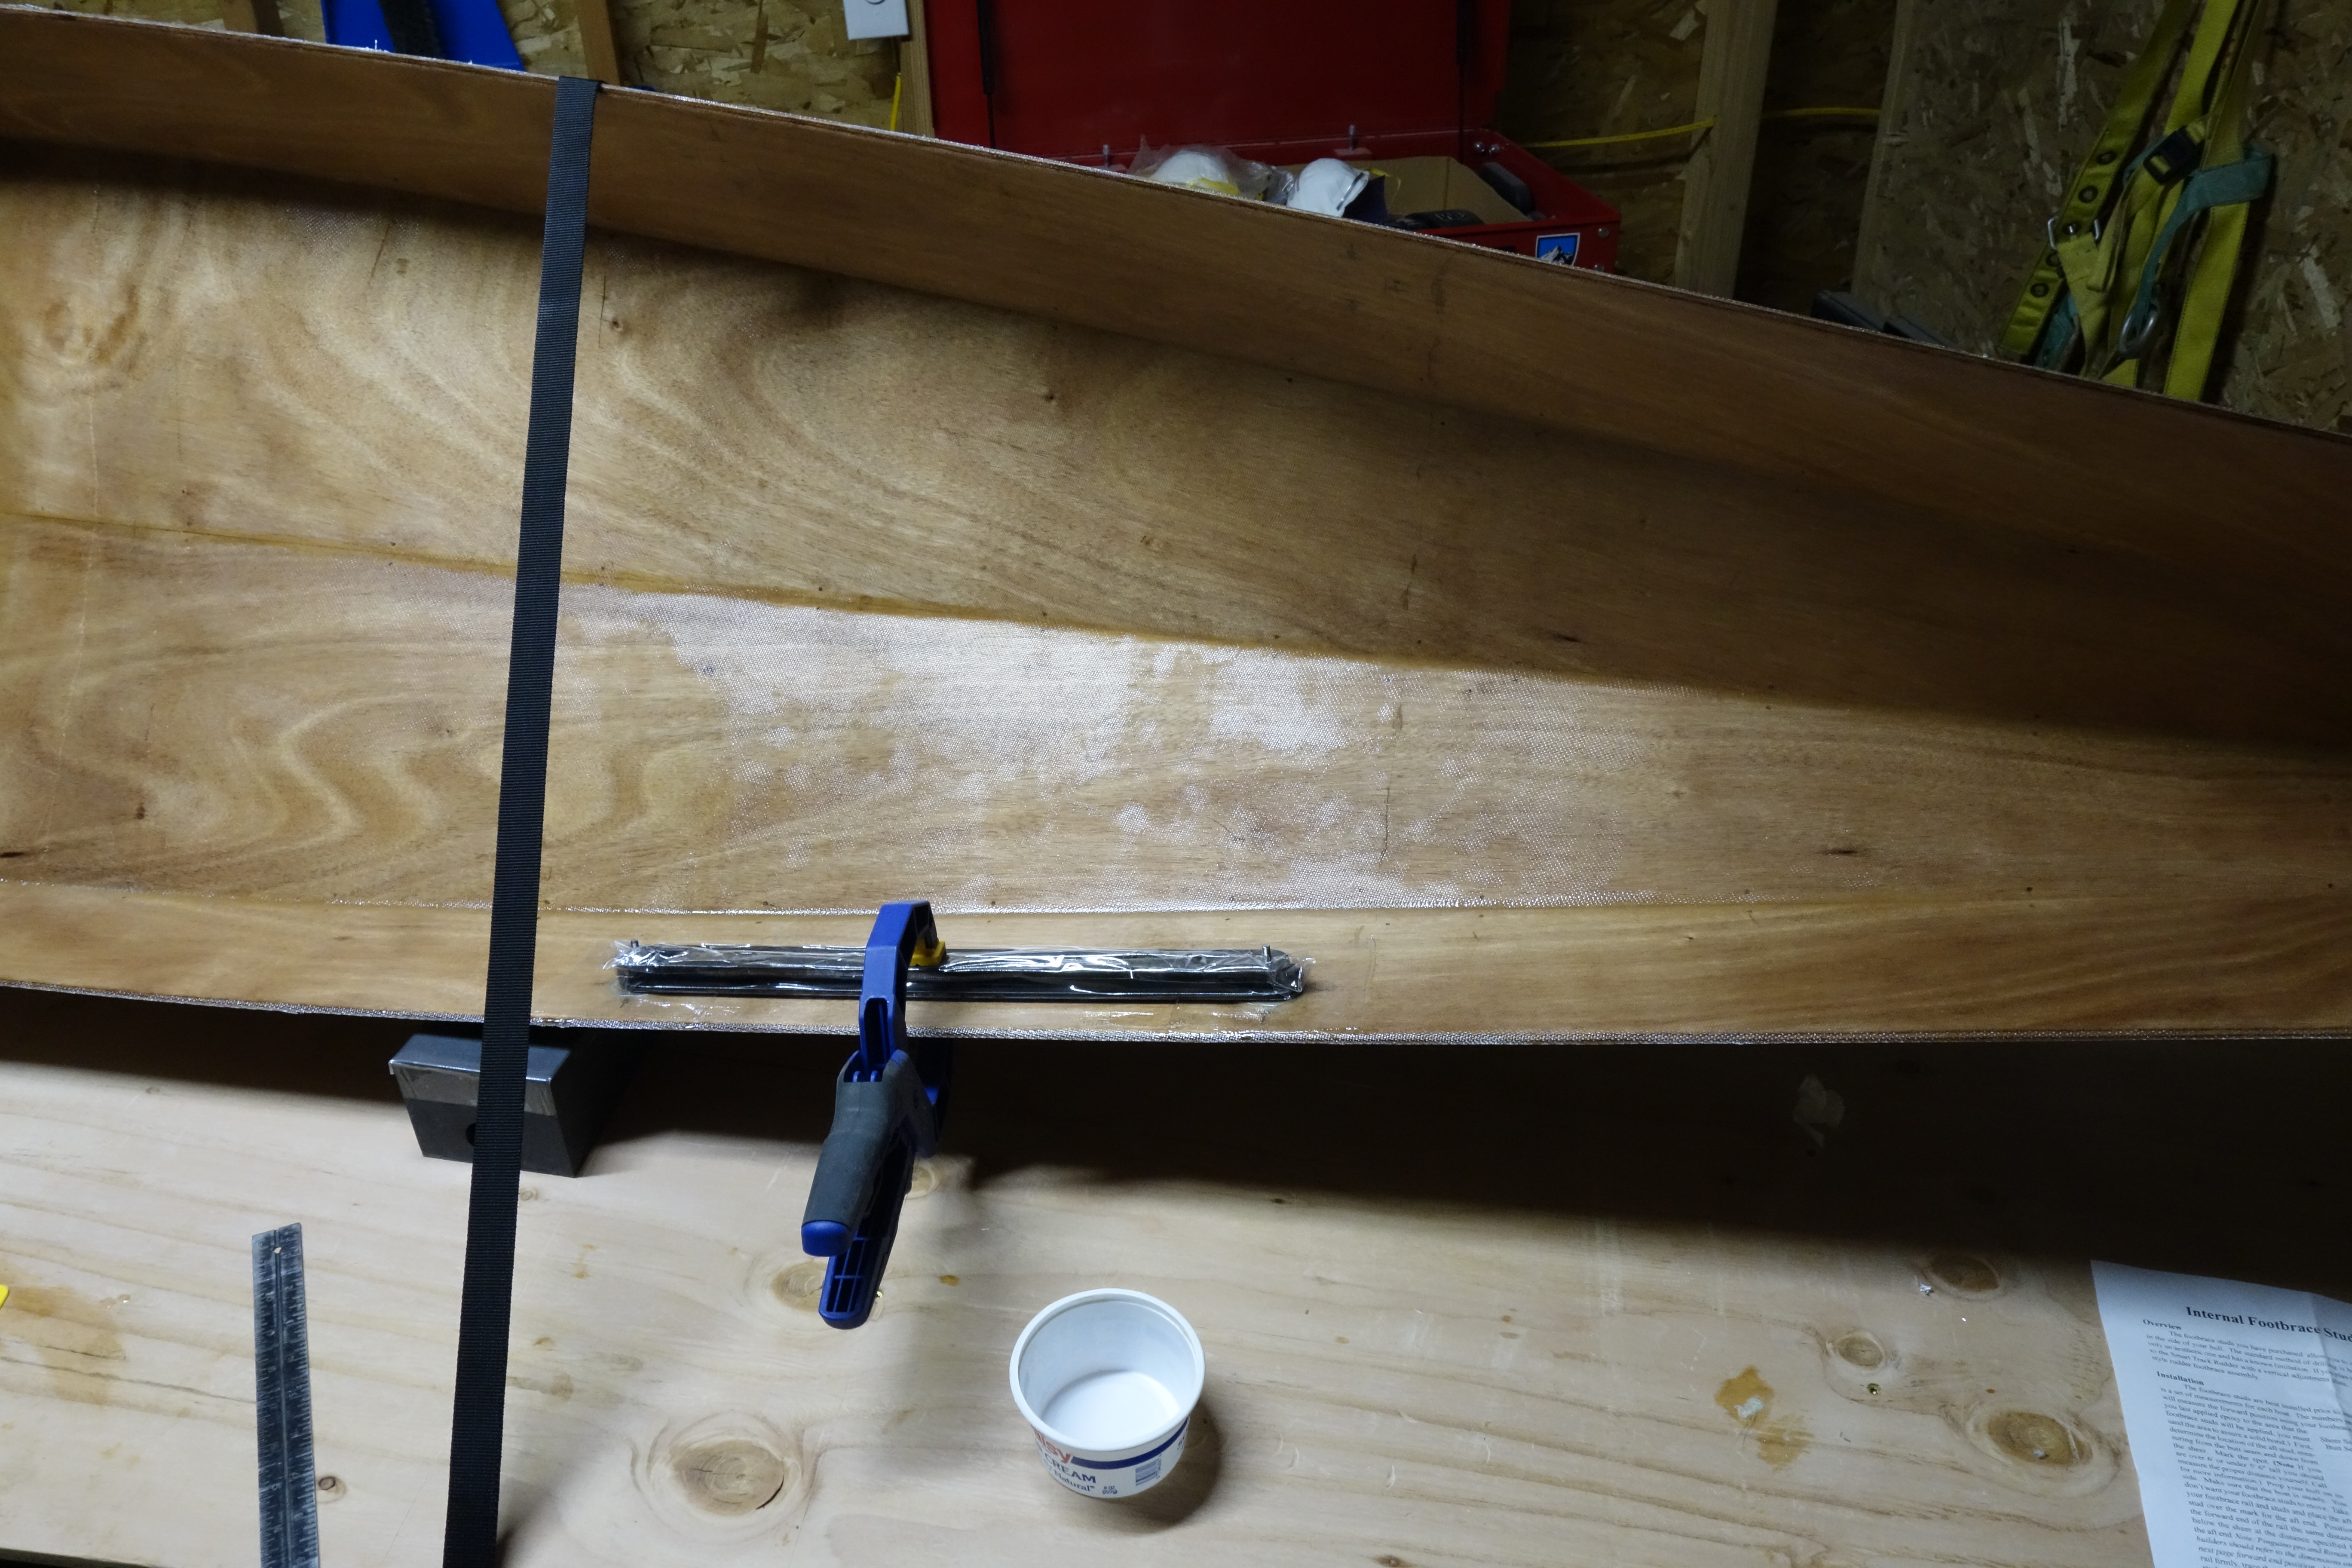
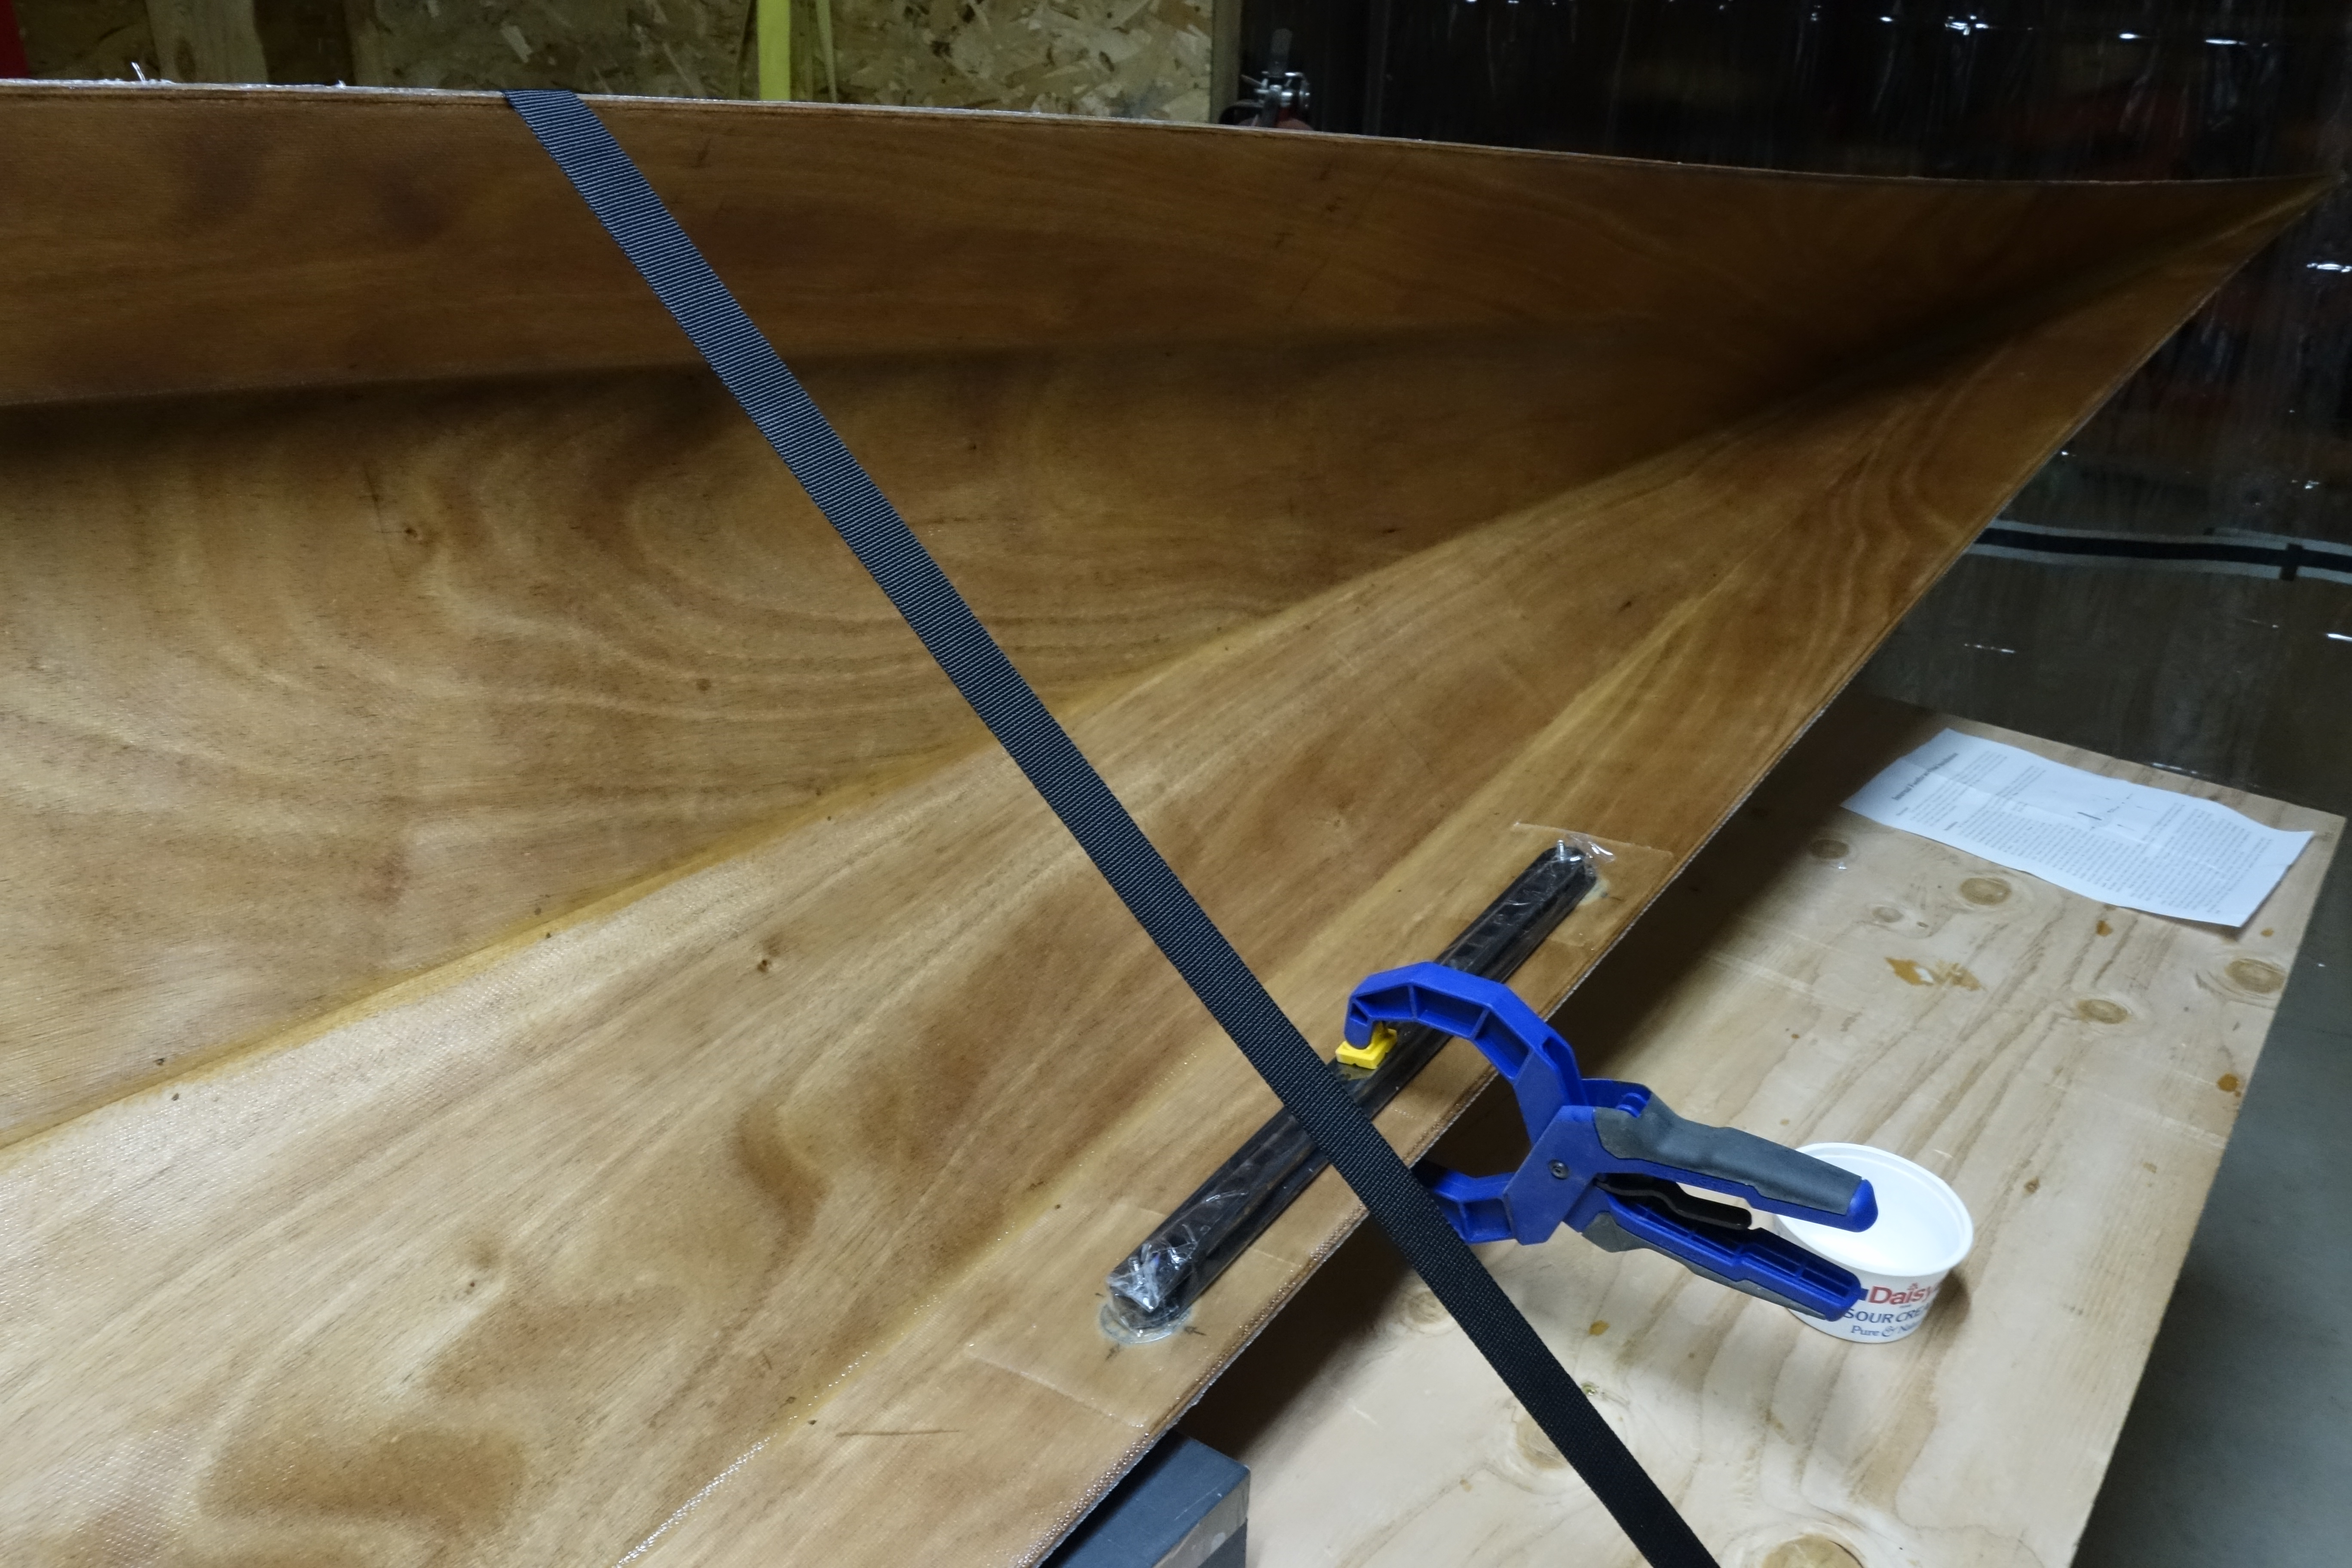
Rather than eventually drilling holes through the hull to mount the foot brace rails, Pygmy offers optional foot brace studs that are epoxied and fiberglassed to the inside of the hull during hull construction (as seen here). Not only is this aesthetically pleasing, it saves work in the future when the hull needs to be re-varnished because if the foot brace rails were held on by screws that went through the hull, the screws would have to be removed prior to sanding/re-varnishing, etc.

The foot brace rail is covered in packing tape so that epoxy won’t stick to it, and then after carefully measuring the placement location of the studs, the rail is used to ensure that they fit the rail exactly.

Finishing the inside of the hull.

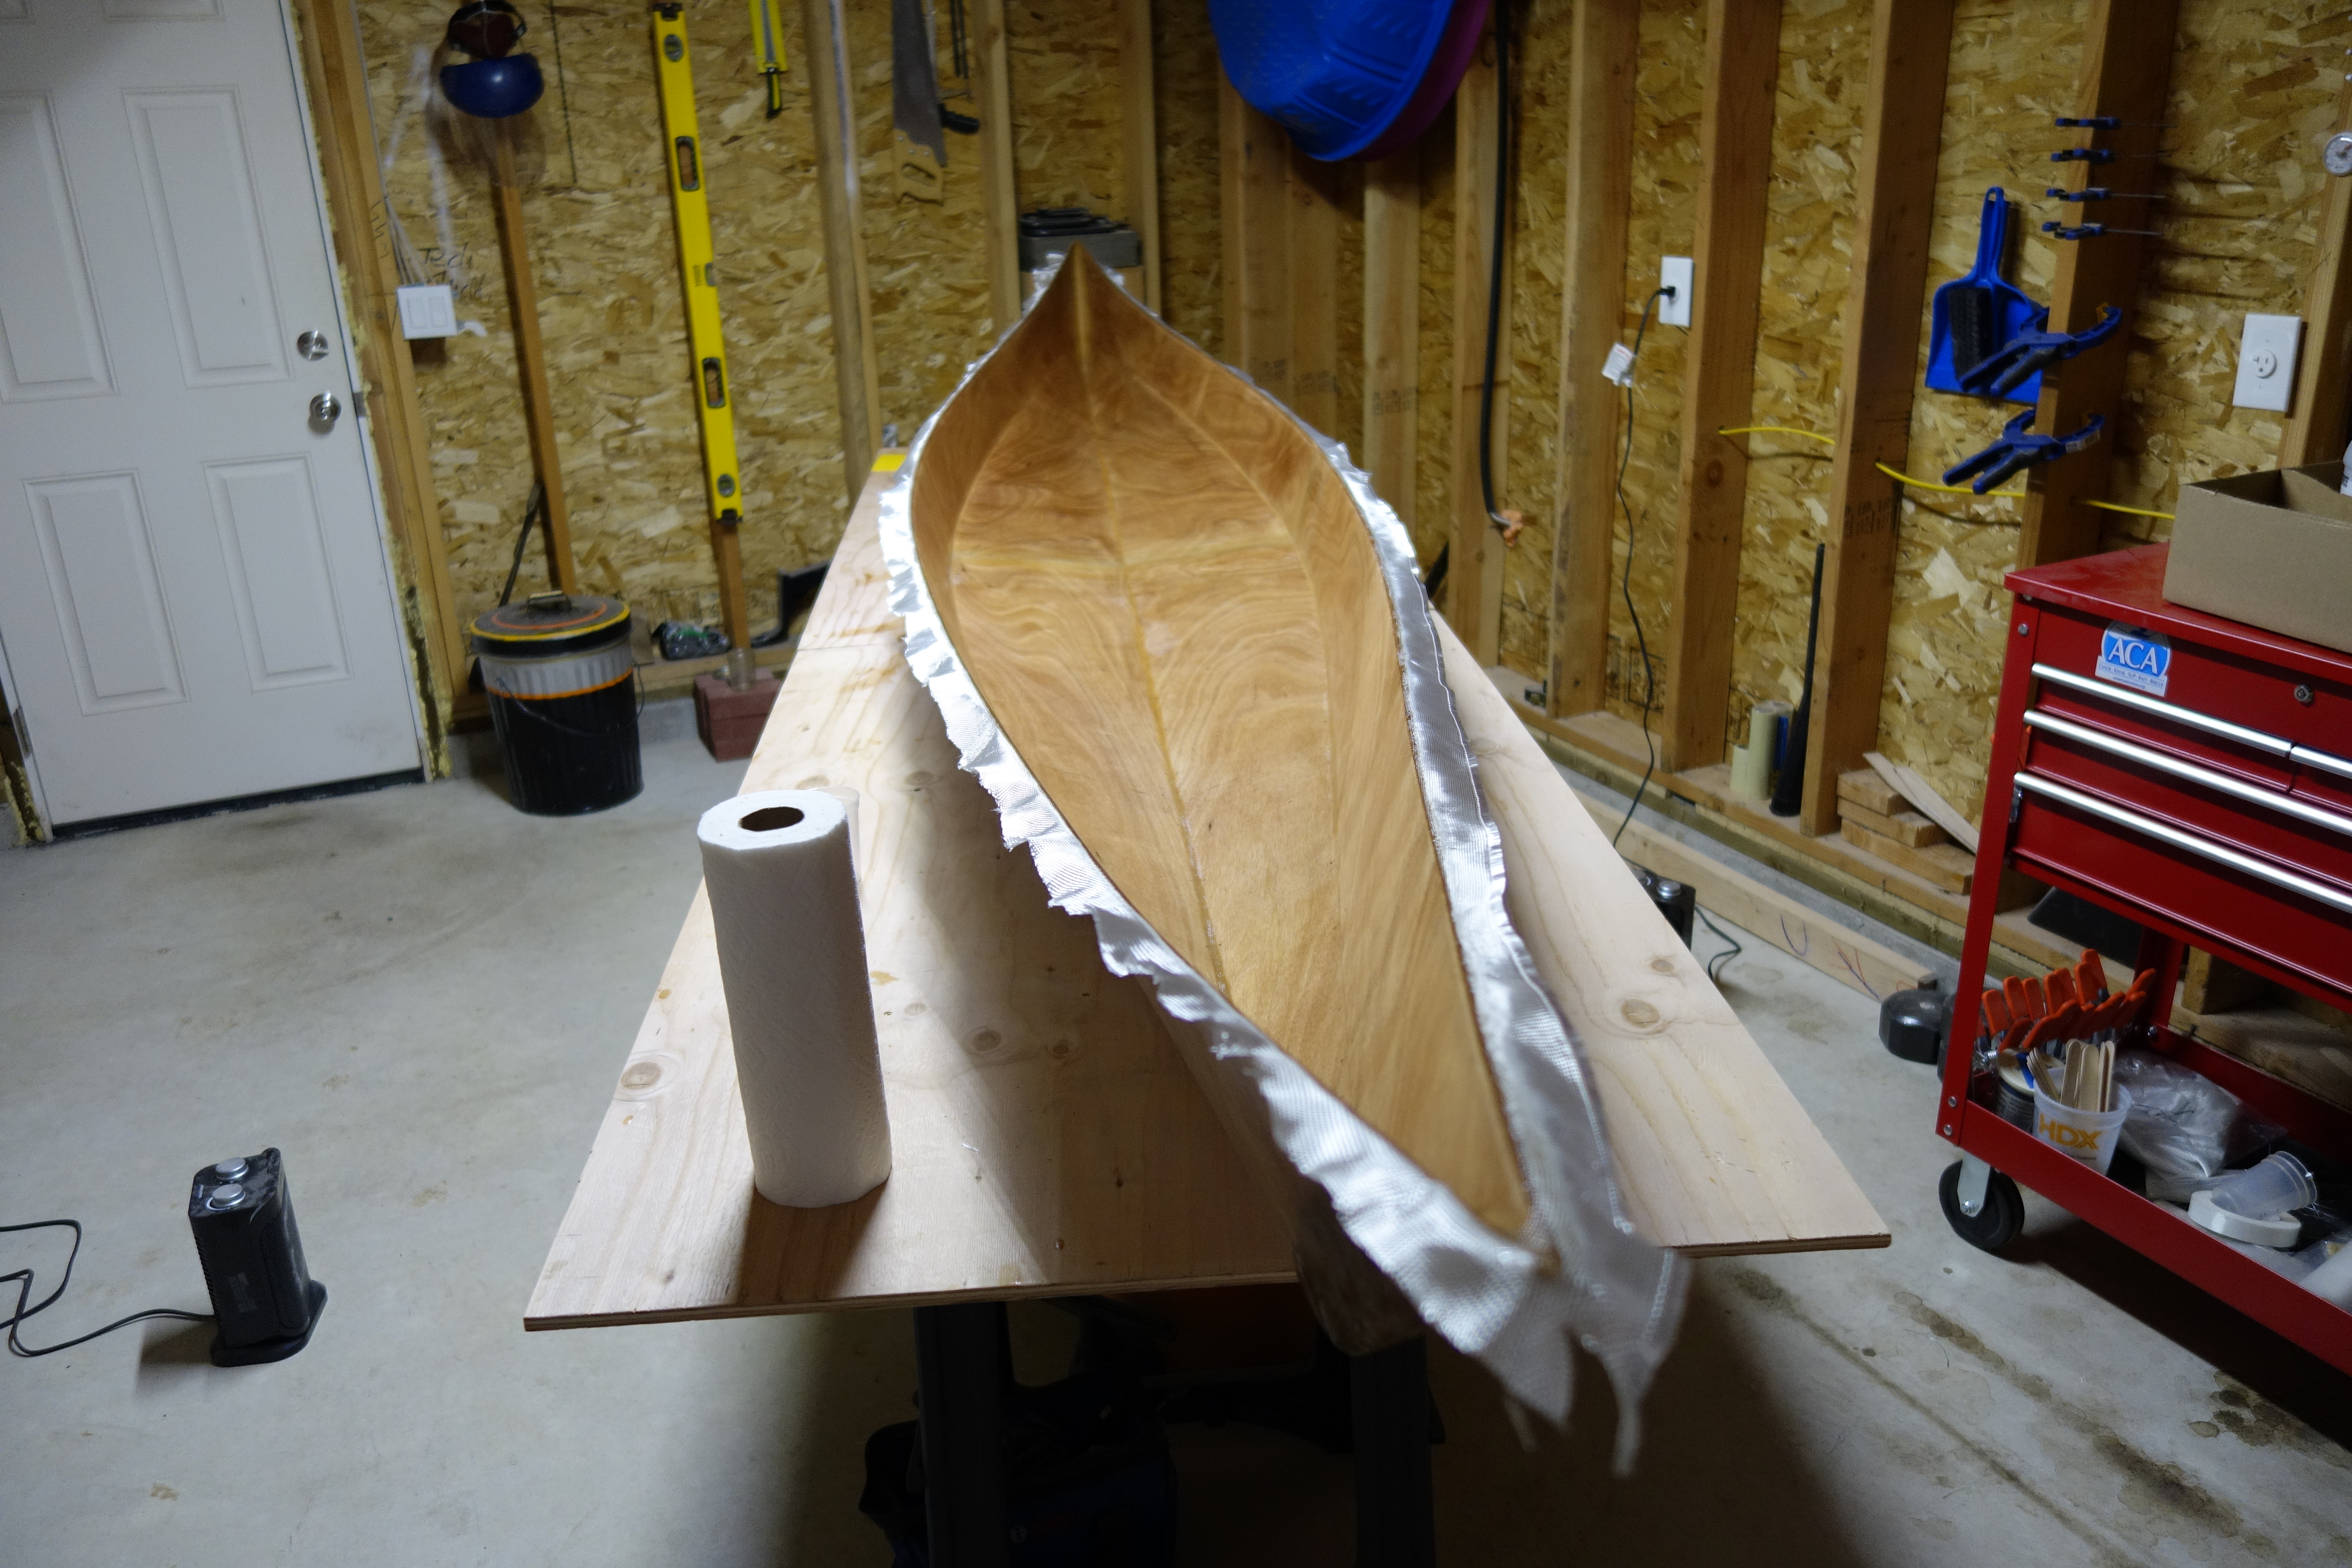
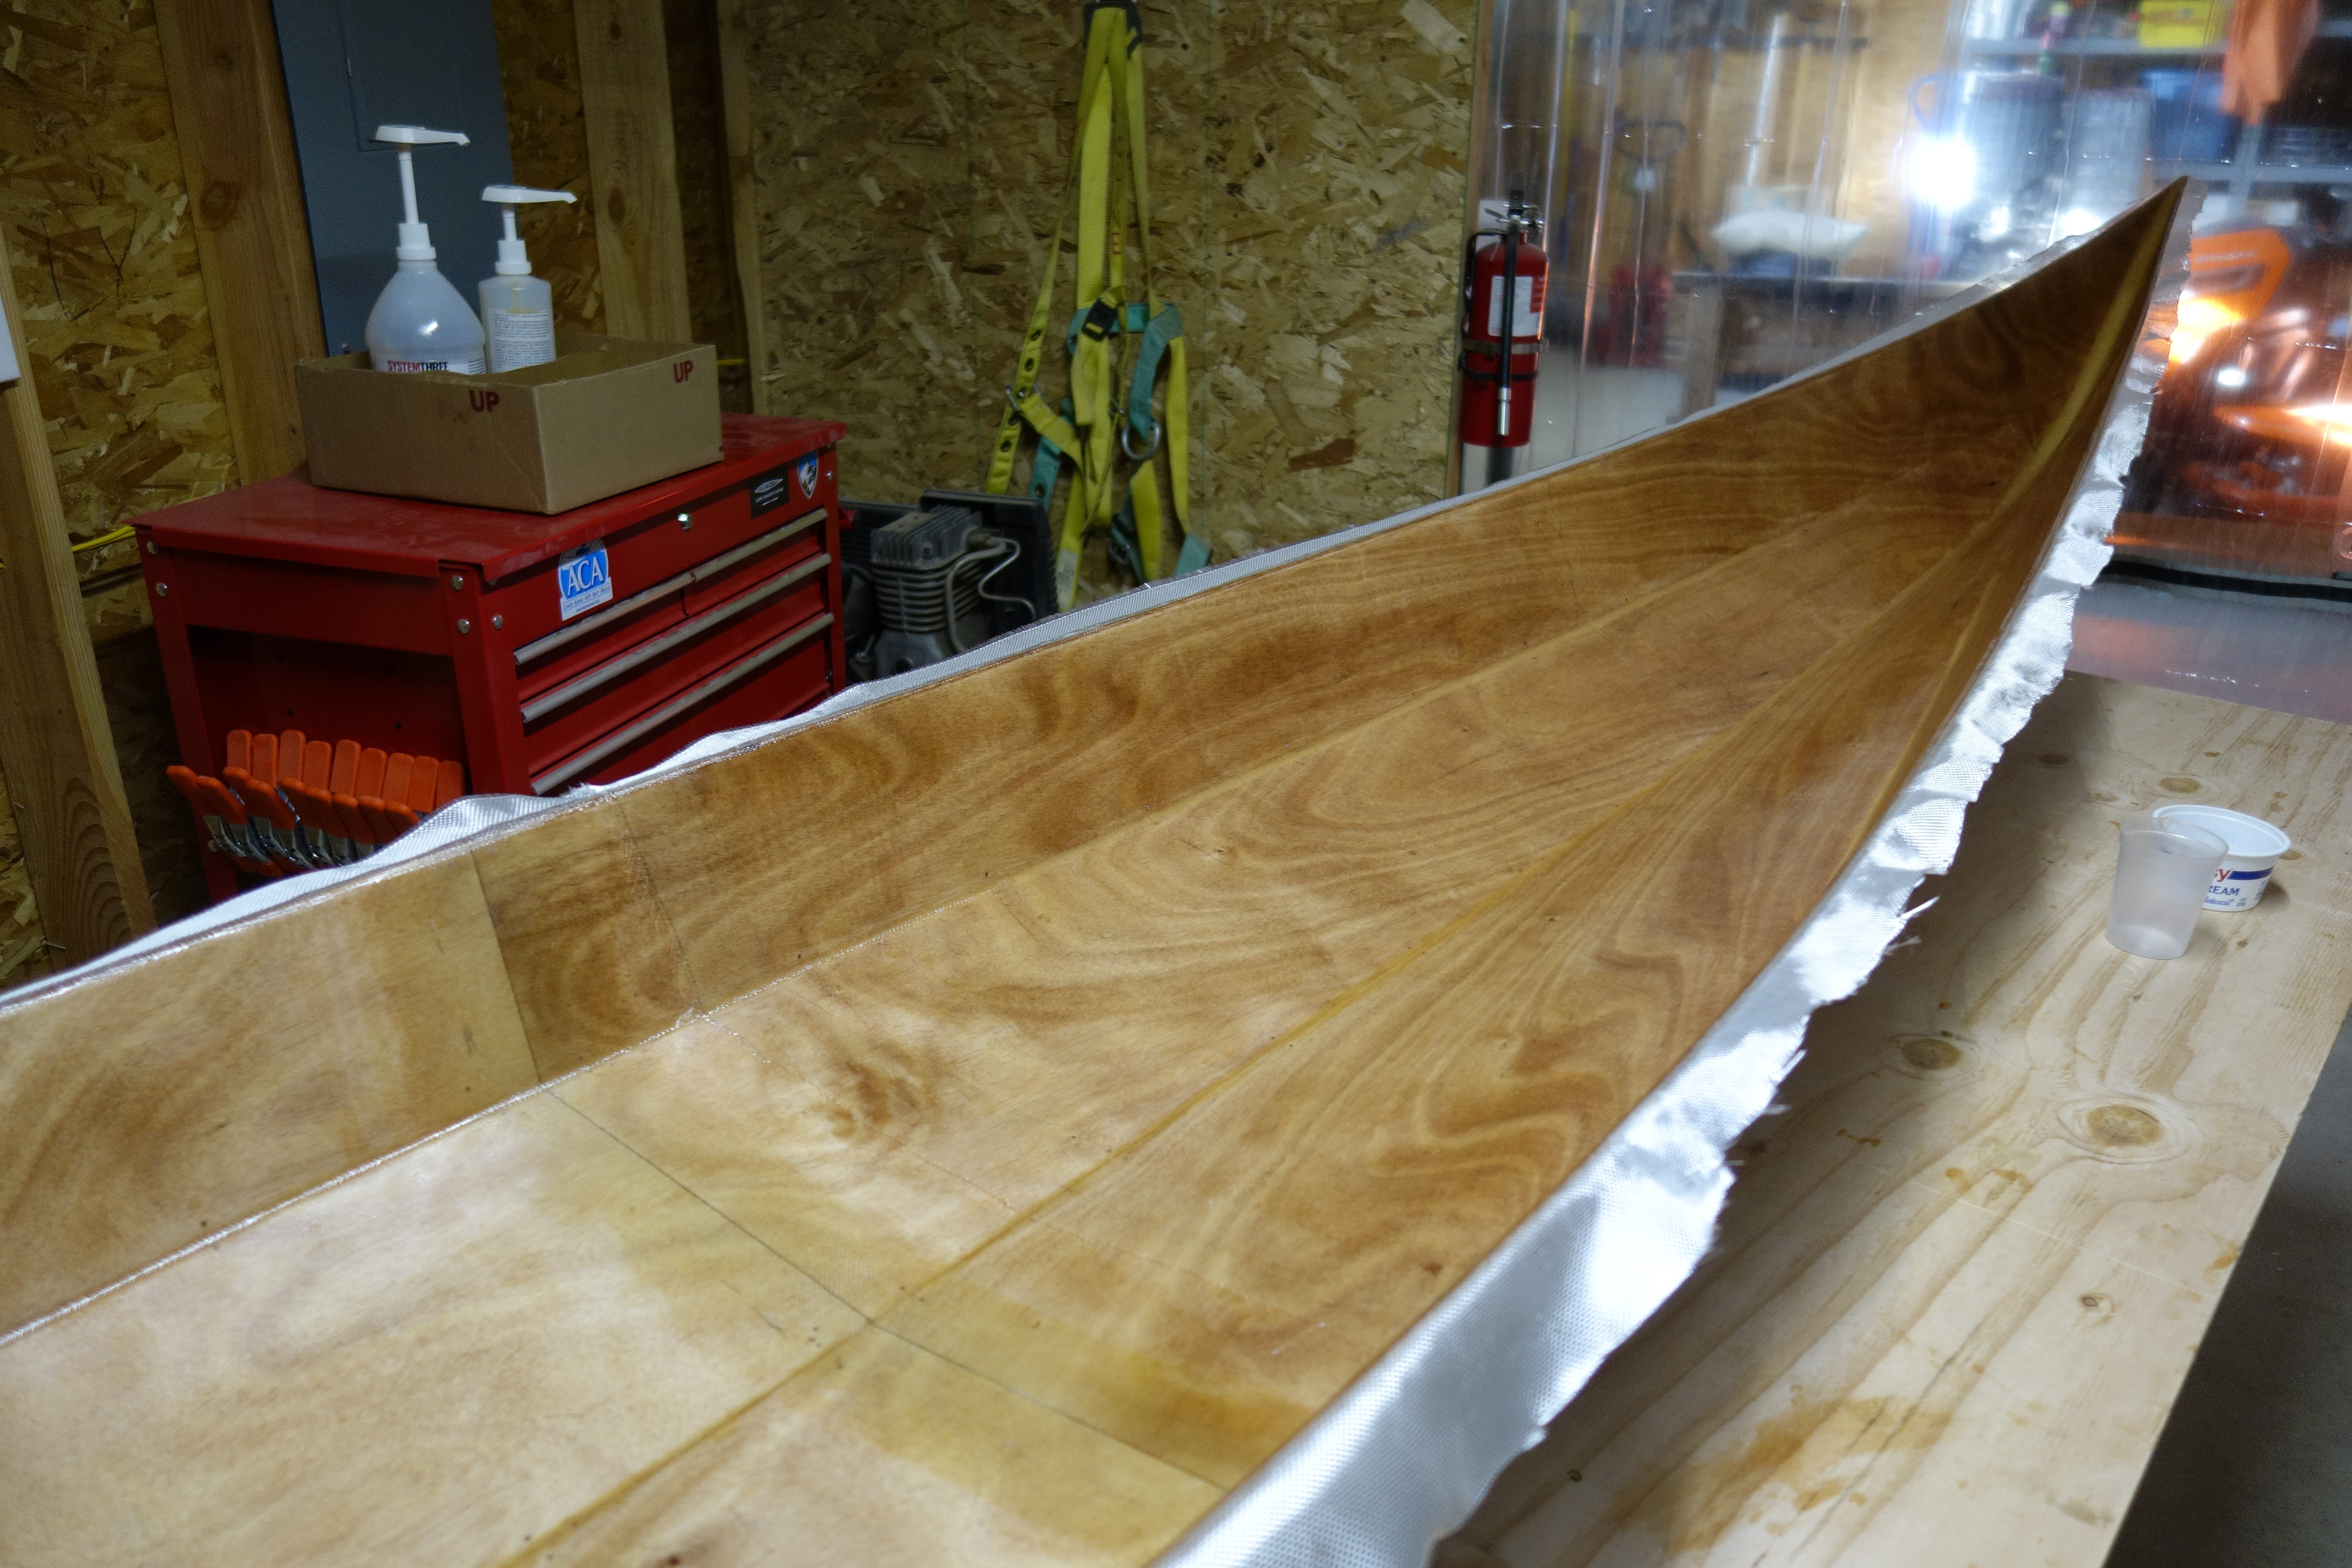
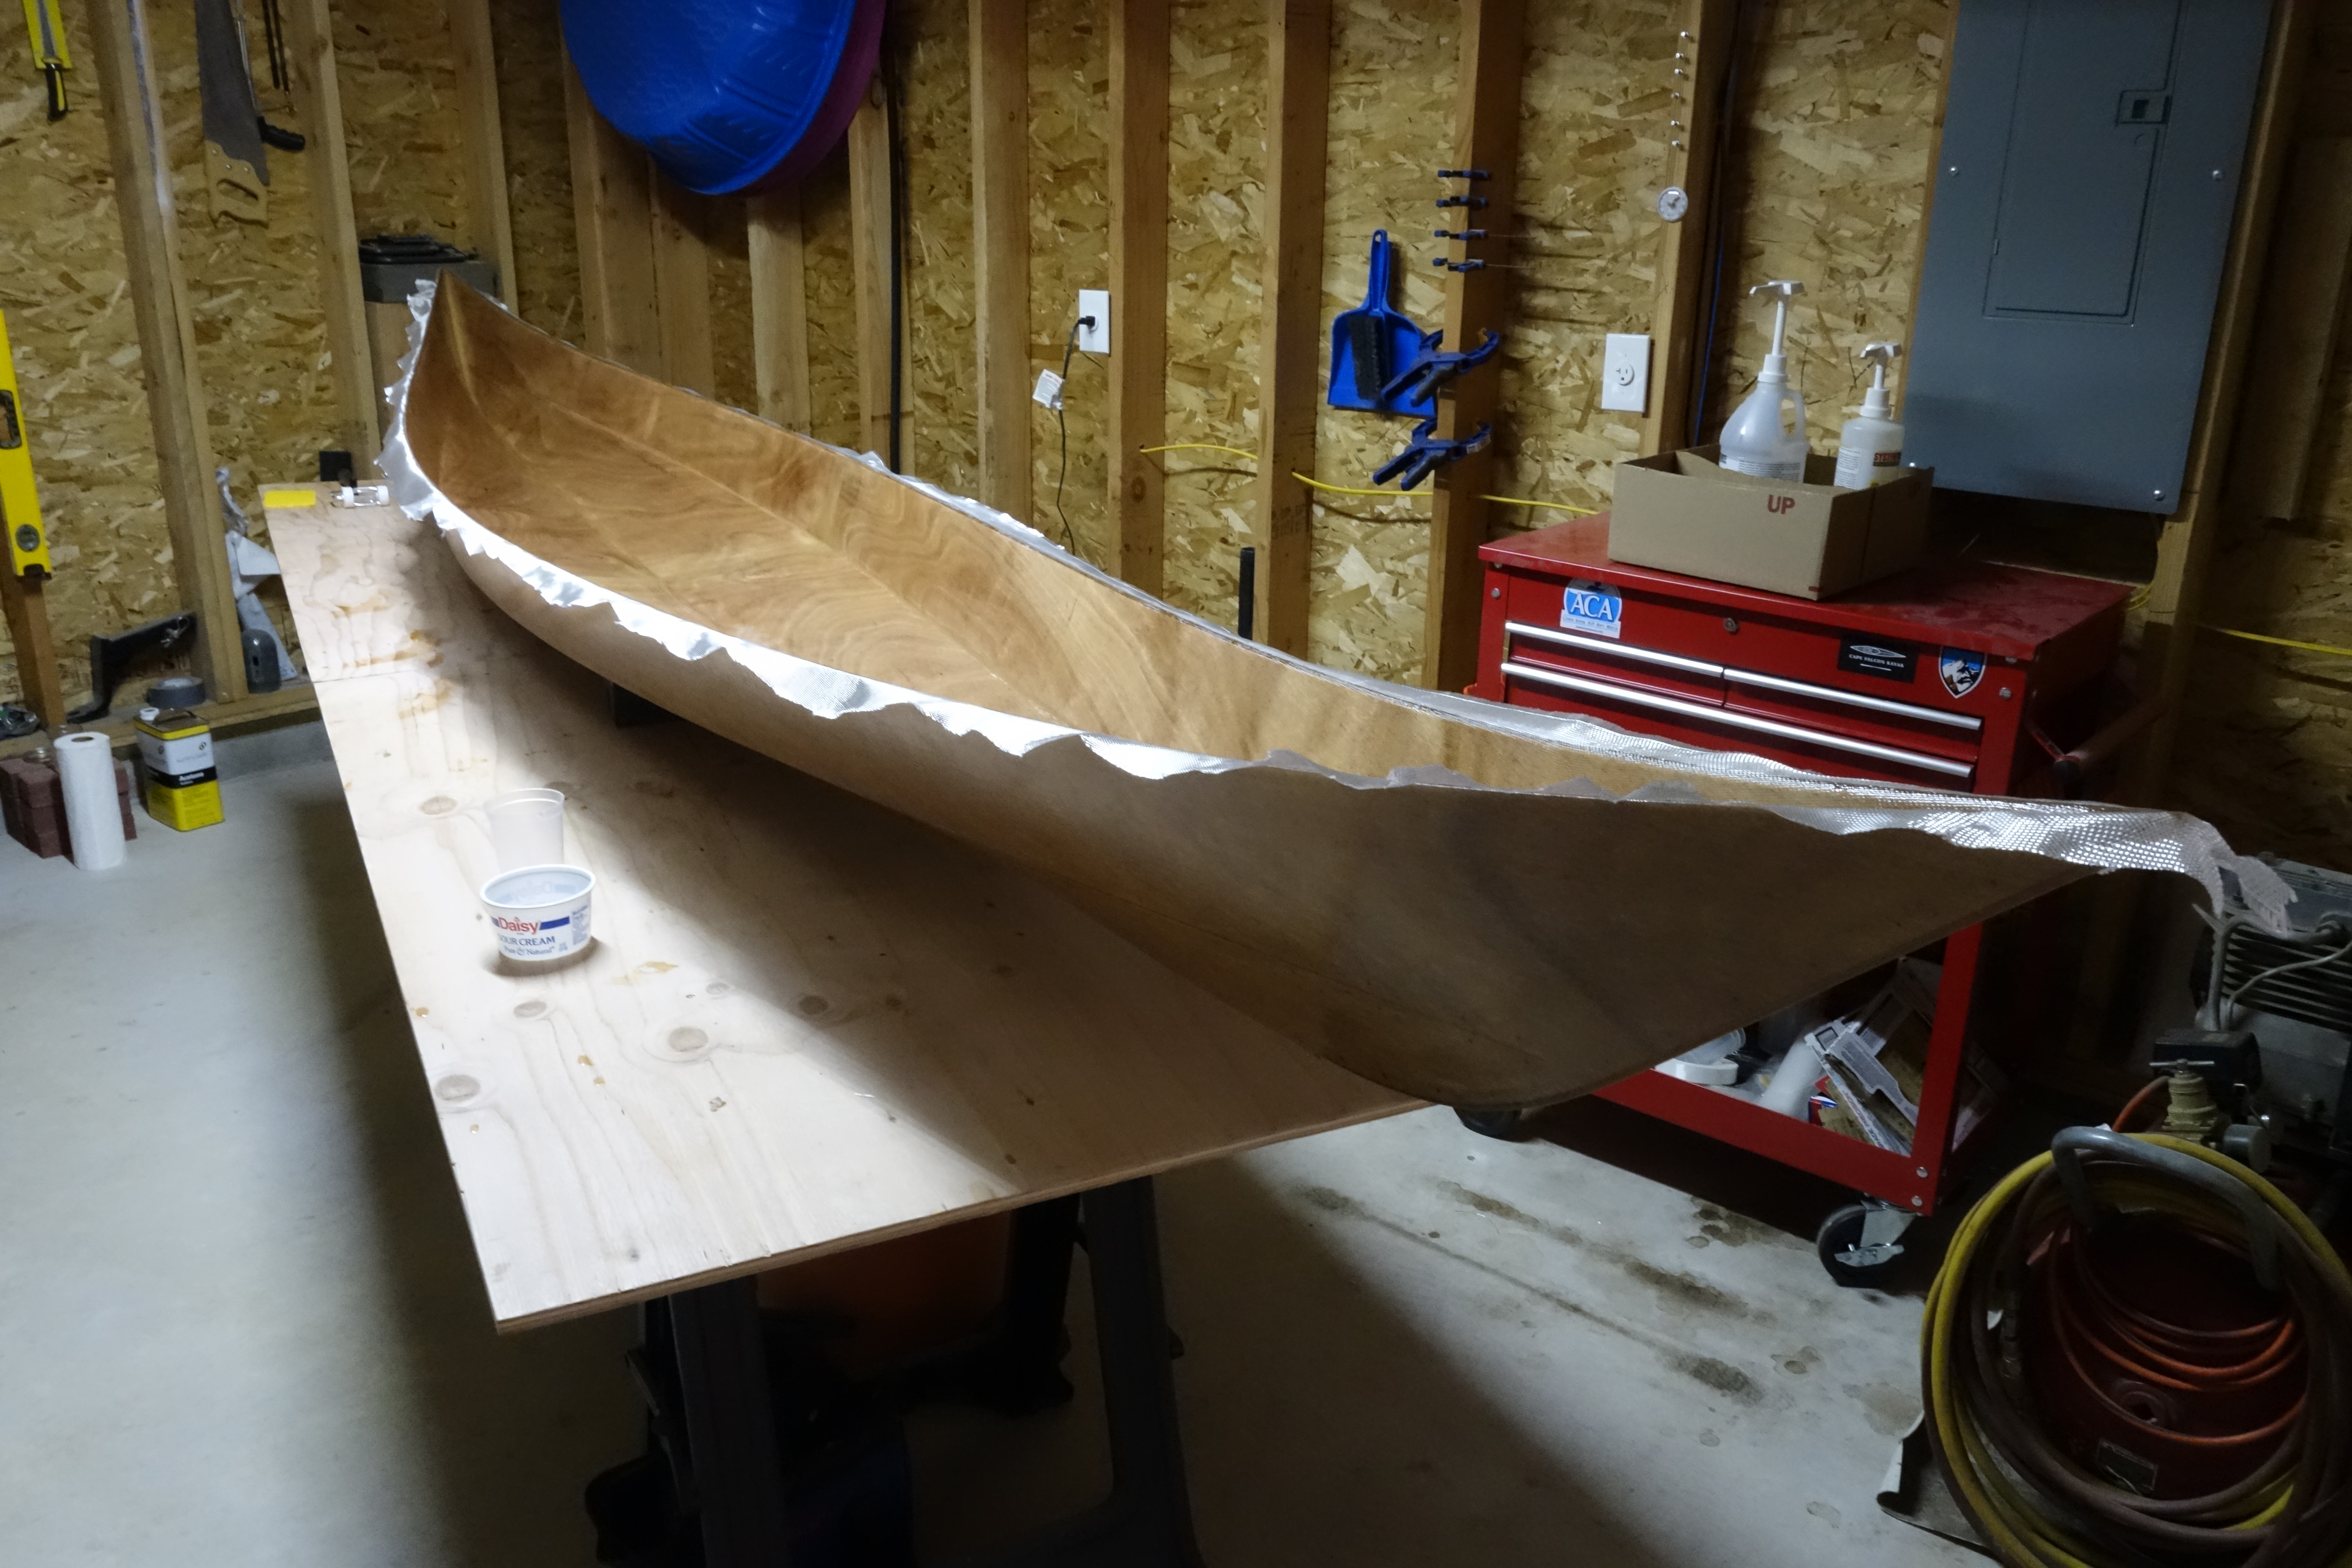
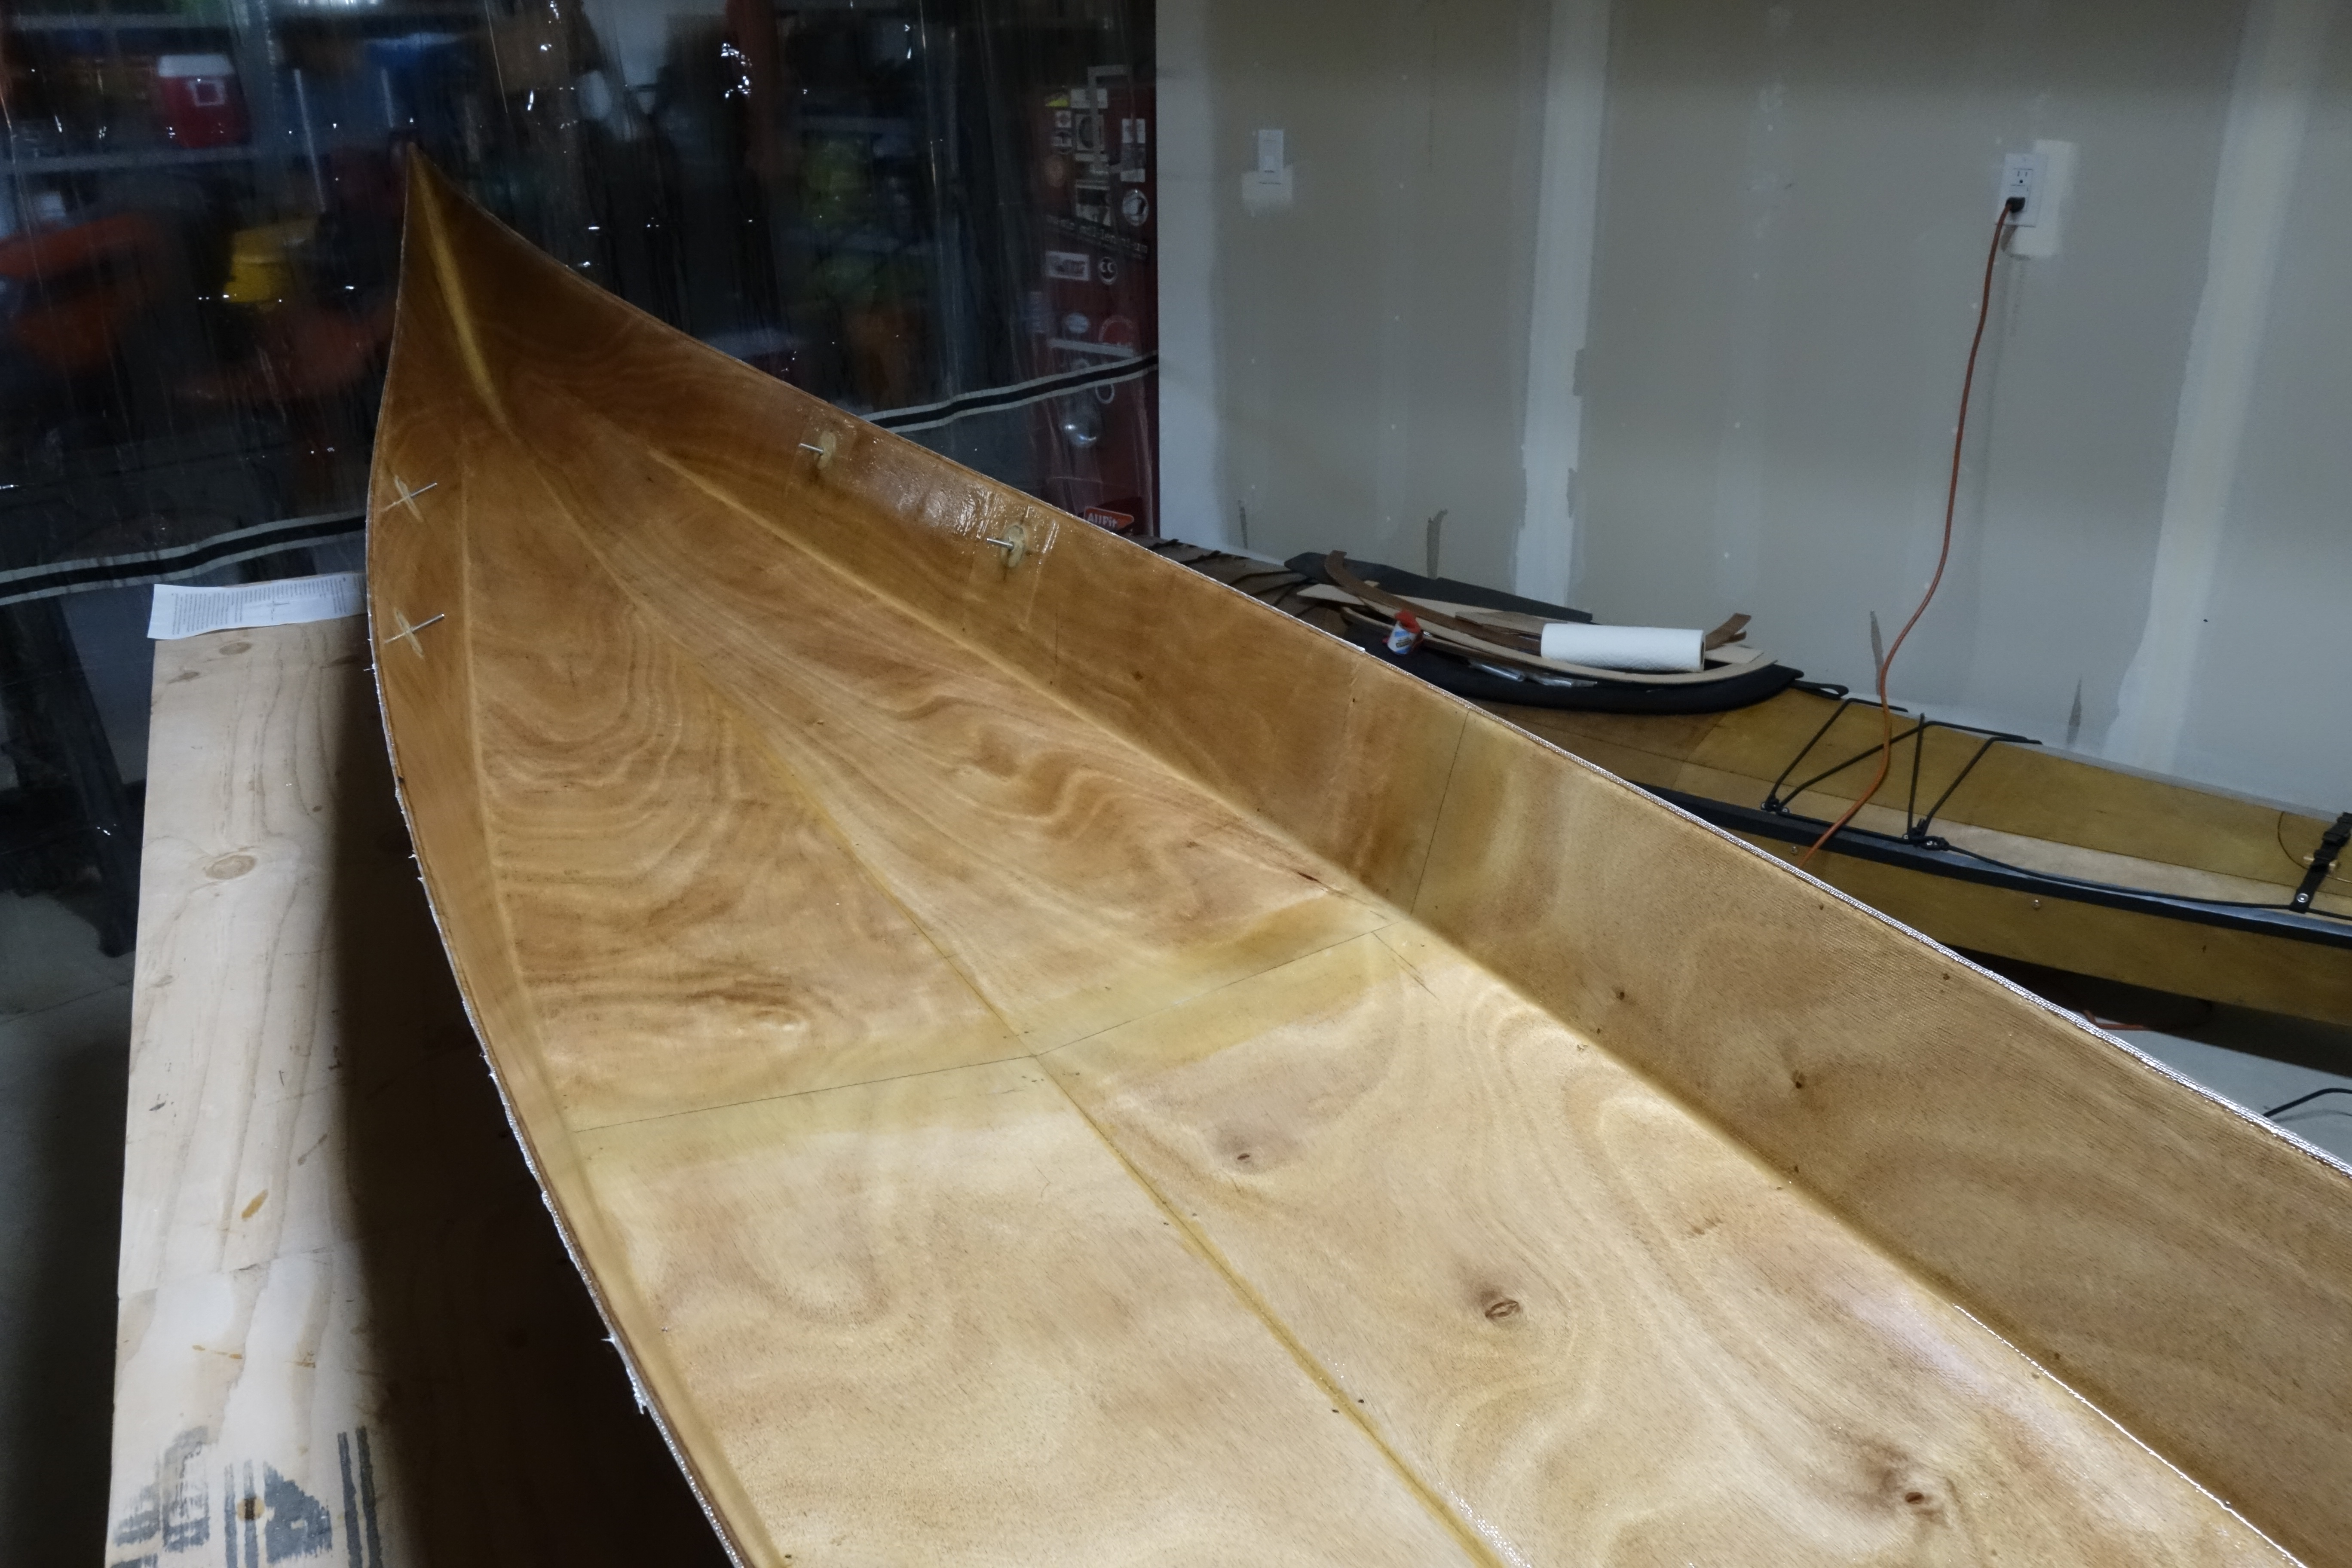
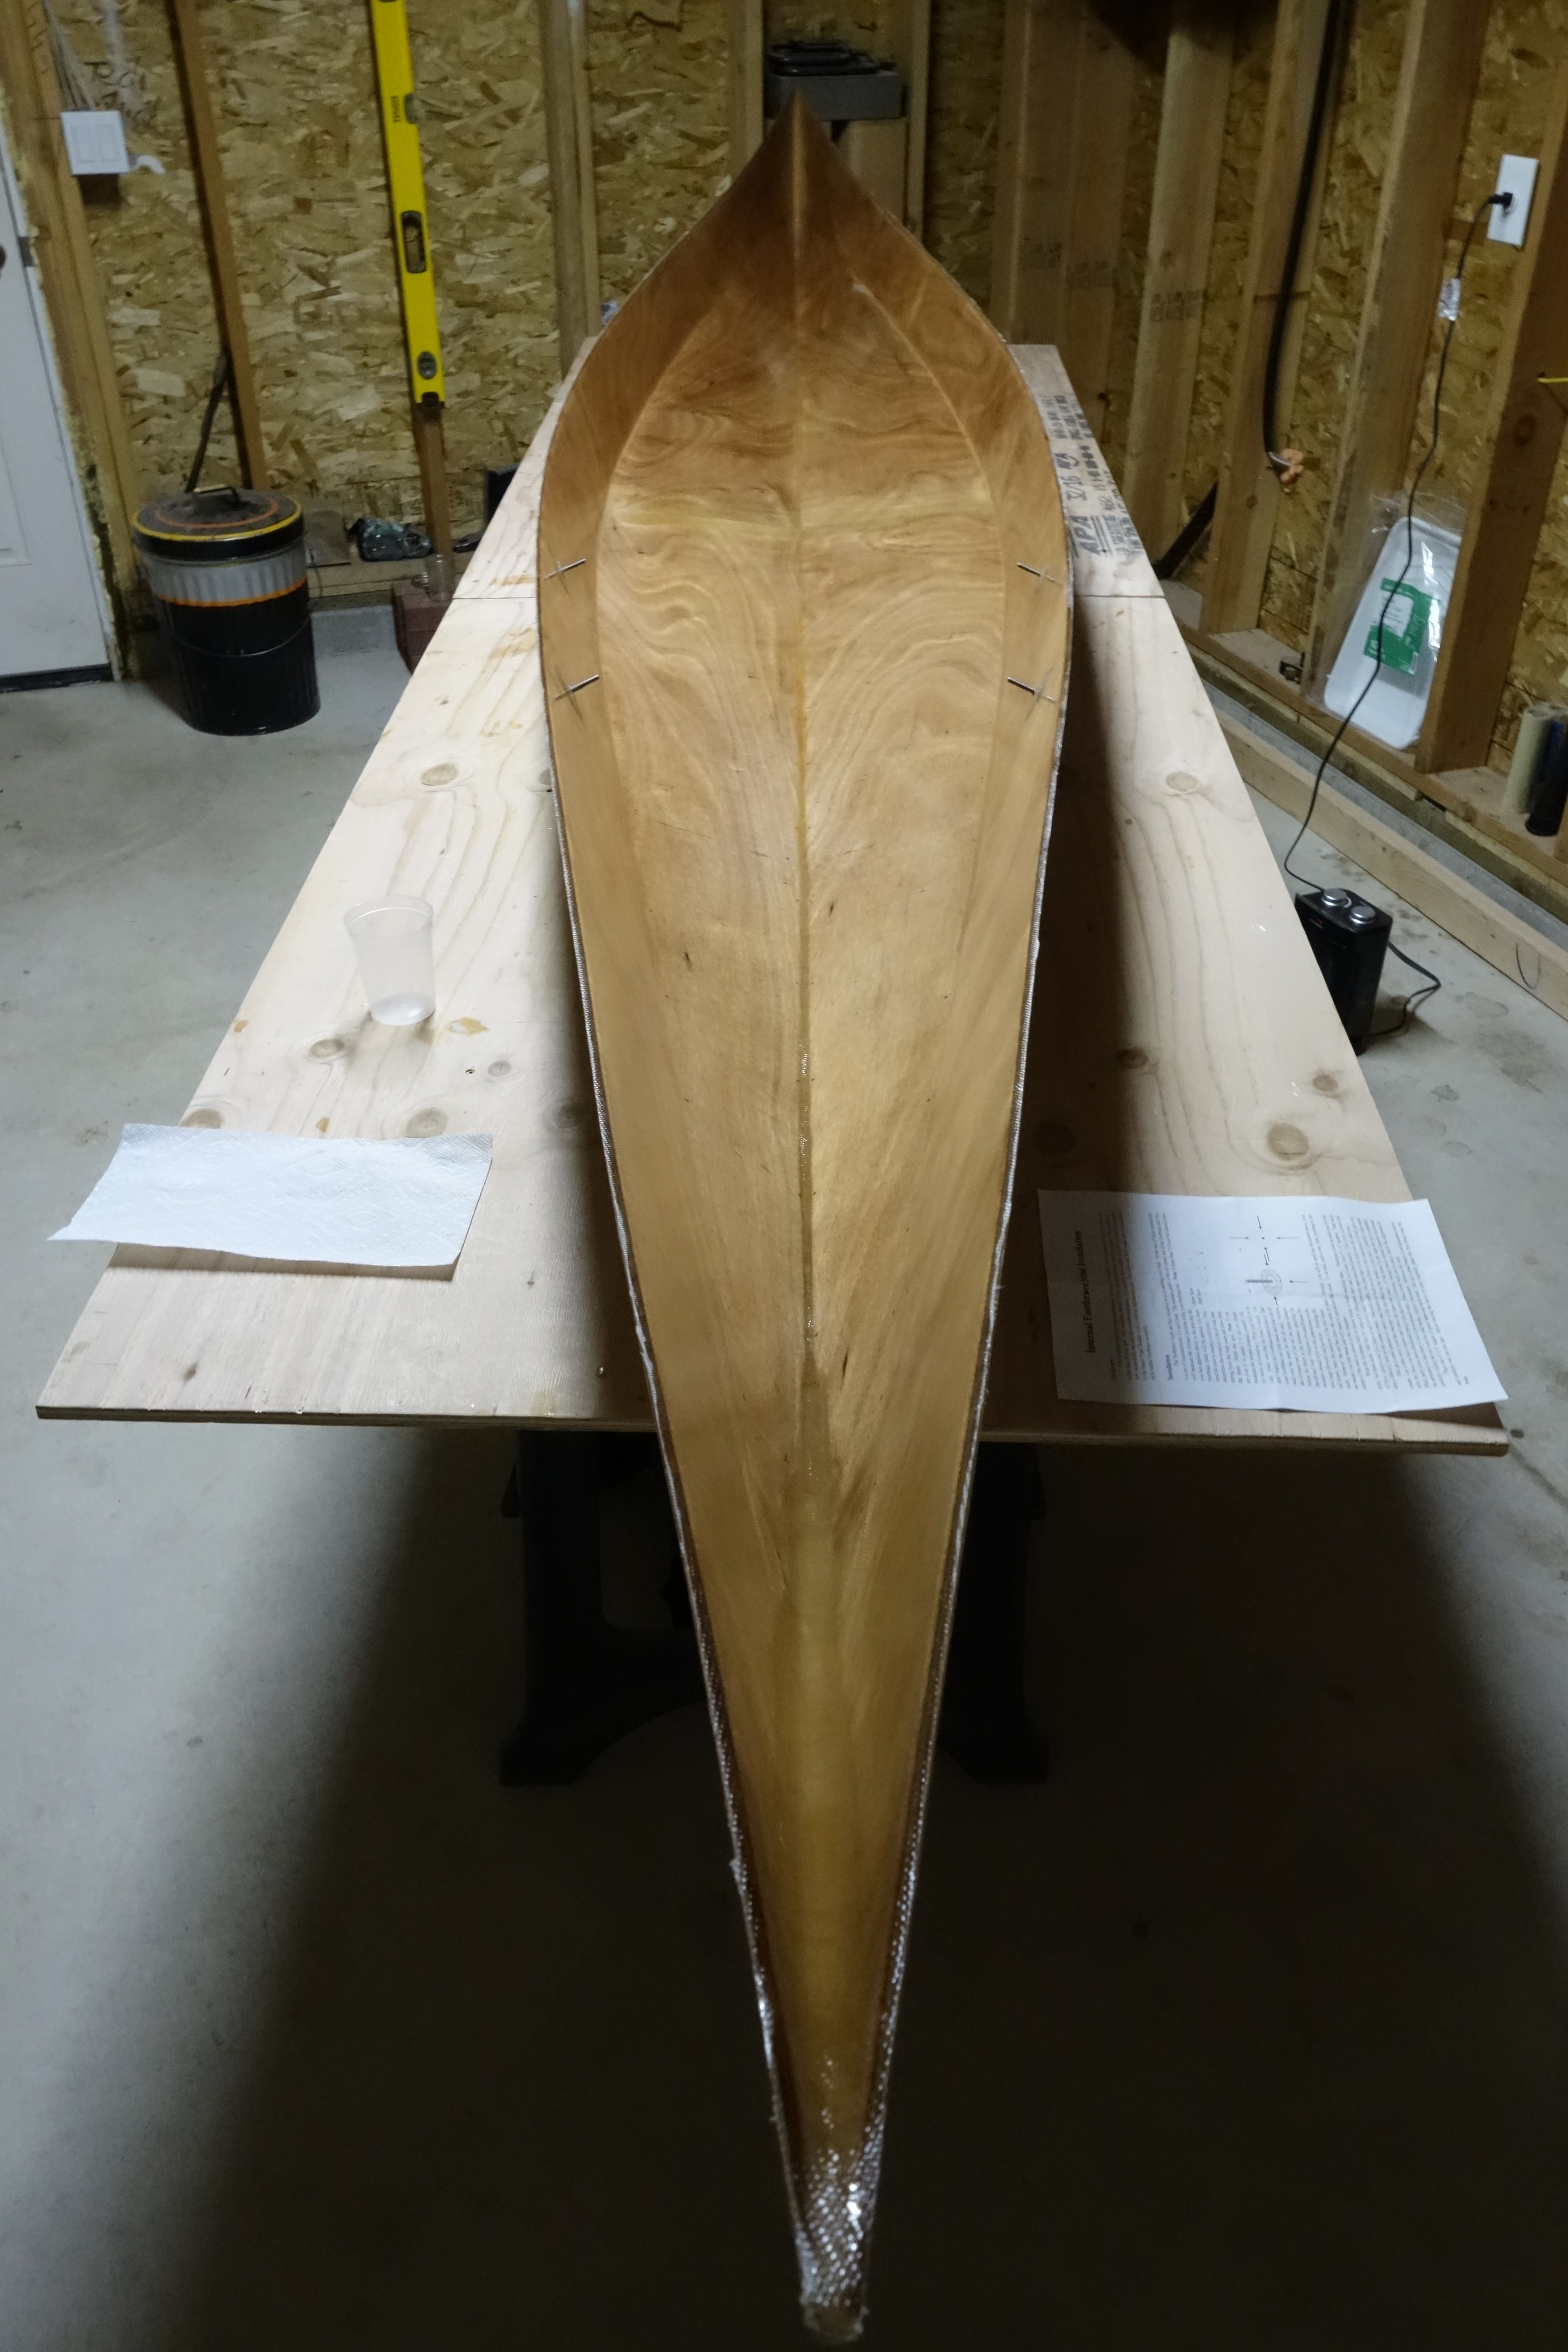
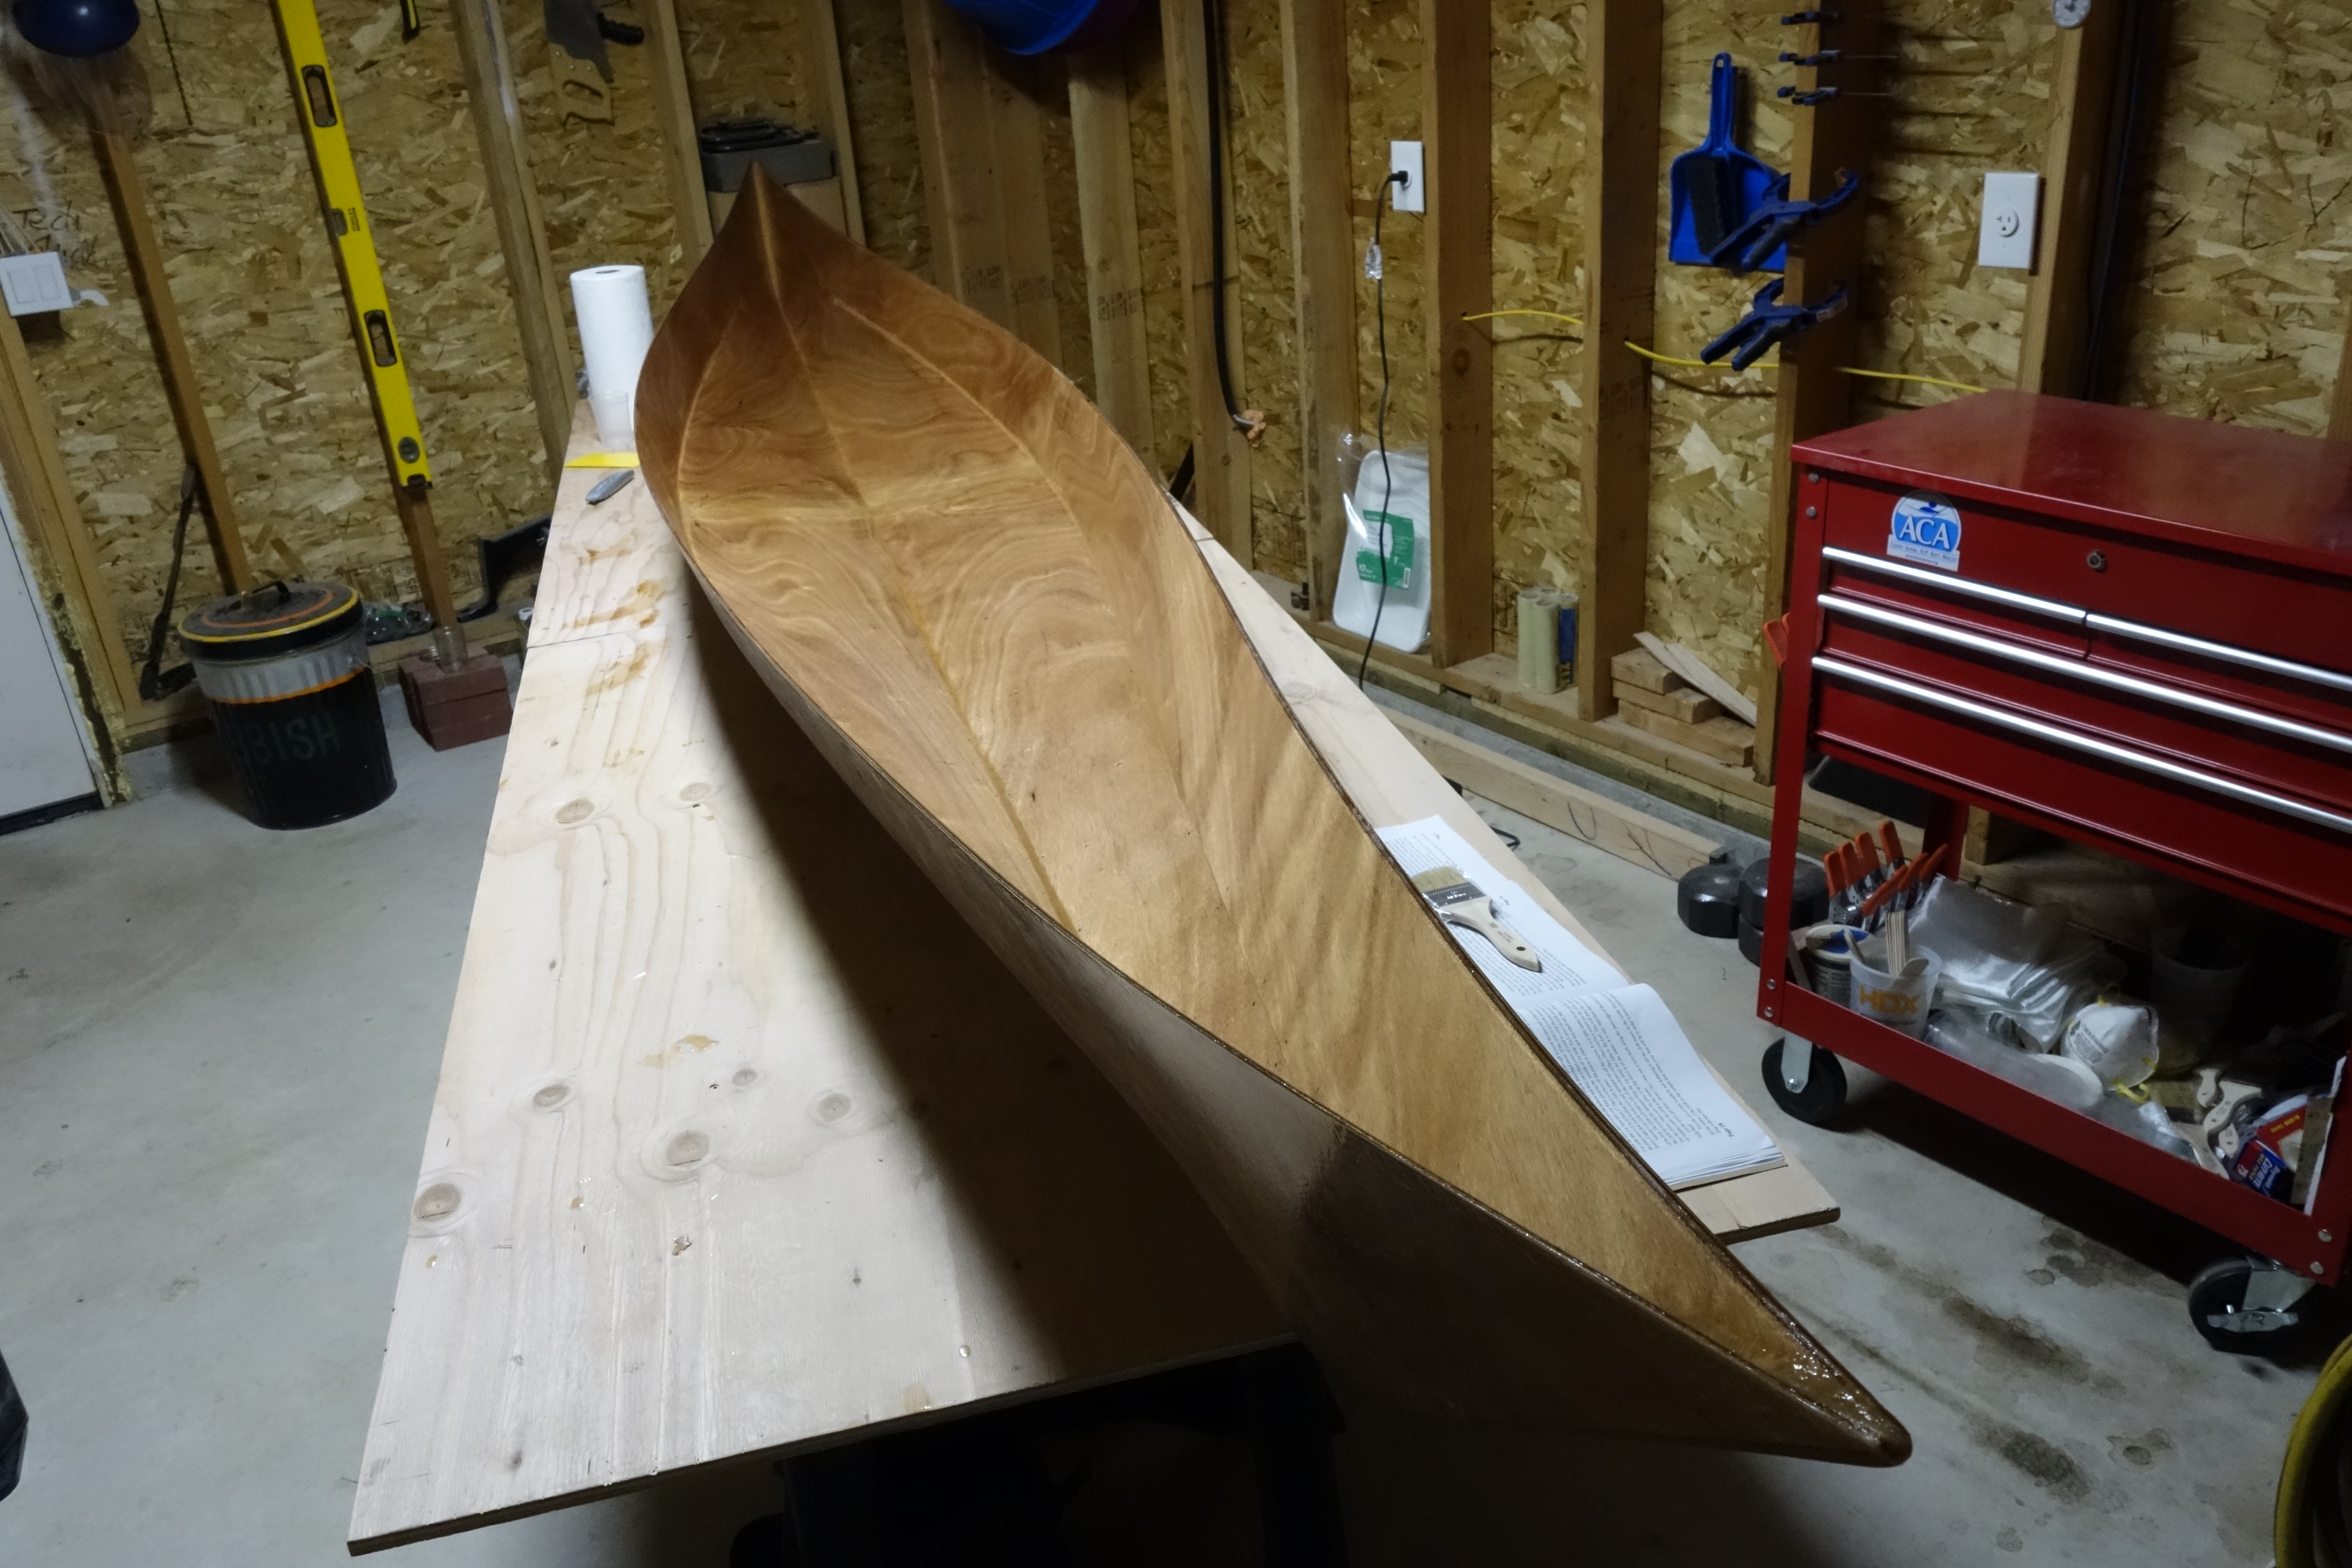
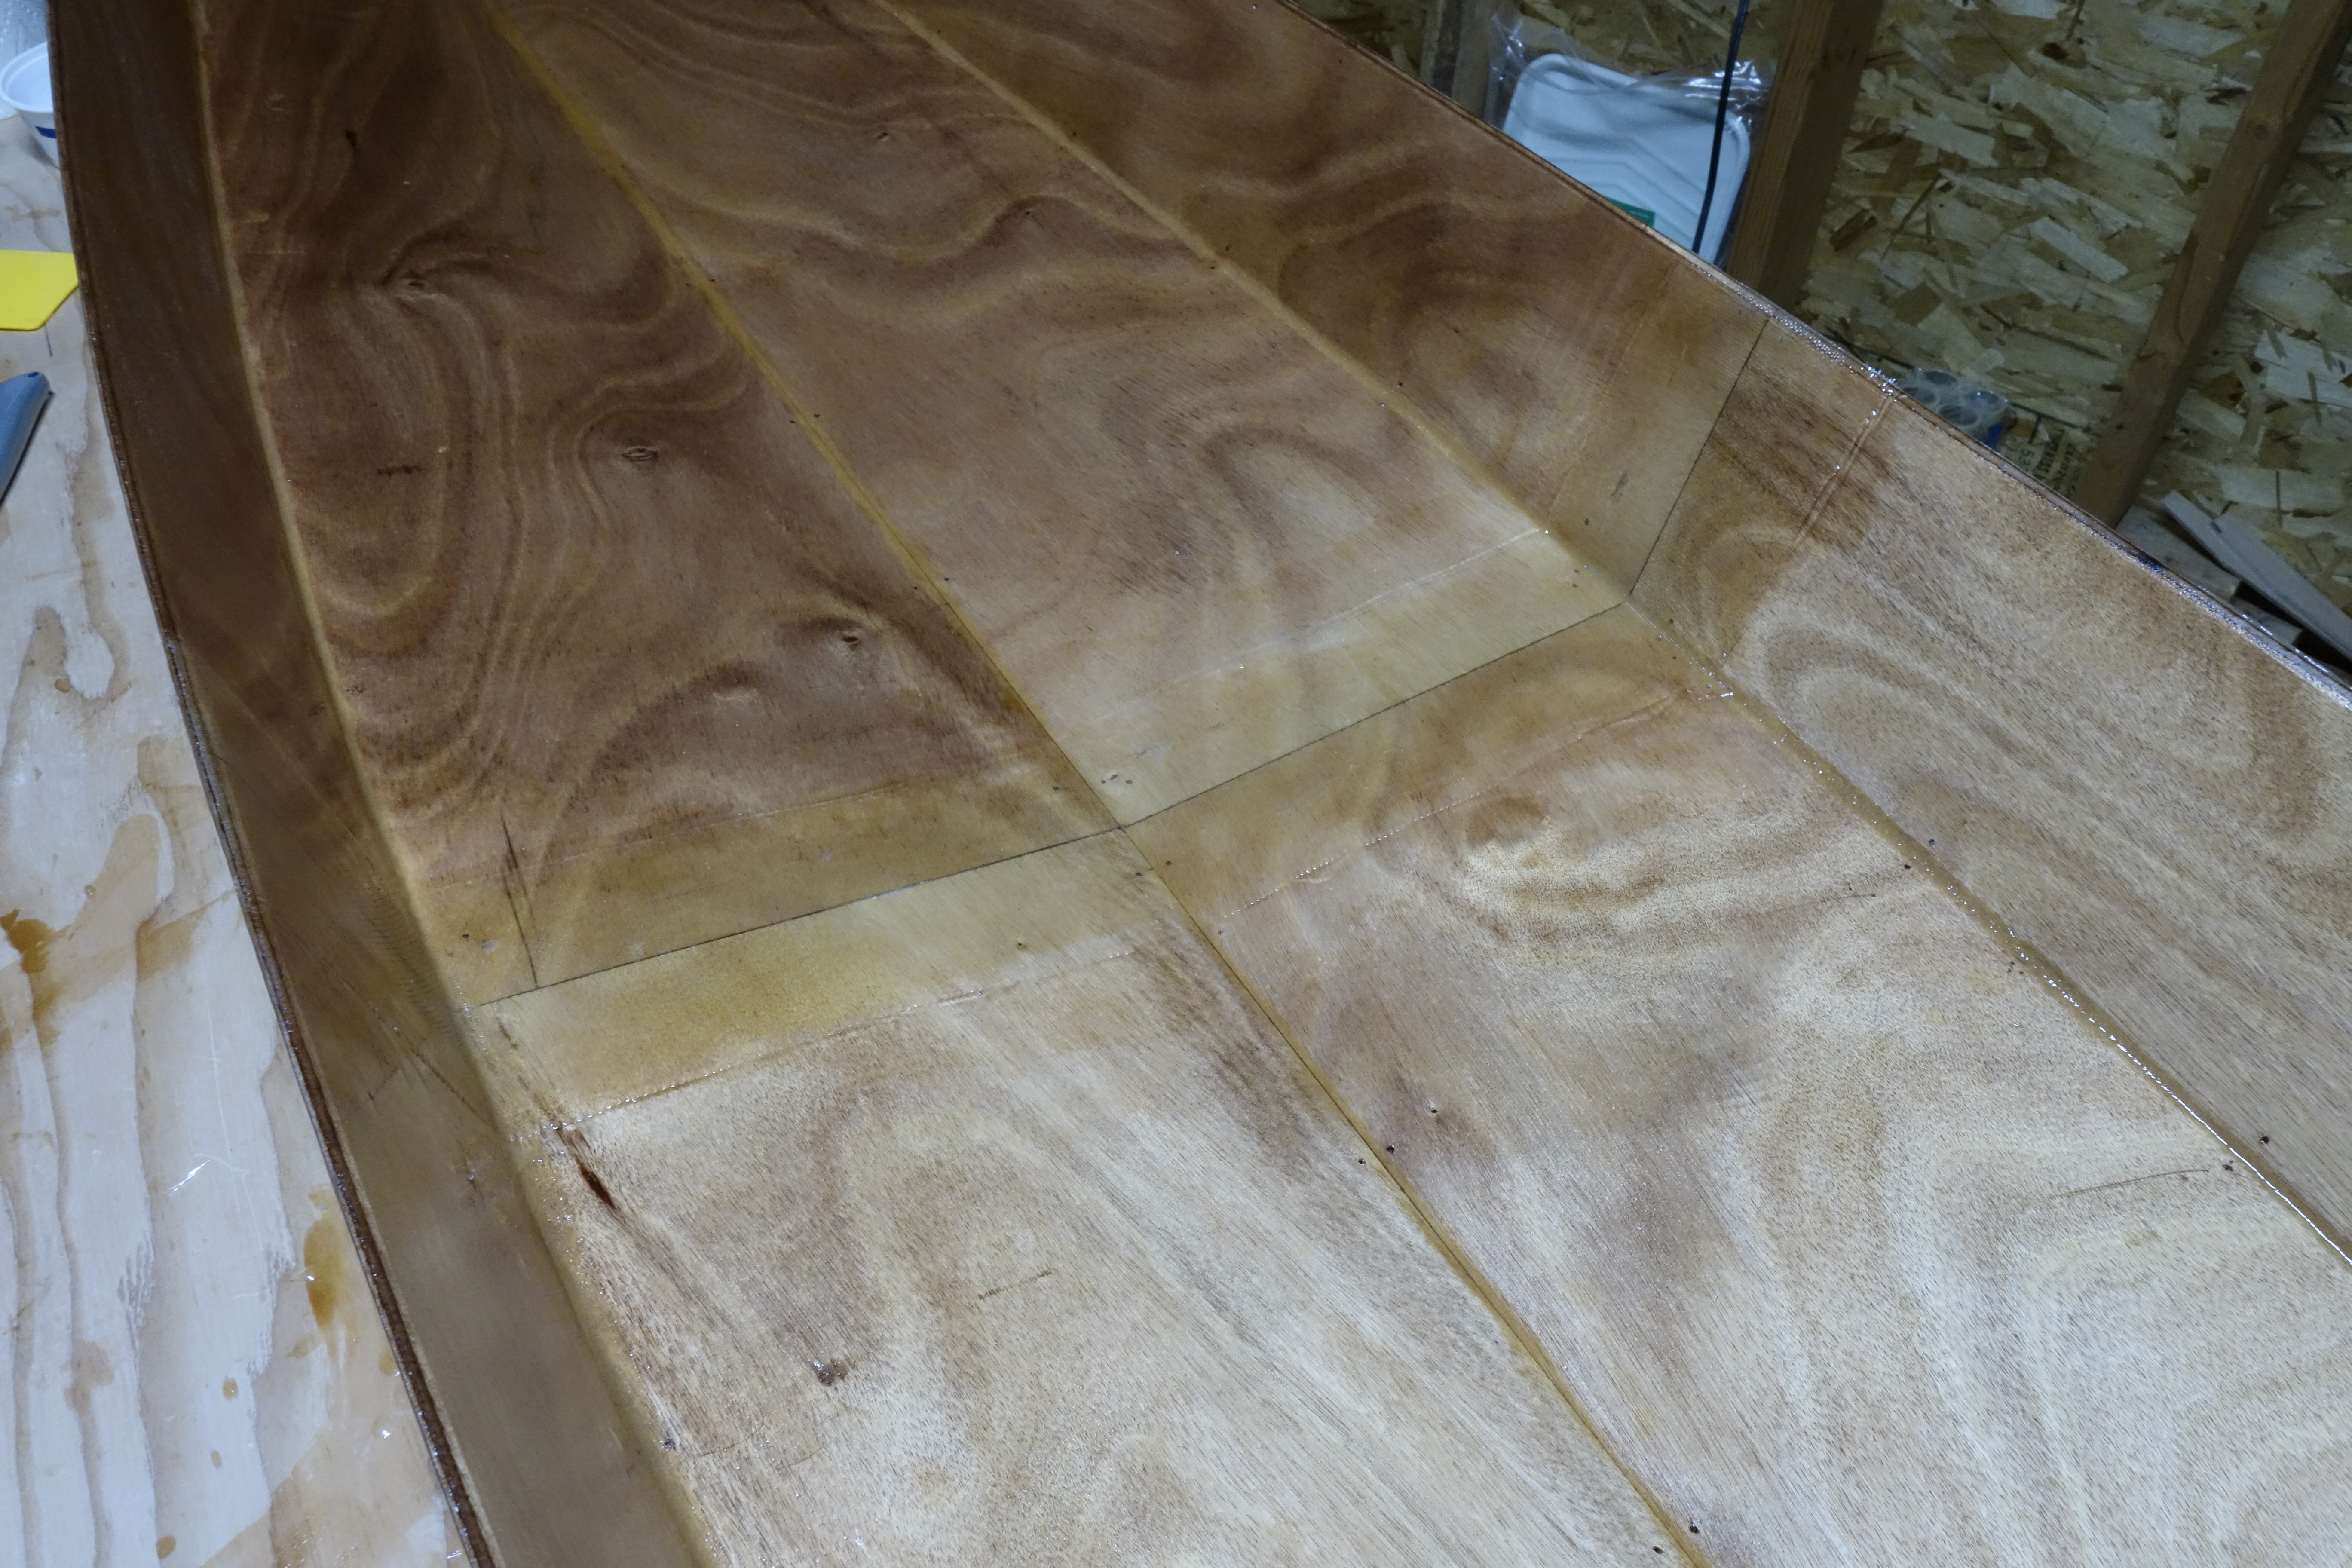
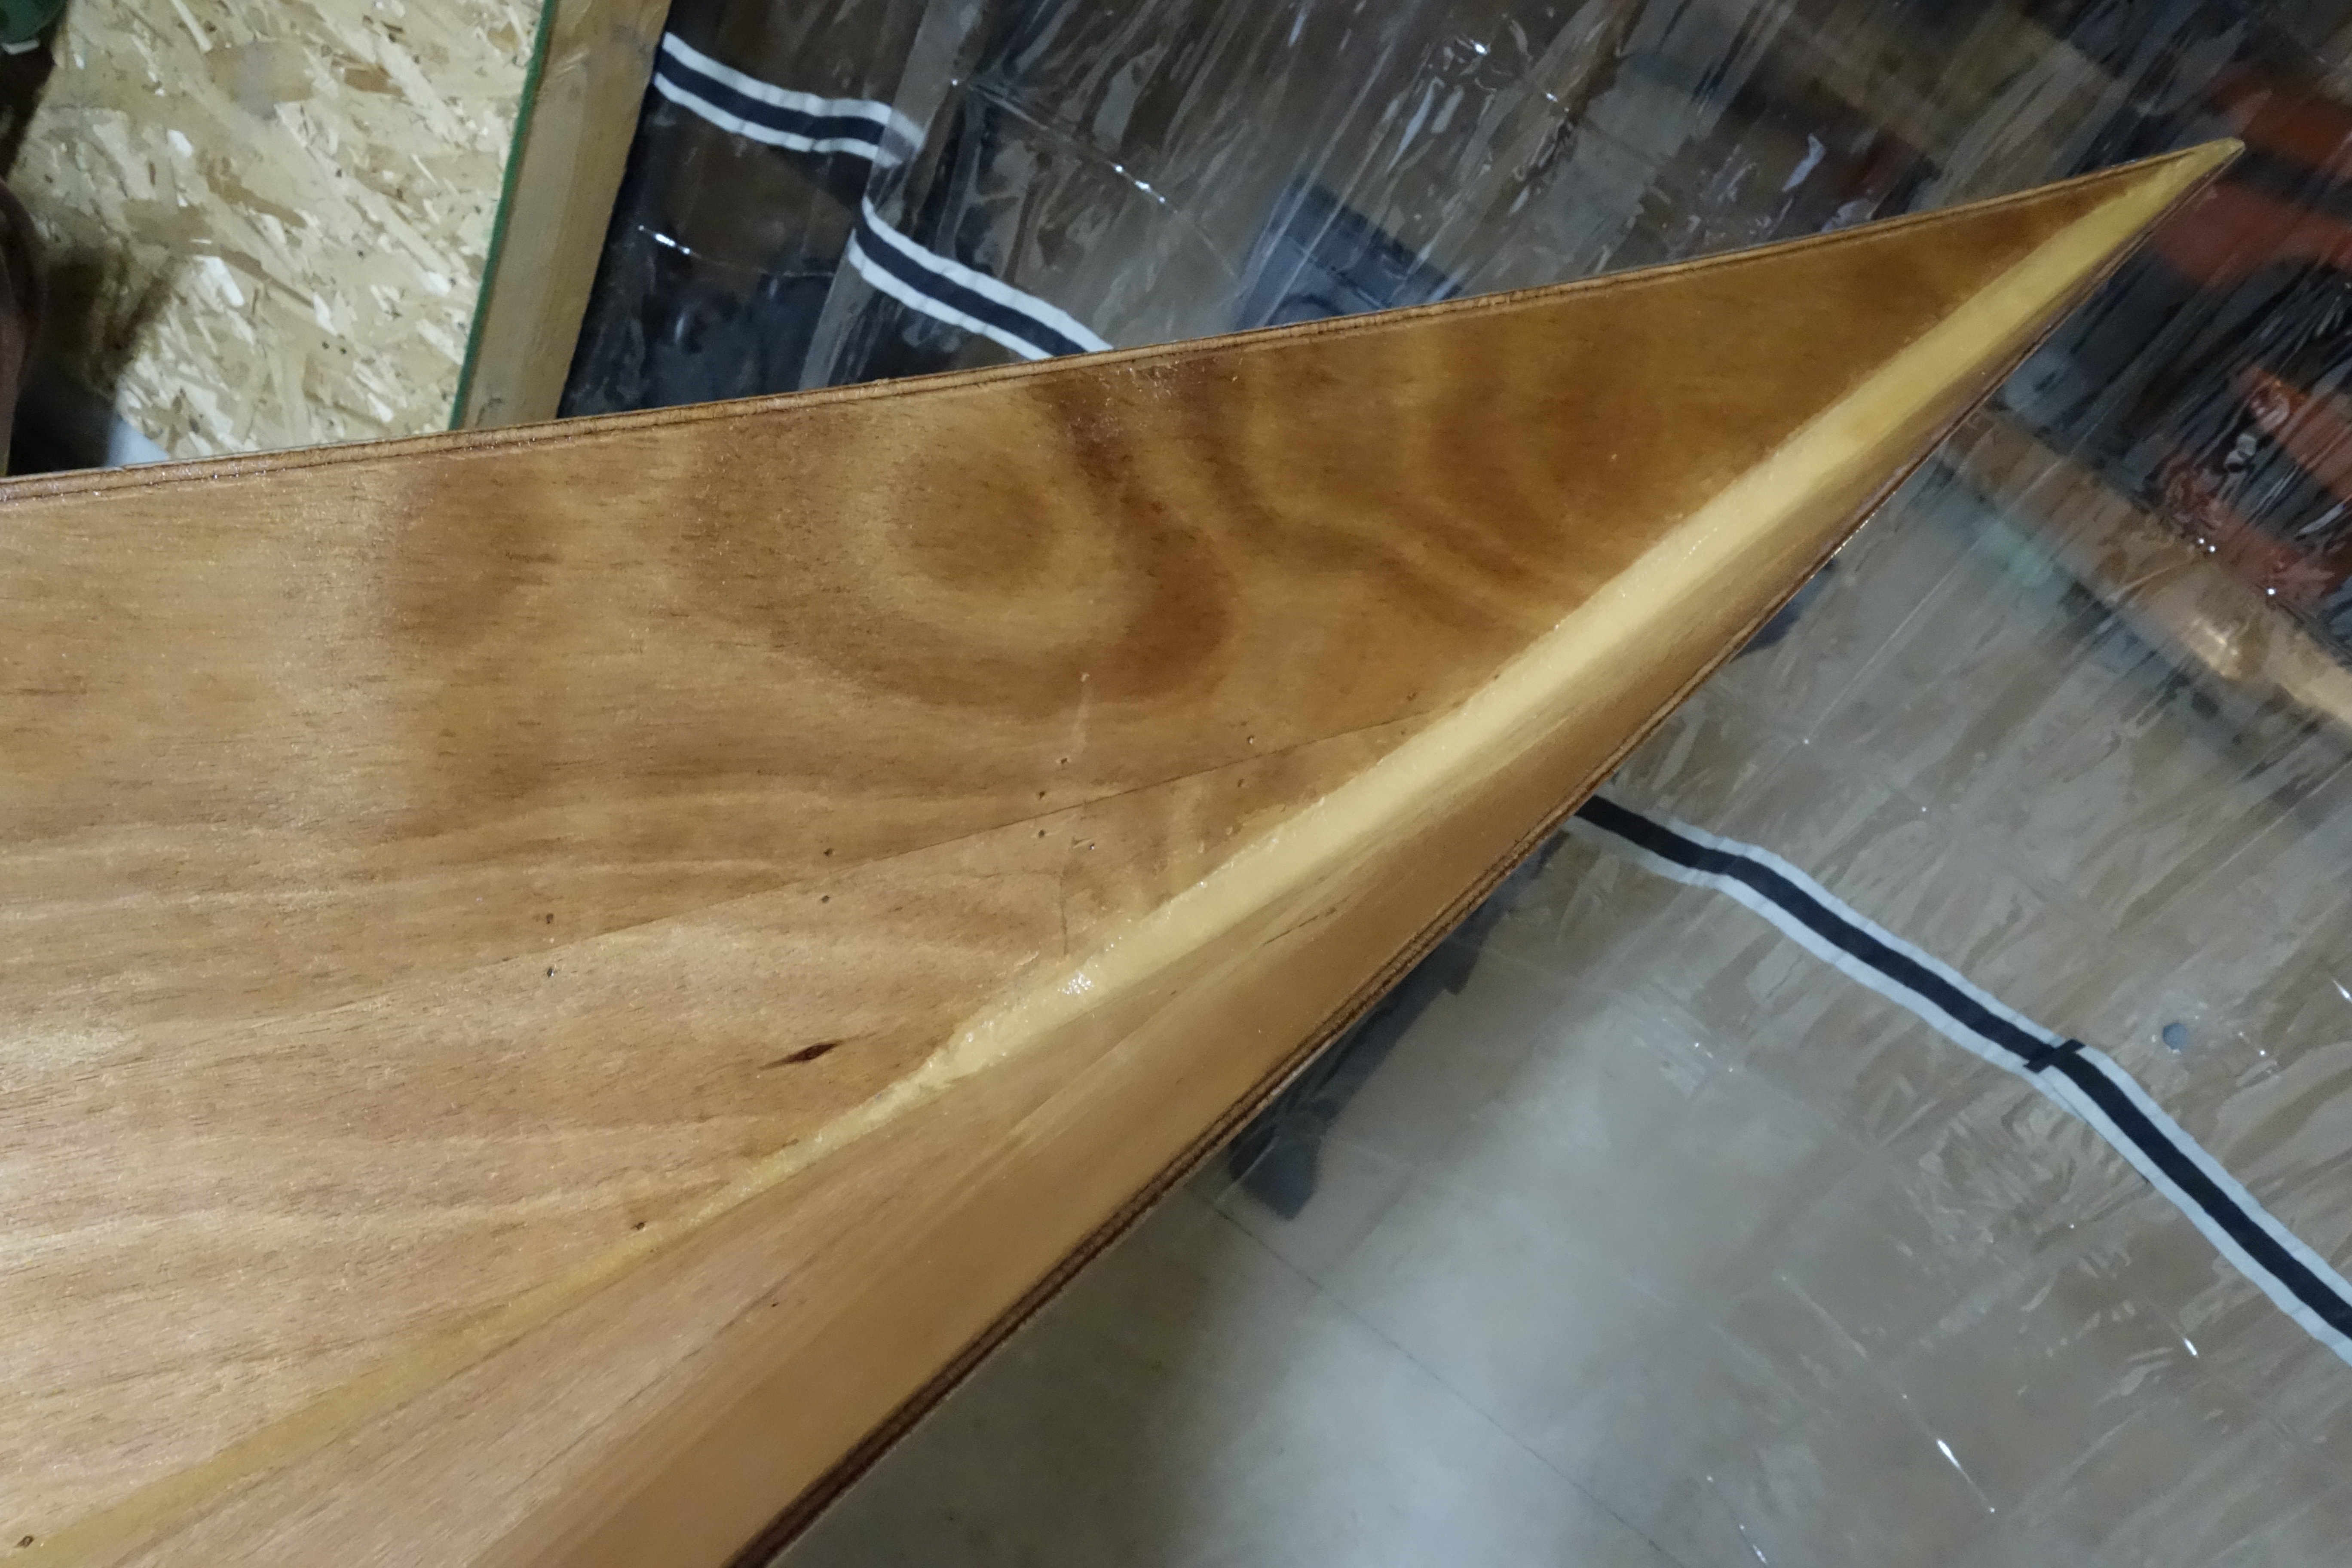
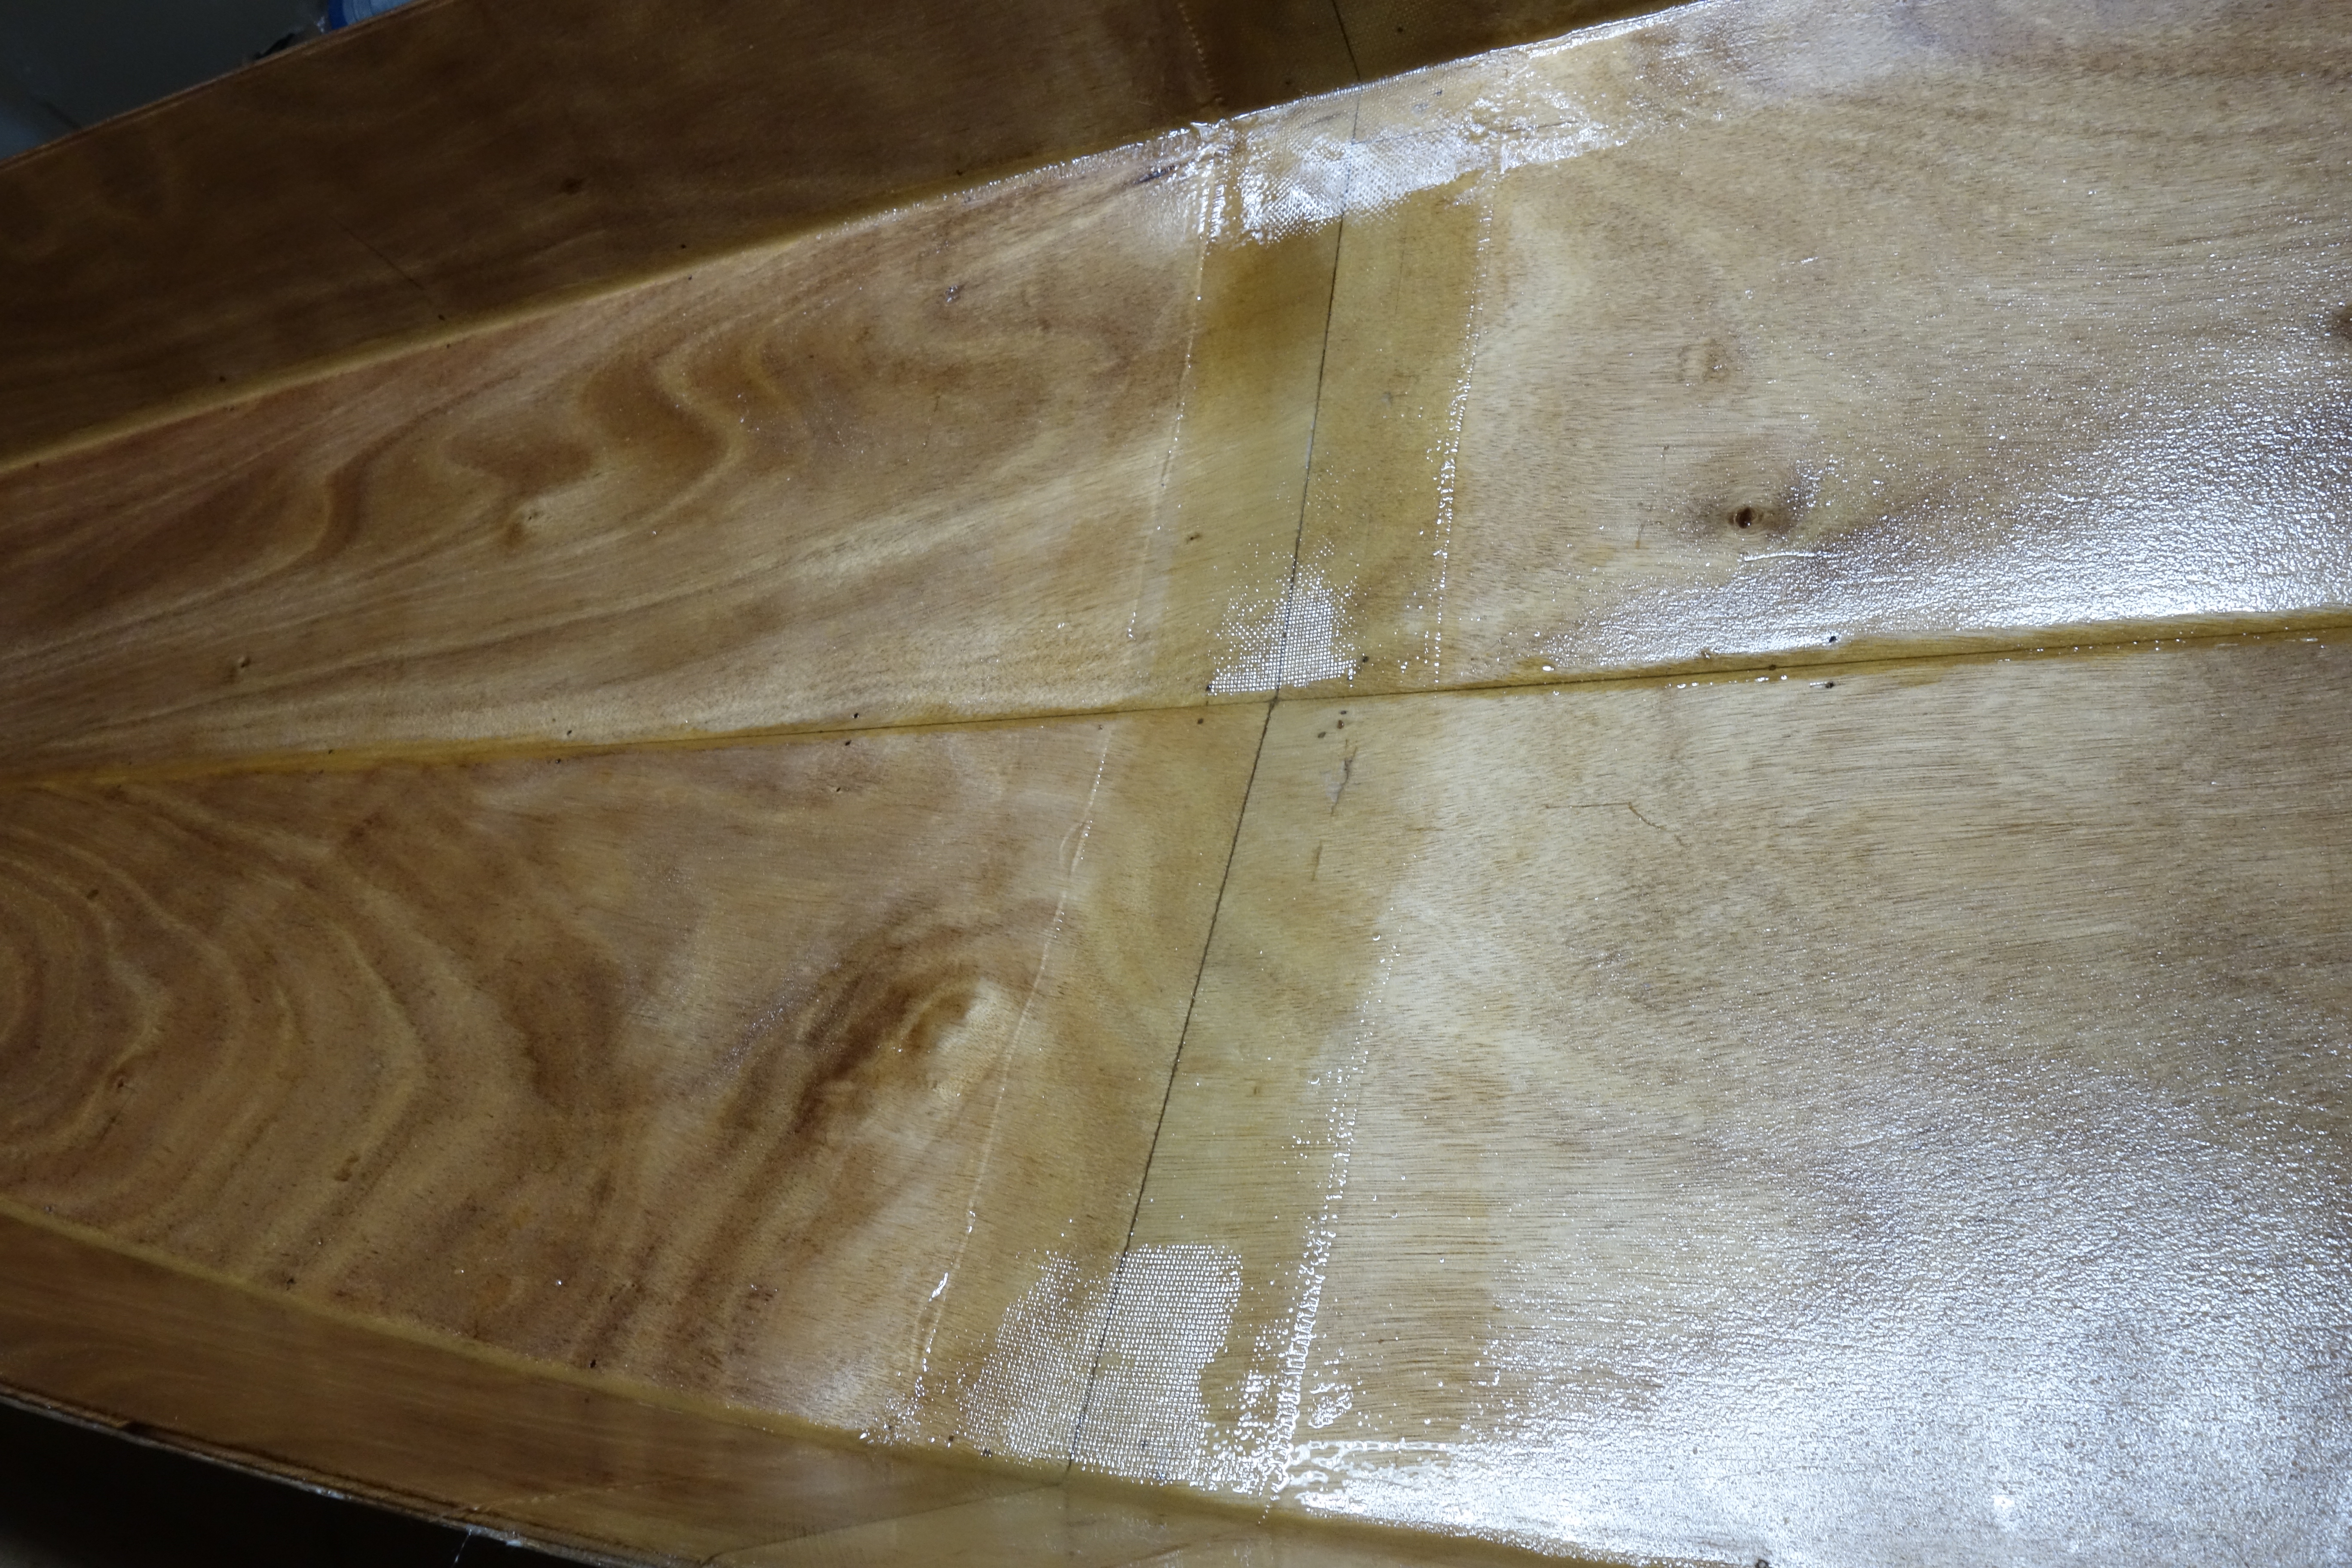
Time to finish gluing the seams inside the hull and create the fillets in the bow and stern stems so that the fiberglass cloth will lay smoothly in the hull and not trap air. I will also reinforce the butt seams in the middle of the hull, and then do the saturation coat before fiberglassing the inside of the hull.

Three strips of fiberglass cloth, one 2″ wide, one 3″ wide, and one 4″ wide, laminated atop each other to reinforce the butt seam where the panels were glued to their full lengths. This will add great strength as it will be trapped between the fiberglass on the outside of the hull, then the wooden hull itself, and then the fiberglass on the inside of the hull. The wooden hull will be completely encapsulated in fiberglass.
Epoxy and wood flour fillet in the bow.
Epoxy and wood flour fillet in the stern.
Reinforcement fiberglass completely wetted out. Edges will be feathered in before inside of hull is fiberglassed.

Building fiberglass slots for adjustable thigh braces.

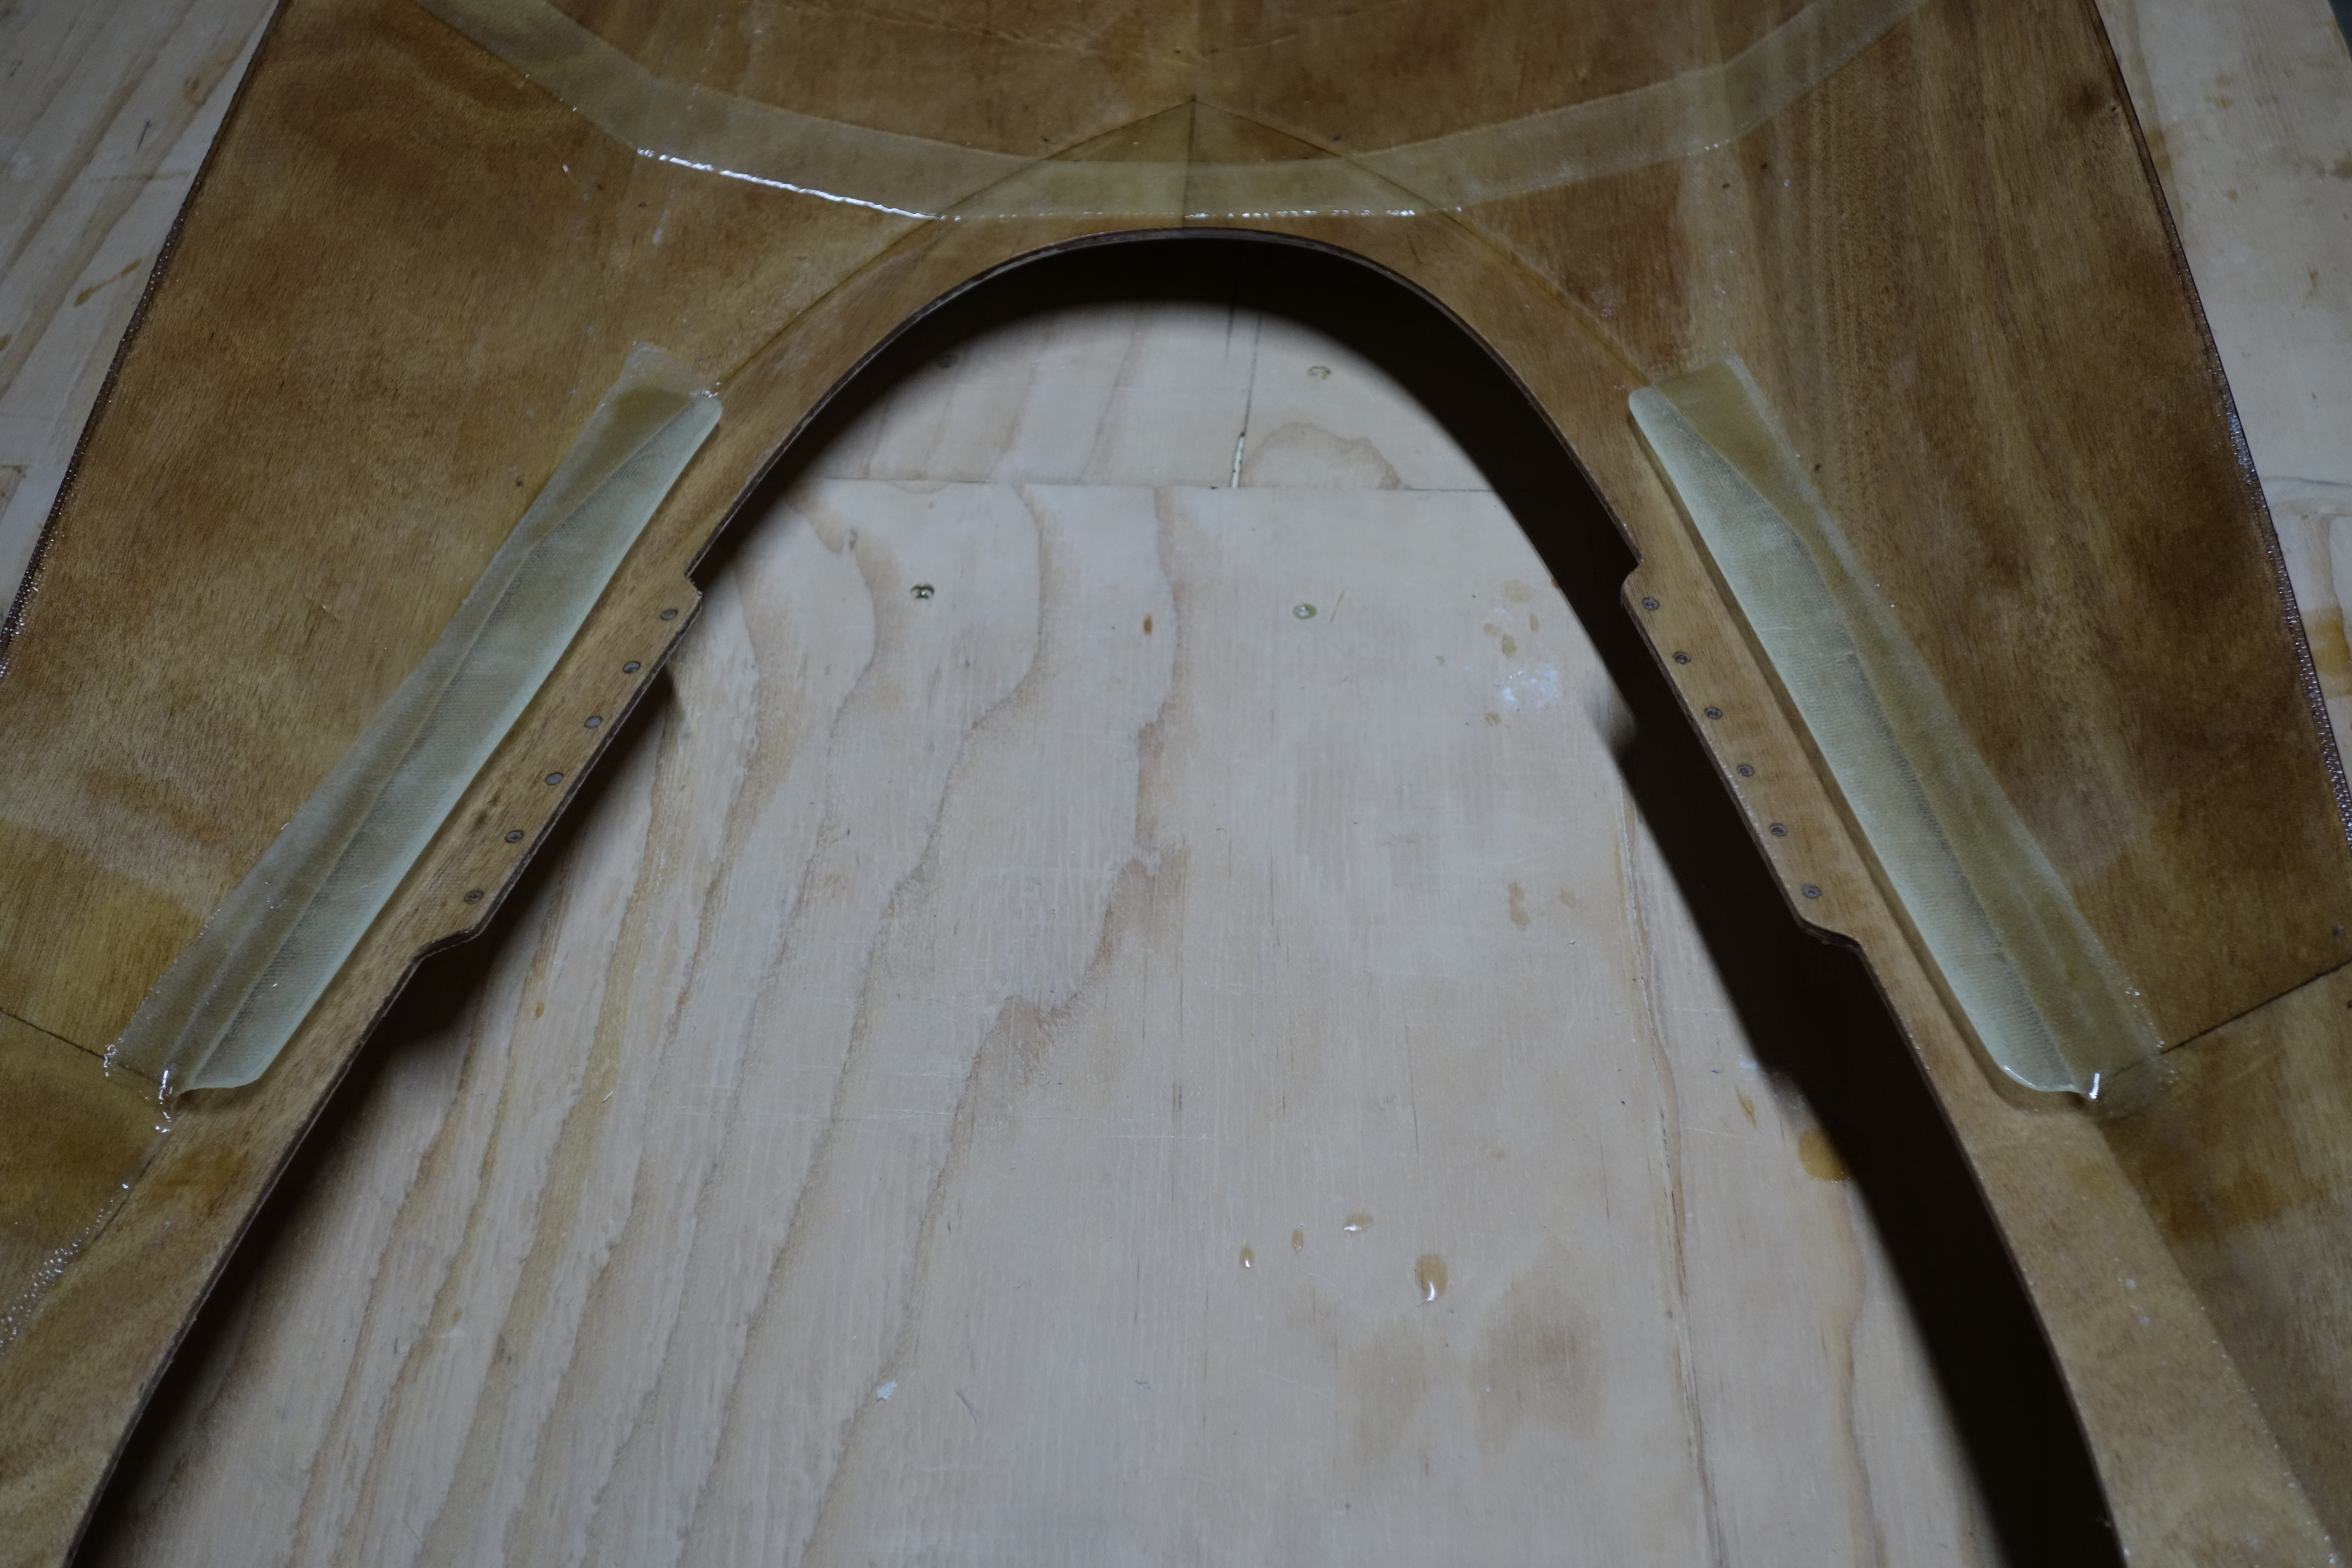
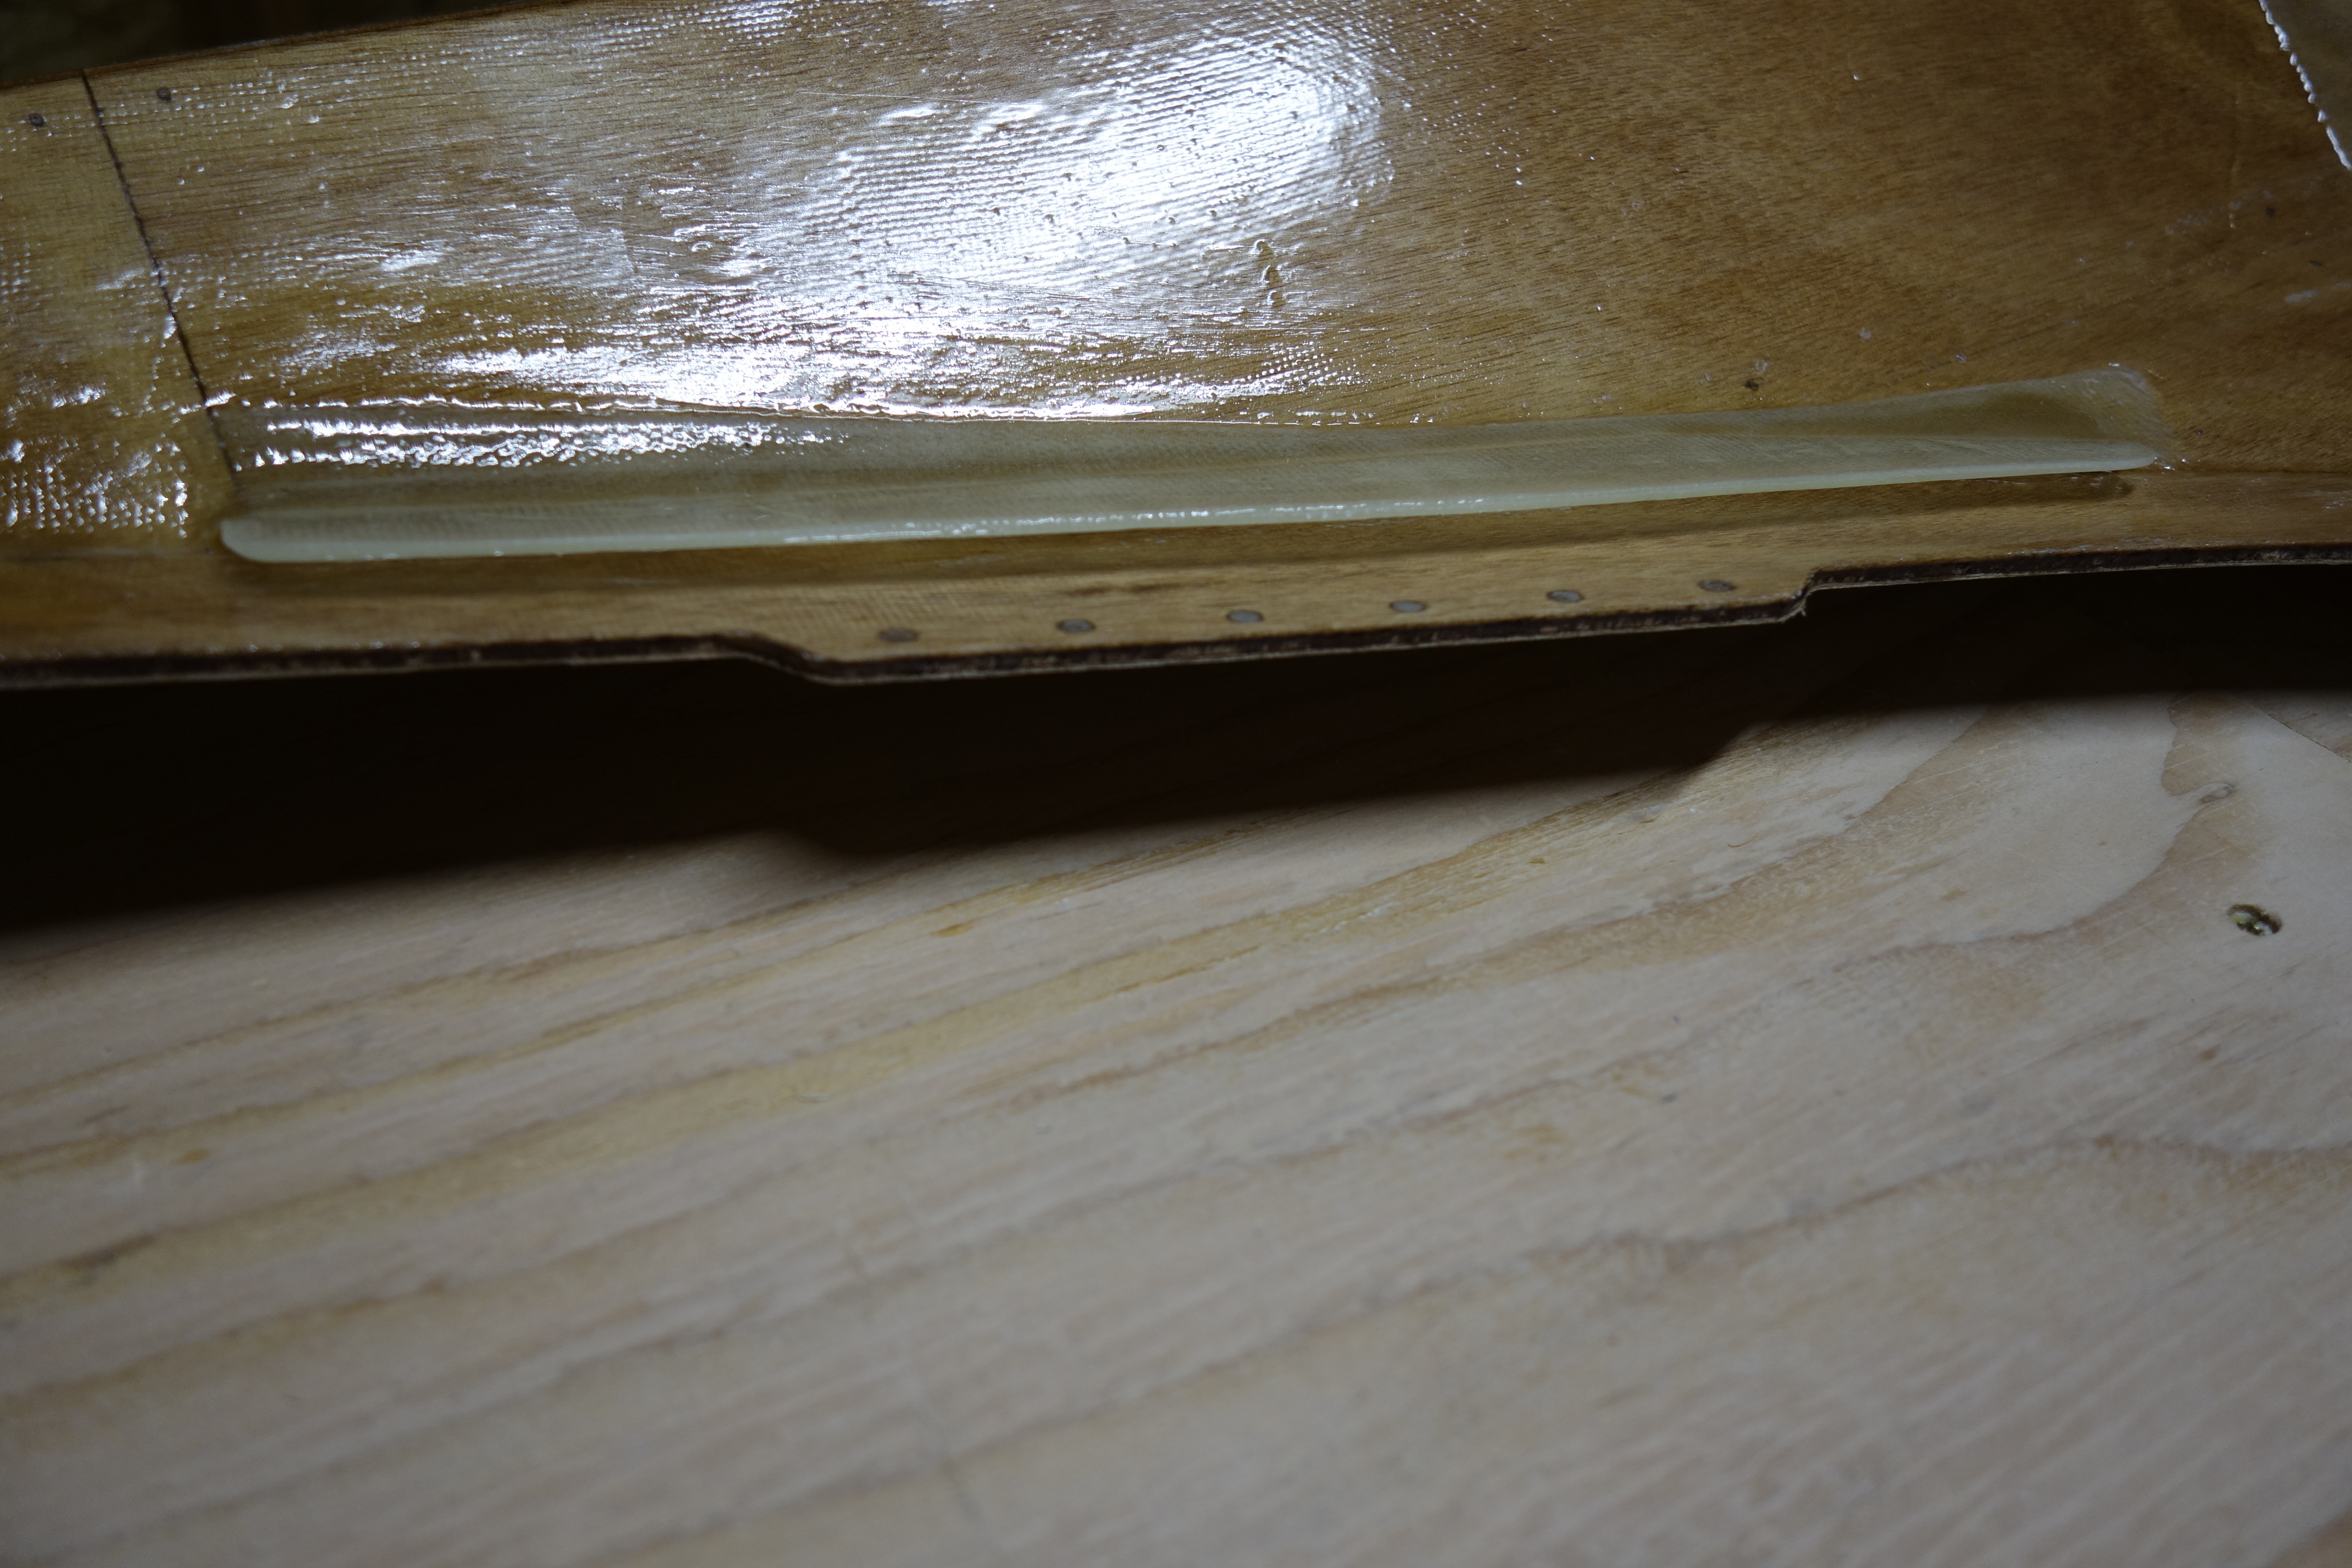
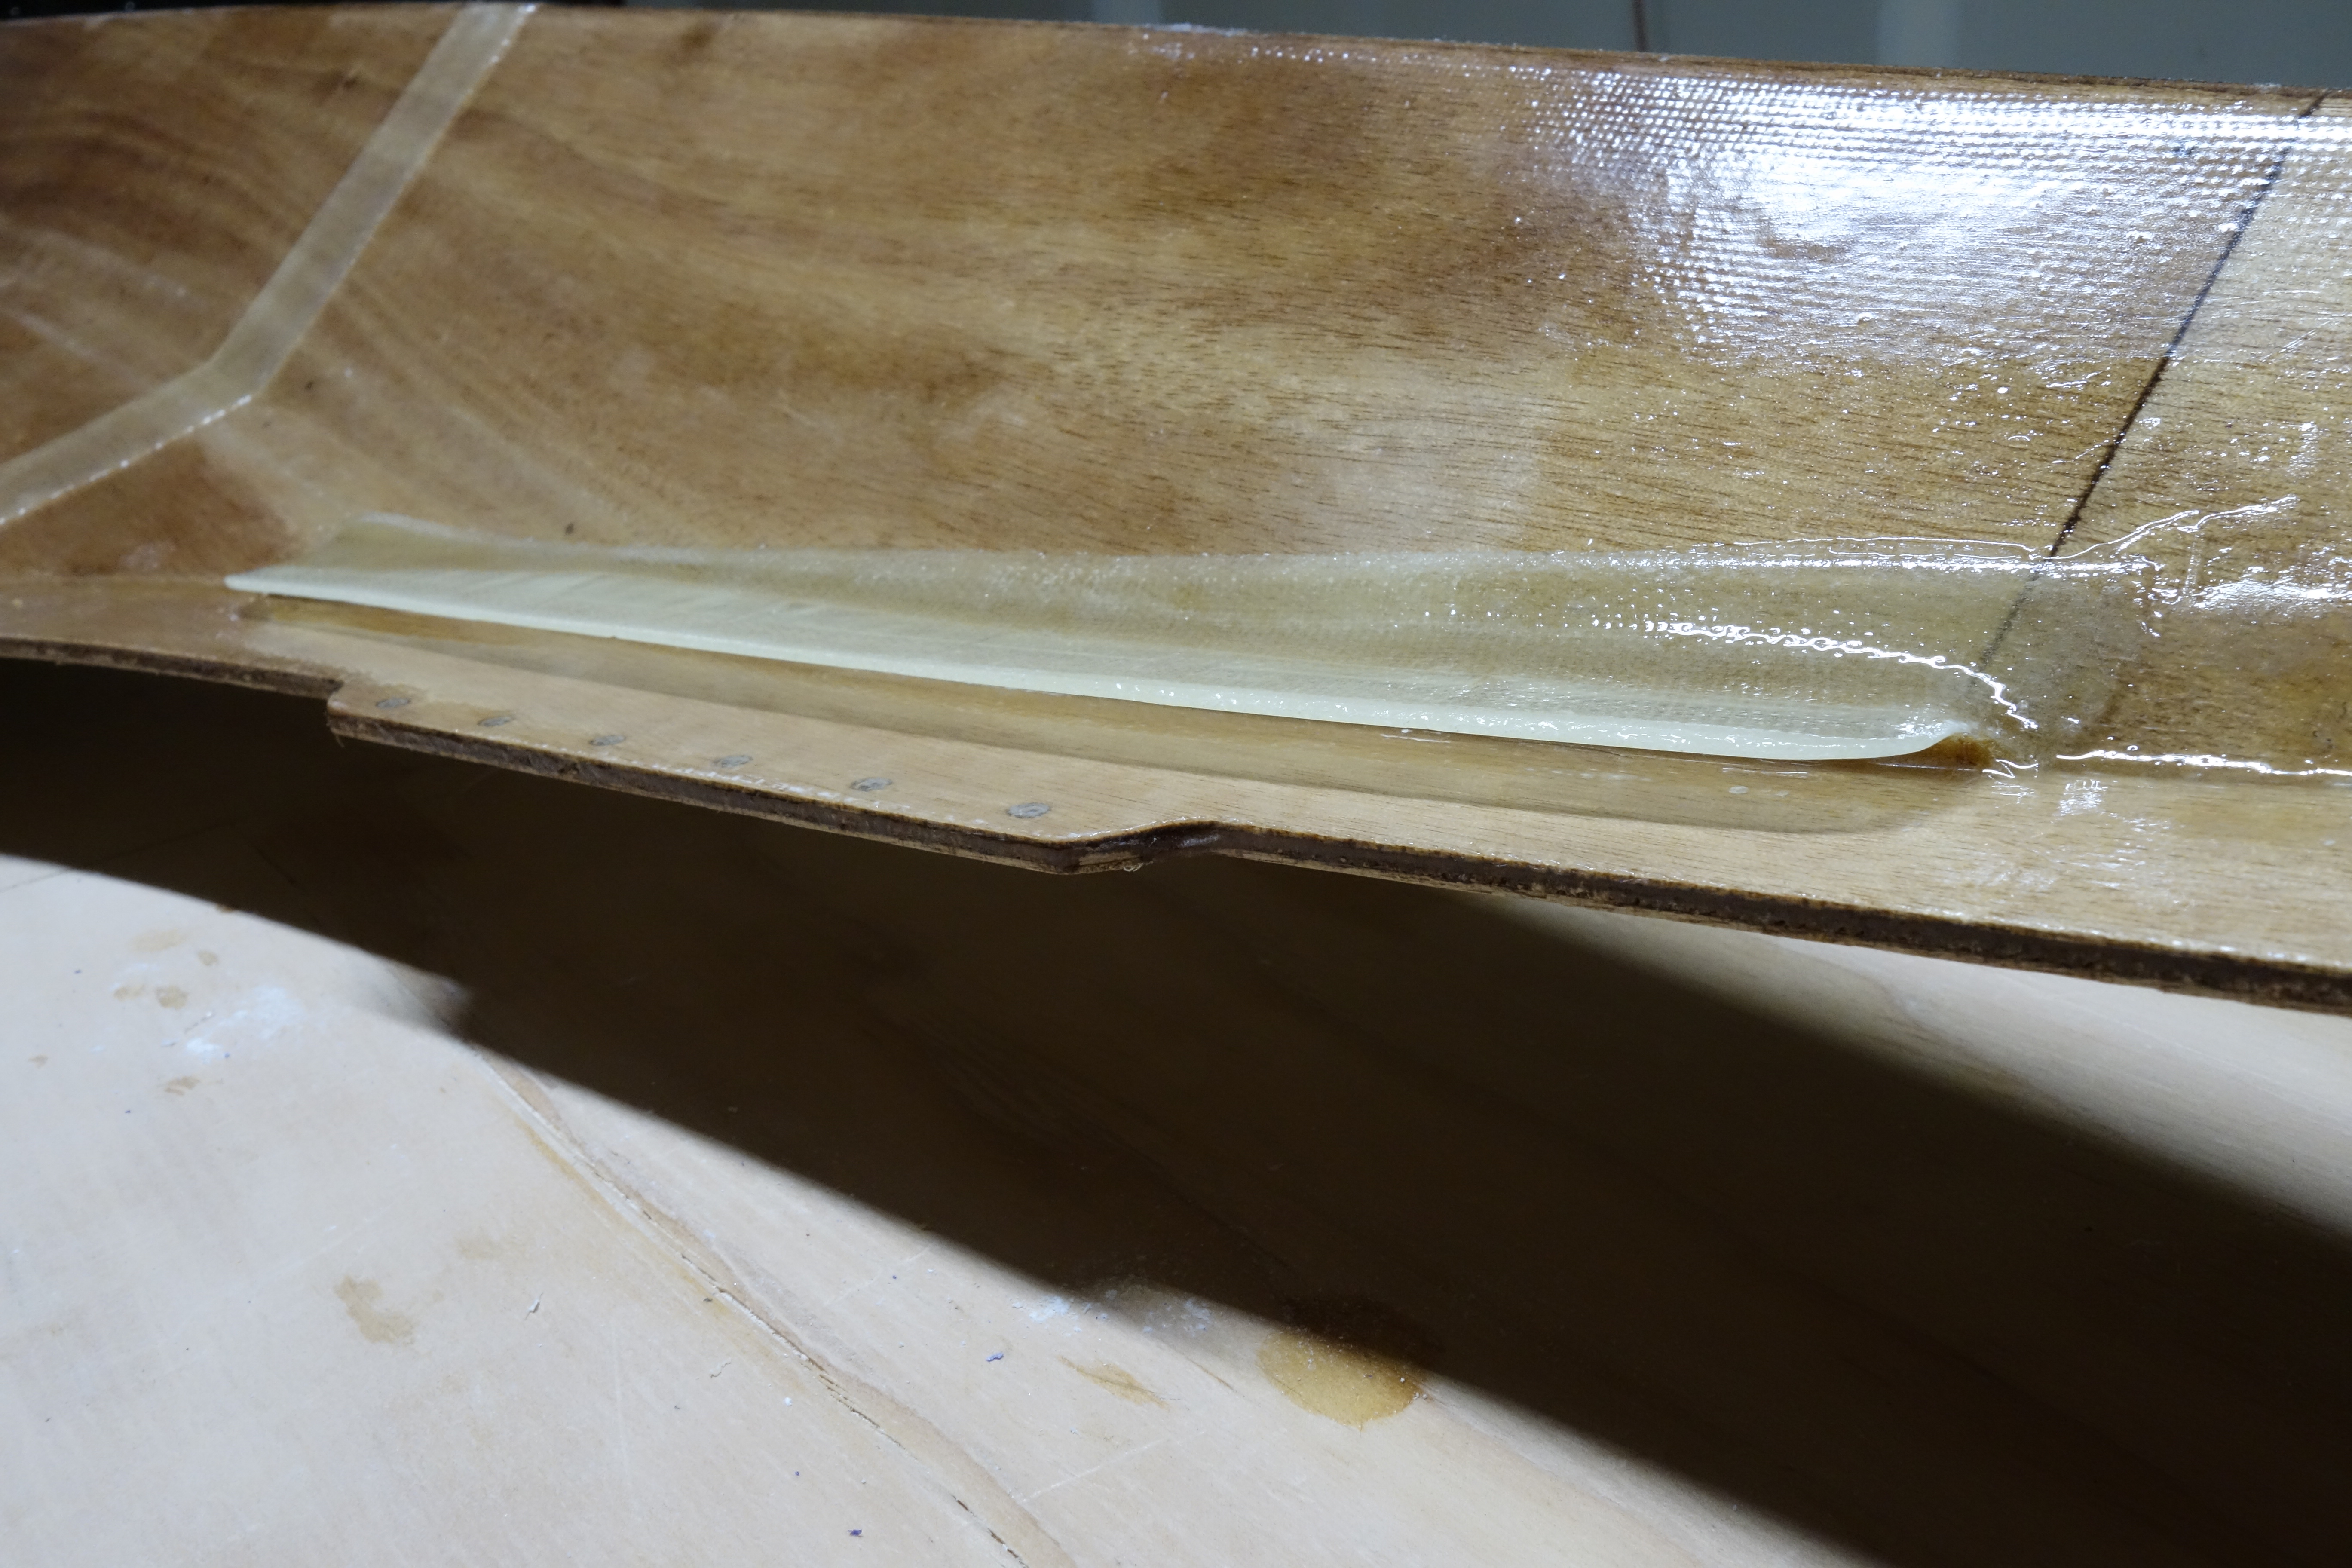
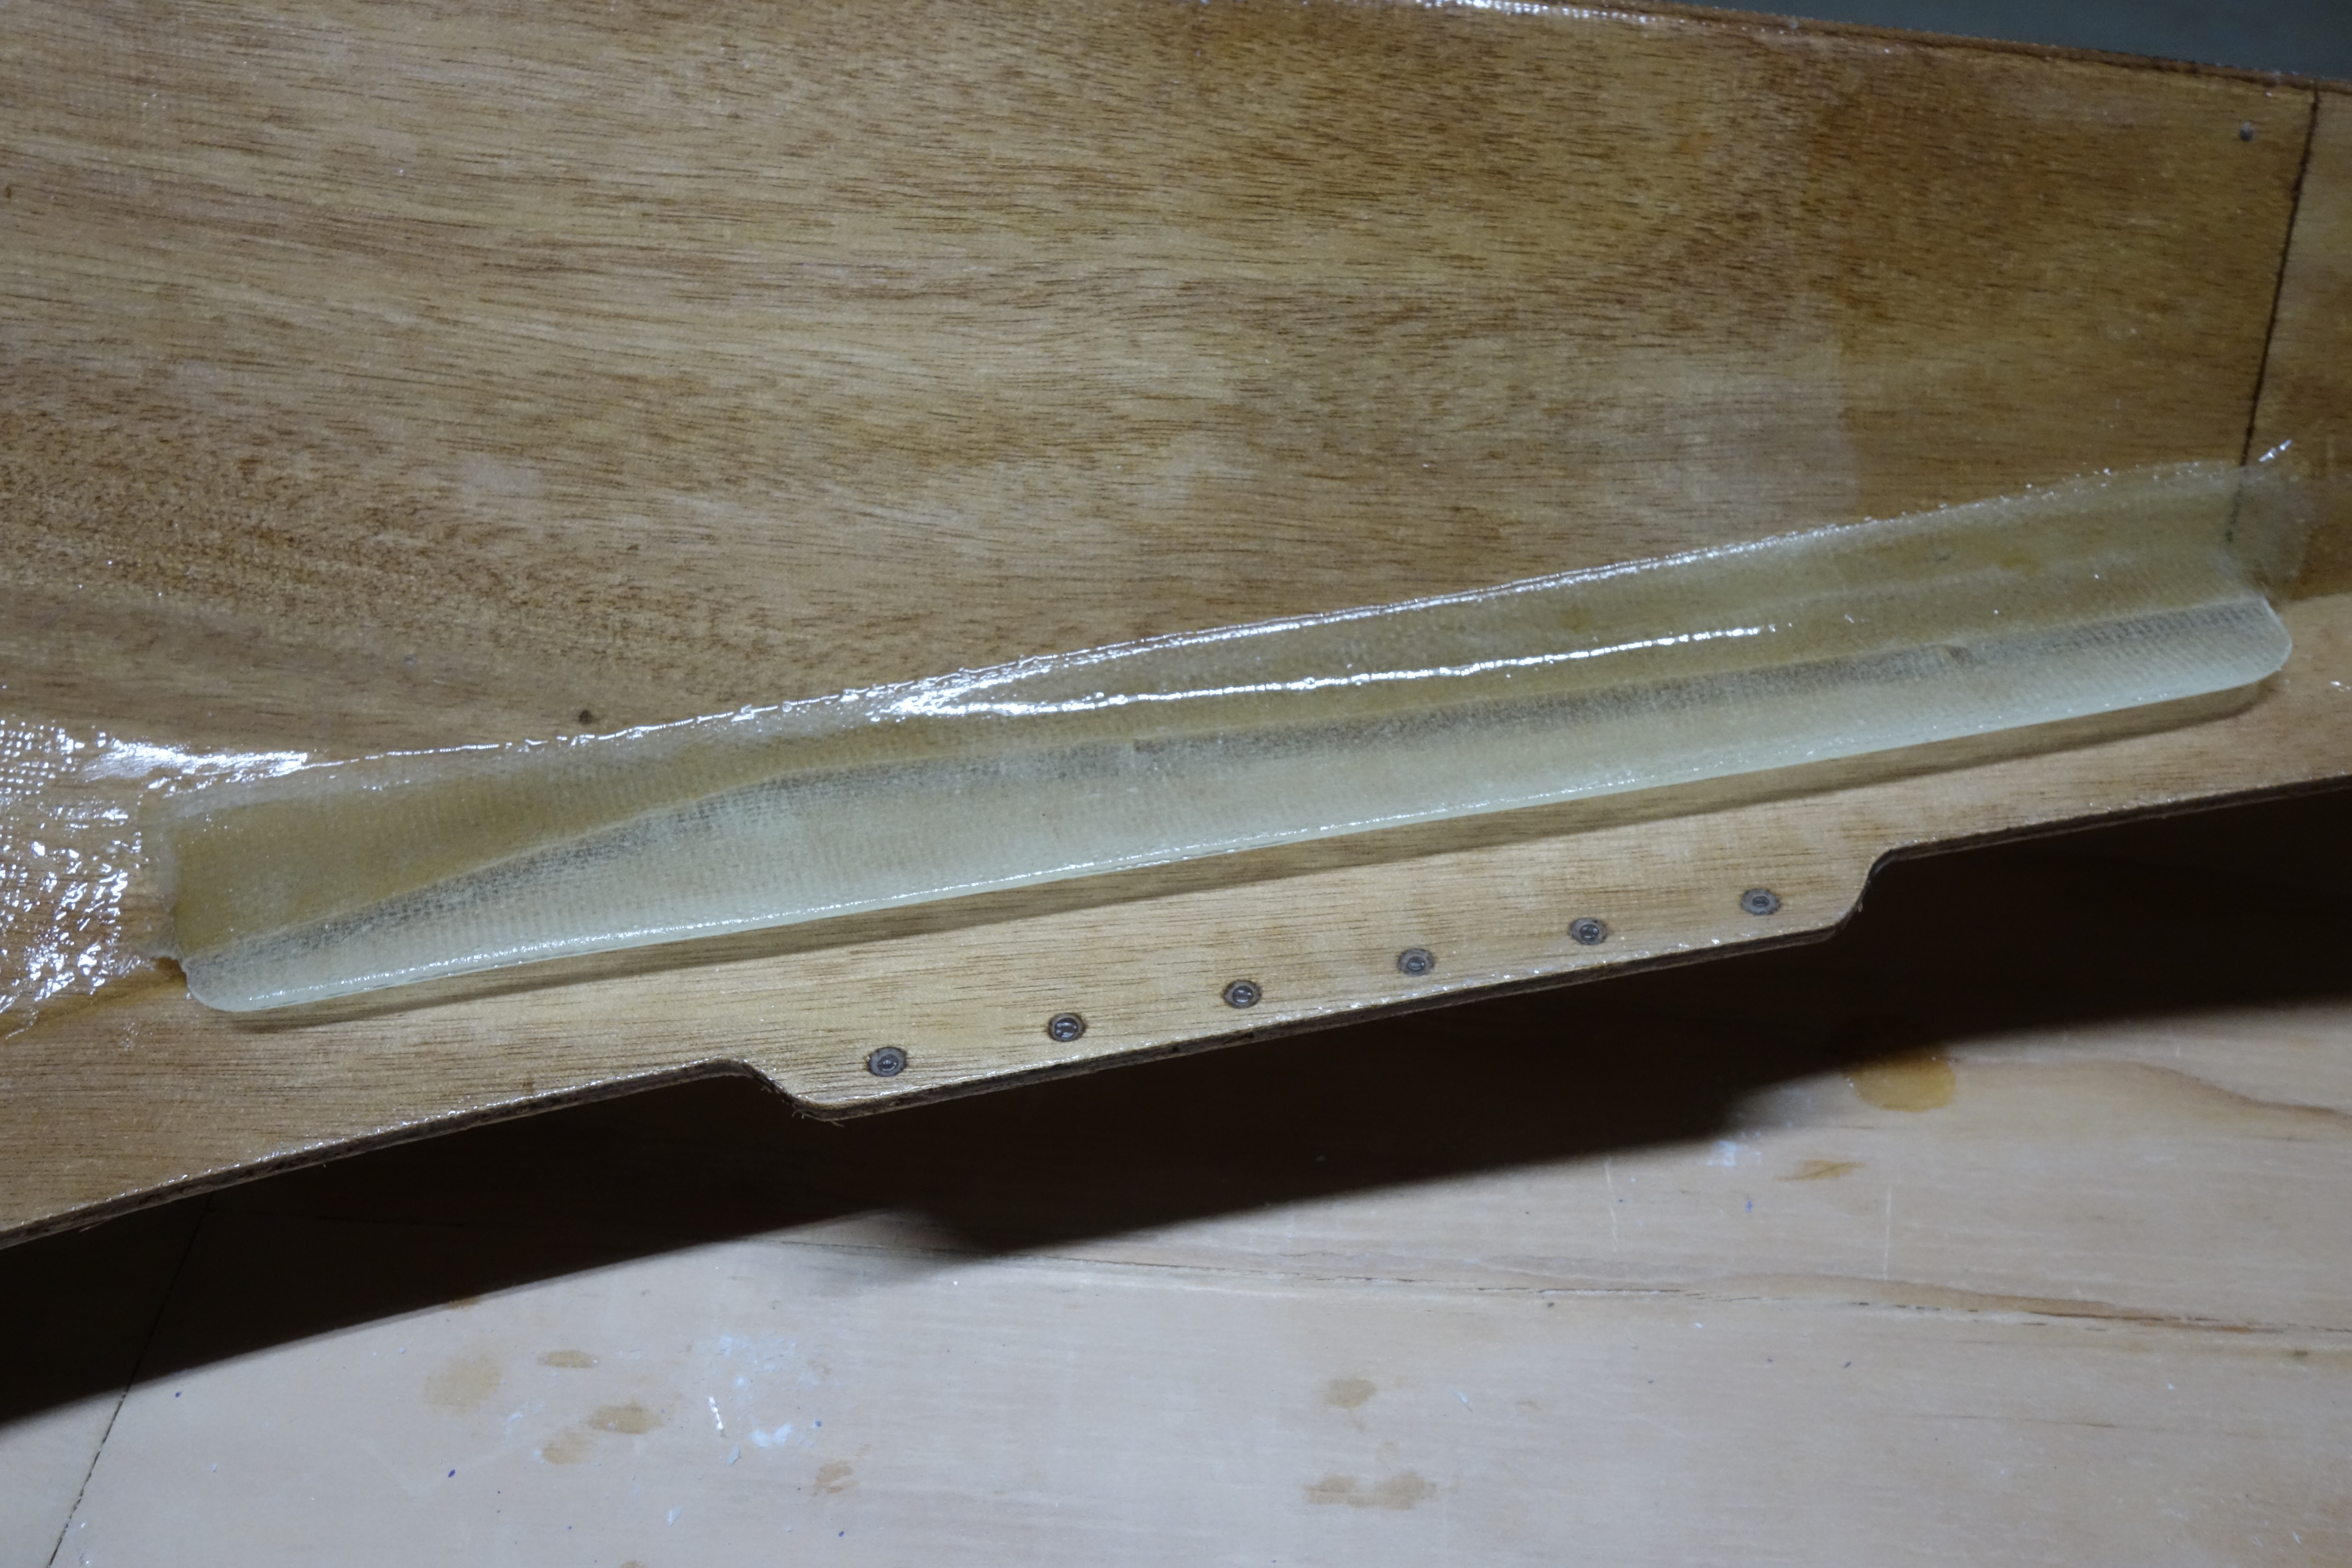
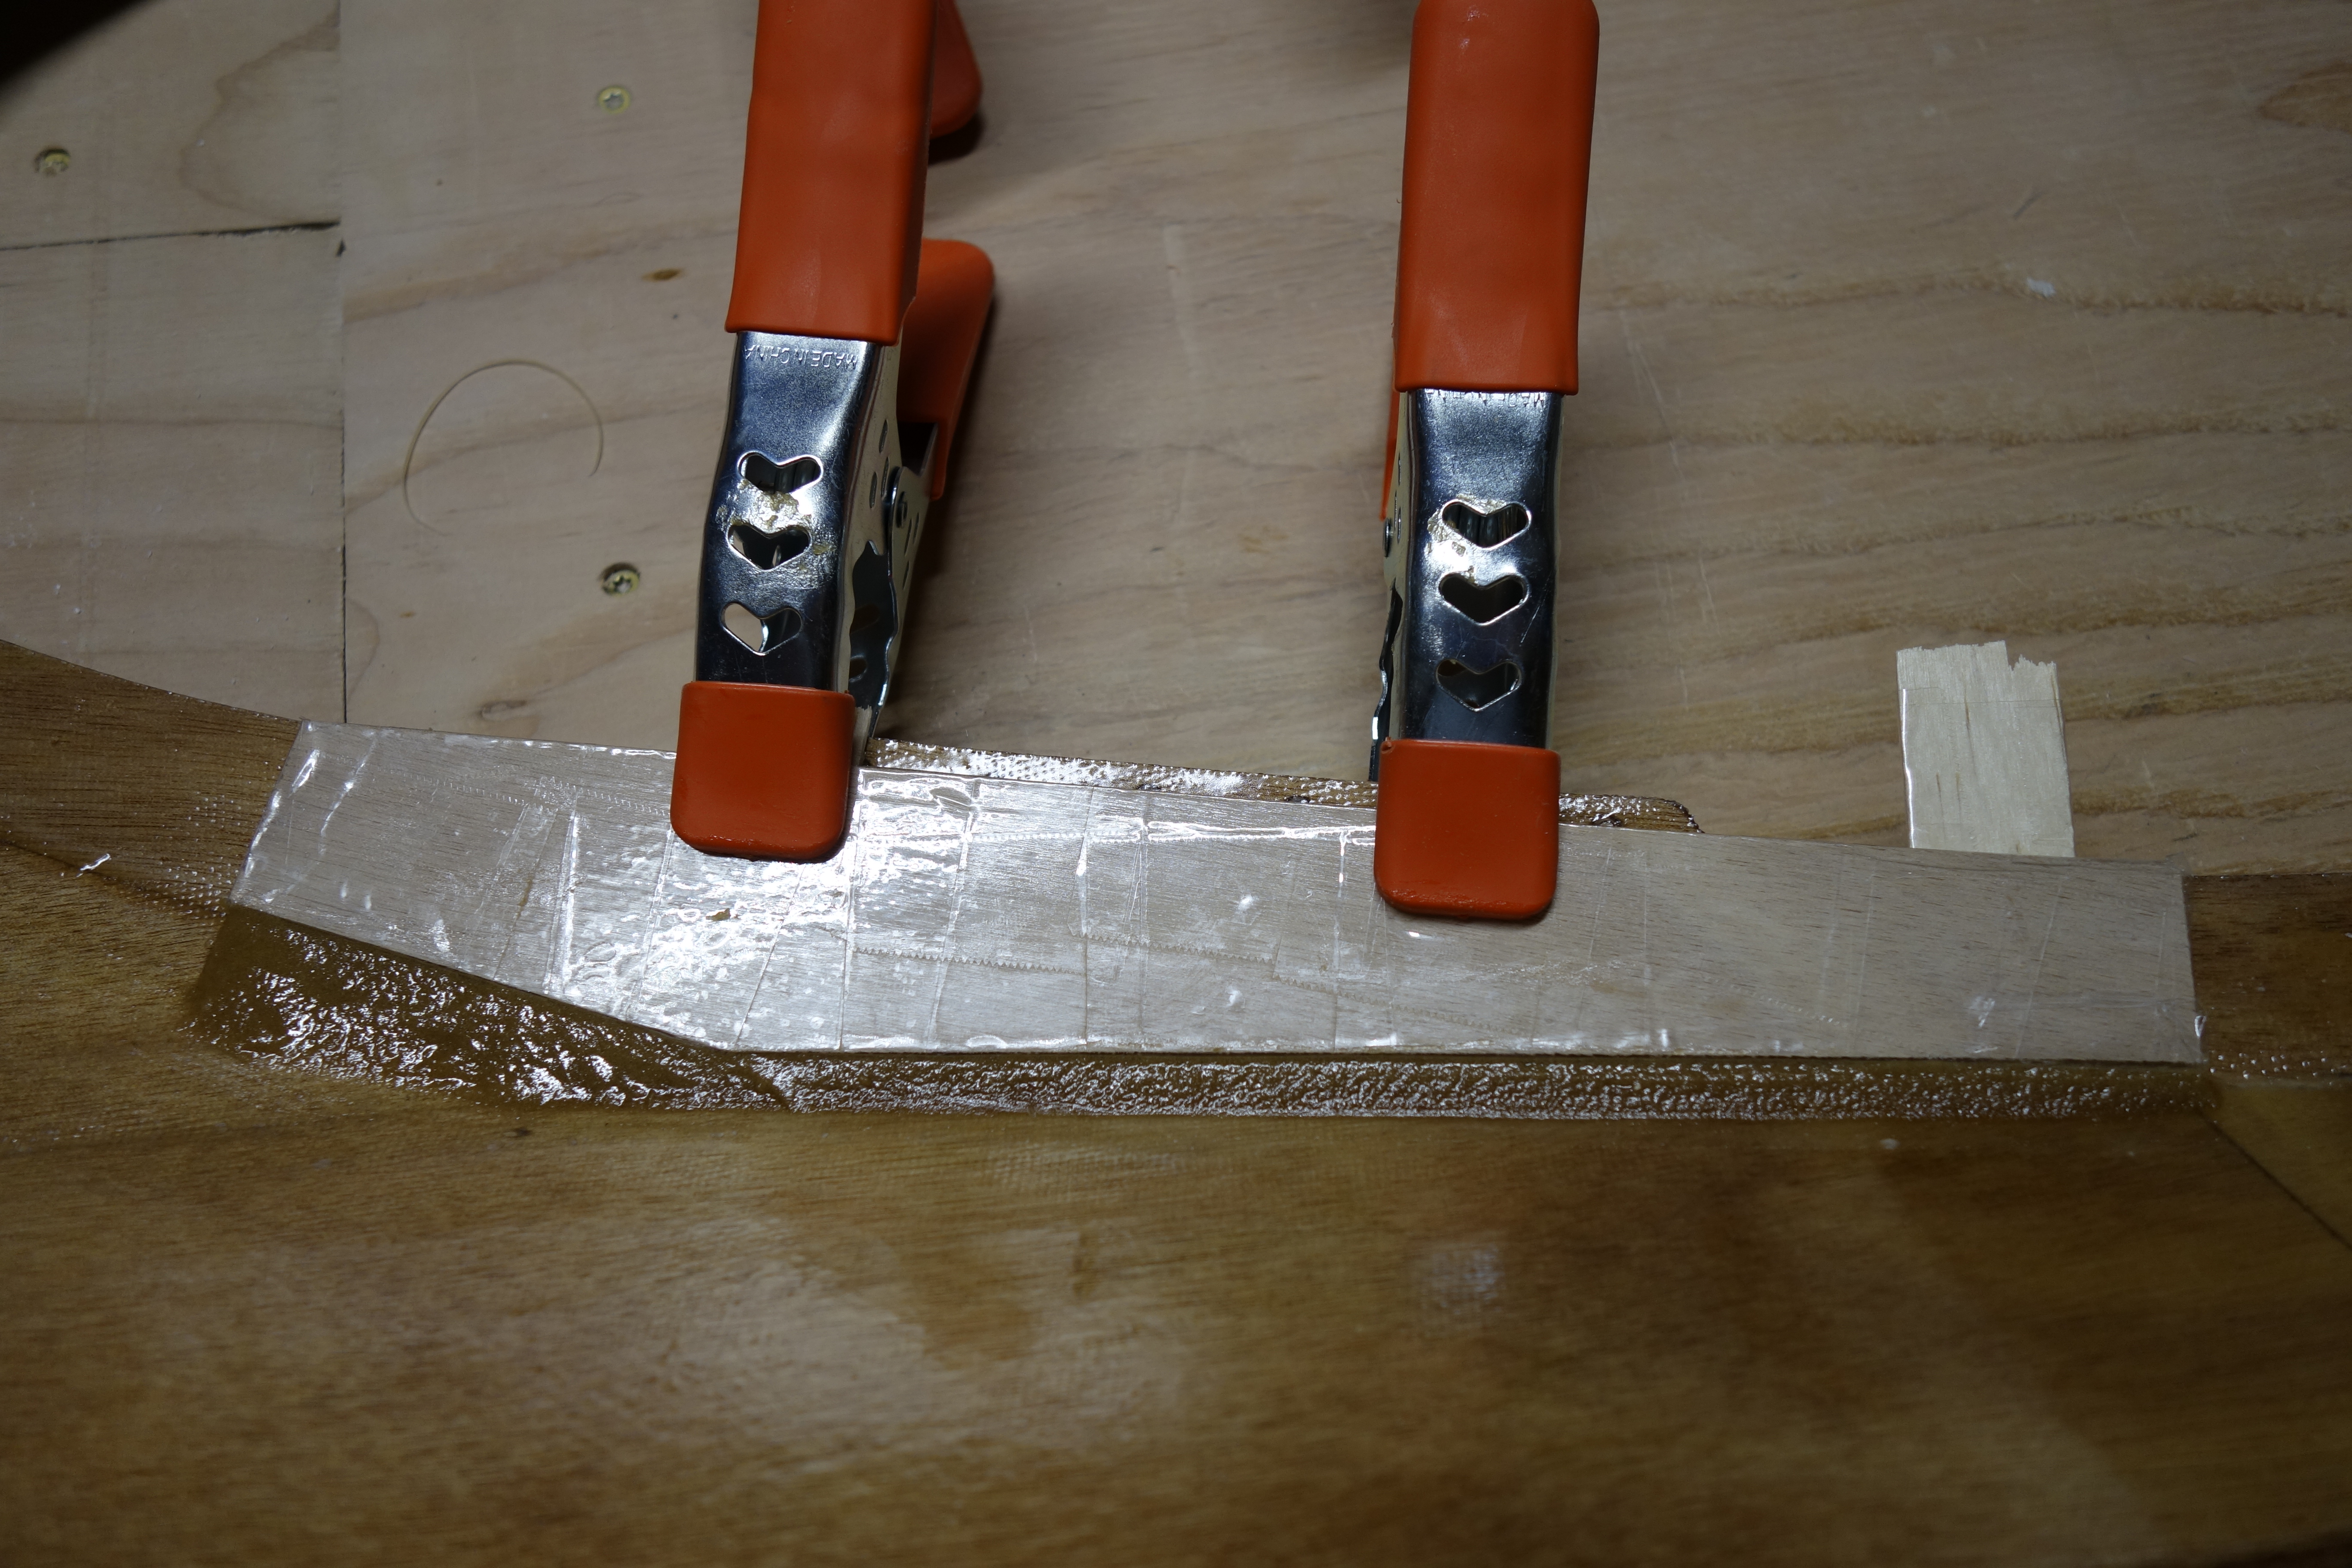
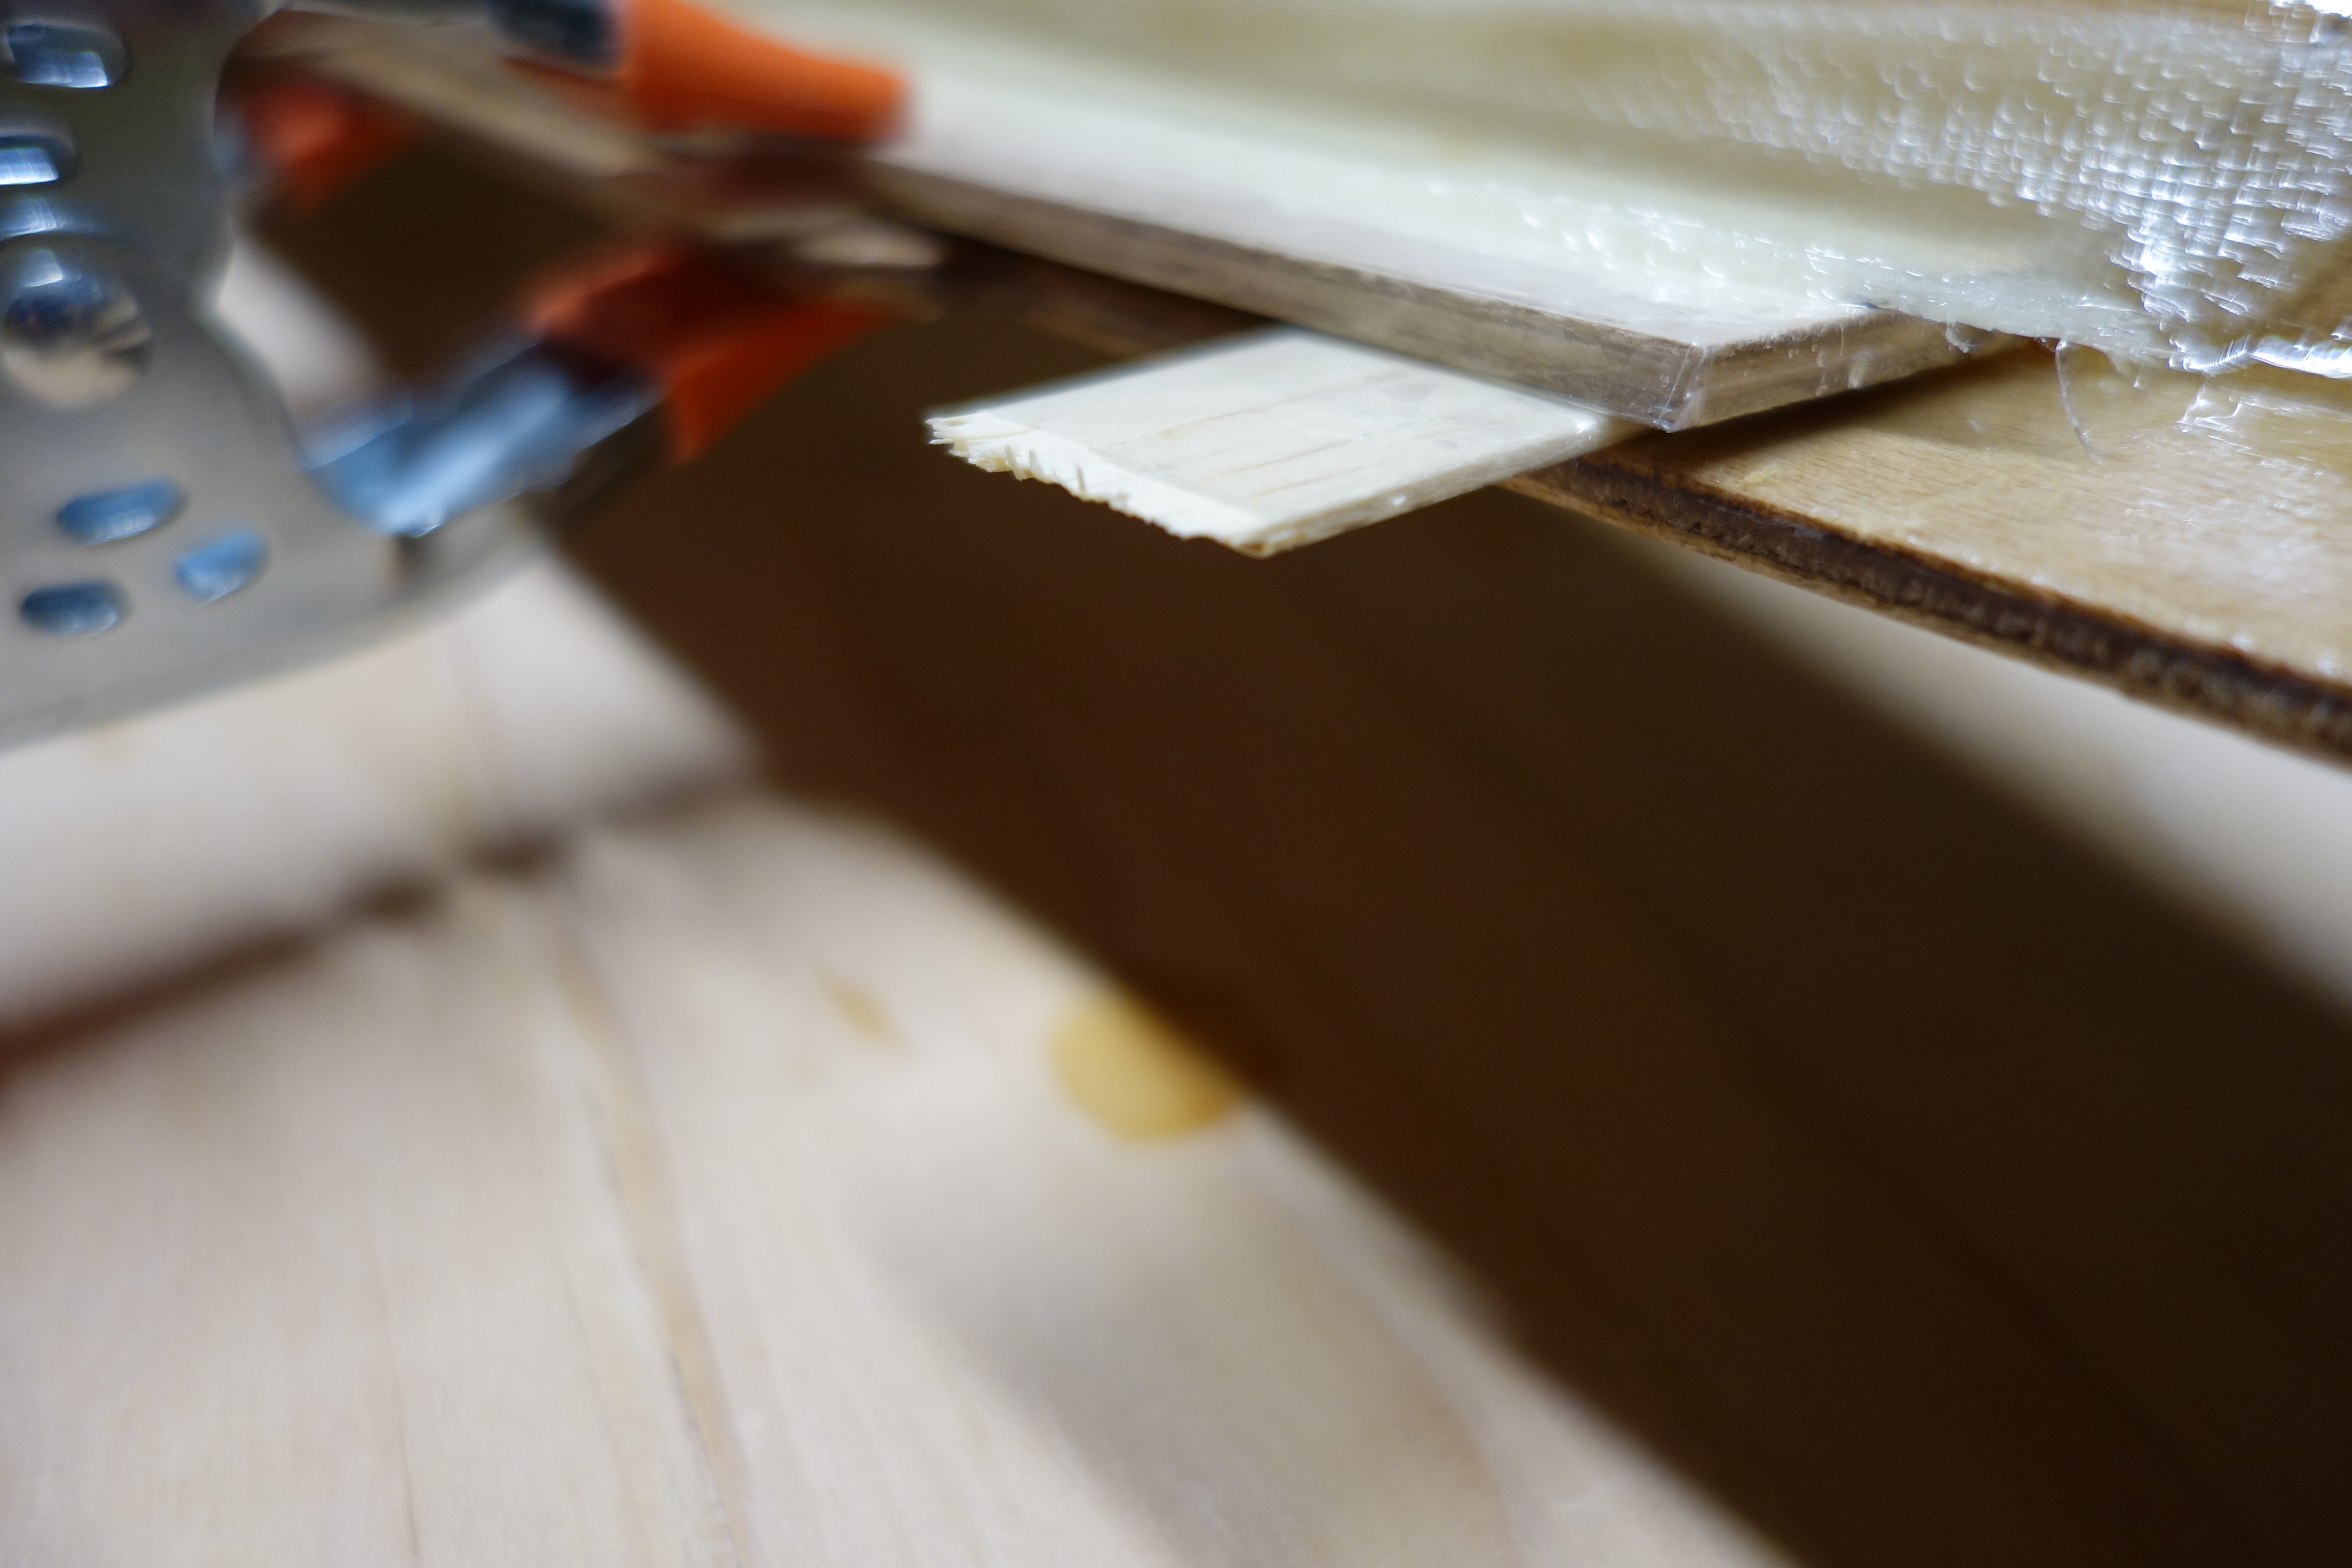
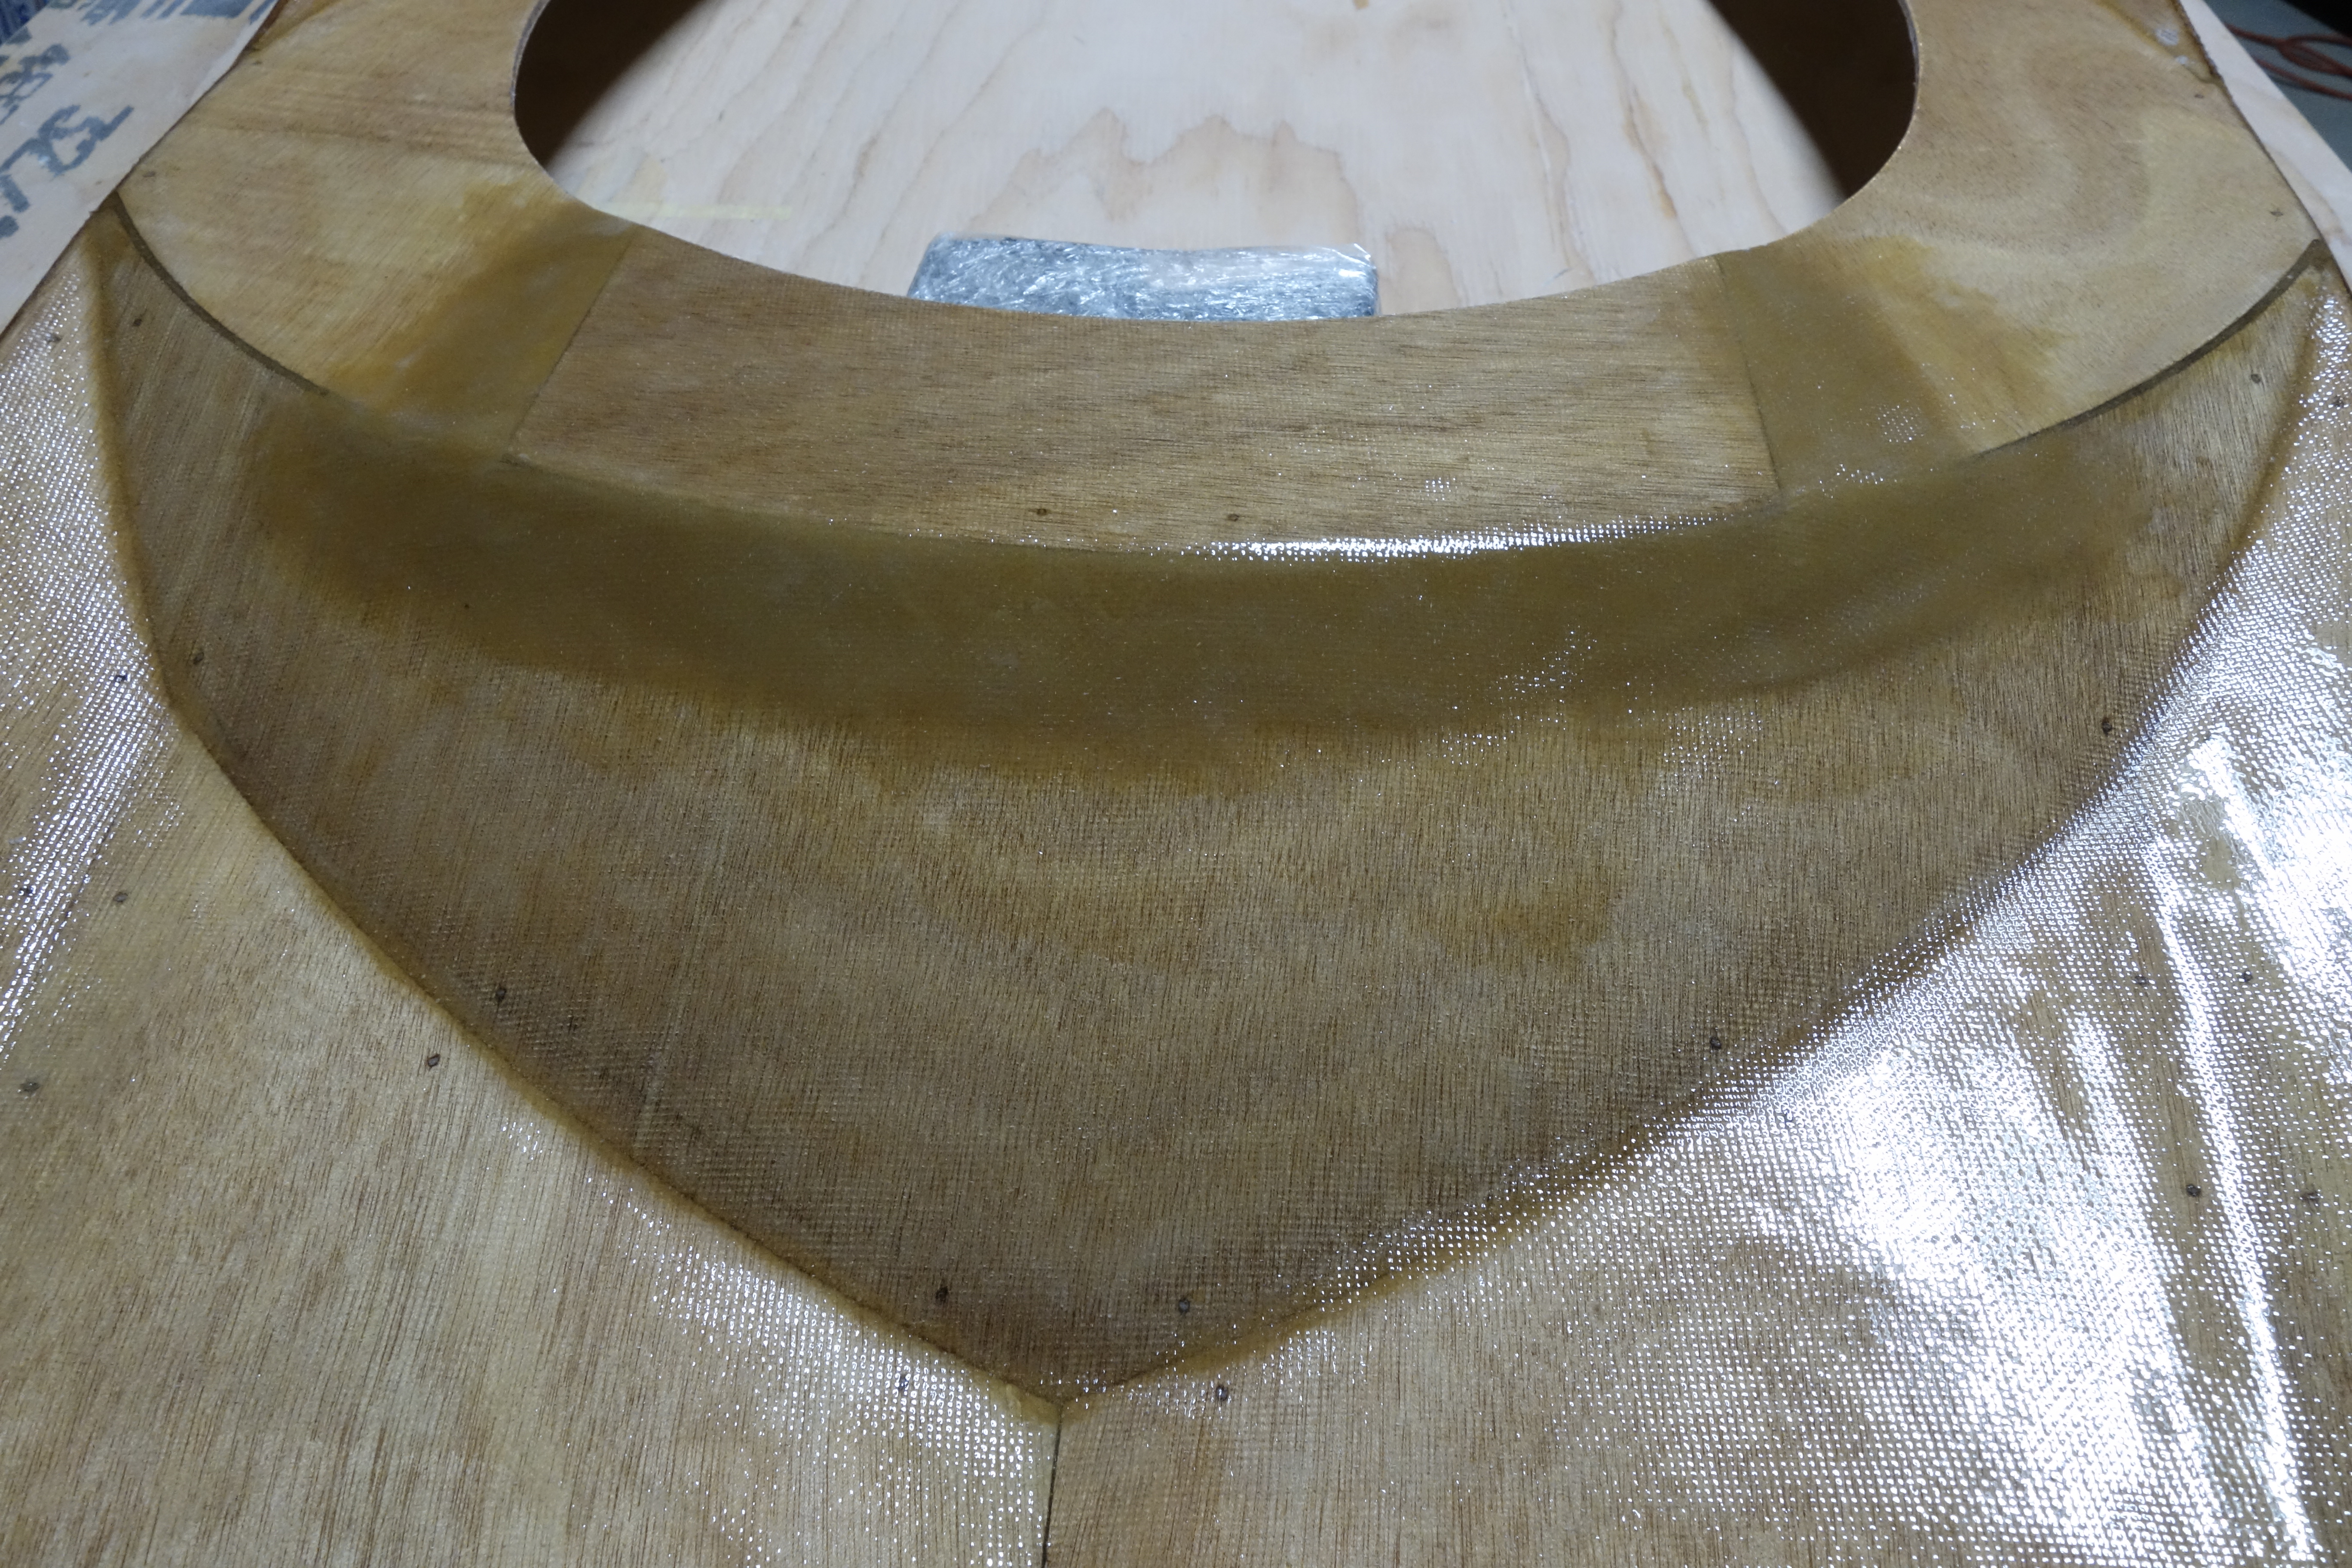
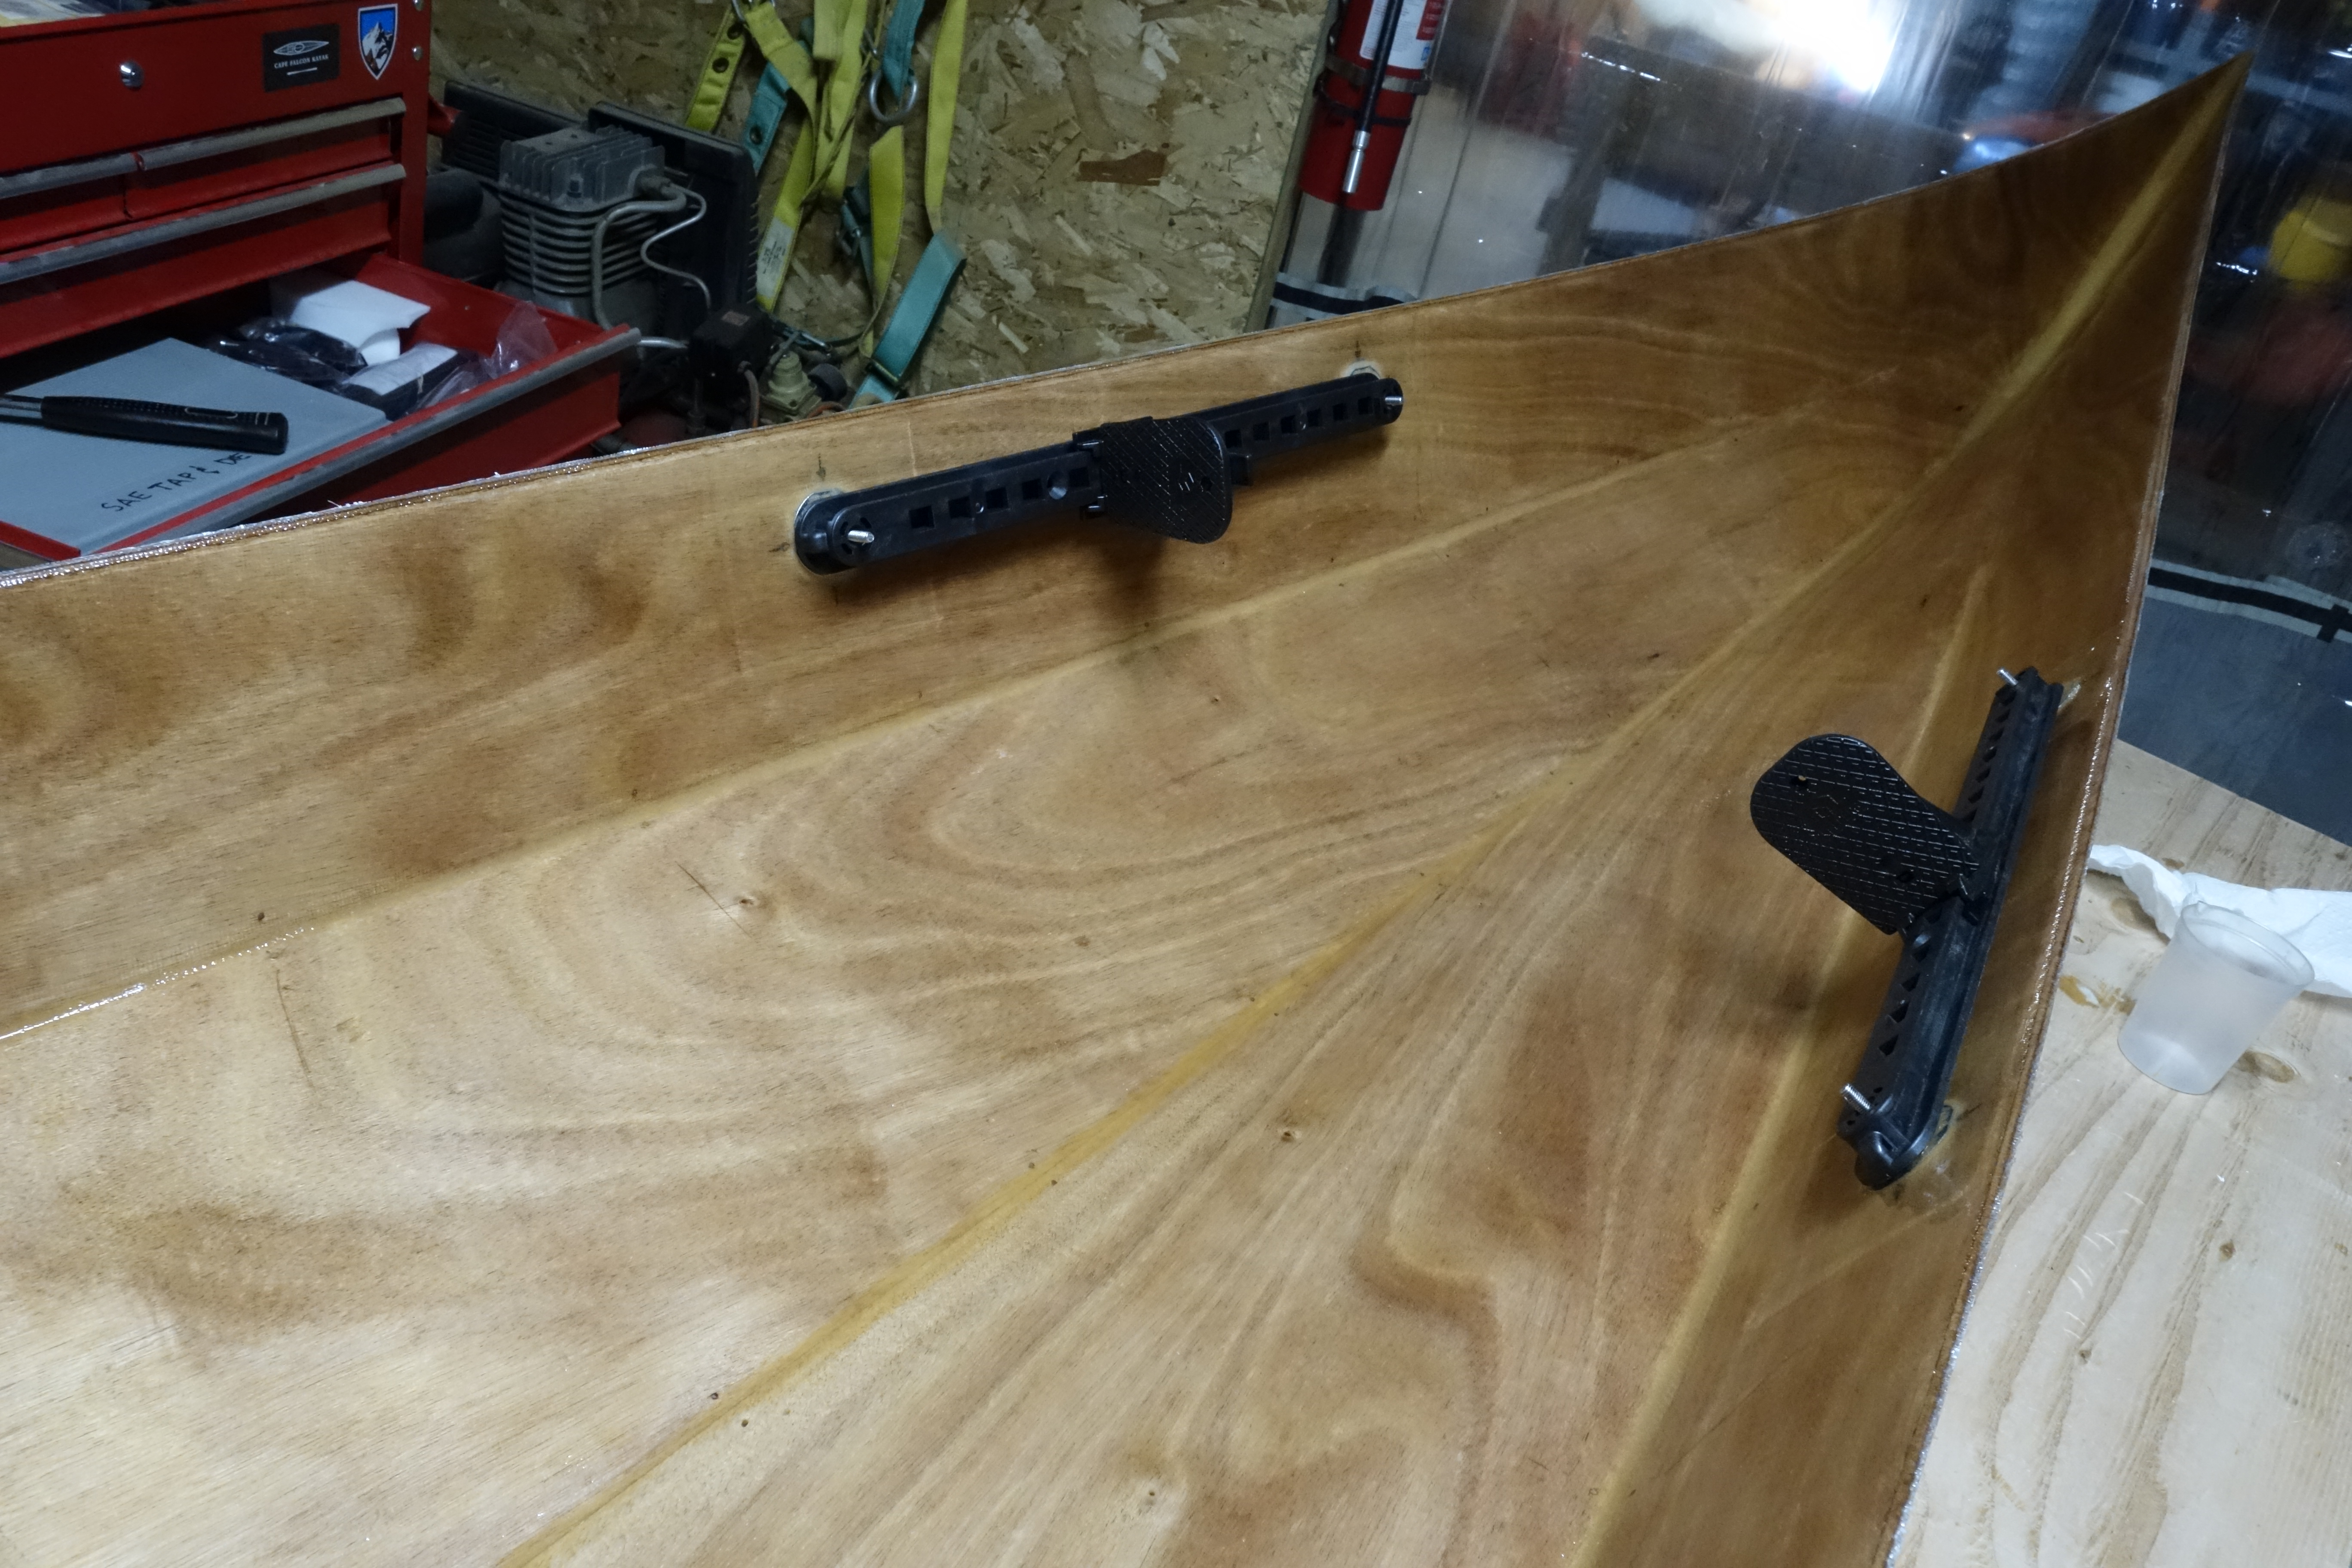
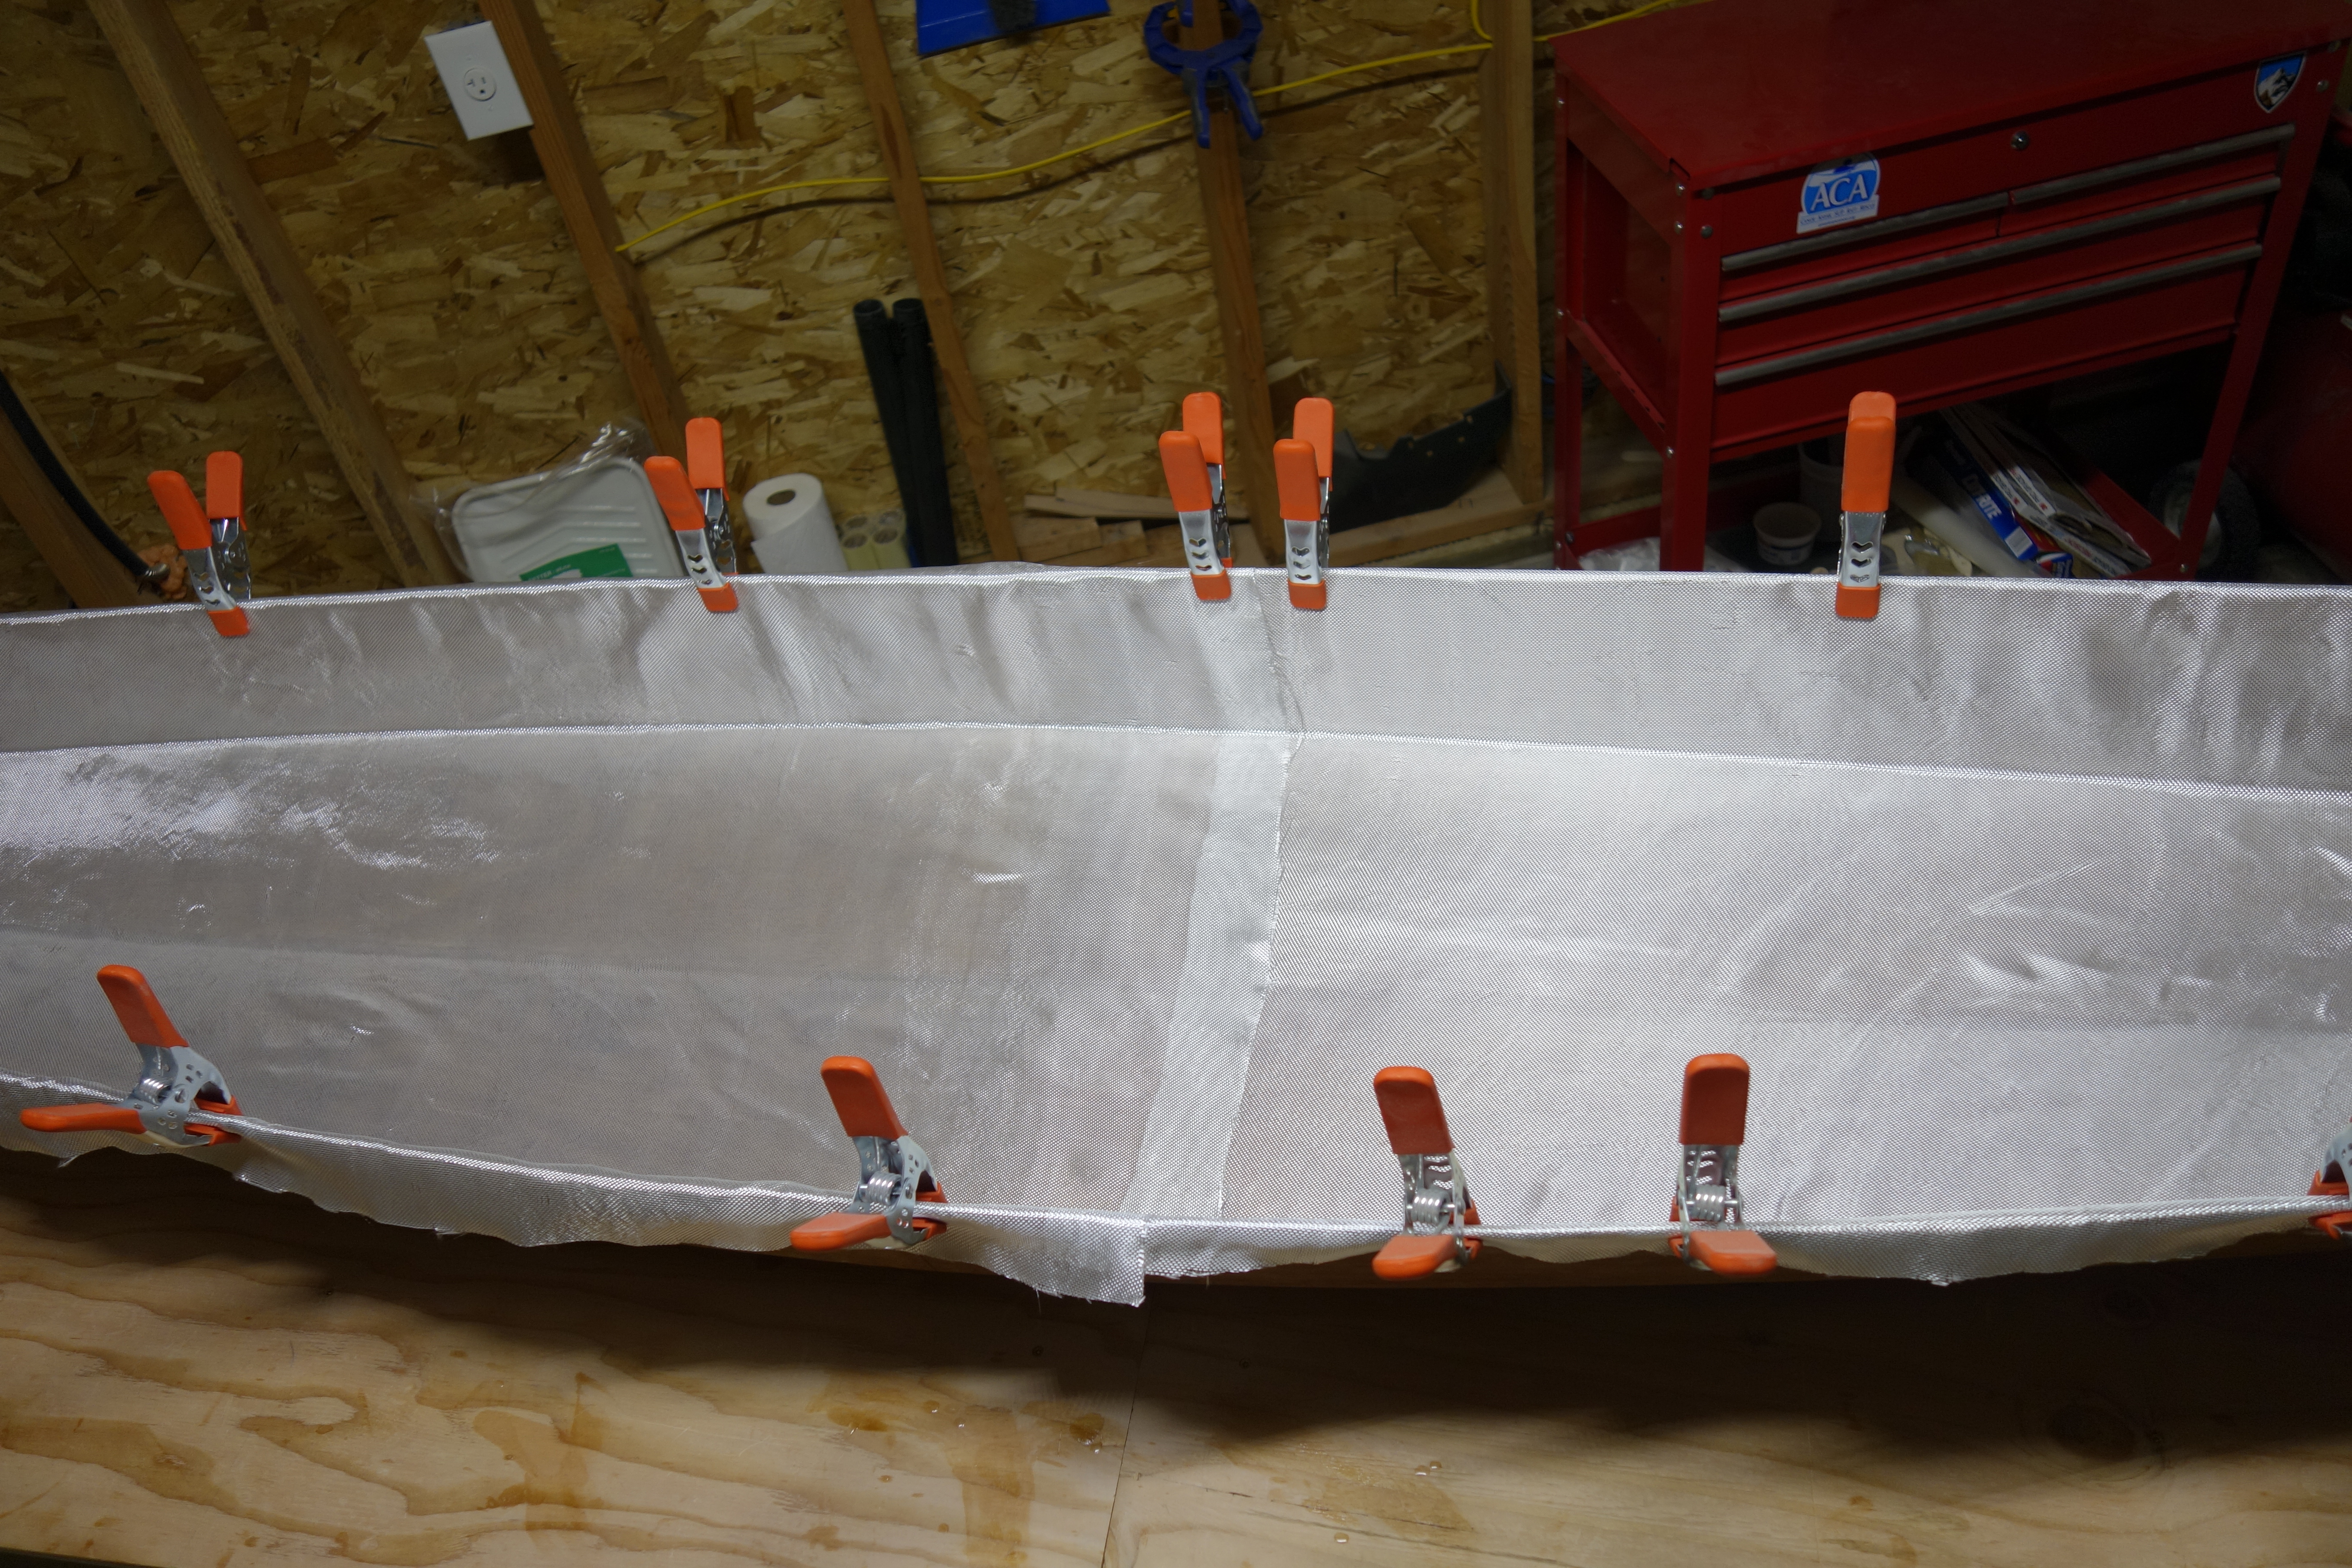
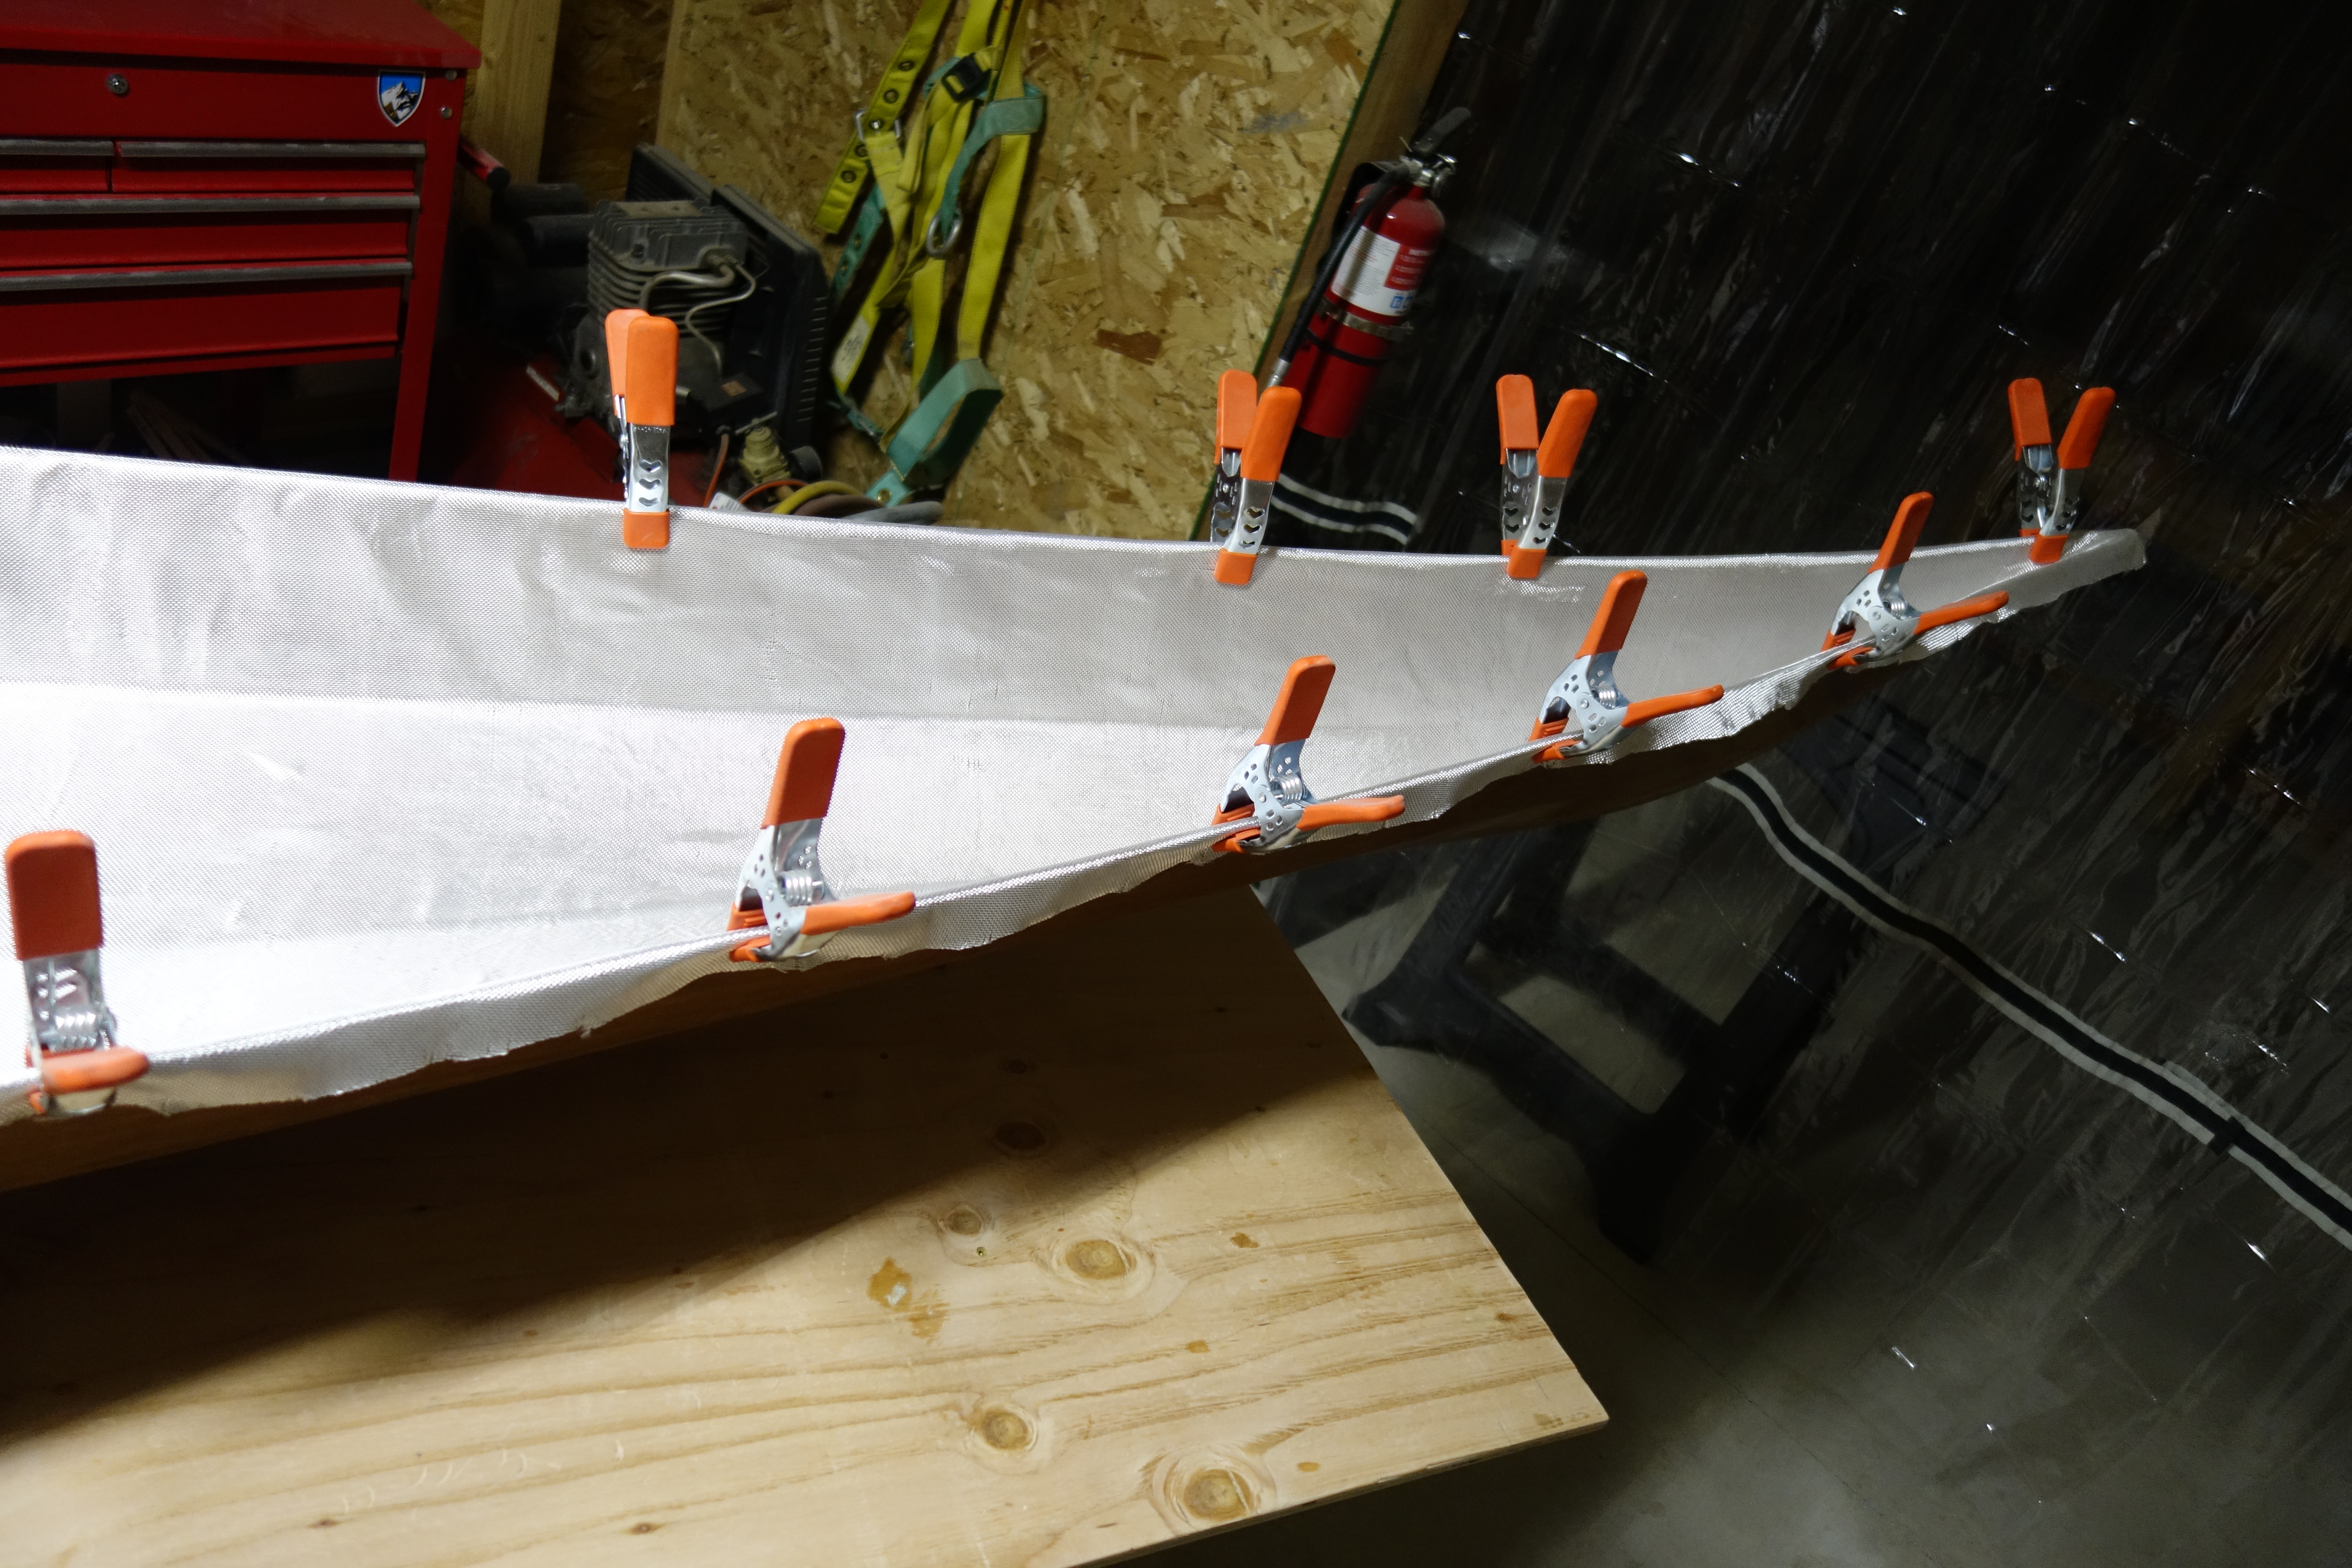
The last process on the inside of the deck is to build permanent fiberglass slots for the adjustable thigh braces. This is accomplished by using wooden forms covered in packing tape (so that the epoxy won’t stick to them) to create fillets and shape fiberglass tape into the necessary shape.

Epoxy thickened with wood flour is used to create the “platform” that the fiberglass tape will sit on to create the slots.
Fiberglass tape applied. It’s funny what a slight camera angle can do. Of course, the slots on both sides of the kayak are exactly the same size, but this photo makes the left one look much smaller than the right one. Funny!
There are four layers of fiberglass tape laminated one atop the other, to create the slots.