


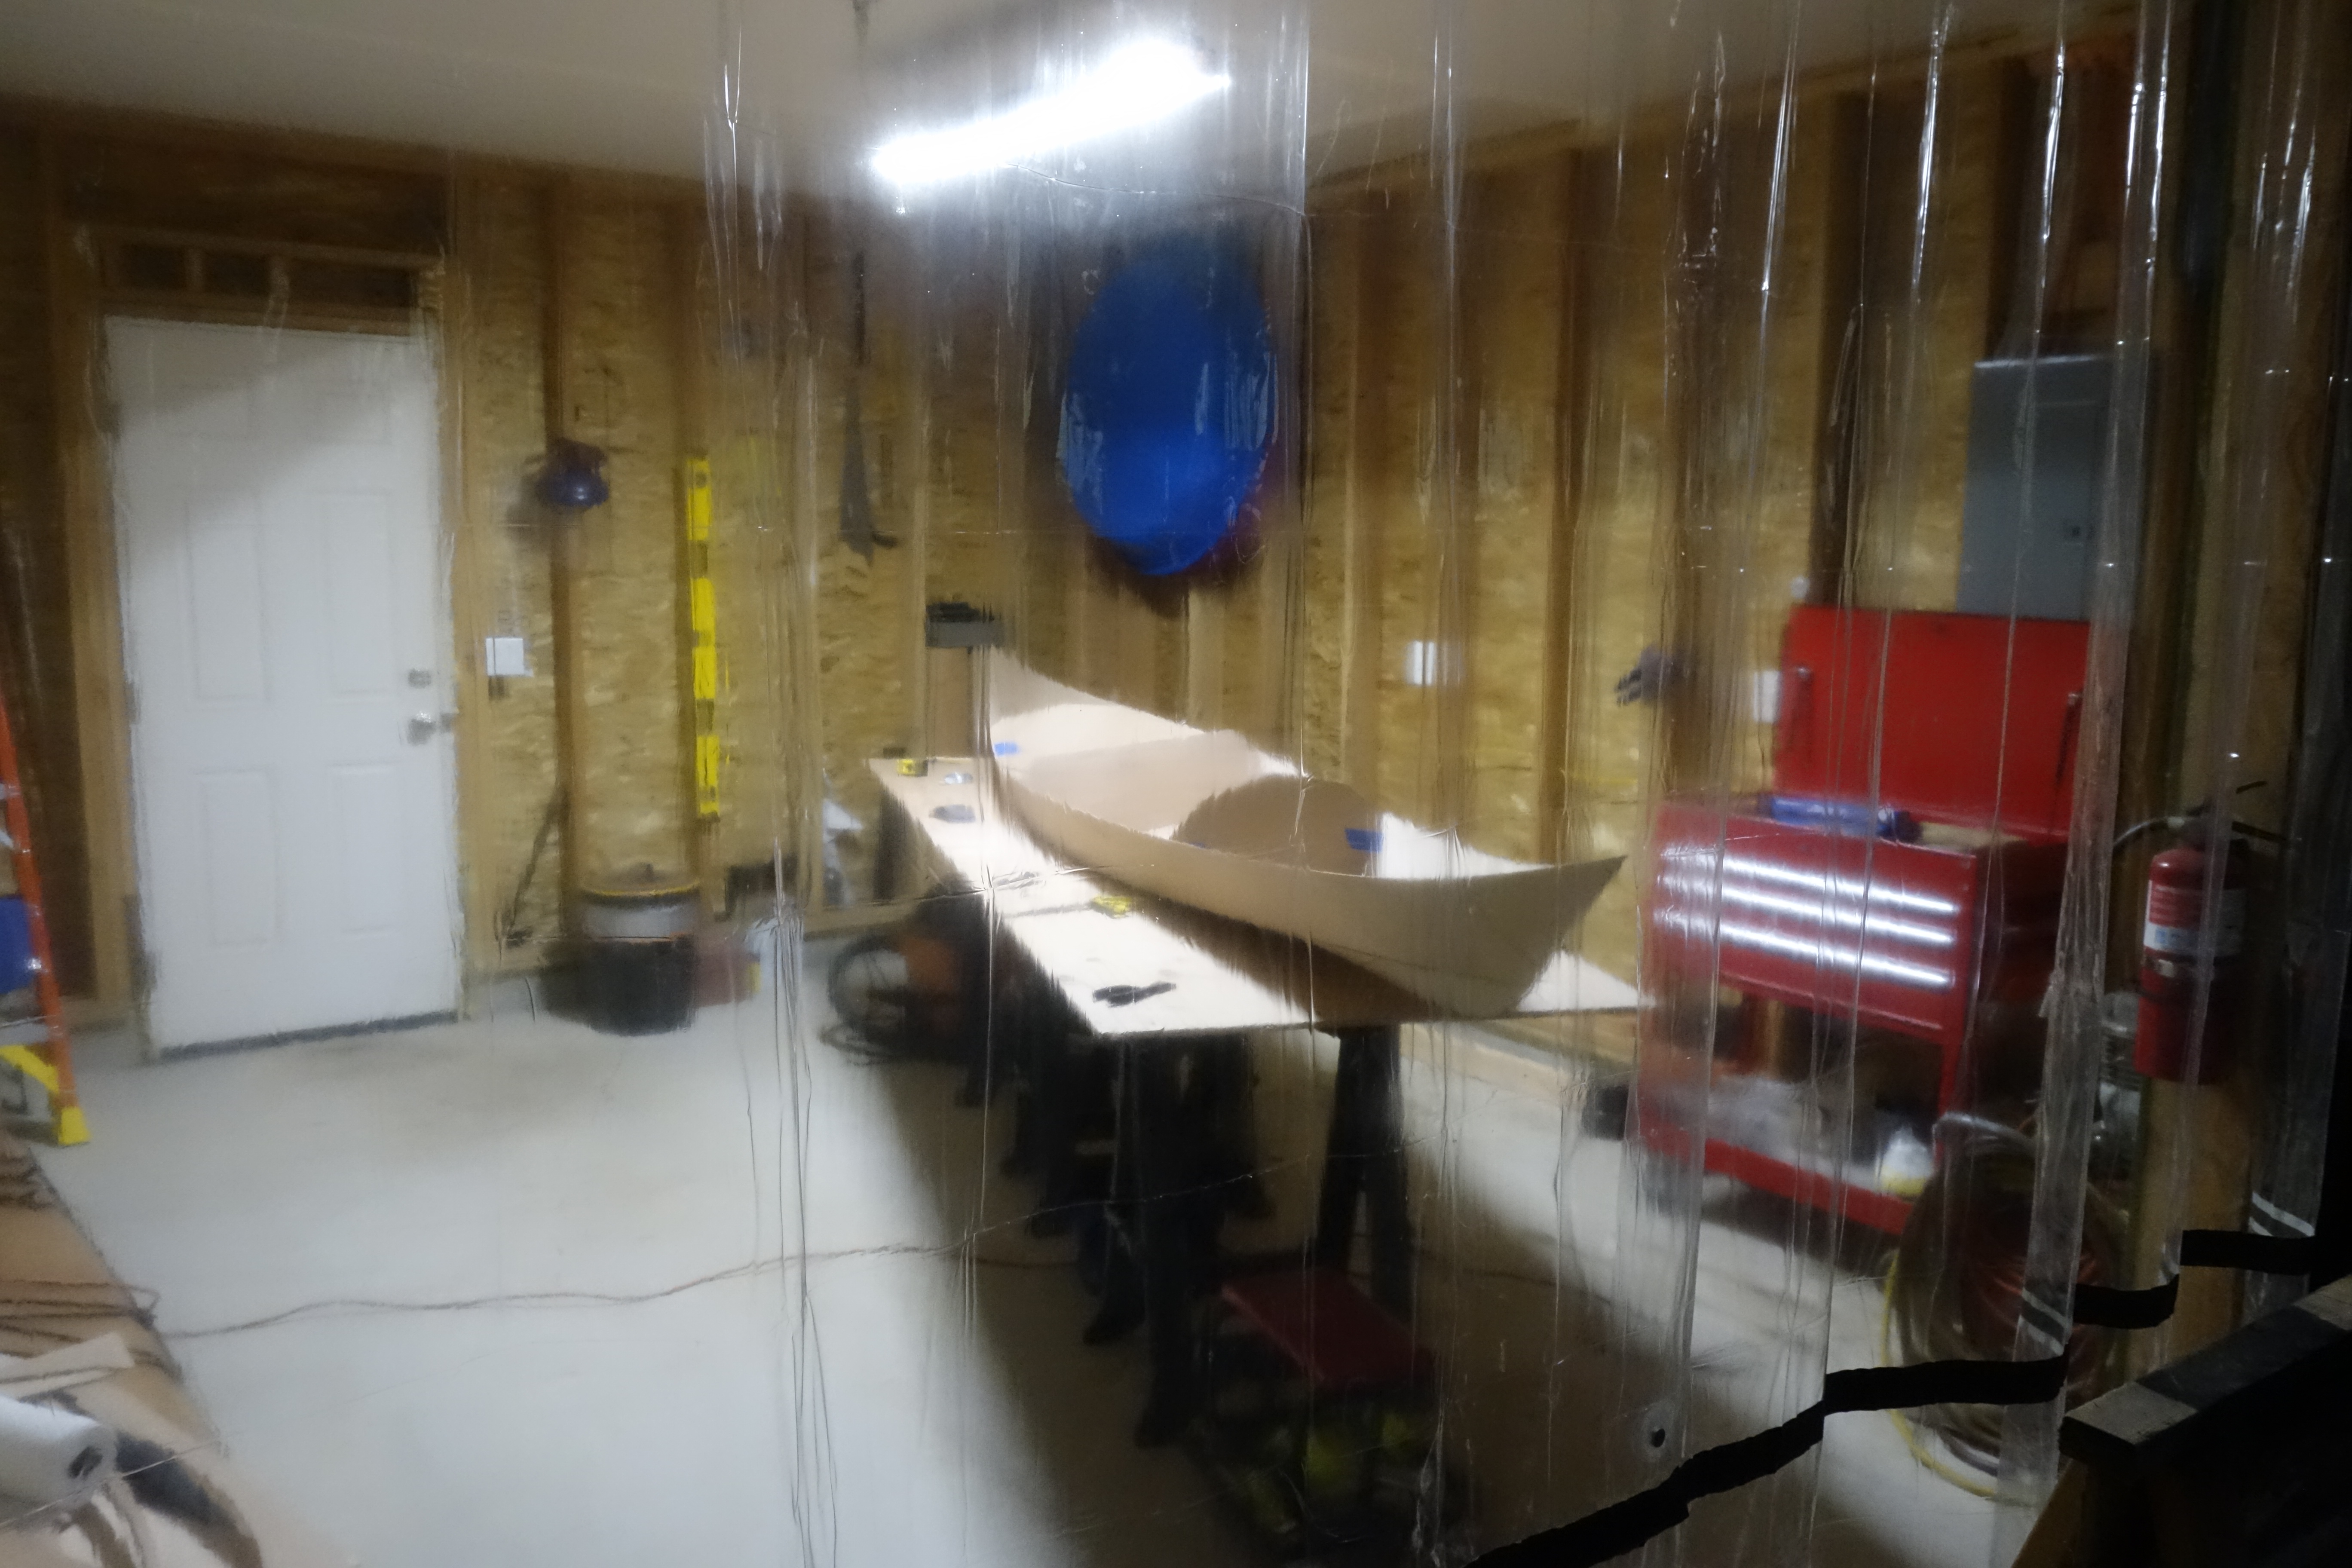
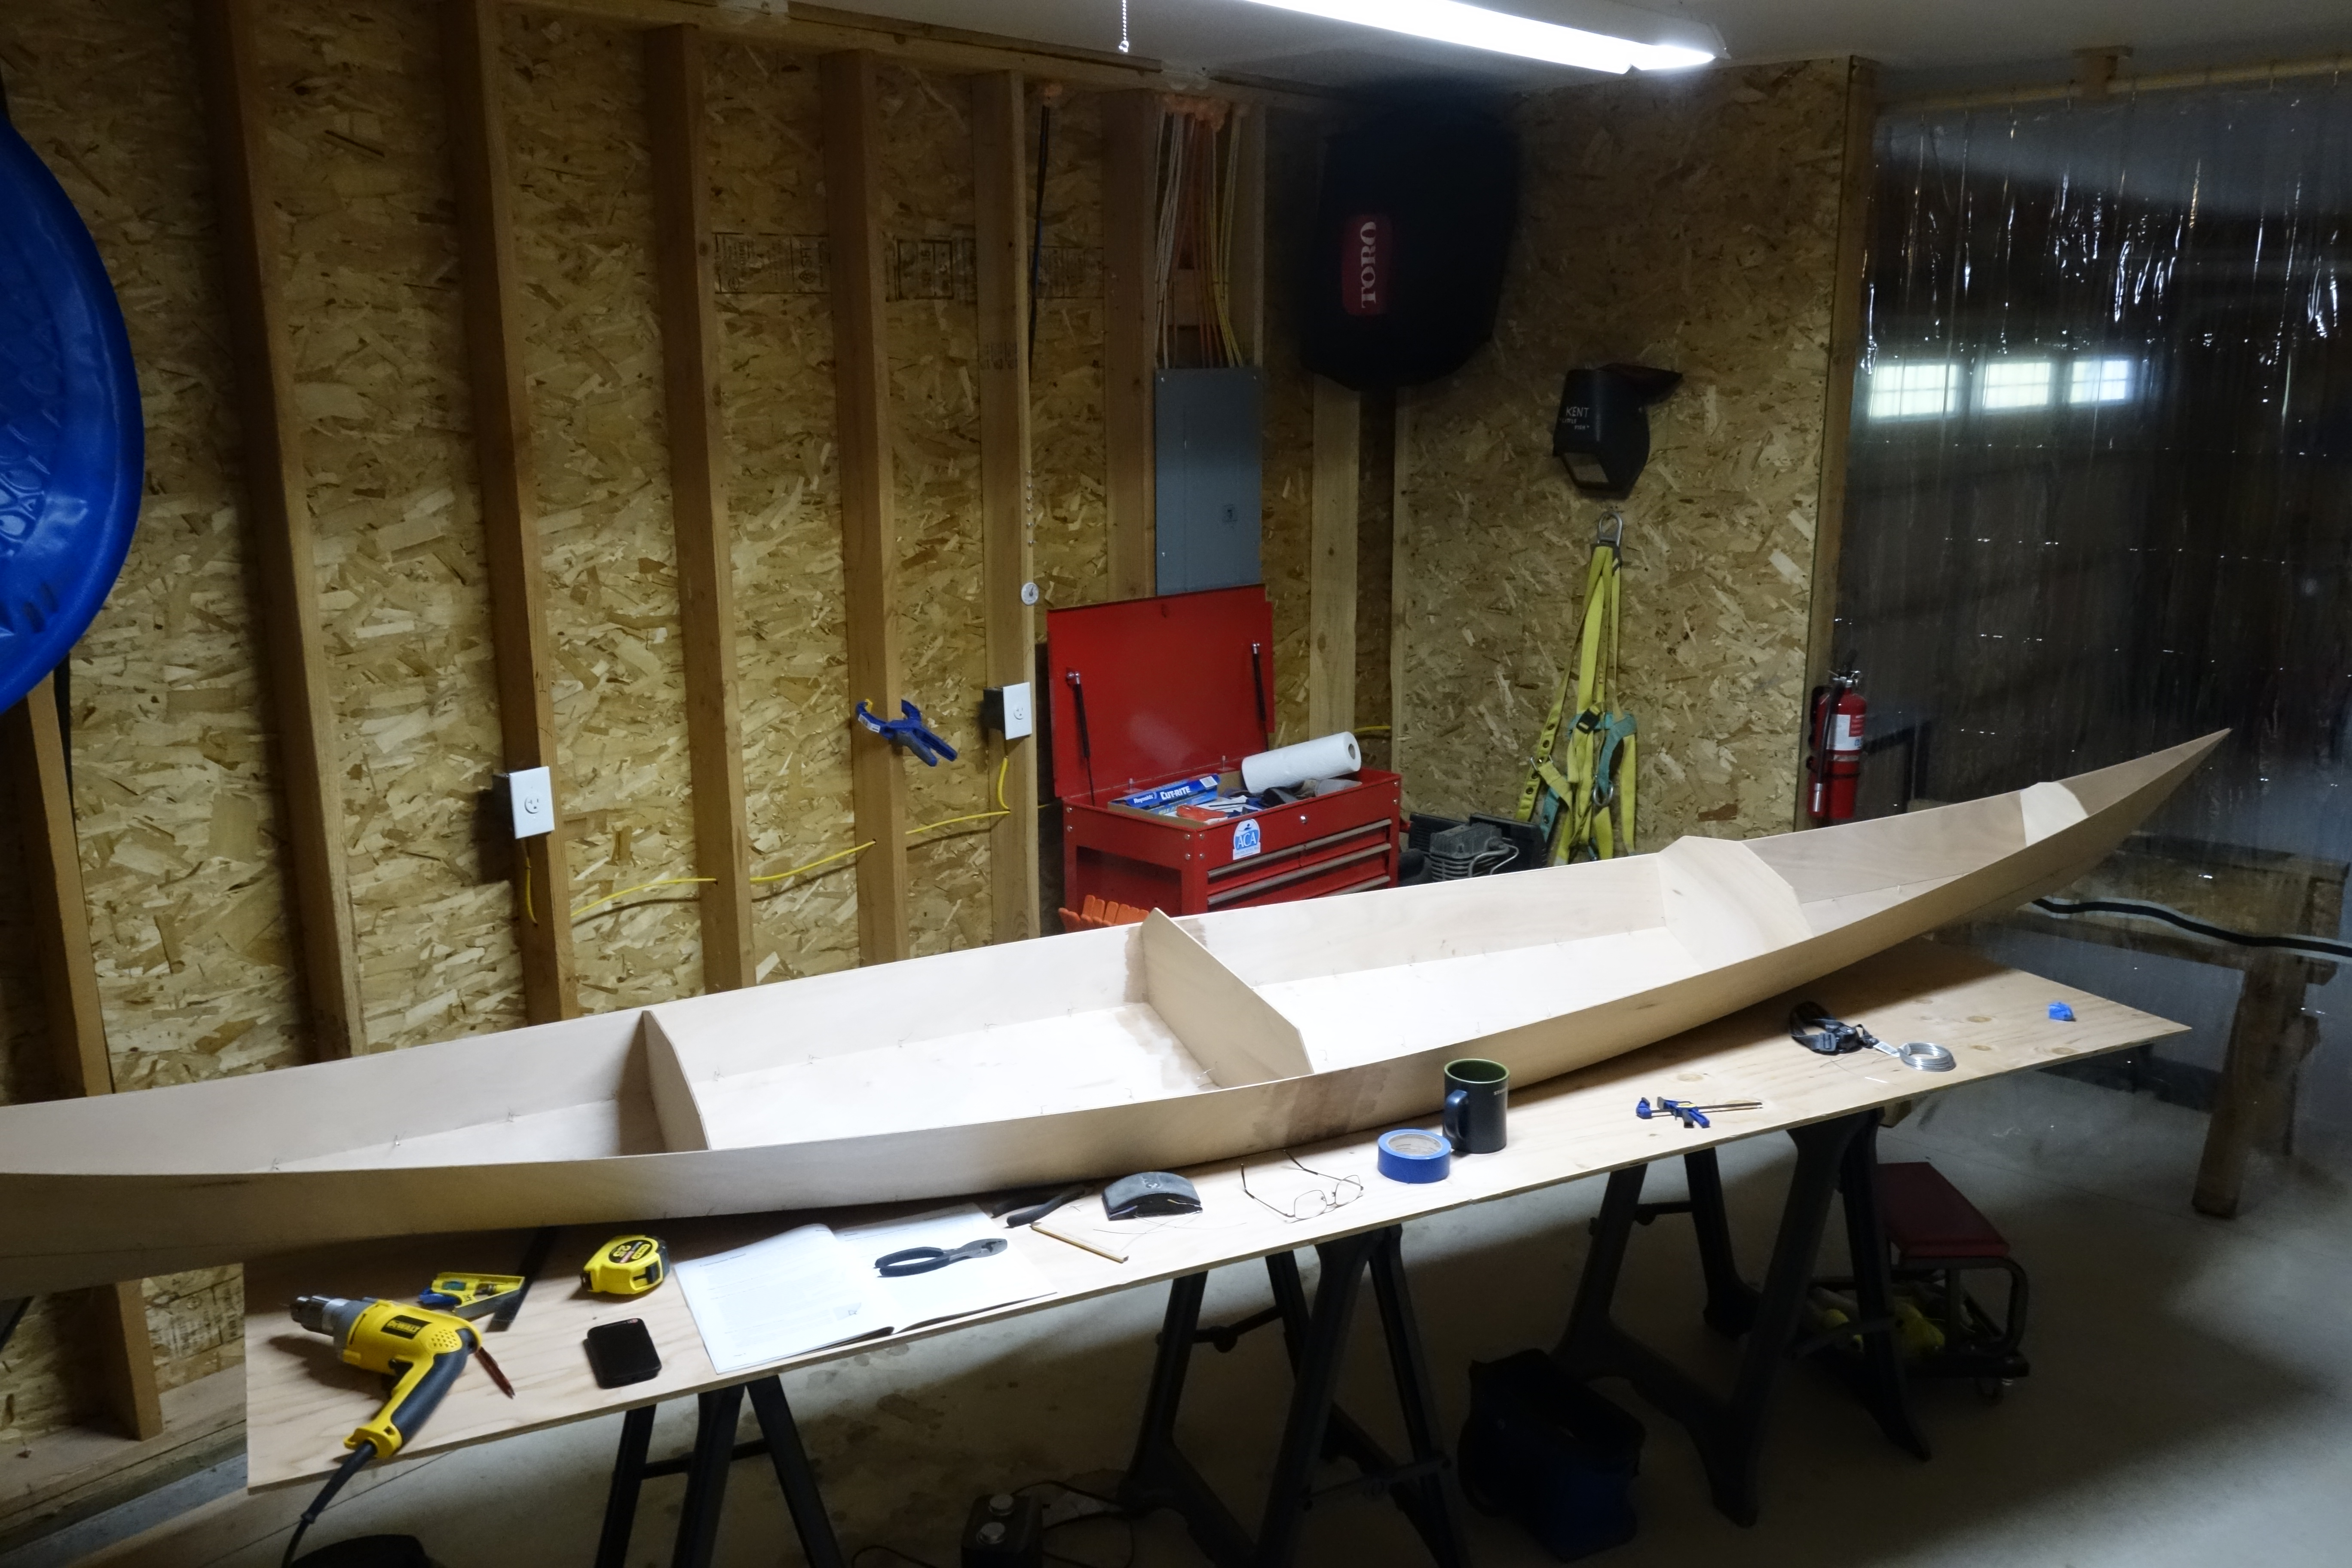
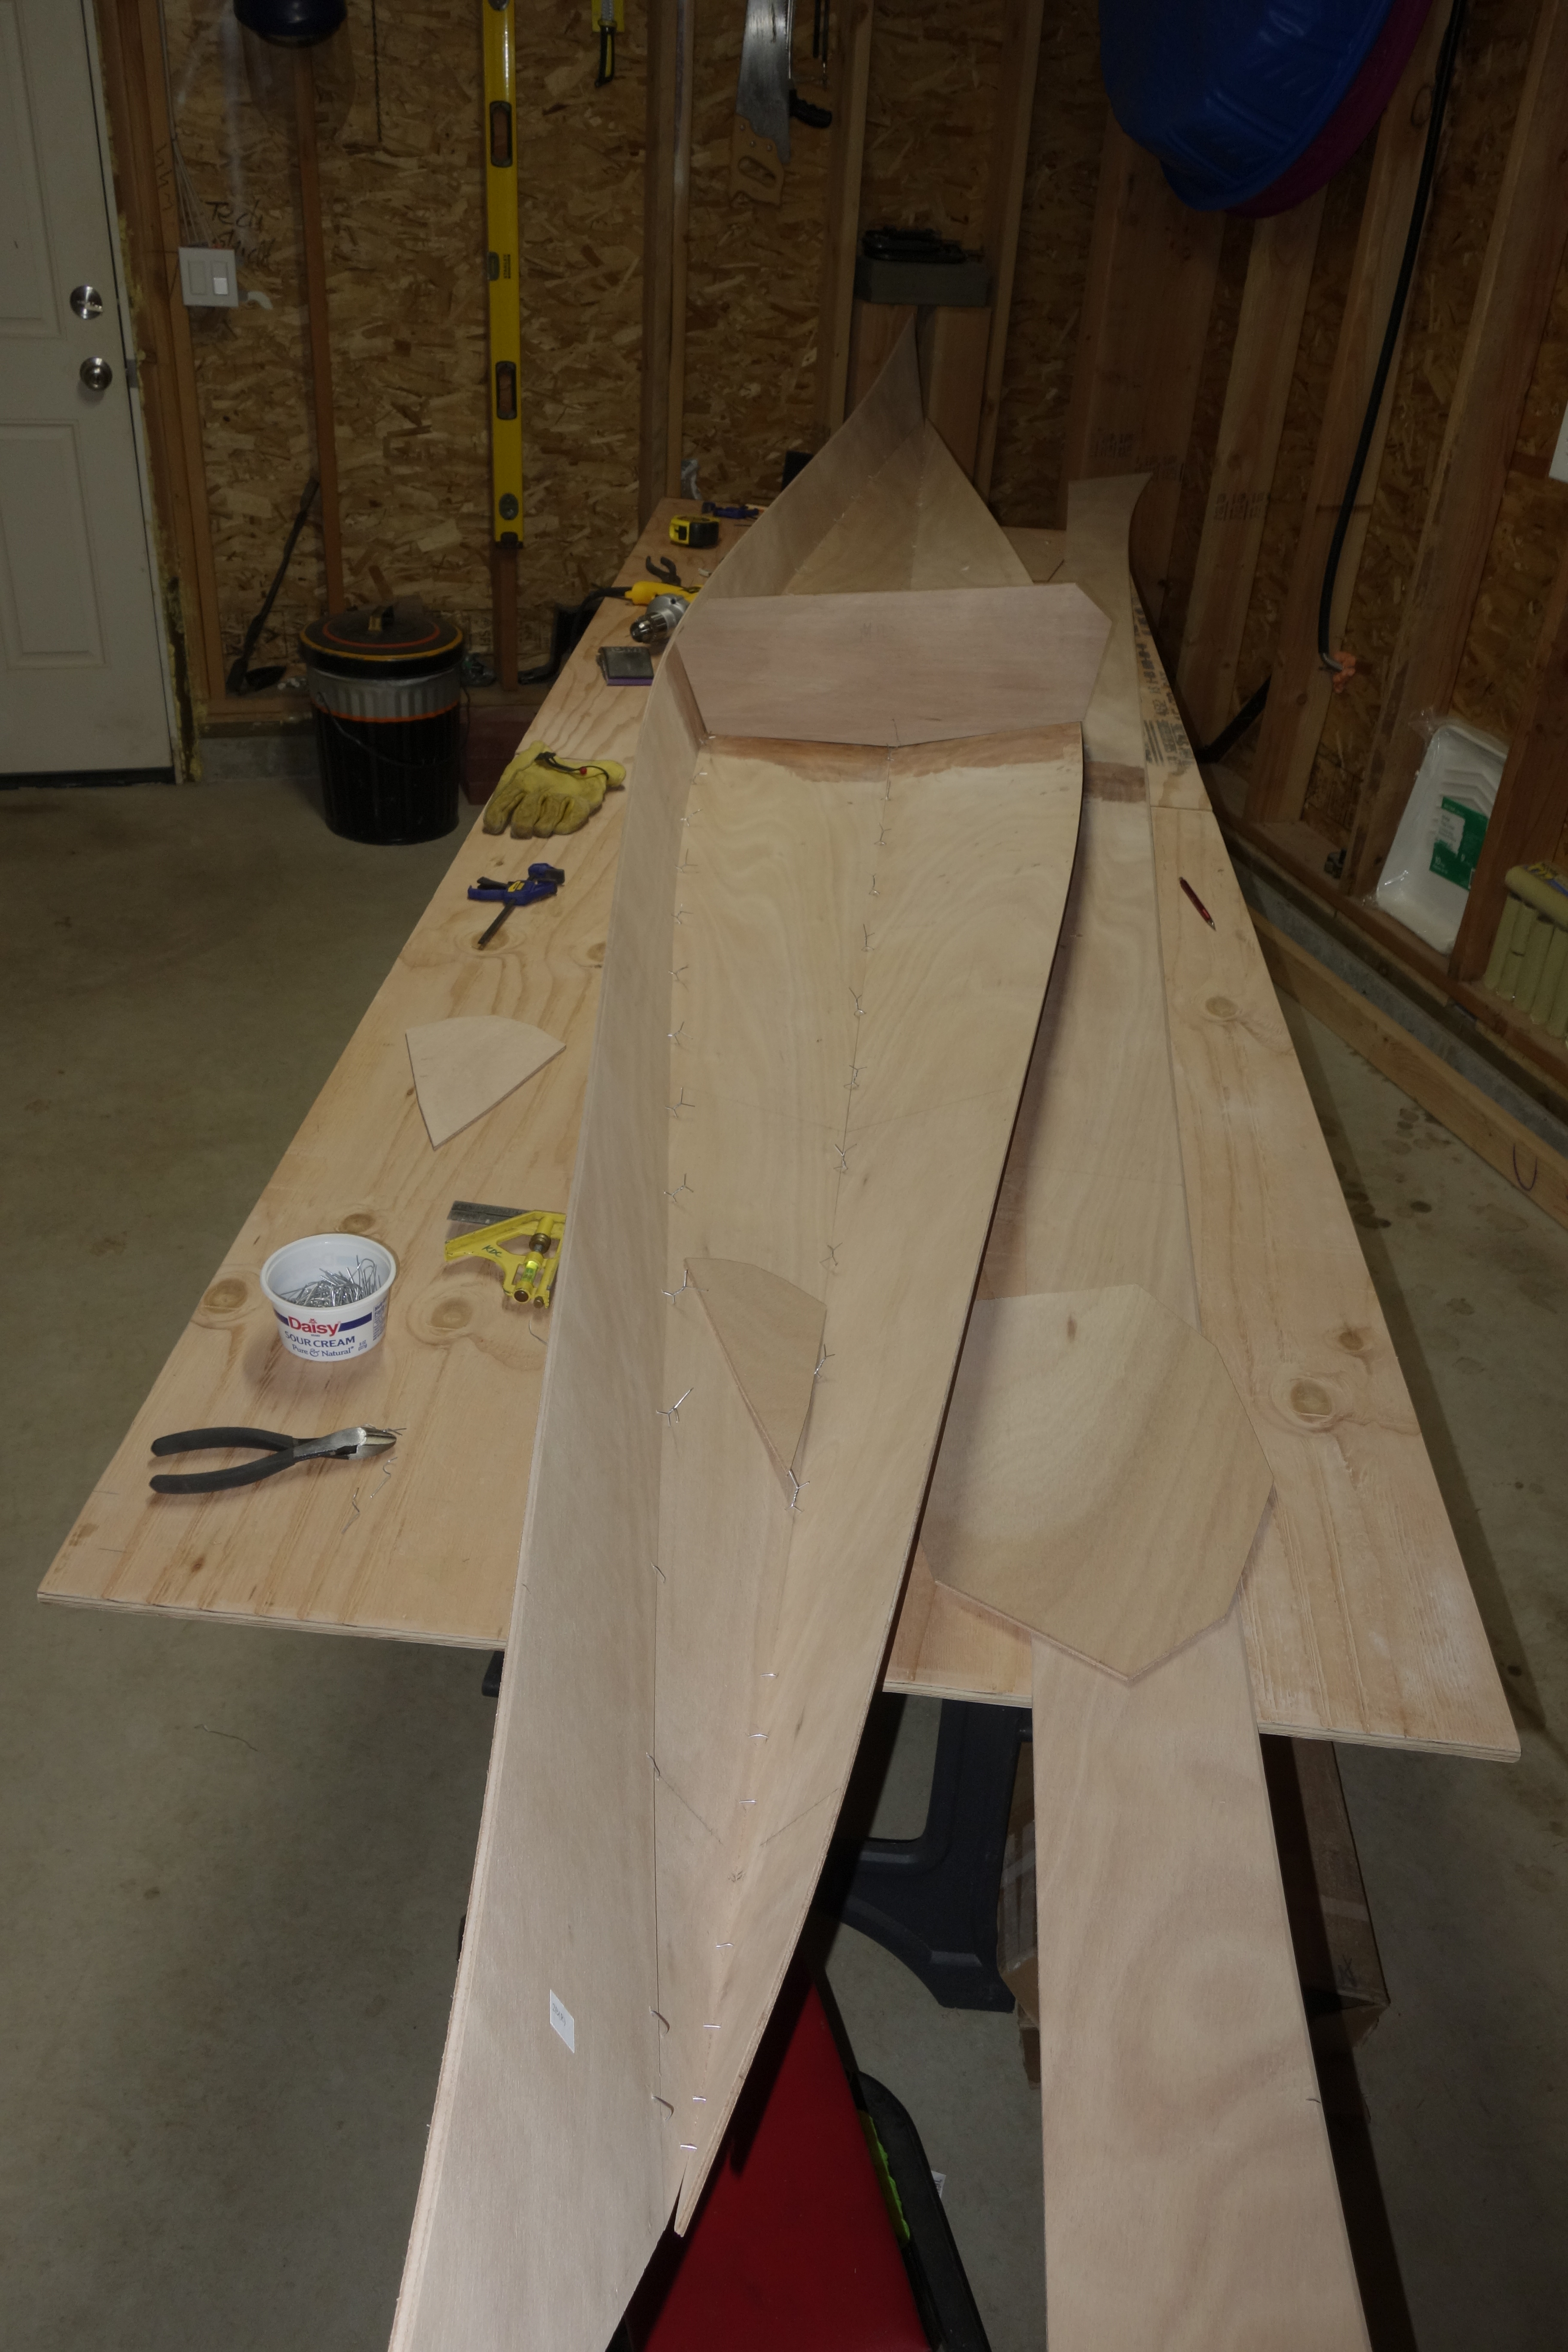
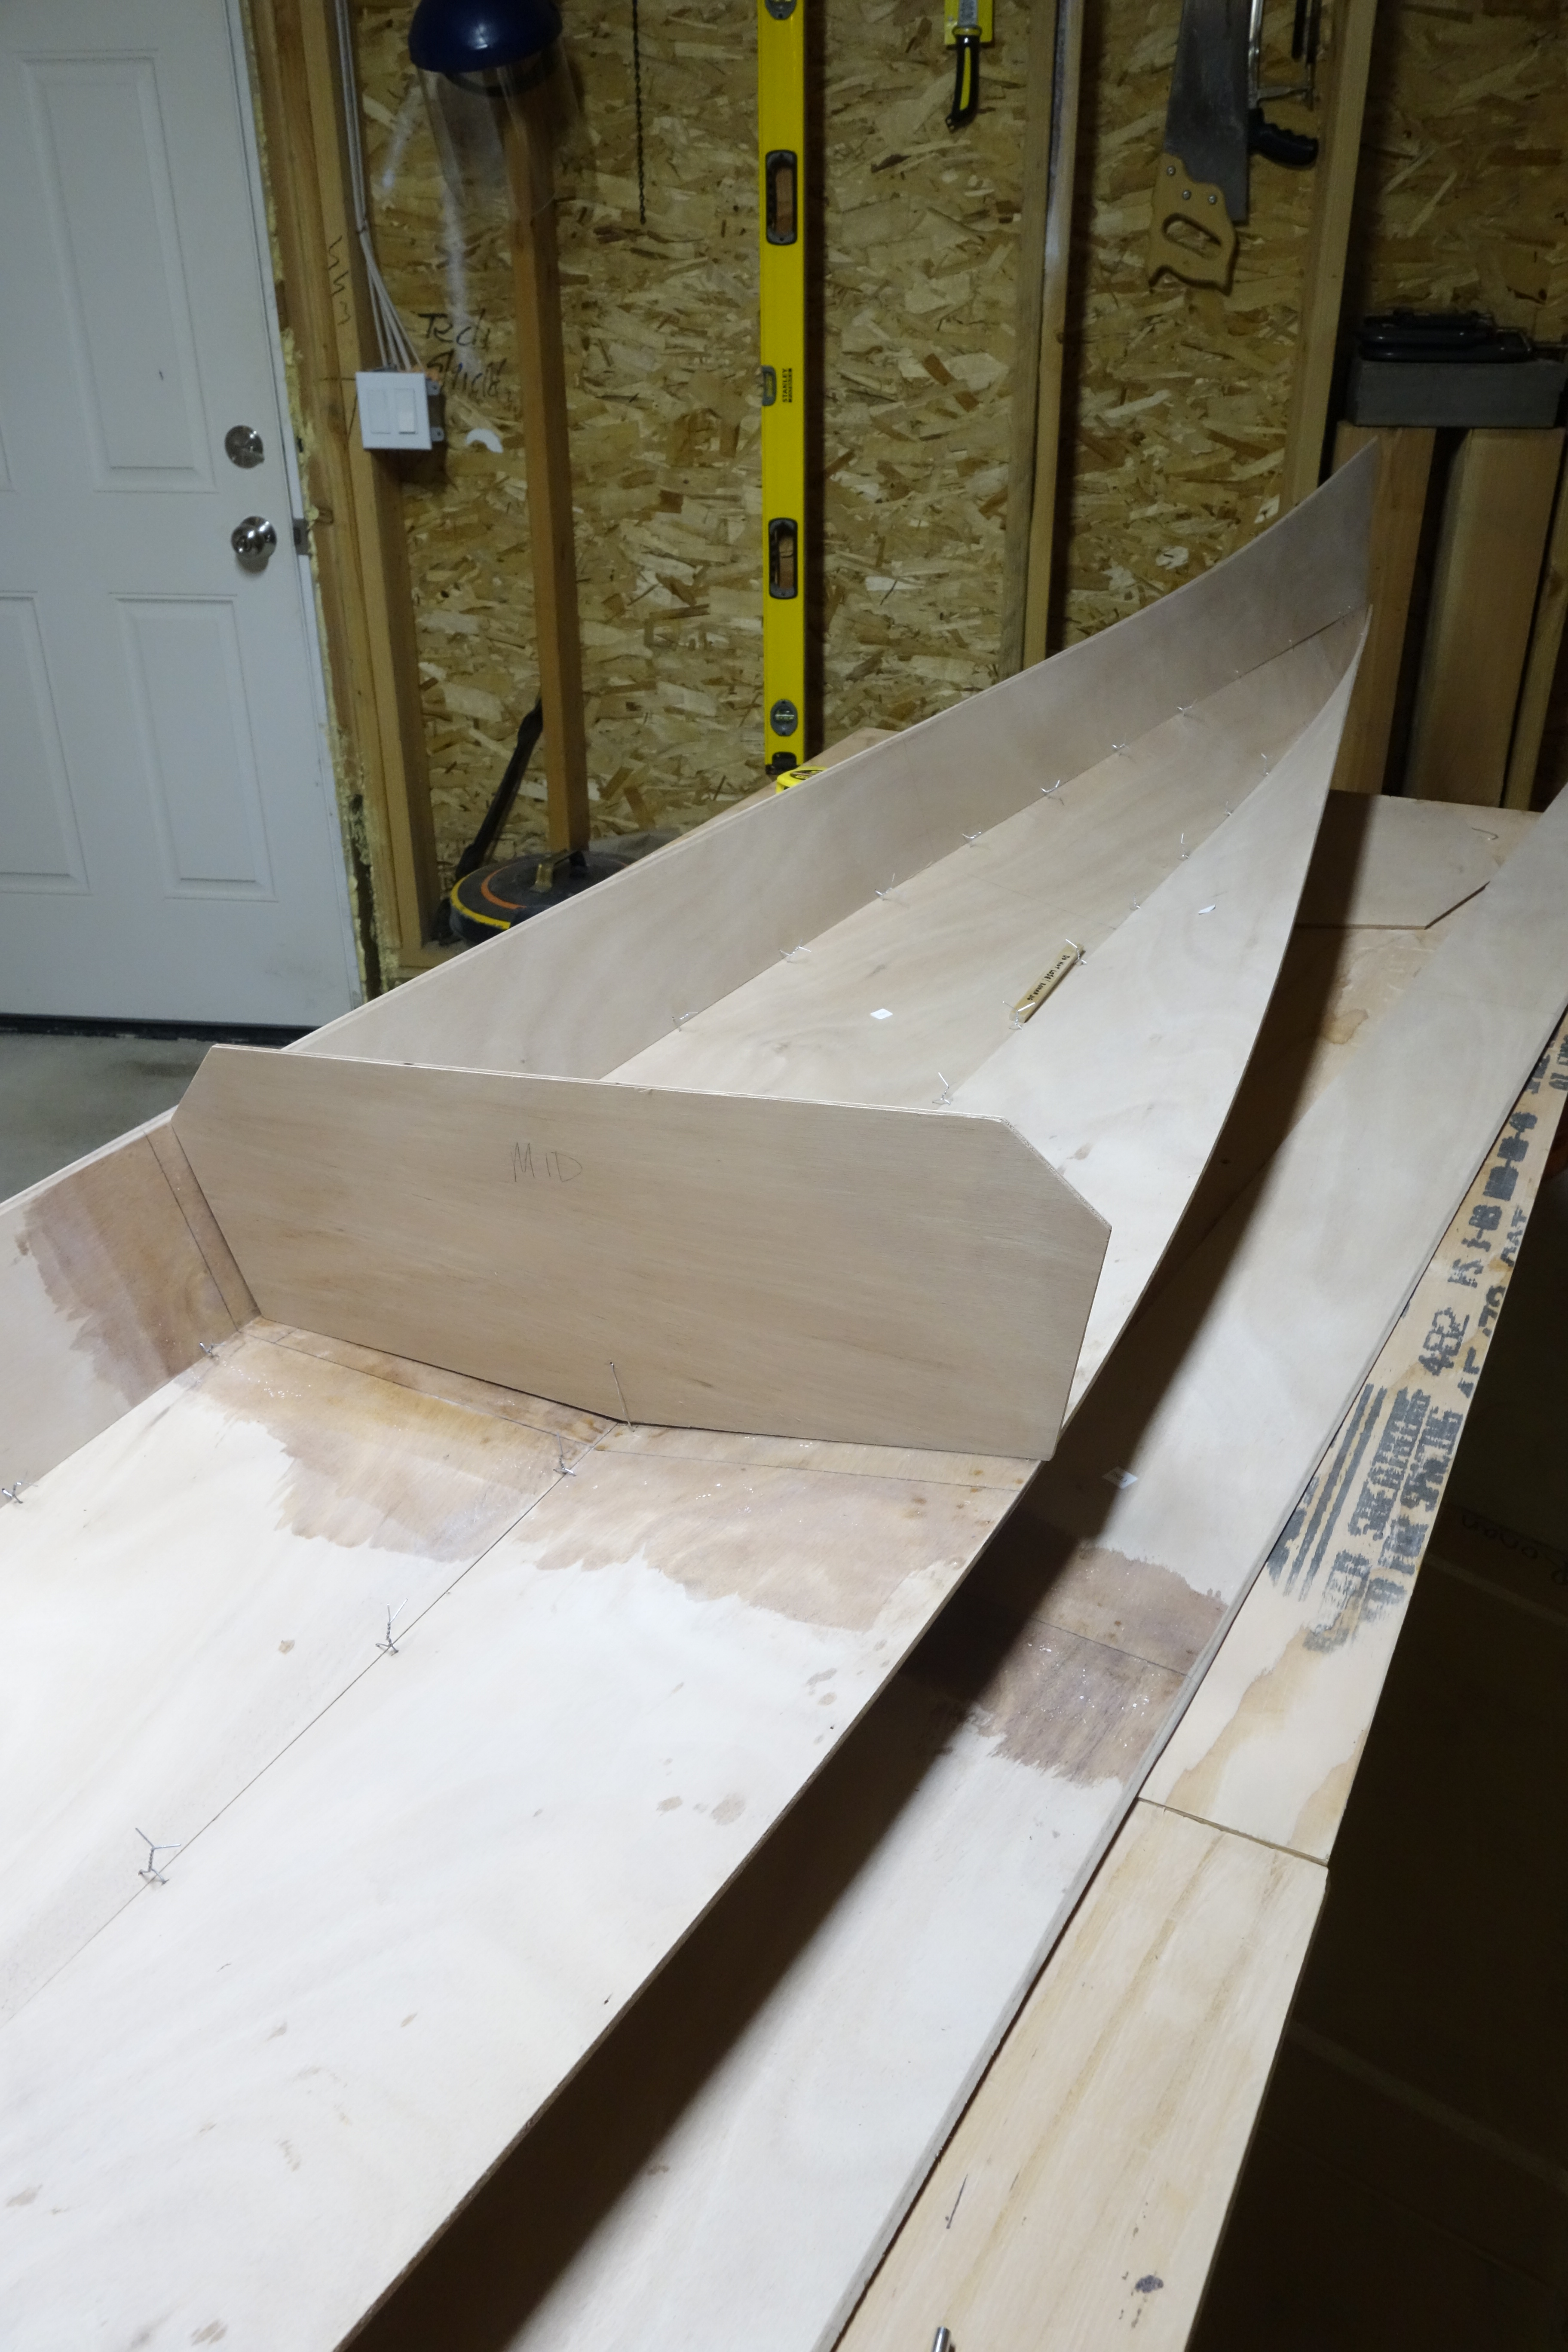
There is an important process that I forgot to photograph before I turned the hull over to do the wires on the outside, and that is that the temporary frames were all glued into the hull using a hot glue gun. Pygmy recommends the cheapest one you can find, which is what I bought, and it worked great! Each frame got beads of hot glue about an inch long, spaced every few inches, on both sides of the frames. This was done to hold the frames in place once the wires are removed after the hull seams are glued. The frames must remain in the kayak until after the deck is wired together as they will guide the shape of the deck while it is wired and glued together (but not glued to the hull at that point).
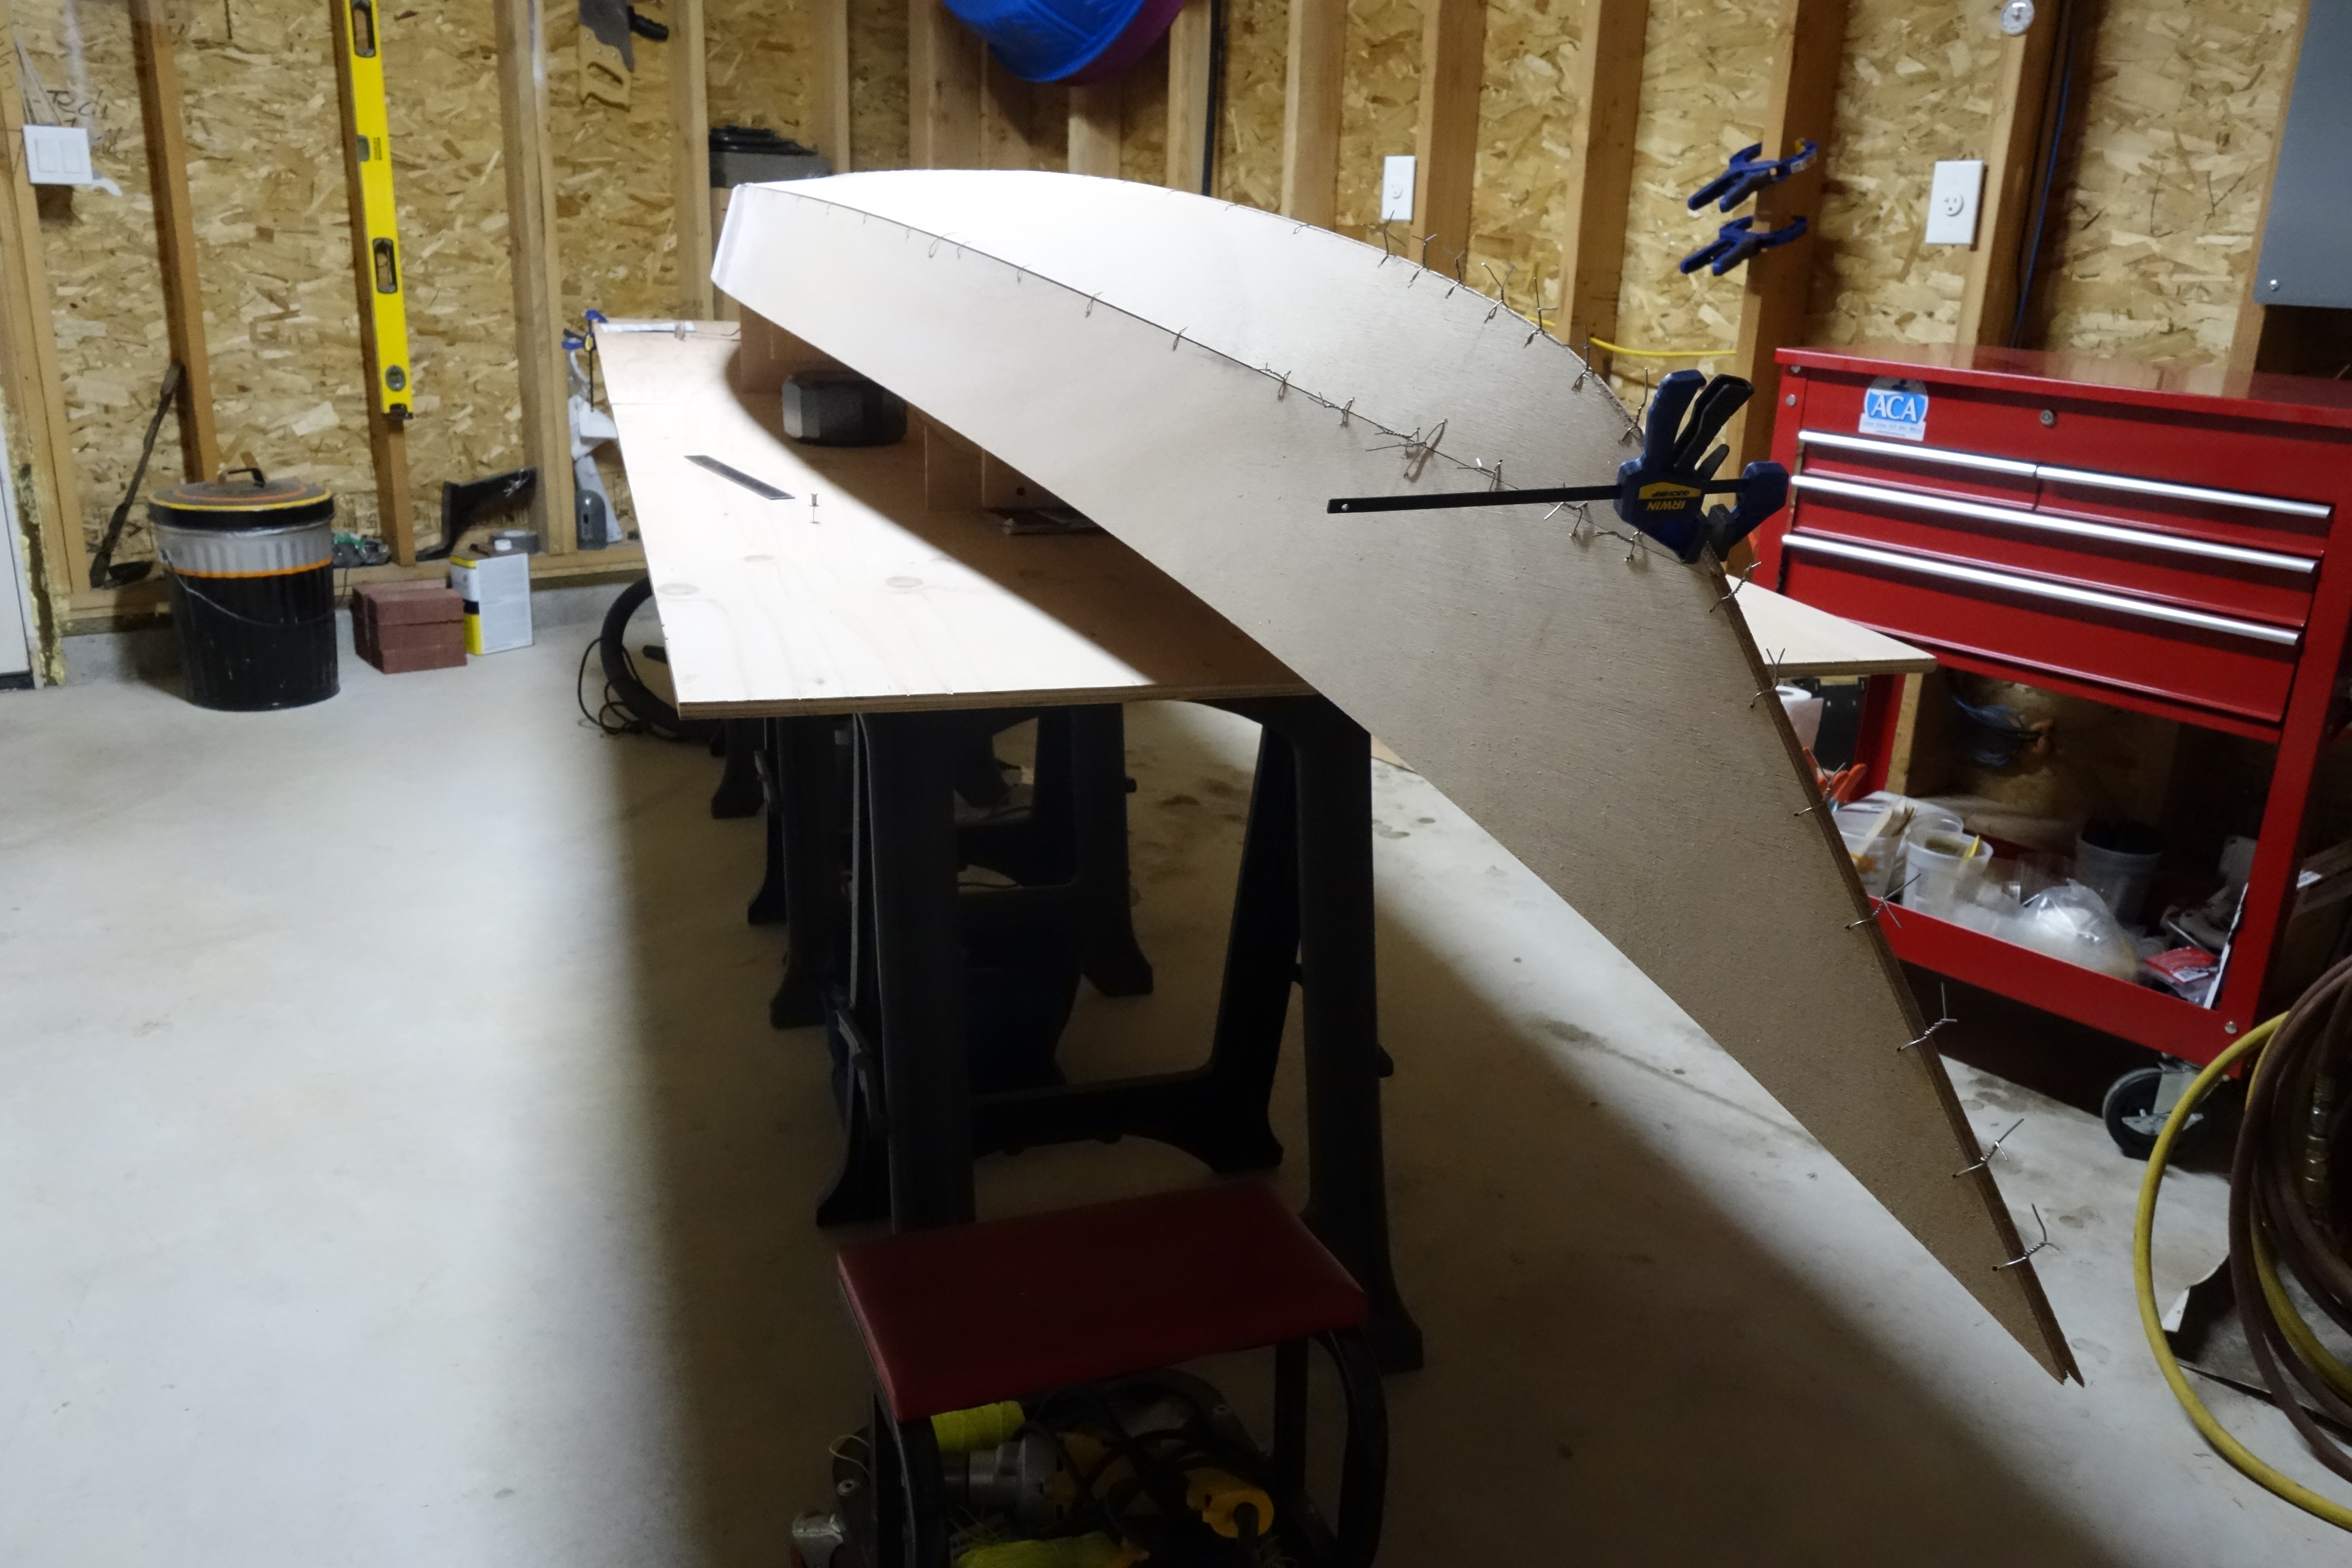
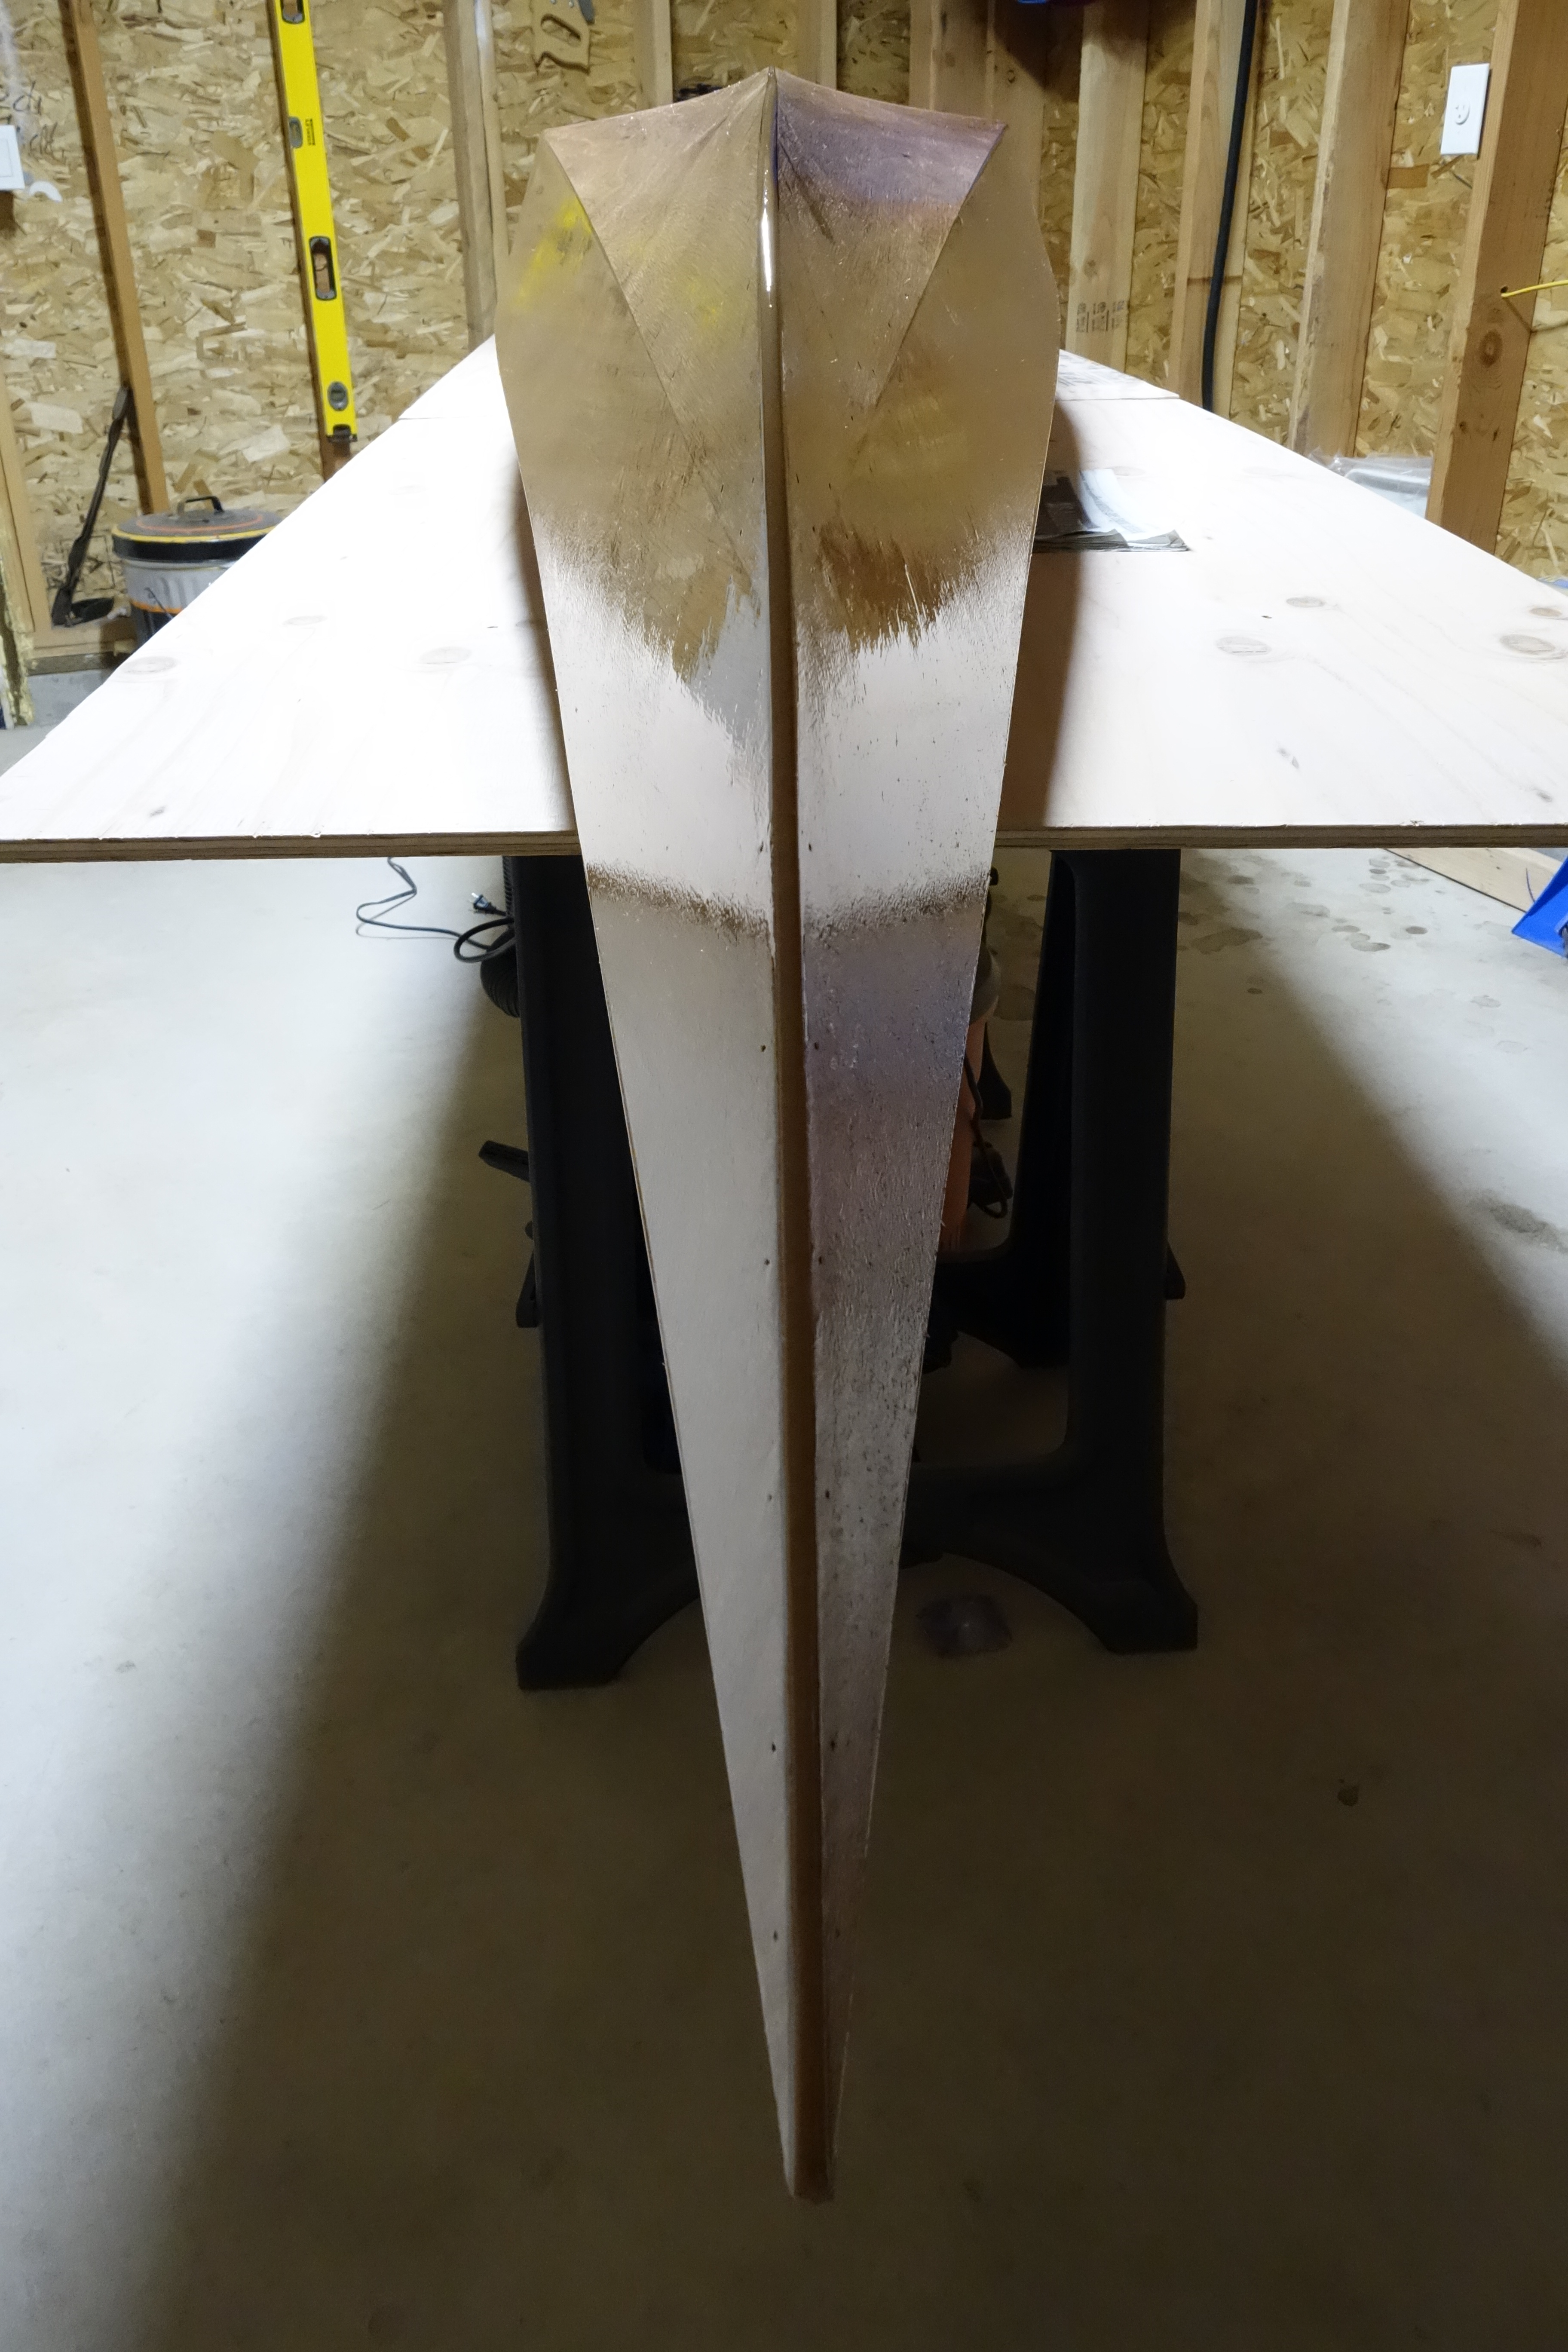
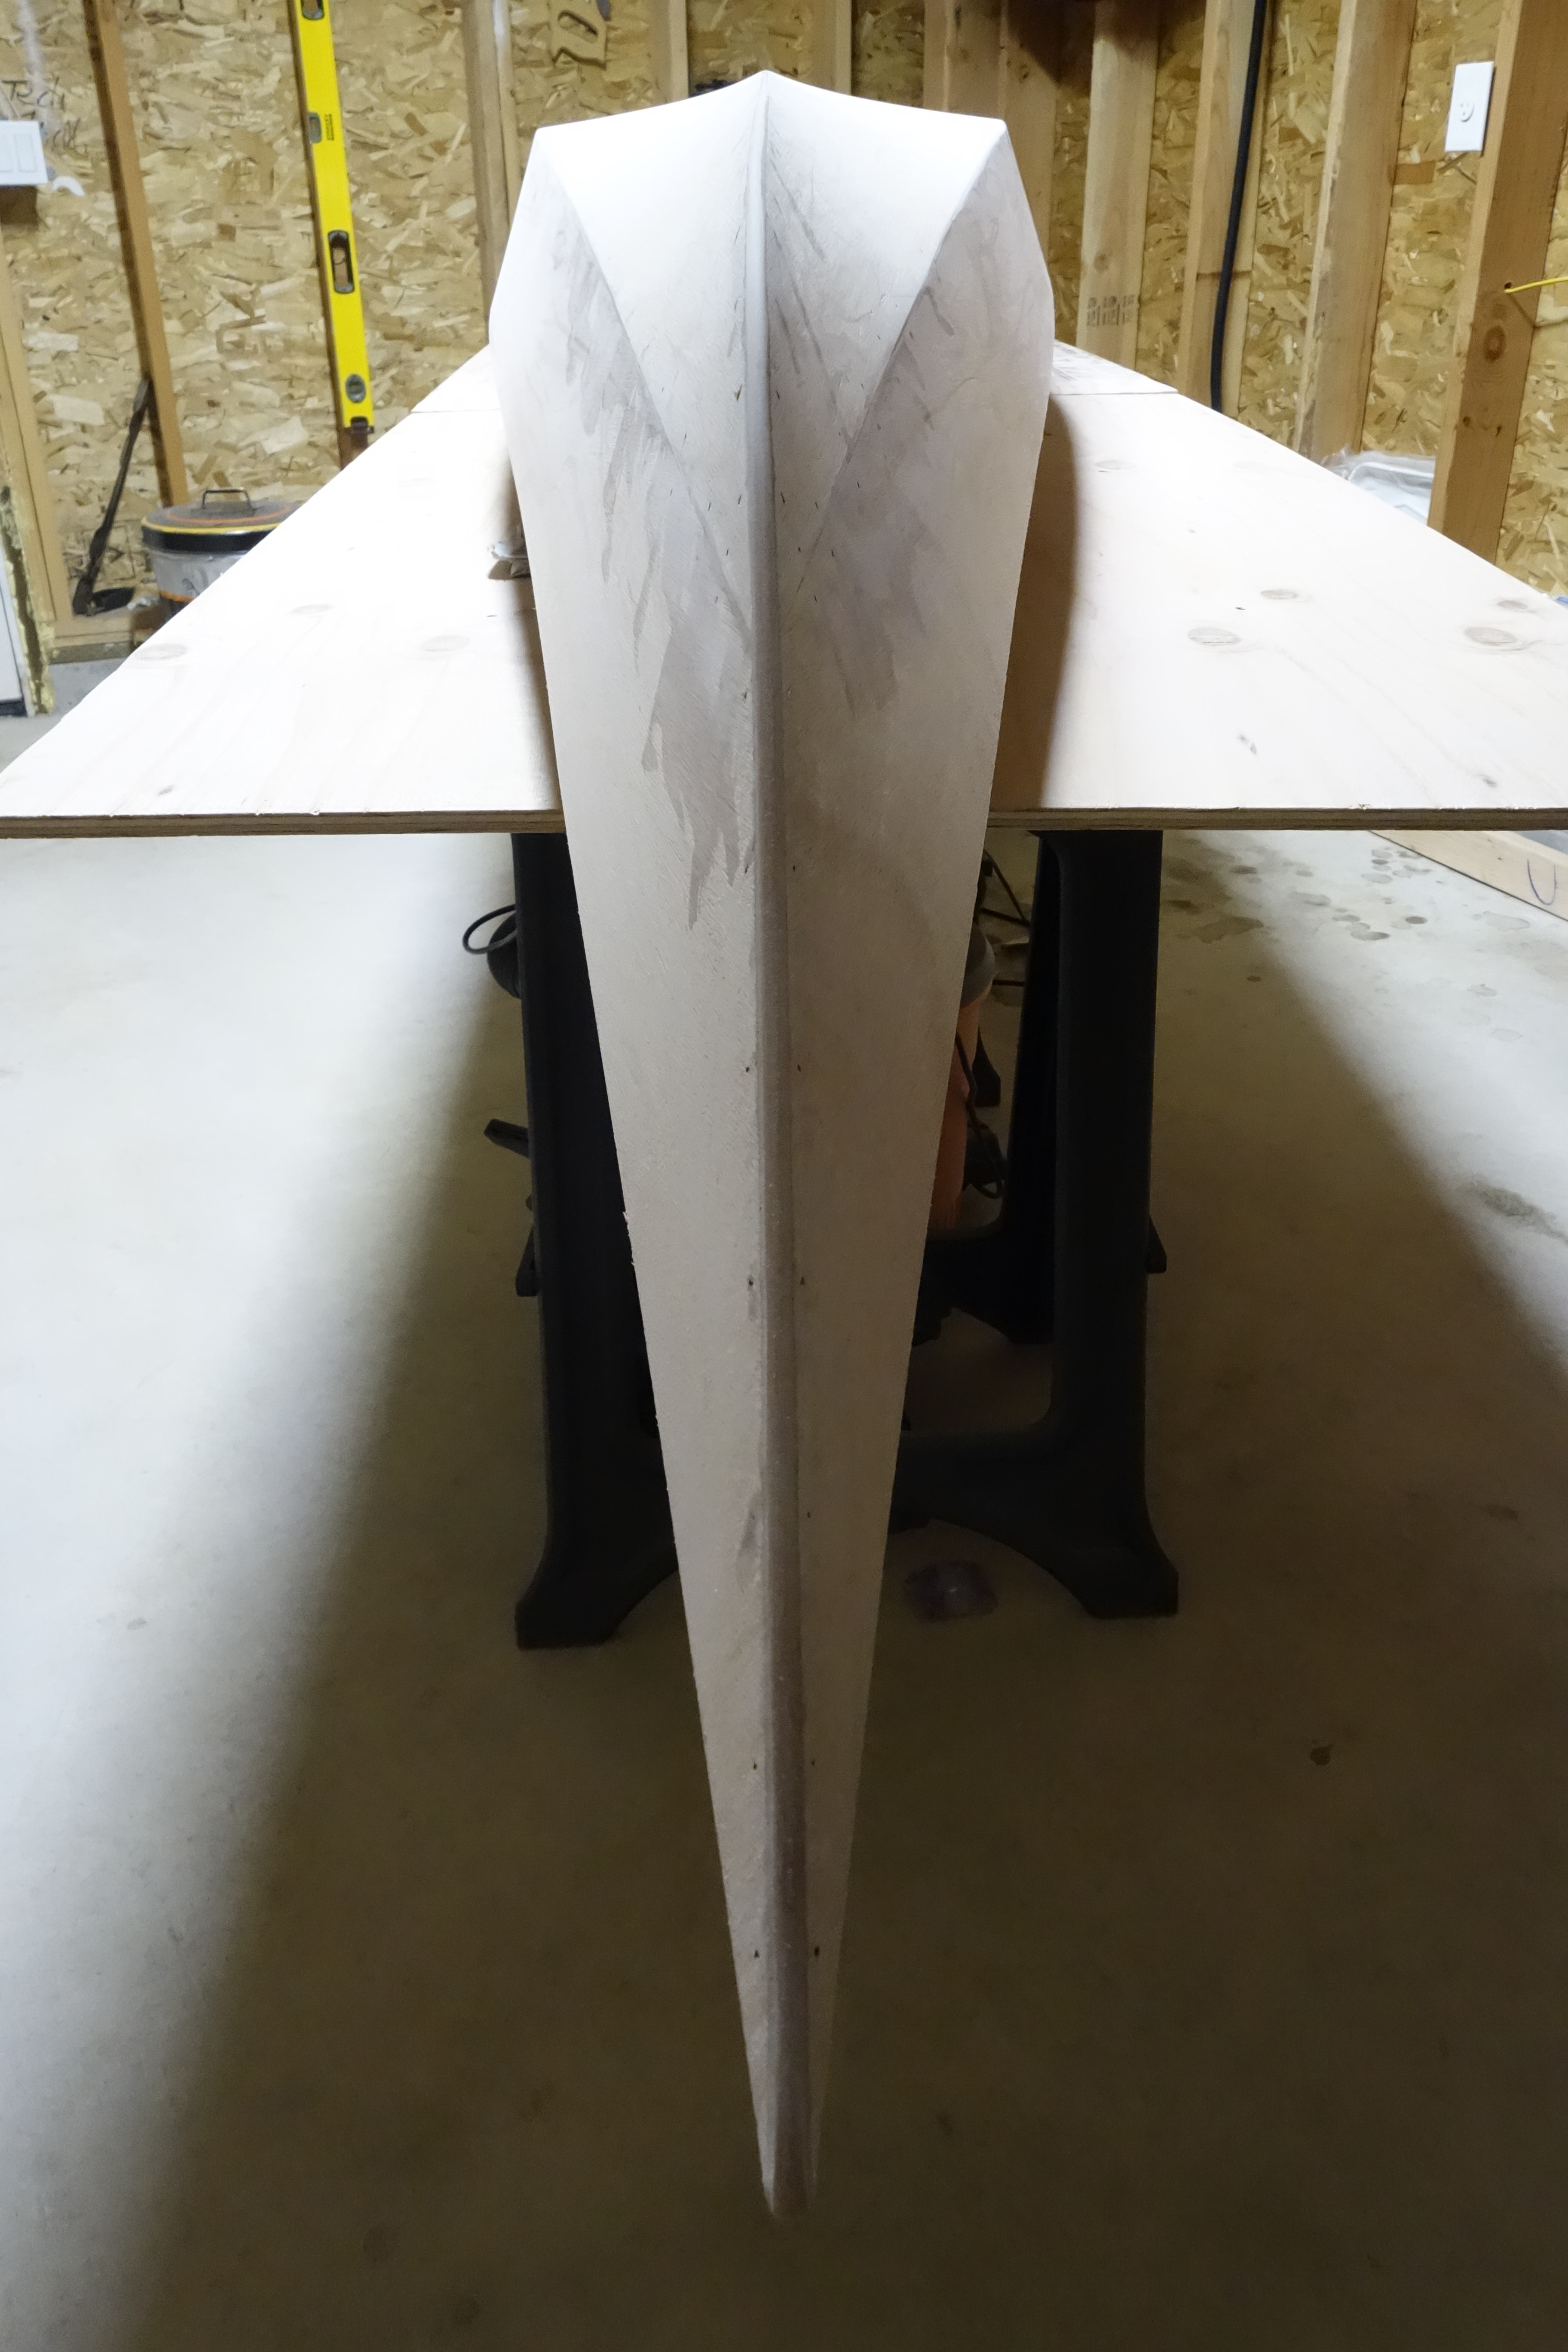
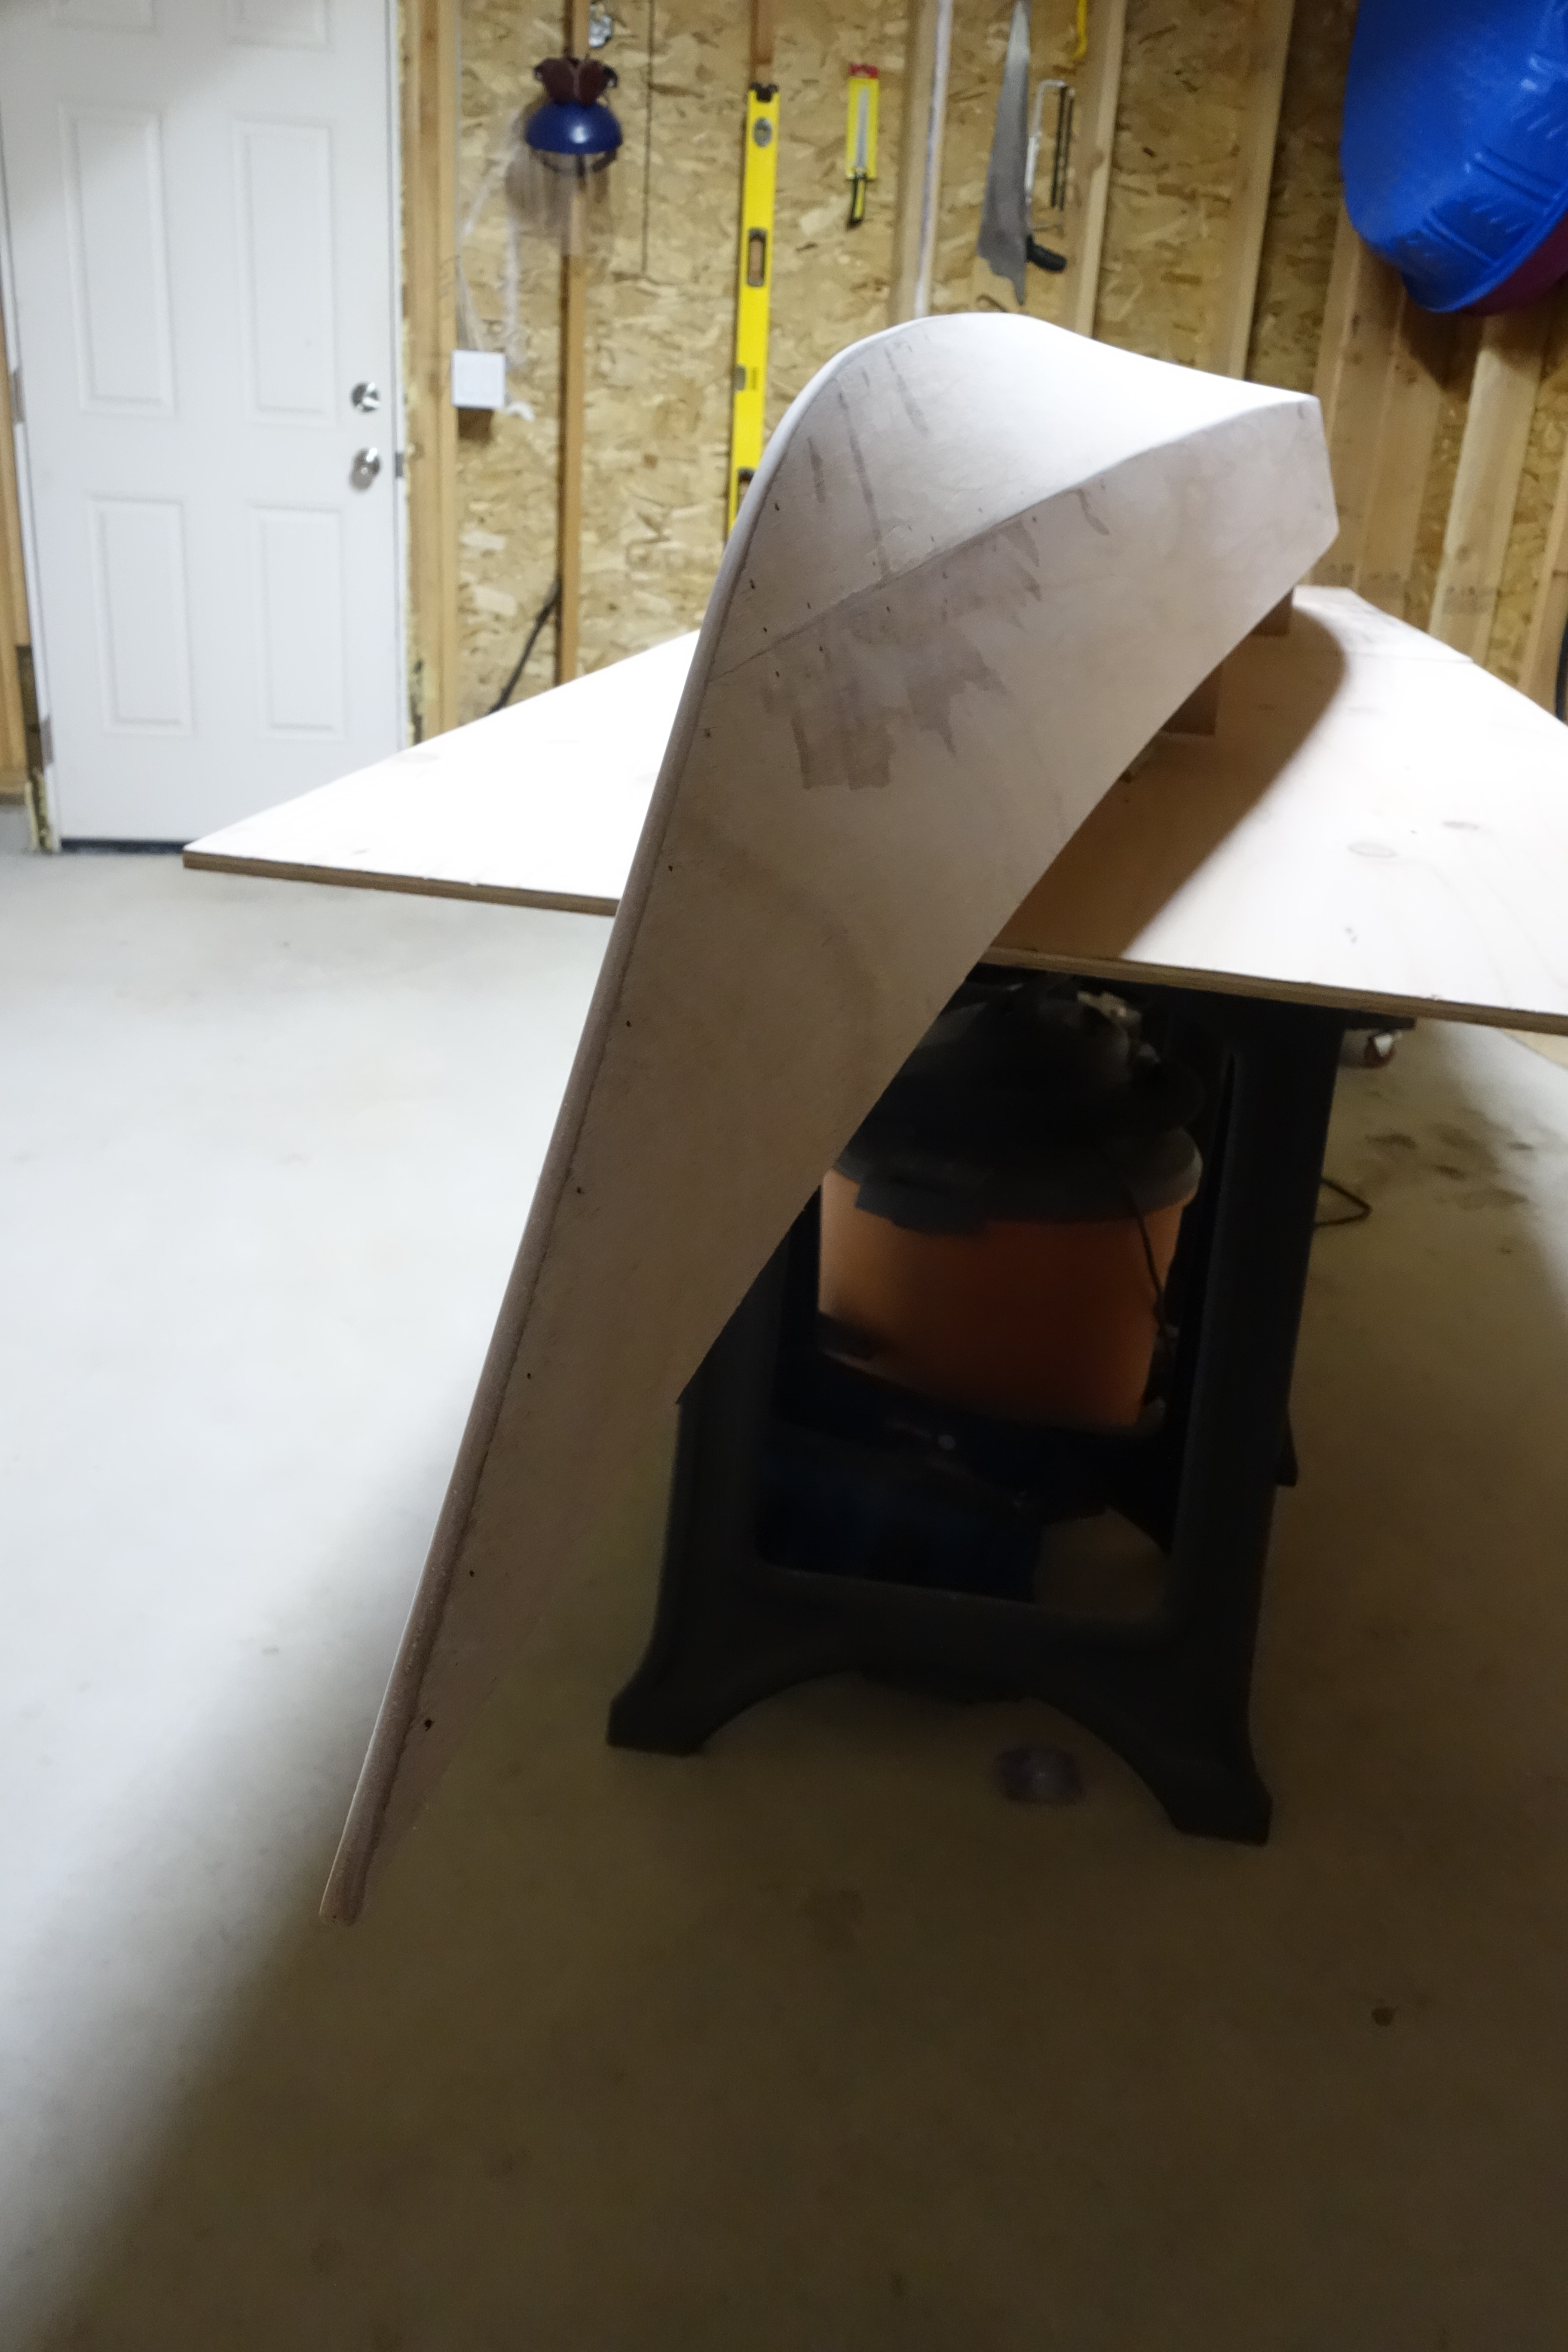
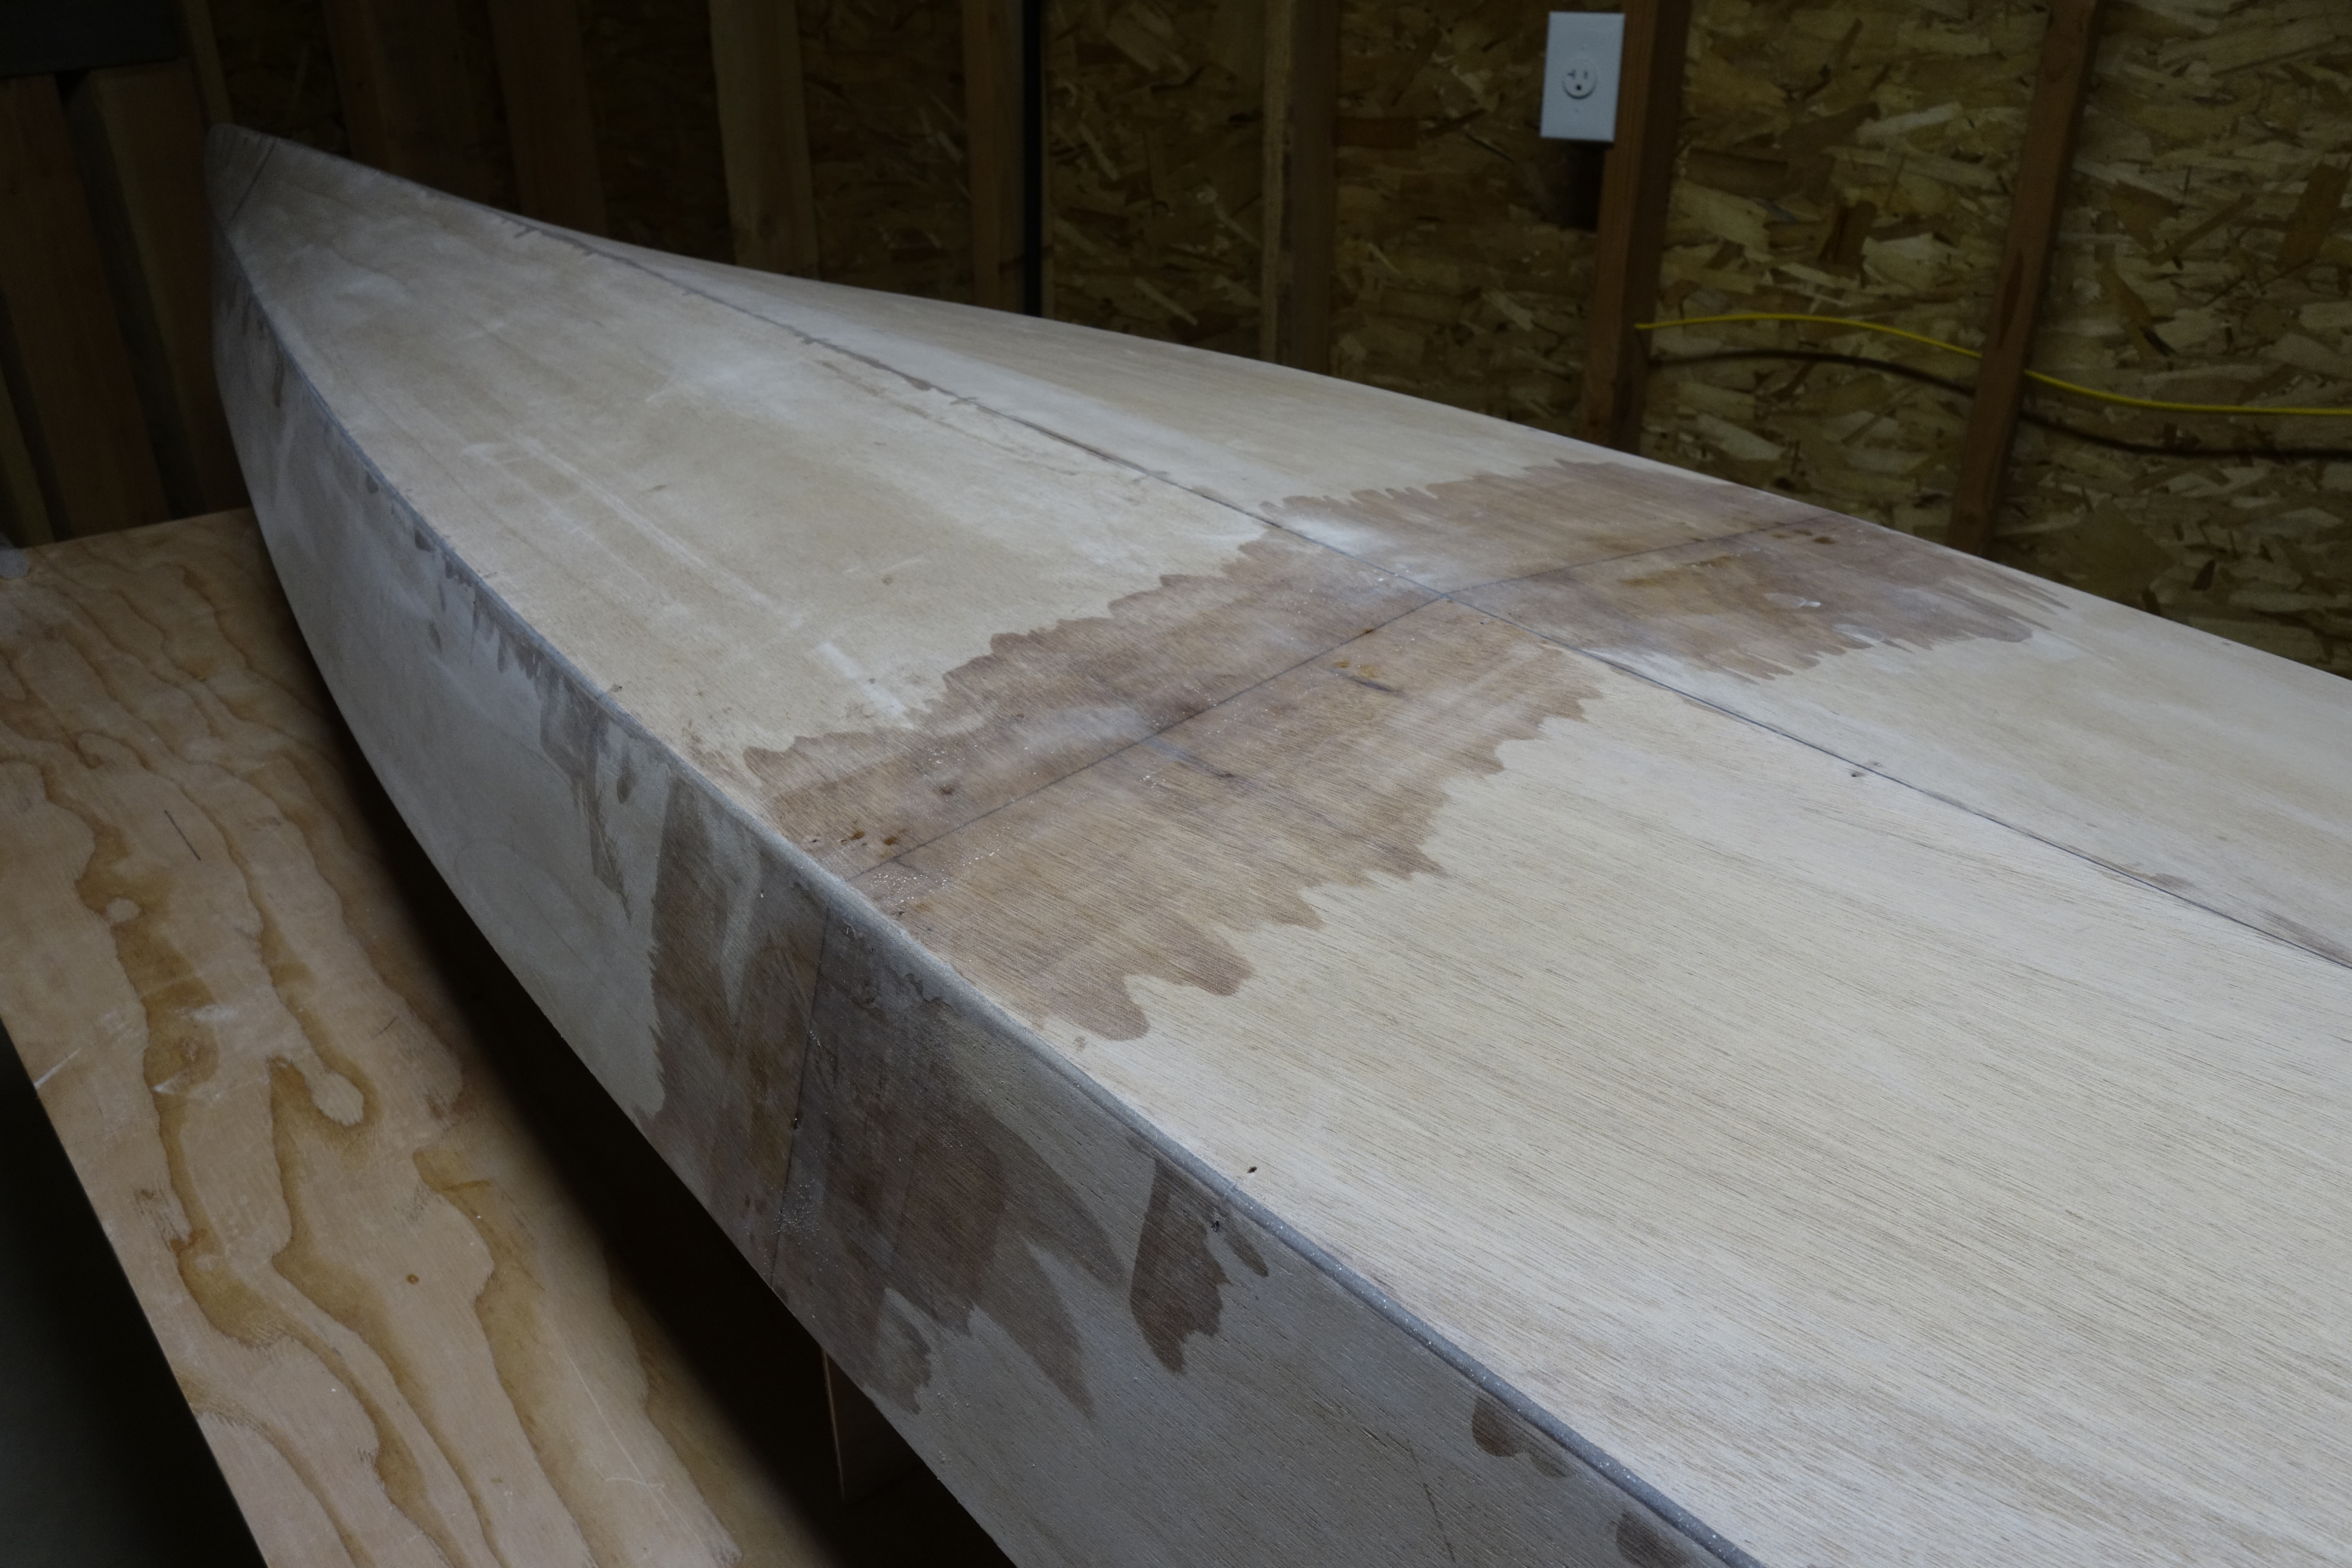
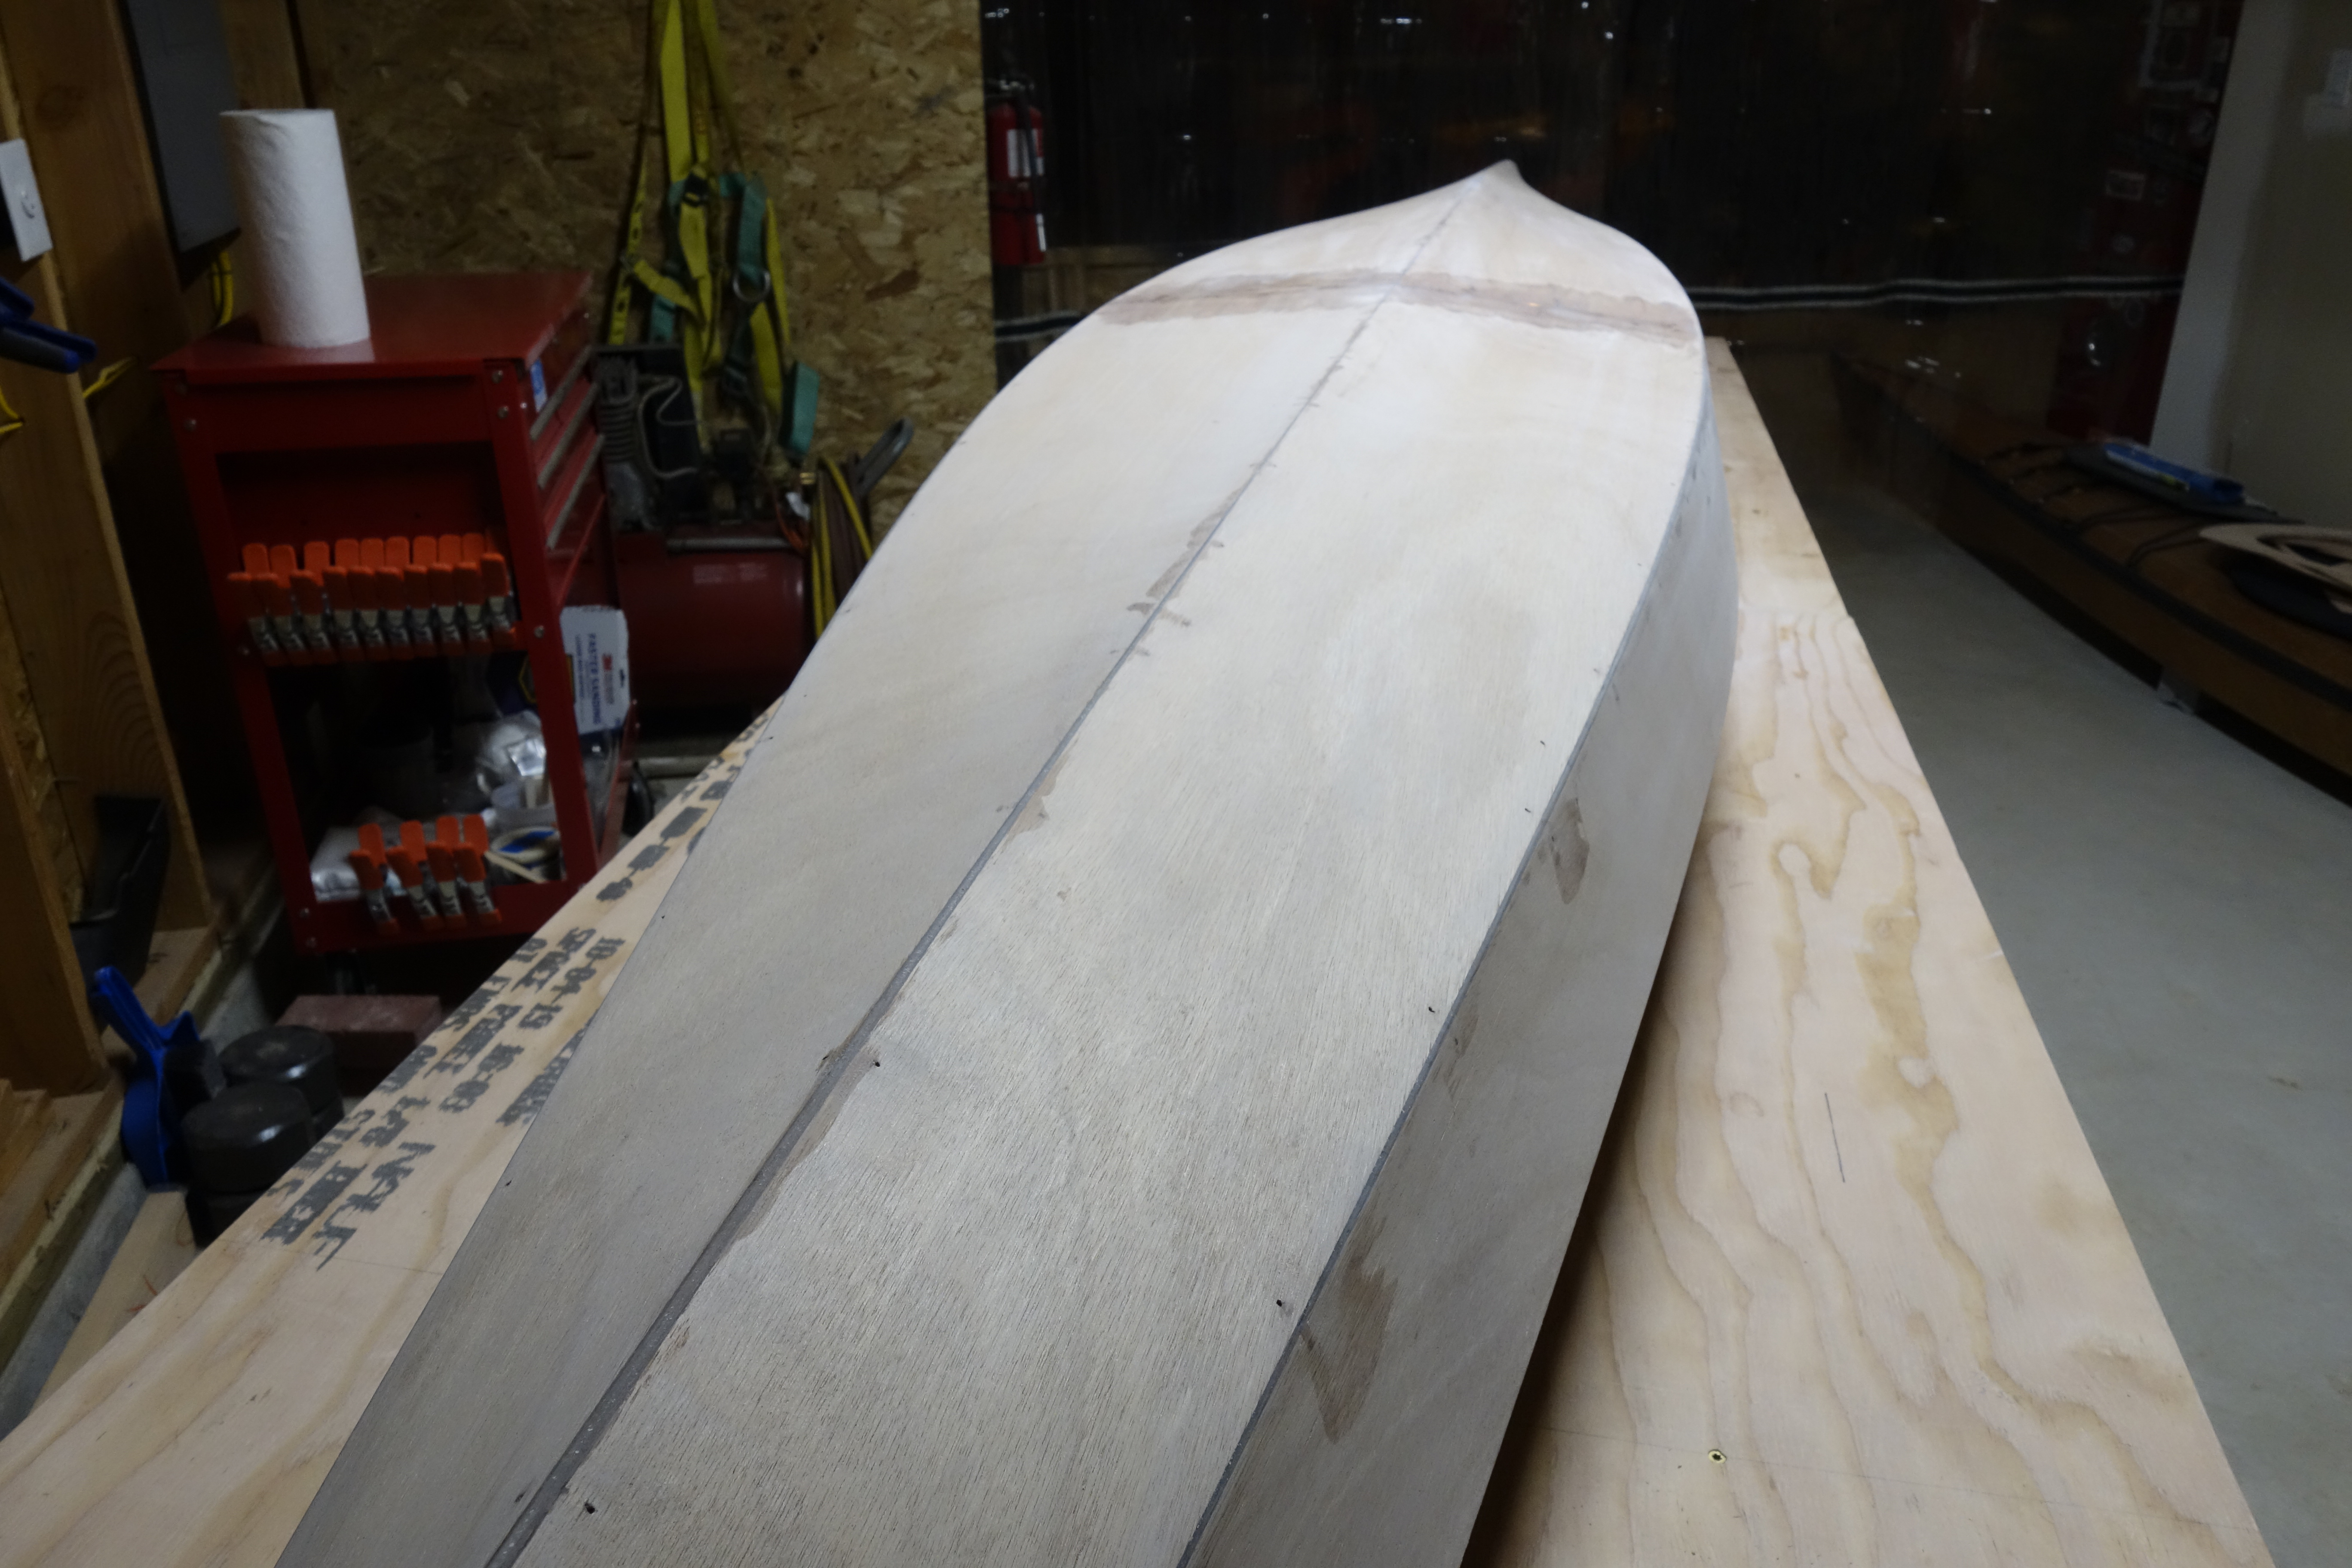
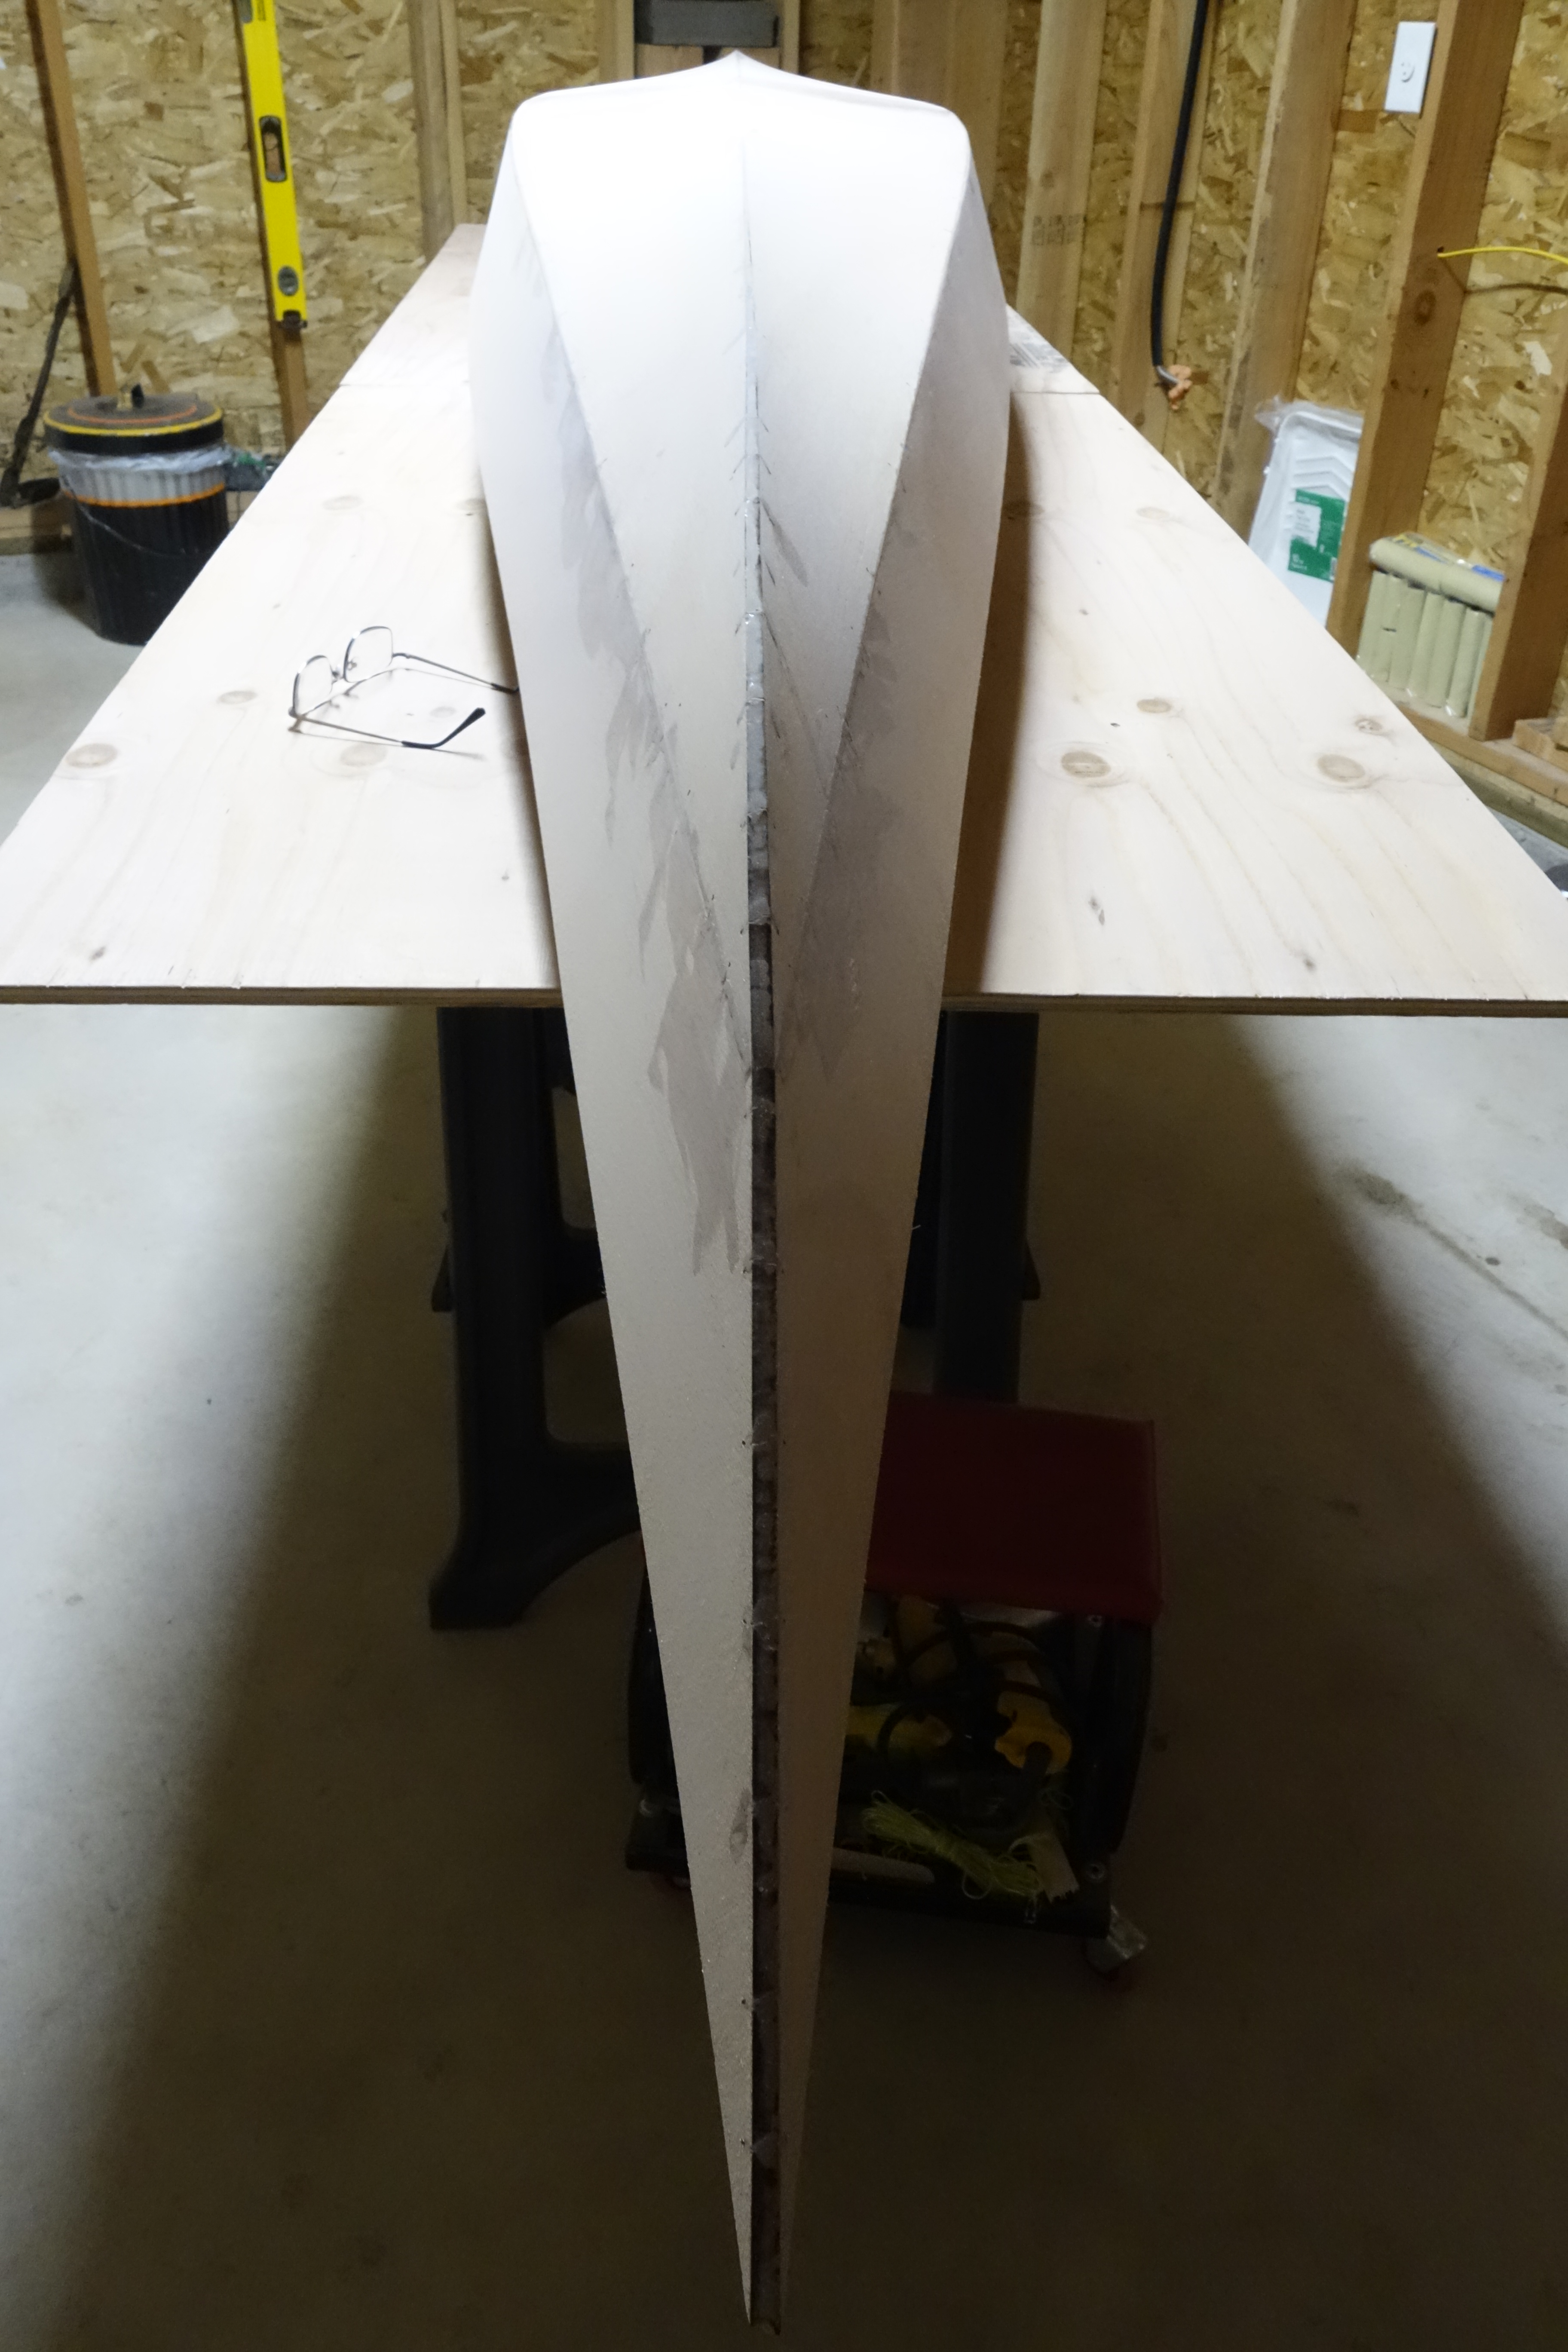
After the rocker is set and the keel seam epoxy has cured, the rest of the hull stitching can be tightened and the seams made smooth and fair, and ready for epoxy.

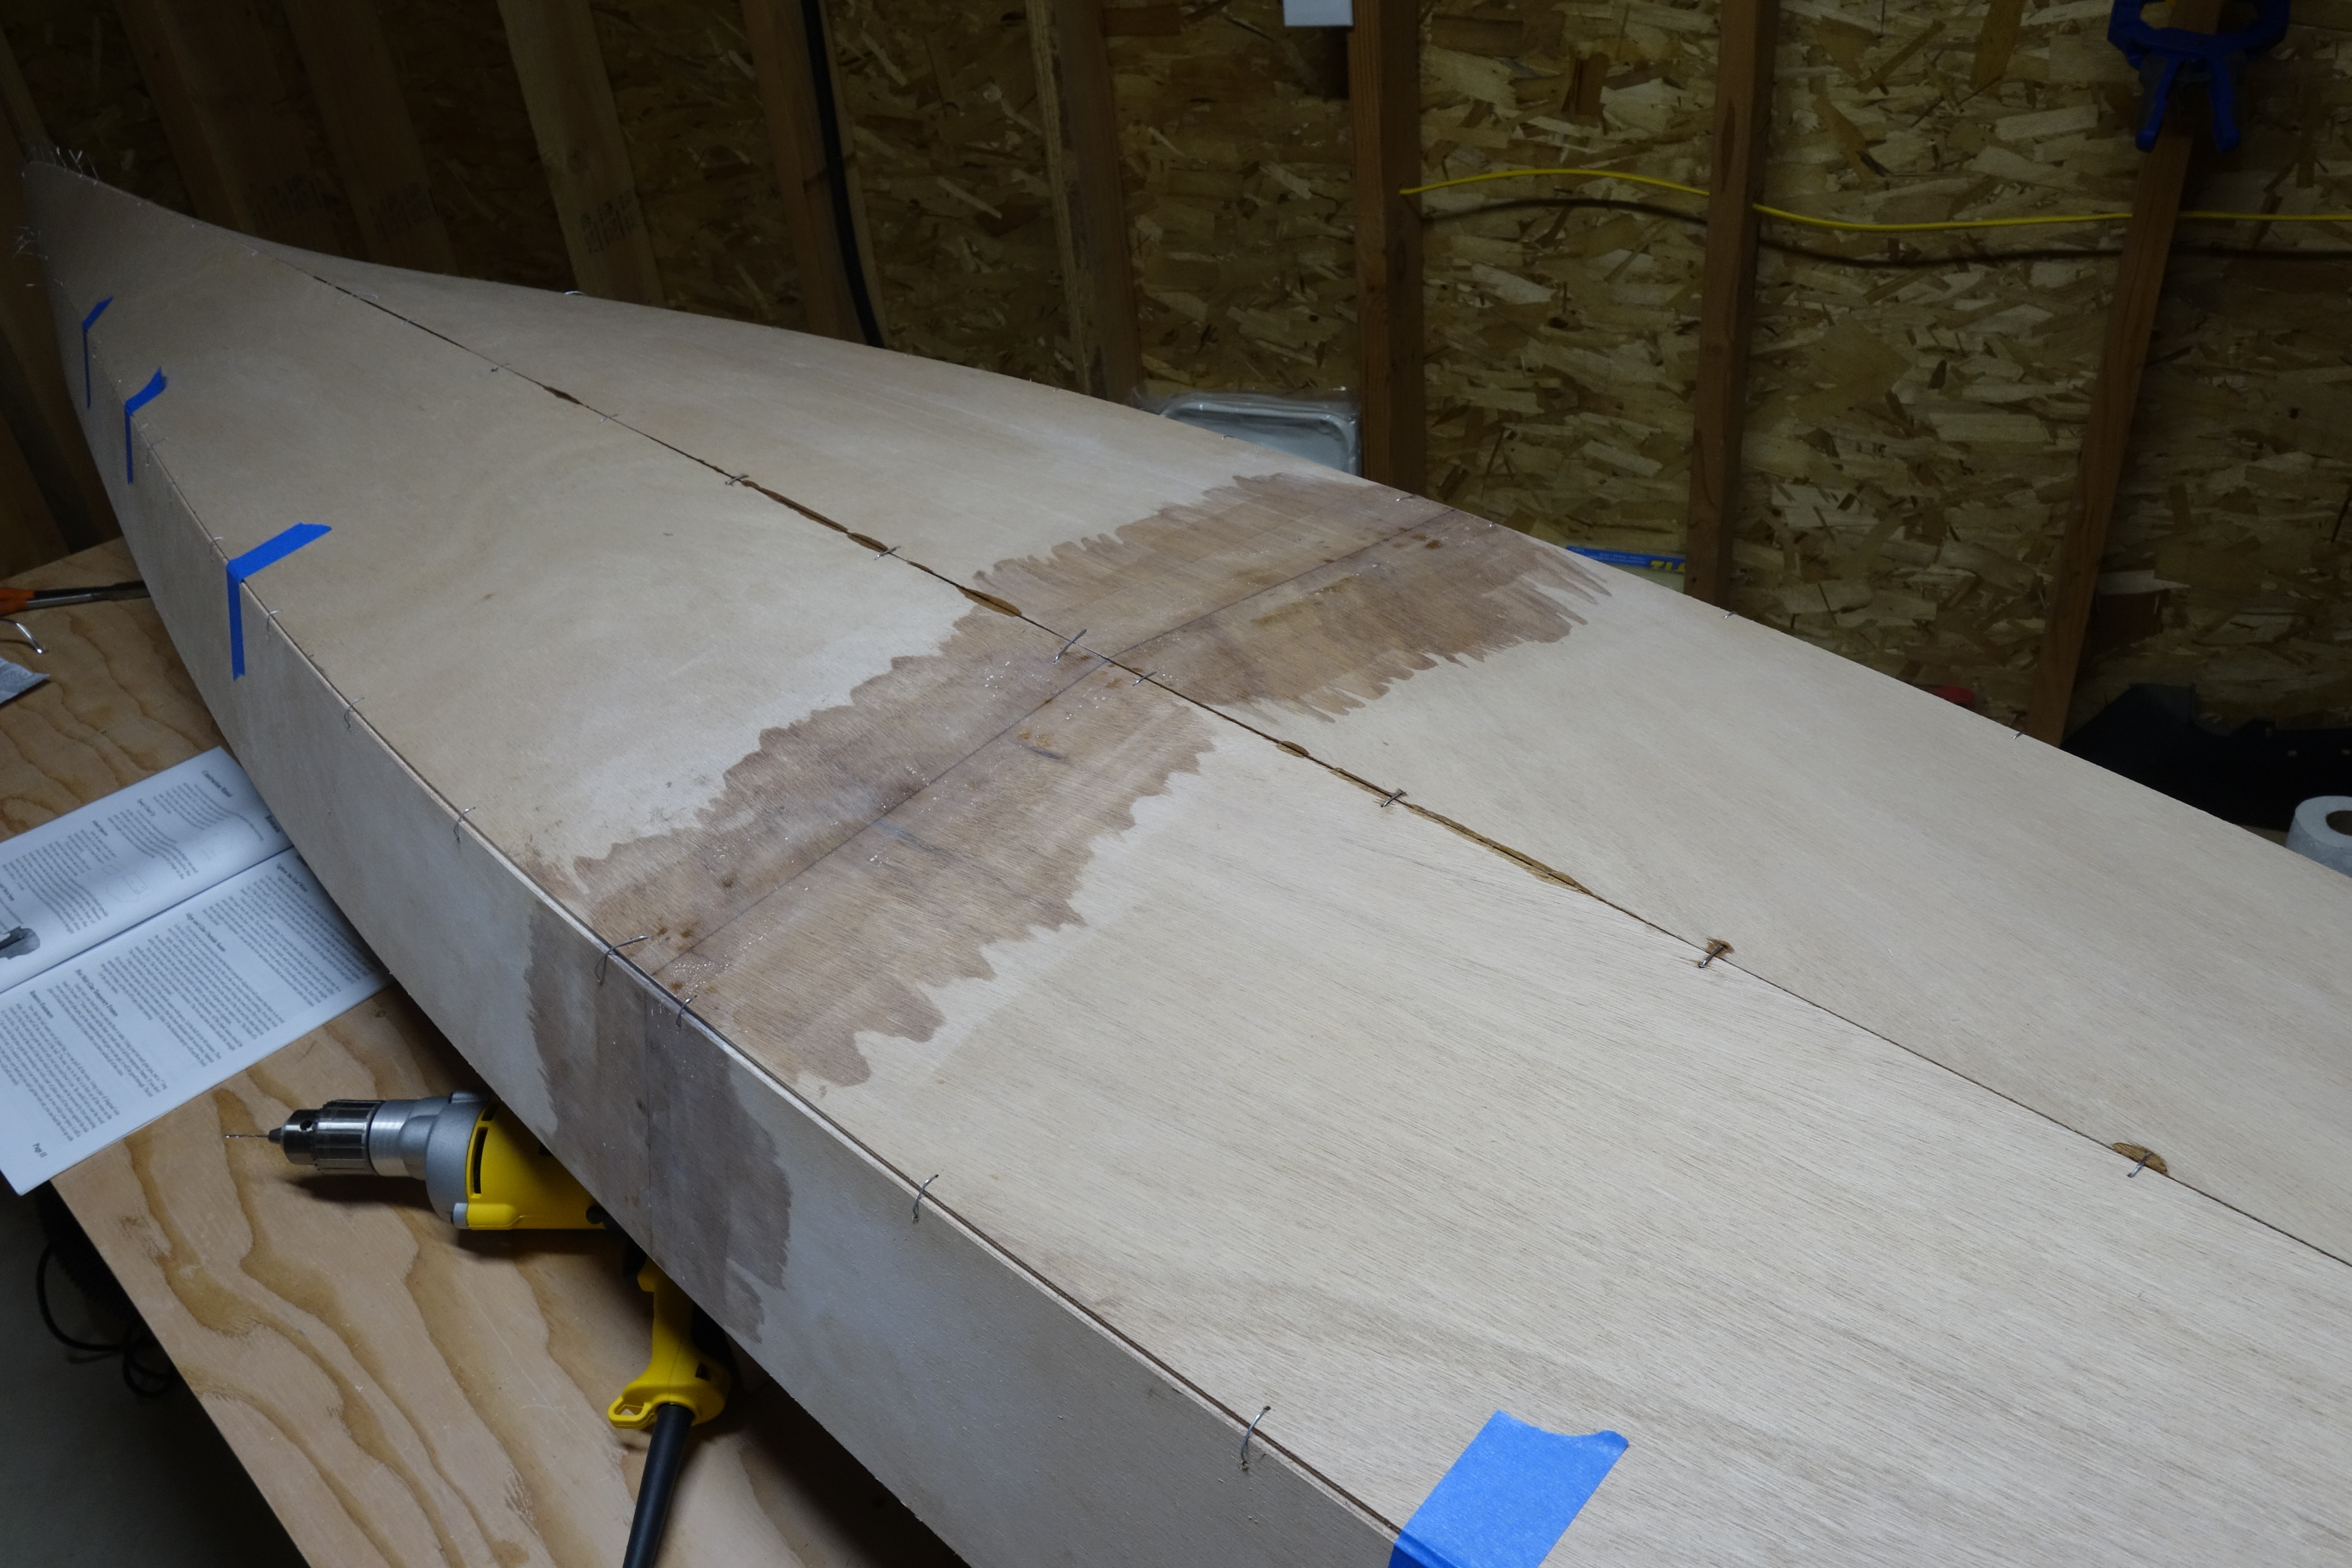
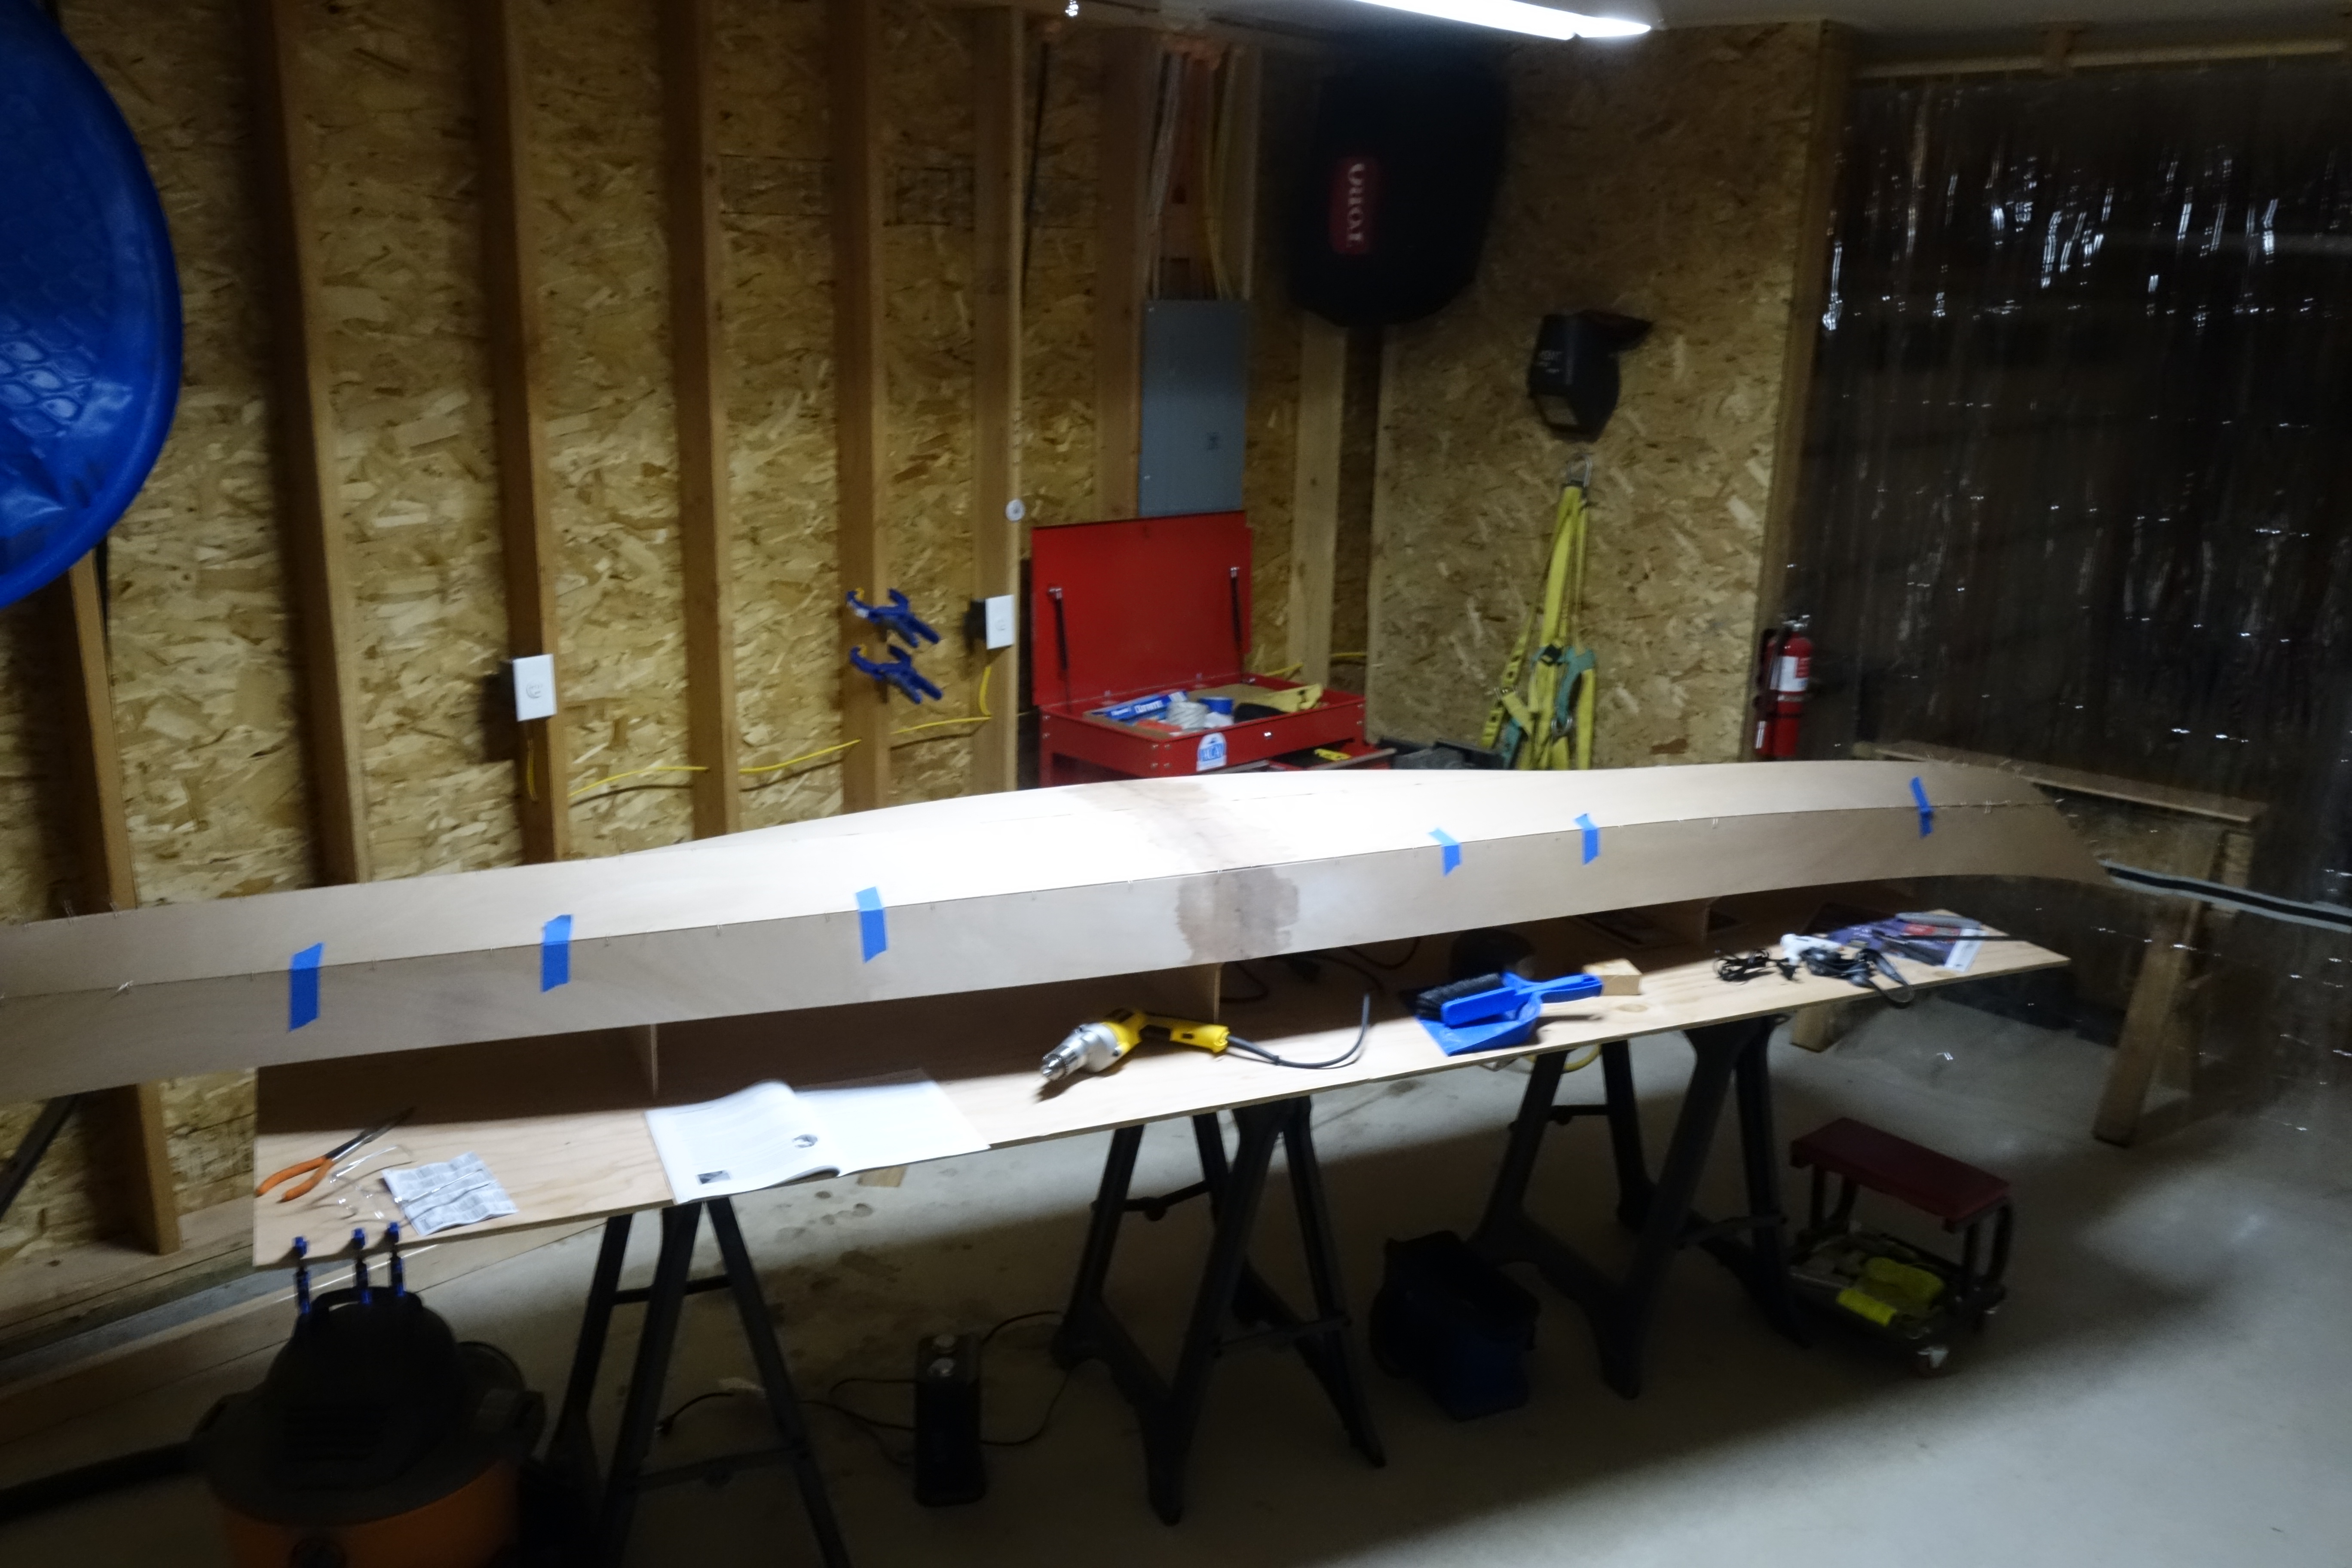
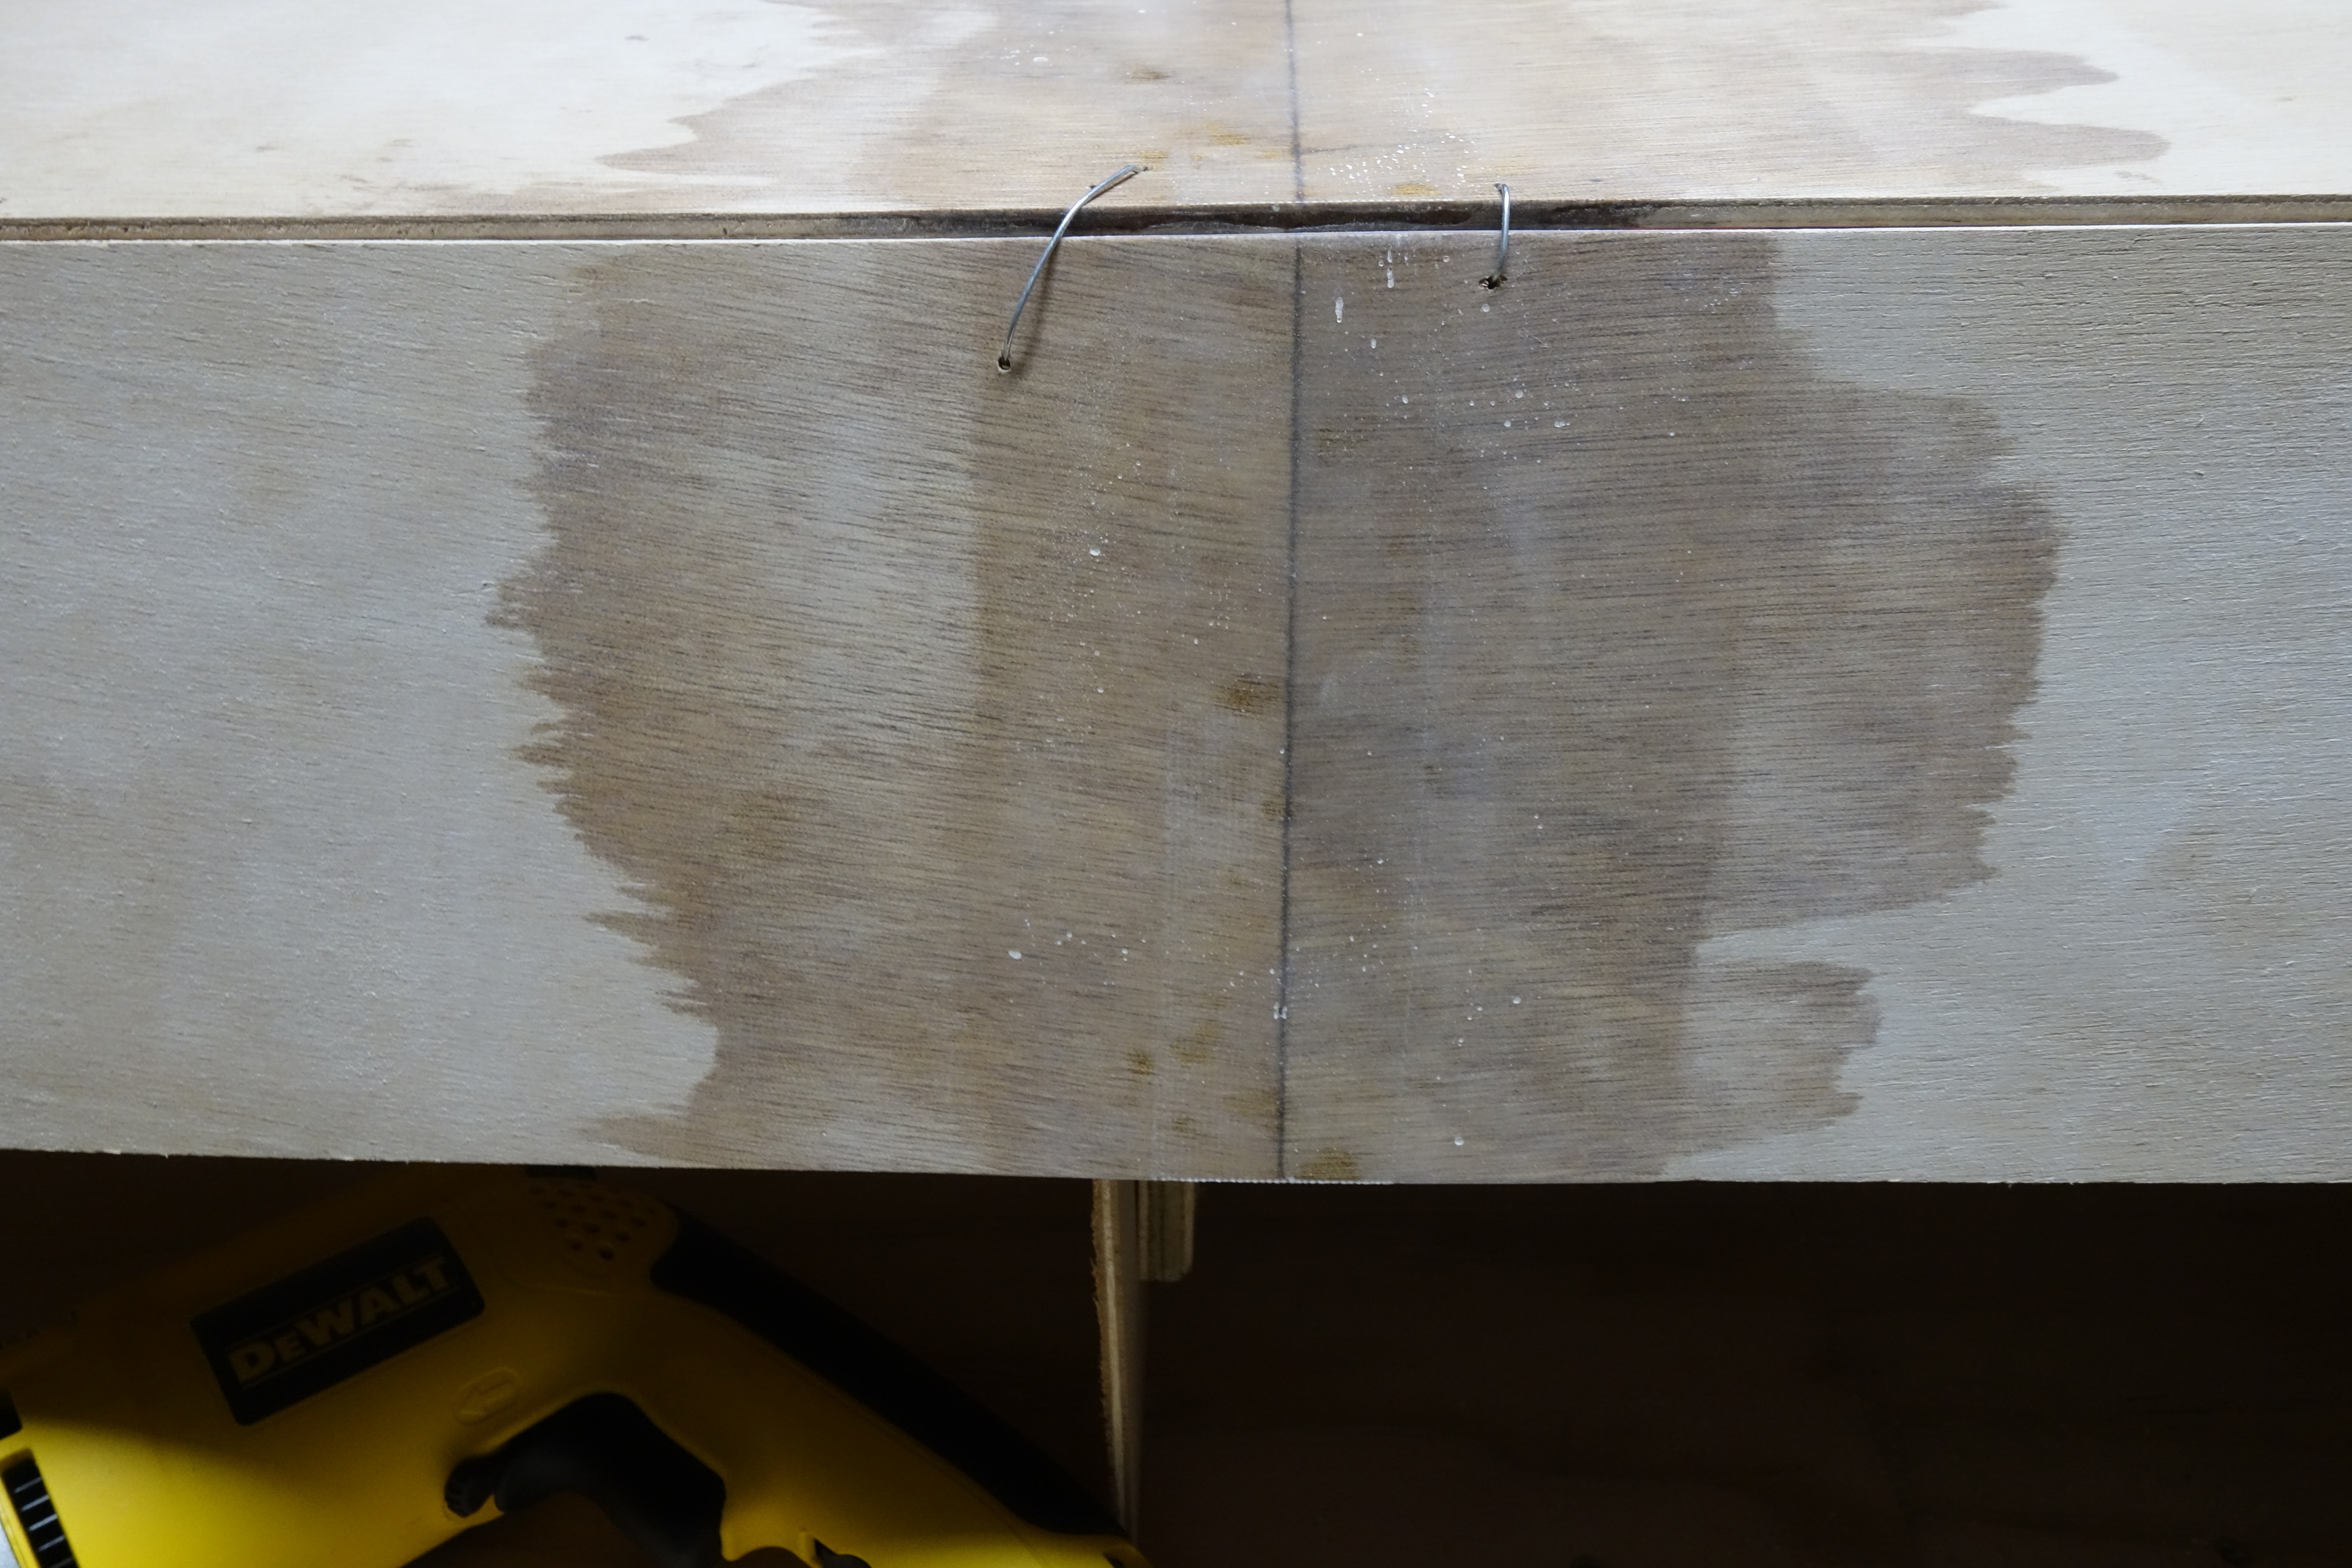
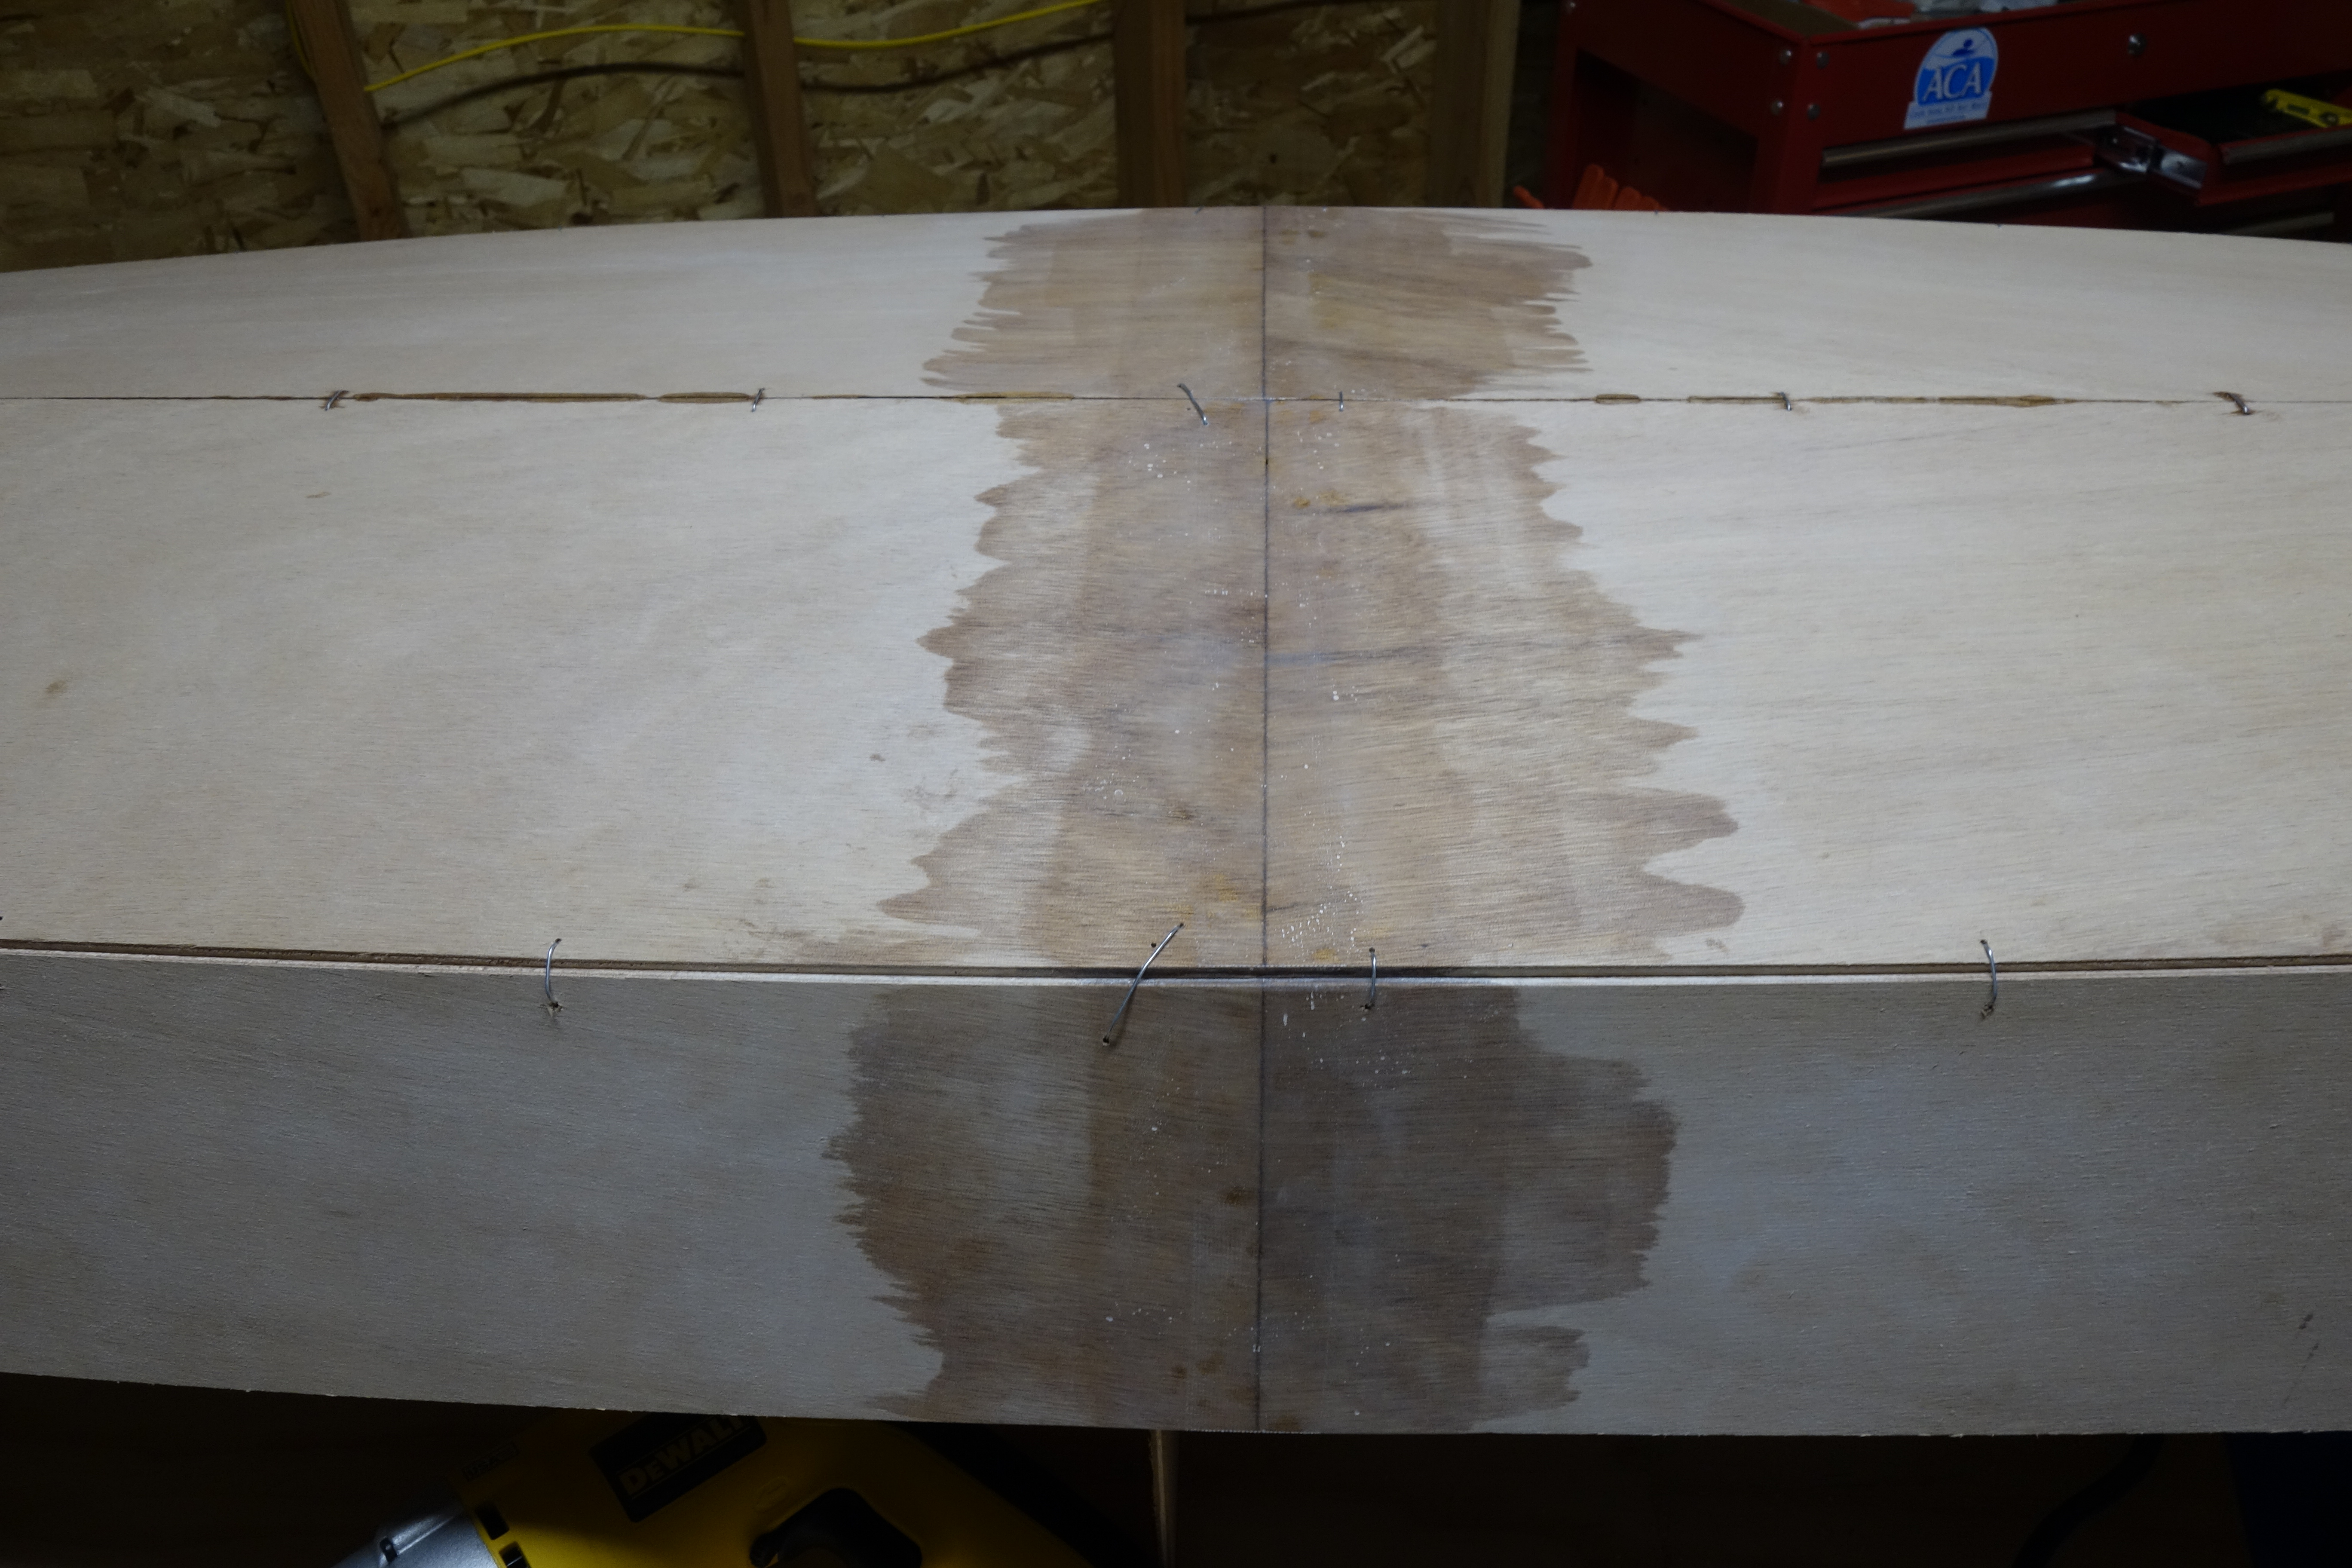


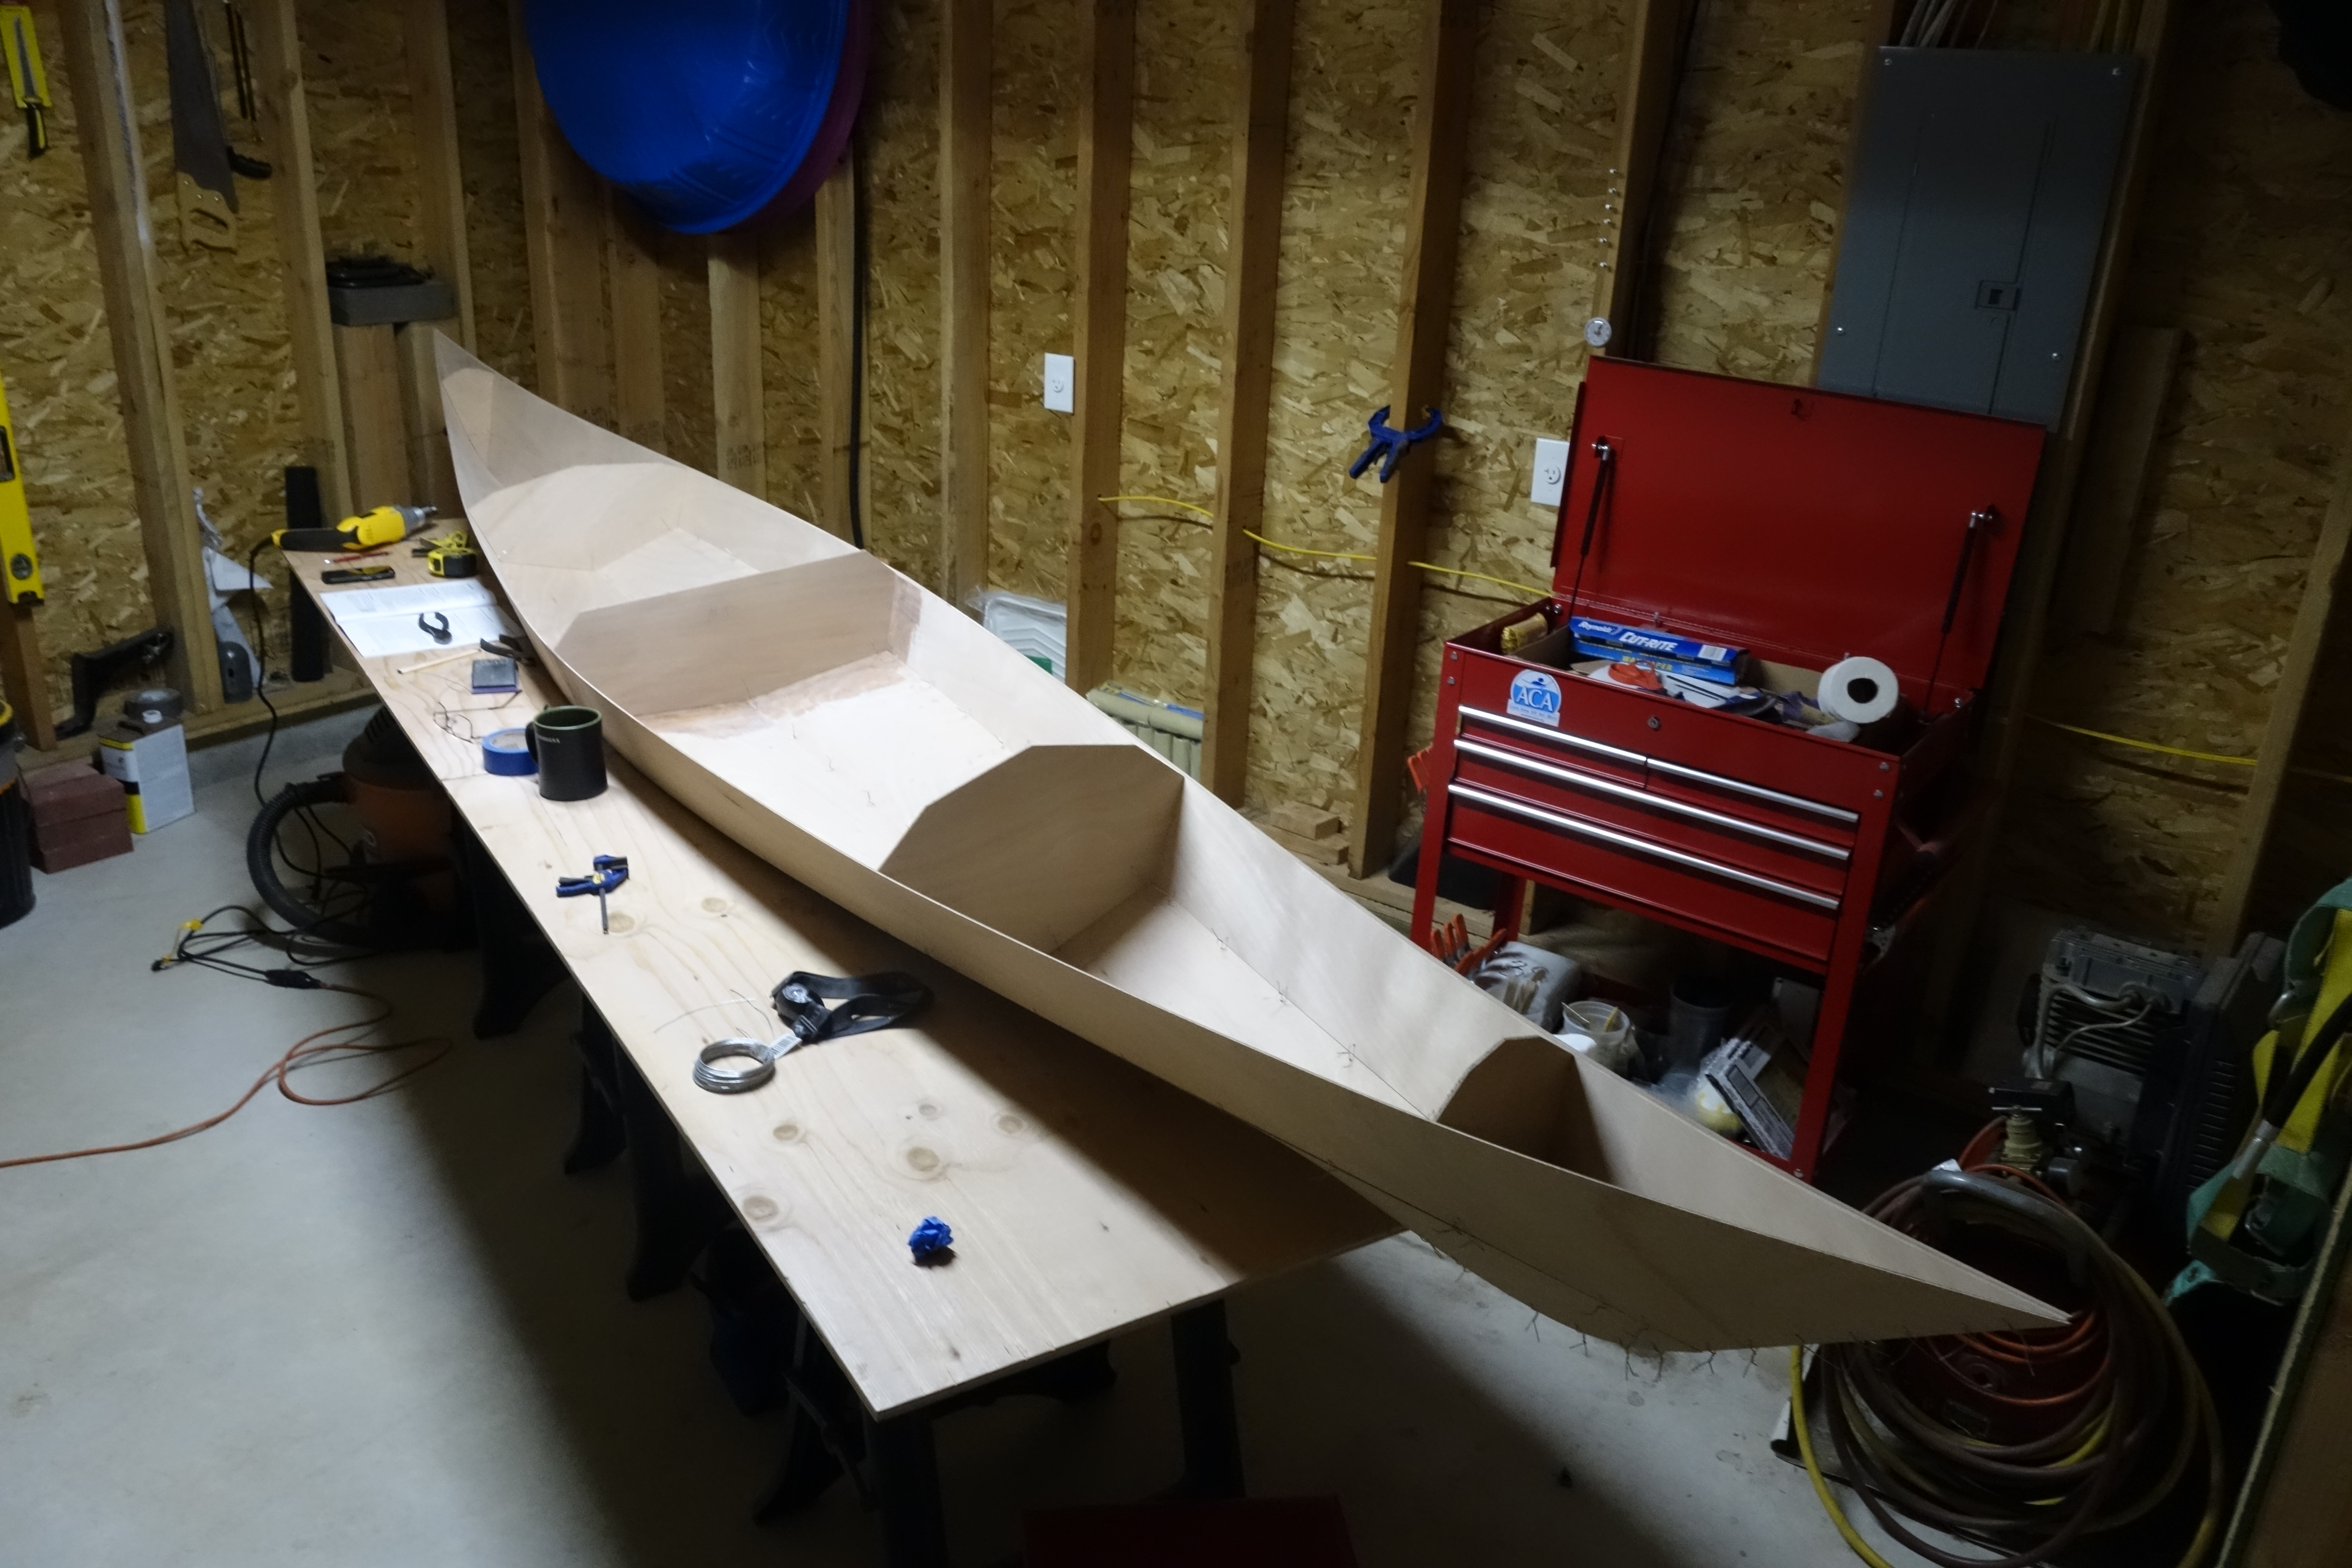
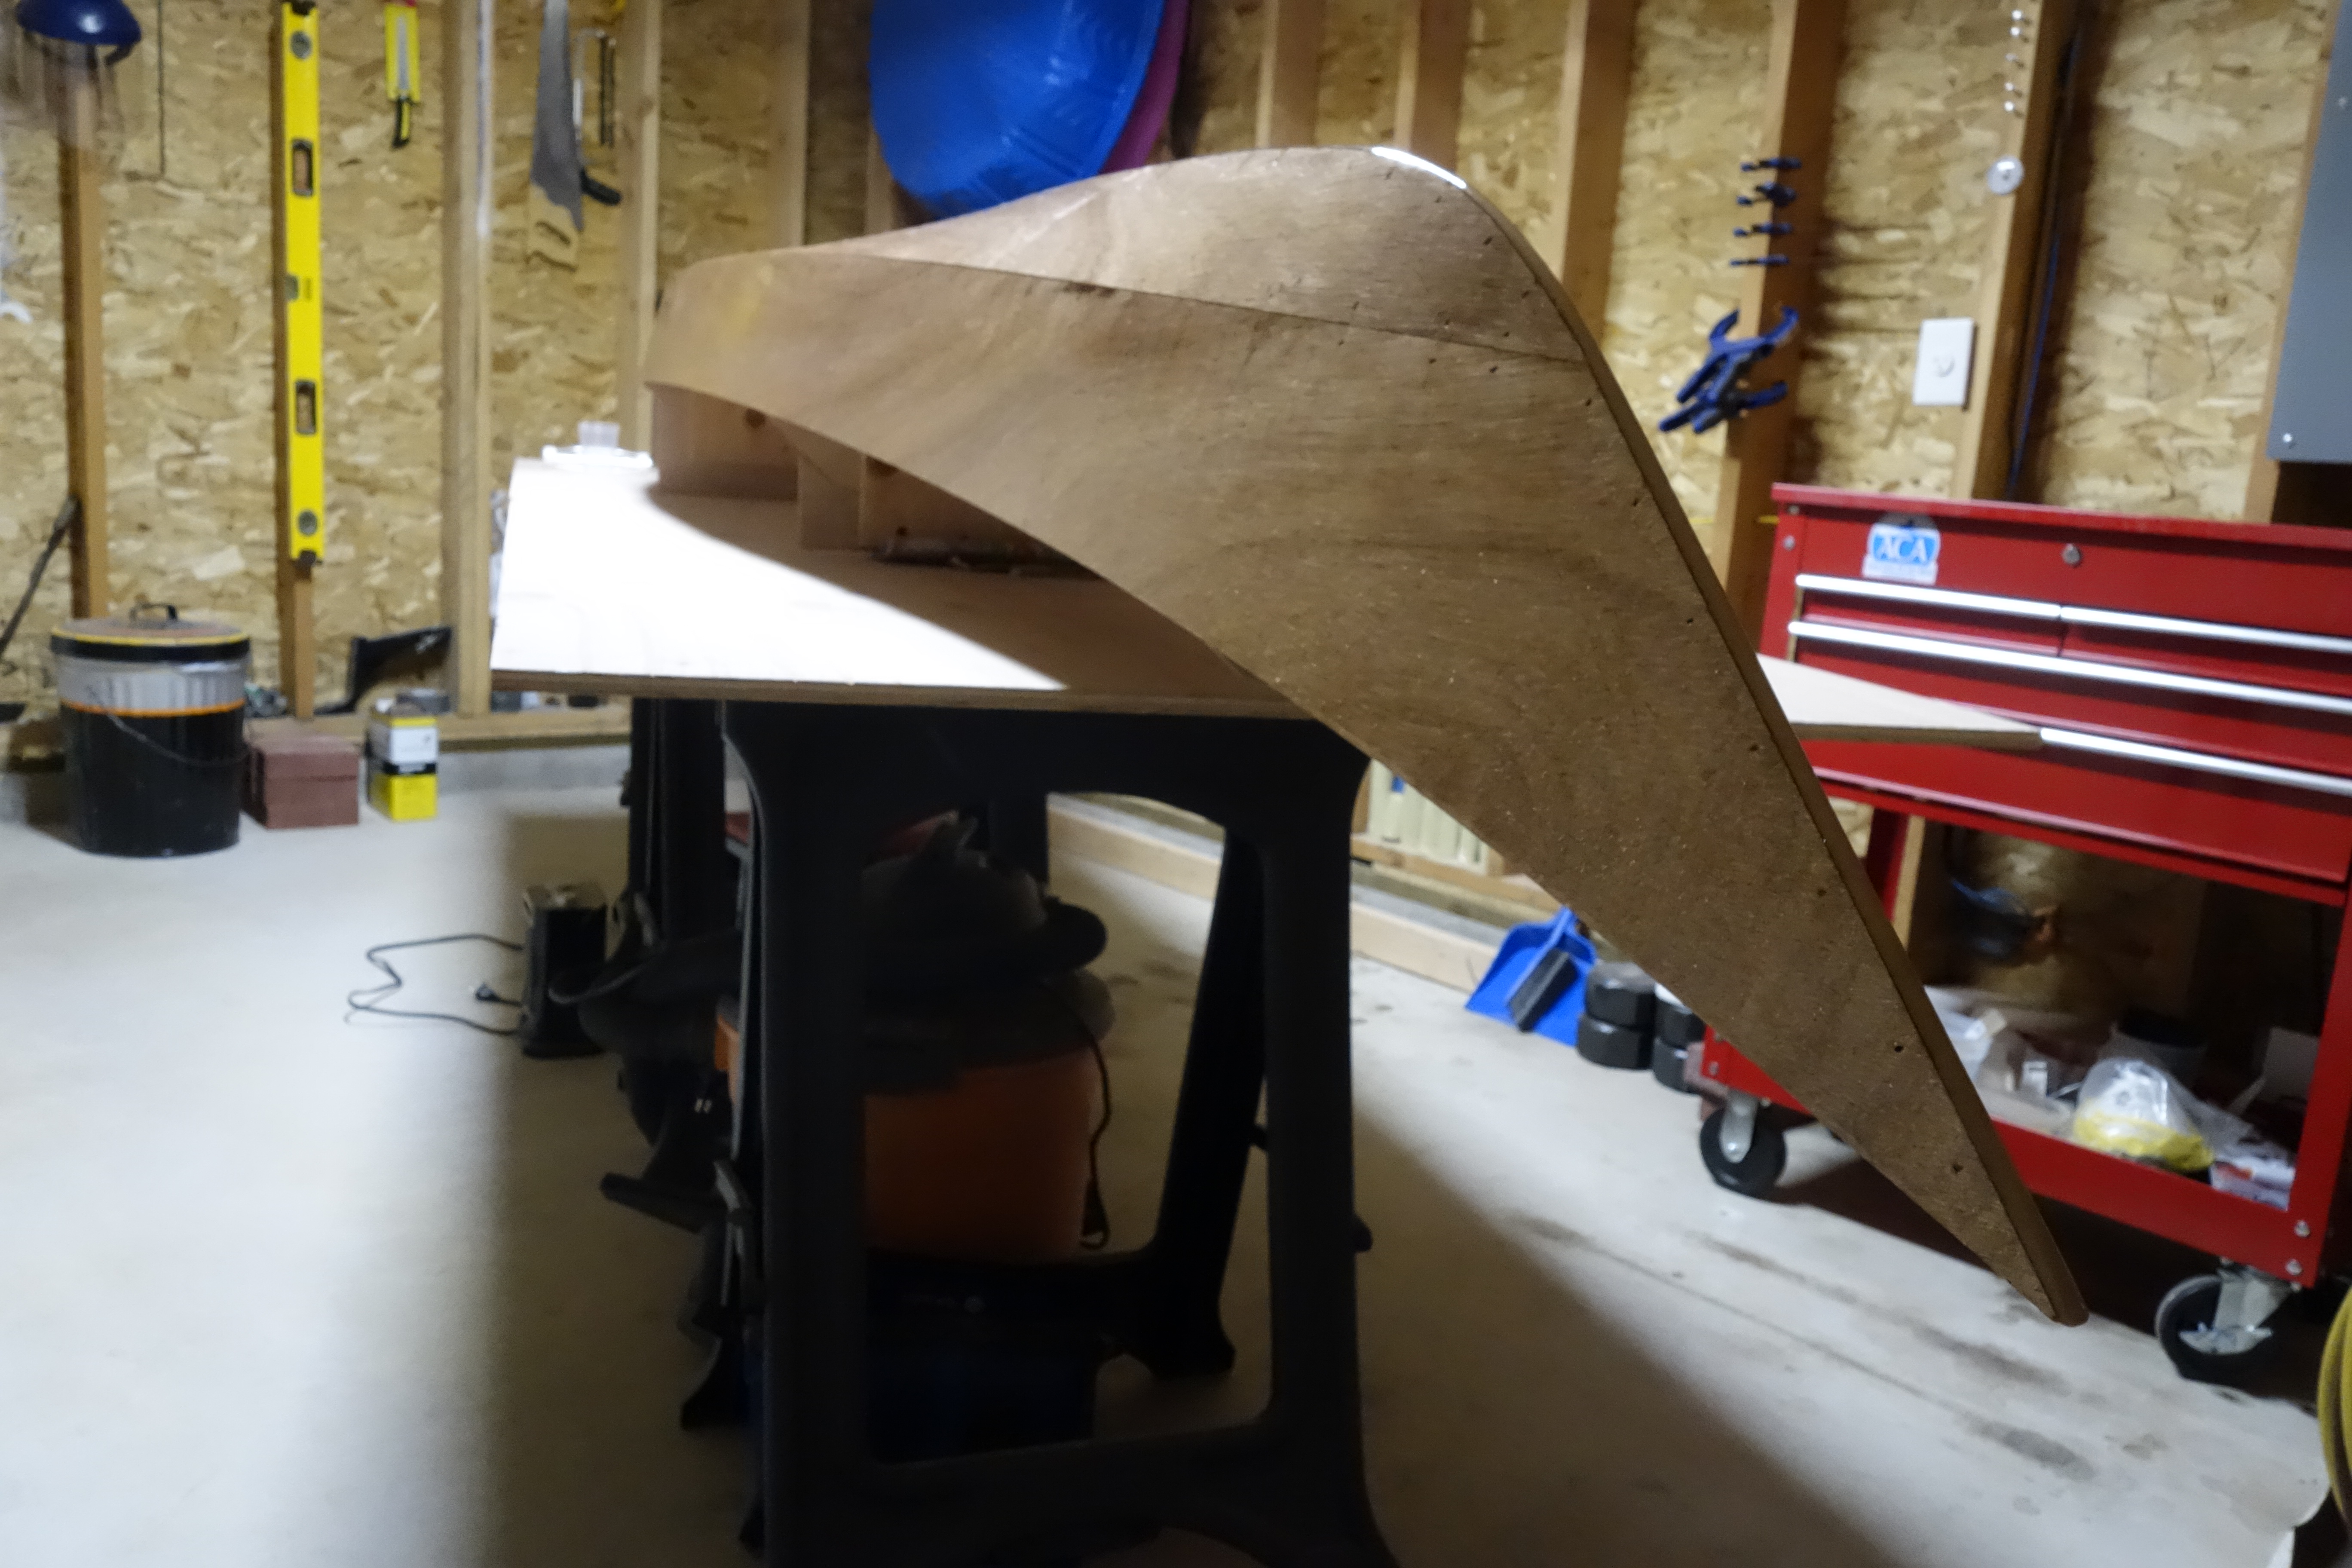
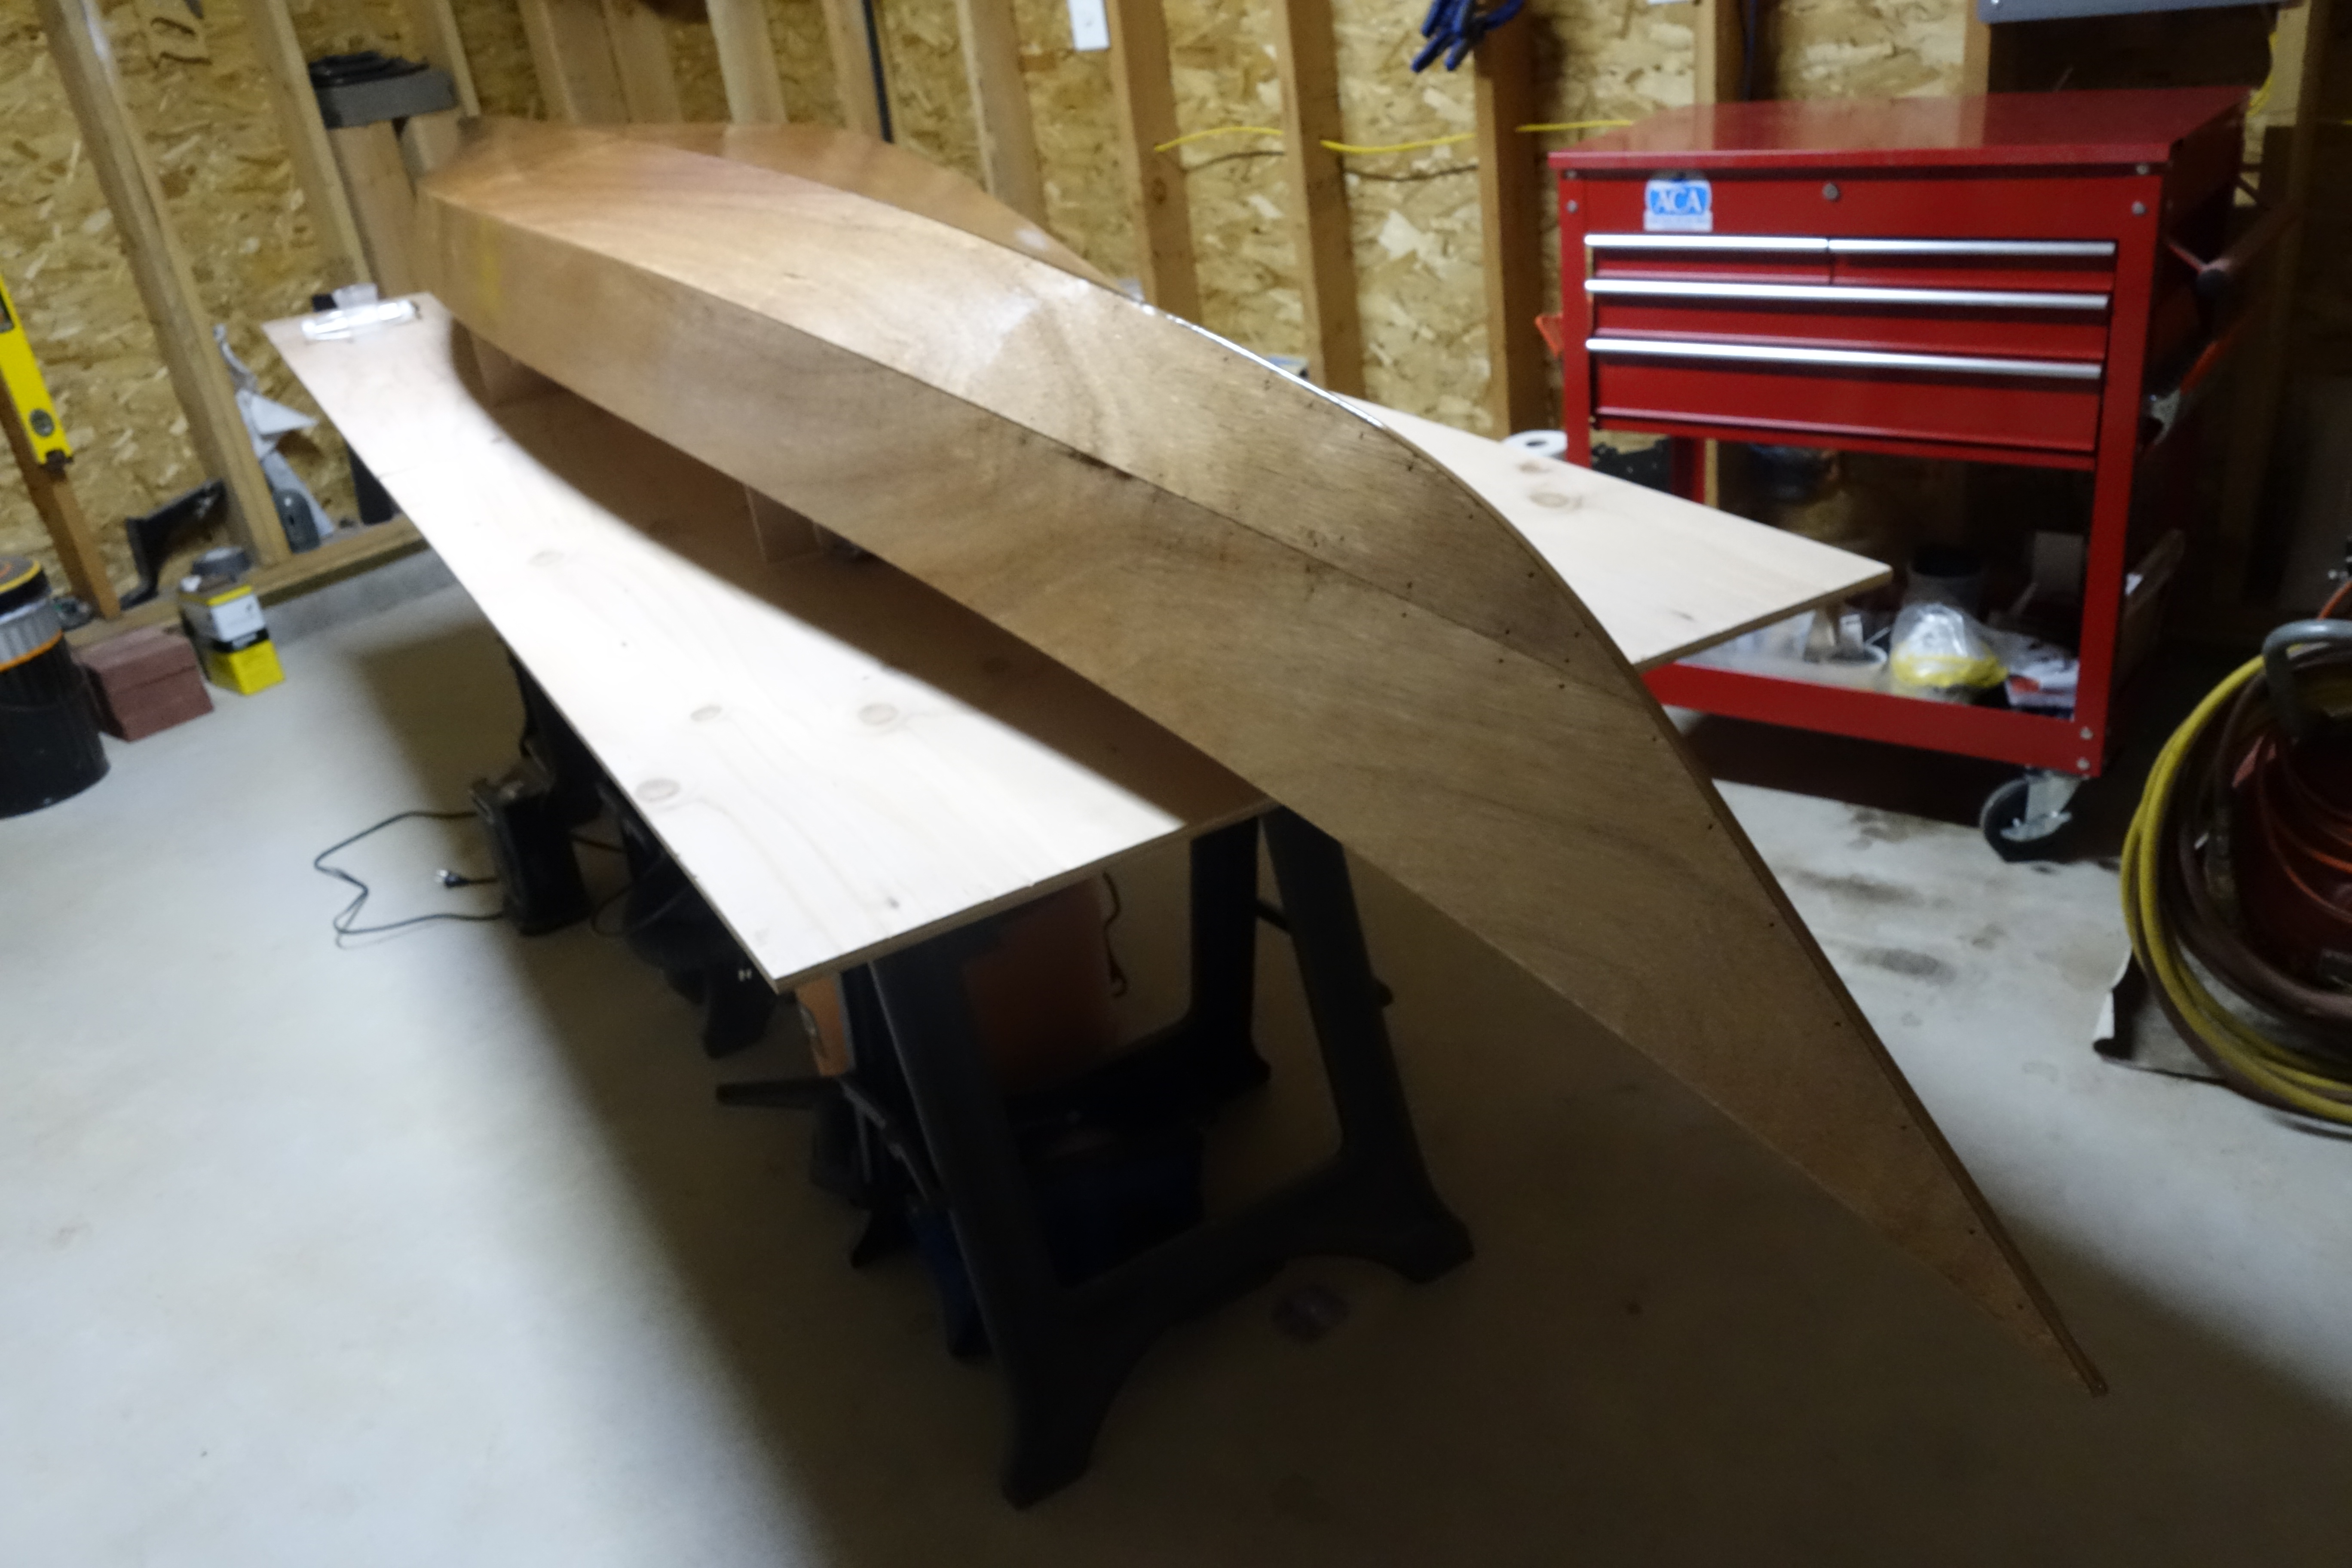
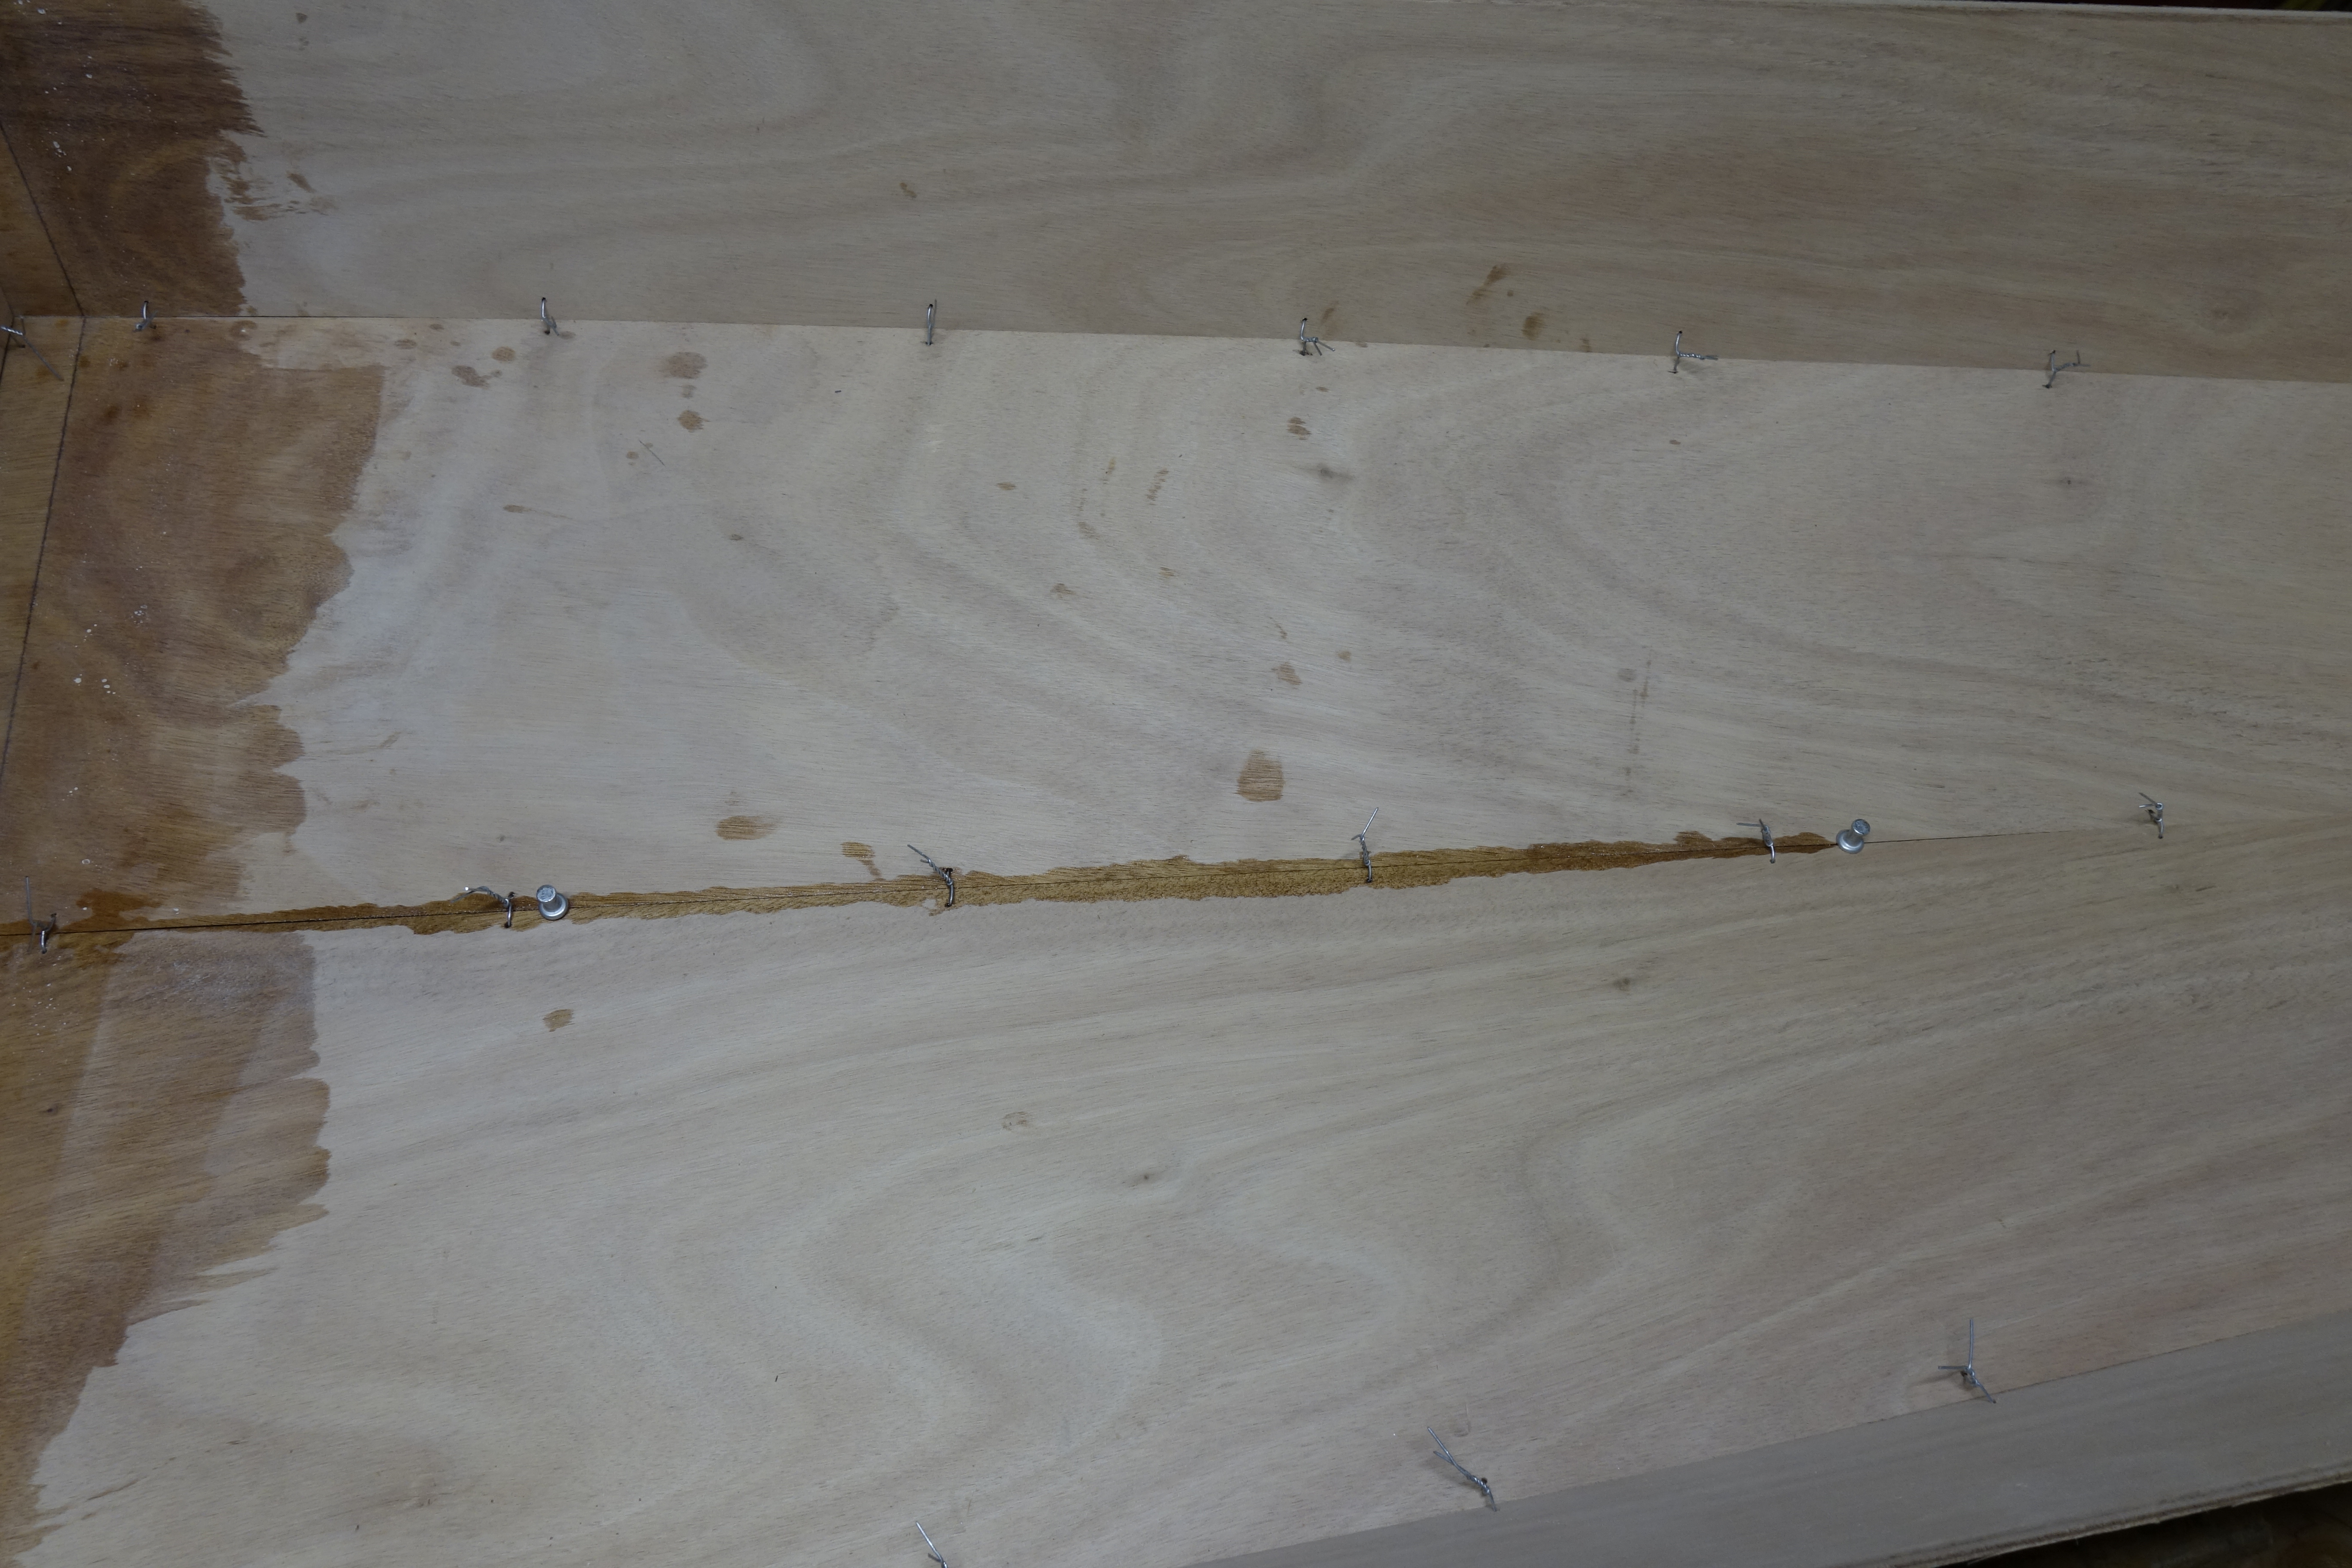
Here’s where the stitching part of stitch and glue construction comes in.
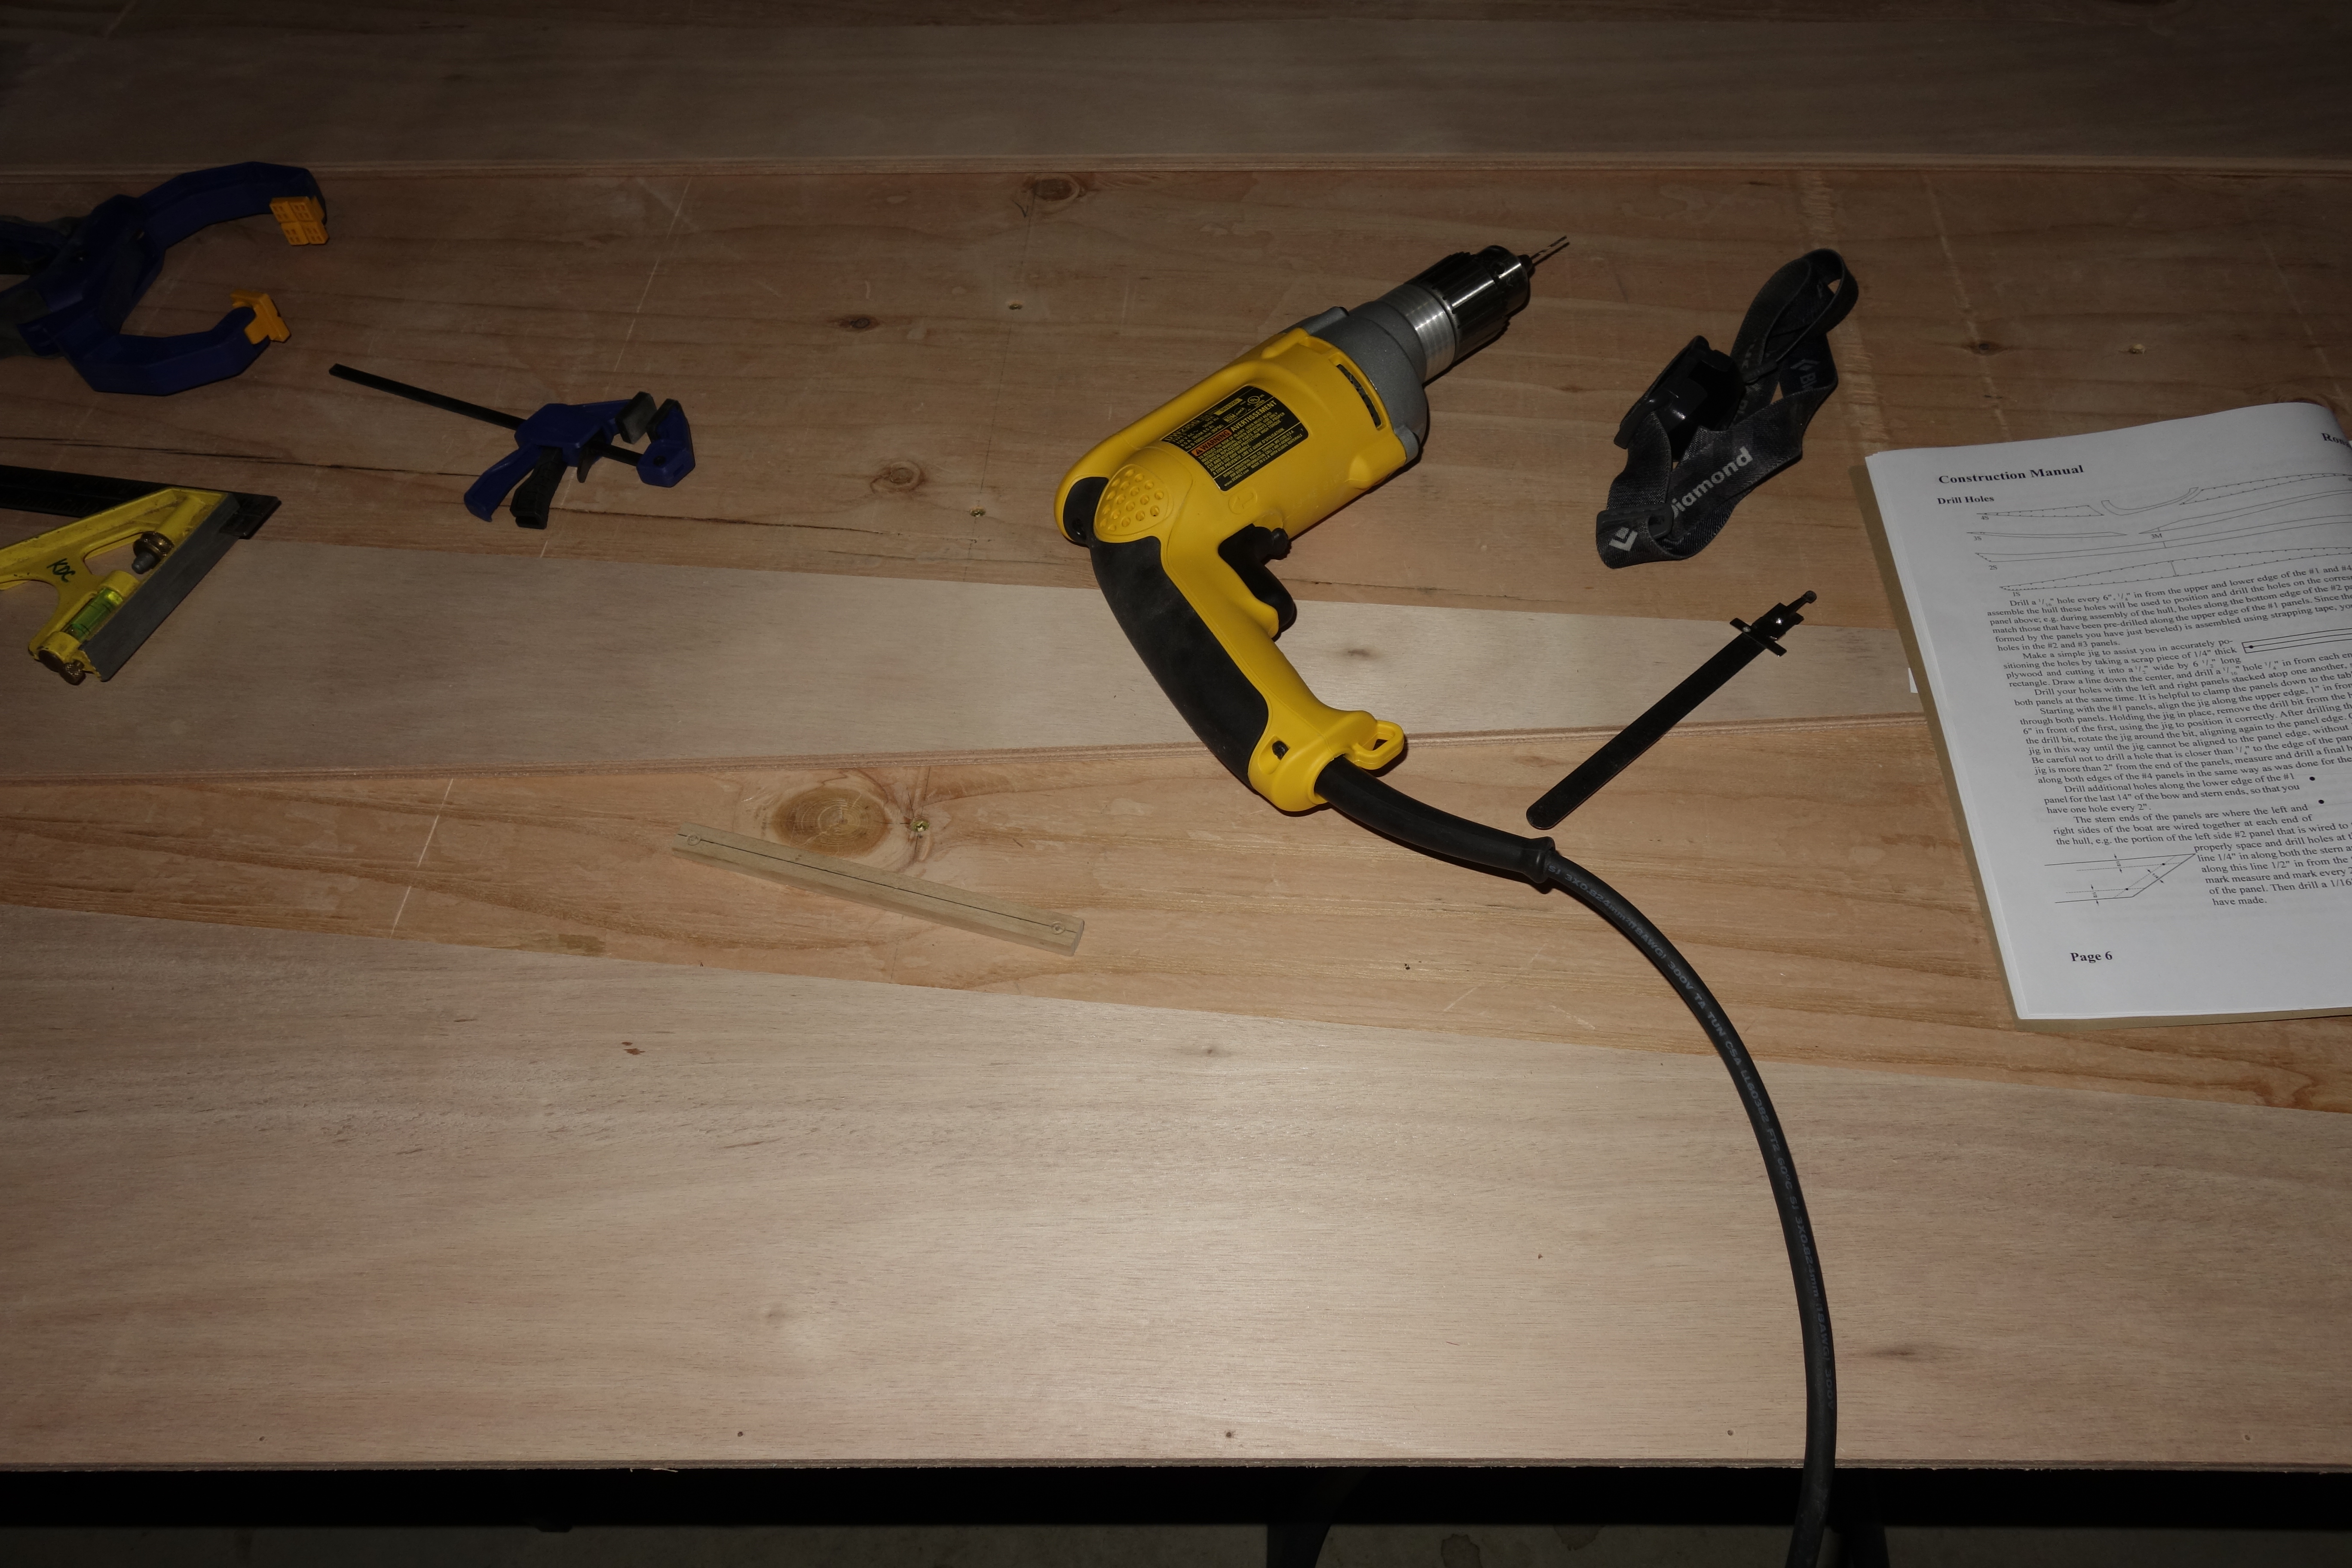
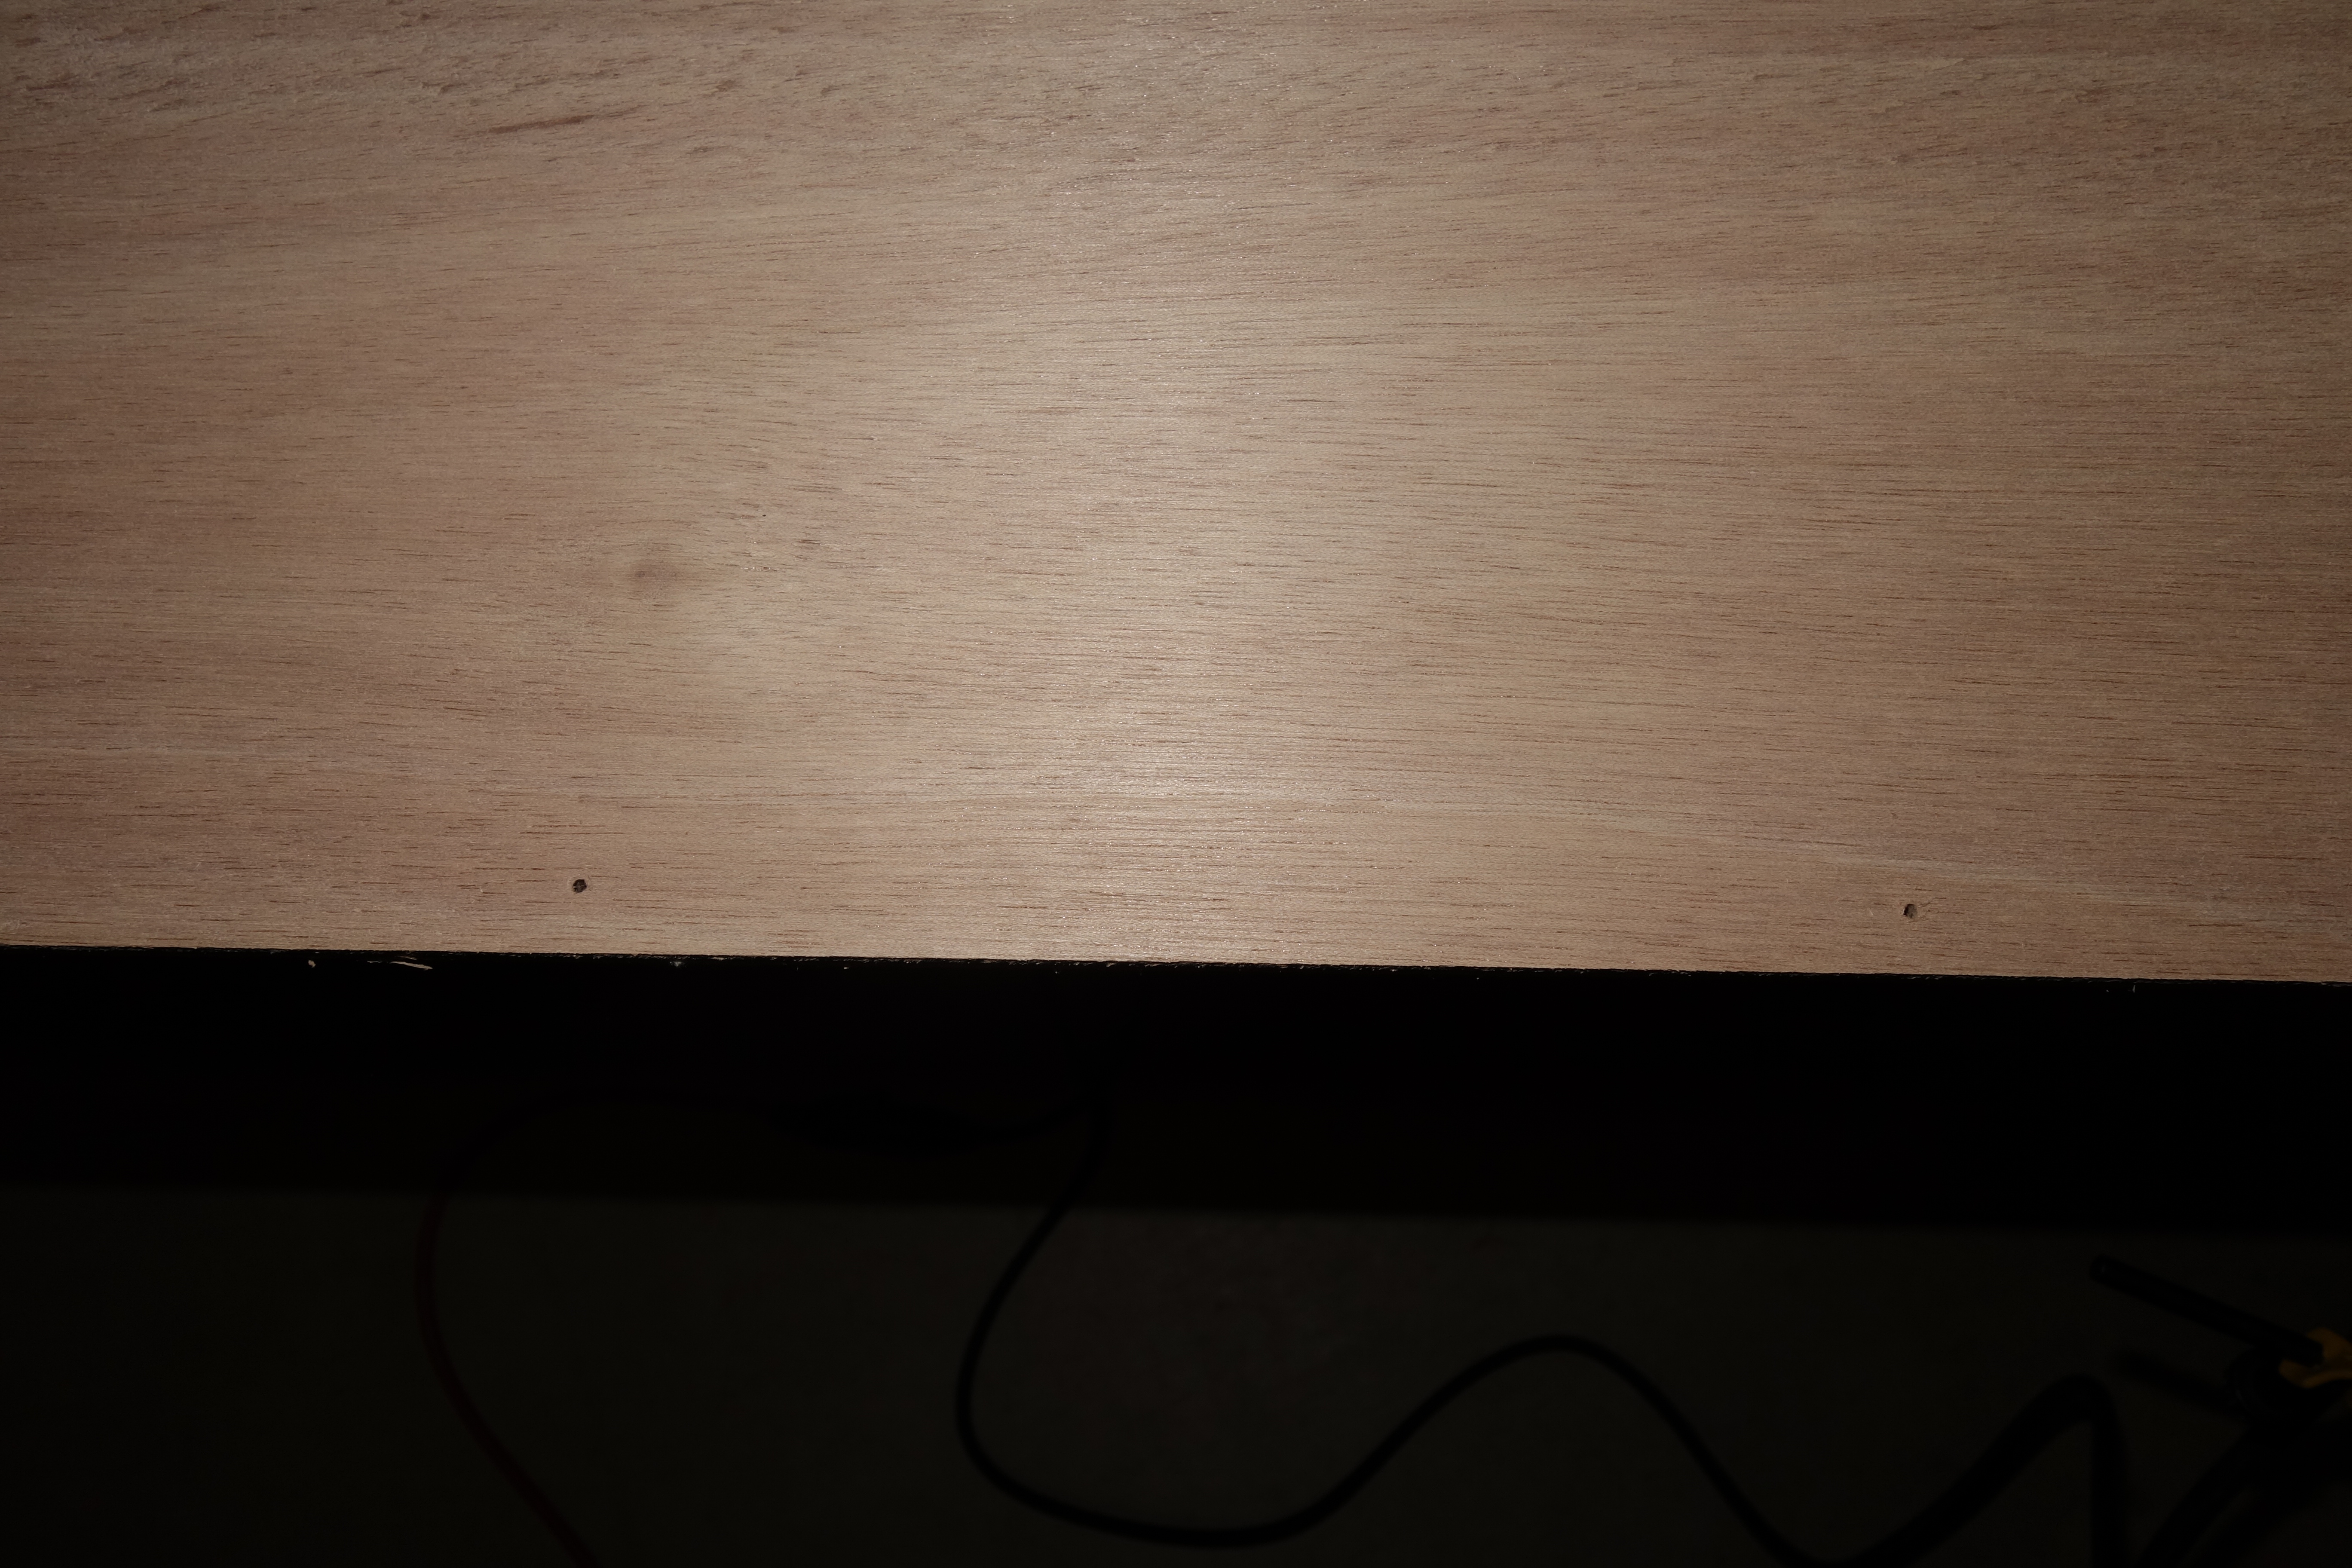
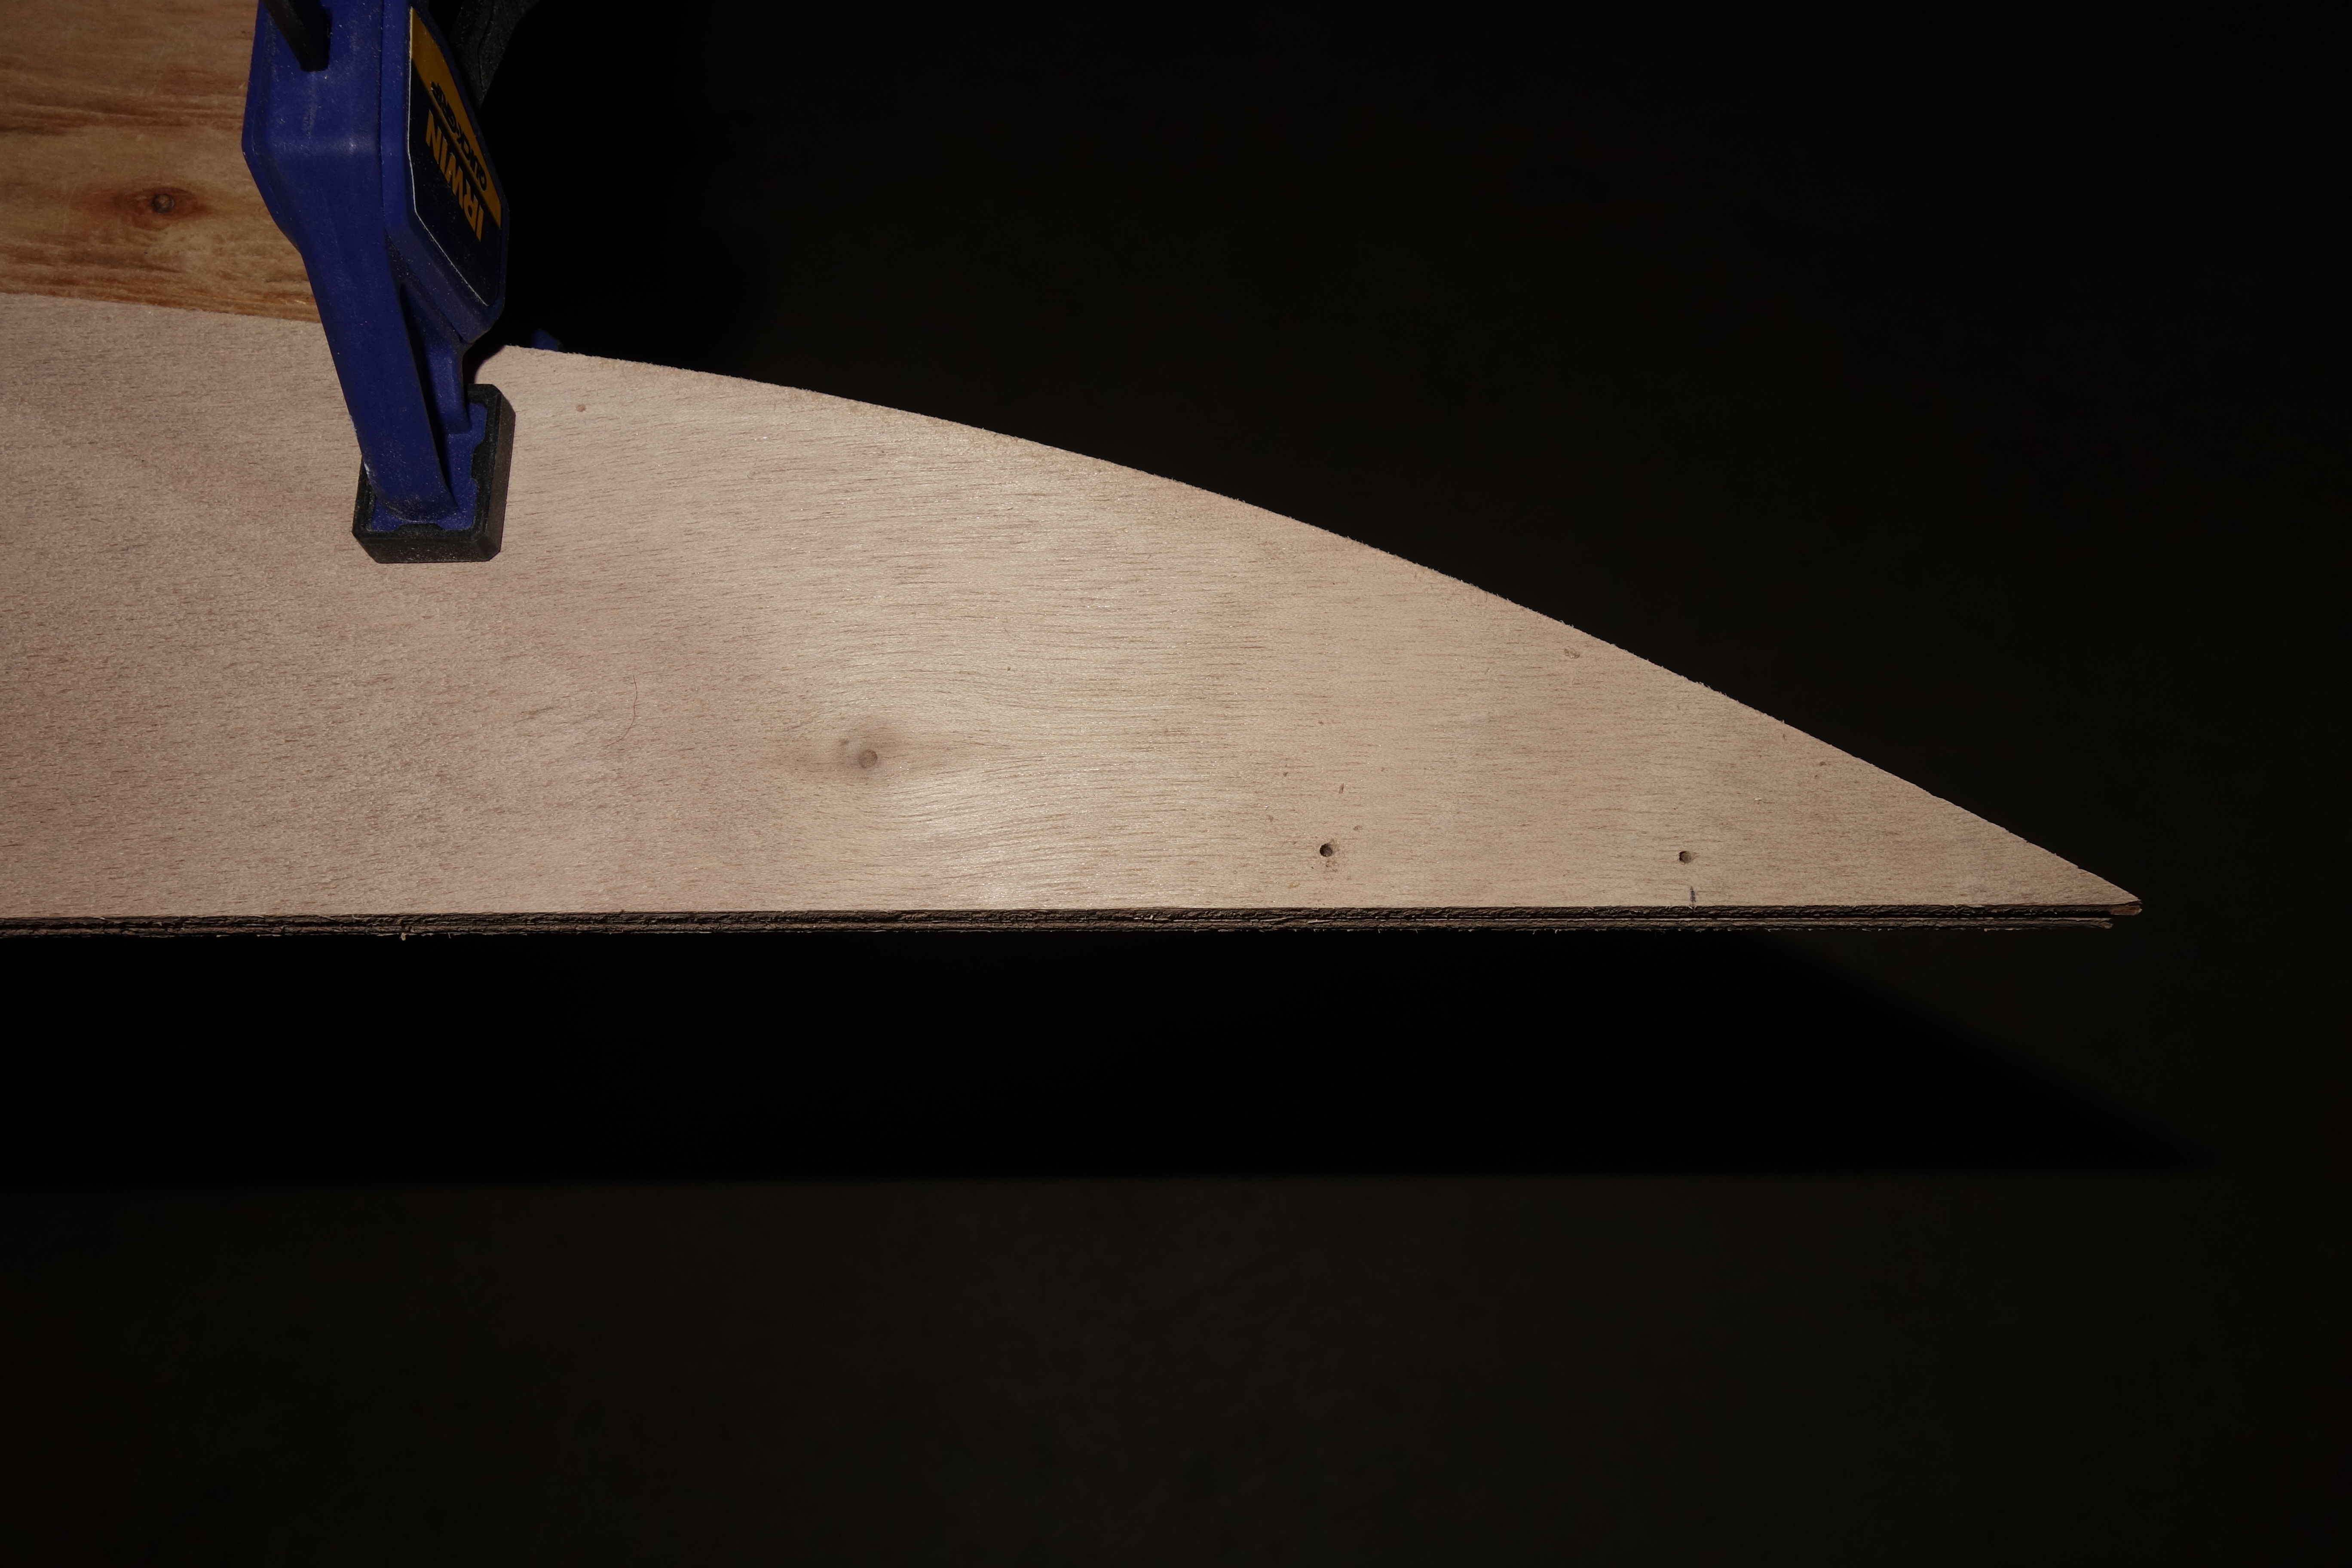
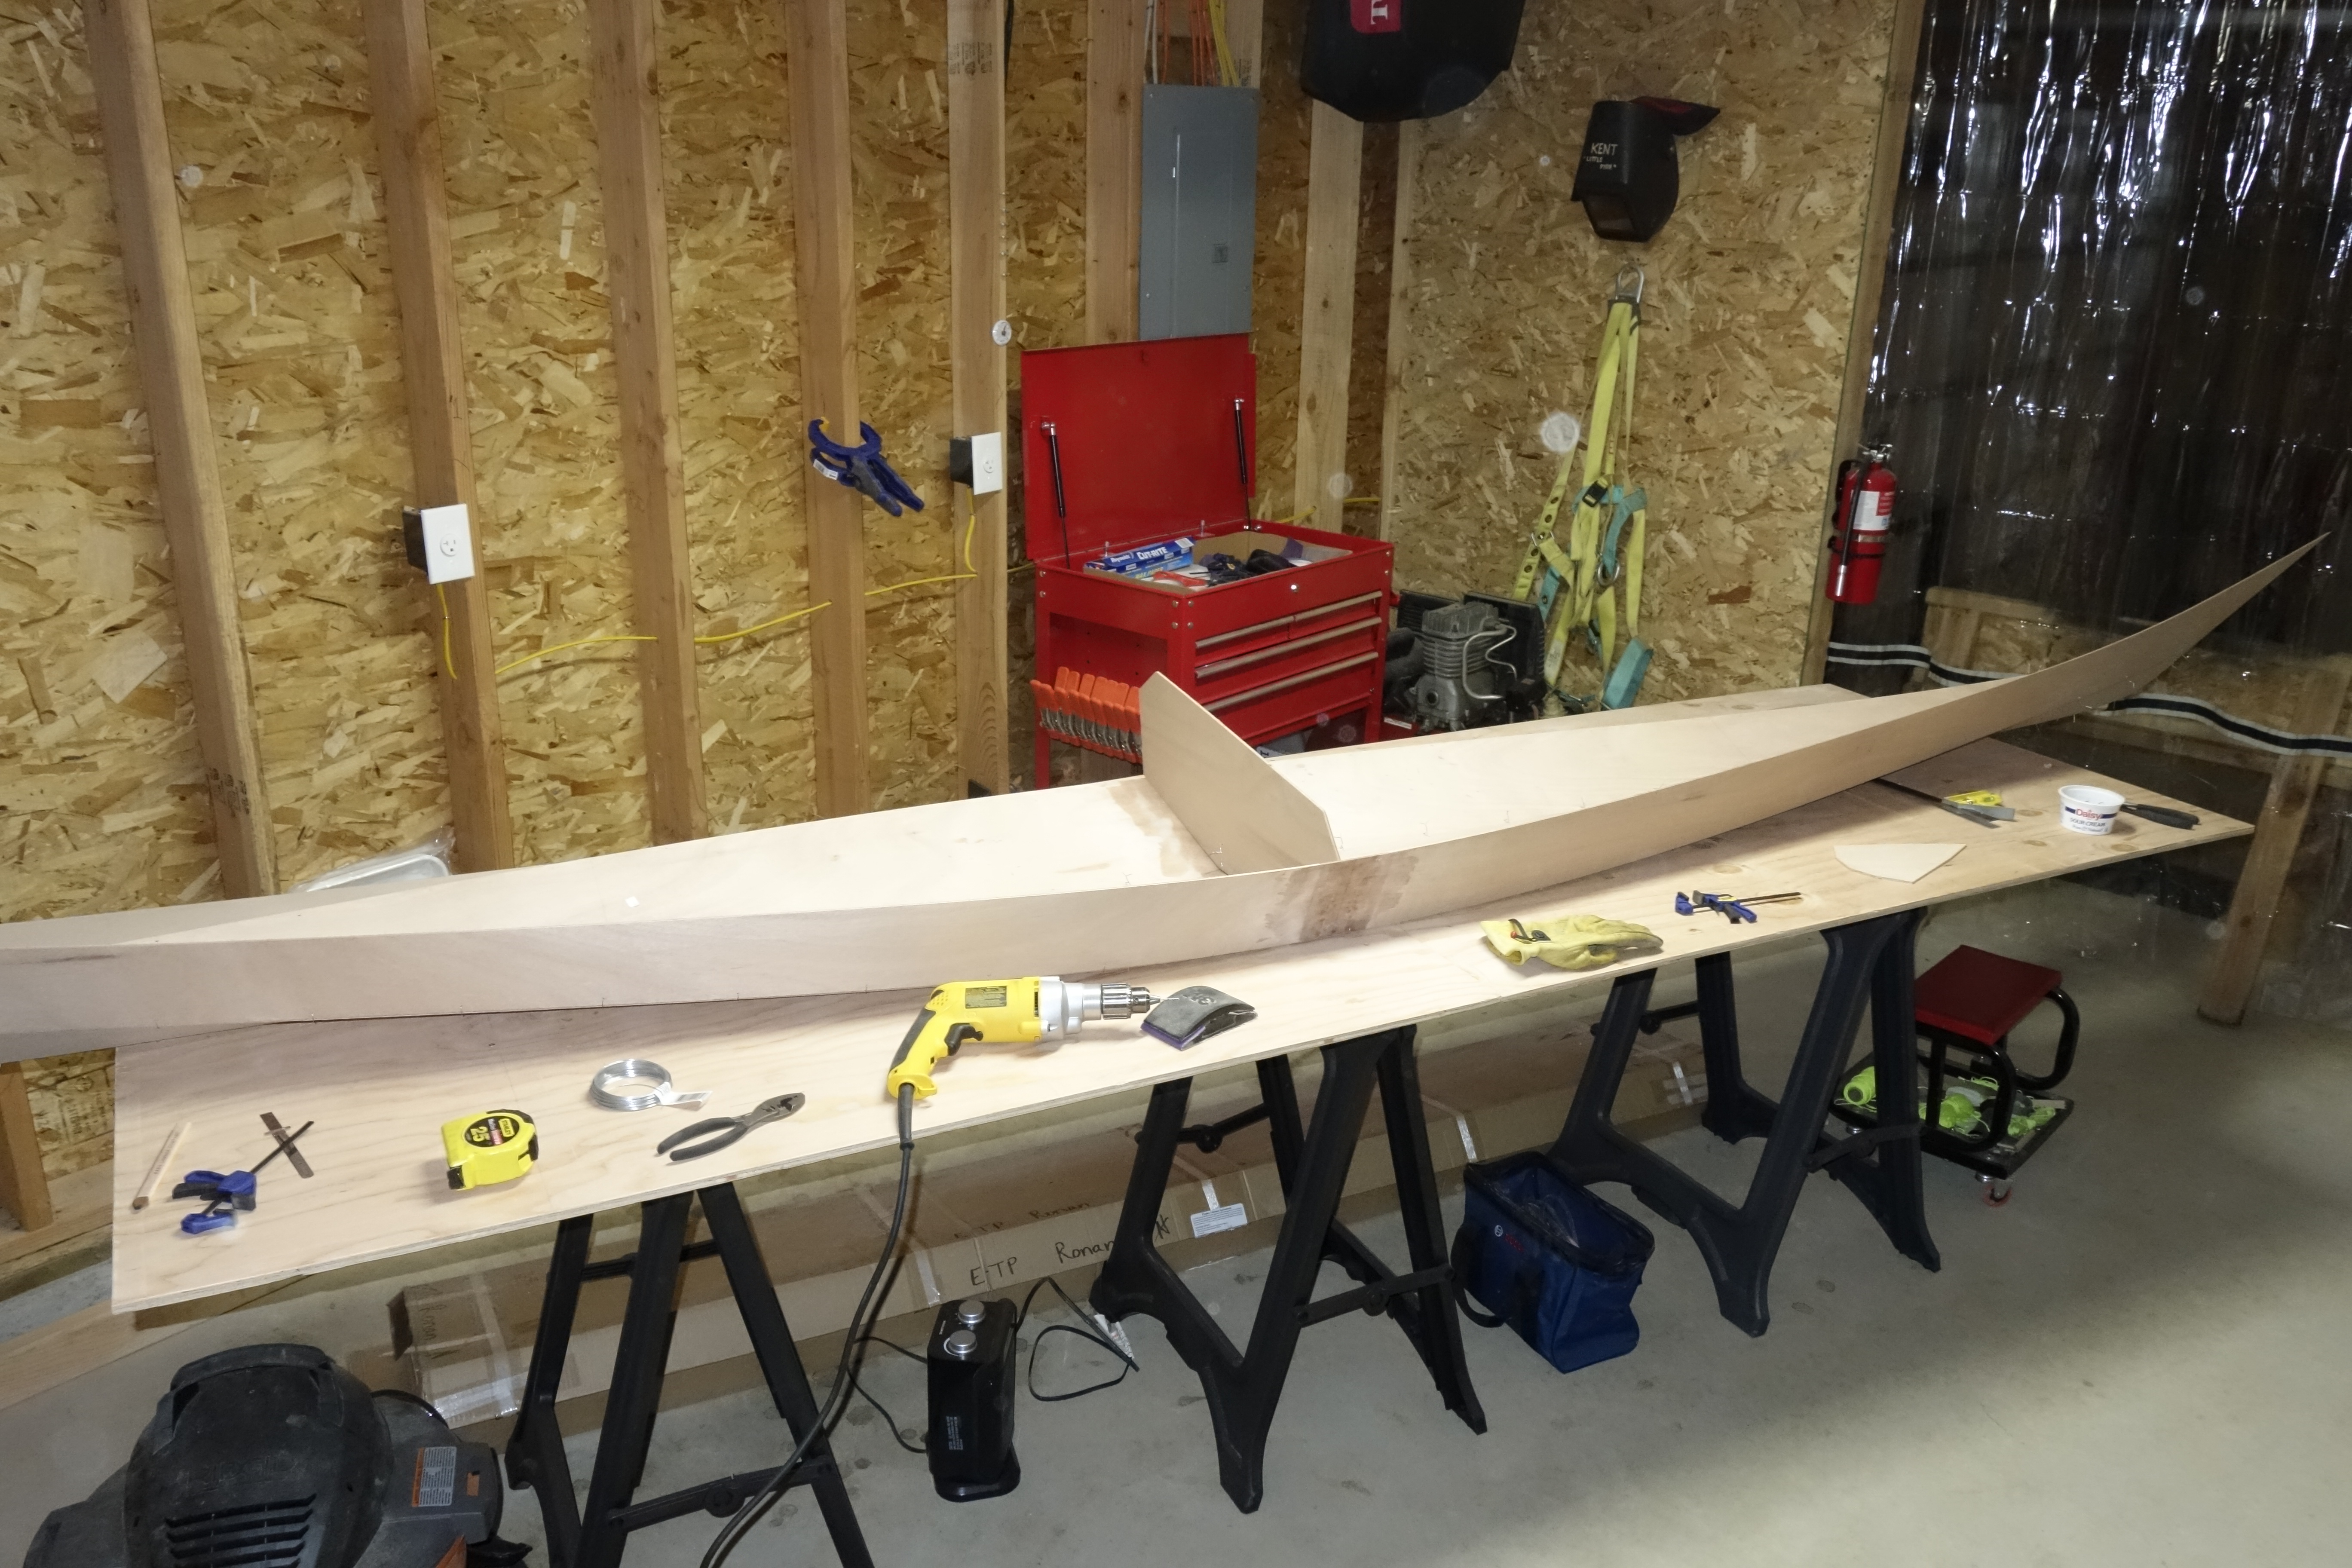

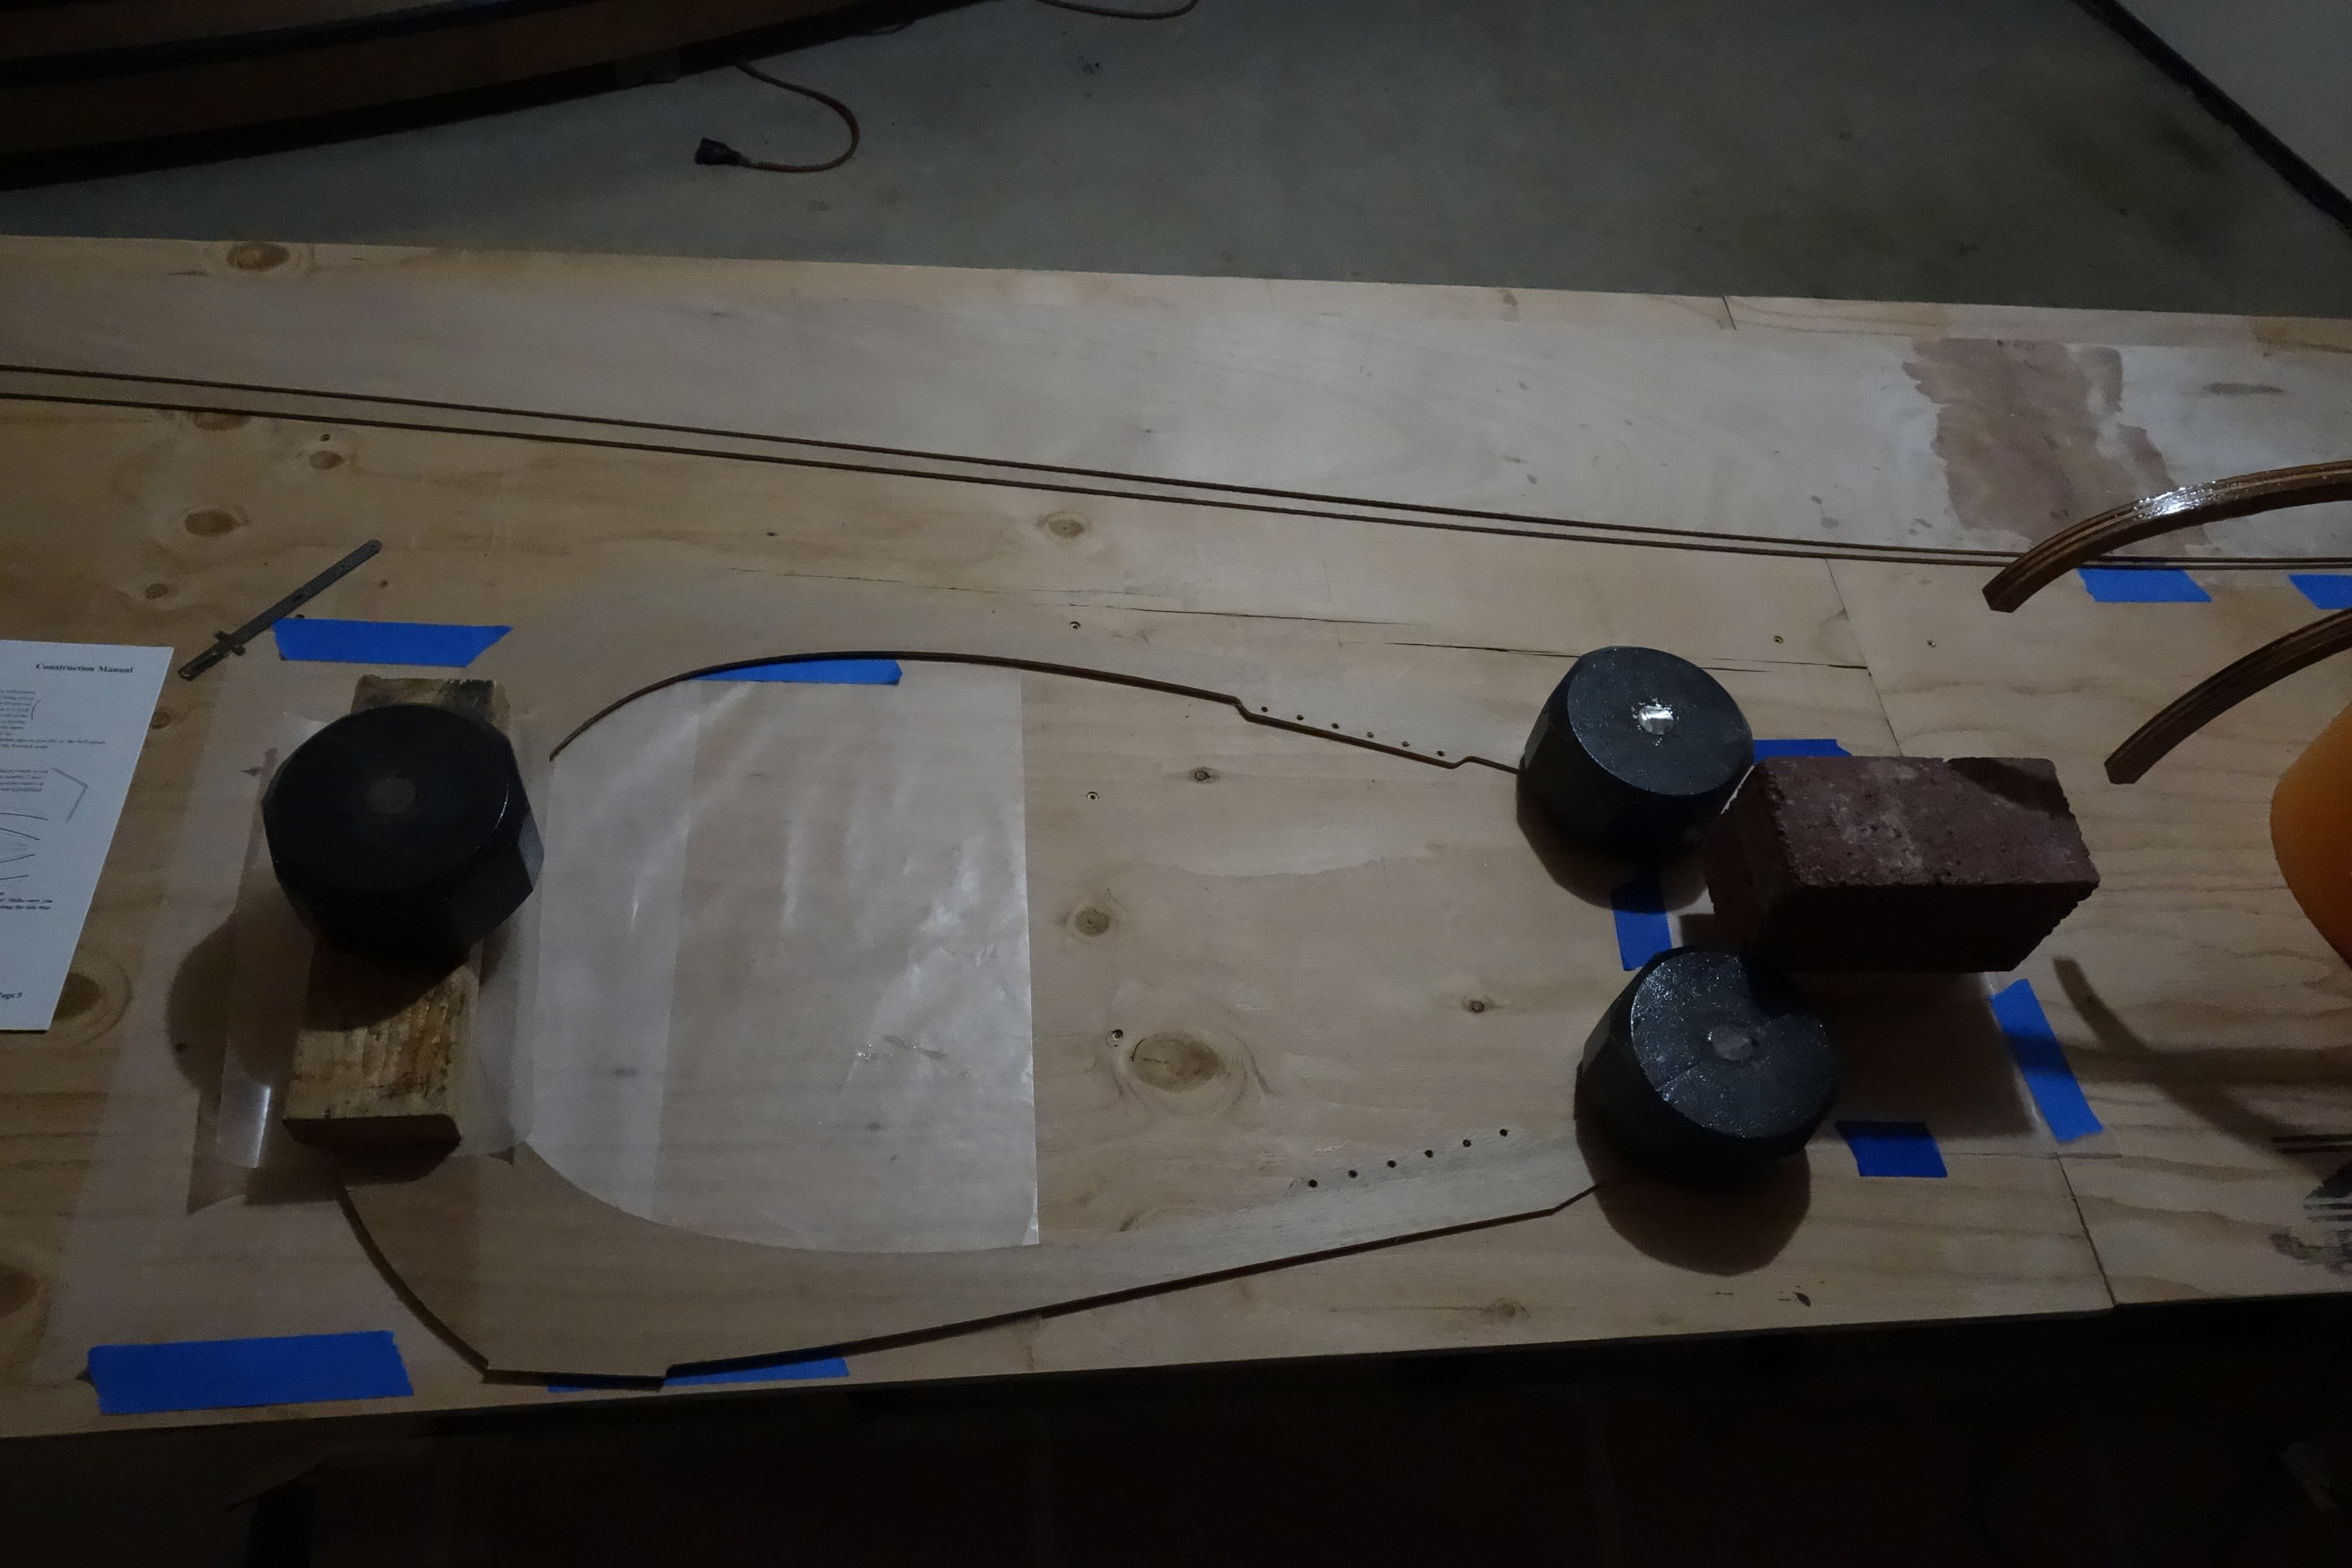
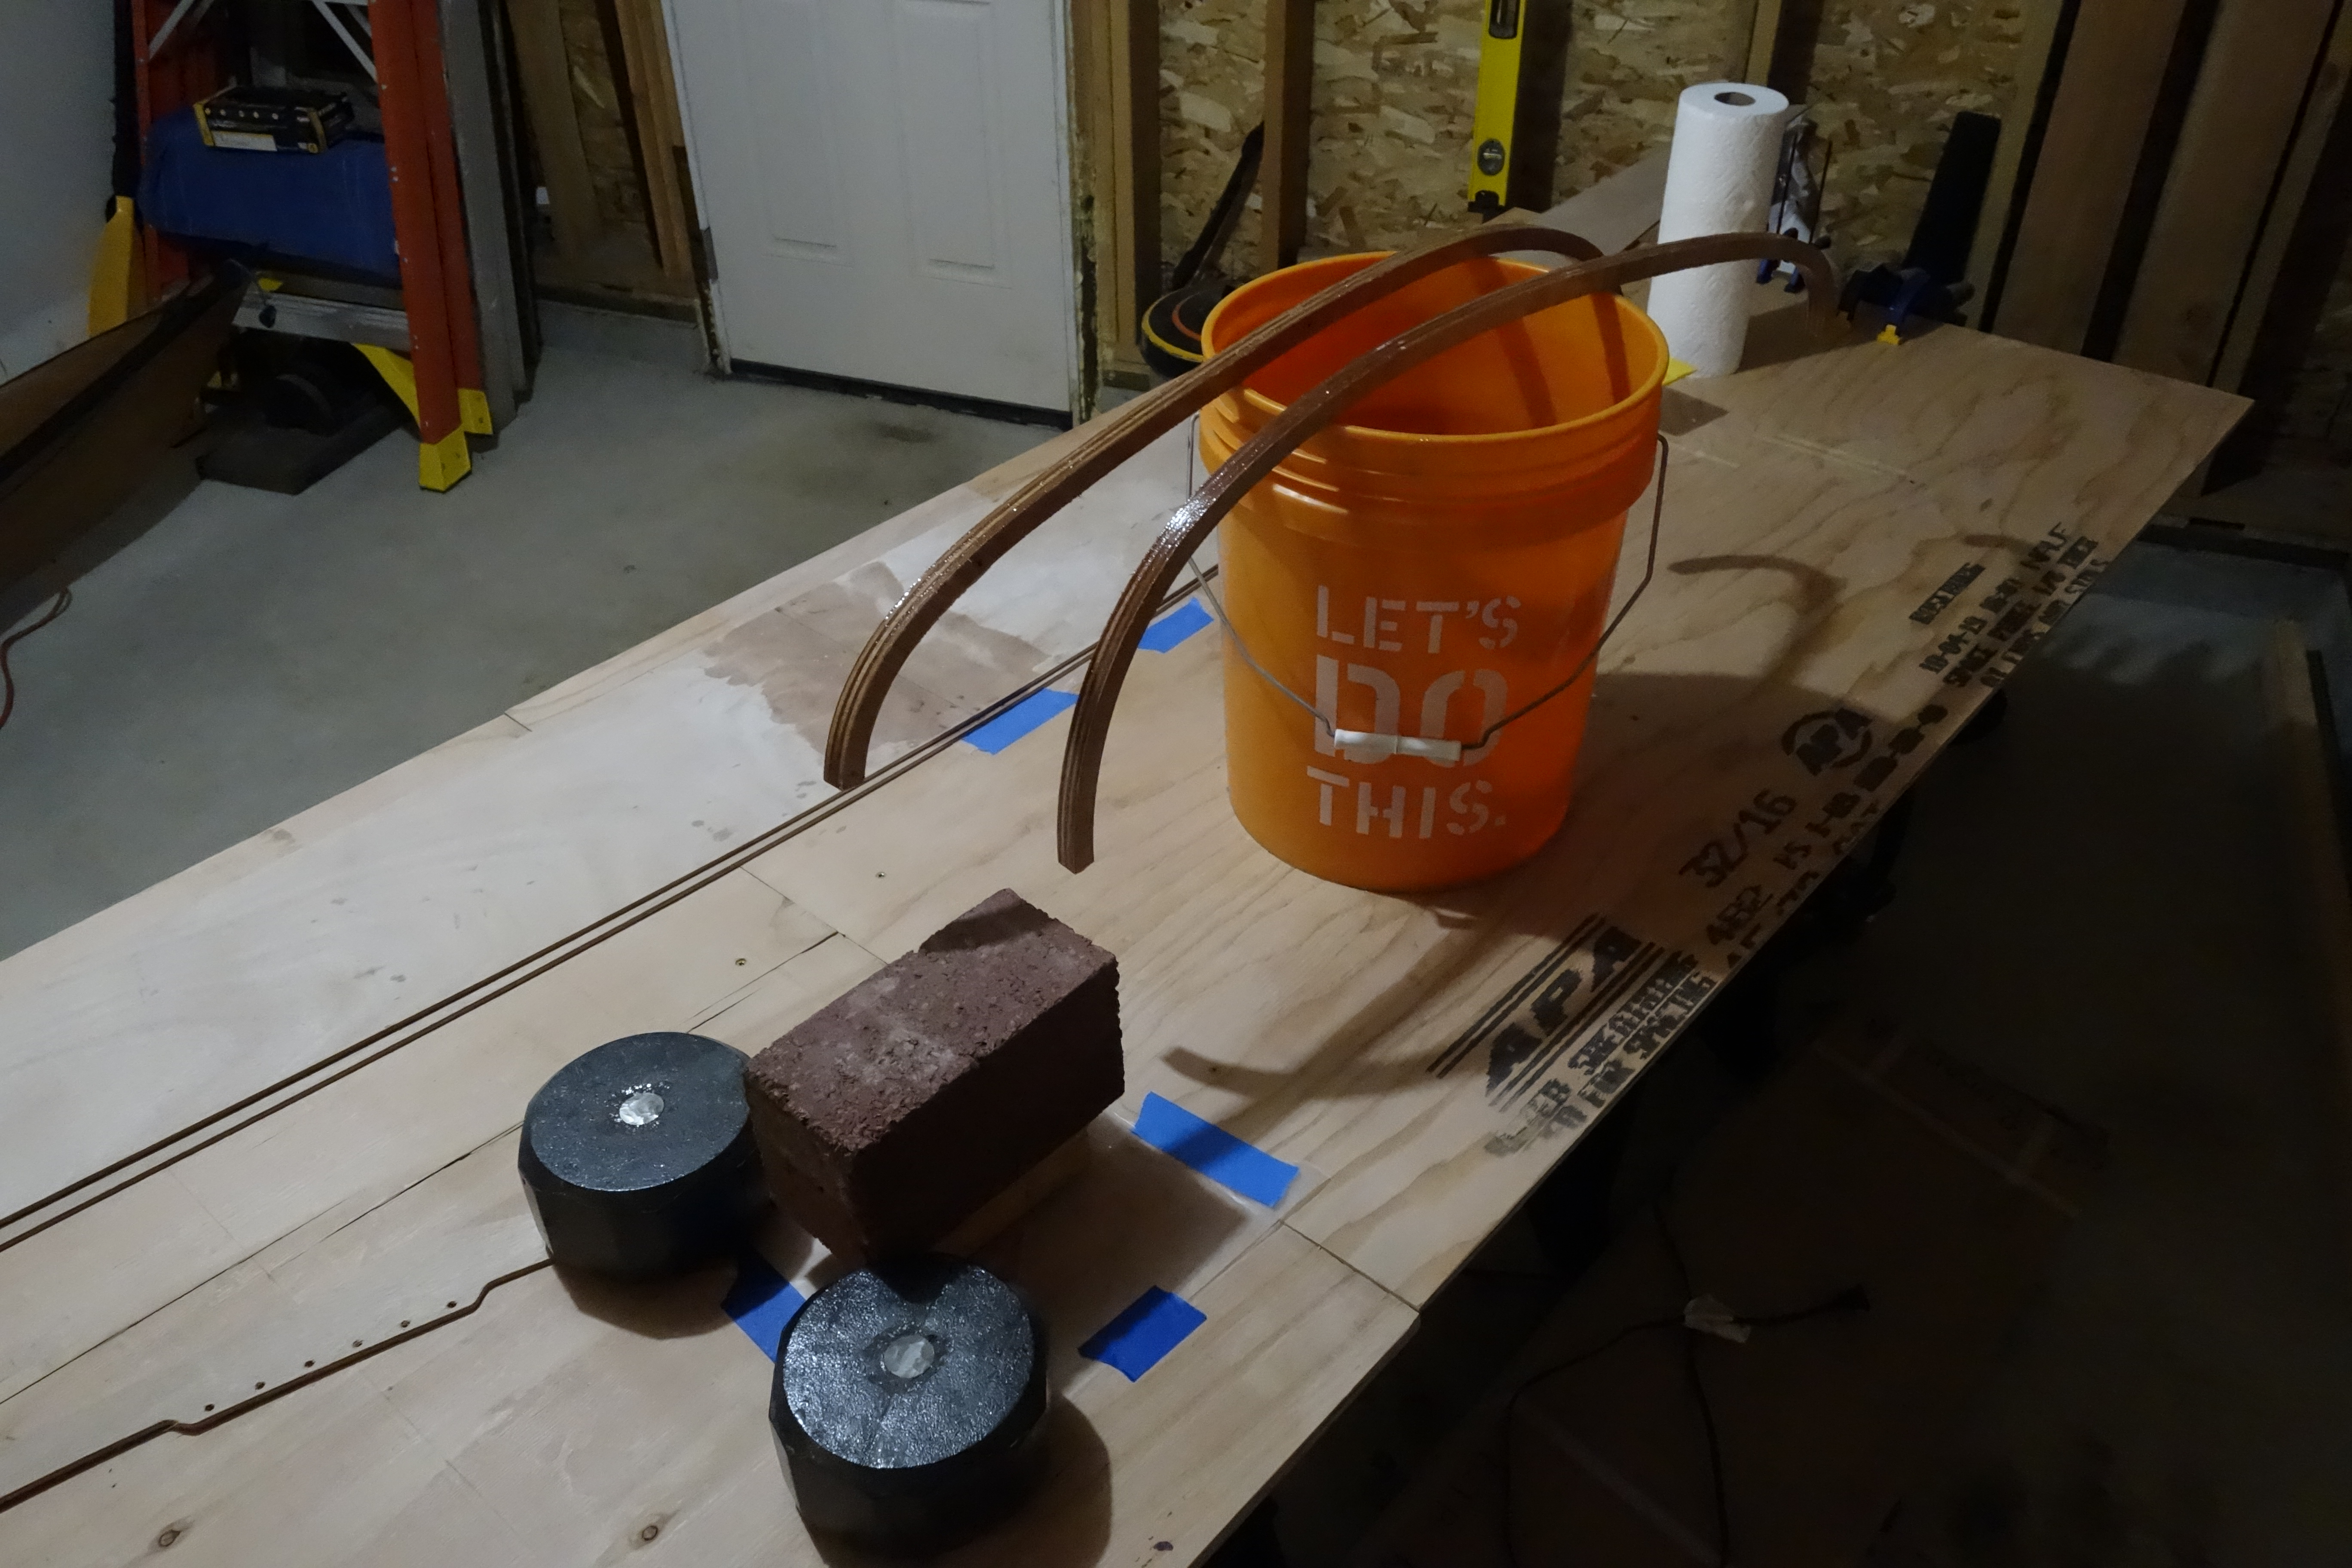
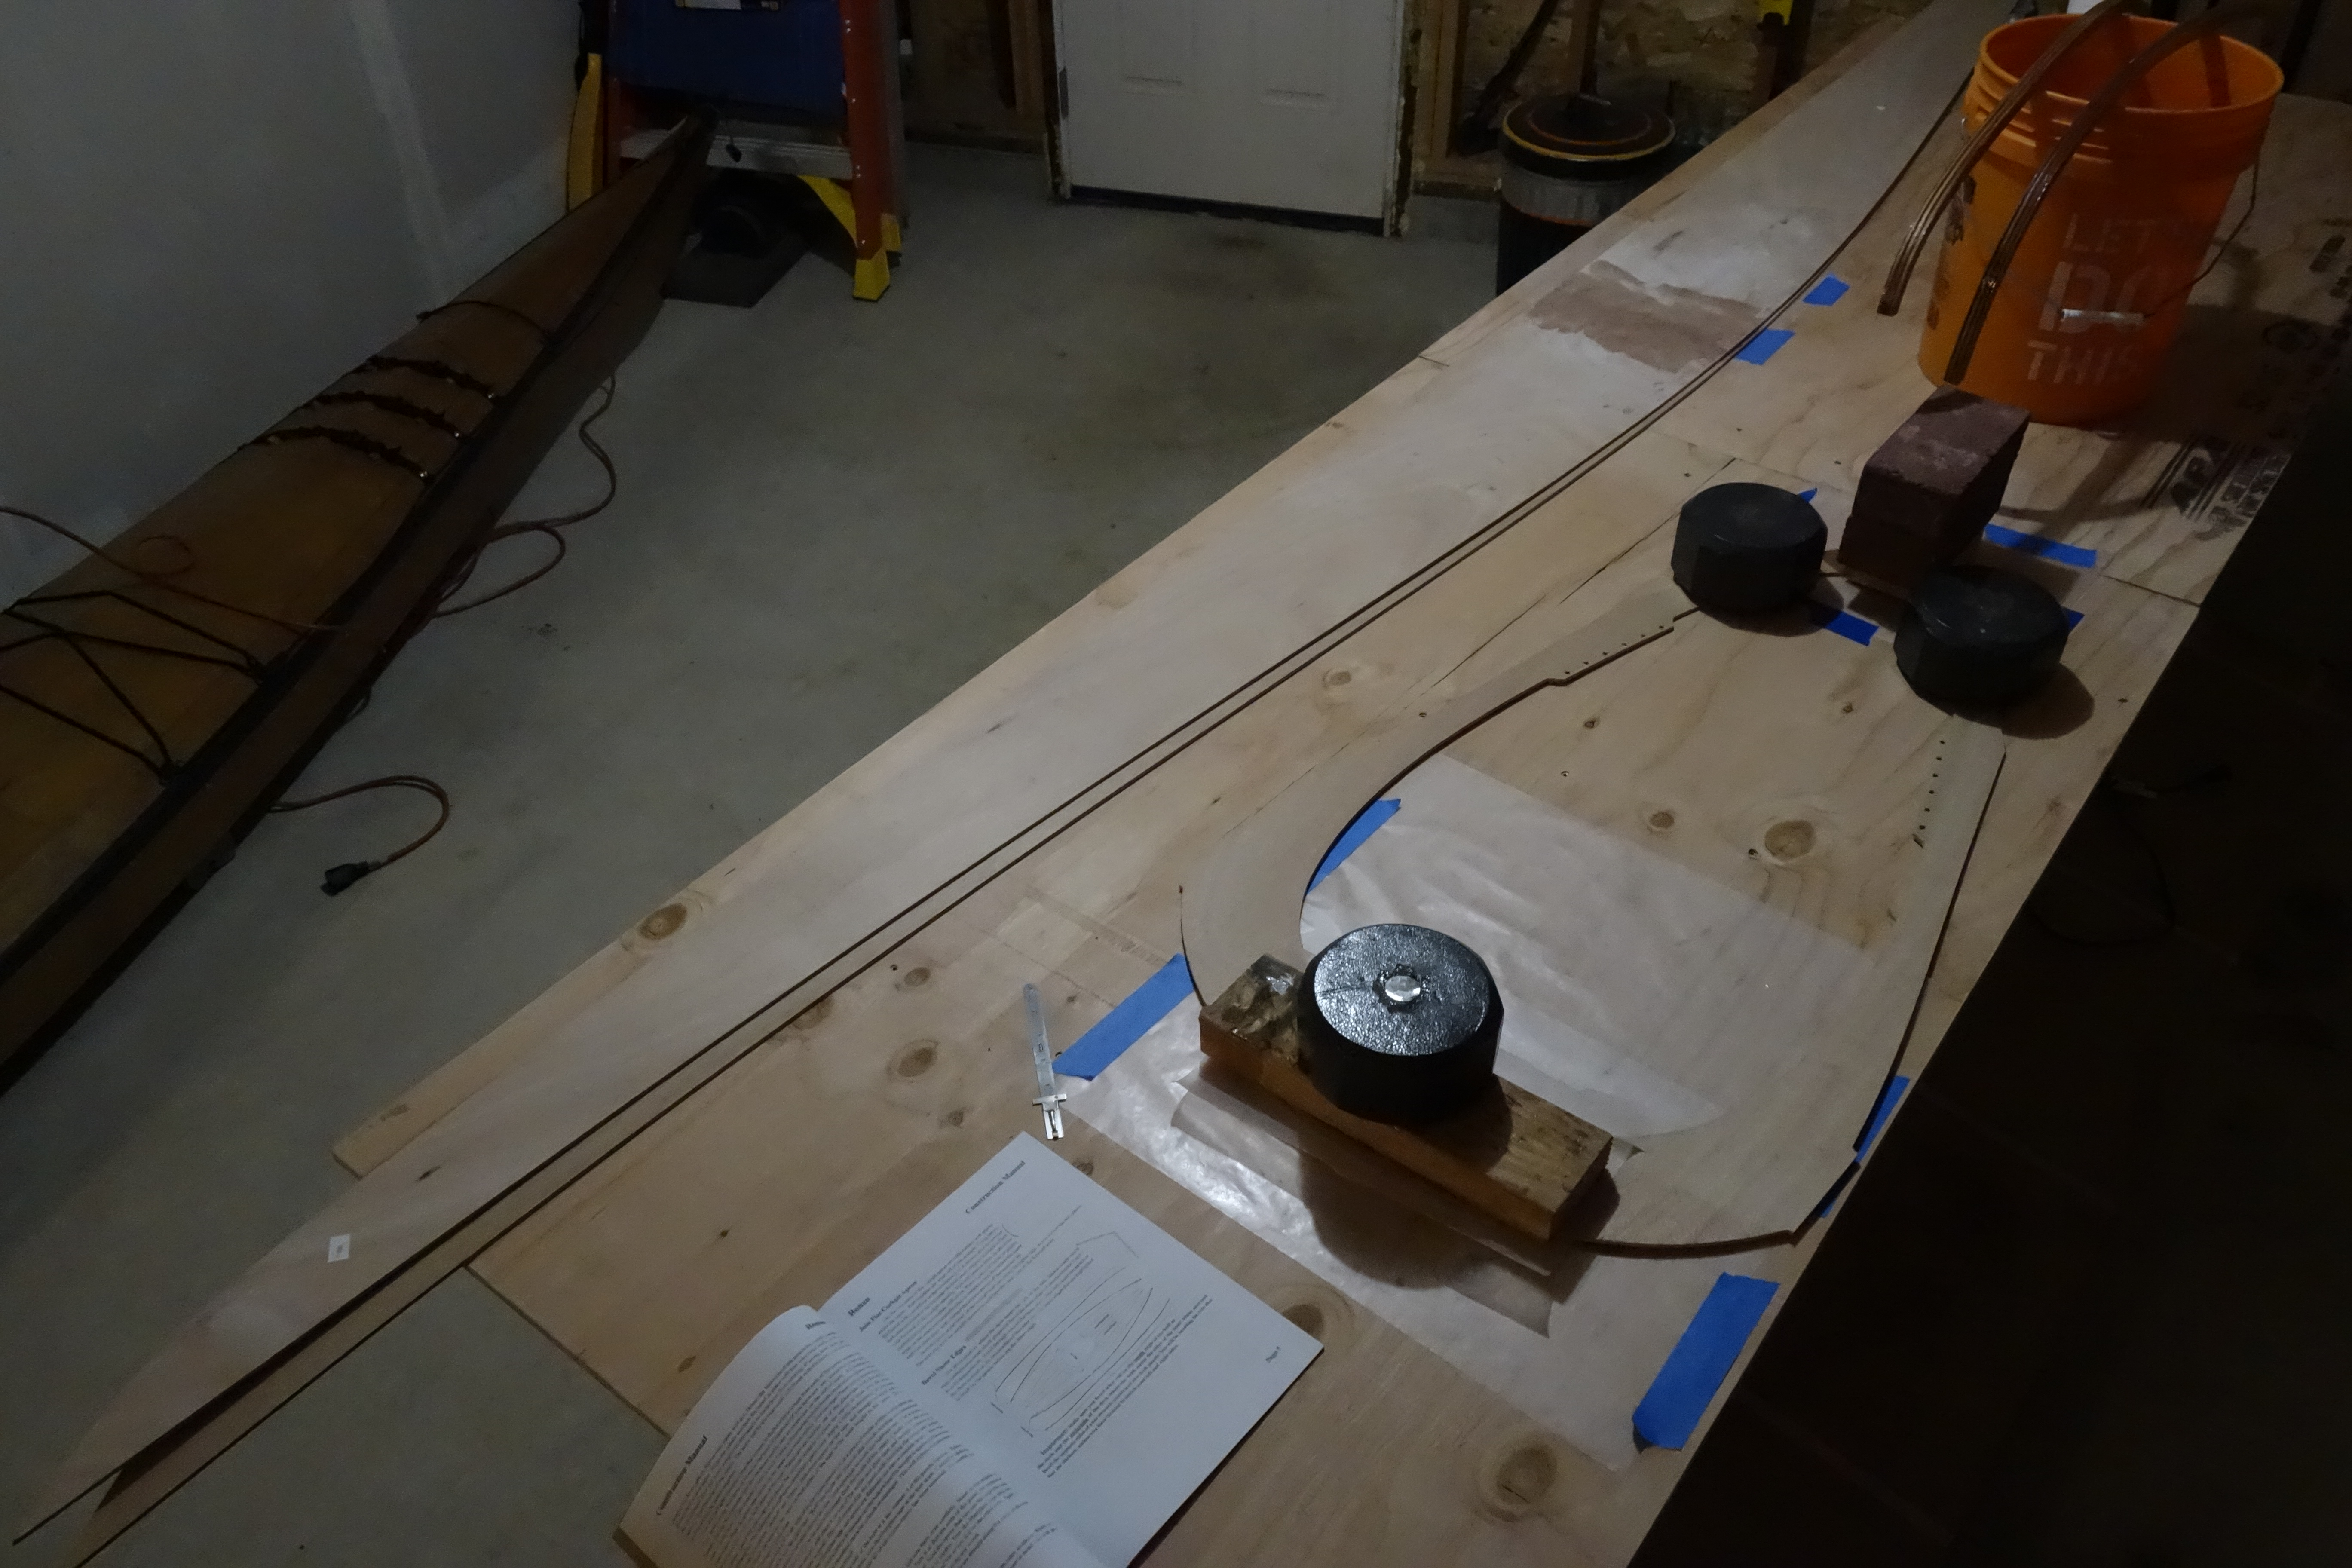
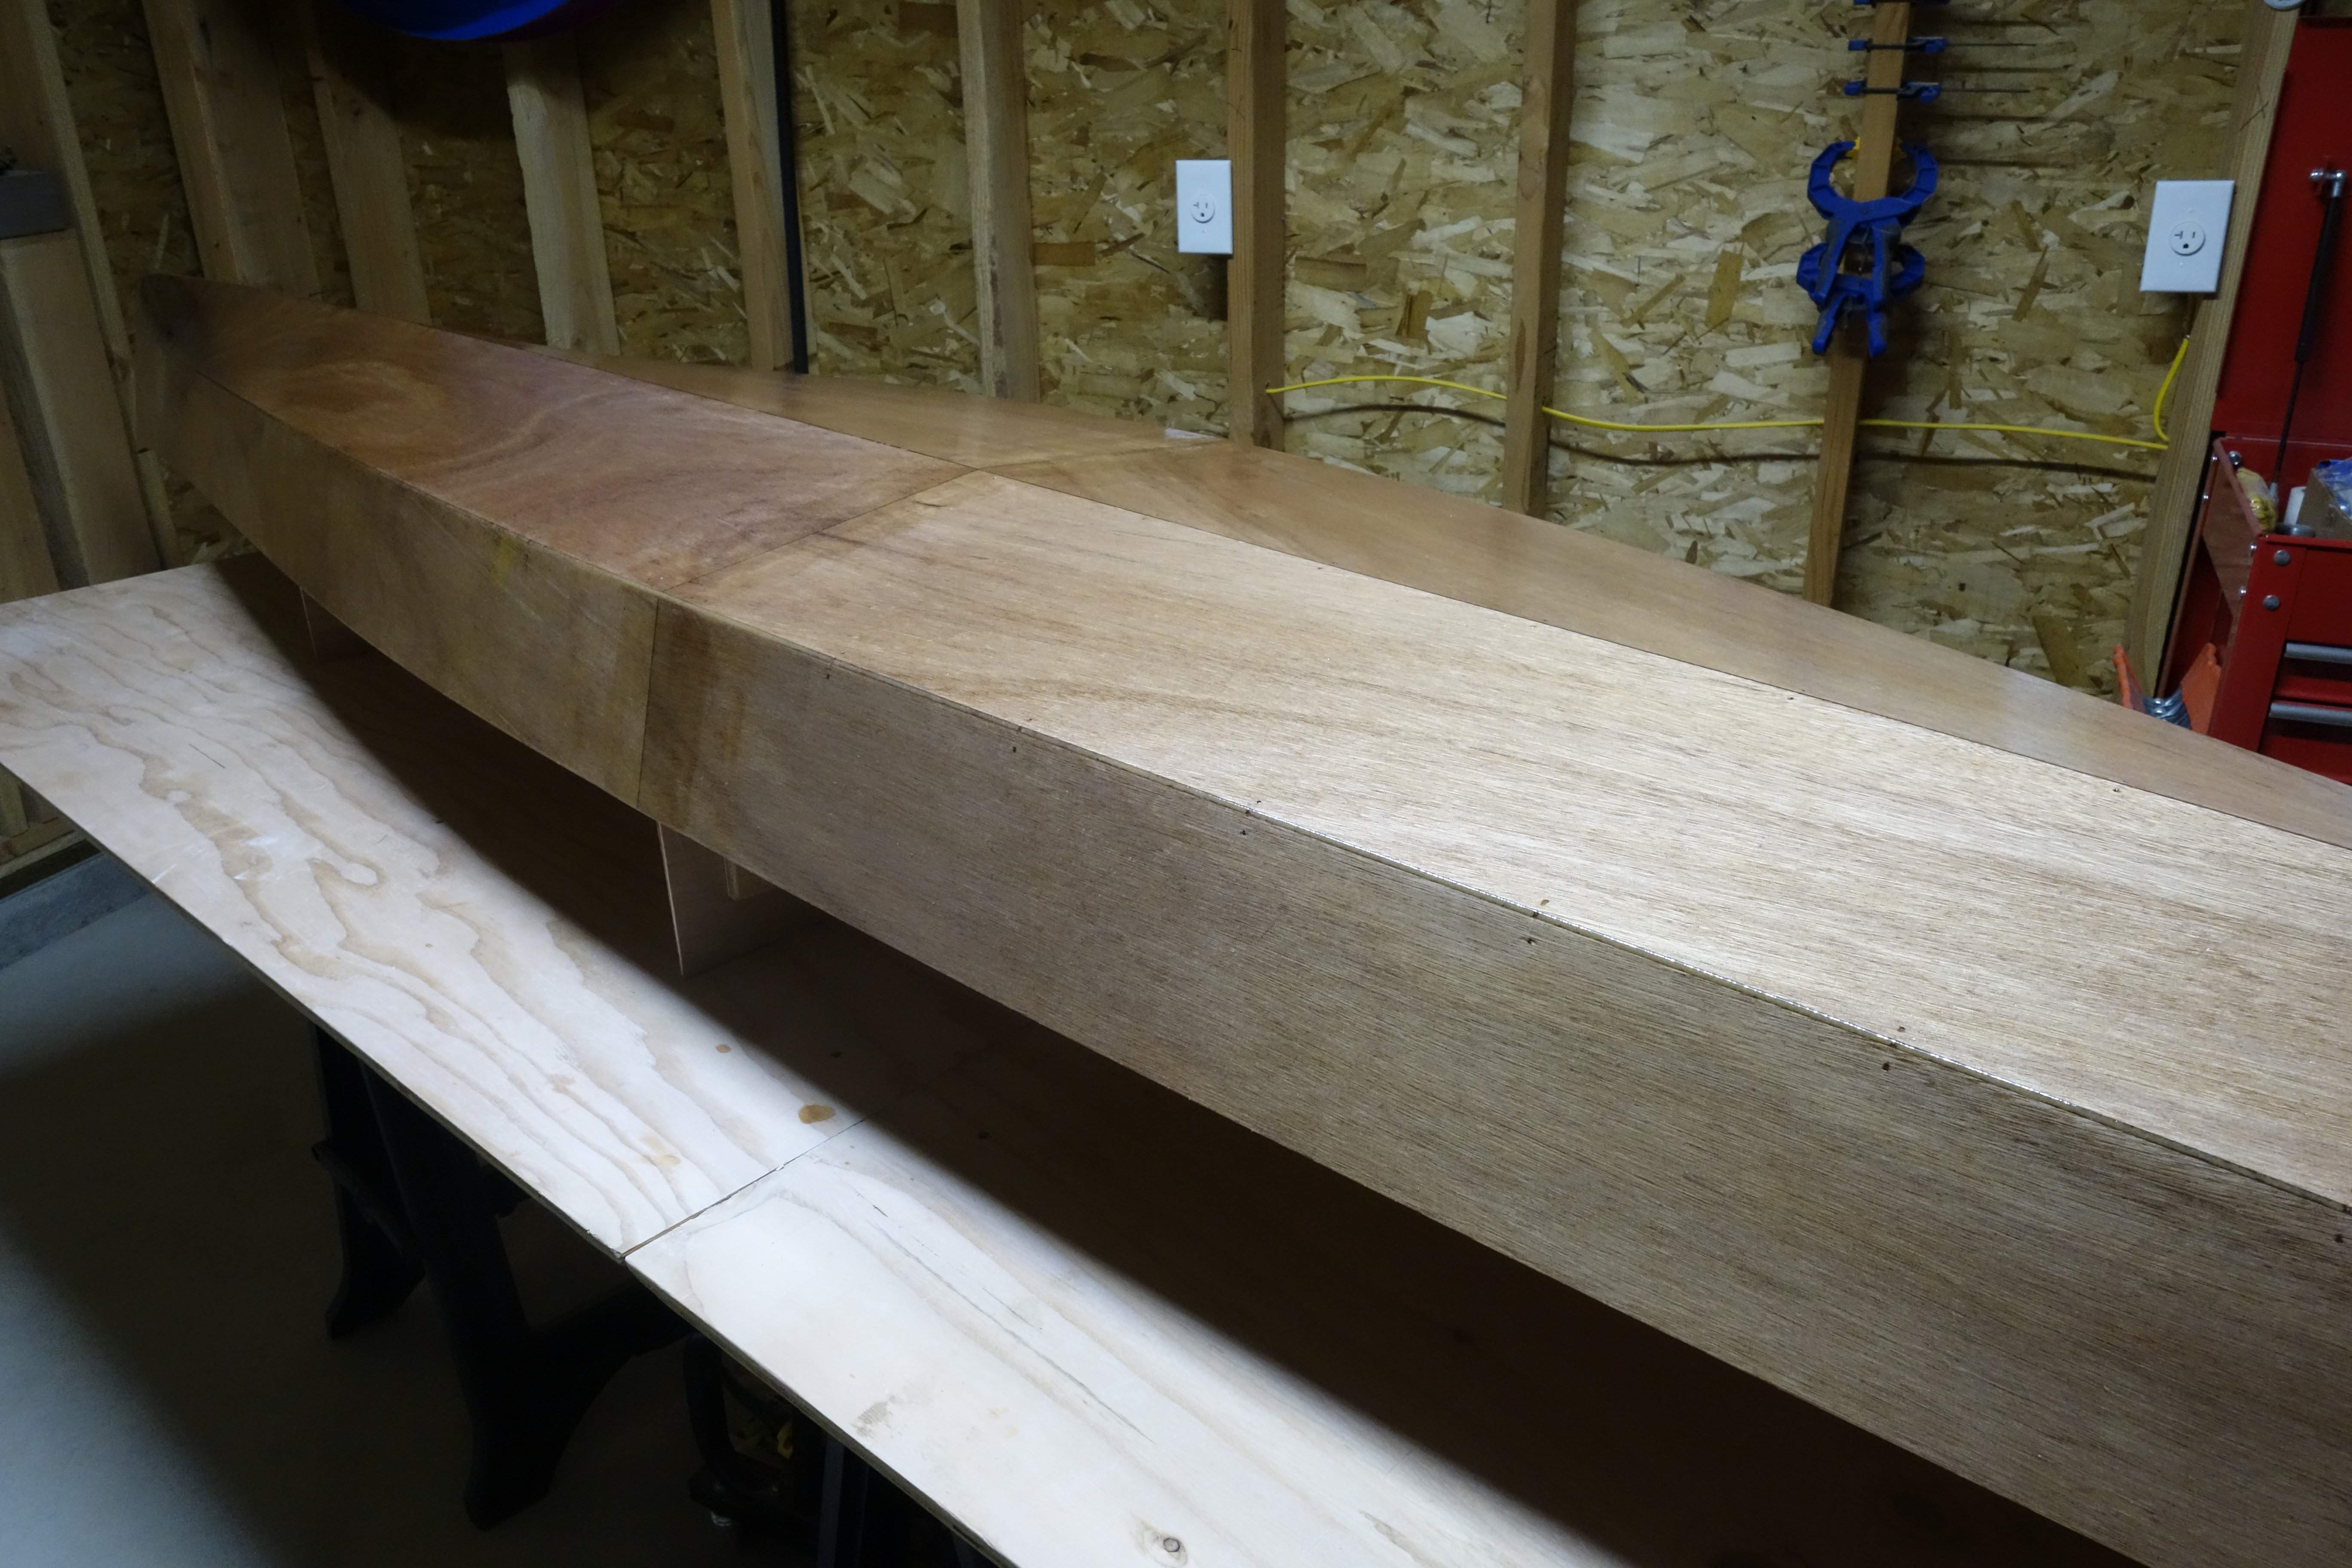
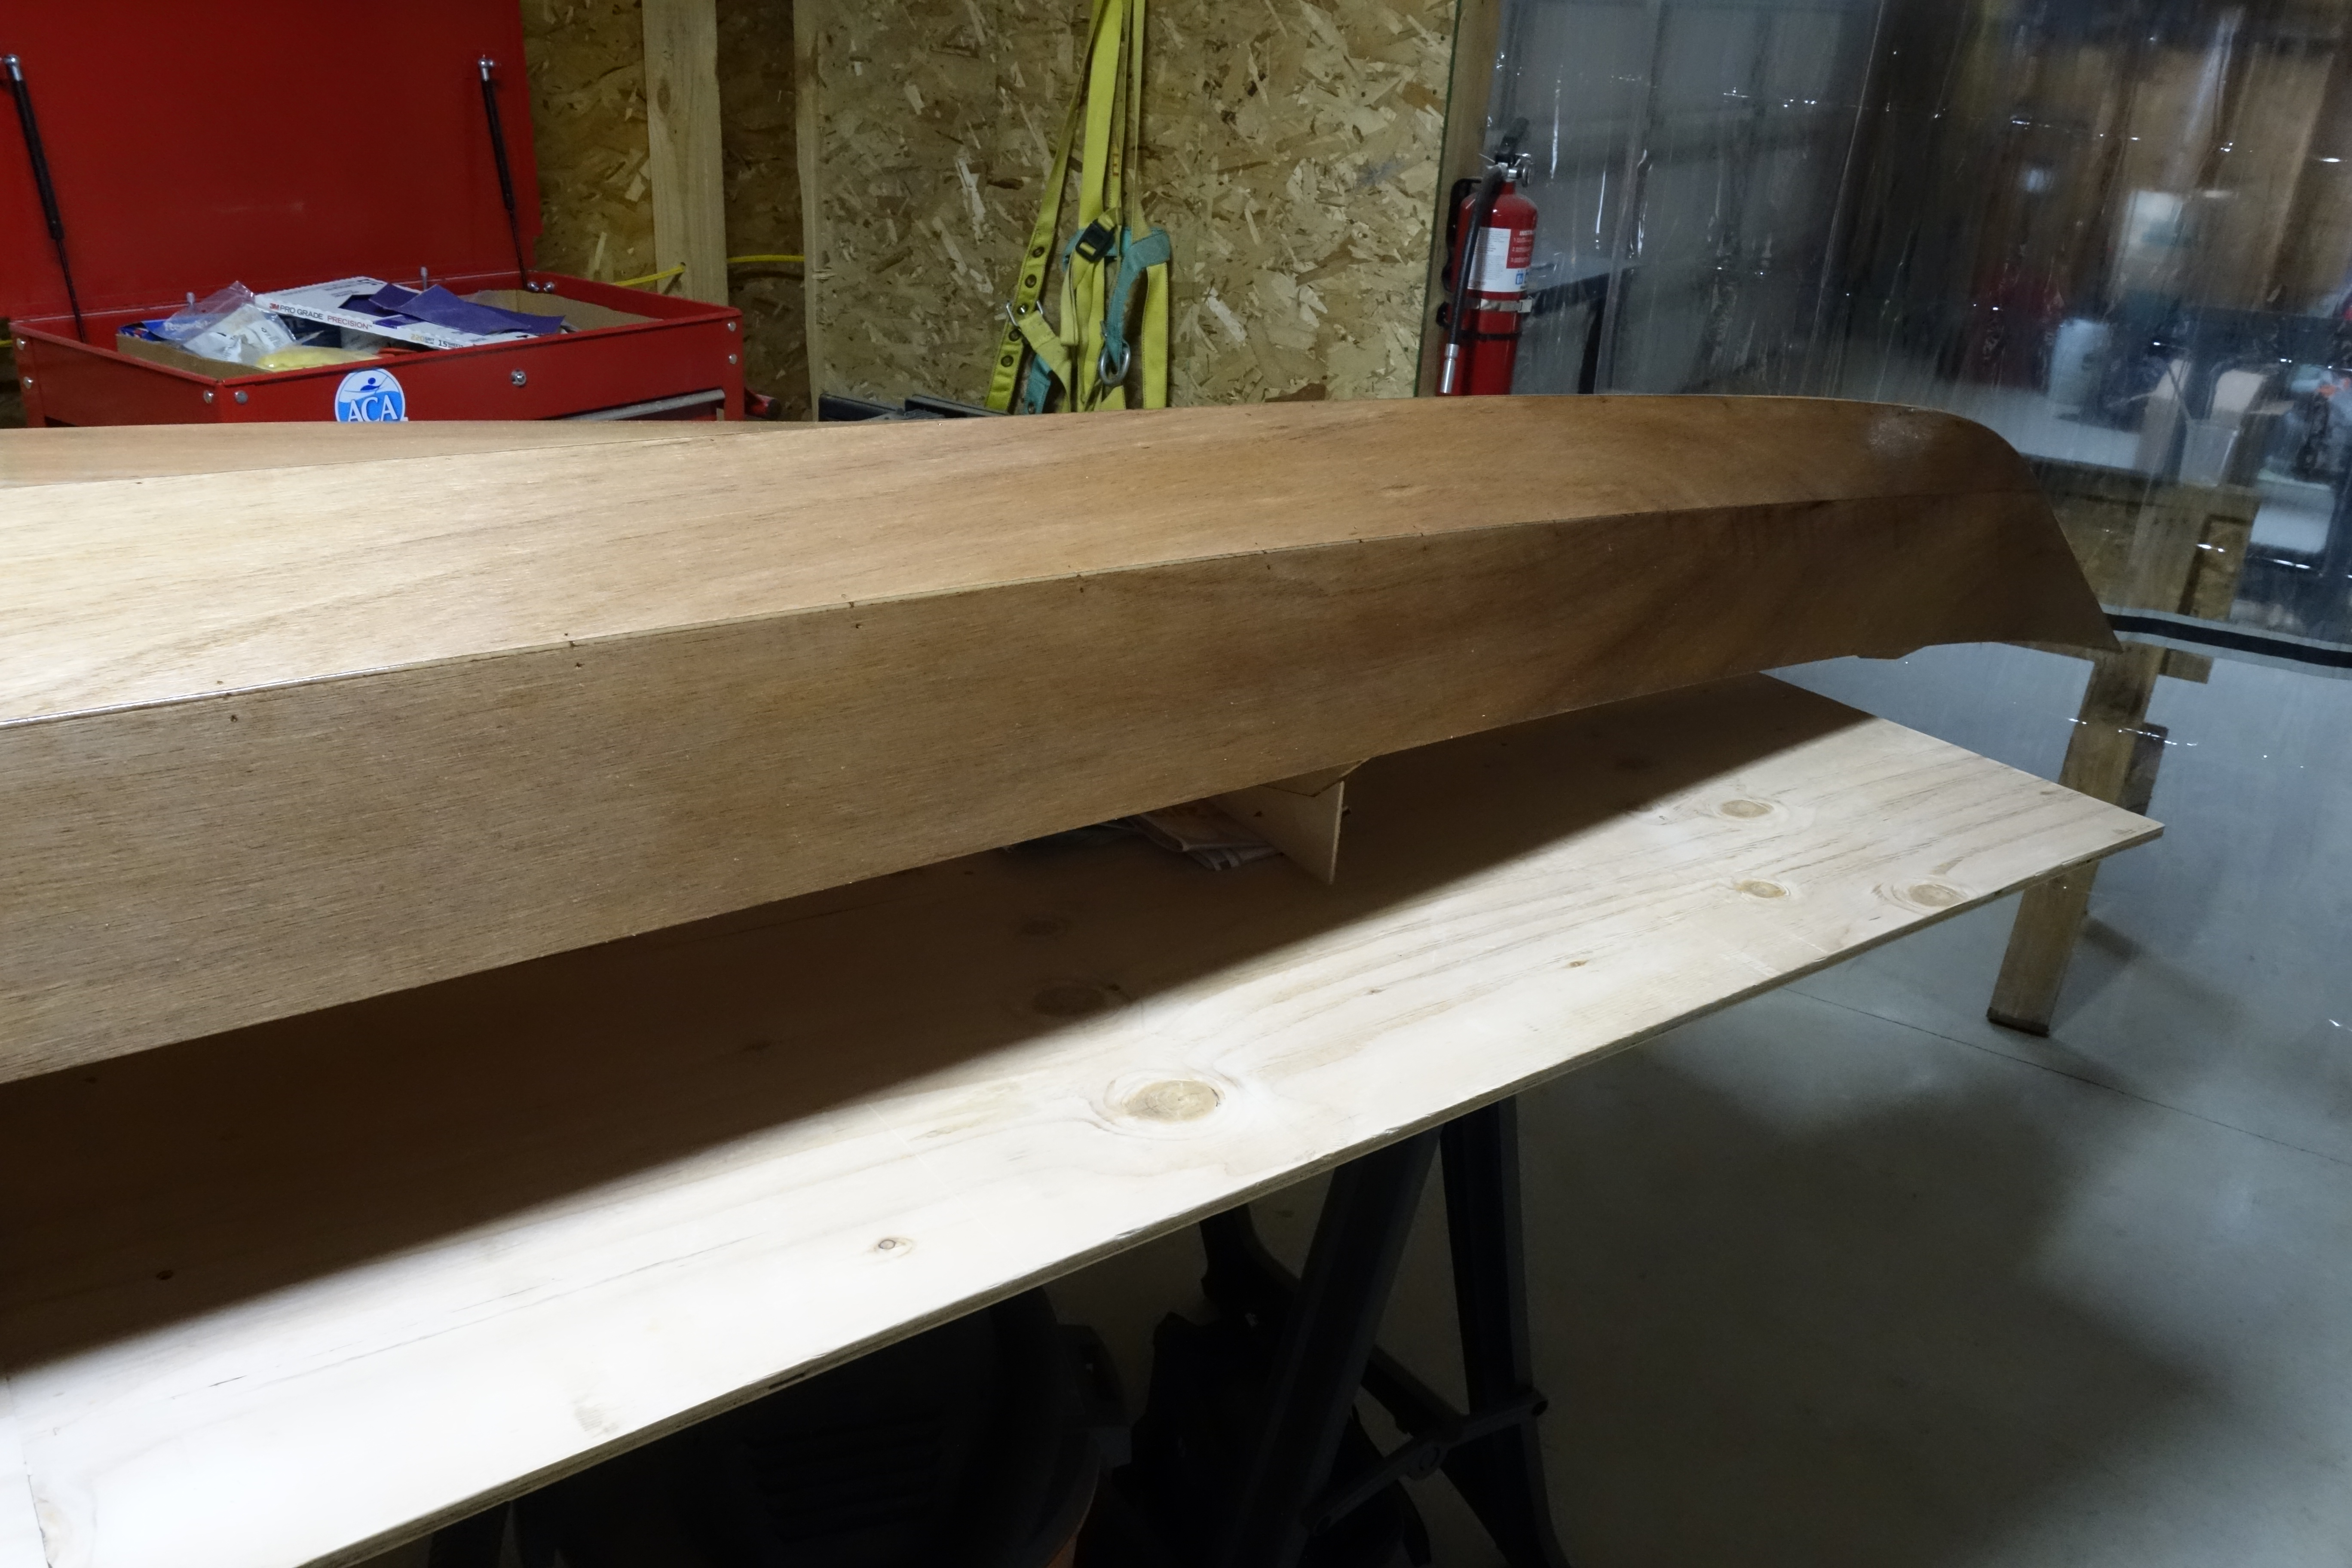
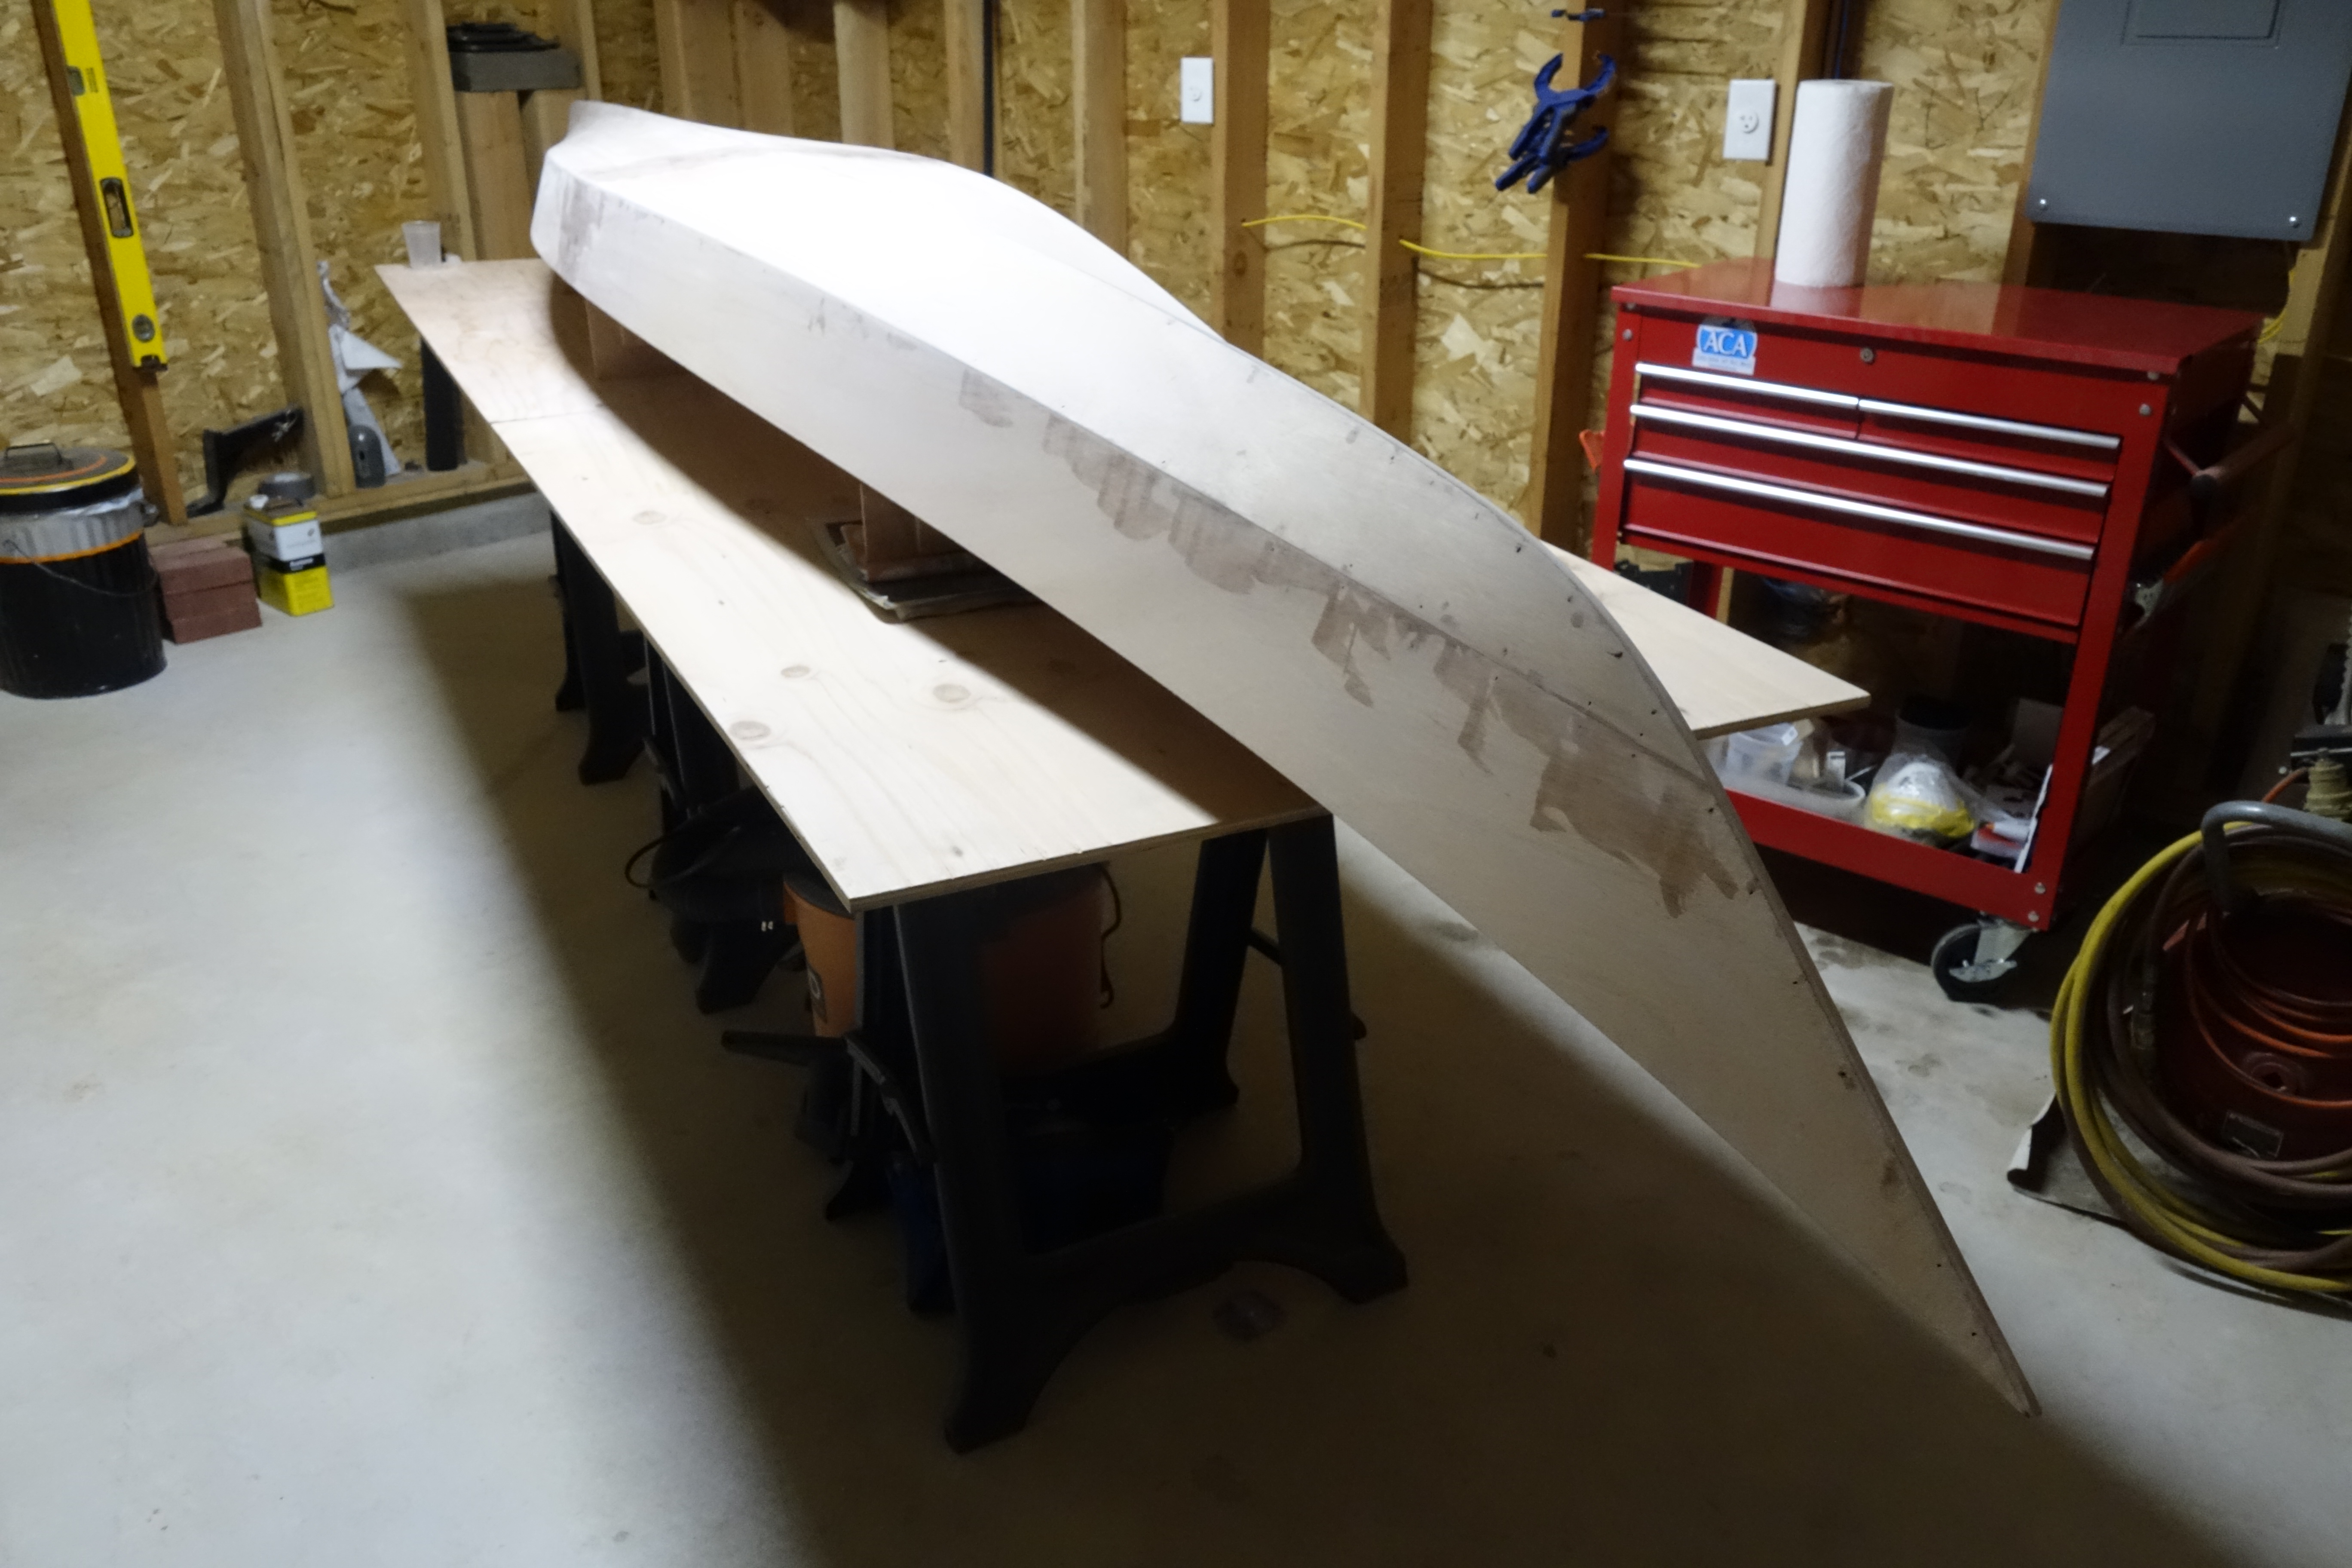
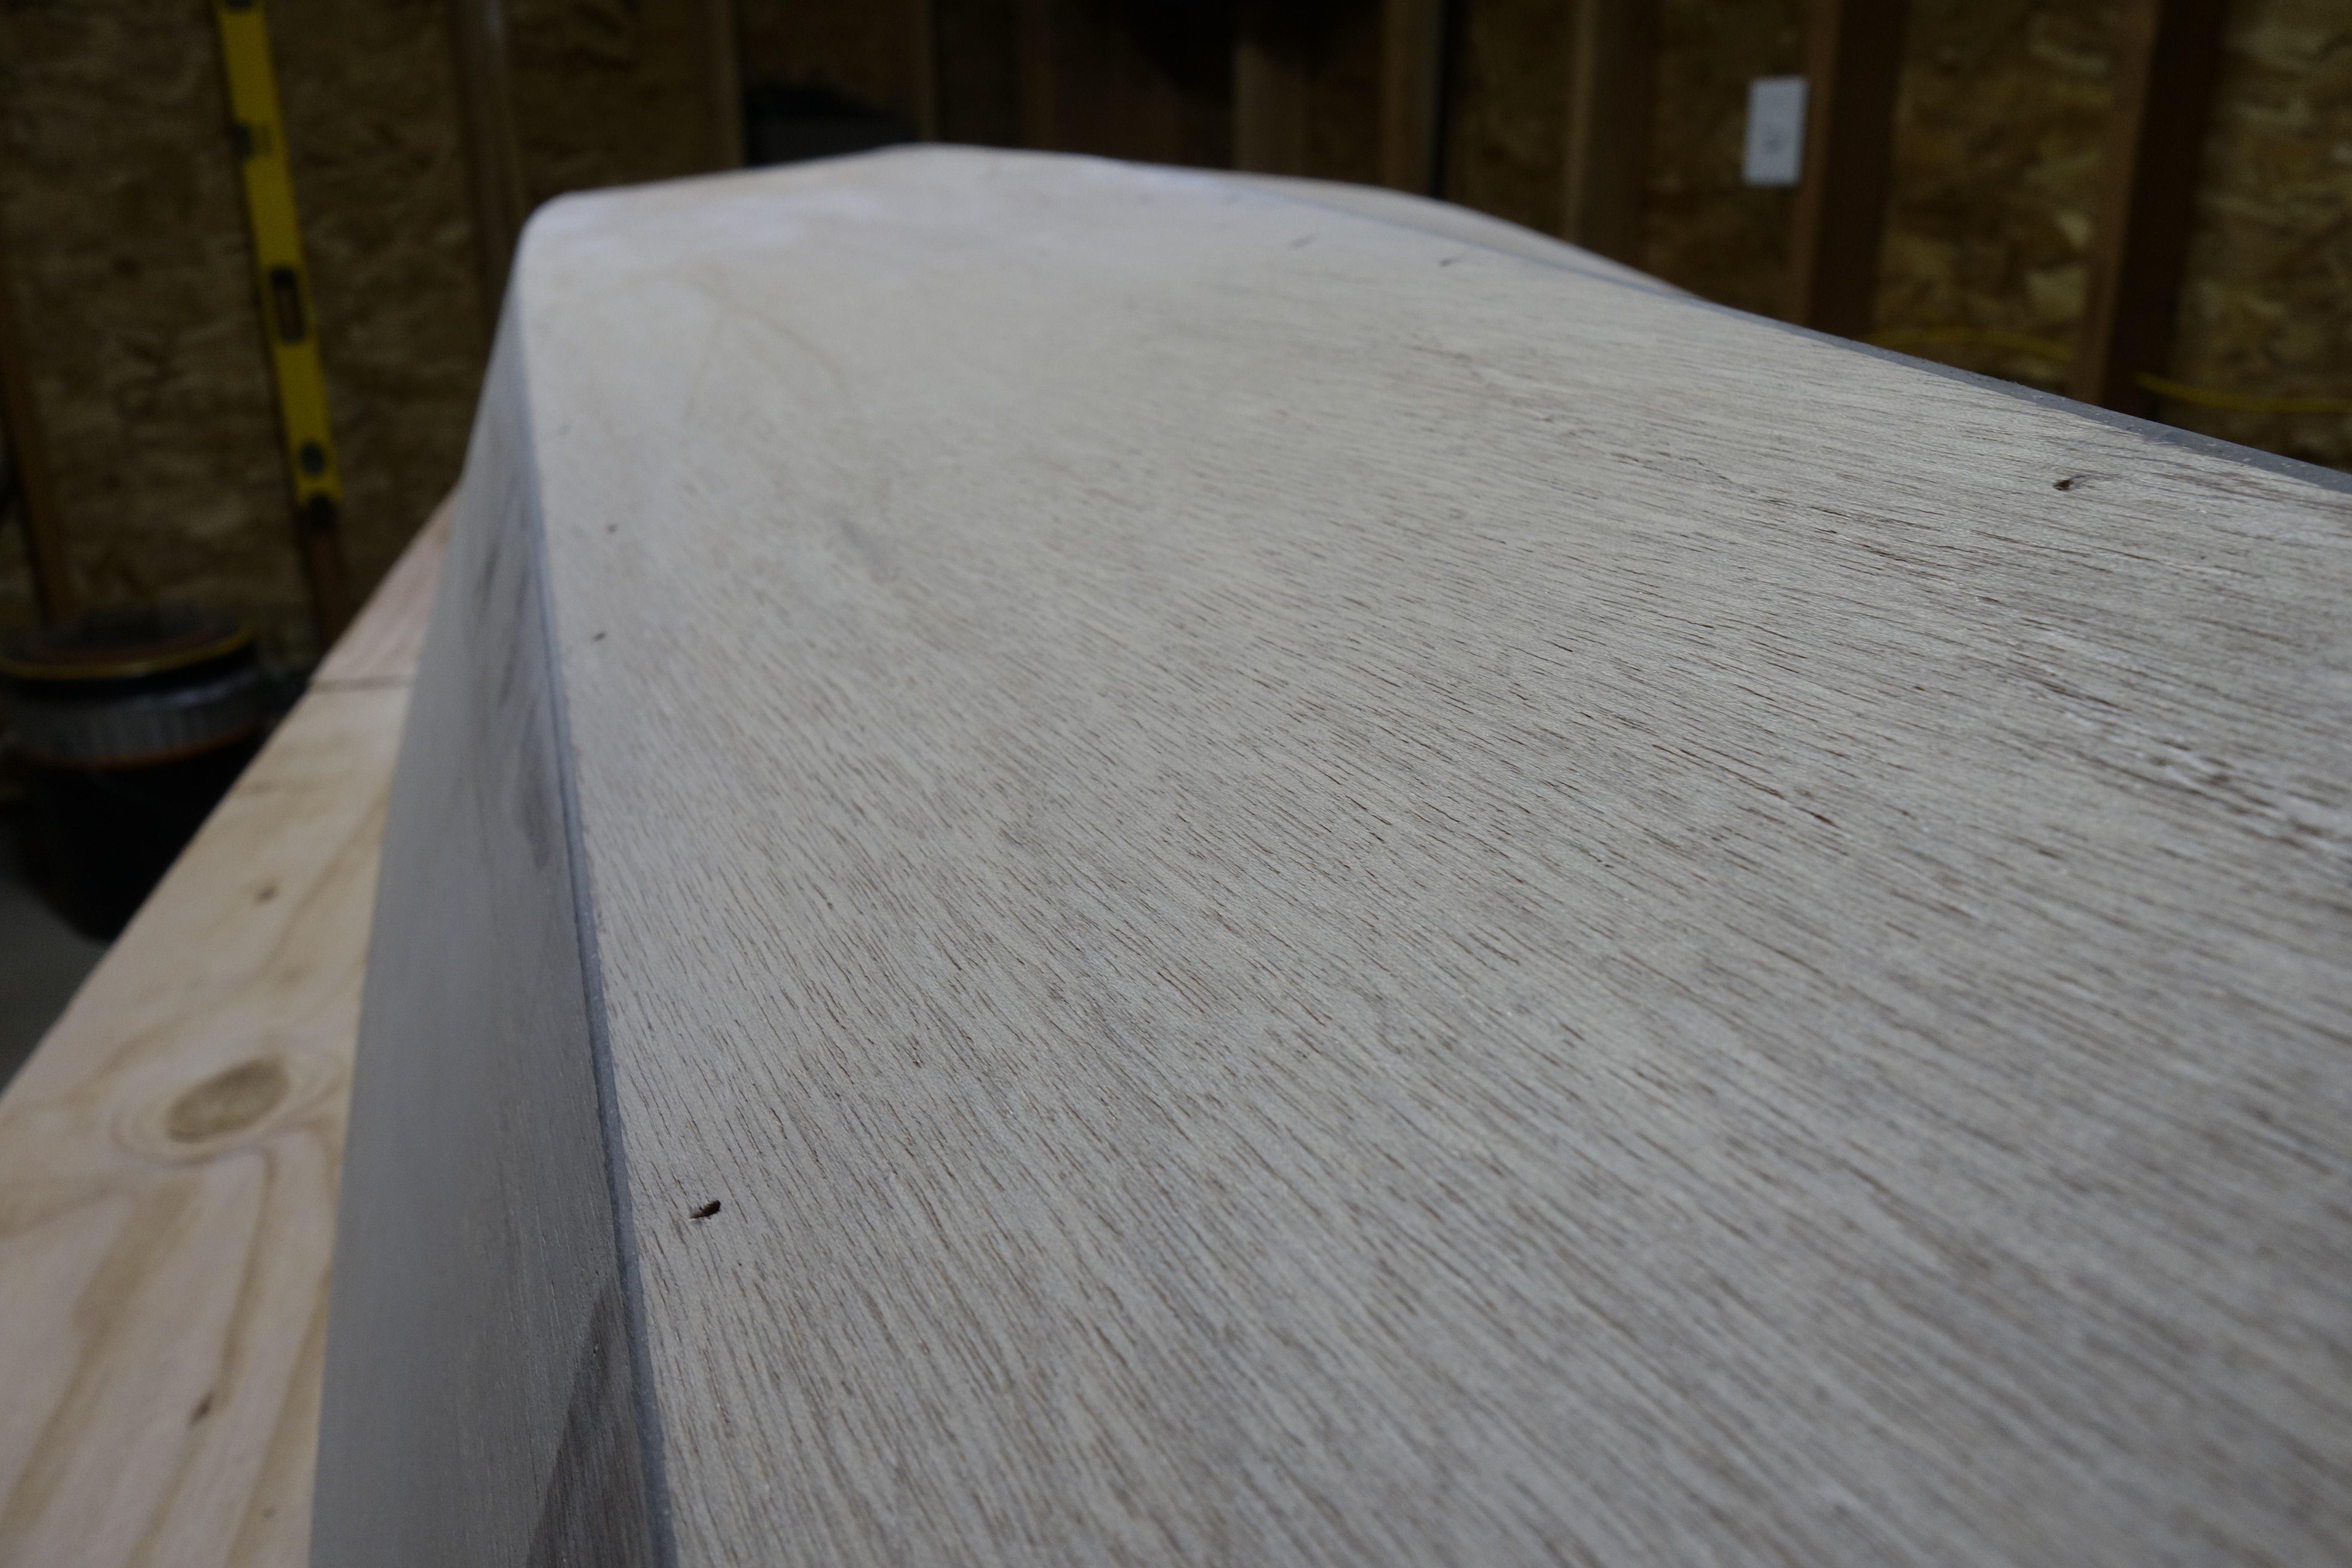
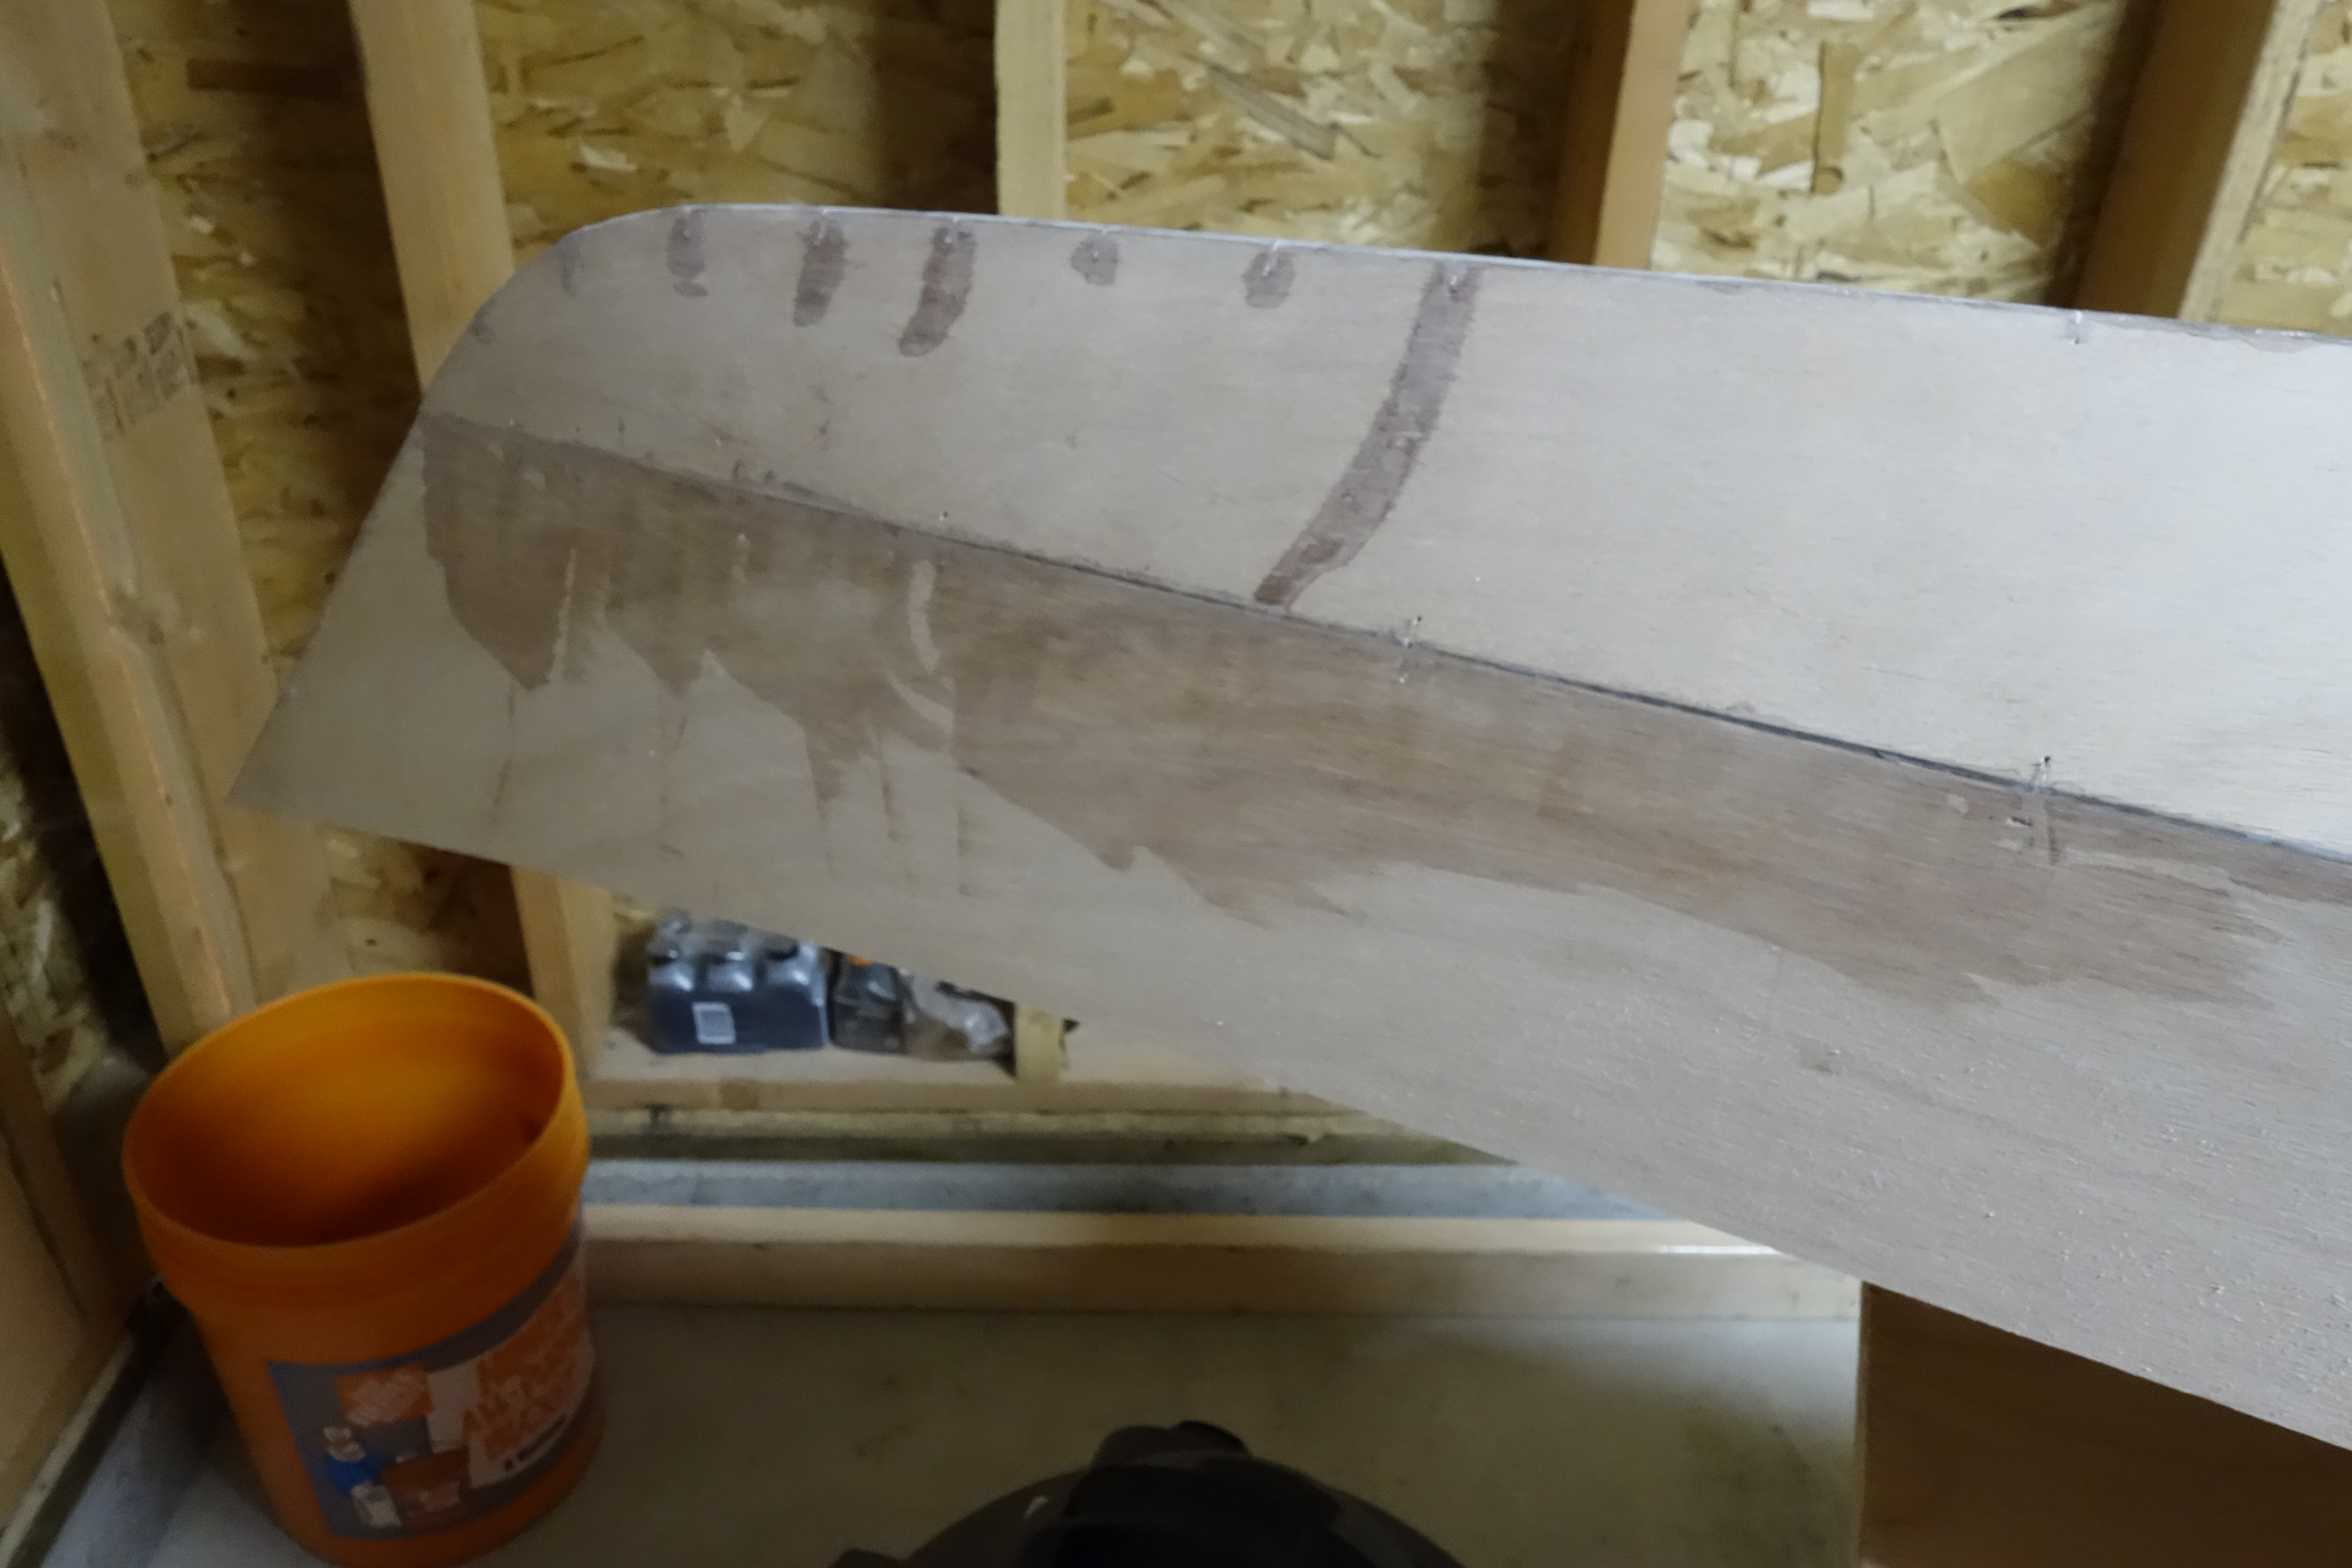
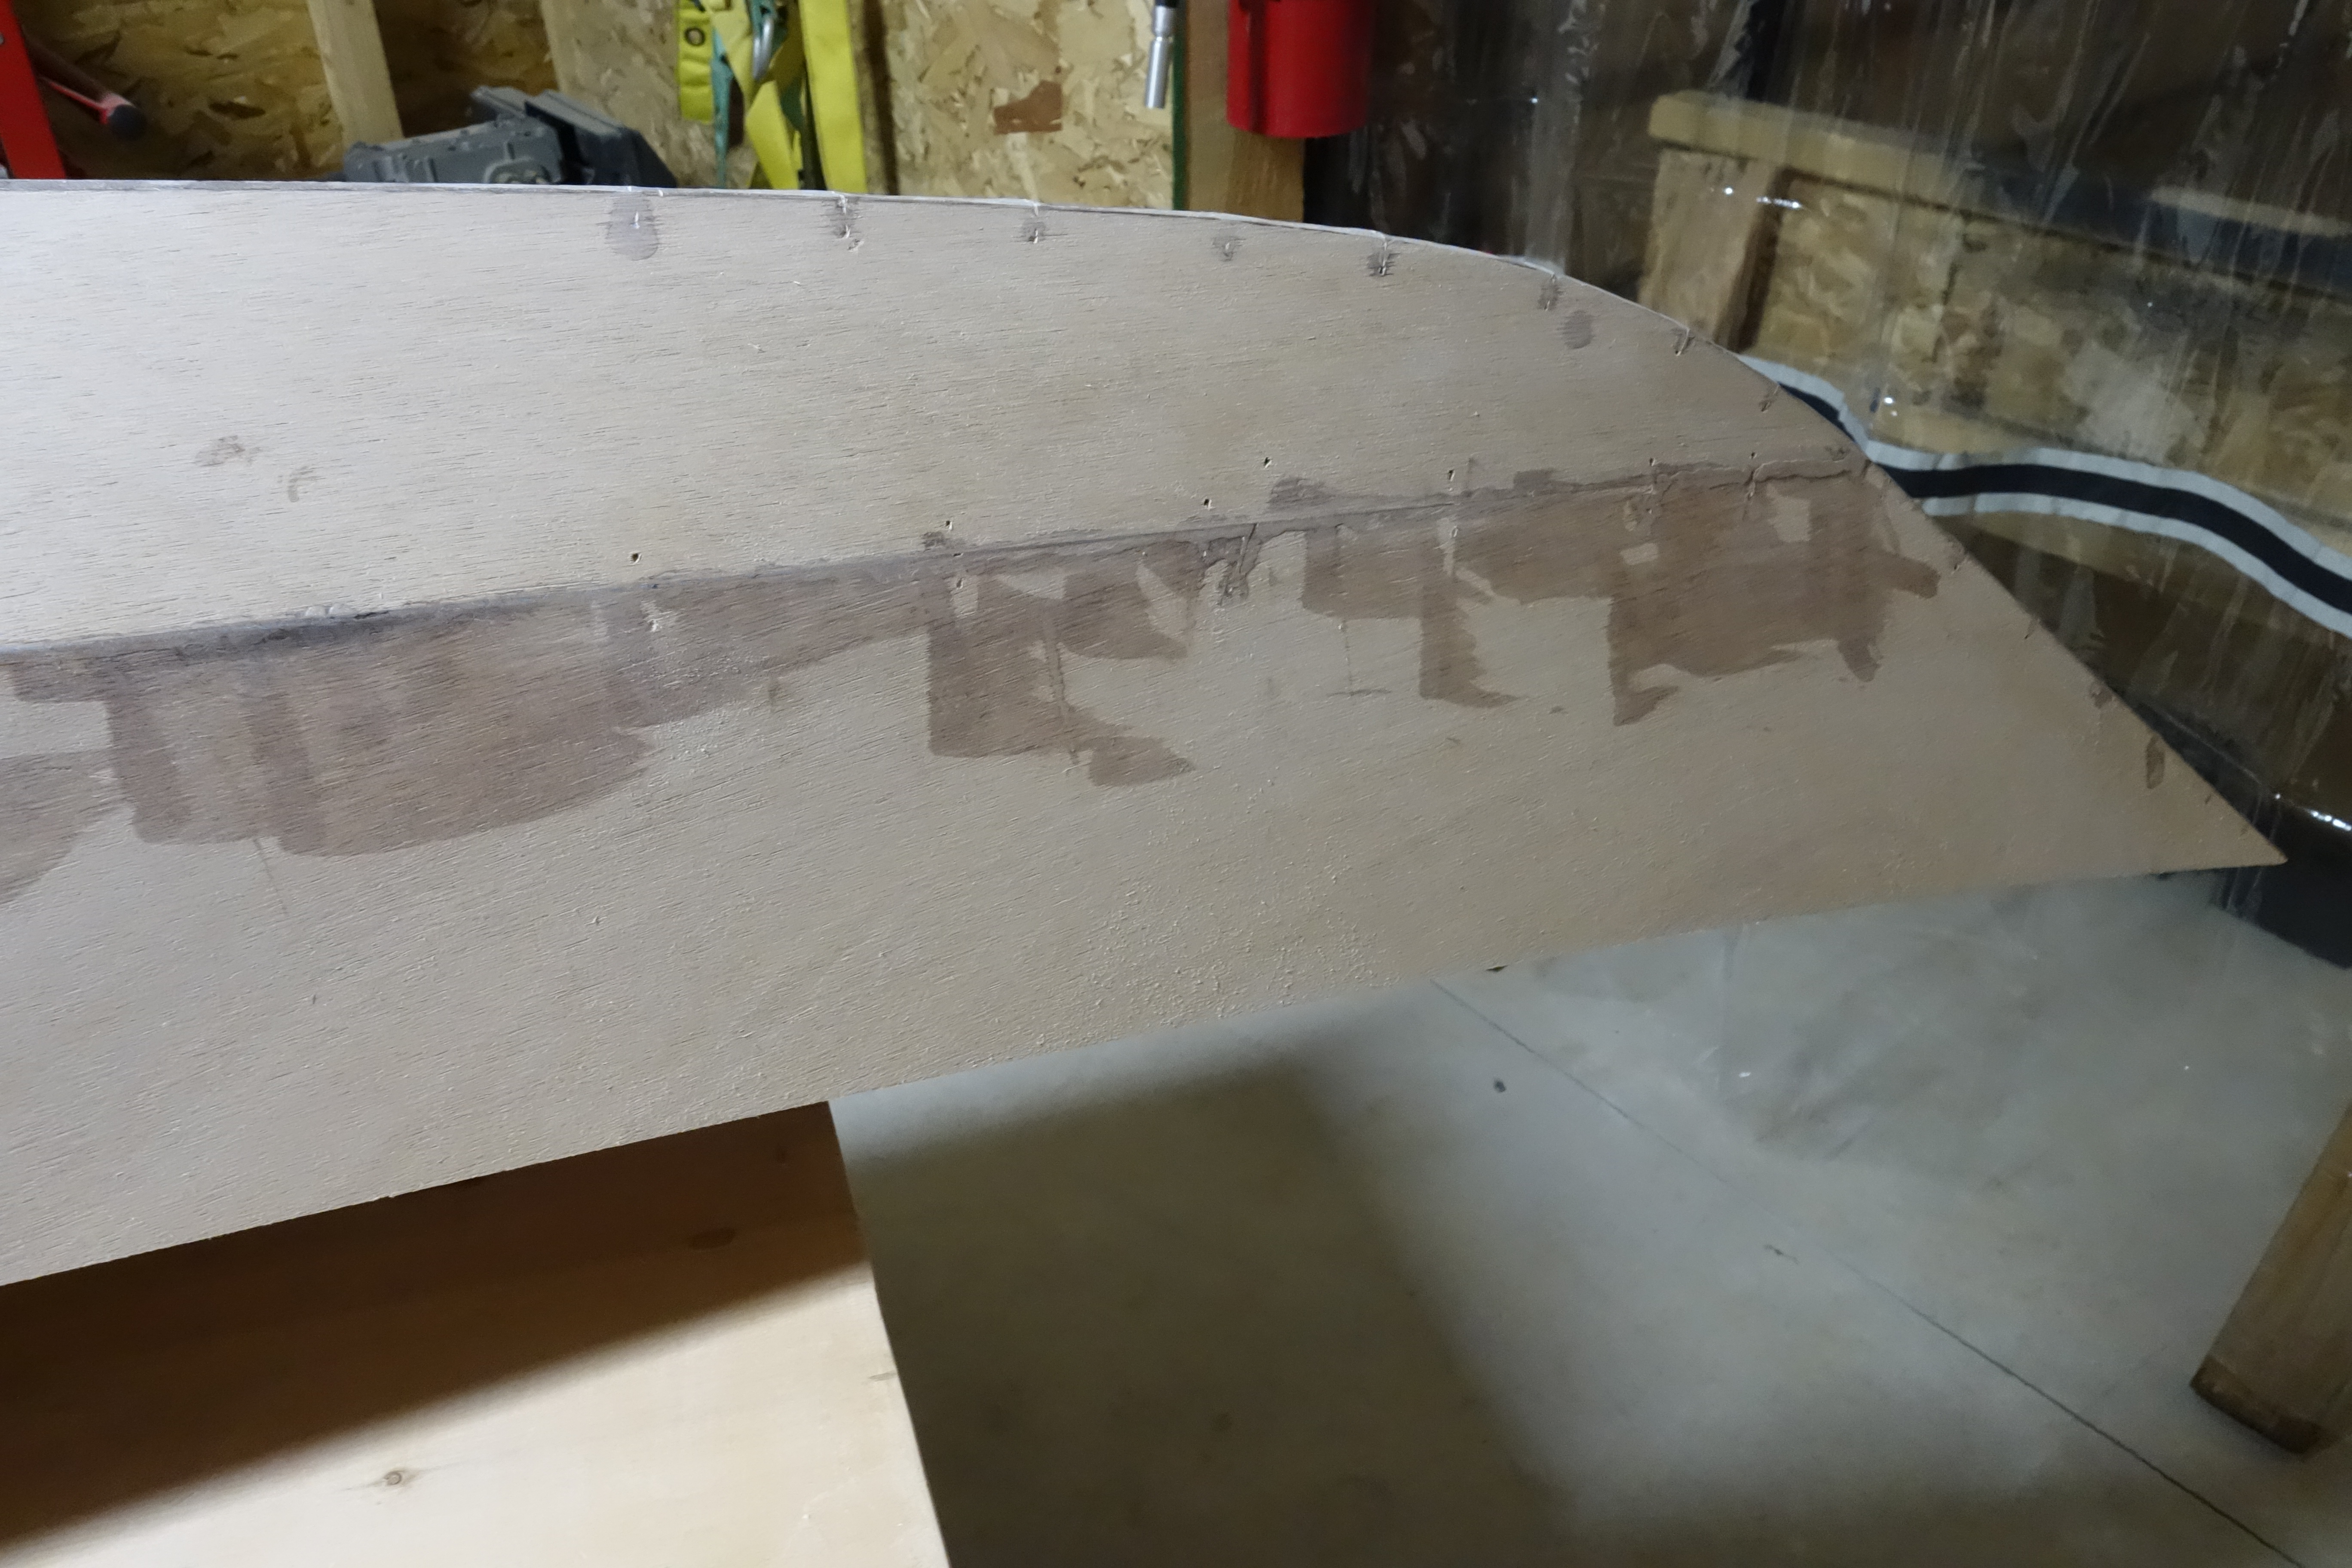
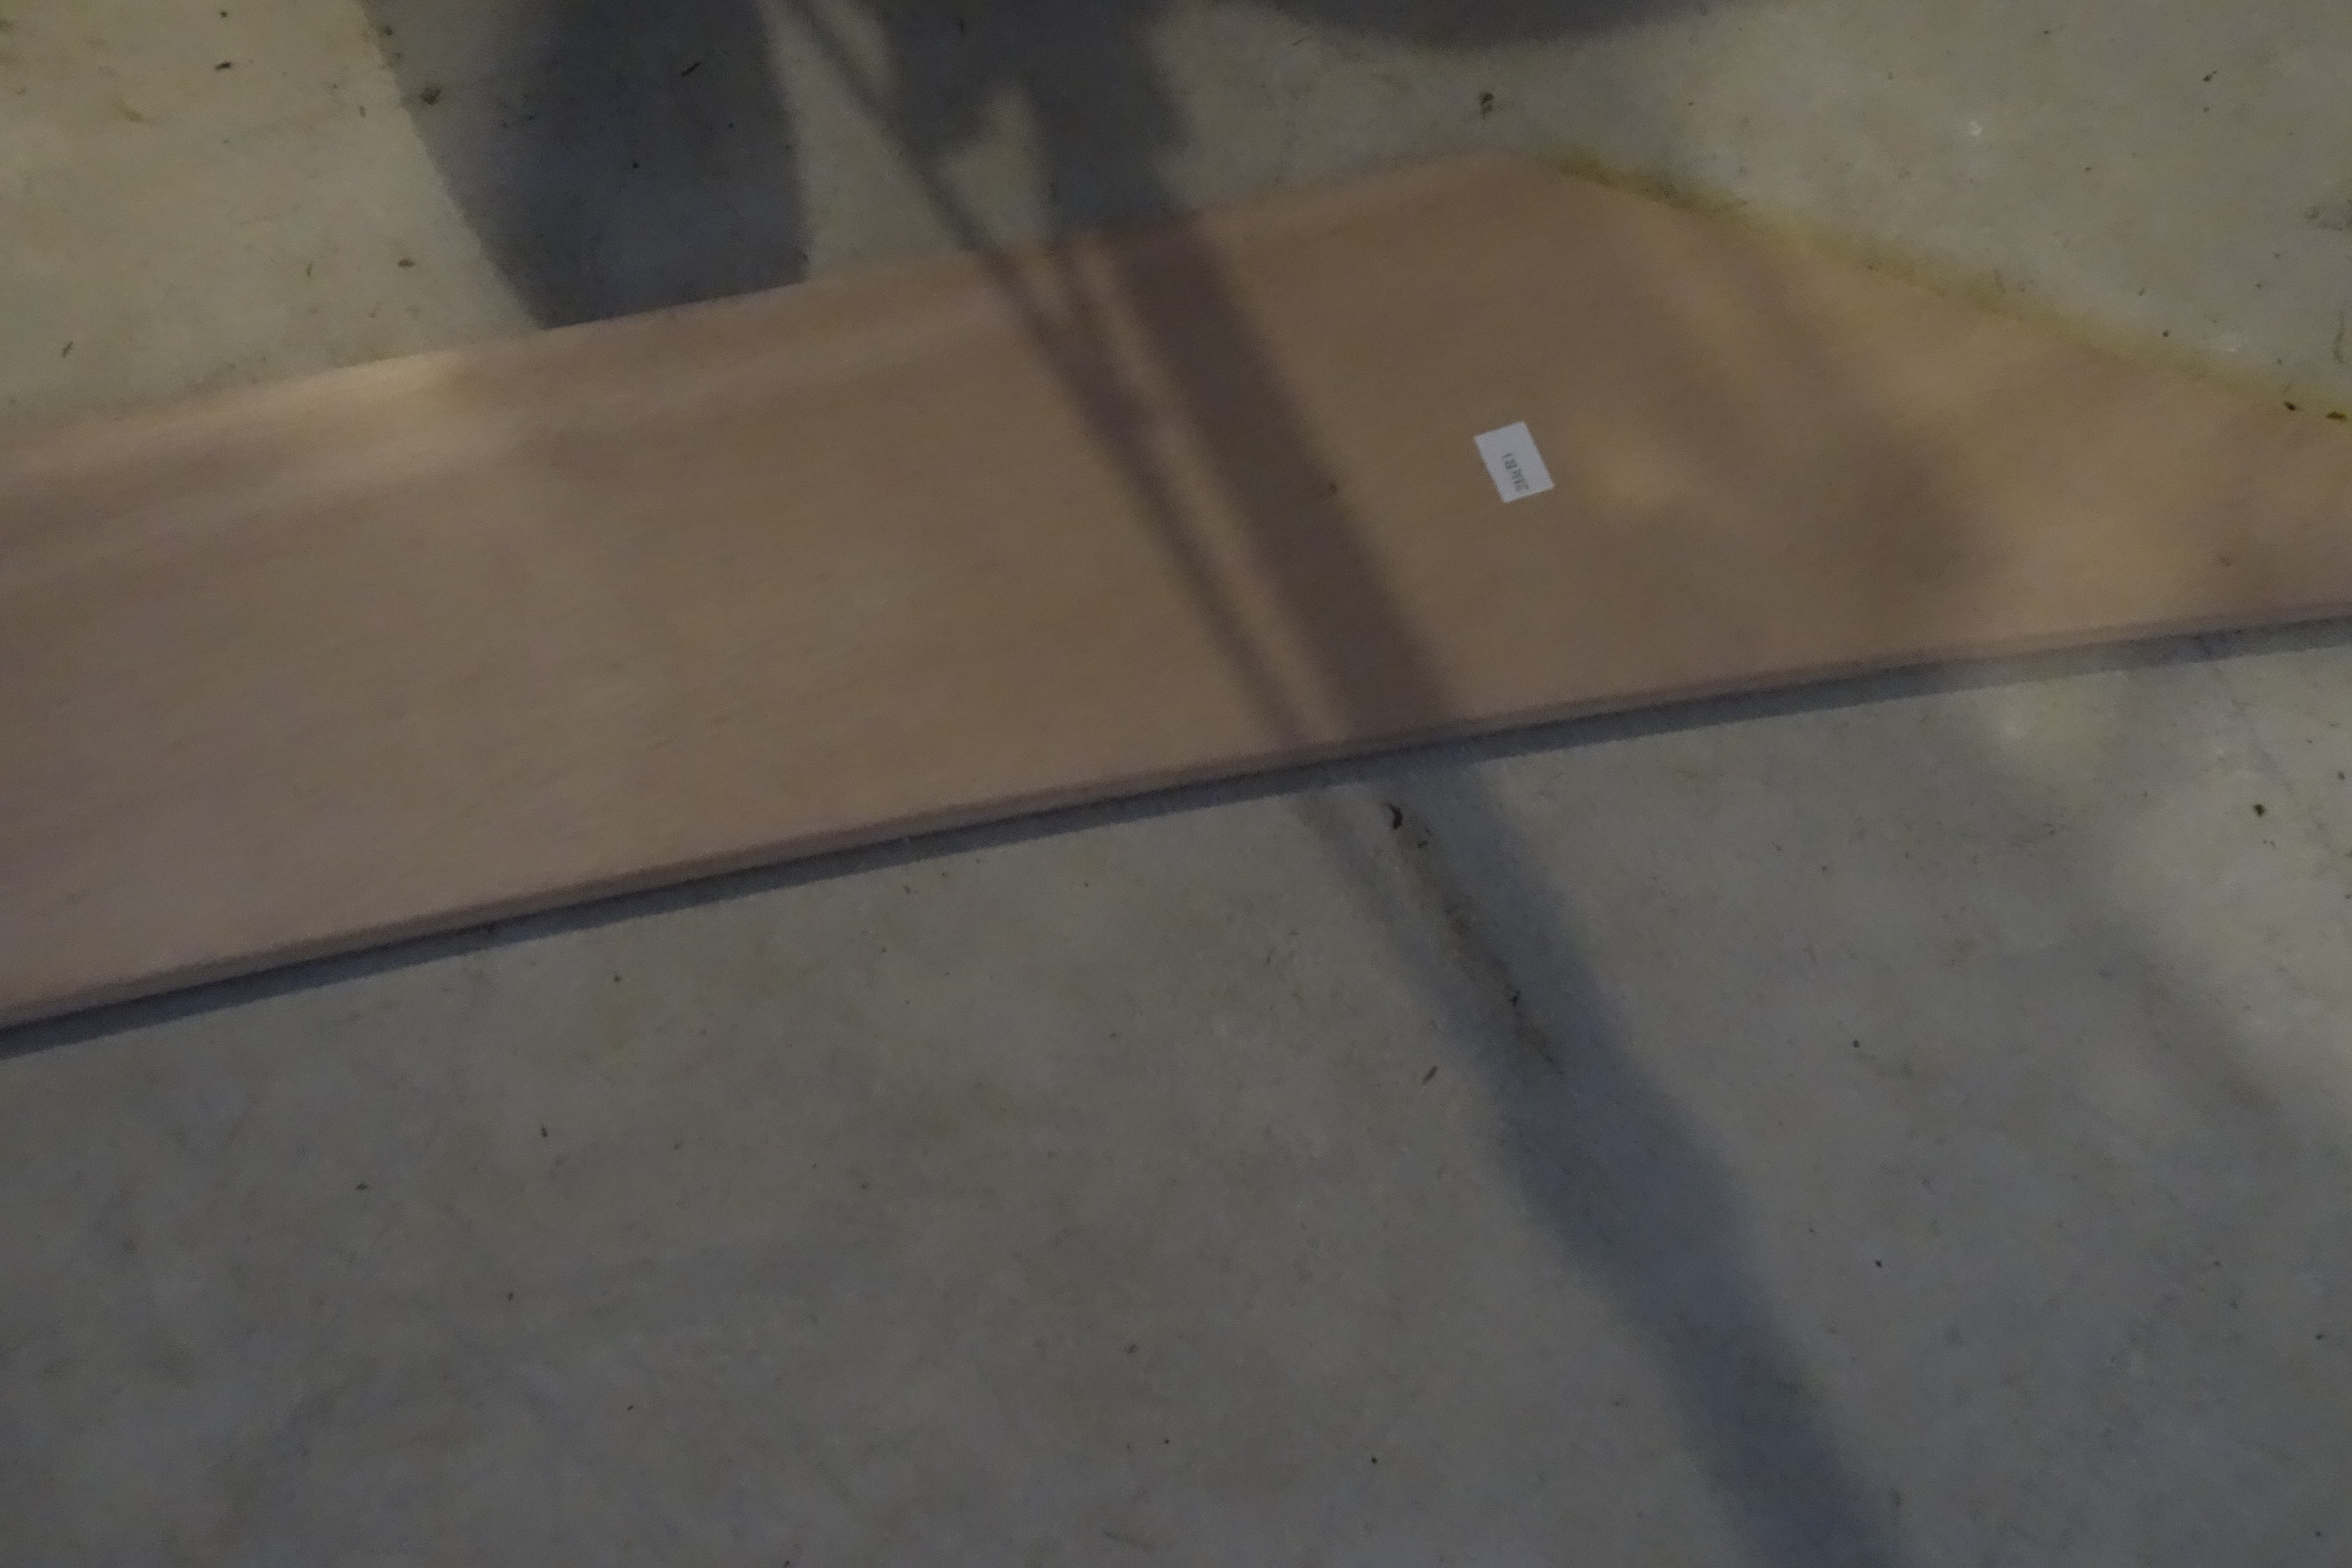
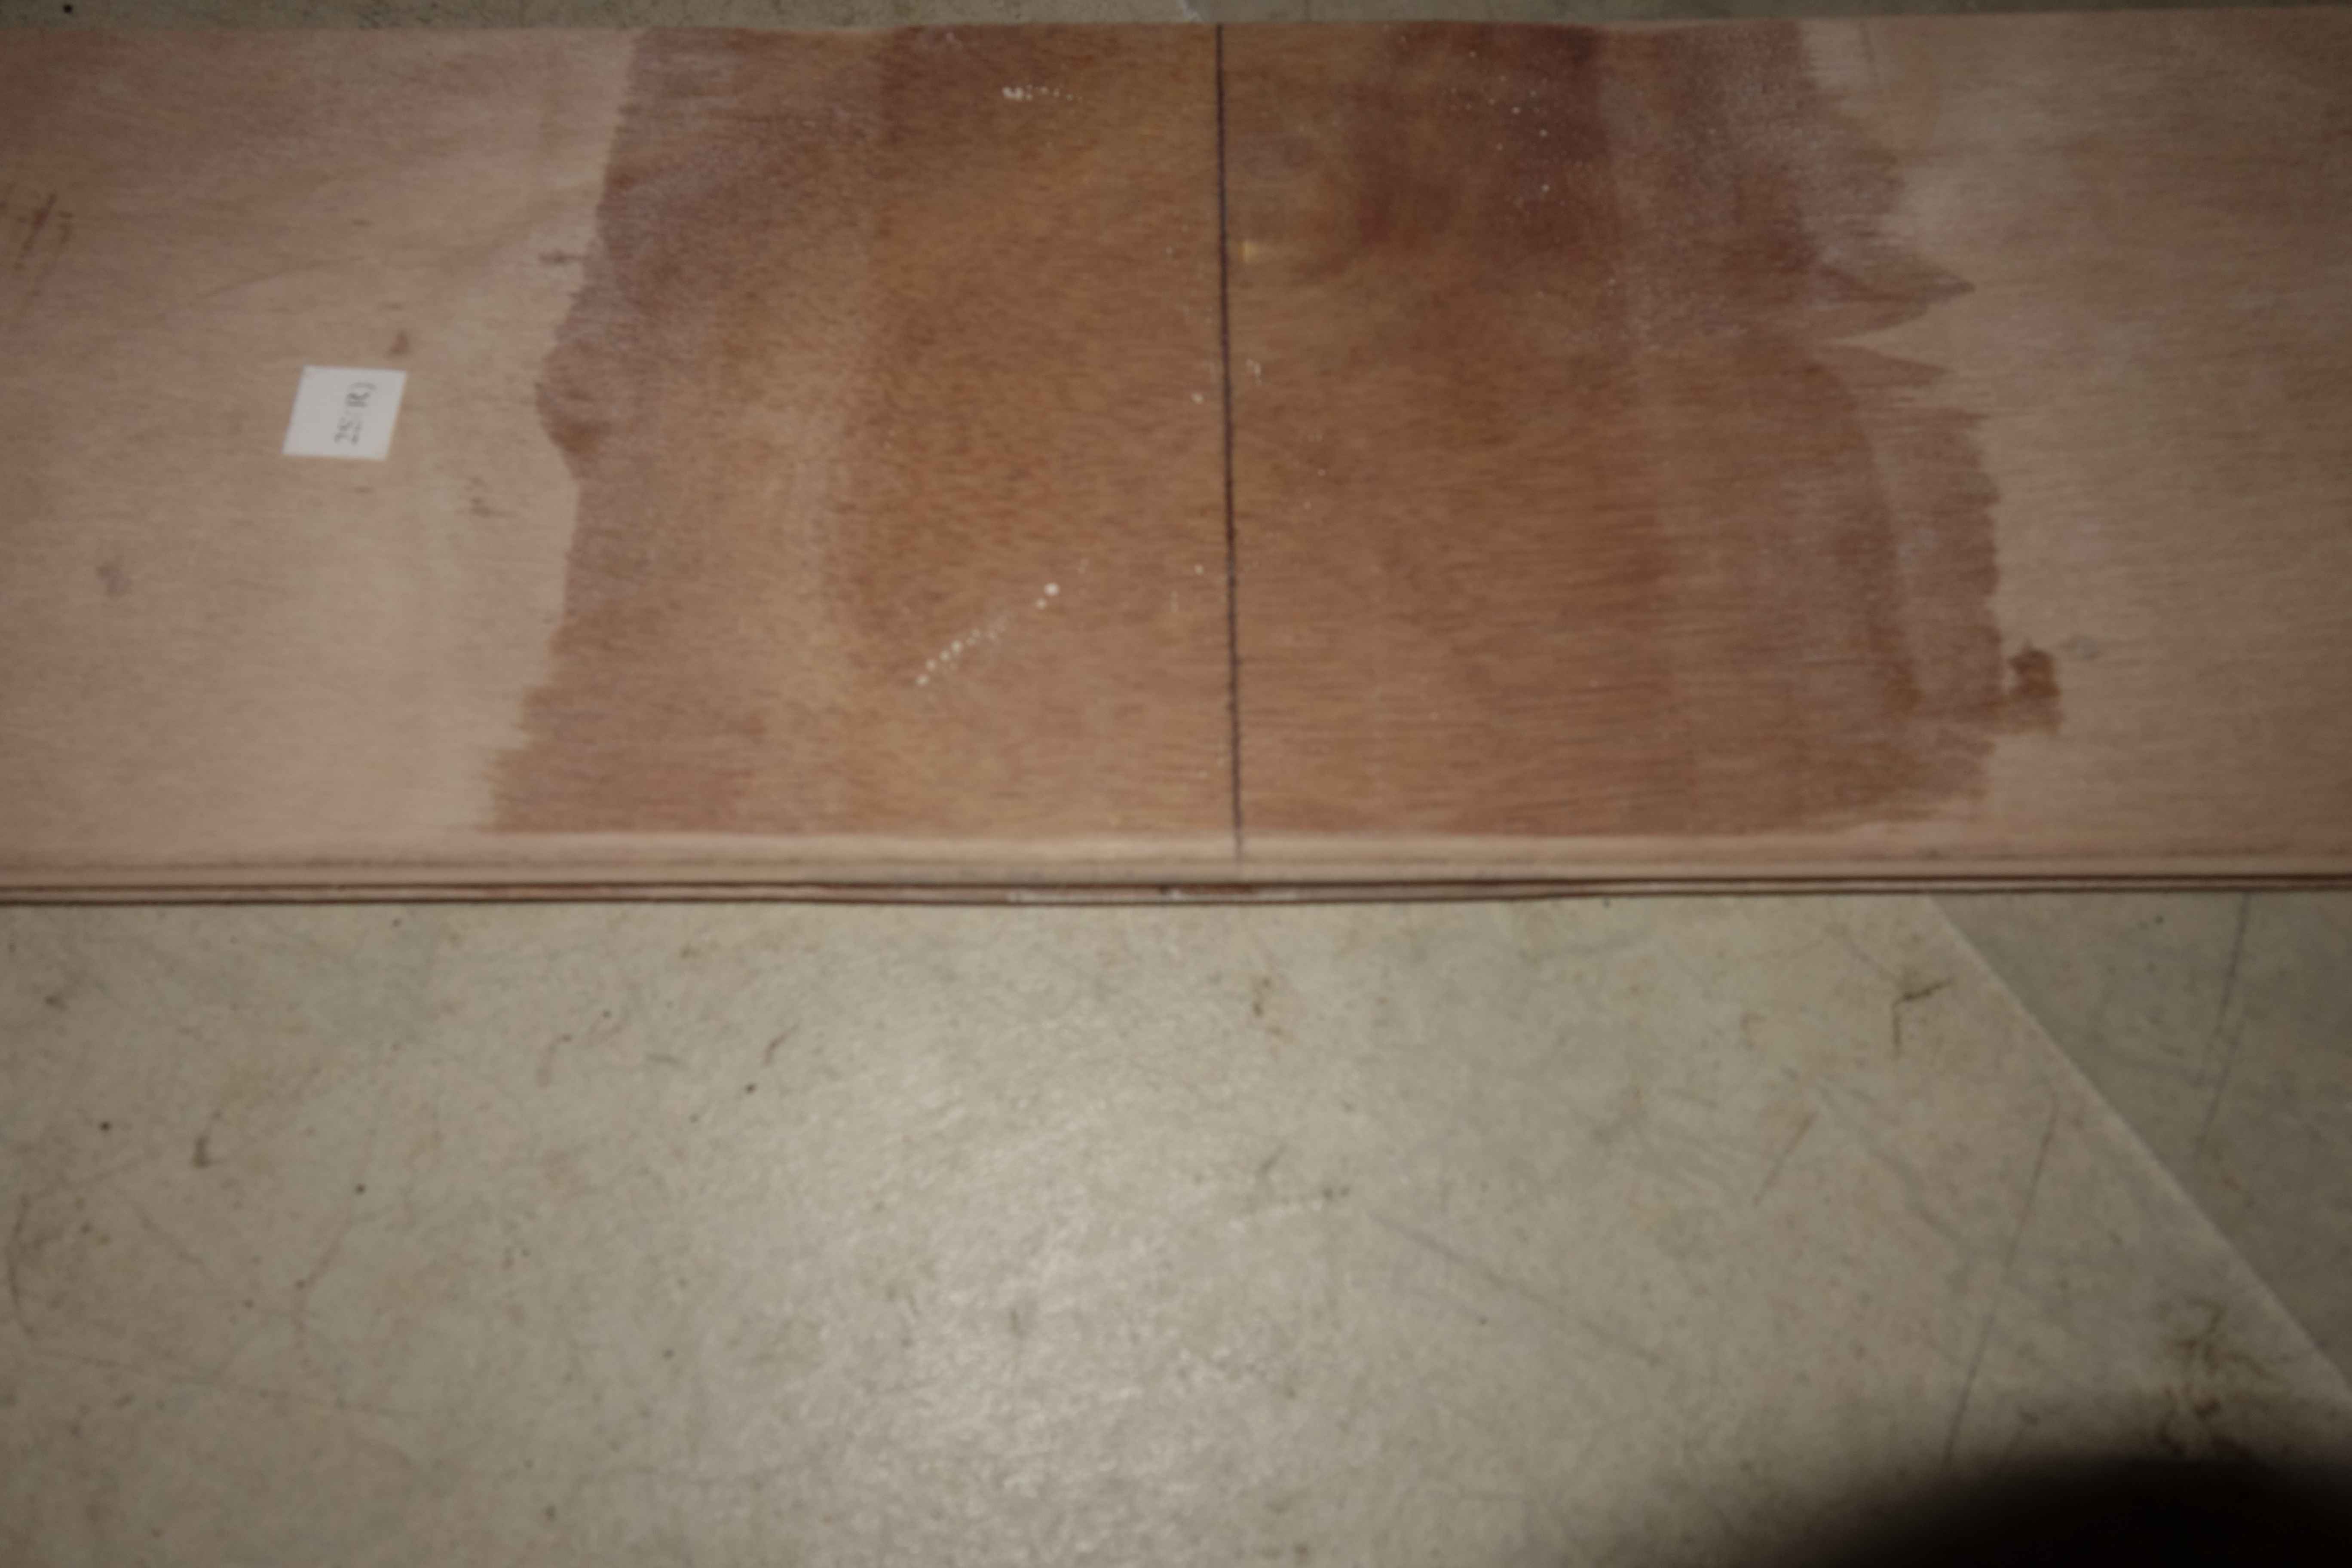
The panels are all glued to their full lengths. The panels that meet at the shear seam all get beveled so that when the deck is epoxied to the hull the panels will meet correctly. Sorry about the terrible photos. Taking pictures in a dark garage leaves a lot to be desired.
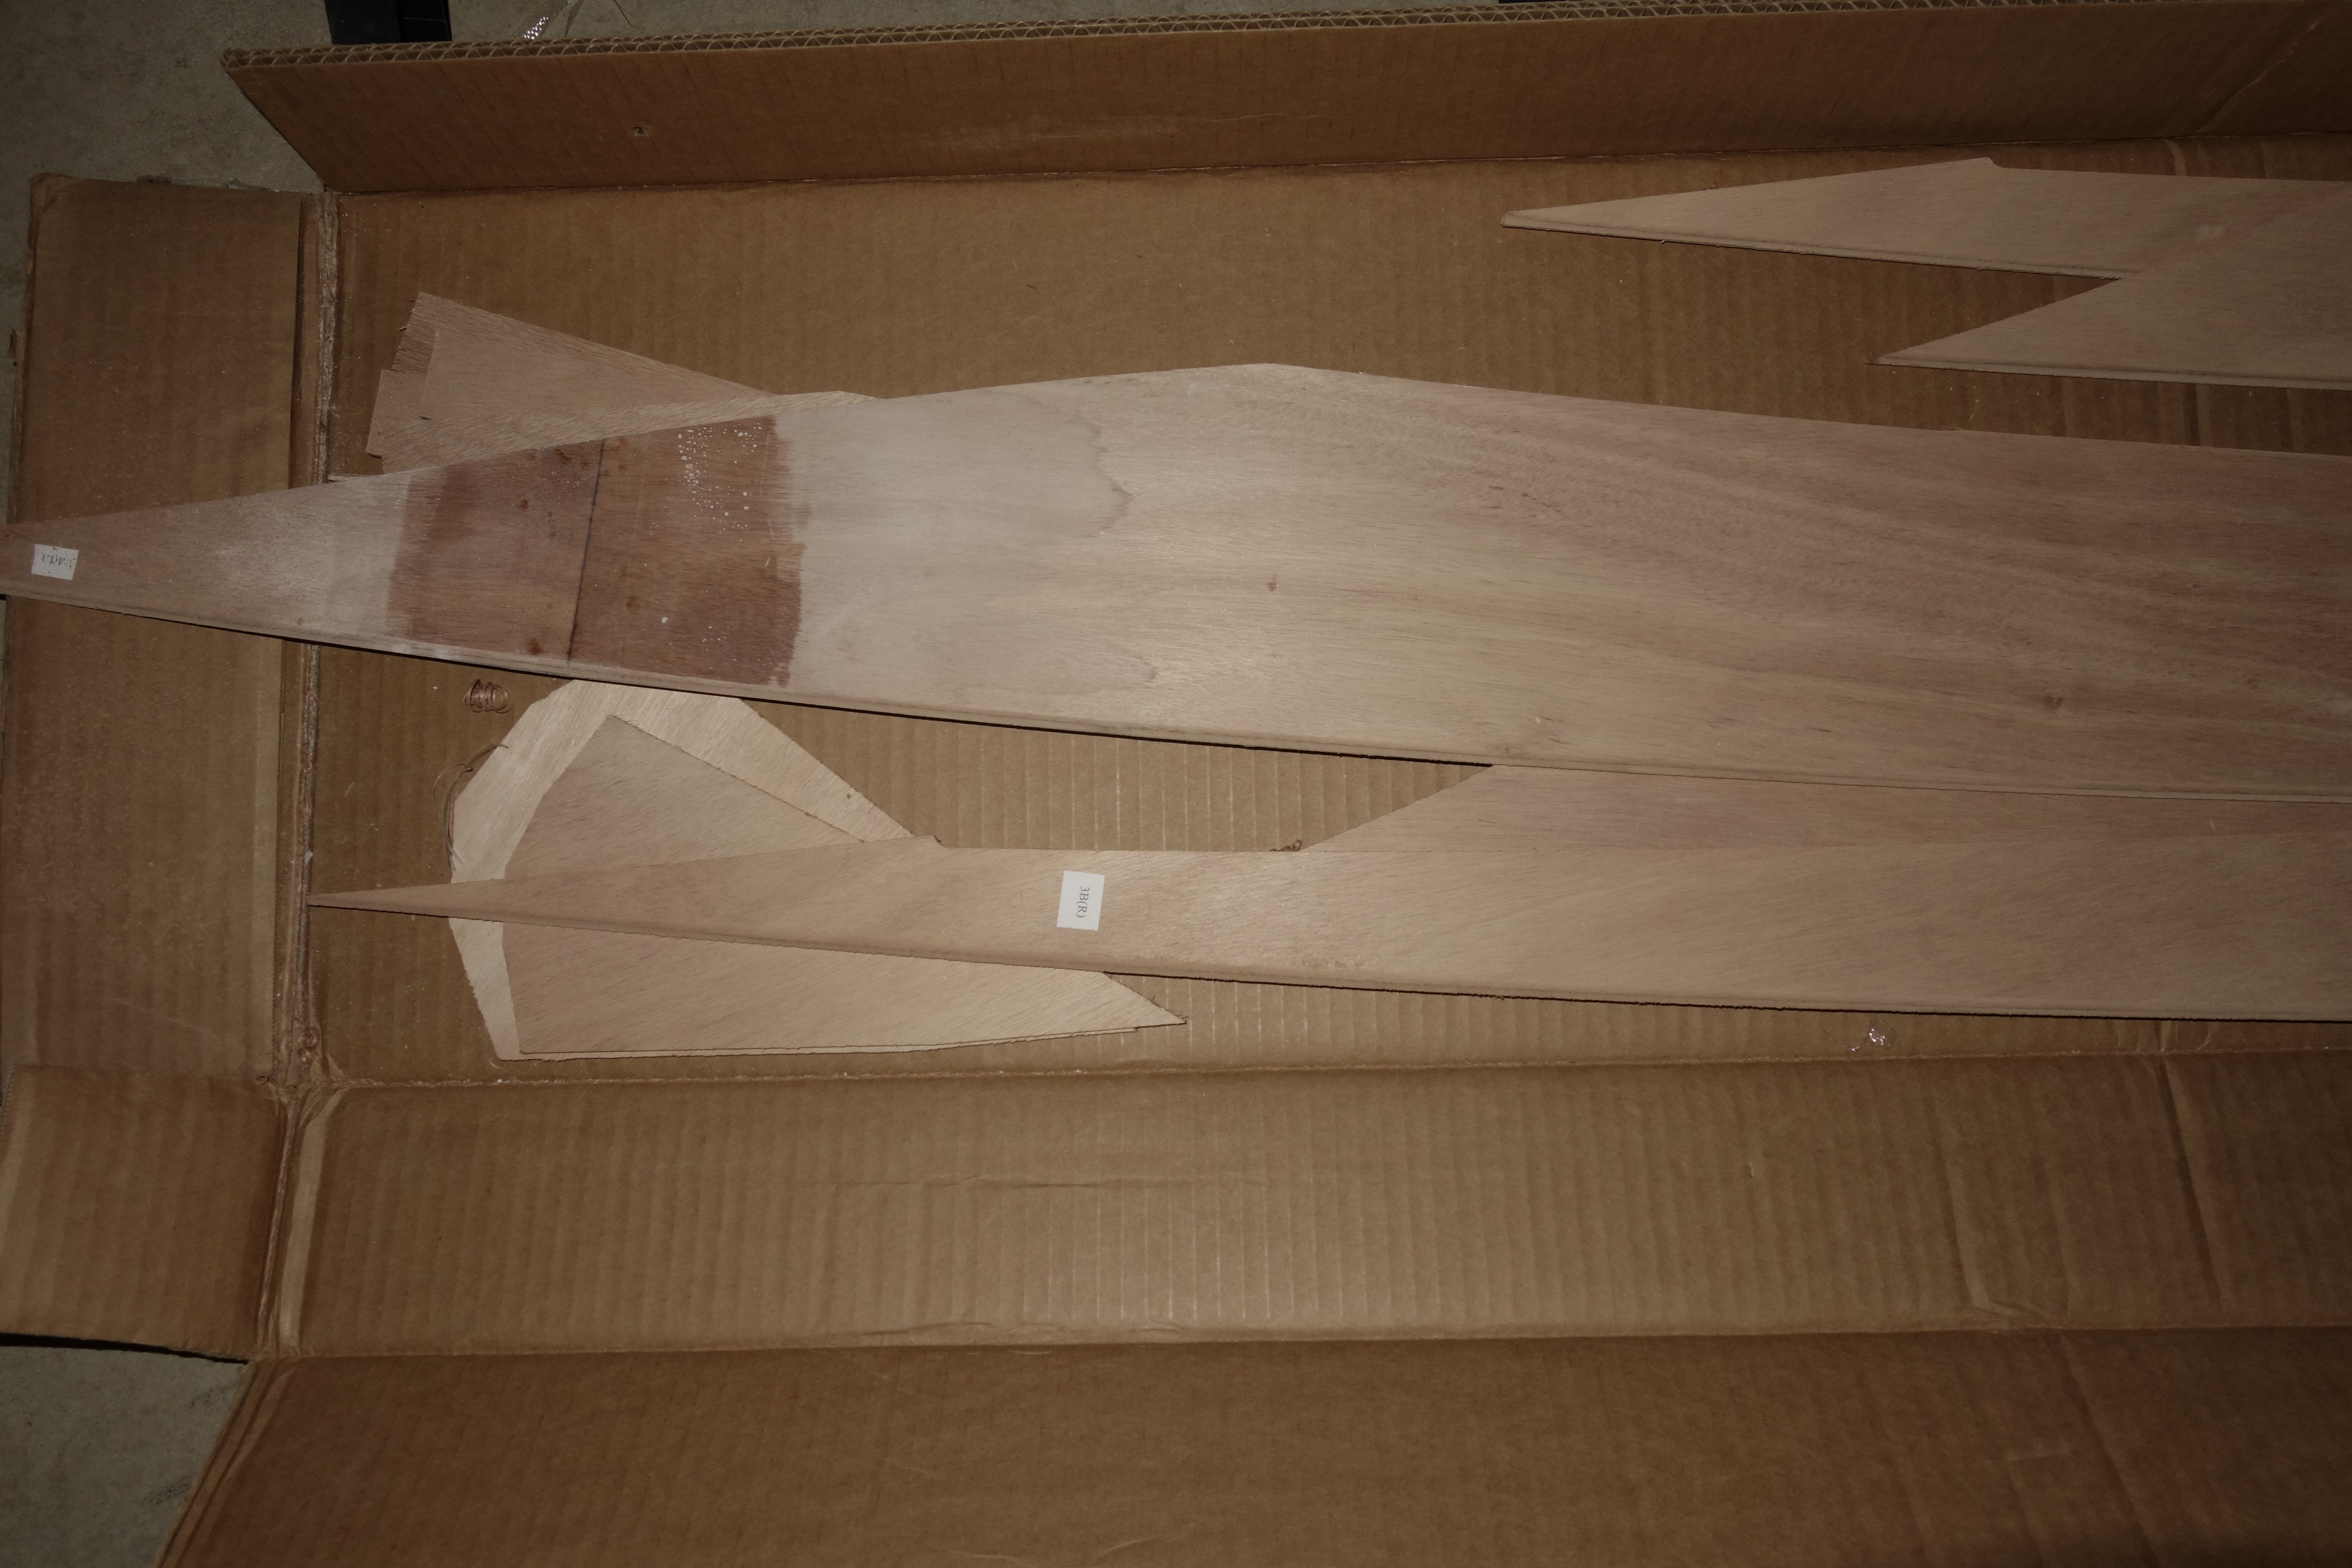

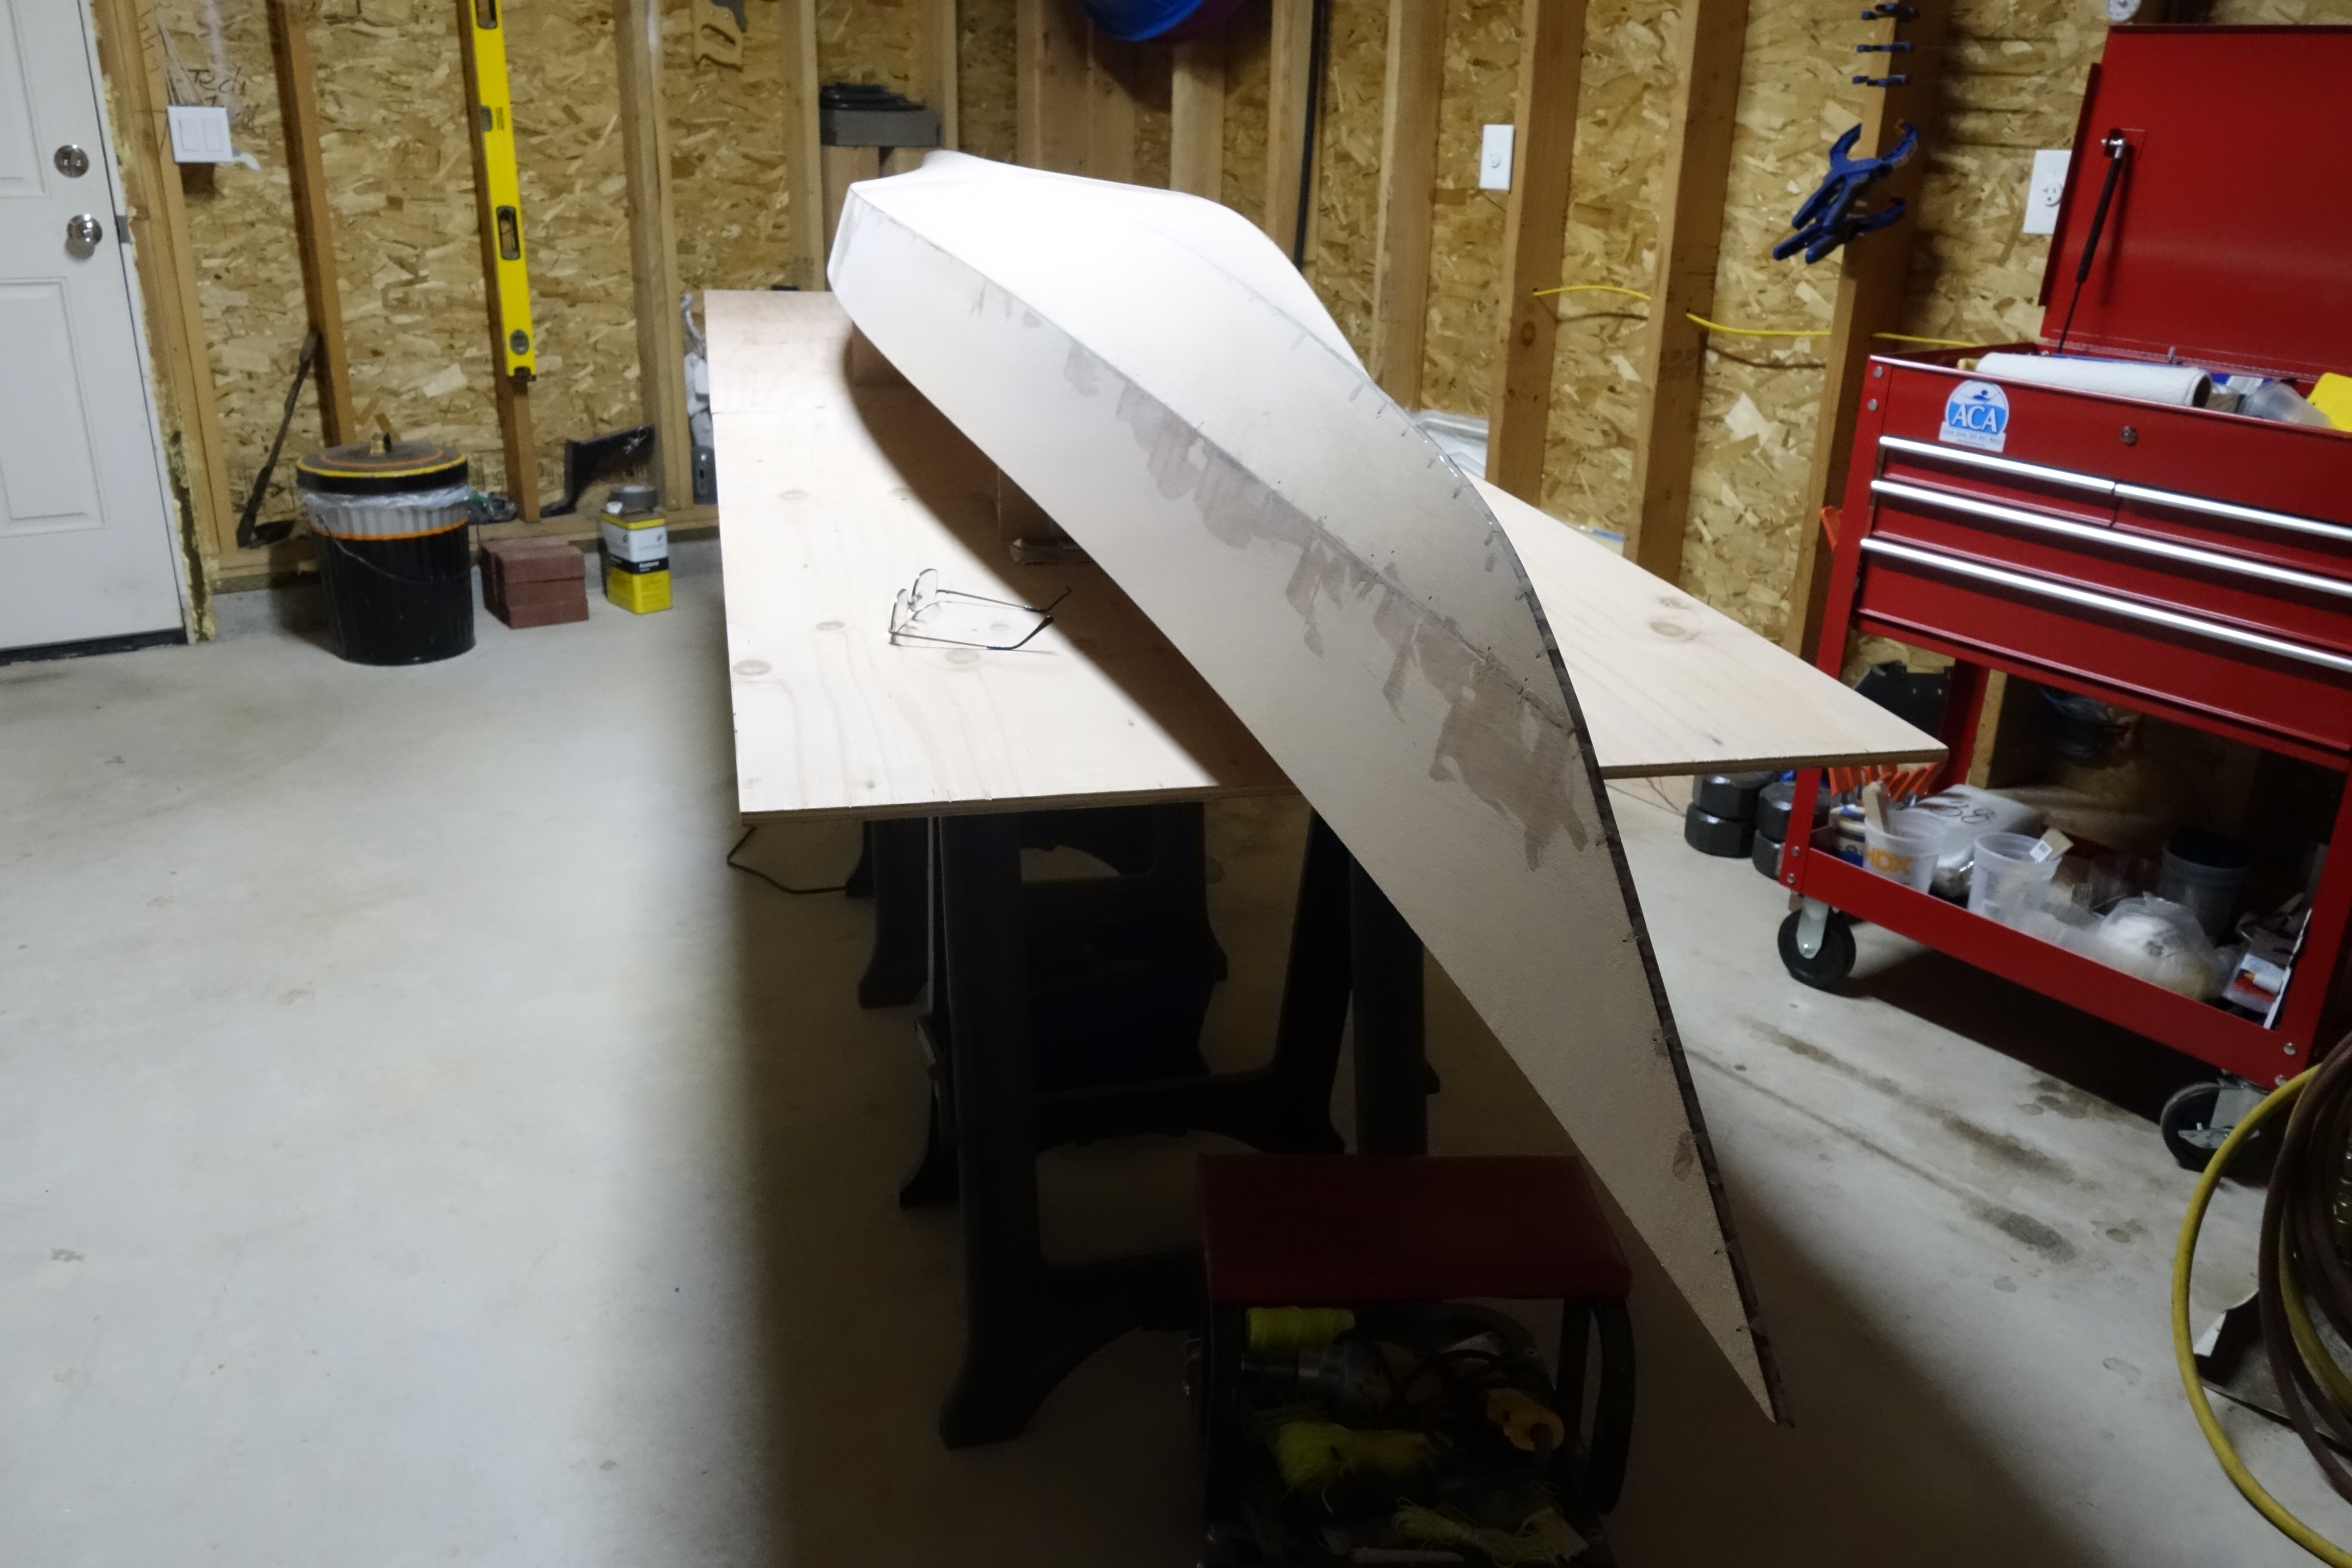
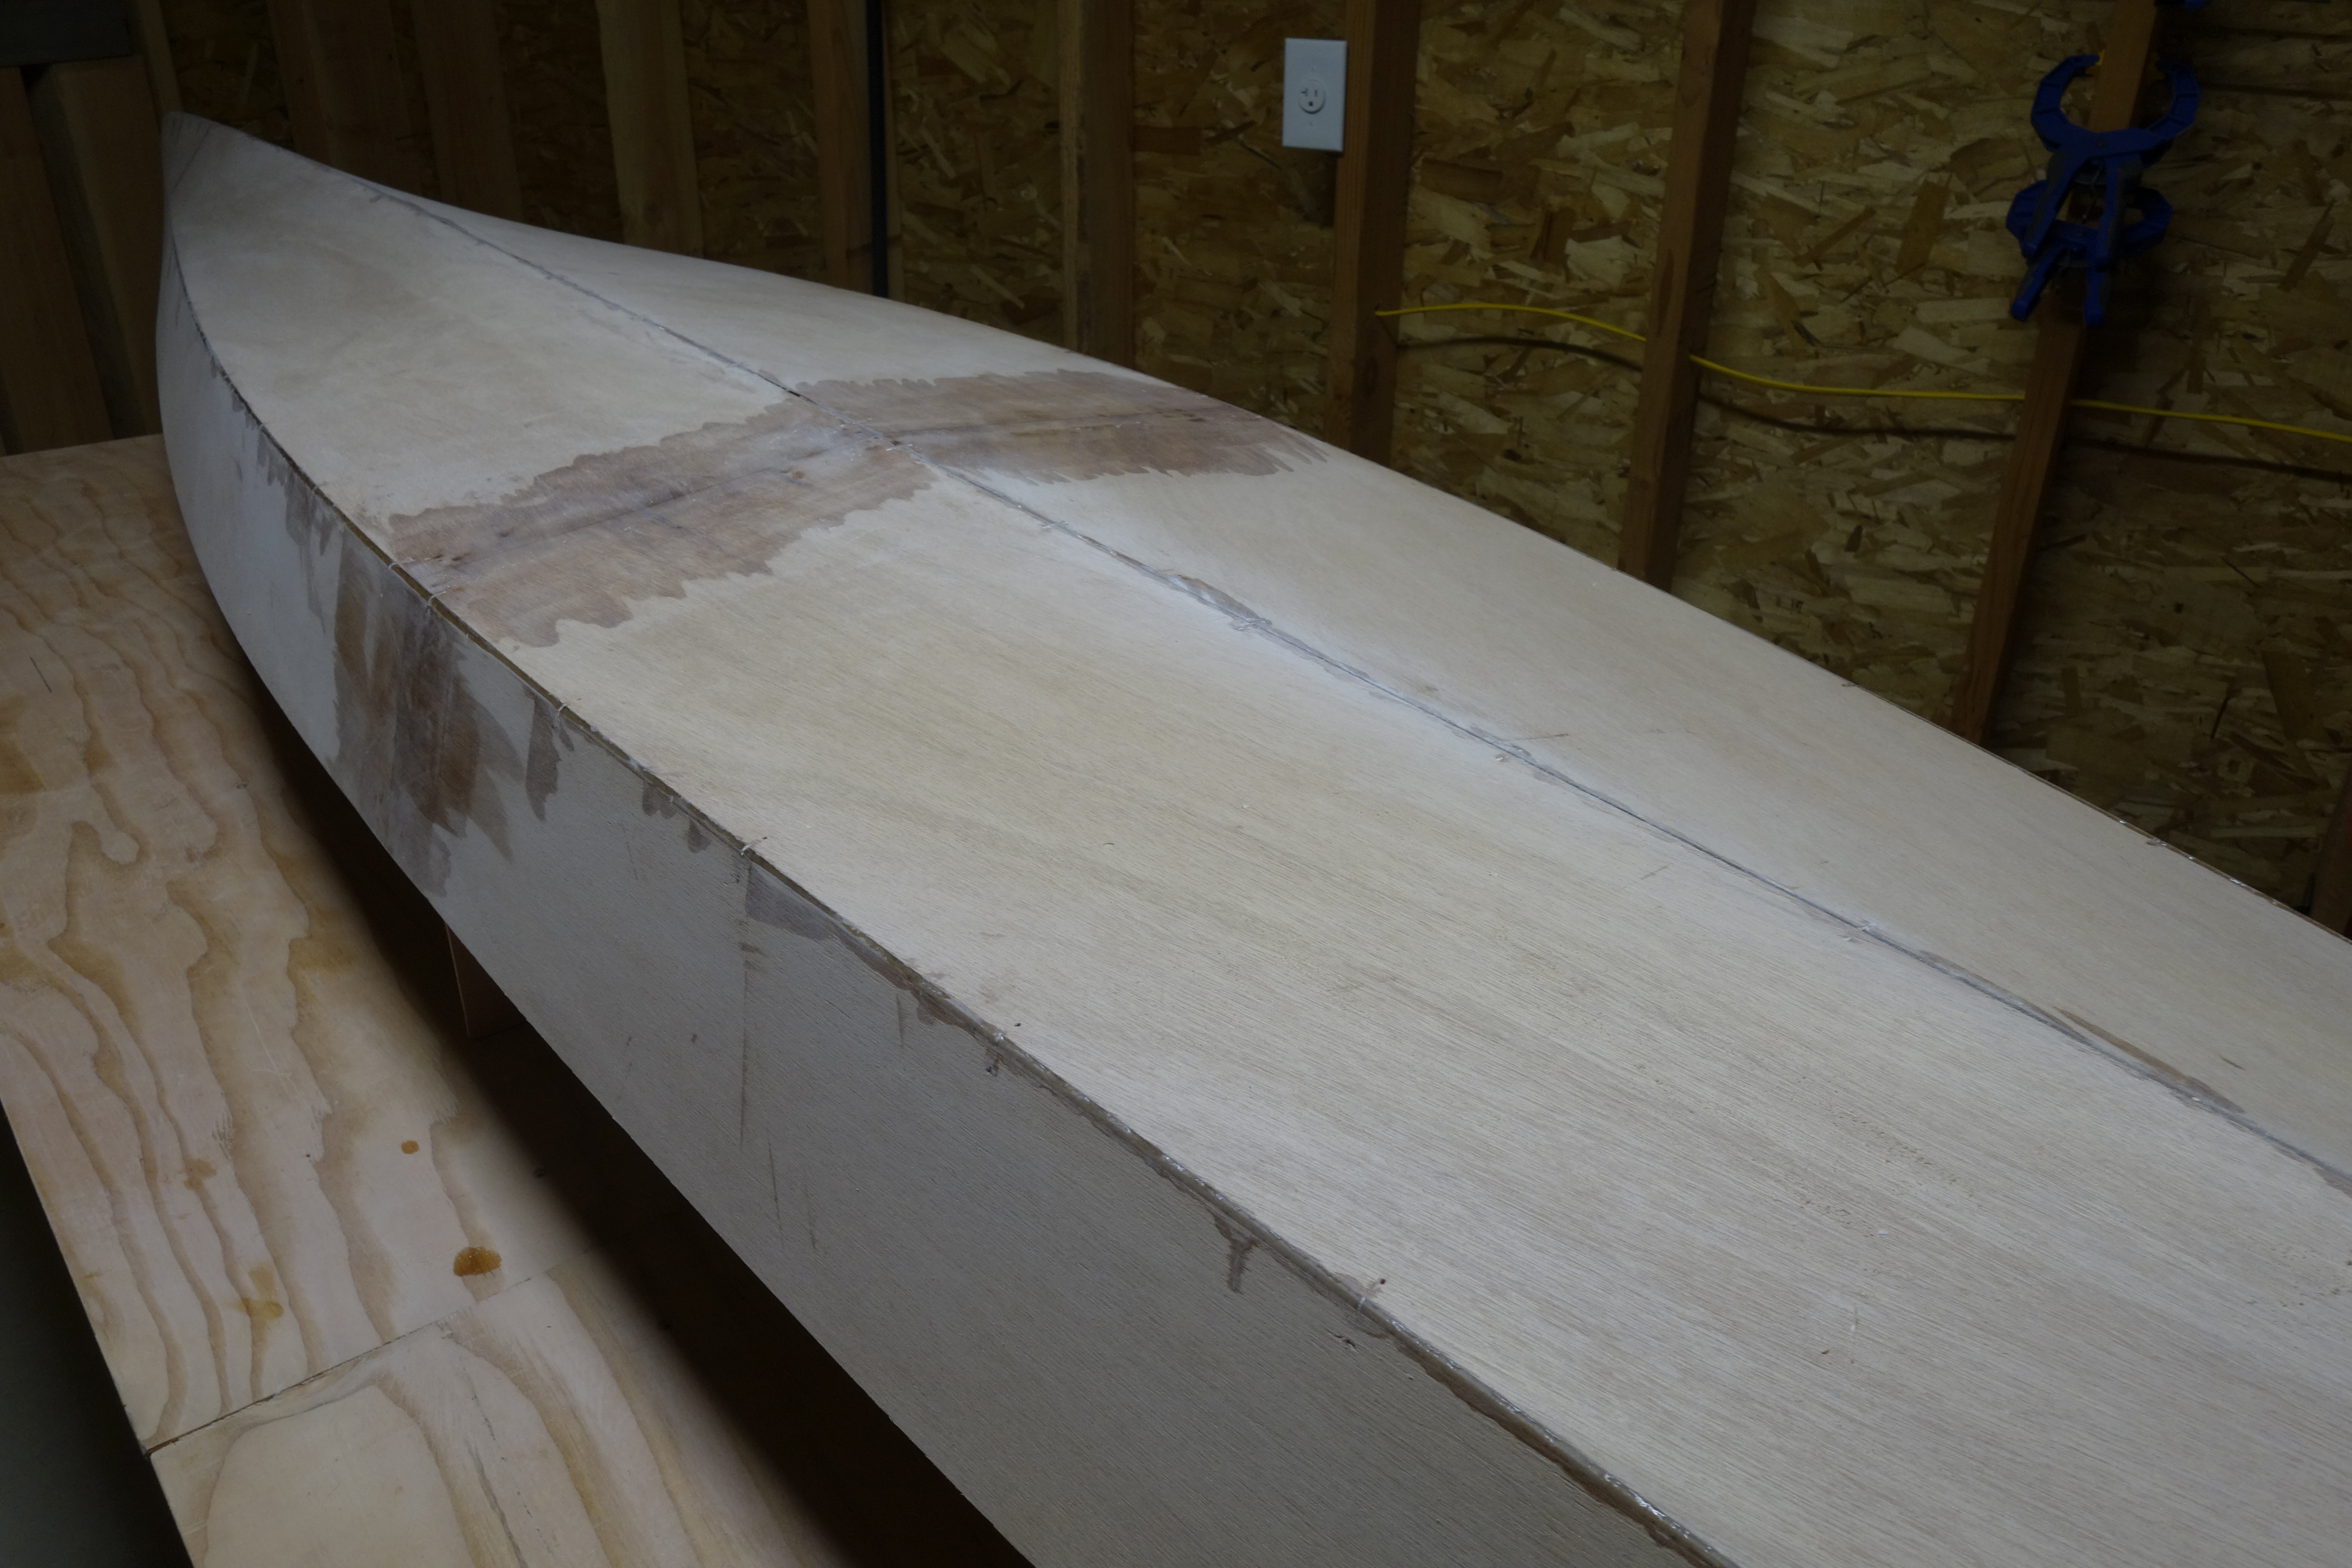
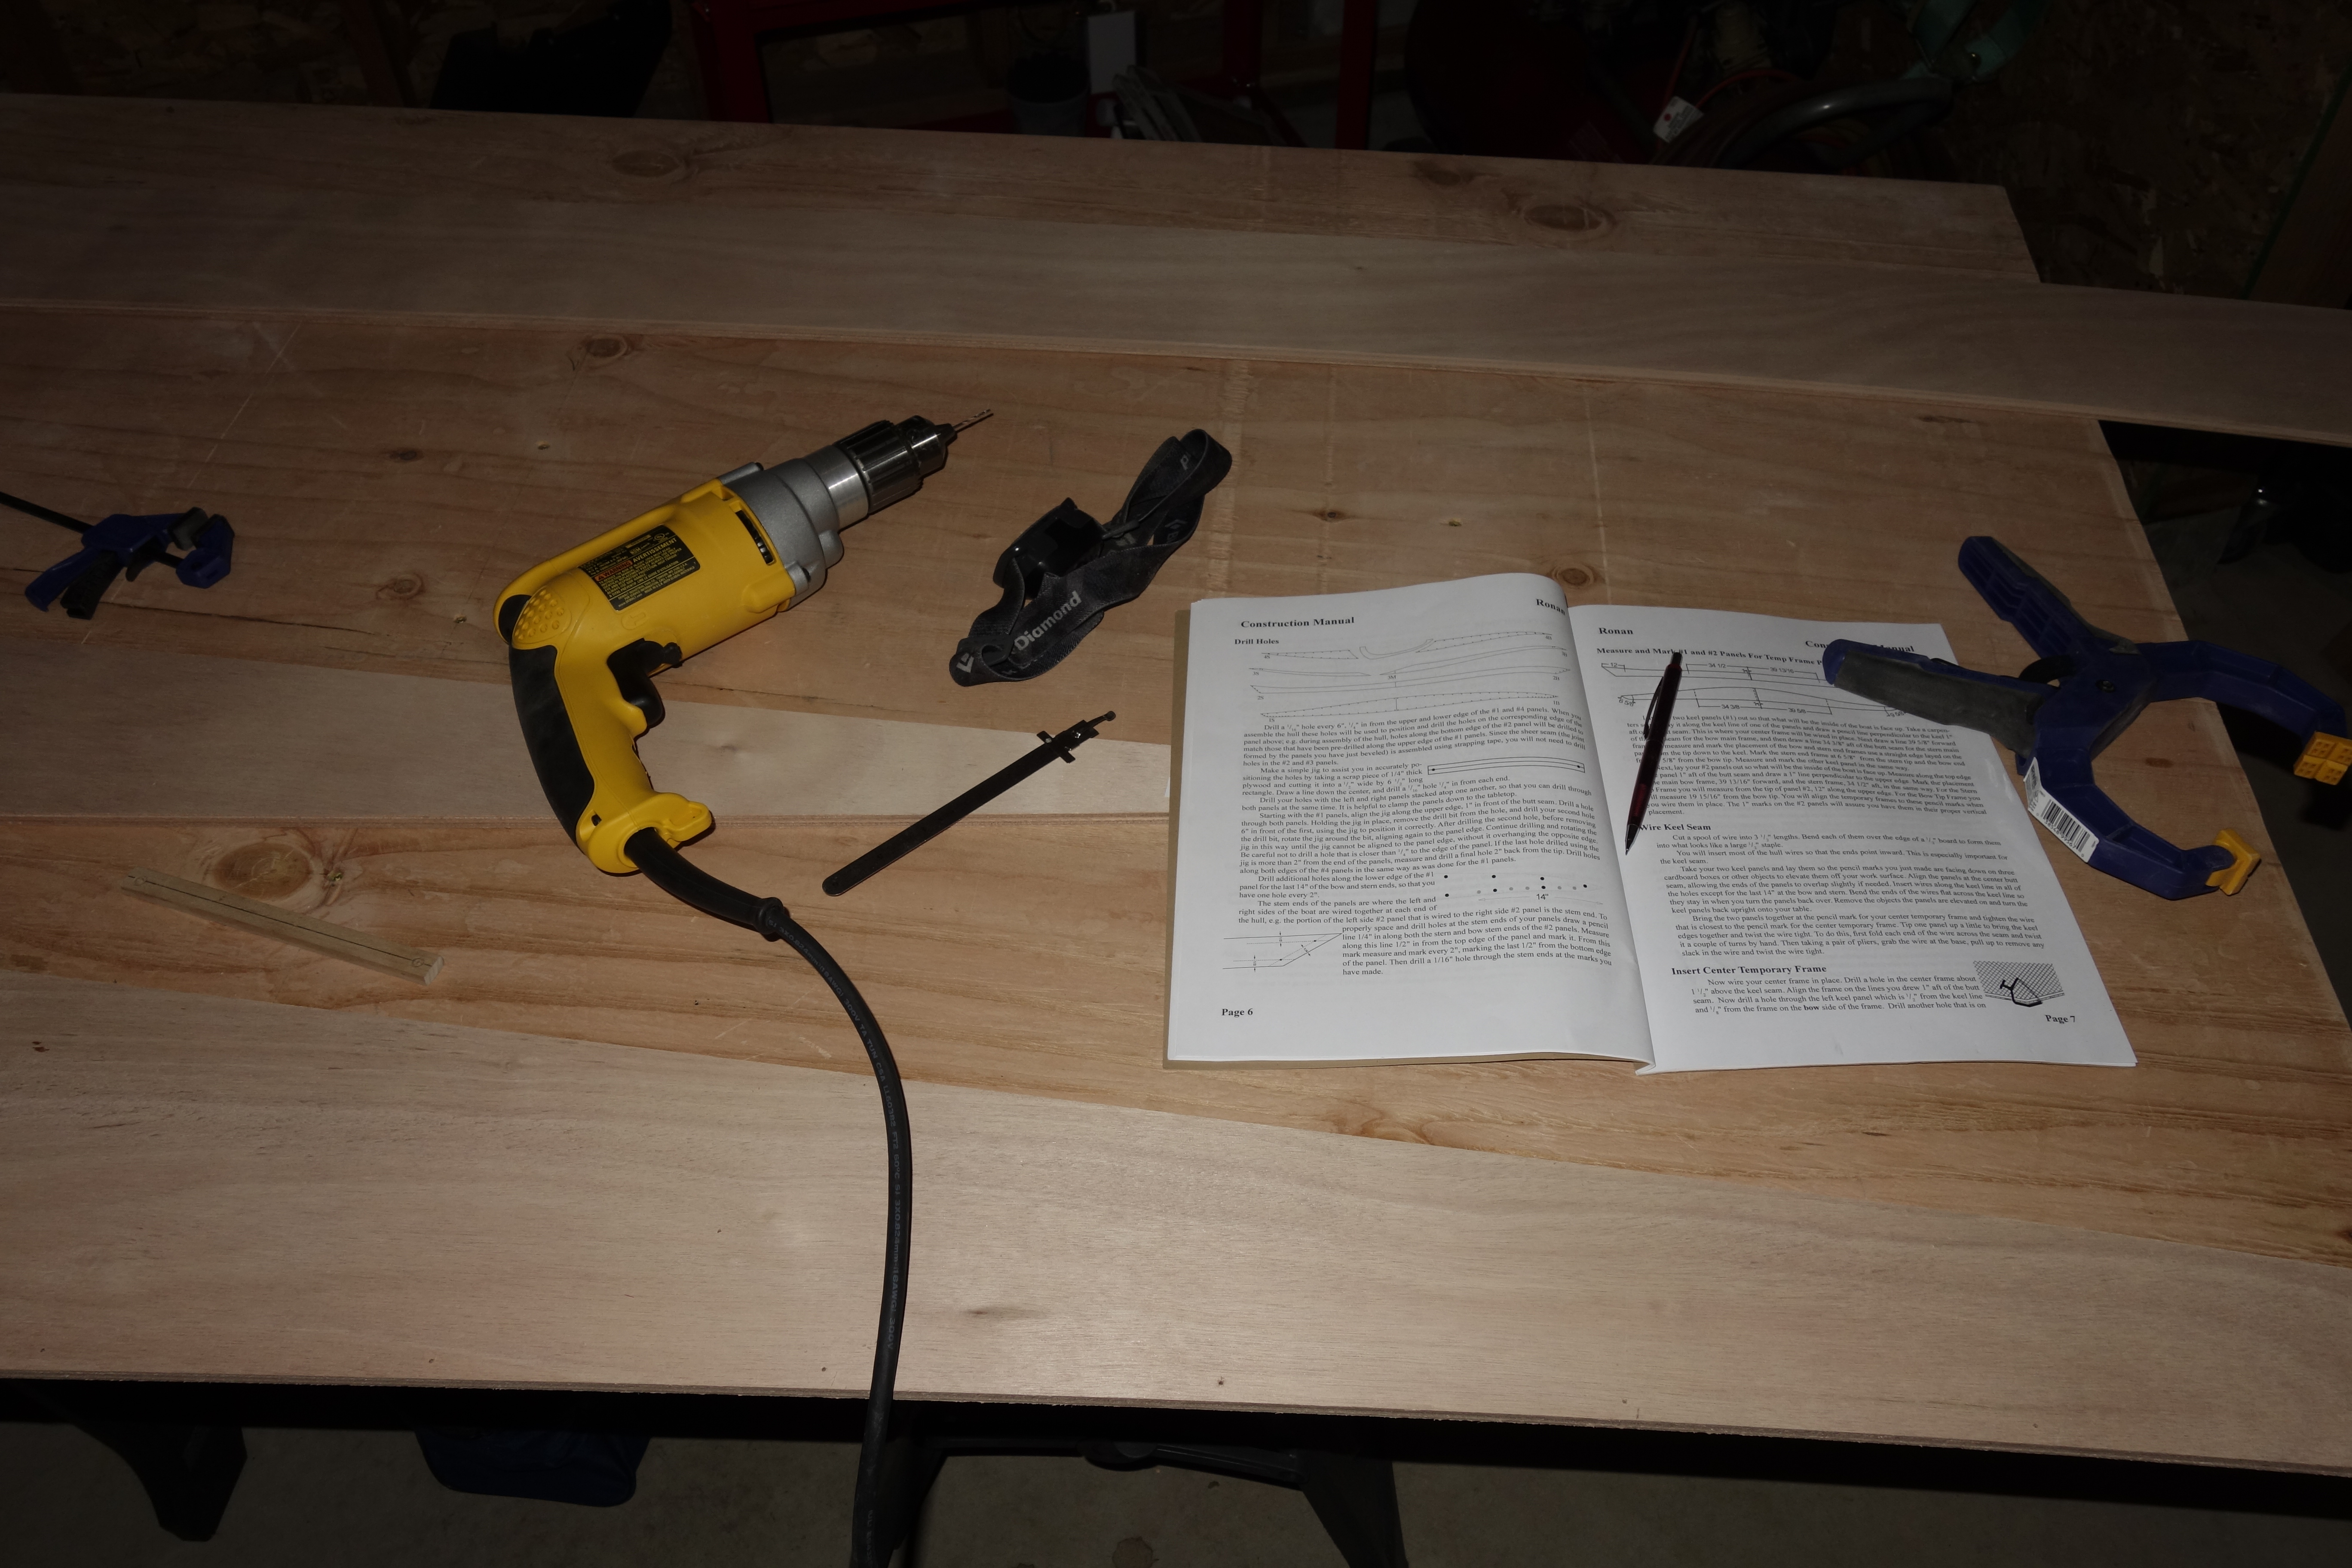
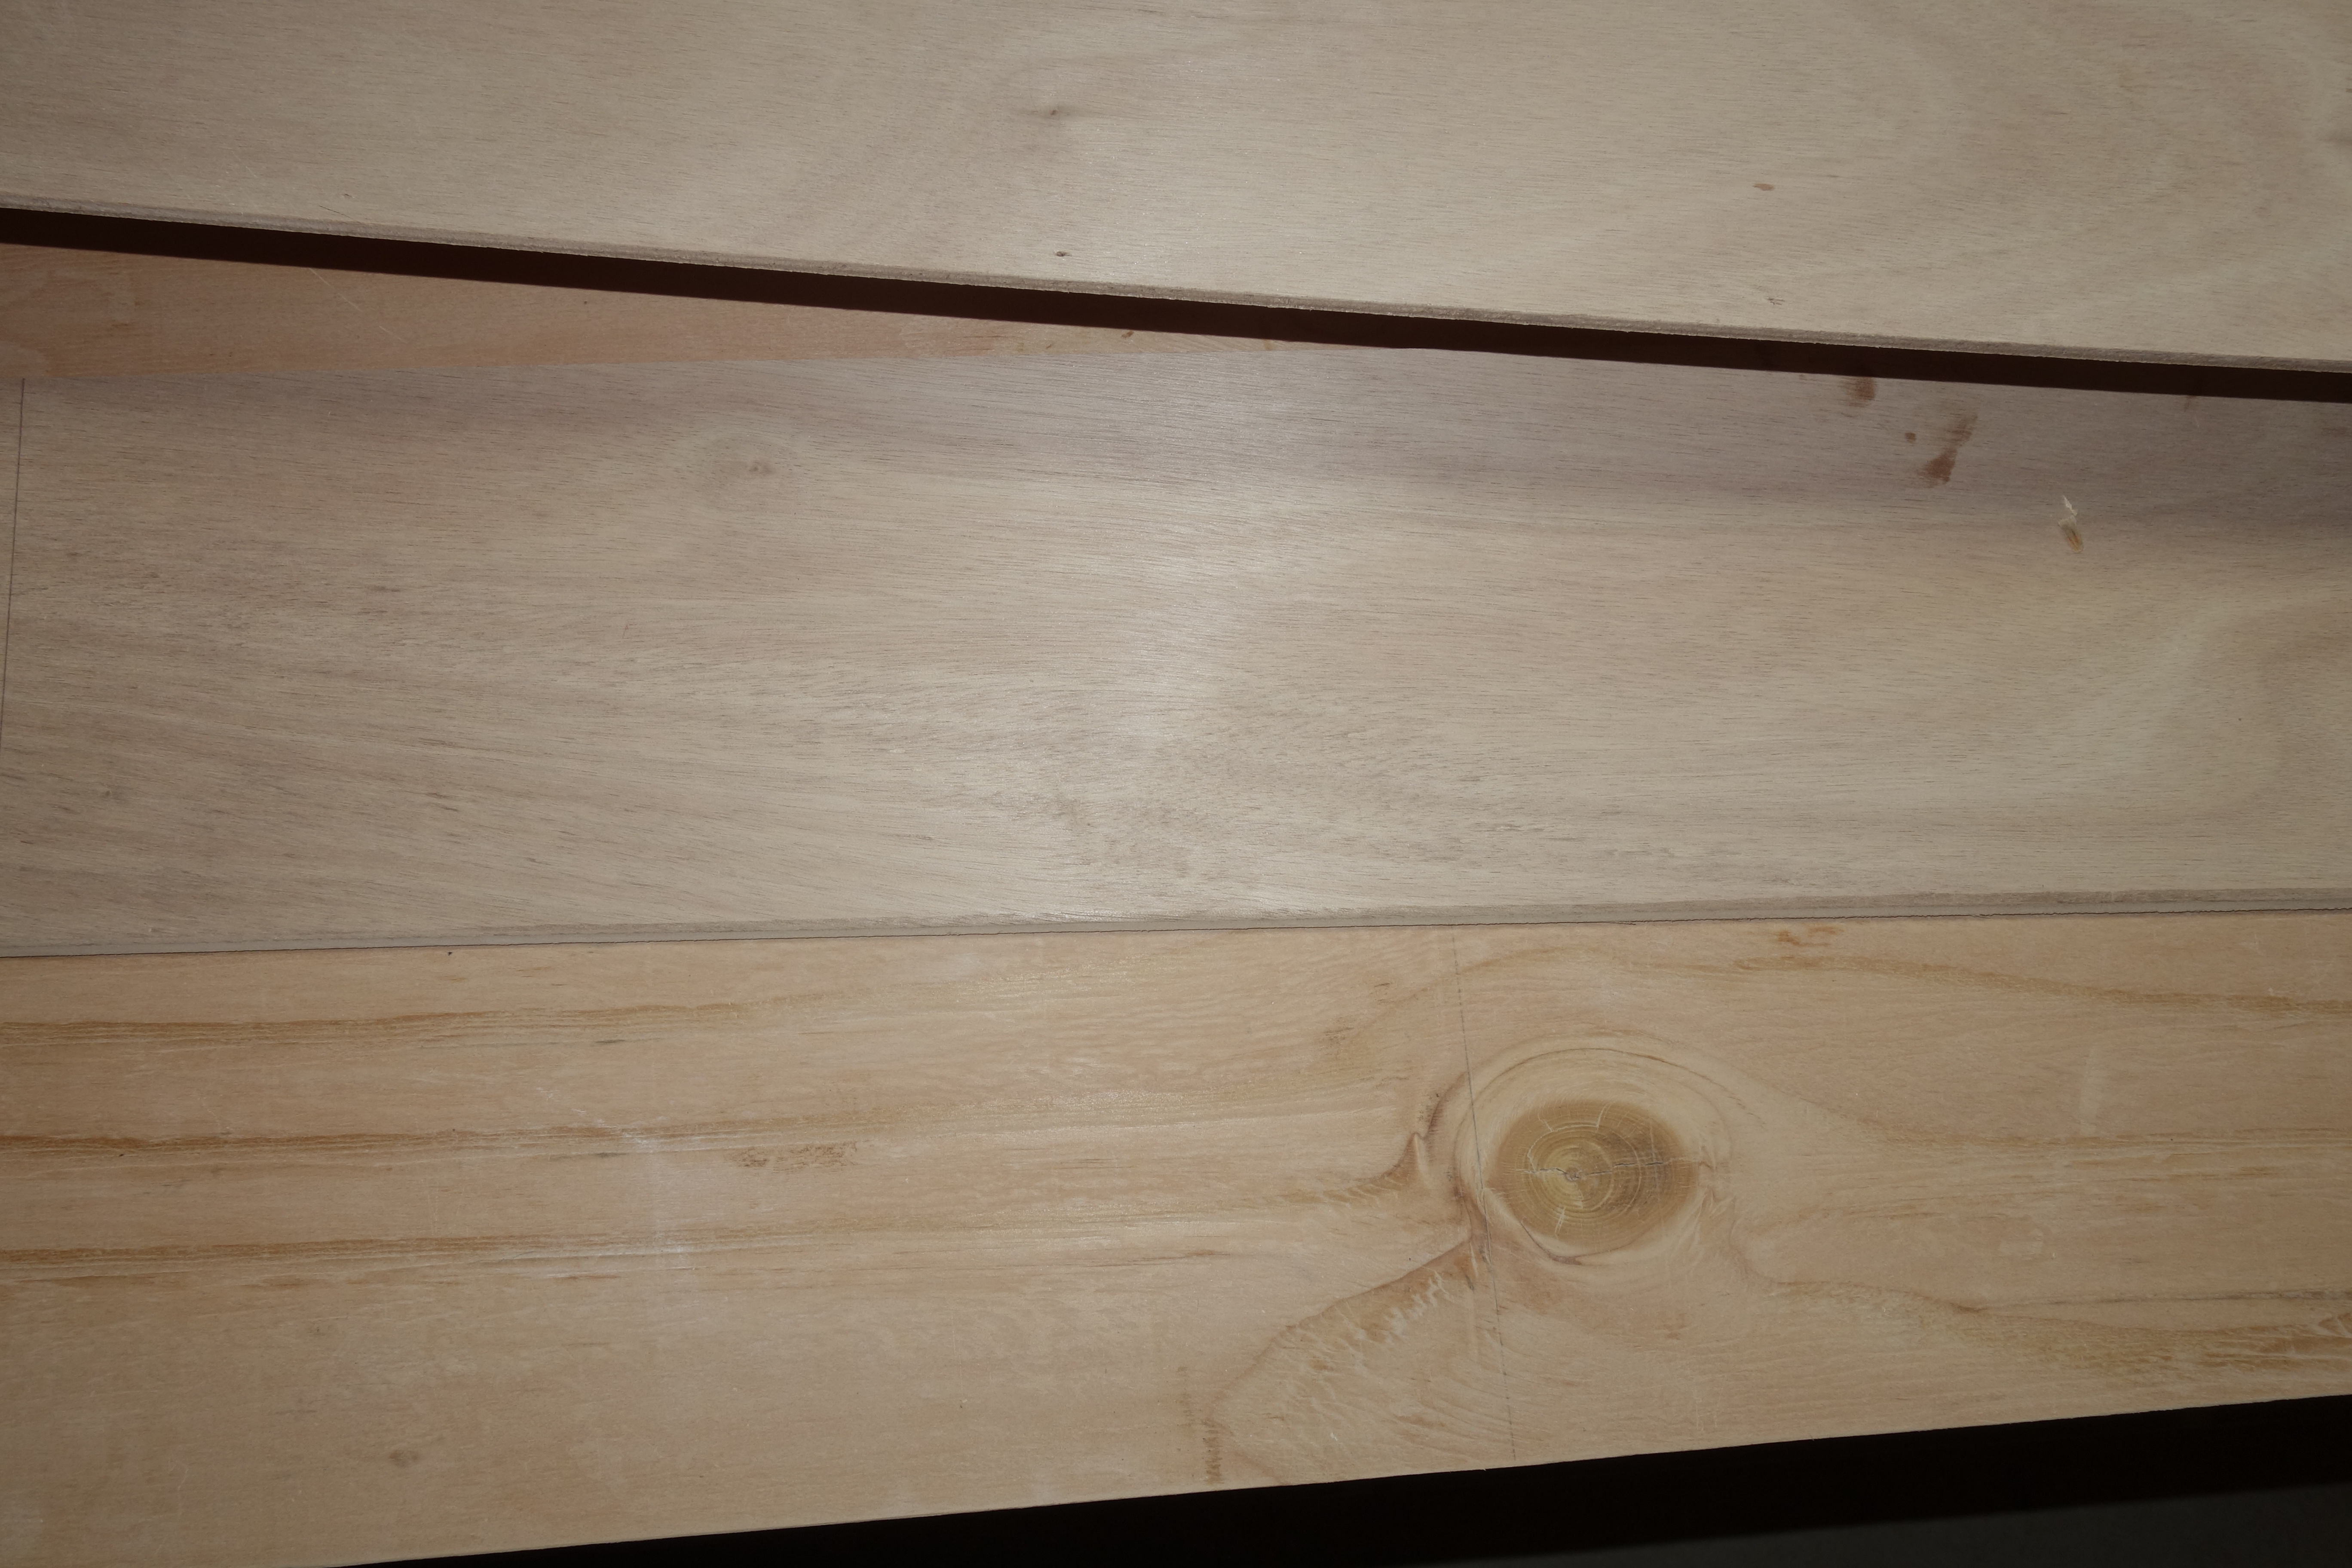
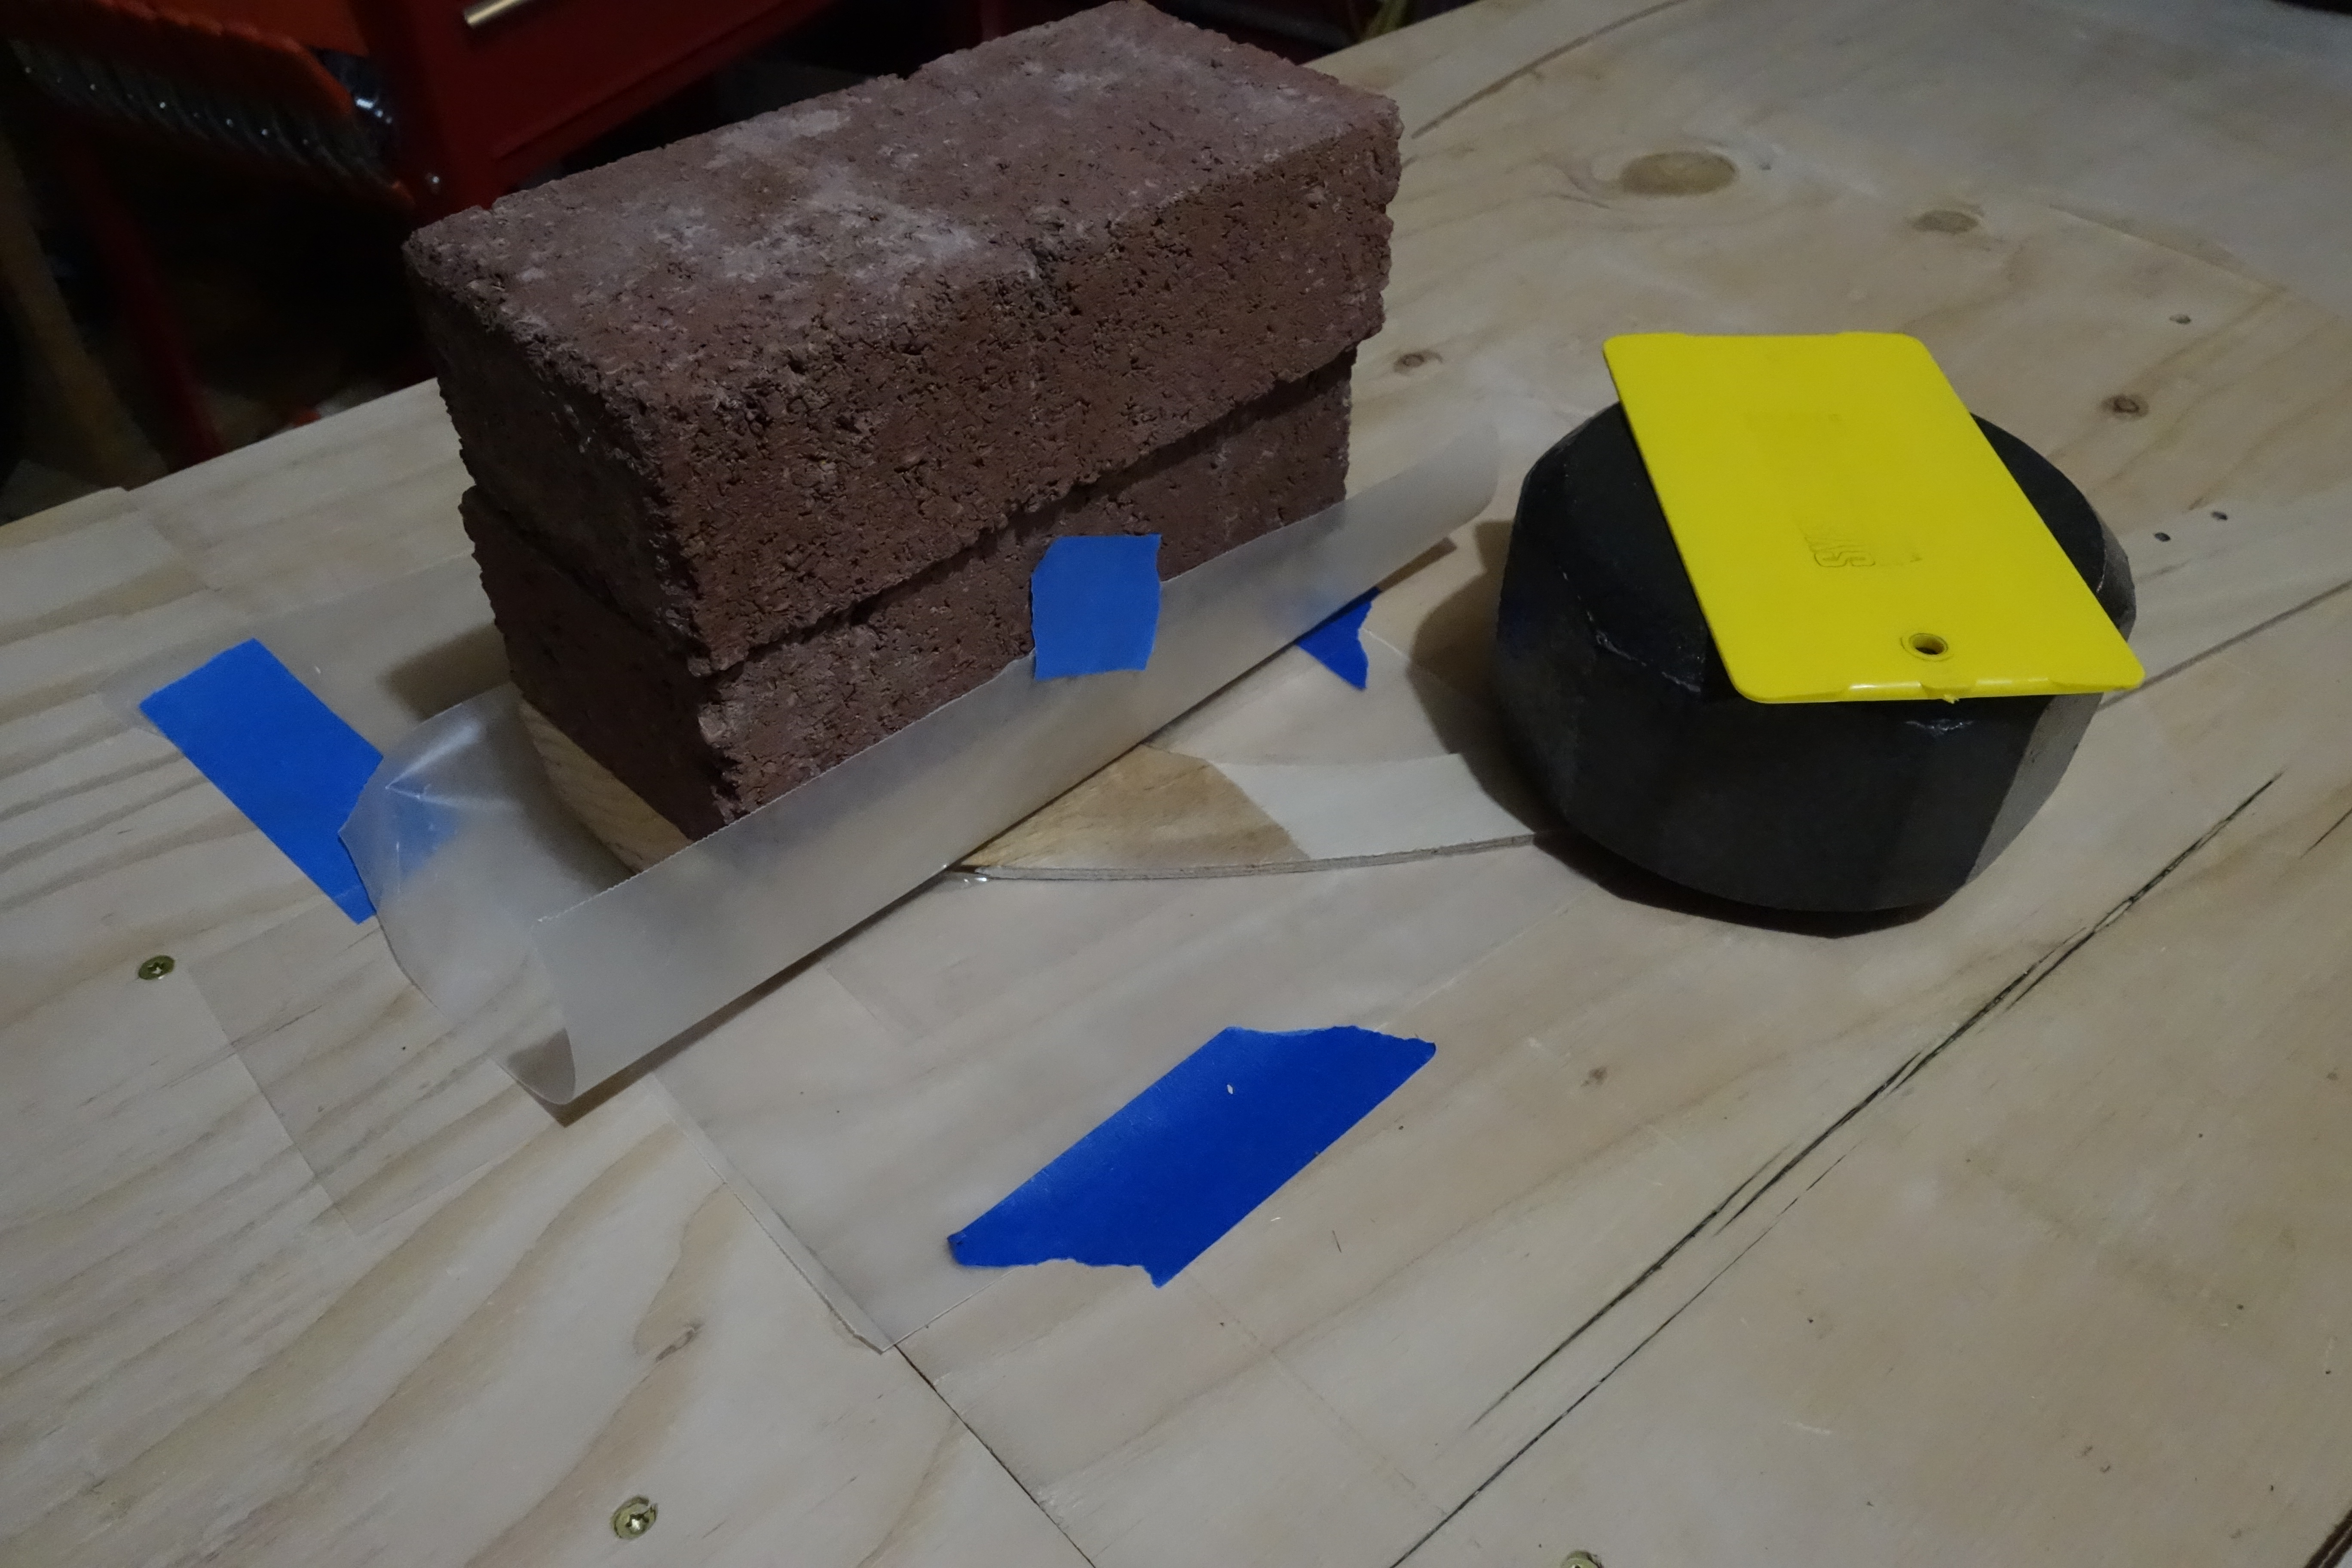
This photo show a bit more detail of the panel gluing process. Epoxy won’t stick to wax paper, so I use that between the epoxy and anything I don’t want it to stick to. As you can see, the weights are improvised. I sawed apart a couple of 20 lb. dumb-bells that I no longer use for weight lifting, so that I would have four 10 lb. weights. For additional weights, bricks were easily acquired and very inexpensive.
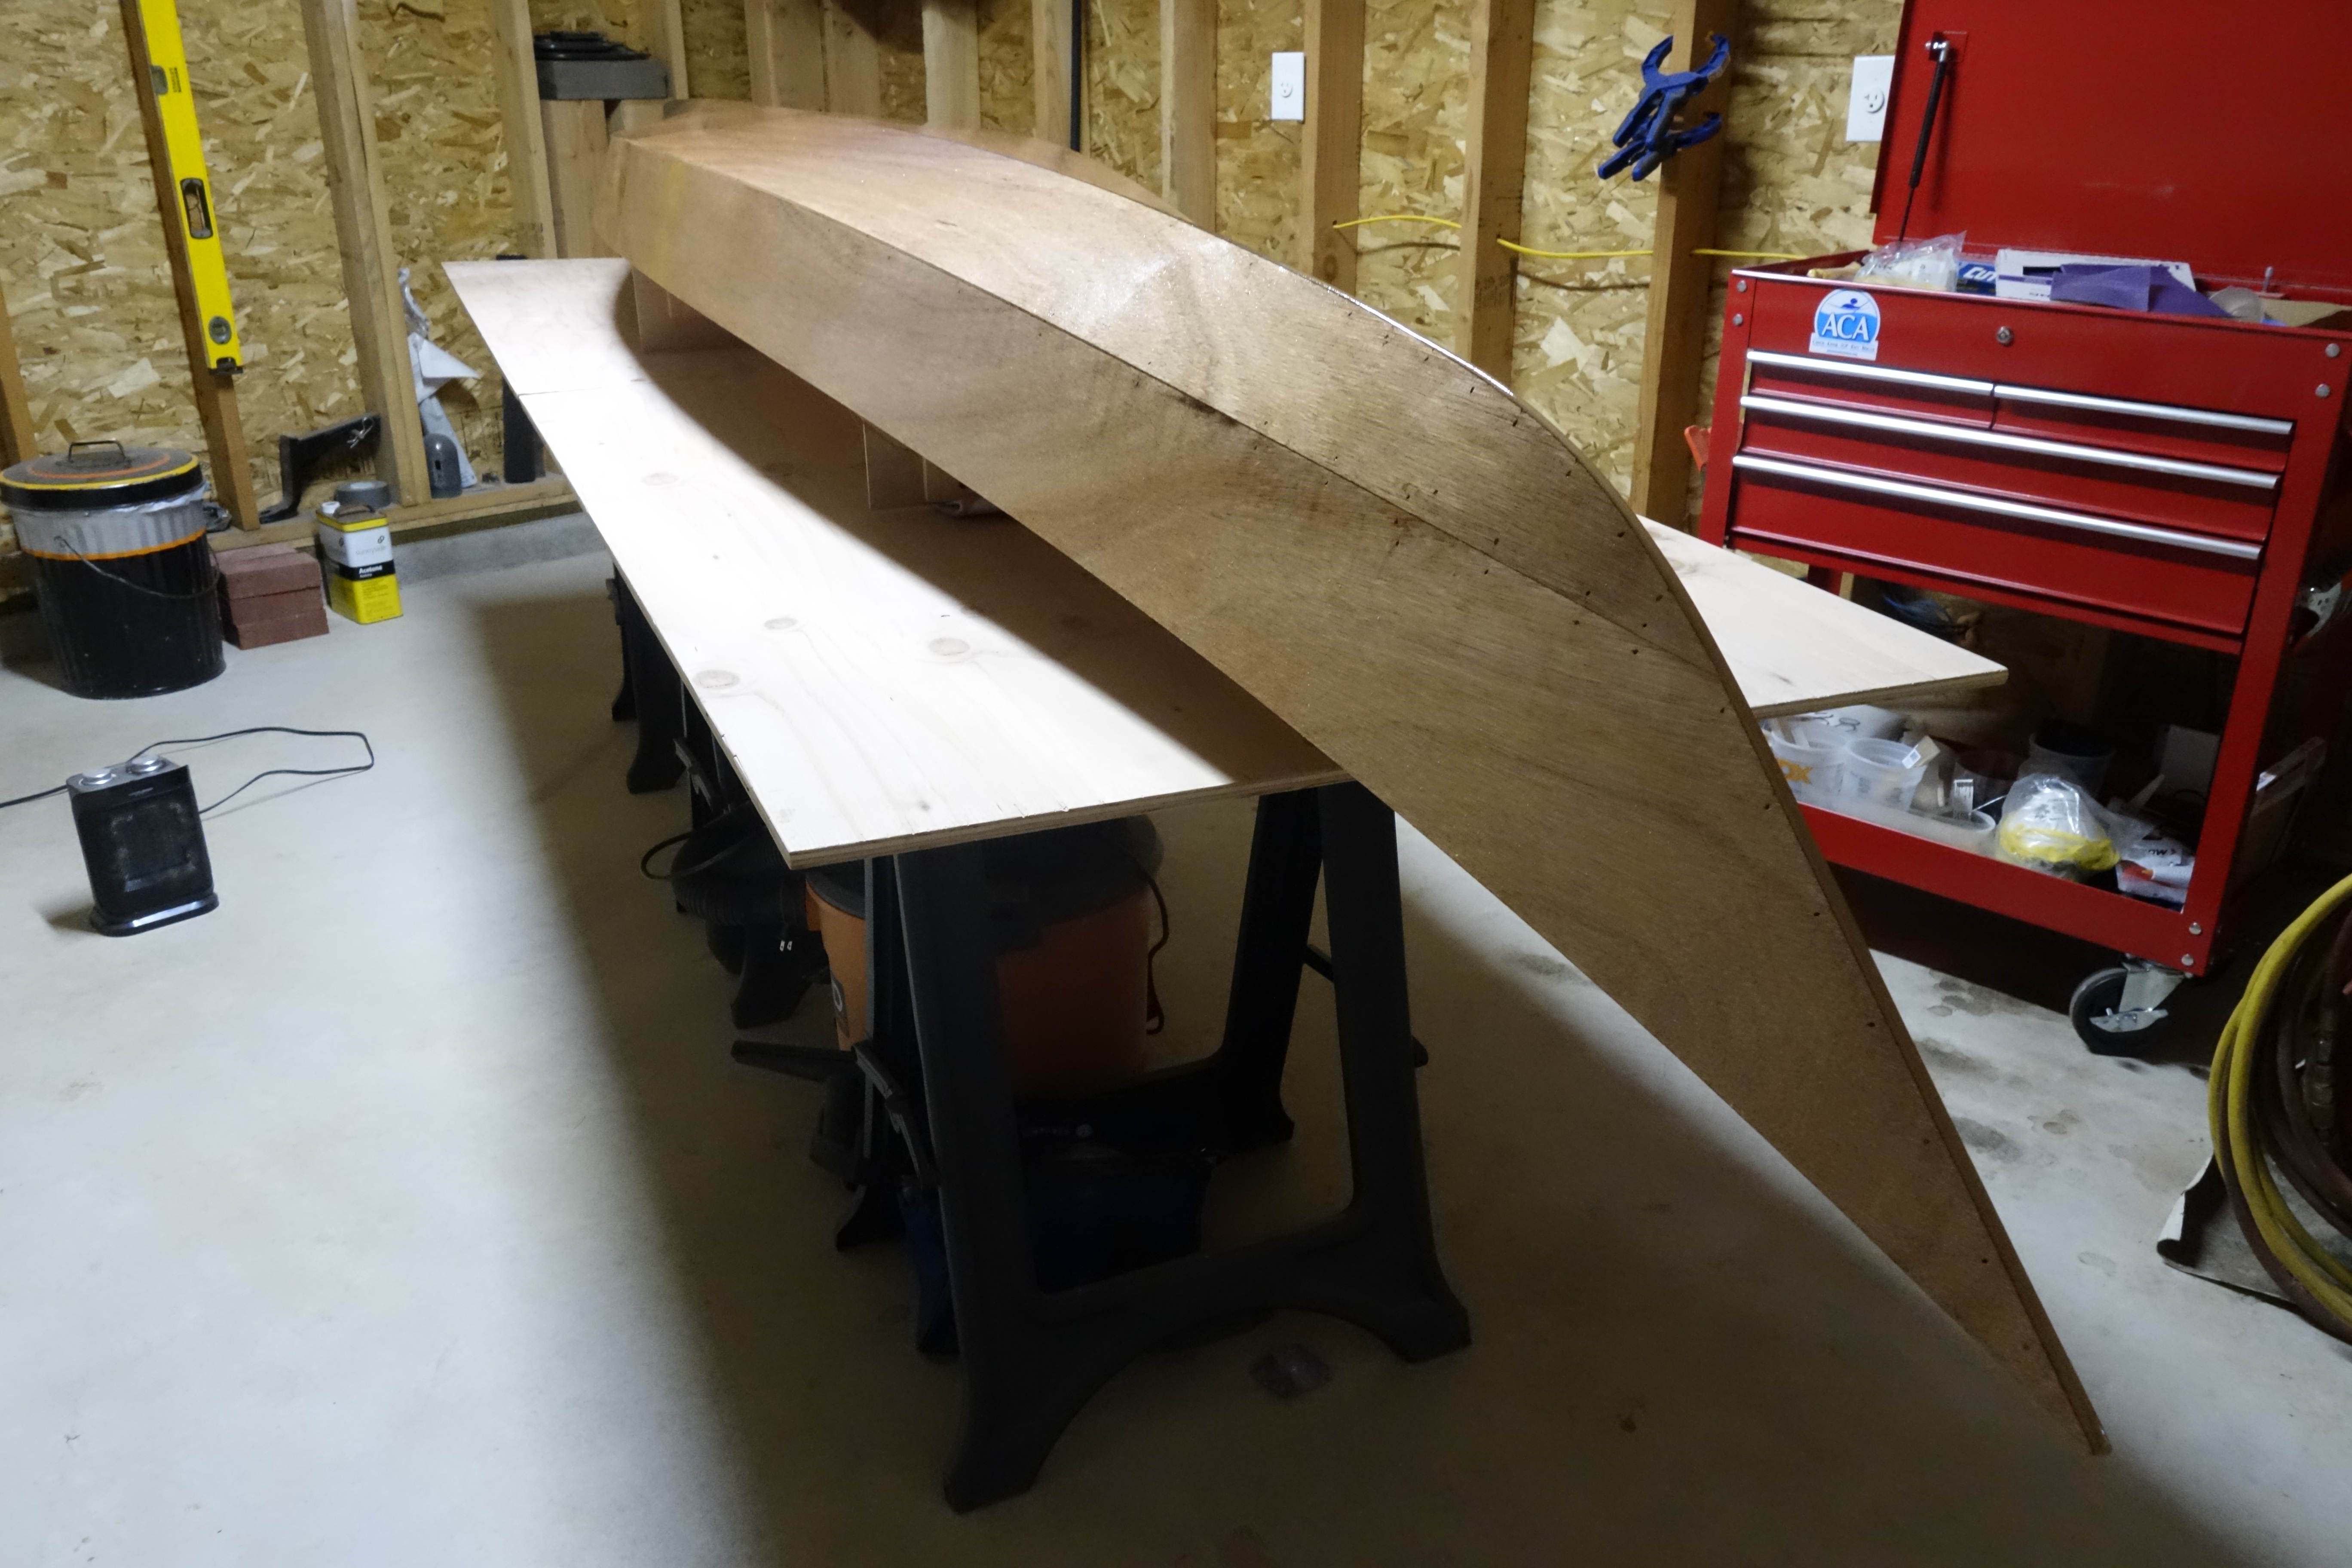
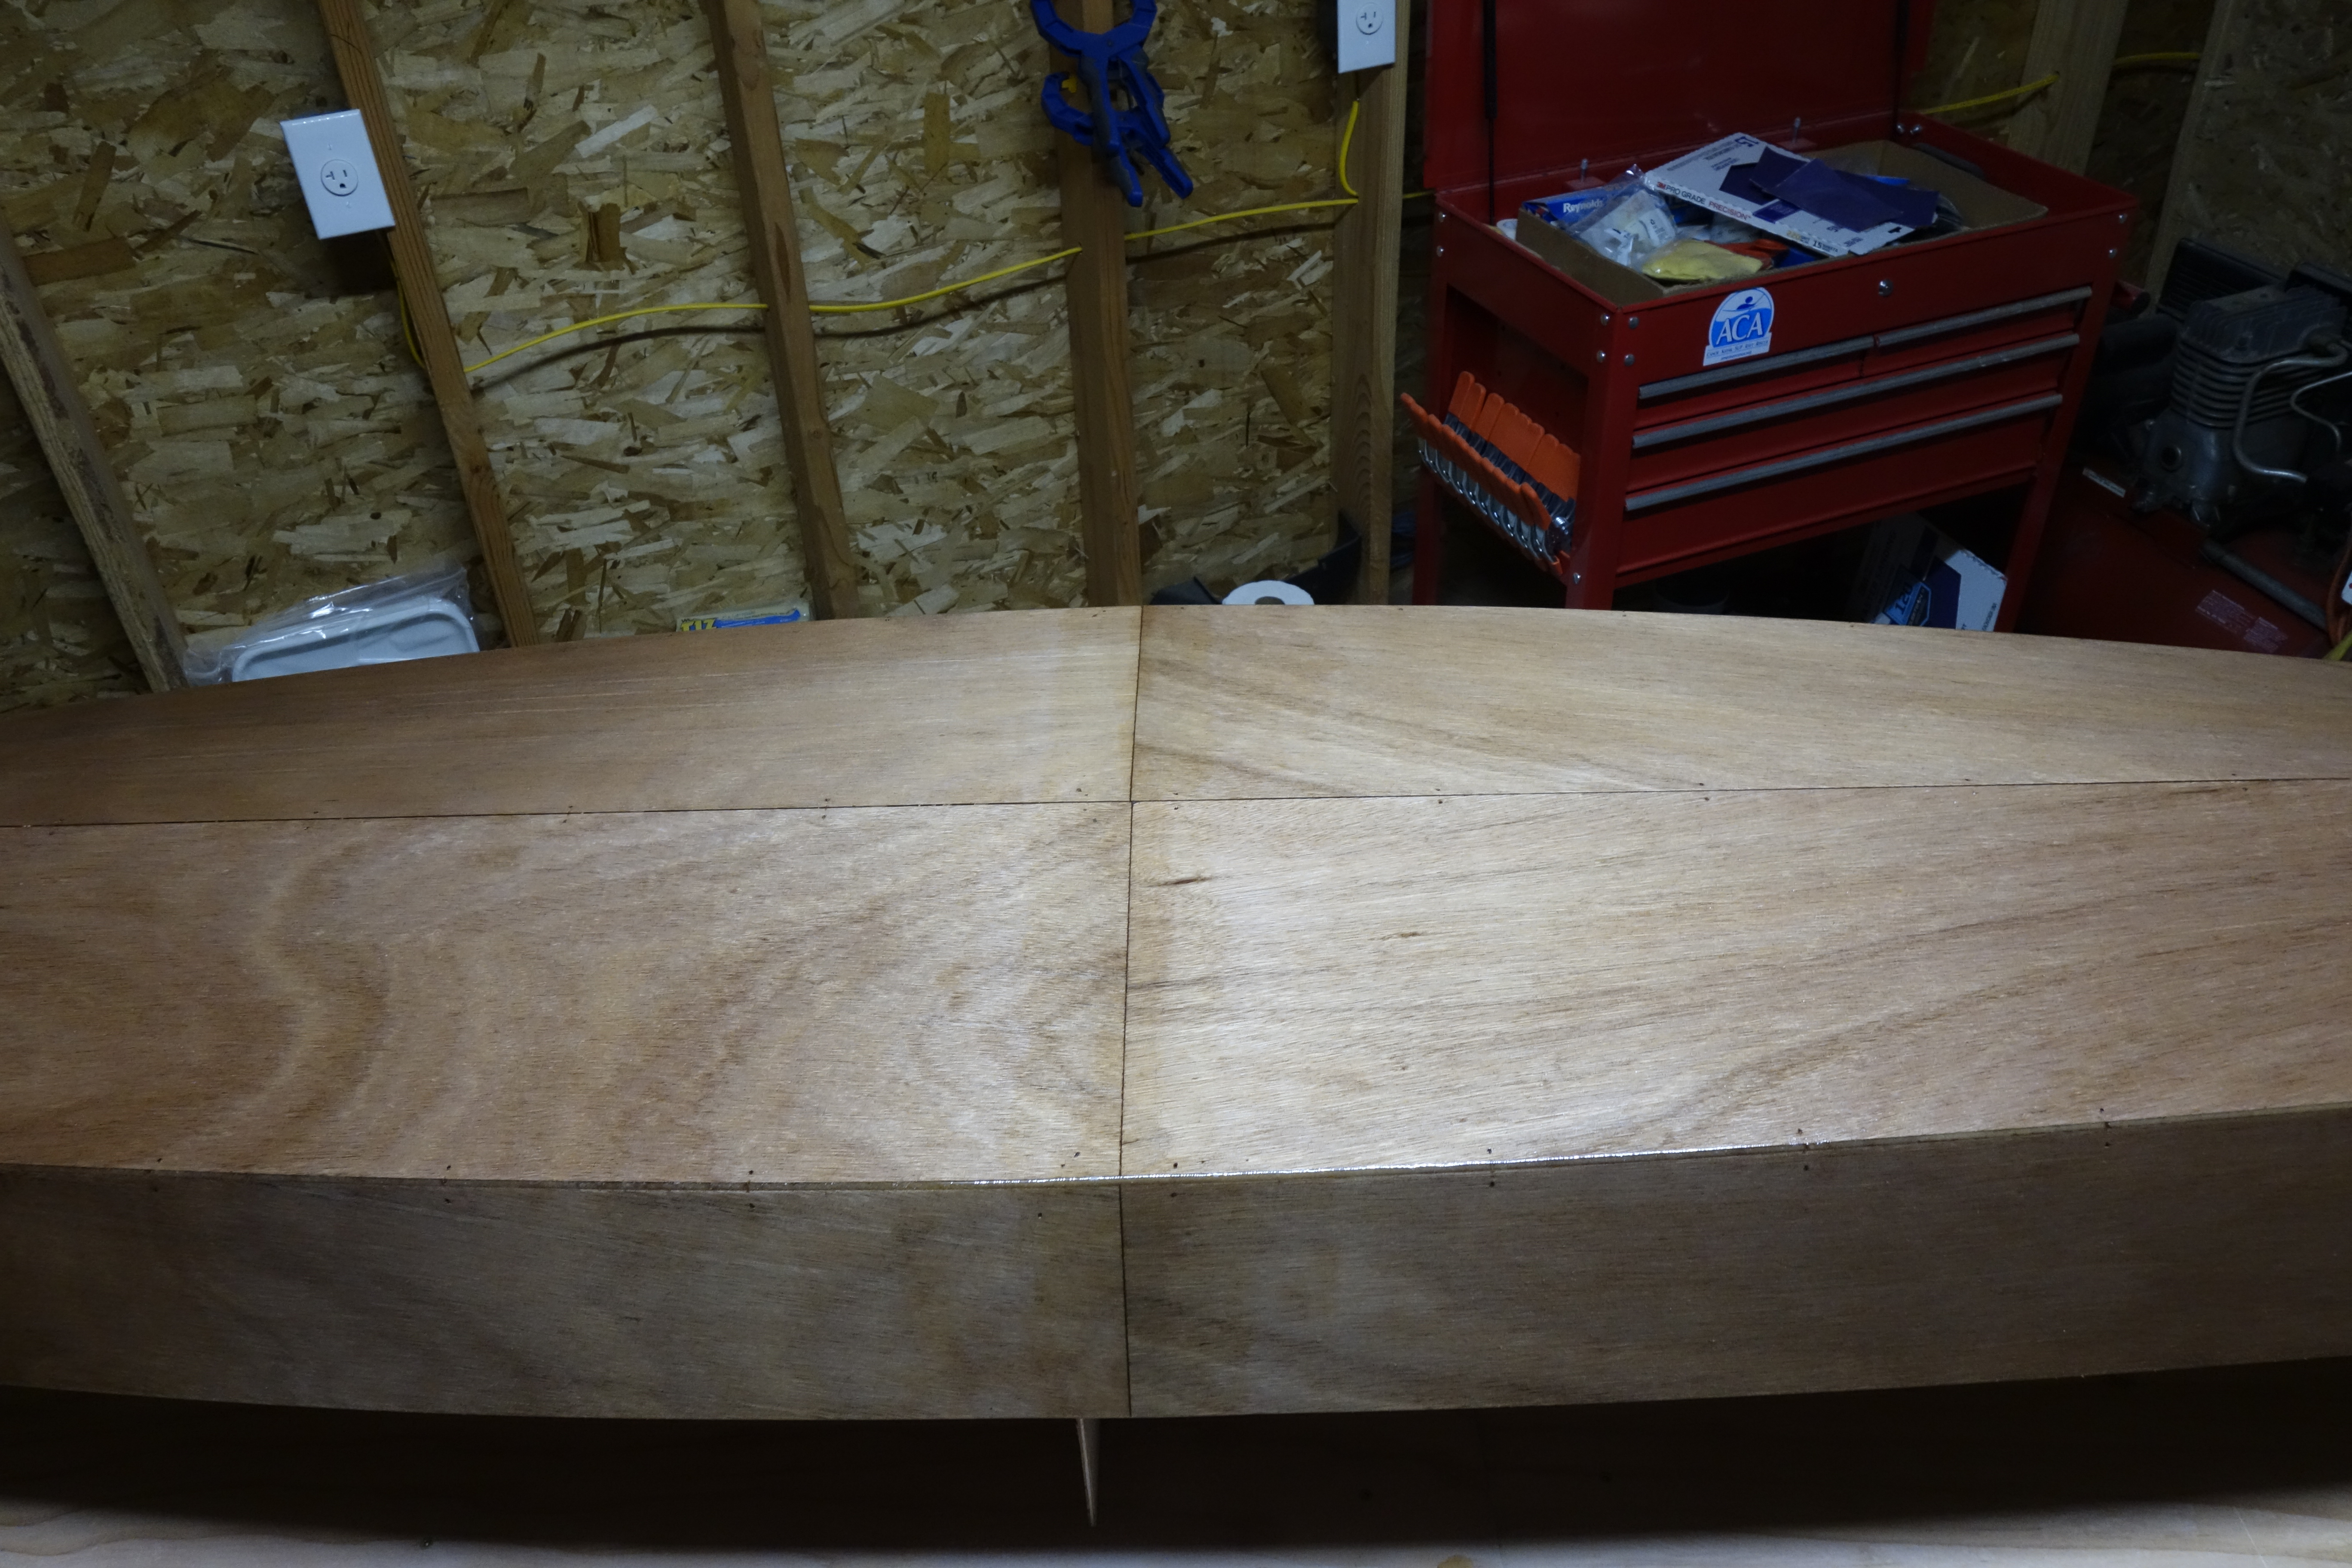
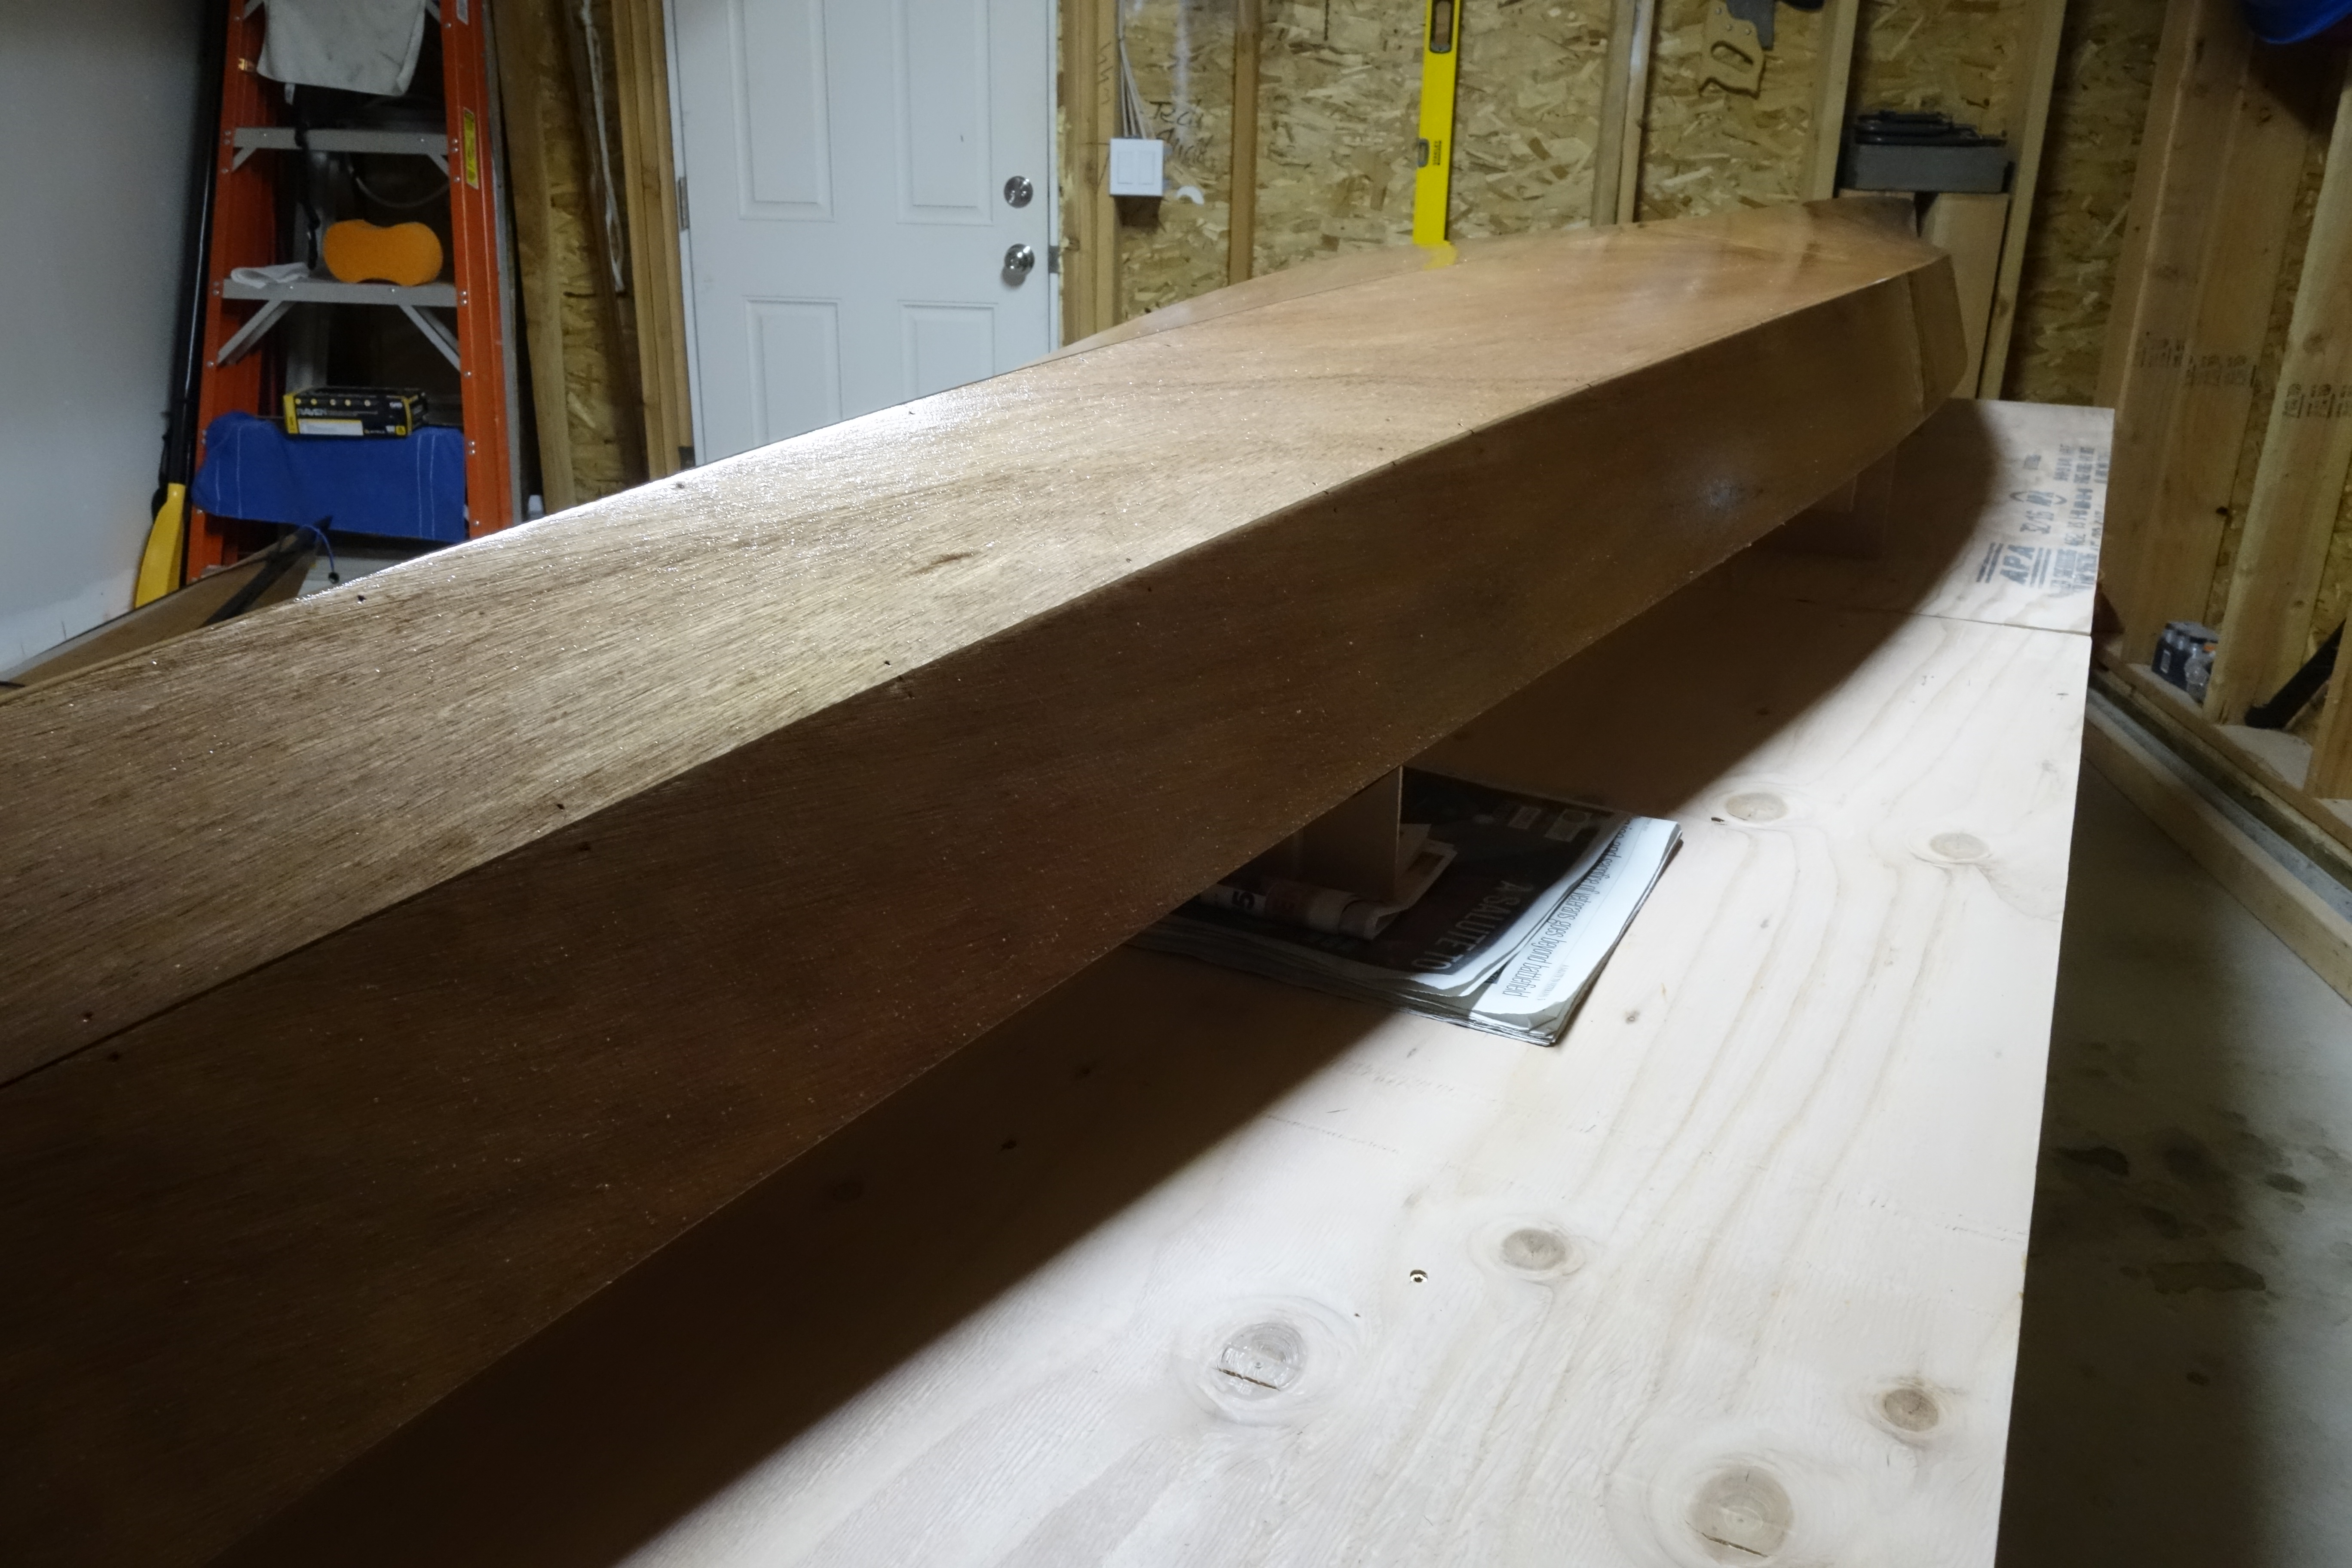
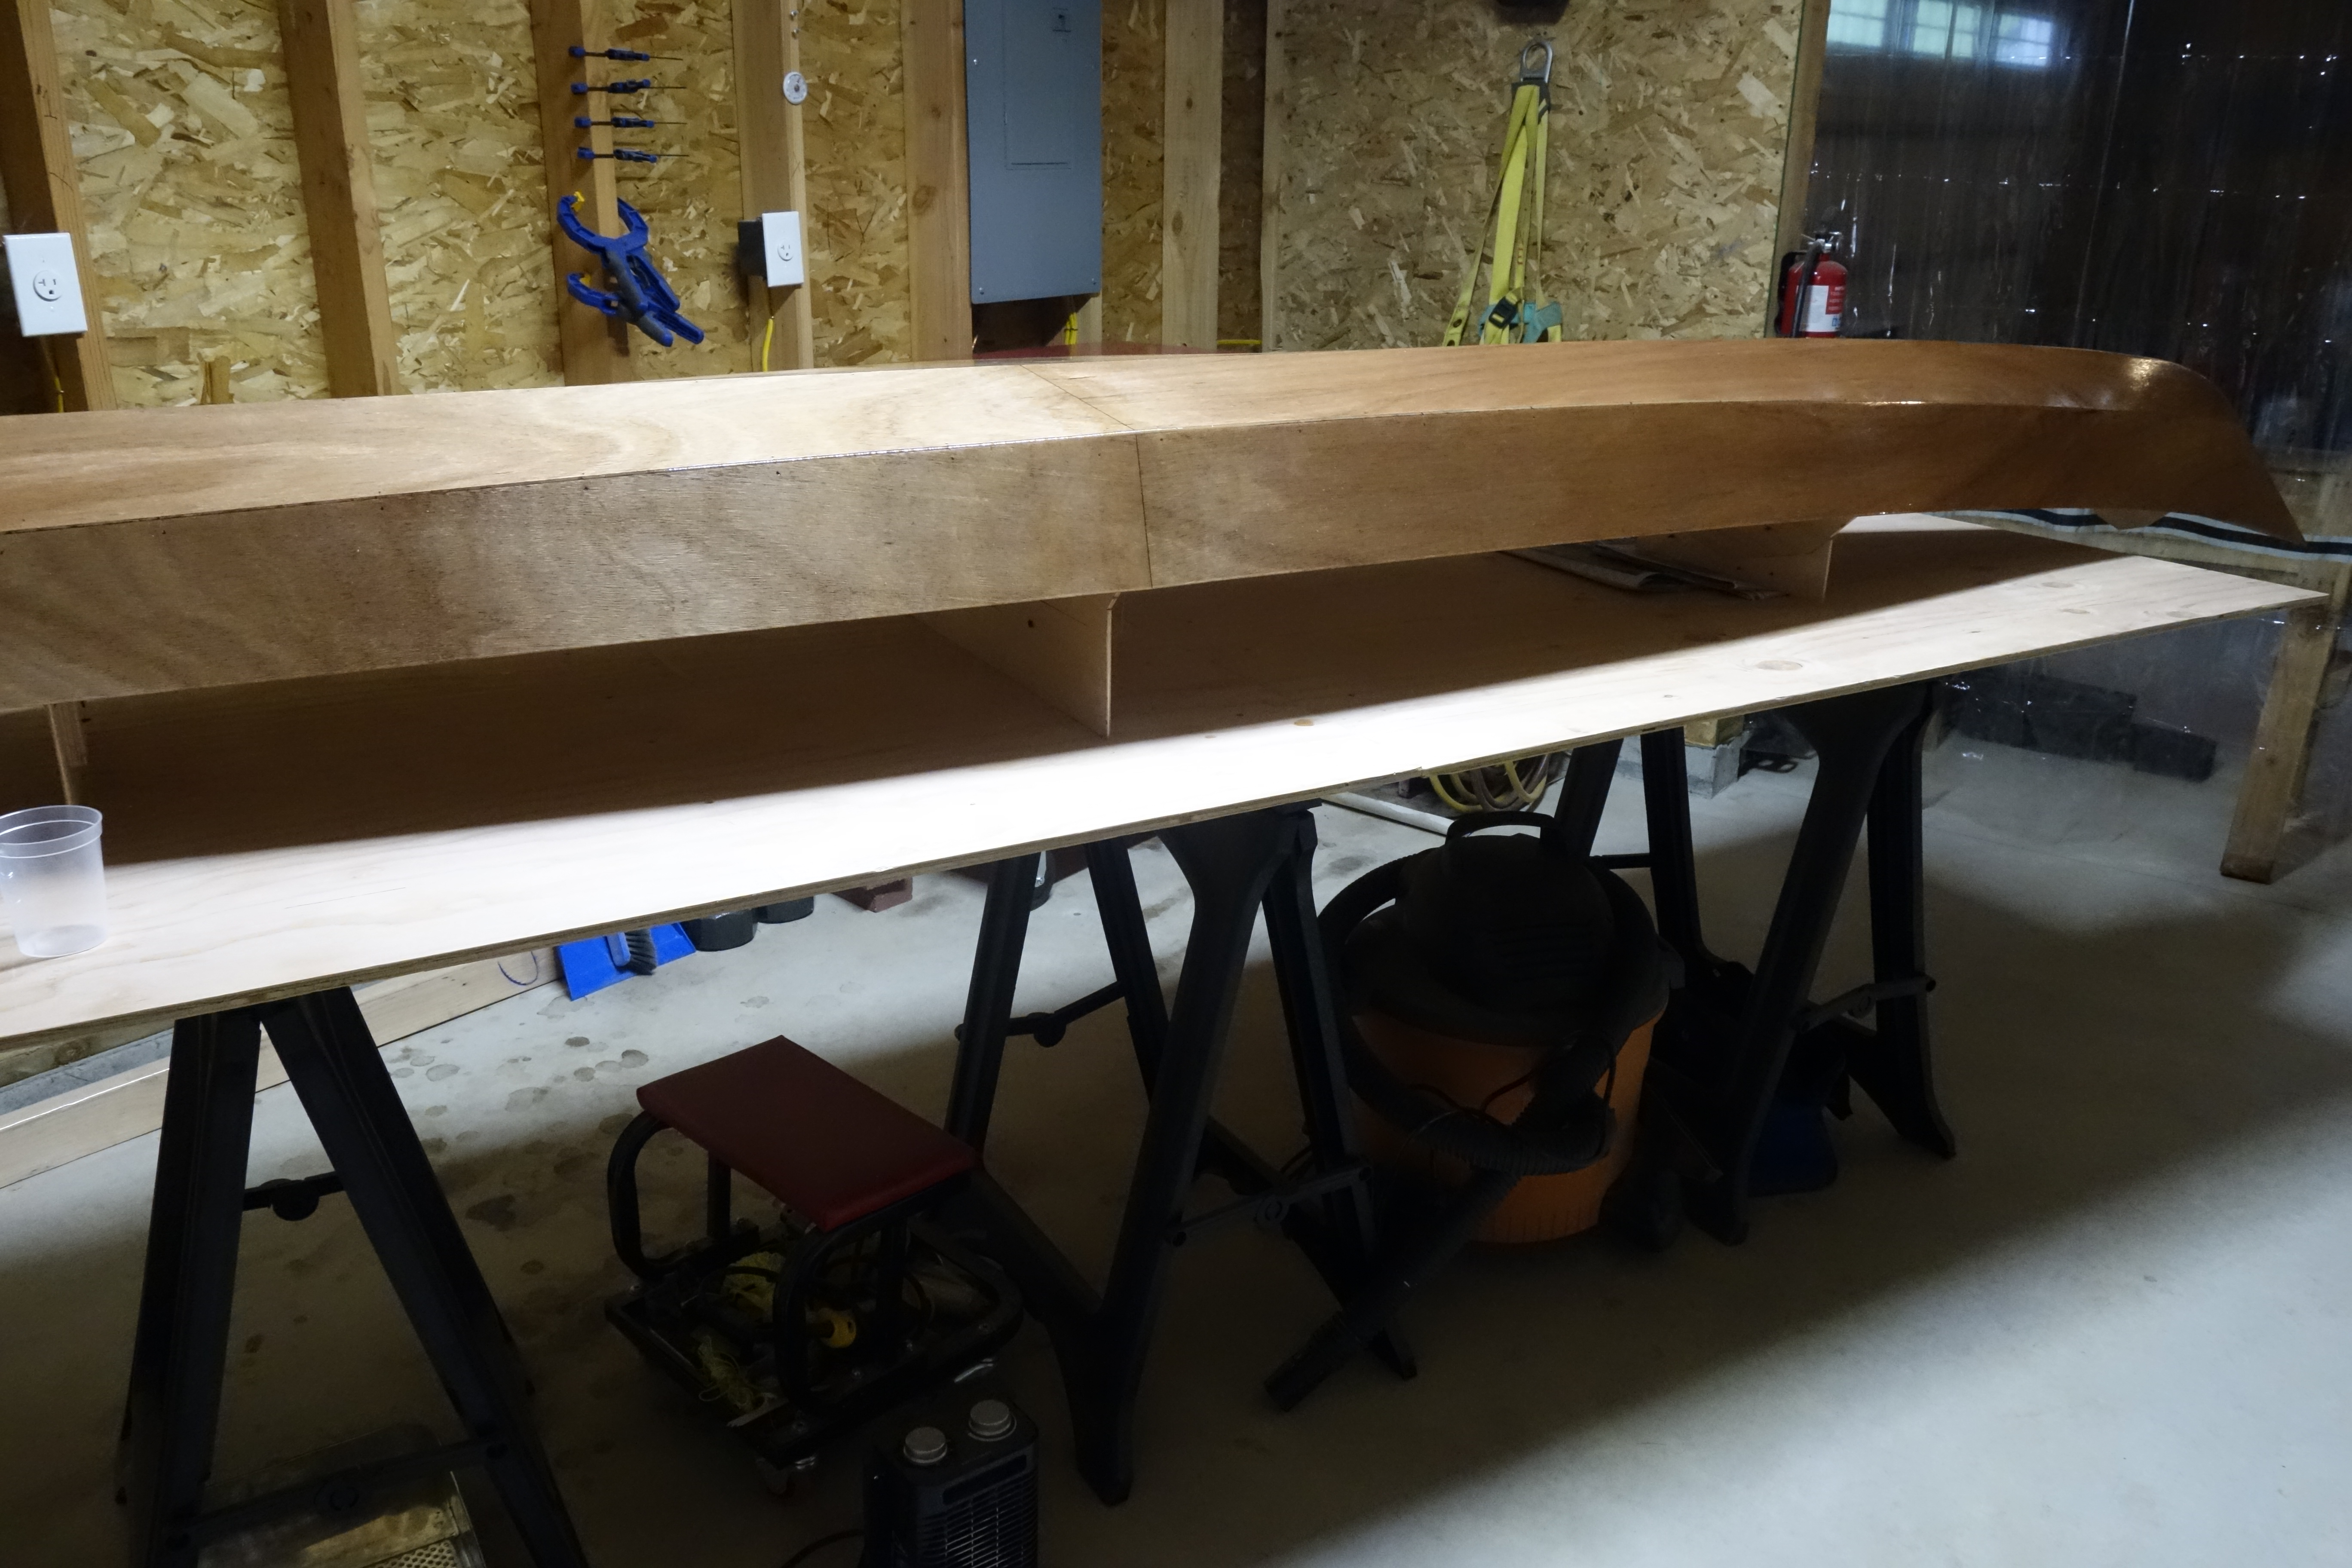
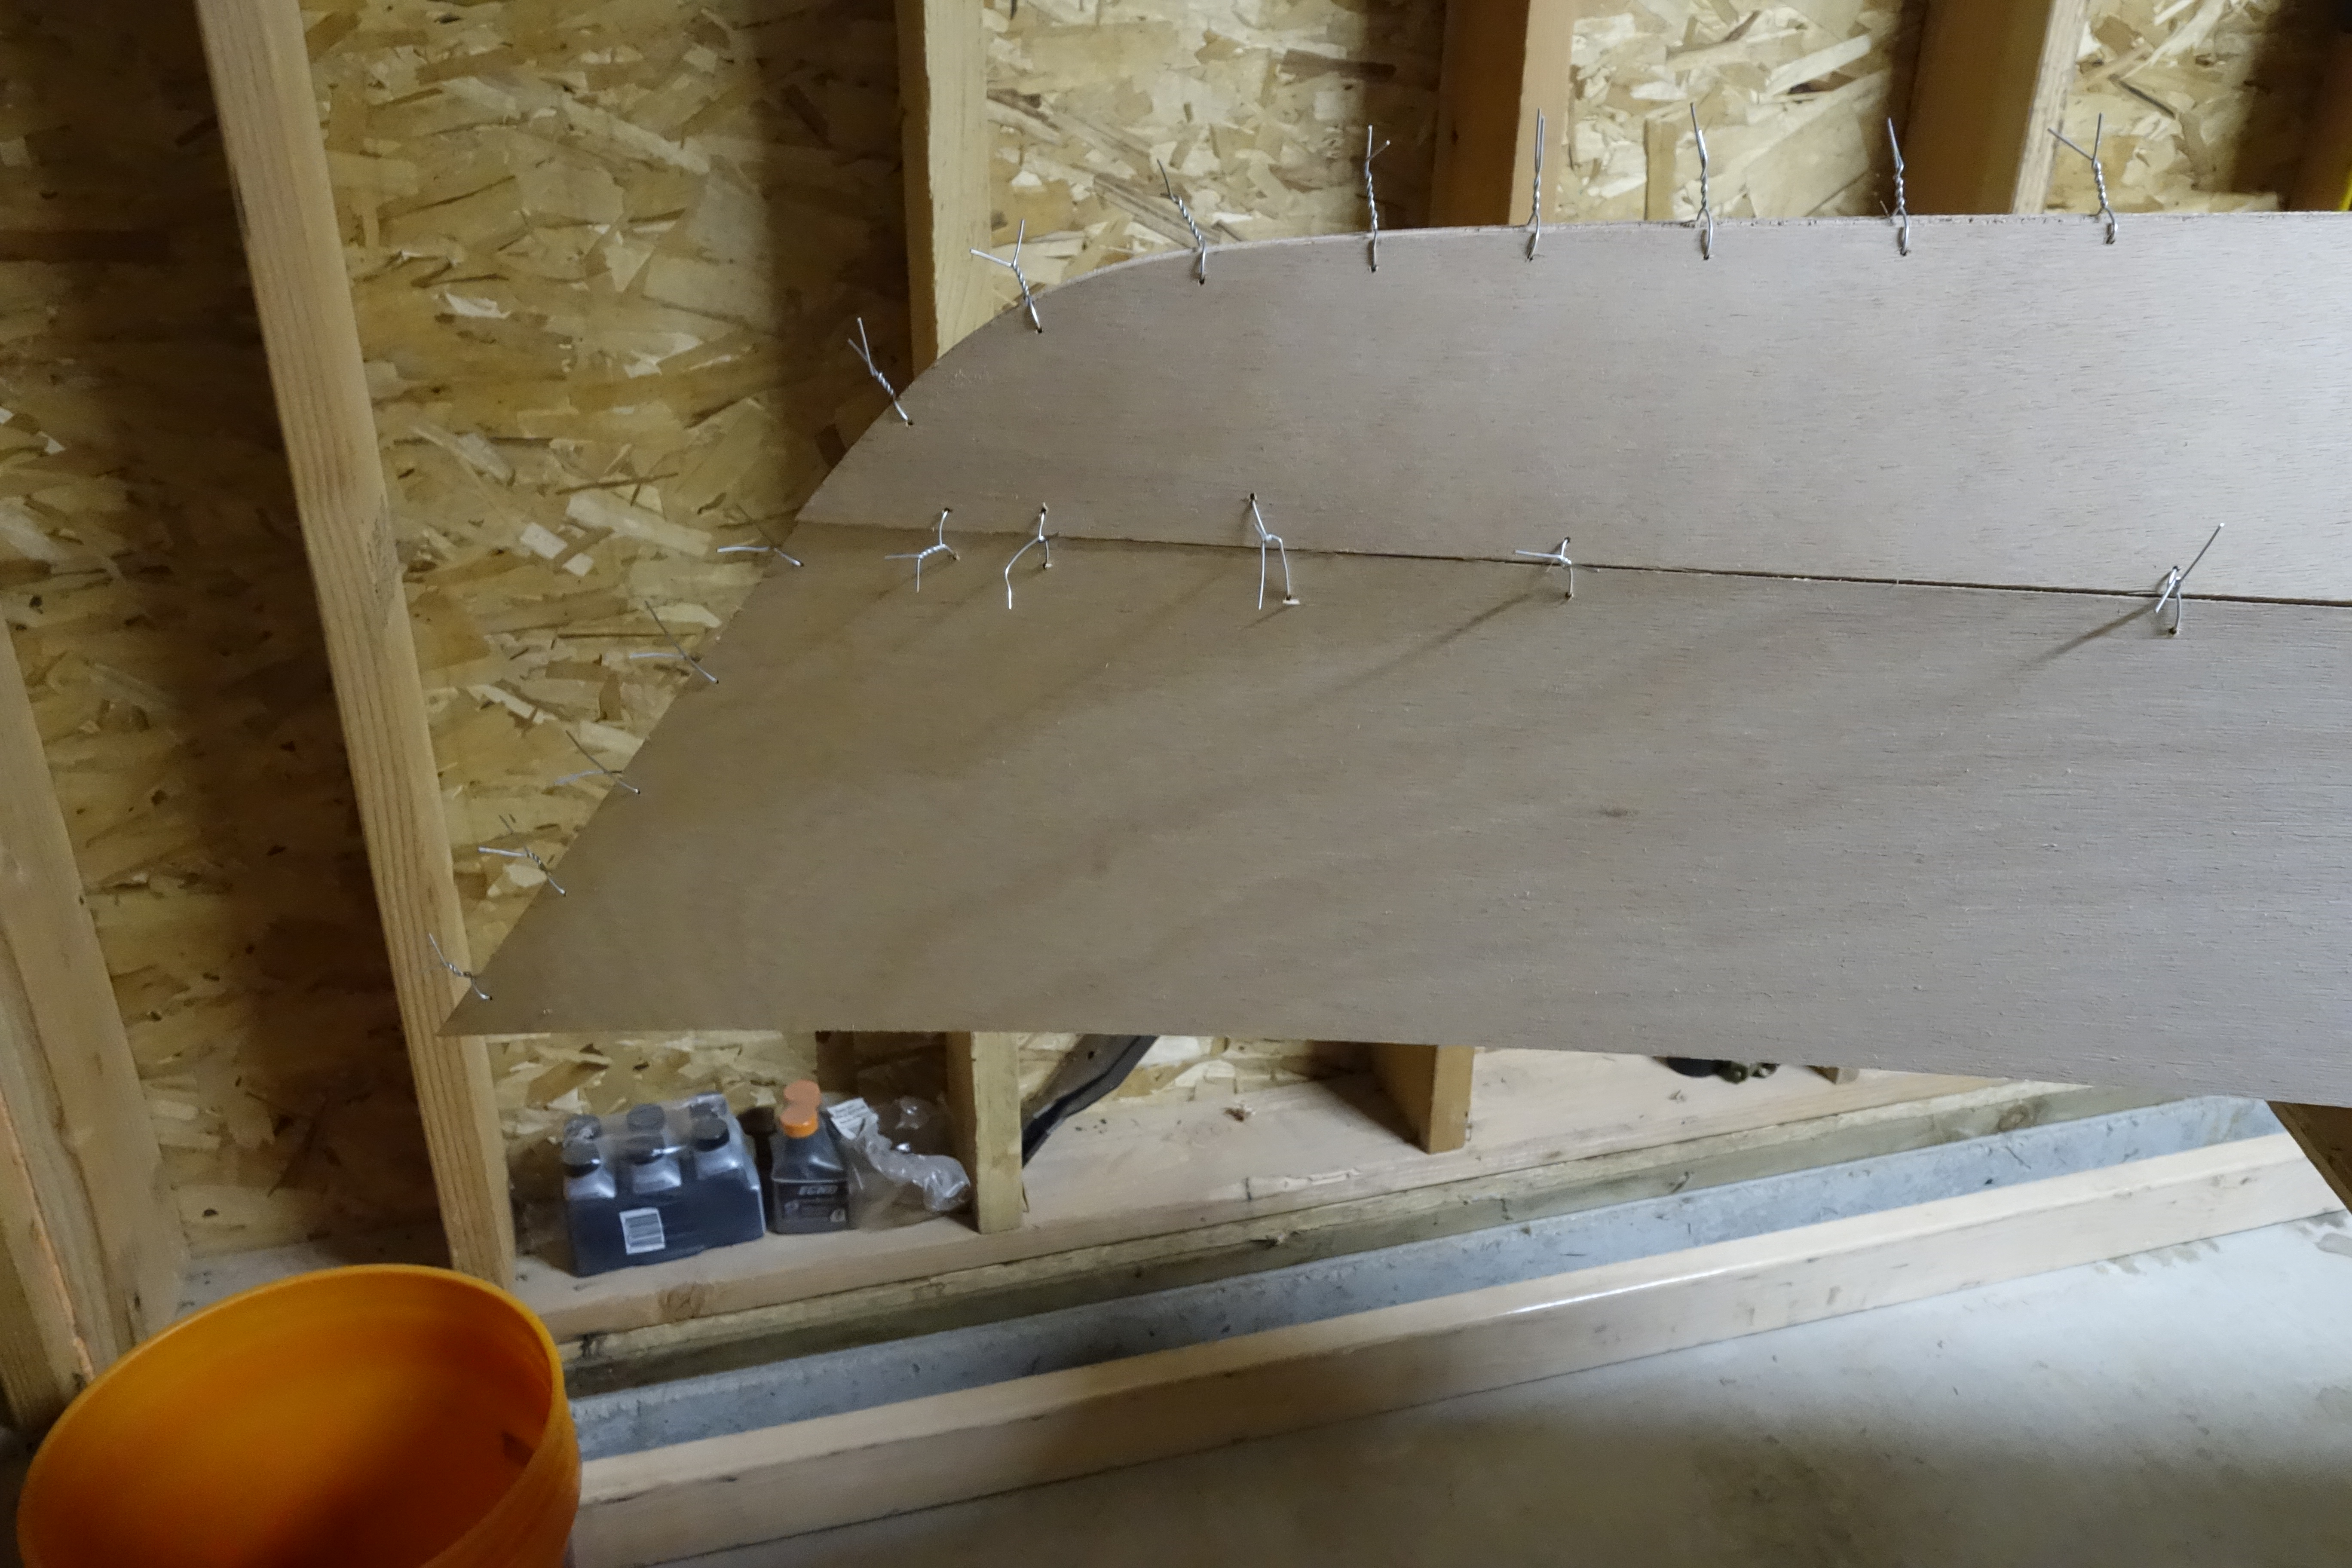
Finishing up gluing panels and the cockpit apron.