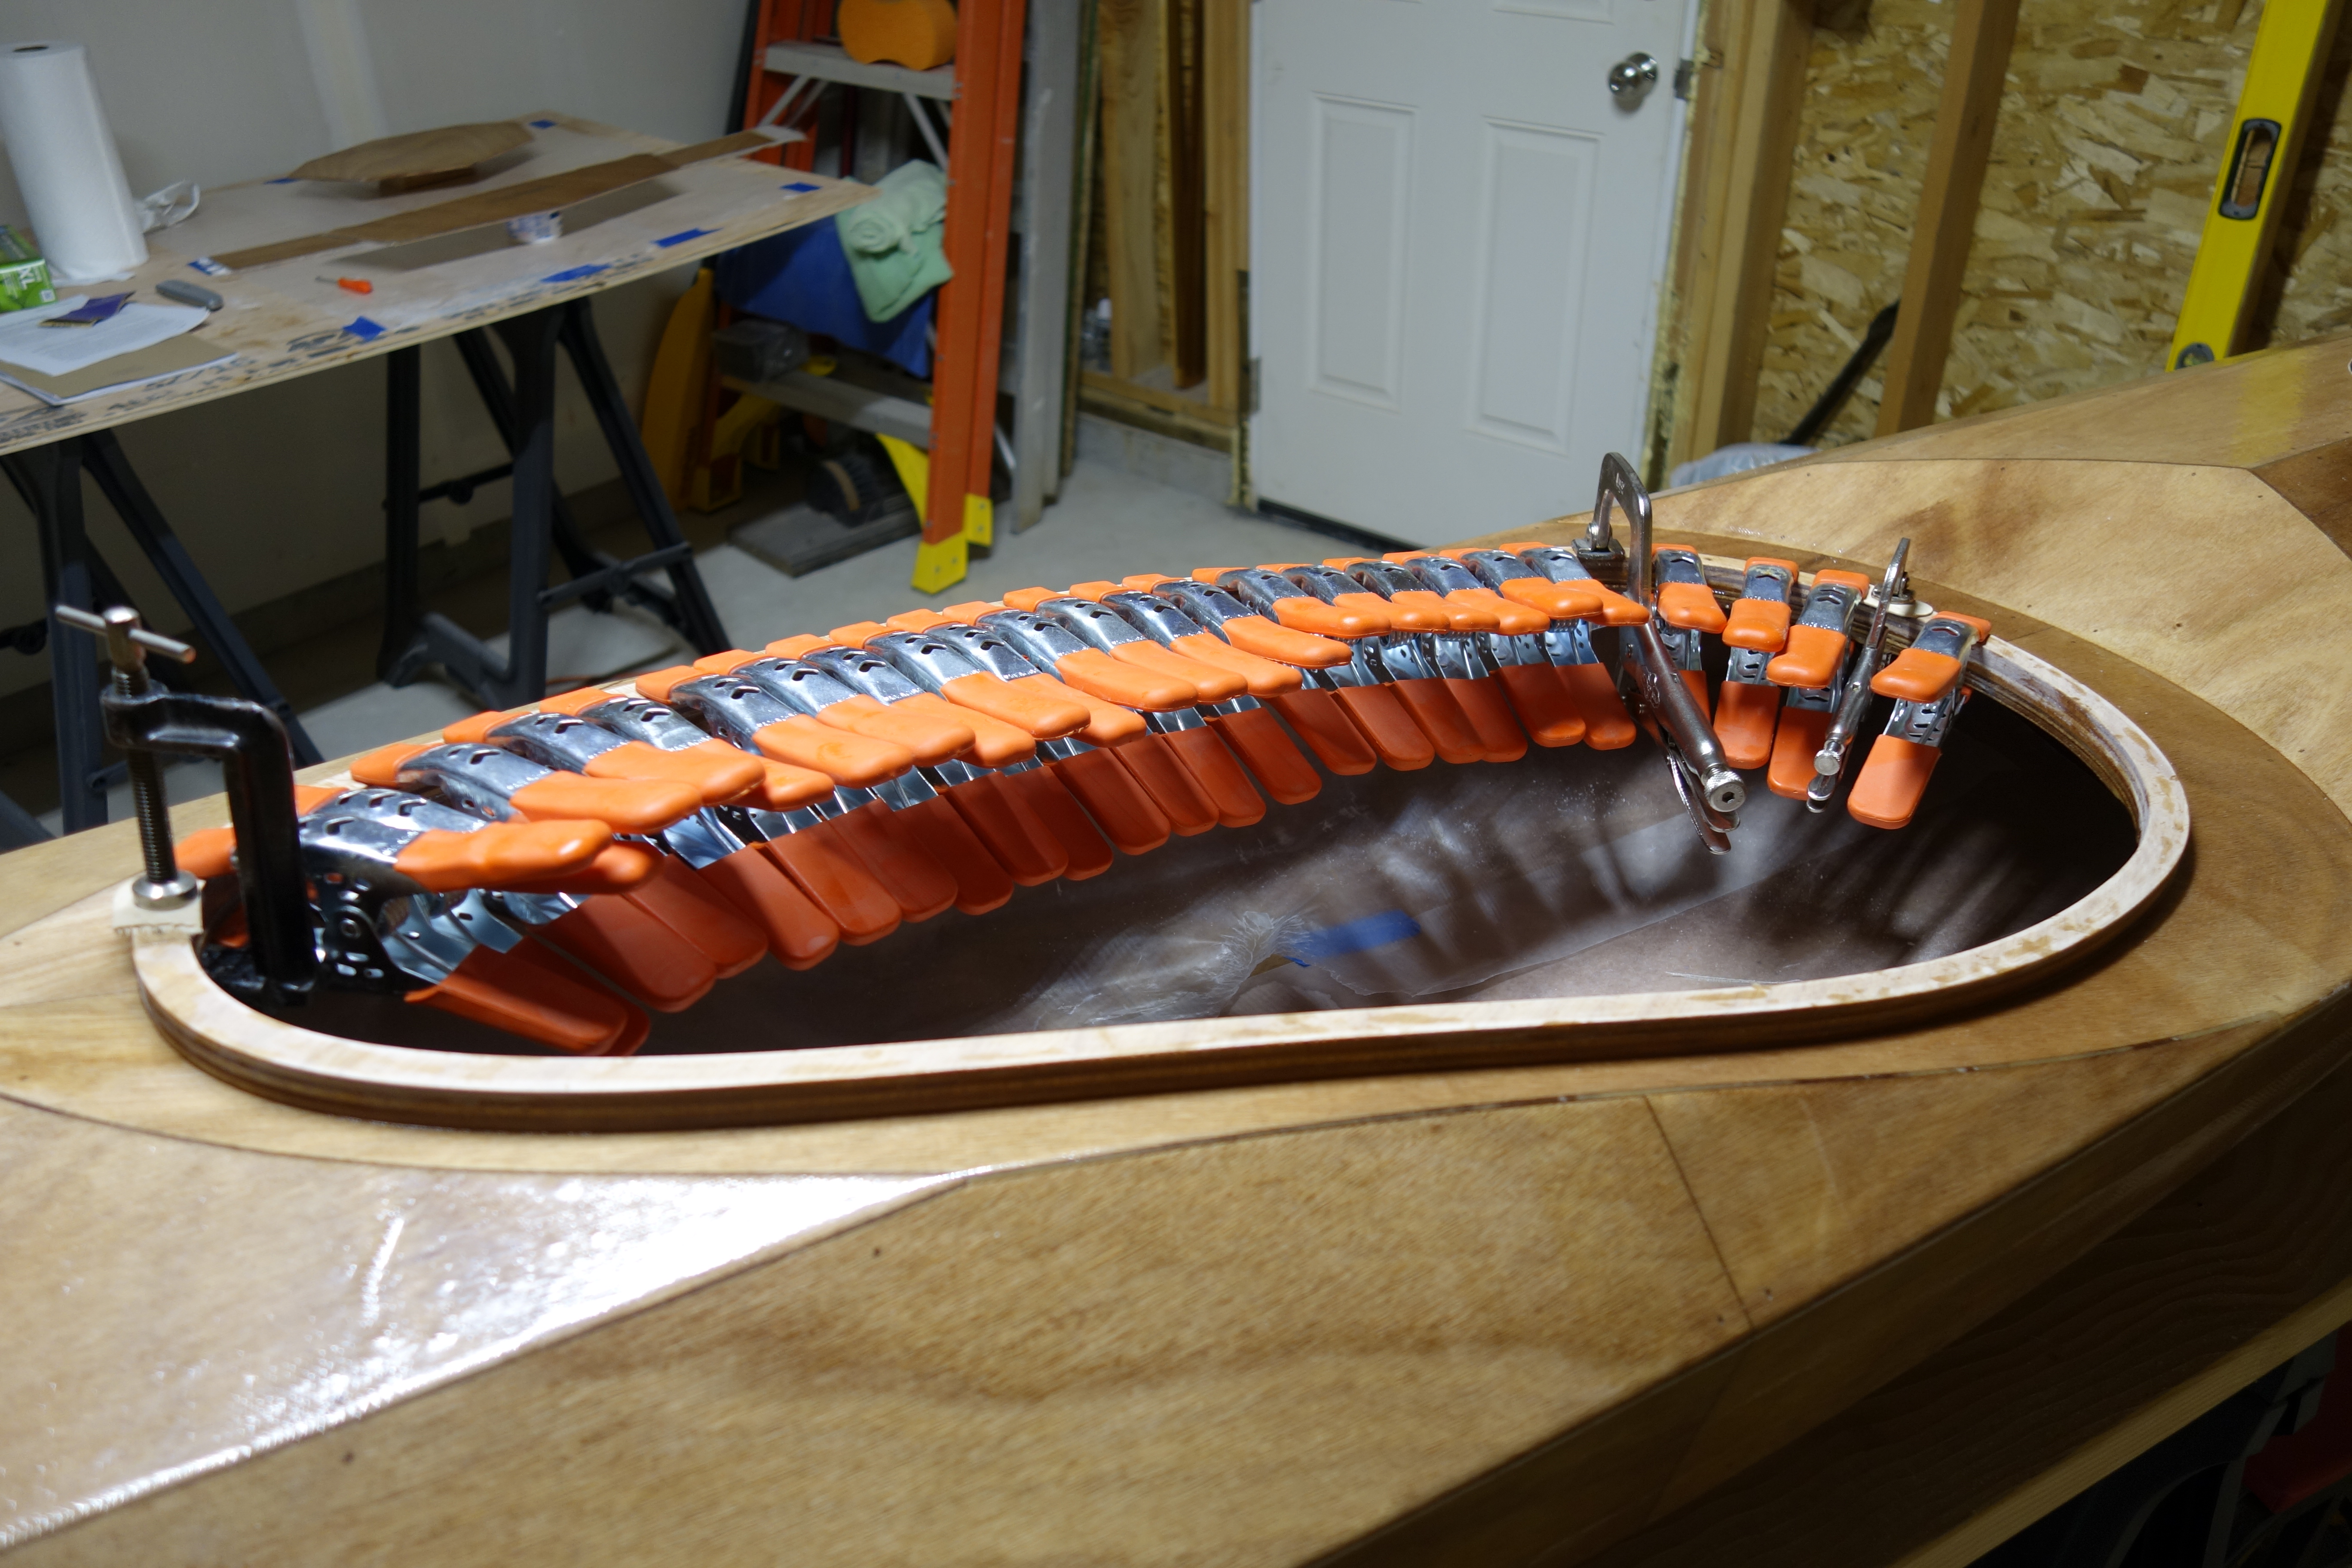
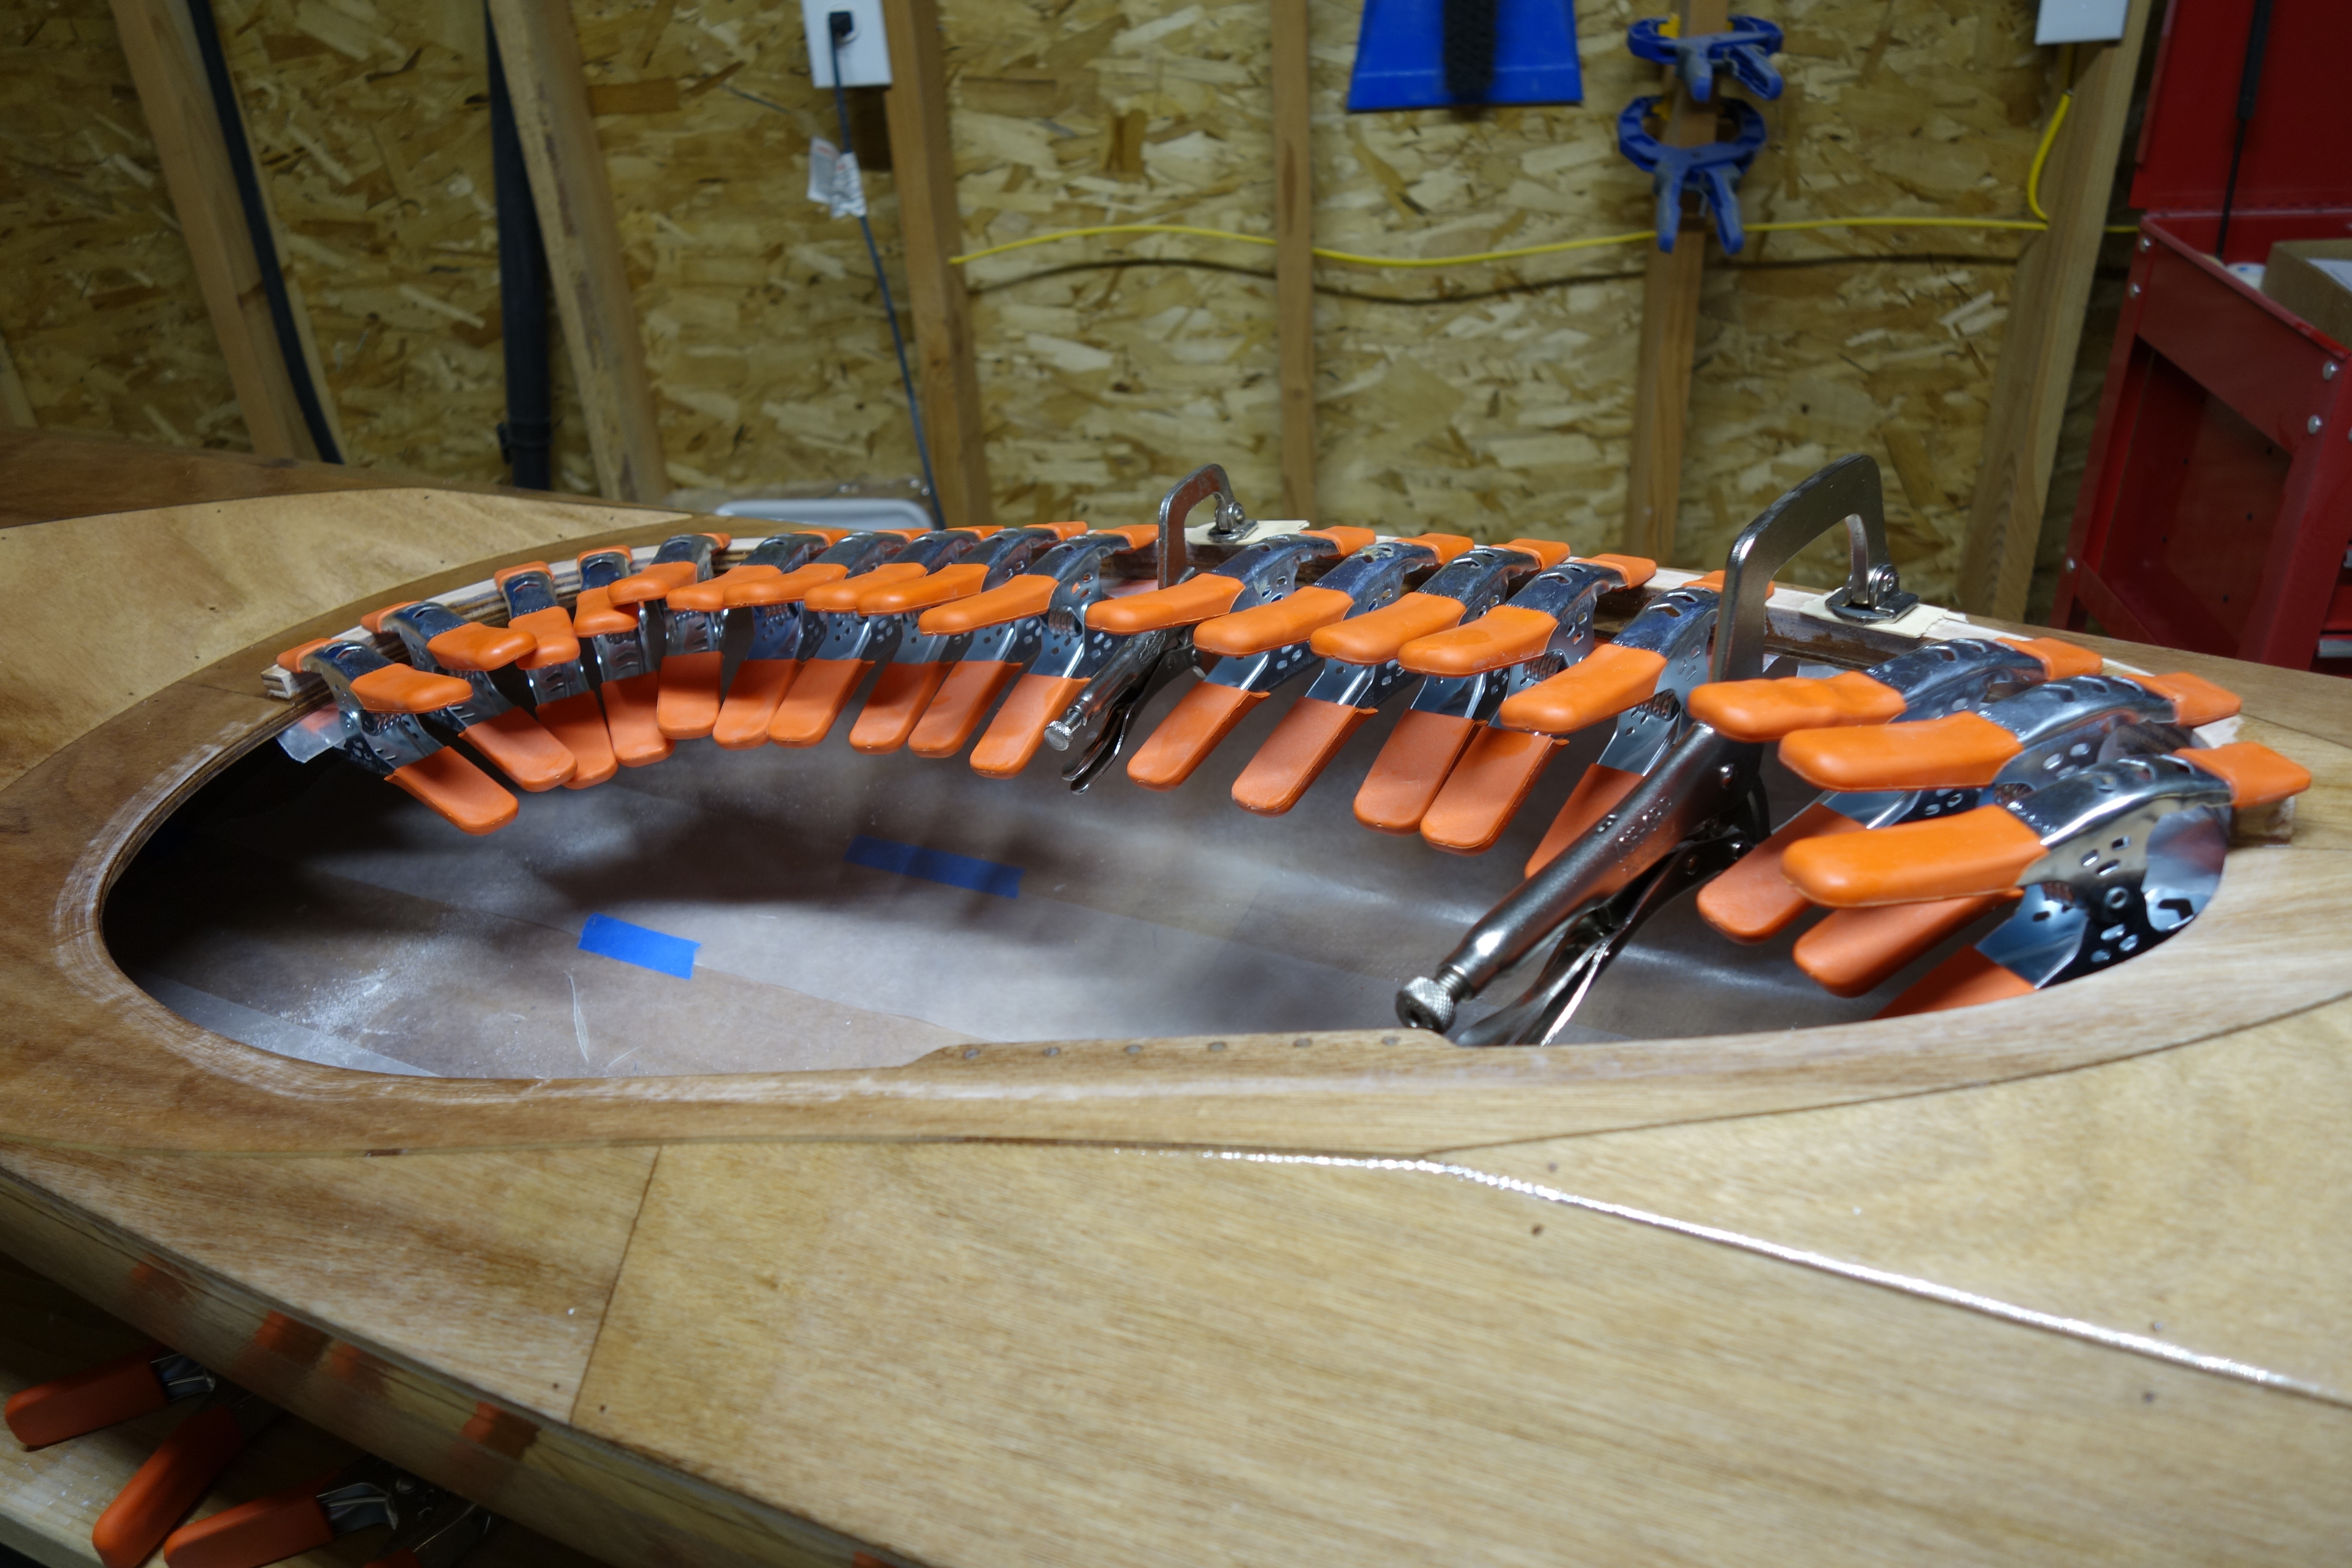
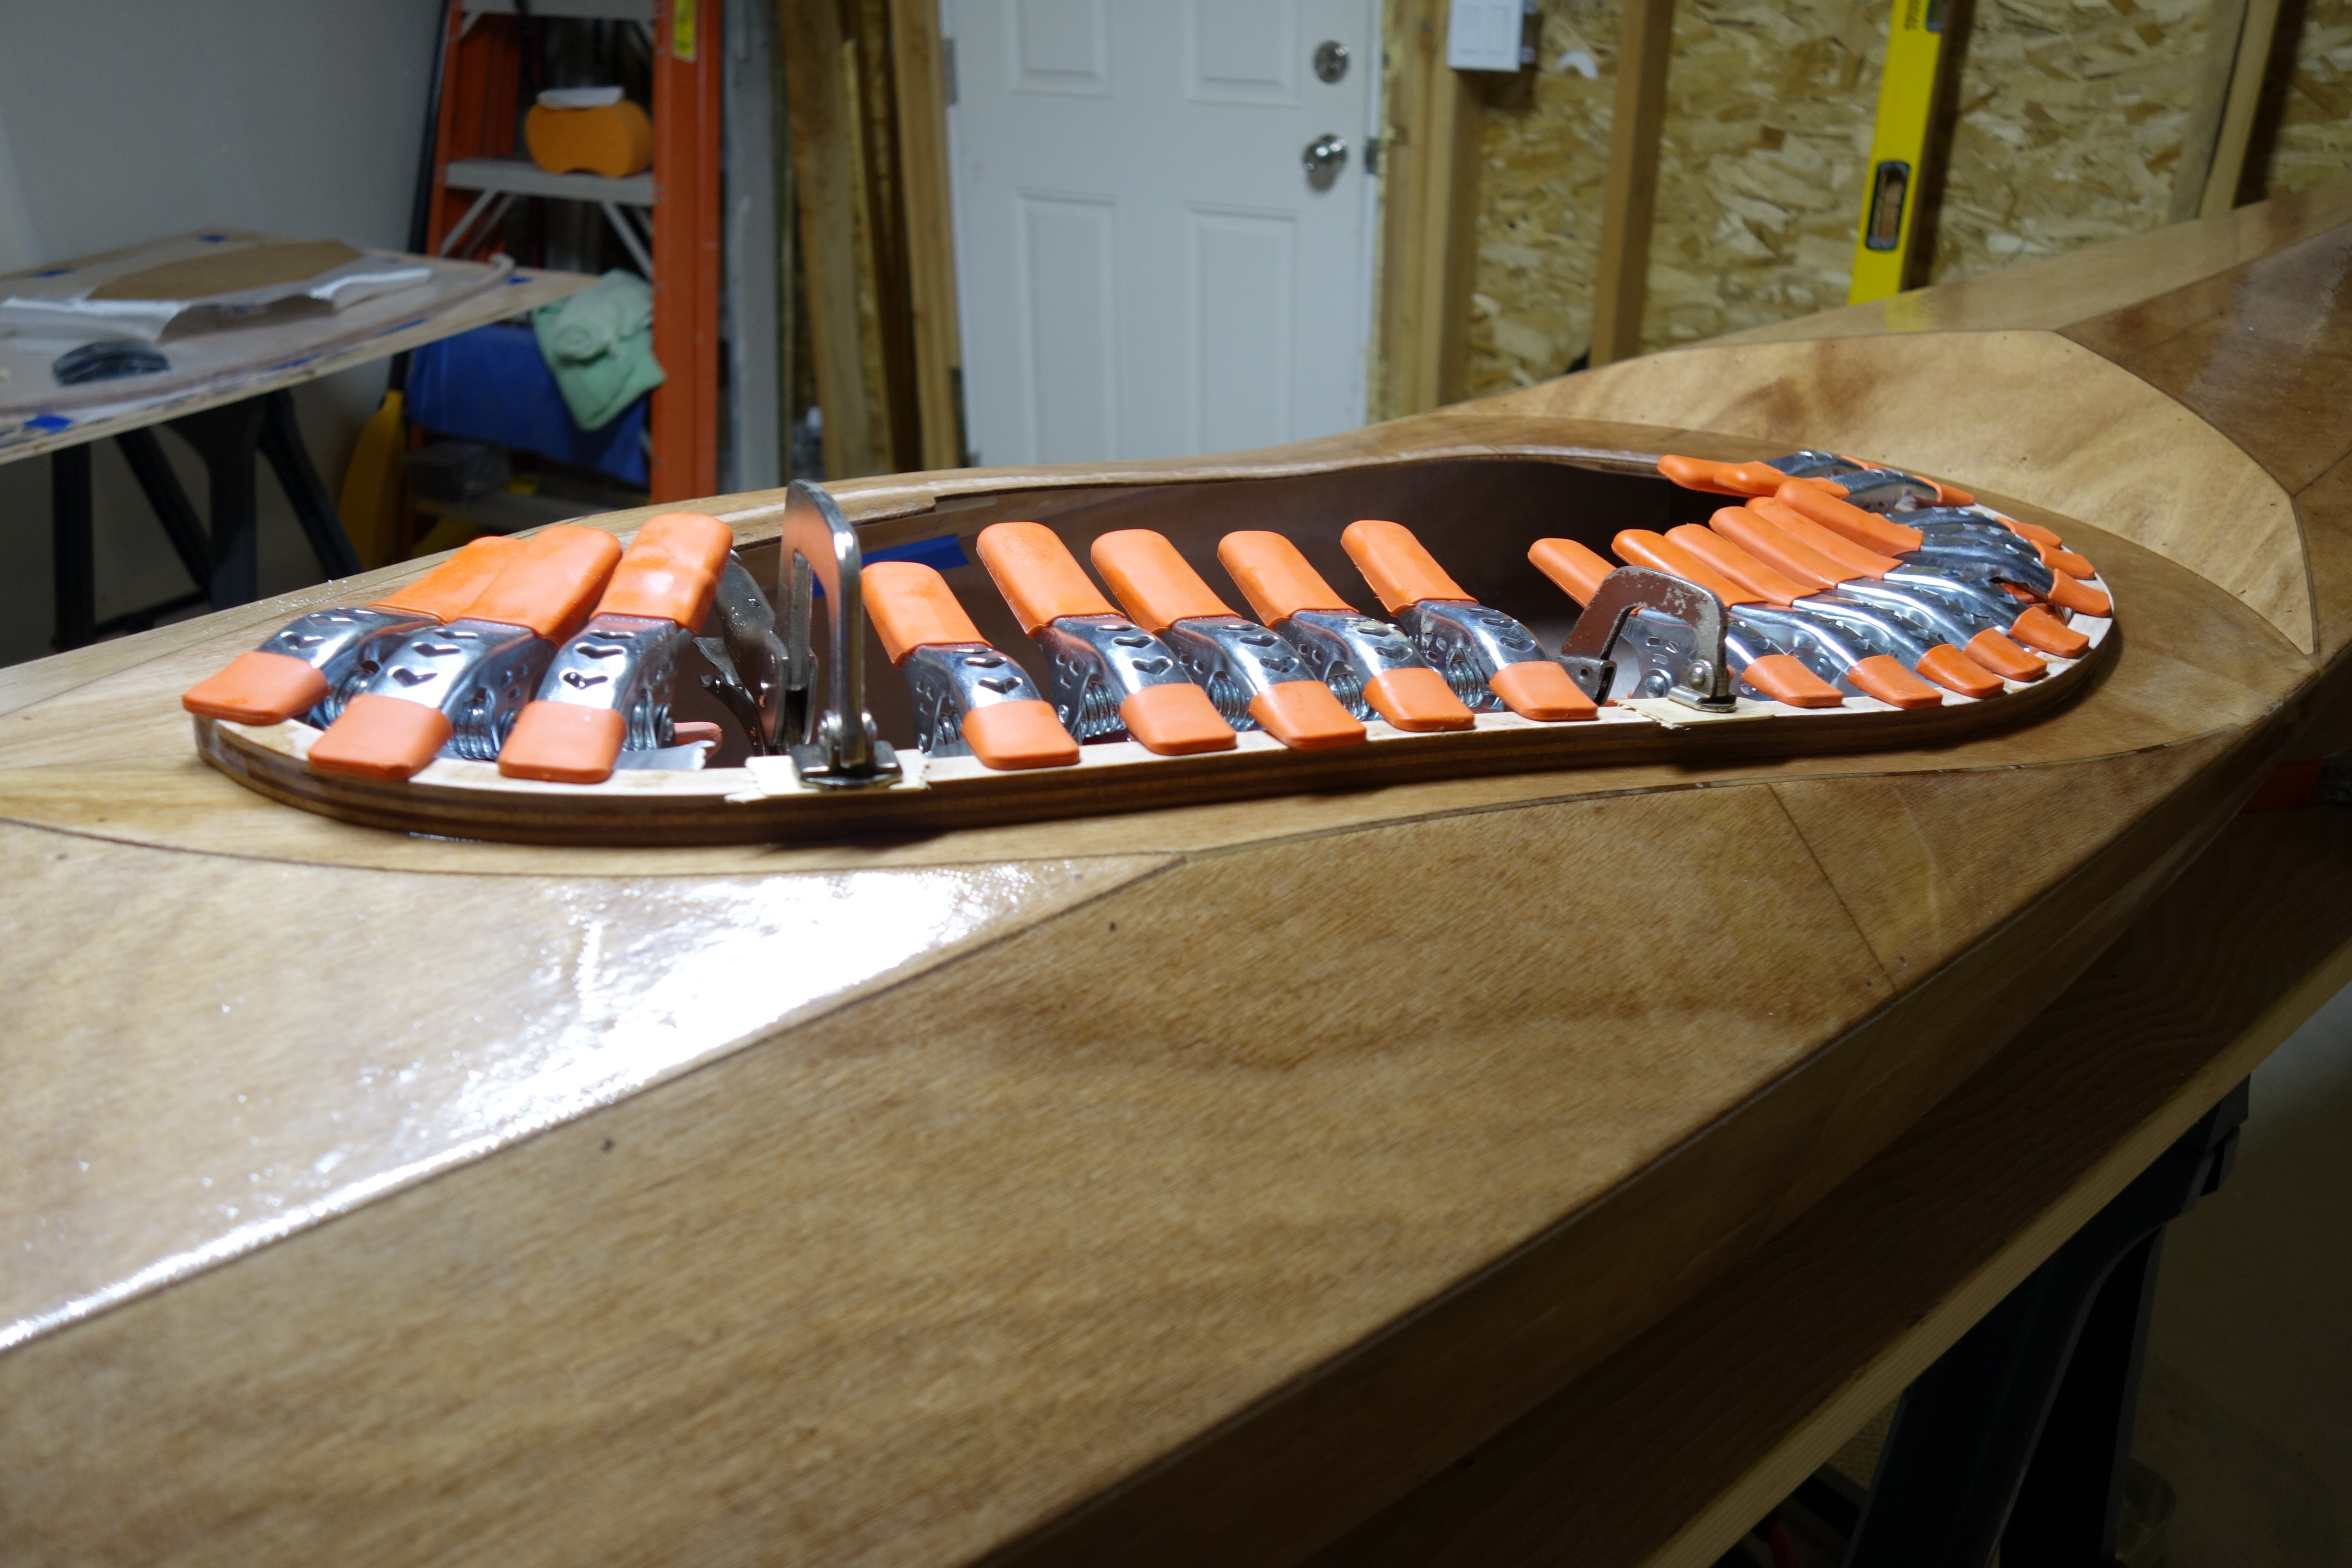
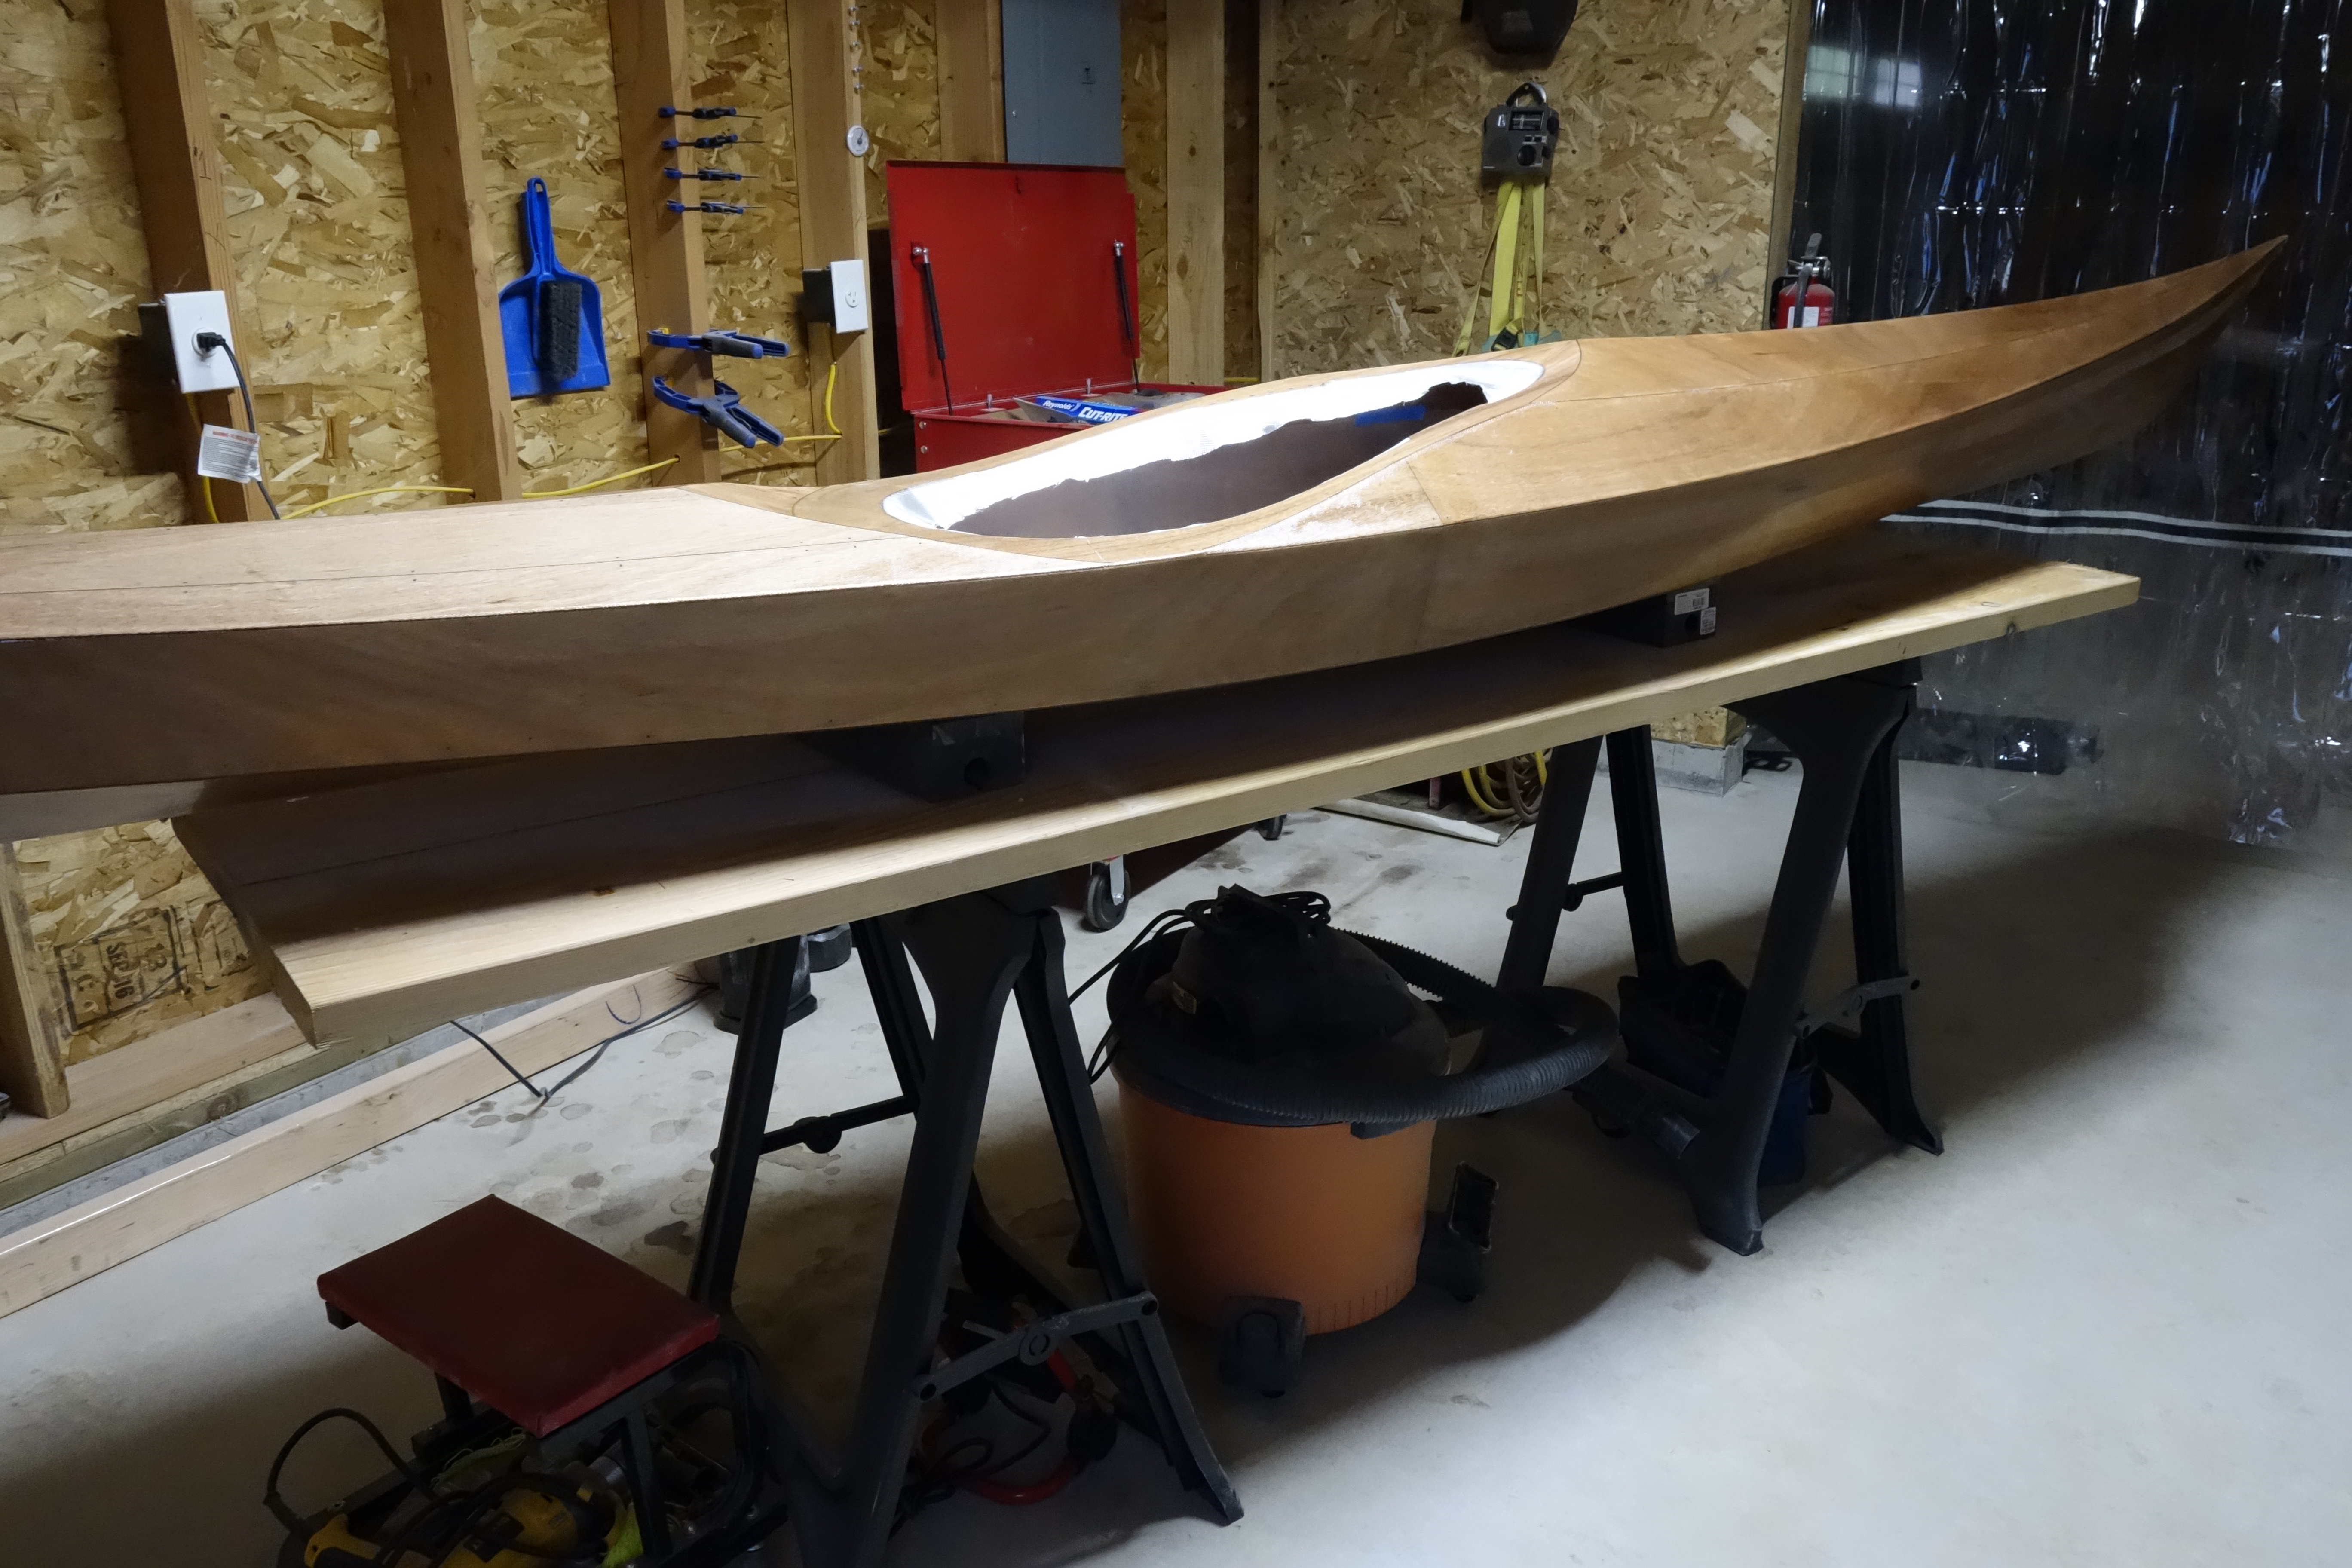
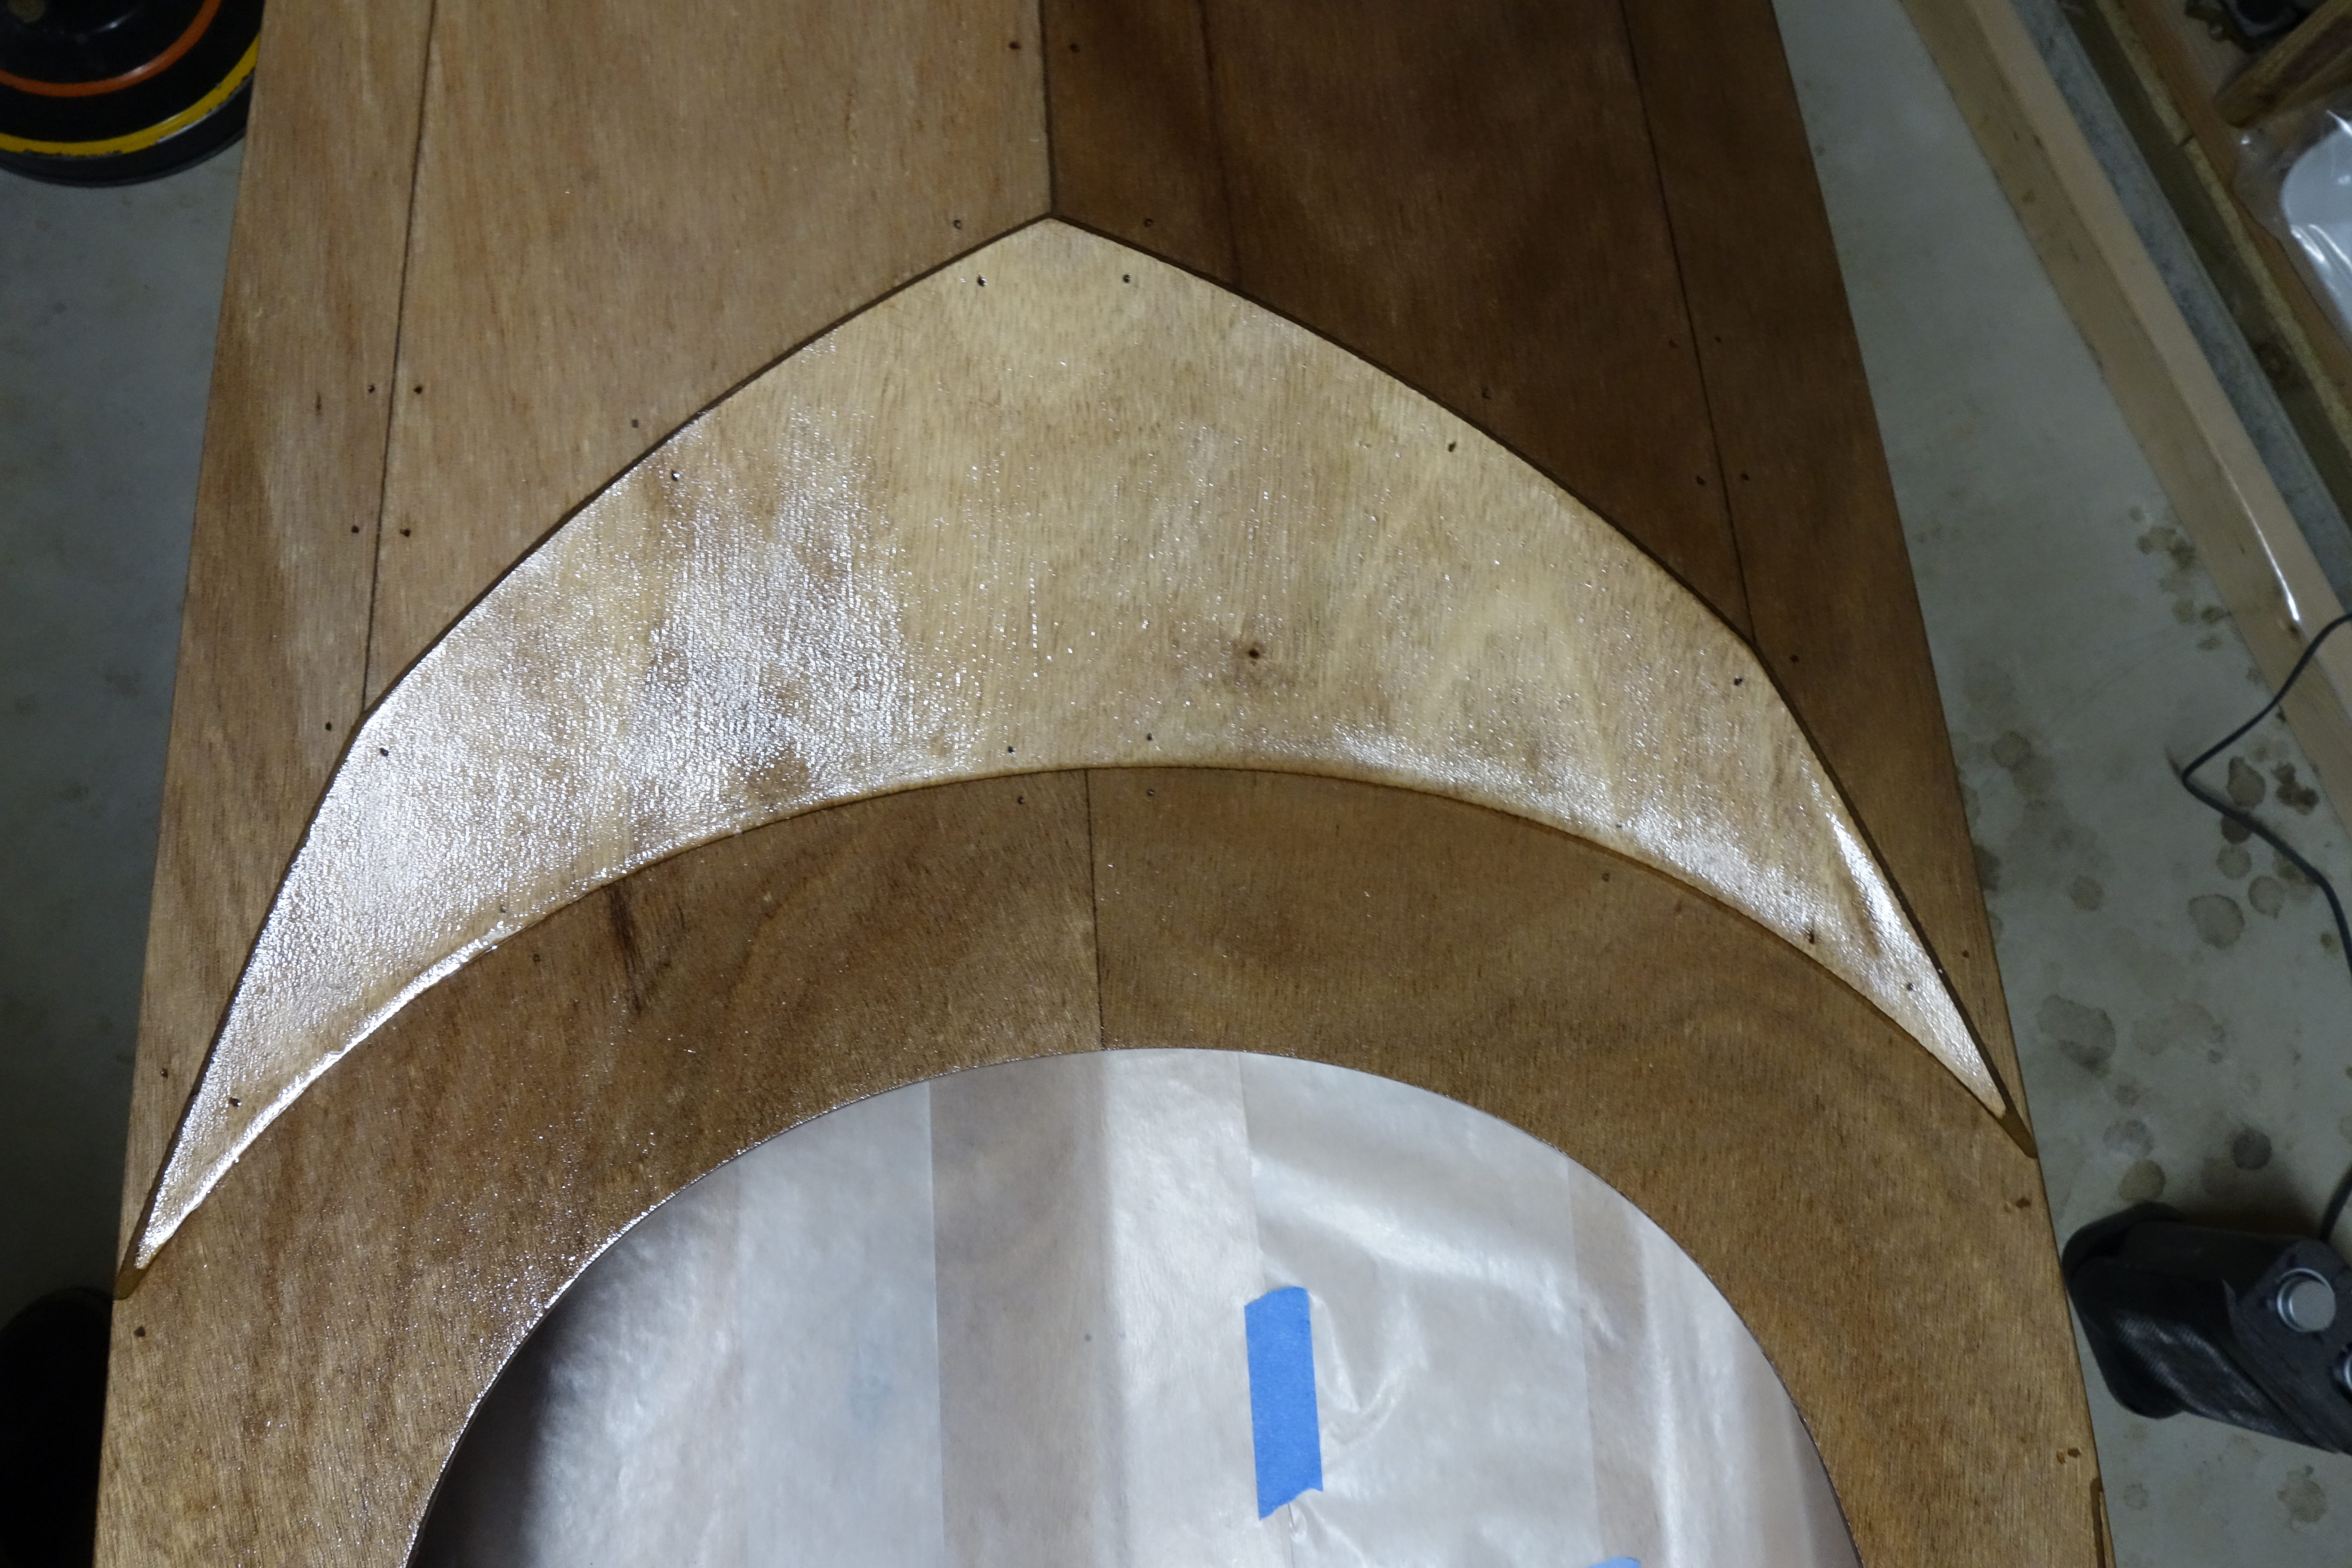
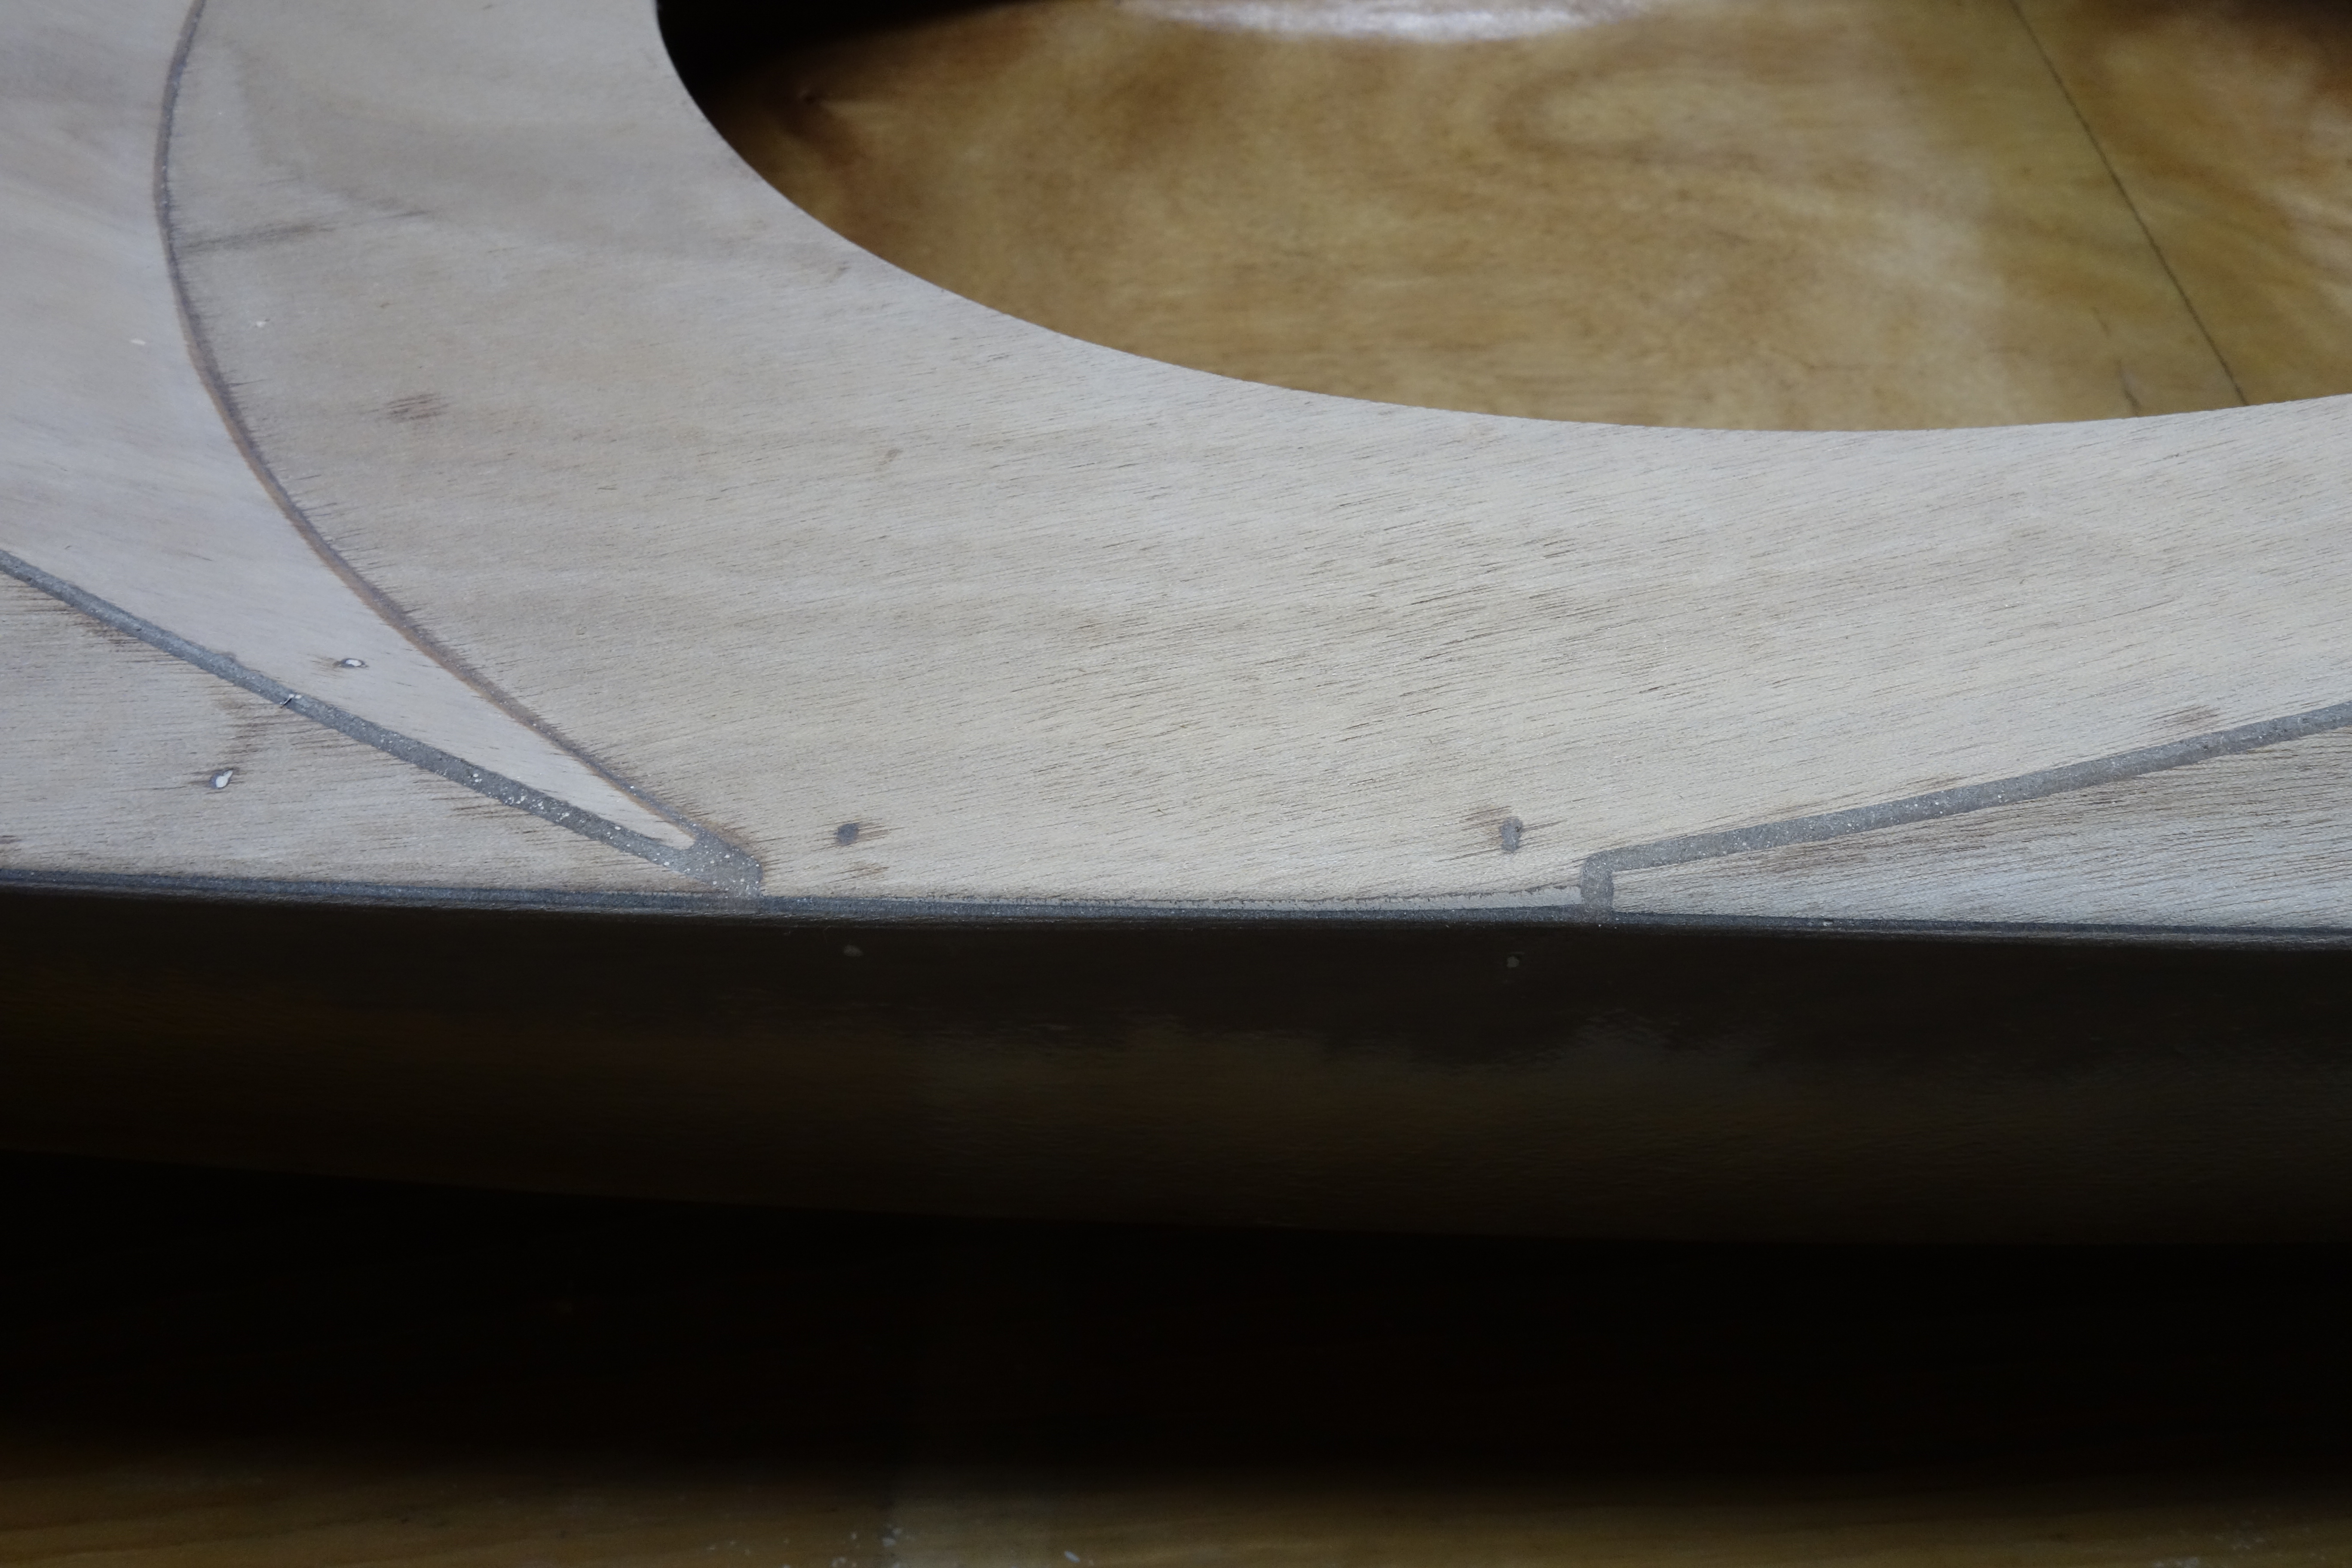
Second half glued up. The first half looks good and now the coaming and cockpit apron on that side look like one piece. It will need some sanding, but what doesn’t? As you can see below, I used every clamp I had on the second side. In this case, I think that more is better and since all twenty-four spring clamps (and three Vice-Grips, and one C-clamp) fit, that’s what I used. Just FYI, while the second half of the cockpit is curing I am fiberglassing the second sides of the bulkheads and hip brace material. These clamps won’t come off until Tuesday, February 4th (for an explanation, see my comment in the post for the first half of the coaming).
Here’s another picture of the aft hatch since the ones that I made in the post about the hatches are terrible!Man, that’s a lot of clamps!
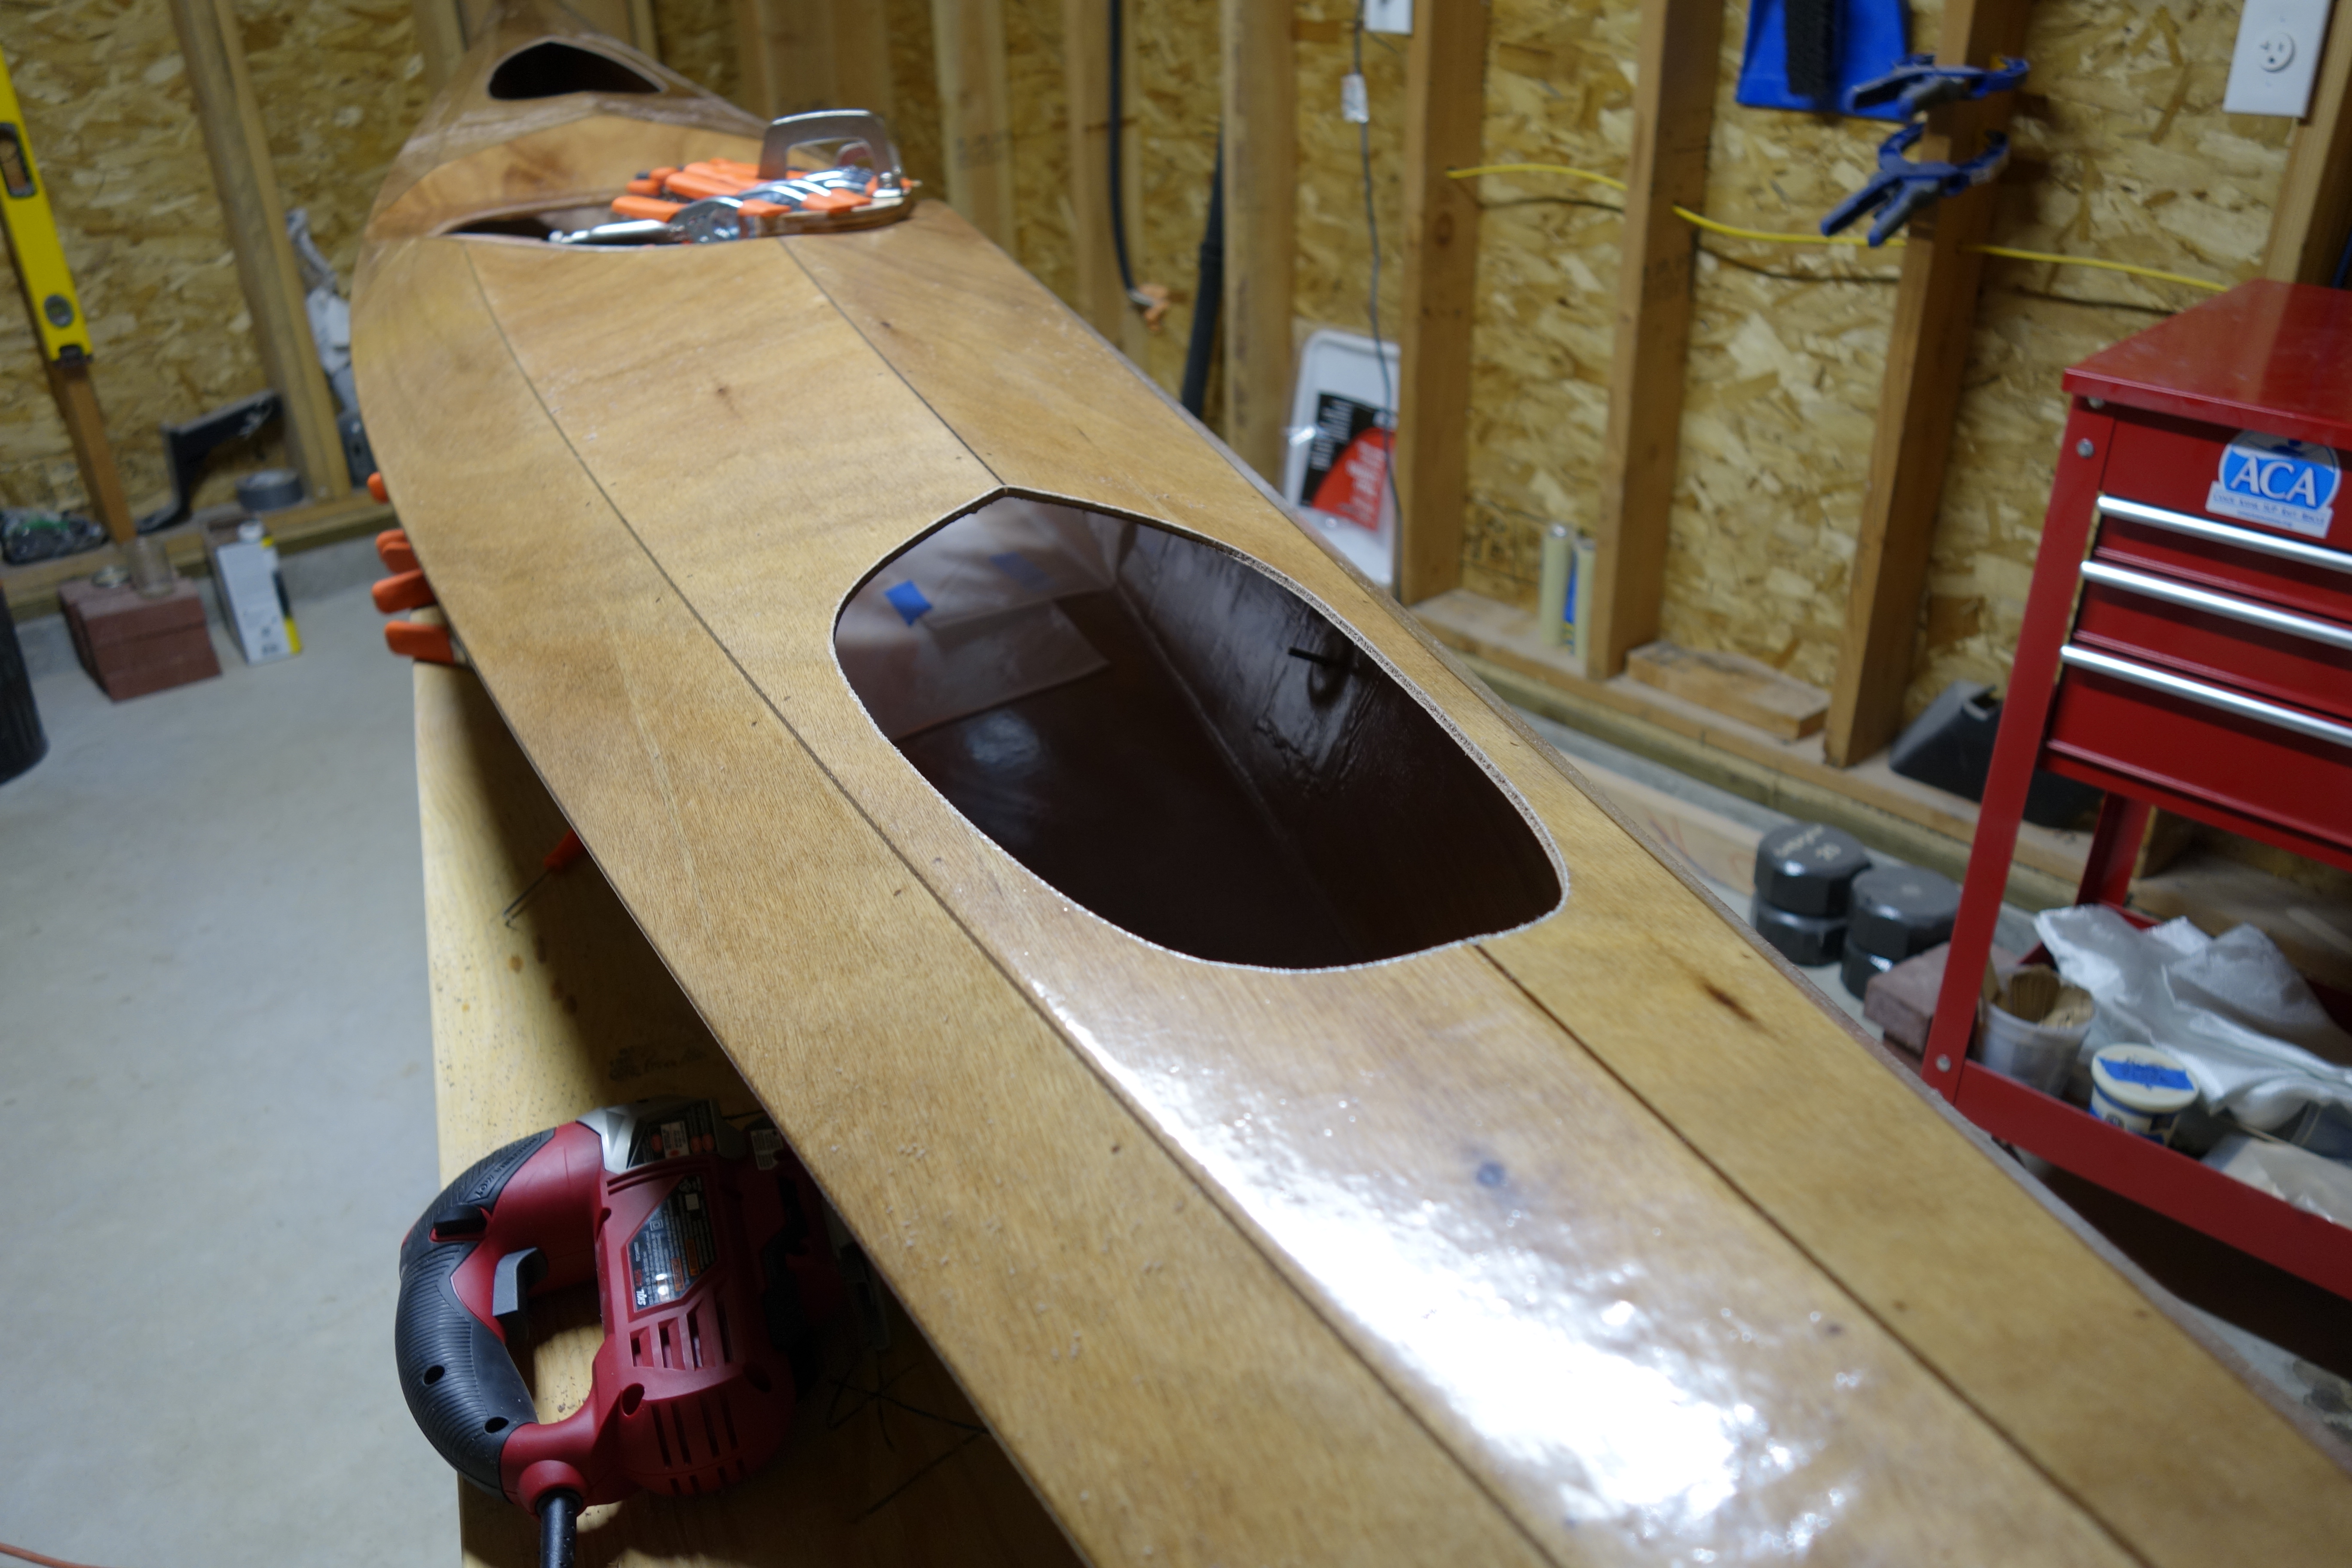
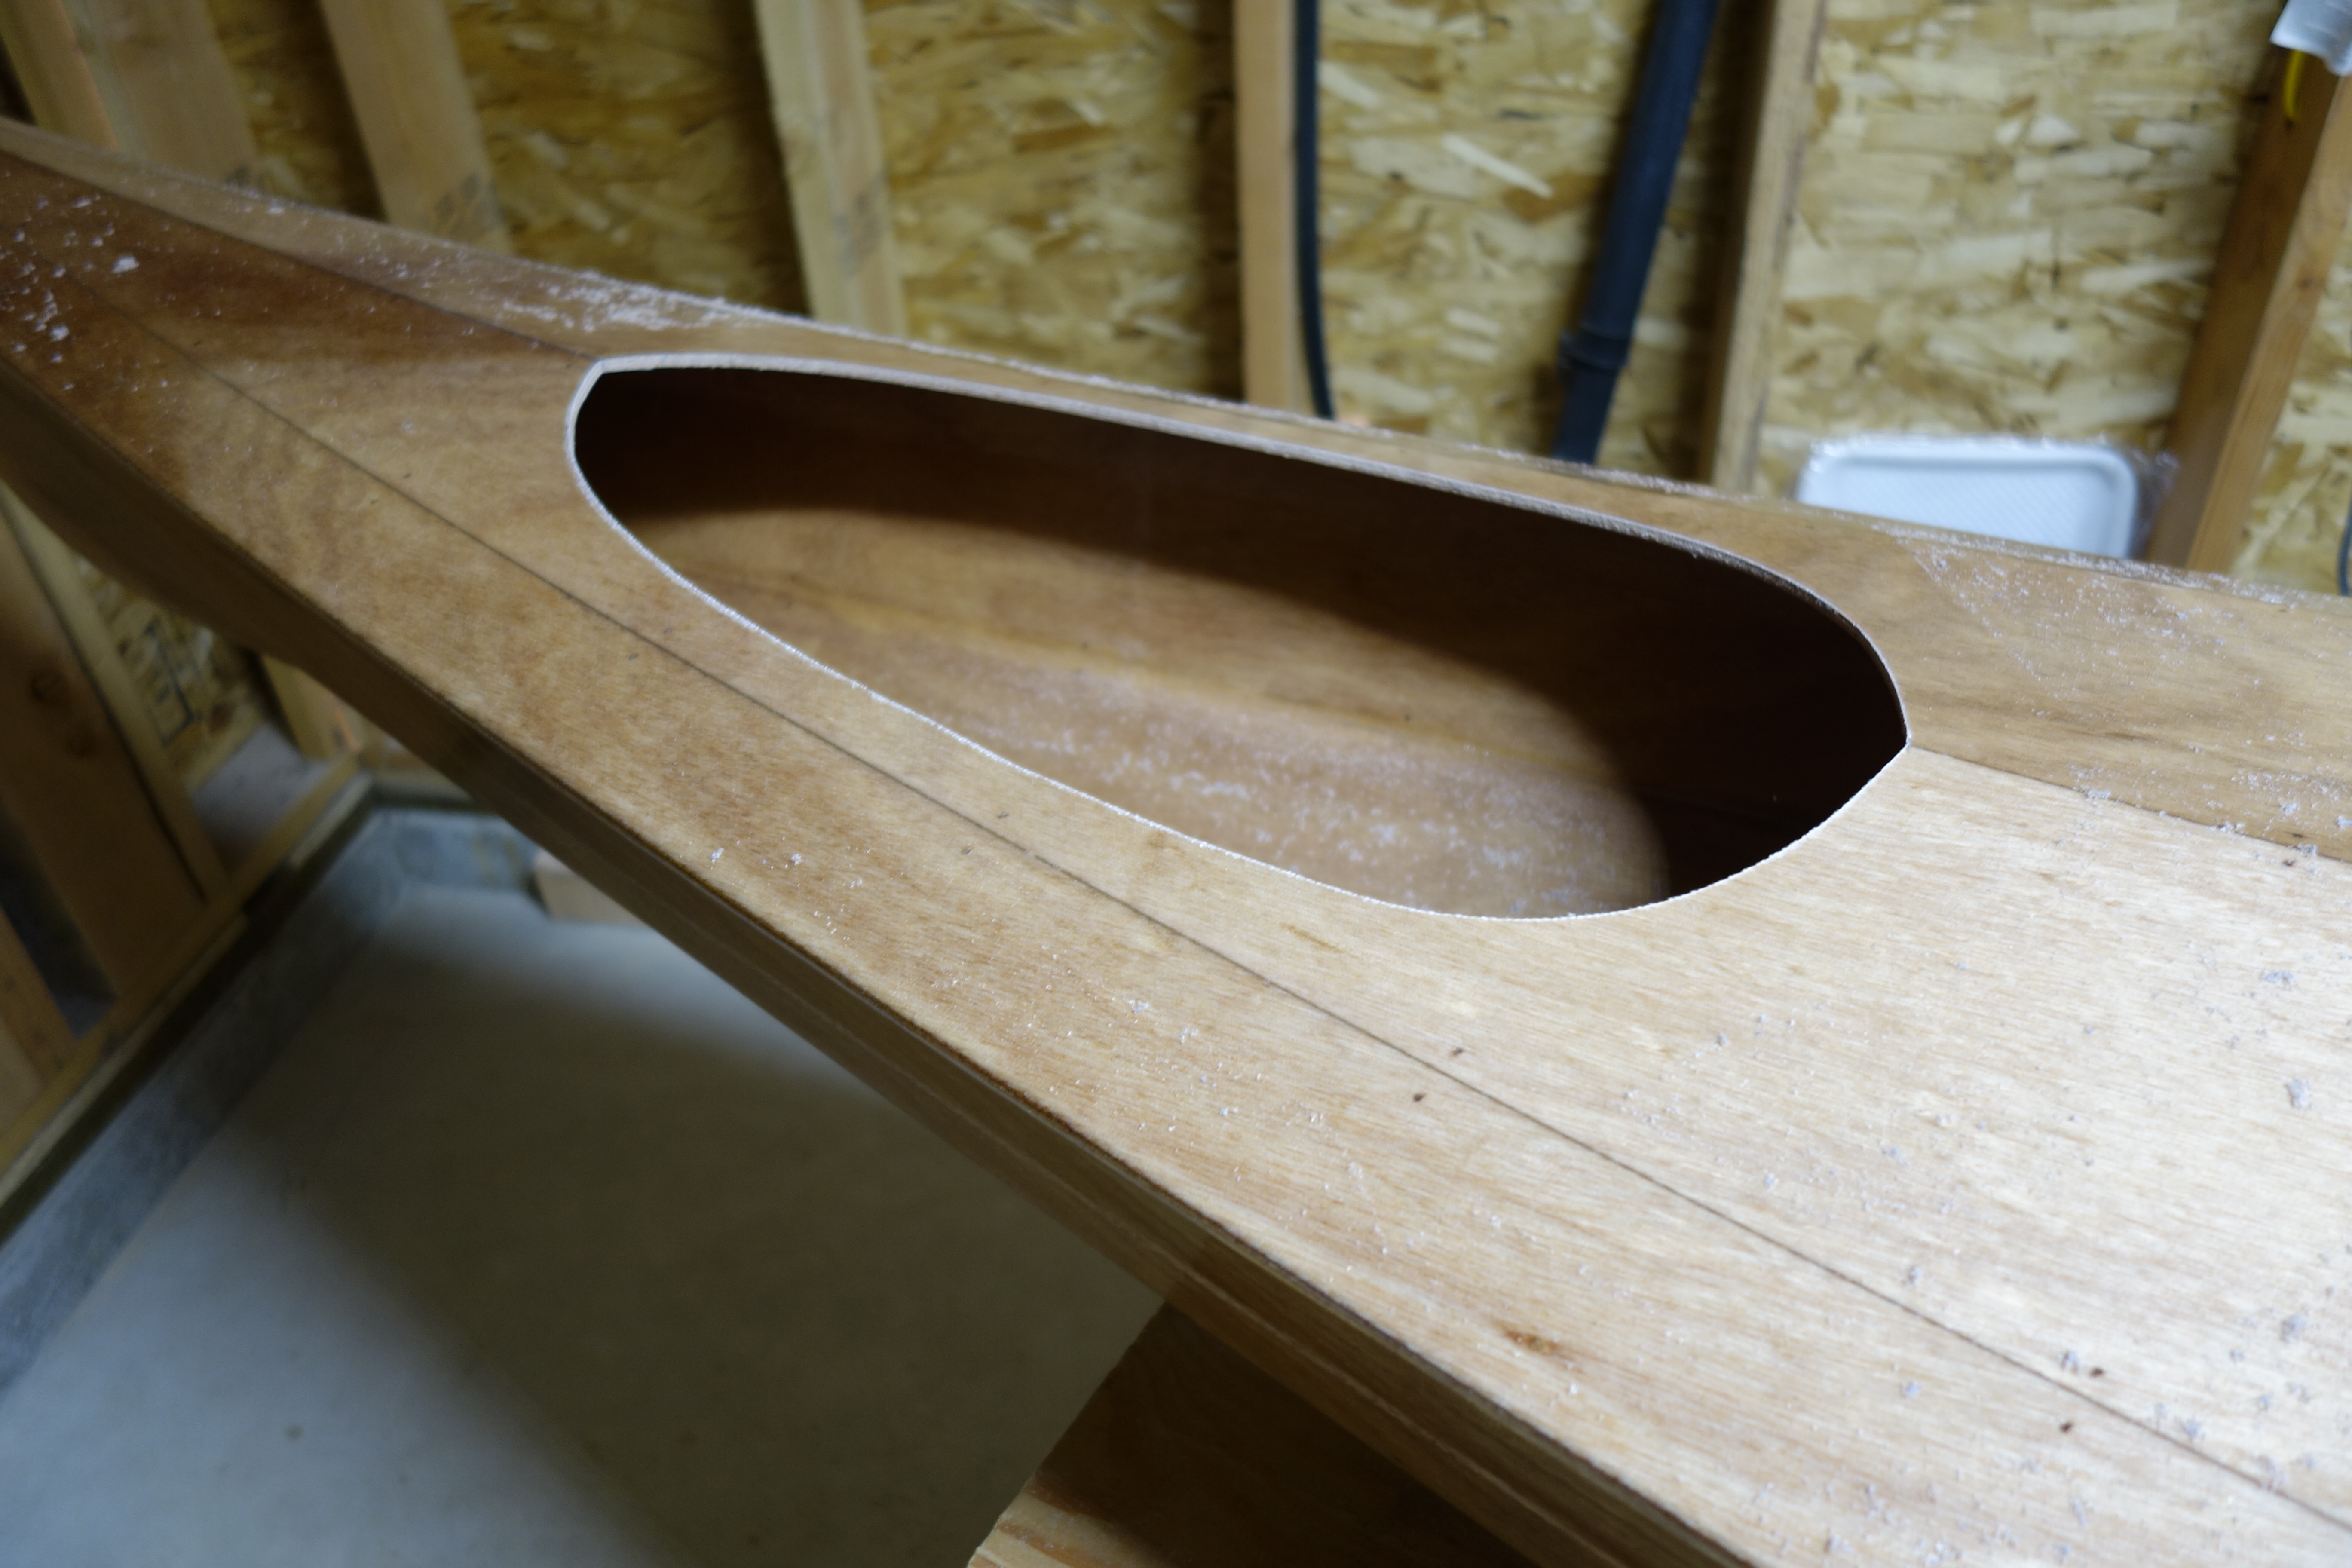
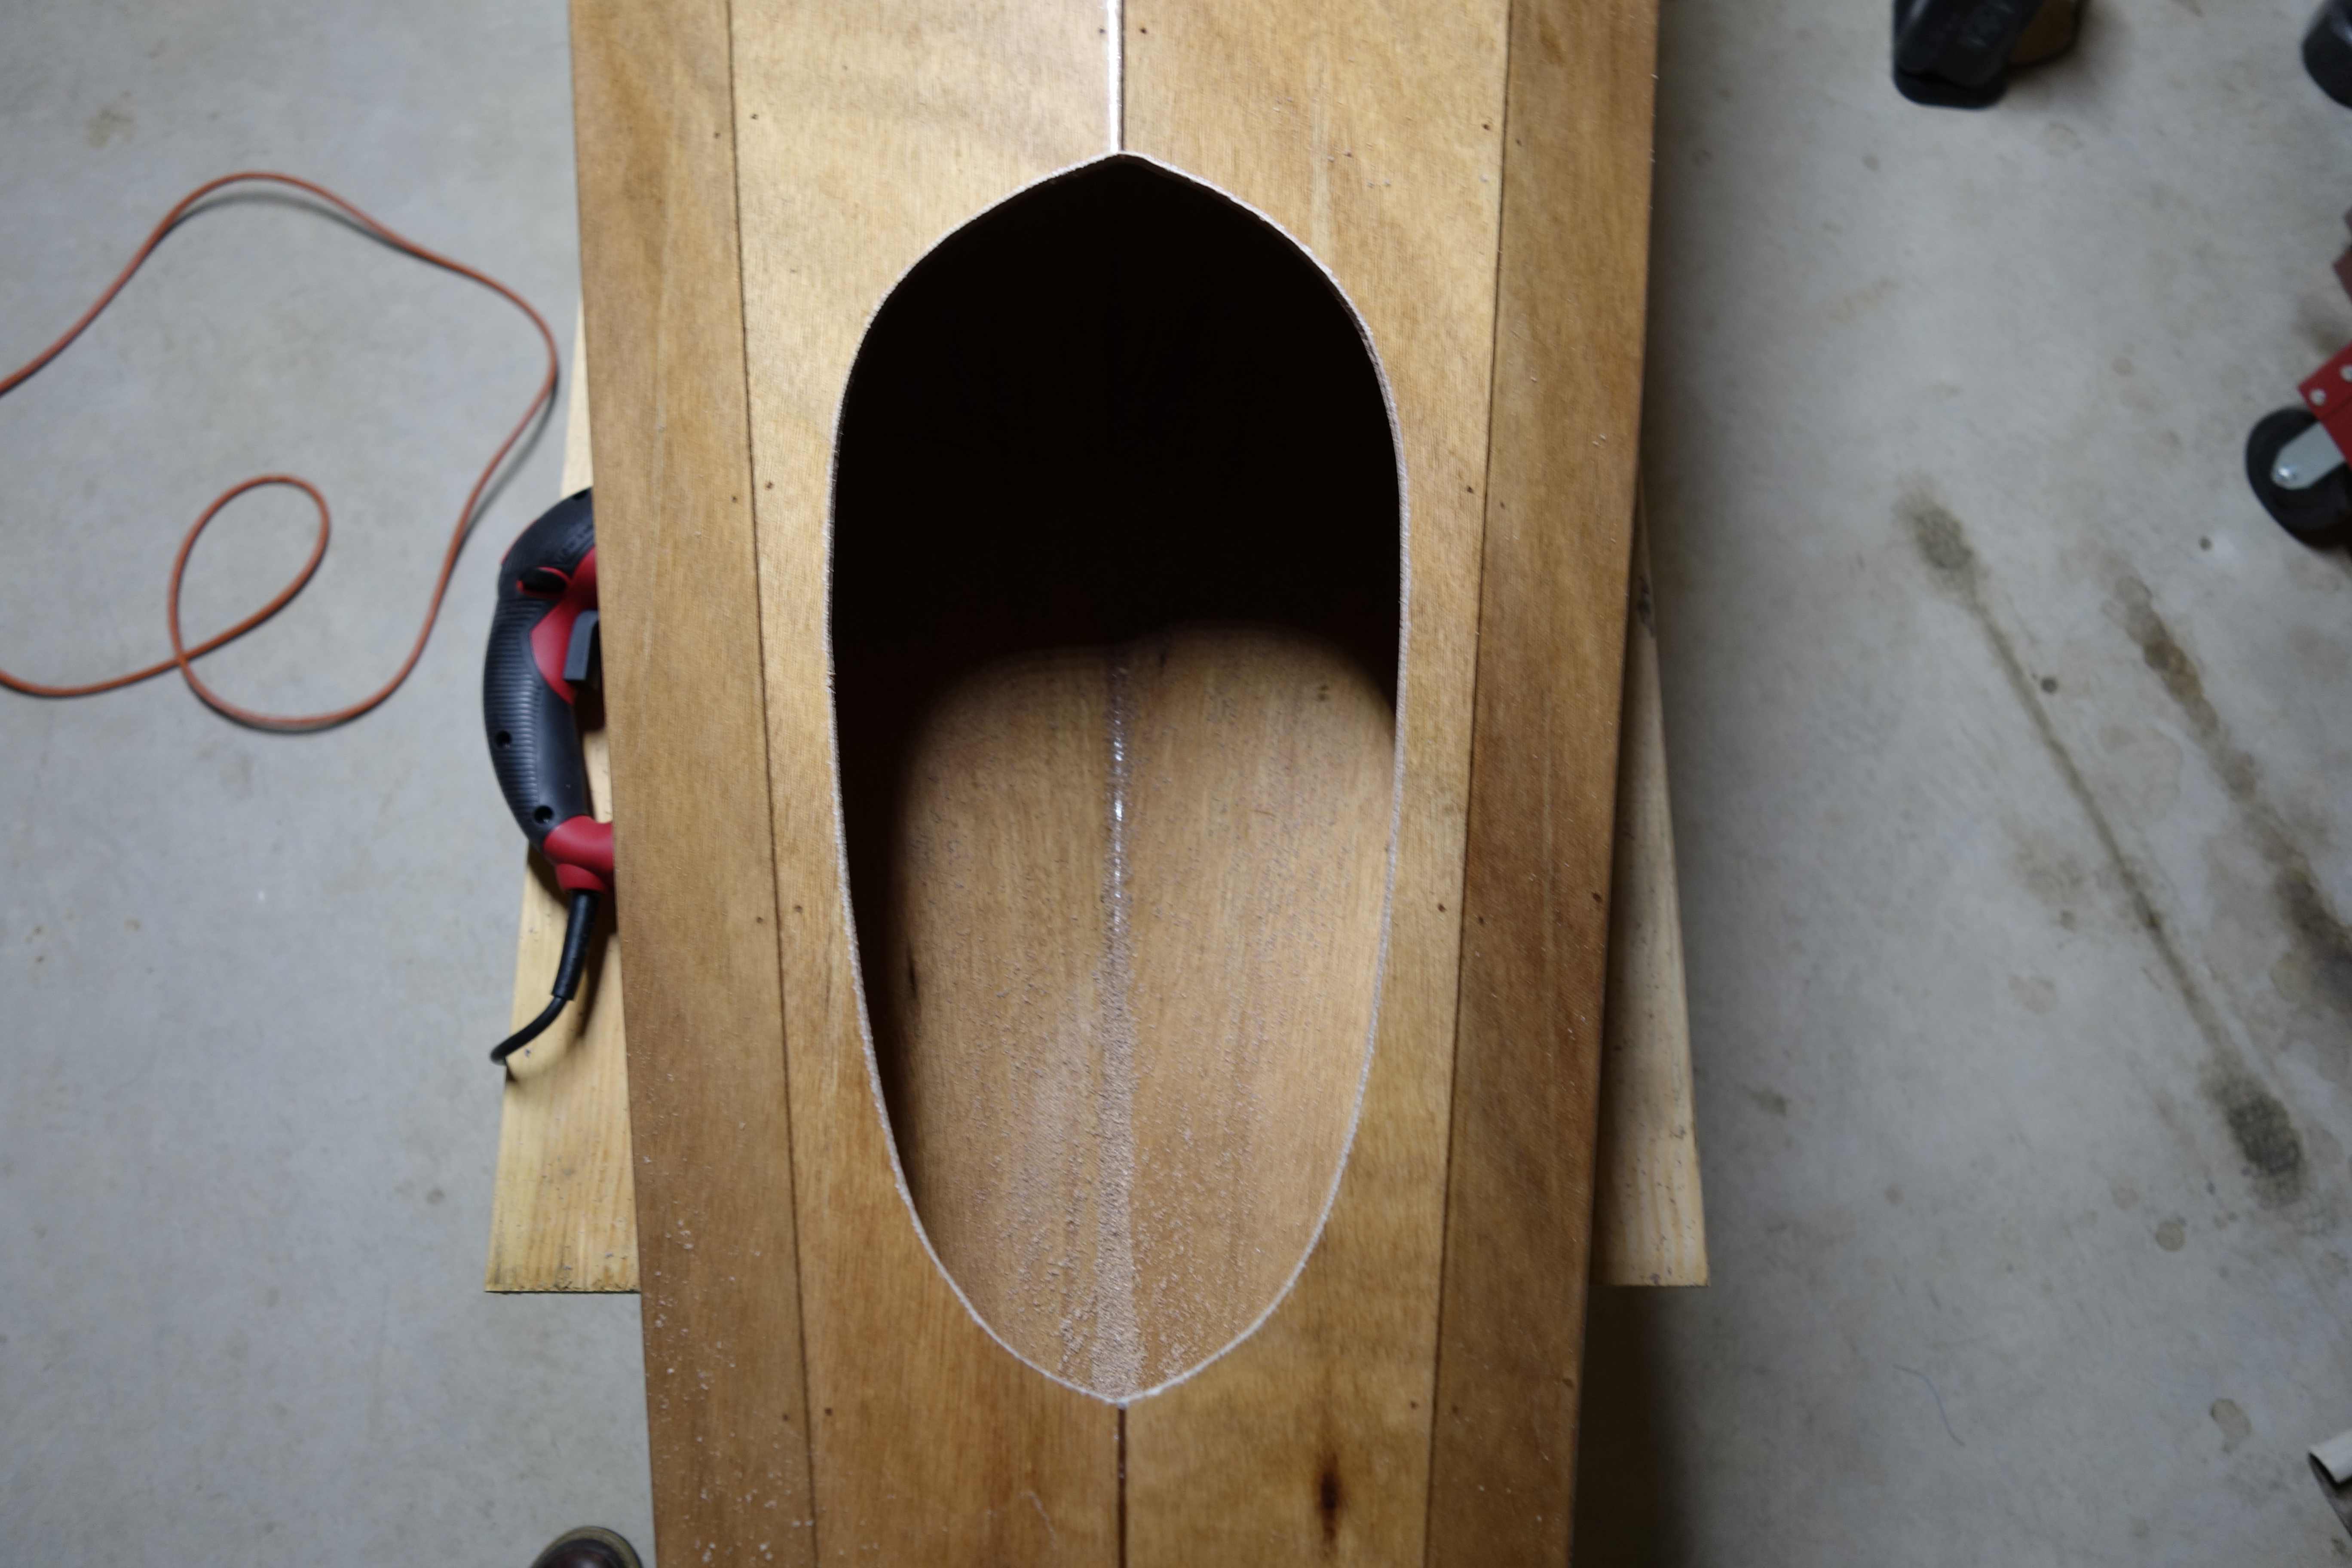
Well, I have to admit that putting a saw to the deck made me a bit nervous. But once I settled down and started cutting it went fine. I used a Skil, variable speed jigsaw with a fine blade in it and it worked great. Side note: I just zoomed into a couple of these photos and the photos are truly awful! A poor aperture choice resulted in a tiny depth of field, so large parts of what I wanted to show are out of focus. I may make some better pictures and upload them later.
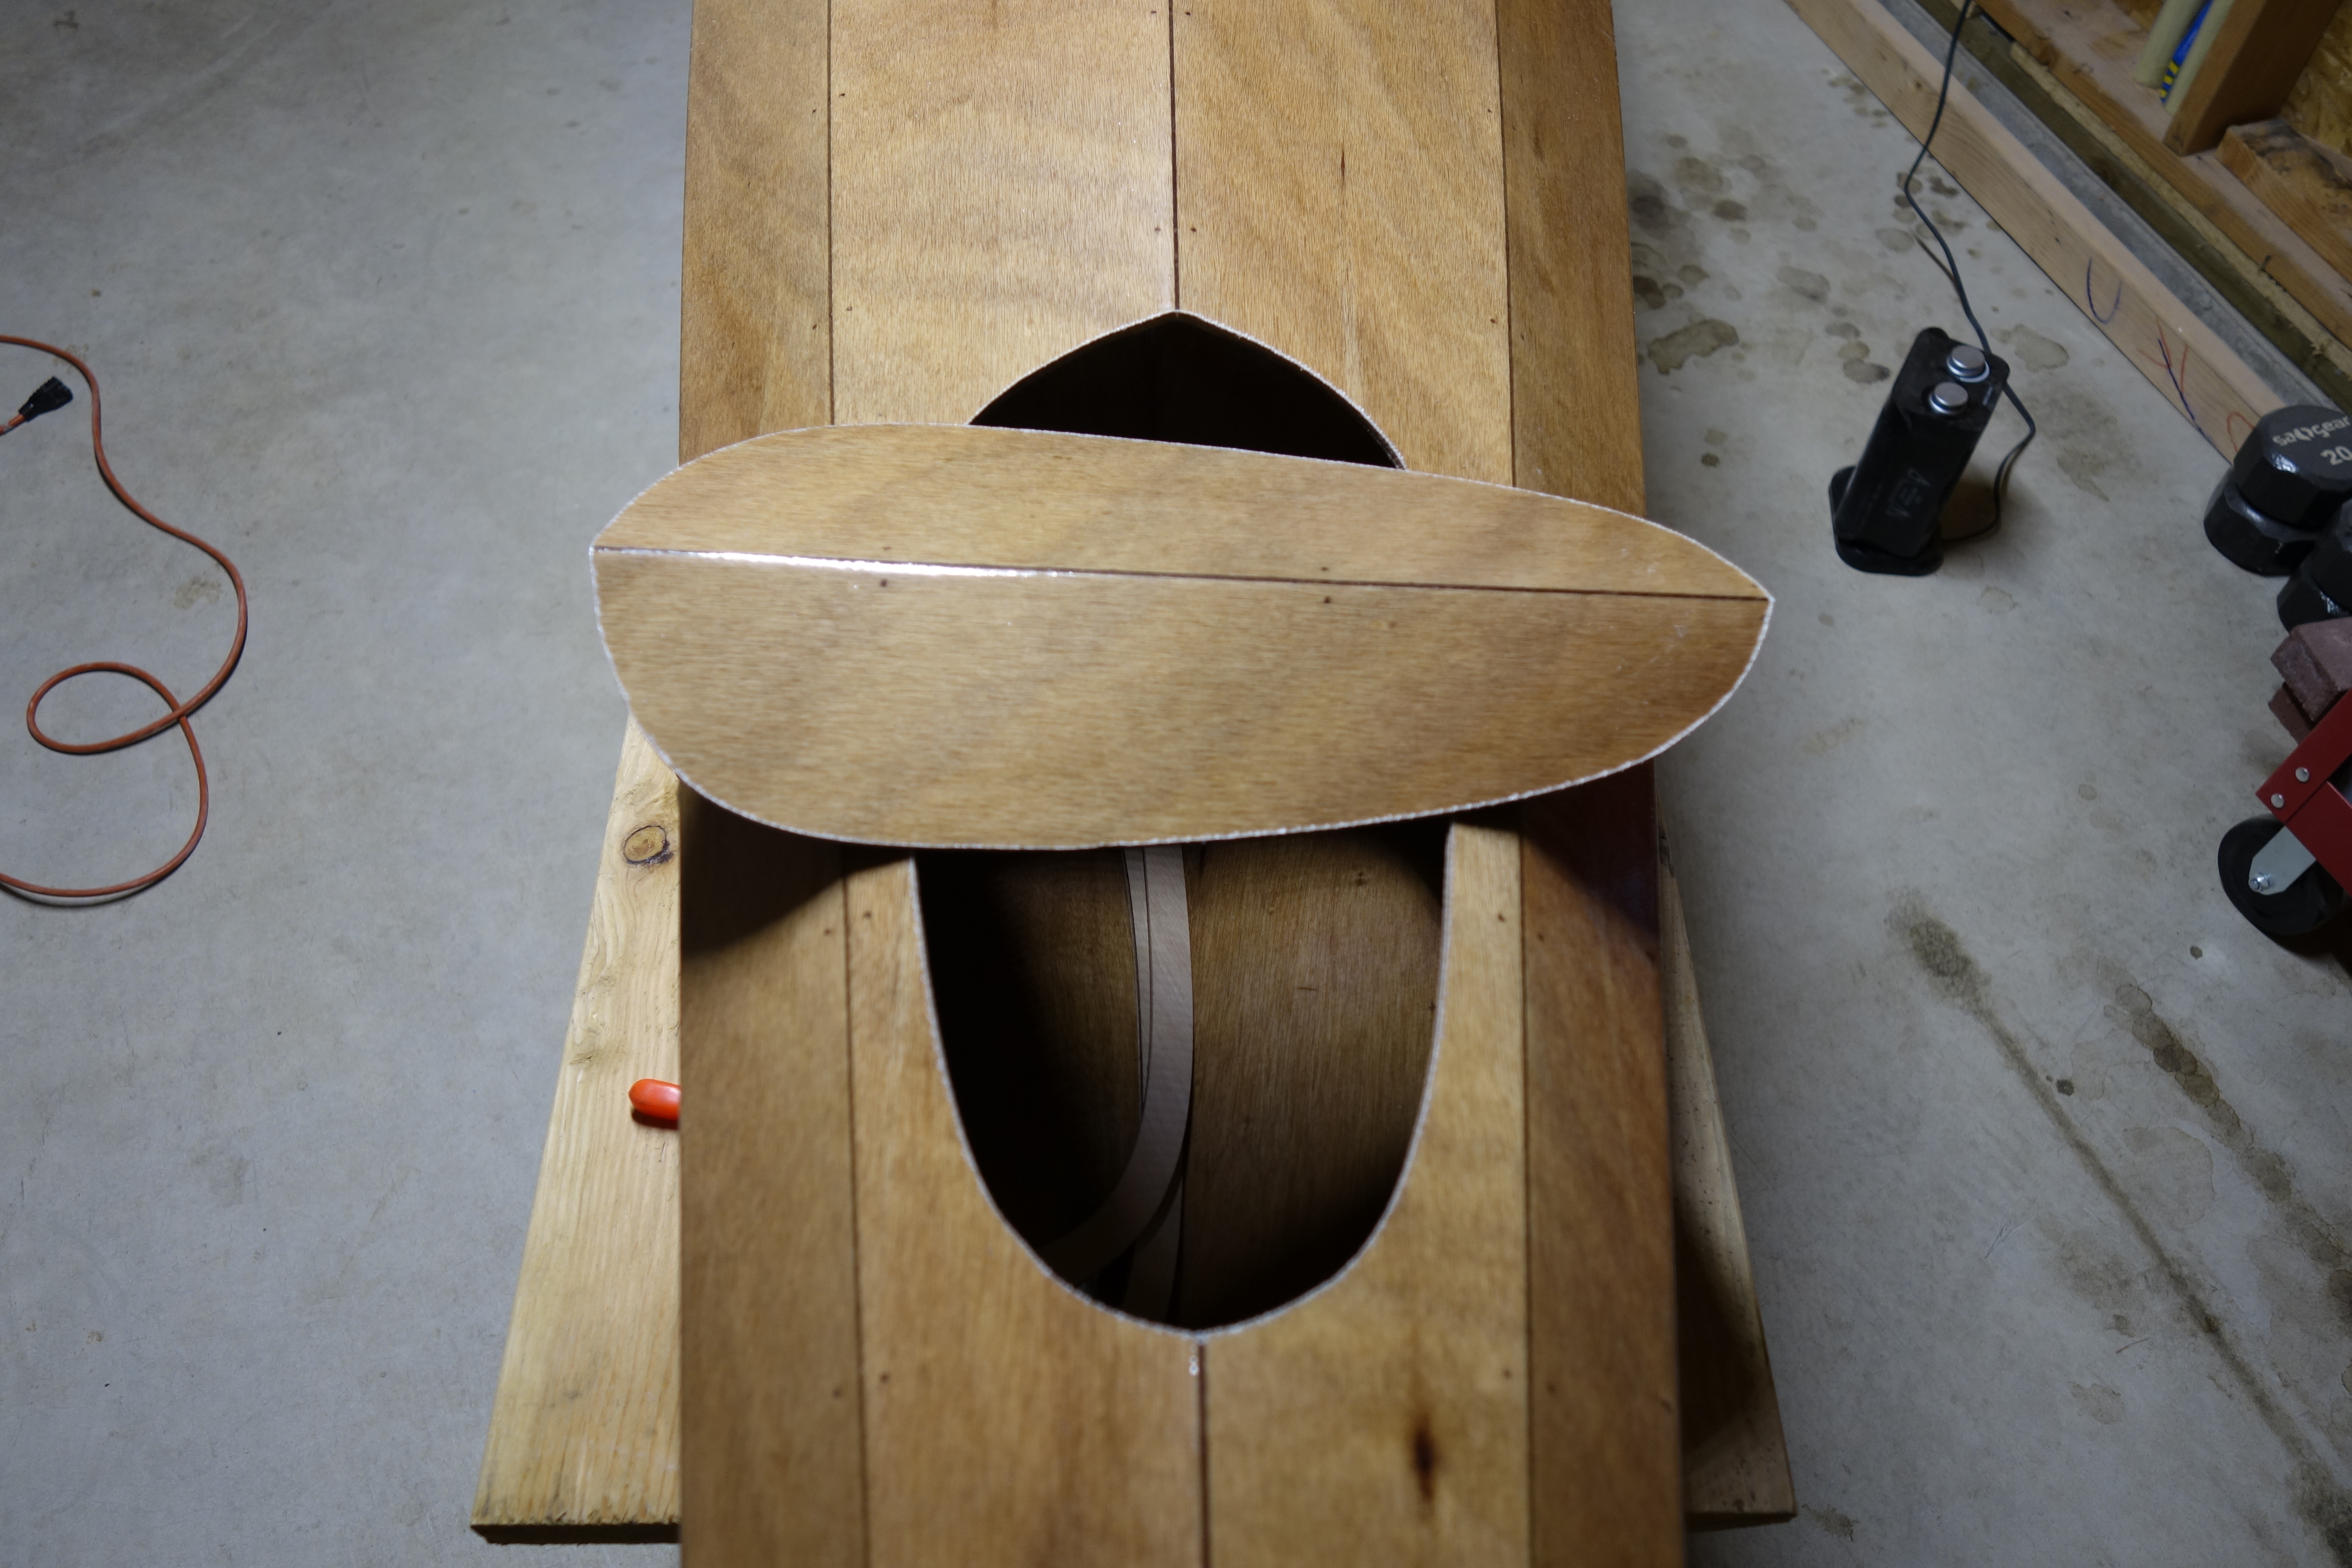
The variable speed Skil jigsaw that you can see above and below, worked great! It made cutting these hatches easy. If you zoom in on this photo, you can see a little wiggle in the cut on the side in the foreground. That was where I started cutting and it took me a minute to get used to the saw. It’s not much of a wiggle and should sand right out without noticeably widening the gap between the hatch cover and the opening when everything is finished.Overhead view of the aft hatch.Overhead view of the forward hatch.Front hatch and cover.Rear hatch and cover.
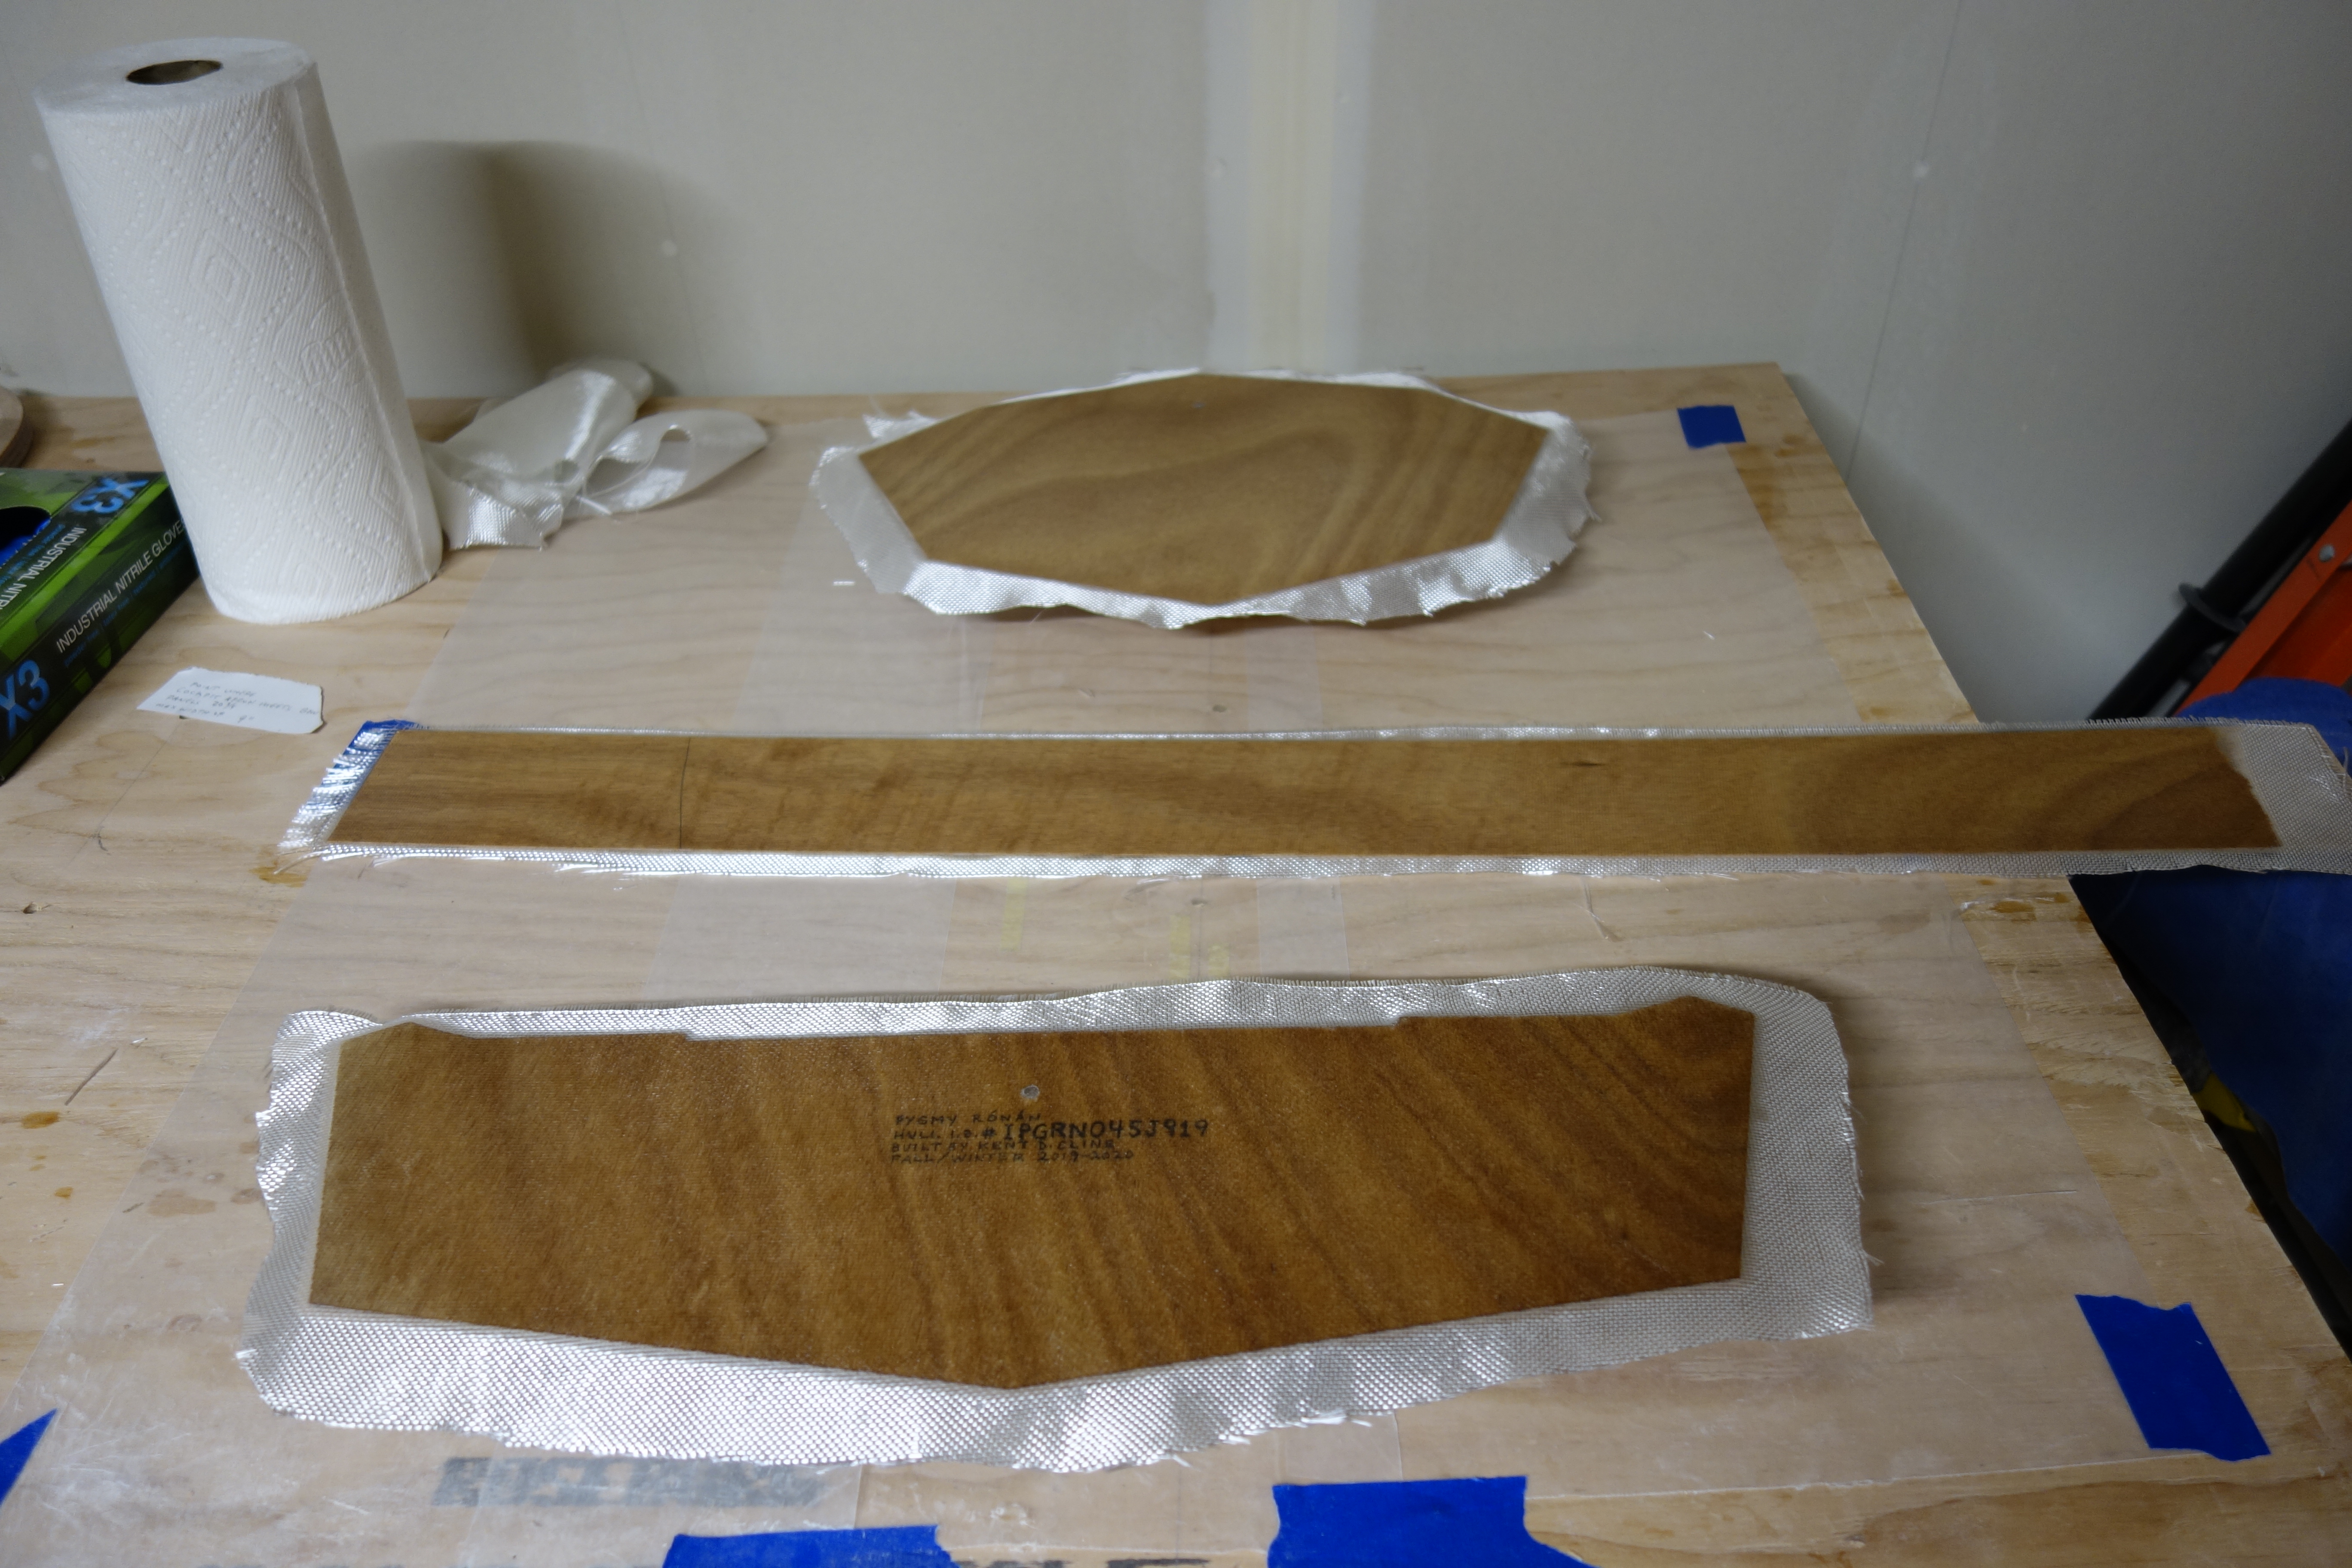
I have time today to fiberglass the bulkheads and the material for the hip braces, to which the back band (seat back) will attach.
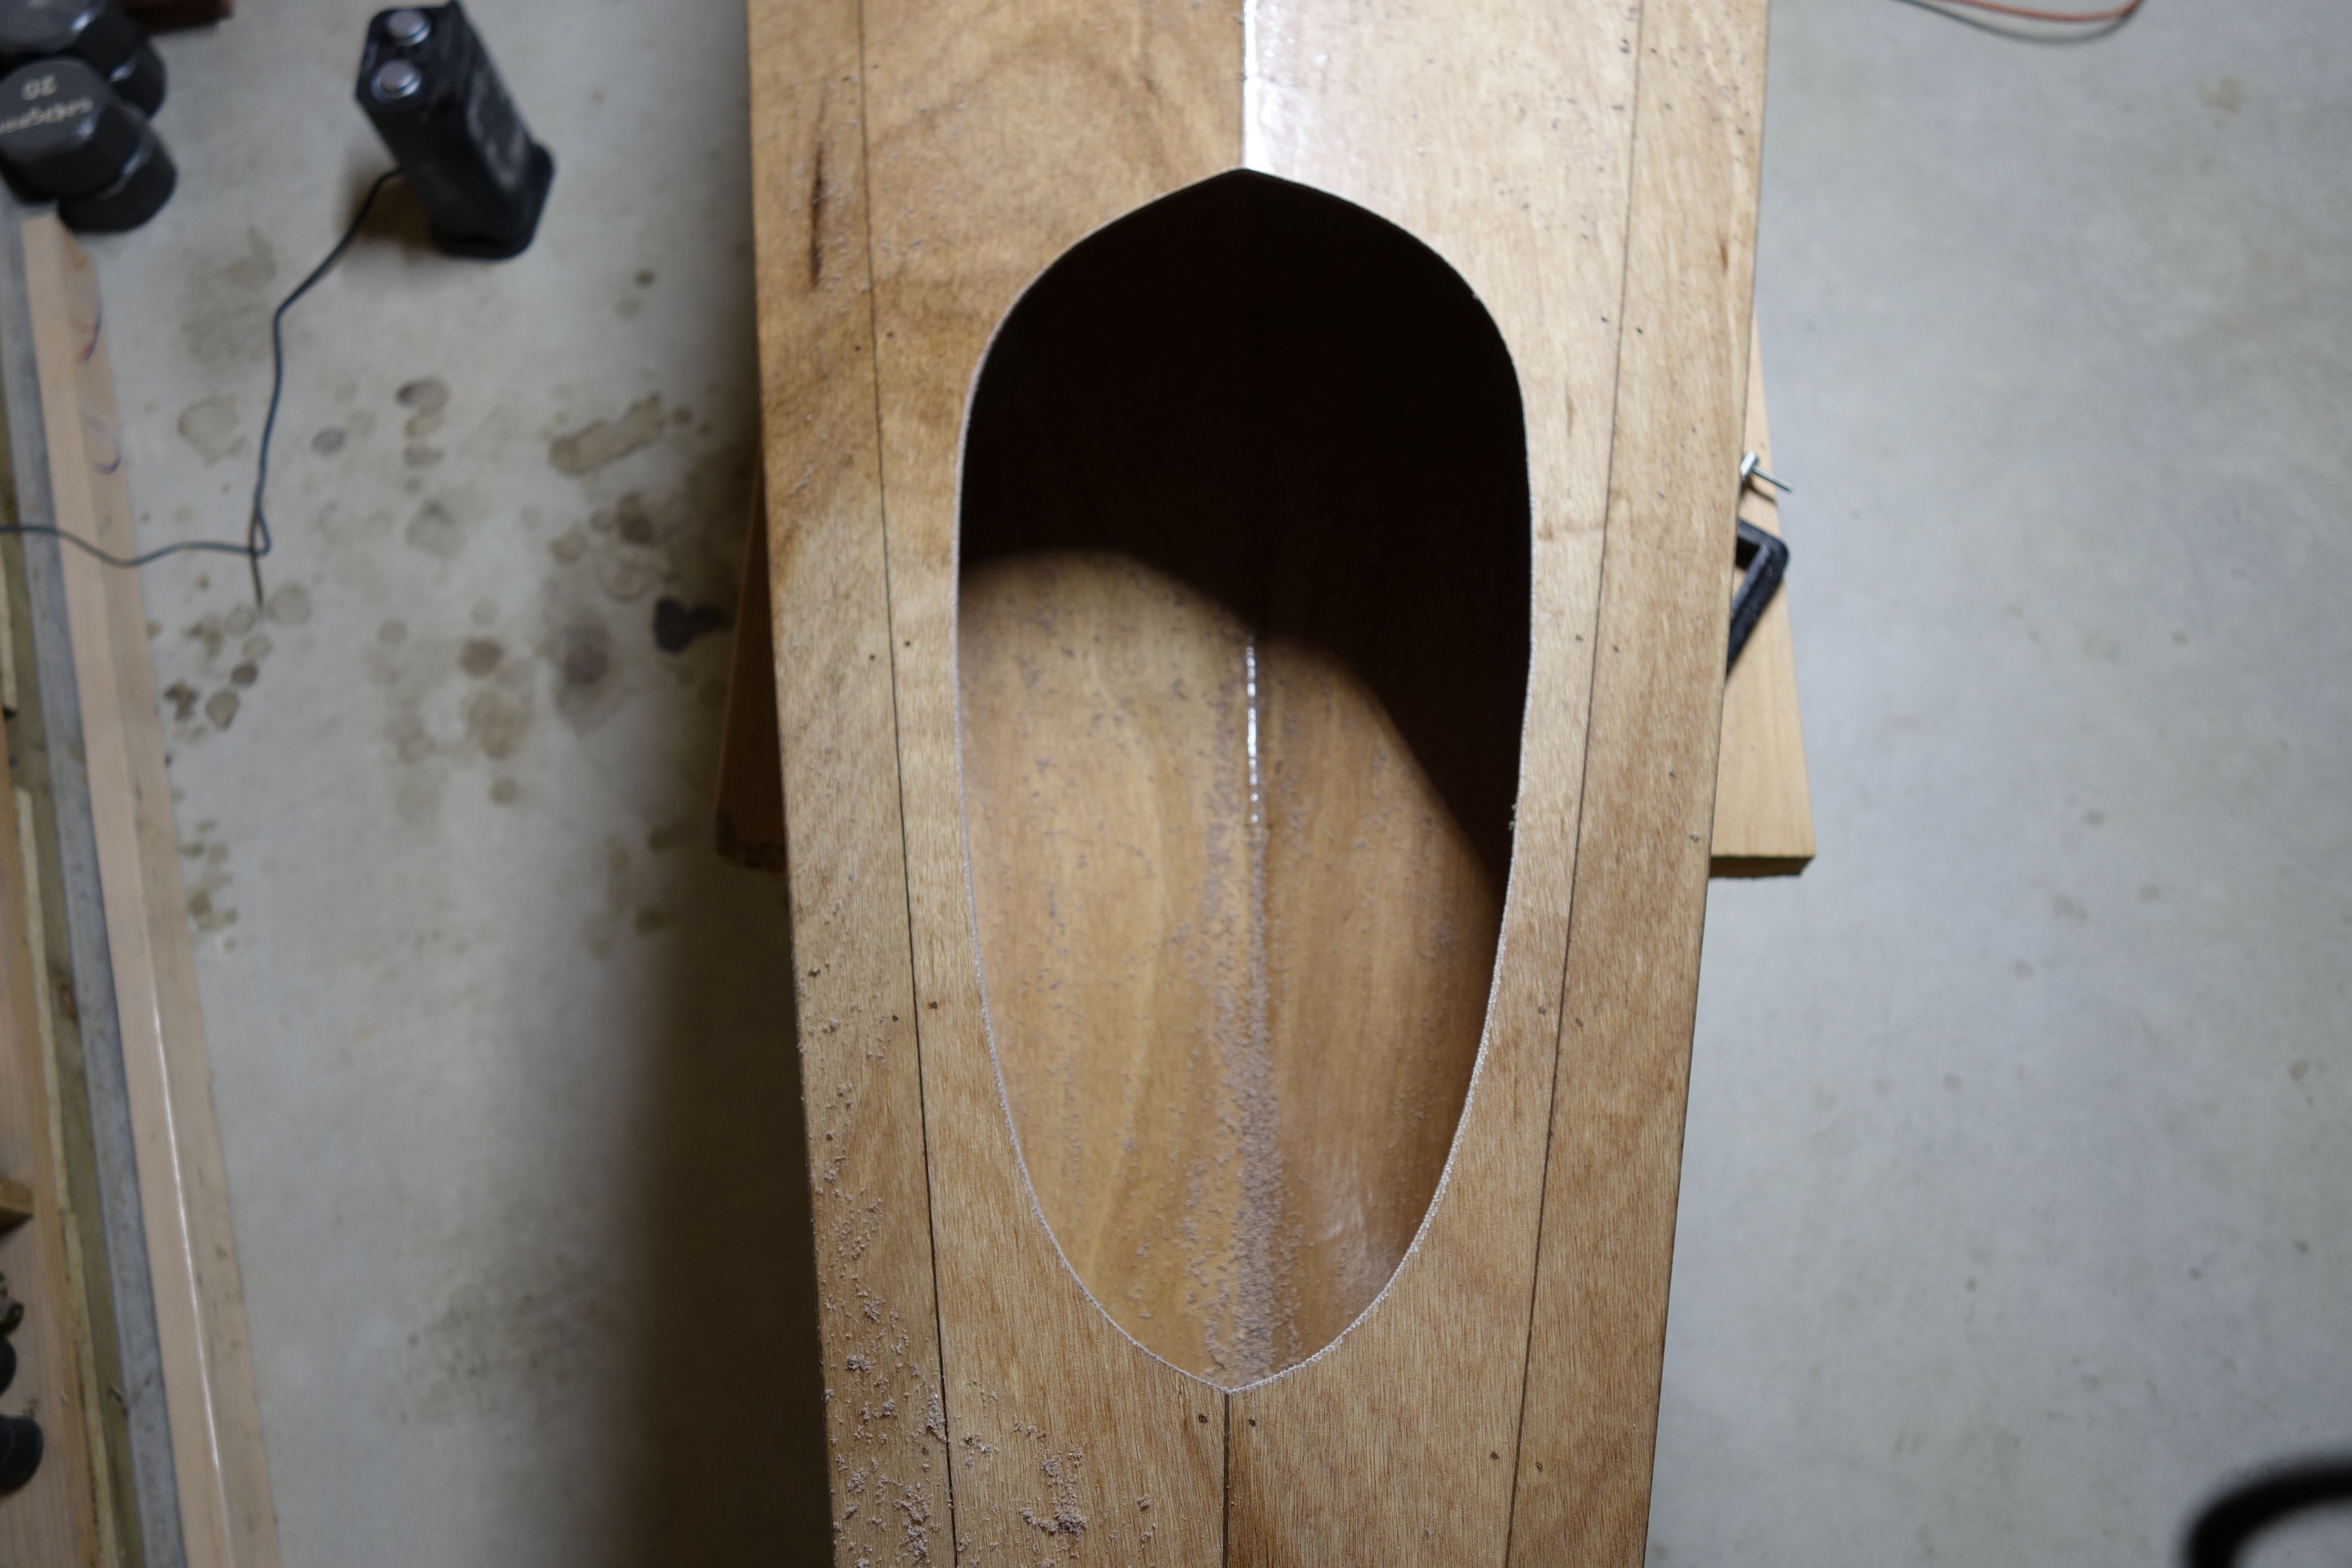
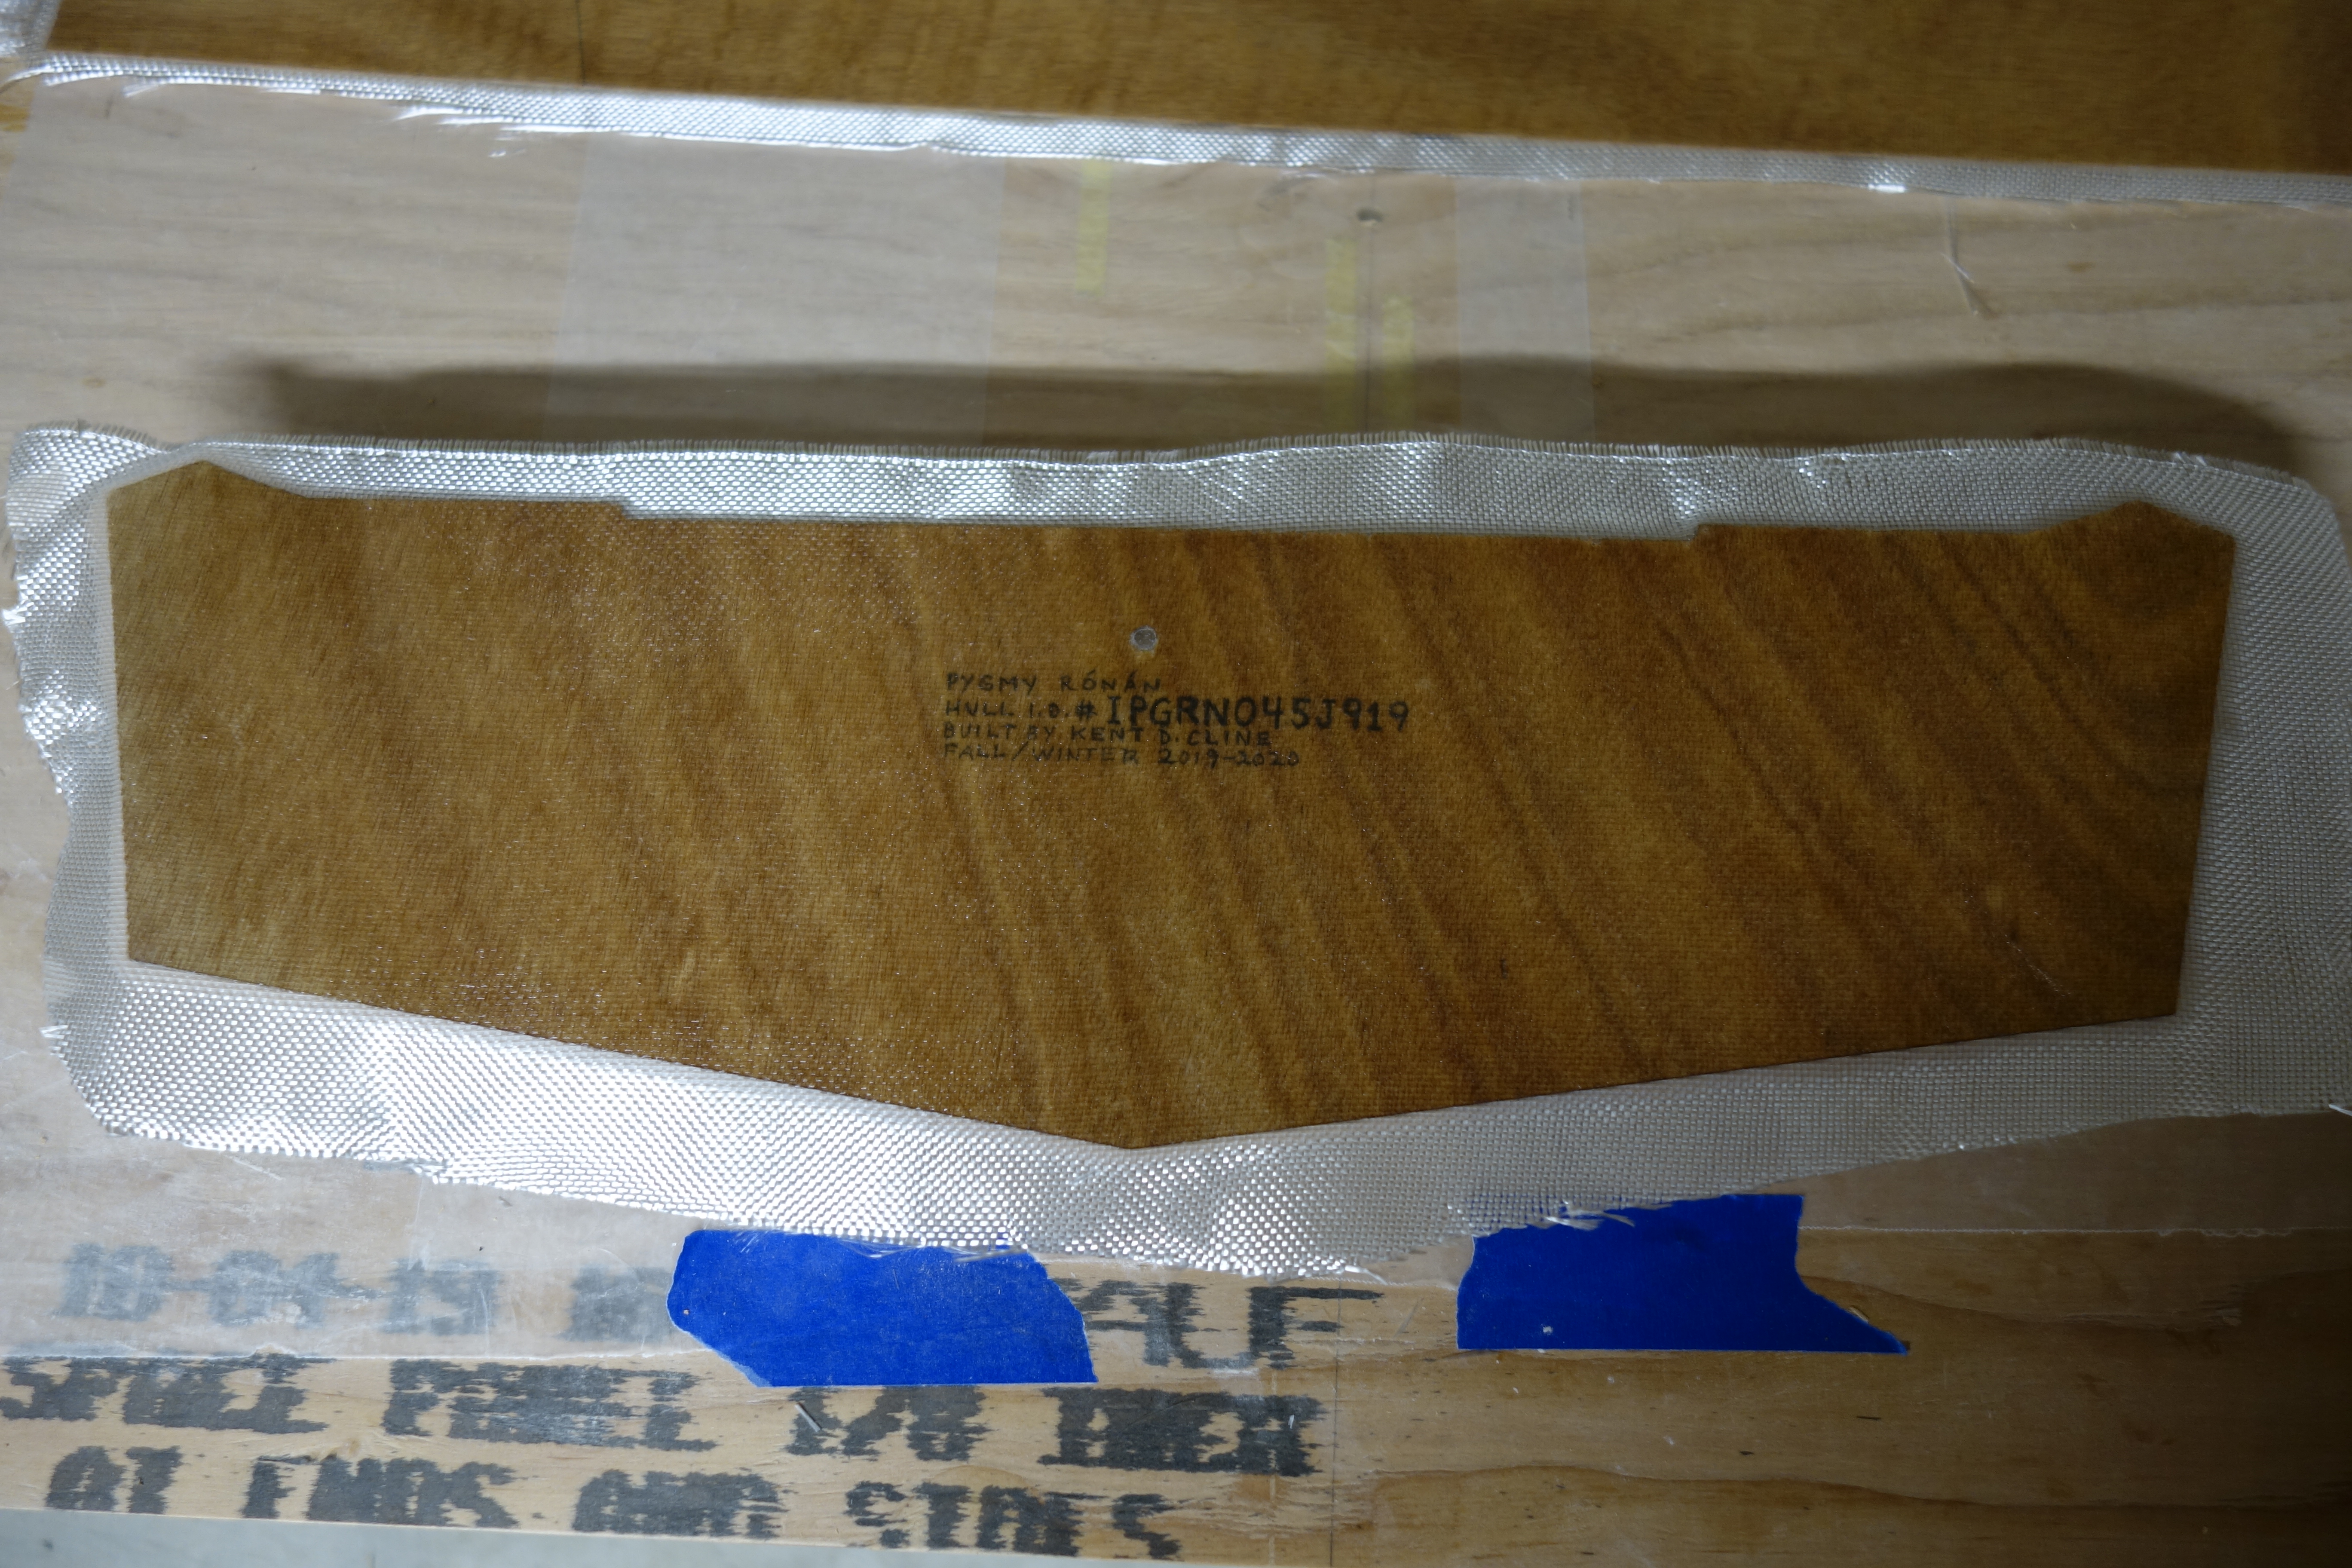
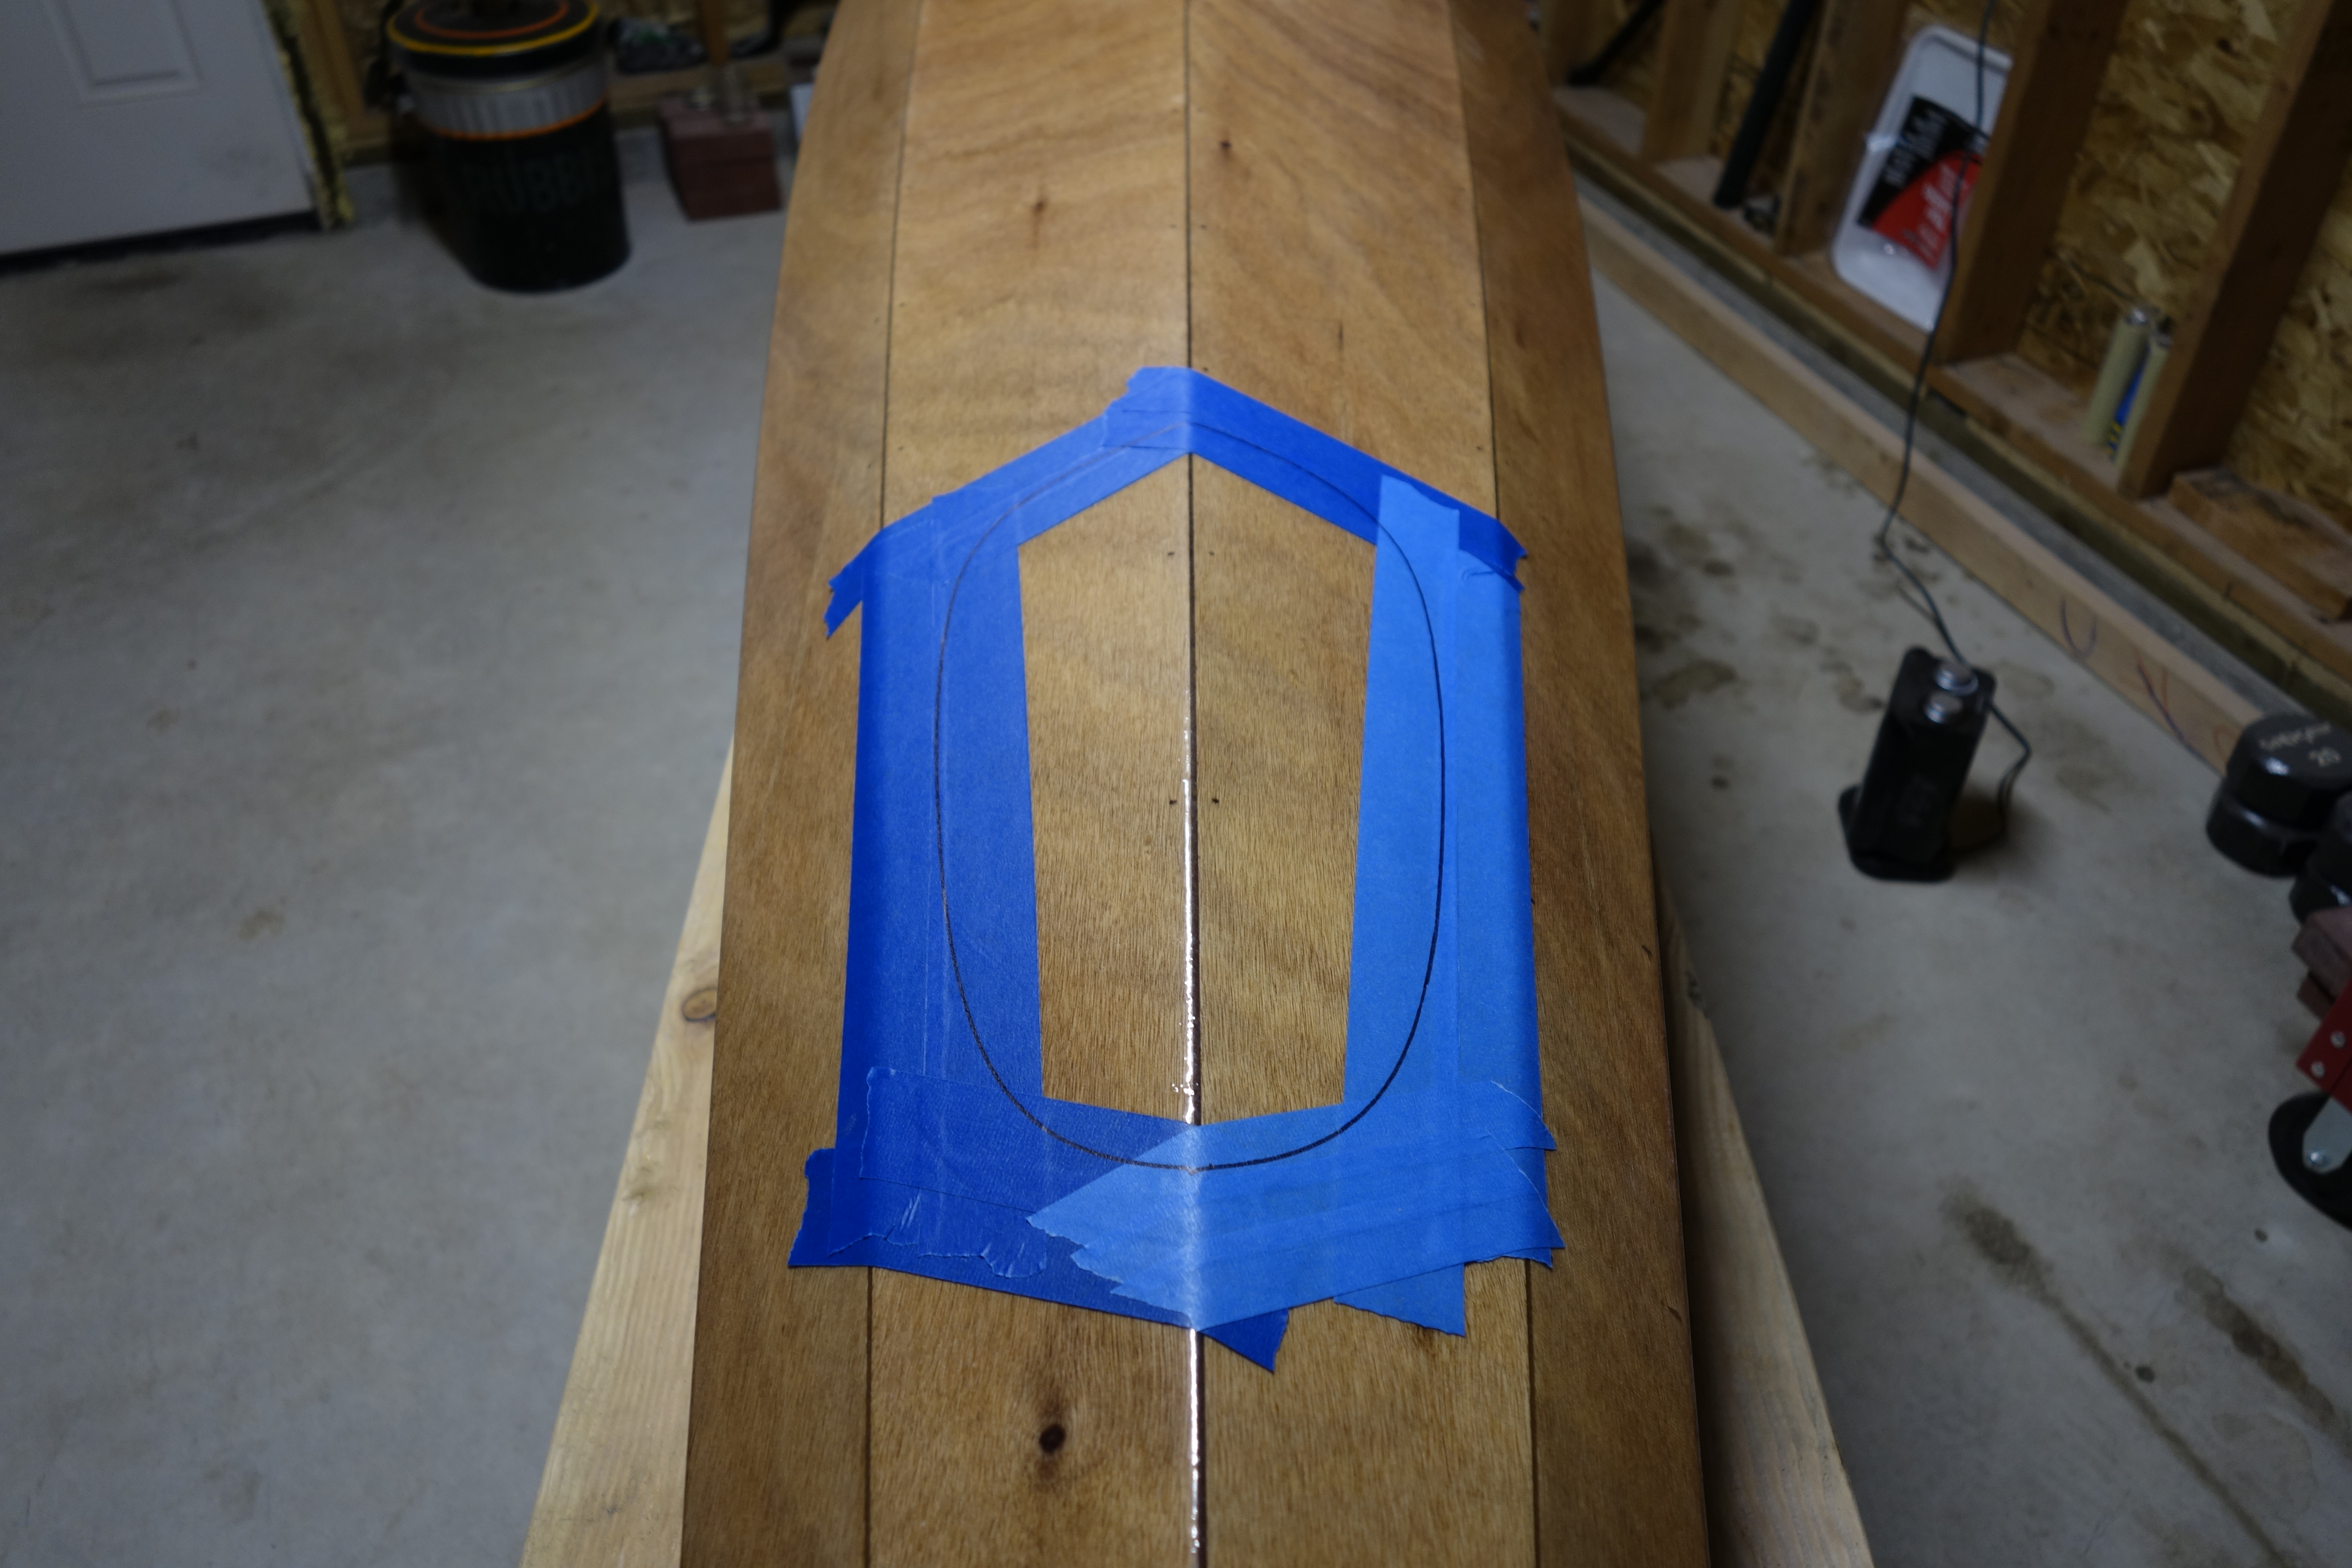
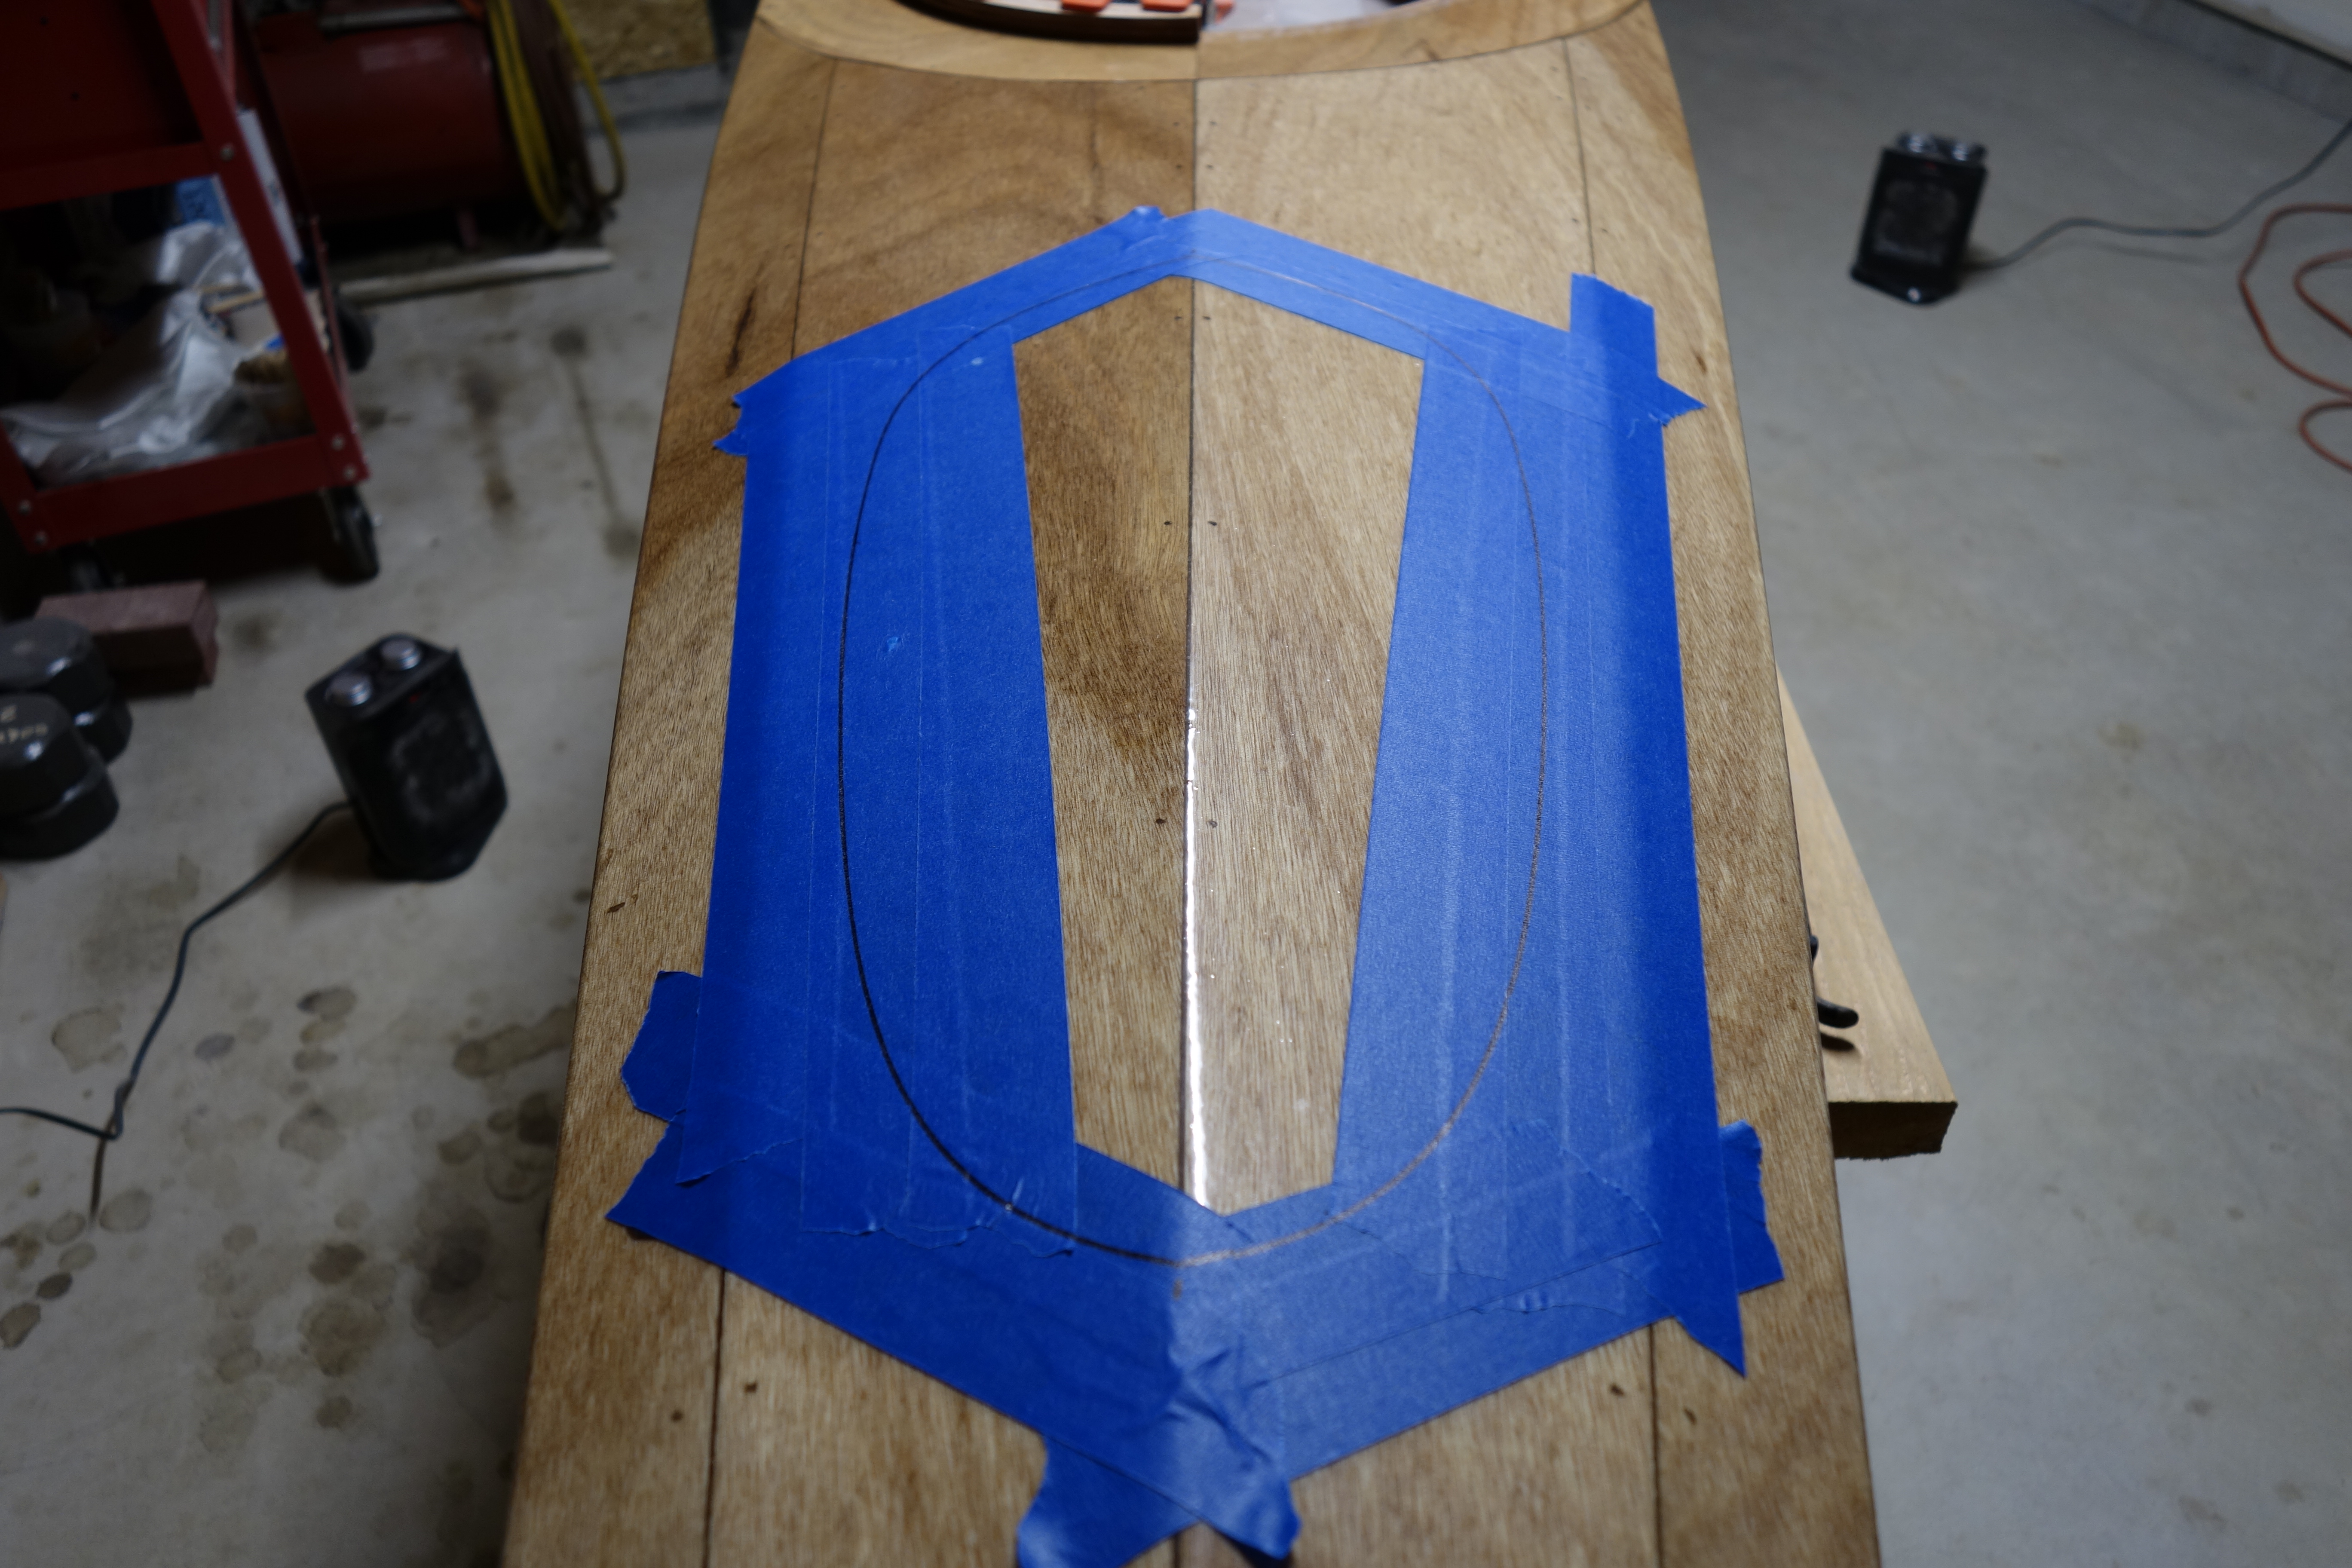
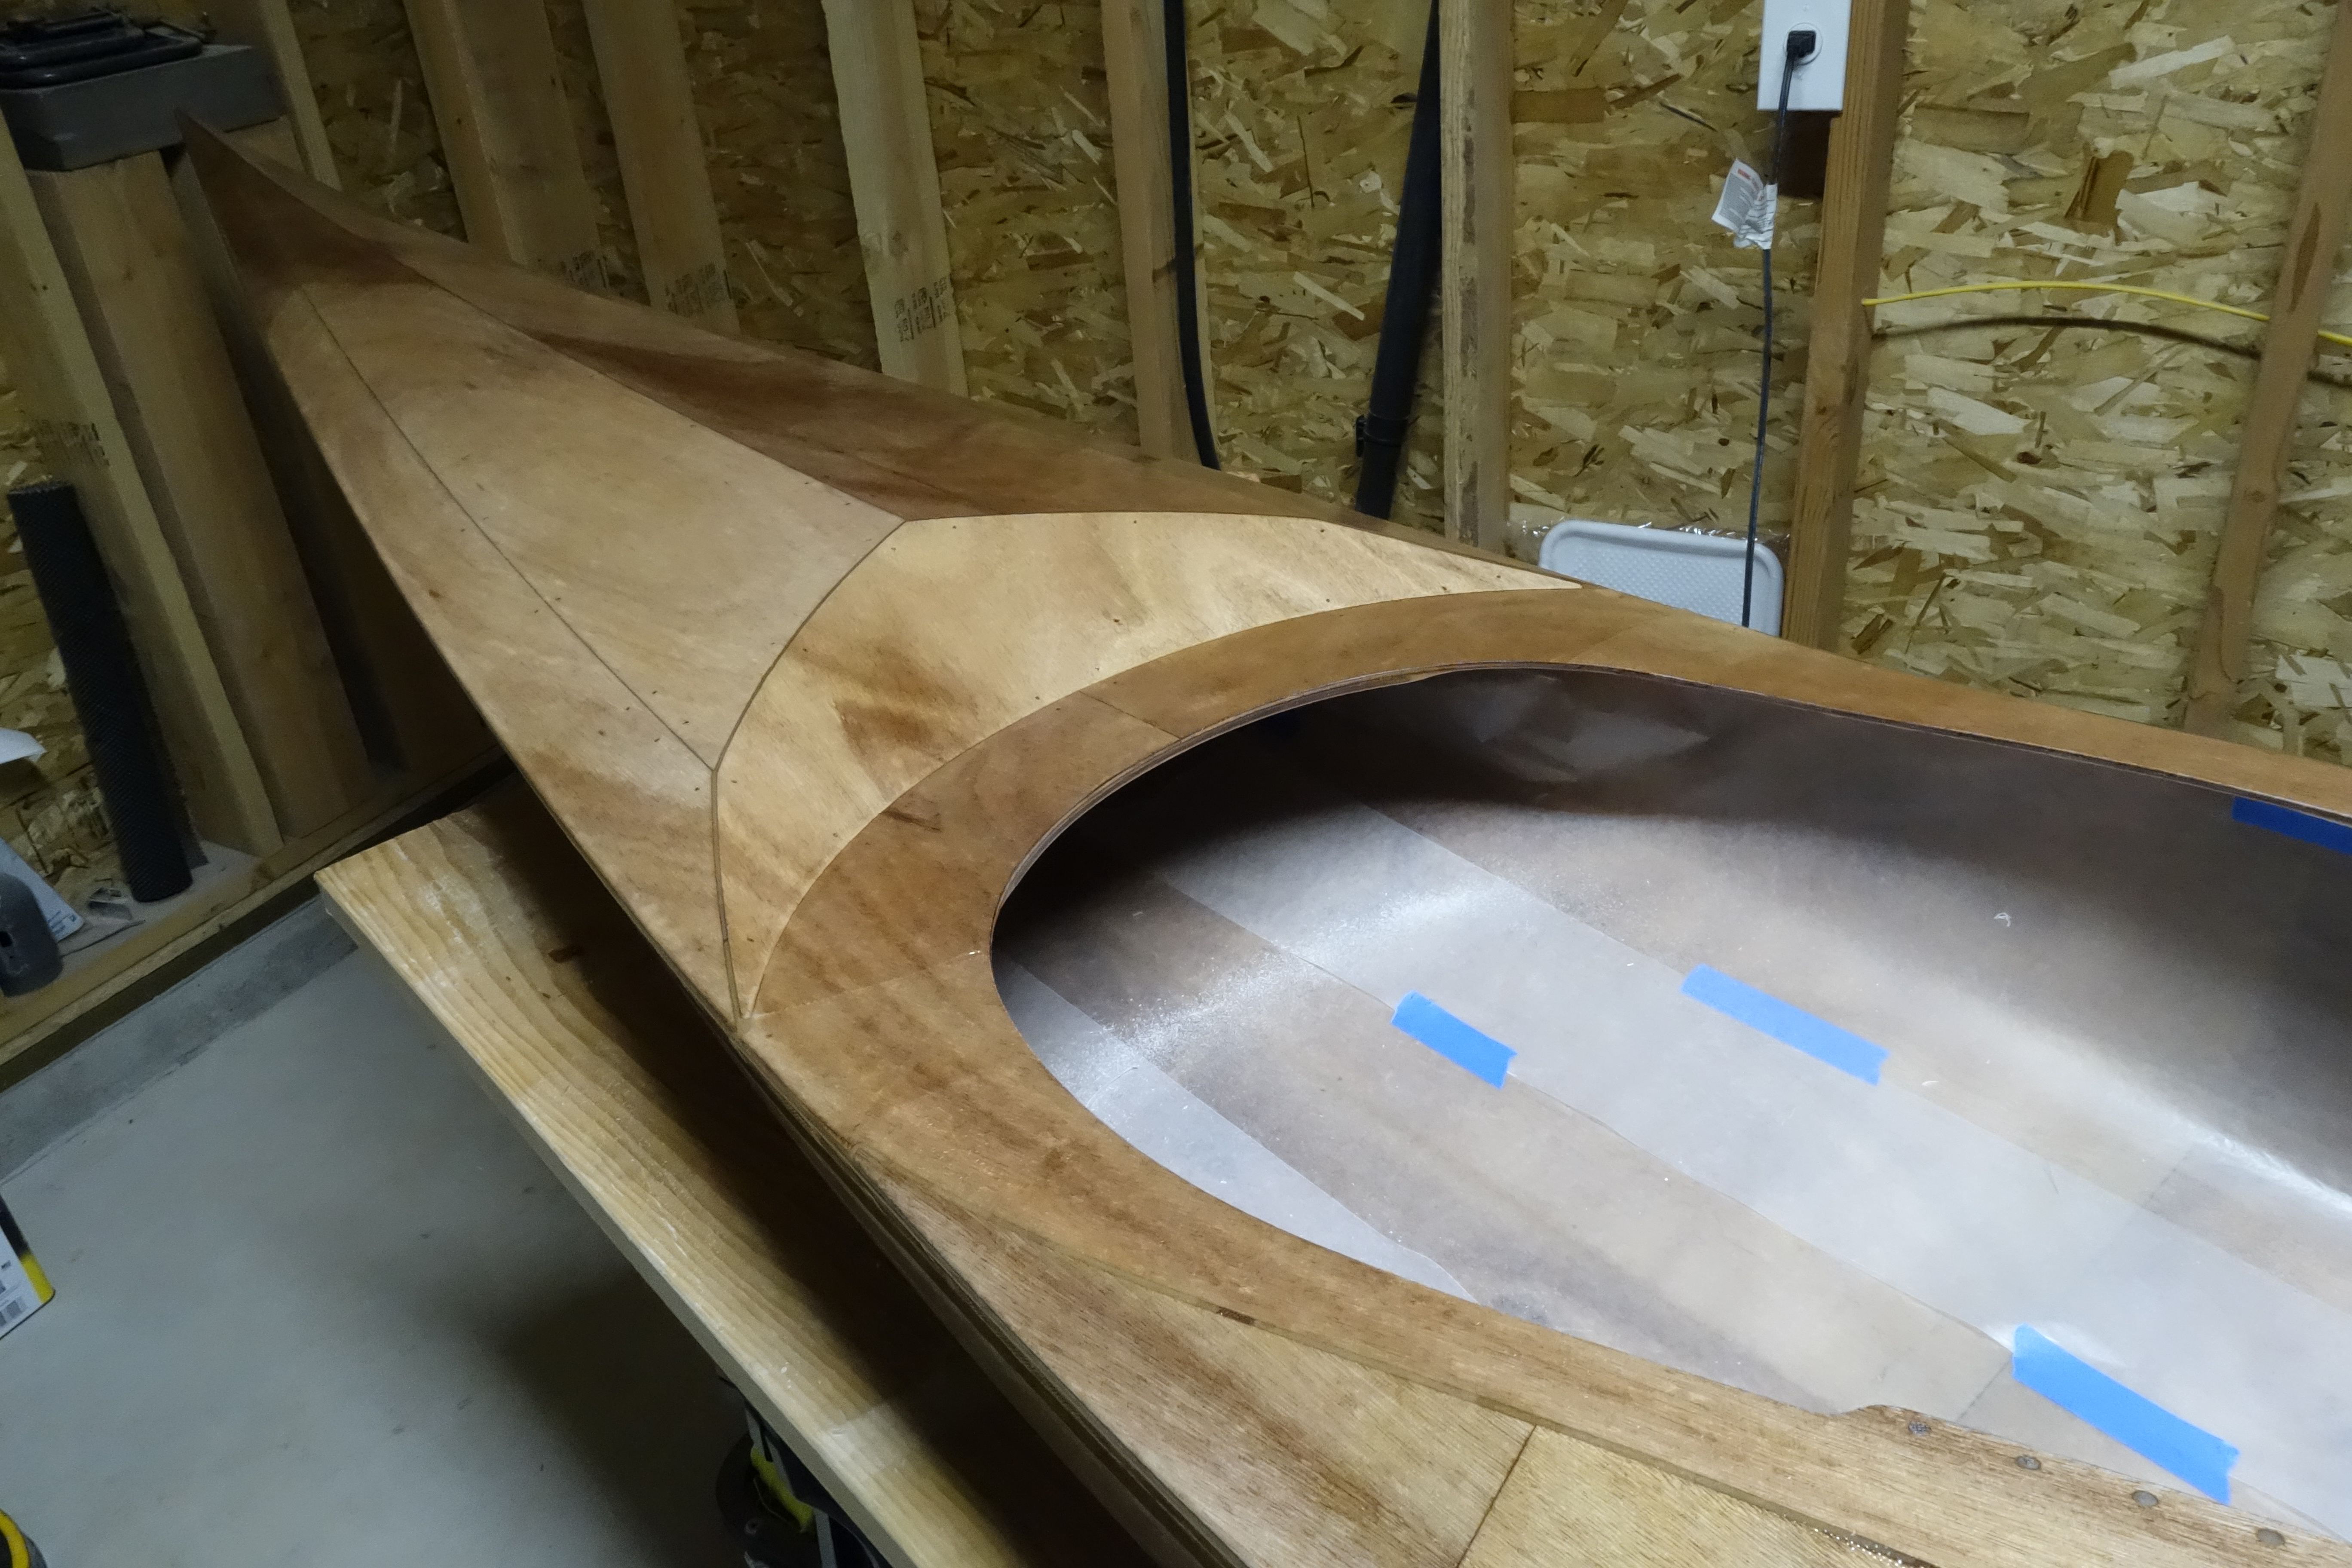
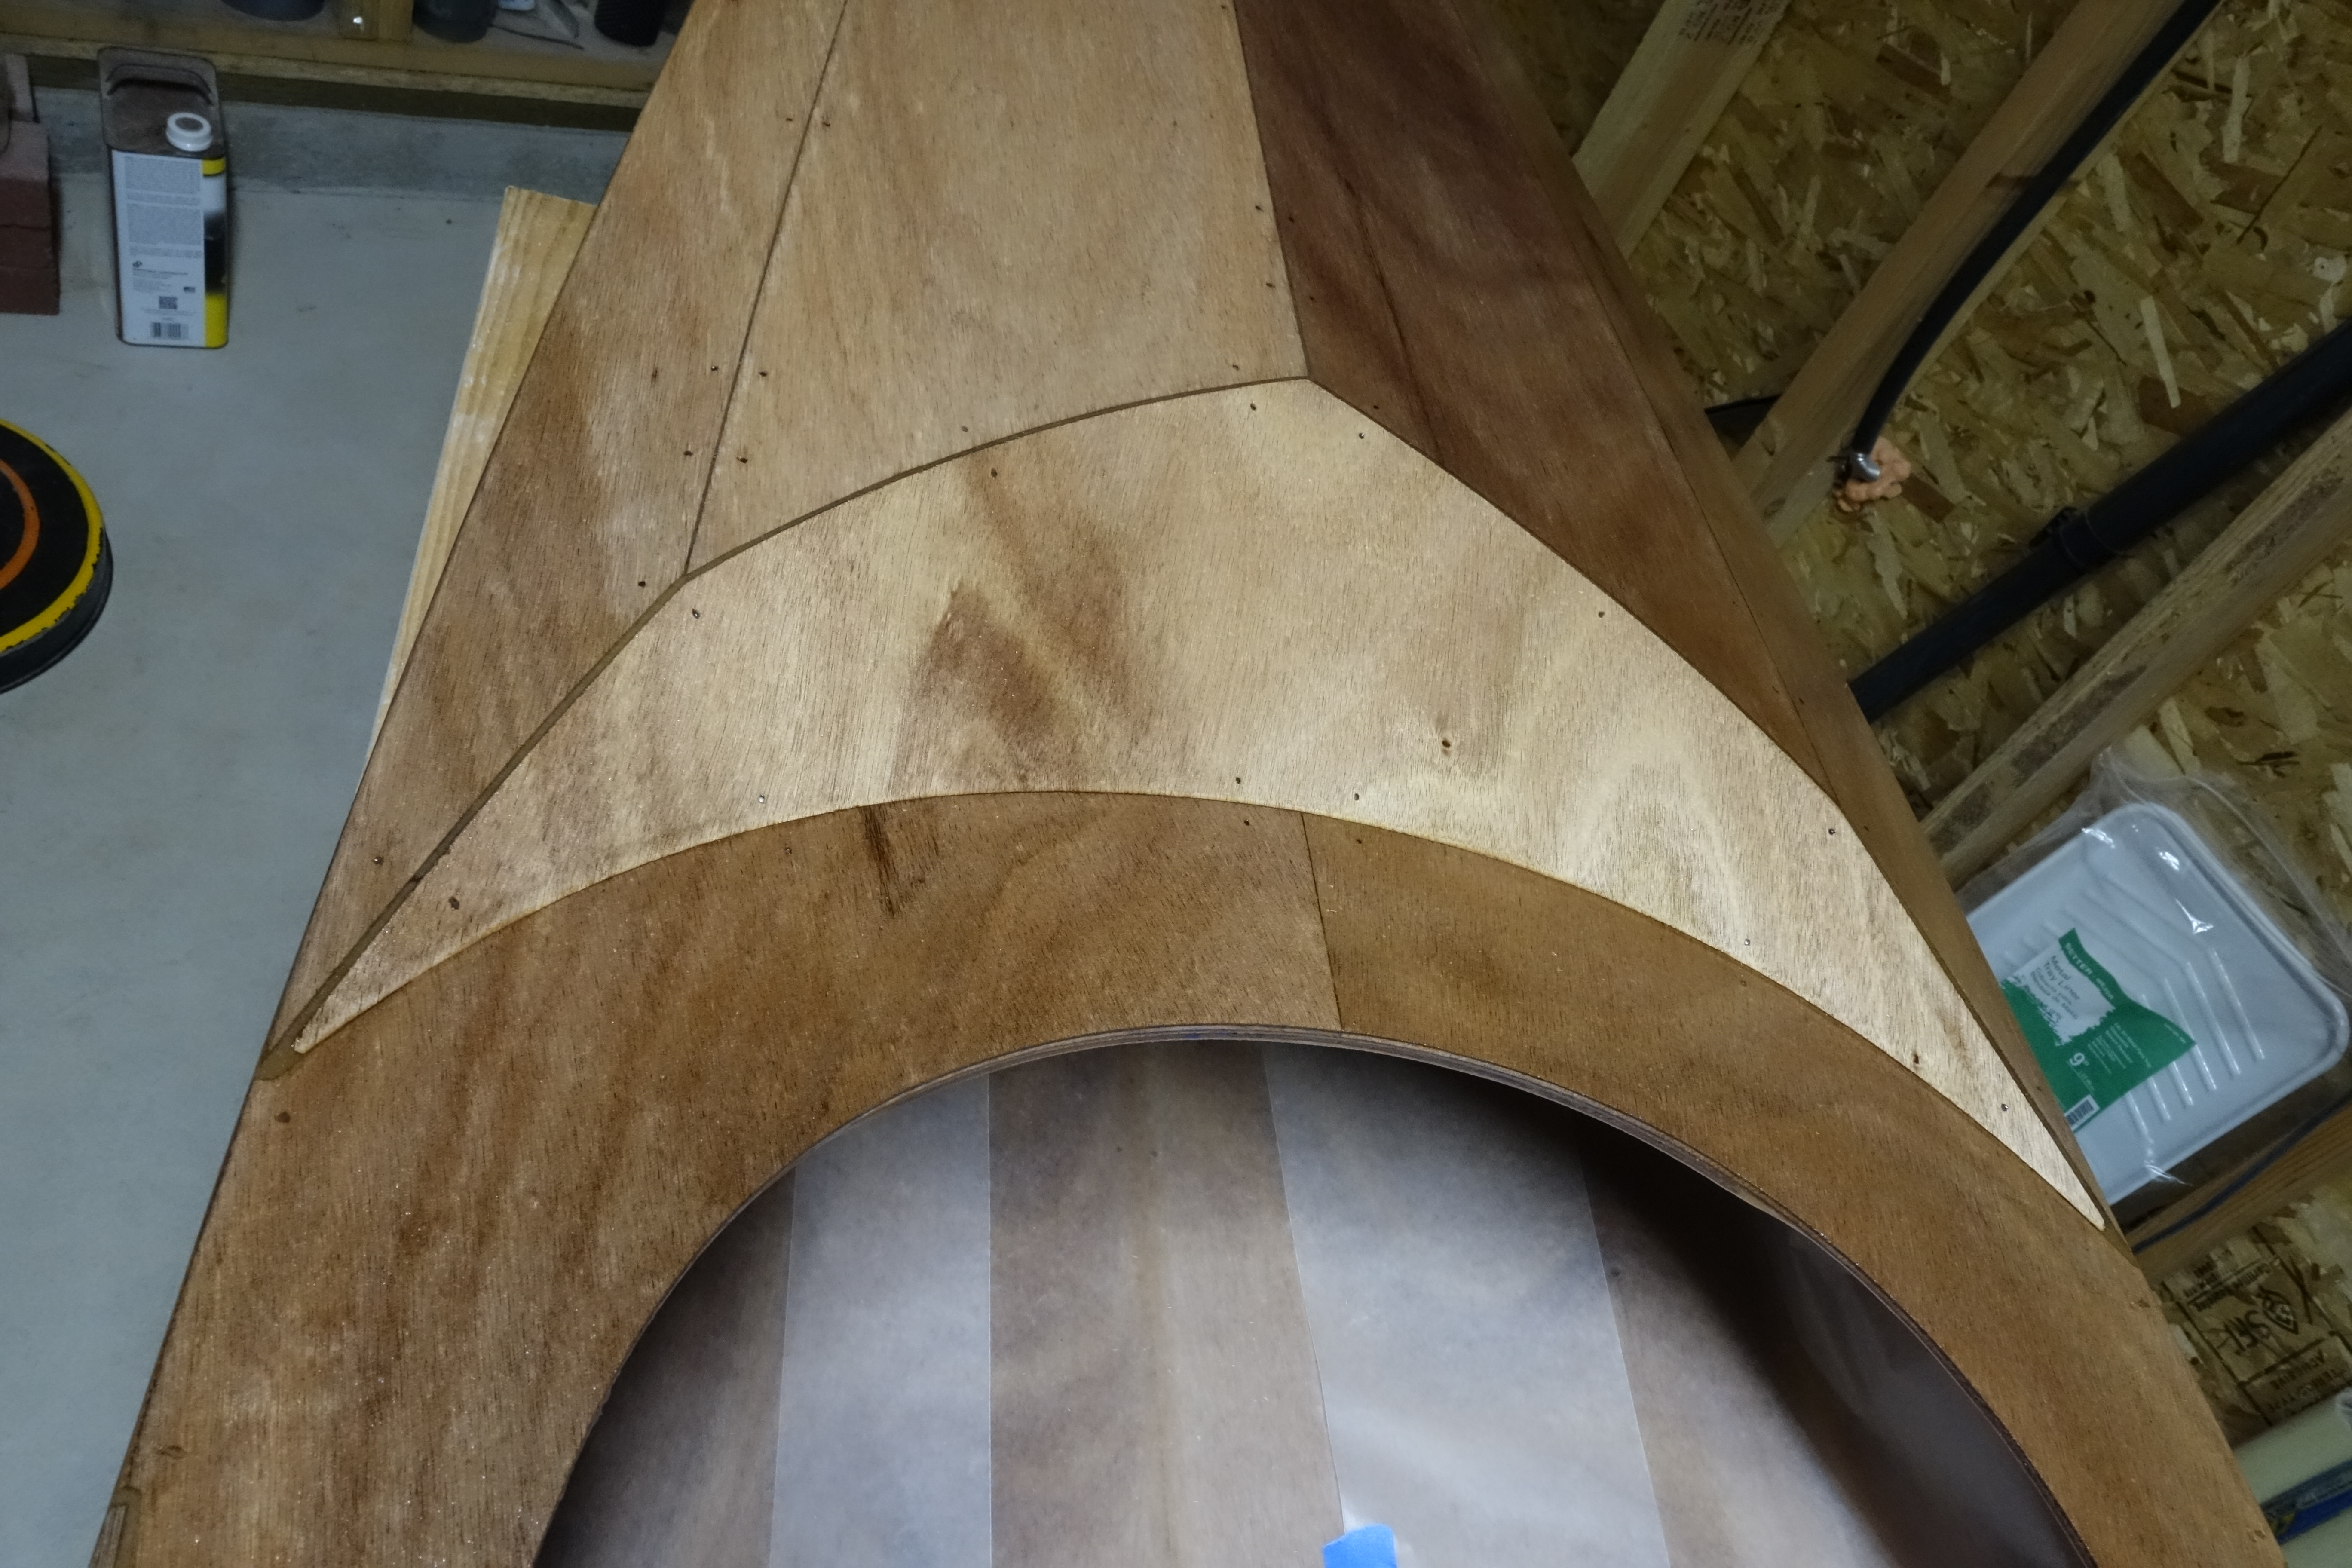
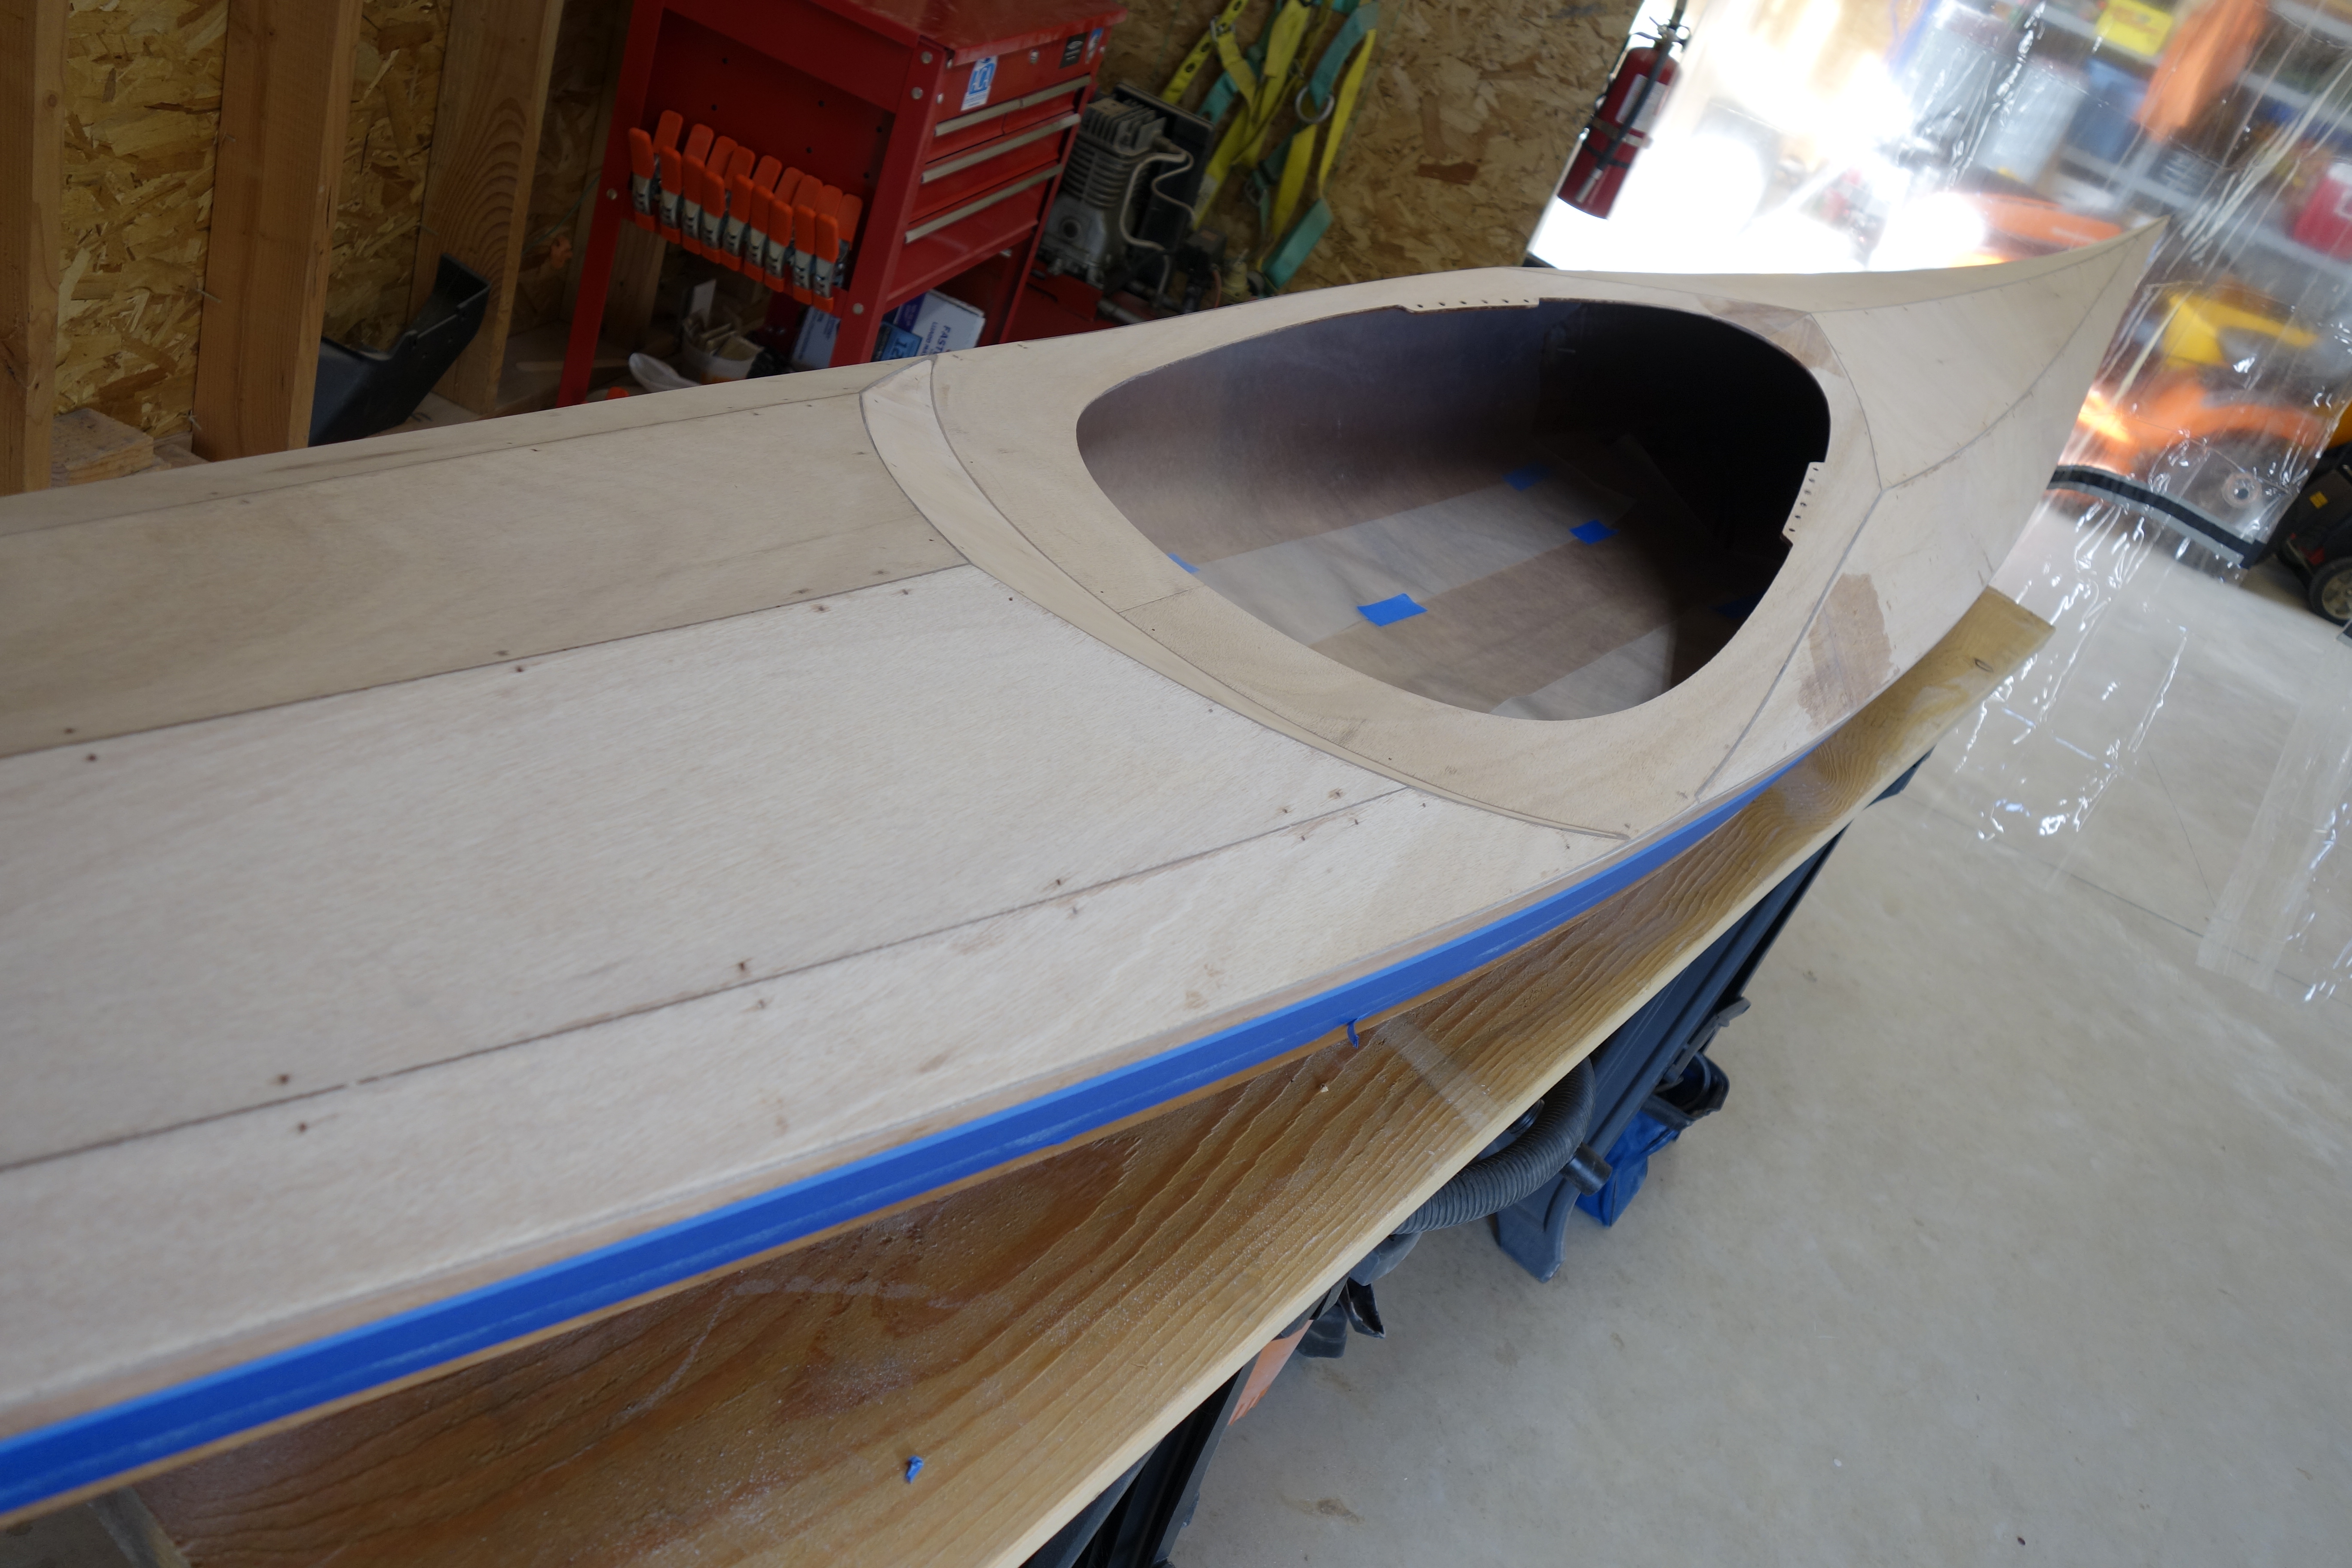
Aft bulkhead. This is where I decided to put the hull number. I wrote it in pencil on the wood itself and then just fiberglassed over it. I think it worked out fine, and now my kayak has met the requirement to have the hull number somewhere in the kayak that cannot be removed without destroying or defacing that part of the boat. I haven’t decided yet if I will have the number side facing out into the cockpit, or have it facing the inside of the back cargo hold. The hole that you see in the photo below, right above the lettering, is where I am going to put the tiny vent hole that will allow the pressure to equalize between the cockpit and the cargo hold. I drilled a 3/16 hole before I fiberglassed, and after the epoxy and fiberglass cures I will drill a 1/16 hole through the resin and cloth in the middle of the larger hole. That way I will never have to worry about water infiltrating the wood in the bulkheads as I would if I just drilled a tiny hole through the panel after I fiberglassed. Probably overkill, but it was fun to think about, so I just went ahead and did it!Close up of the hull number info. Sorry about the reflection of the shop light. From the top: Forward bulkhead. Hip brace material. Aft bulkhead.Hatches laid out. Forward hatch in the foreground (obviously). Now all I have to do is work up the courage to put a saw to the beautiful deck I just got done building!Overhead view of the forward hatch.Overhead-ish view of the aft hatch.
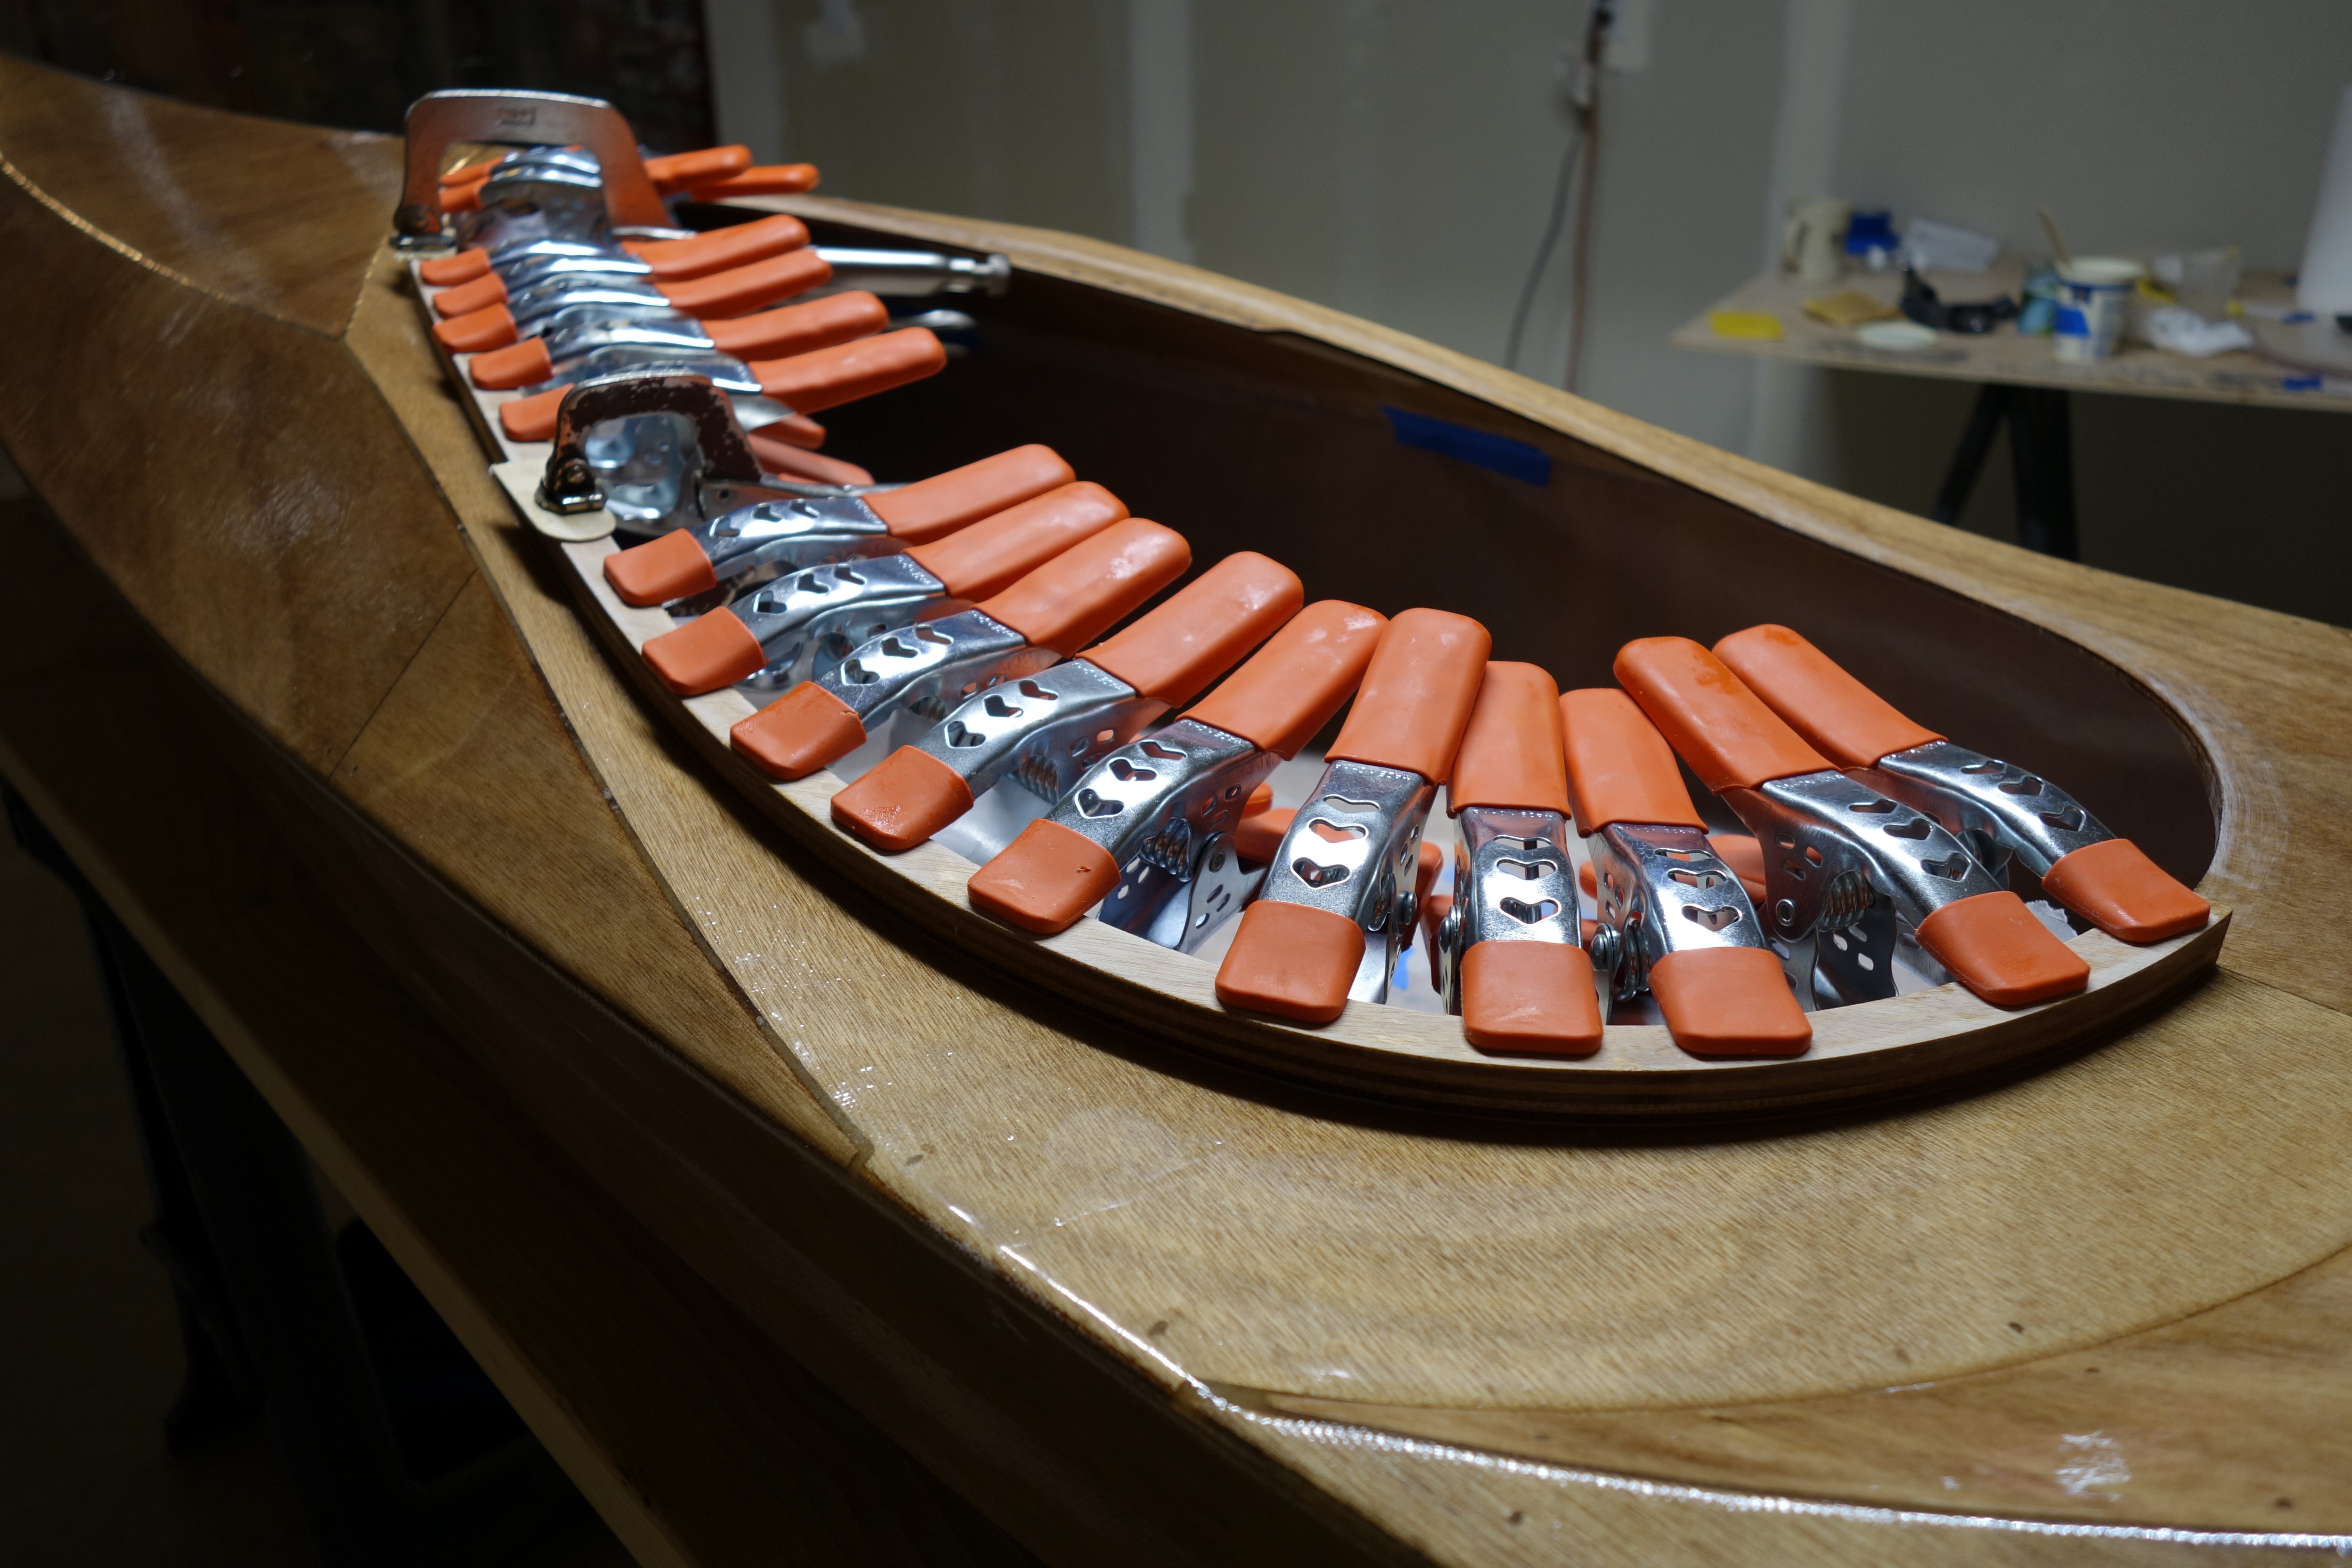
My plan for the kayak when I got home from work this evening was to glue up the complete lower cockpit coaming, that is, both halves at once, but it didn’t work out that way. I have 24 spring clamps and when I dry fit the lower coaming pieces it looked like 12 clamps on each side would be plenty. But when I got thickened epoxy on one half of the lower coaming and started to clamp it up I could see that I wasn’t getting good squeeze out in places. I kept adding clamps, and finally resorted to Vice-Grips in a couple of places as well, and wound up using 18 of my clamps. I then had a devil of a time cleaning up the squeeze out so that it wasn’t all over the place because the clamps were in my way! I’ll use a bit less epoxy on the second side. I also wound up wasting about an ounce of thickened epoxy because I only glued up half as much as I thought I was going to. Now I have to wait until tomorrow to do the second half. Hurry up and wait! EDIT: After getting some advice from Suzanne at Pygmy, I opted to wait an additional day to remove the clamps and start on the second side. Because there is so much spring tension in the places where the coaming has been forced to conform to the curve of the cockpit apron, I want to be absolutely sure that the epoxy is fully cured. These photos were made on a Friday evening. I will not release the clamps (or the Kraken) until Sunday morning.
While it is on my mind, I want to take a minute to say how gratifying this kayak building process has been so far. I am certain that 99% of the credit goes to John Lockwood and everyone at Pygmy Boats for making such a high quality product, and providing such thorough instructions and excellent support (and 1% to me for carefully reading and following said instructions). From some of the feedback that I have read on the Pygmy Boats website it seems clear to me that many people who first decided to build a Pygmy kayak or boat in order to get a beautiful boat wound up getting something much more. I think that is true for me as well. On re-reading this blog I realized that while I have posted photos and descriptions of the entire process so far, that I tend to spend more time detailing the parts of the build that present challenges or caused problems that have delayed moving forward on the kayak, and as a result, I tend to gloss over the parts that go smoothly and “just work as intended.” I want to acknowledge that the comprehensive design of this kayak kit and the included instruction manual has meant that almost all of the processes in the construction of the kayak so far have gone smoothly. This has been an interesting and rewarding experience. It hasn’t always been what I would call fun (does anyone really think that sanding is fun?), and there have been a few times that it has been stressful because I didn’t know if I was going to screw something up that couldn’t be fixed later, but it continues to be rewarding. And for that I am grateful.
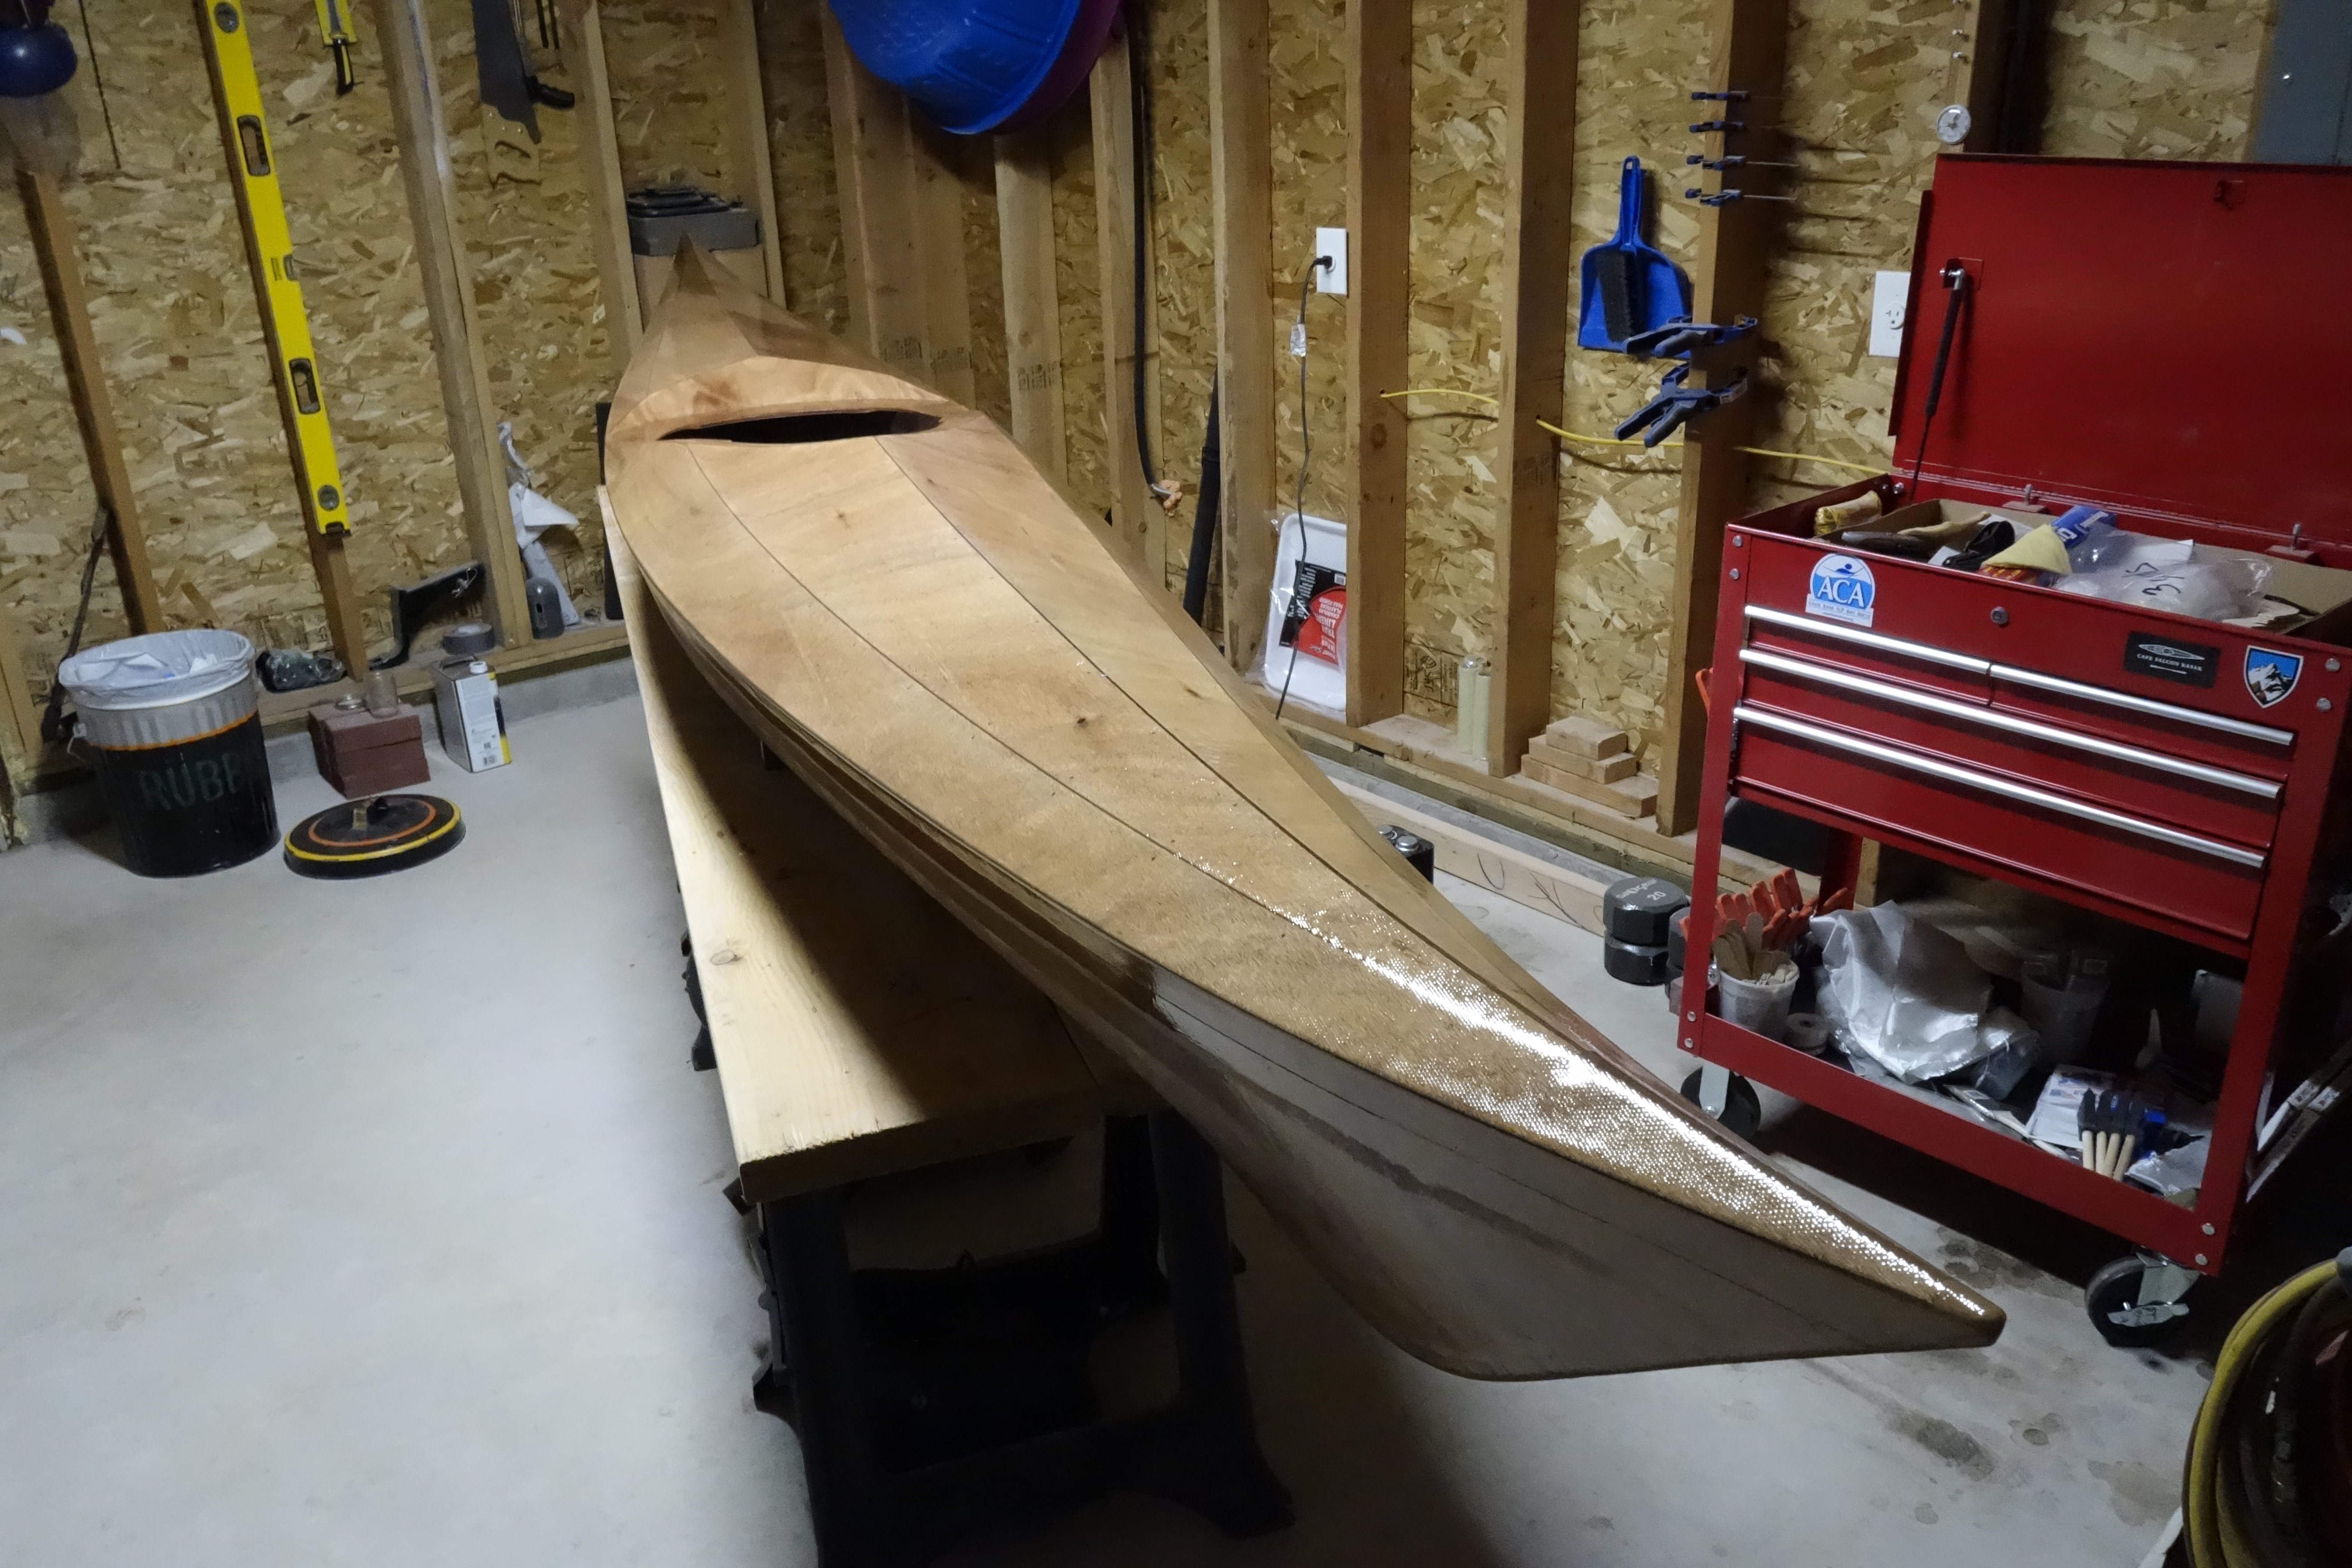
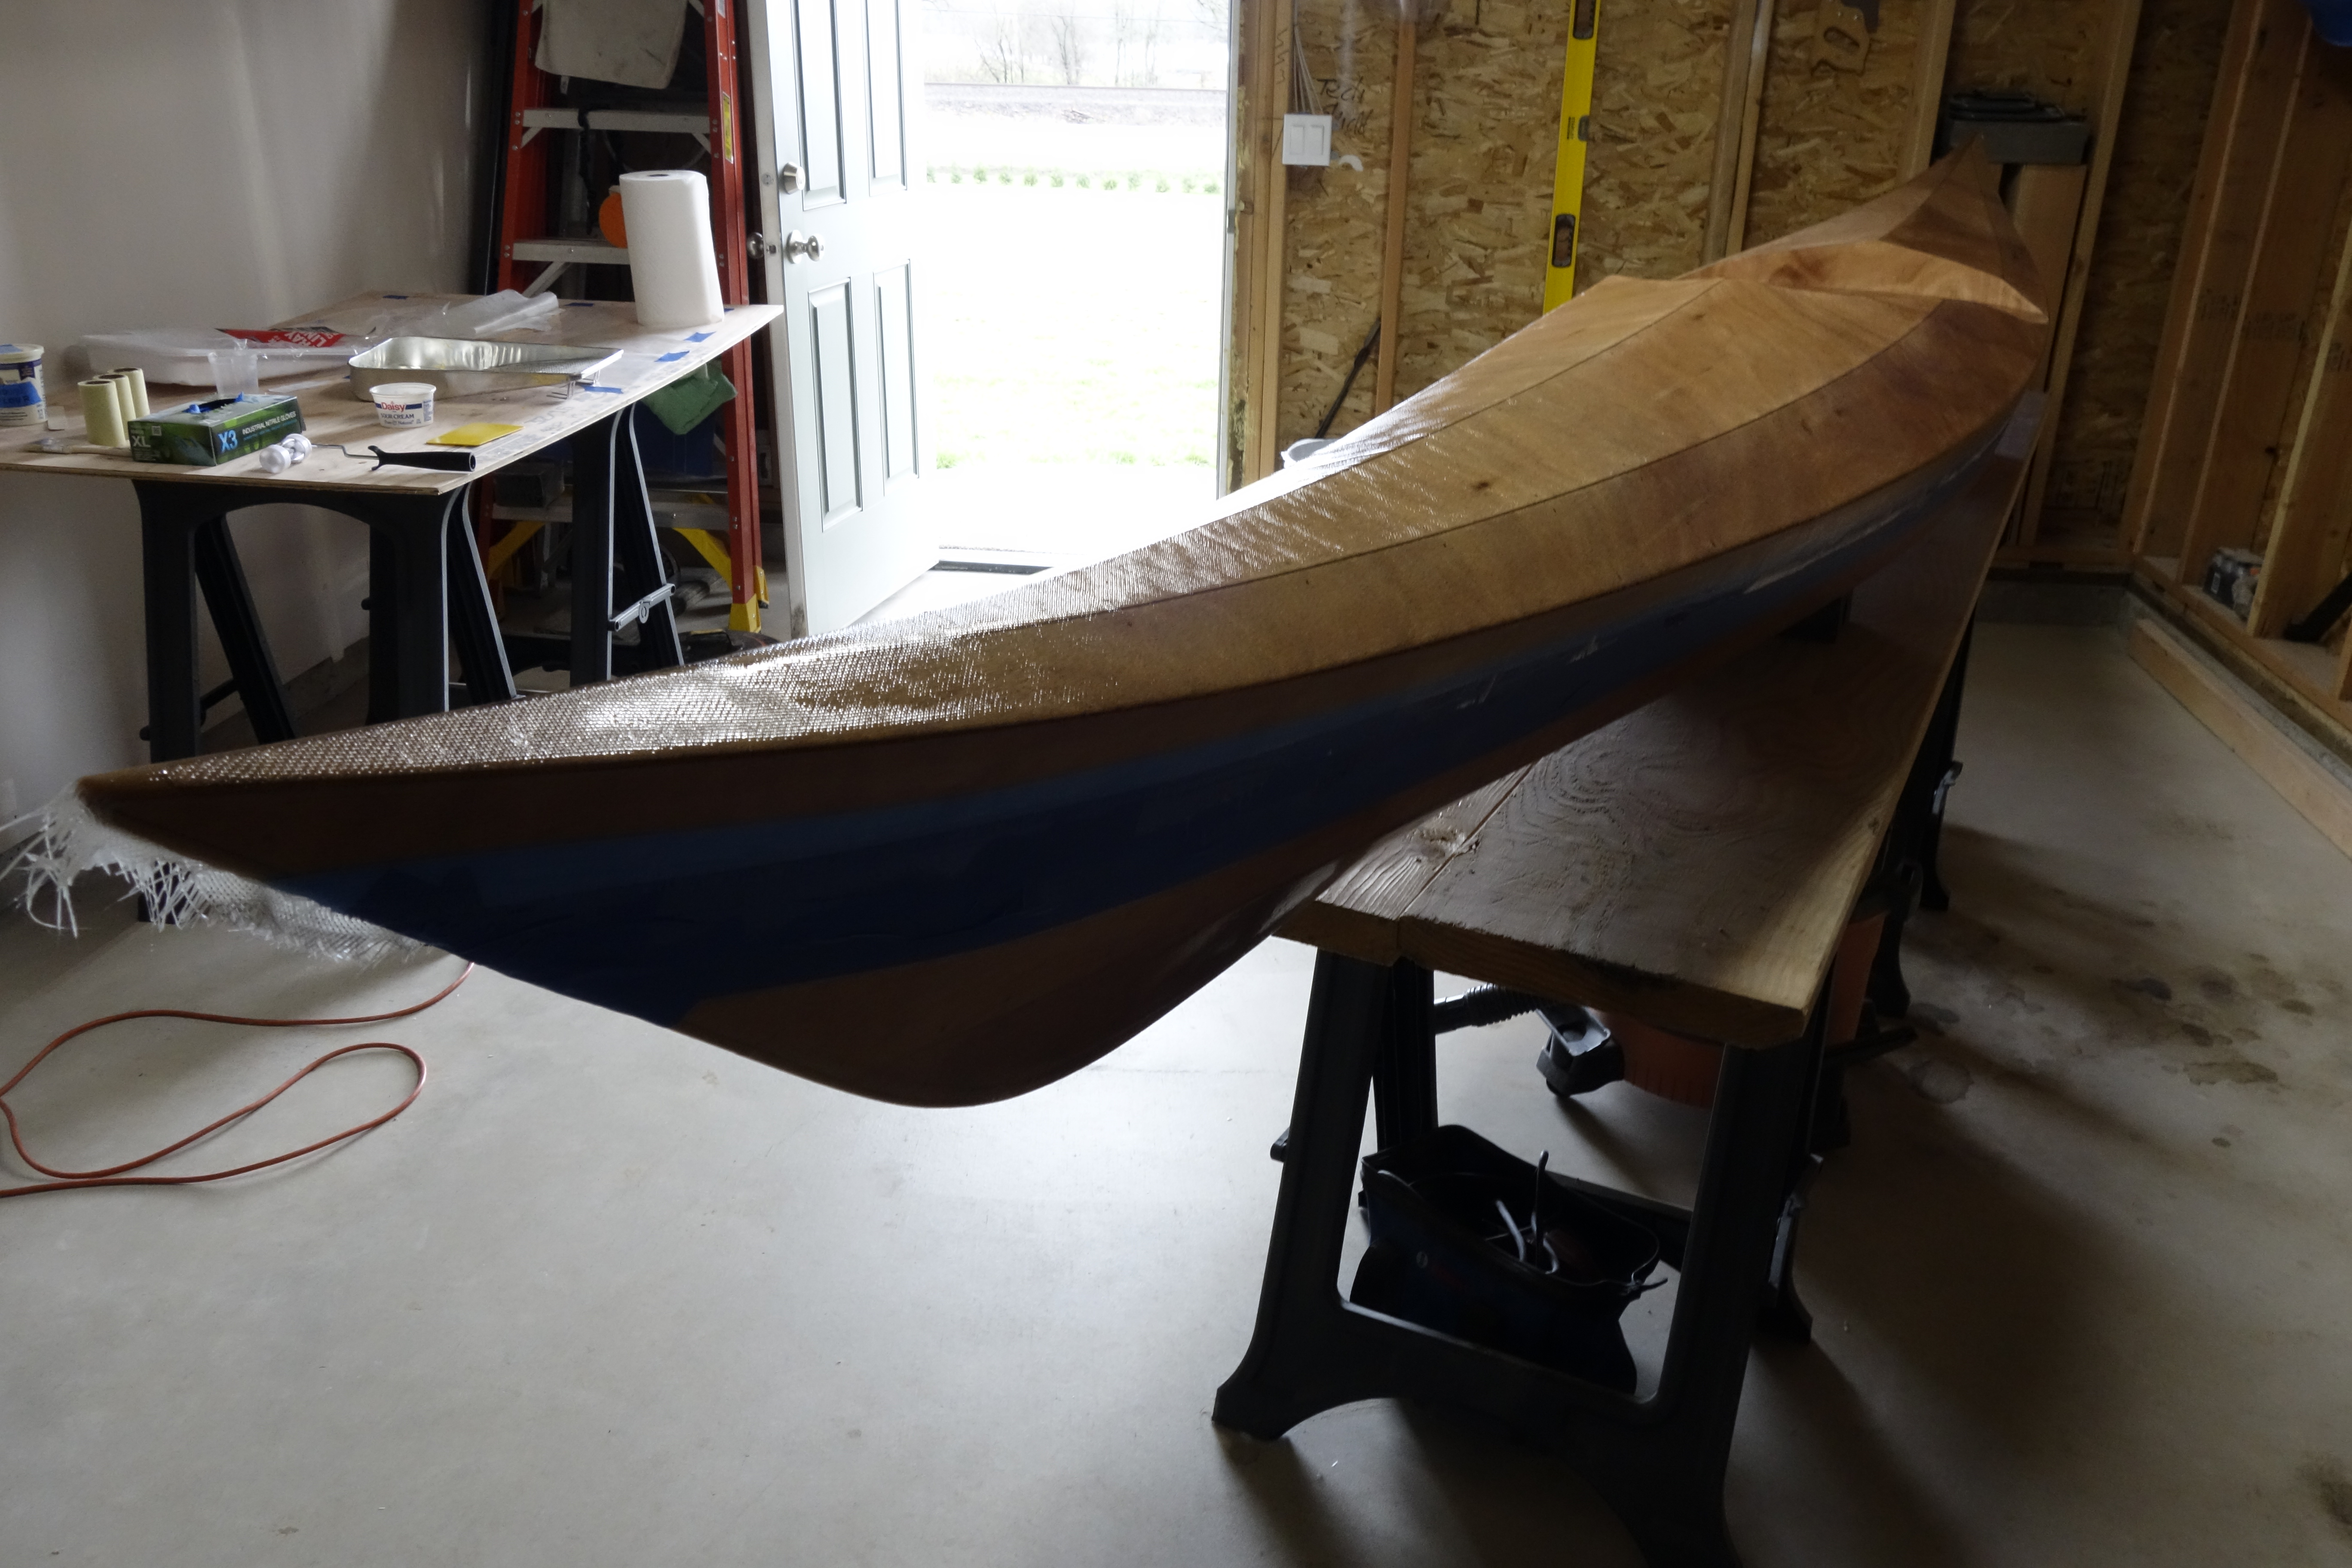
Second fill coat. I applied the first fill coat two days ago and it still wasn’t completely cured. *sigh* I guess I’ll have to wait until this weekend when I can leave the space heaters on all day and cross my fingers. I have sanding to do on this thing and I can’t do it if the epoxy won’t cure. :^\
A quick word about building a kayak during winter in the Pacific Northwest in an unheated garage. I have done everything I can to isolate my workspace so that I can use a couple of space heaters to get the temperature up enough for the epoxy to cure, but it has its challenges. I can’t leave the space heaters on 24/7, and would worry if they were left on overnight, or while I am at work, etc. As a result, when the heaters are on it’s 60-65 degrees Fahrenheit in the shop, but when the heaters are turned off, it quickly drops to close to whatever the temperature is outside (averaging around 45 degrees F this time of year). So far, it usually takes a couple of days on average for epoxy to cure enough for me to sand it without it being “gummy” and clogging my sandpaper and risking causing bigger problems. I have read with envy, when other builders say that they built their kayaks in a few weeks from start to finish, and can only imagine that either they know something about epoxy resin that I don’t, or they have a nice heated space in which they can epoxy one day and sand the next. I’ll be lucky if I can finish my boat in 16 weeks, and for me, that’s all down to waiting for epoxy to cure enough to move on to the next step (whatever that happens to be).
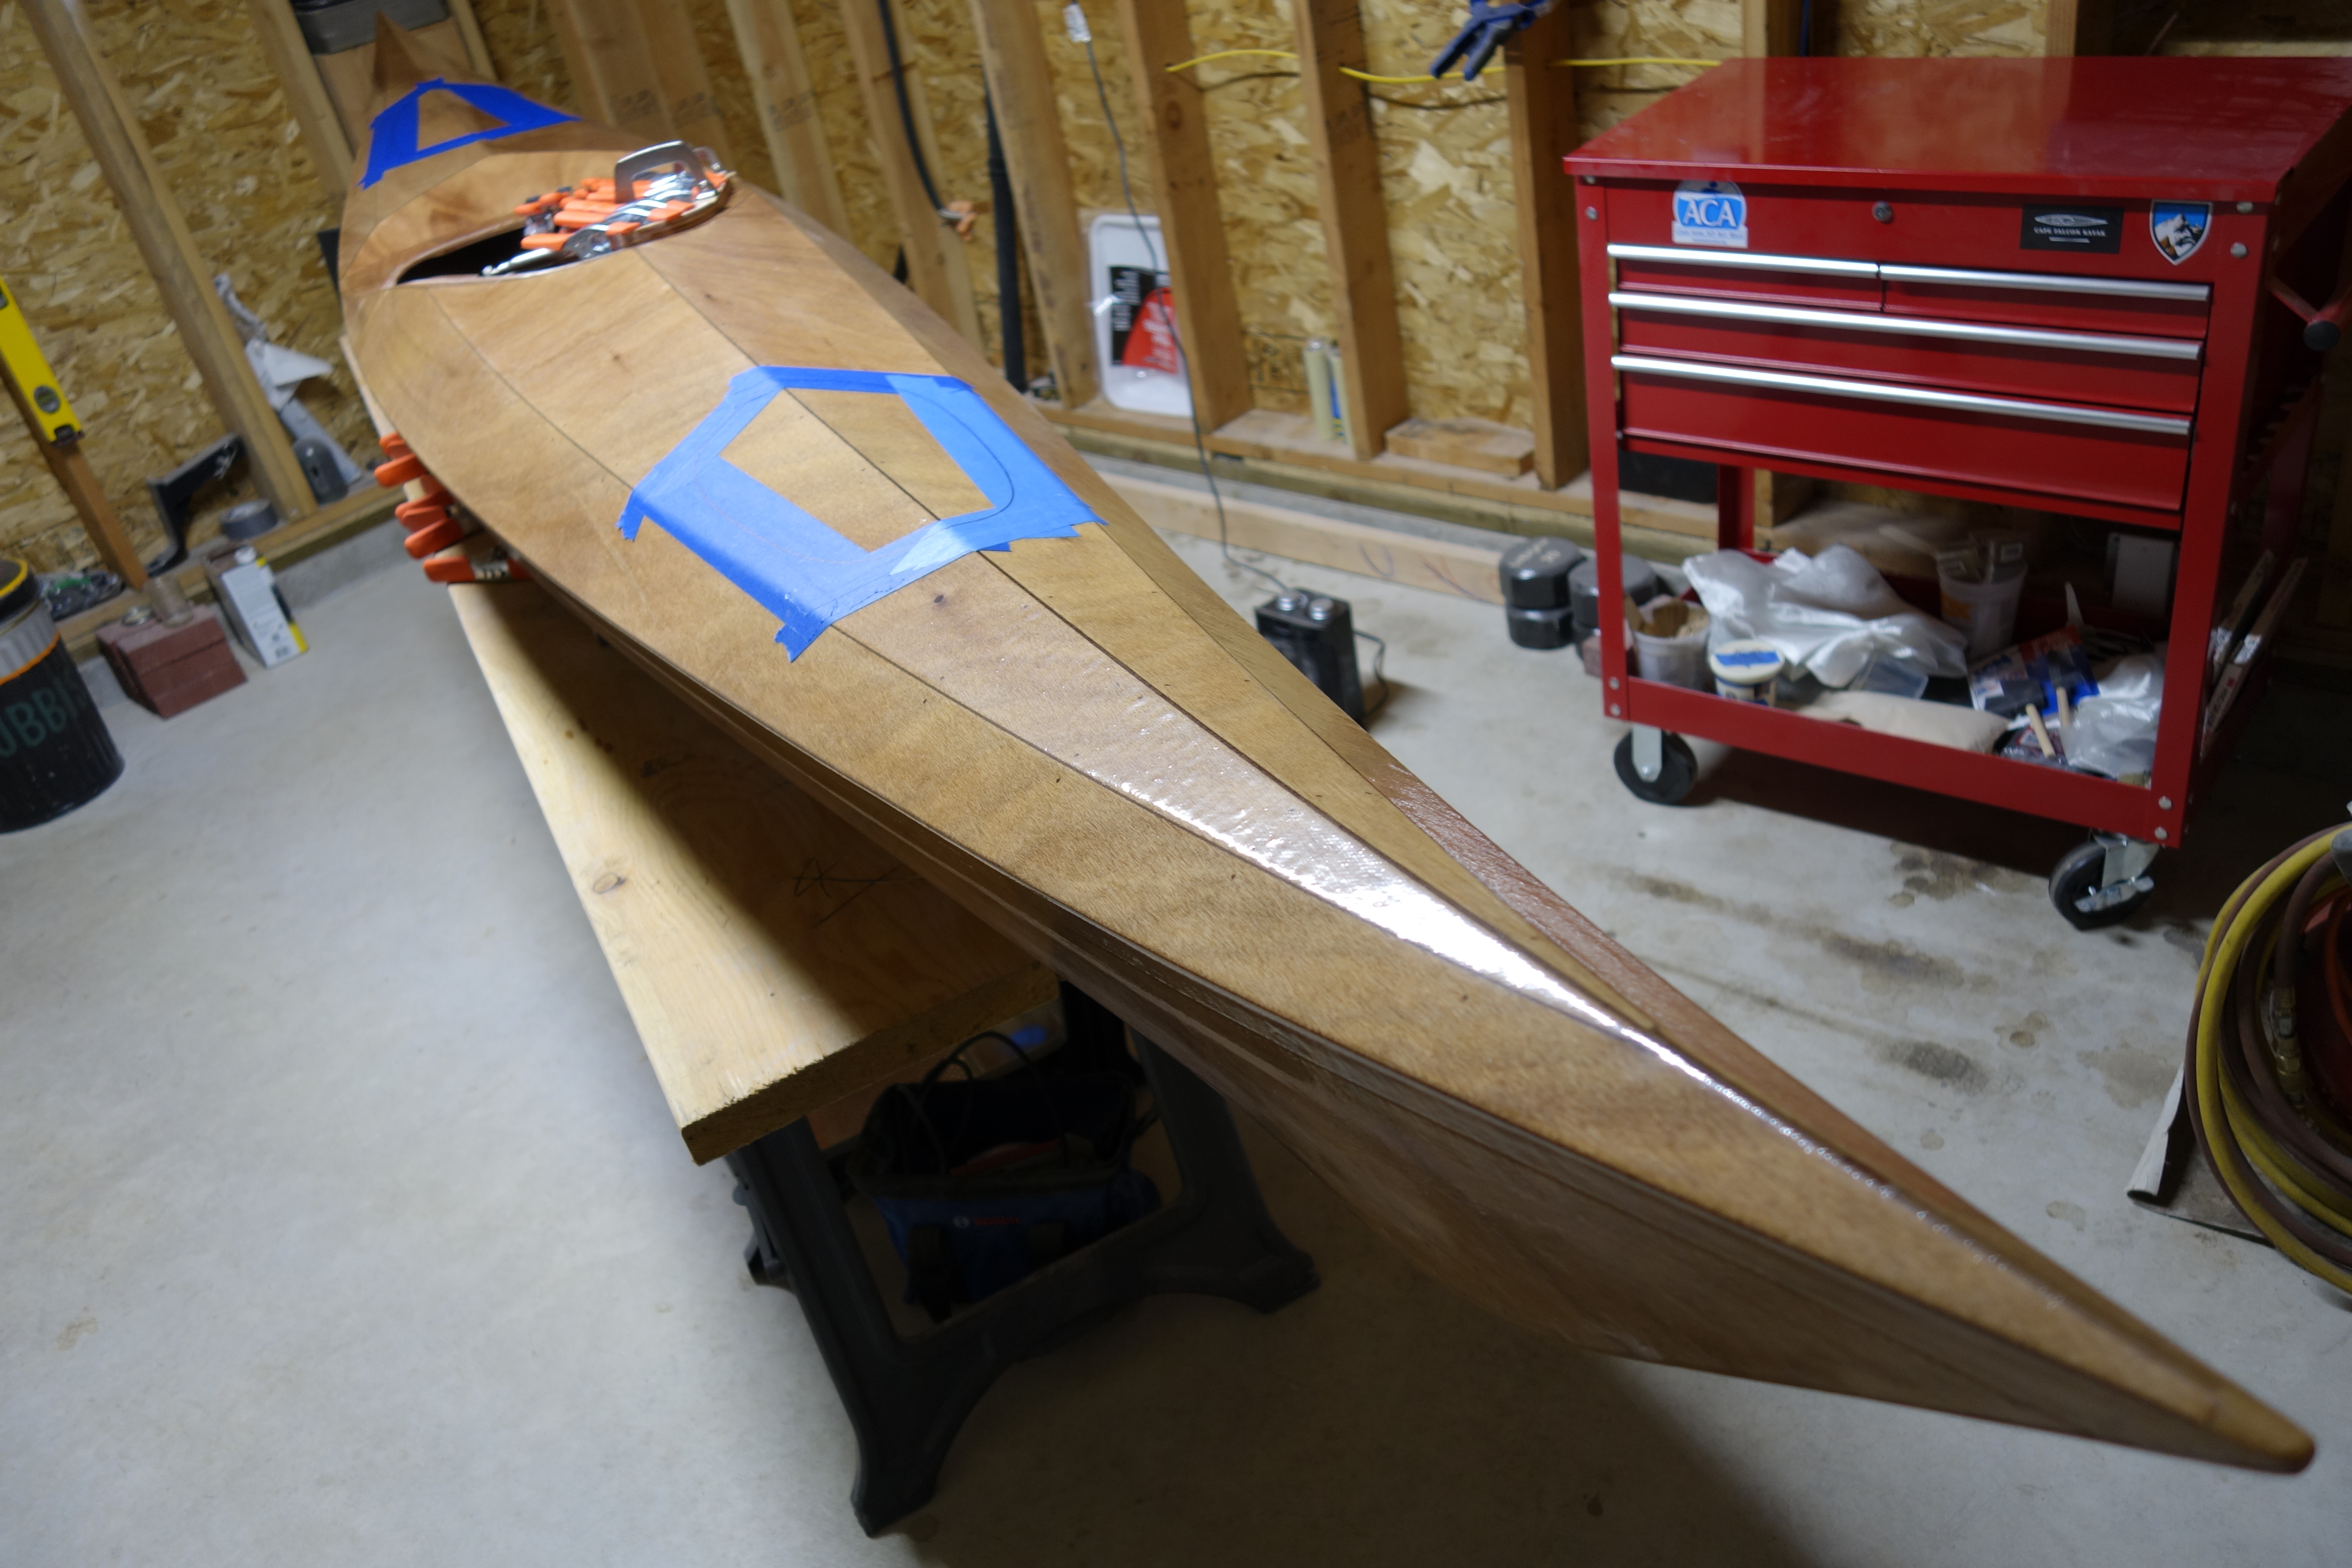
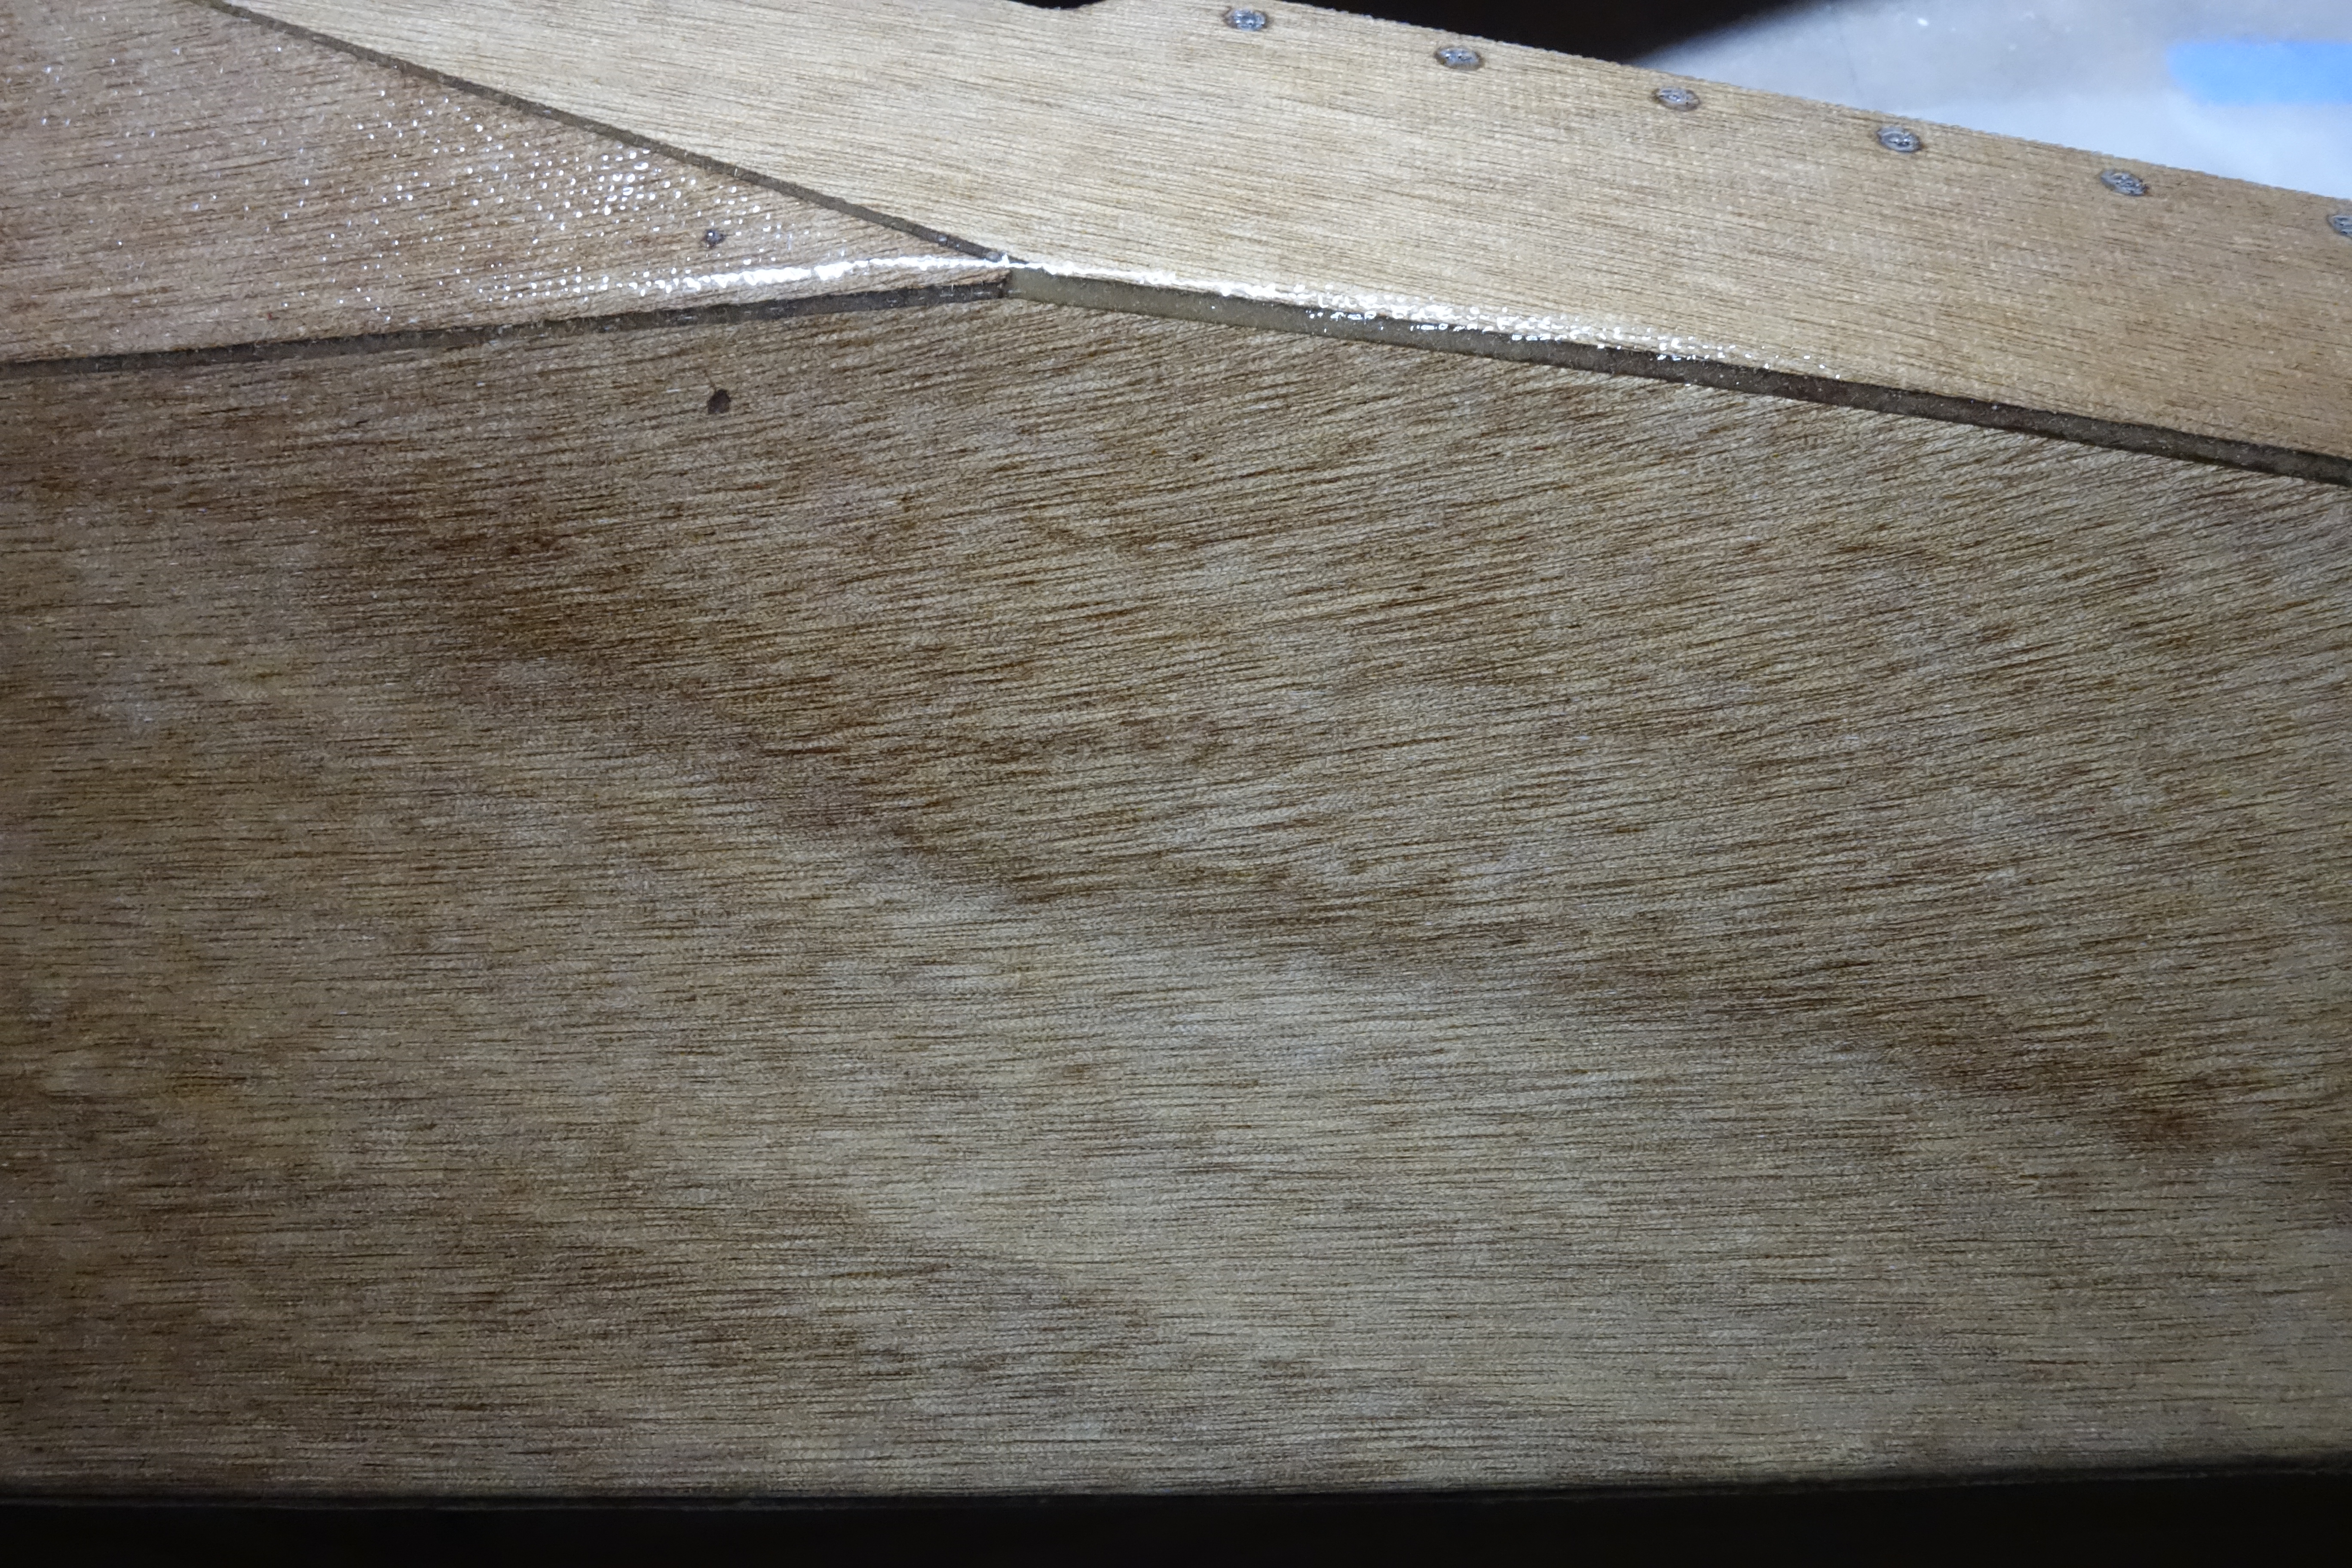
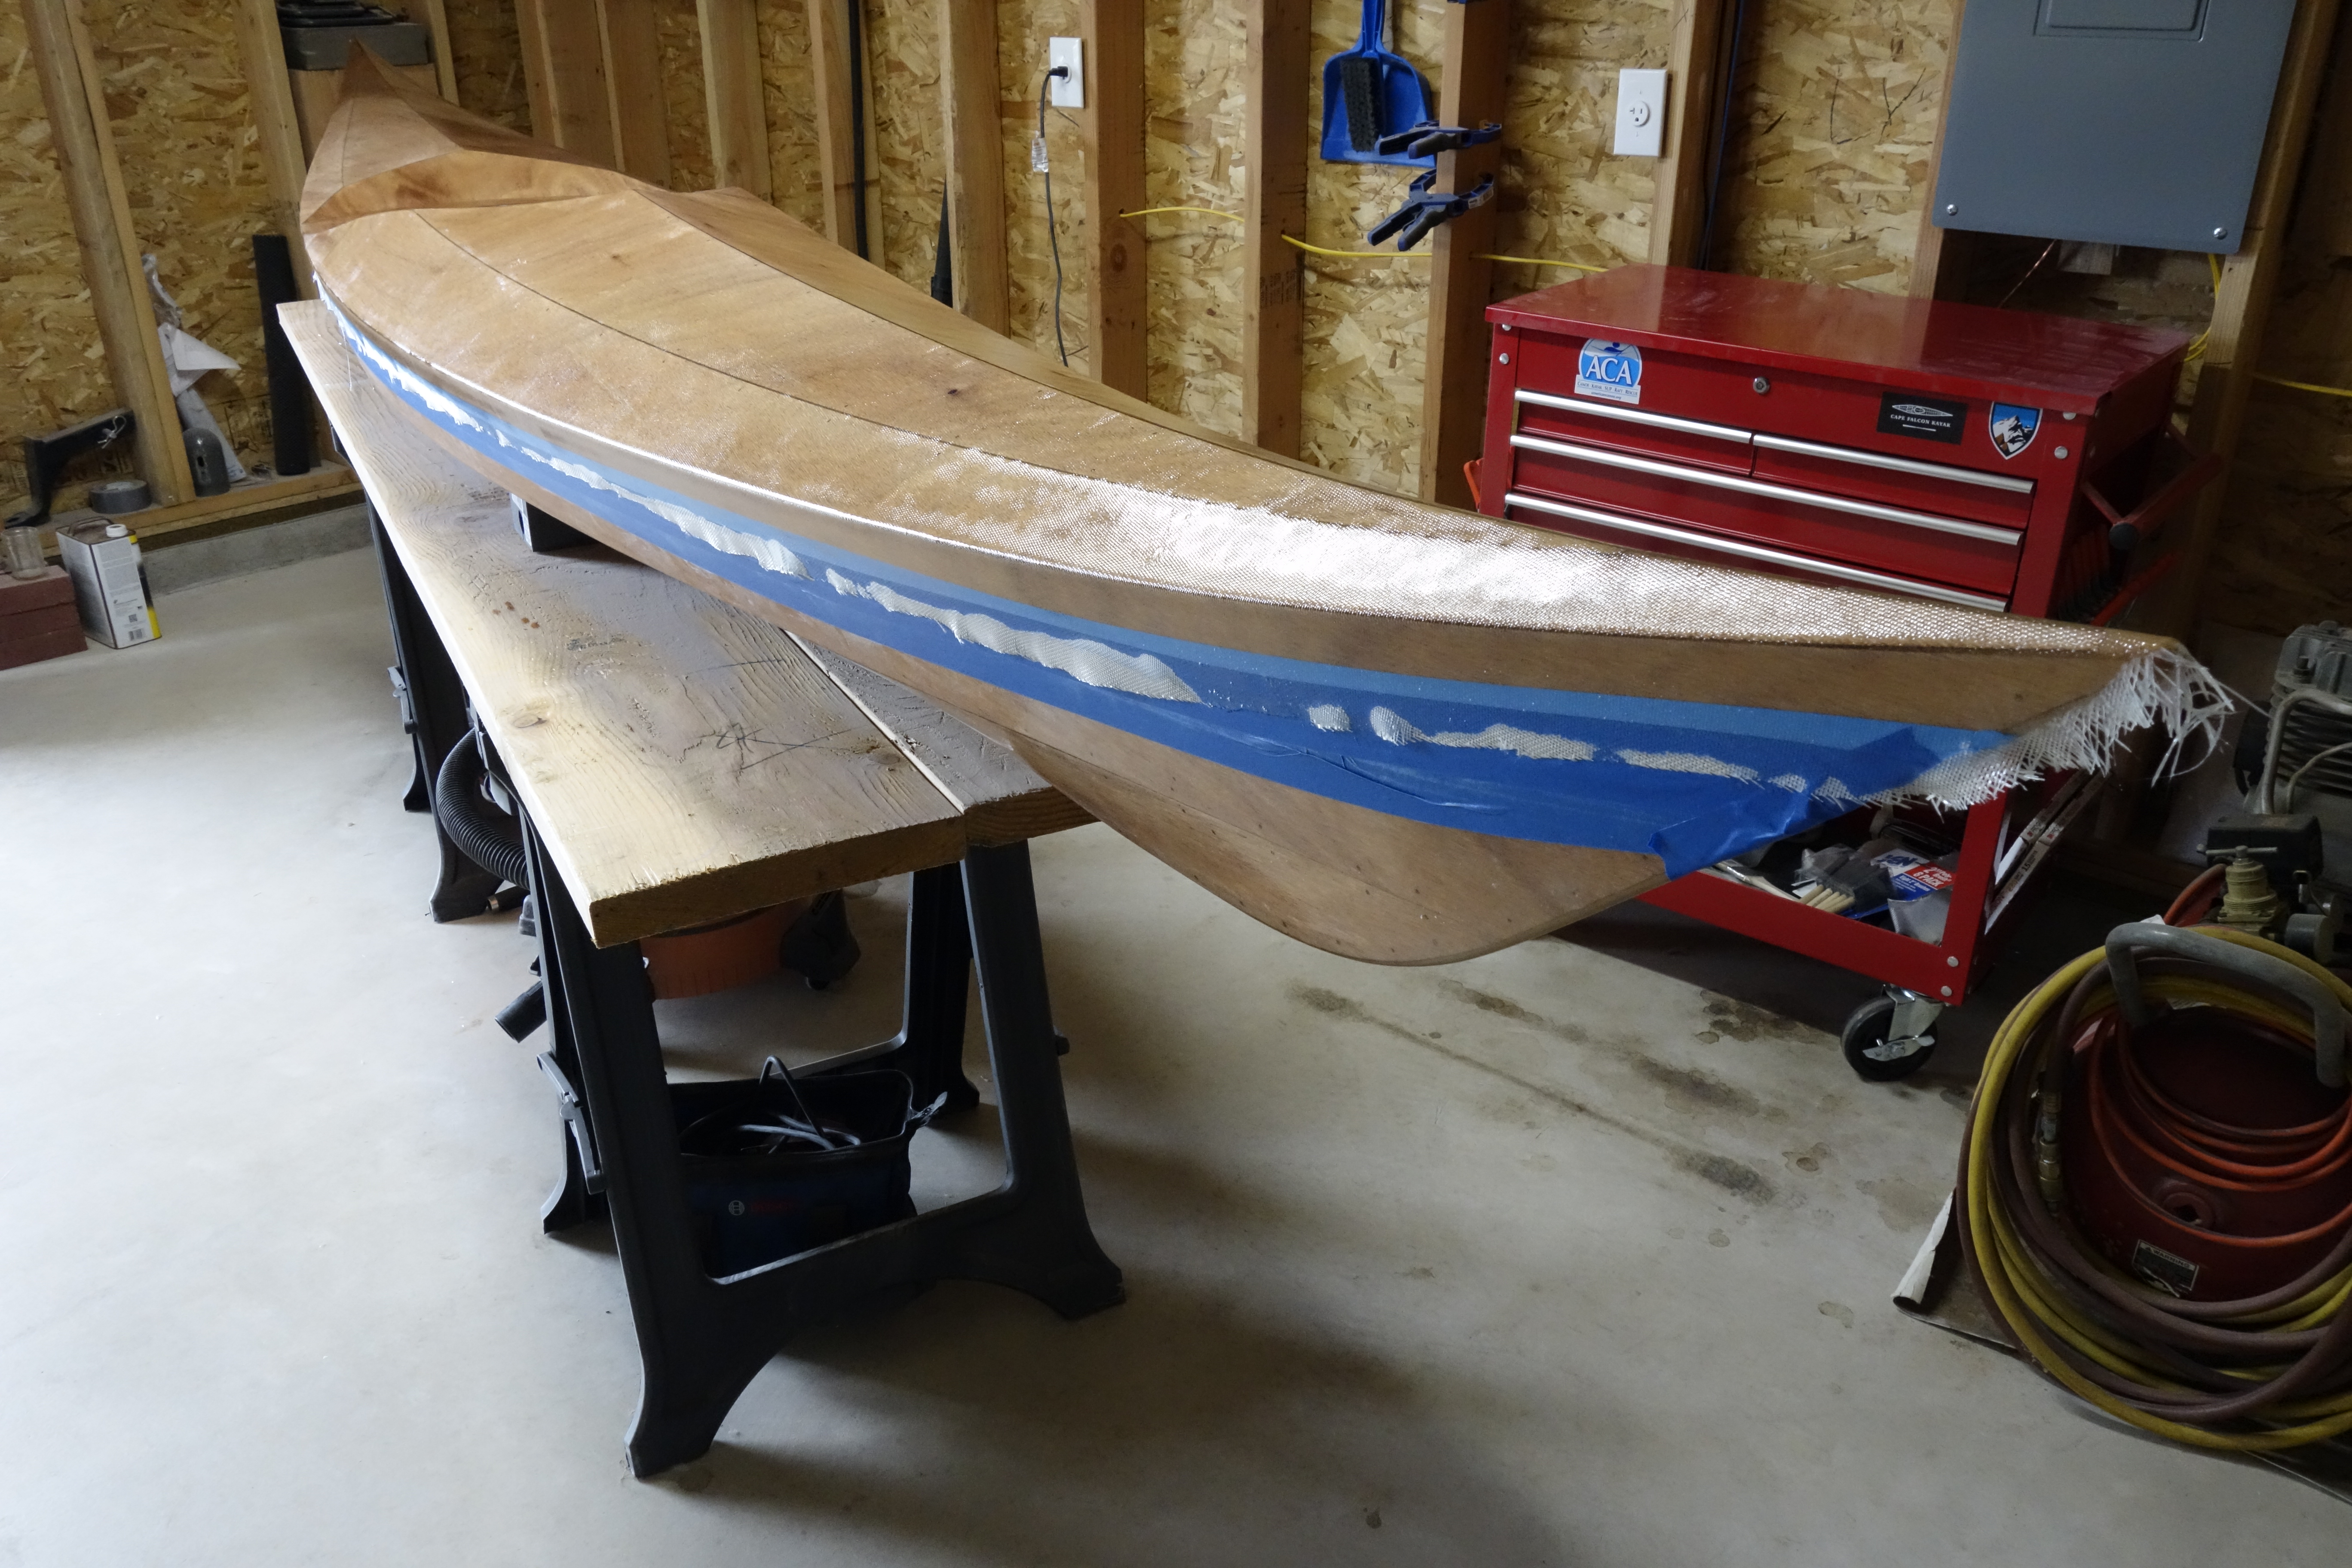
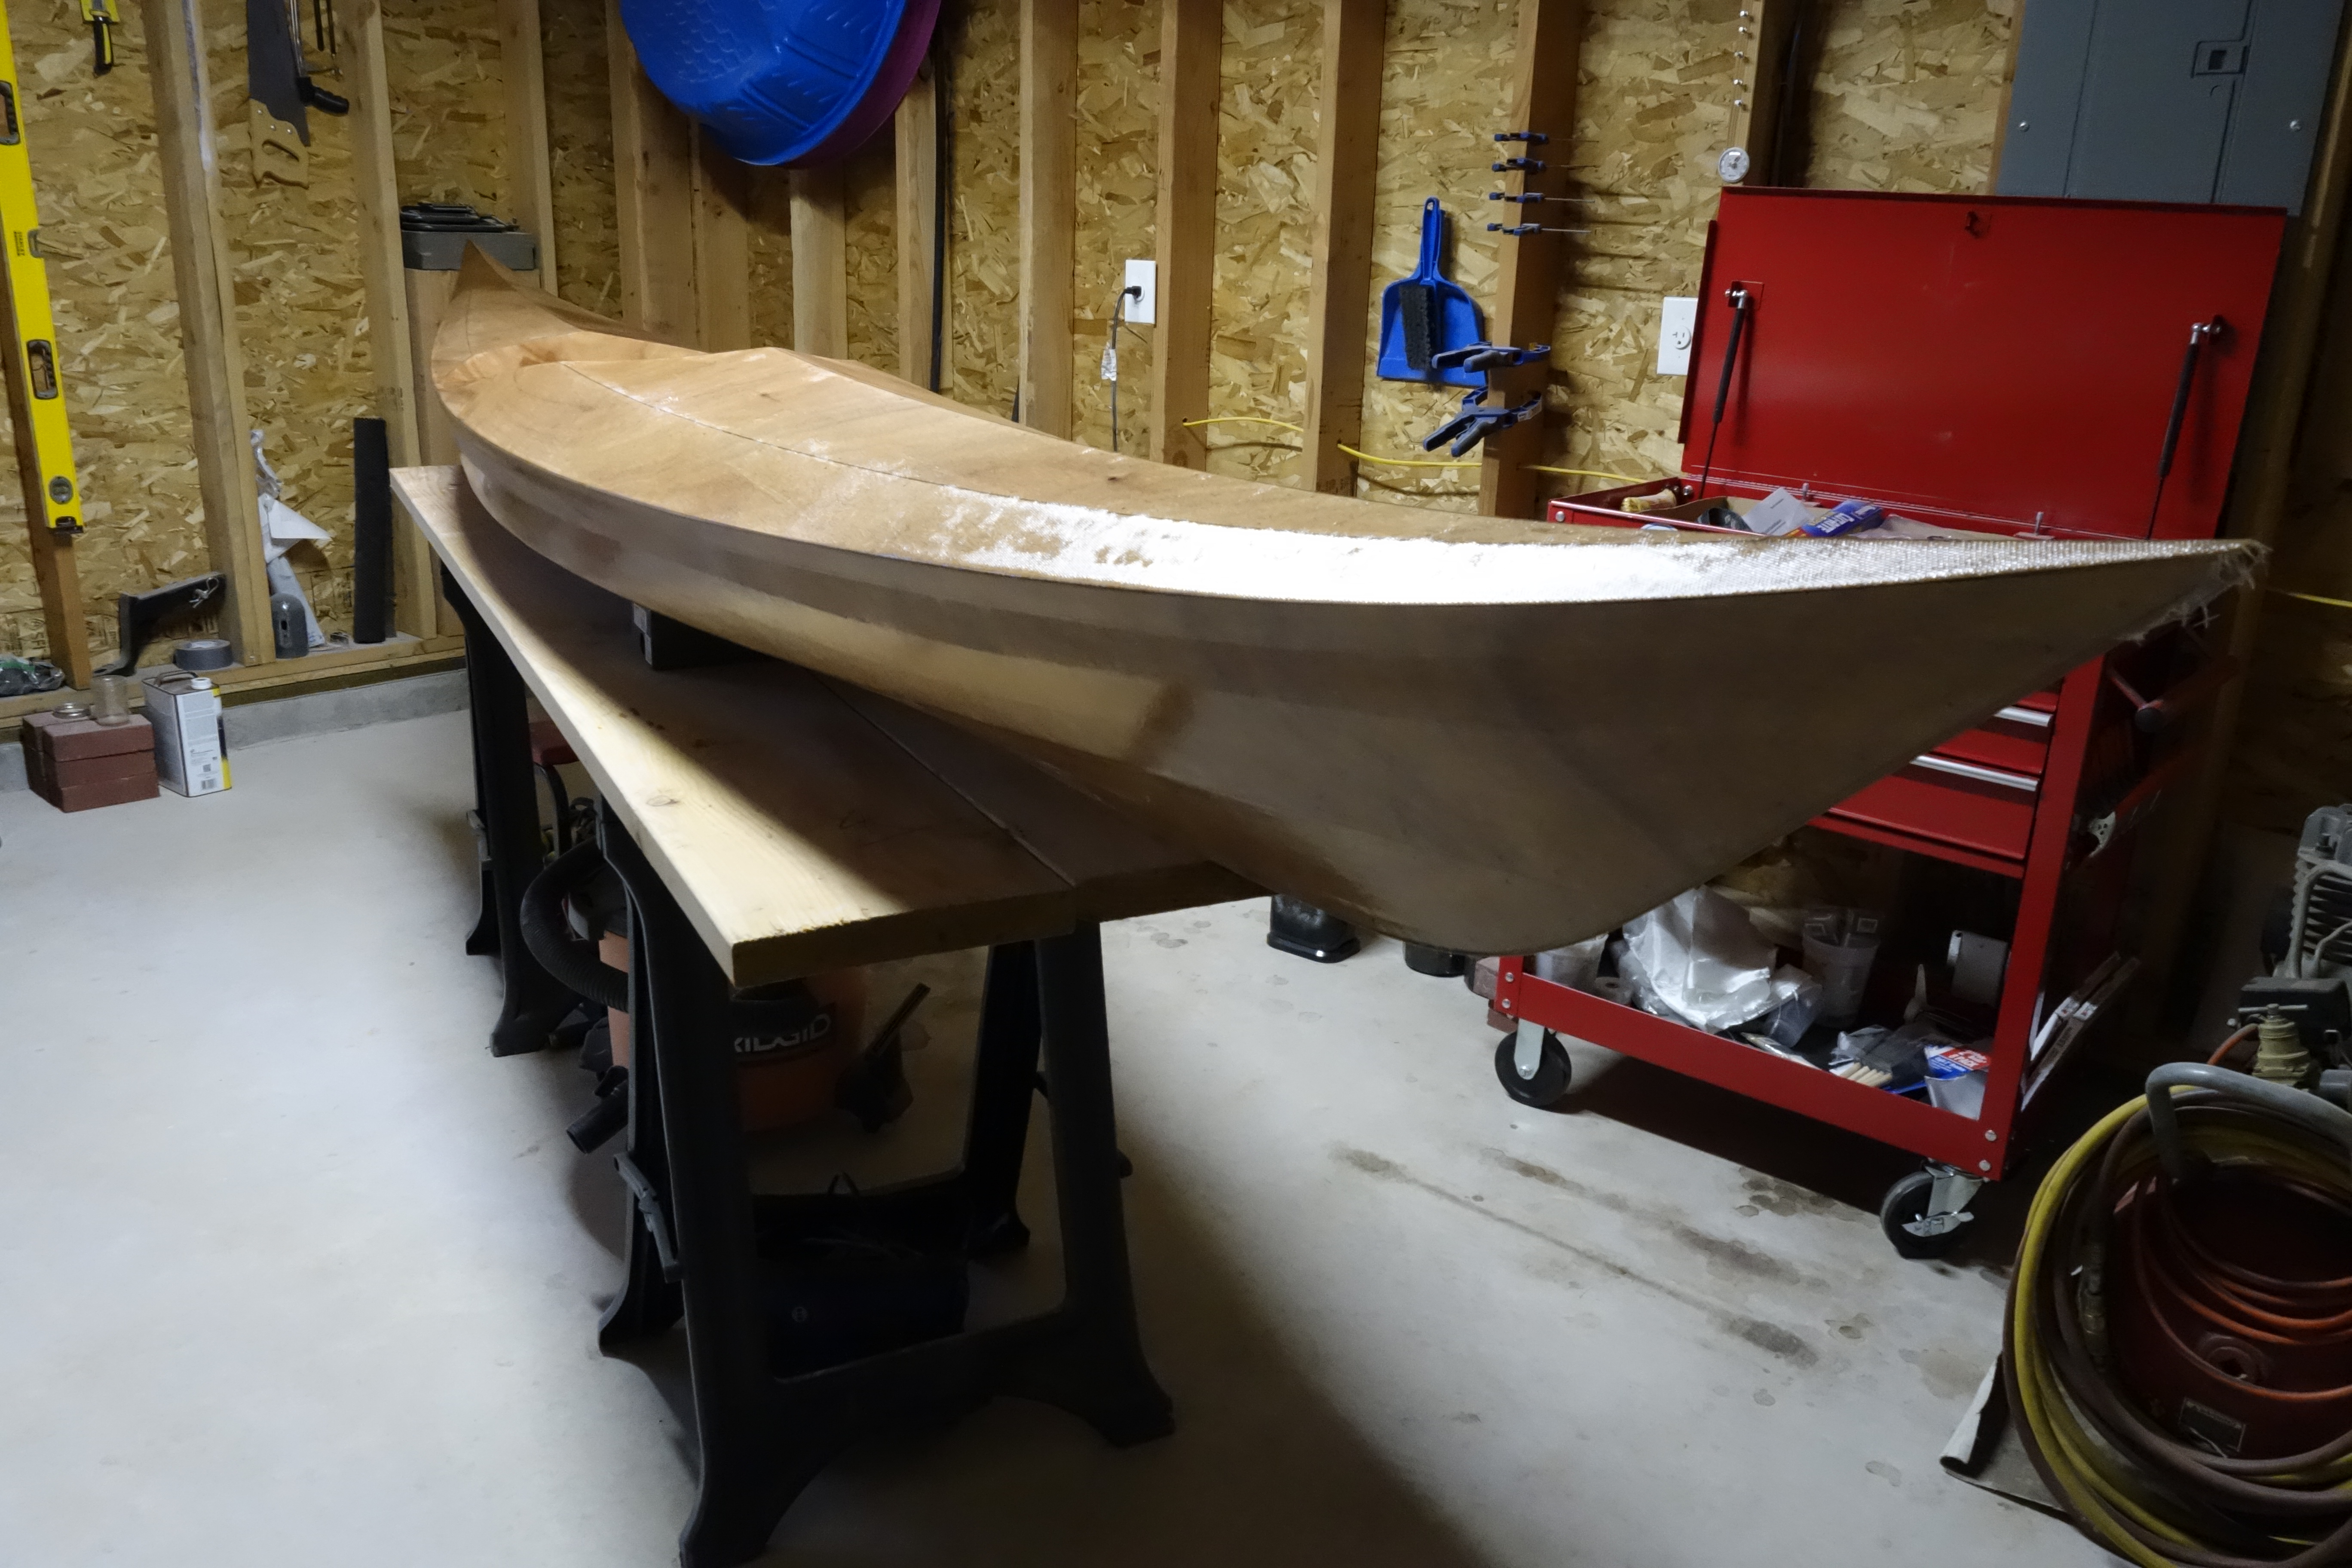
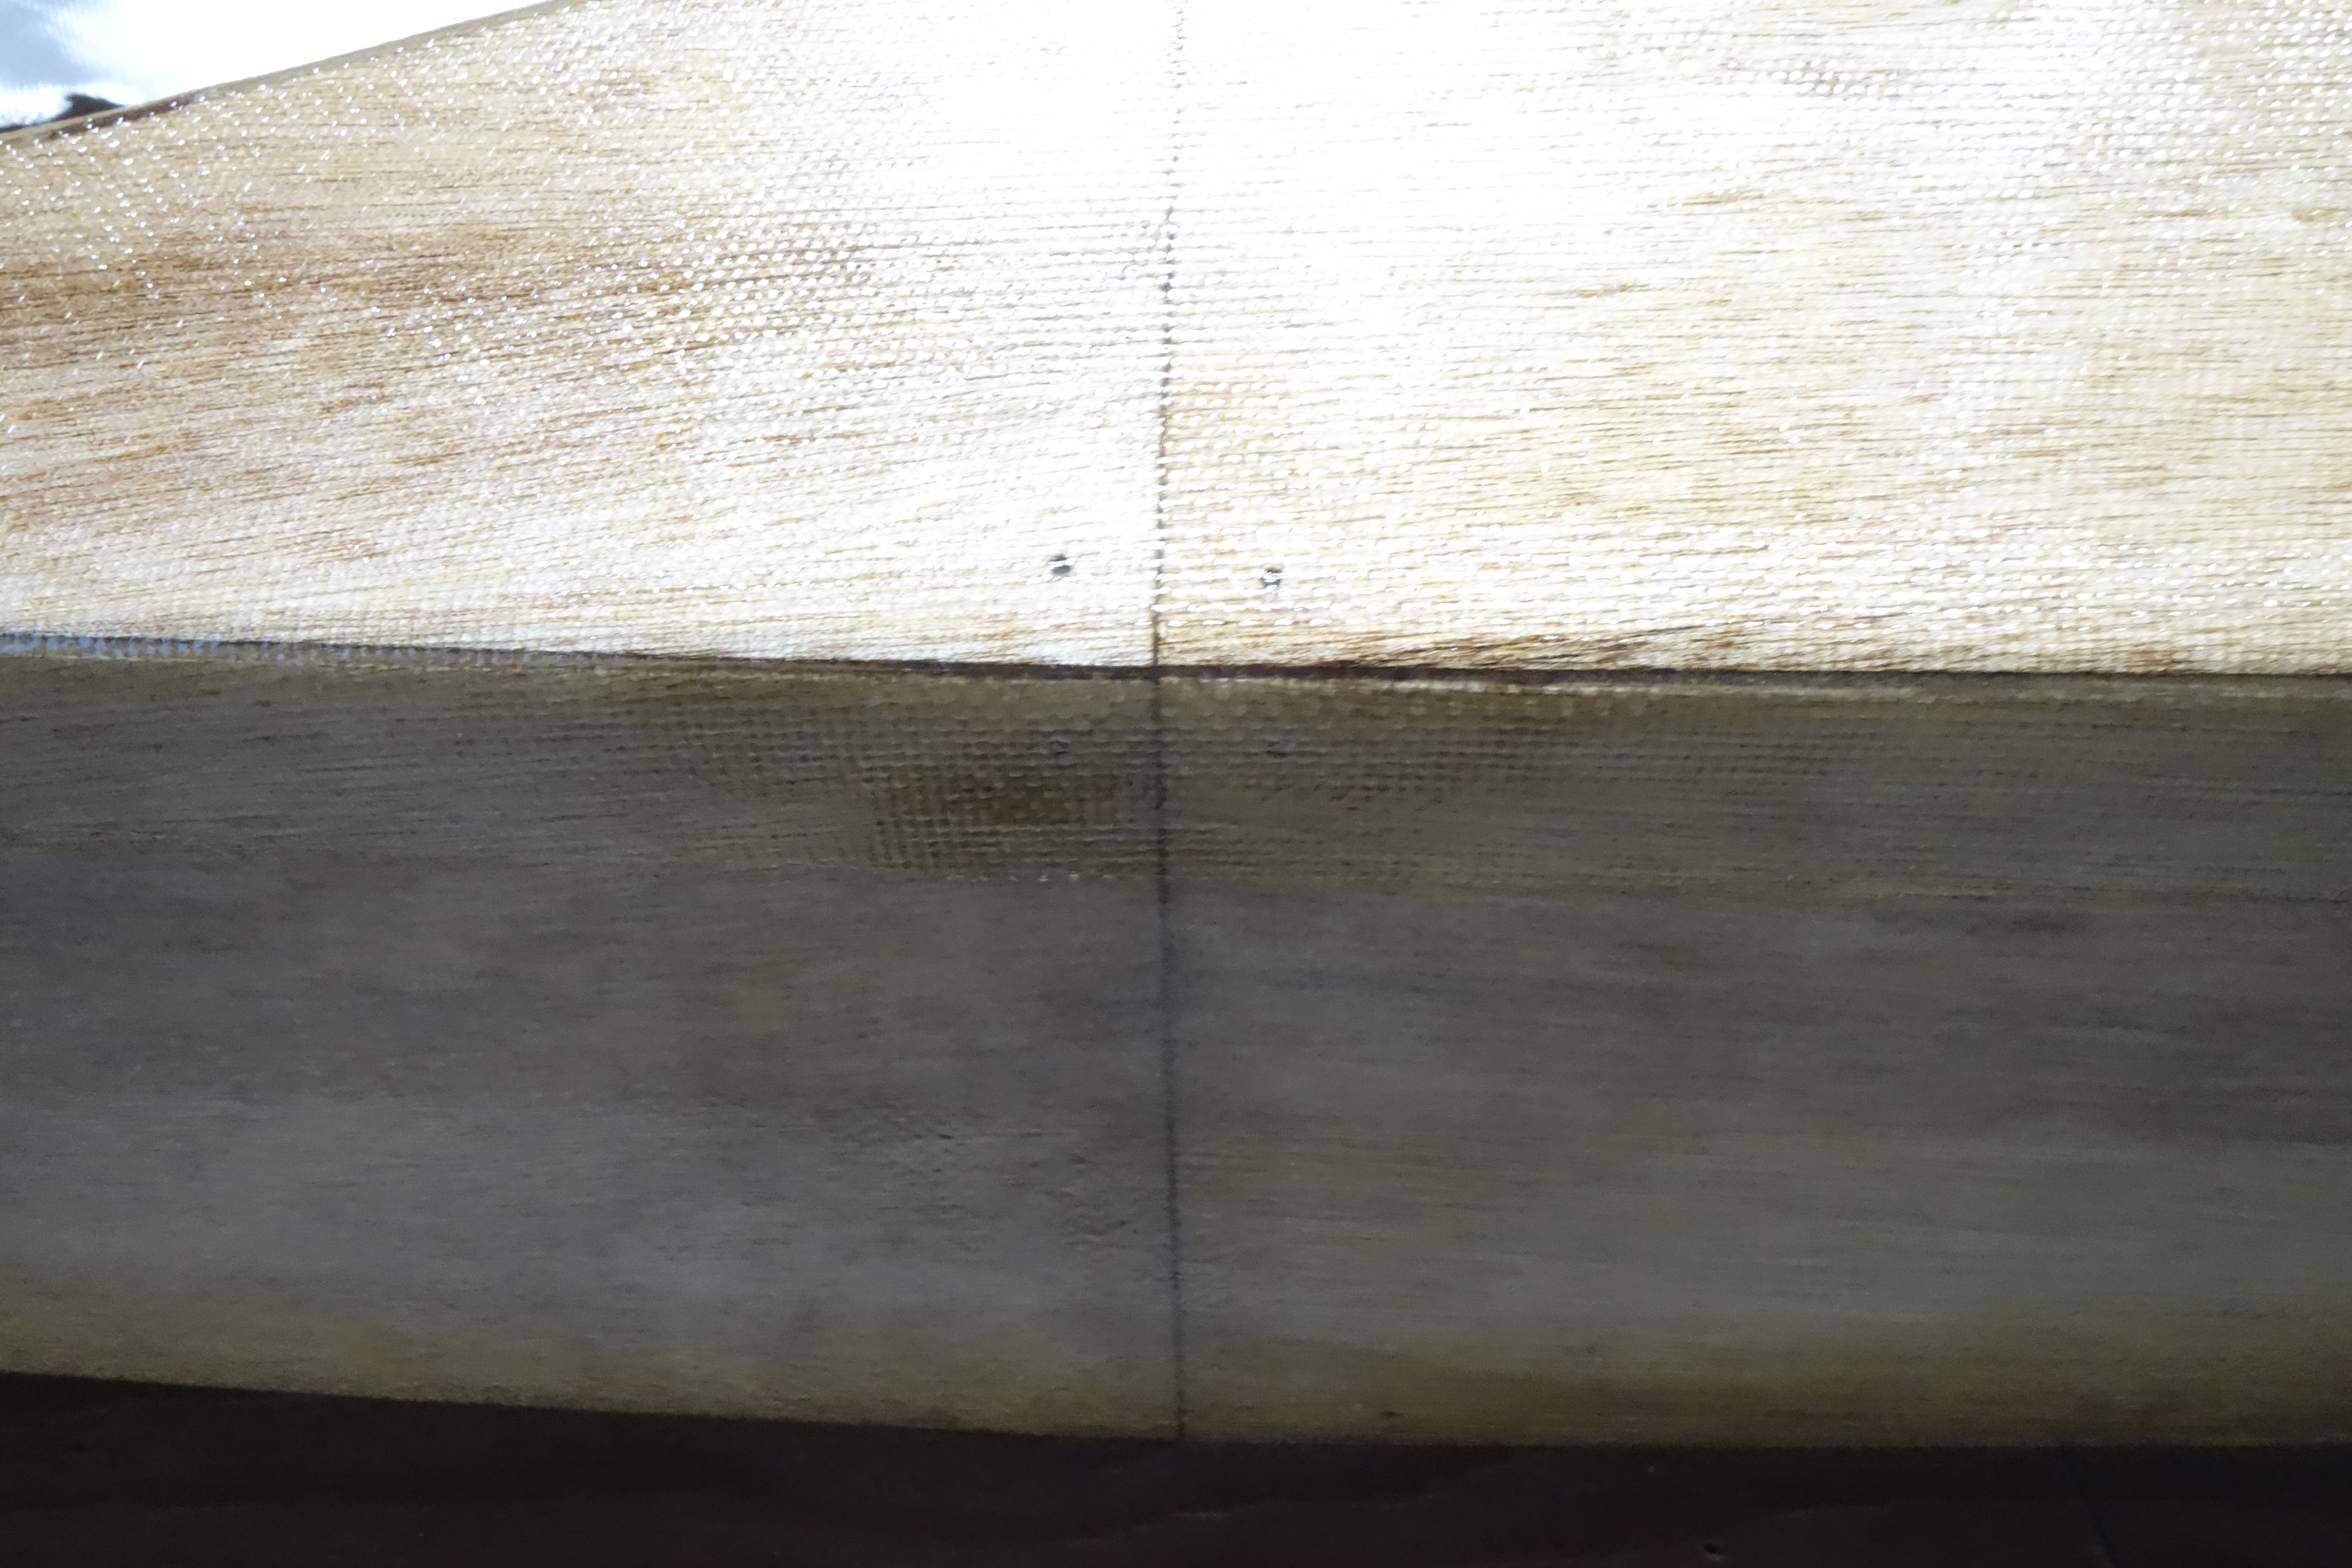
This is the first fill coat of epoxy after fiberglassing yesterday. I’ll apply another fill coat tomorrow and then sand, especially where fiberglass cloth overlaps on the cockpit apron and the hull. Then a final fill coat. If you look closely at the photo above of the bow tip, you can see that I have sanded smooth the bits of fiberglass cloth that were sticking out from the bow tip. Things are coming along. After all of the fill coats and sanding the next step is to build the cockpit coaming. EDIT: My intention was to do another fill coat the day after this post, but as per my comment at the top of this post about working in an unheated garage, this first fill coat wasn’t cured enough to sand yesterday.
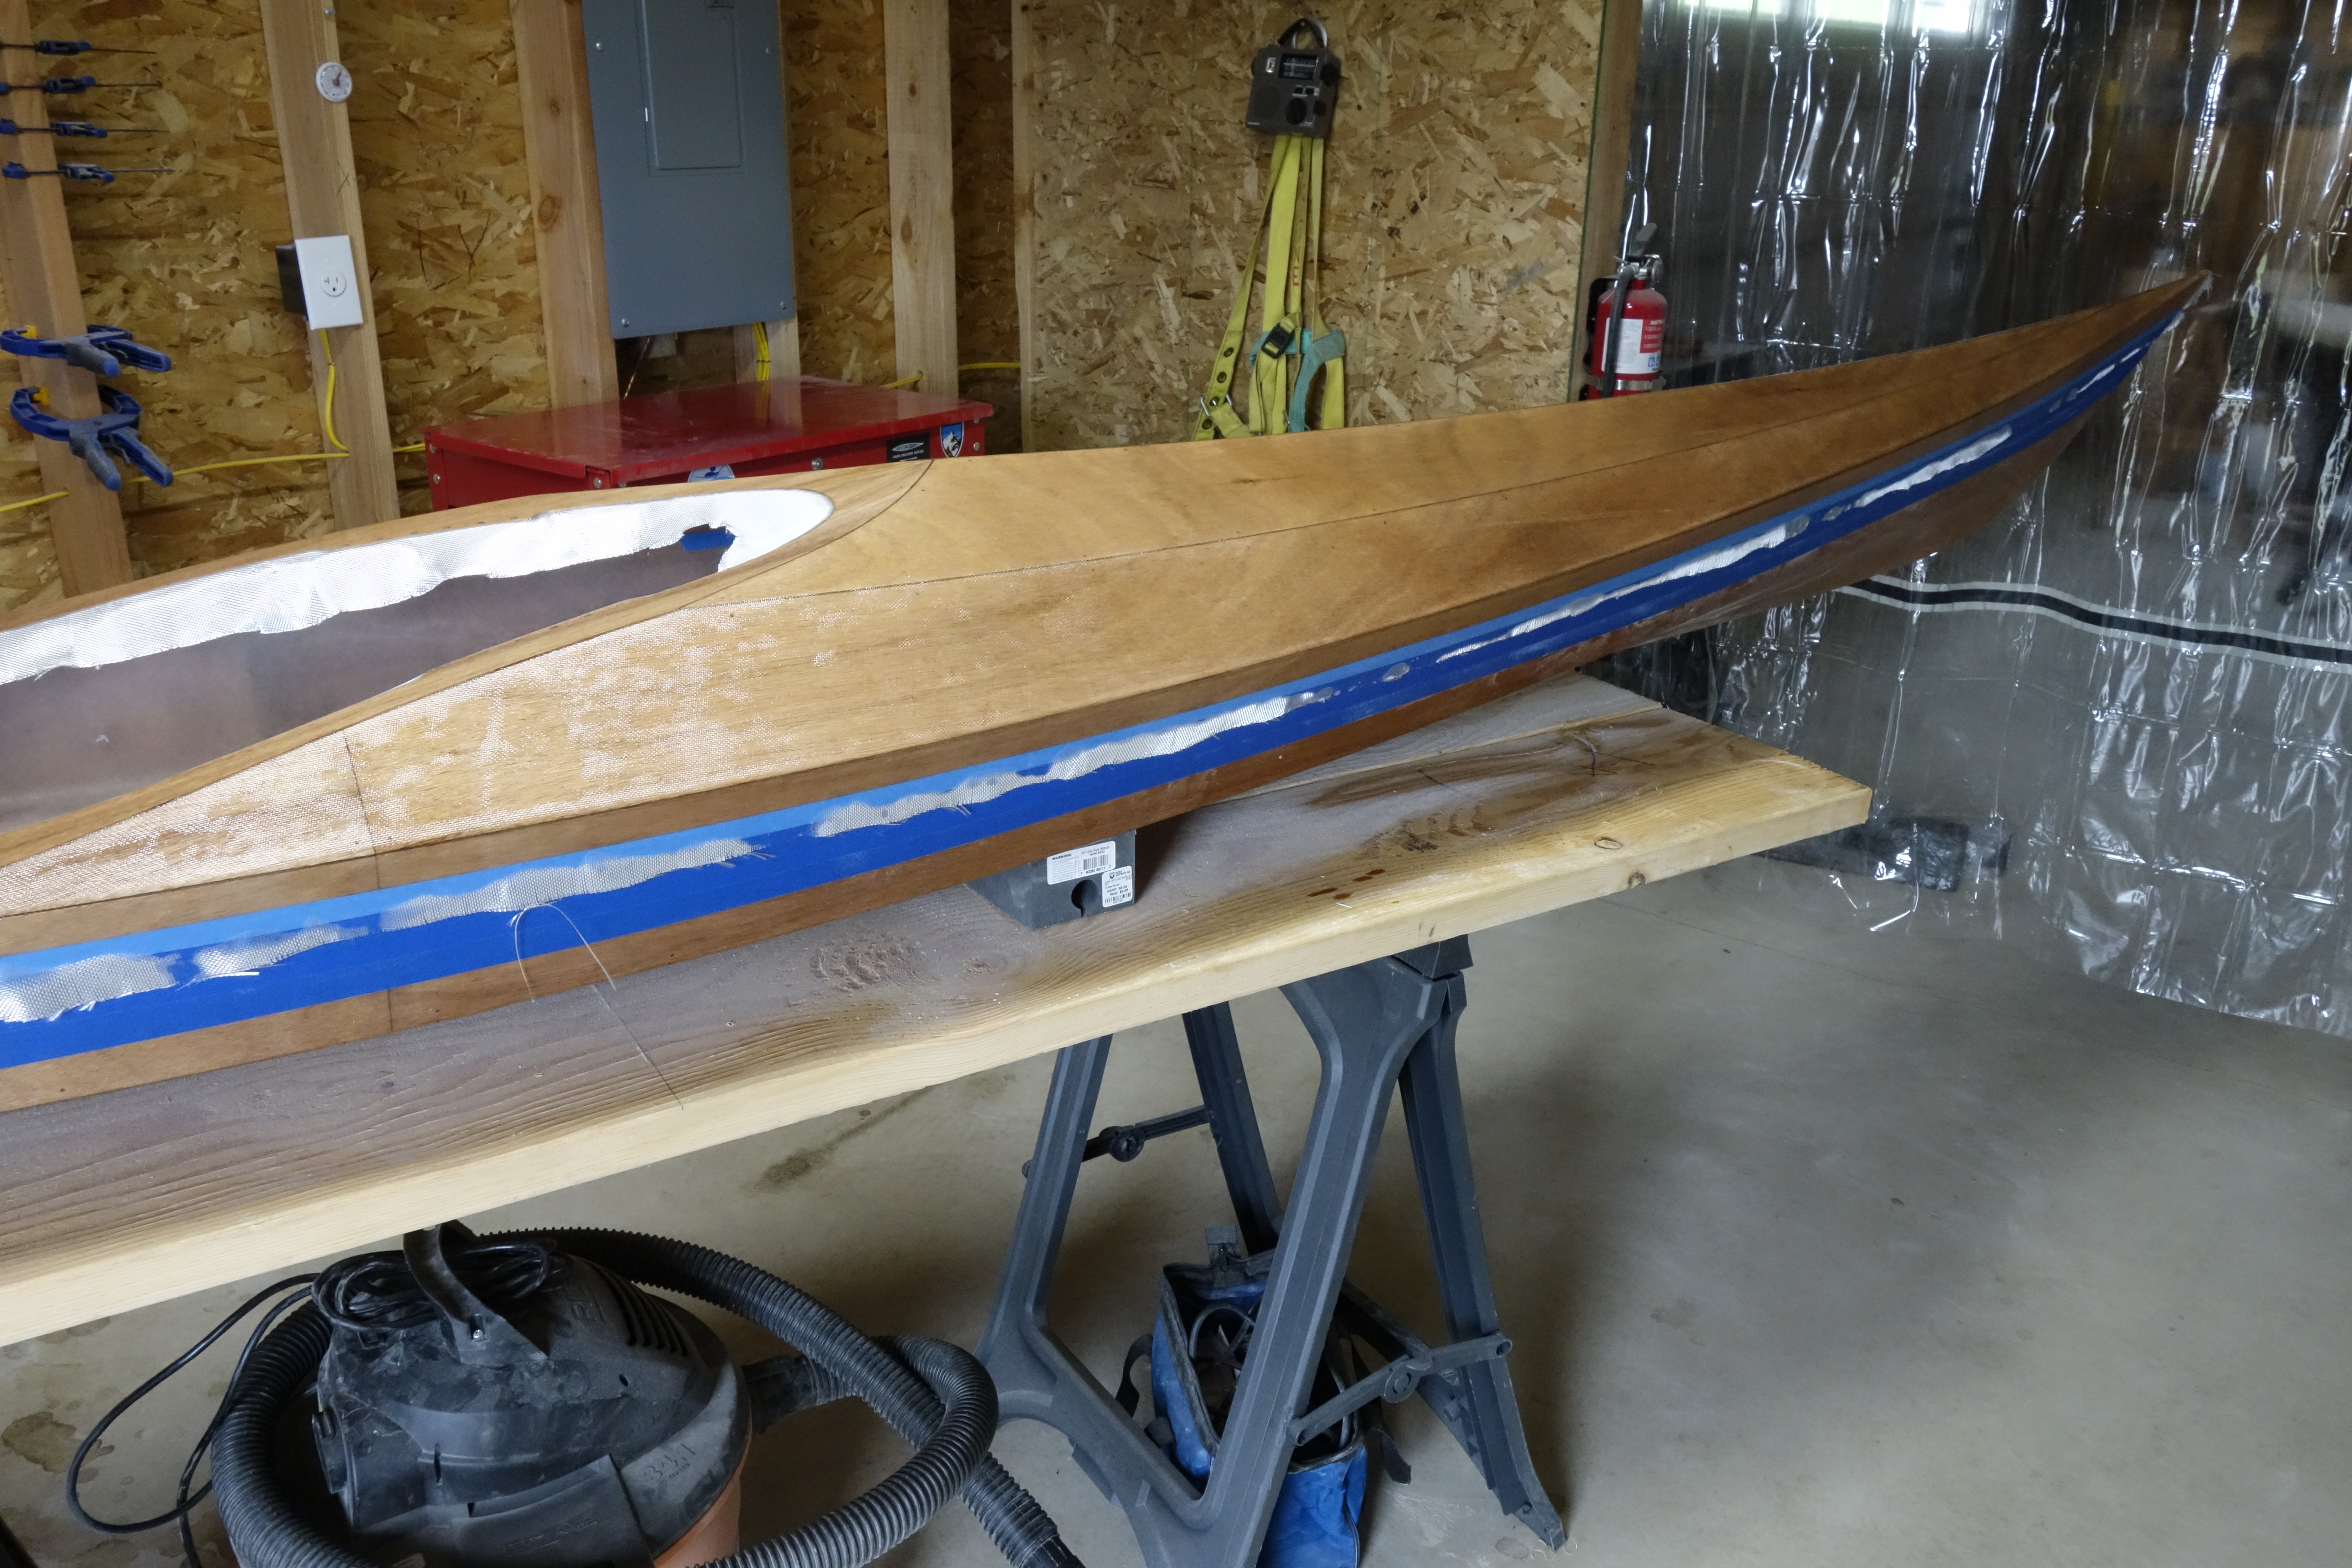
Fiberglassing the deck was more challenging for me than fiberglassing the outside of the hull was, and getting the cloth to lay down smoothly on the hull just past the shear seam required a lot of careful attention to detail and a bit of swearing. It came out fine, but it was an hour of focused intensity which I am happy that I don’t have to repeat anytime soon. I found this to be every bit as challenging as getting the fiberglass to lay down inside the hull. I can’t help but wonder if everyone has a bit of a struggle with this or if it’s just me! Oh well. It’s done, and I can move on to the fill coats and sanding. Then the cockpit coaming.
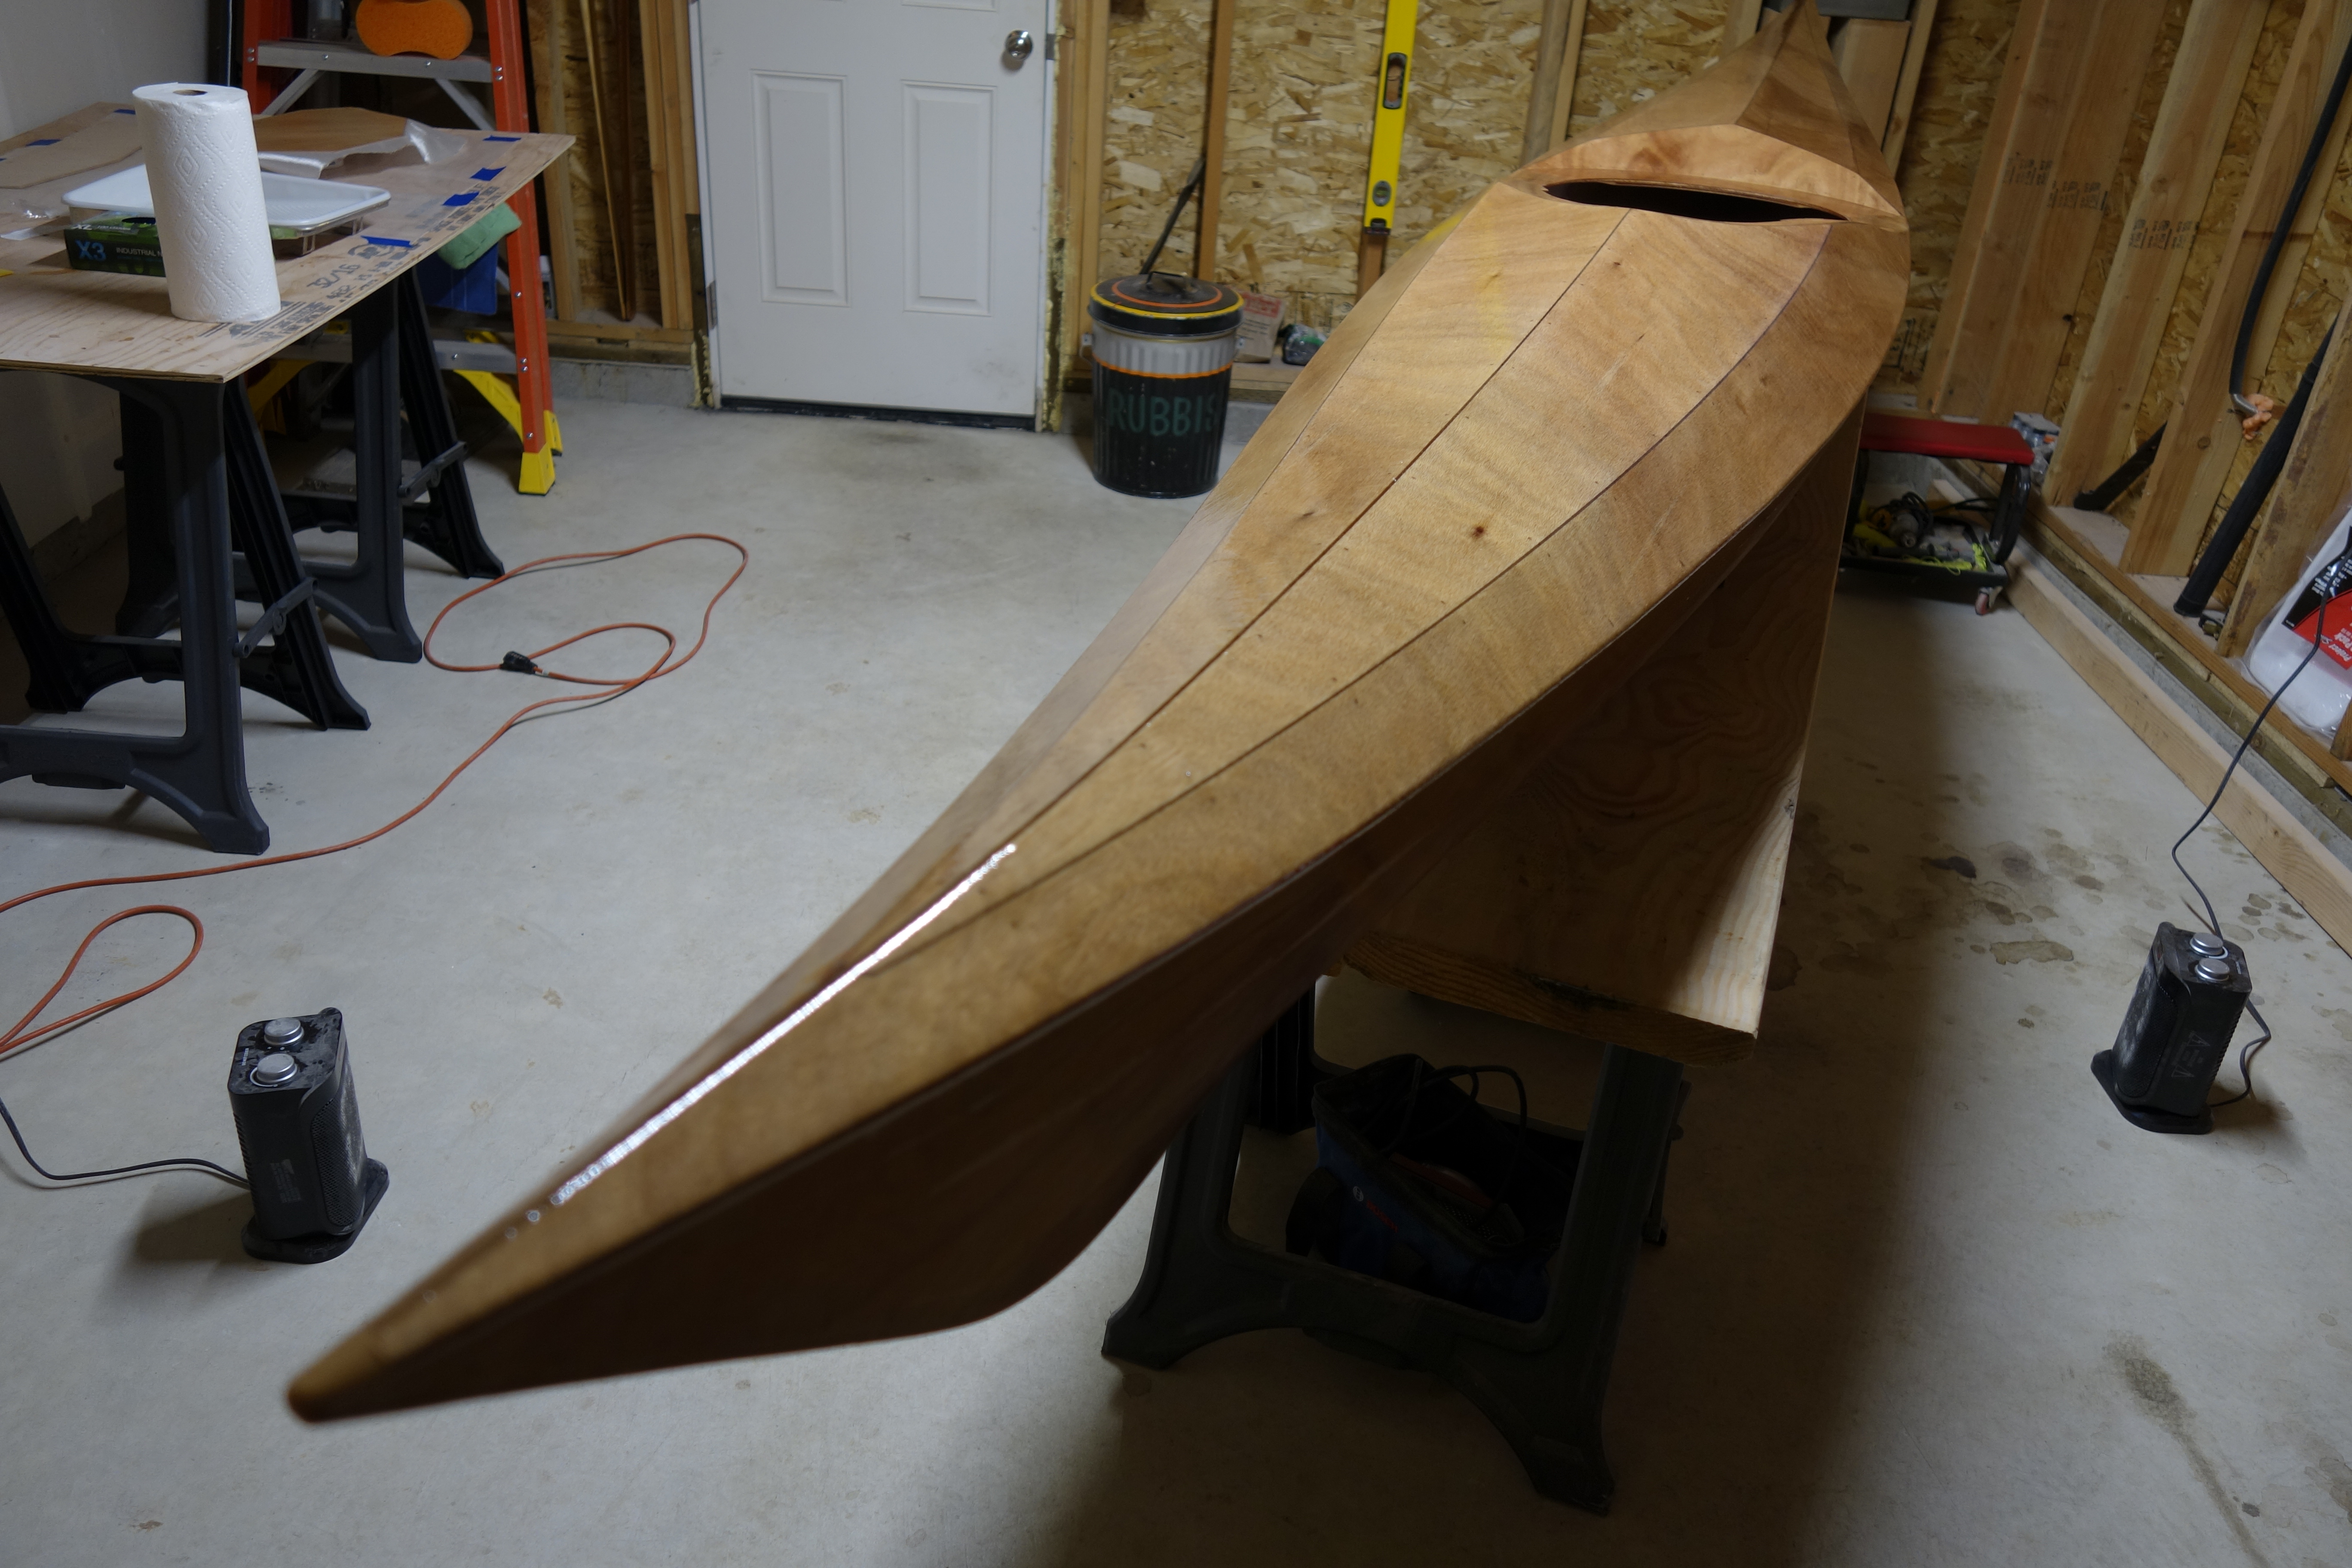
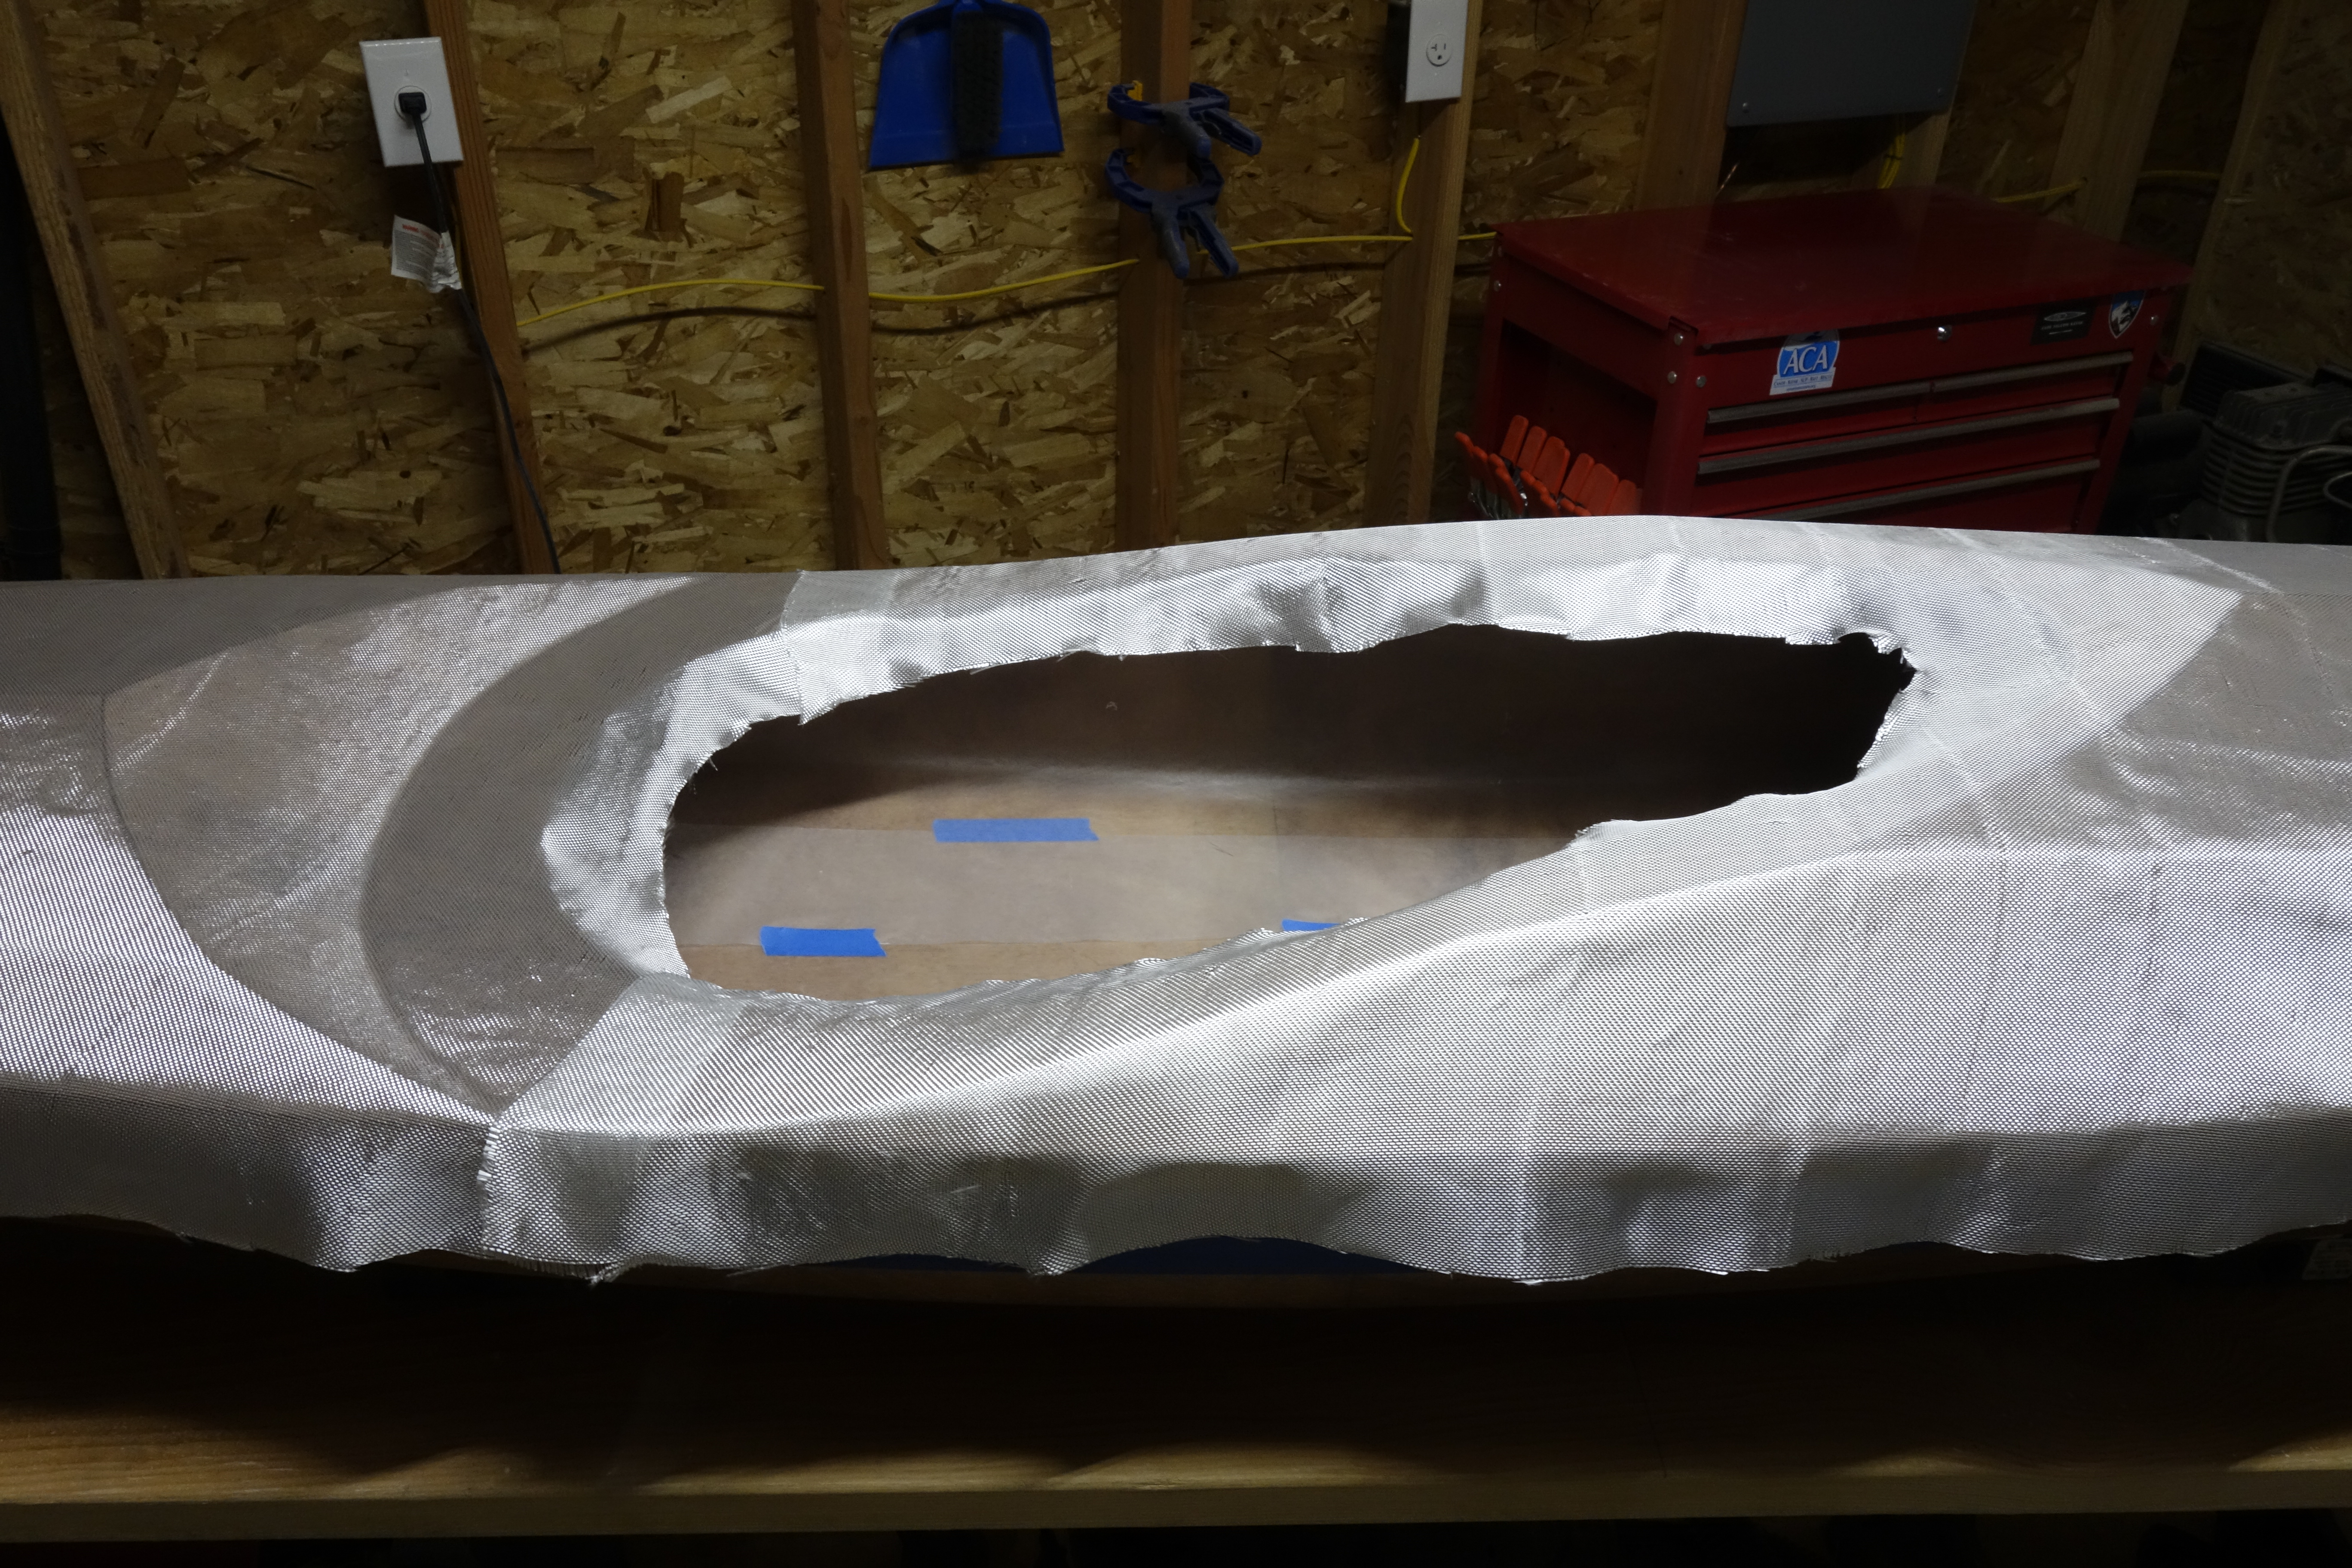
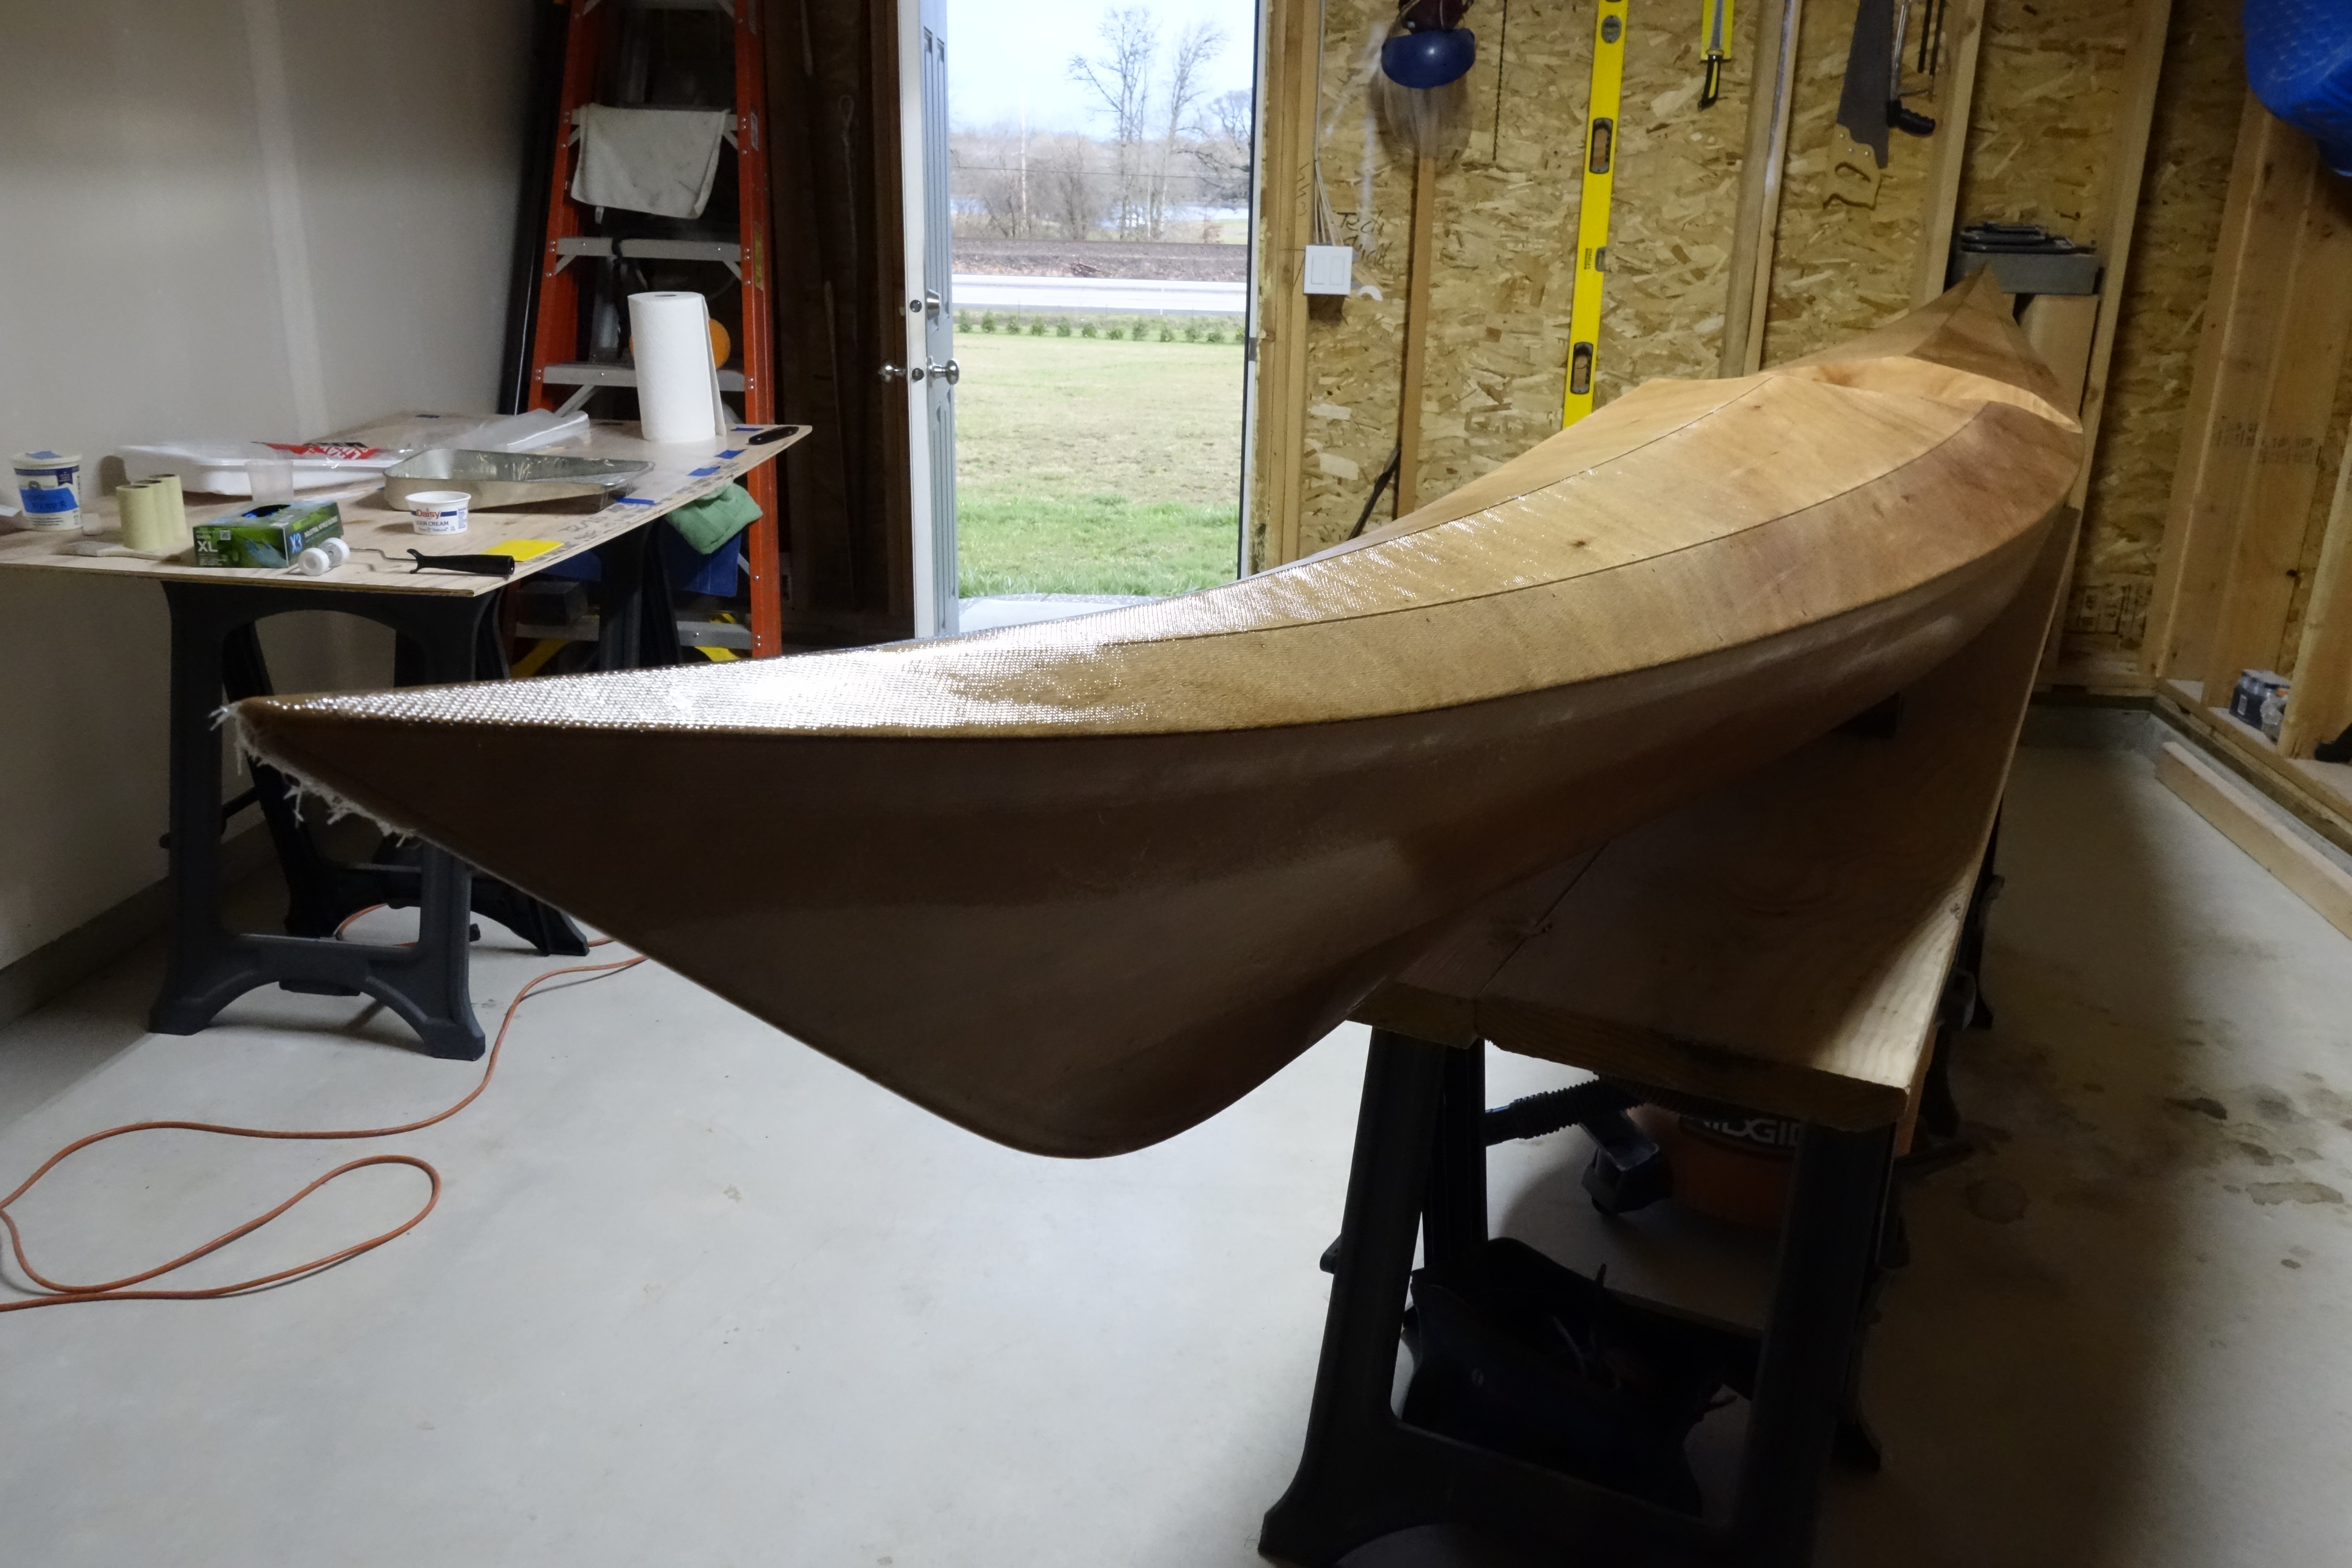
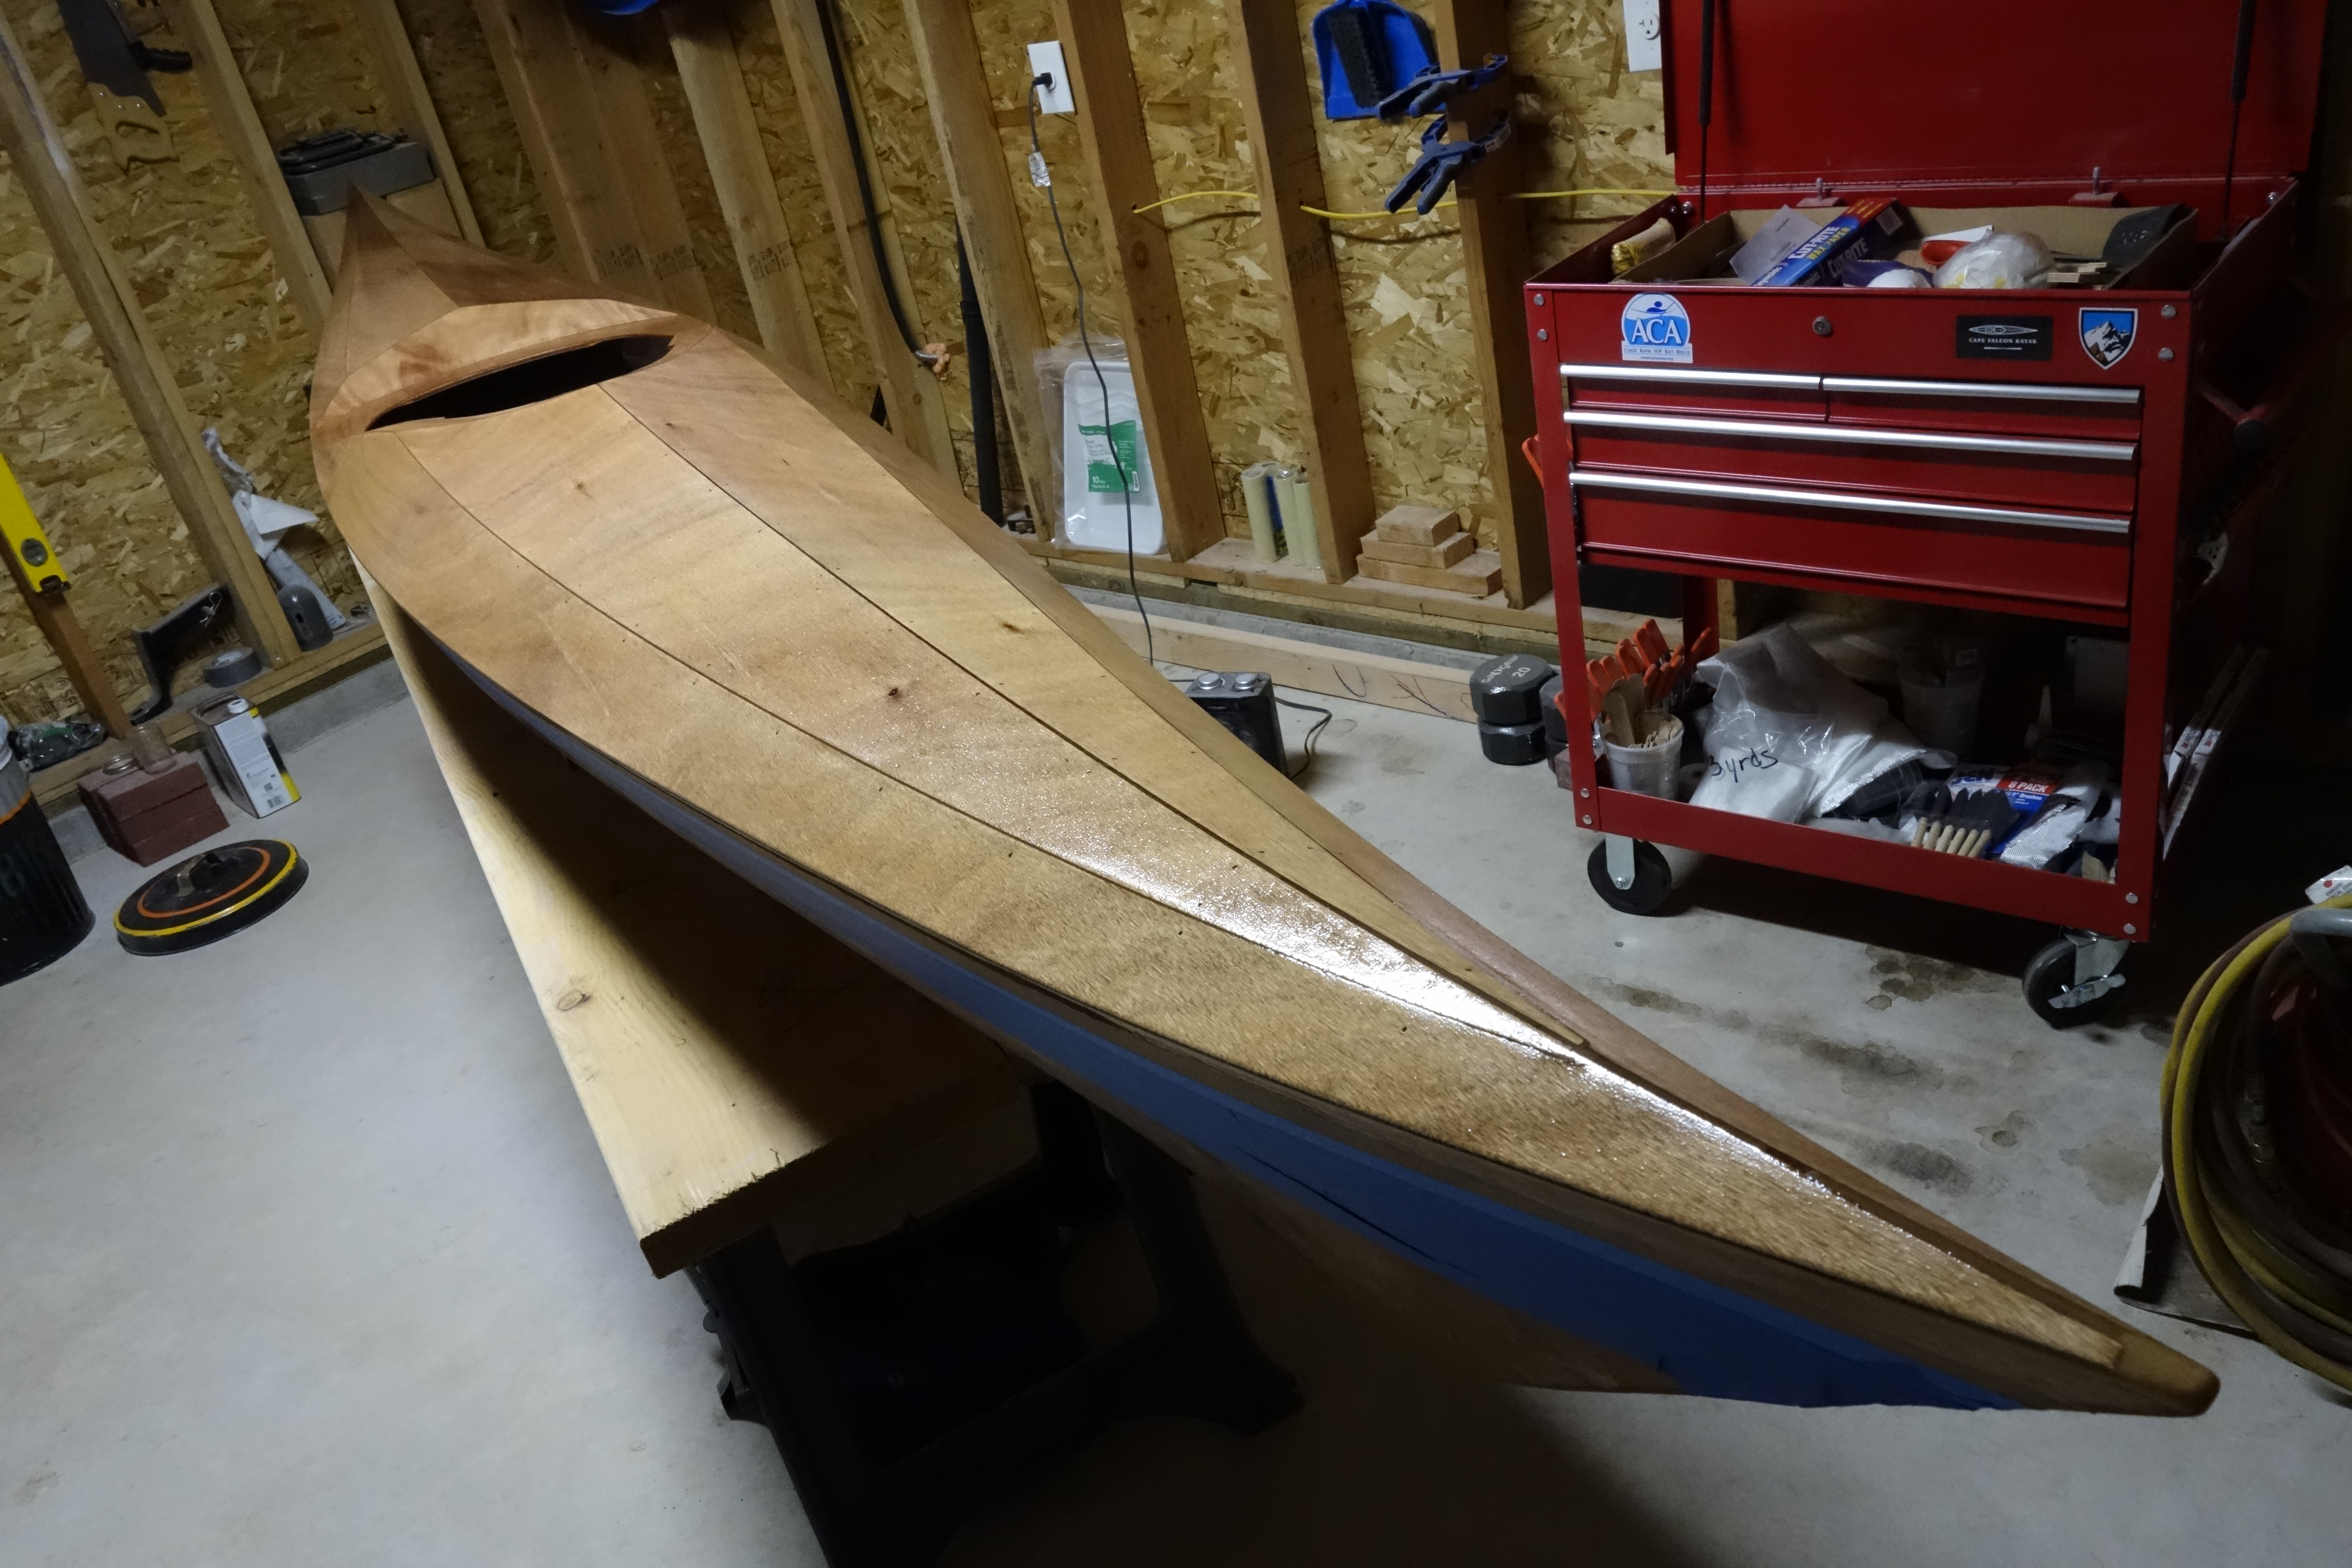
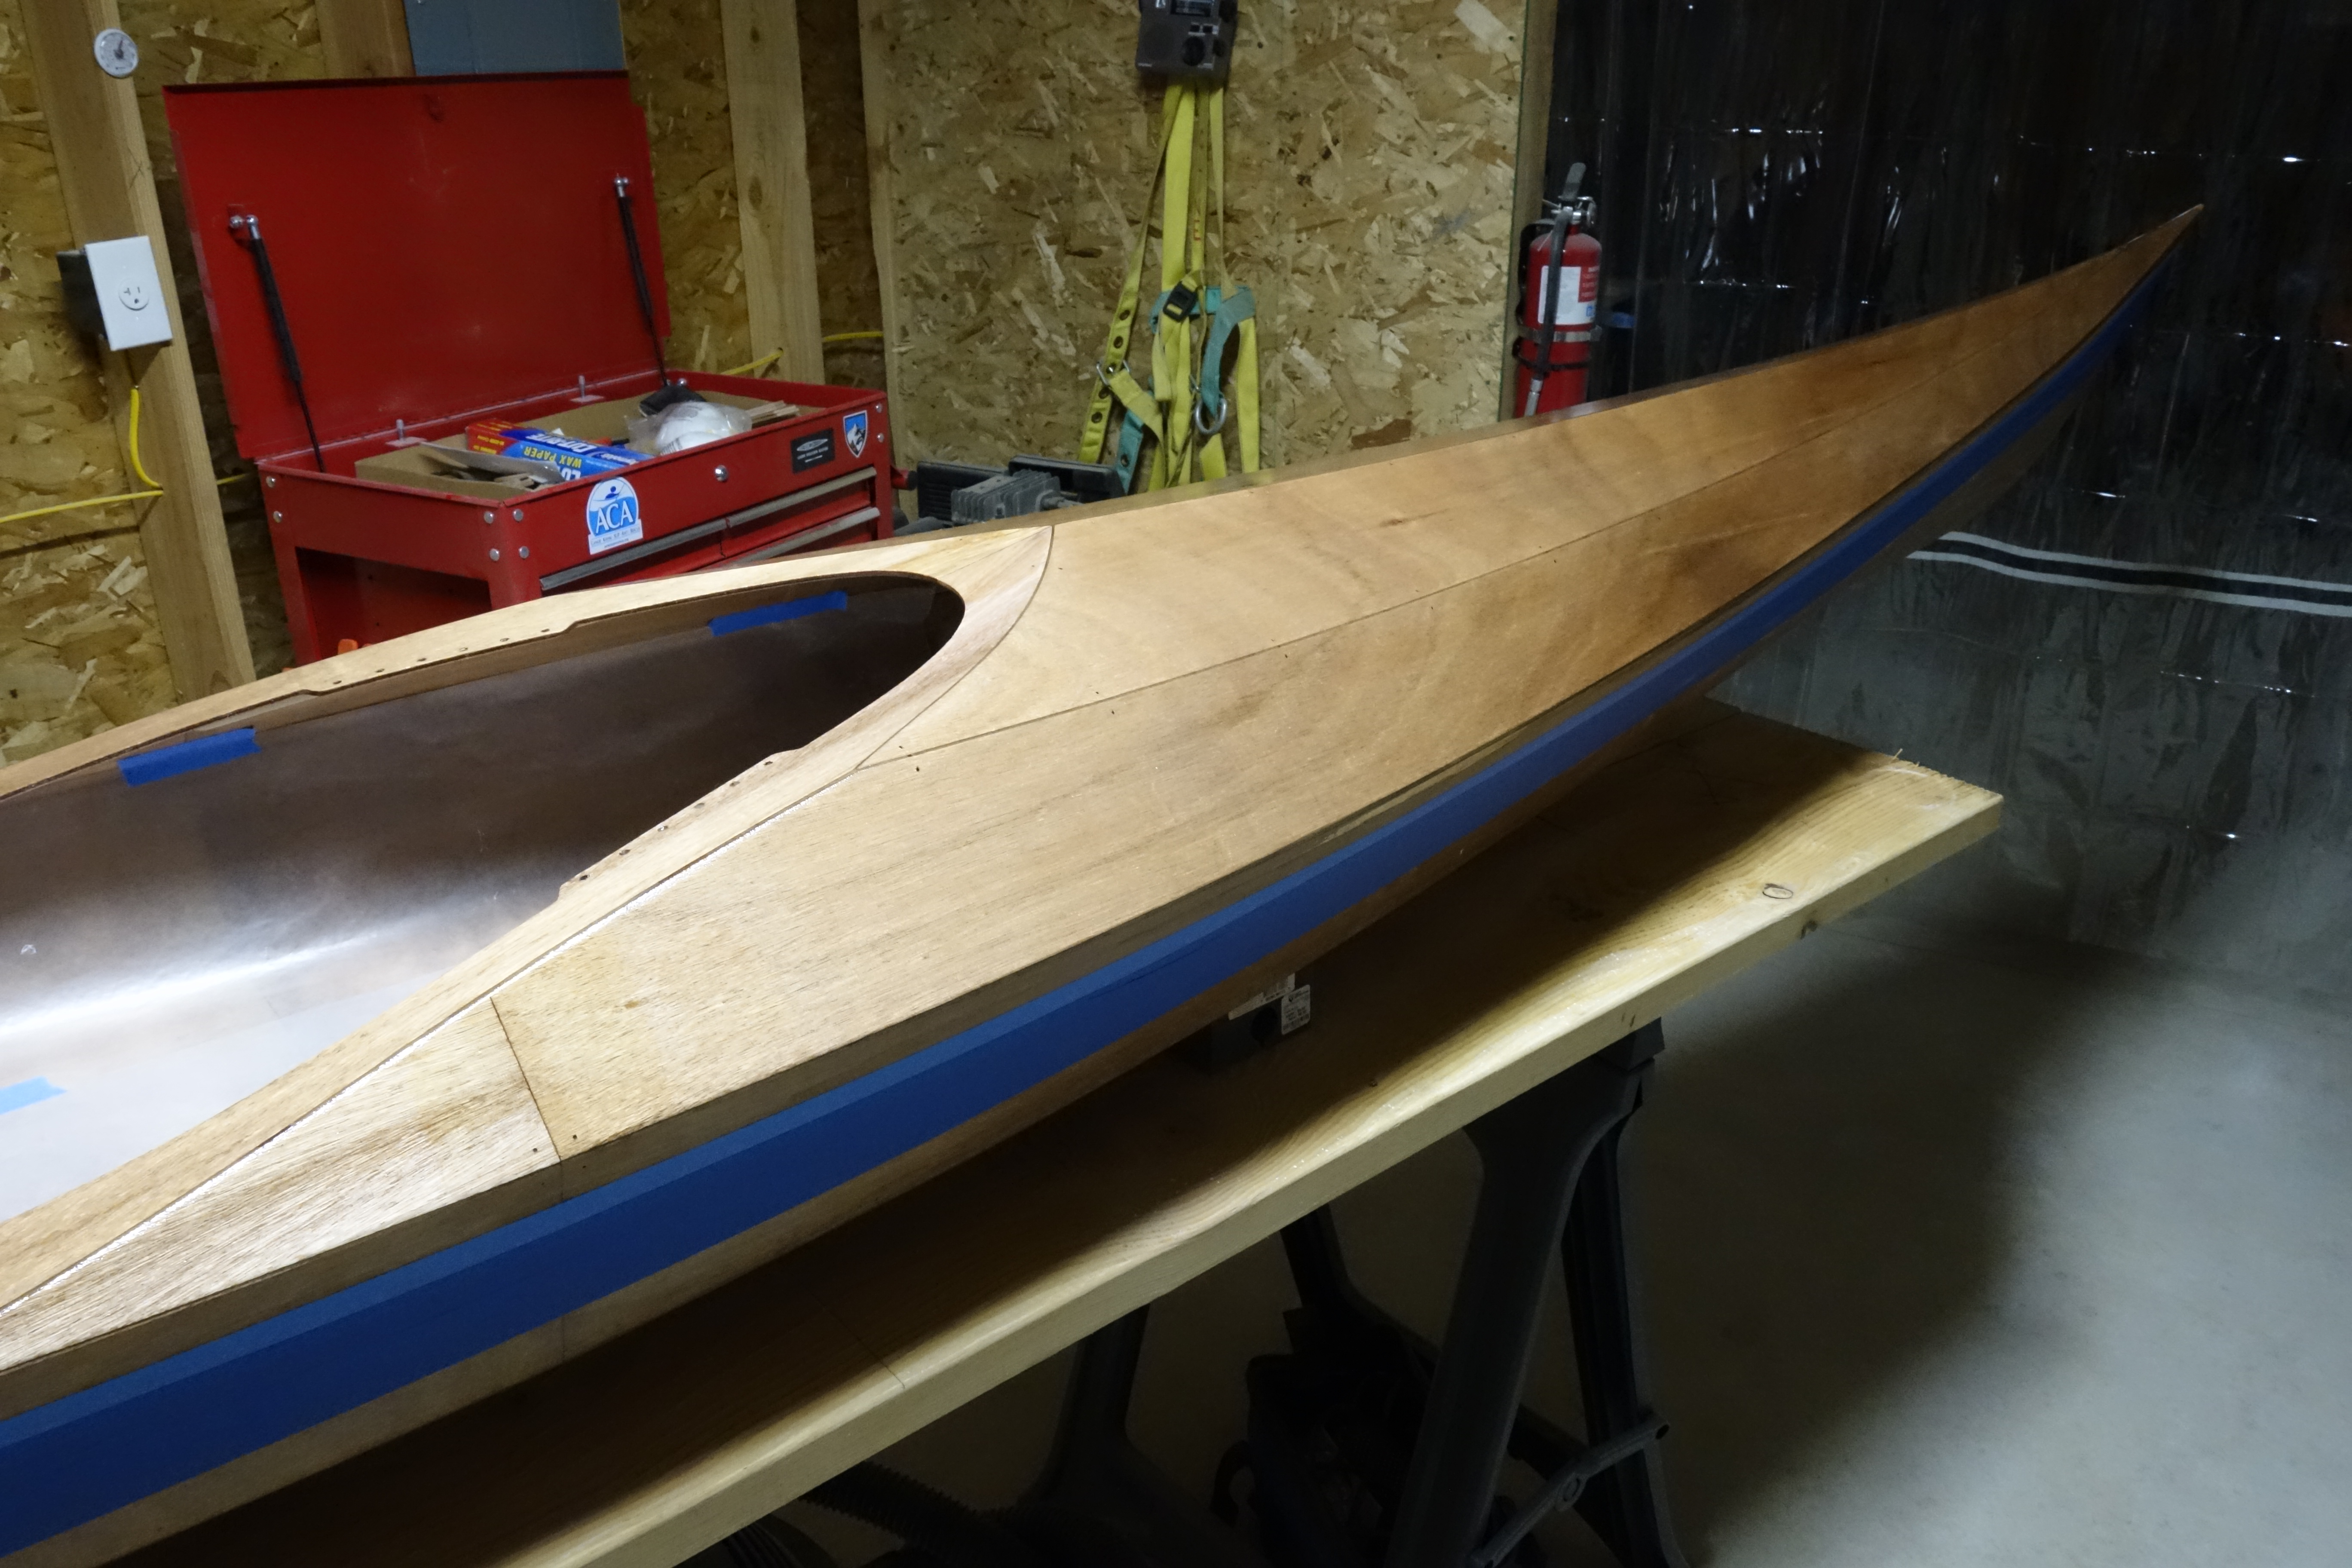
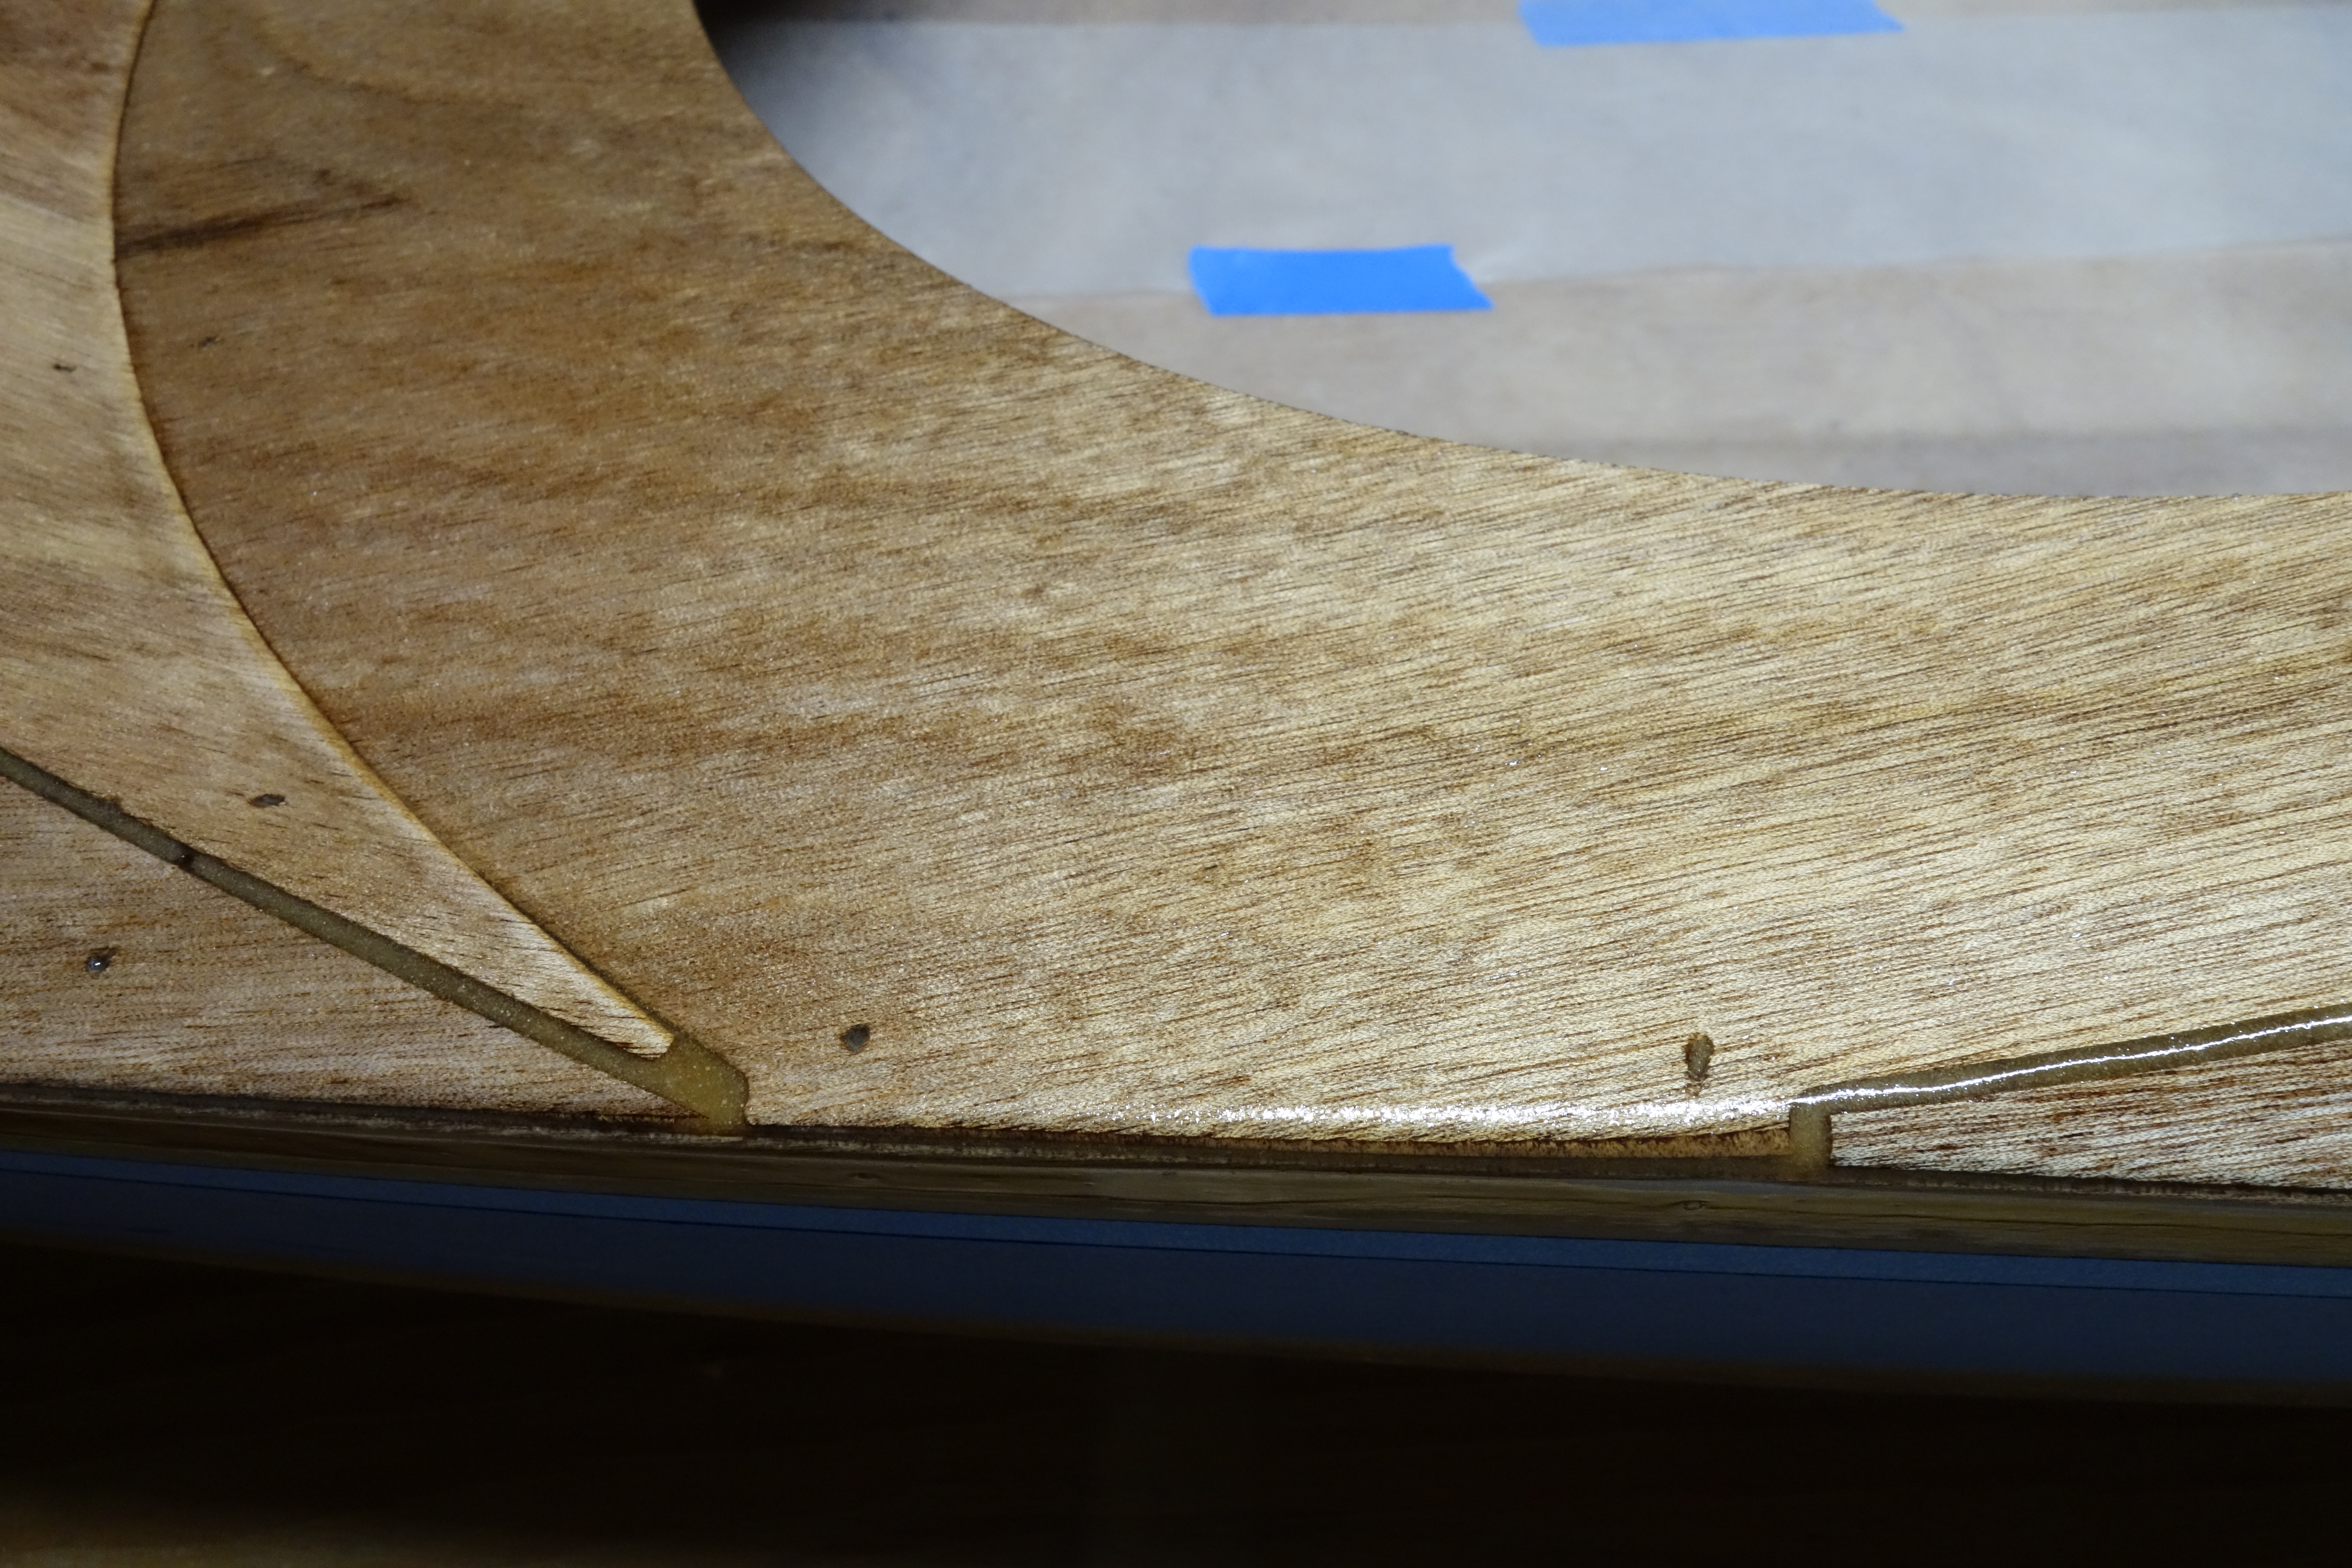
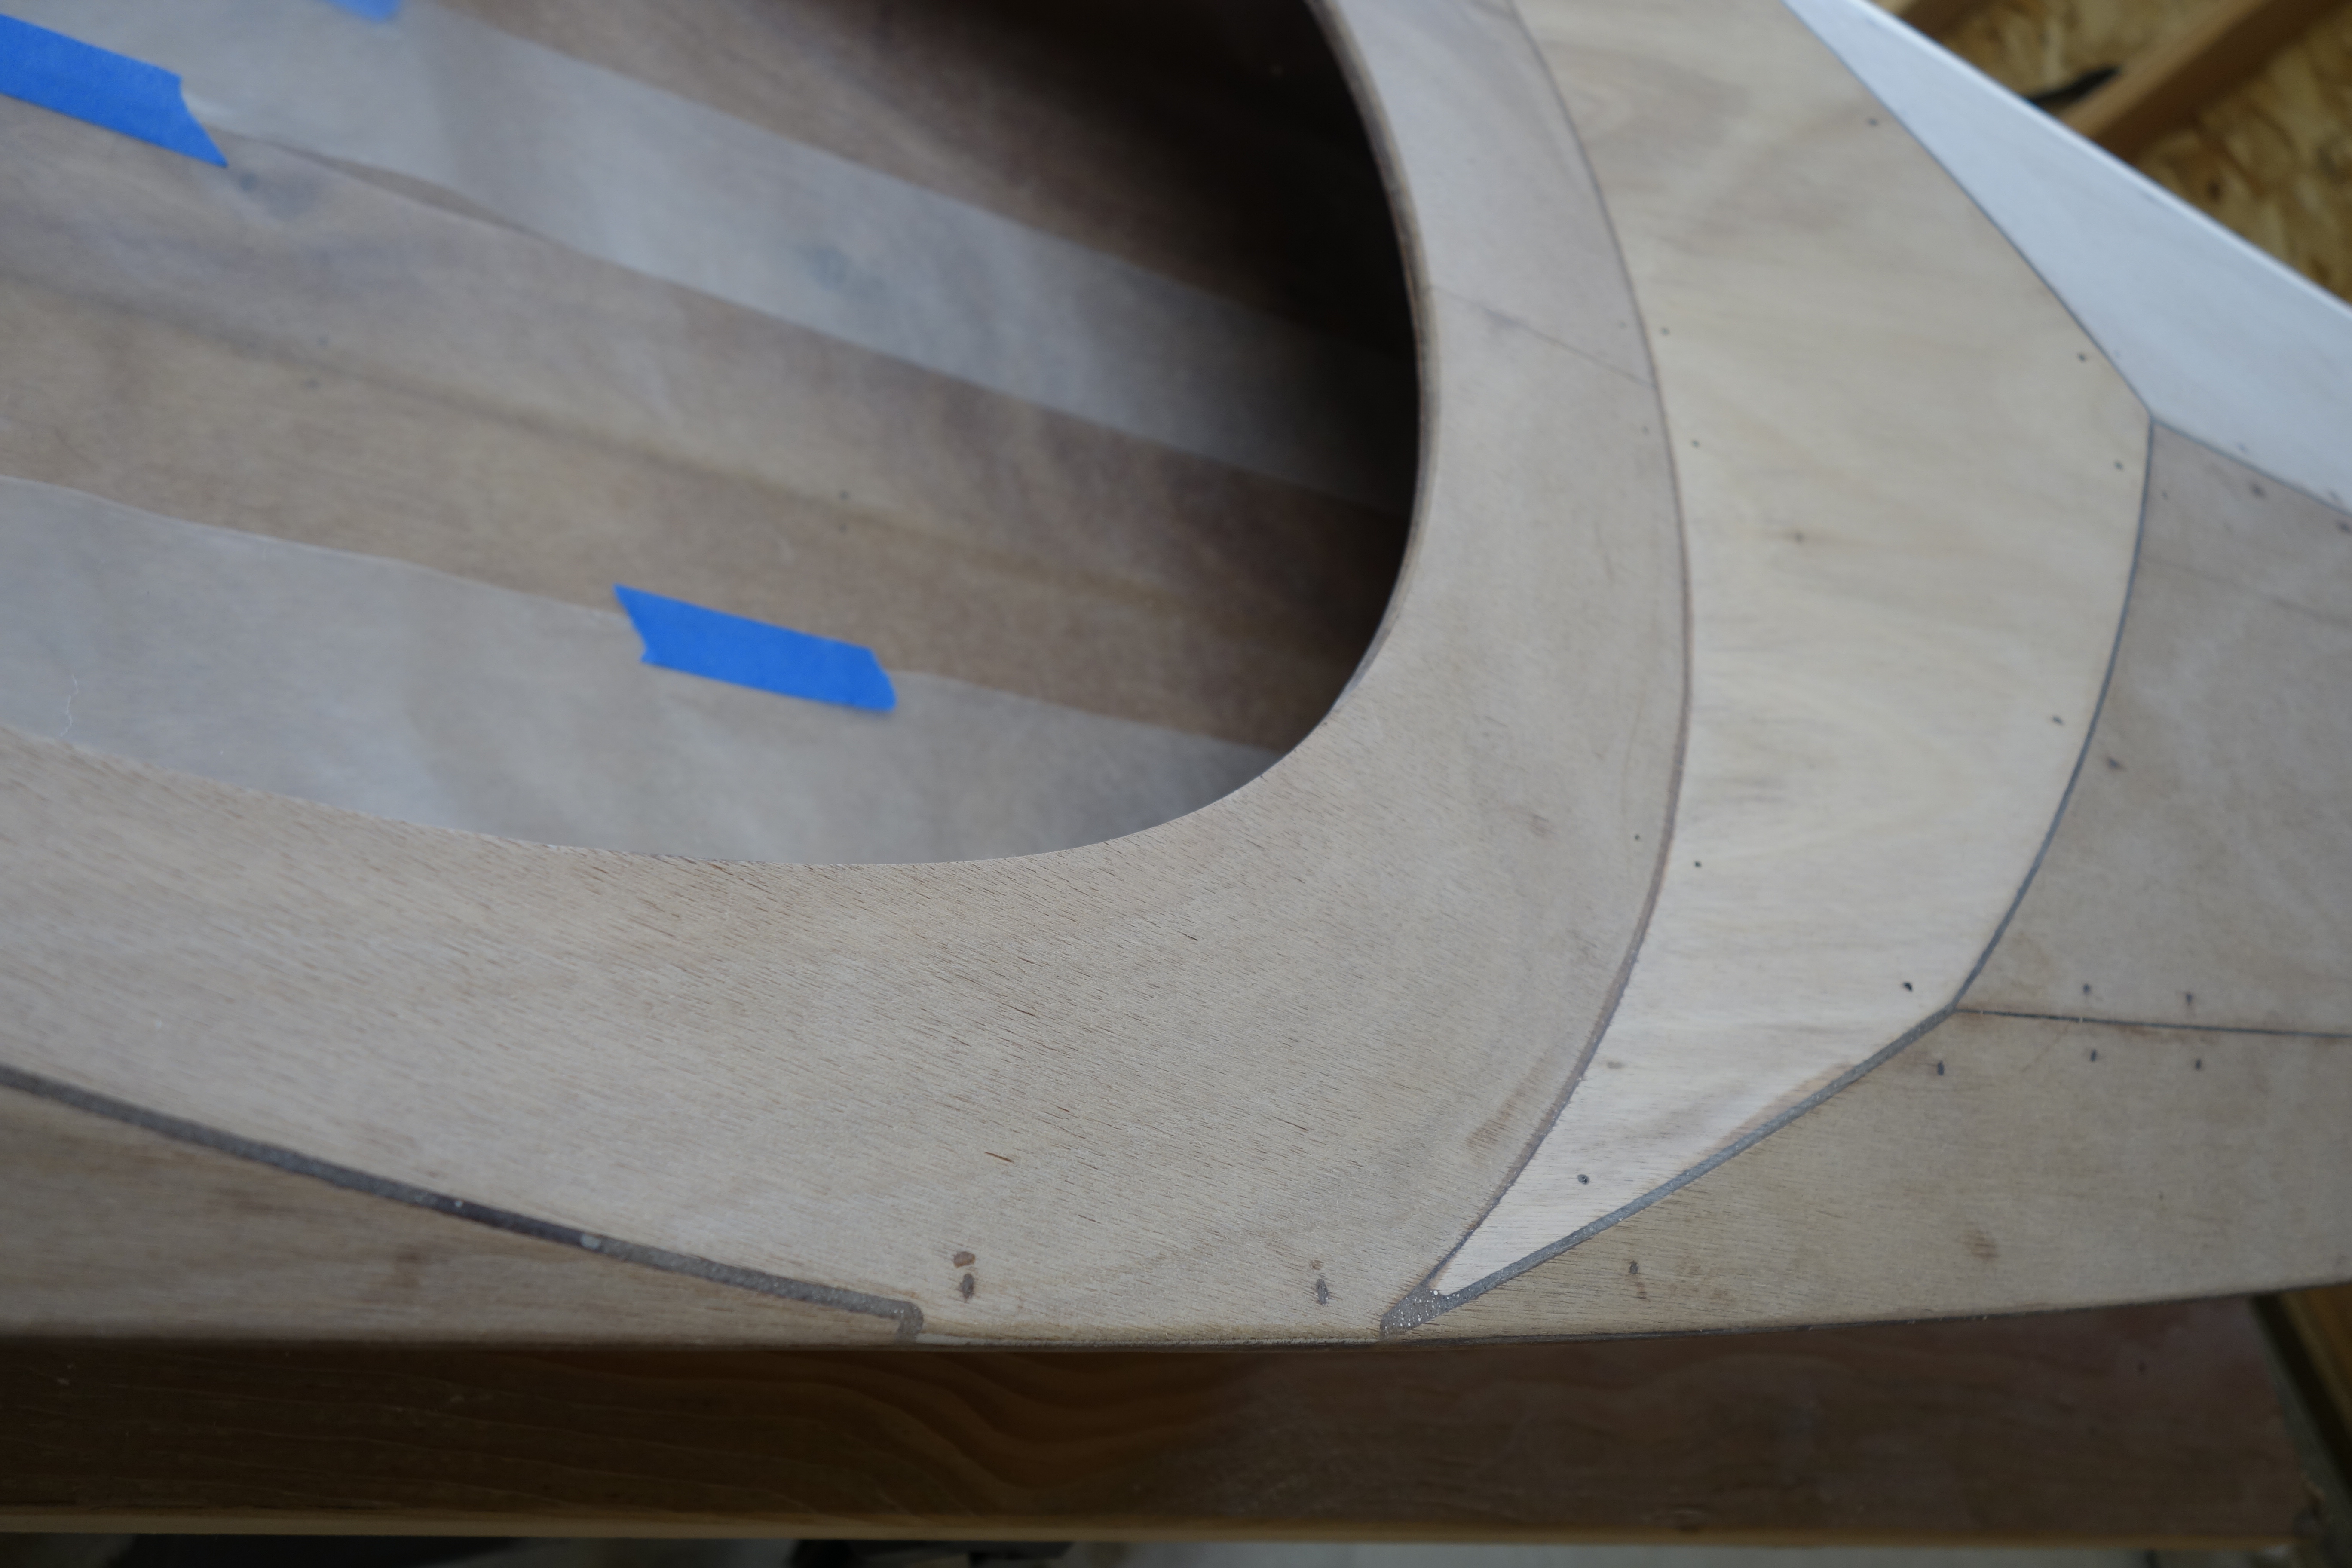
Fiberglass cloth smoothed over the deck.I cut the fiberglass cloth from out of the cockpit opening before saturating with epoxy because I had some trouble when I left it whole (as per the construction manual) when fiberglassing the underside of the deck. The weight of the cloth in the cockpit opening wanted to pull the epoxy-saturated cloth away from the lip of the cockpit. My hope was that by cutting the cloth out of the cockpit opening before saturating it, I would avoid problems this time. It worked out very well.Fiberglass cloth laminated to the deck with epoxy.Excess fiberglass trimmed approximately 1″ below the shear seam. I did this approximately four hours after saturating the cloth. The saturated fiberglass cloth was lightly cut with a sharp utility knife, just above the masking tape. The tape was lifted as I was cutting the cloth and the excess fiberglass came up with the tape. I must have waited just the right amount of time because the fiberglass cut cleanly without lifting off of the hull, and without leaving so much as a scratch in the epoxy and fiberglass on the hull under the overlap. Next steps sanding and fill coats. I’ll trim the cockpit later this evening.In this photo you can see how far the deck fiberglass comes down over the shear seam onto the hull. The entire outside of the kayak (and inside of the hull, and most of the inside of the deck) is now completely encased in fiberglass cloth and epoxy. Watertight. Strong. Light. Magnificent!
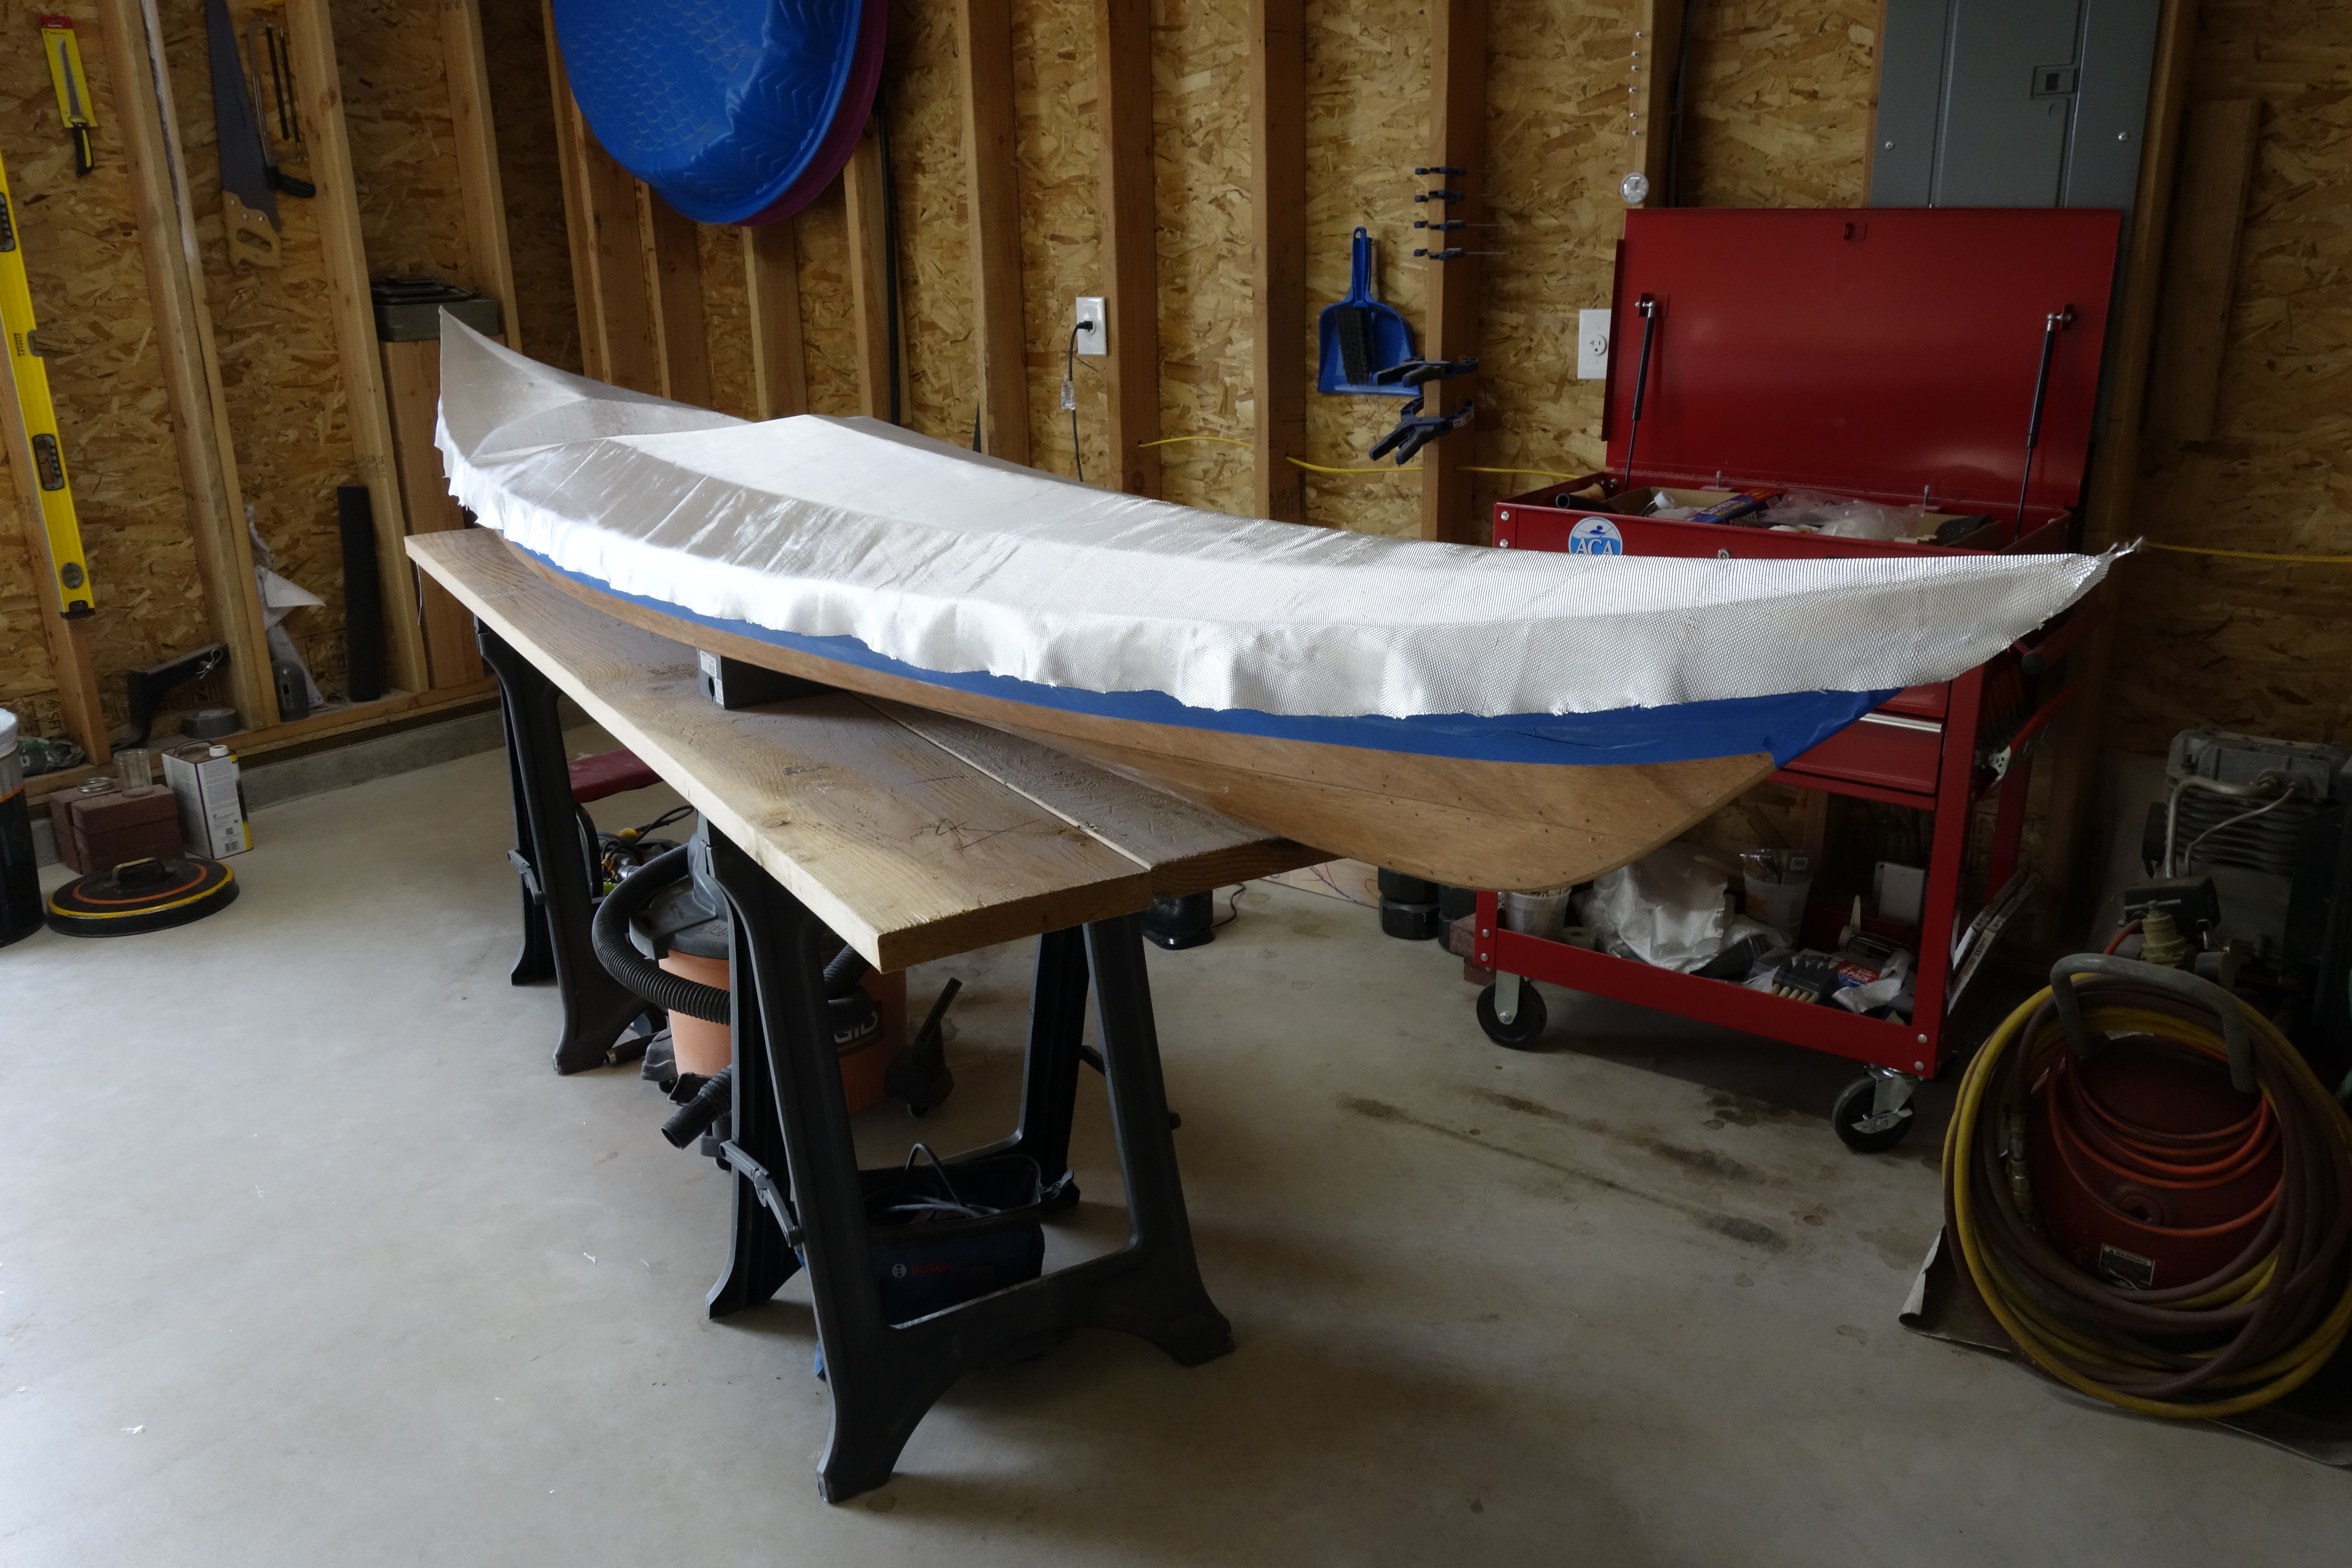
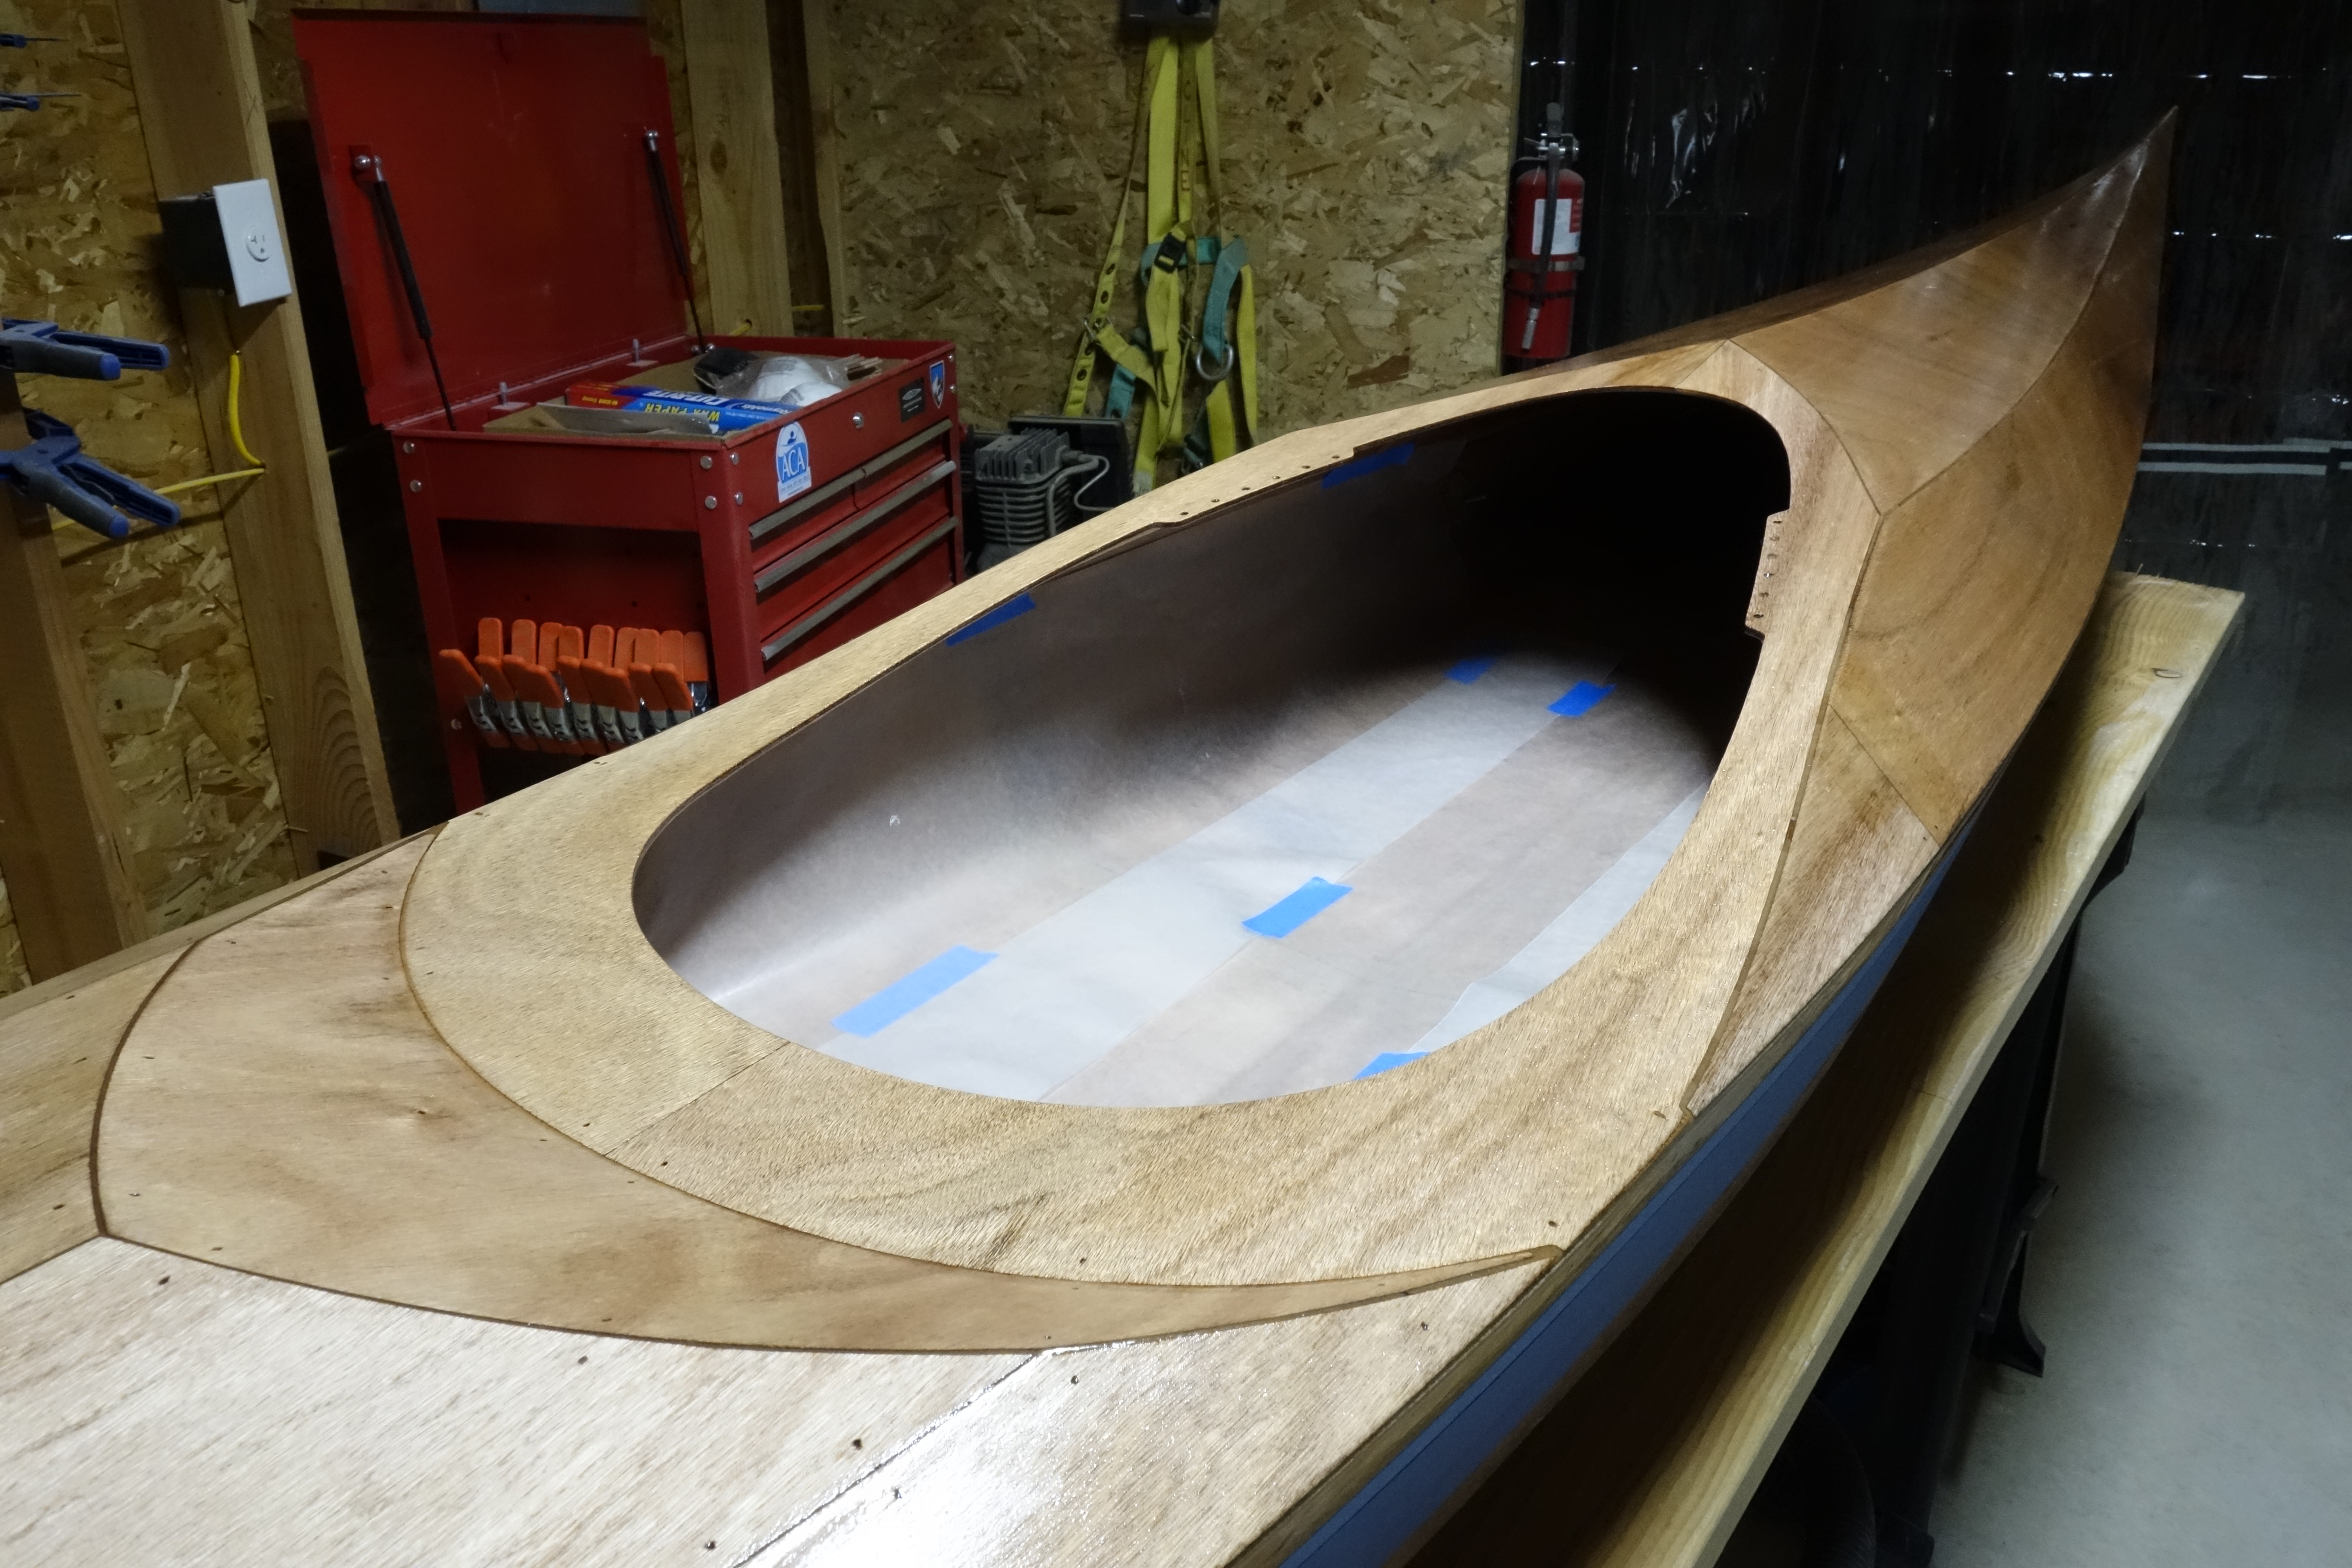
The material that you see in the kayak with the blue tape on it is waxed paper. It is there so that any epoxy that drips into the kayak when I fiberglass will not stick.
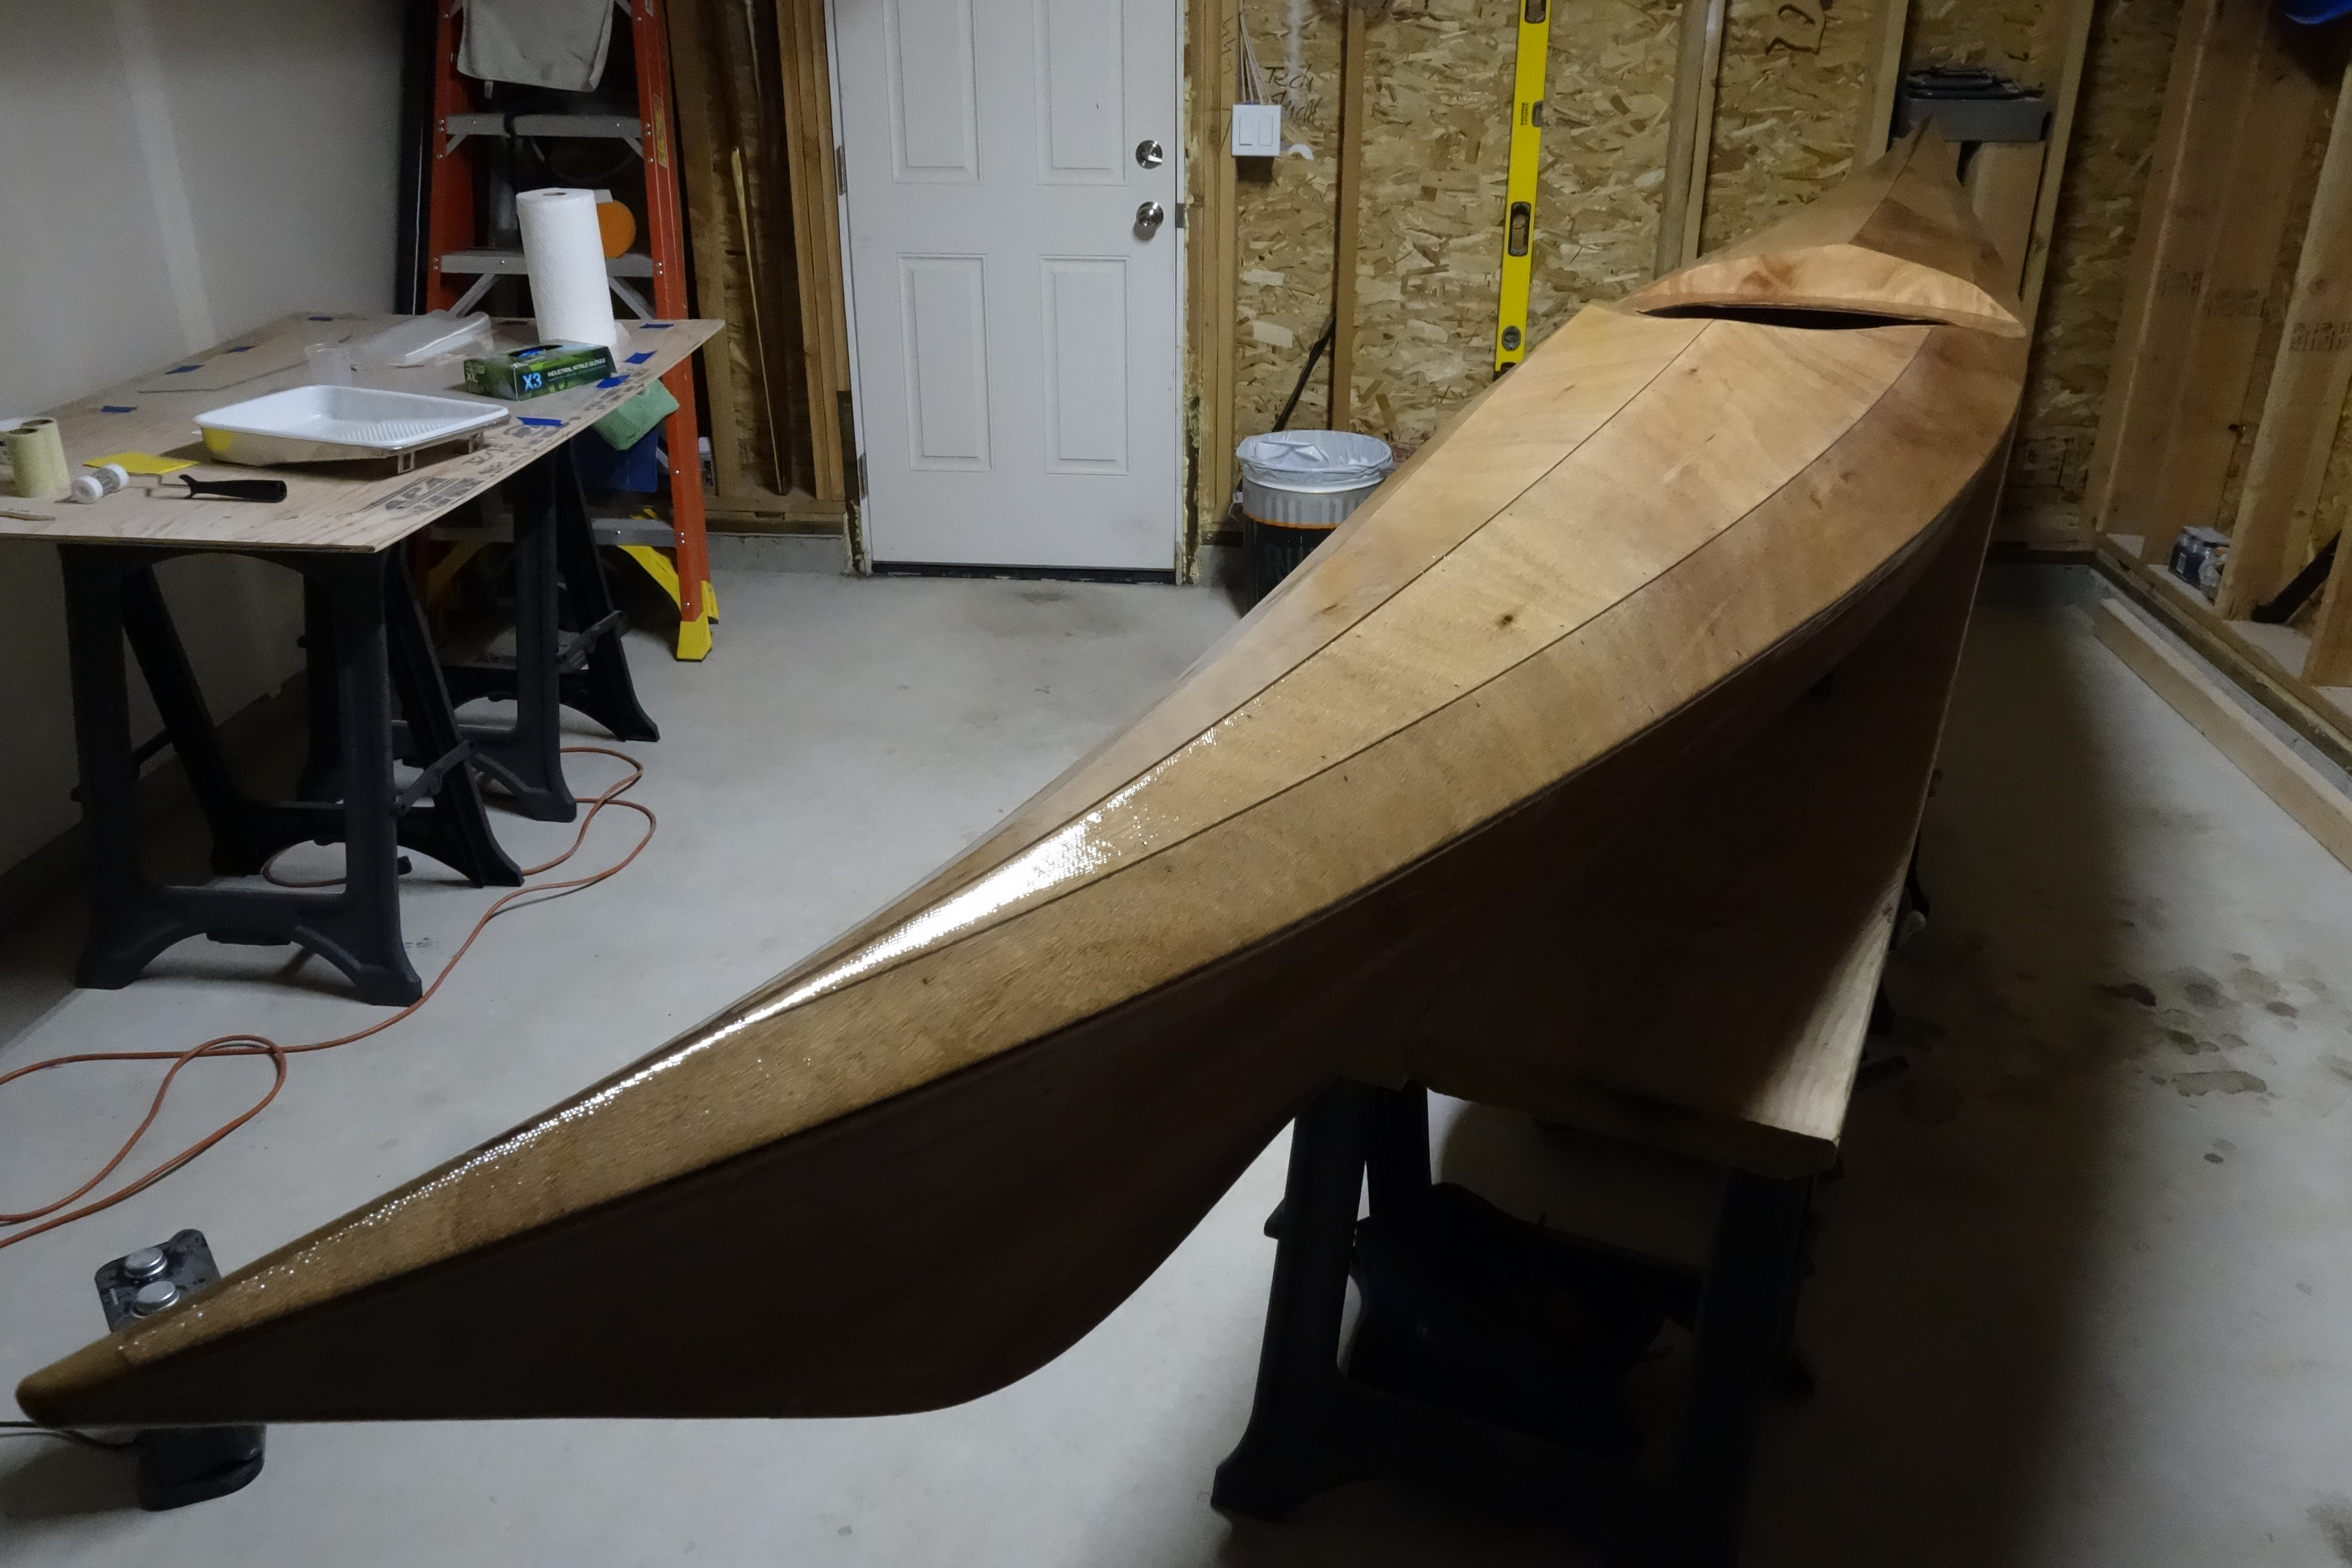
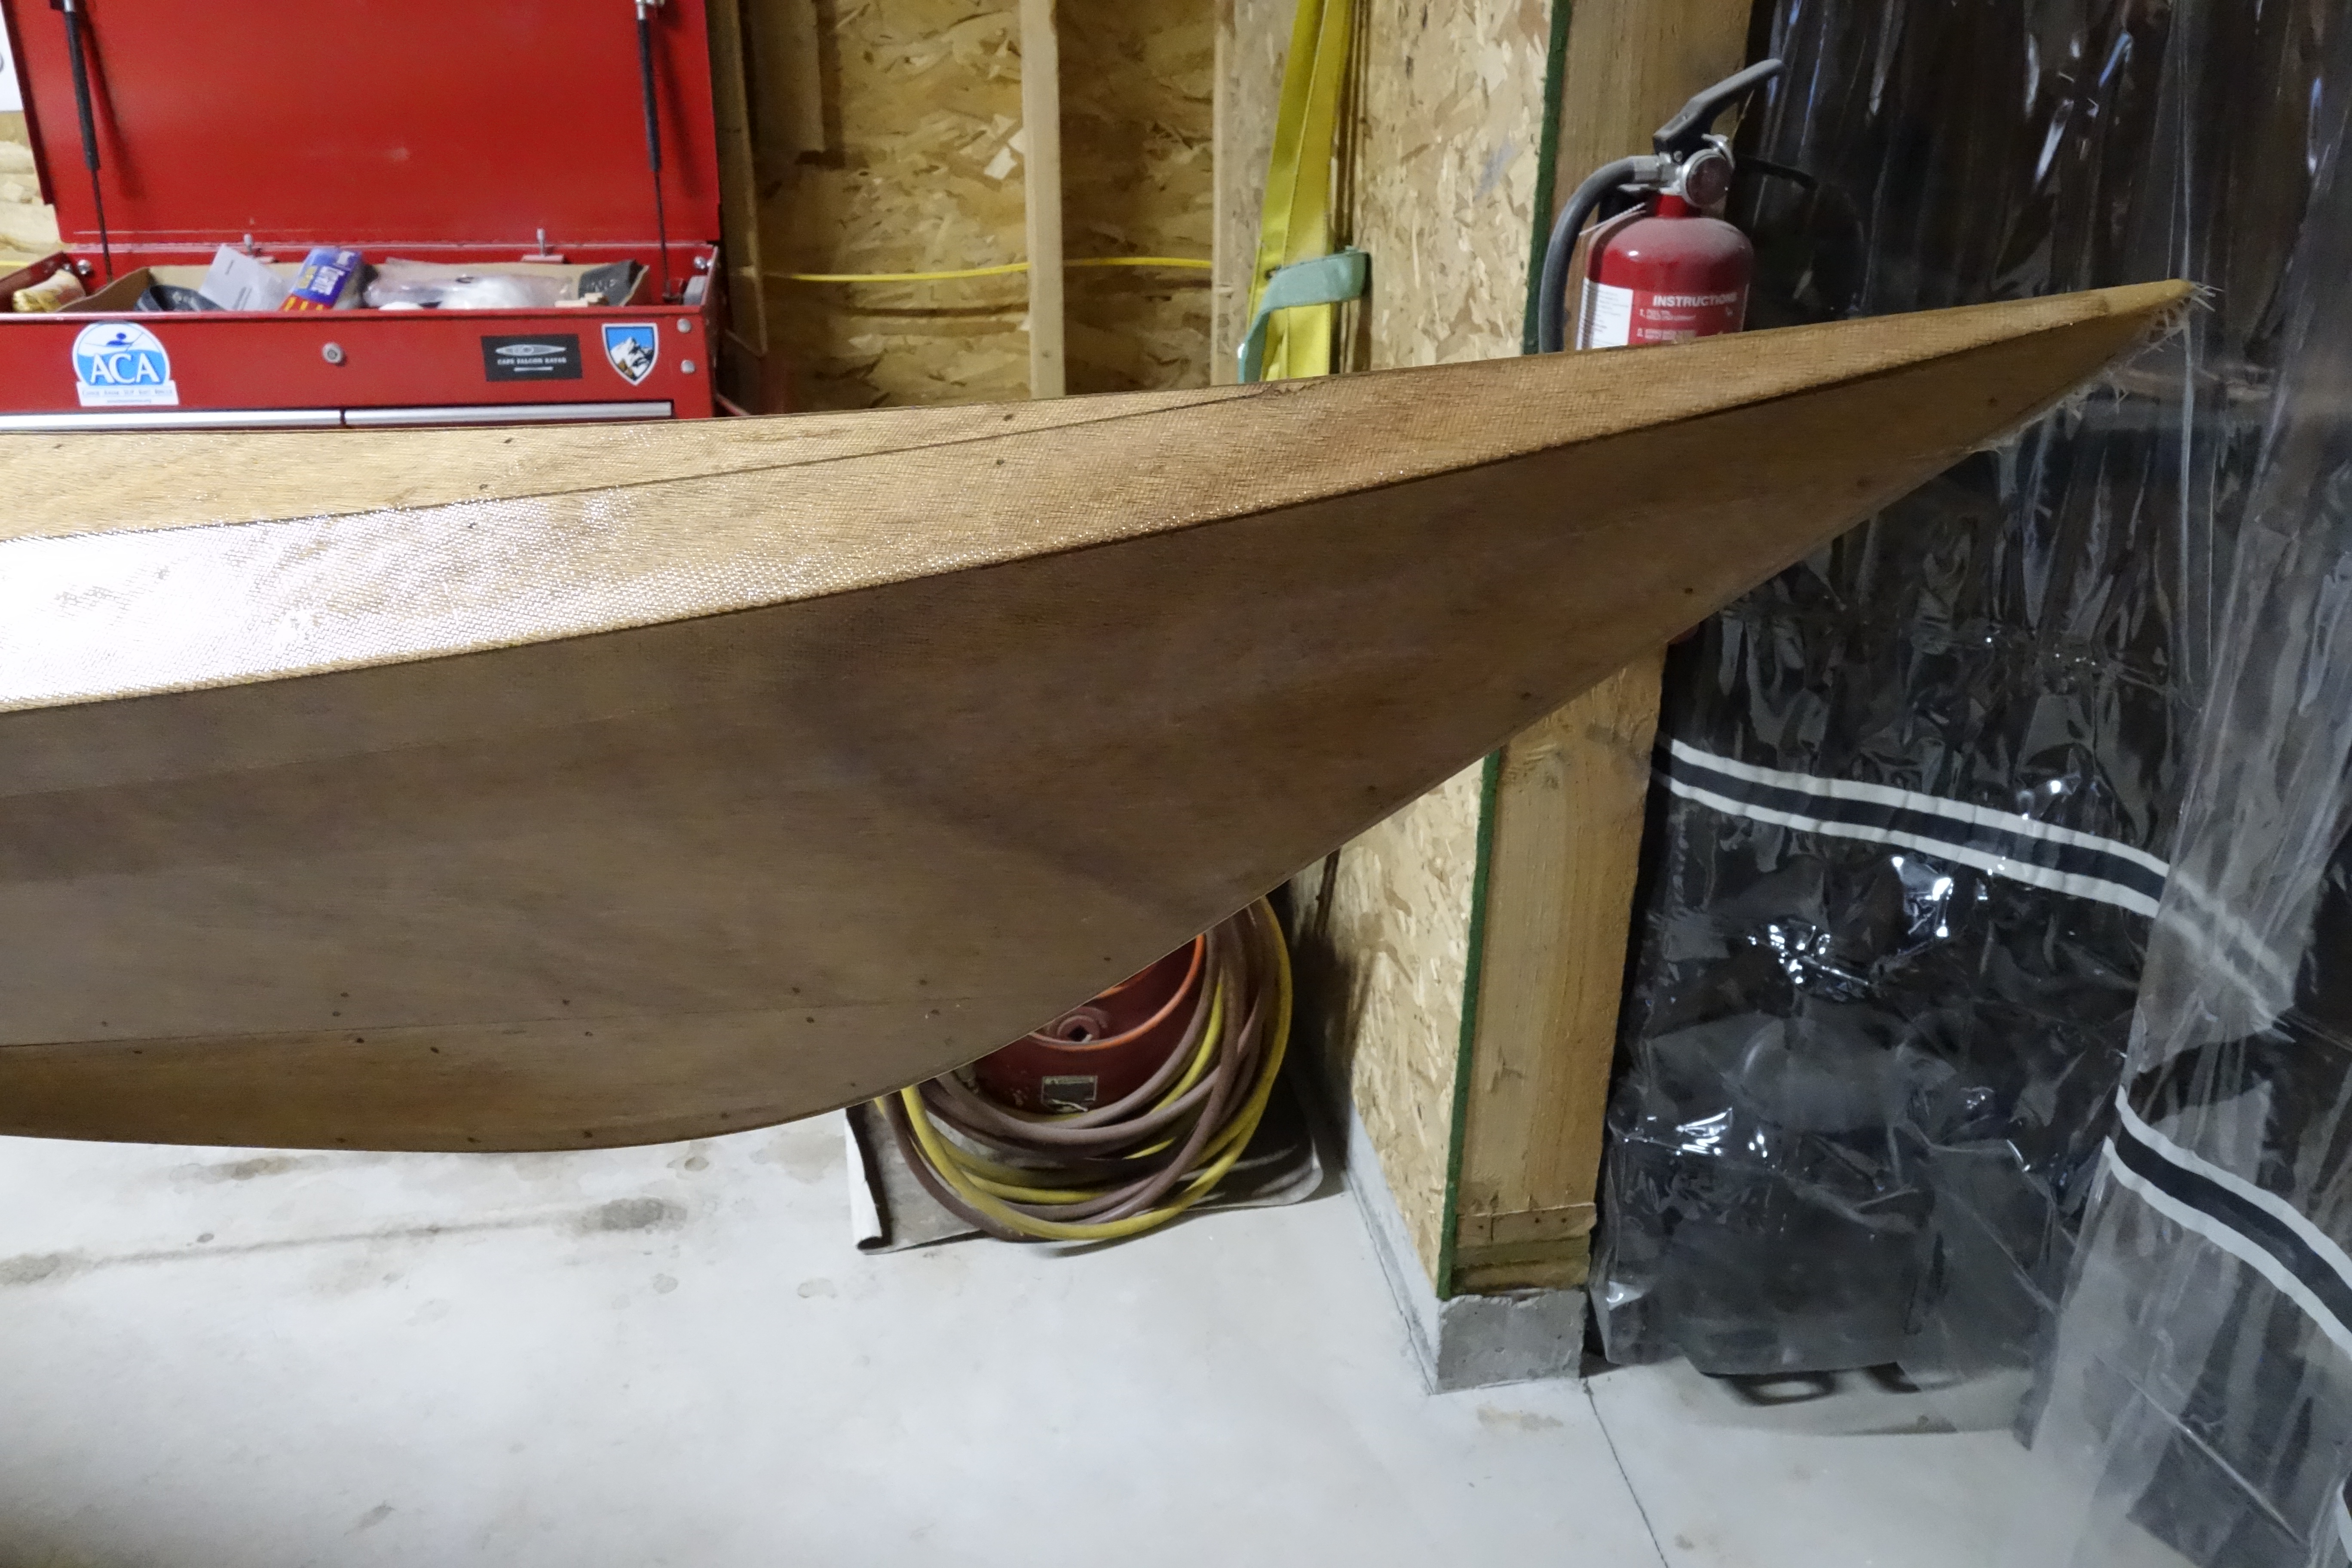
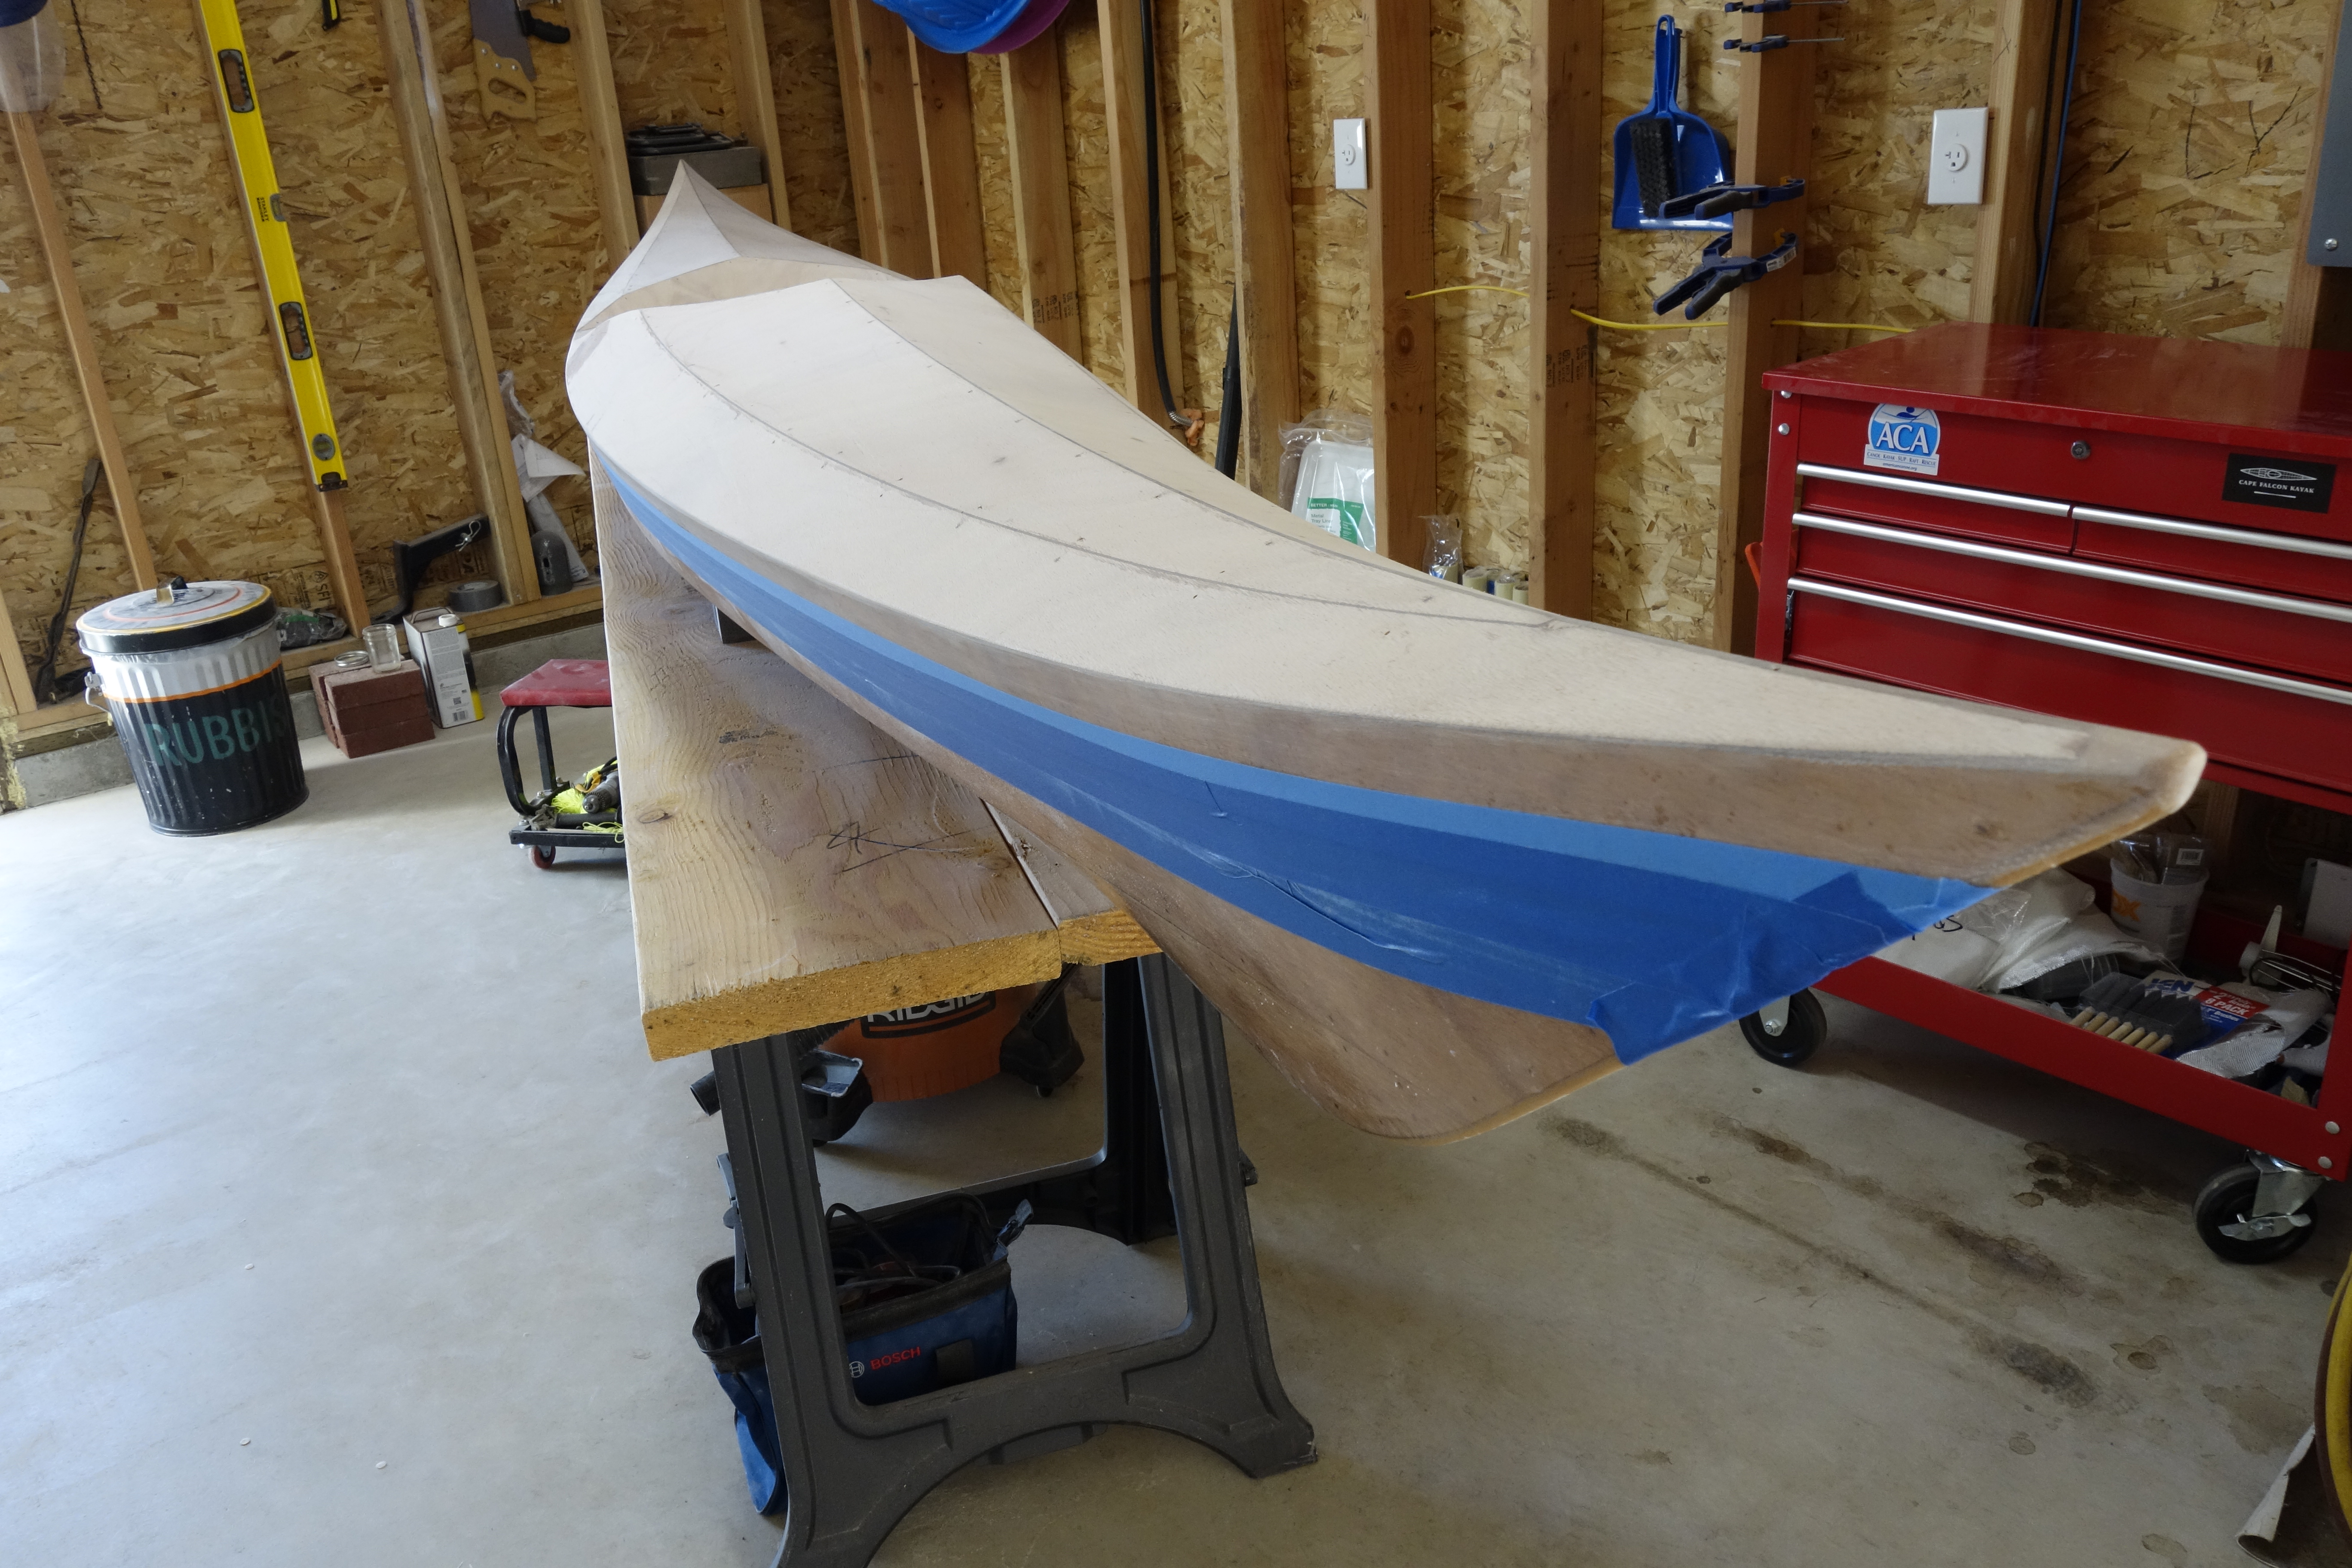
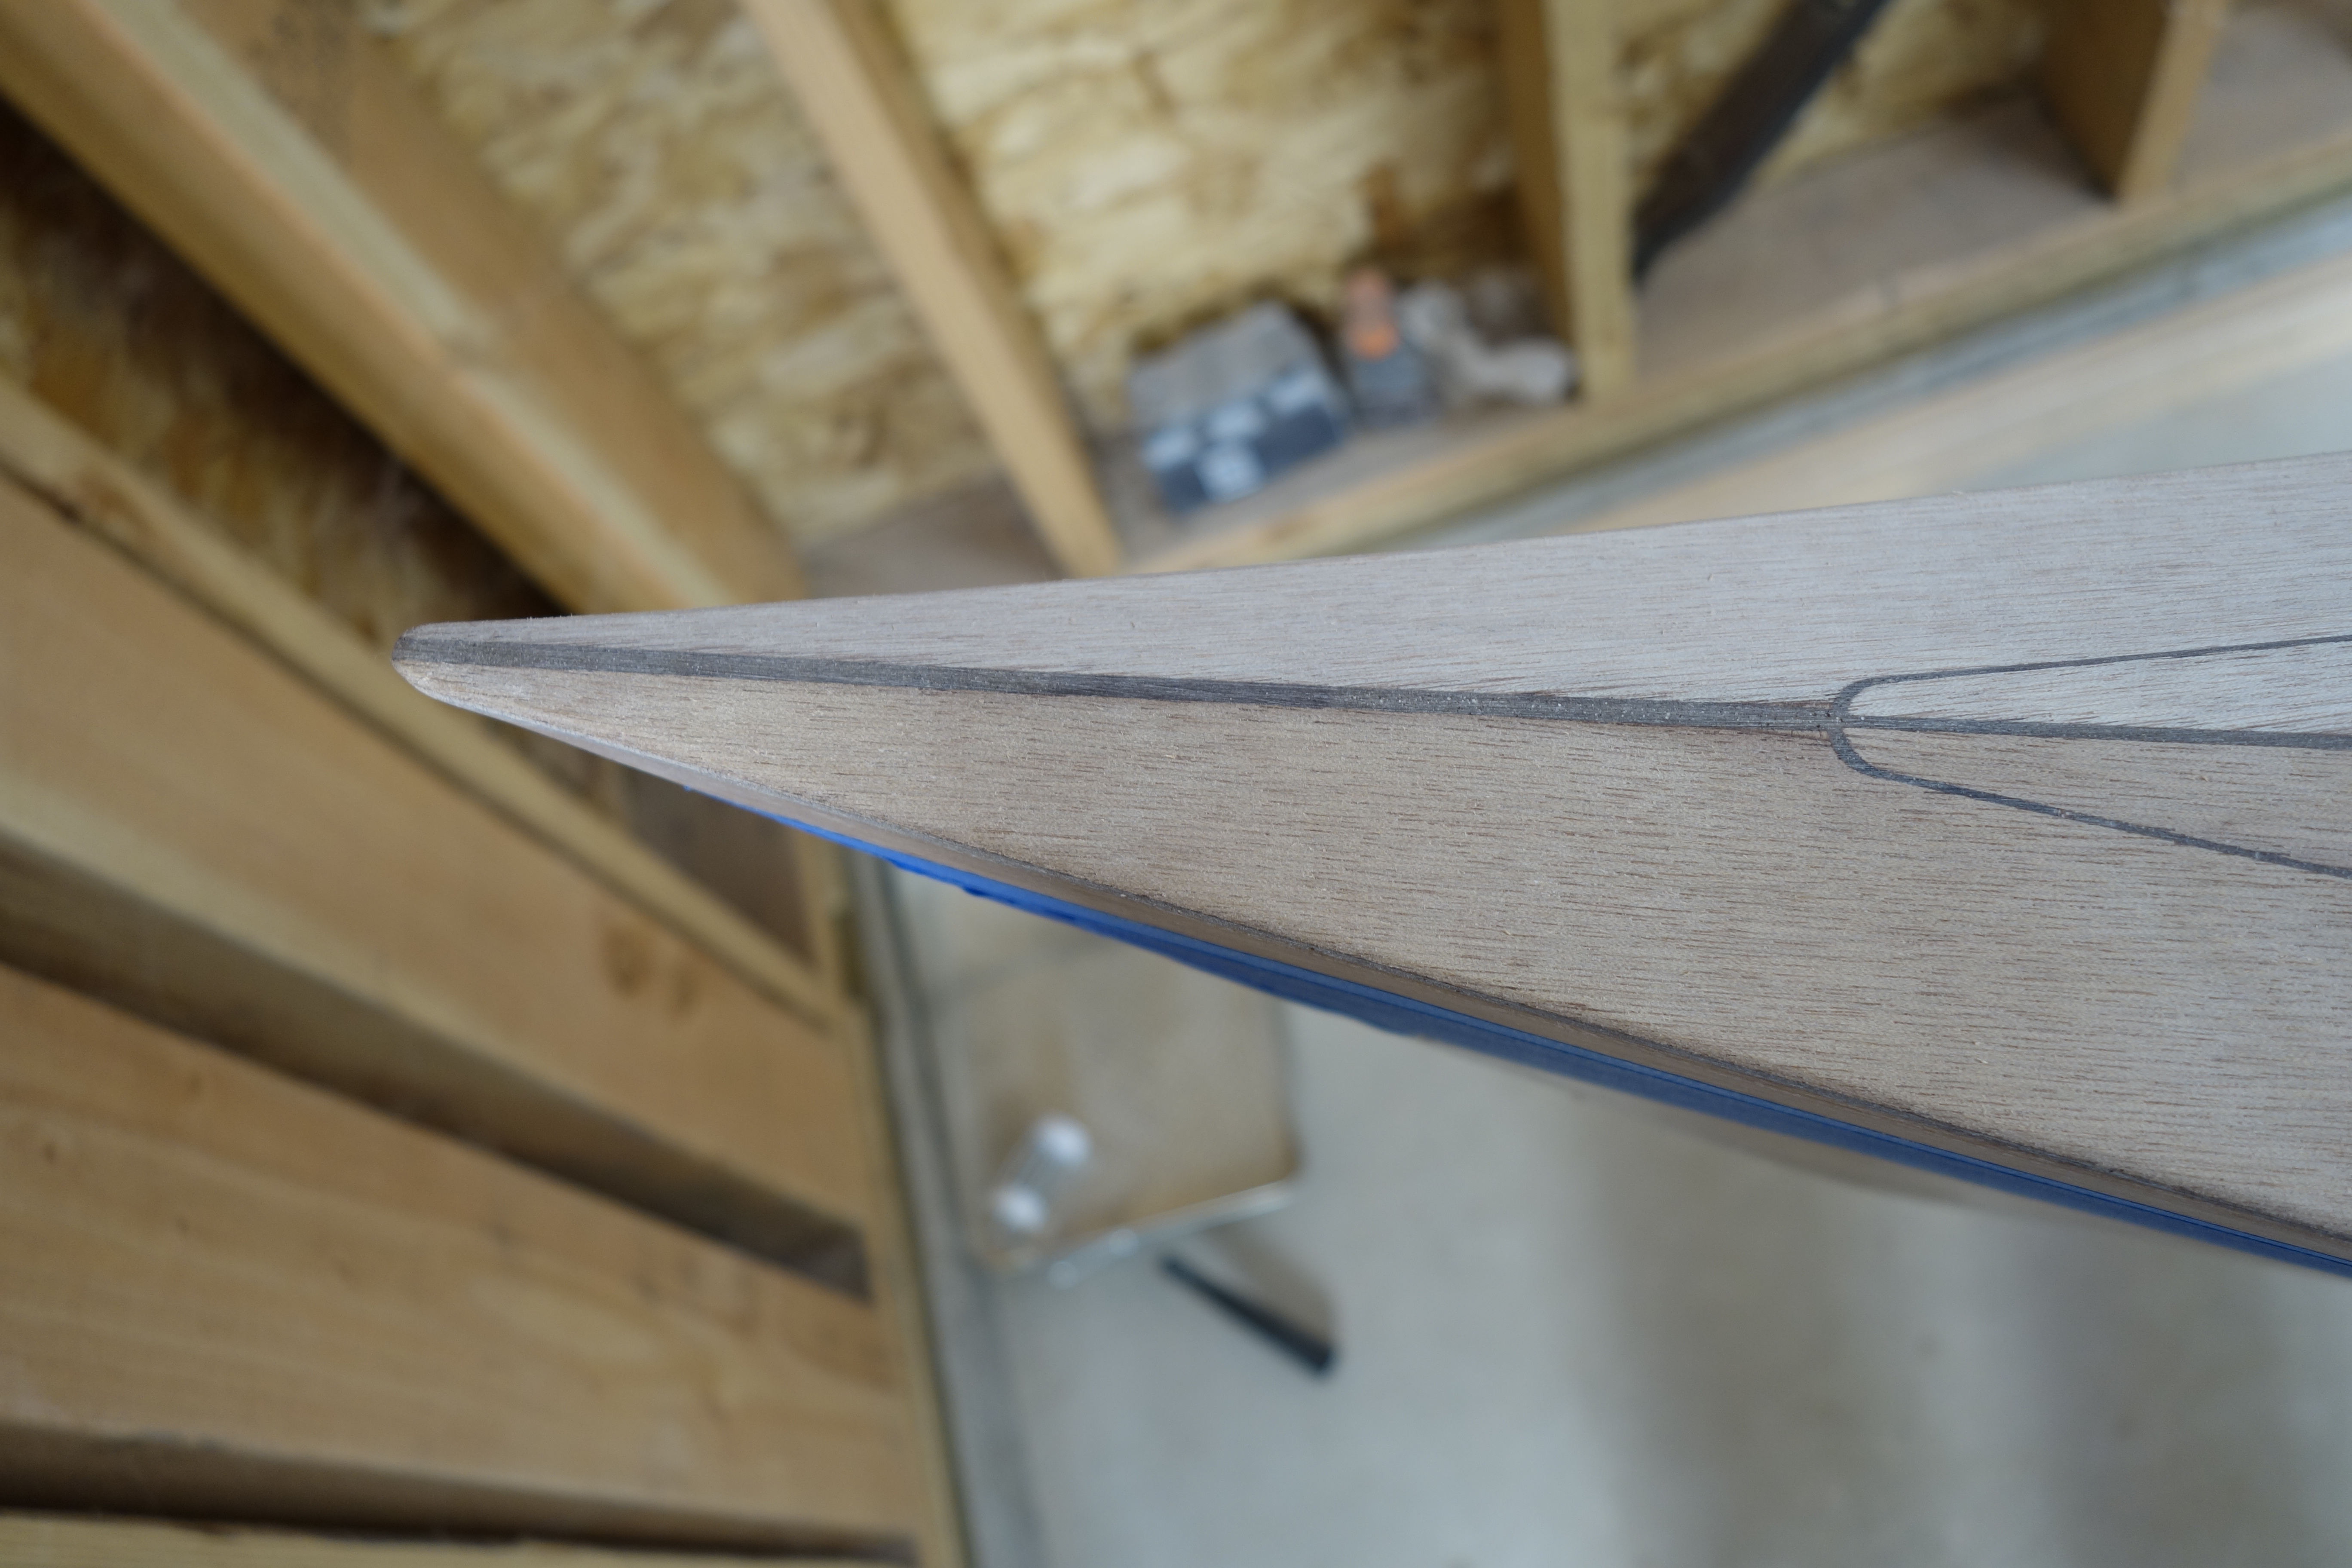
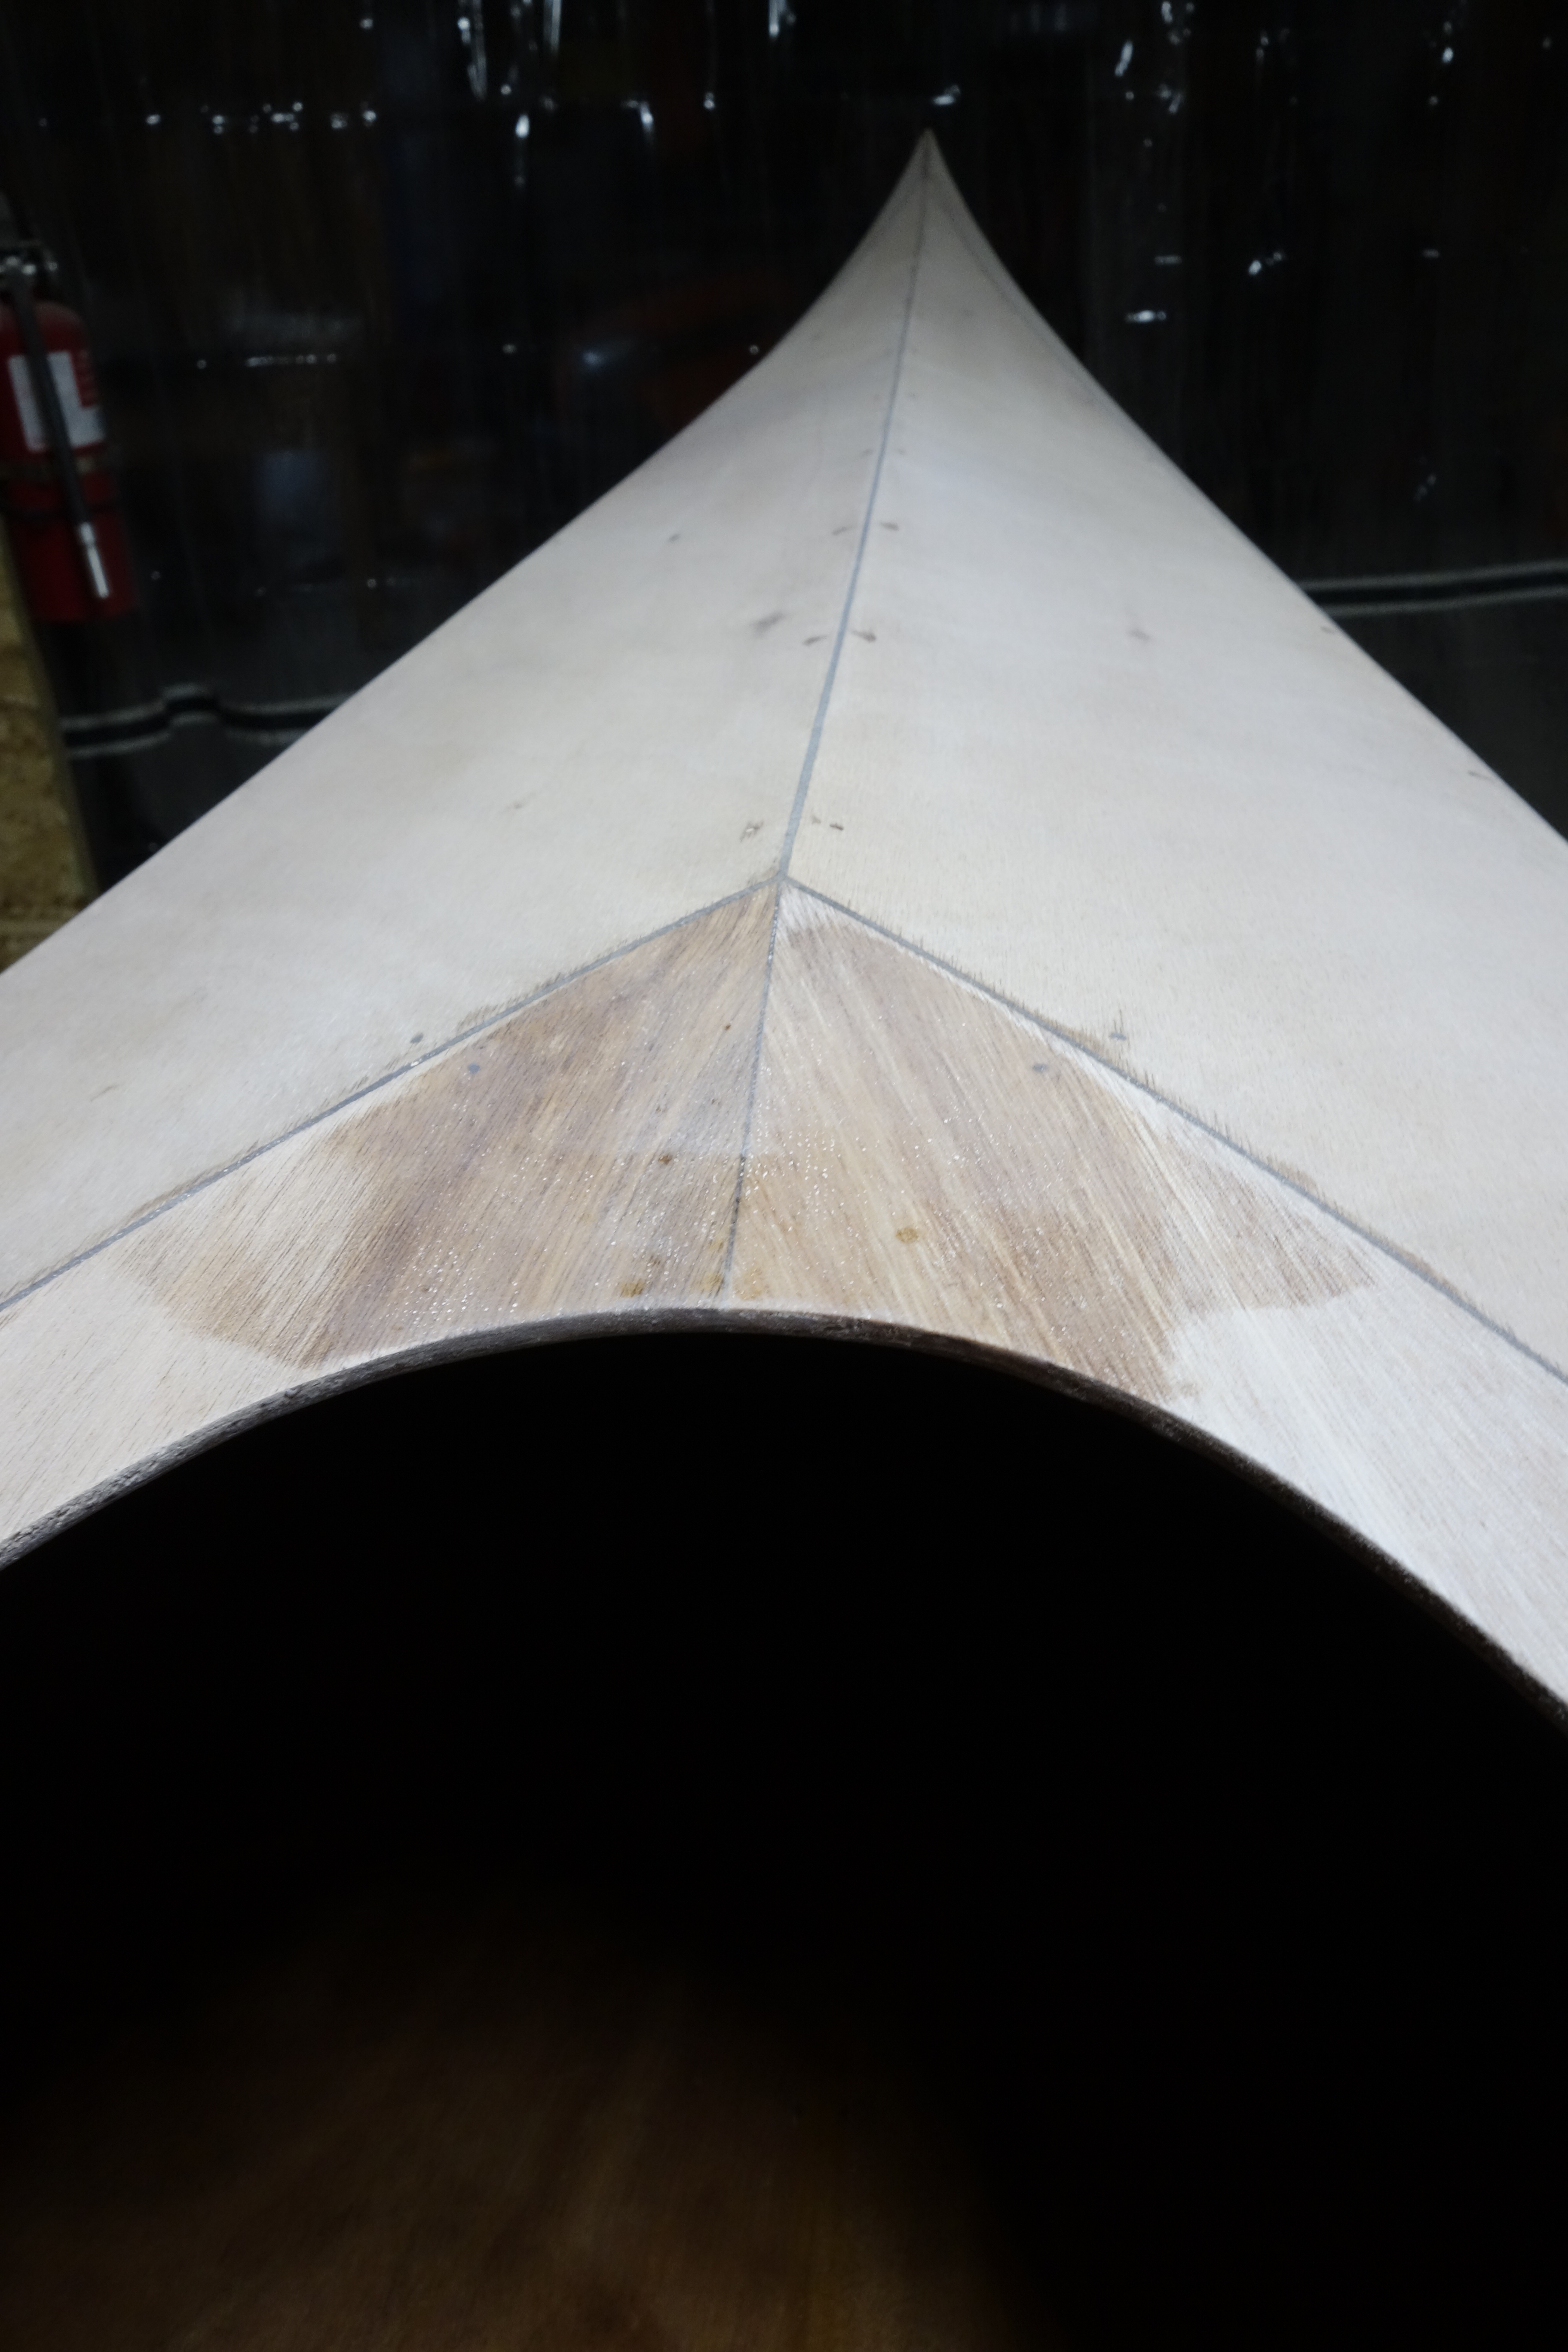
If you’re wondering about the “custom” epoxy bow tip, one of the panels arrived in the box with a tip broken off. The only thing I could think of to do, was to cut the other tip off to the same length and make a tip for both panels out of epoxy. I think it worked out fine.
If you’re wondering about the “custom” epoxy bow tip, one of the panels arrived in the box with a tip broken off. The only thing I could think of to do, was to cut the other tip off to the same length and make a tip for both panels out of epoxy. I think it worked out fine.Here is a slightly better view of my epoxy bow tip. Necessity is truly the mother of invention.