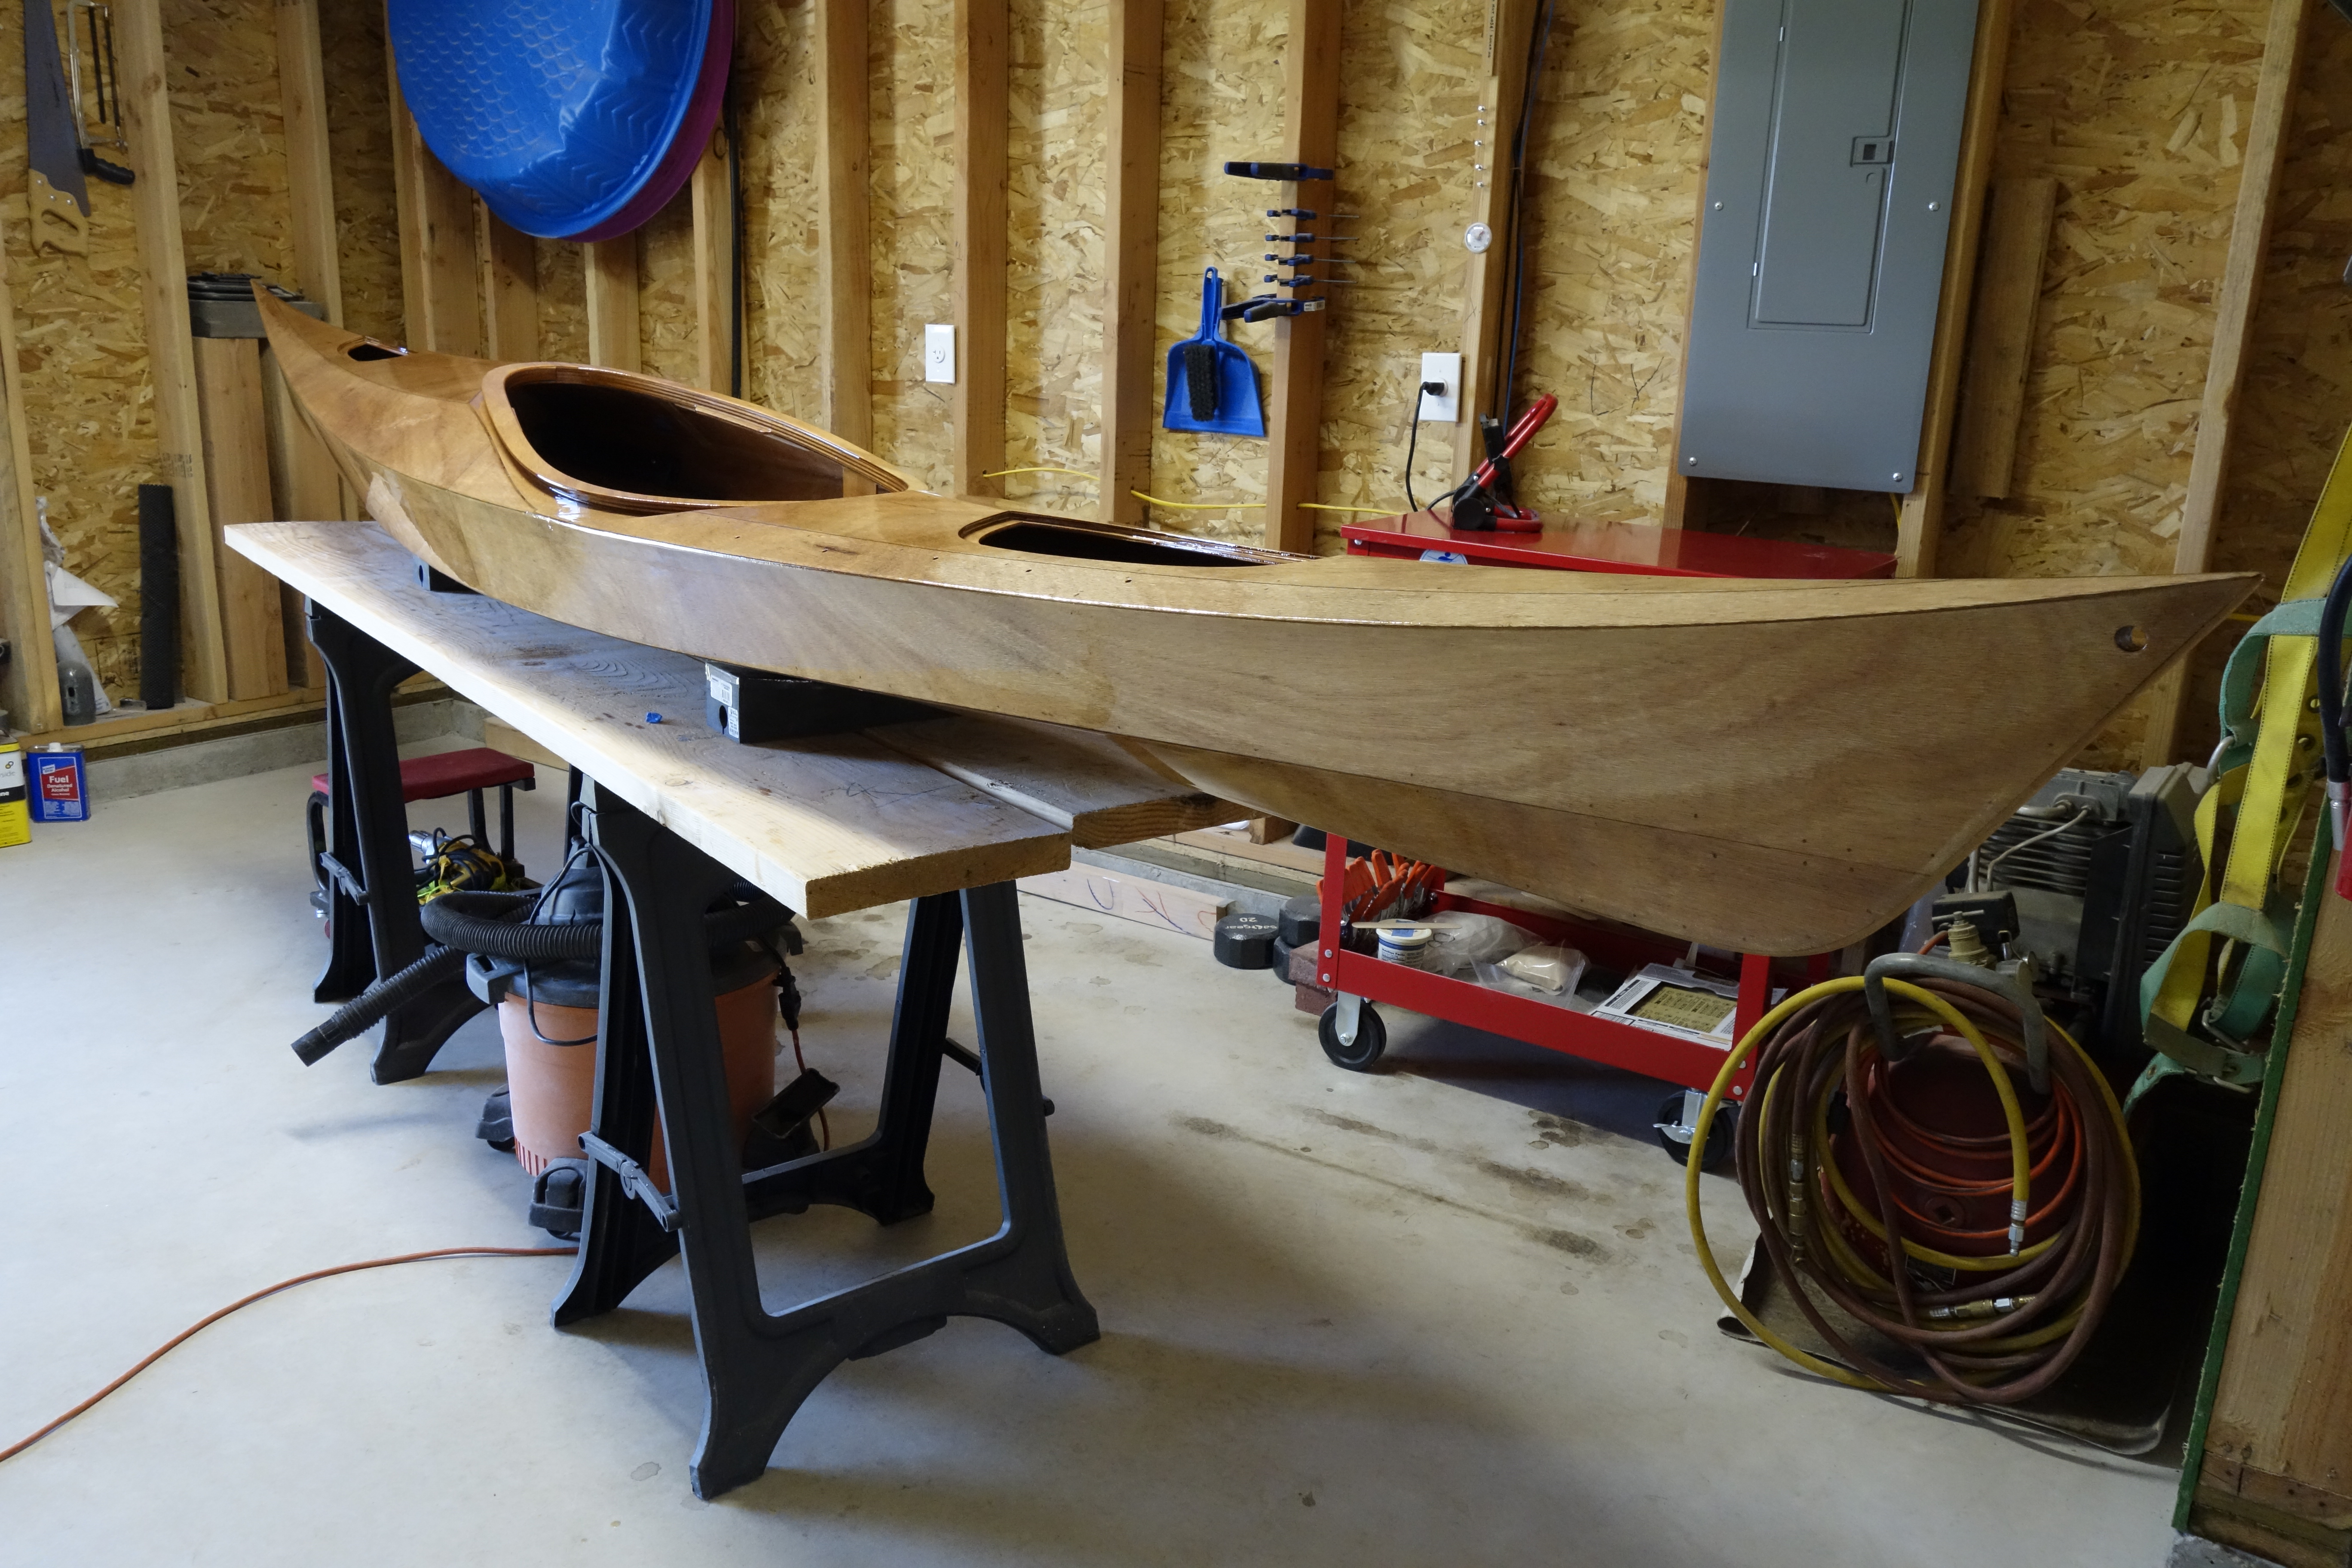
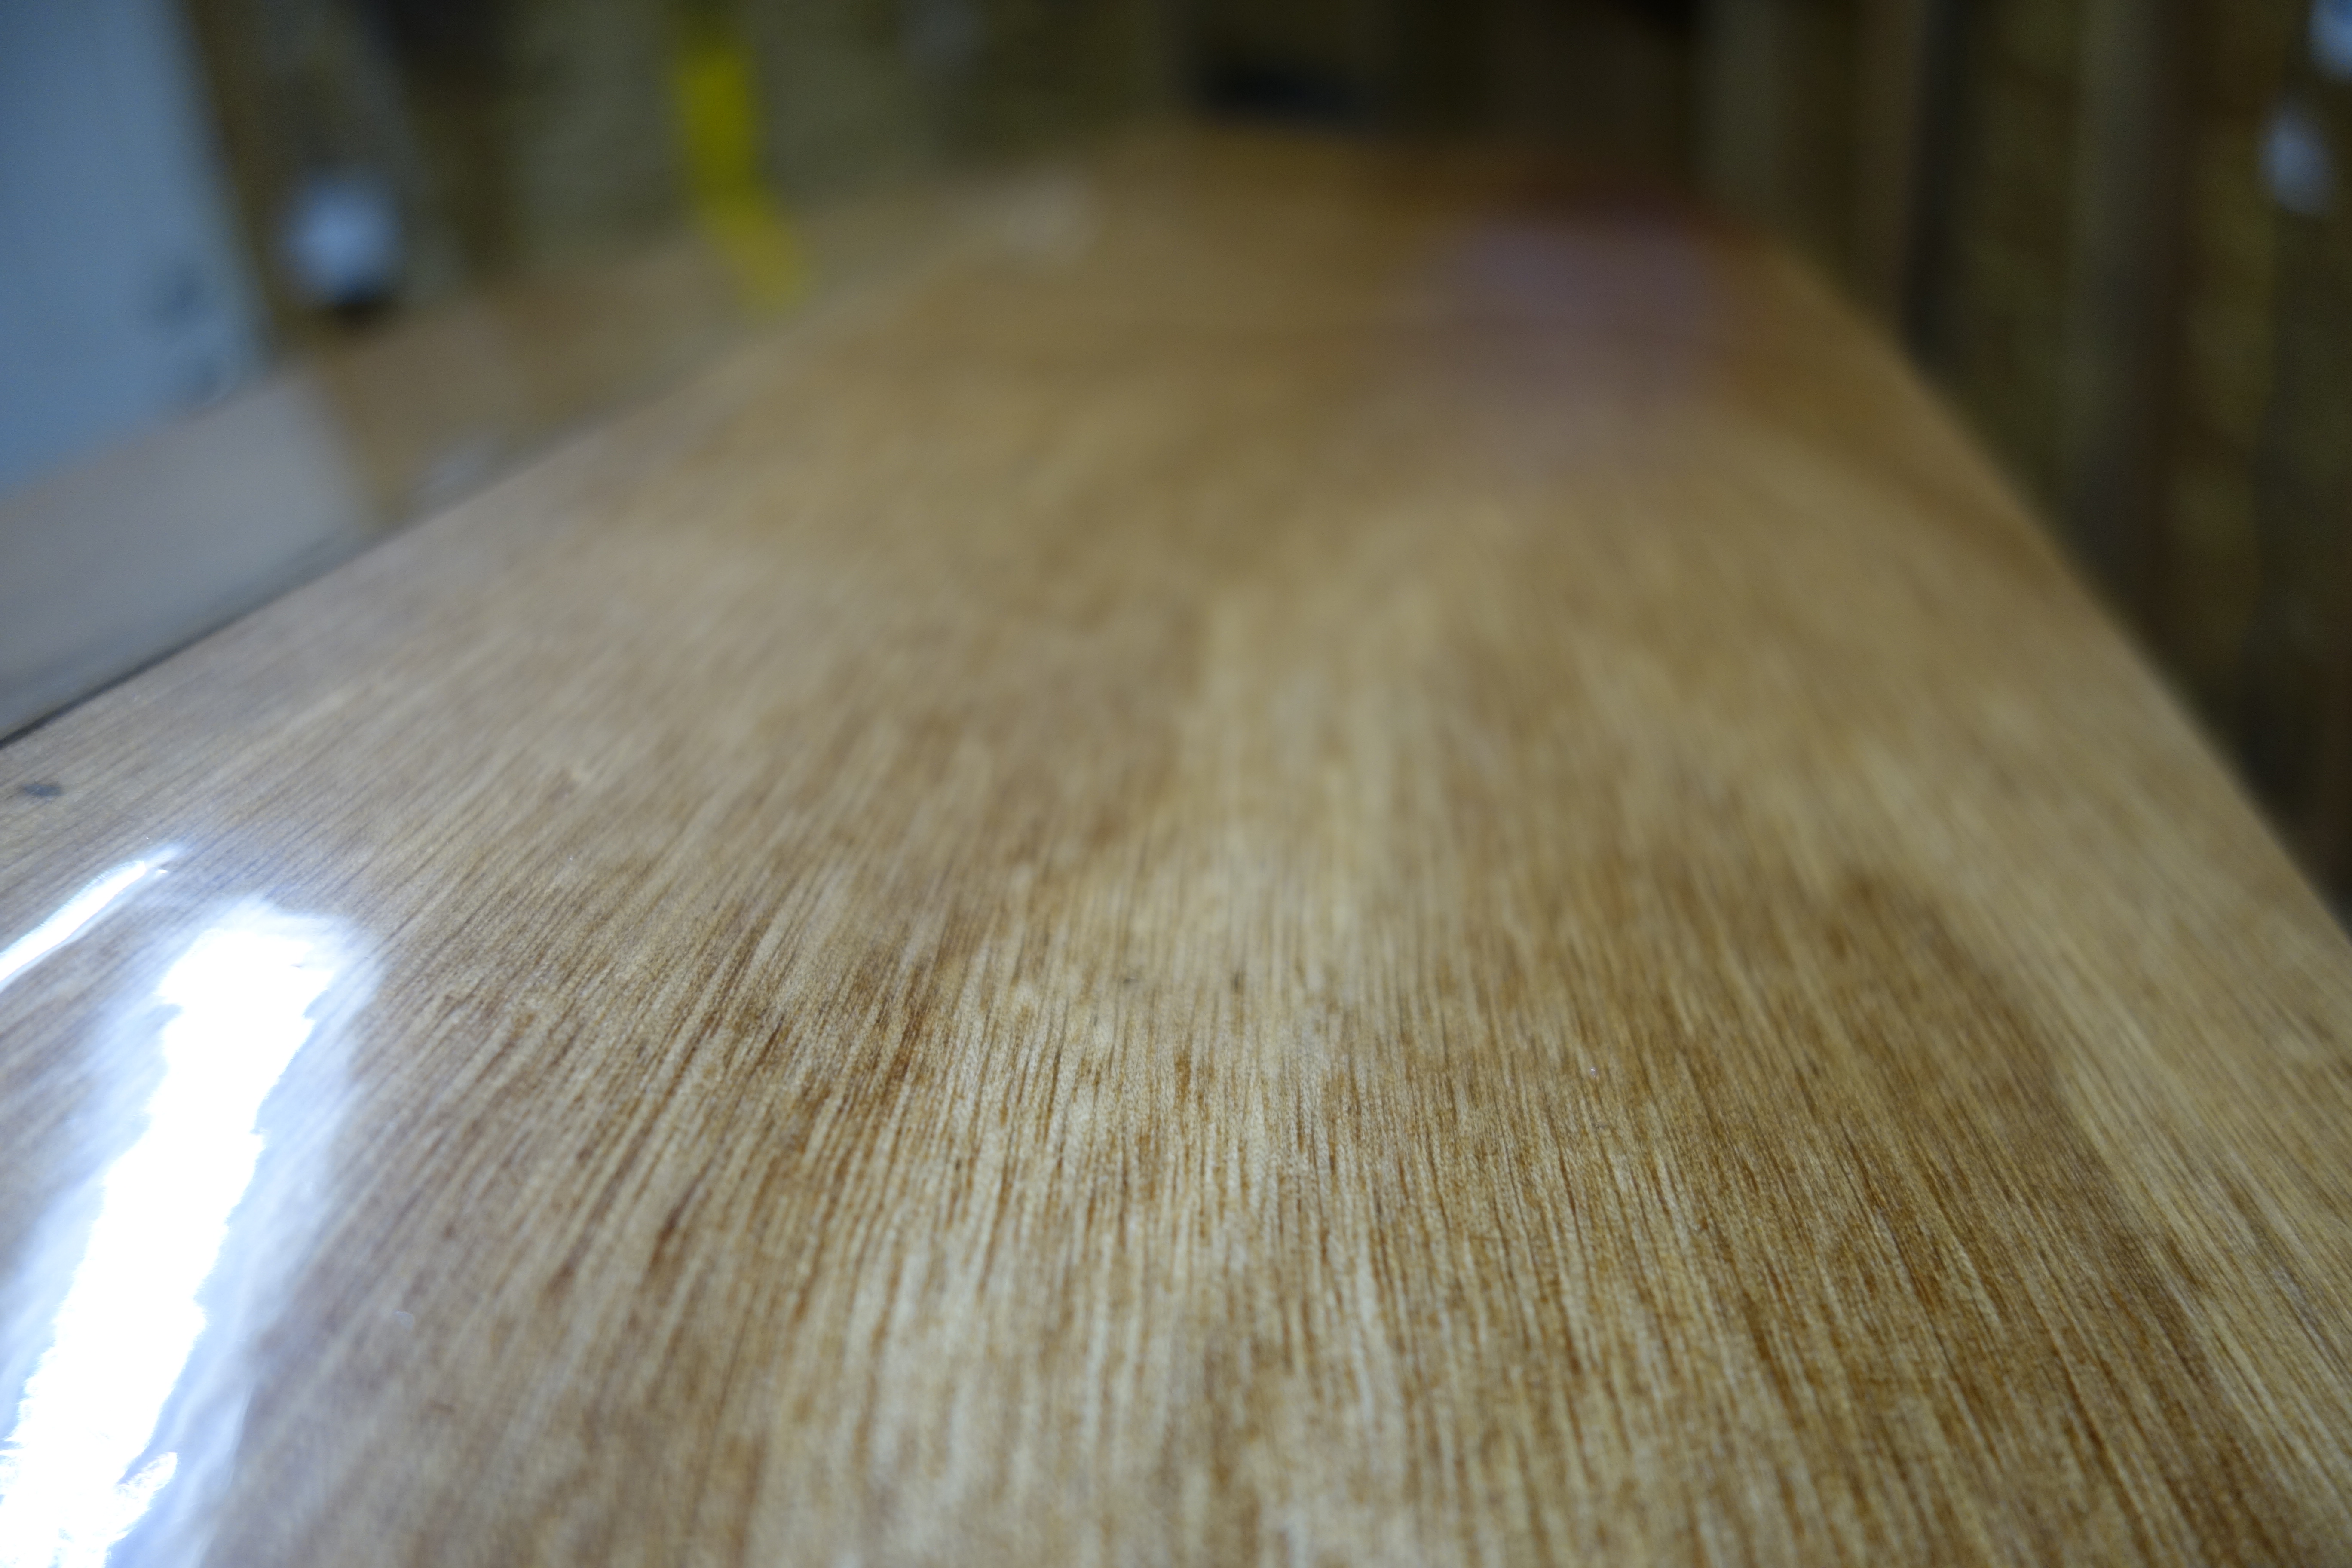
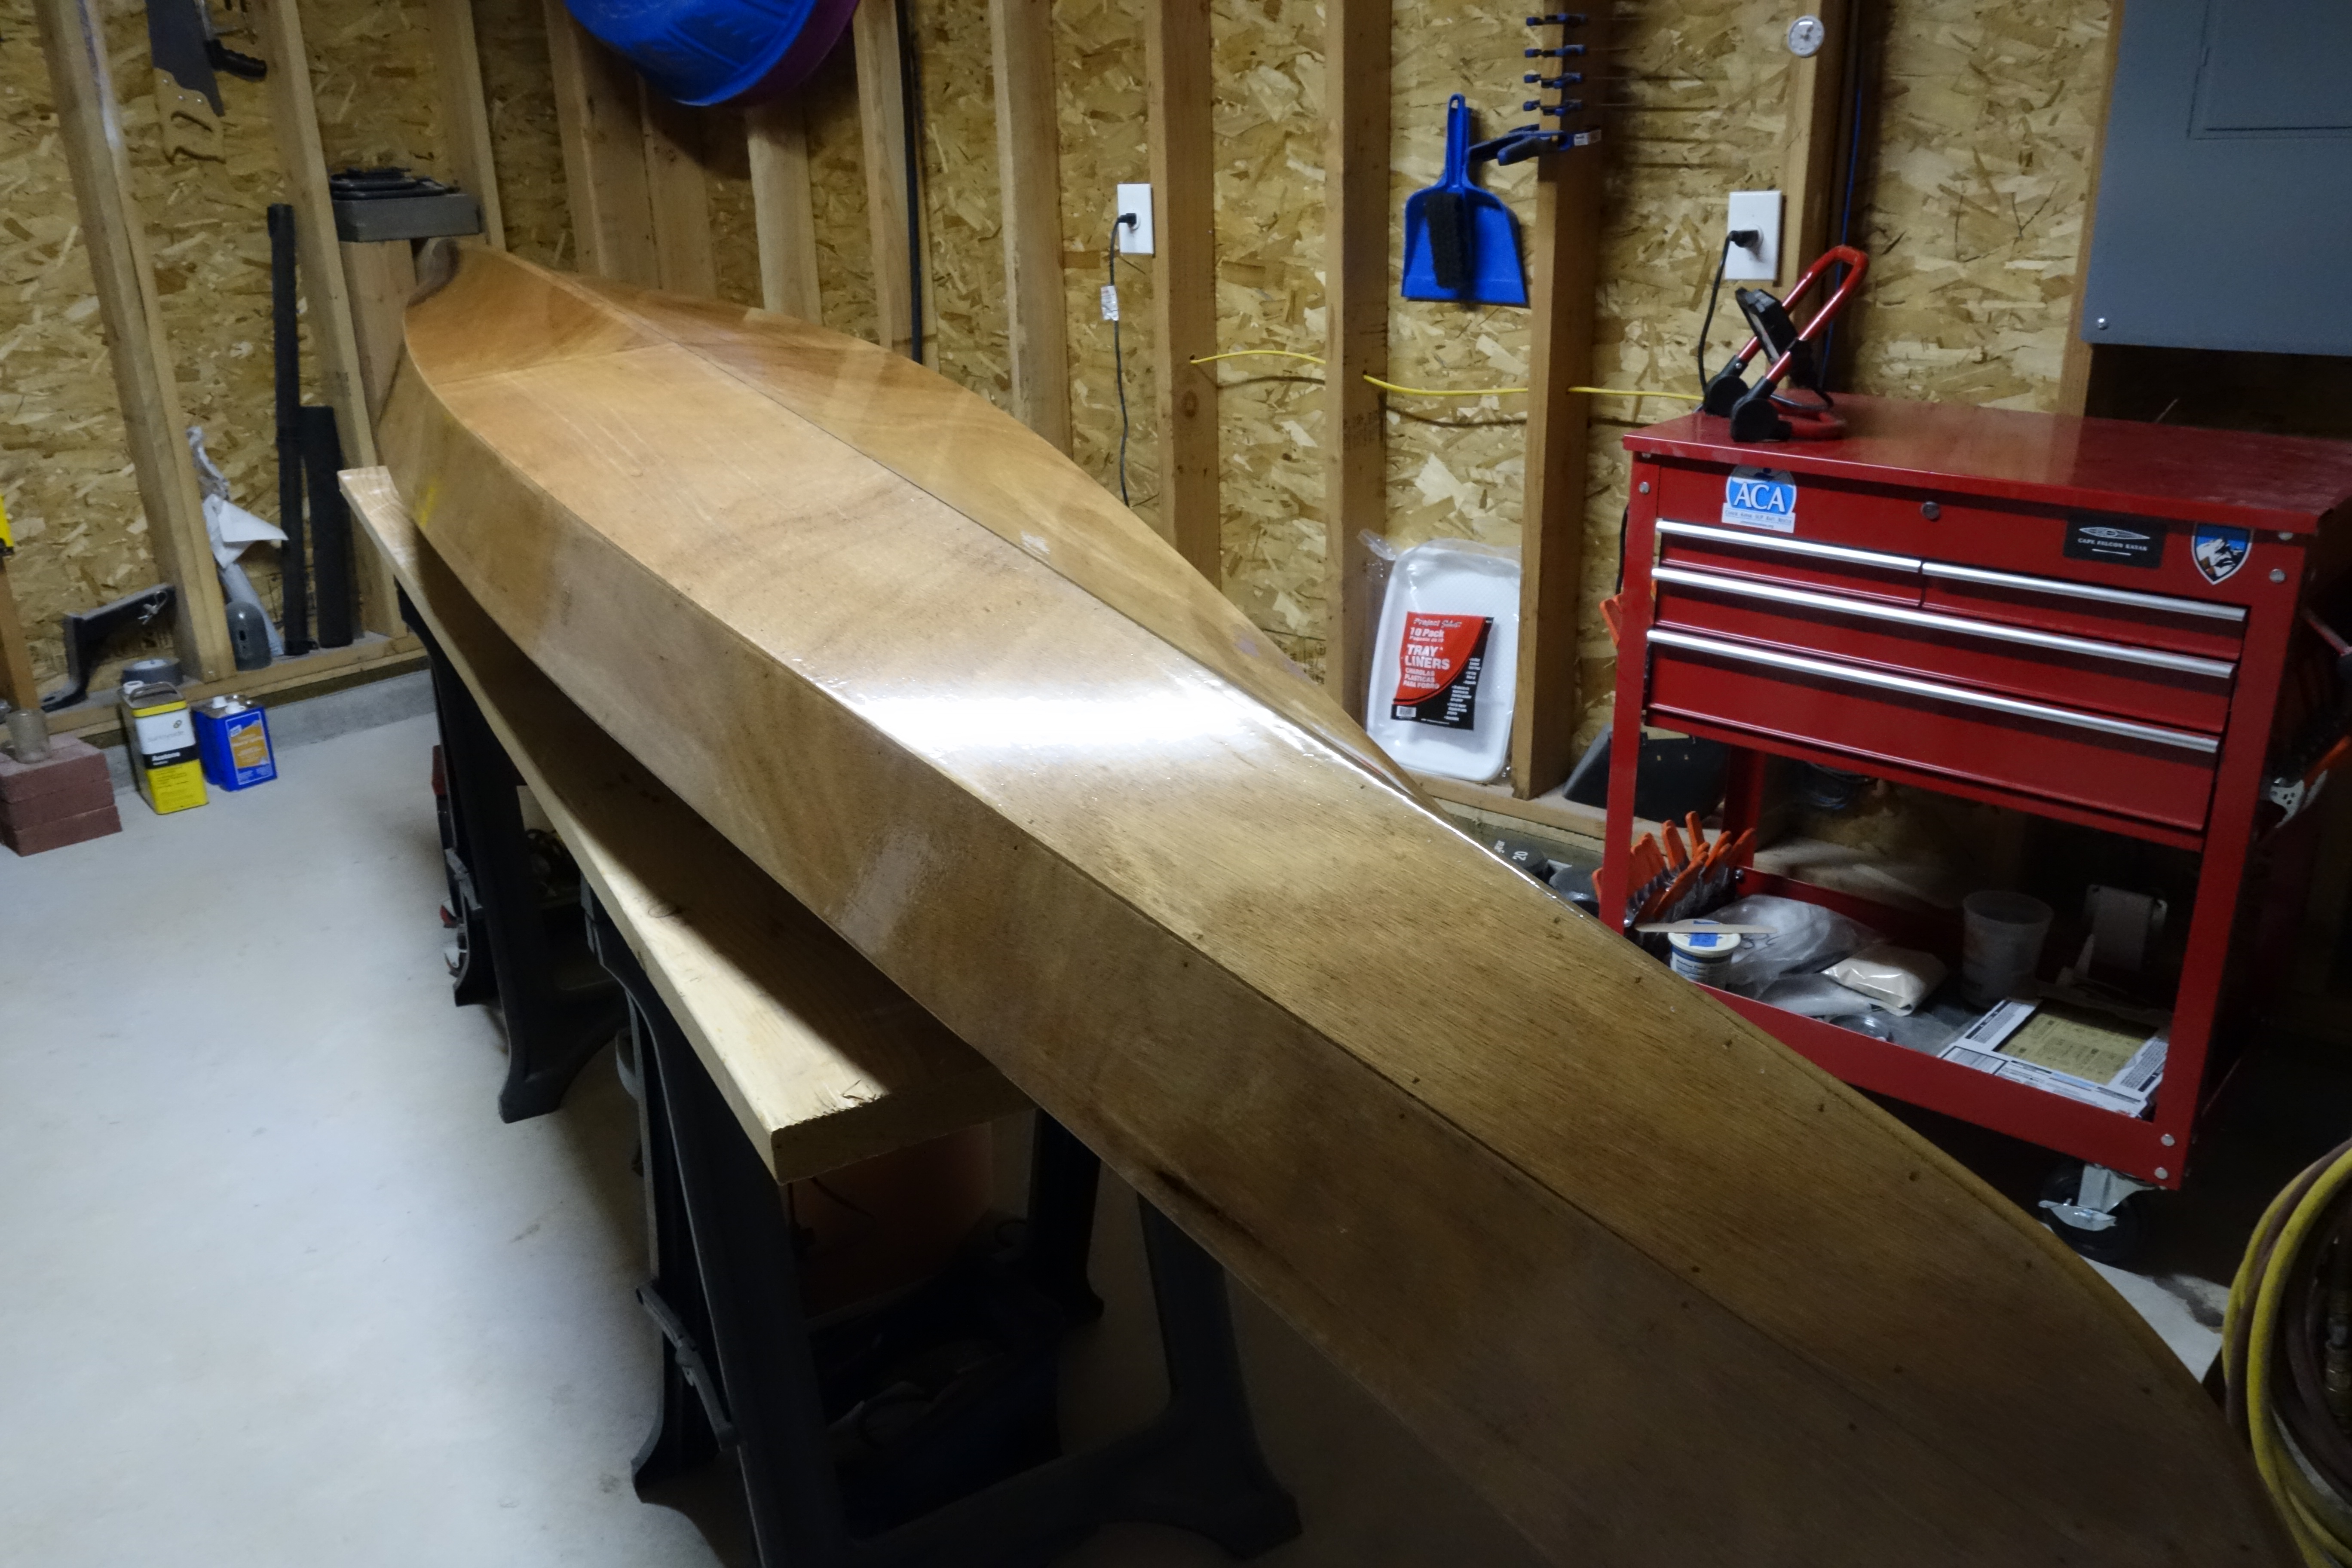
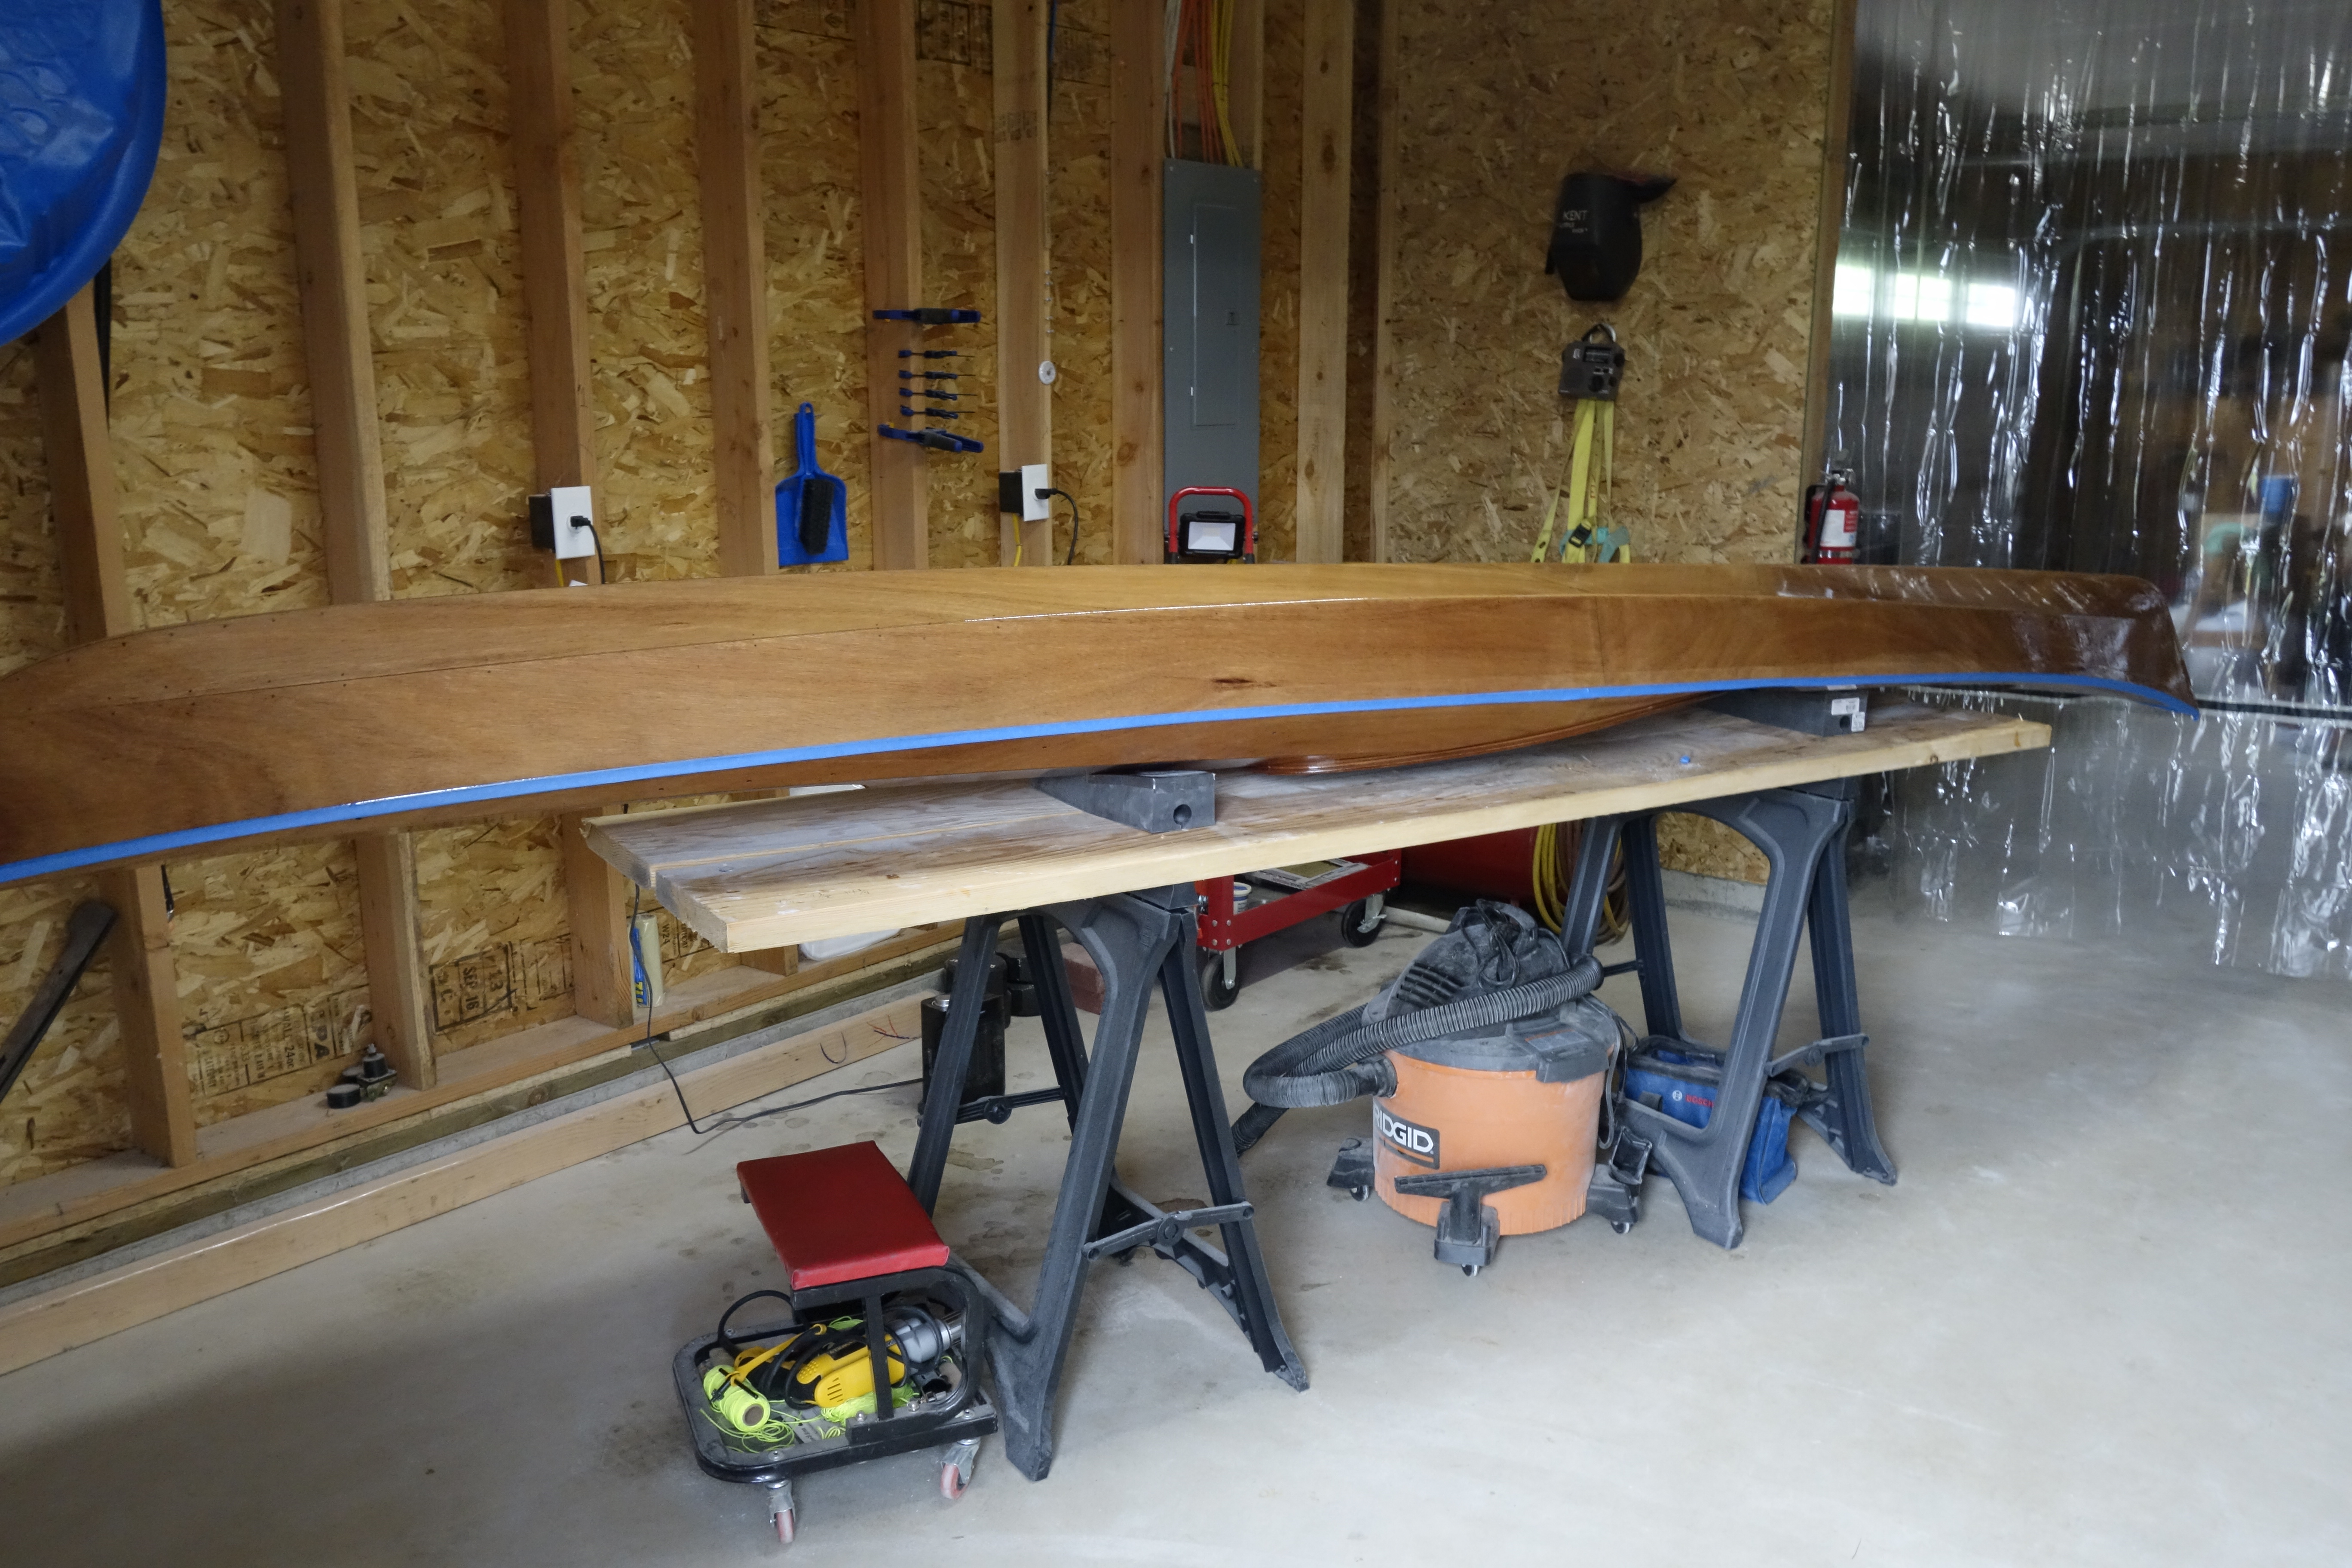
Round two for the hull. Sanded at lunchtime today and varnished this evening after work.
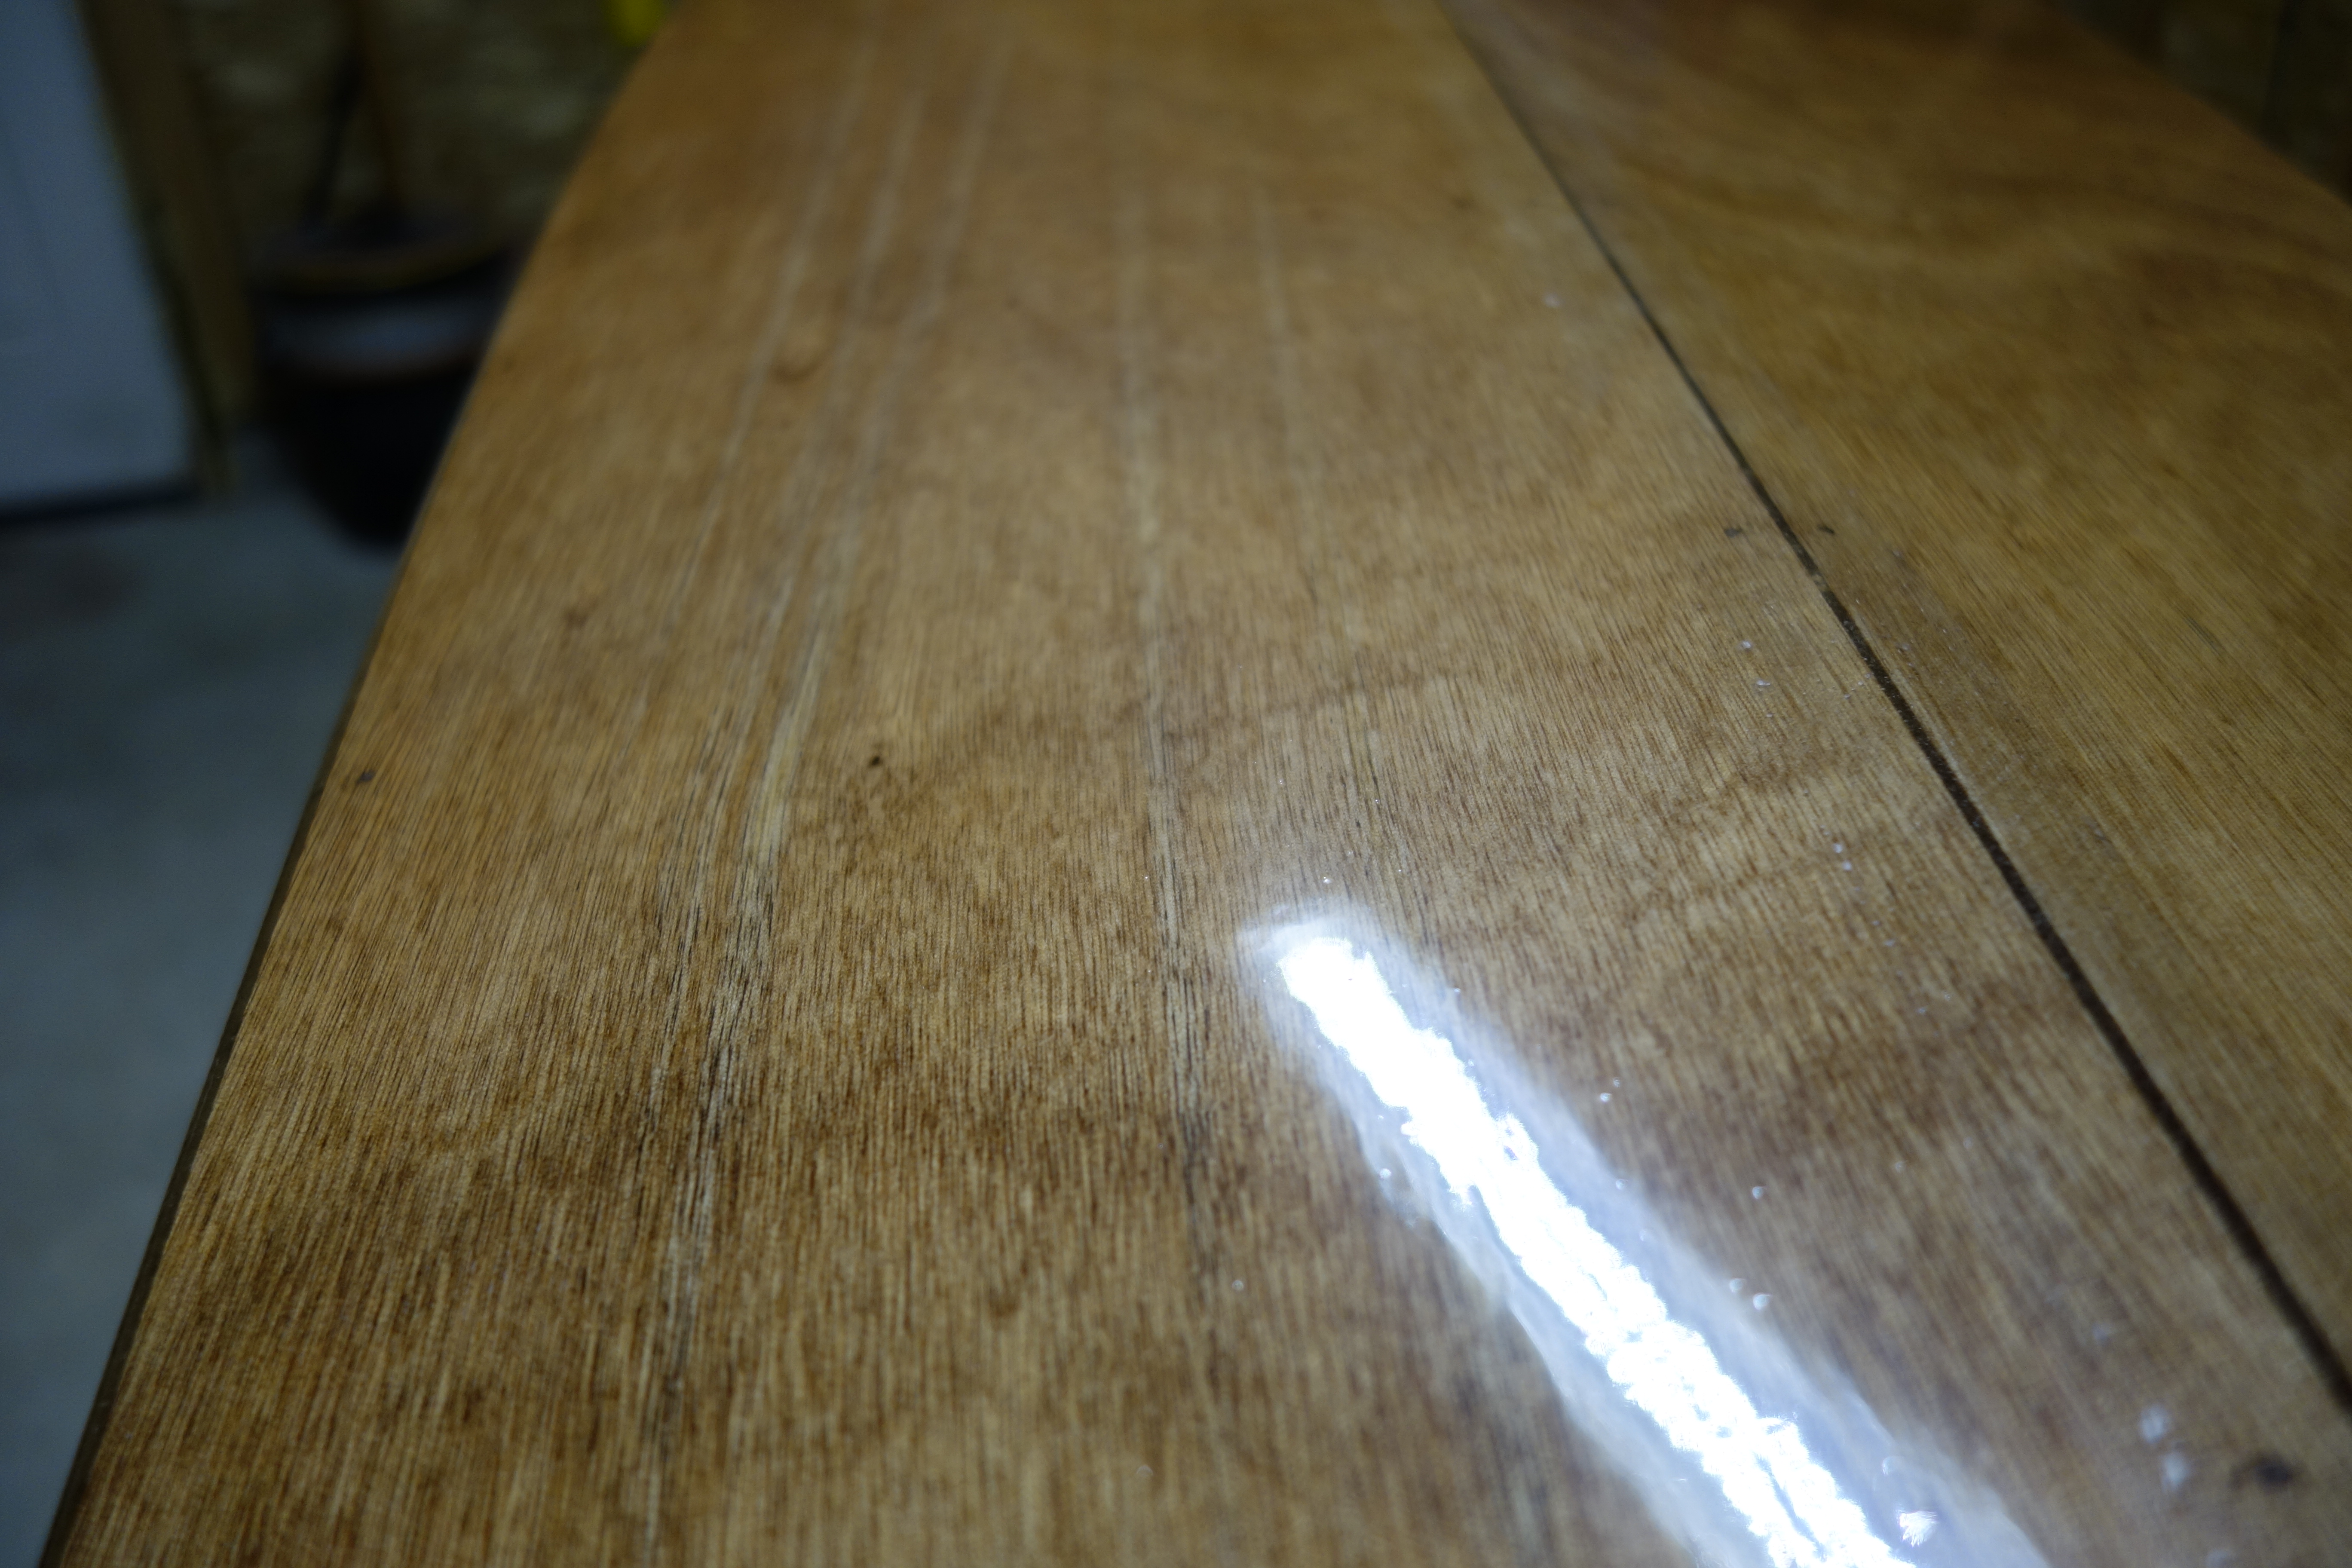
These photos were taken right after I applied the varnish. It hadn’t smoothed out yet. It will self-level as it dries and will look much better tomorrow.
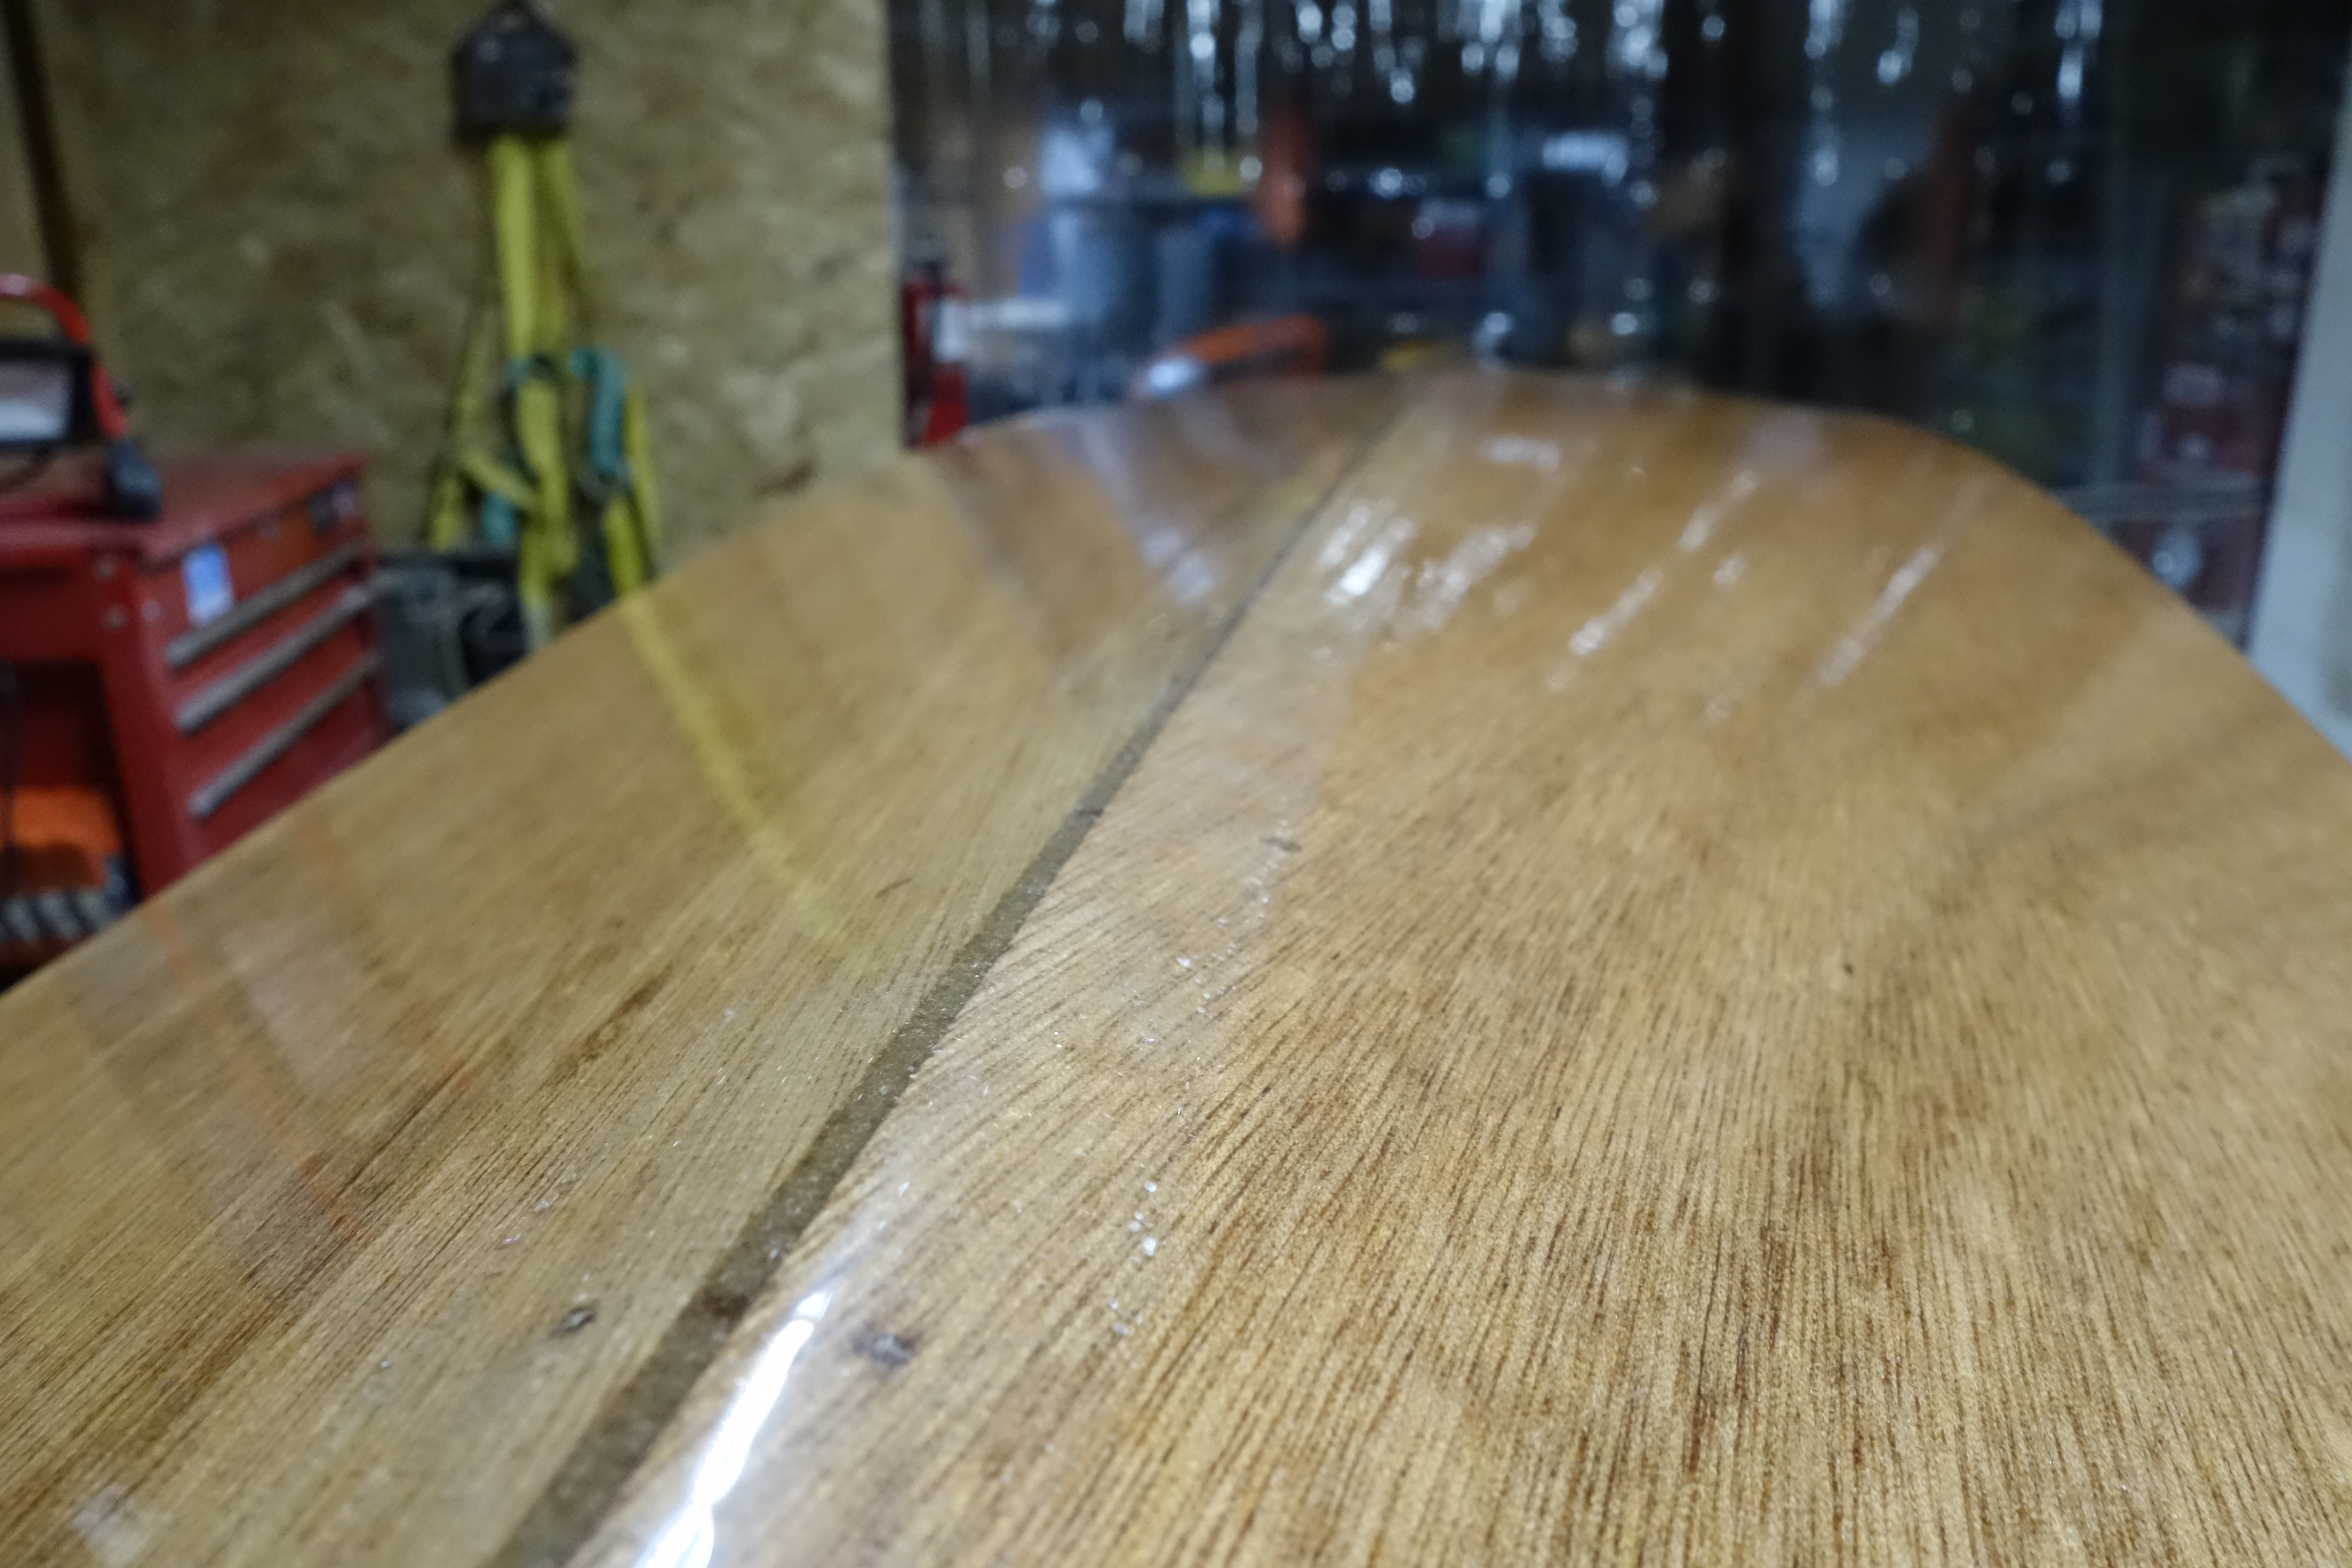
I sanded the sags that I made in the first coat, and made at least one more sag in the second coat. *sigh* That’s ok. More sanding to come before I apply the third coat.
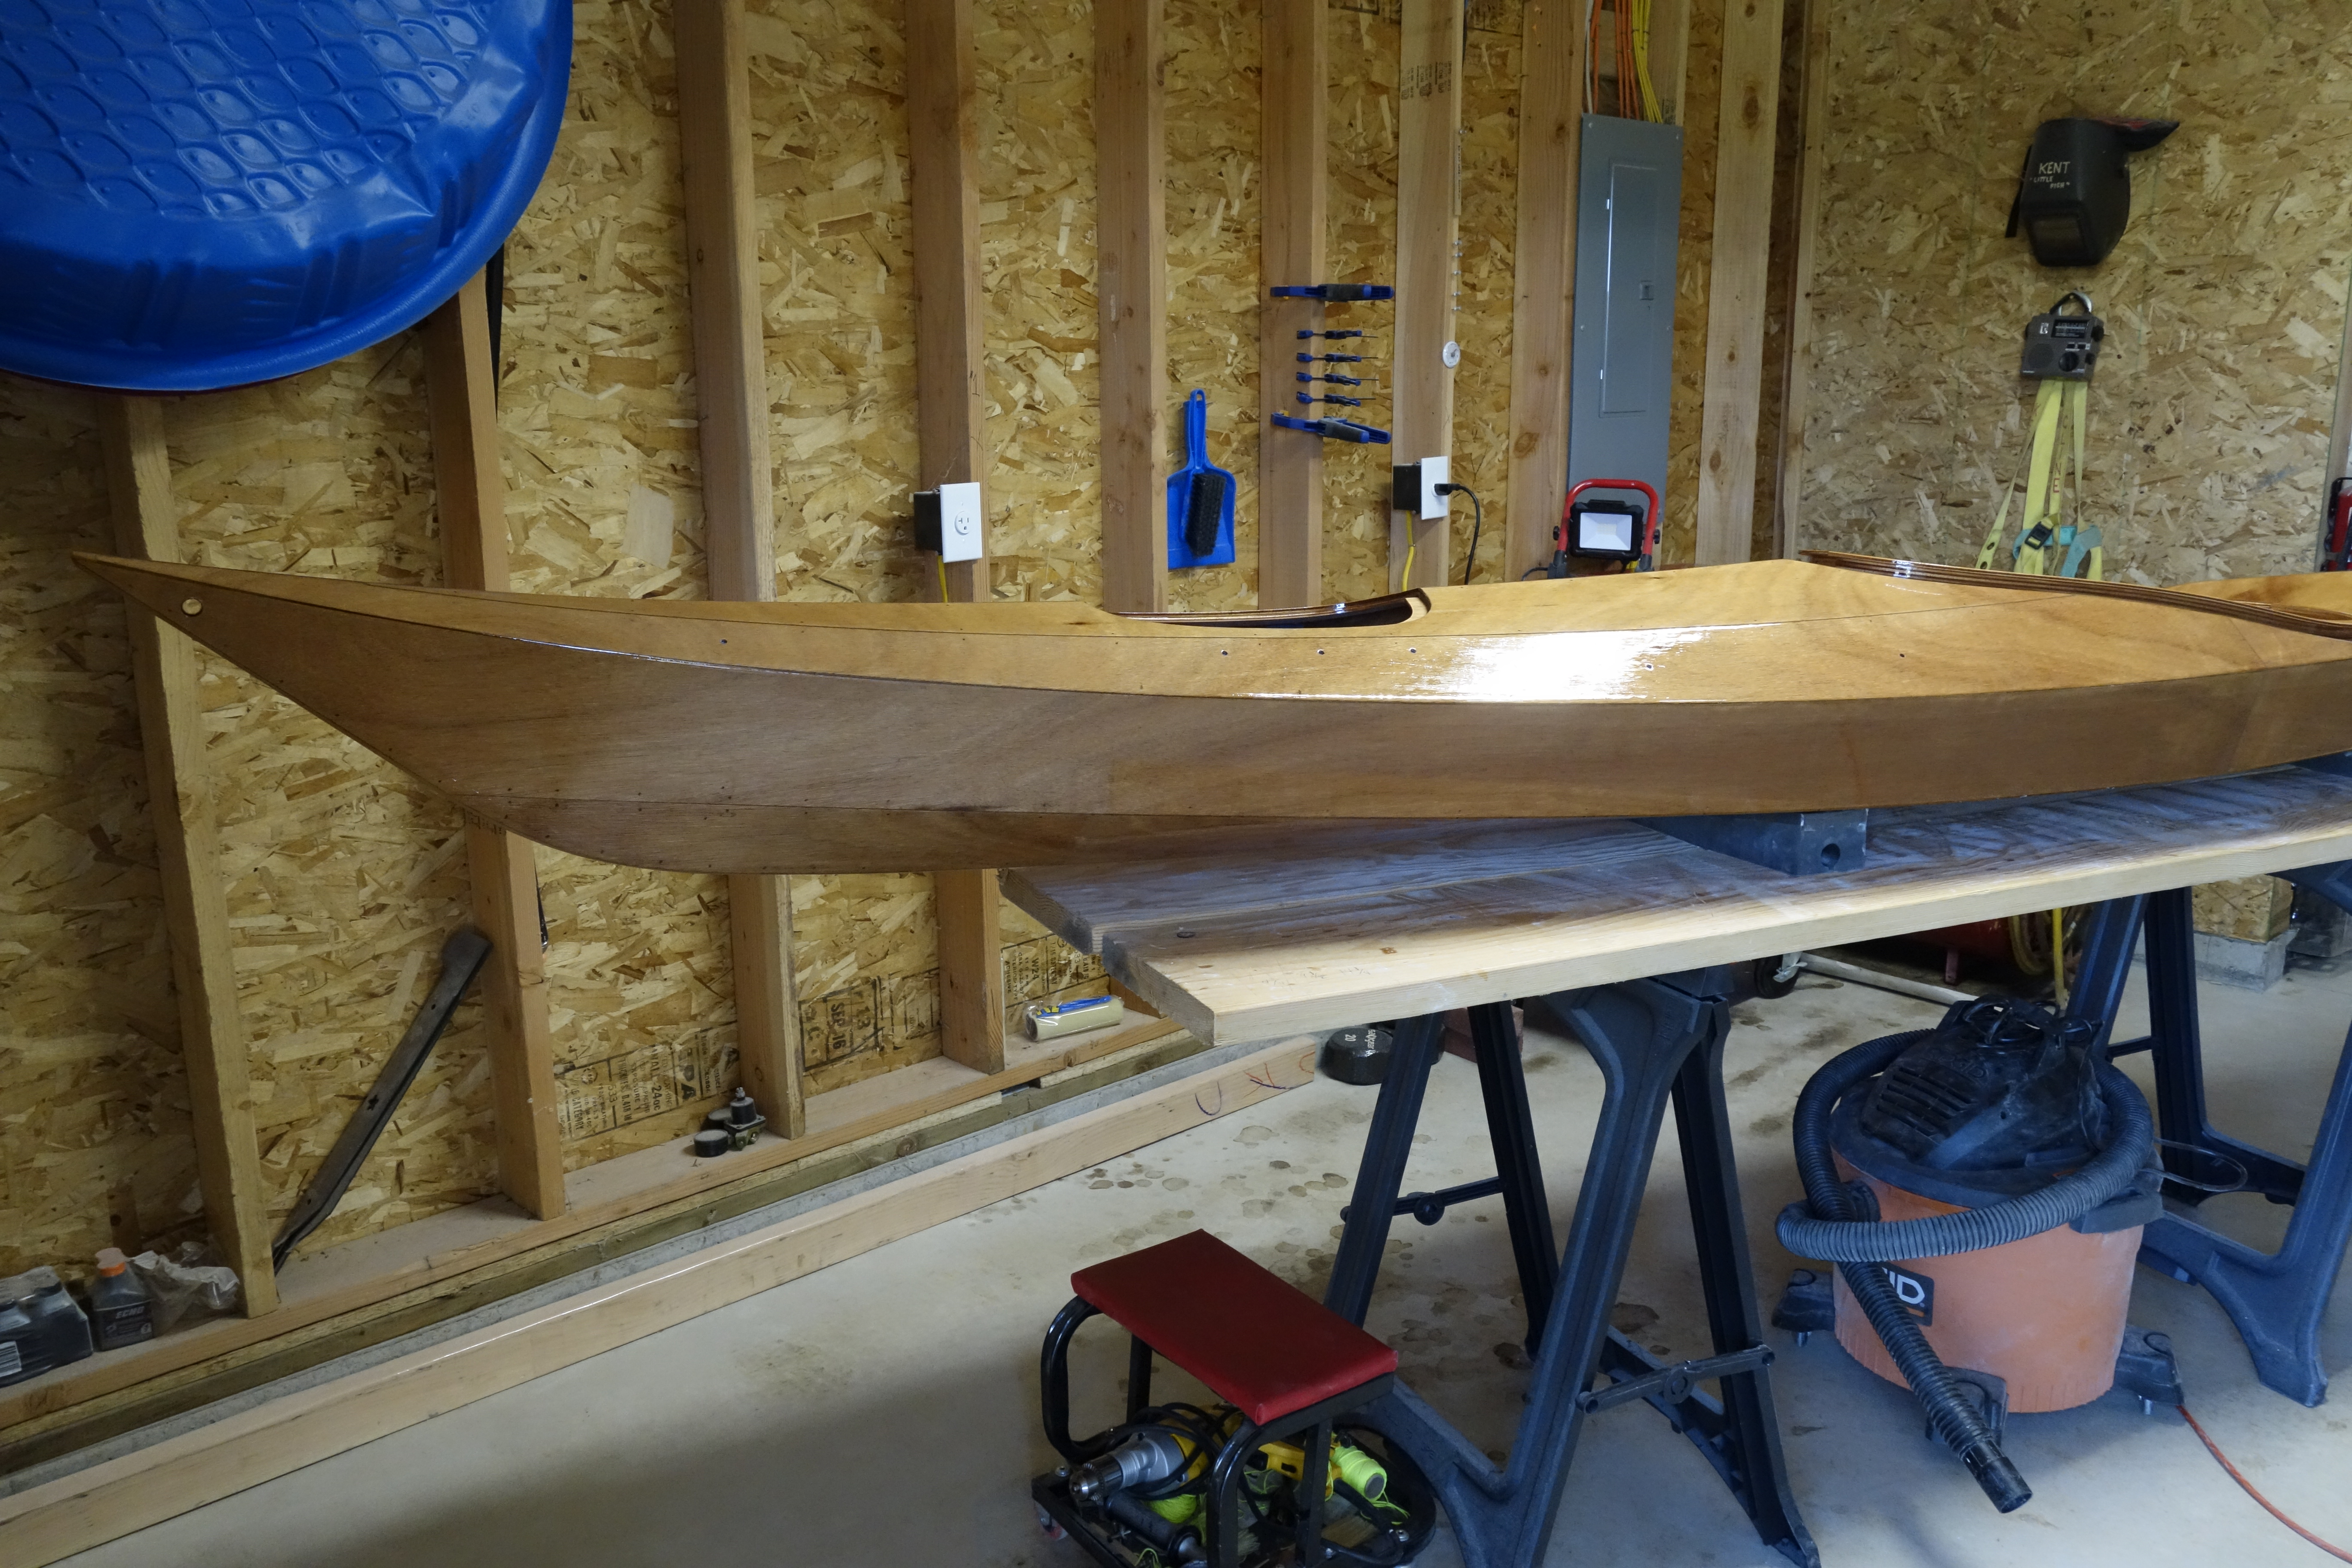
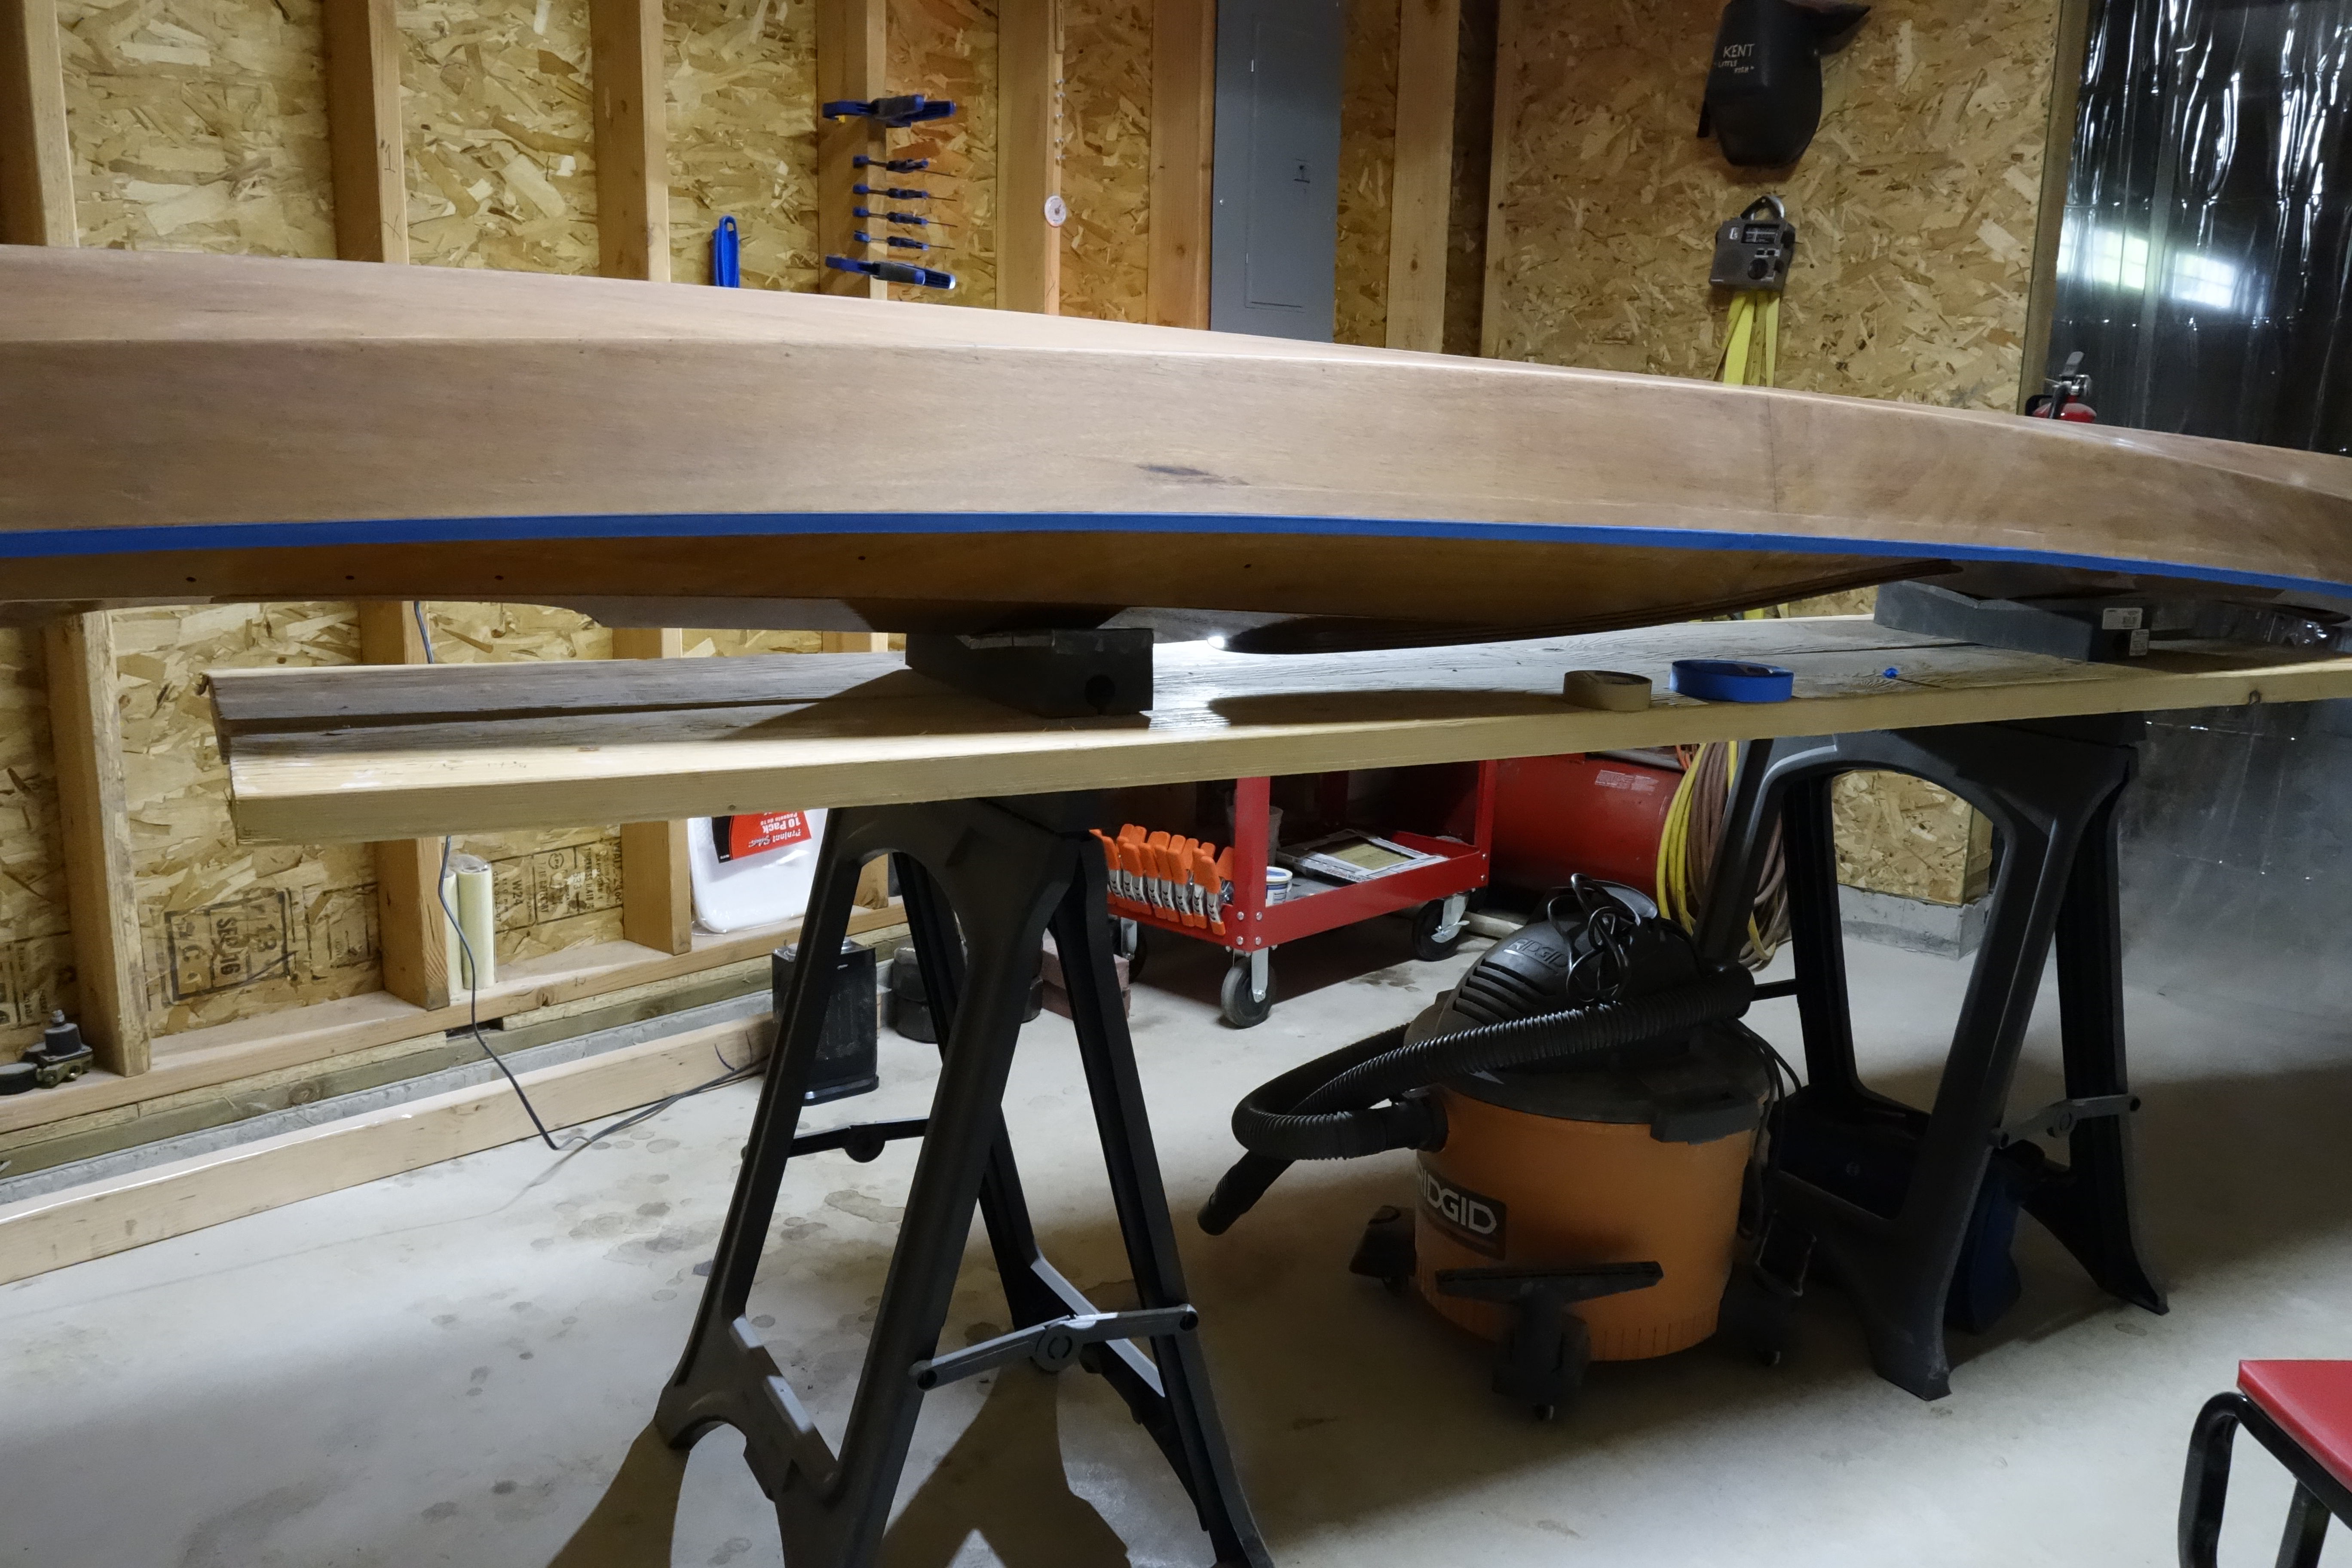
It’s not perfect, but again, I have to sand between each coat of varnish anyway and I’m learning how to apply varnish as I go.
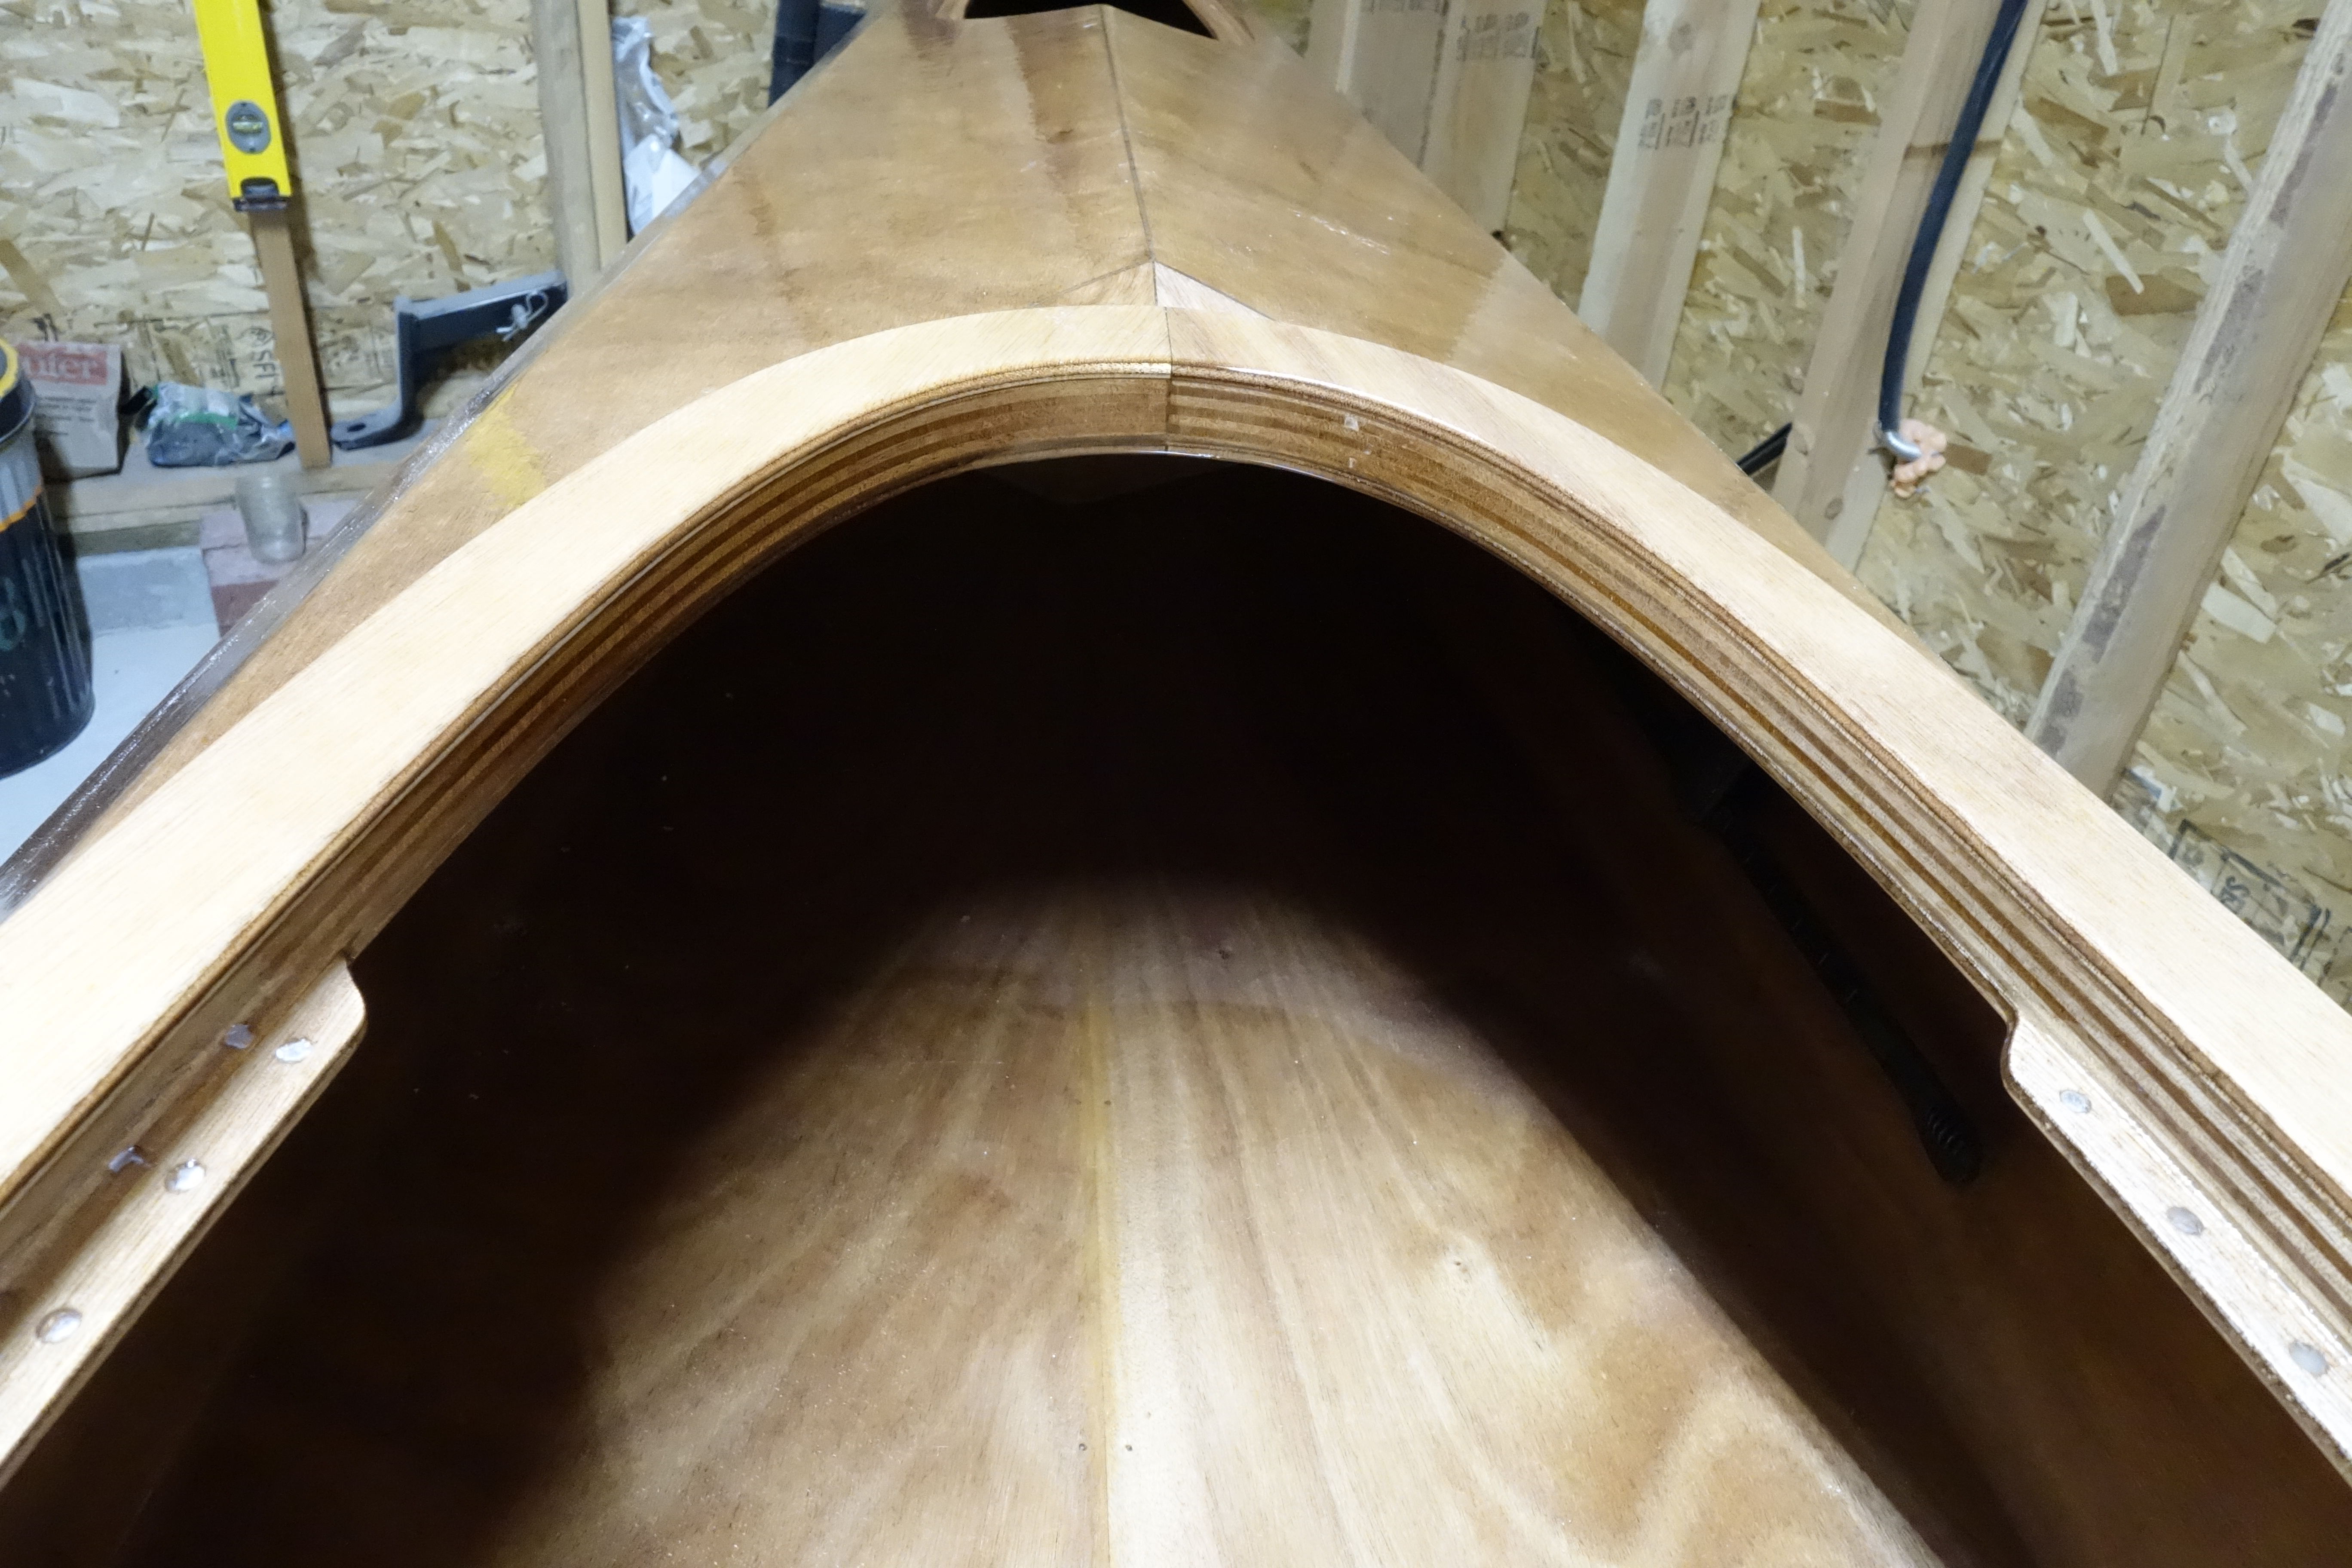
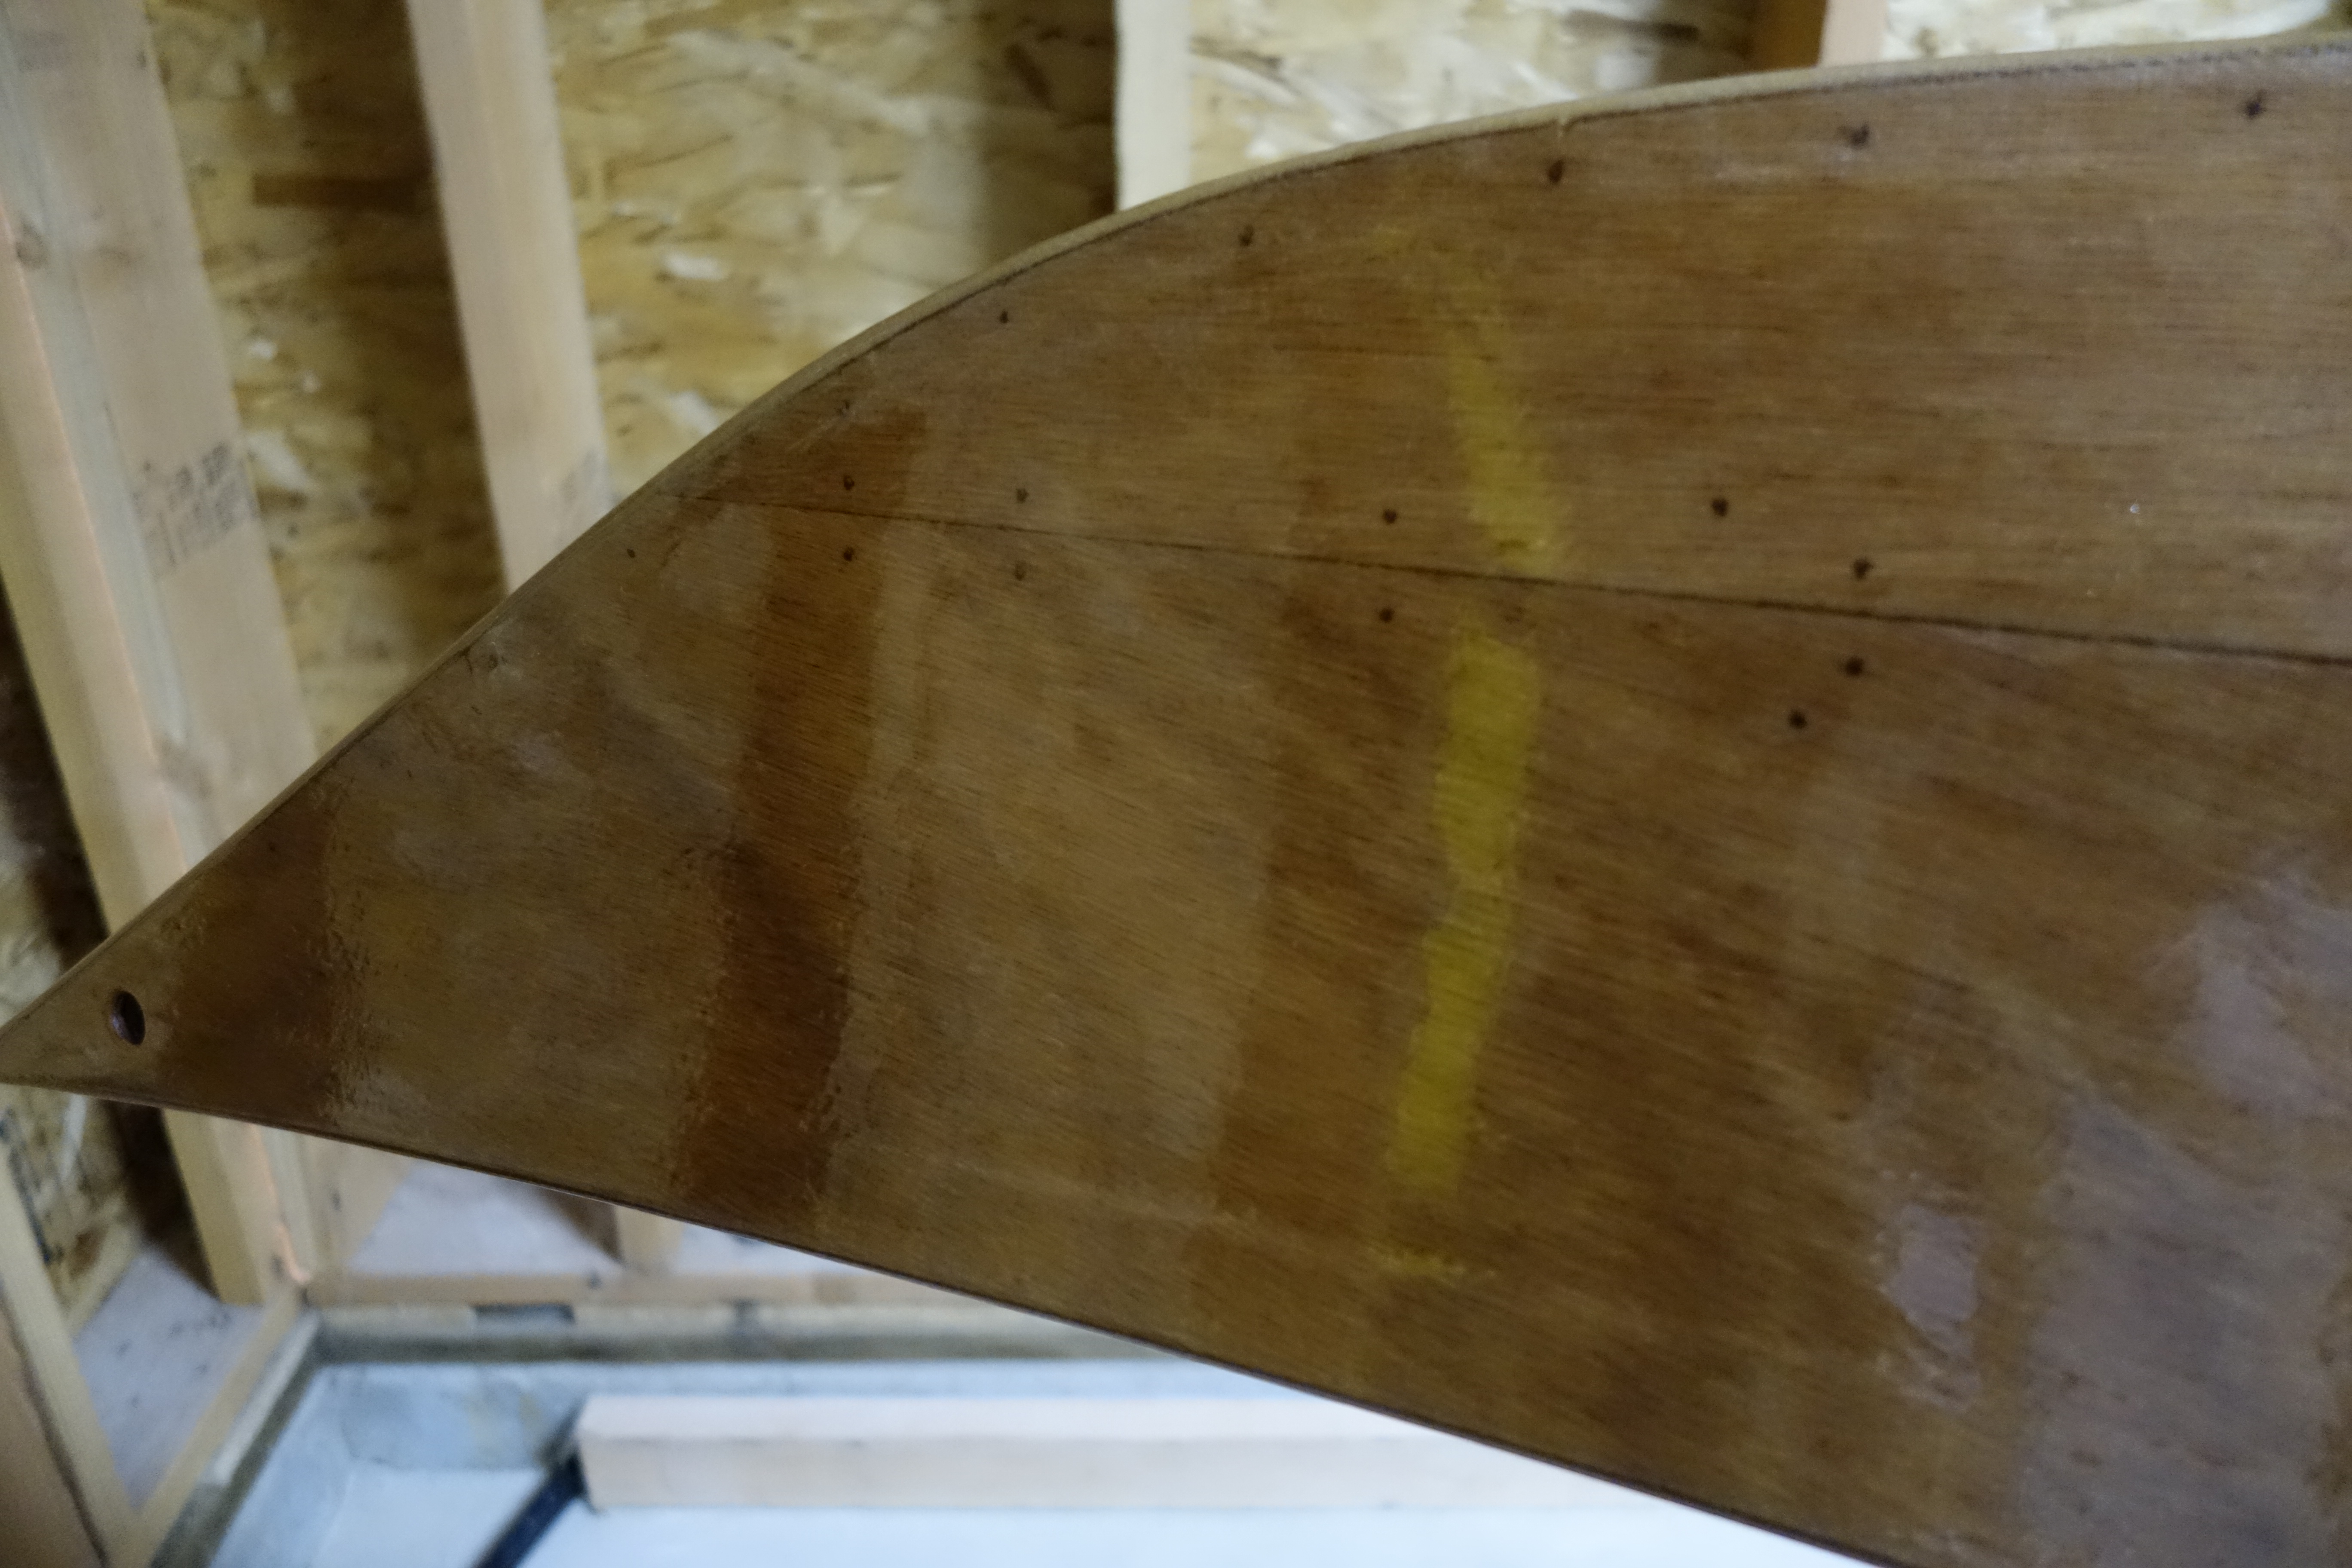
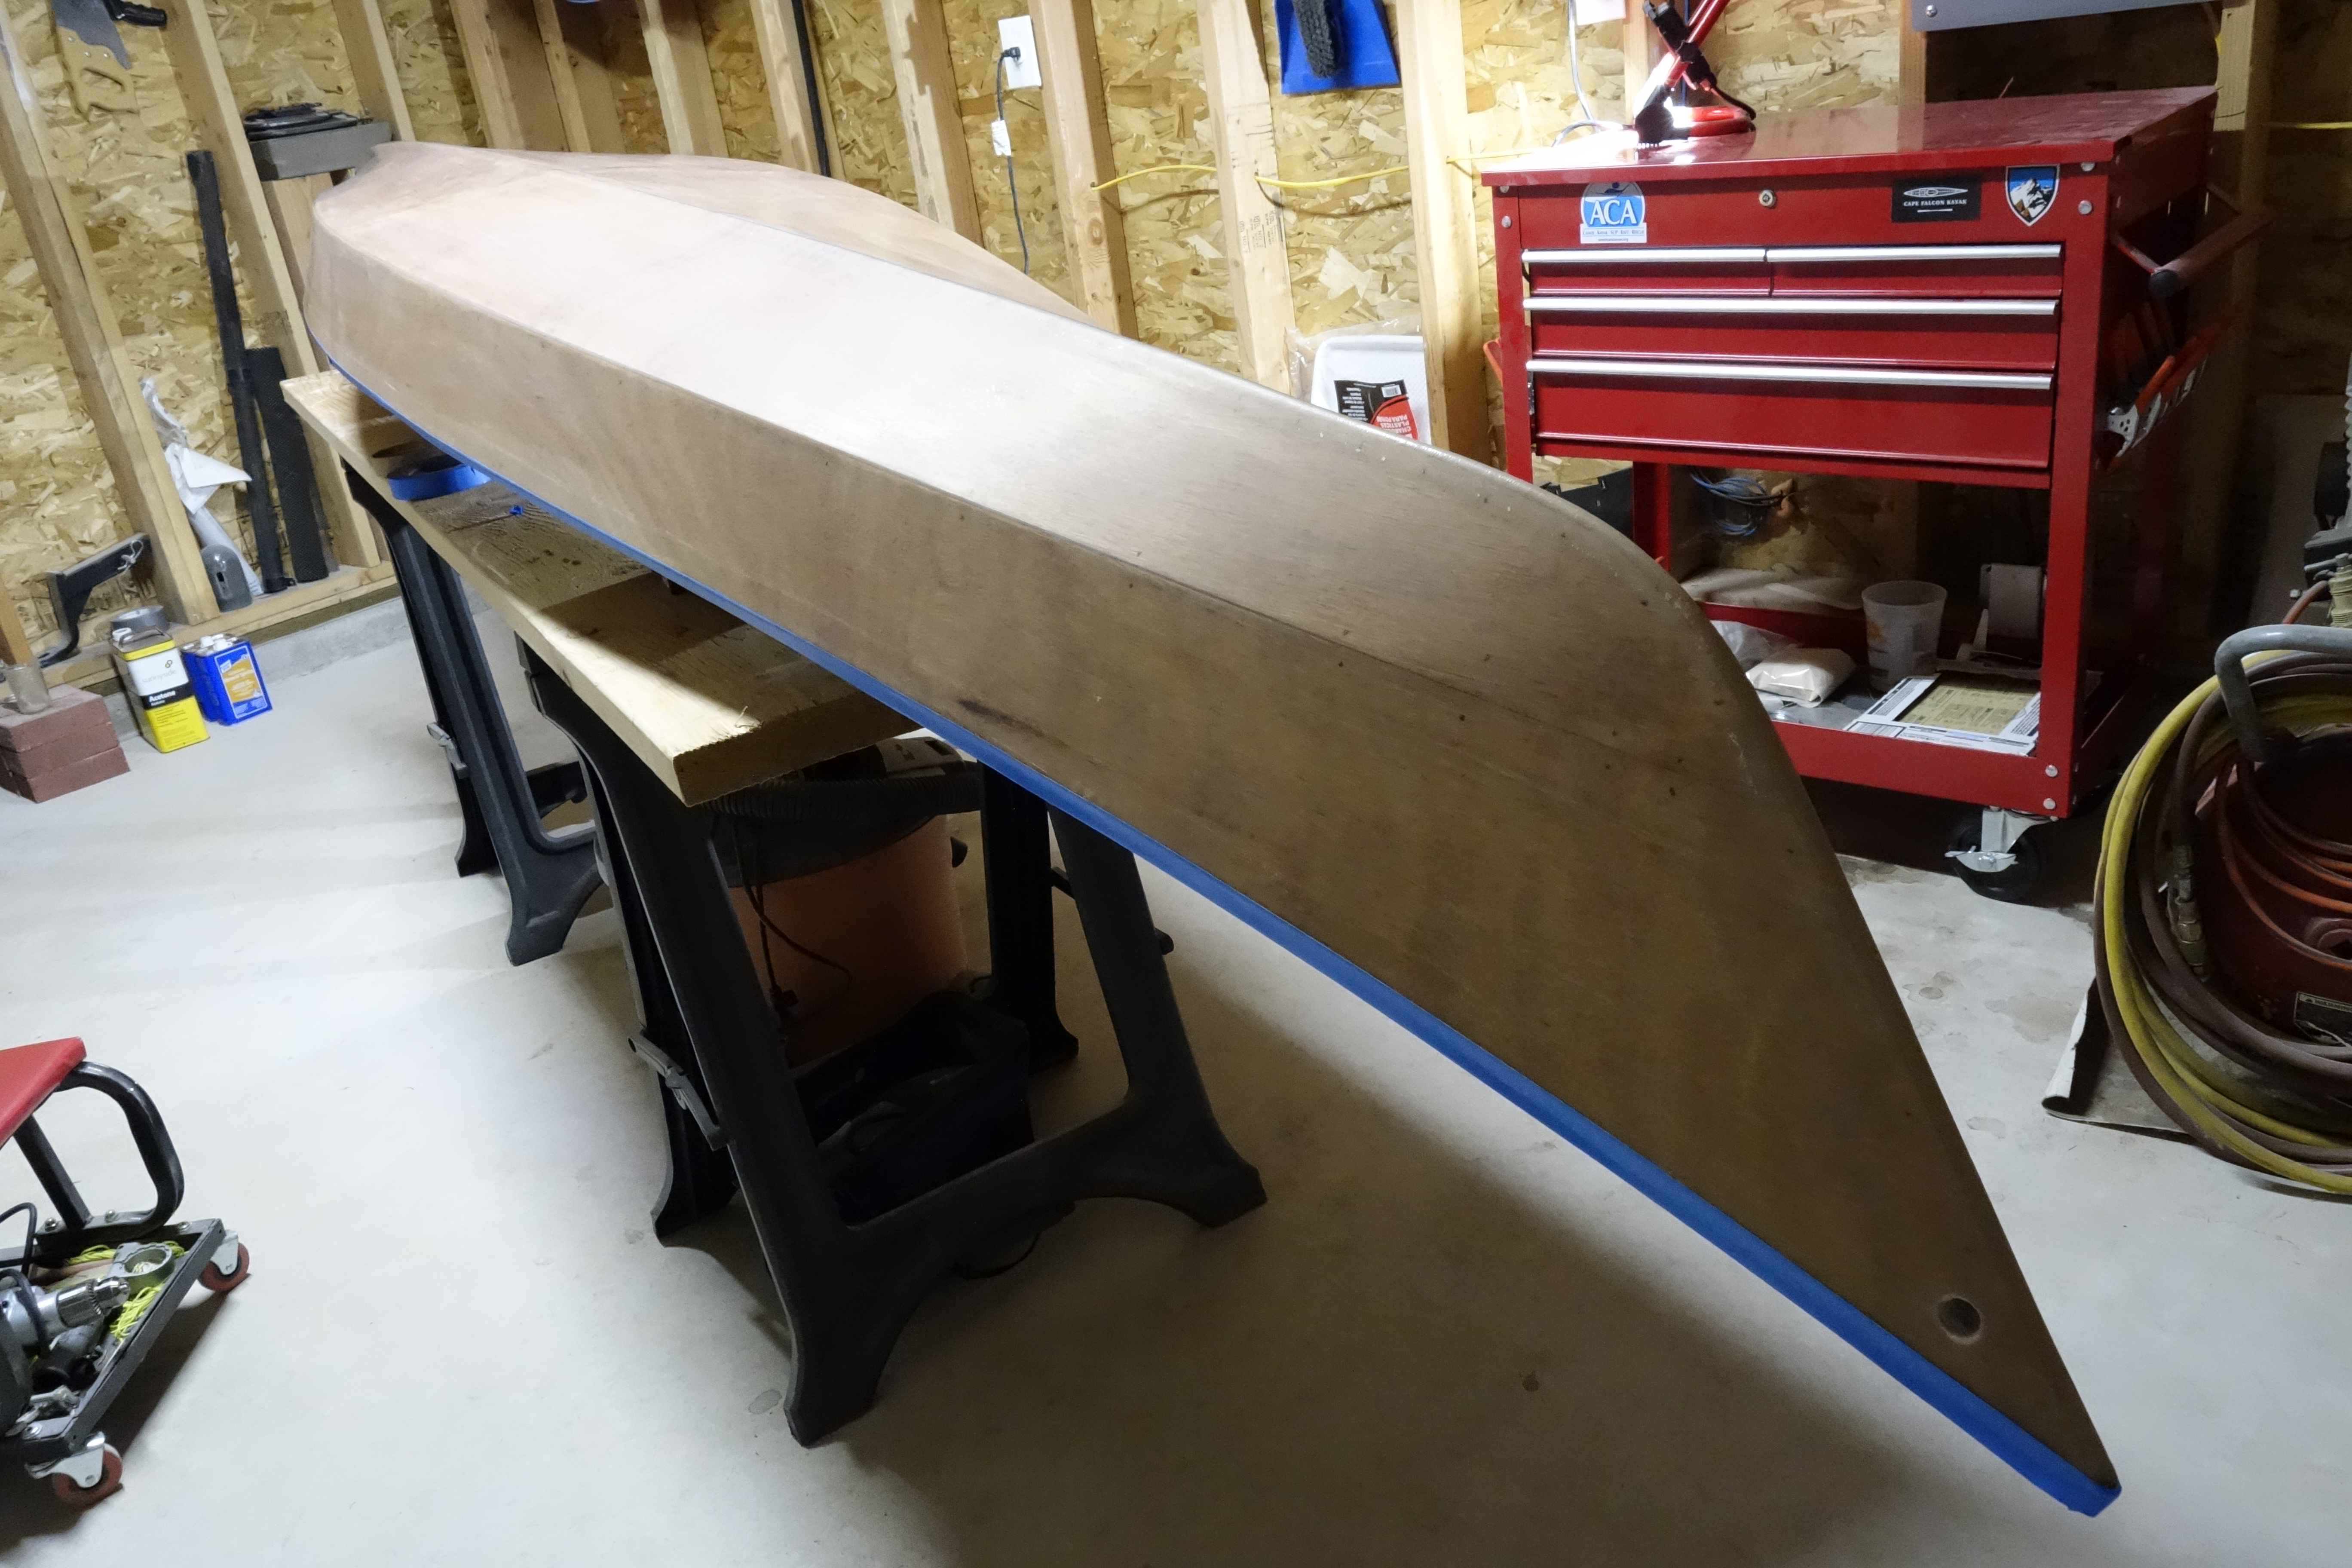
You can see right under the forward hatch that I didn’t get very good coverage. That’s ok. I’ll consider the first two coats practice and worry about the final finish as I get closer to the last coat(s).Again, you can see in this photo that the varnish is a little thin right under the forward hatch. No worries. It’s the first coat. Plenty of sanding and more coats of varnish to follow.
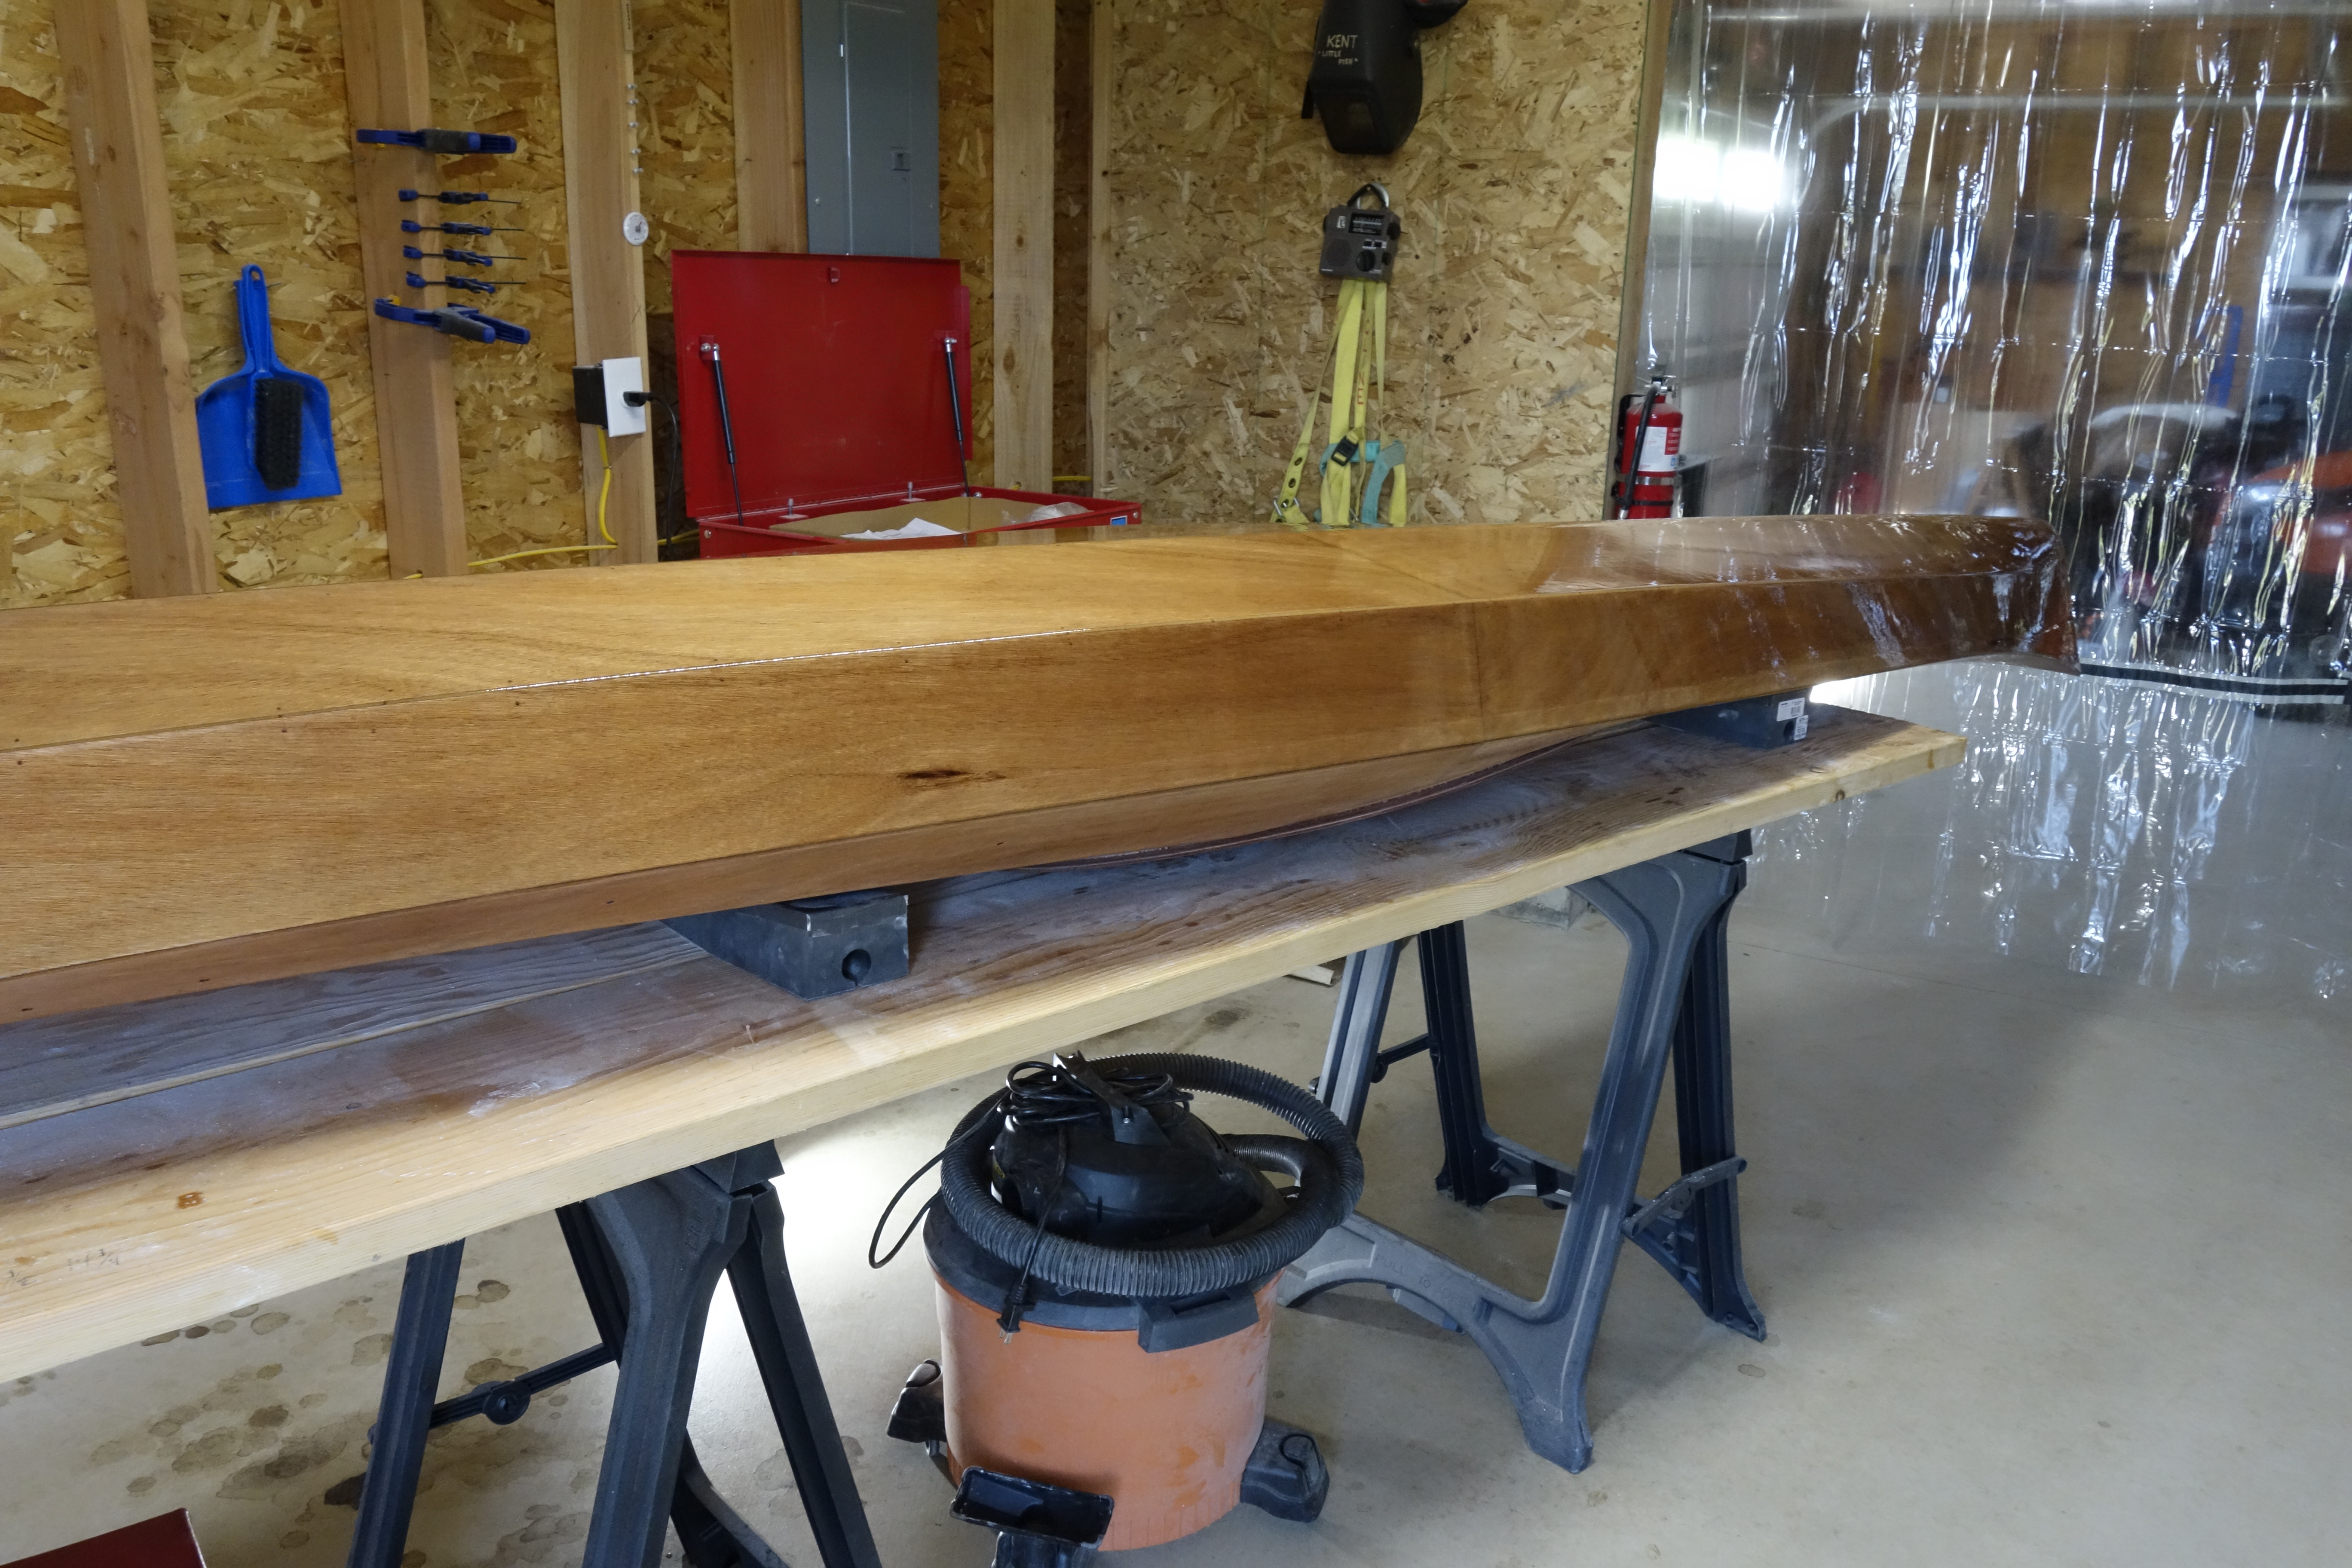
If anyone is curious about how I am applying the varnish, I am using a technique used by Nick Schade at Guillemot Kayaks. Essentially, after preparing the surface I am using a 3″ foam brush and varnishing approximately one foot sections of the surface I am working on and then moving on to the adjacent section while maintaining the wet edge of the previous section. Switching back and forth, from one side of the kayak to the other, and repeating until the entire kayak deck or hull (whichever I am working on at the time) is finished. The video that I linked to above shows the method in much greater detail than I can easily describe here. I greatly admire Mr. Schade’s kayaks and he has wonderfully detailed videos on YouTube (that can be found through his web site or by searching YouTube itself). I found the videos on preparing for varnishing and applying varnish to be an outstanding resource. Thank you Mr. Schade! Since this is my first attempt at building a kayak, if the finish on my Ronan turns out to be half as beautiful as Mr. Schade’s kayaks I will be very happy indeed. I am going to use two different types of varnish, both made by the same manufacturer. I will apply two coats of Pettit Flagship Varnish, which has the highest UV protection, because UV breaks down epoxy. I will follow with two coats of Pettit Captains Varnish, which I am told by Pygmy Boats, has good UV protection, but is also very durable. I hope that in this way I will get the best of both worlds, very high UV protection and a durable finish that will take sea kayaking levels of abuse.
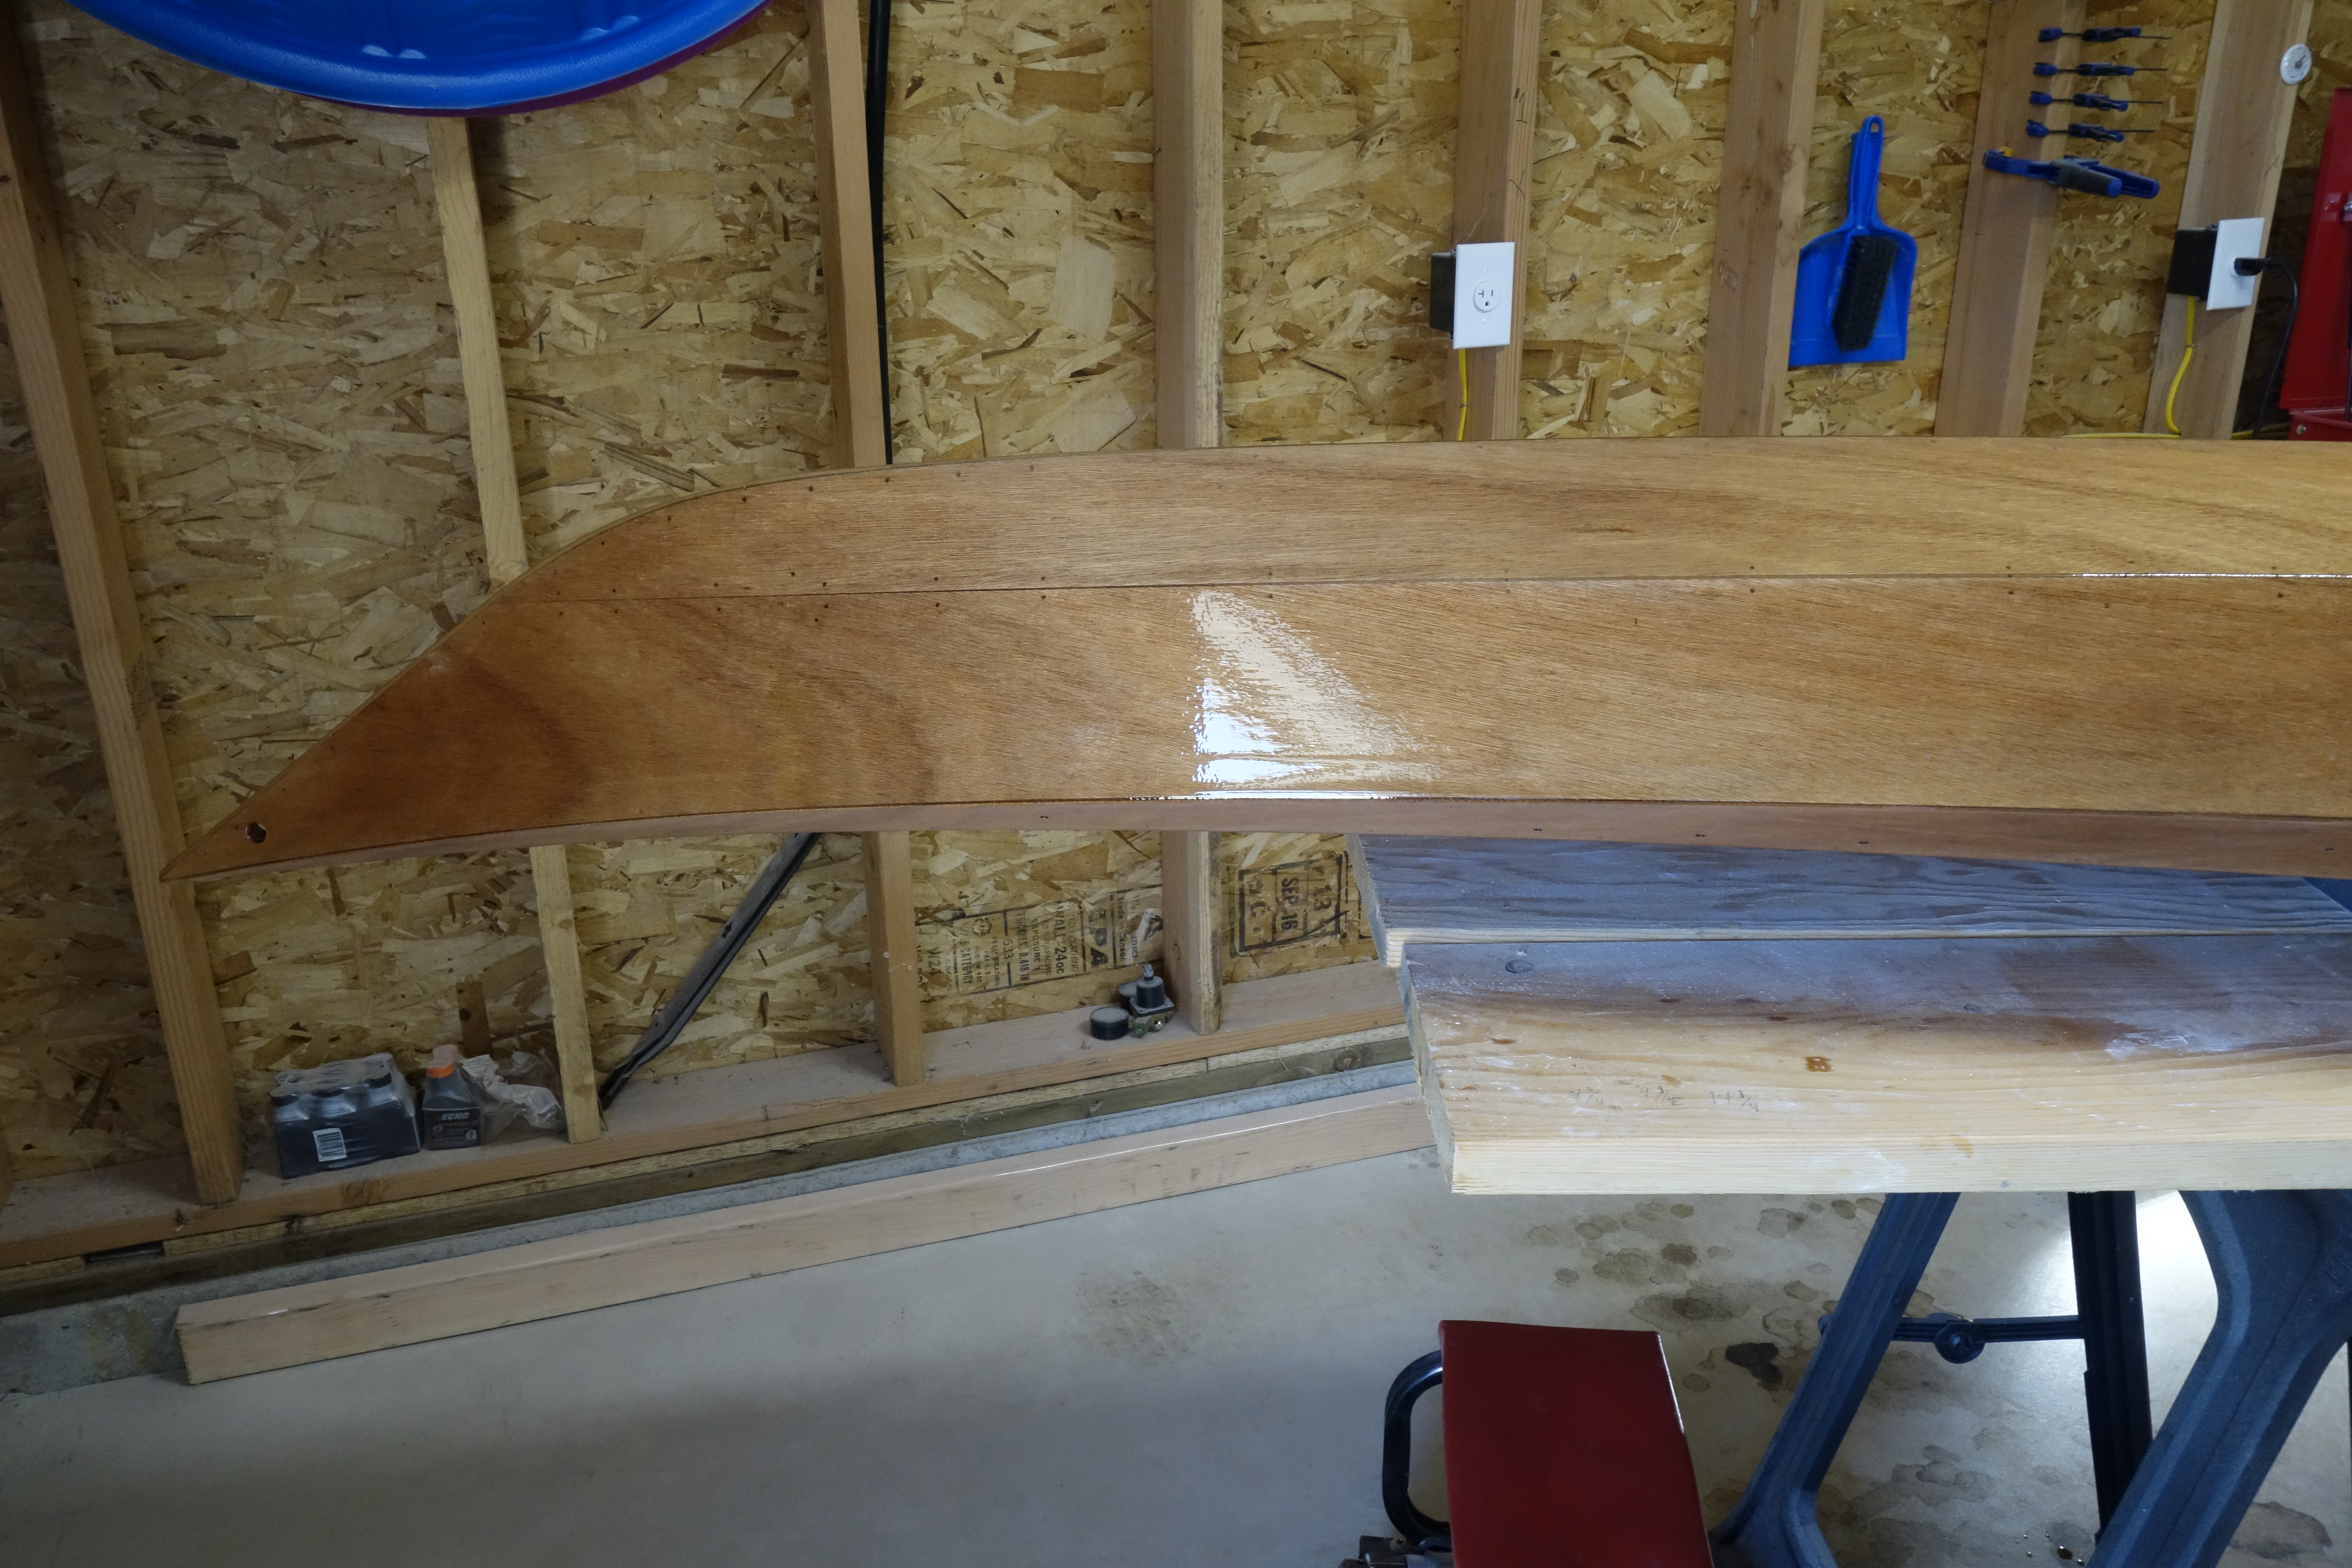
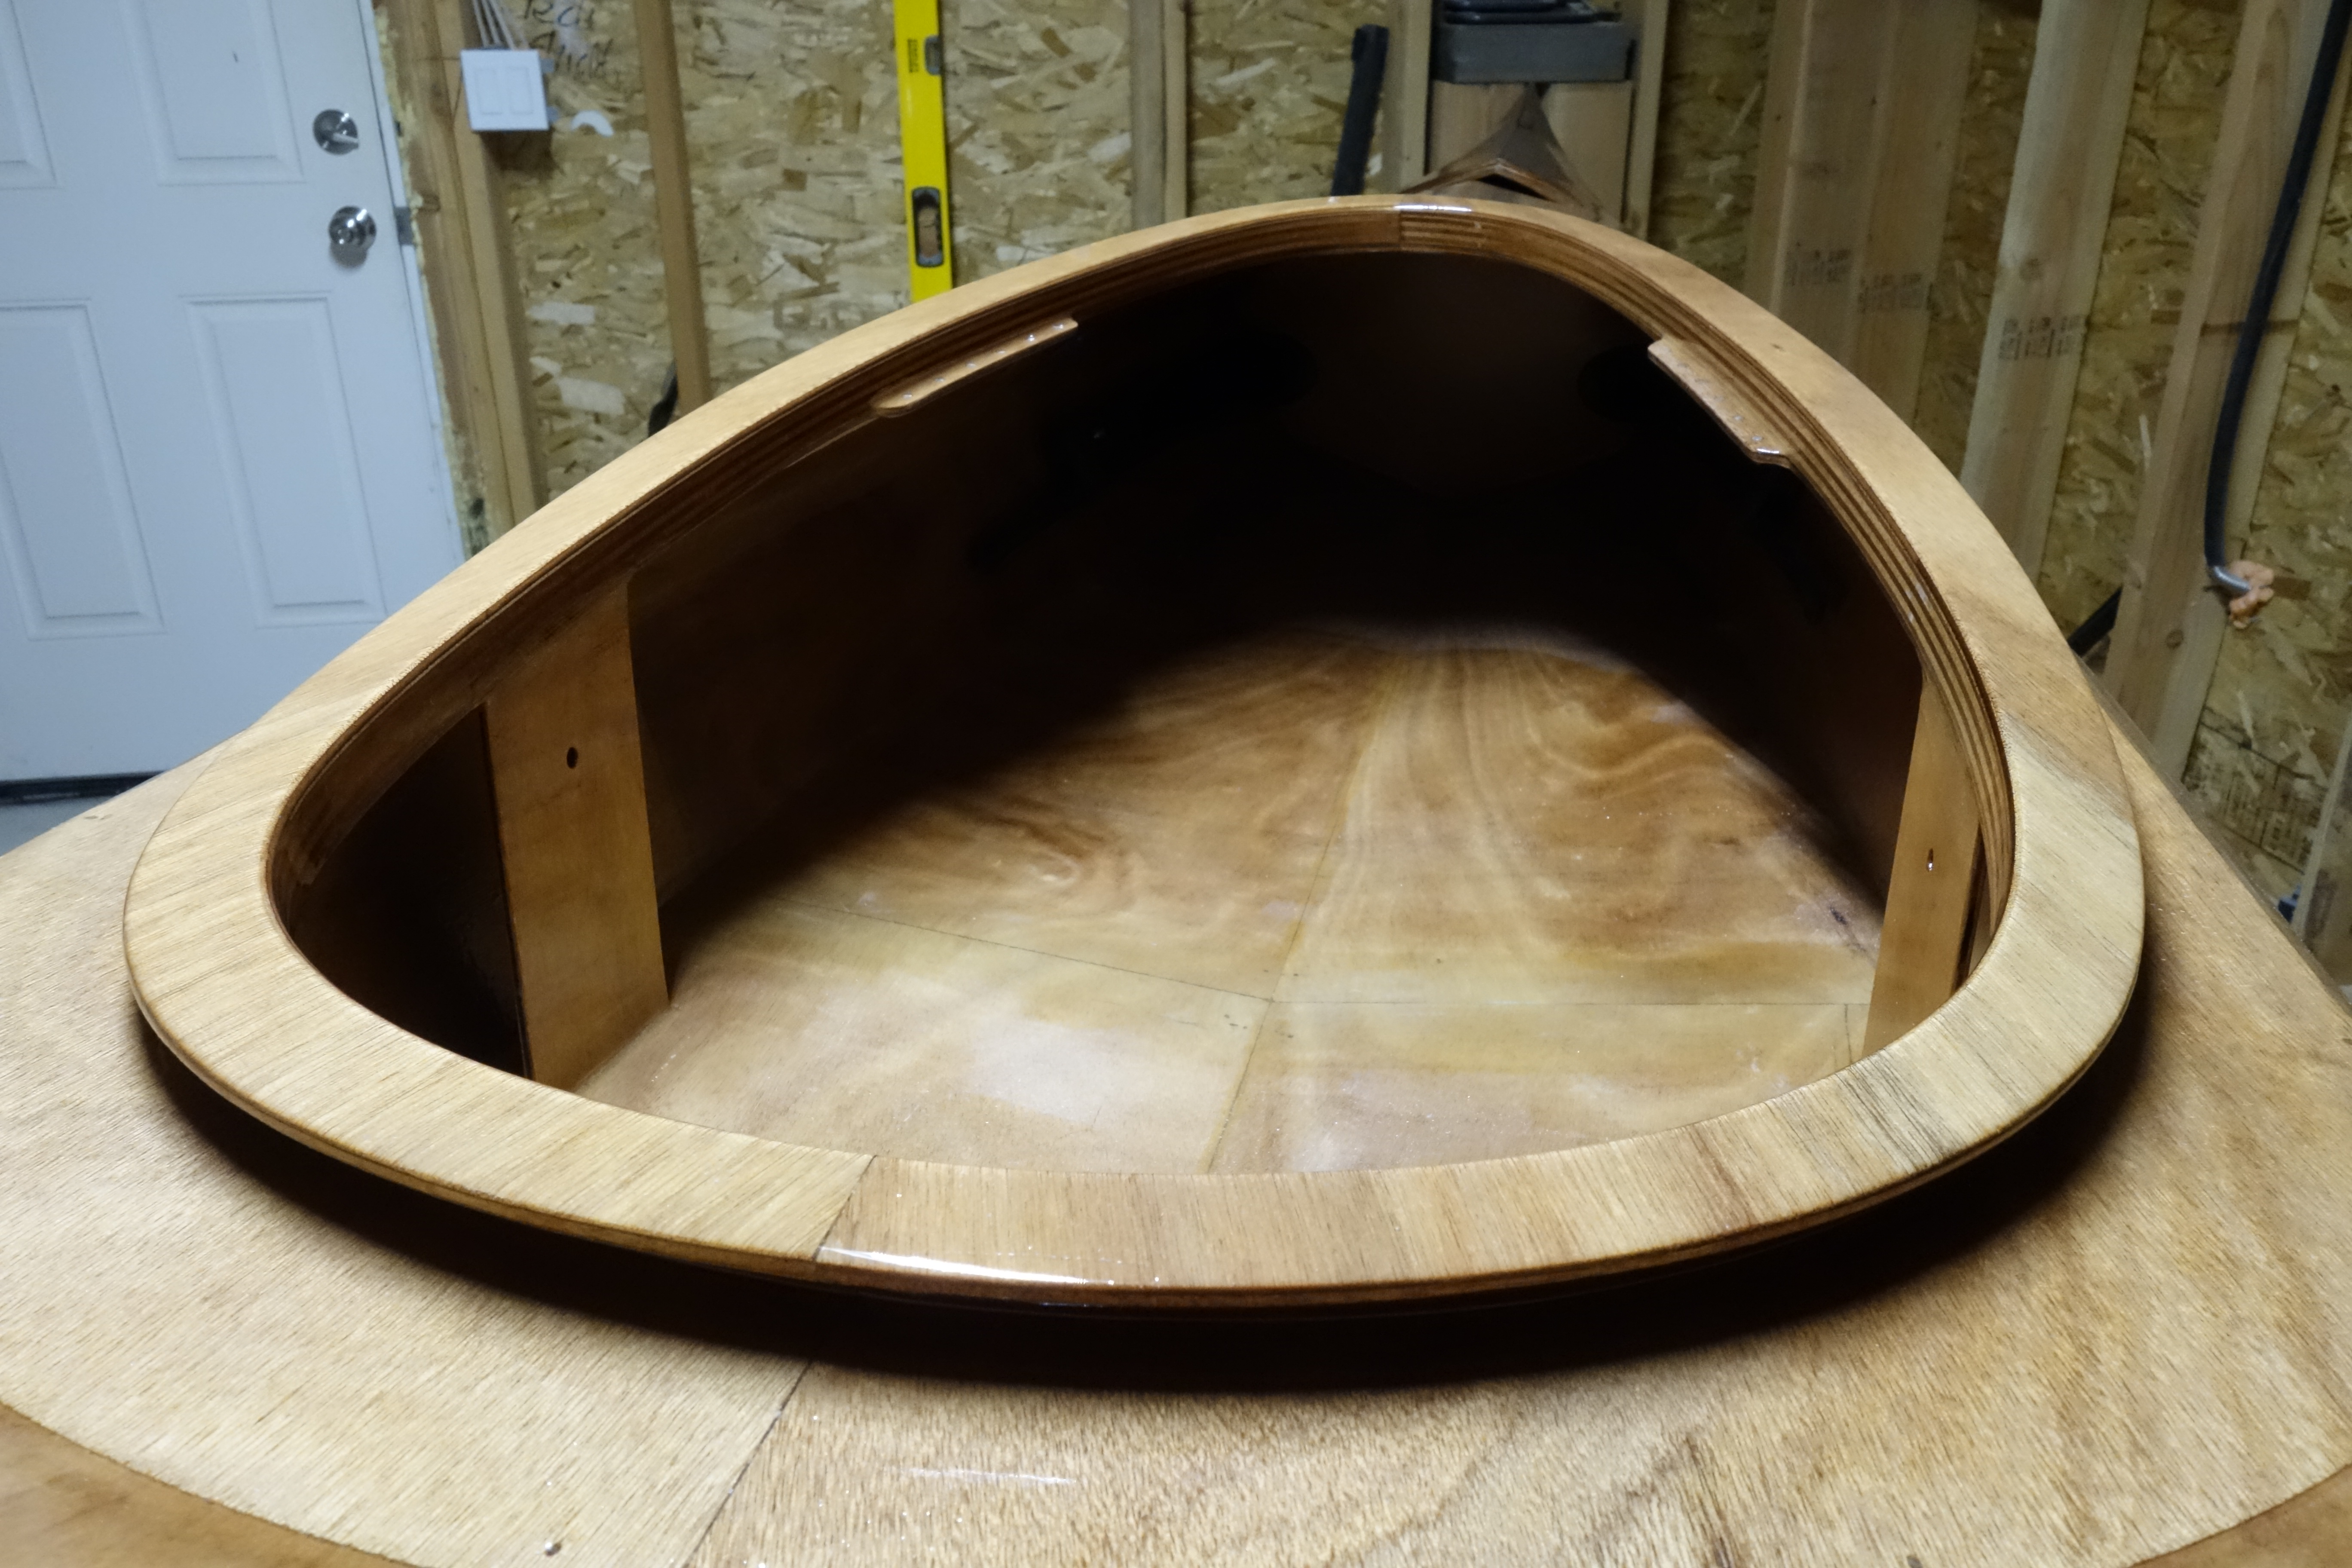
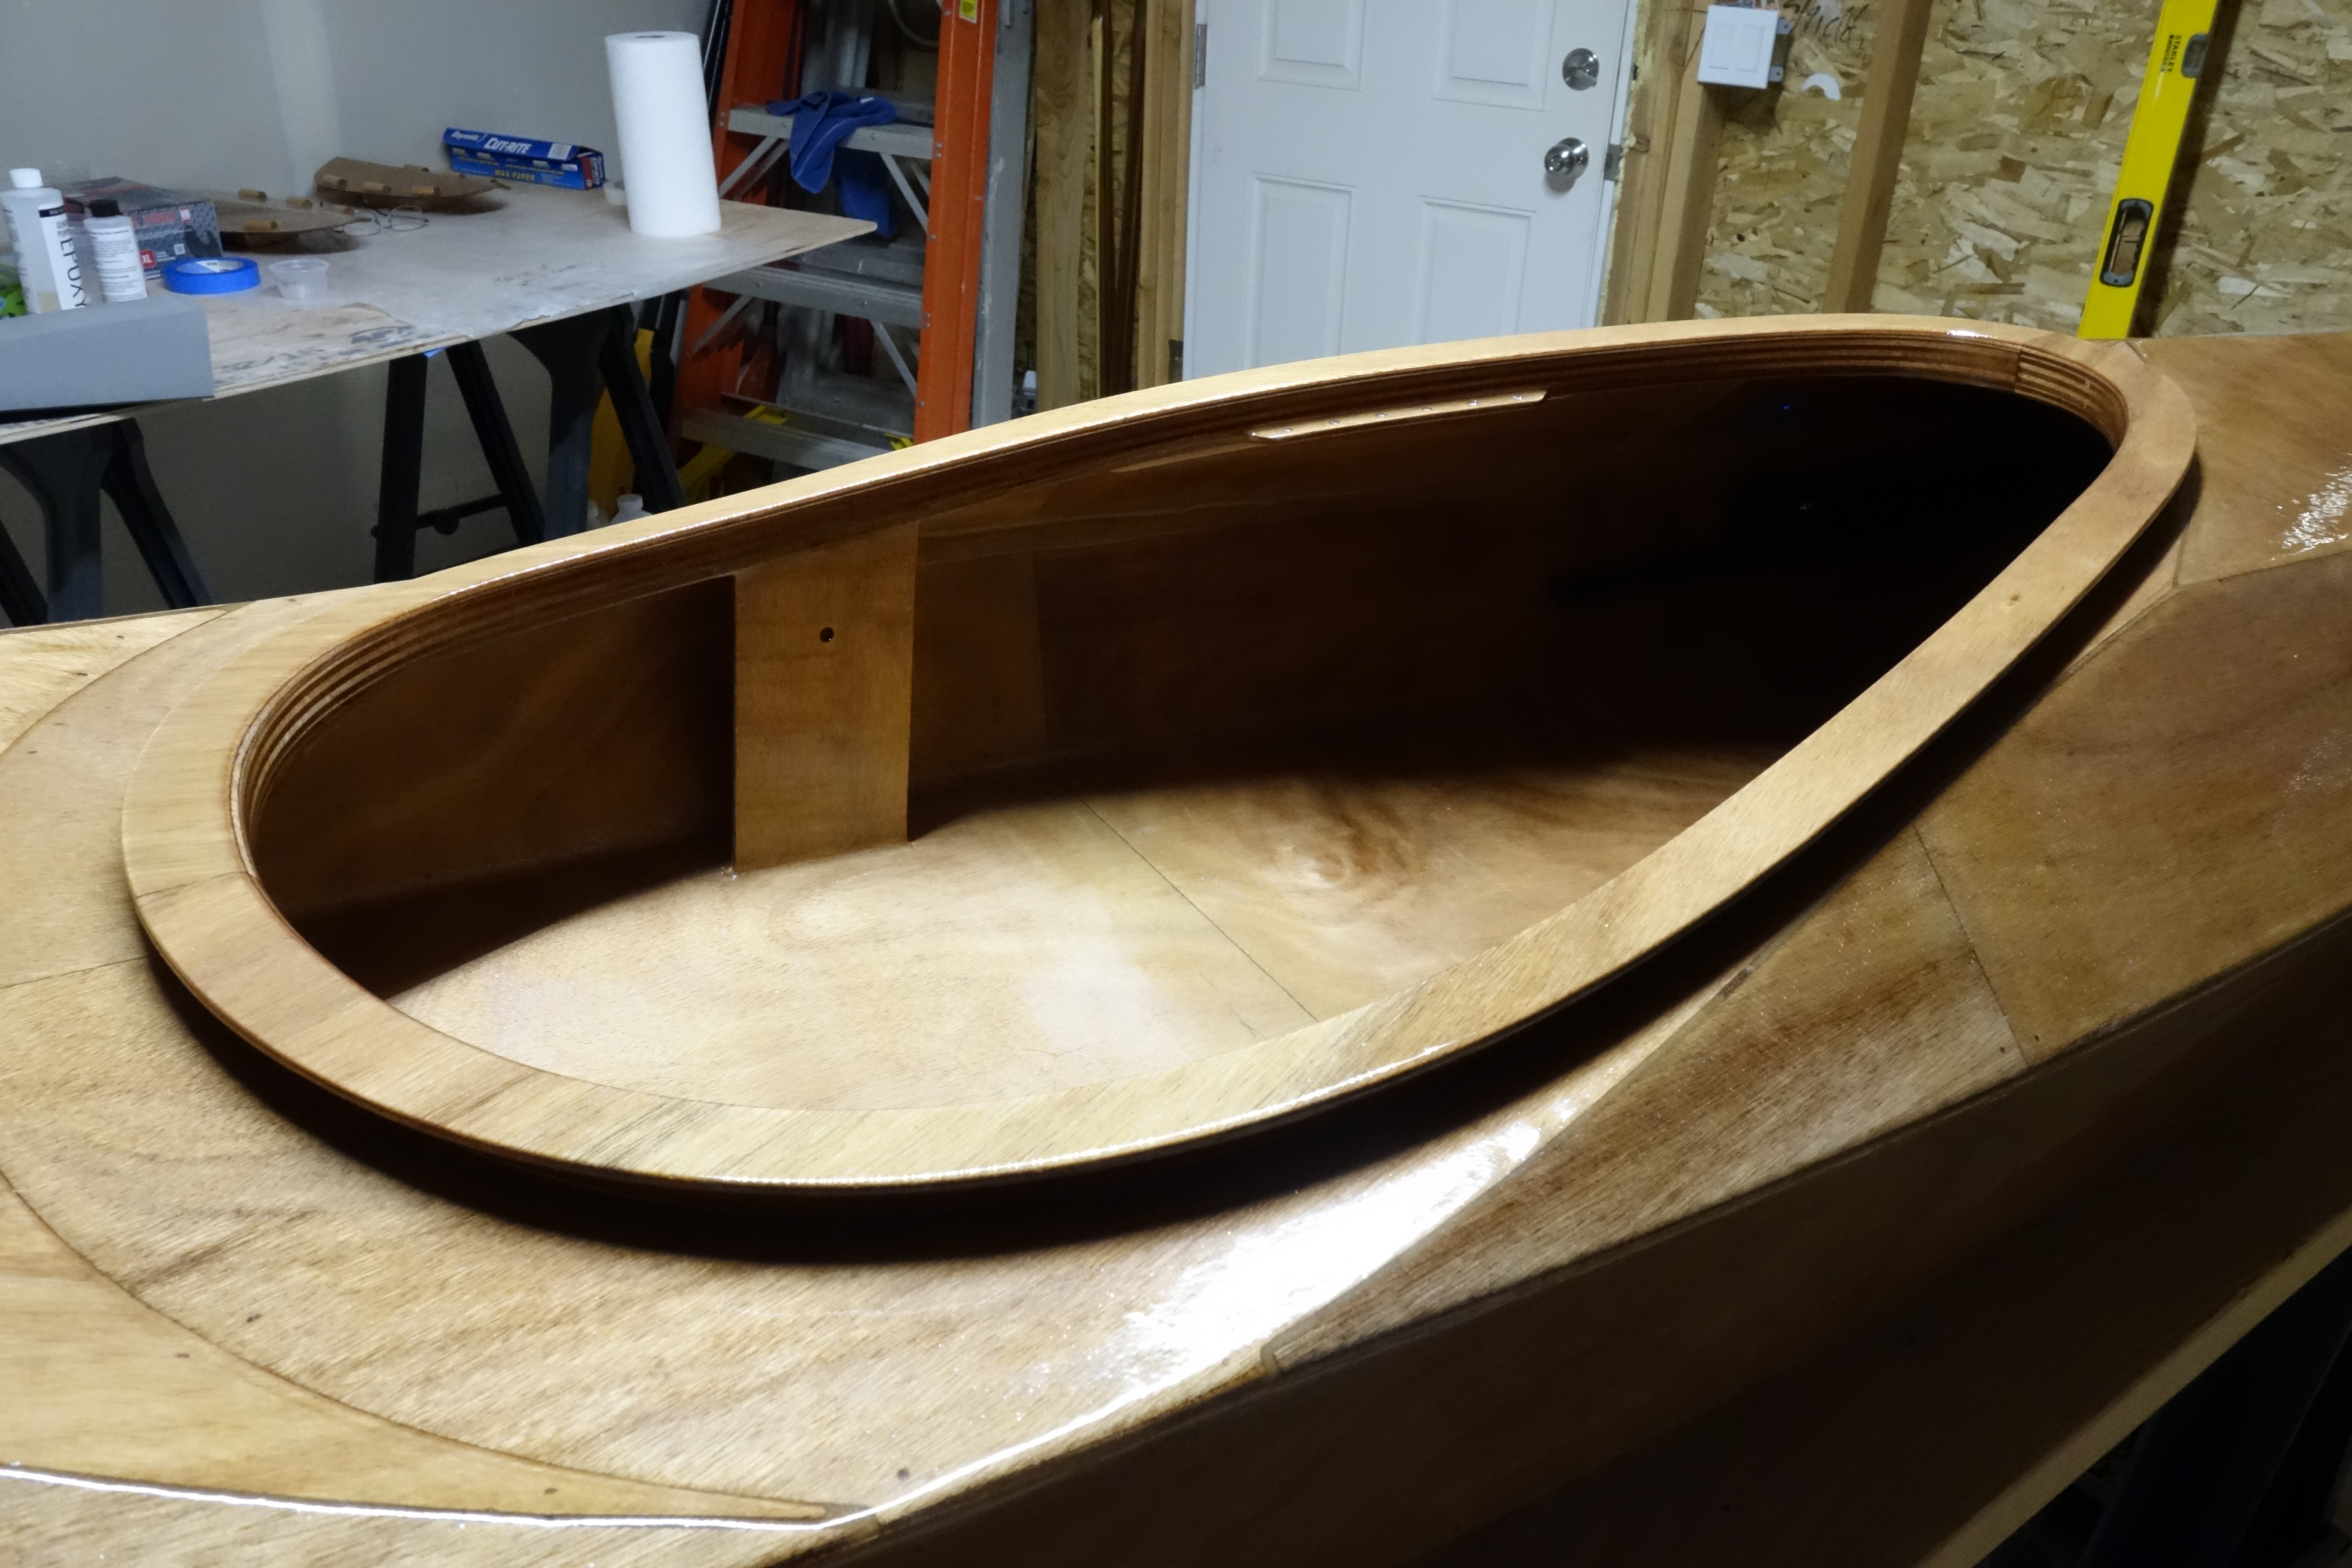
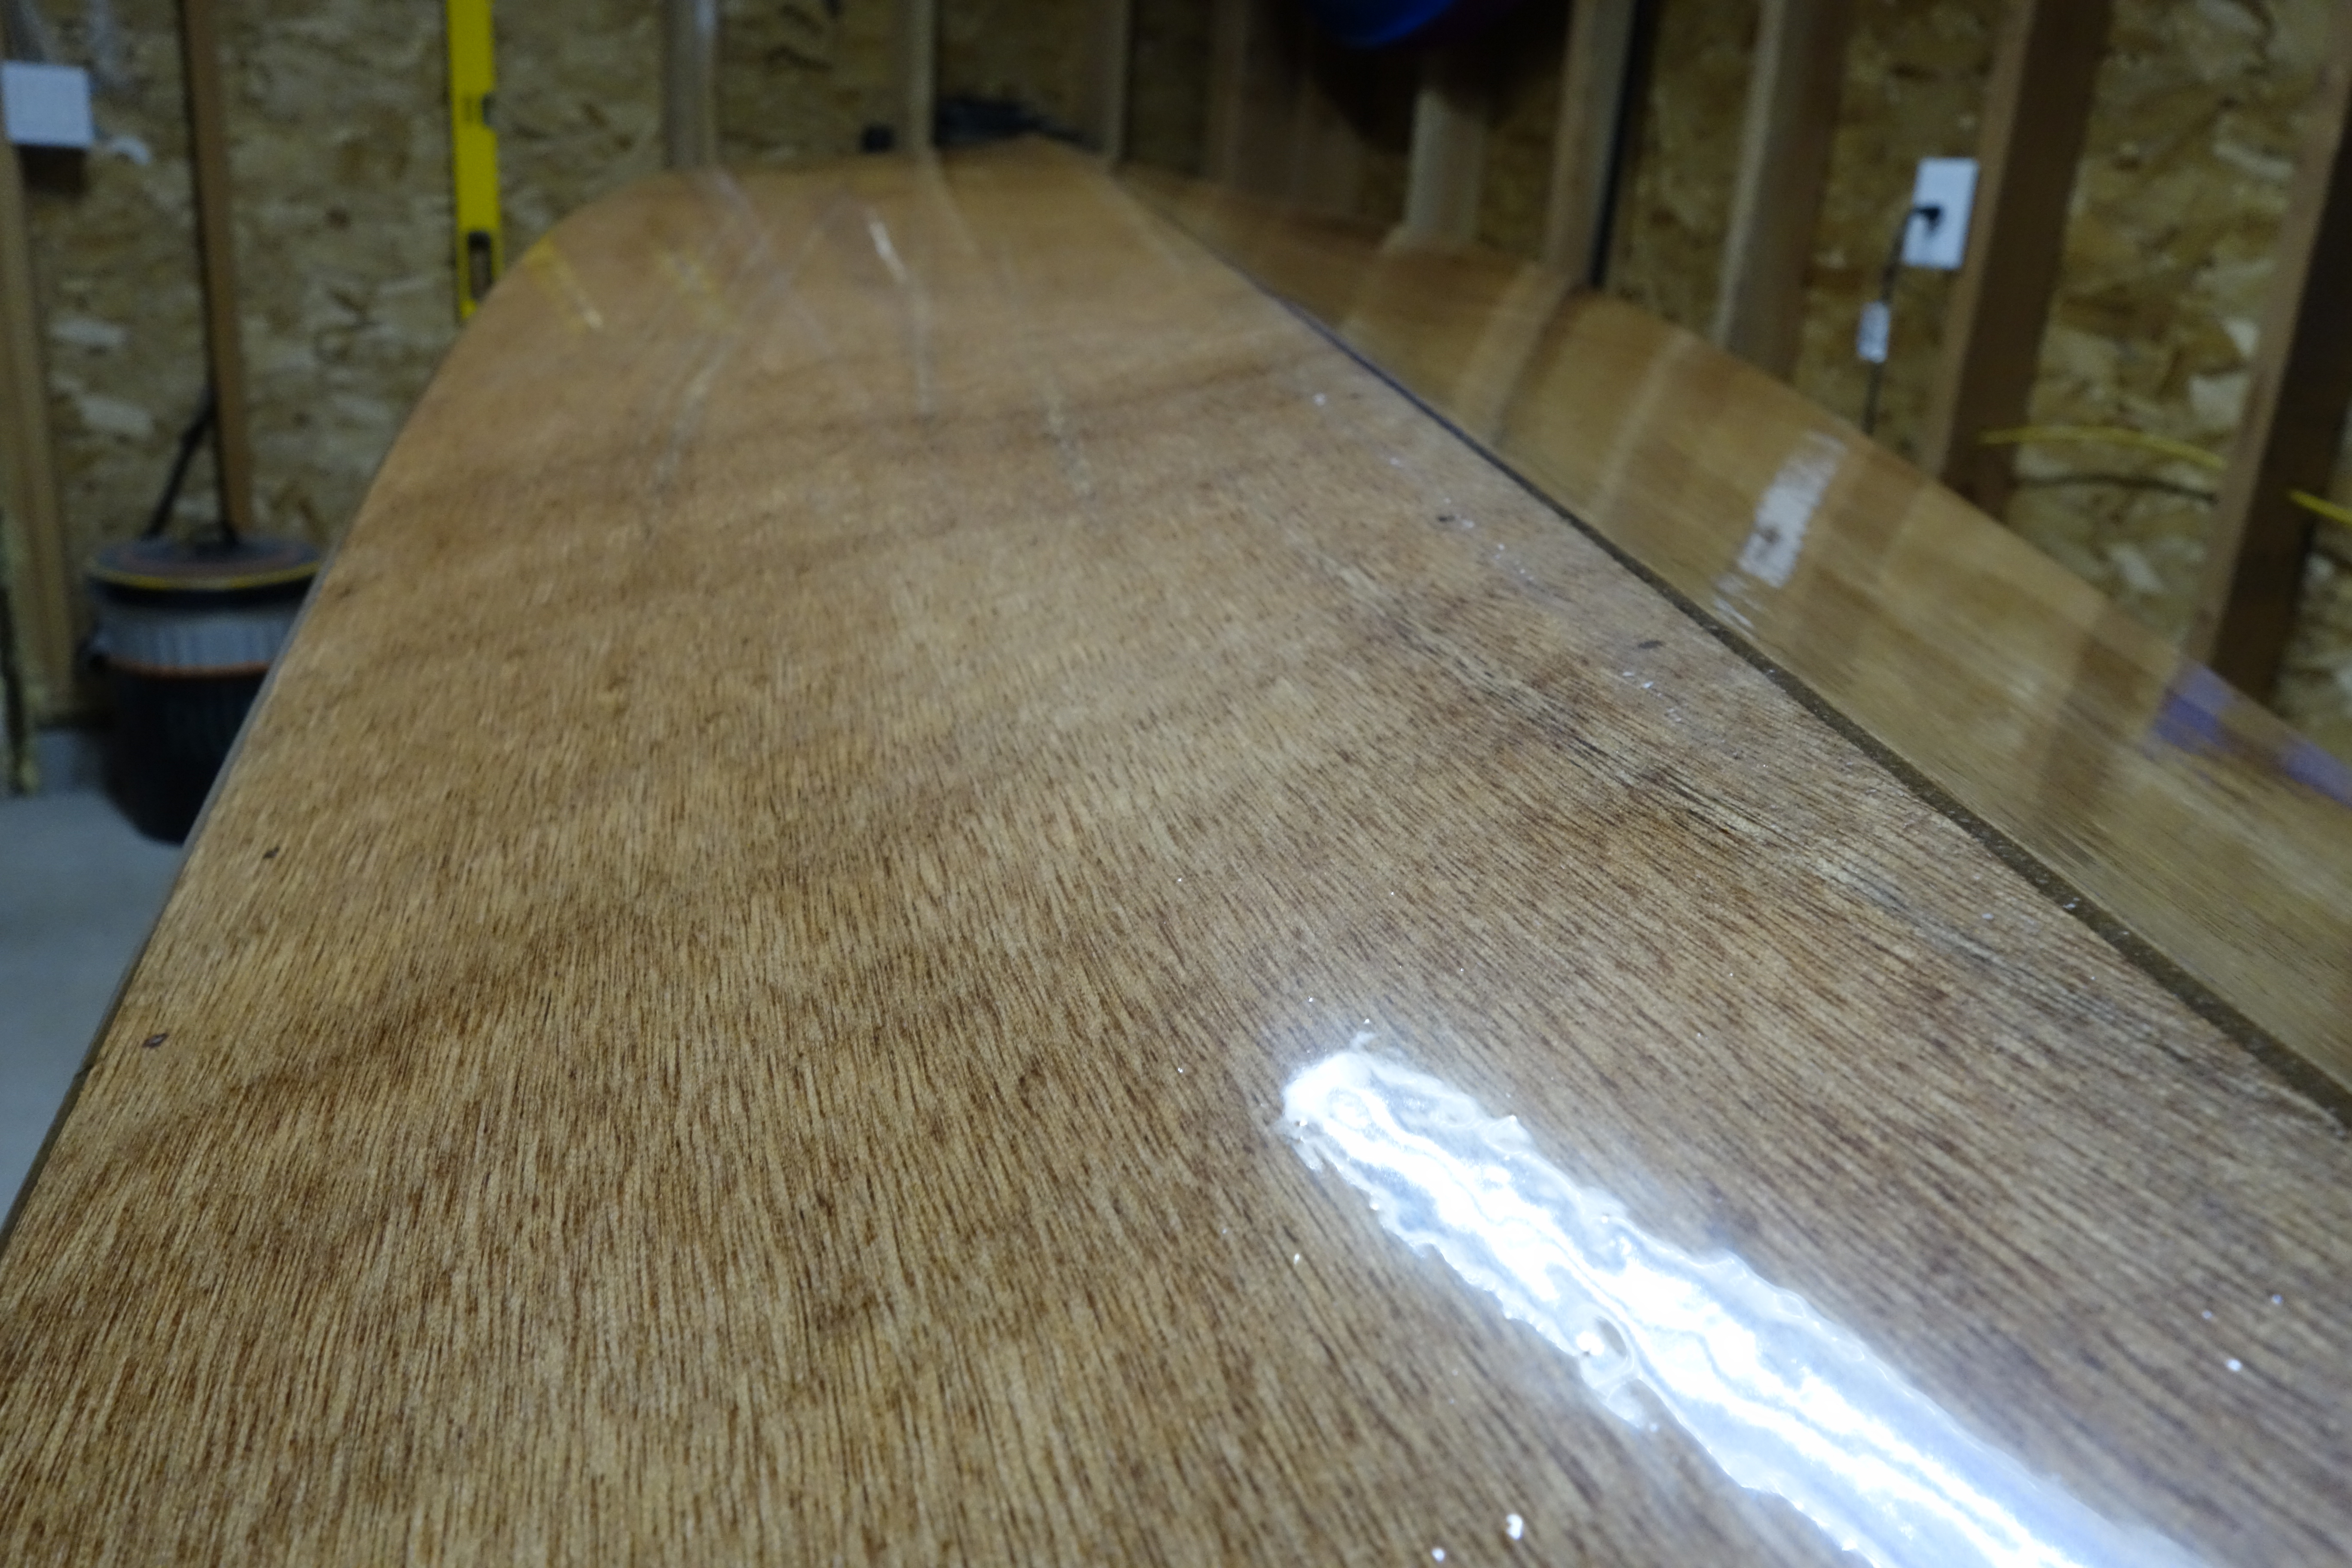
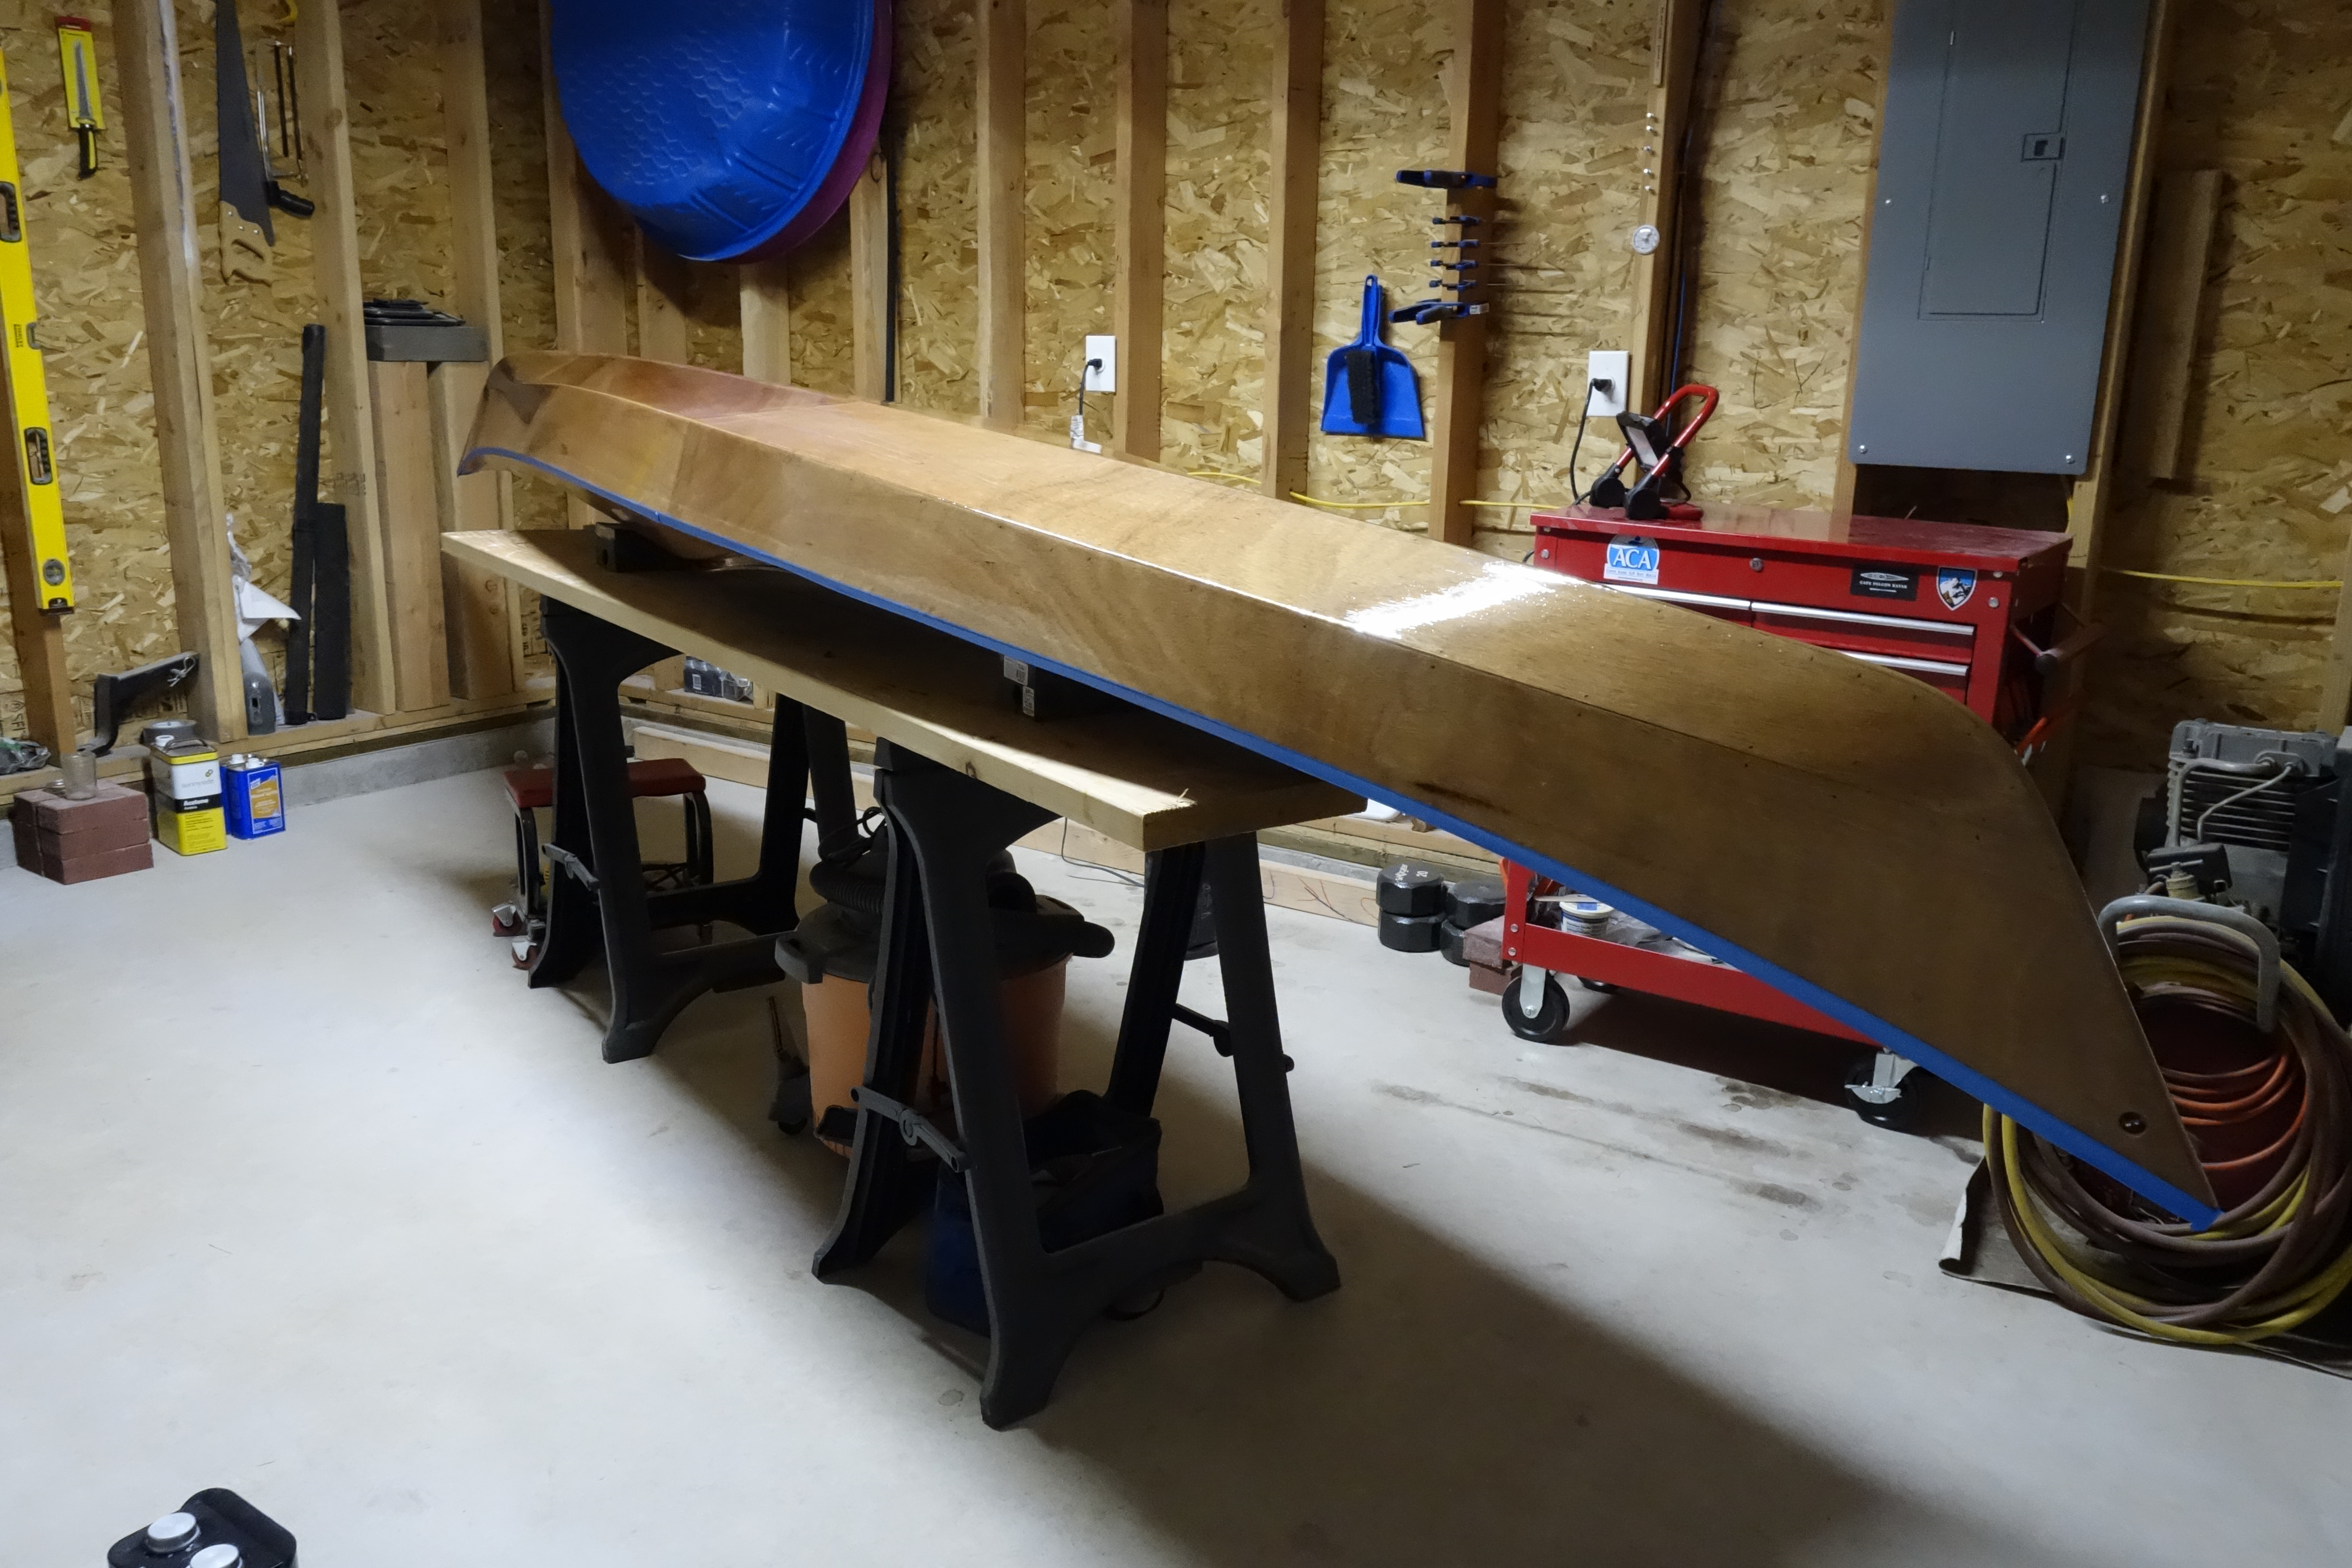
It looks pretty good. There are a couple of little sags that I didn’t see until it was too late to do anything about them, but I have to sand between each coat anyway. I’ll learn as I go. Tomorrow the kayak gets flipped over and the deck gets the first coat of varnish. Then sanding, then varnishing, then sanding, then varnishing, then sanding, then varnishing…
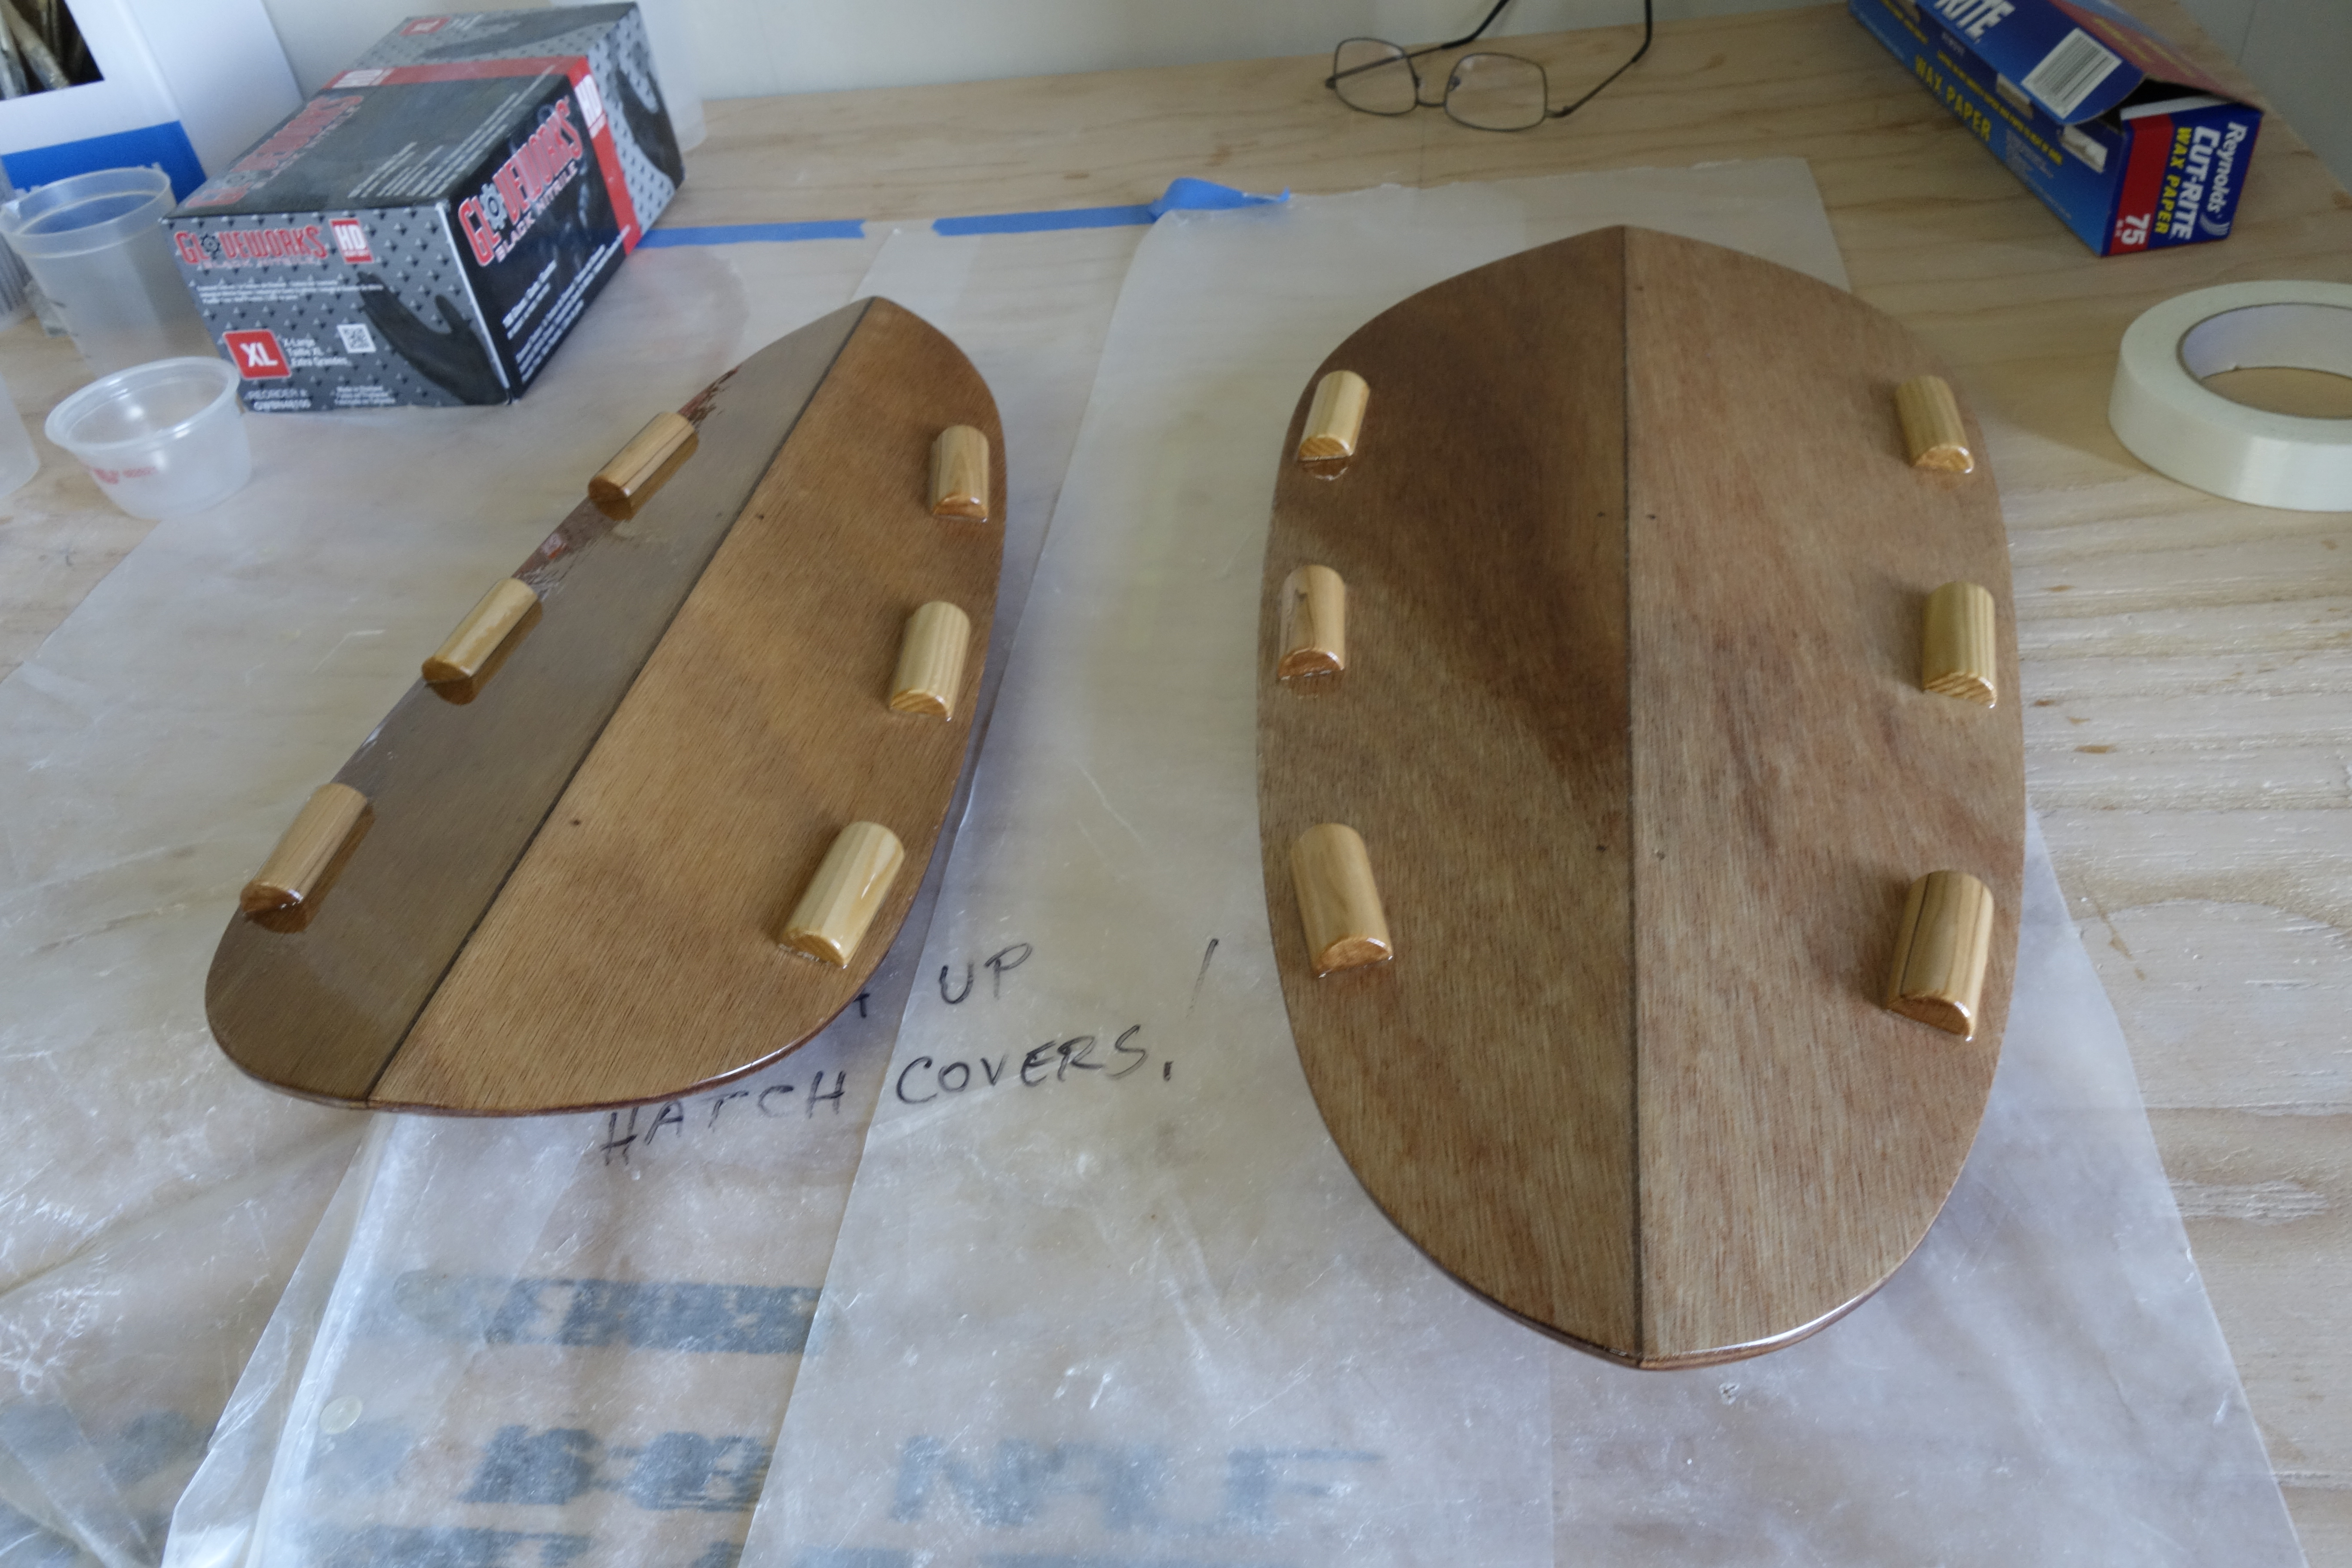
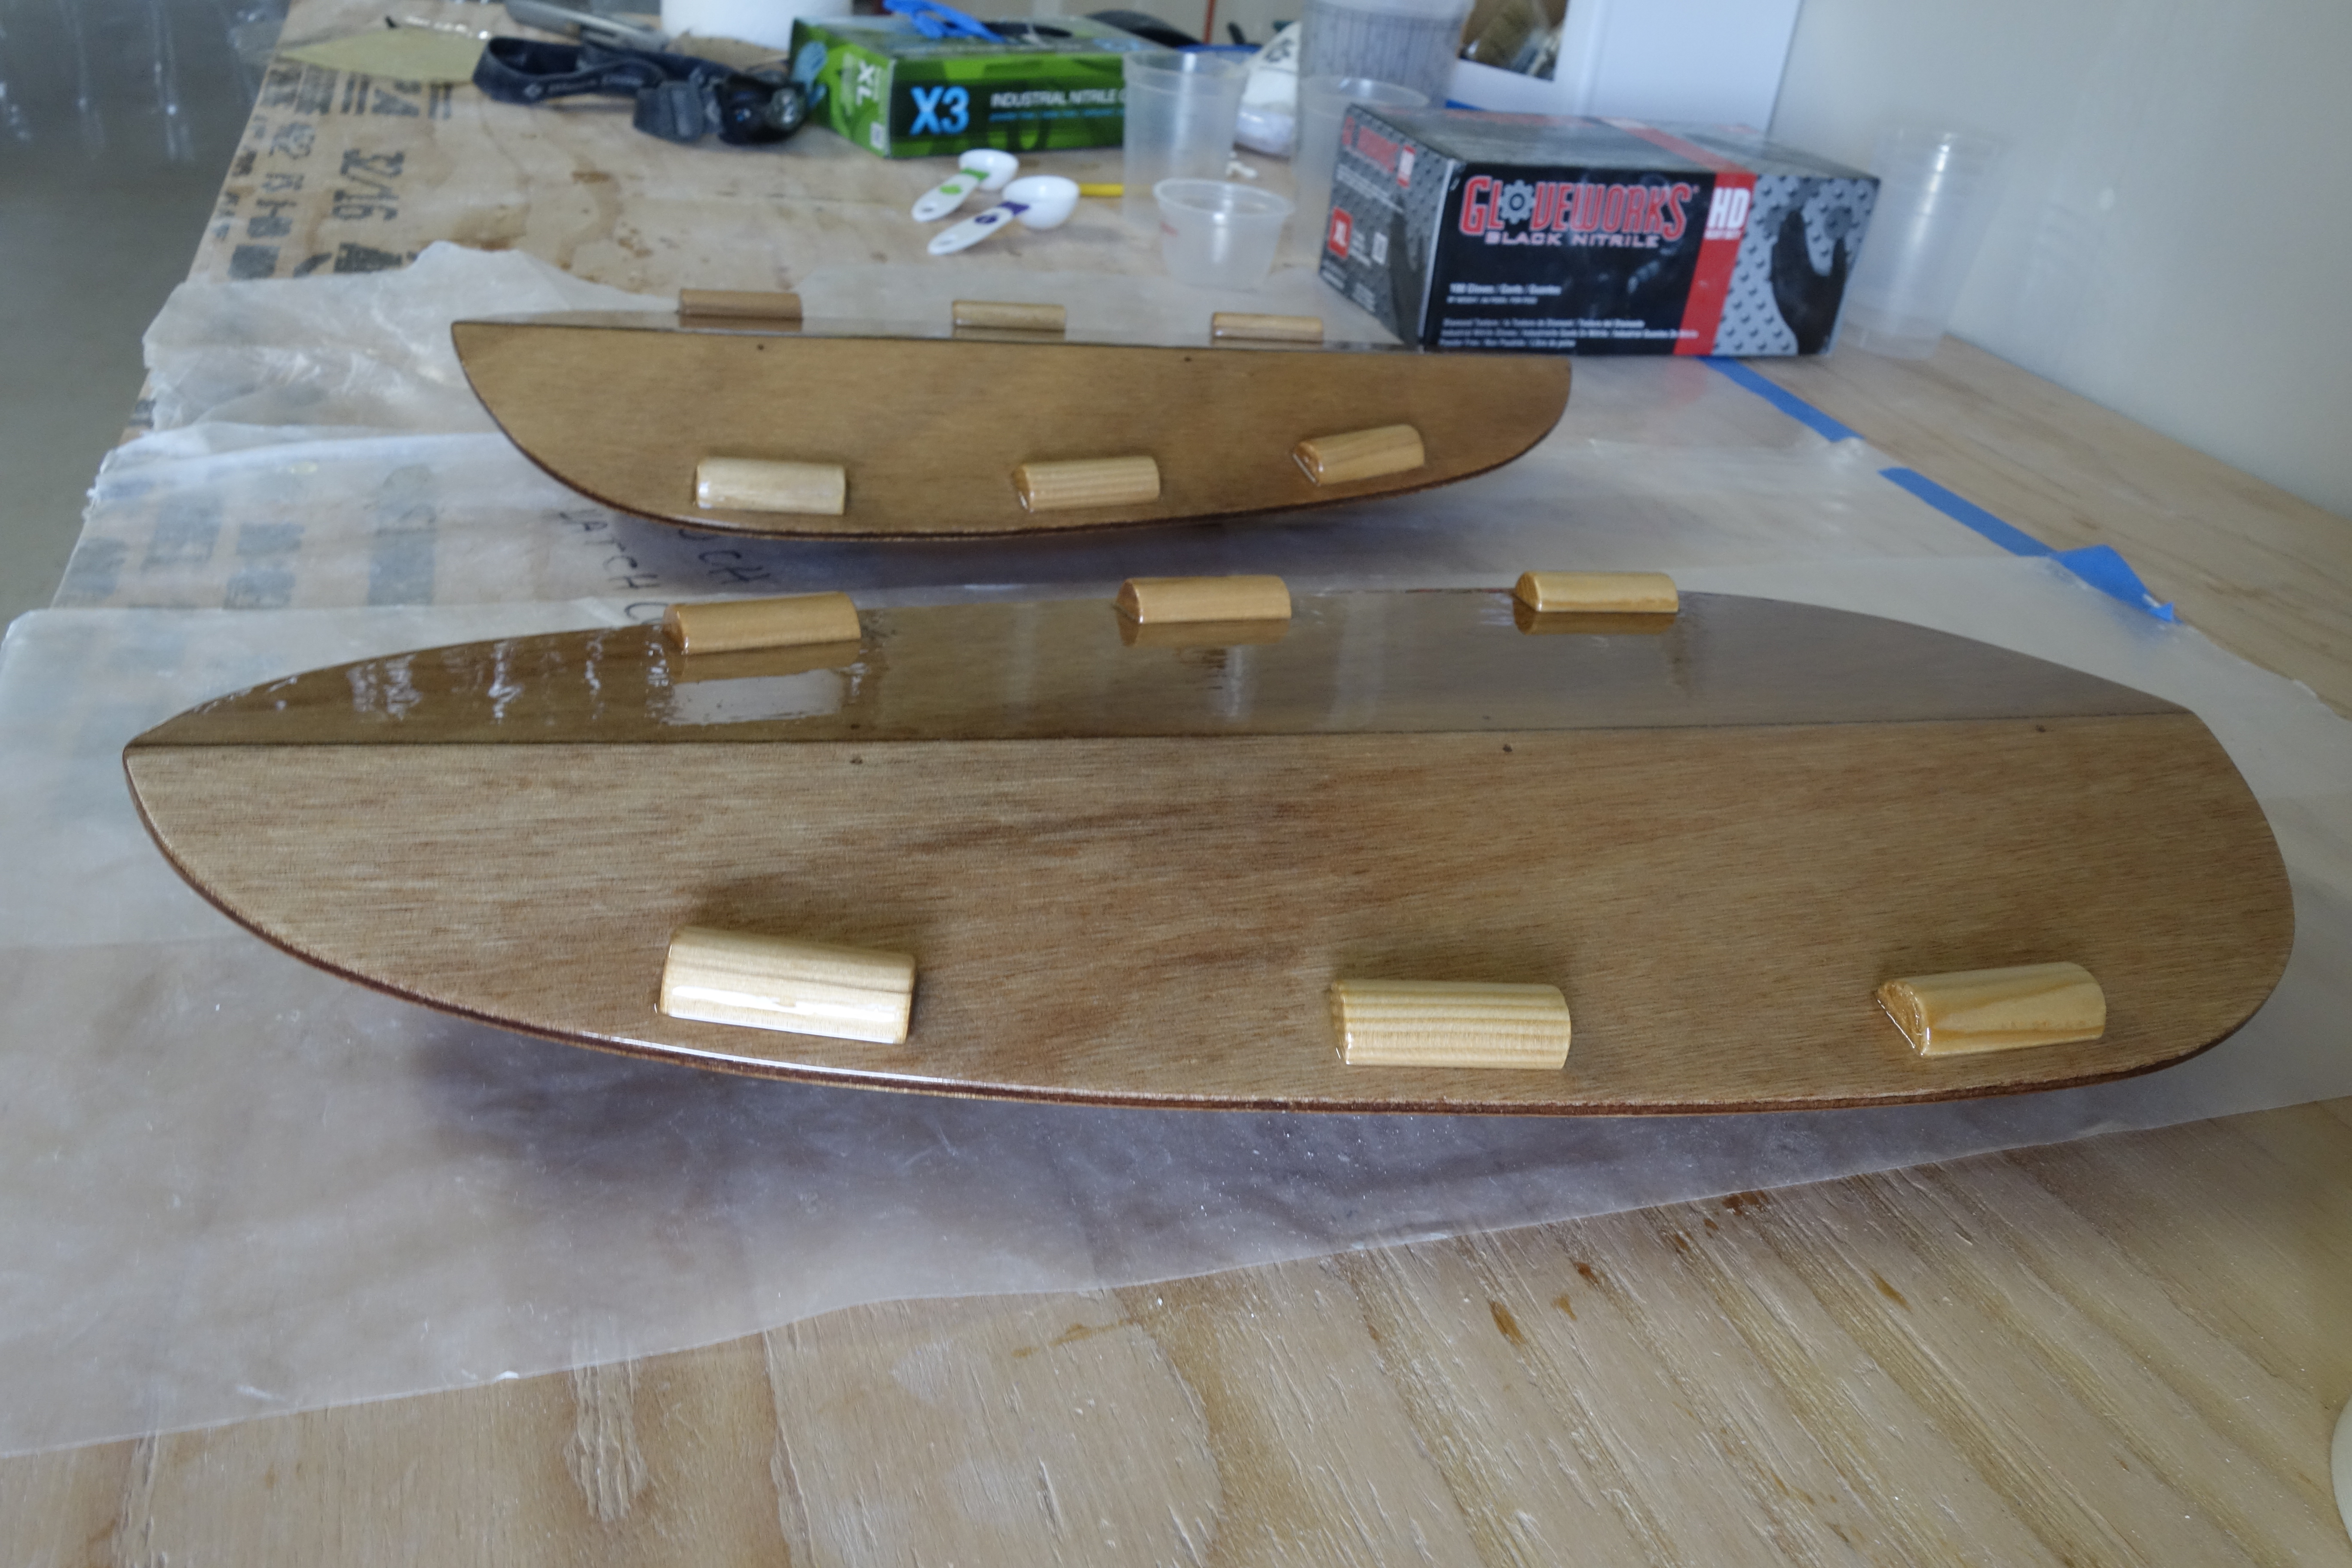
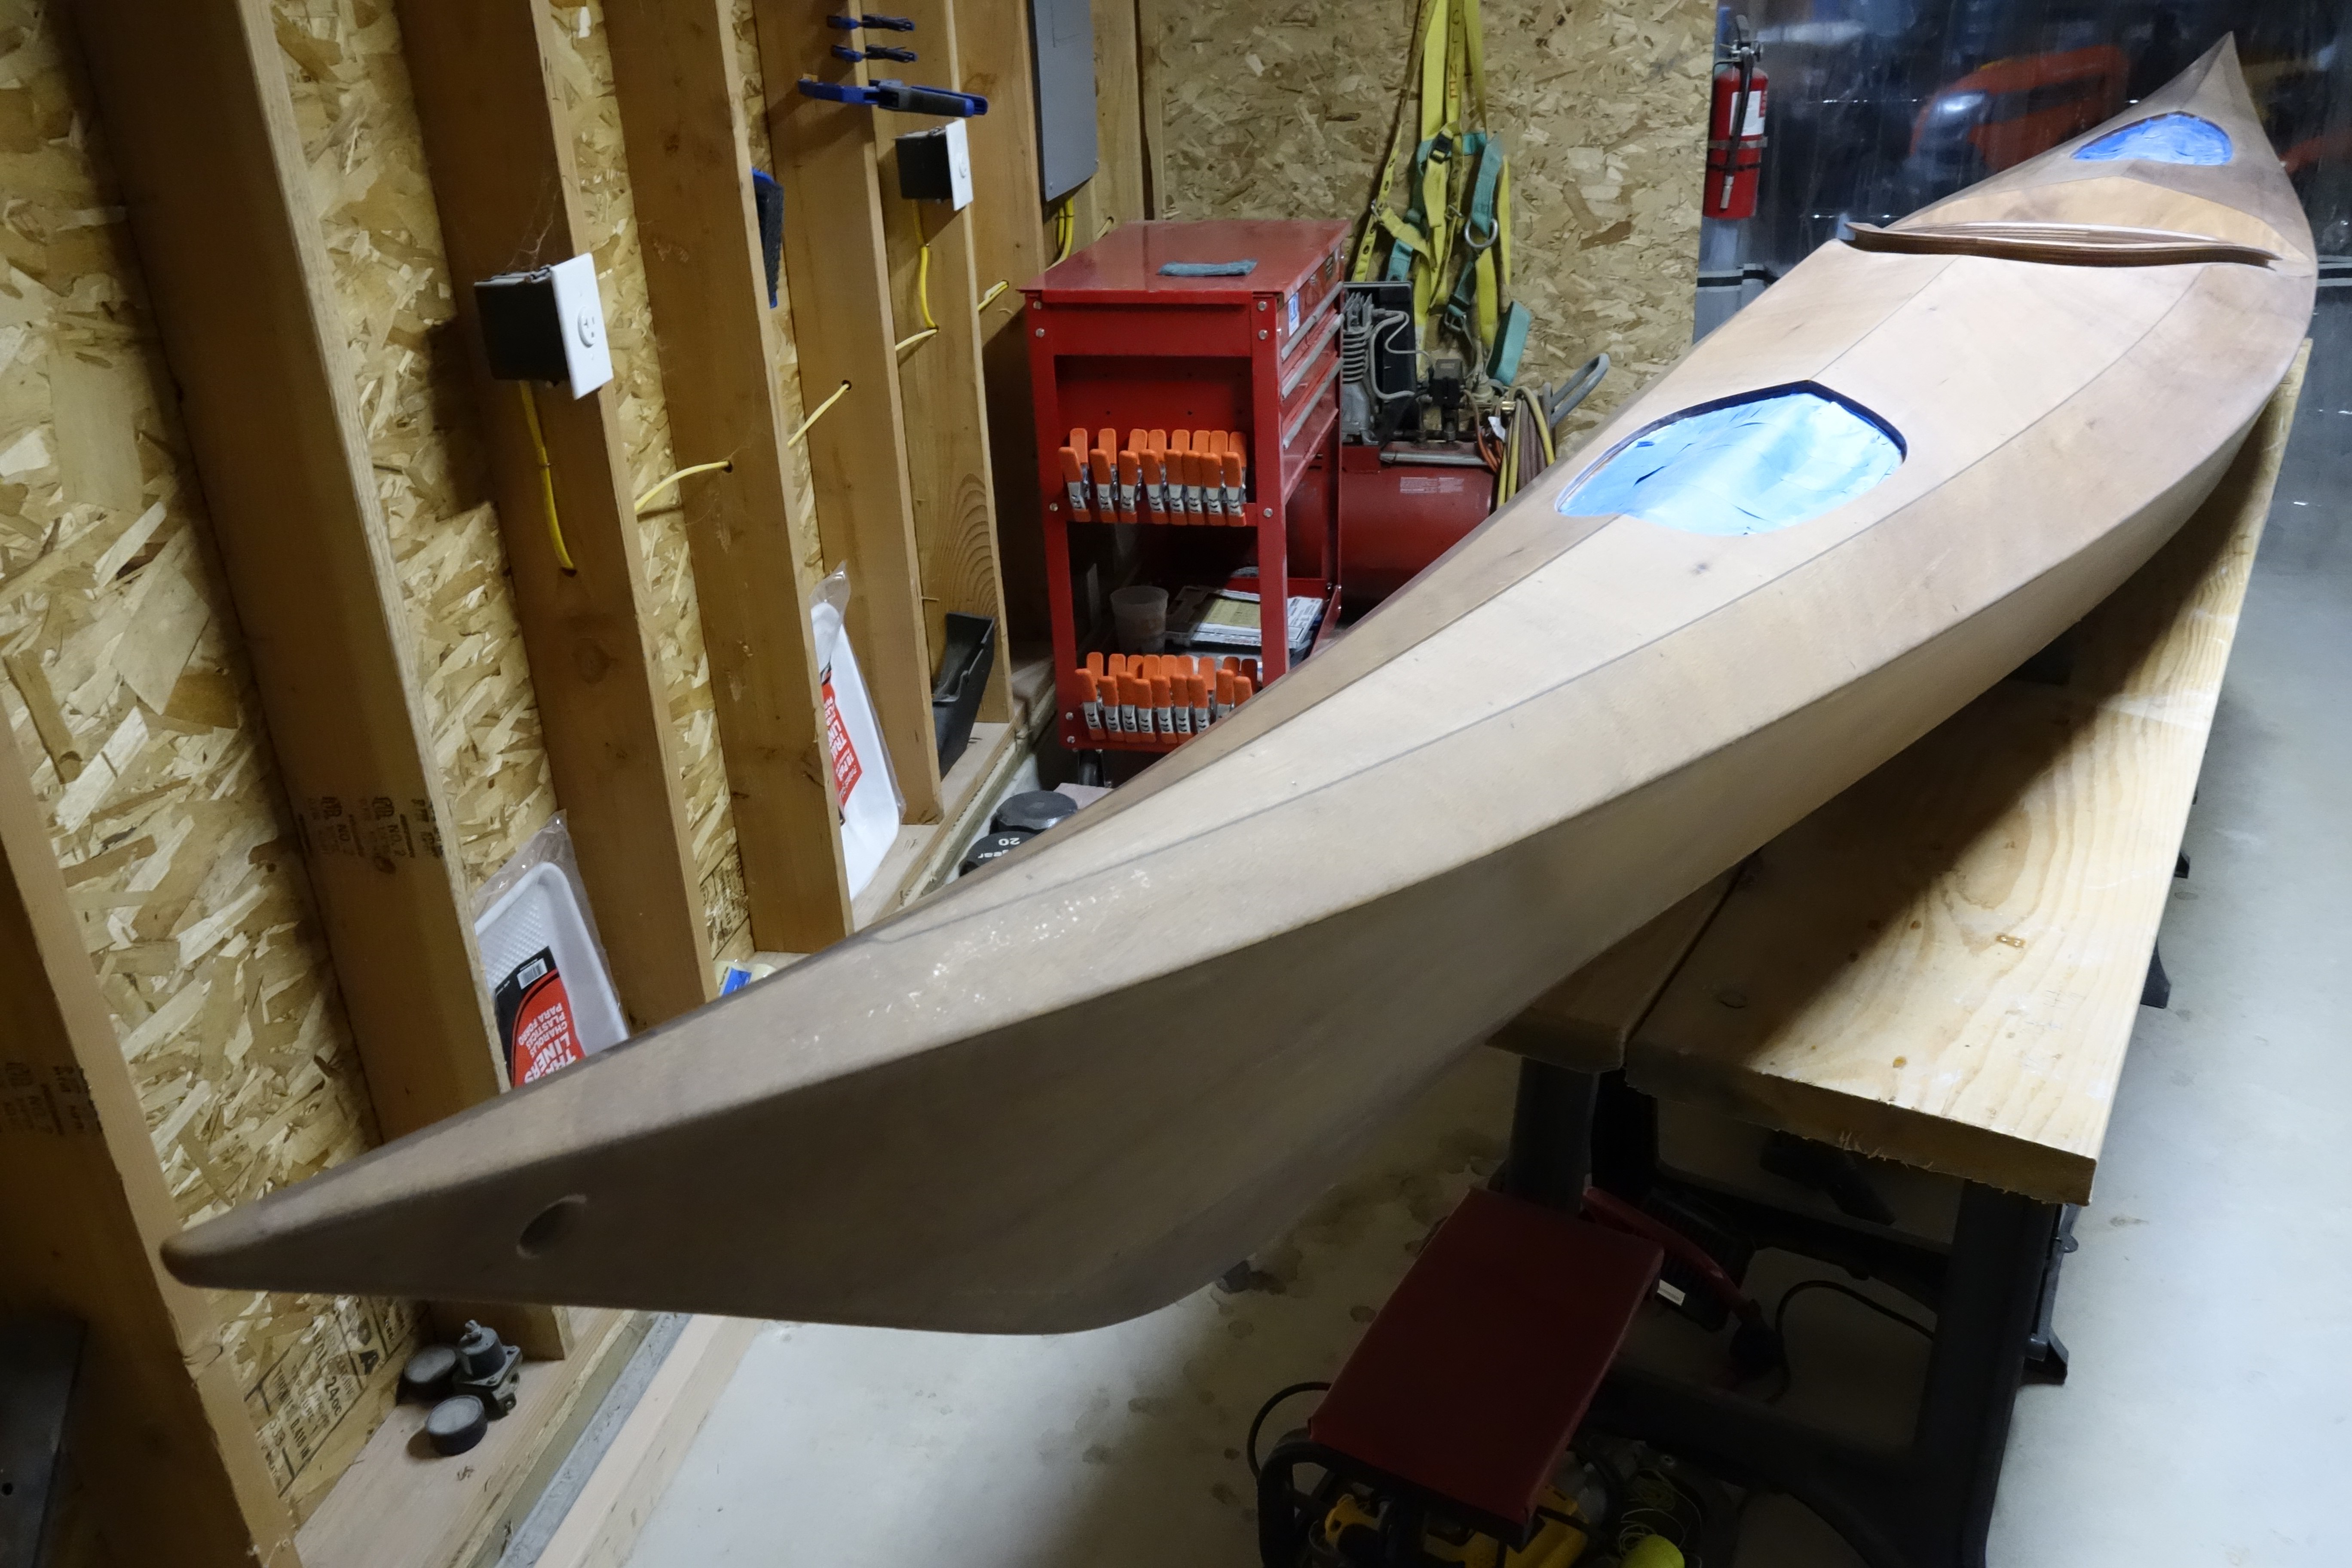
I finally had time after work today to hand sand the Ronan. It is ready for varnish (I hope). This is one of the many stages in the kayak construction in which I have no previous experience. I have already been further down this rabbit hole than I should have gone, adding additional coats of epoxy to the hull and the deck because I didn’t think it was thick enough and was worried about sanding down into the fiberglass cloth where the surface wasn’t completely smooth. If I don’t quit messing around and put some varnish on this thing I’m going to get caught in an endless loop and I’ll never finish the kayak. I still have the hatch covers to sand. After everything is sanded it gets wiped down first with denatured alcohol, and then with mineral spirits to remove any contaminants, followed by the first coat of varnish. Then sanding between each subsequent coat of varnish. Onward.
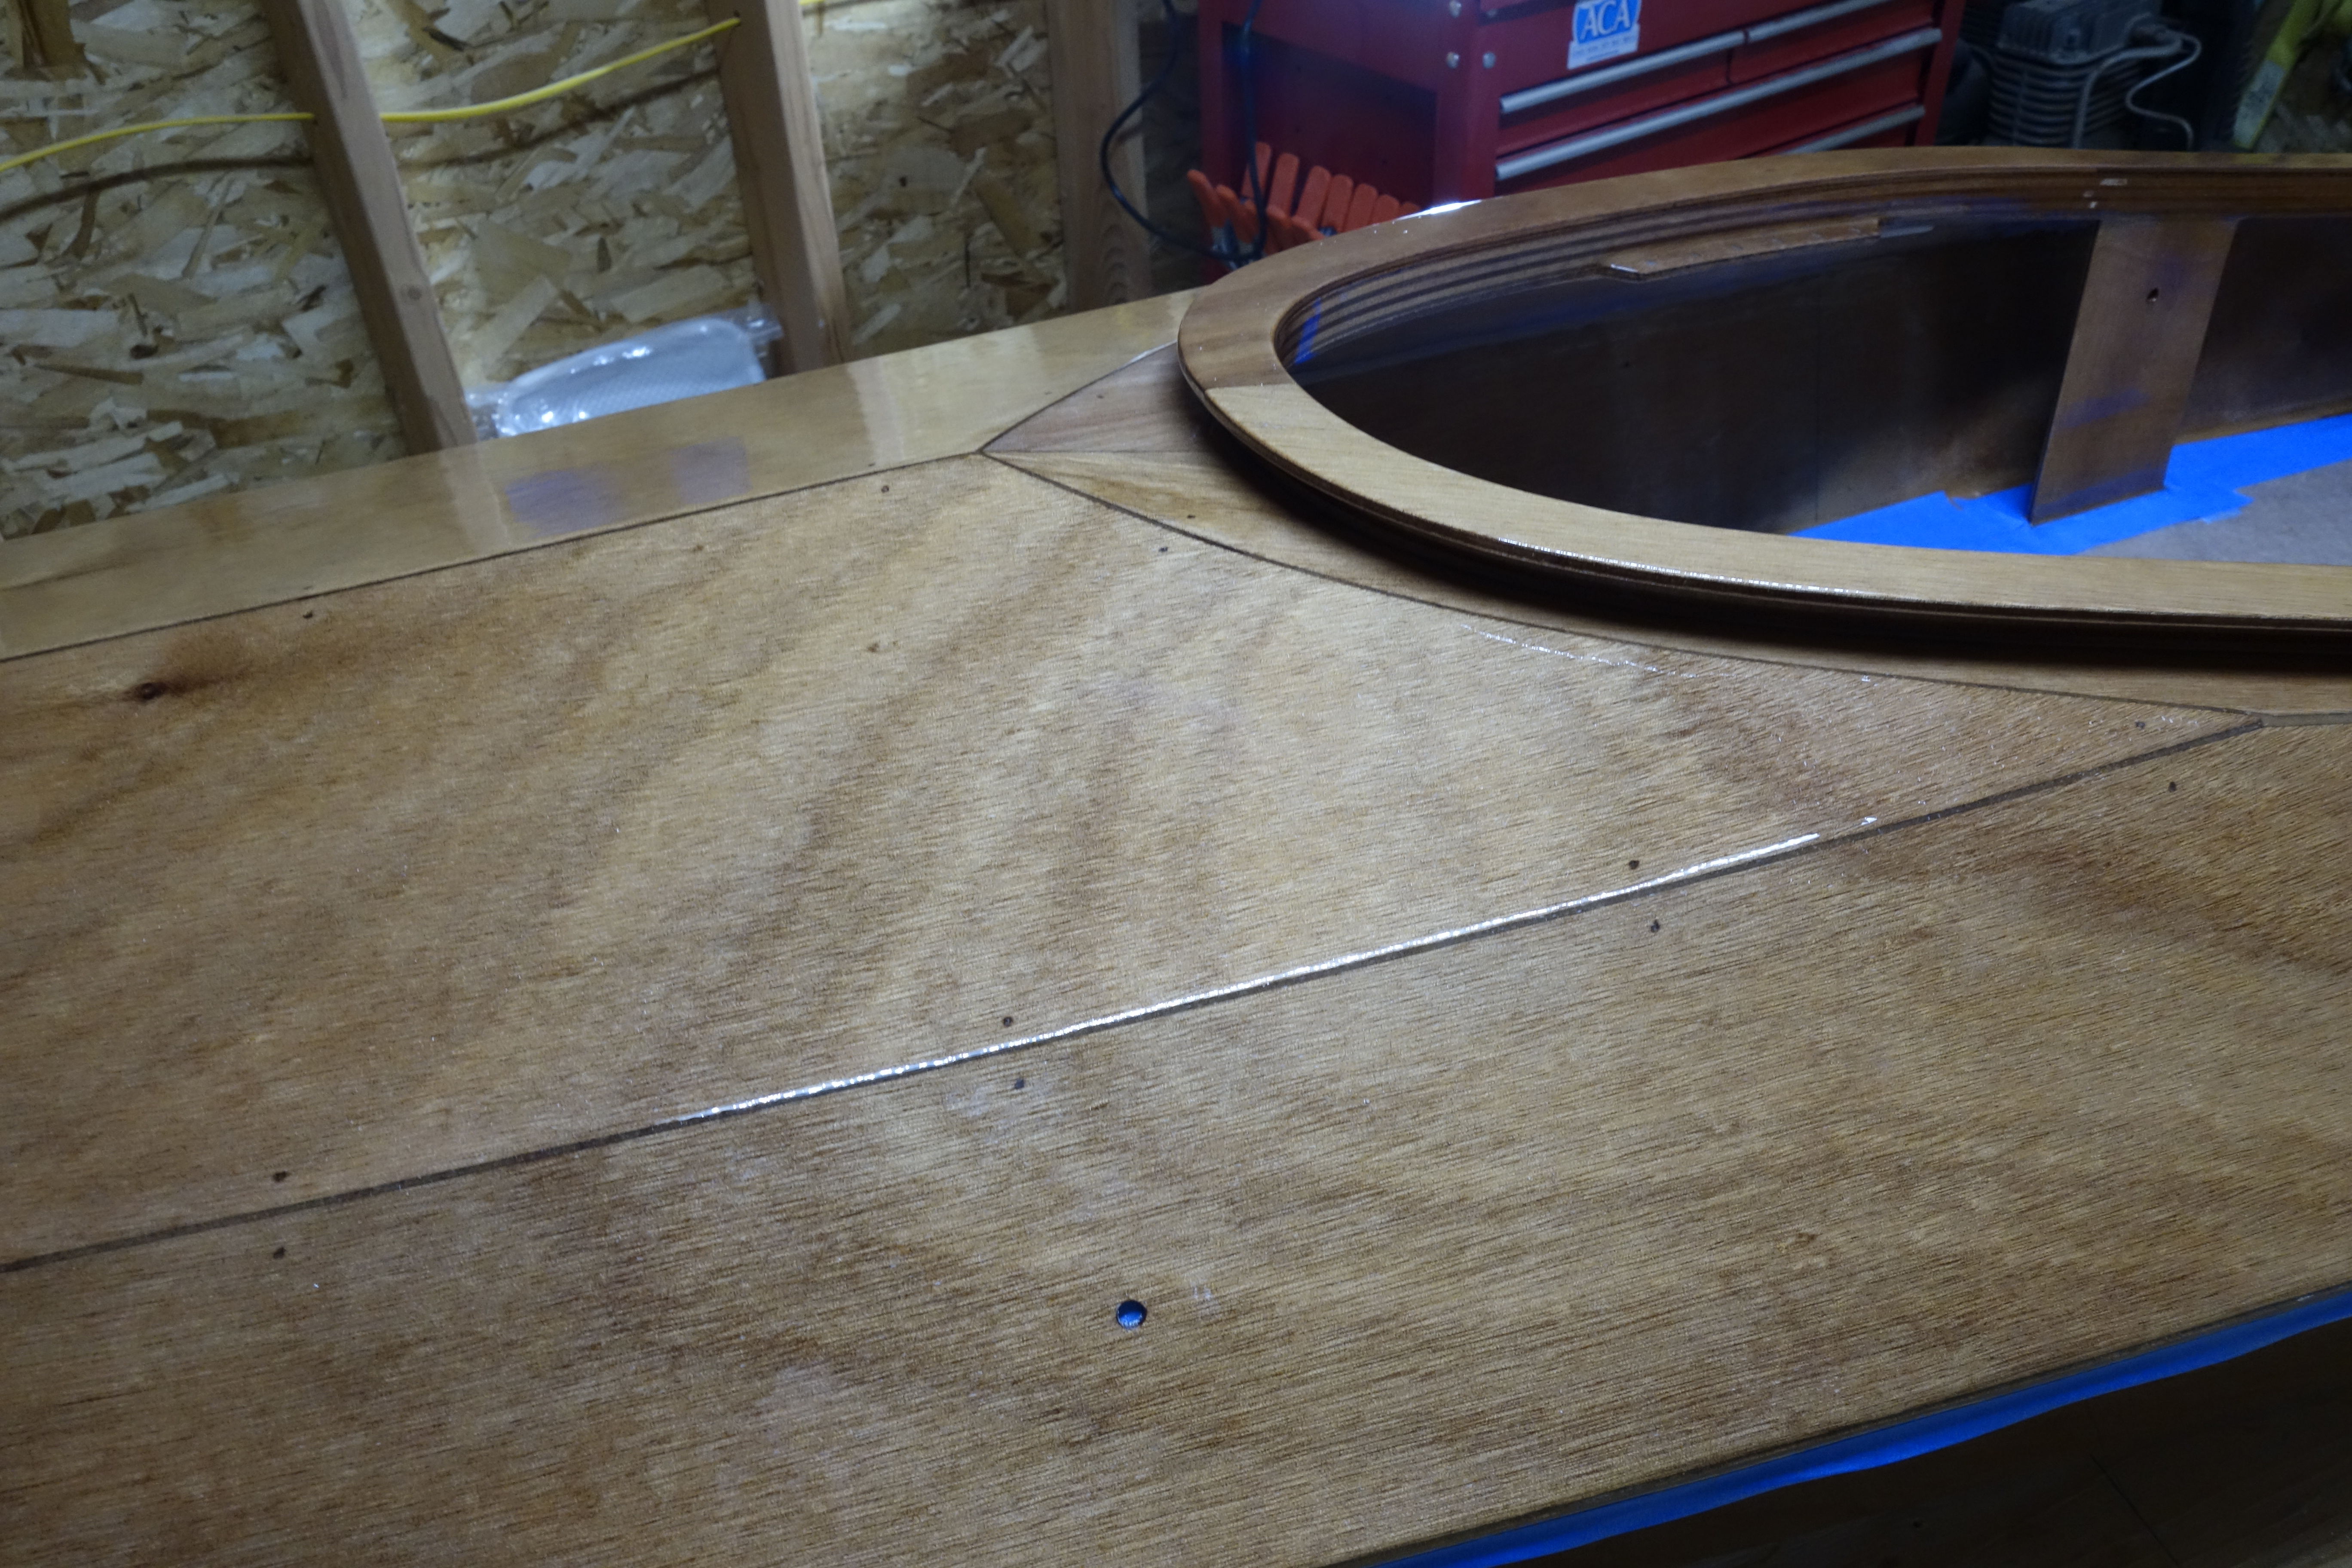
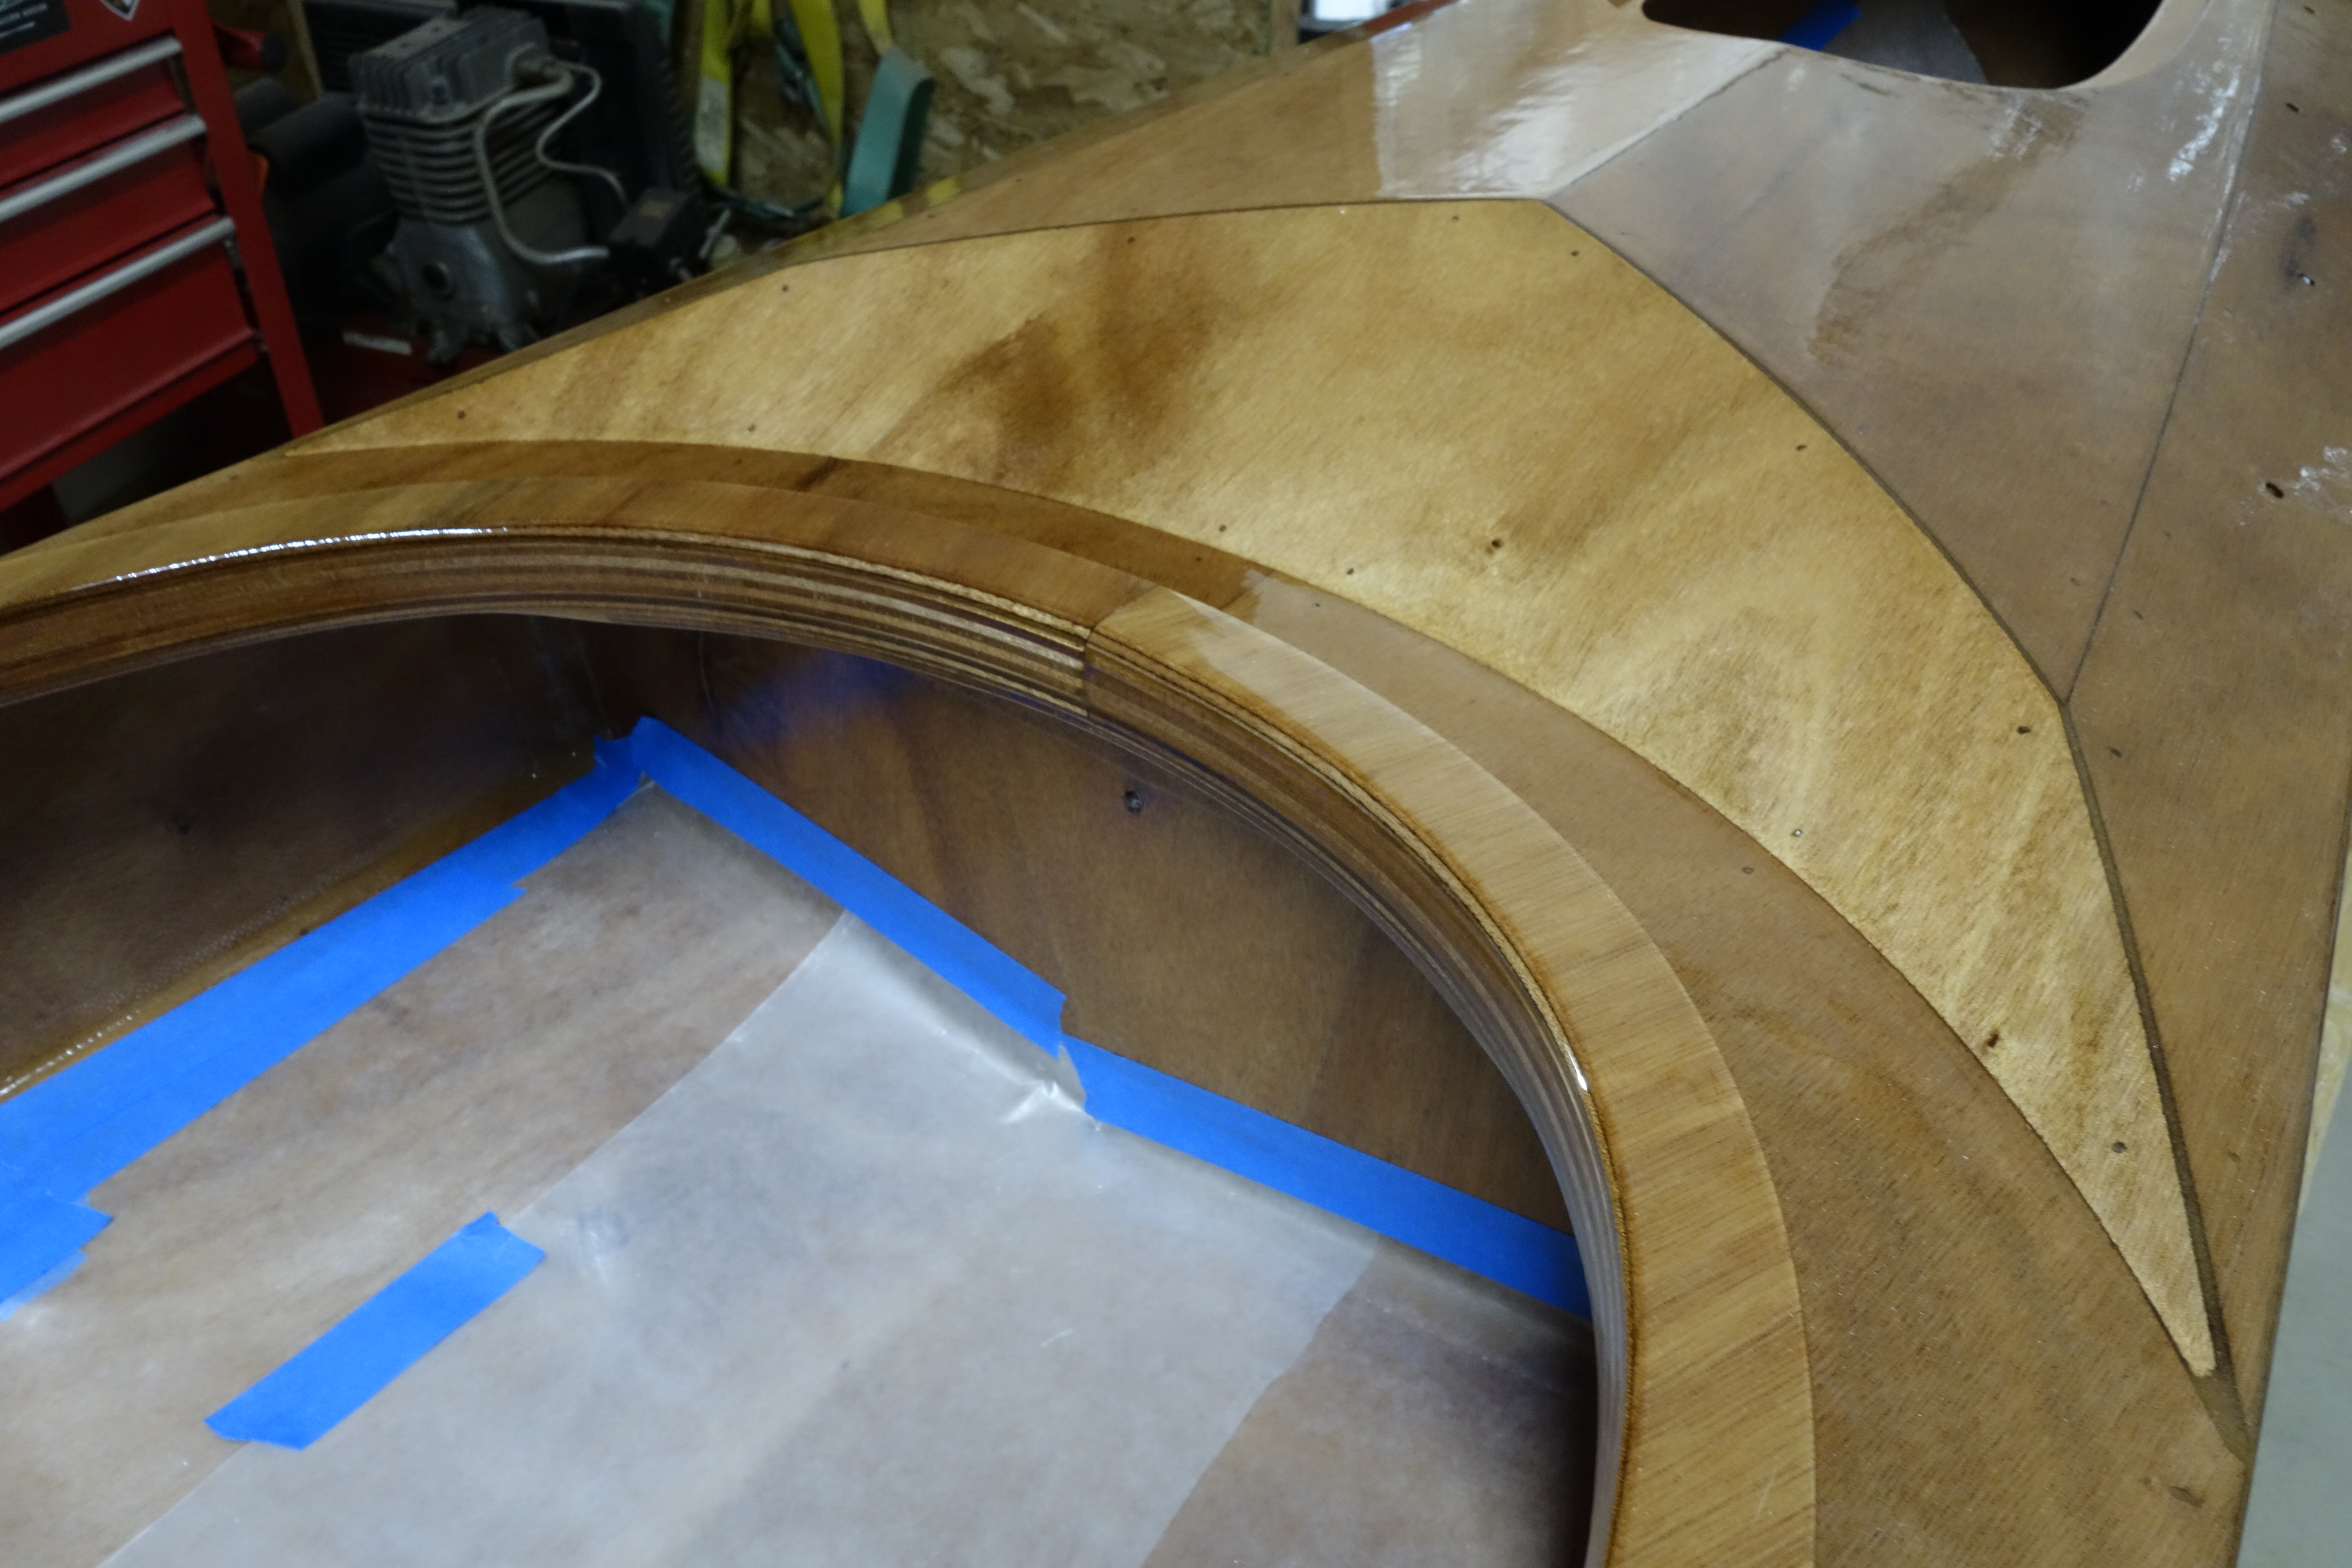
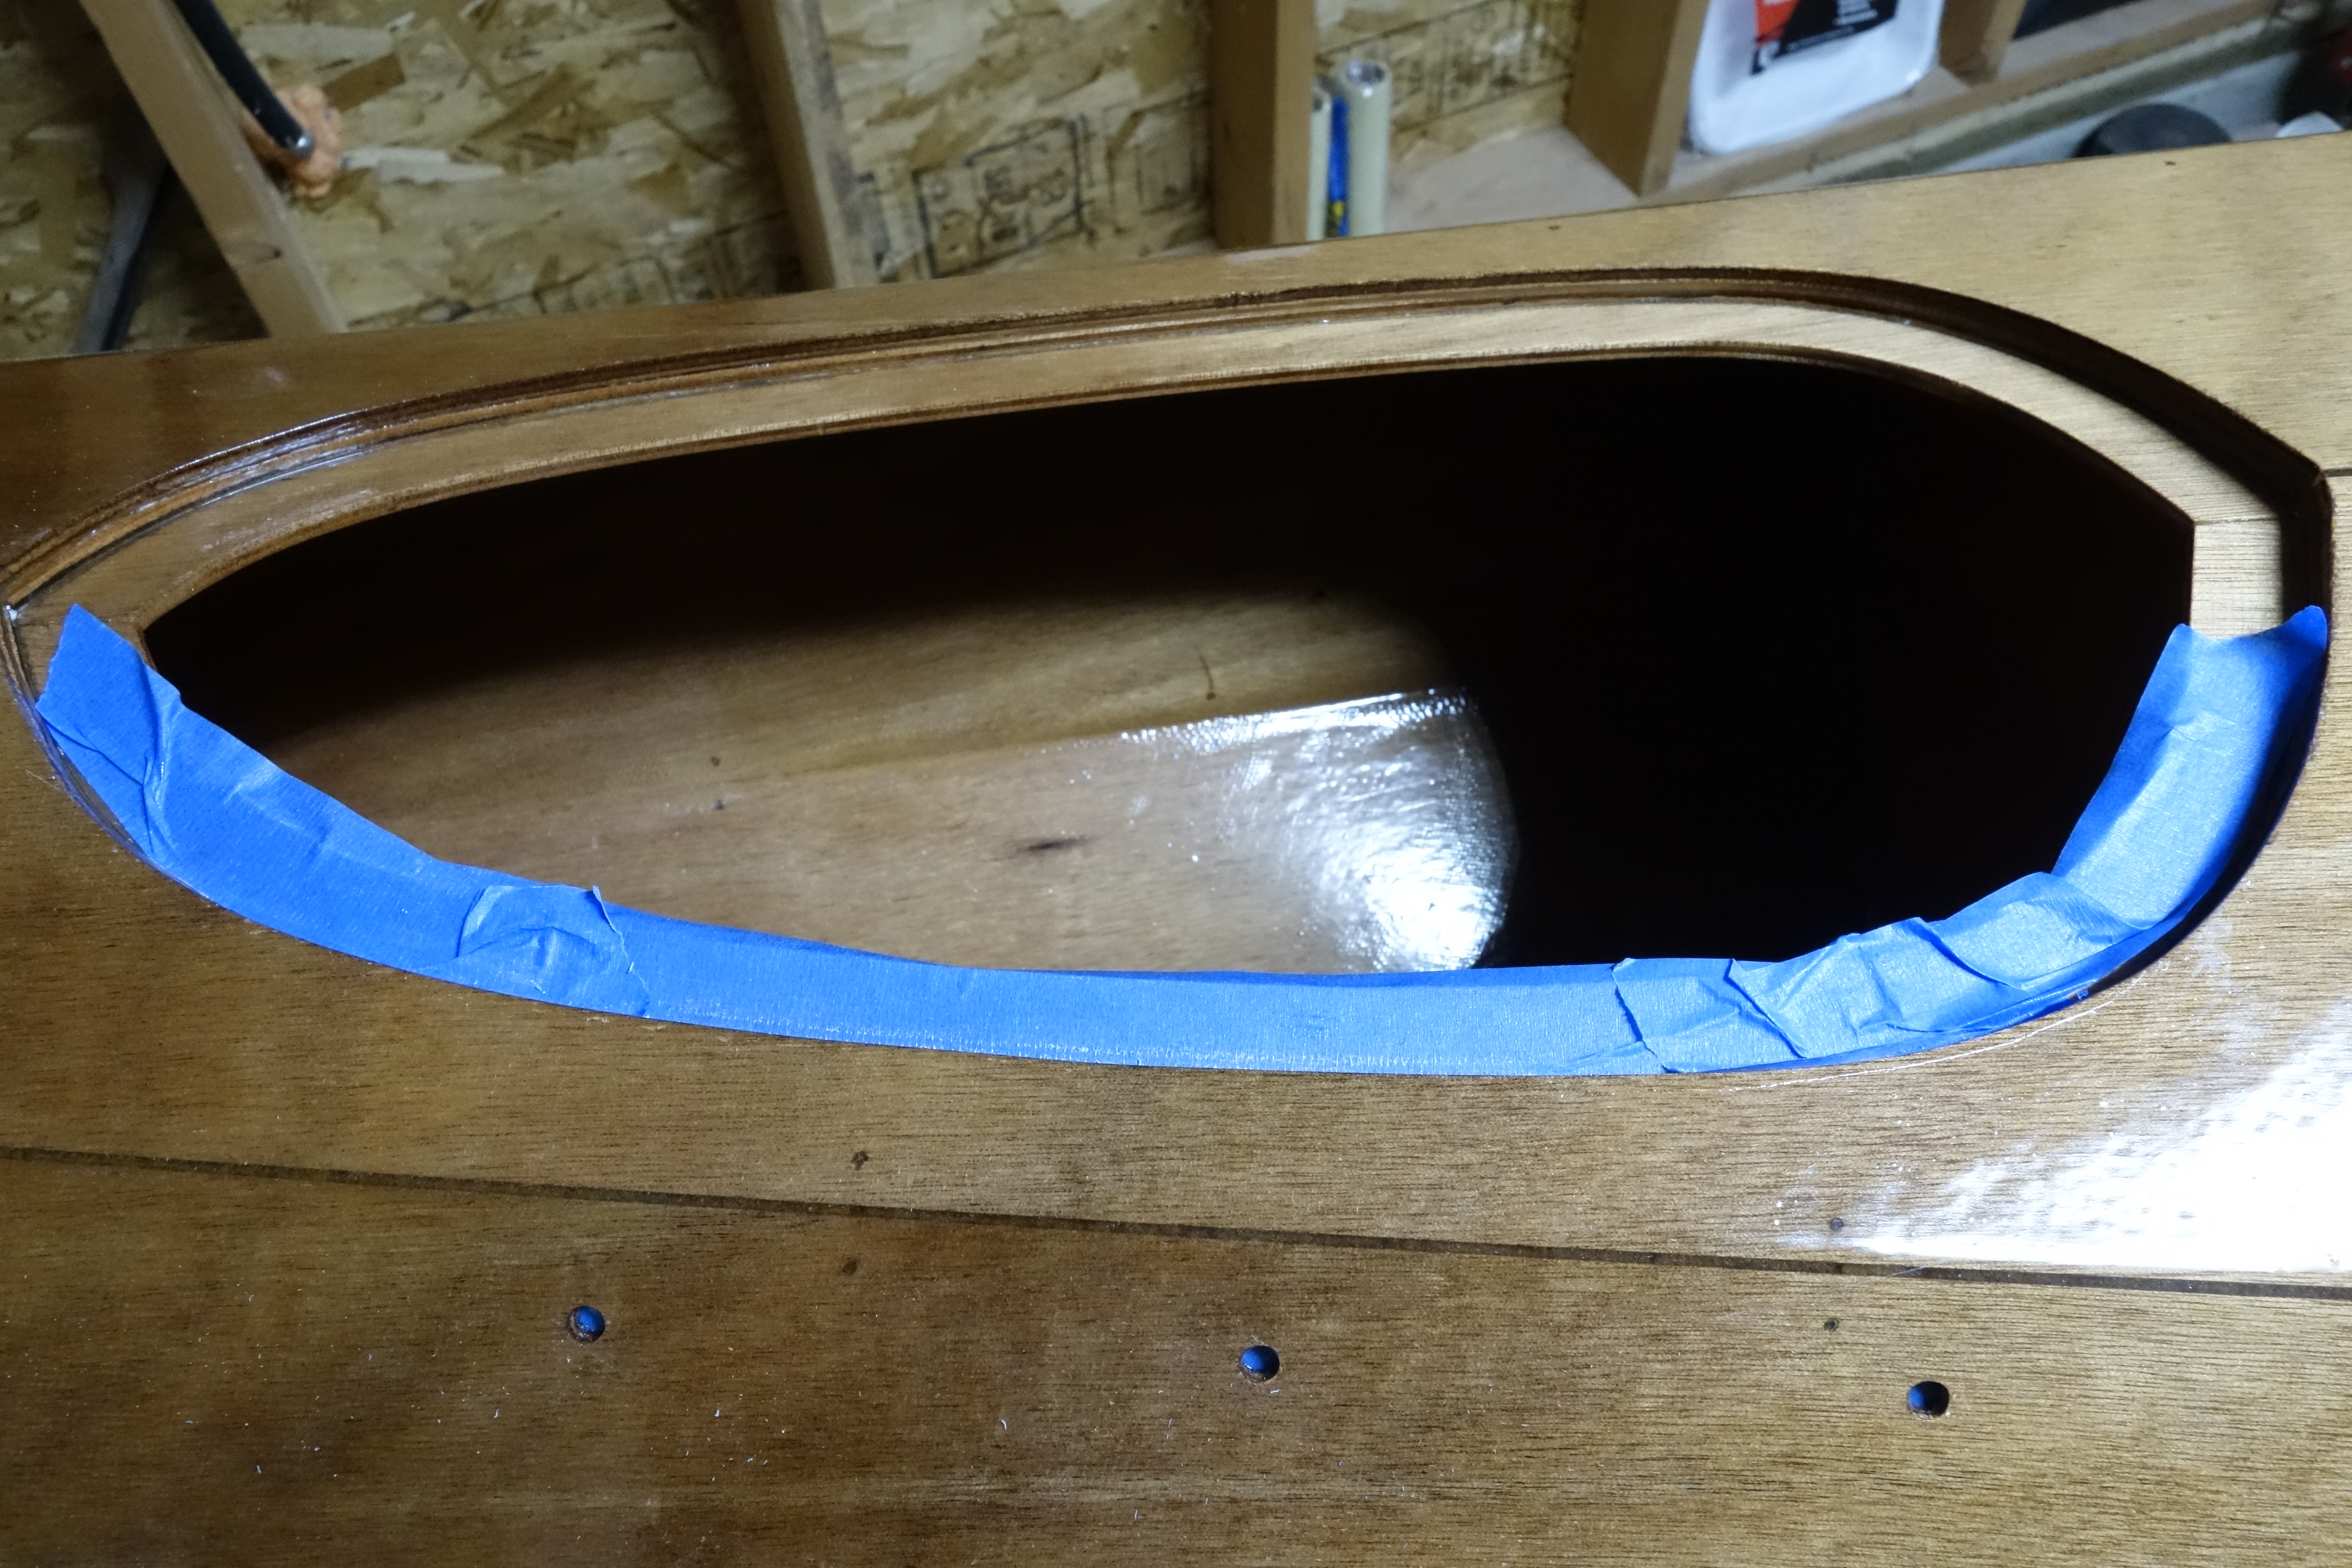
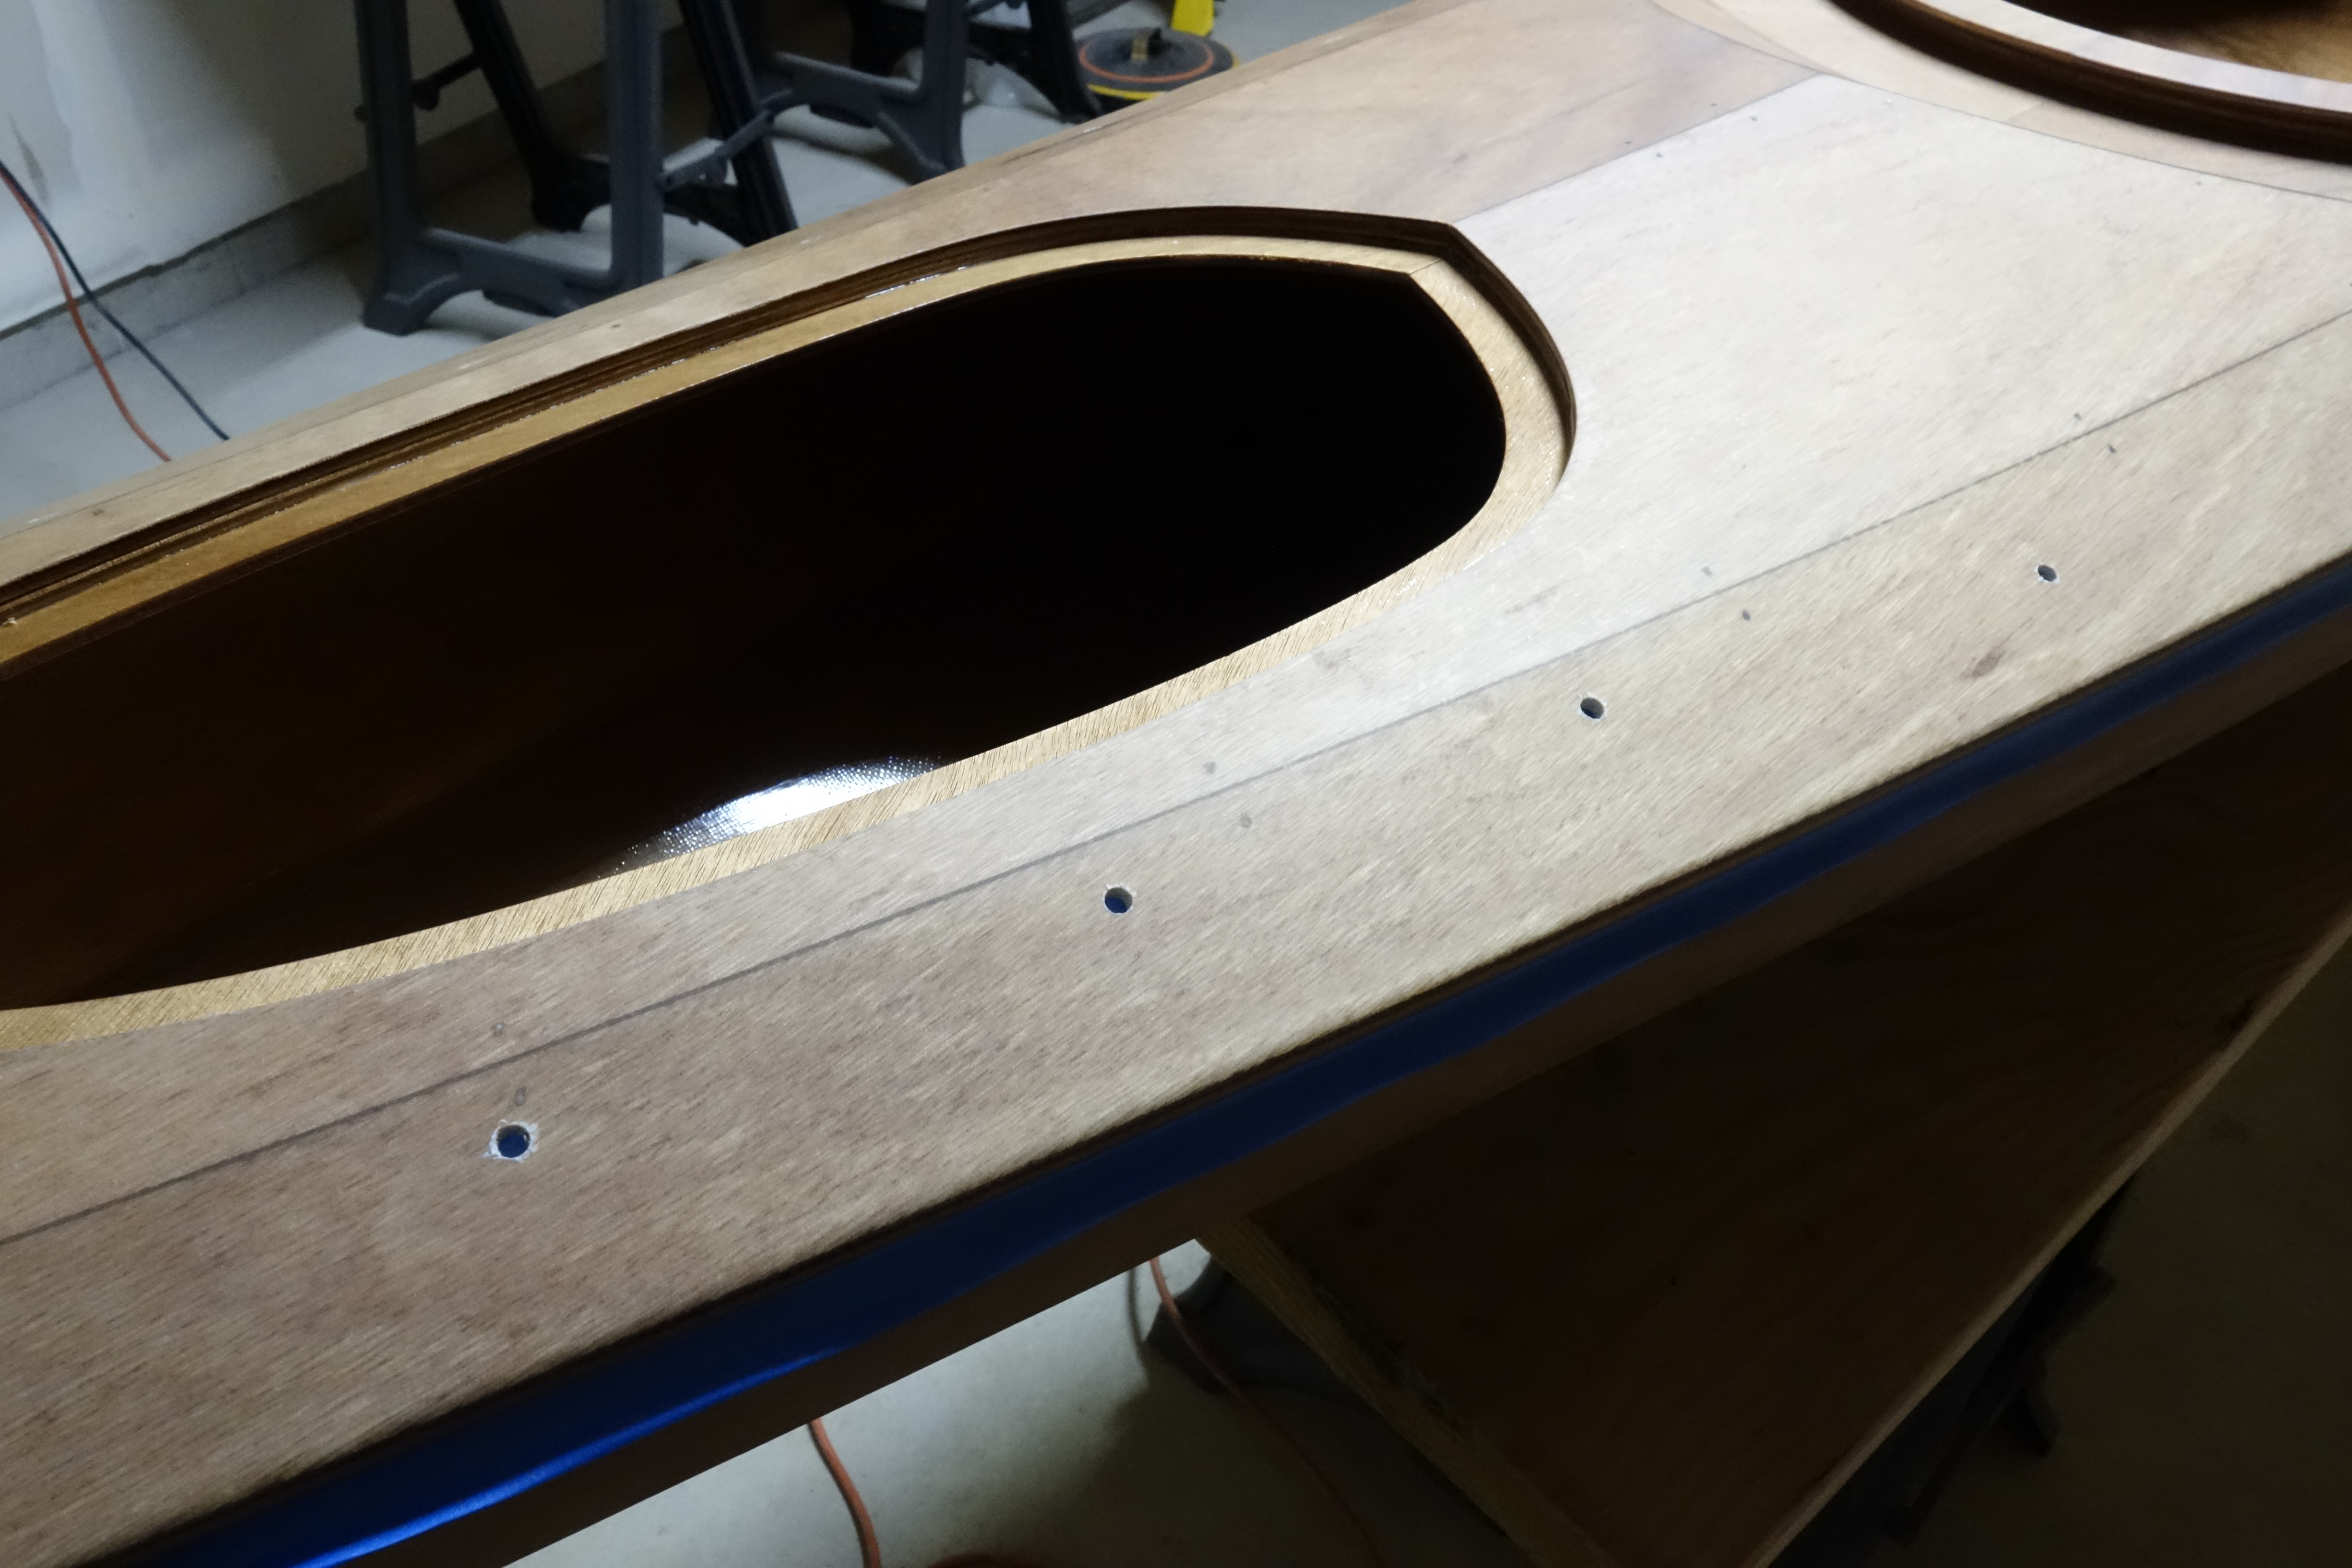
The deck and hull had gotten one fill coat of epoxy that the hatch covers had not, and I want the deck and the hatch covers to have the same depth of epoxy protection before I varnish. So I sanded the hatch covers and gave them one more coat of epoxy. There were also a couple of areas around the port edge of the forward hatch opening where the fiberglass cloth got chewed up a little bit when I was sawing the opening. They showed up after I epoxied as white specks around the opening. At first I thought they would be ok, but the longer I looked at them the more more I realized that they would bug me for the rest of my kayaking life if I didn’t fix them. So I did. It’s not perfect, but it’s better.
It is not easy to see in the photo above, where I sanded and re-applied epoxy to the edge of the forward hatch, but if you look carefully you can see it on the deck, right at the edge of the hatch.
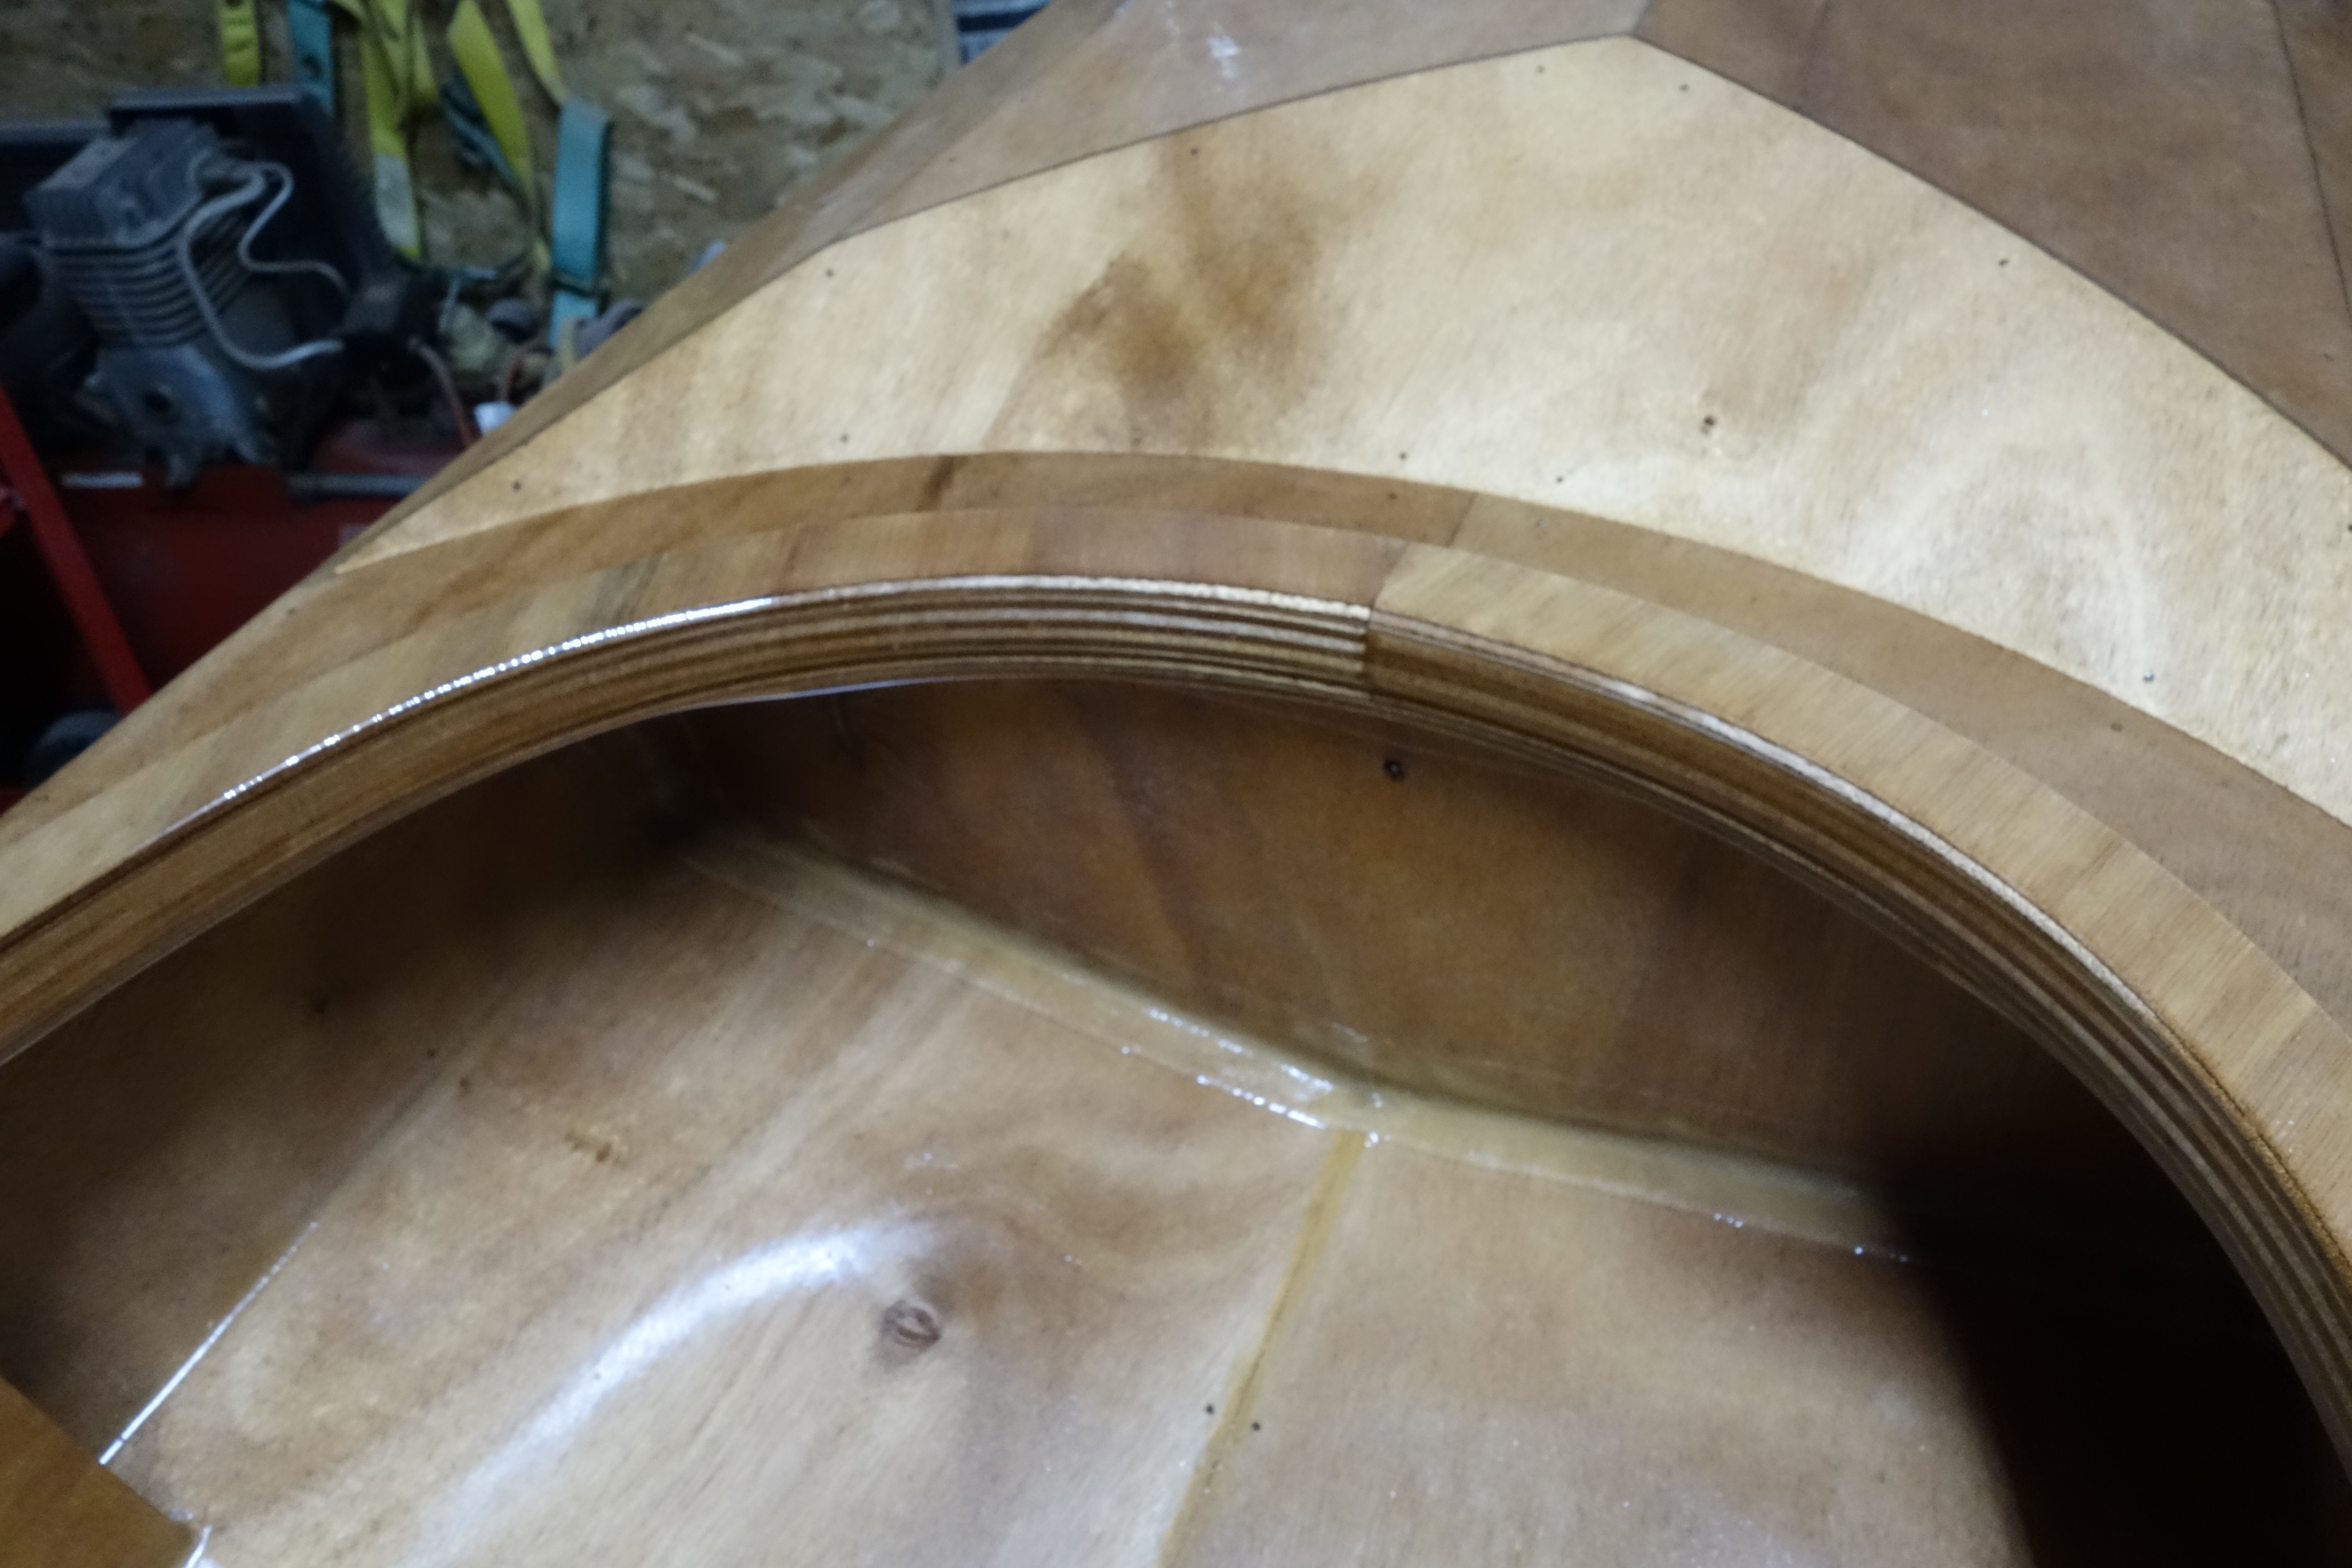
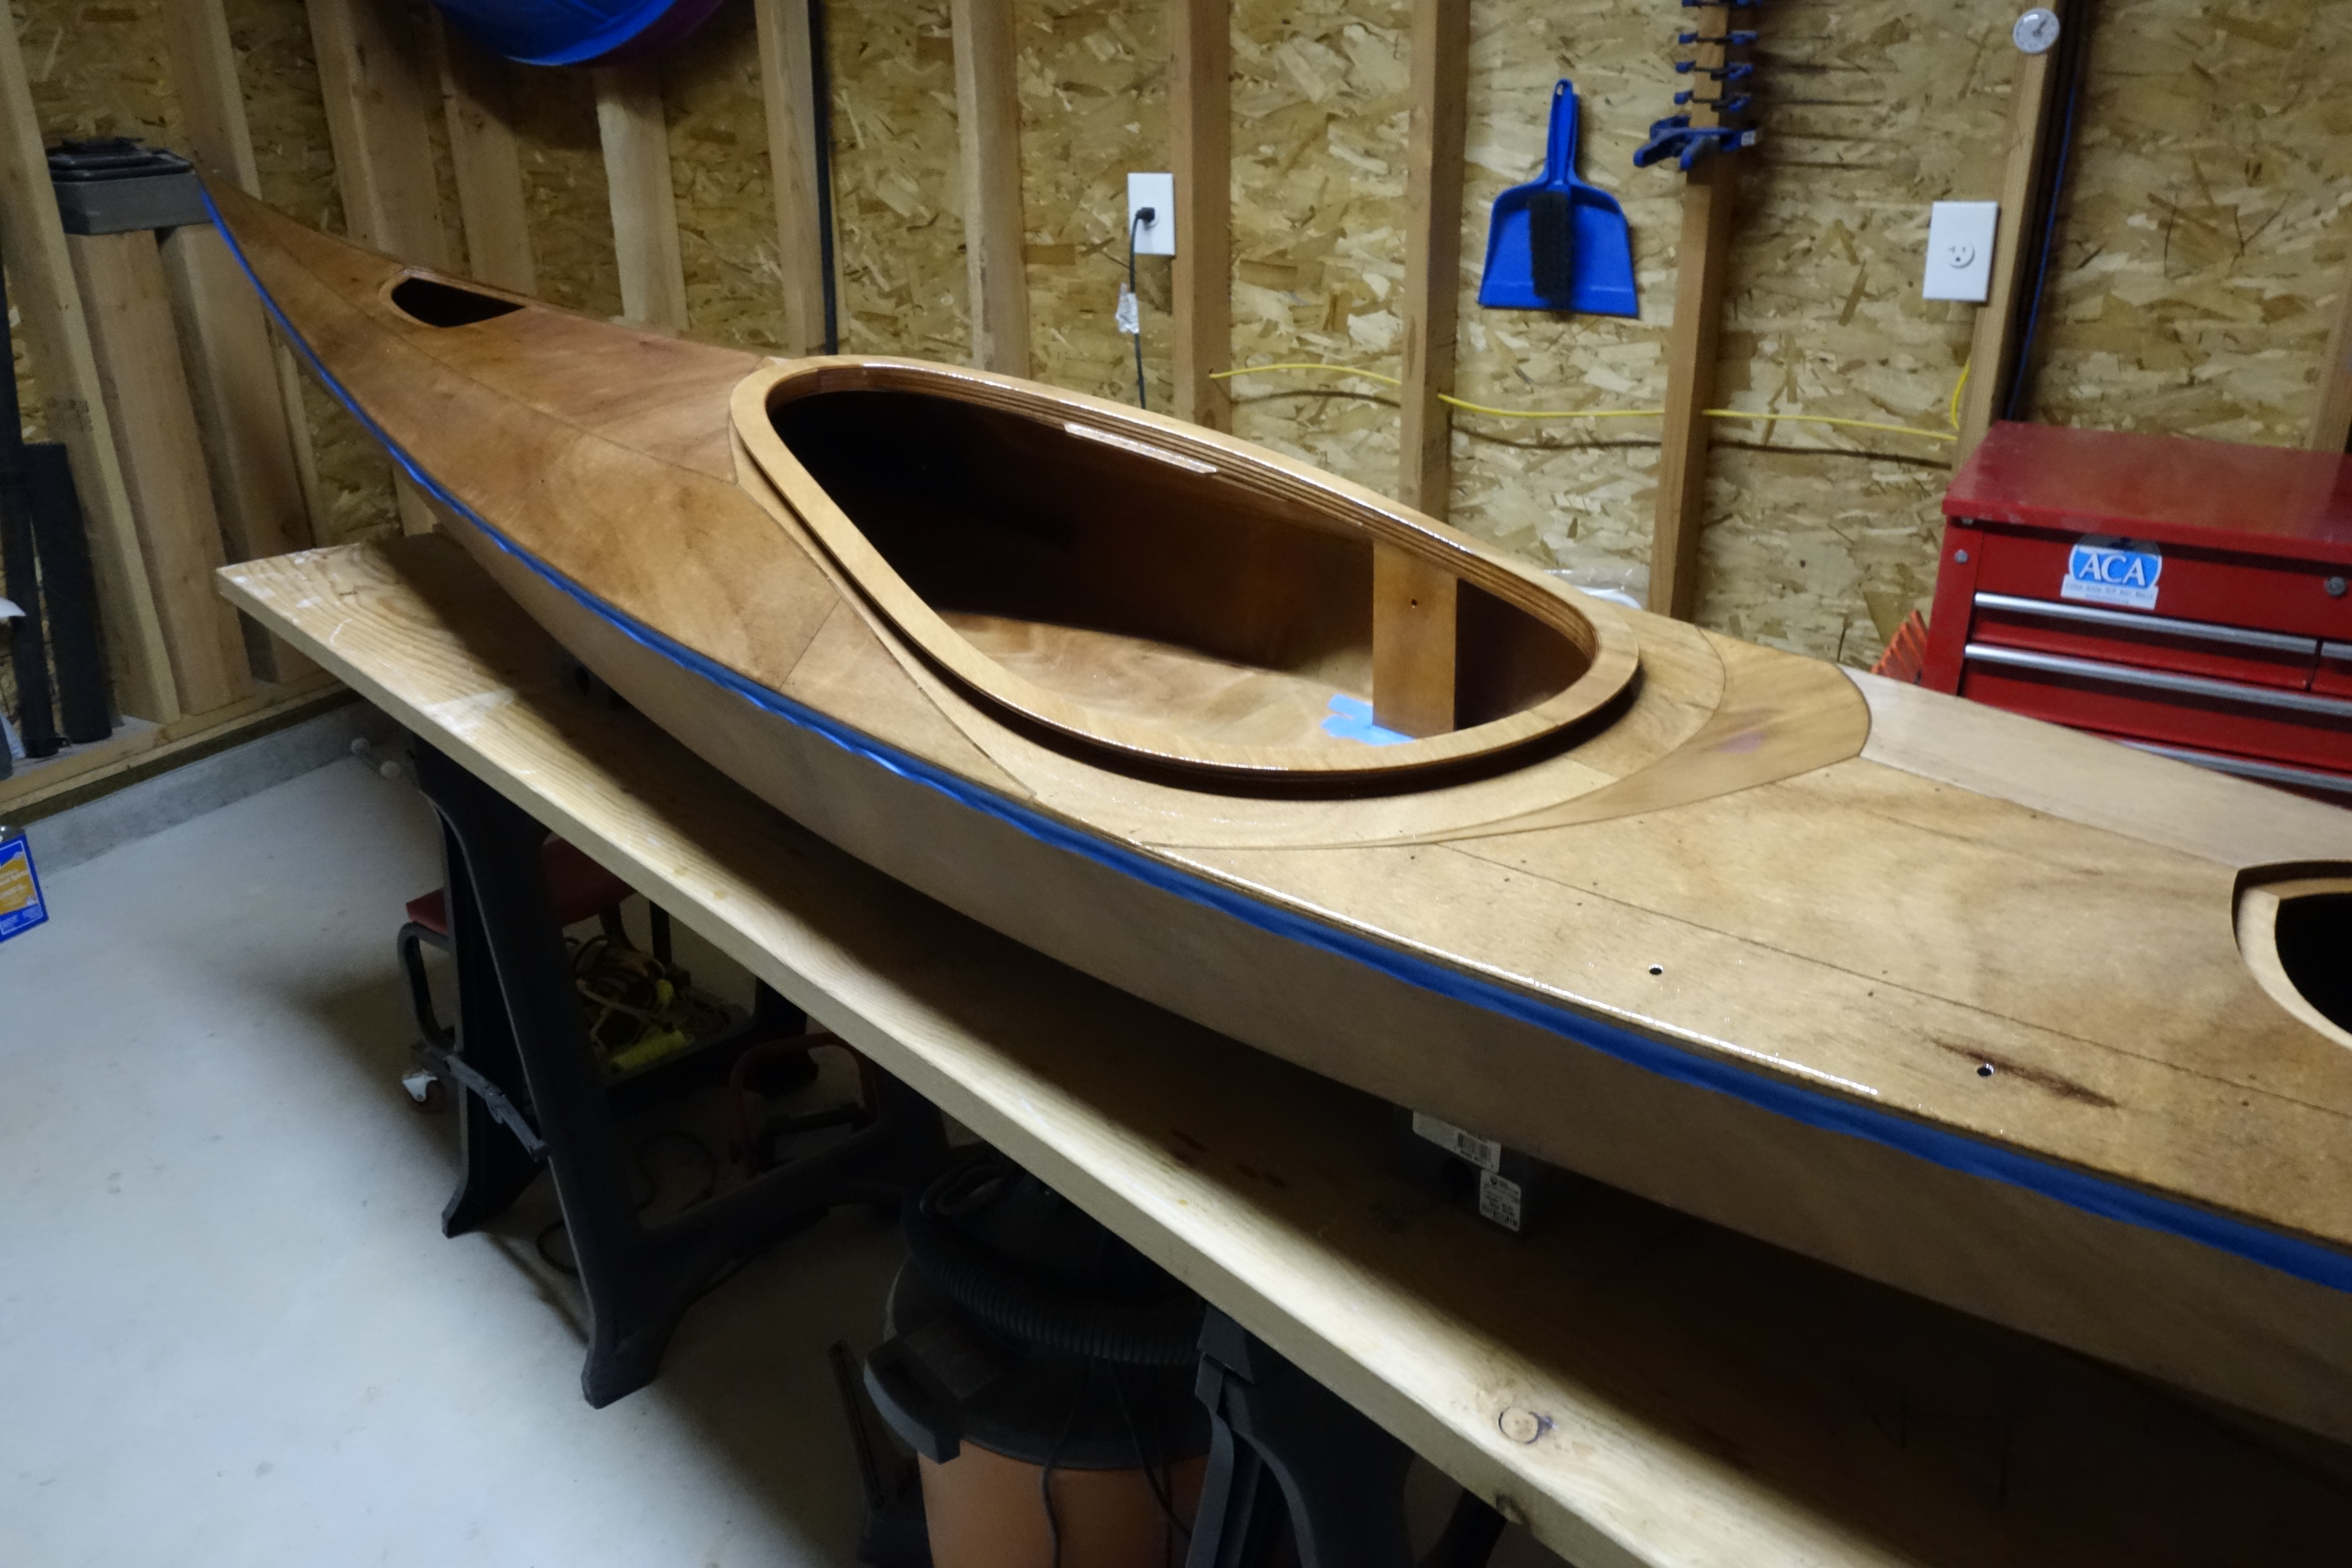
Late in the game I decided that I wanted to soften (sand down) the inner edge of the back of the cockpit coaming so that it wouldn’t bite into the small of my back when I am attempting layback rolls. When I did the final fill coat it was apparent to me that the coaming needed one more coat of epoxy in the area where I filed and sanded at the back of the cockpit. So I sanded the whole coaming and gave it all one more coat. I can still see that cut I accidentally made in the fiberglass cloth, deep under the epoxy, but I have made my peace with it. Overall, the coaming looks good I think.
The epoxy fill coat that I did on the hull yesterday smoothed out beautifully as it cured. I couldn’t be happier with the result. I have one little bit of touch up to do on the cockpit coaming, and then the Ronan is ready for varnish!
After the epoxy that I just applied to the hull cures, all that is left to do is sand, then varnish, then sand, then varnish, then sand, then varnish. Repeat until satisfied. Then clean the Ronan inside and out, and install the seat pad, back band, and deck rigging. Then paddle.
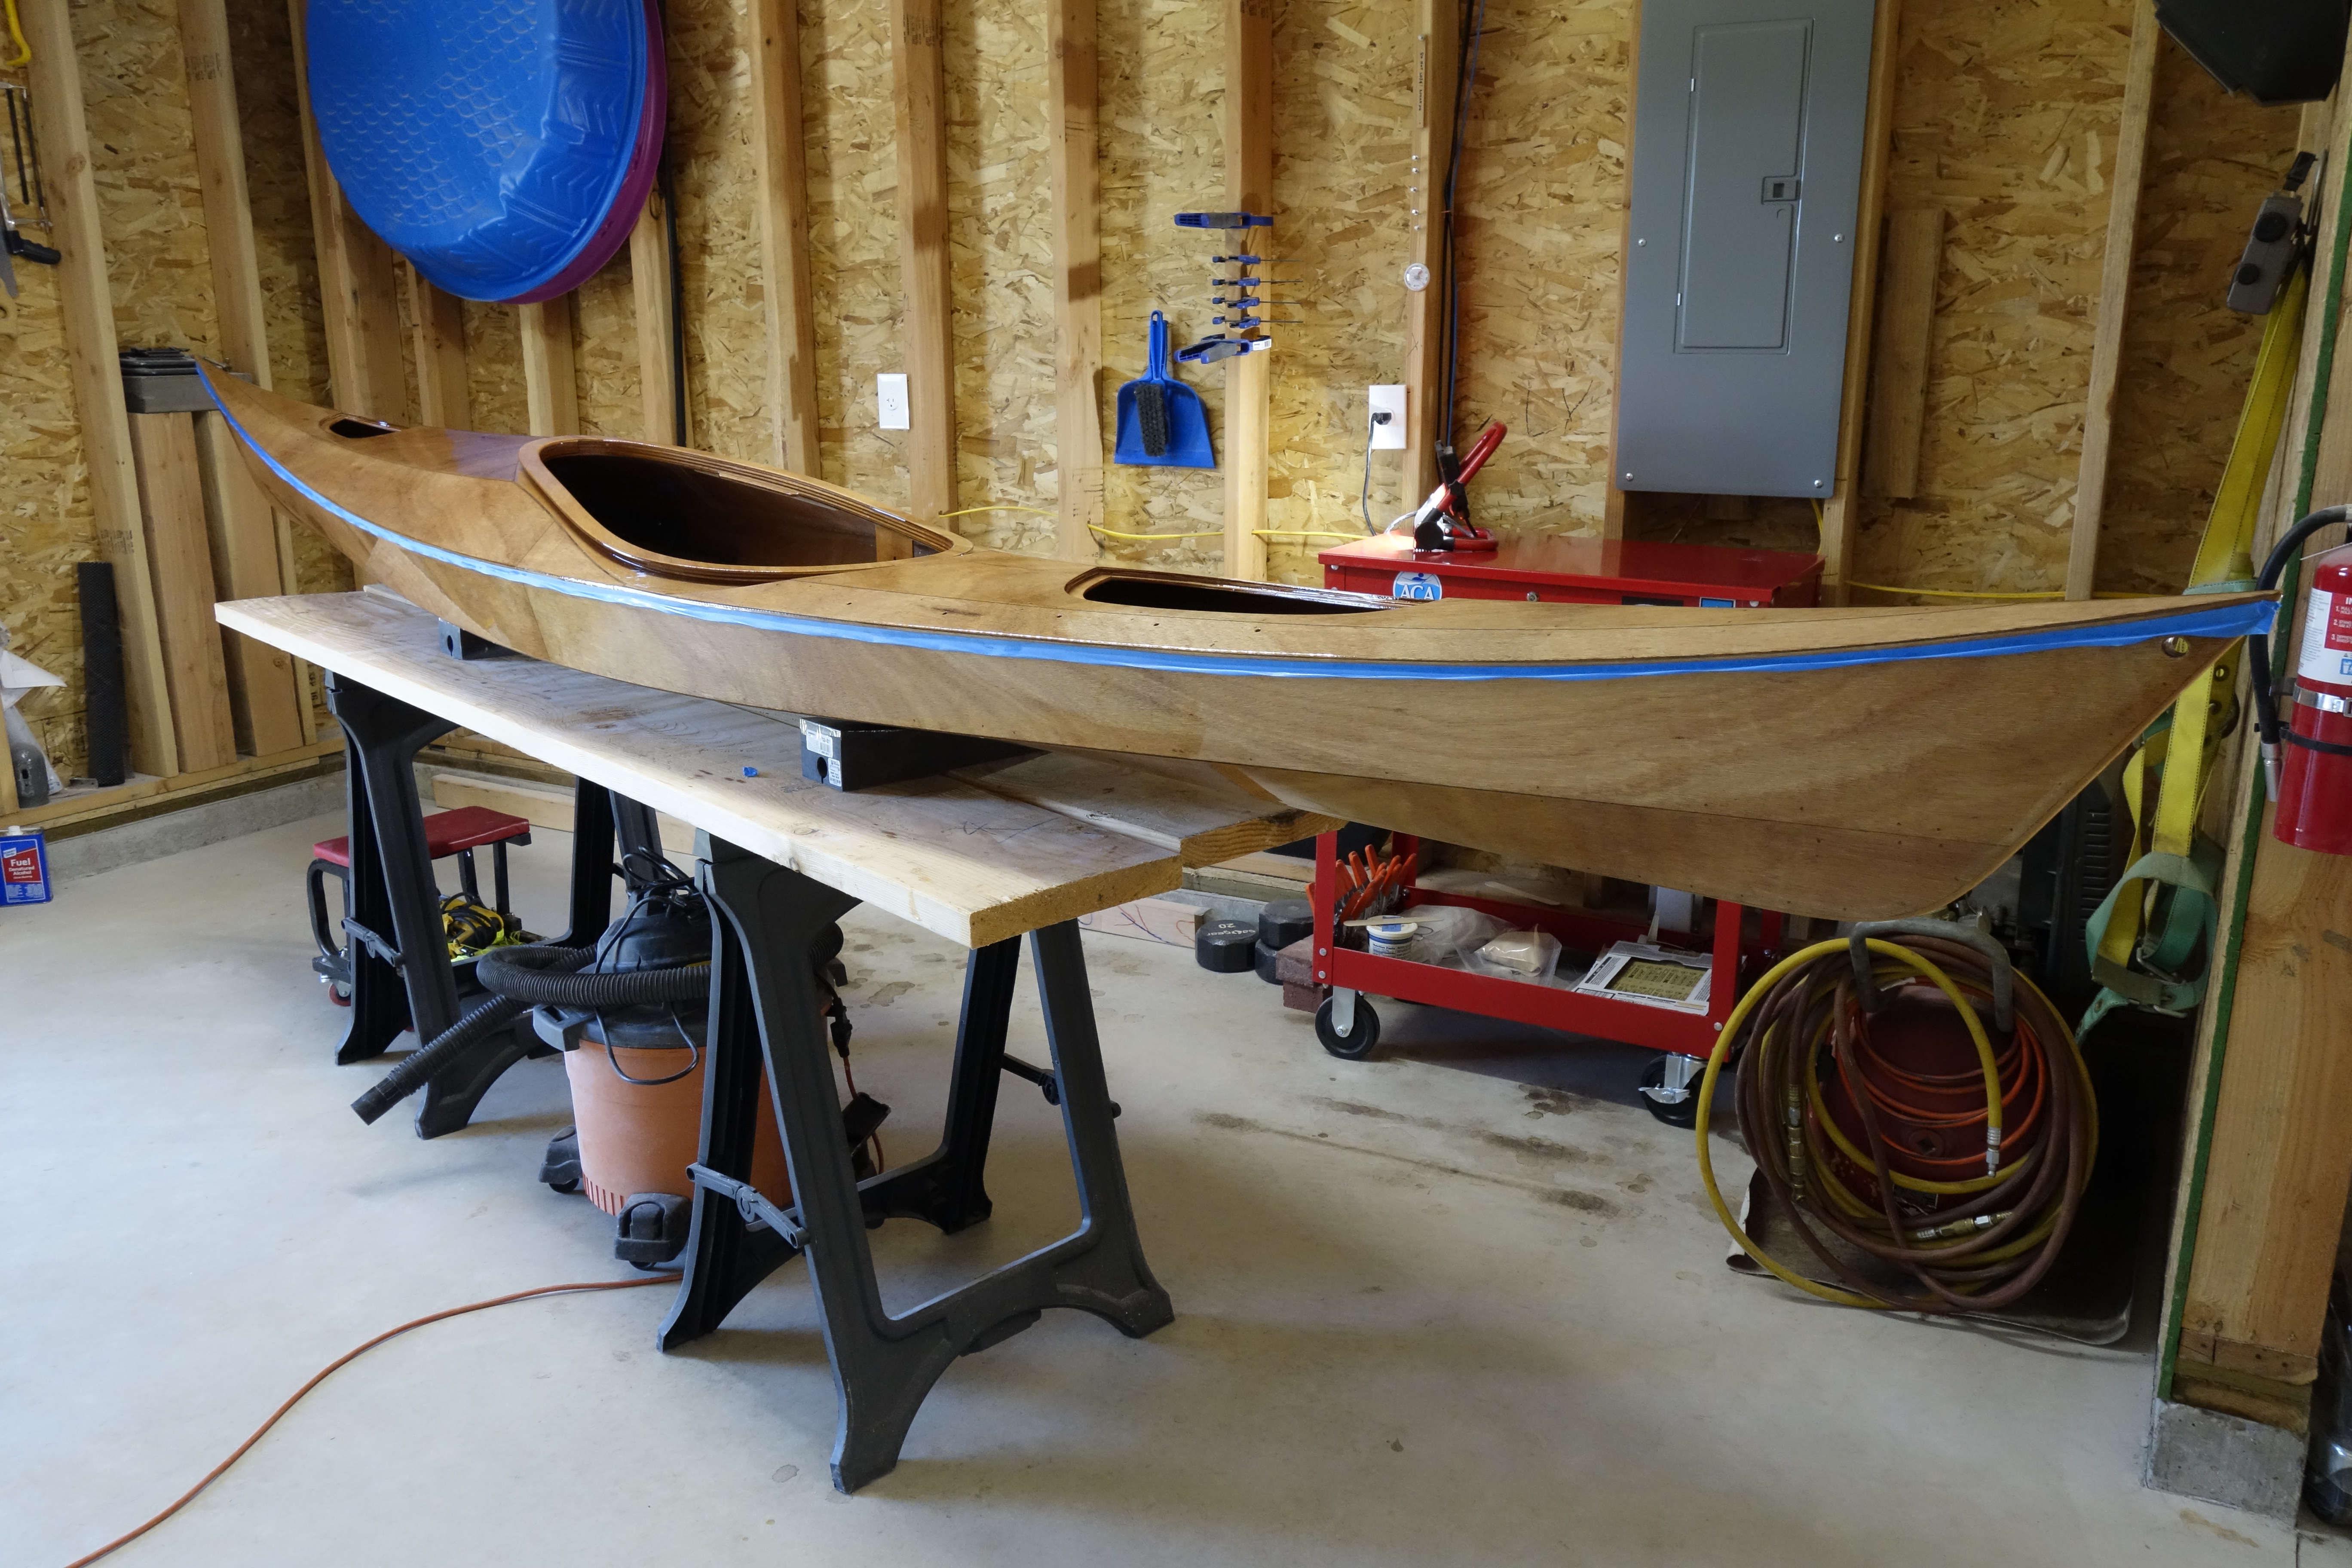
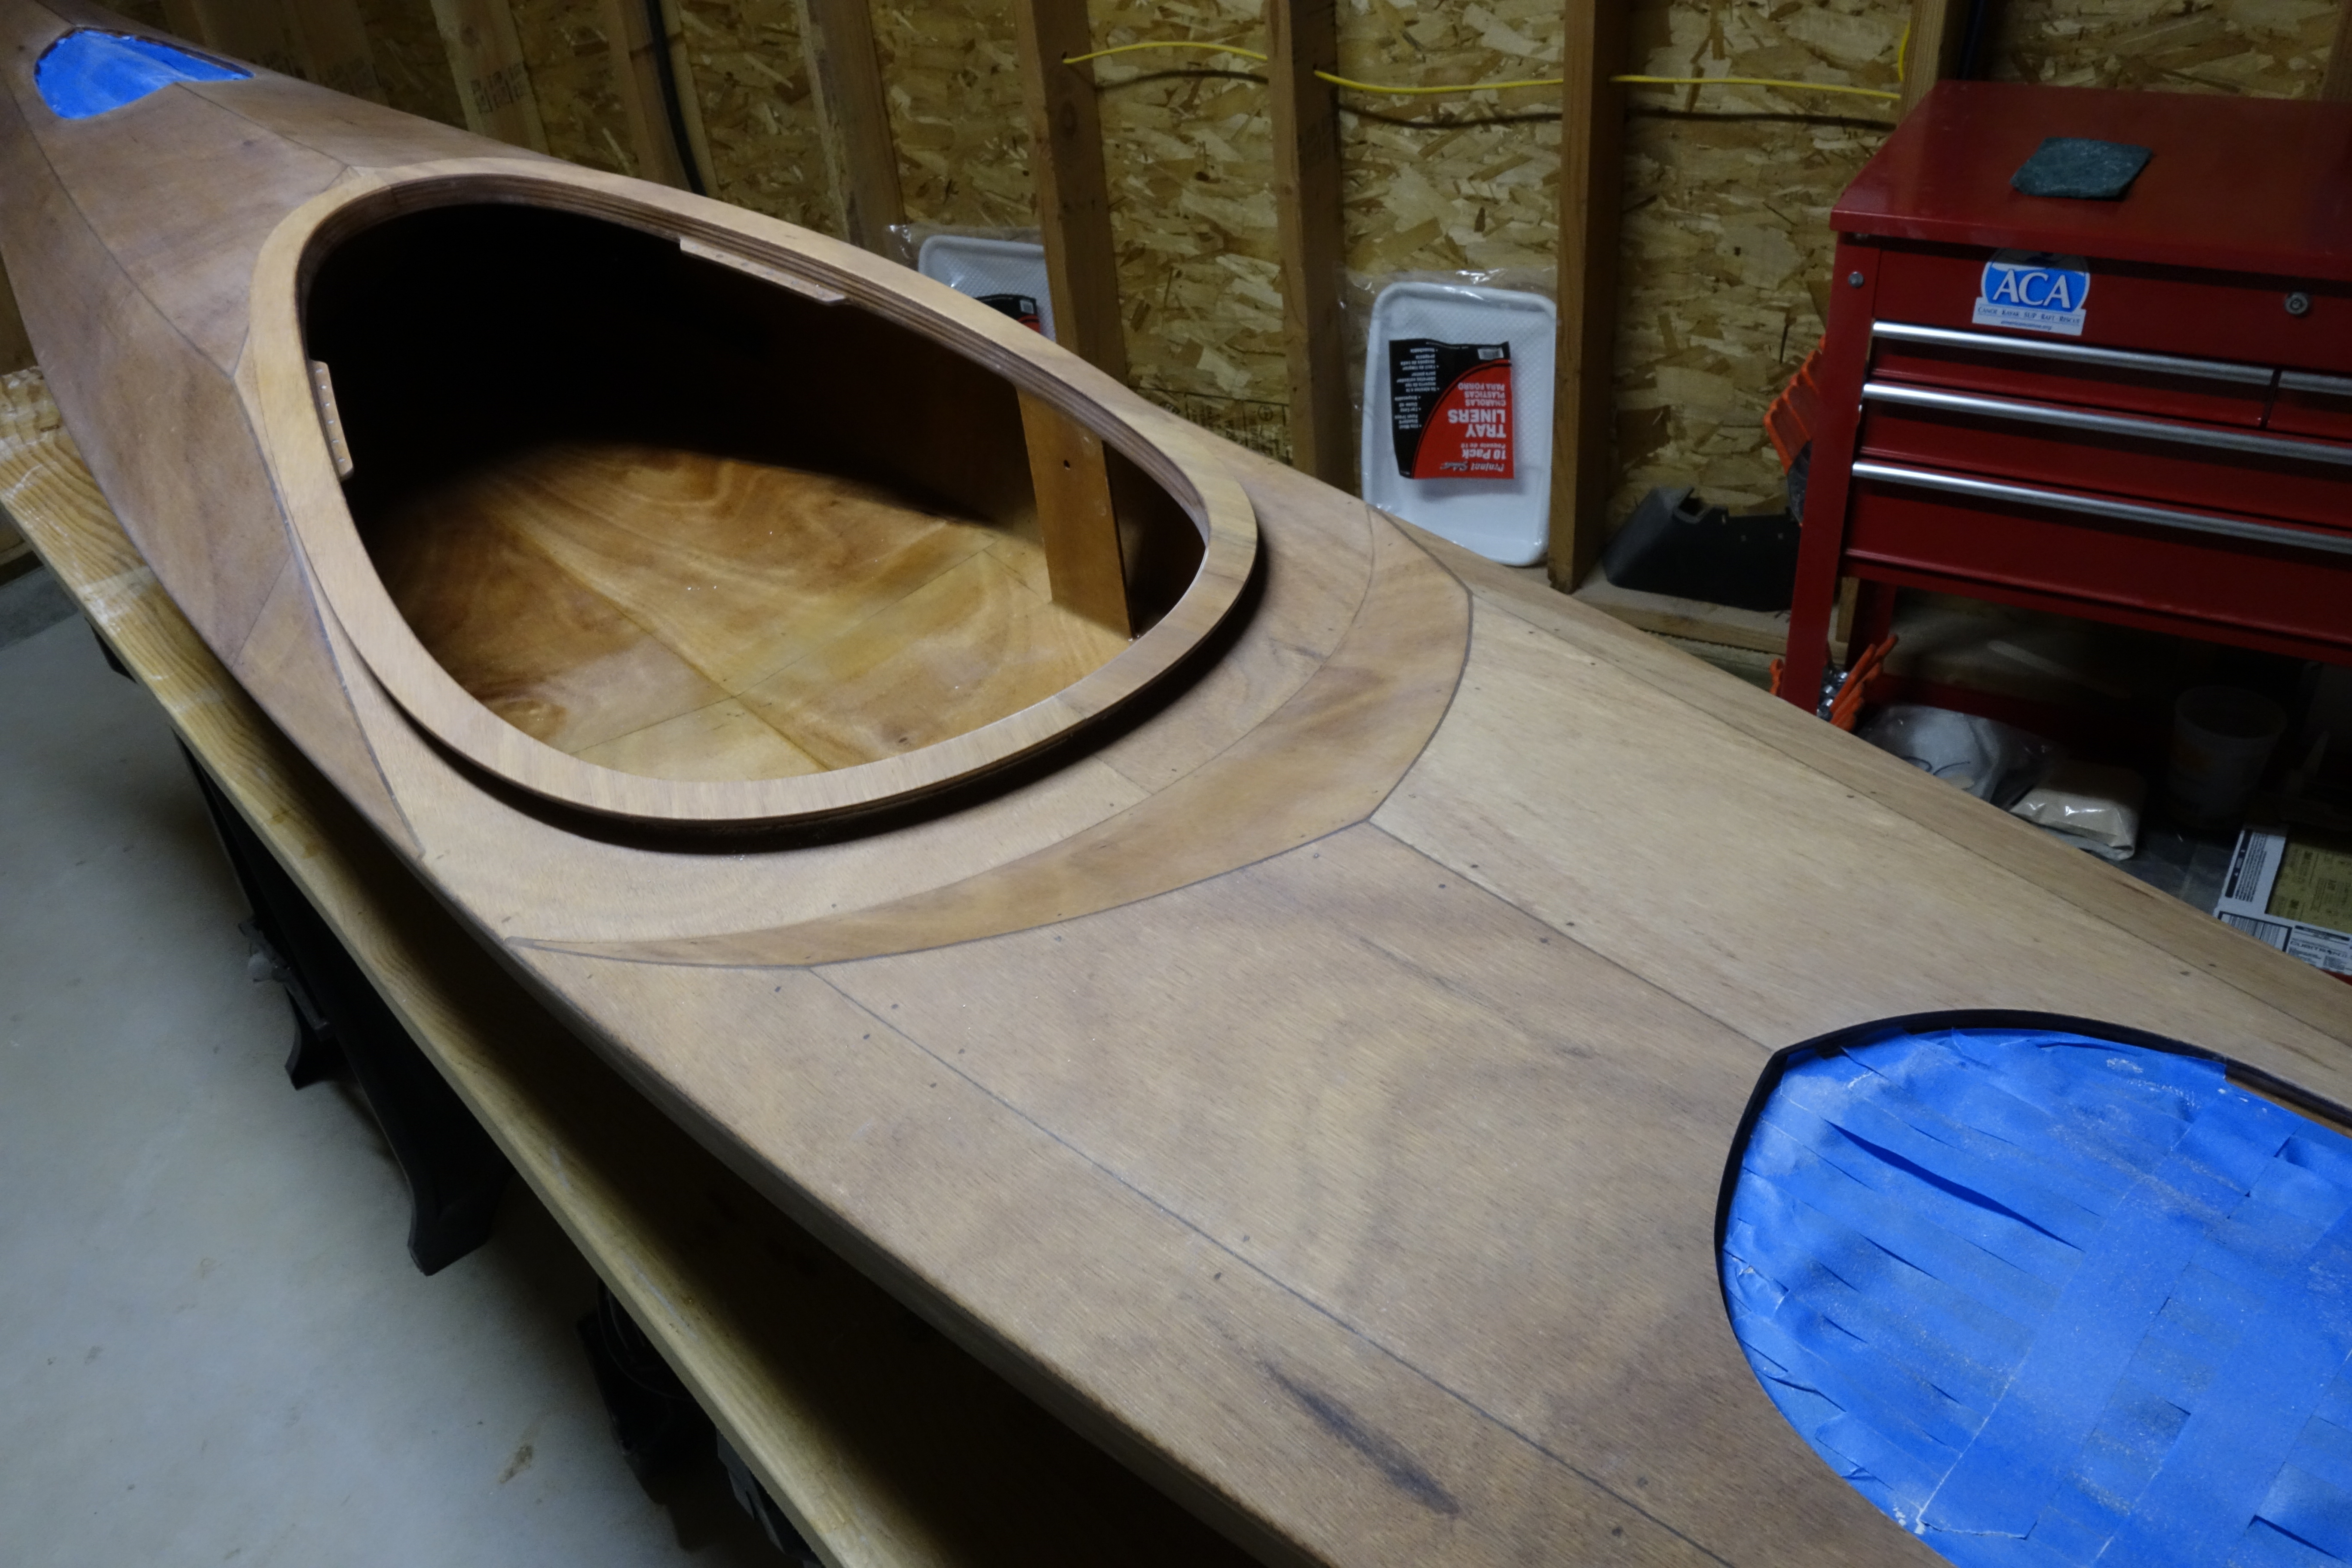
Shear line masked right on the edge of the epoxy that I applied yesterday to the deck. This should blend well enough that there will not be a significant bump or trough, and it will be sanded before varnish is applied anyway. Also, I chose to mask right below the shear seam, so that will help hide any imperfections when the kayak is in its normal orientation (deck side up).Shiny!This was applied with a foam roller and tipped off with a 3″ foam brush, as was done with the deck yesterday.
I spent the morning deciding where I wanted my deck rigging and paddle park, and drilling the holes in the deck for that stuff. Then I rolled on, and tipped off the final fill coat of epoxy on the deck. The hull comes tomorrow.
I taped just below the shear line and folded the tape under, on itself so that any epoxy that might run over the shear wouldn’t run down the hull, but would drip onto the bench or floor instead. I spent too much time sanding the hull smooth to have to do it all over again to get rid of runs and drips.Here you can see the holes for the straps on the port side, forward hatch, and the forward hole for the bow deck rigging. I will make sure that the open grain in all these holes is saturated with epoxy. I have pipe cleaners specifically for this purpose.Holes for port side, aft hatch cover and deck rigging.Starboard side, aft.Starboard side, forward.View up the port side.As per Pygmy’s recommendation, I use 1/8″ nap, foam rollers to apply the epoxy to large surface areas. I have found that cutting the 7″ roller covers in half, using a sharp utility knife works very well for reaching the tighter areas on the kayak. It also doubles the number of covers available to use during each application. This is important because in a relatively short time, the epoxy starts to become foamy in the roller cover and the cover must be discarded, otherwise, the epoxy finish will be cloudy rather than clear. That said, I was able to coat the entire deck using only one half of a roller cover. I may need to use two for the hull as it has a larger surface area.Epoxy rolled on with a foam roller, and tipped off with a 3″ foam brush.I used a 2″ foam brush to carefully apply epoxy to the cockpit coaming and hip braces, and also under the cockpit coaming and around the cockpit apron. I did this before I rolled out the rest of the deck so that when I tipped everything off it would all blend as I worked into the wet edge of where I worked on the coaming area.
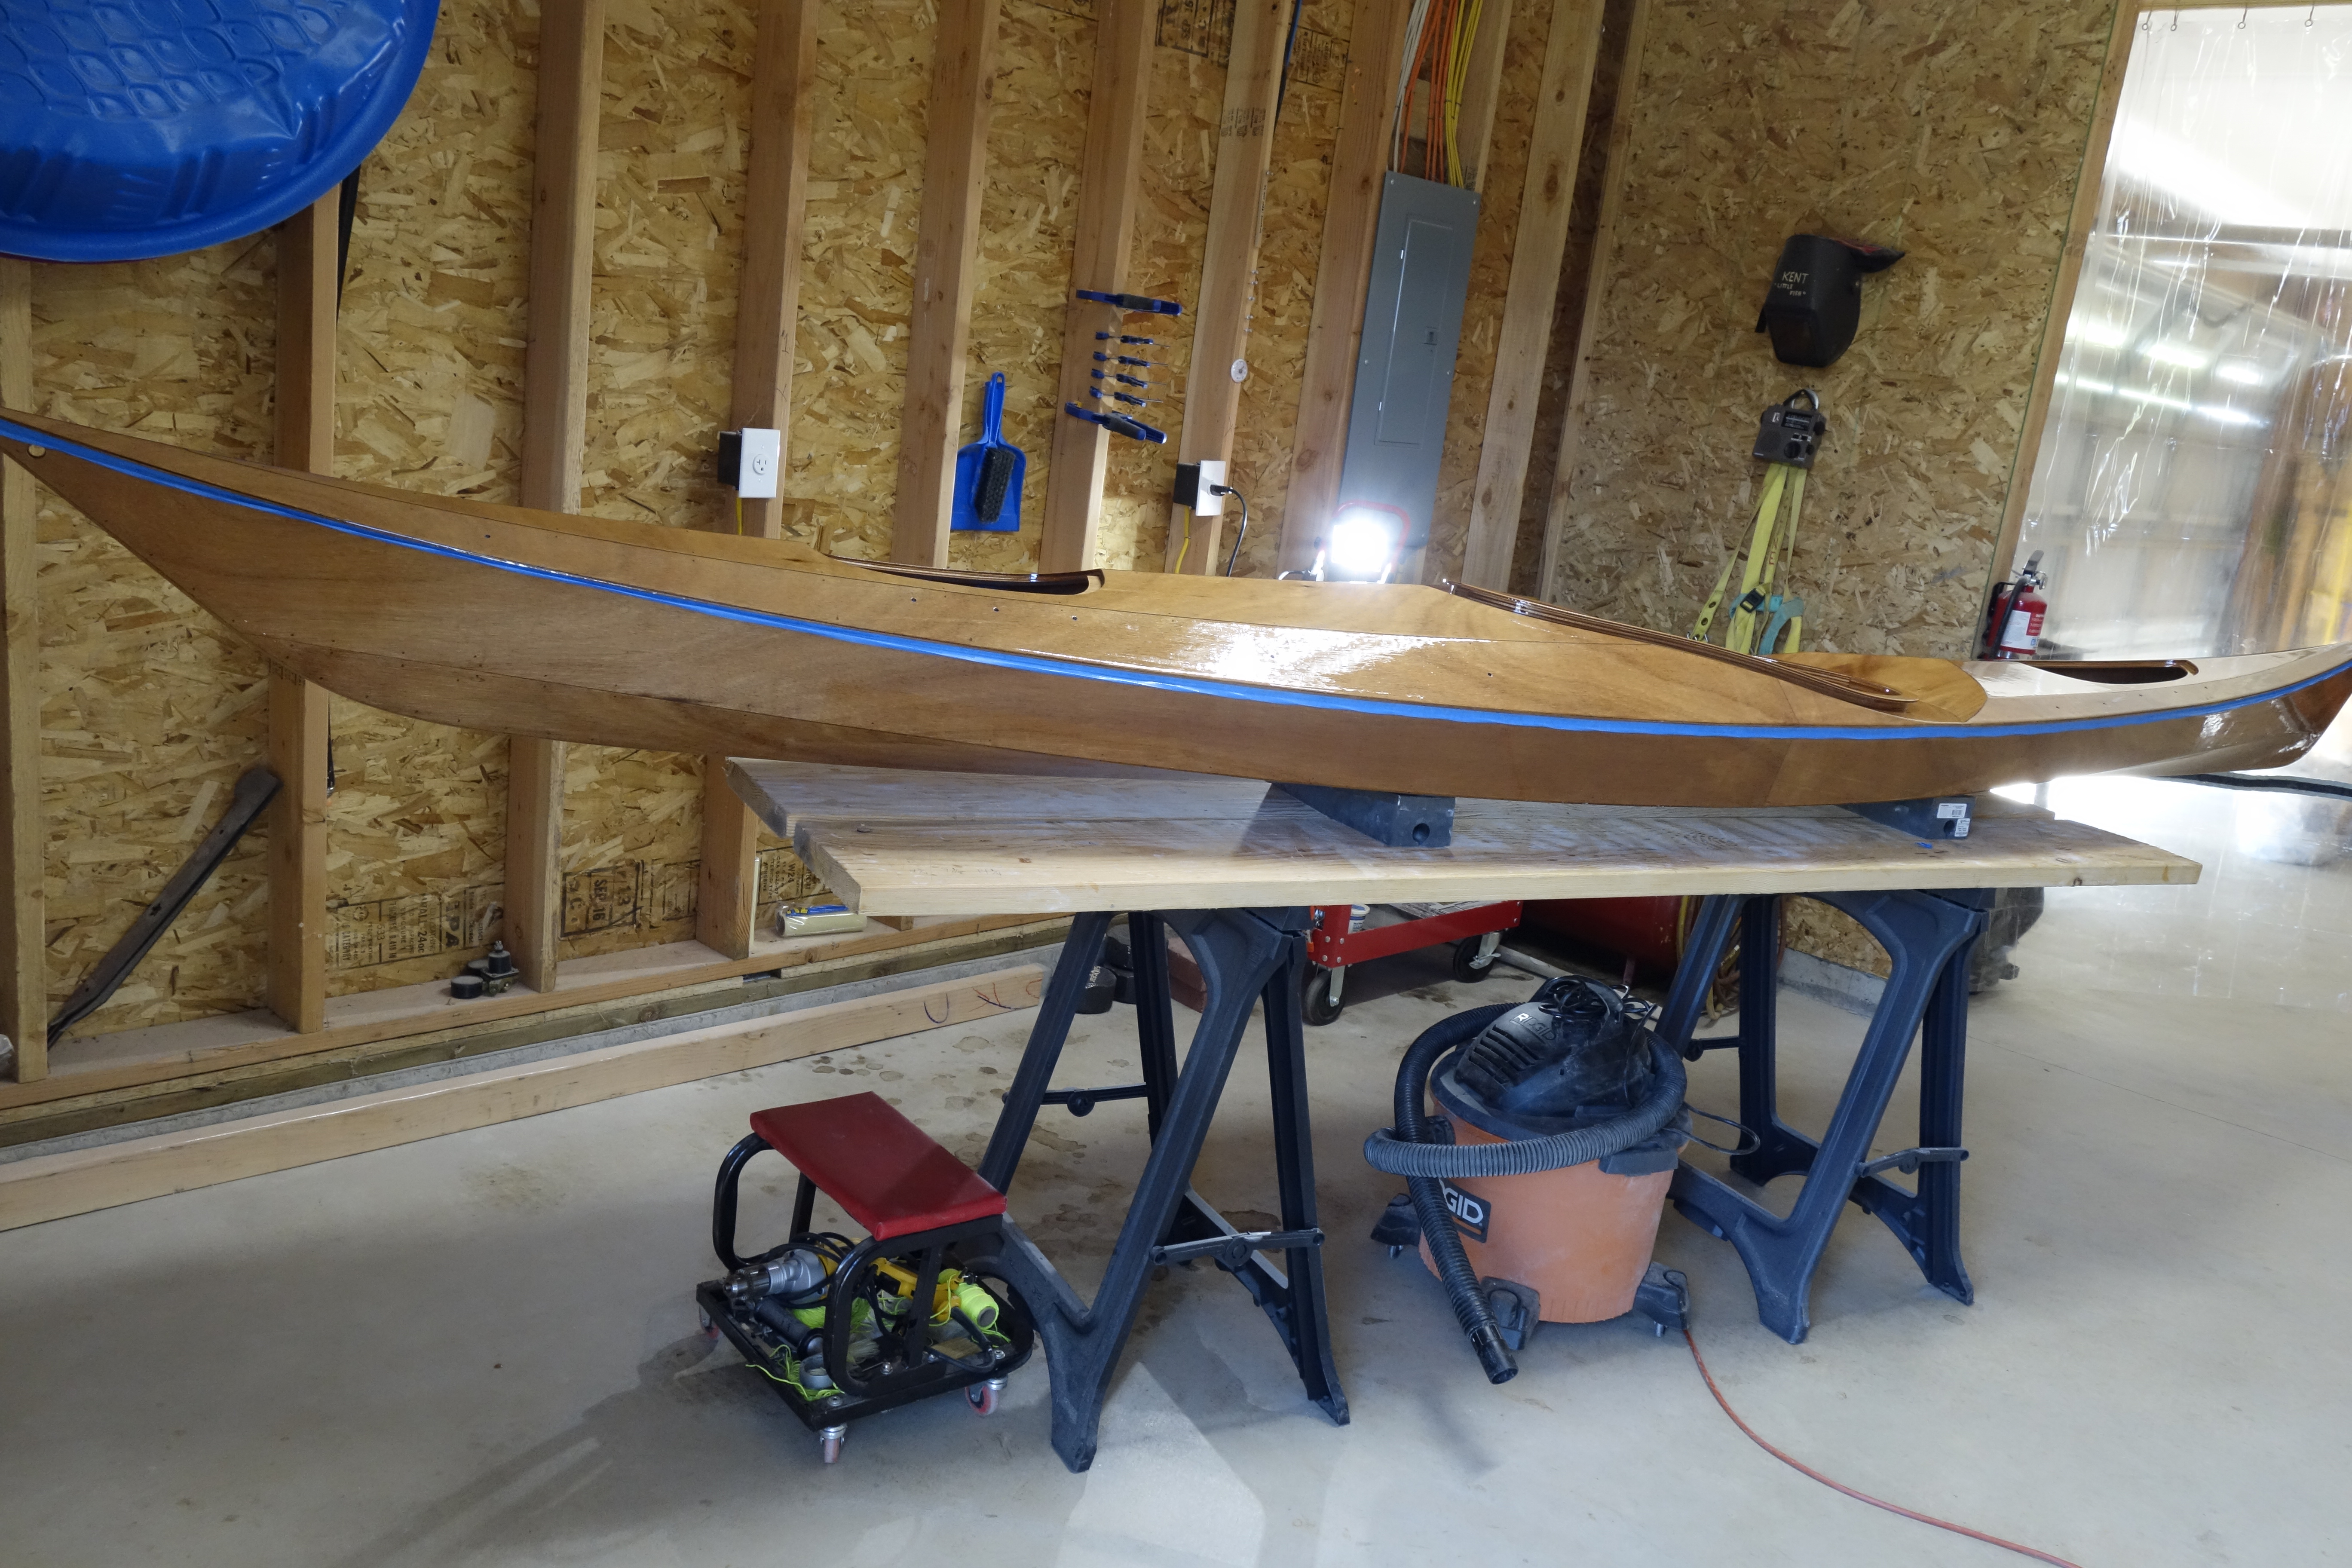
Then more hand sanding, and finally, spar varnish.
Just to confuse everyone, the kayak is turned around so the bow is facing the corner of the shop. Actually, I just wanted to make sure that I could see everything in the same light, so halfway through the sanding I turned the kayak around.