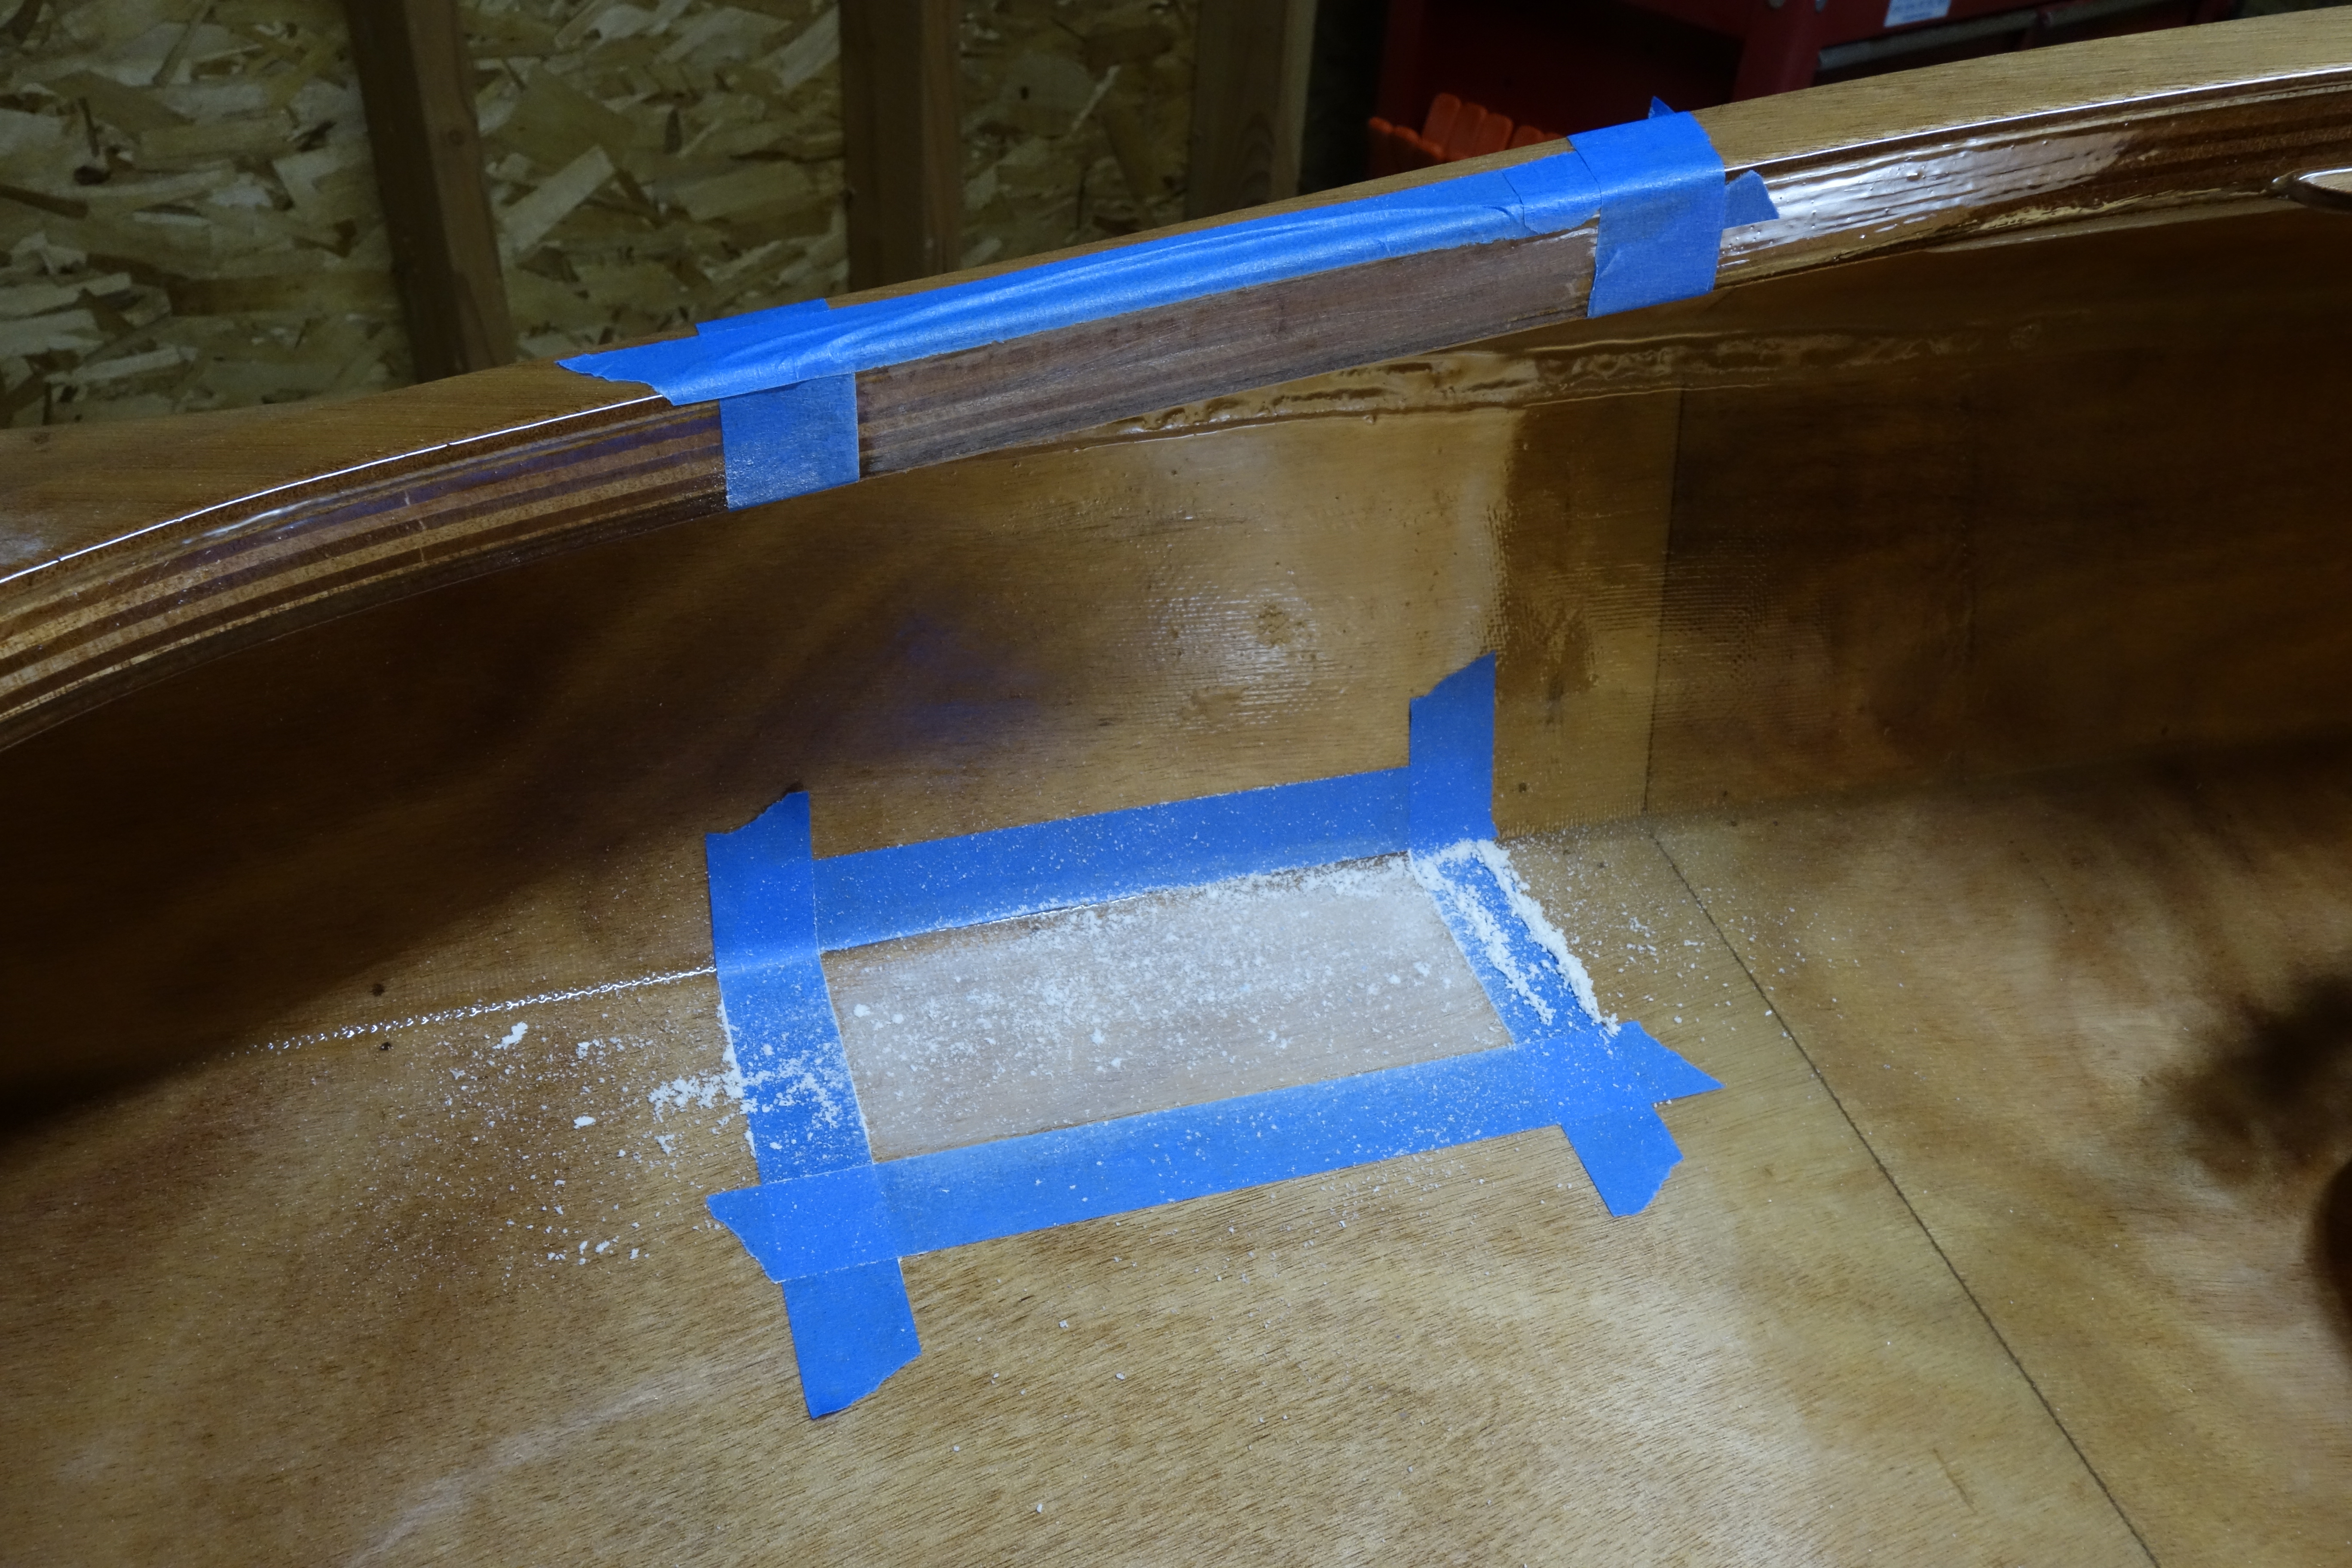
One fill coat of epoxy didn’t get these smooth enough for me to call them done so they will get sanded again and one more light coat of epoxy. Also, I didn’t get a tiny patch of glass cloth behind both braces sanded quite enough. I could show you what I missed, but it’s small, so I’ll just fix it tomorrow and move on.
:^)
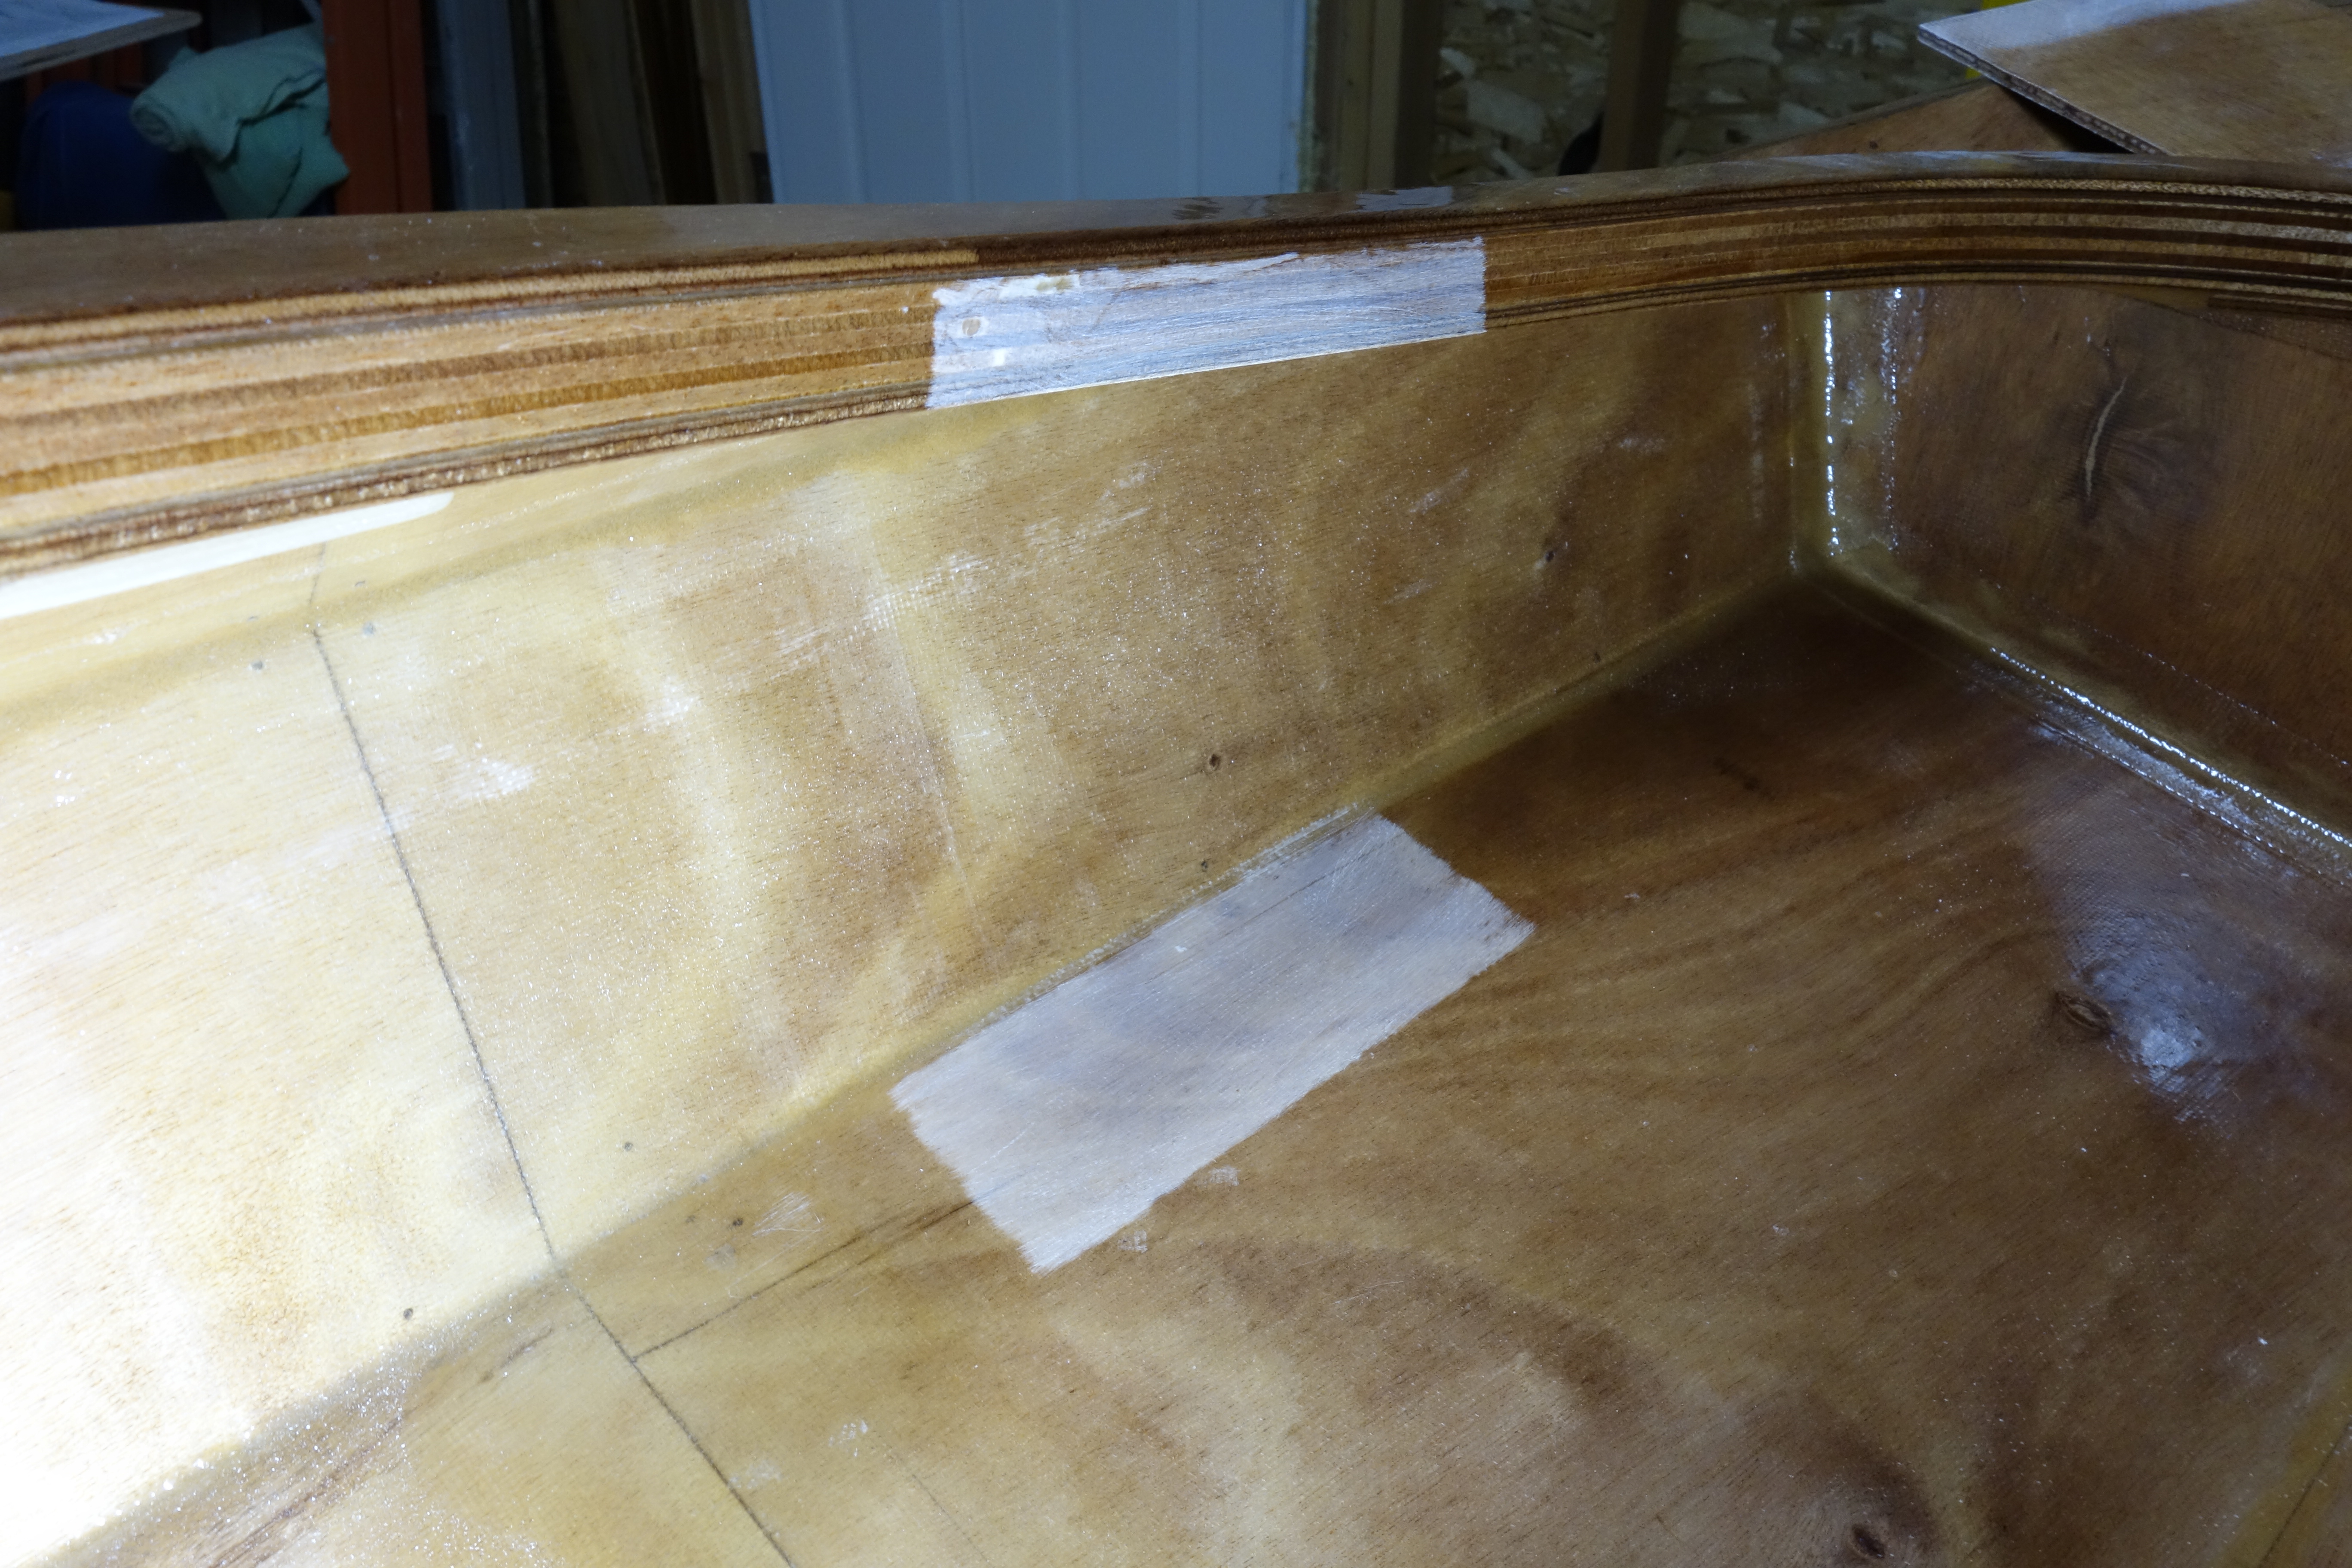
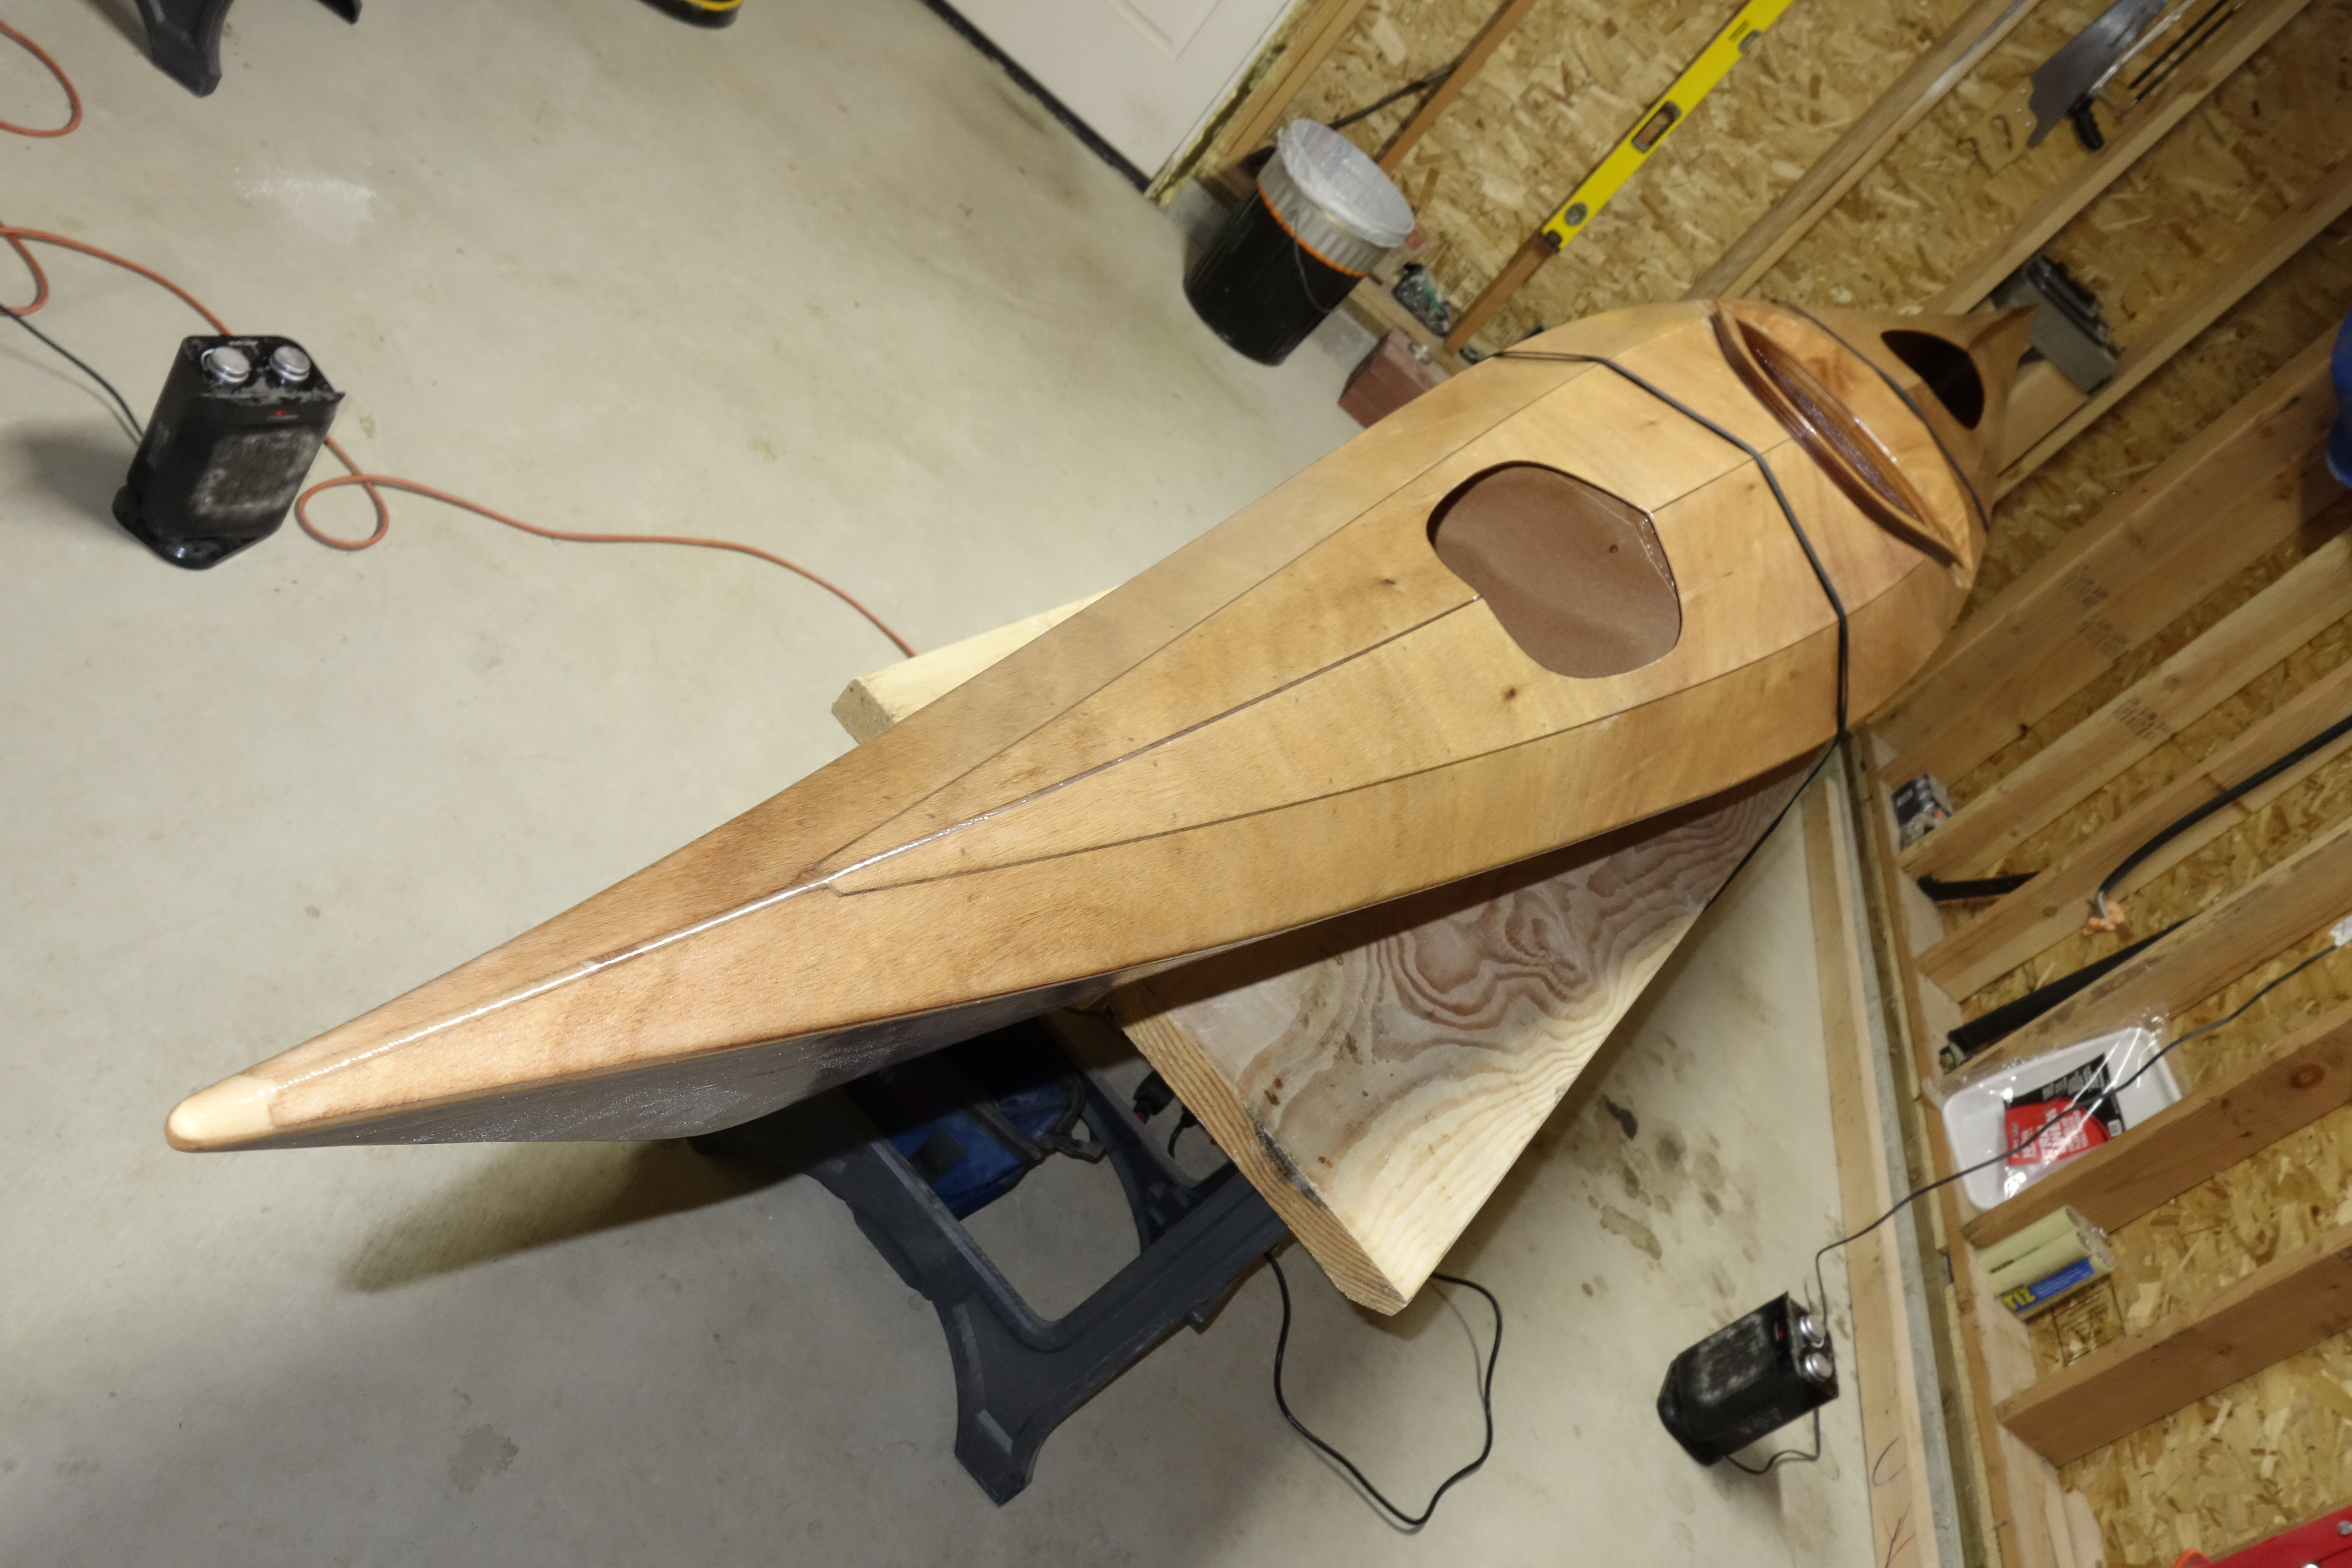
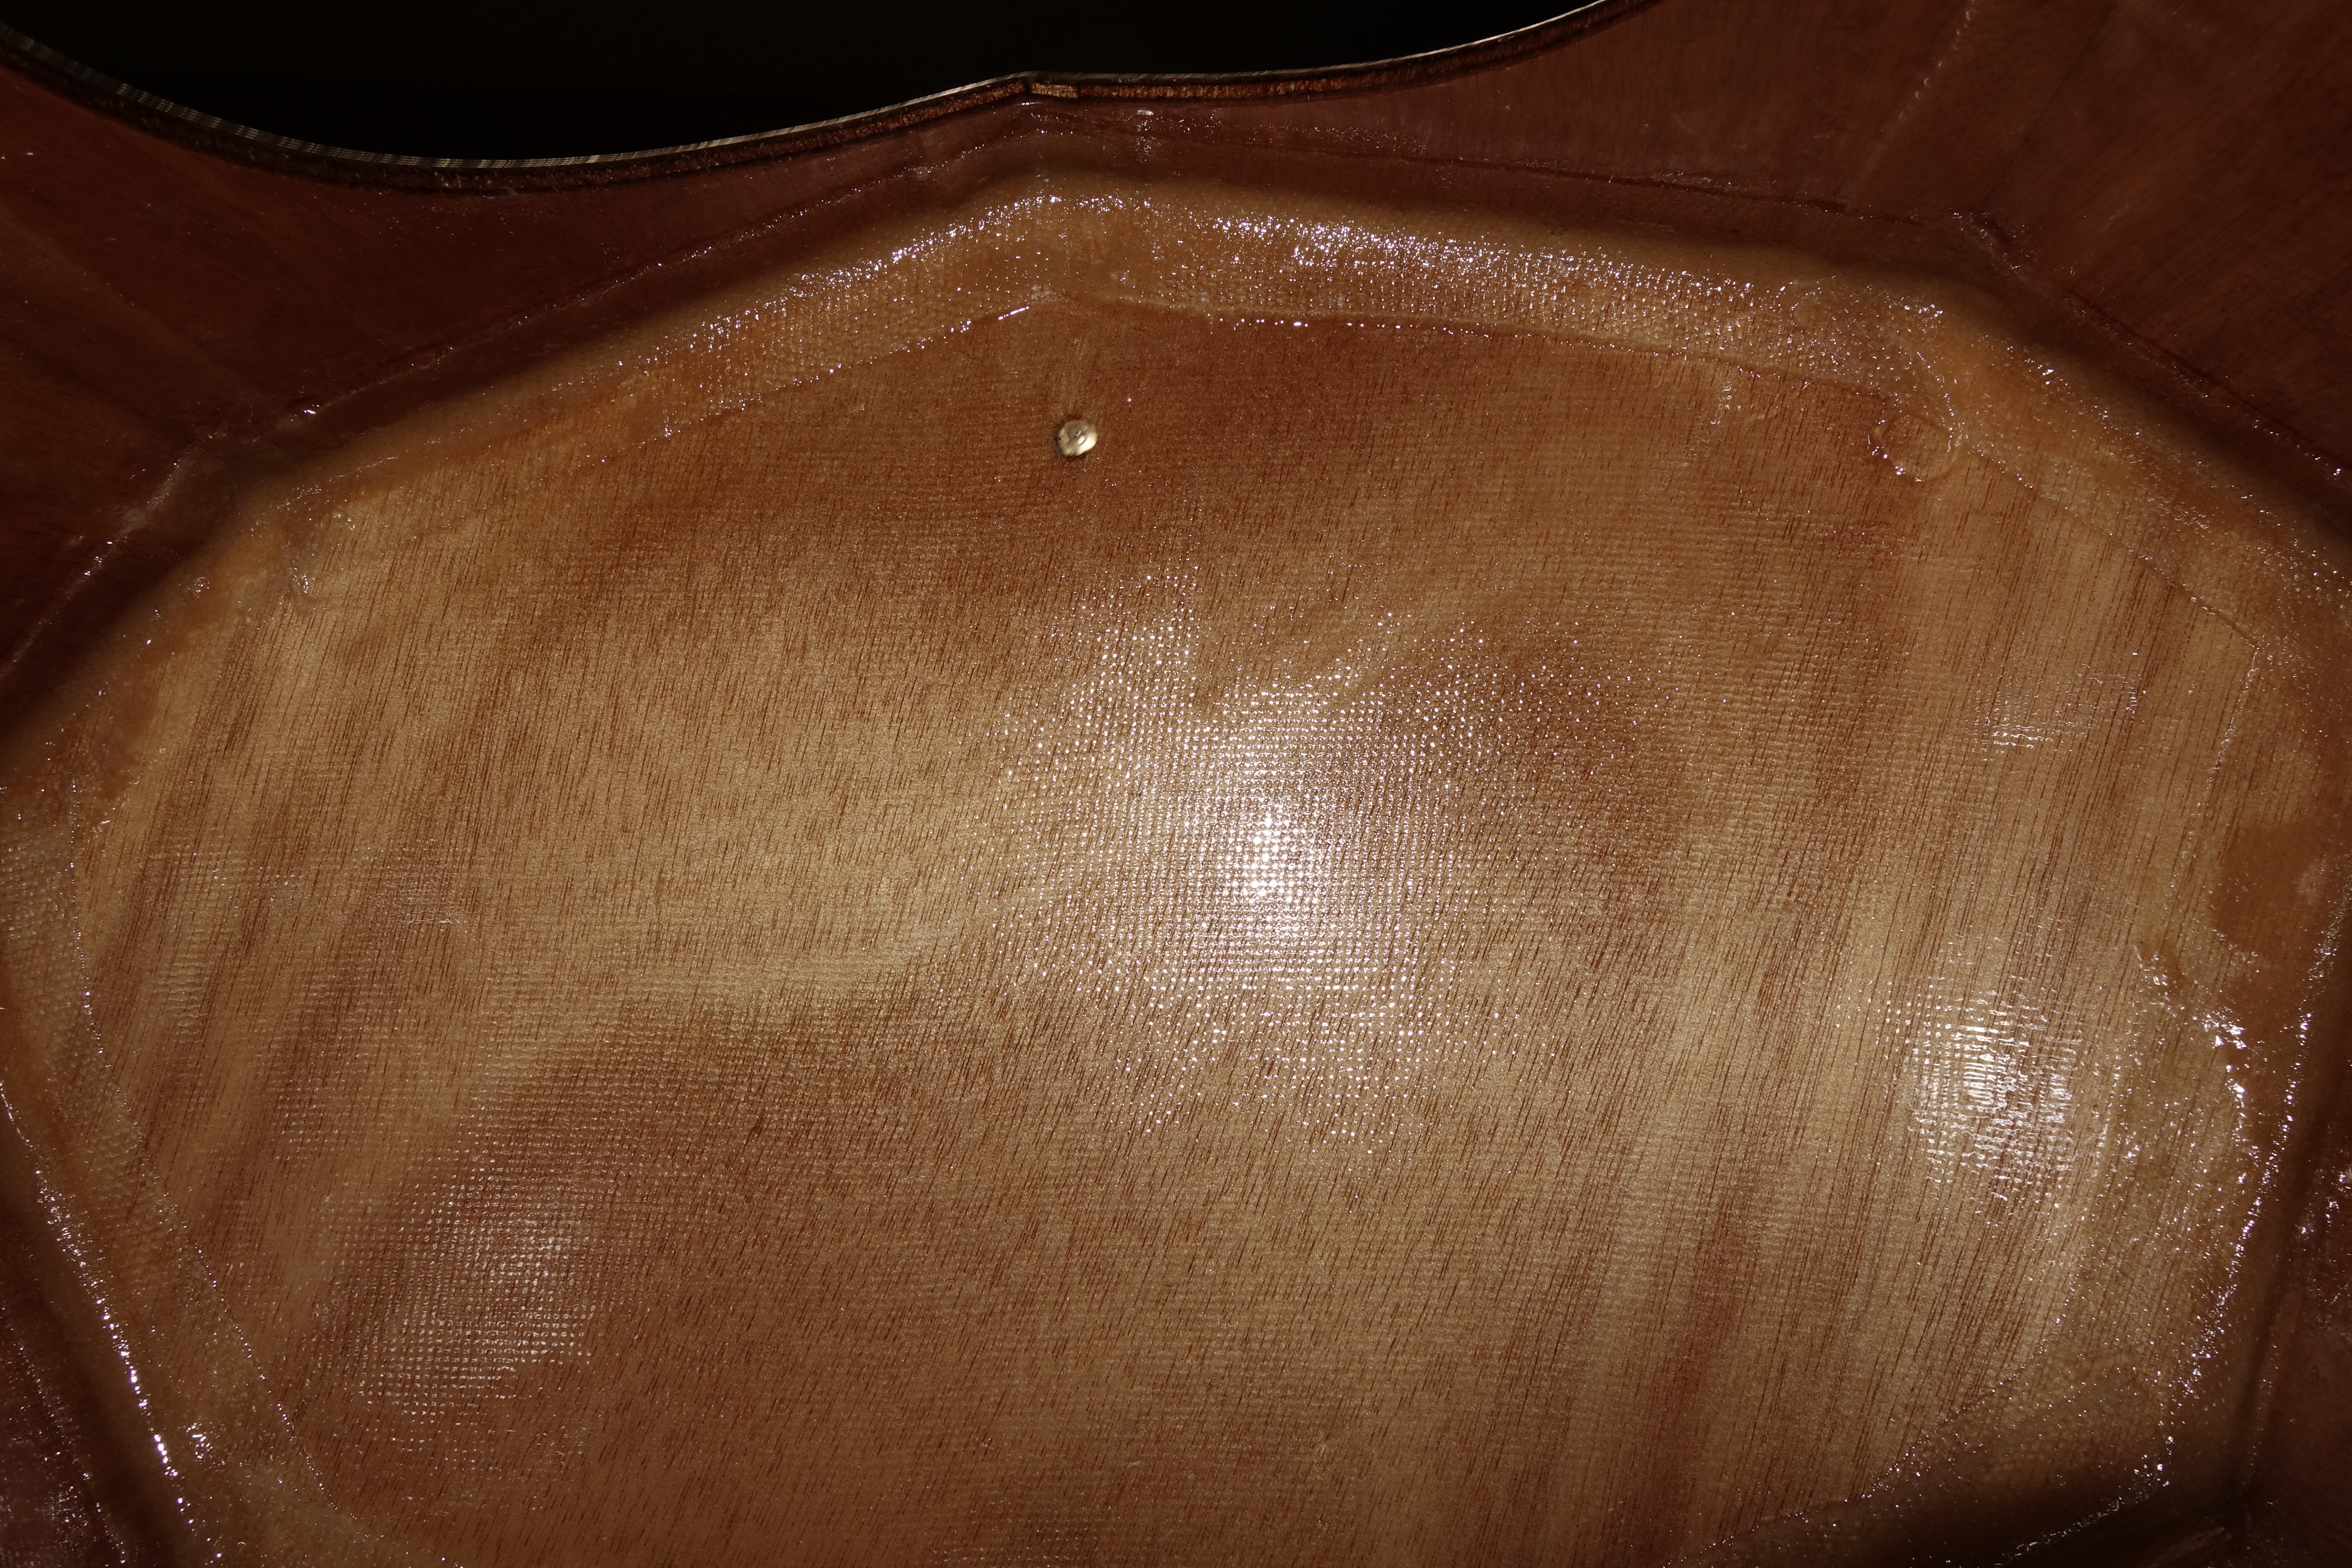
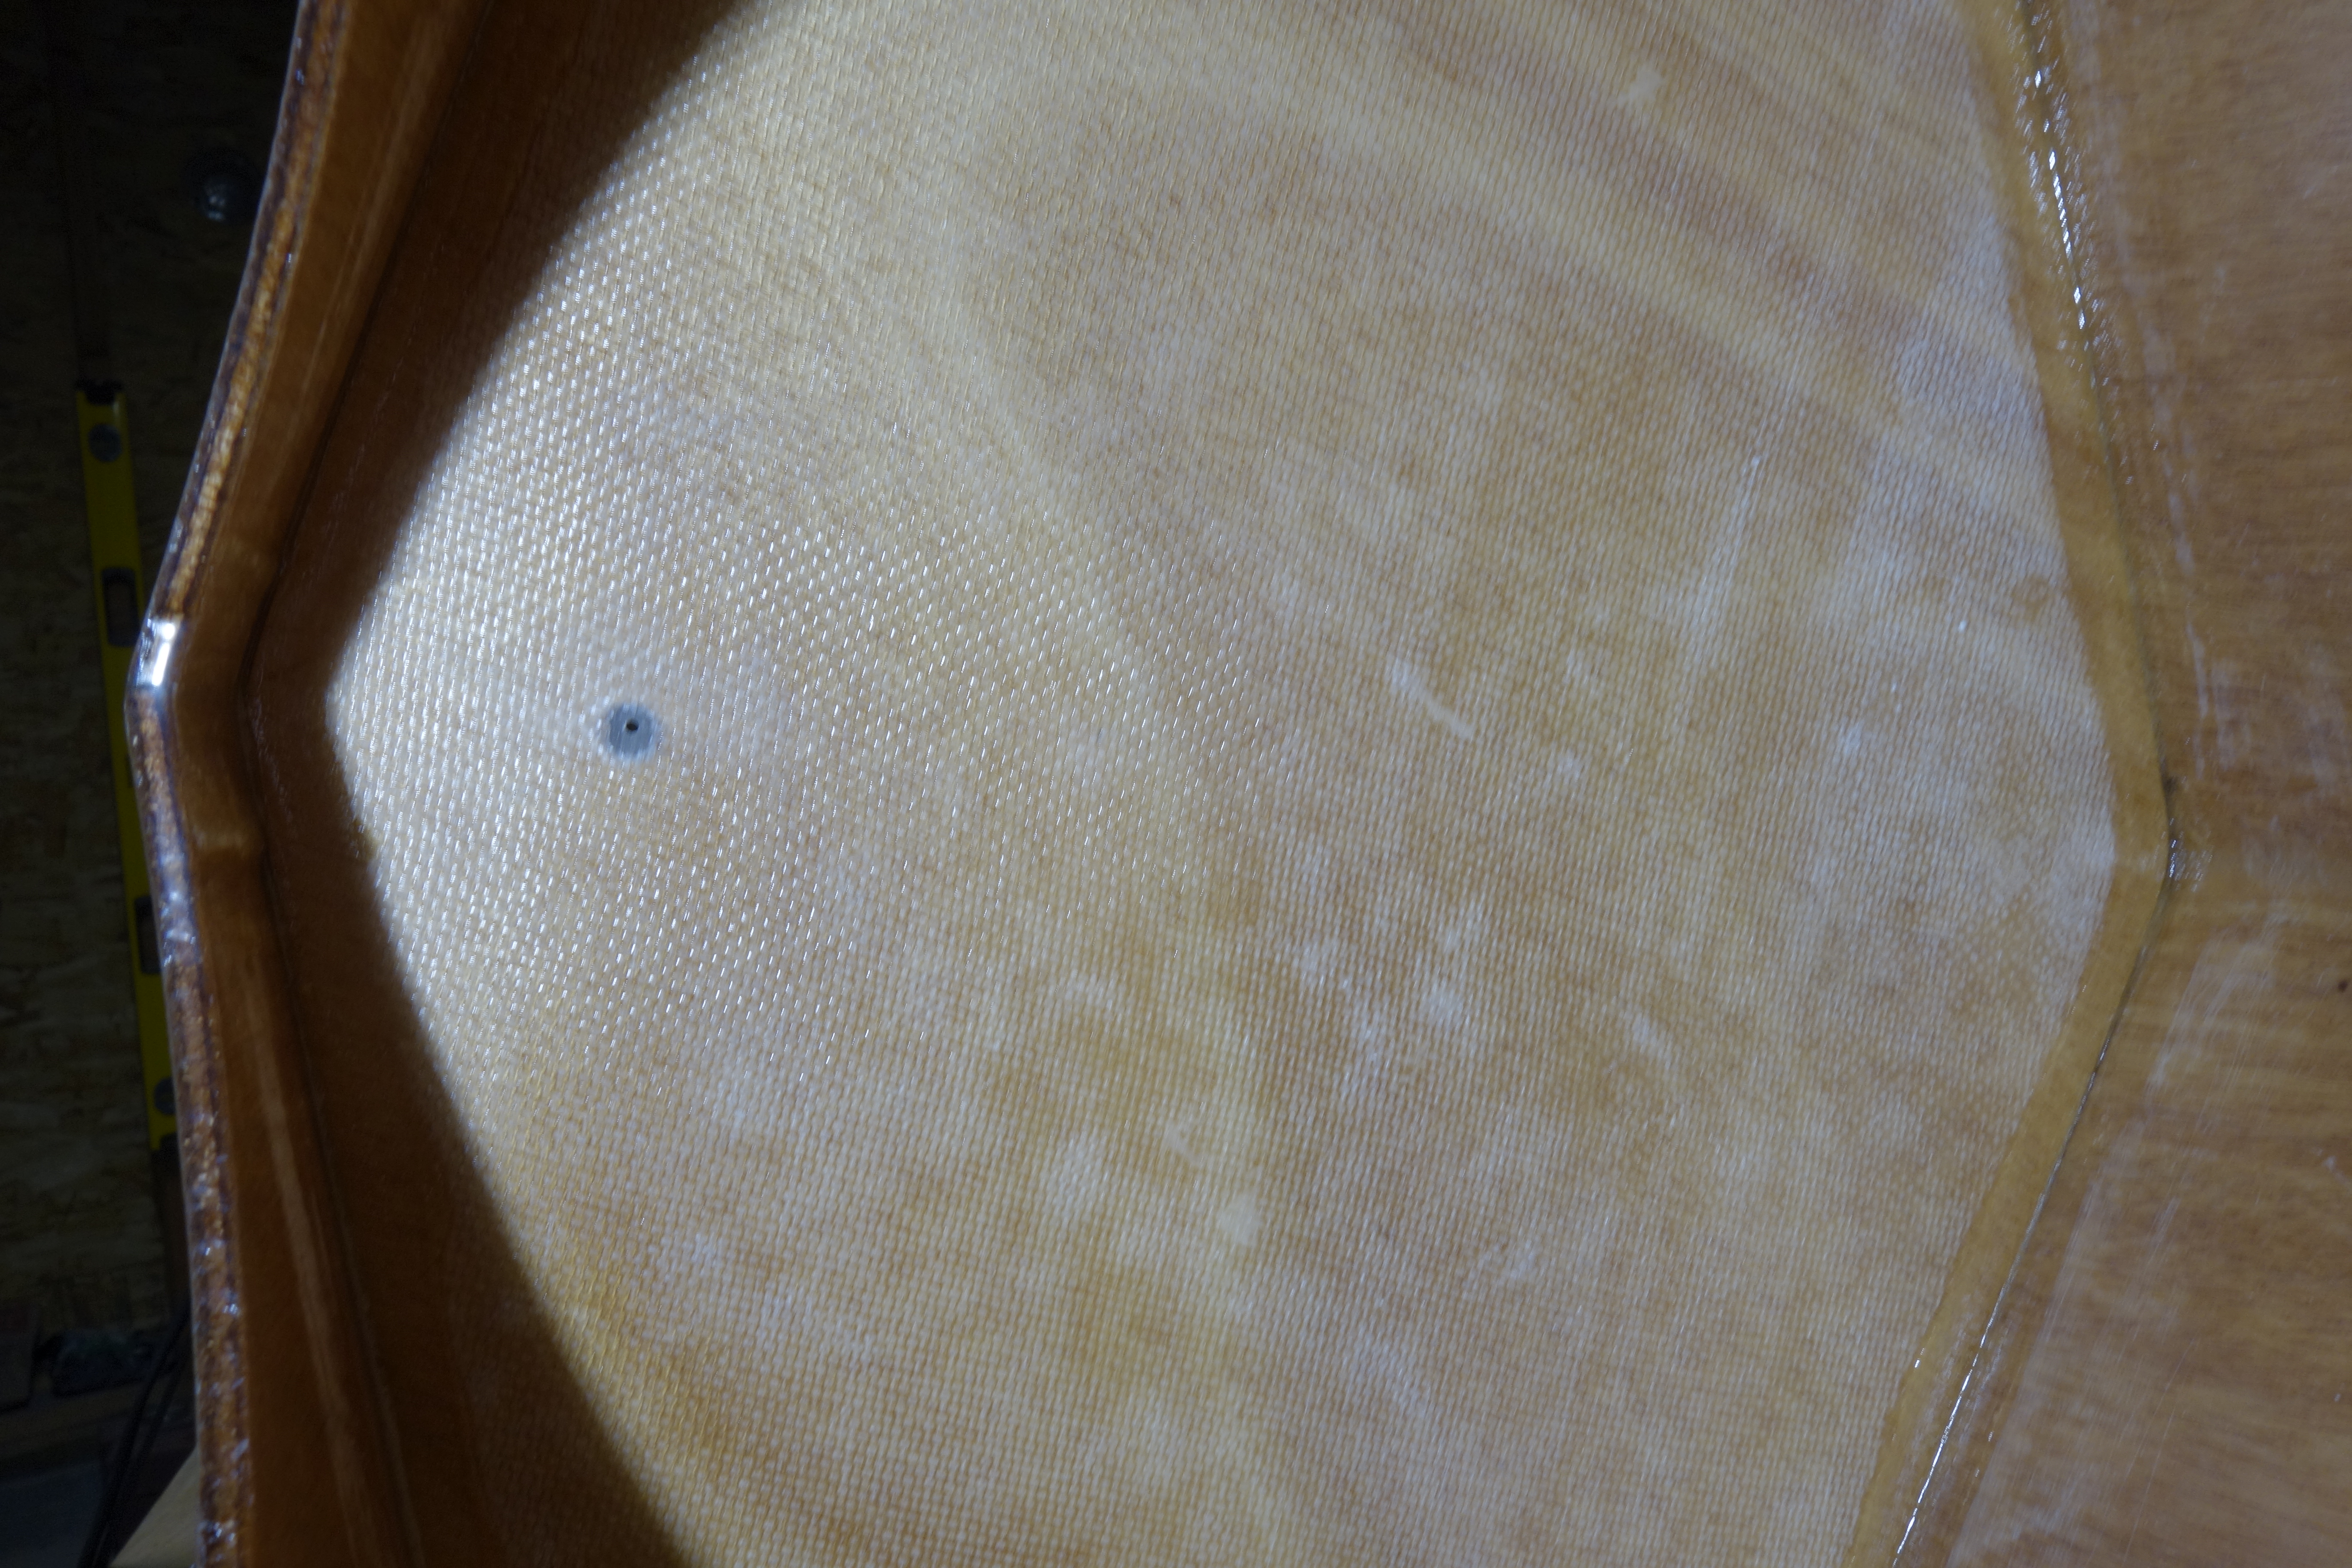
Port side above, starboard below.The whitish patches you see on the cockpit coaming above, were voids in the plywood lamination. Unfortunately, I didn’t fill them with epoxy thickened with wood flour before I started saturating the coaming pieces with straight epoxy, way back in November when I first started building the kayak. I thought that the resin would be clear in the voids. It didn’t turn out that way, so I will have to live with it. One of those things, I guess. :^\
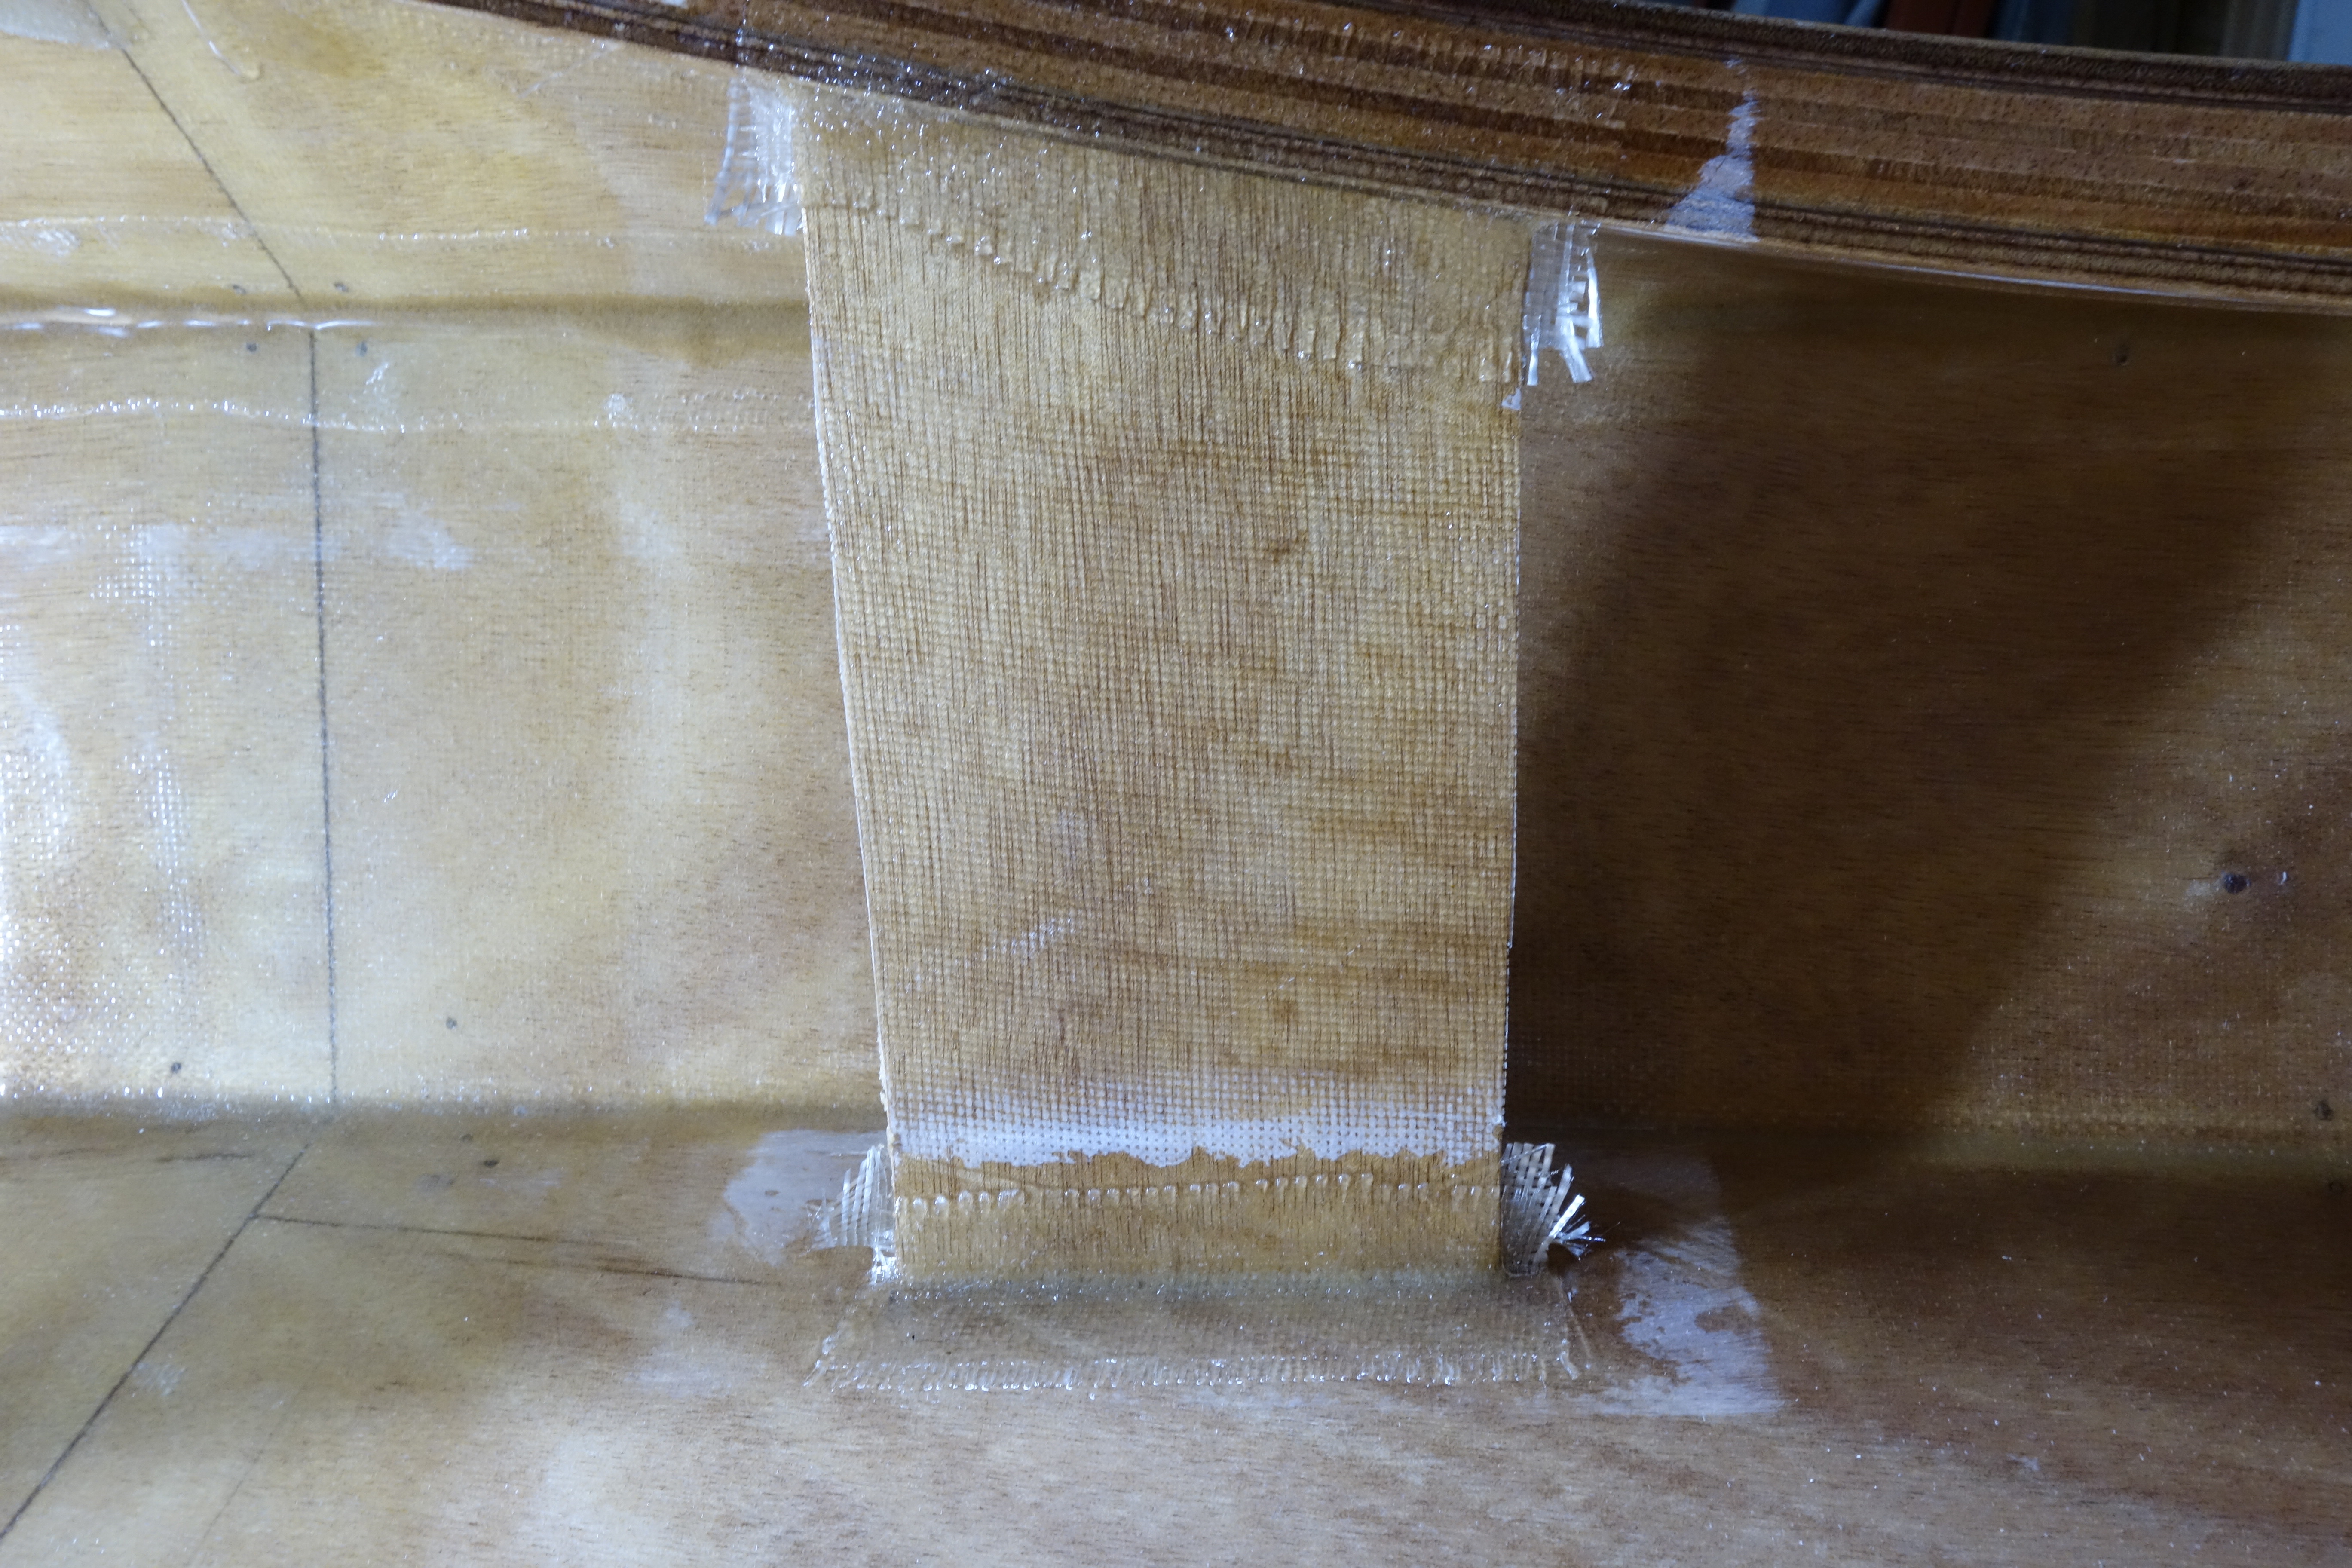
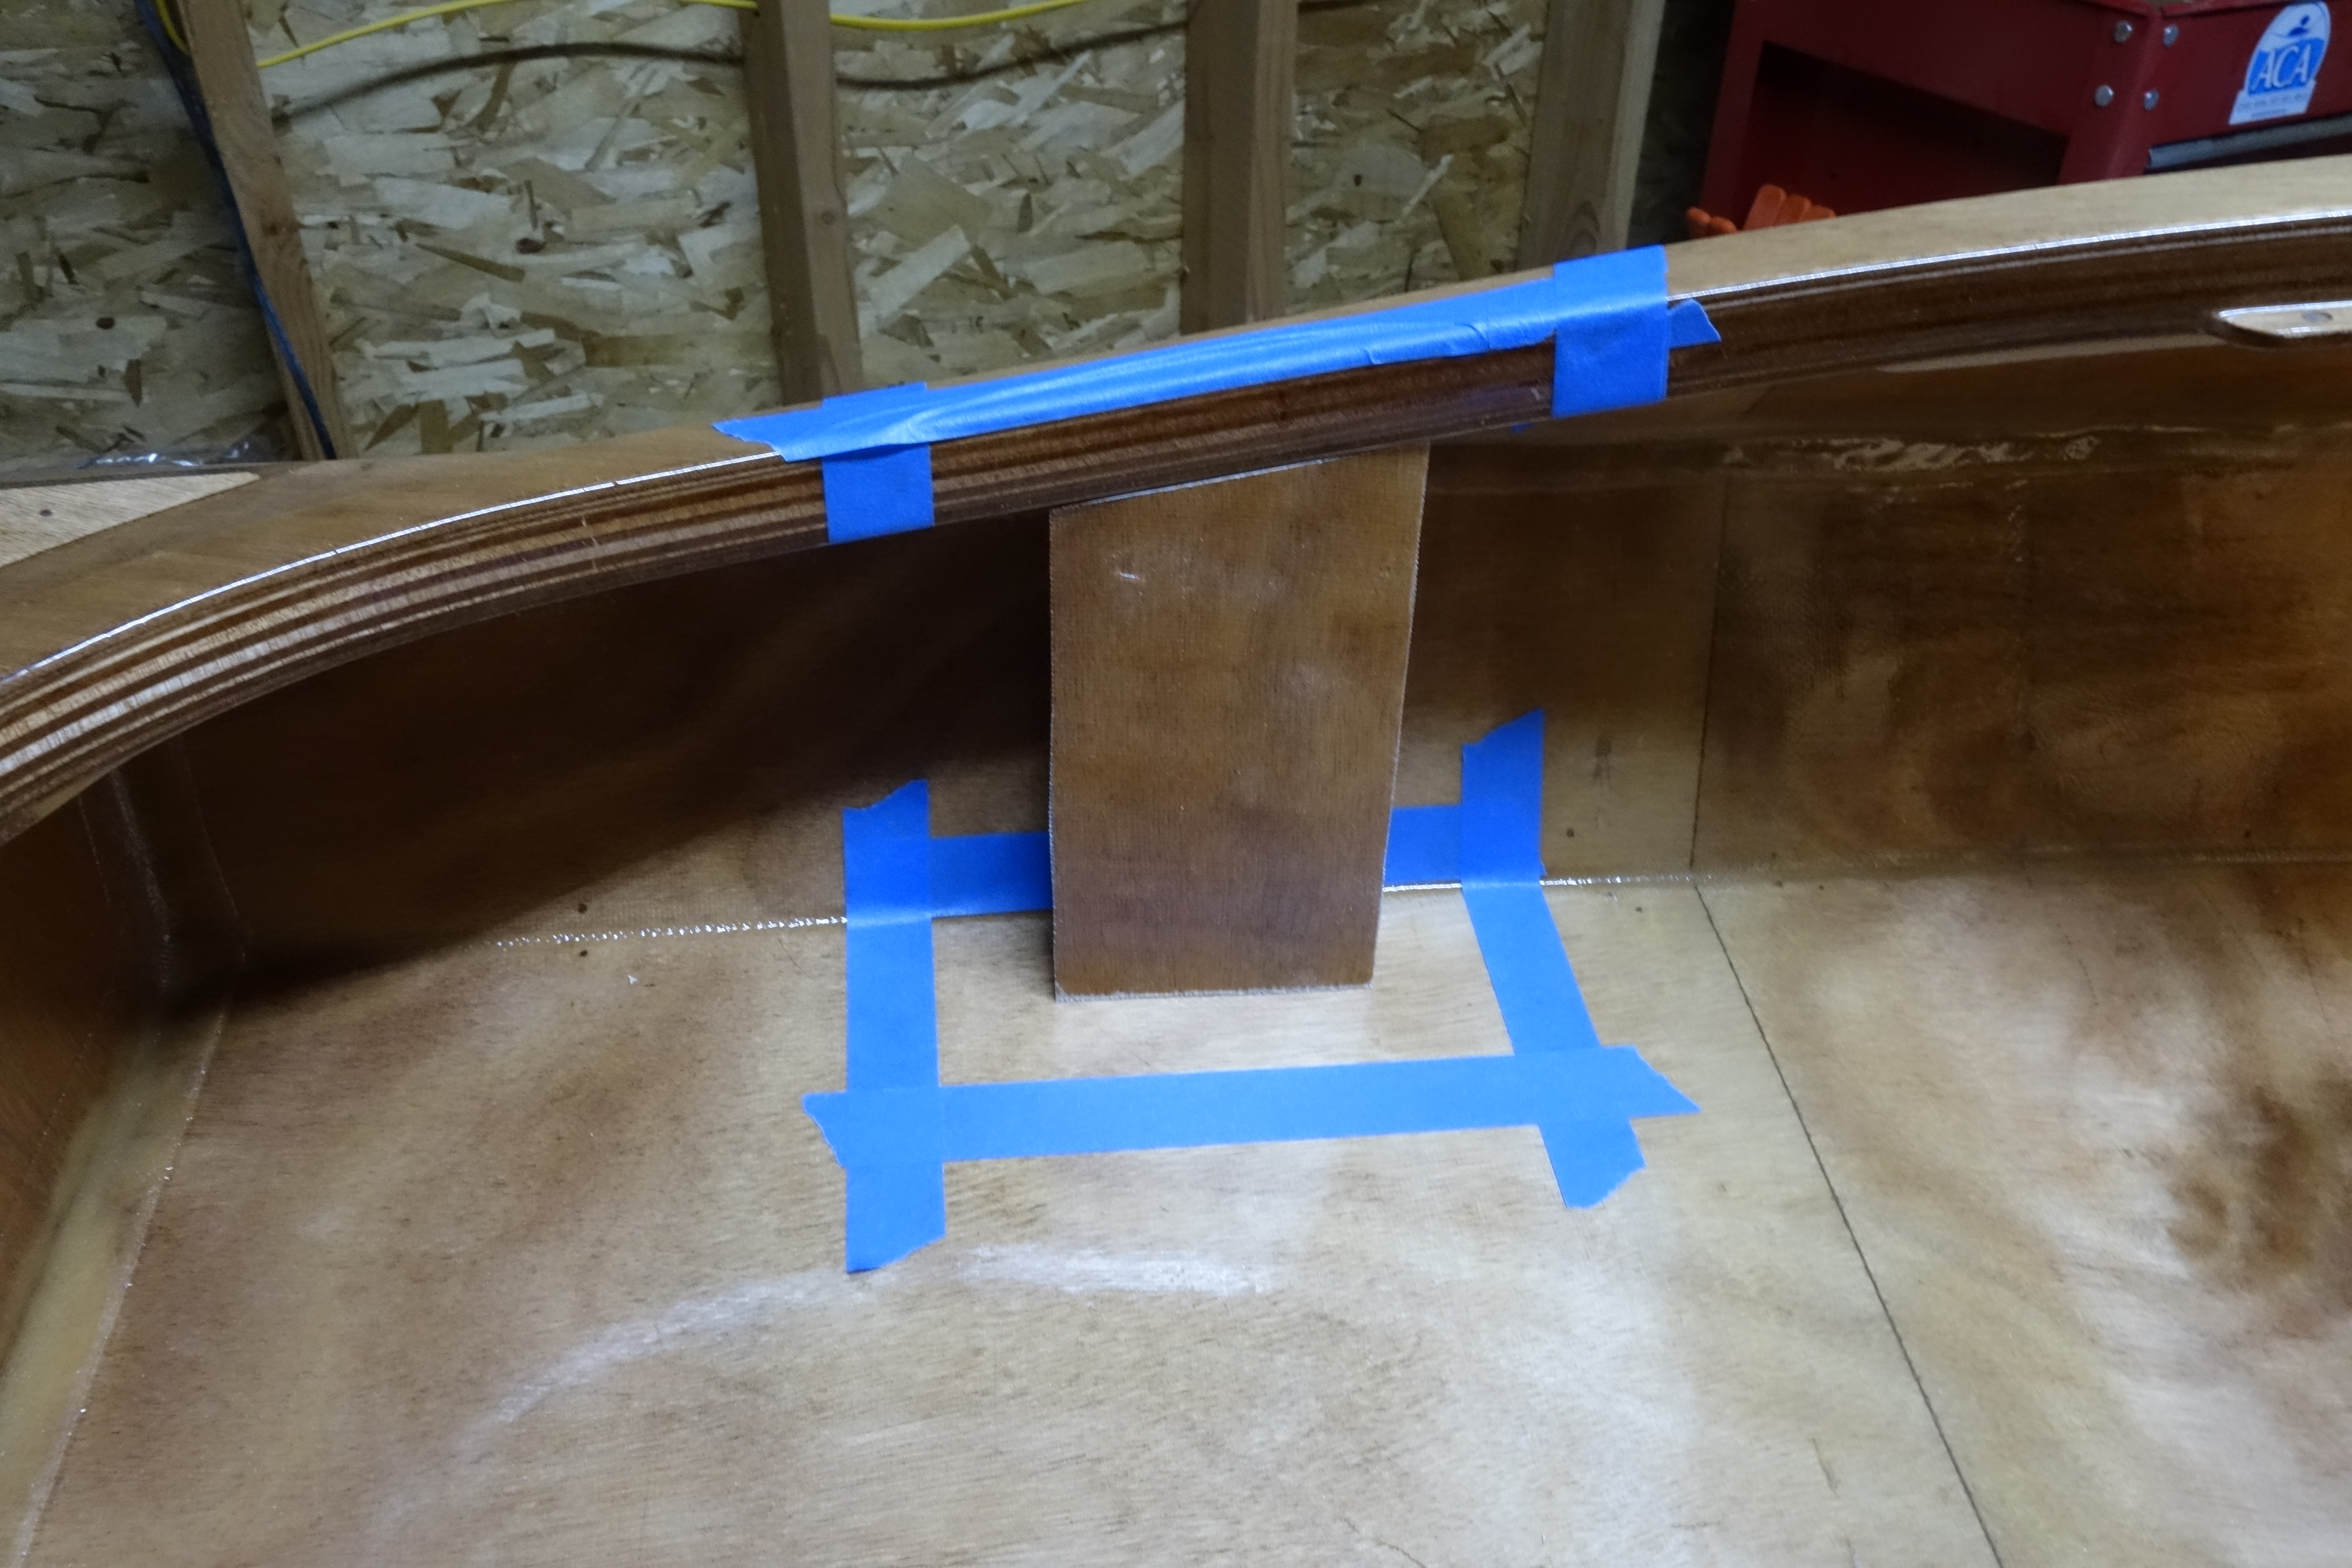
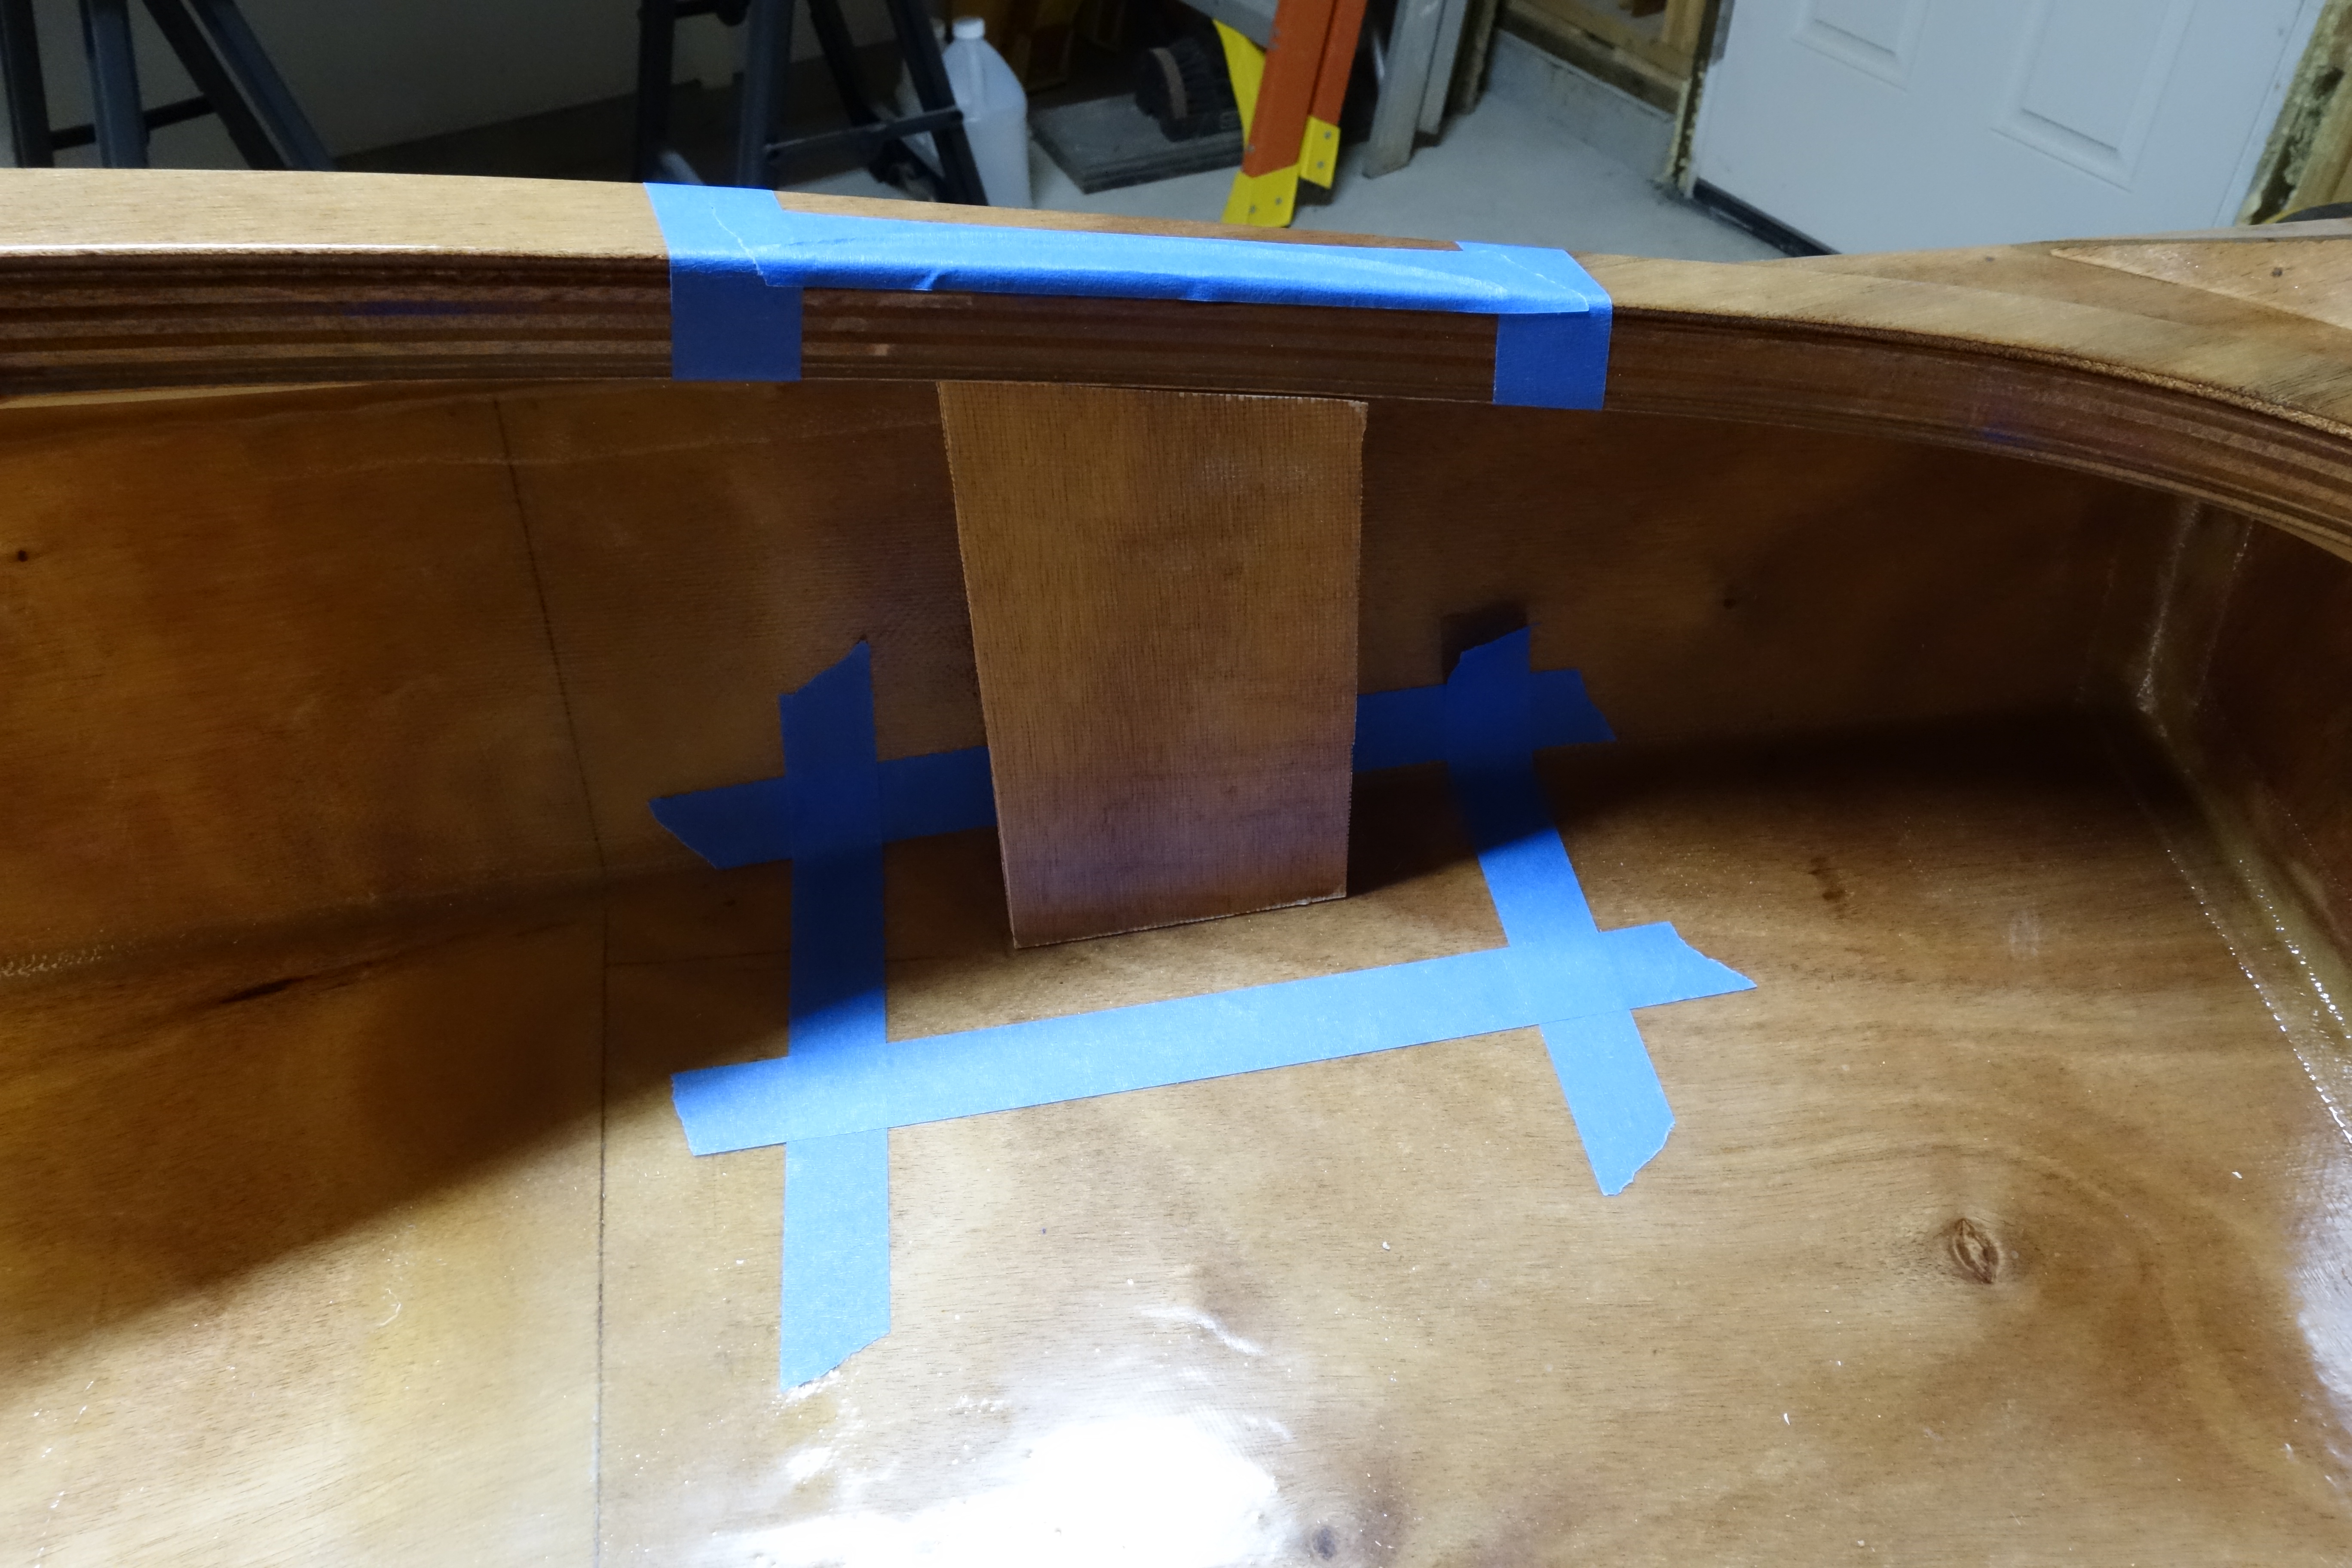
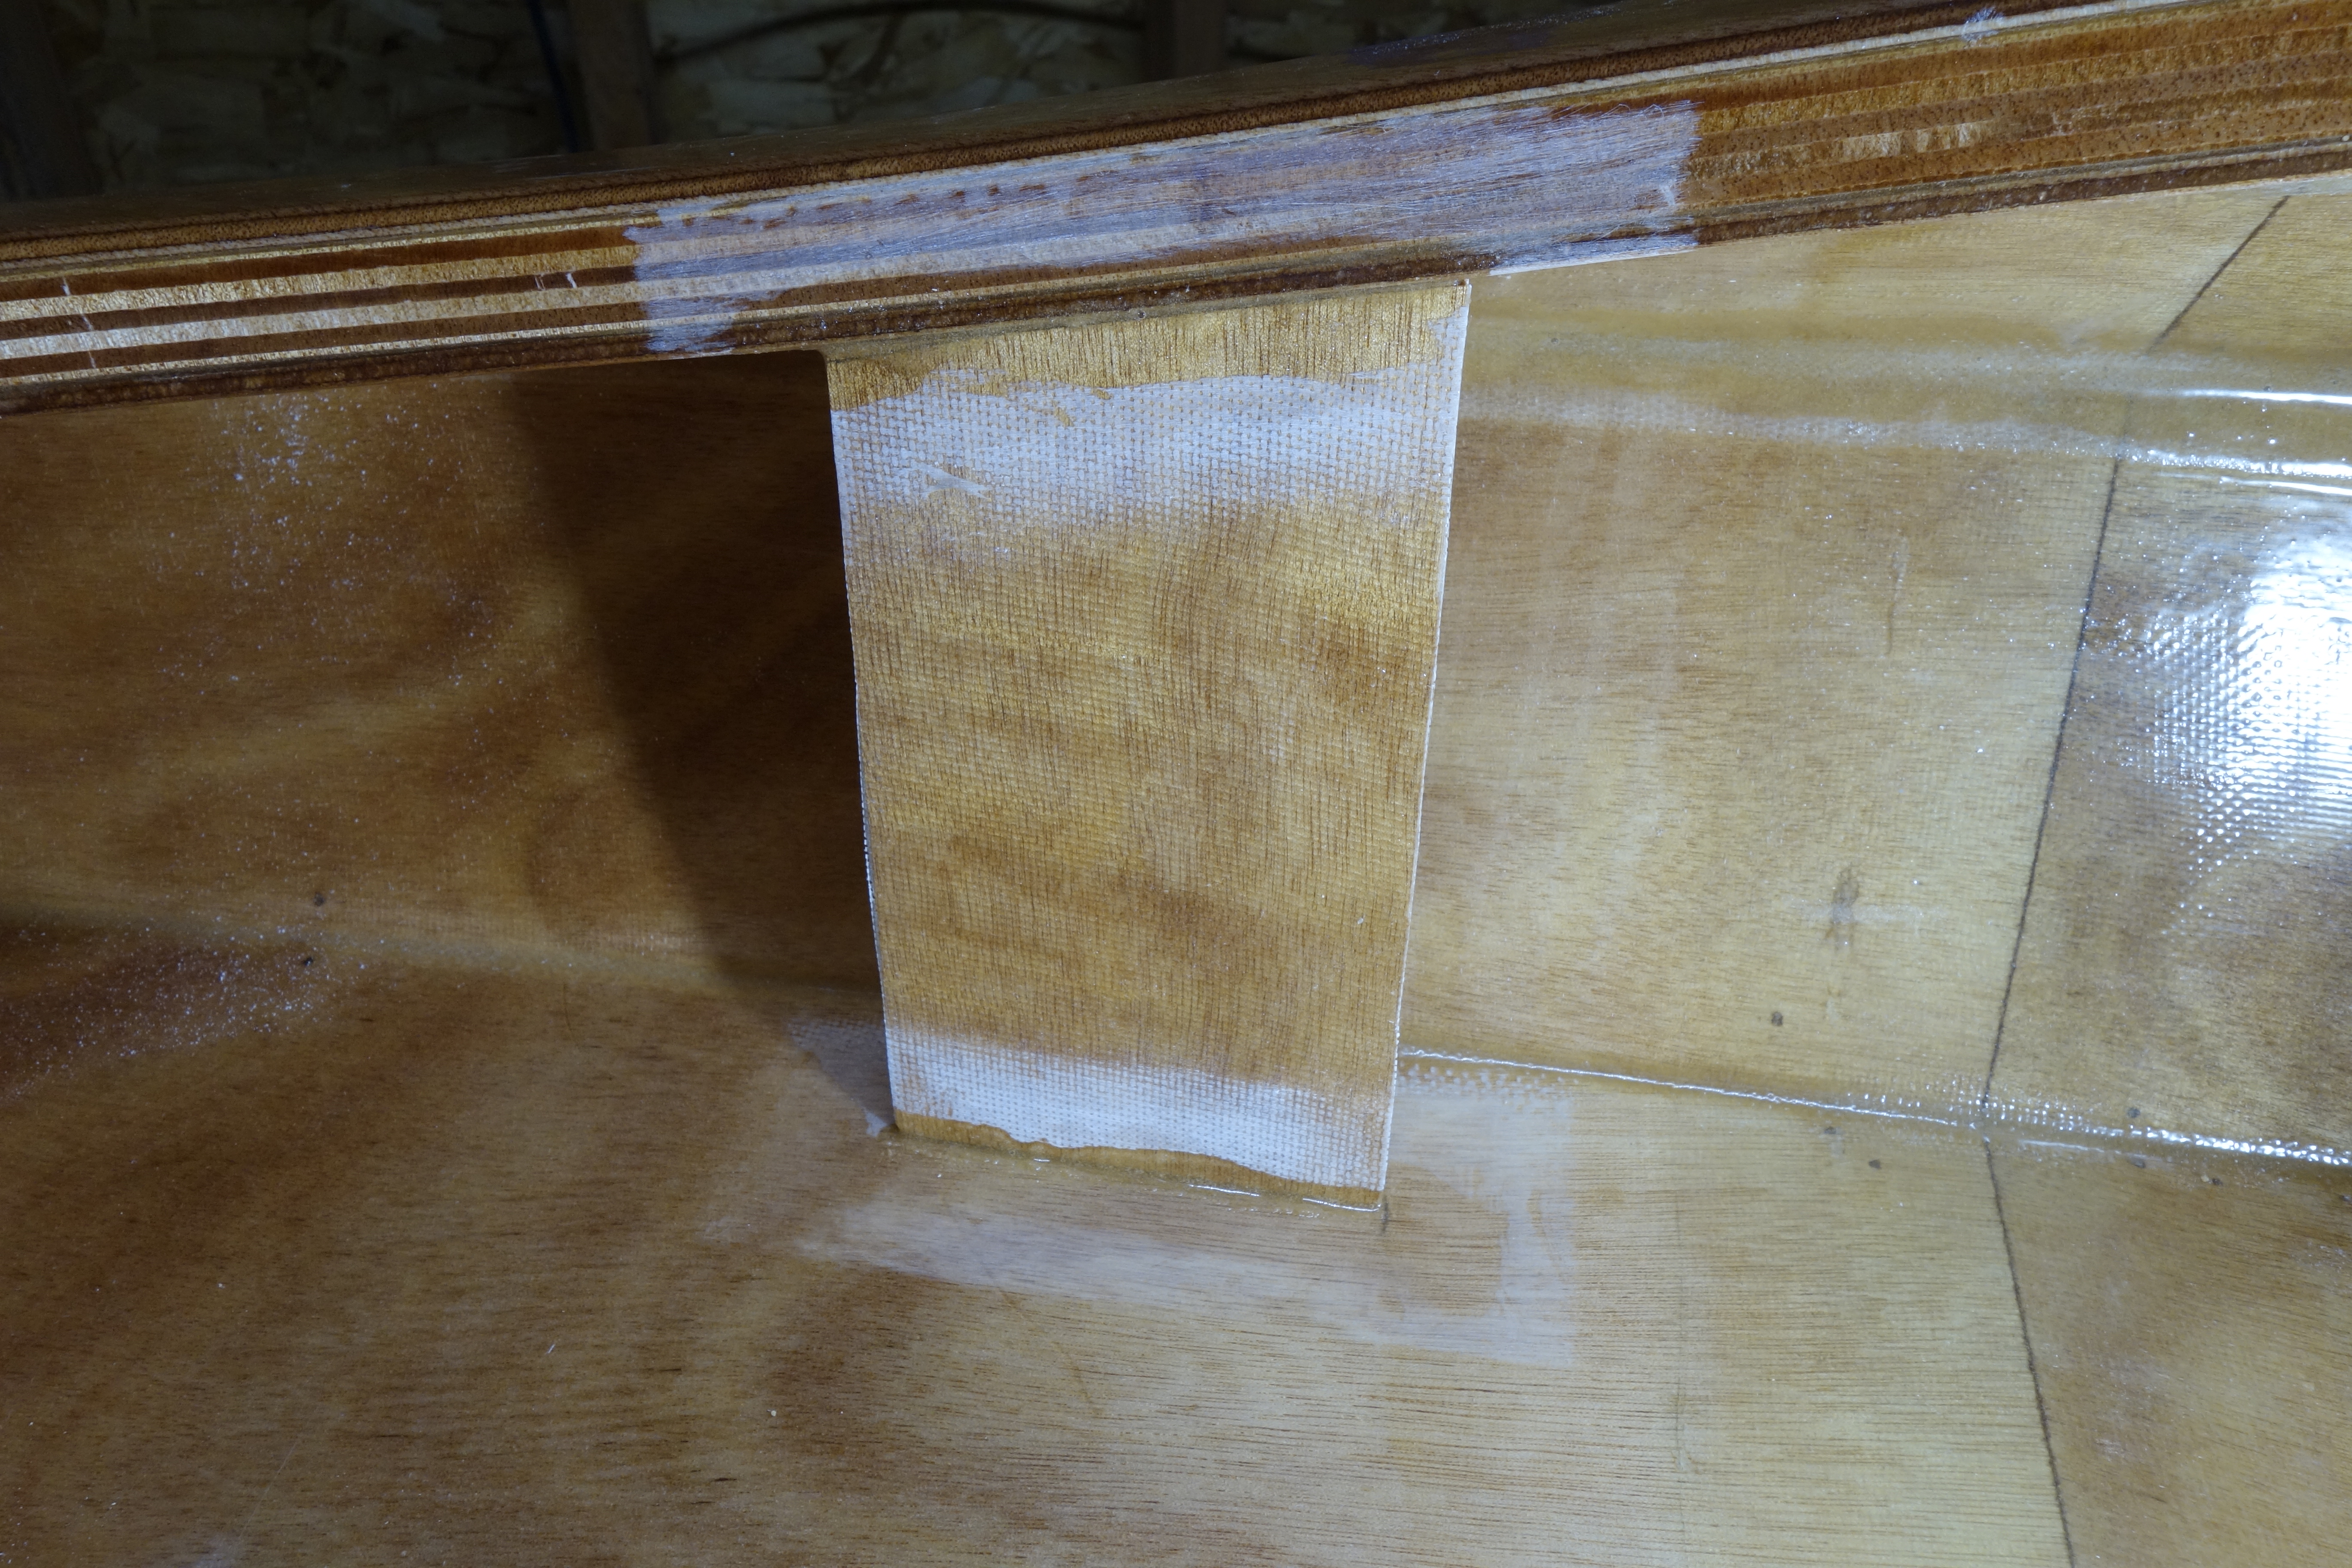
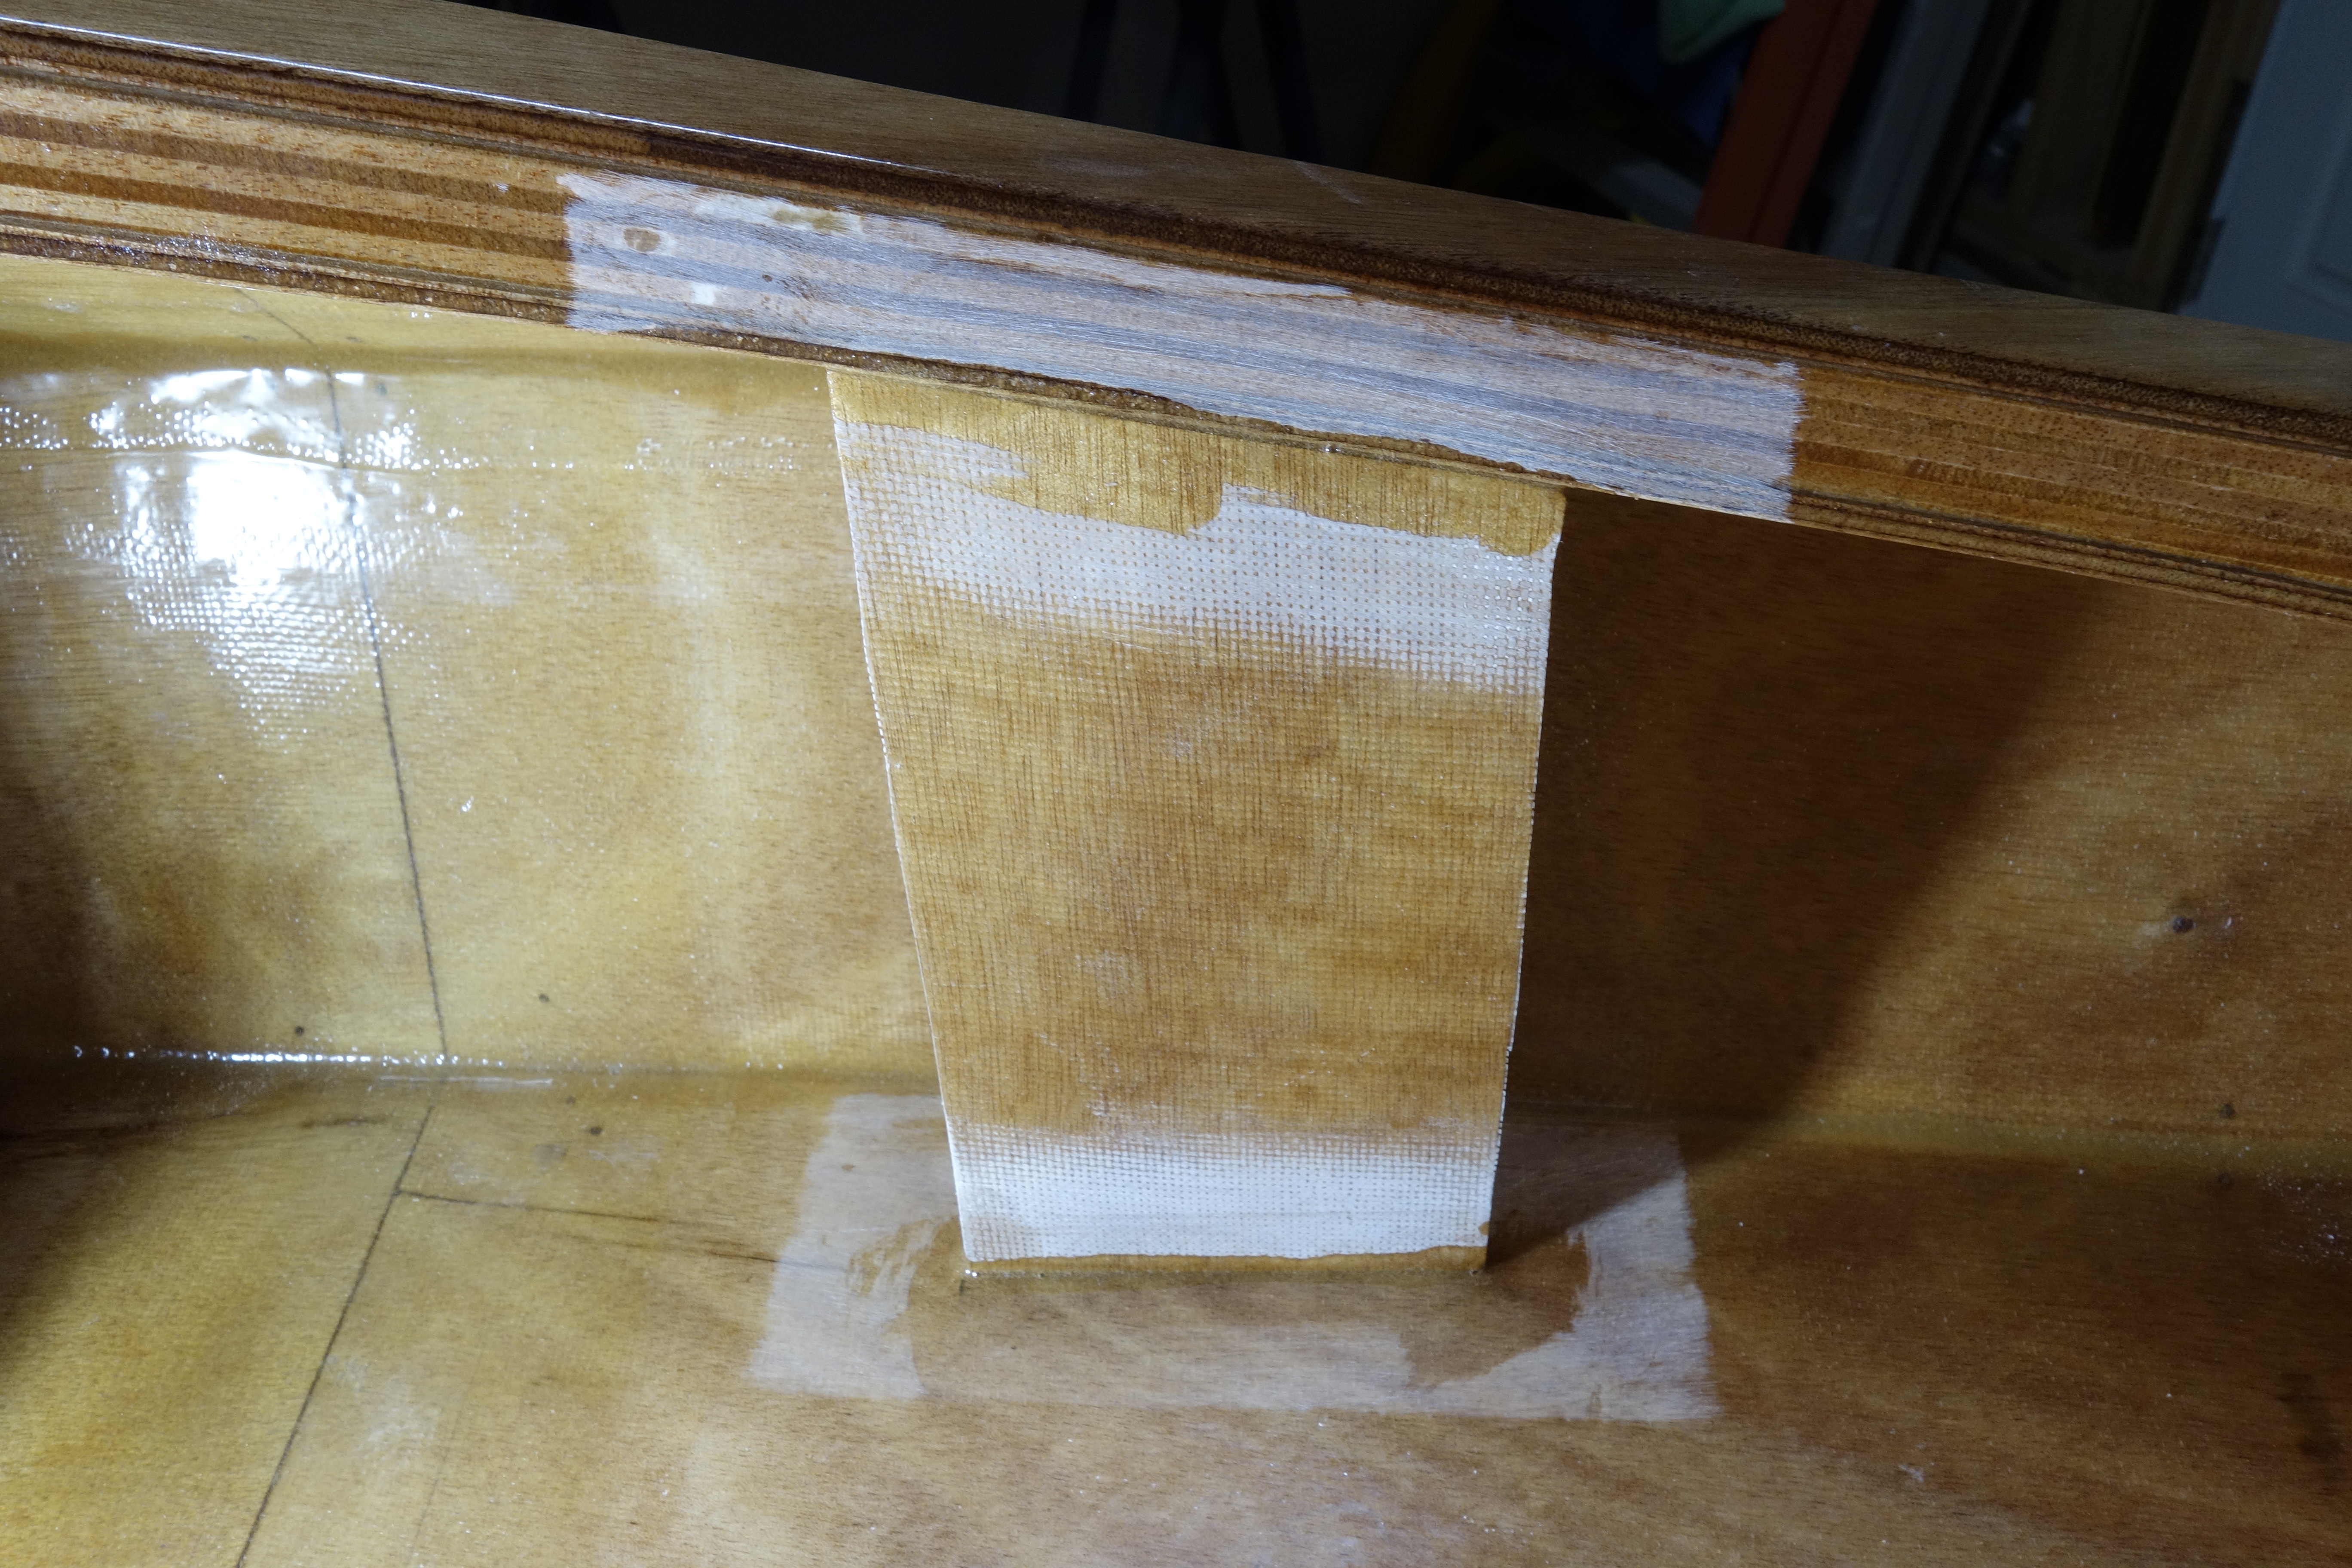
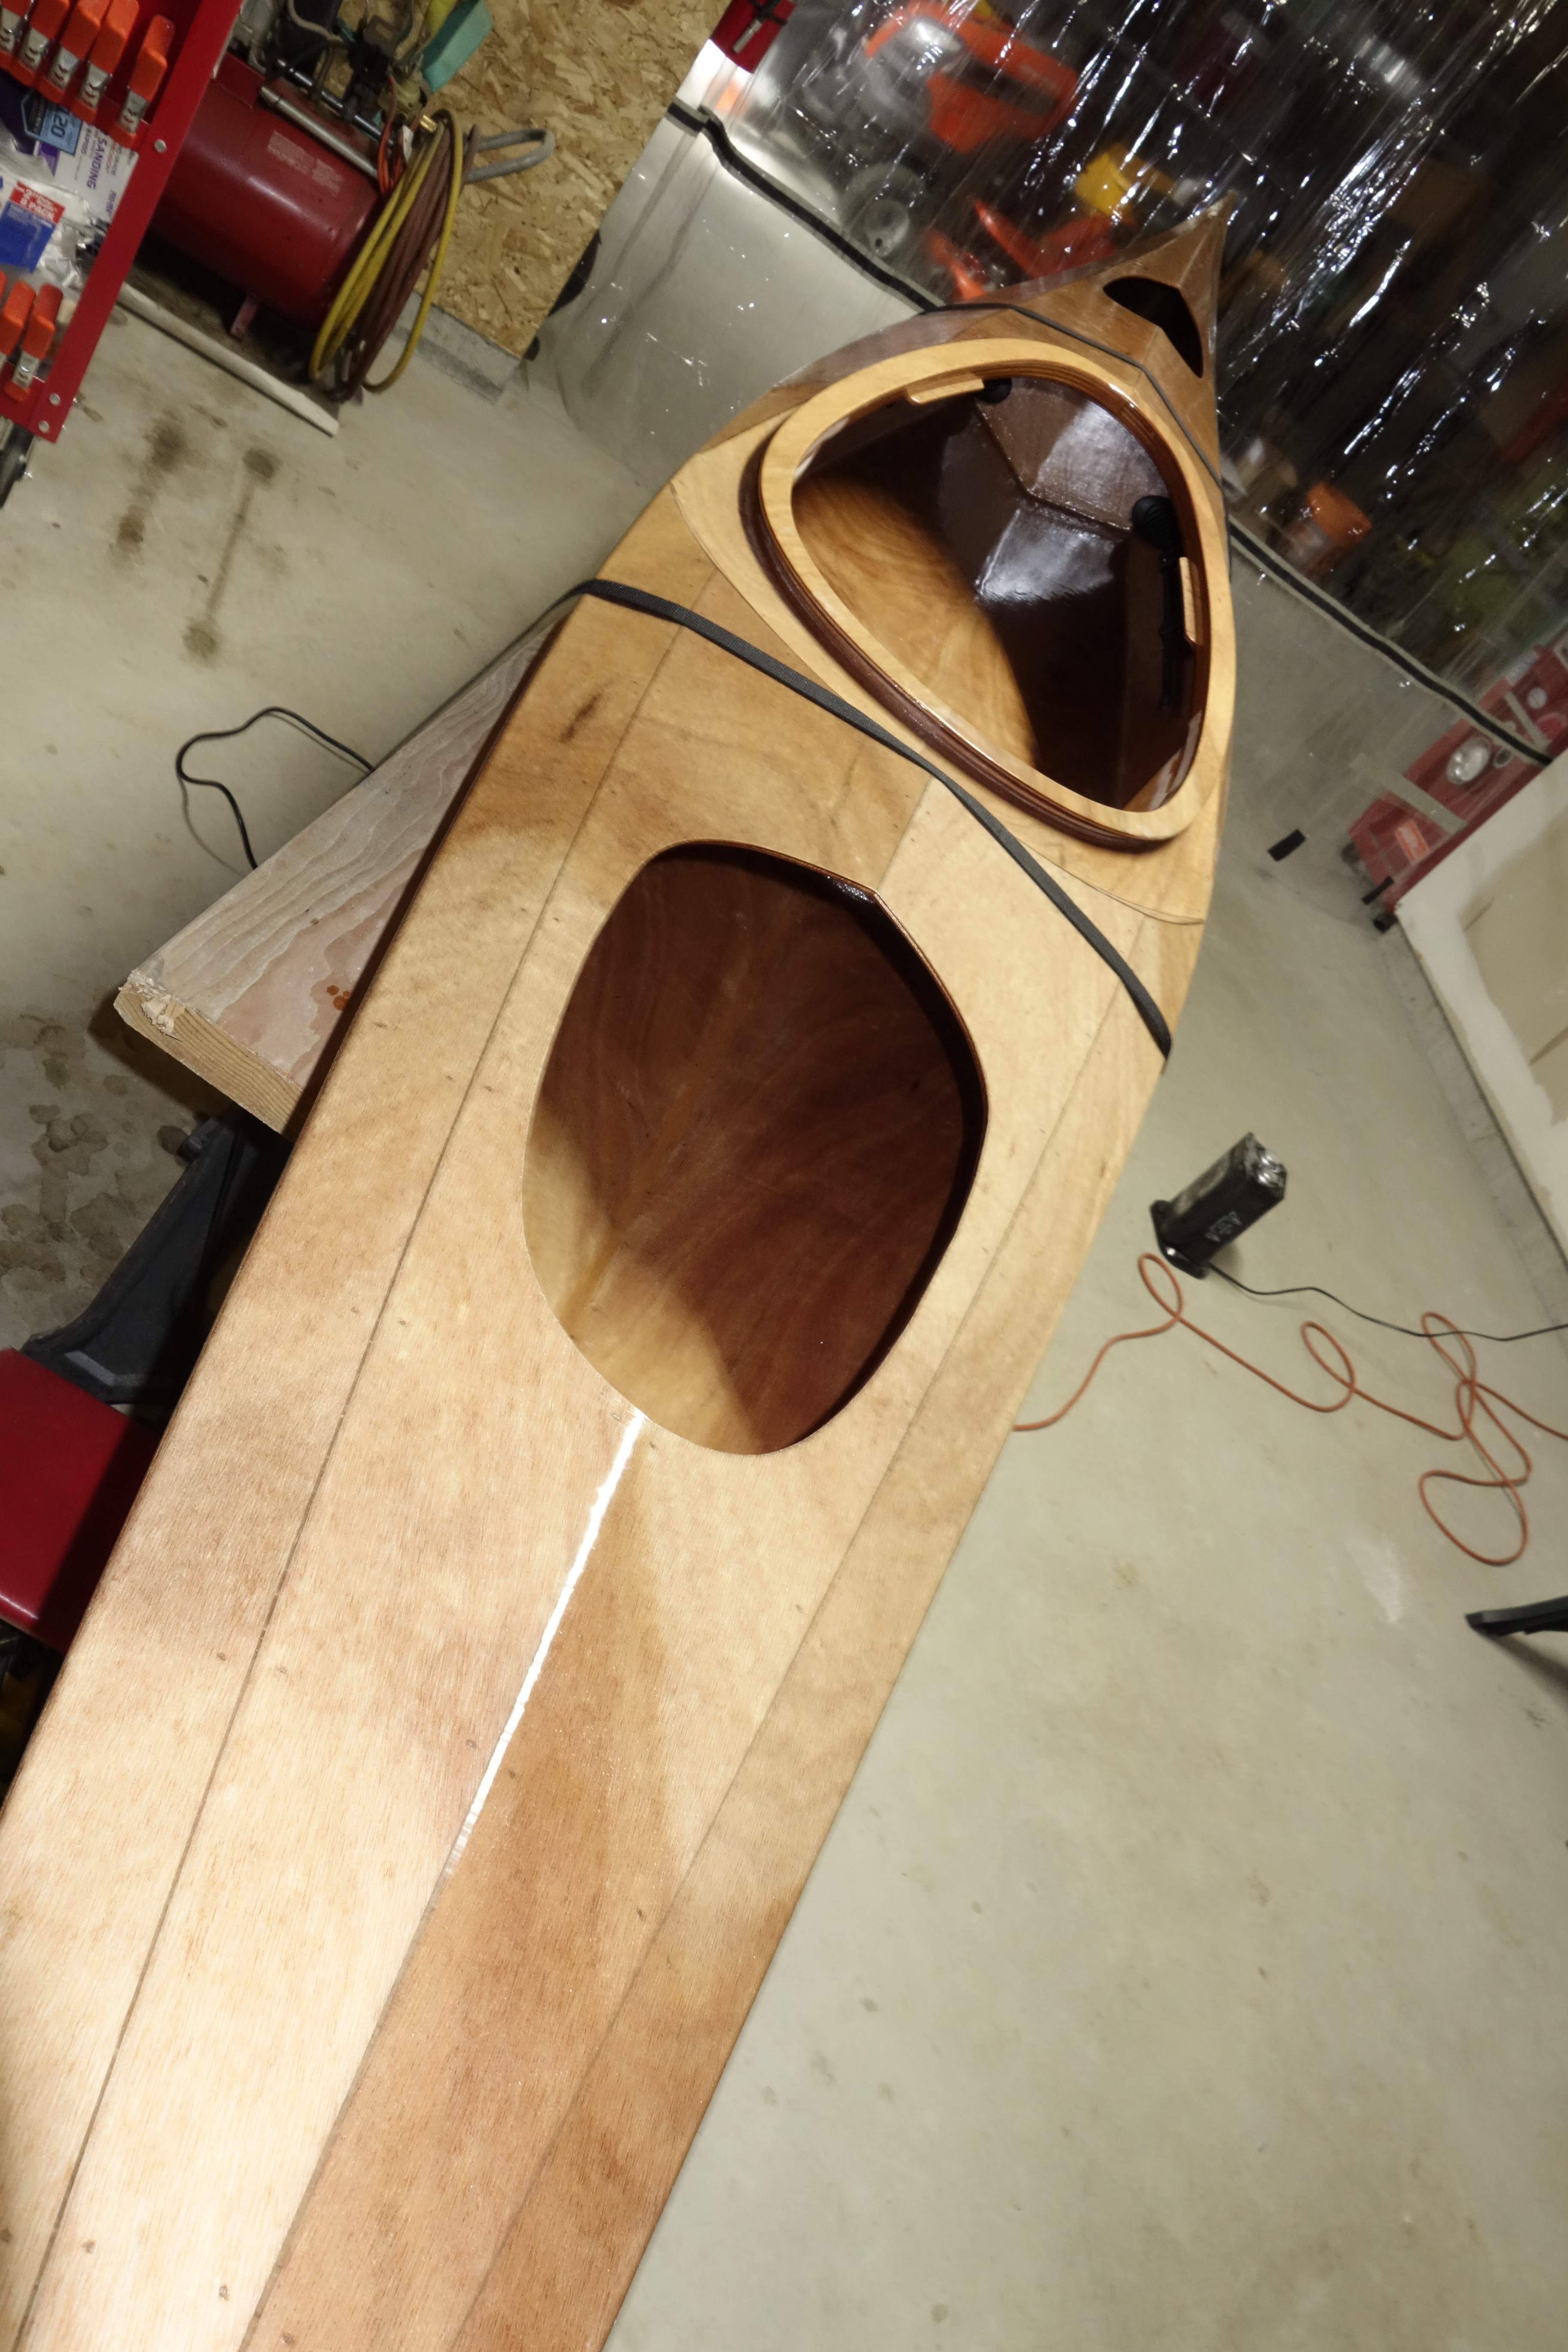
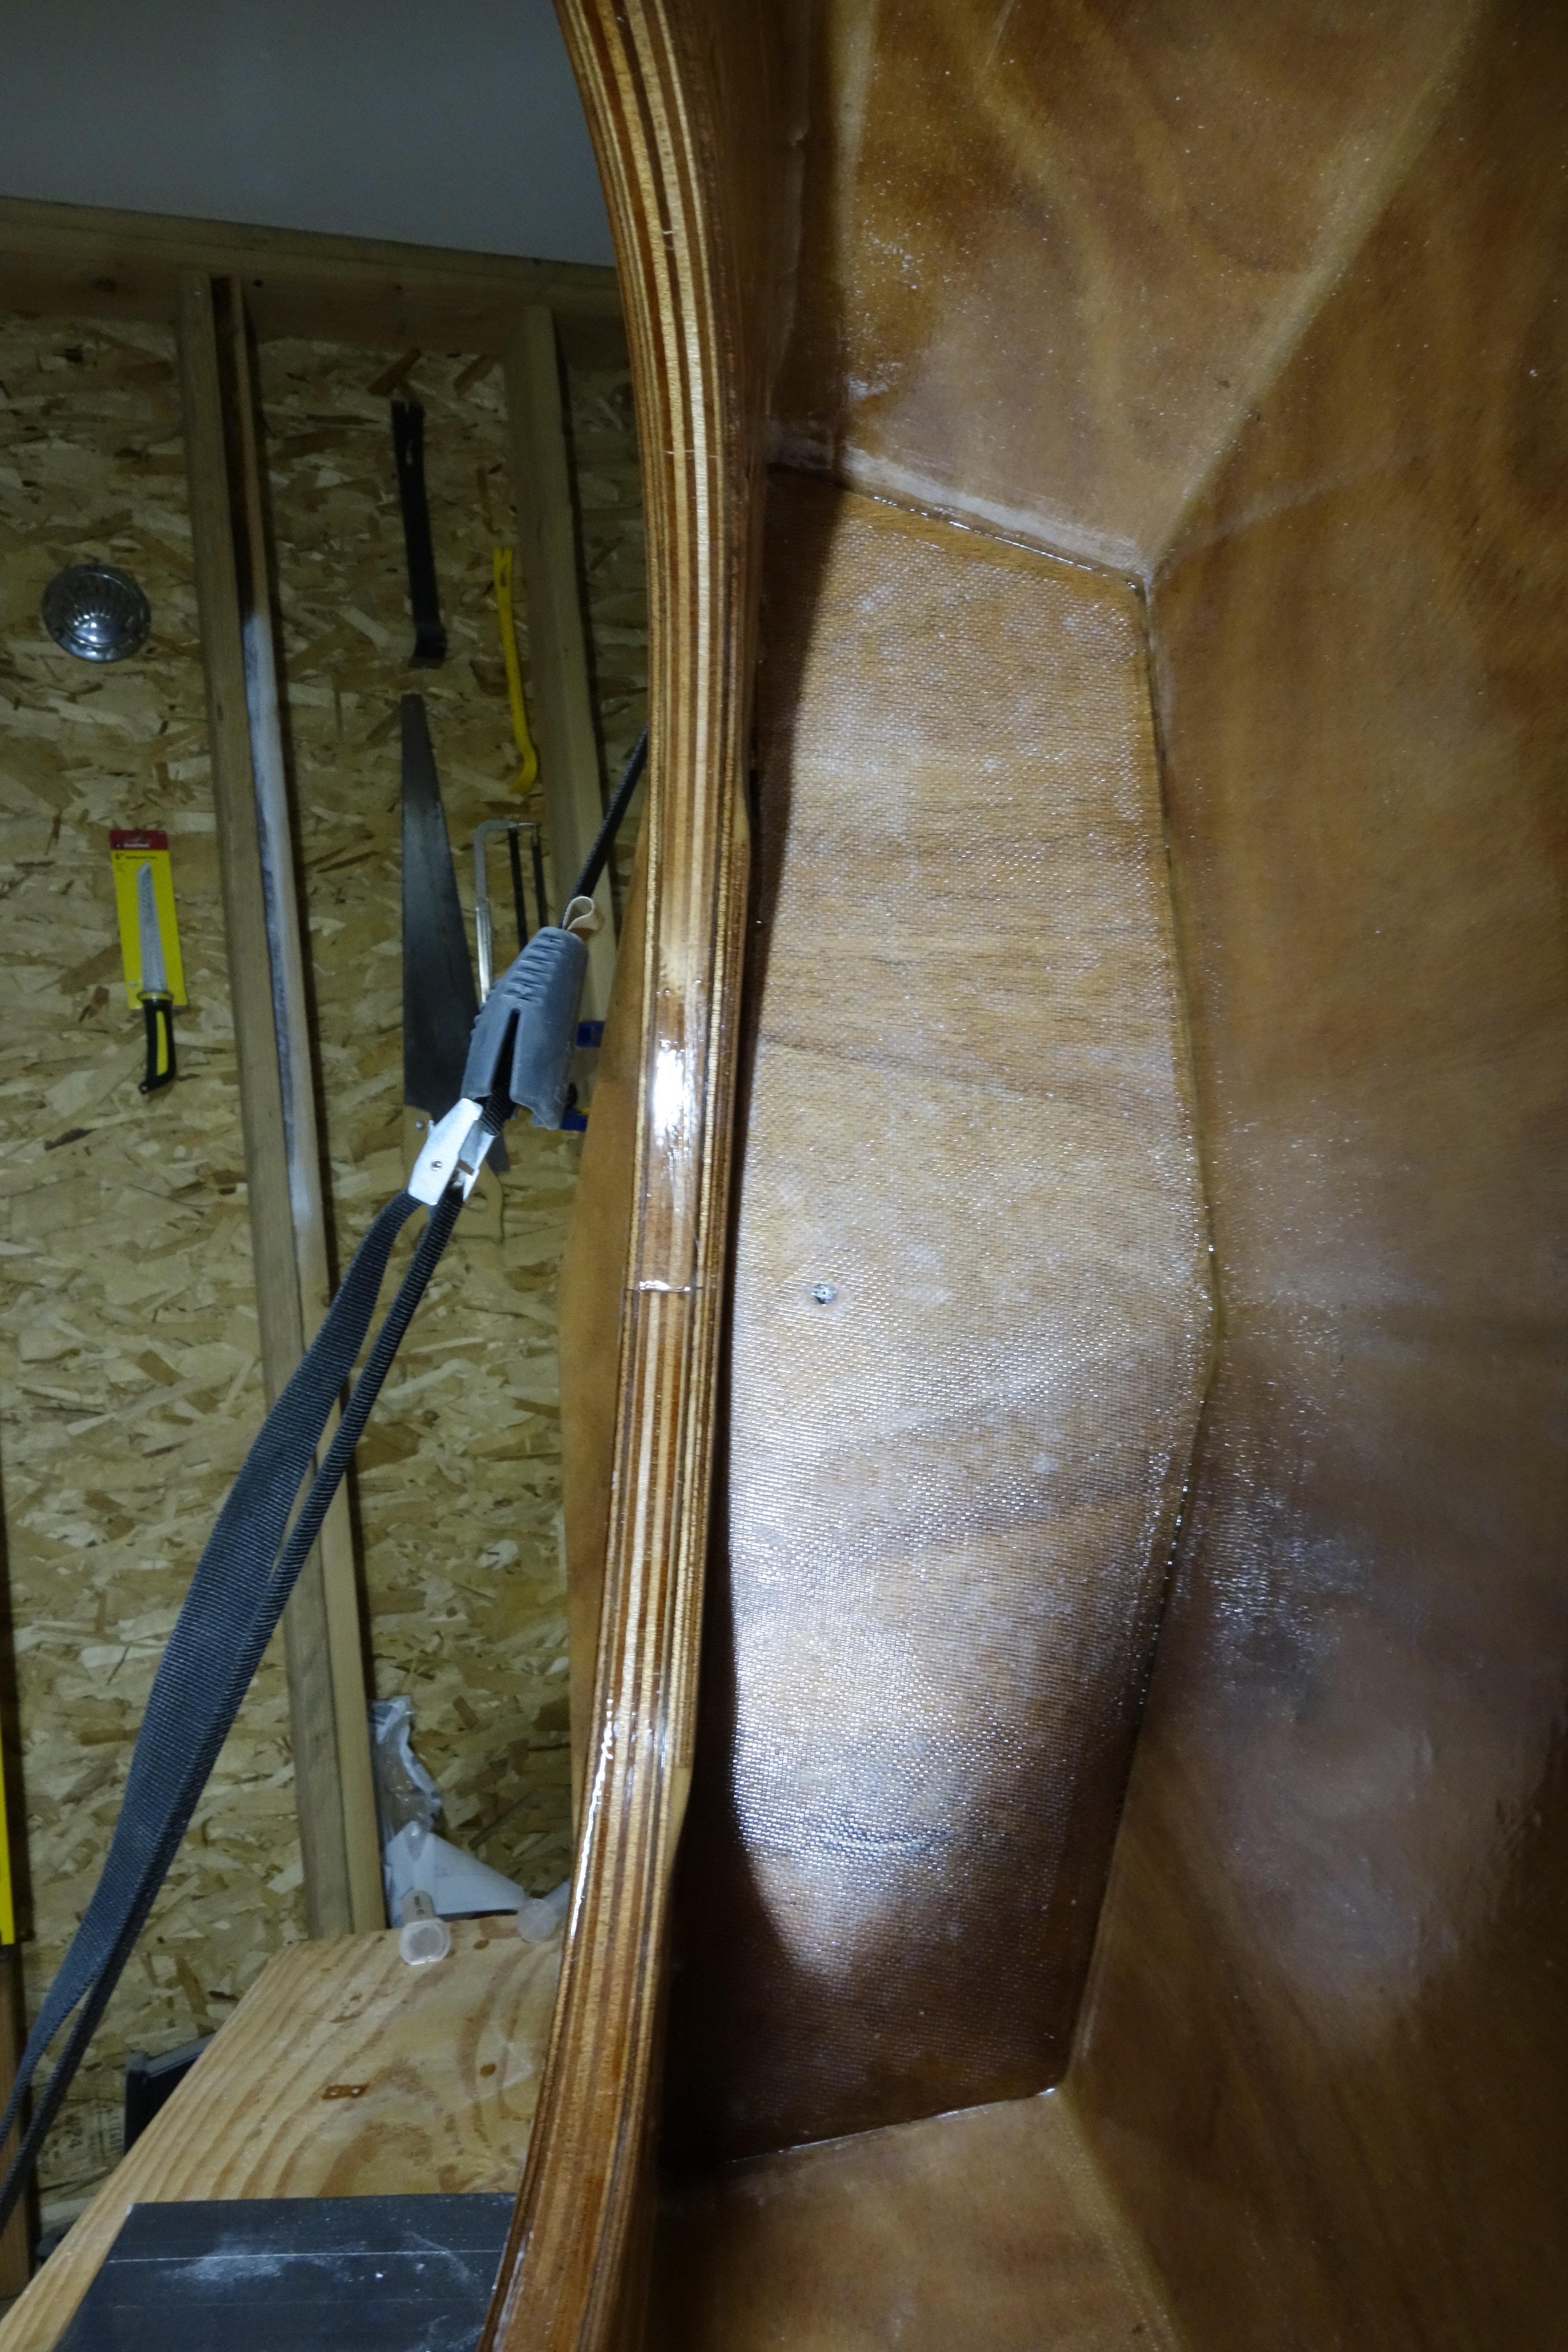
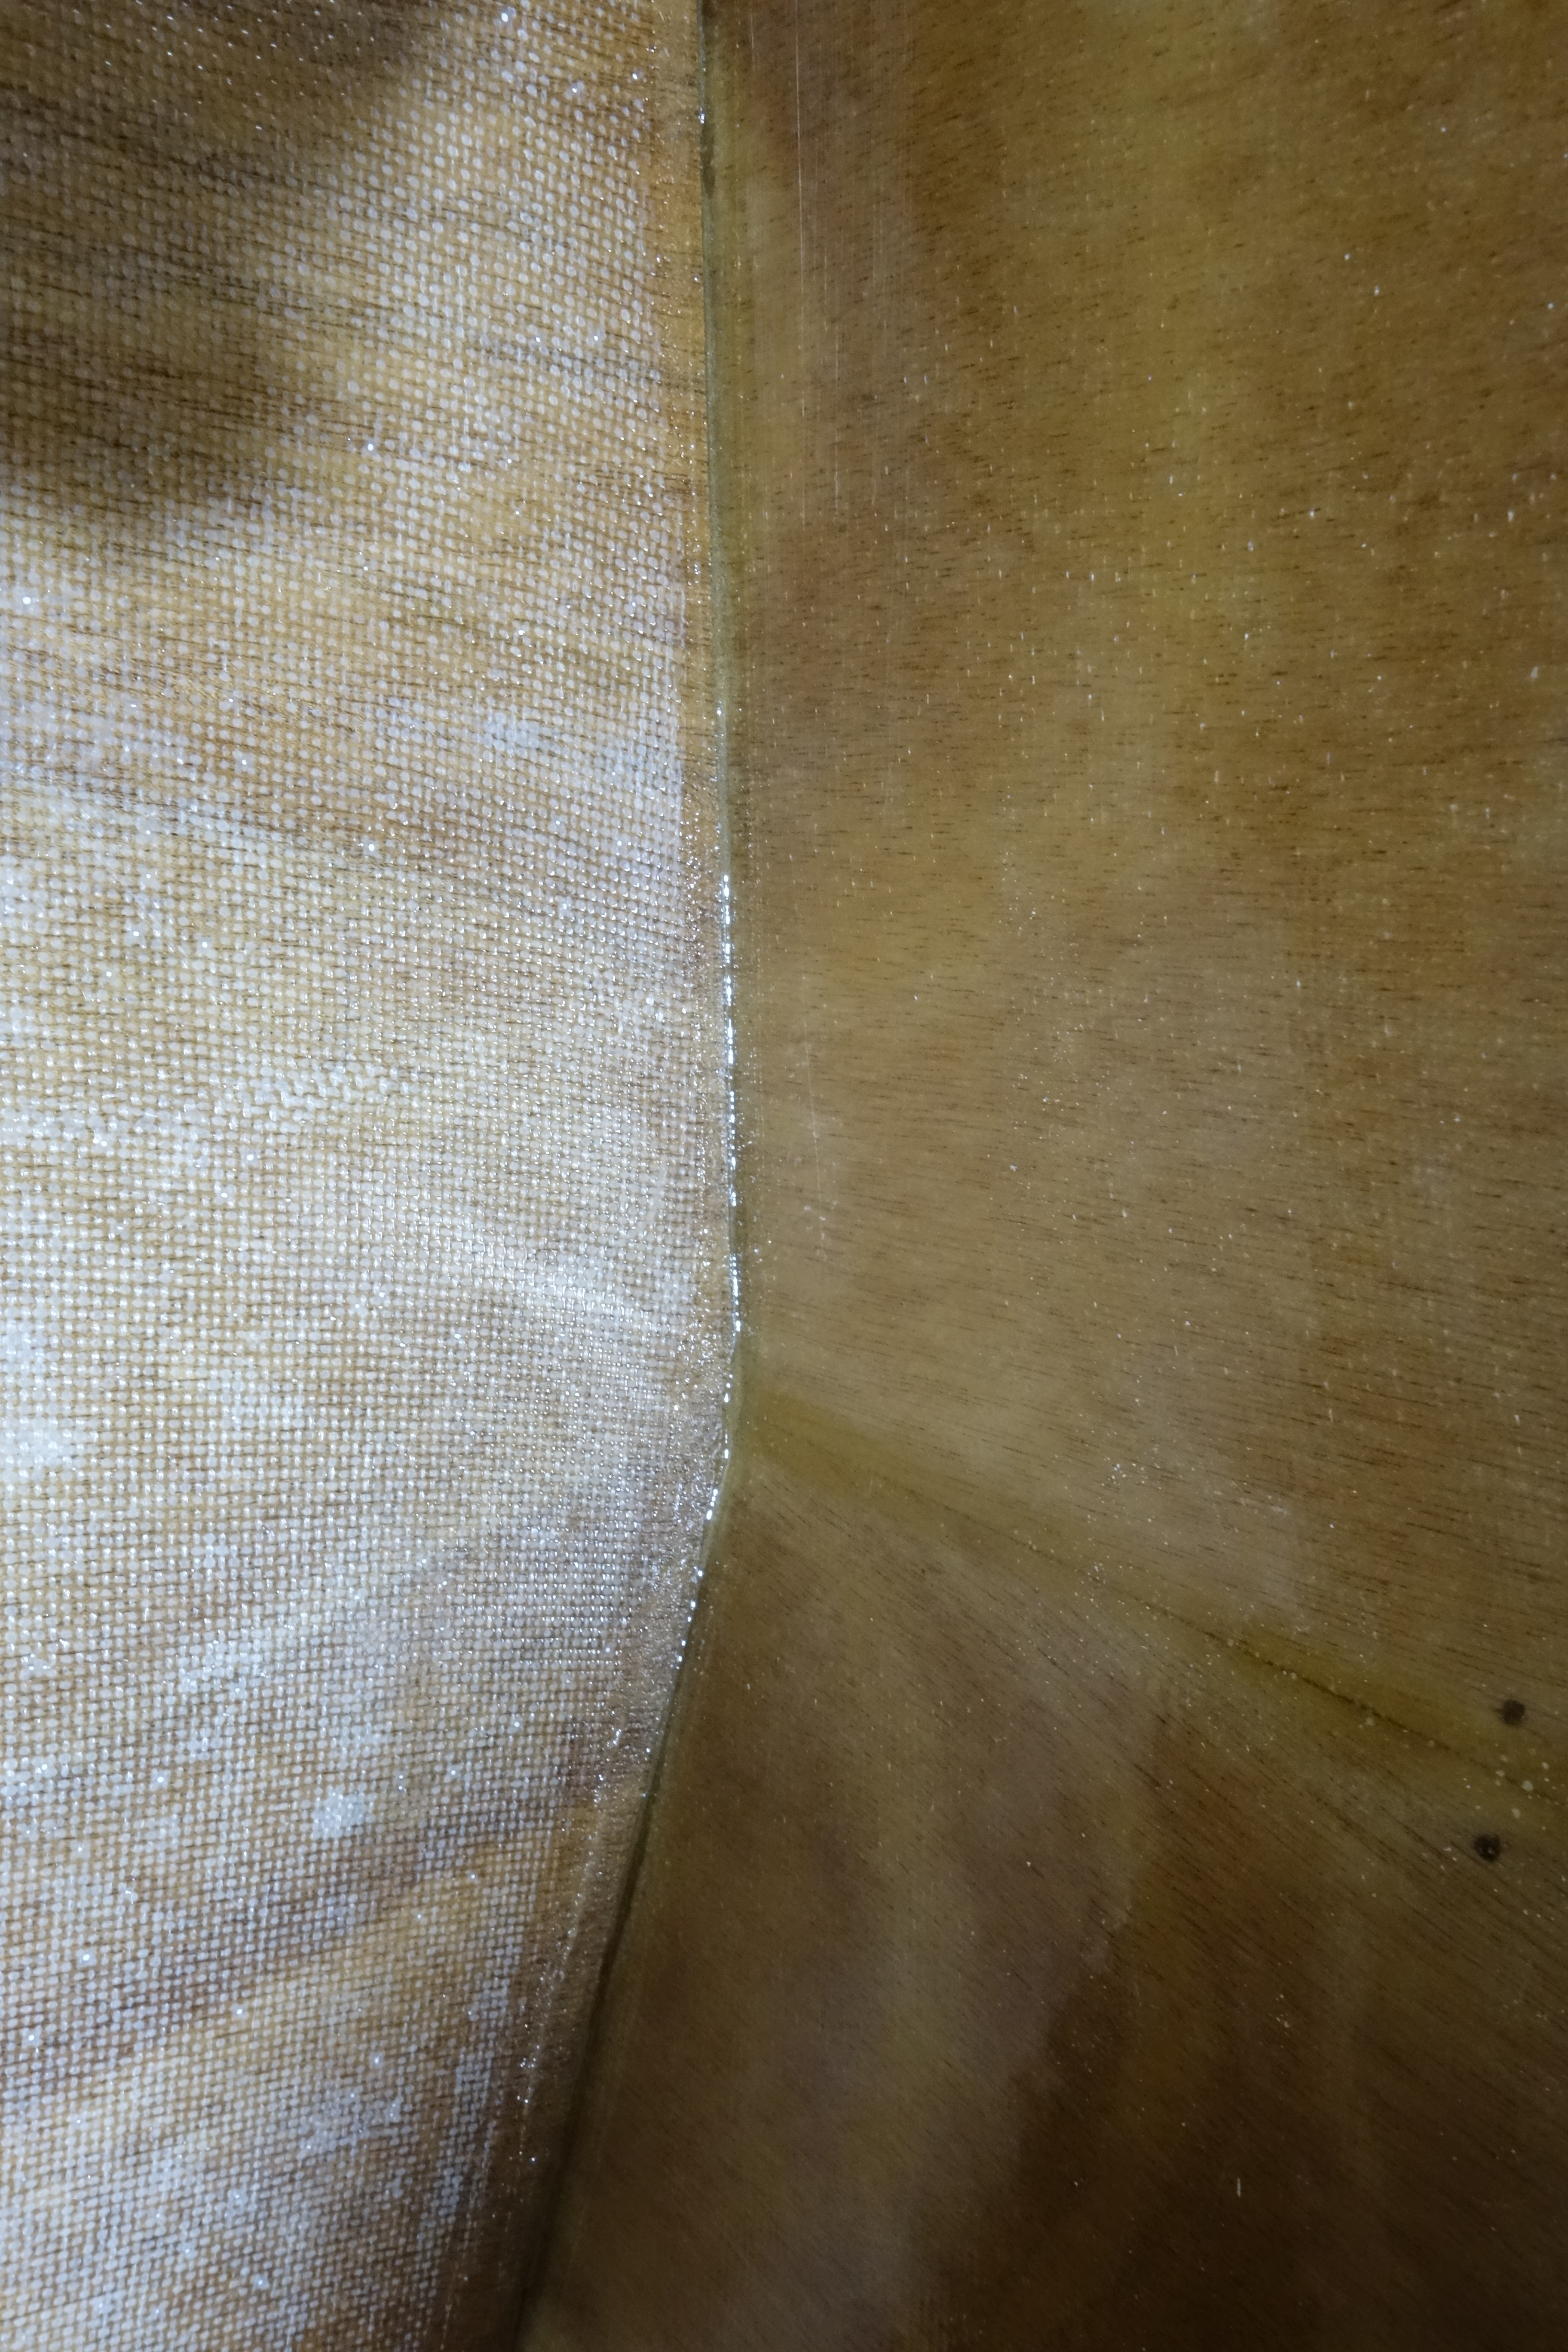
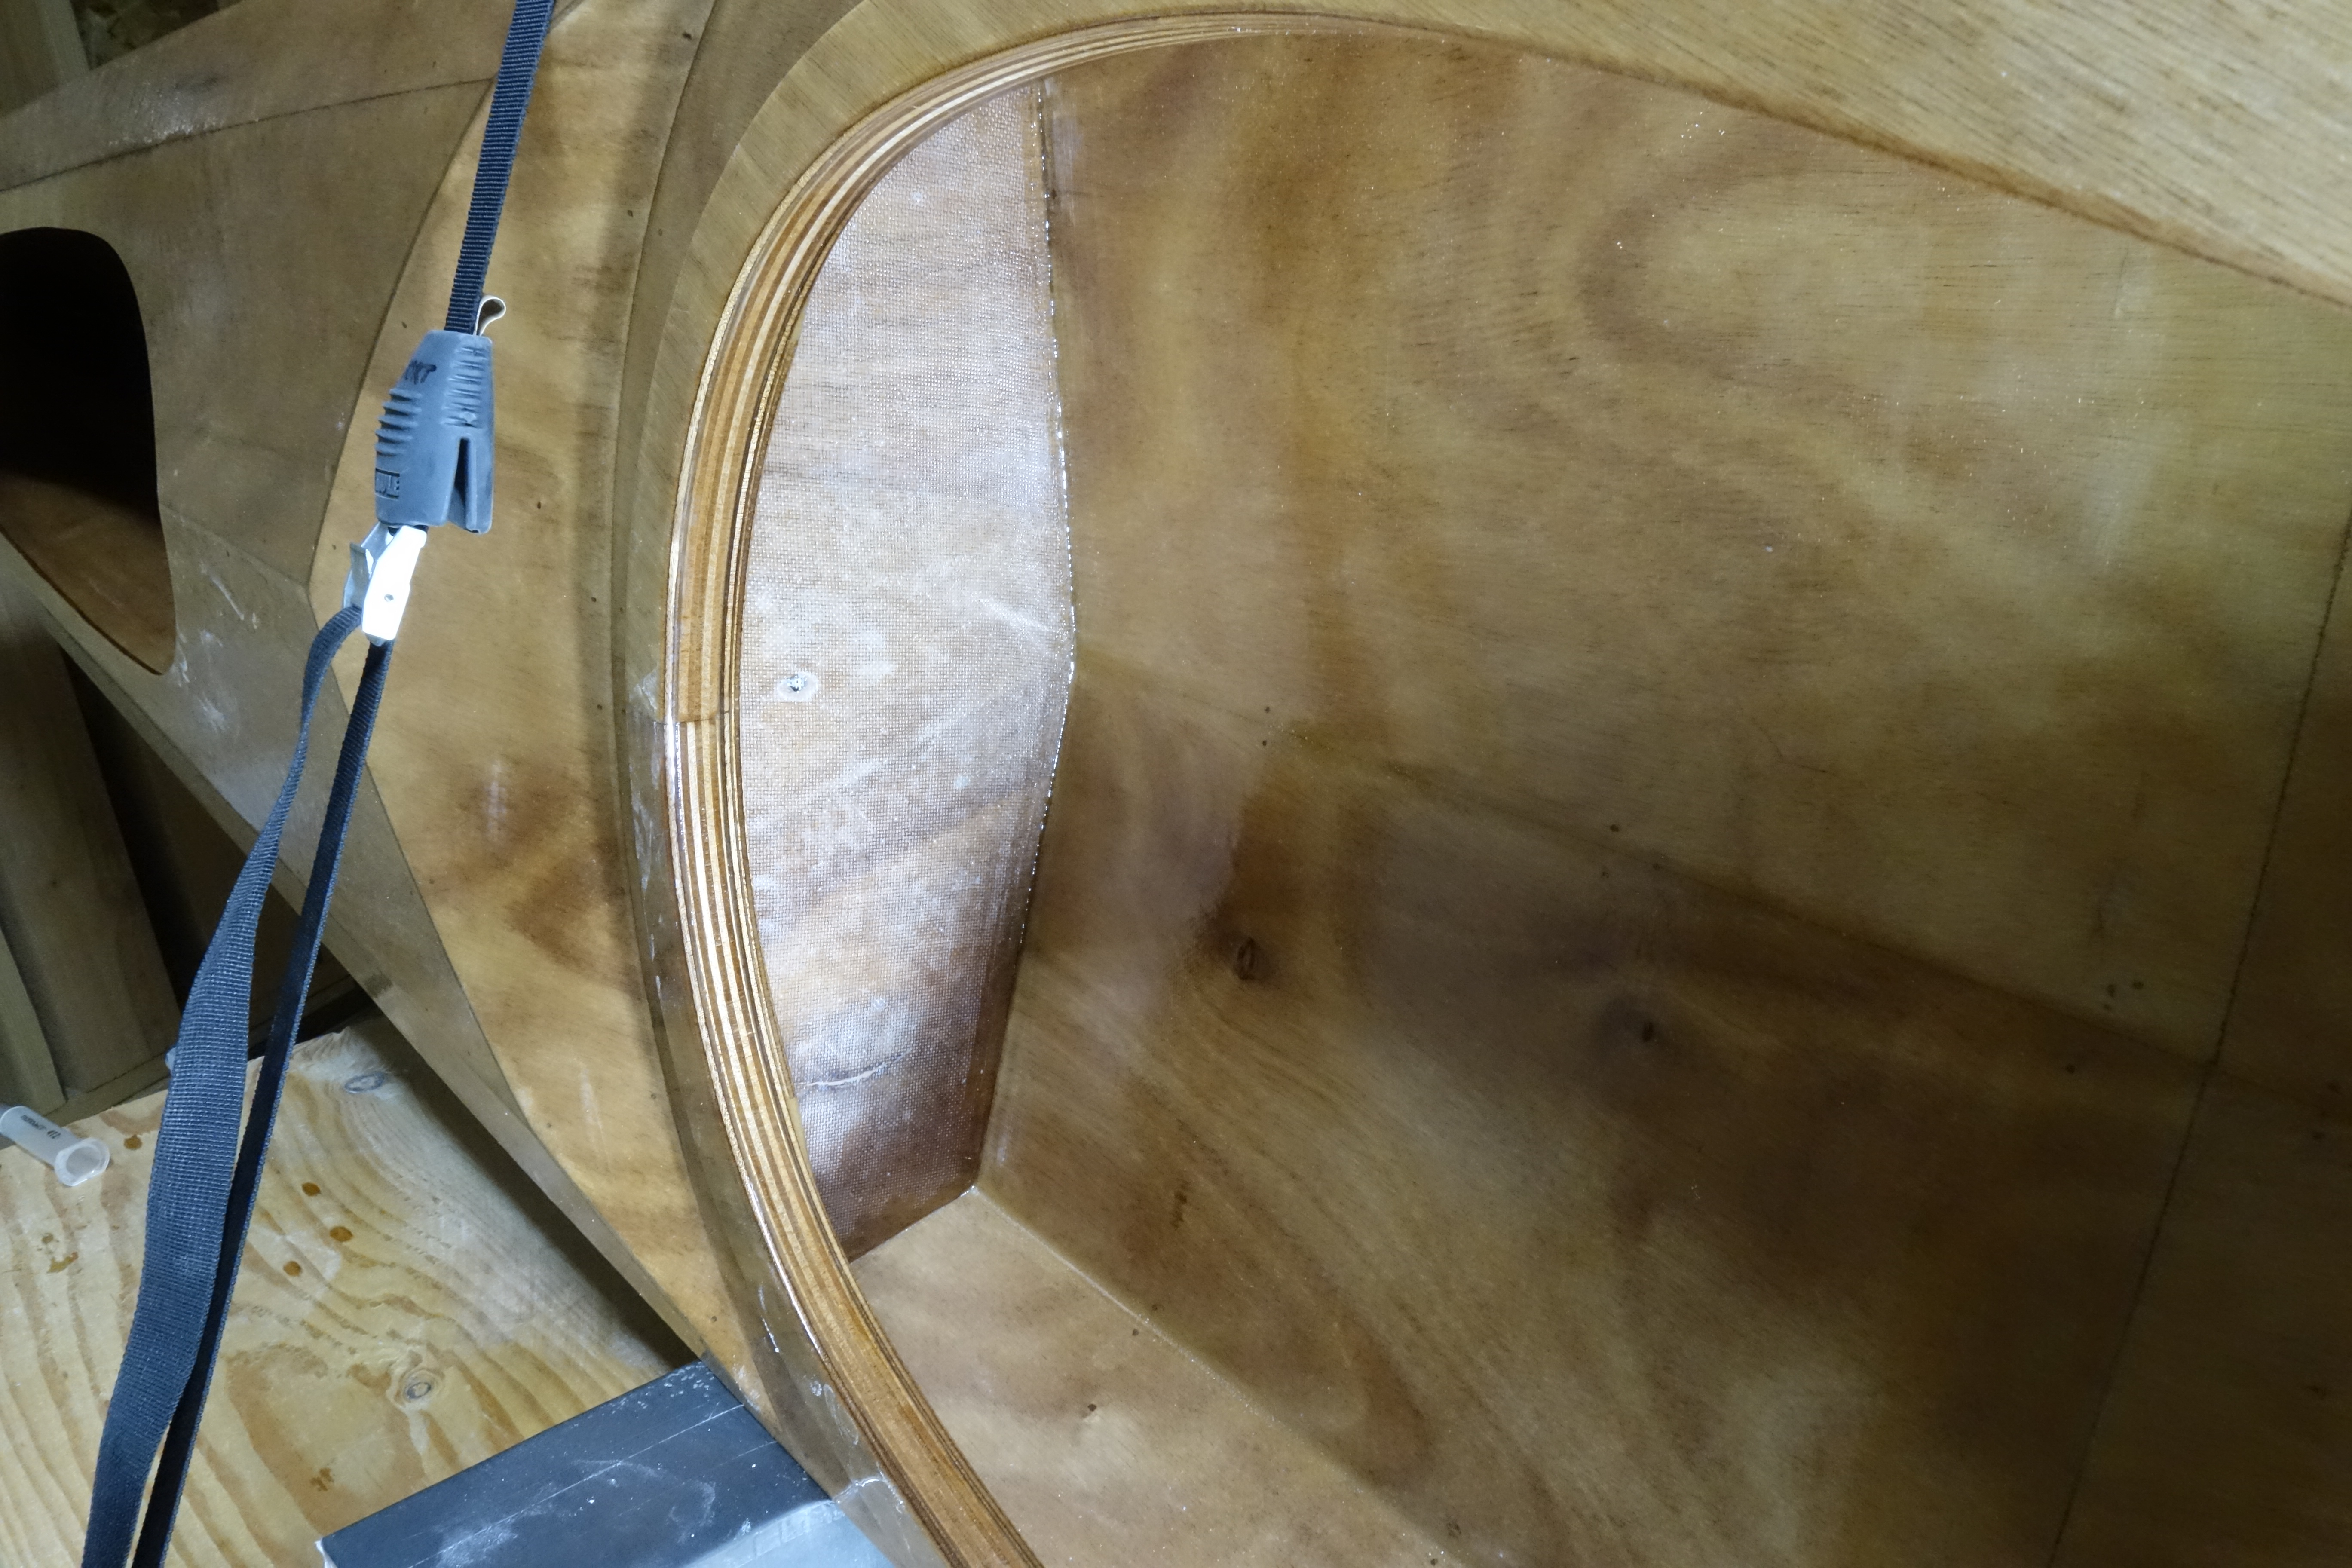
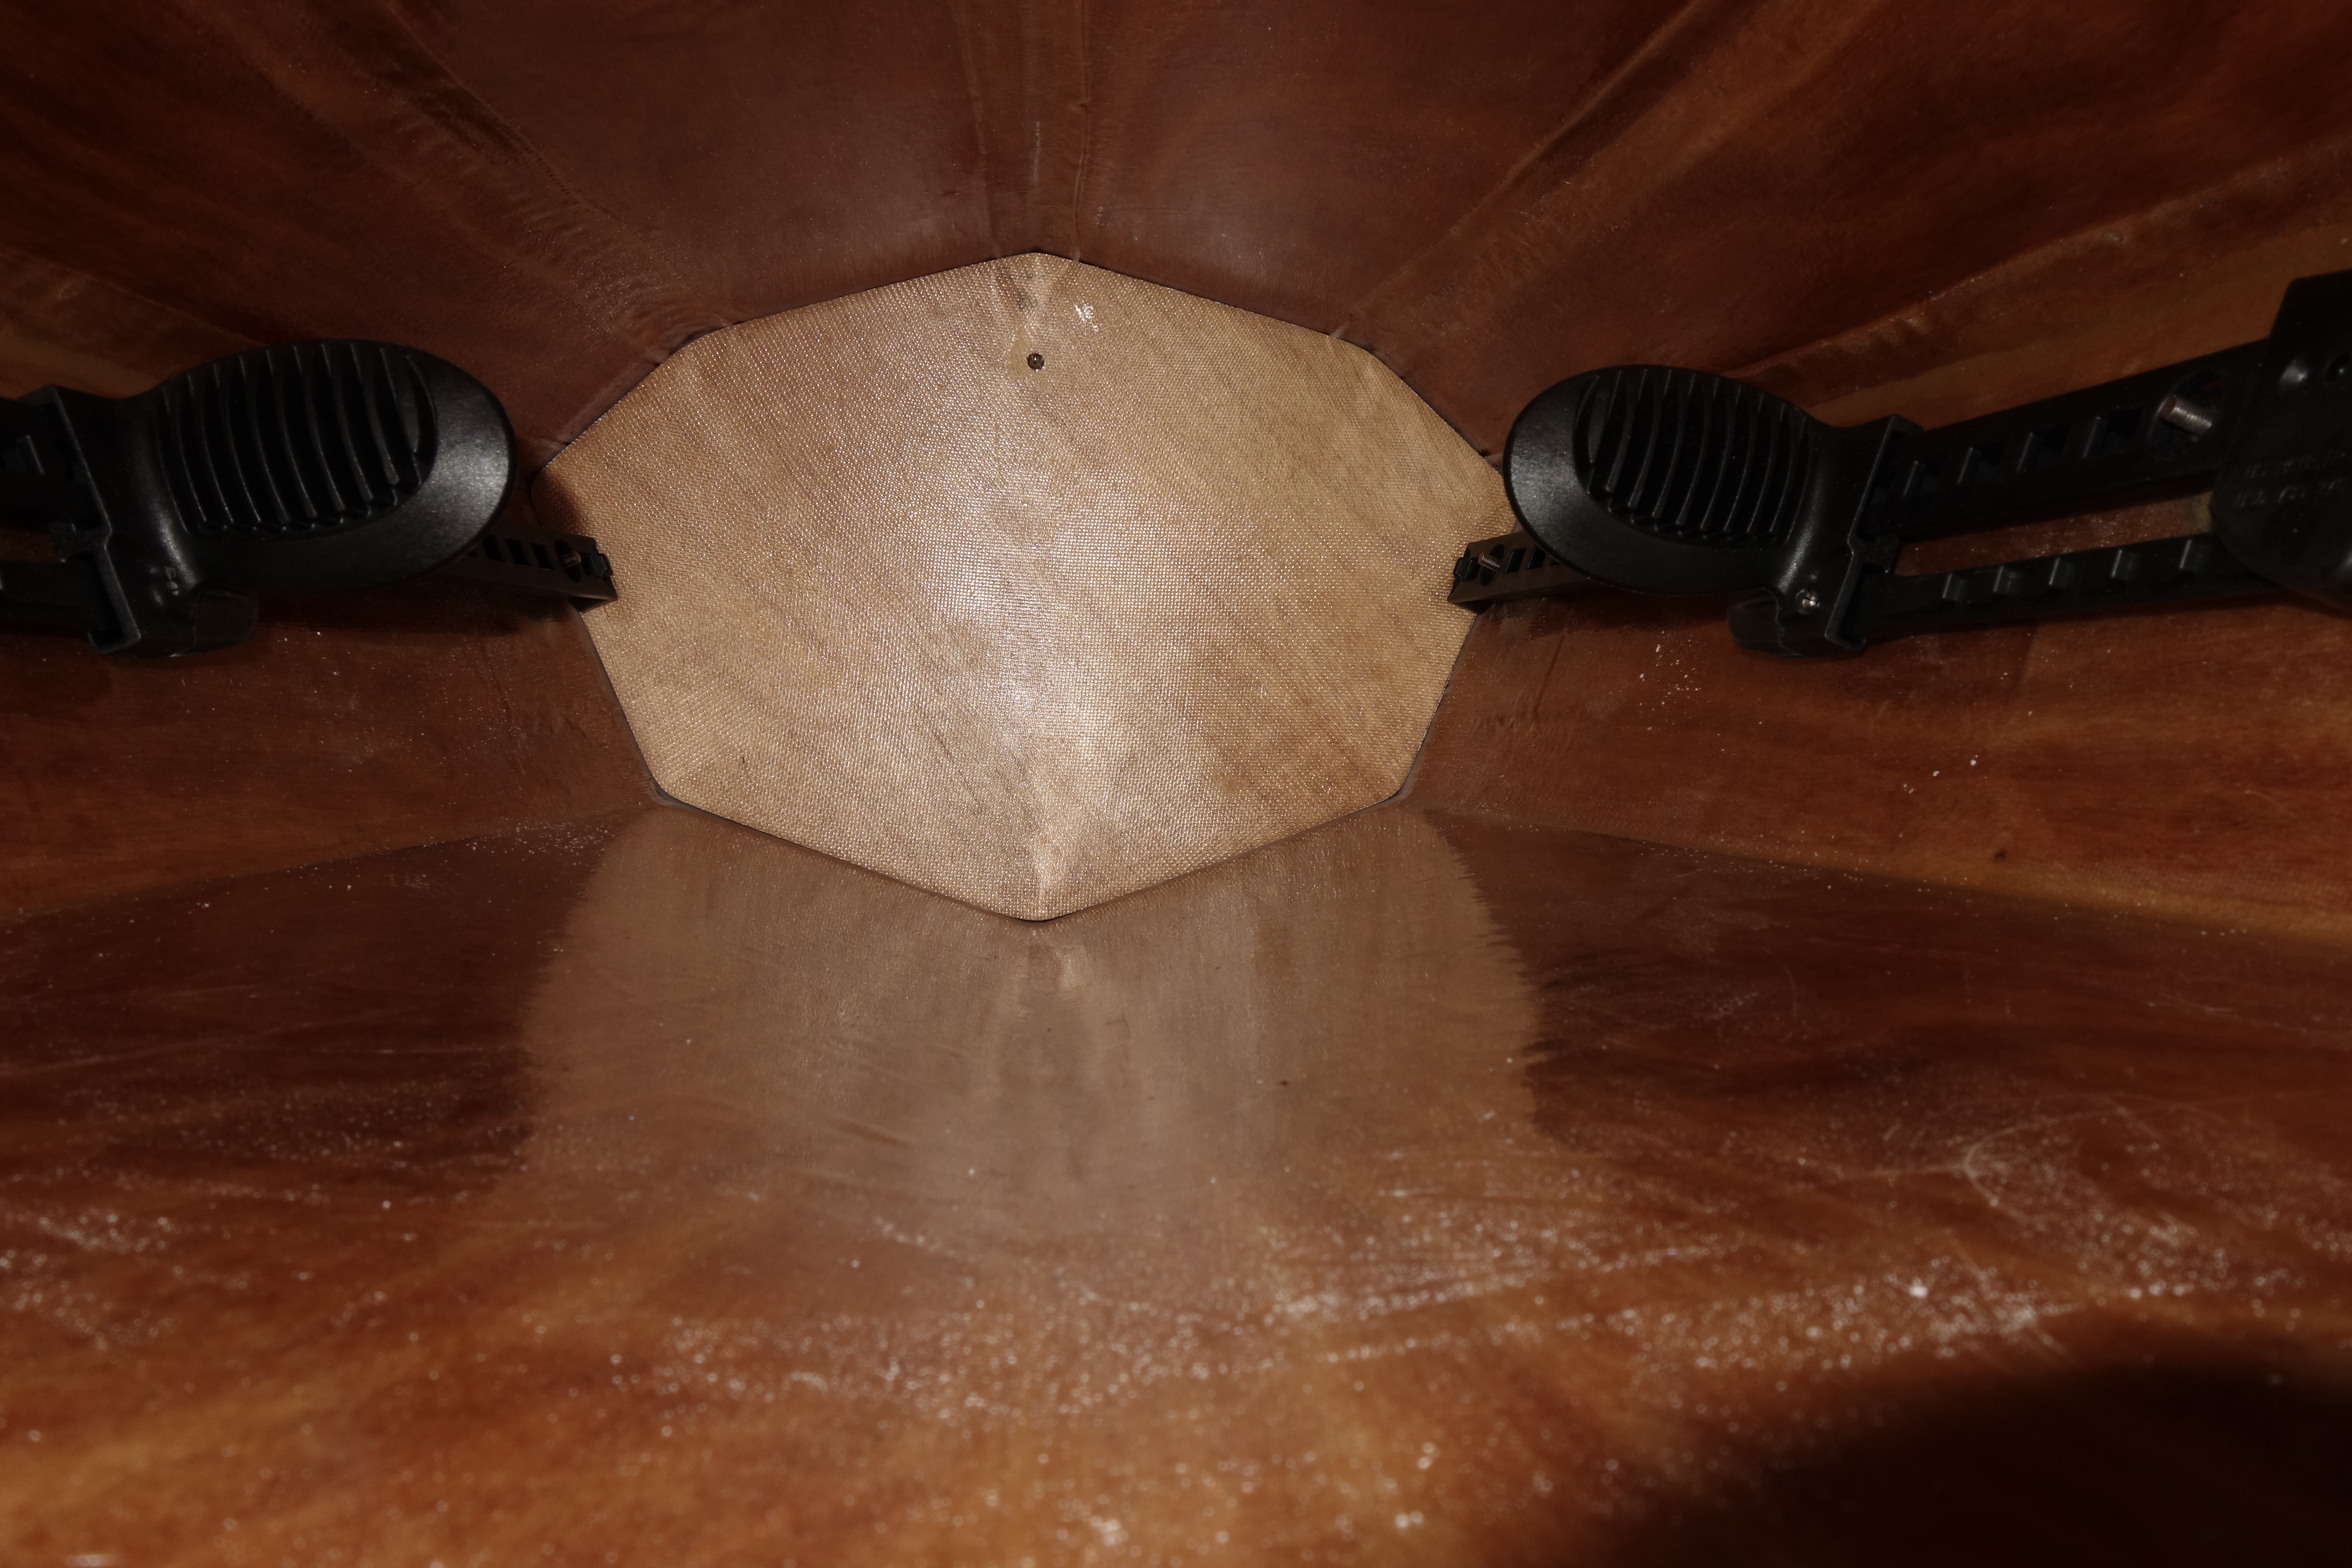
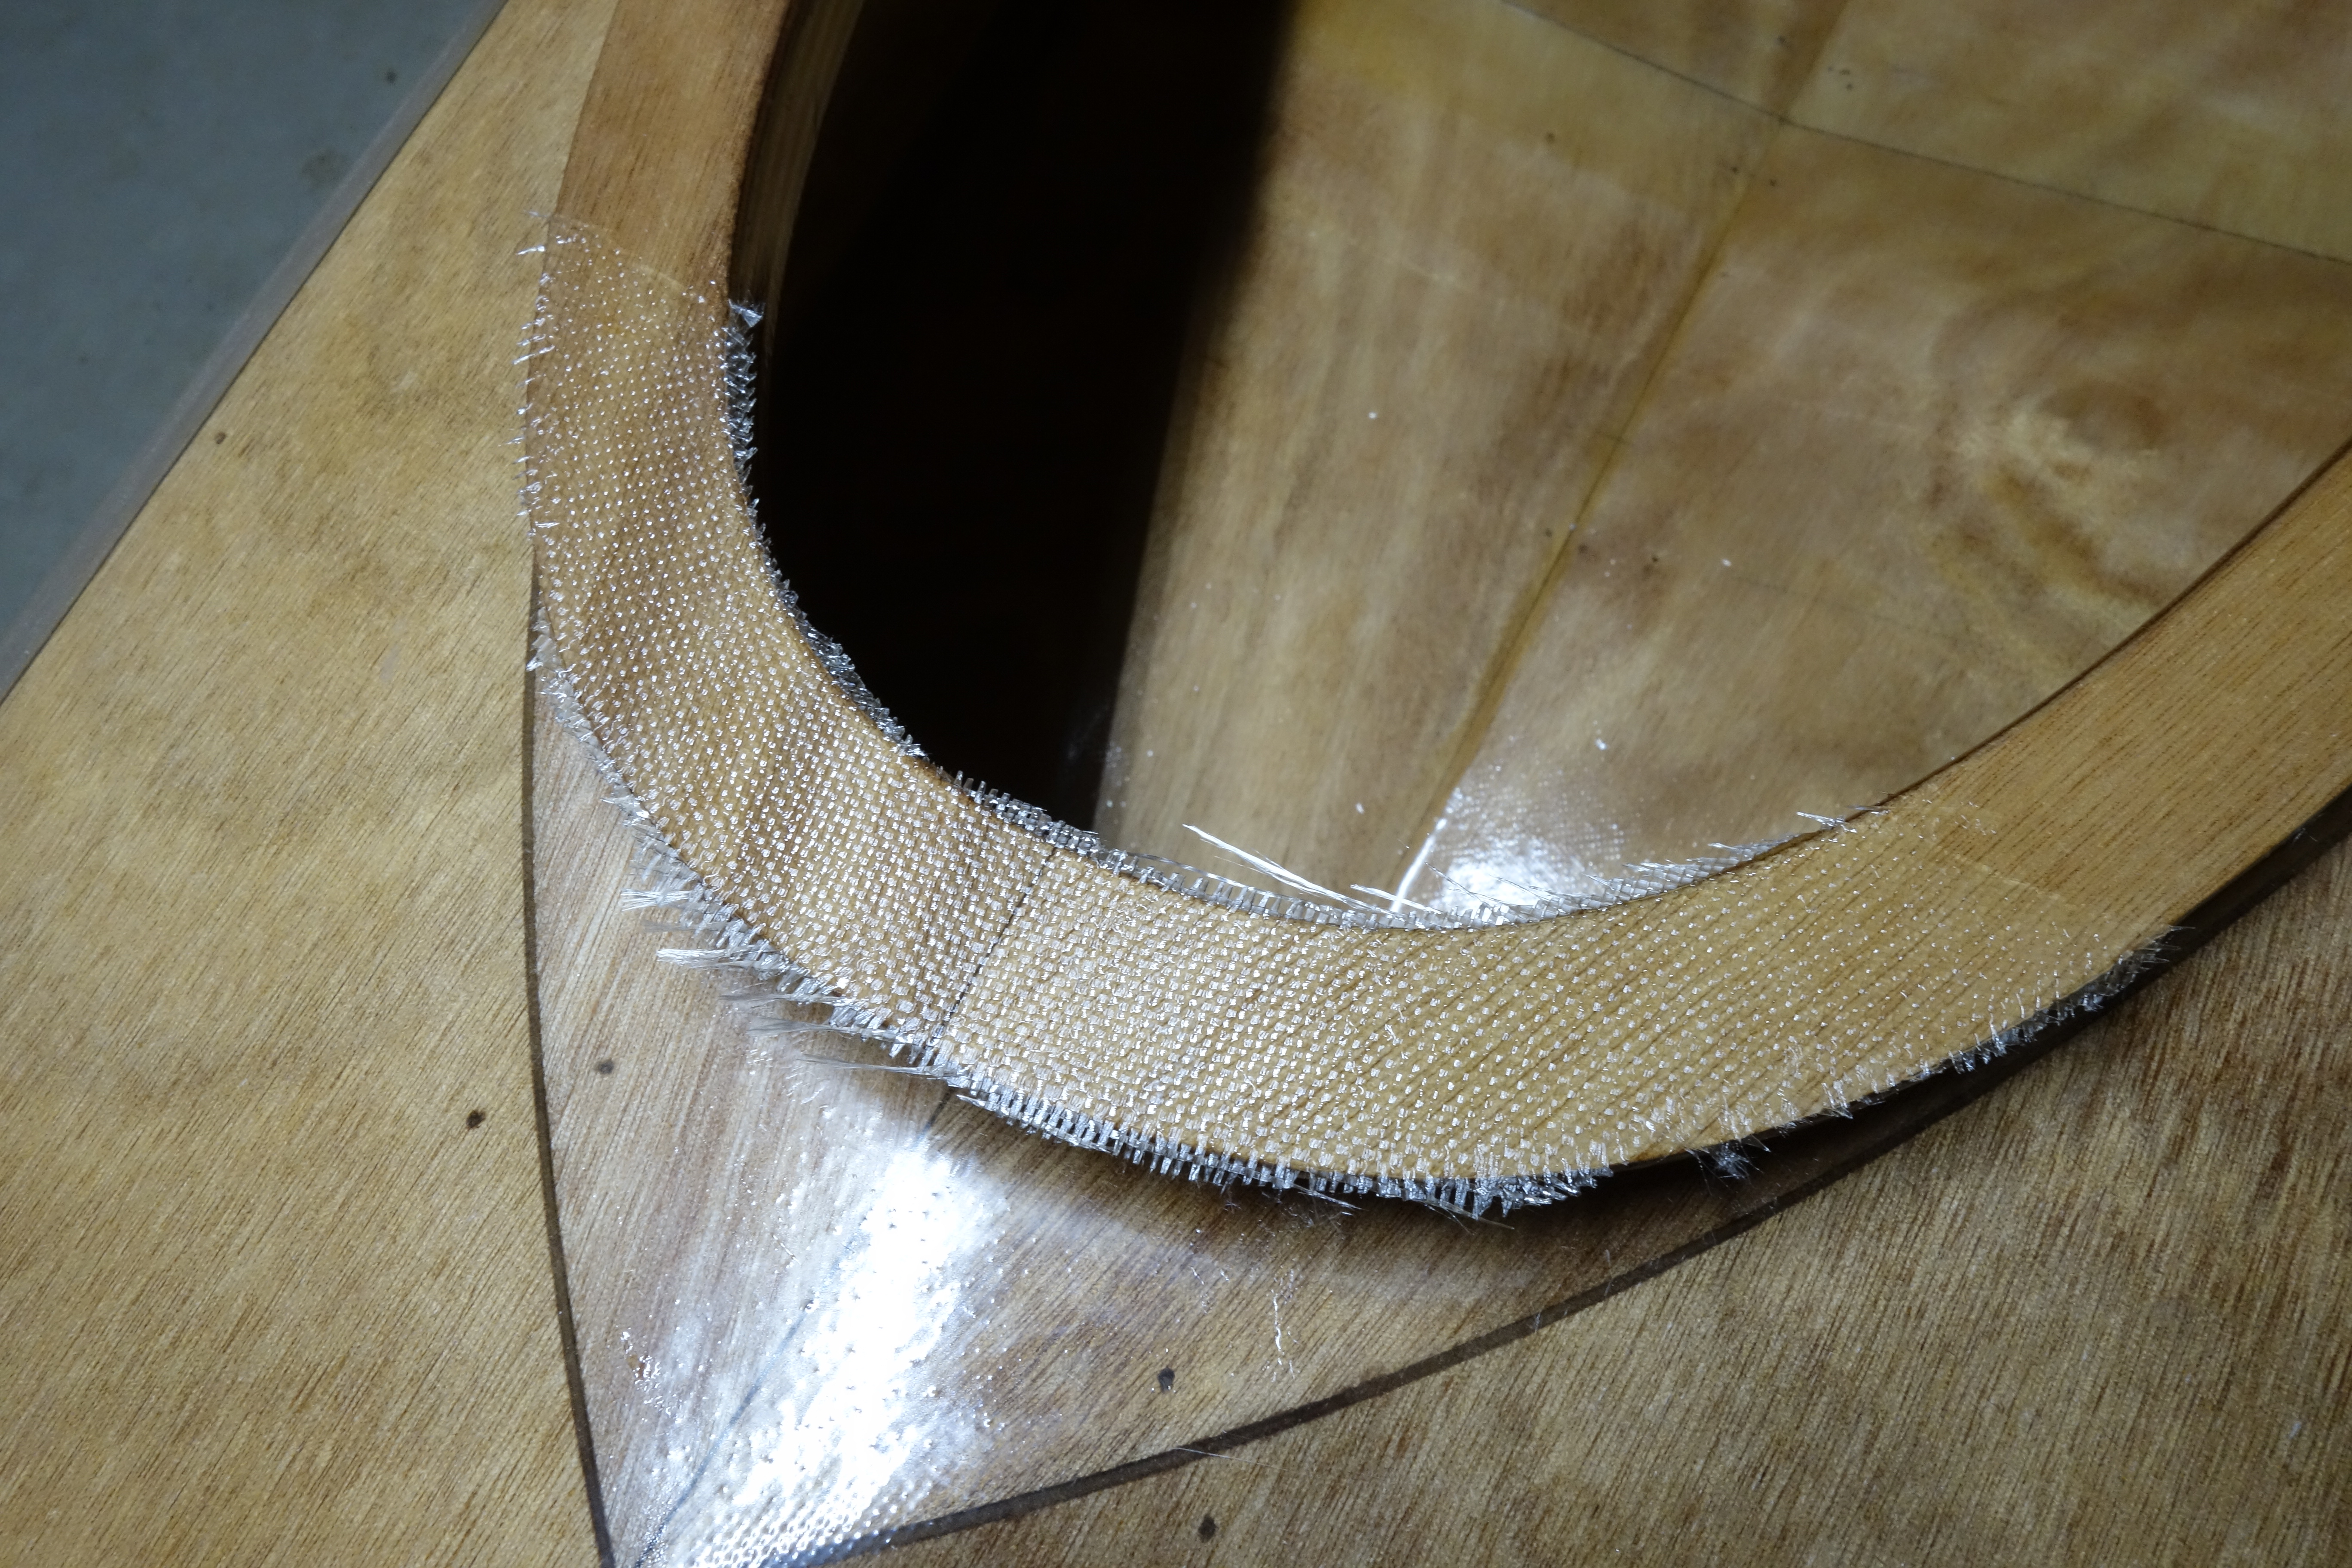
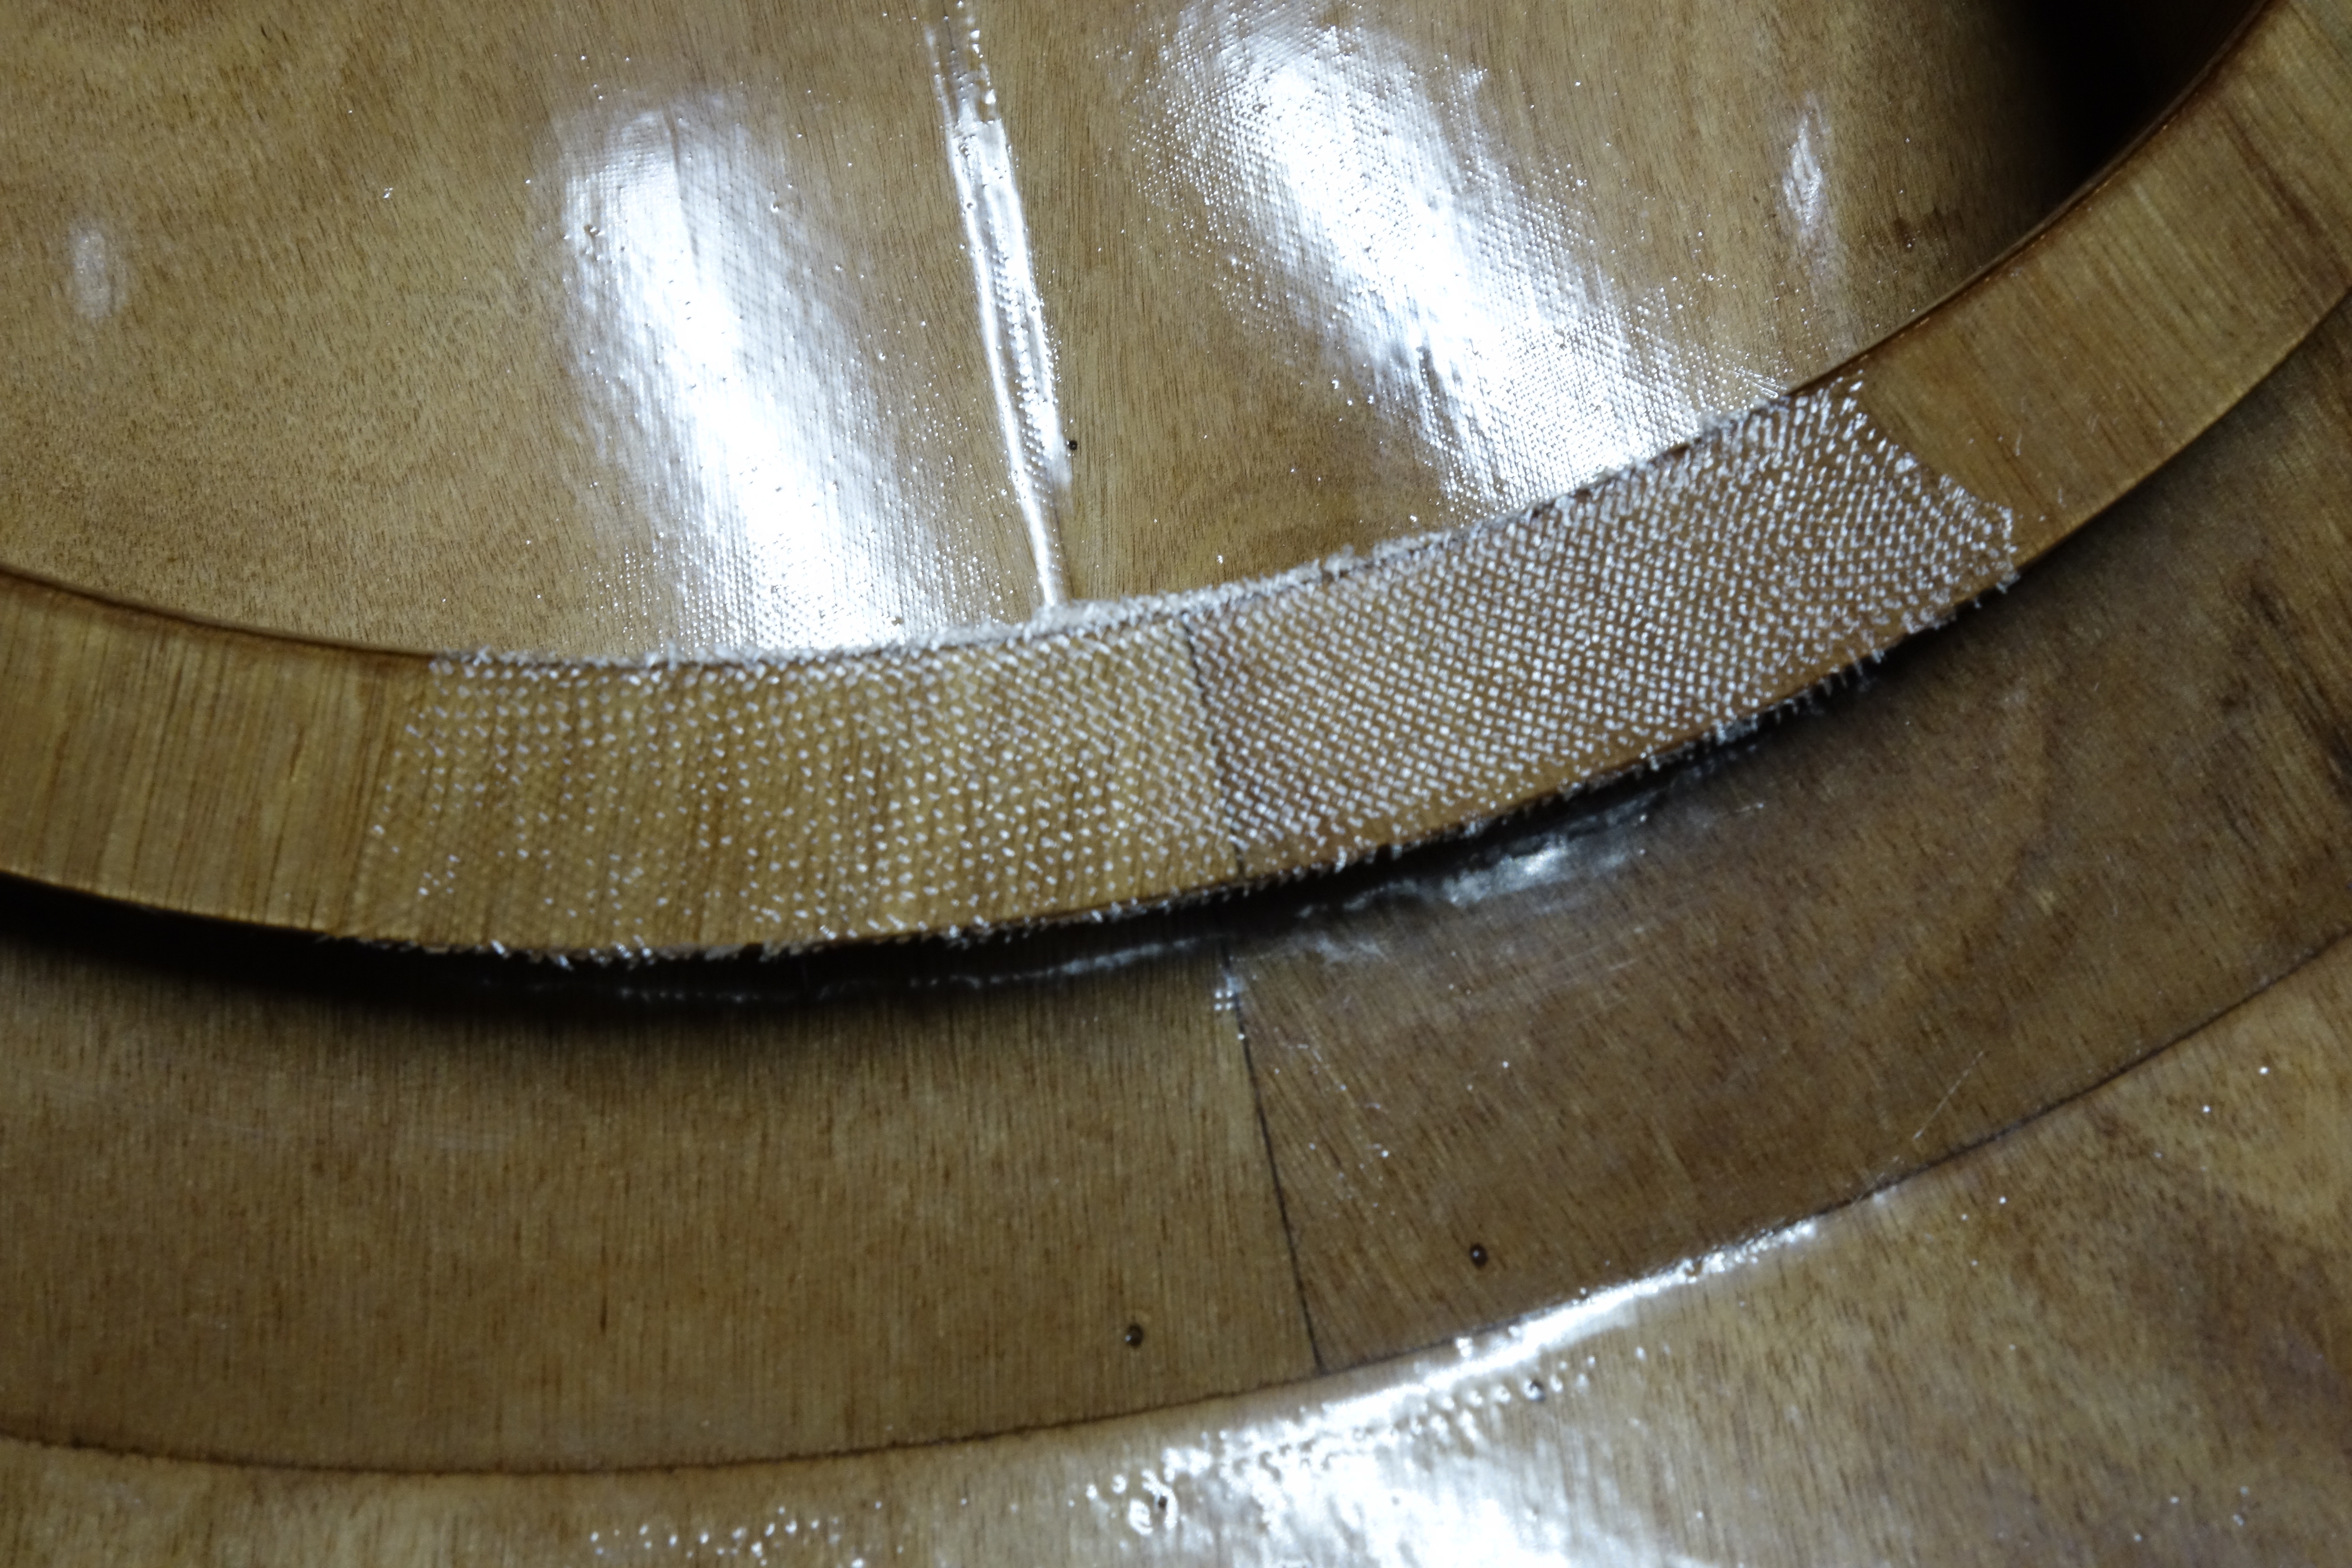
This morning I made the small fillets and got the fiberglass cloth on the the hip braces. After this cures, I’ll sand it smooth and give it a light coat of epoxy and then the hip braces will be done. Only a couple of steps left to go. After the hip braces are finished, I’ll do the hatch lips and finish the hatch covers. Then come the end pours. The end pours may actually be the steps that delay me more than any other so far, because they are completely weather dependent. I will need two dry, warmish, weekend days to take the kayak outside and stand it on end. It will then have to stand on end all day (probably strapped to a ladder) until the end pours cure enough that they won’t slump when I lay the kayak back into the horizontal position. But that’s it for the construction. After that, the entire kayak gets sanded. Then at least one more fill coat of epoxy to make things smooth. More sanding. Then spar varnish. After the kayak is varnished the deck rigging goes on, and the Ronan will be ready to paddle.
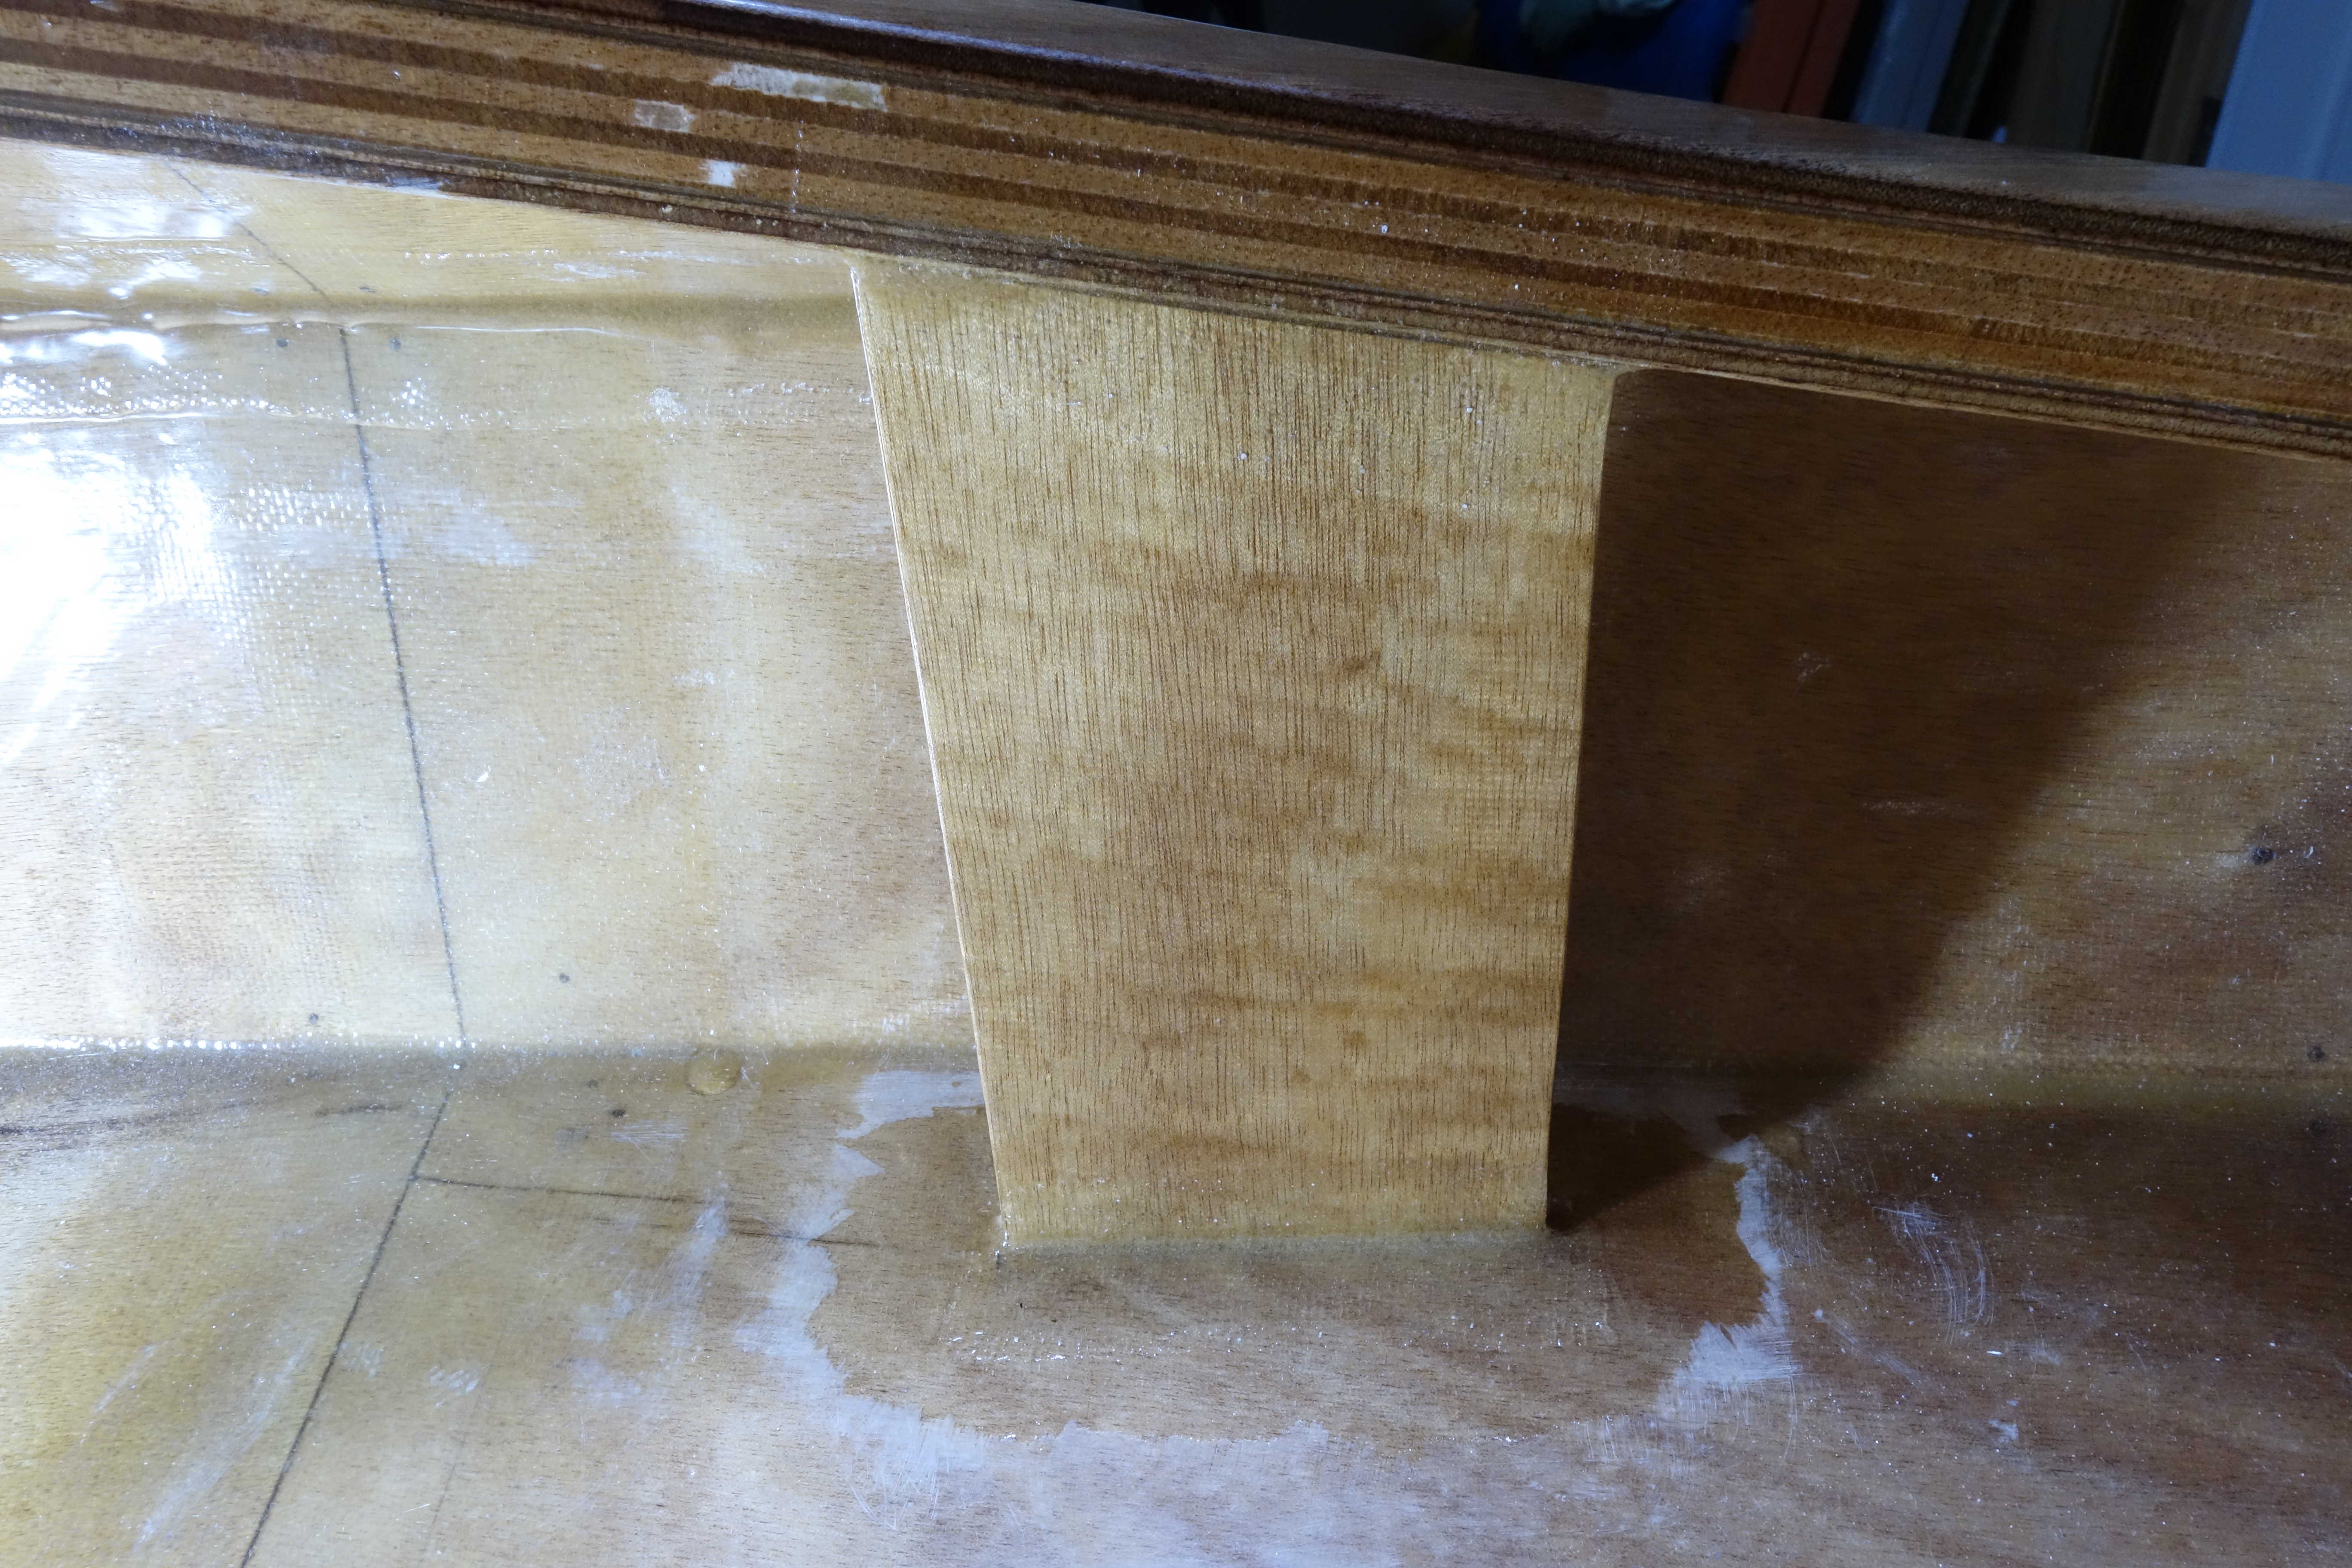
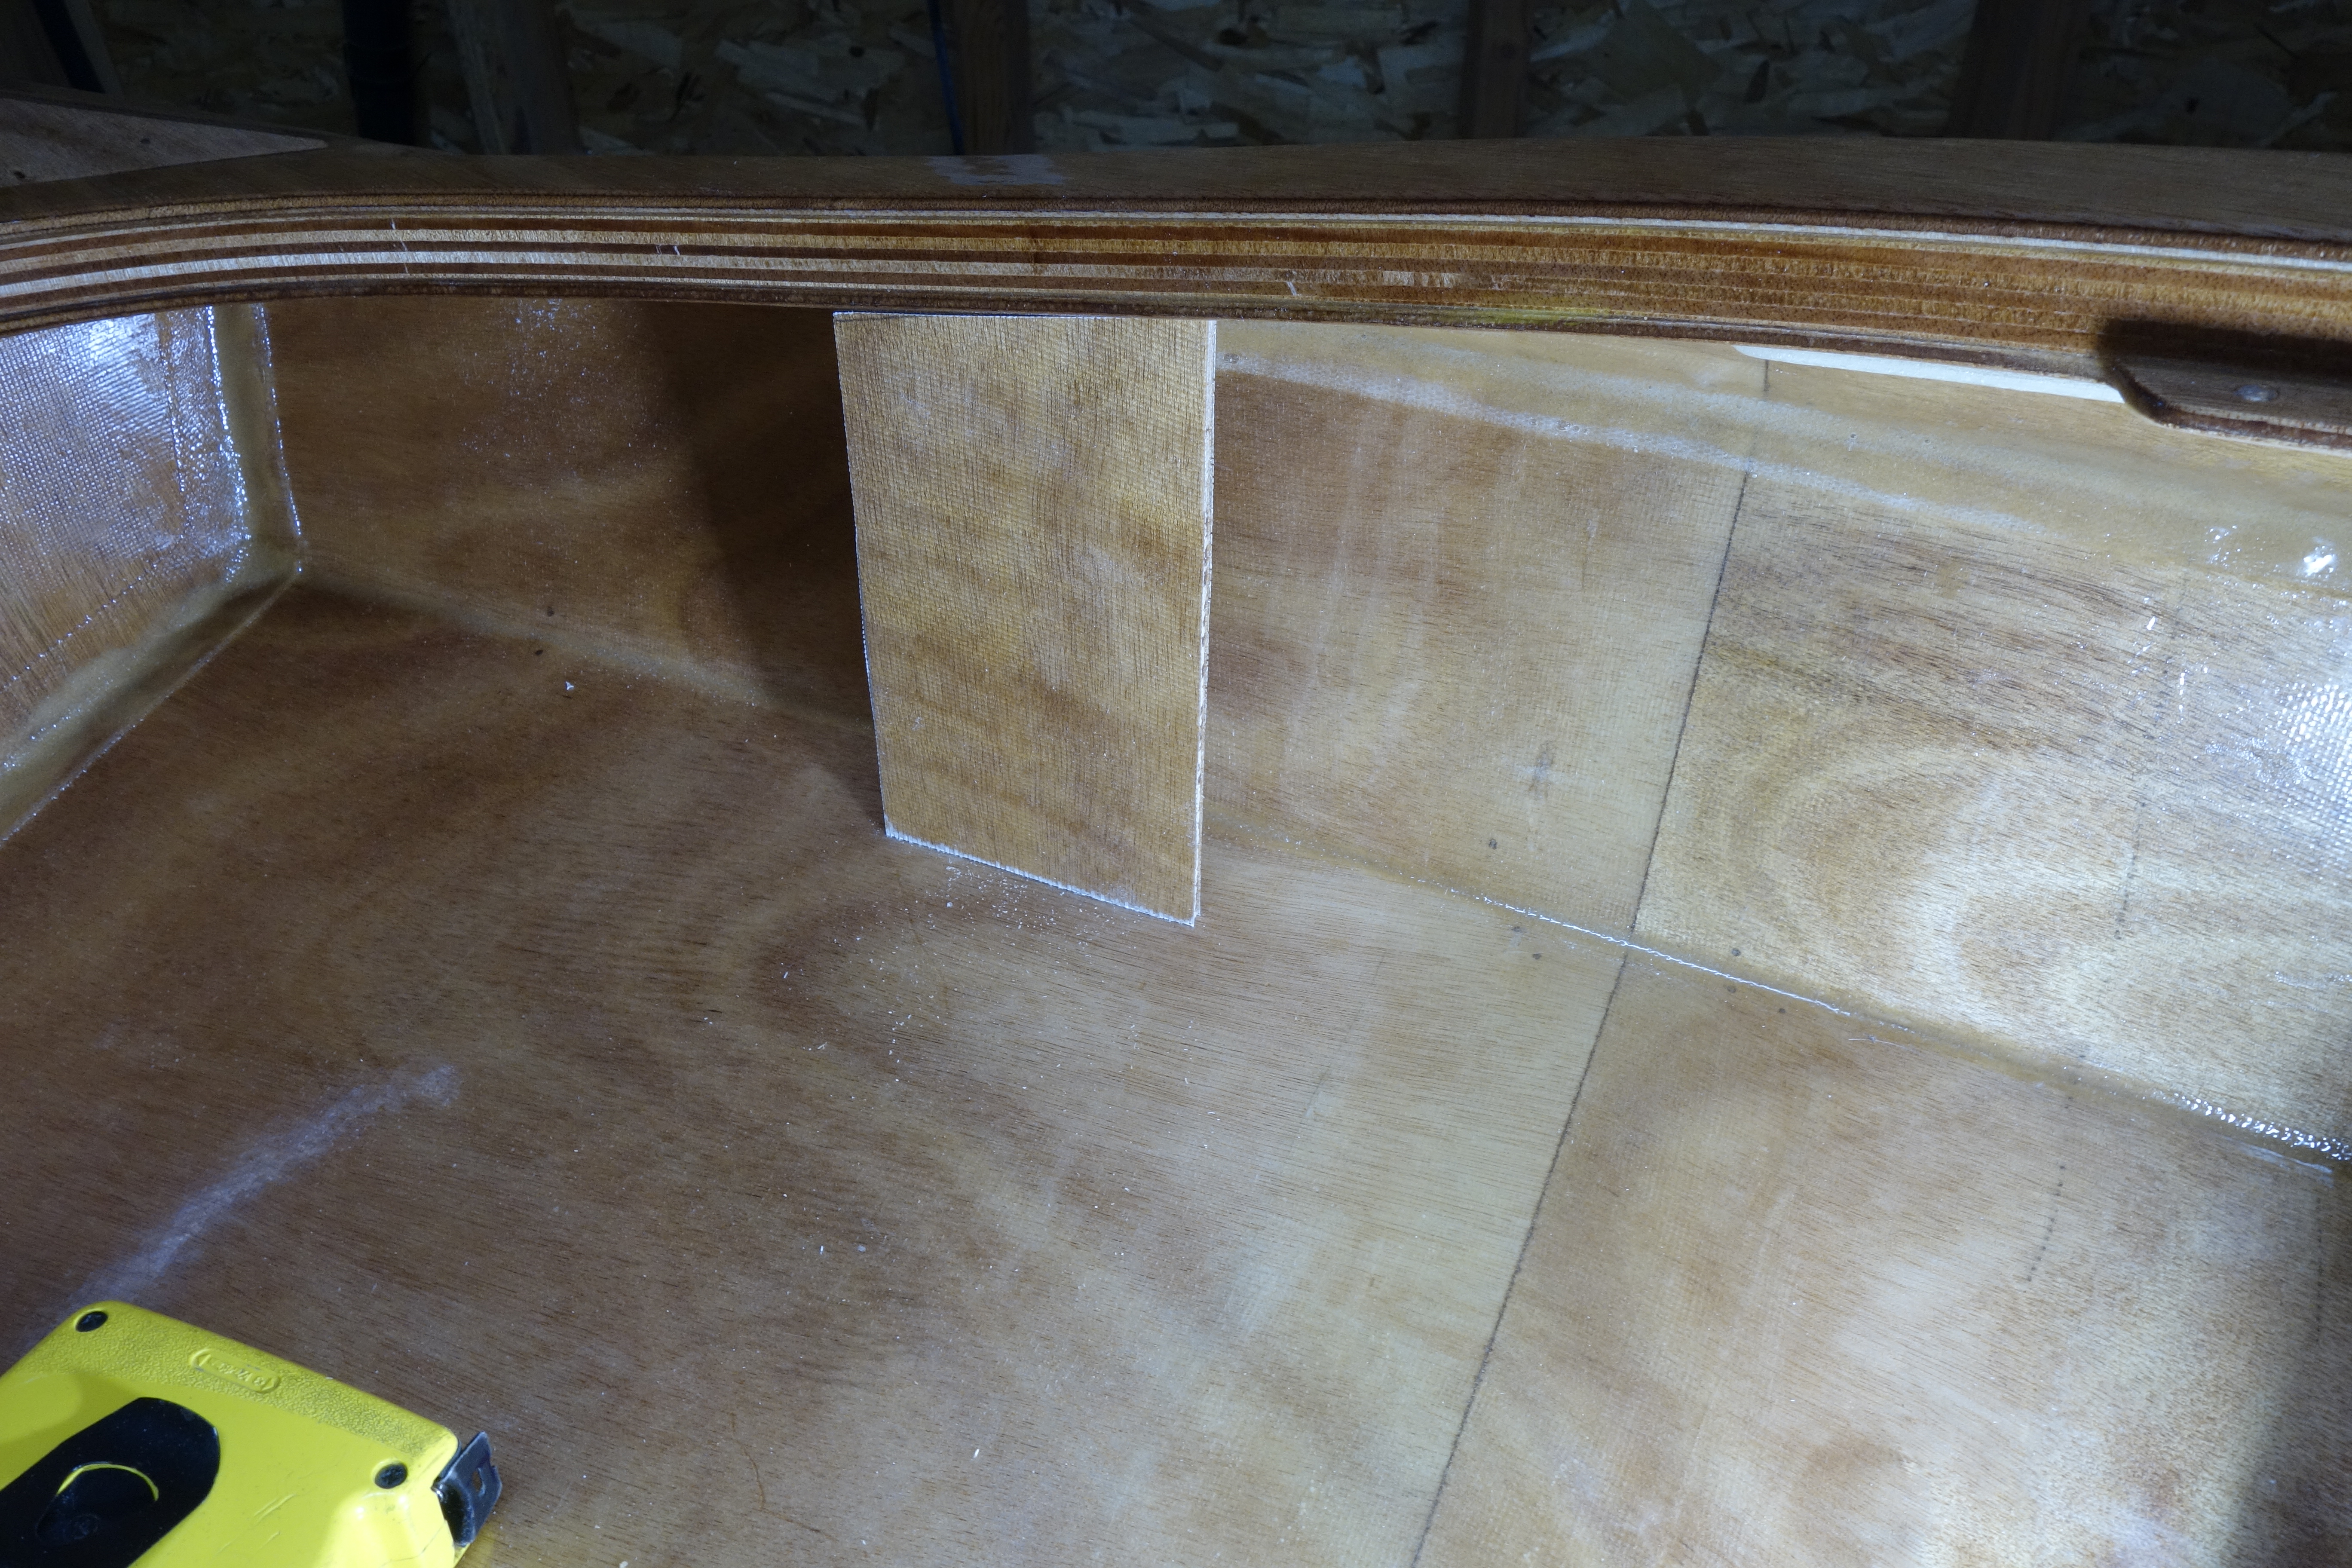
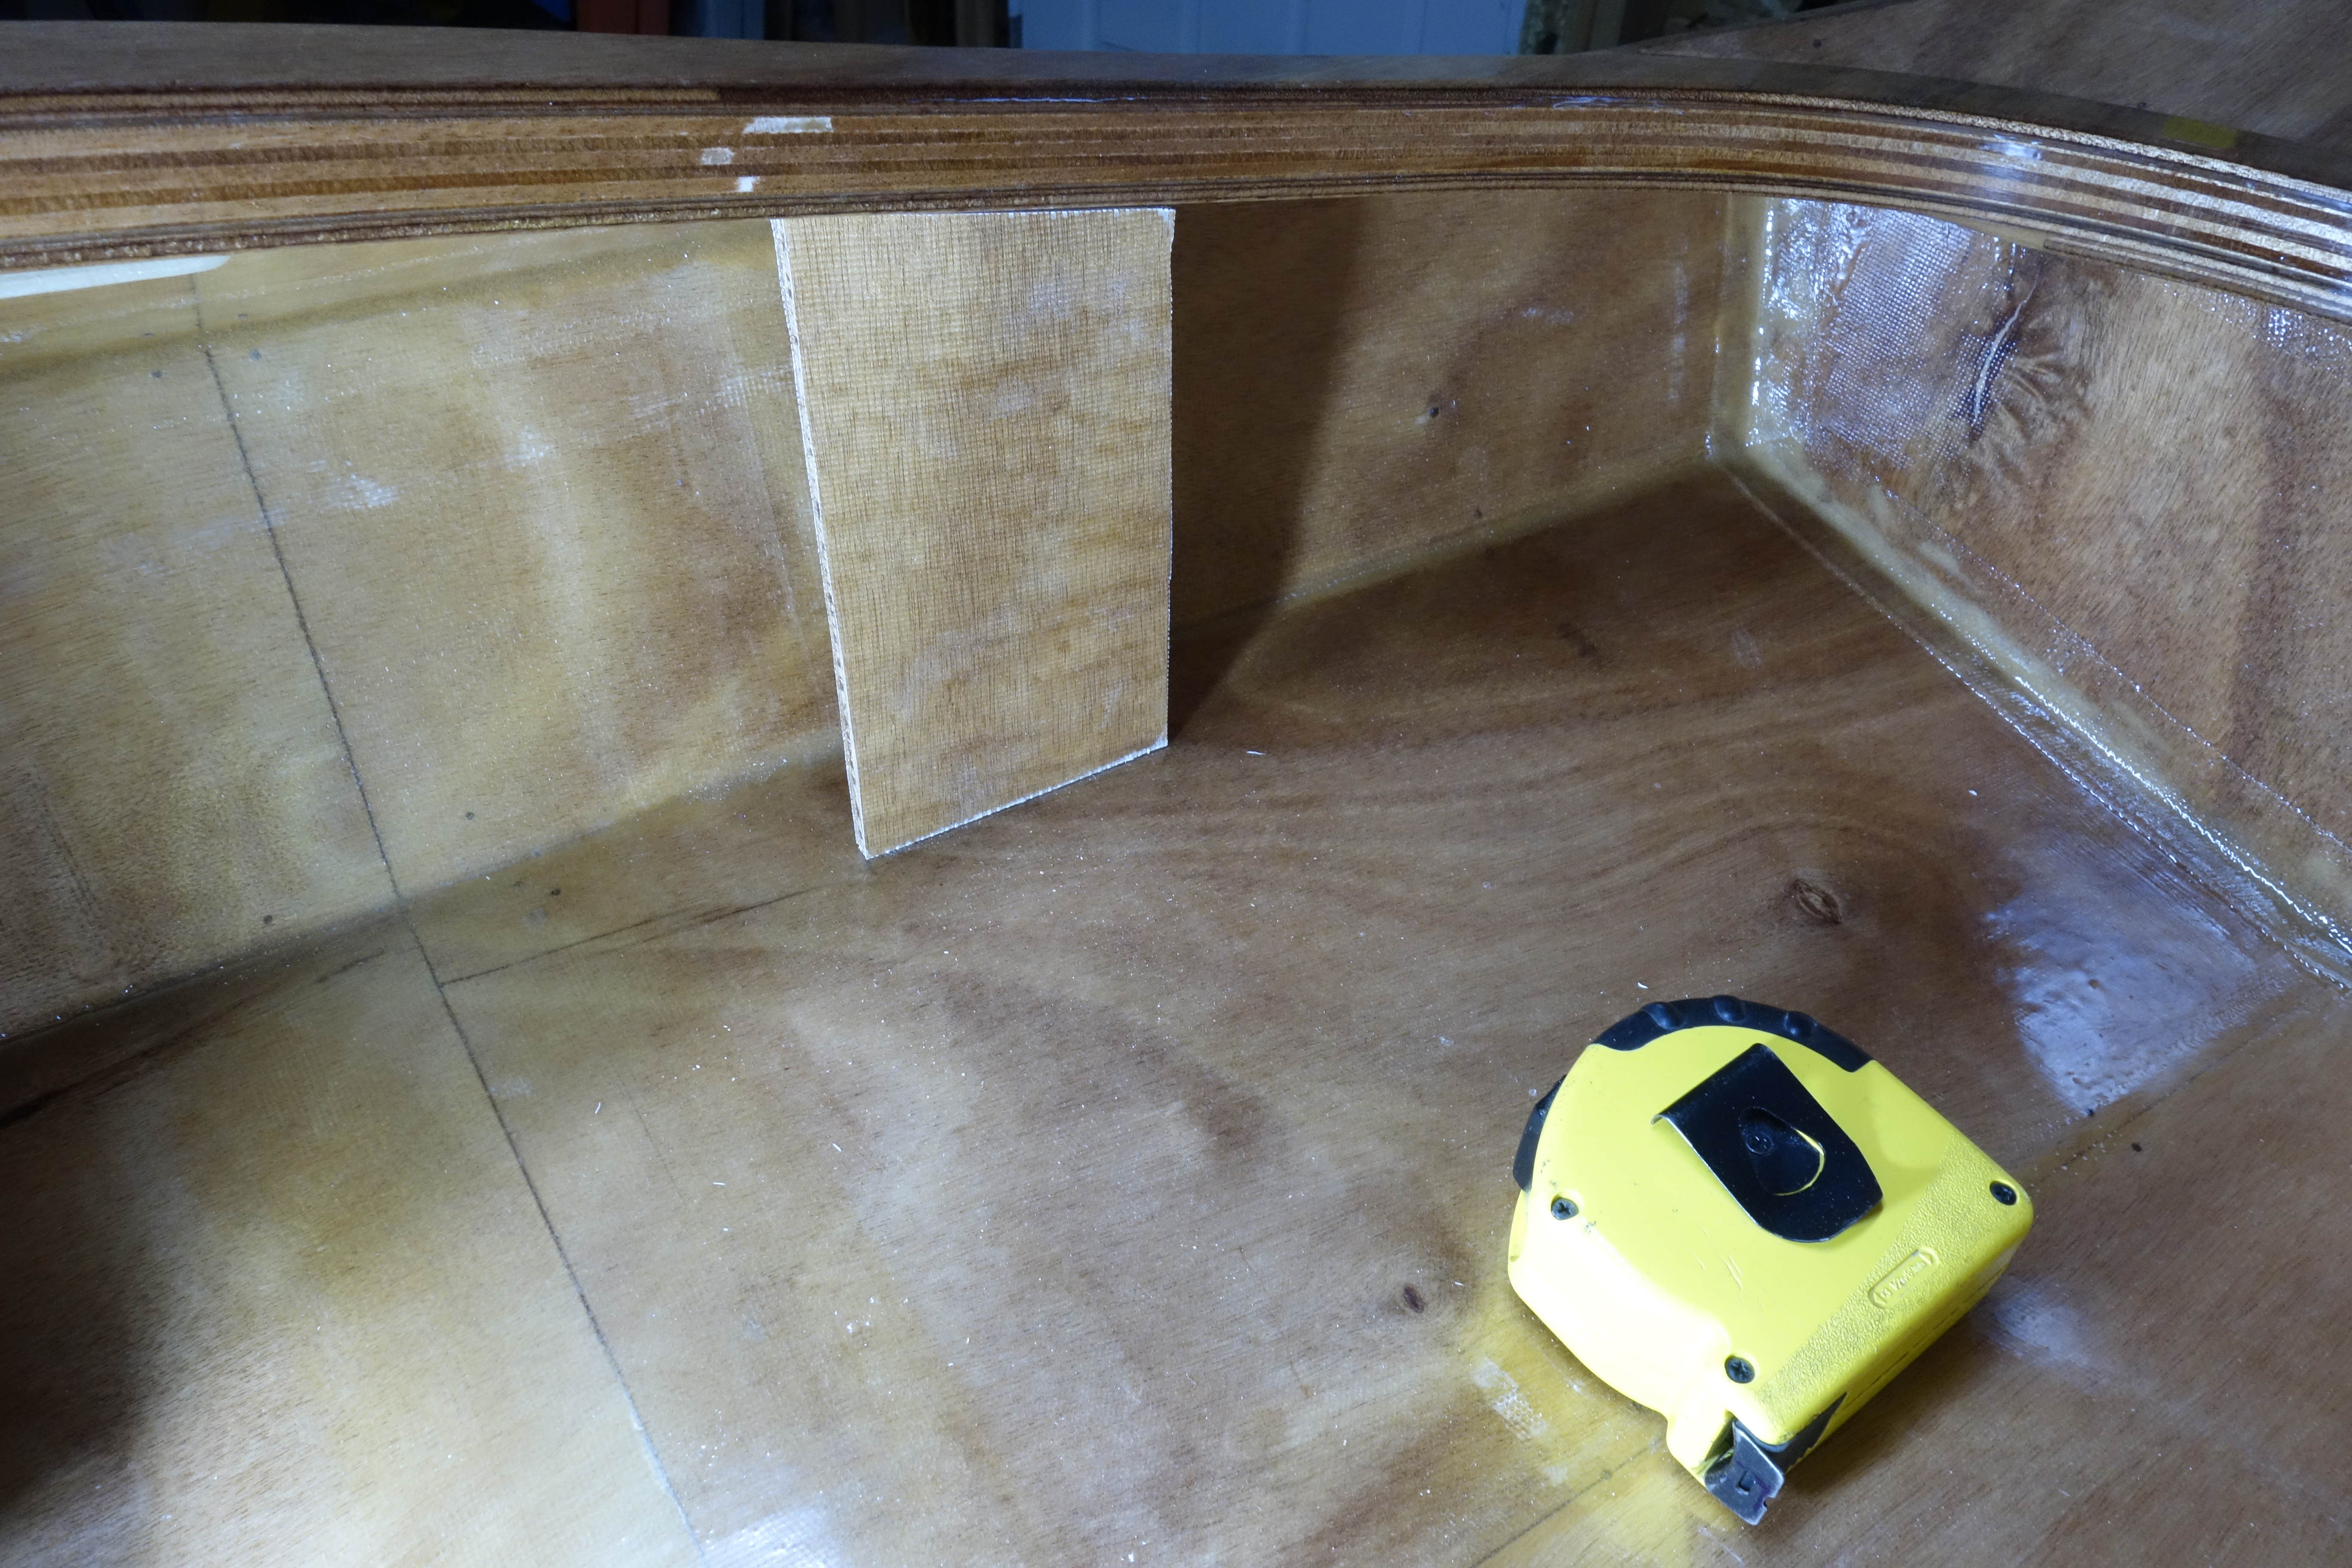
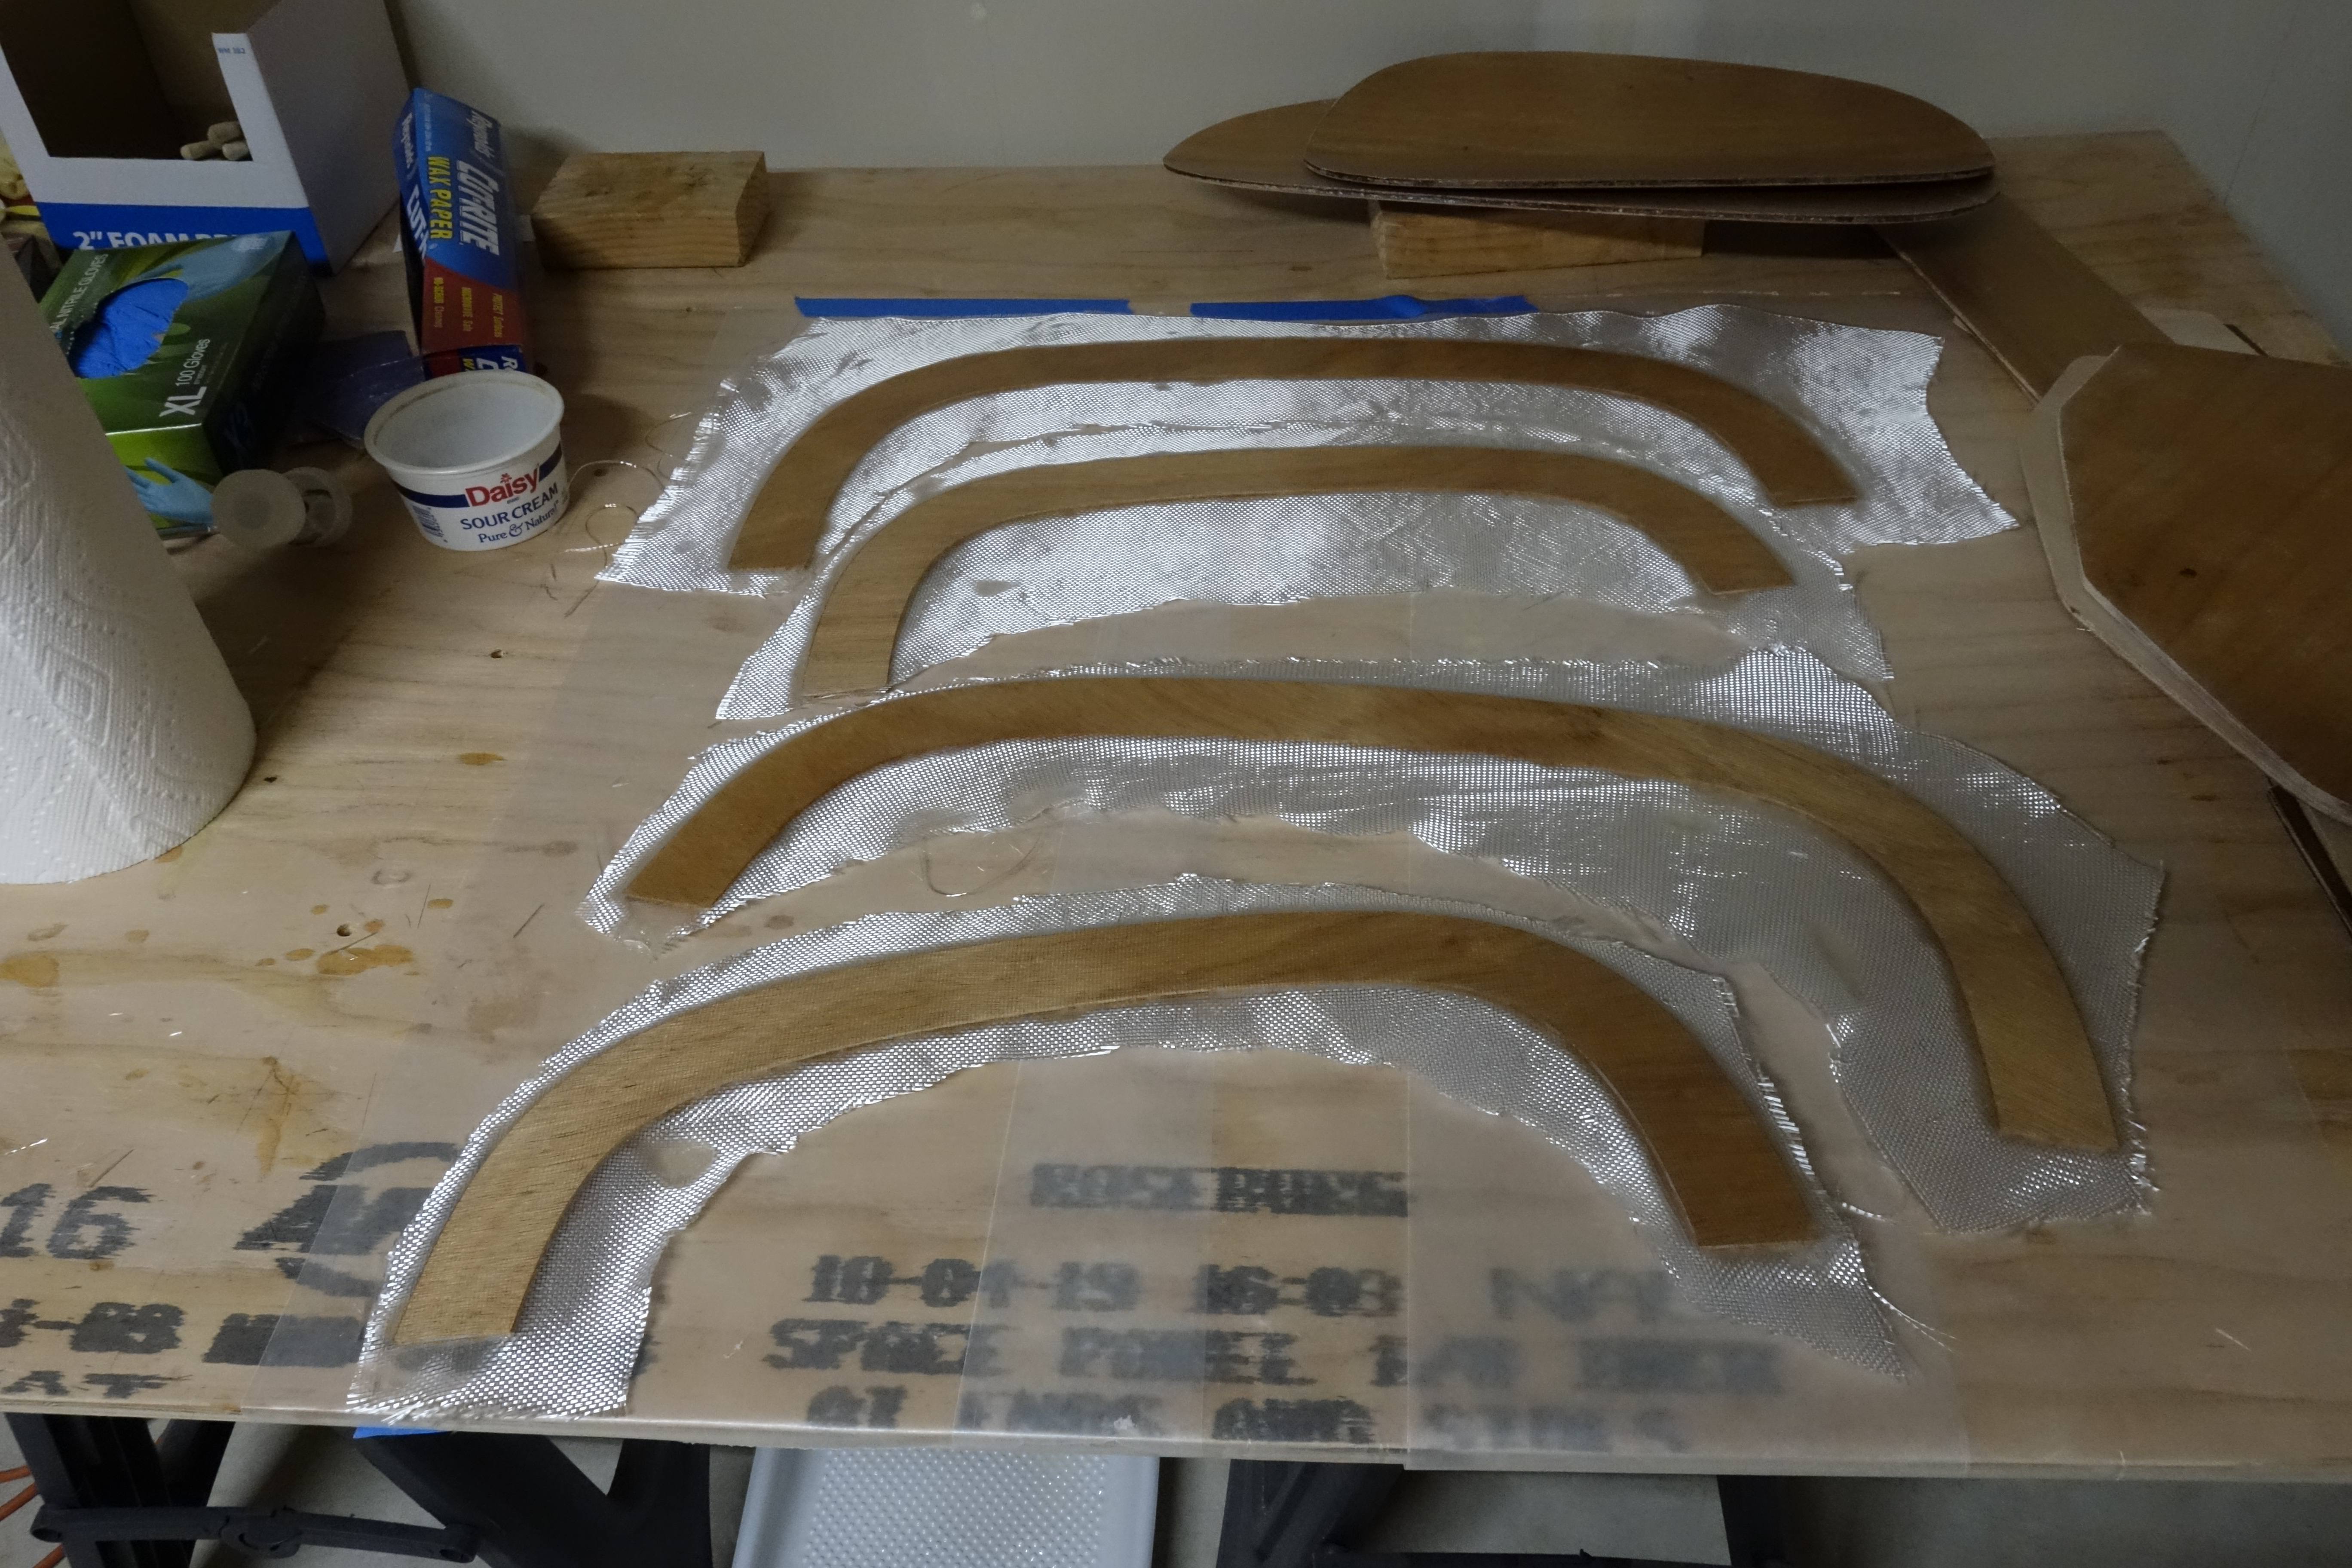
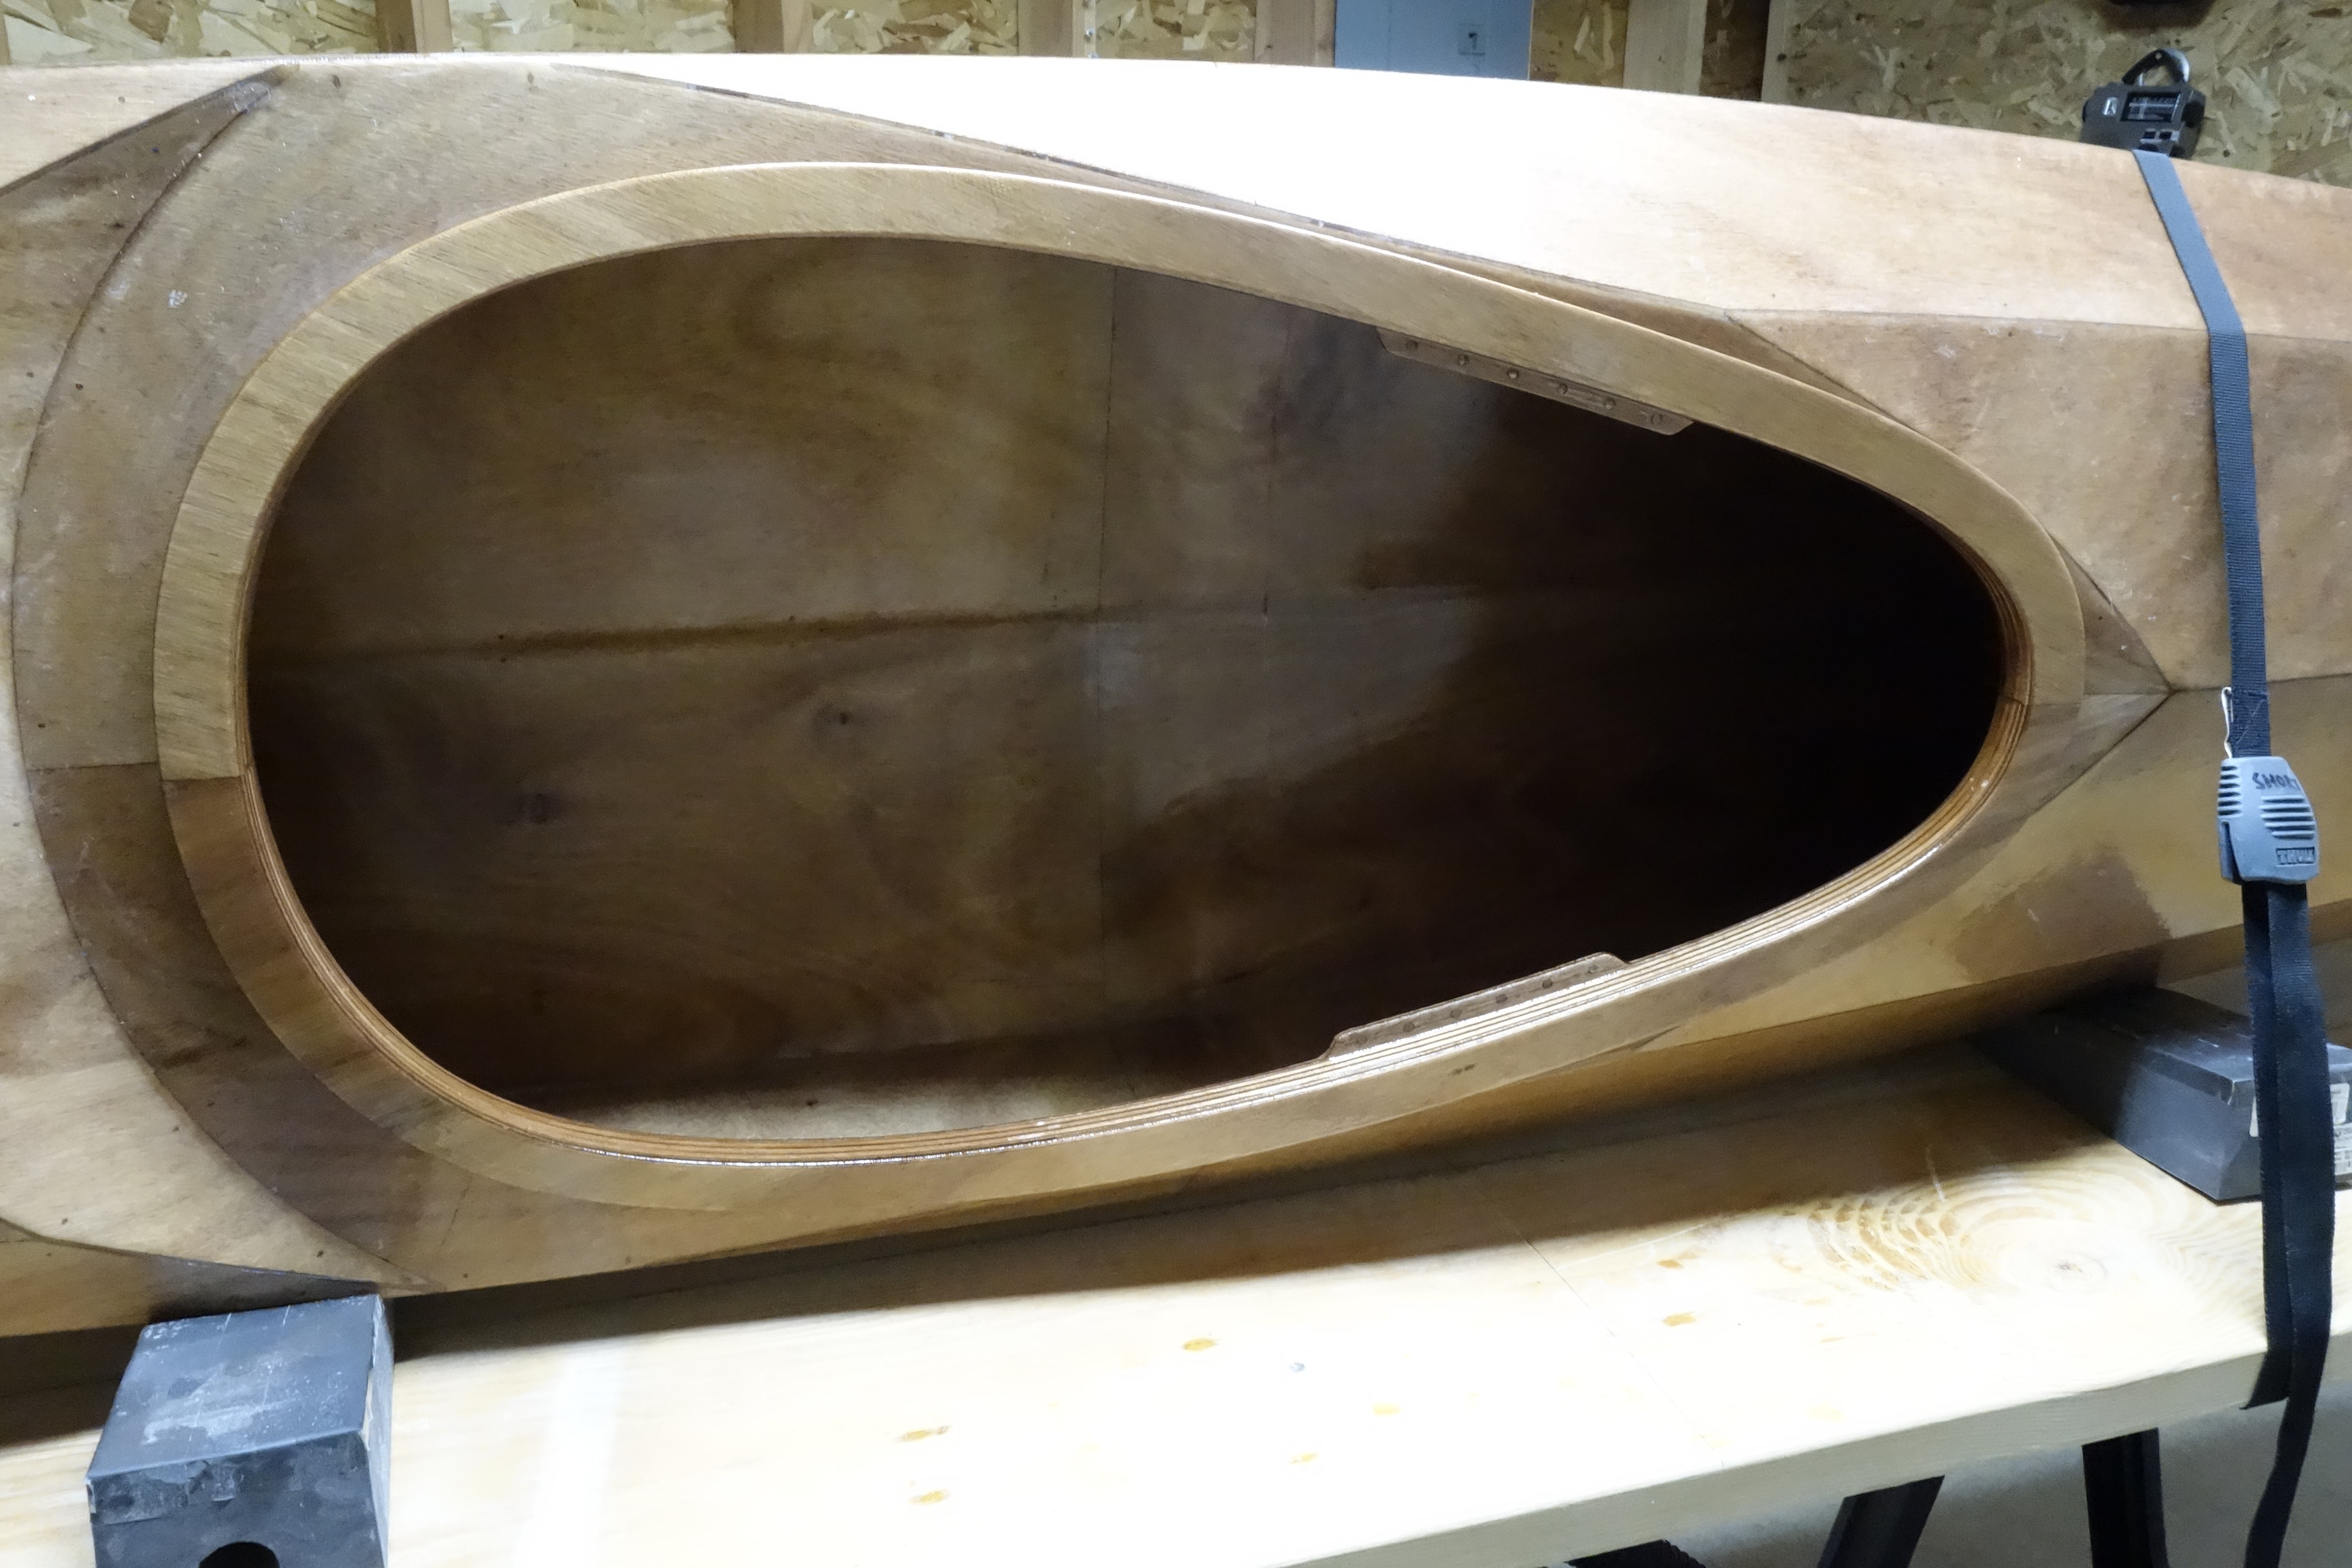
The bulkheads are completely finished after sanding the high edges off of the fiberglass tape and giving them a light coat of epoxy. The foot braces have been installed and are complete. I cut the hip braces to size and shaped them with a flat file and sandpaper. They were then dry fitted and adjusted until I was happy with the fit. I then masked off the areas on the hull and cockpit coaming where the braces will be epoxied in place and sanded them, after which the hip braces were lightly epoxied in place. The next step will be to make fillets and fiberglass the hip braces in place.
Slidelock foot braces installed. High edges sanded off of the fiberglass tape on aft bulkhead, and given a light coat of epoxy to make it pretty. Bulkheads complete.Port hip brace dry fitted in place.Starboard hip brace dry fitted in place.Masked for sanding.Port hip brace lightly glued in place (above).Starboard hip brace lightly glued in place (above).
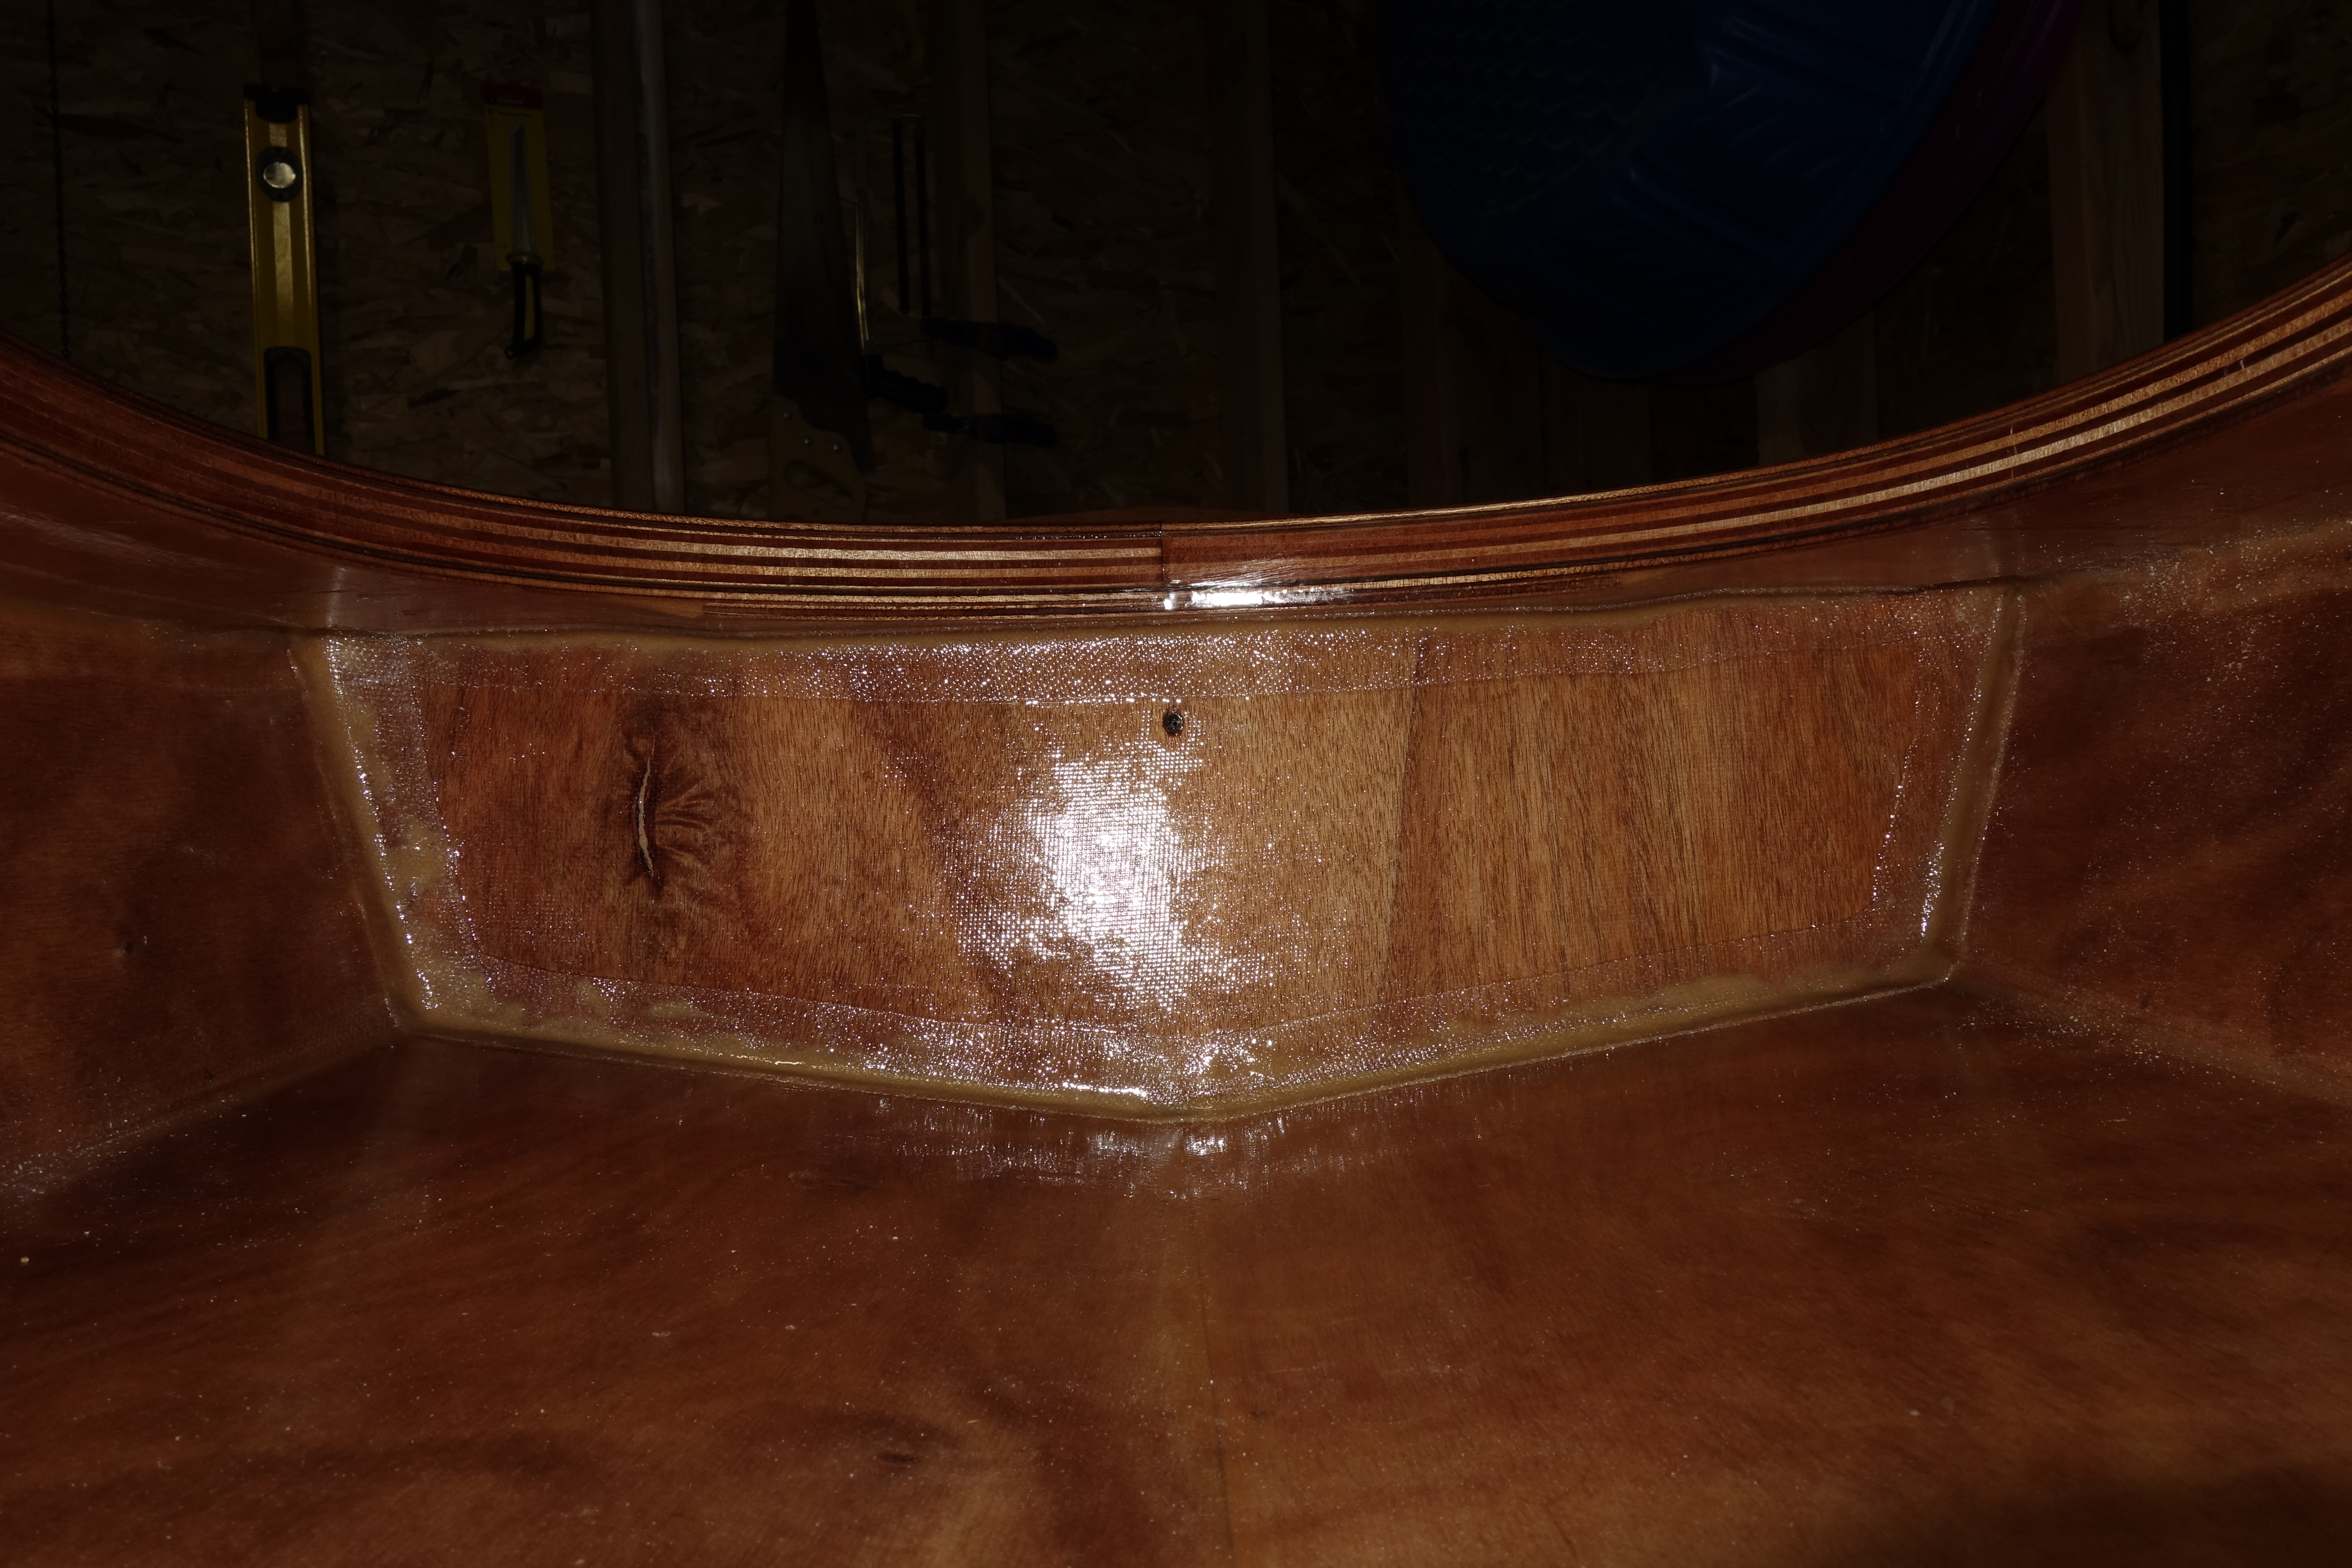
This evening I was able to complete the epoxy fillets and fiberglass tape on the aft bulkhead. There is undoubtedly some technique for making nice, clean fillets to embed the tape into, but I clearly don’t know it. The instructions said to “smear a fillet of thickened epoxy around the bulkhead and glass it in place.” So I thickened the epoxy to the same consistency that Pygmy recommended for the fillets on the shear seams (thickened to sag, but not run), but I think I should have made it thicker (like putty maybe) and applied it by hand instead of using the dental syringe to squirt it into the gap and then trying to smooth it out like caulk. I got the job done, but it isn’t pretty. At least it is consistent with the appearance of the shear seams I suppose. One thing is certain though, these bulkheads are water-tight and aren’t going anywhere! In the next couple of days, and before I start on the hip braces, I will knock the rough, high edges off the fiberglass tape on the bulkheads and give them a light coat of epoxy to make them smoother so nothing can catch on them.
:^\
The next step on the kayak is the hip braces, and it is something of a relief that those are the last fillets and tape that I will have to do. Ever. Unless I decide to build another boat.
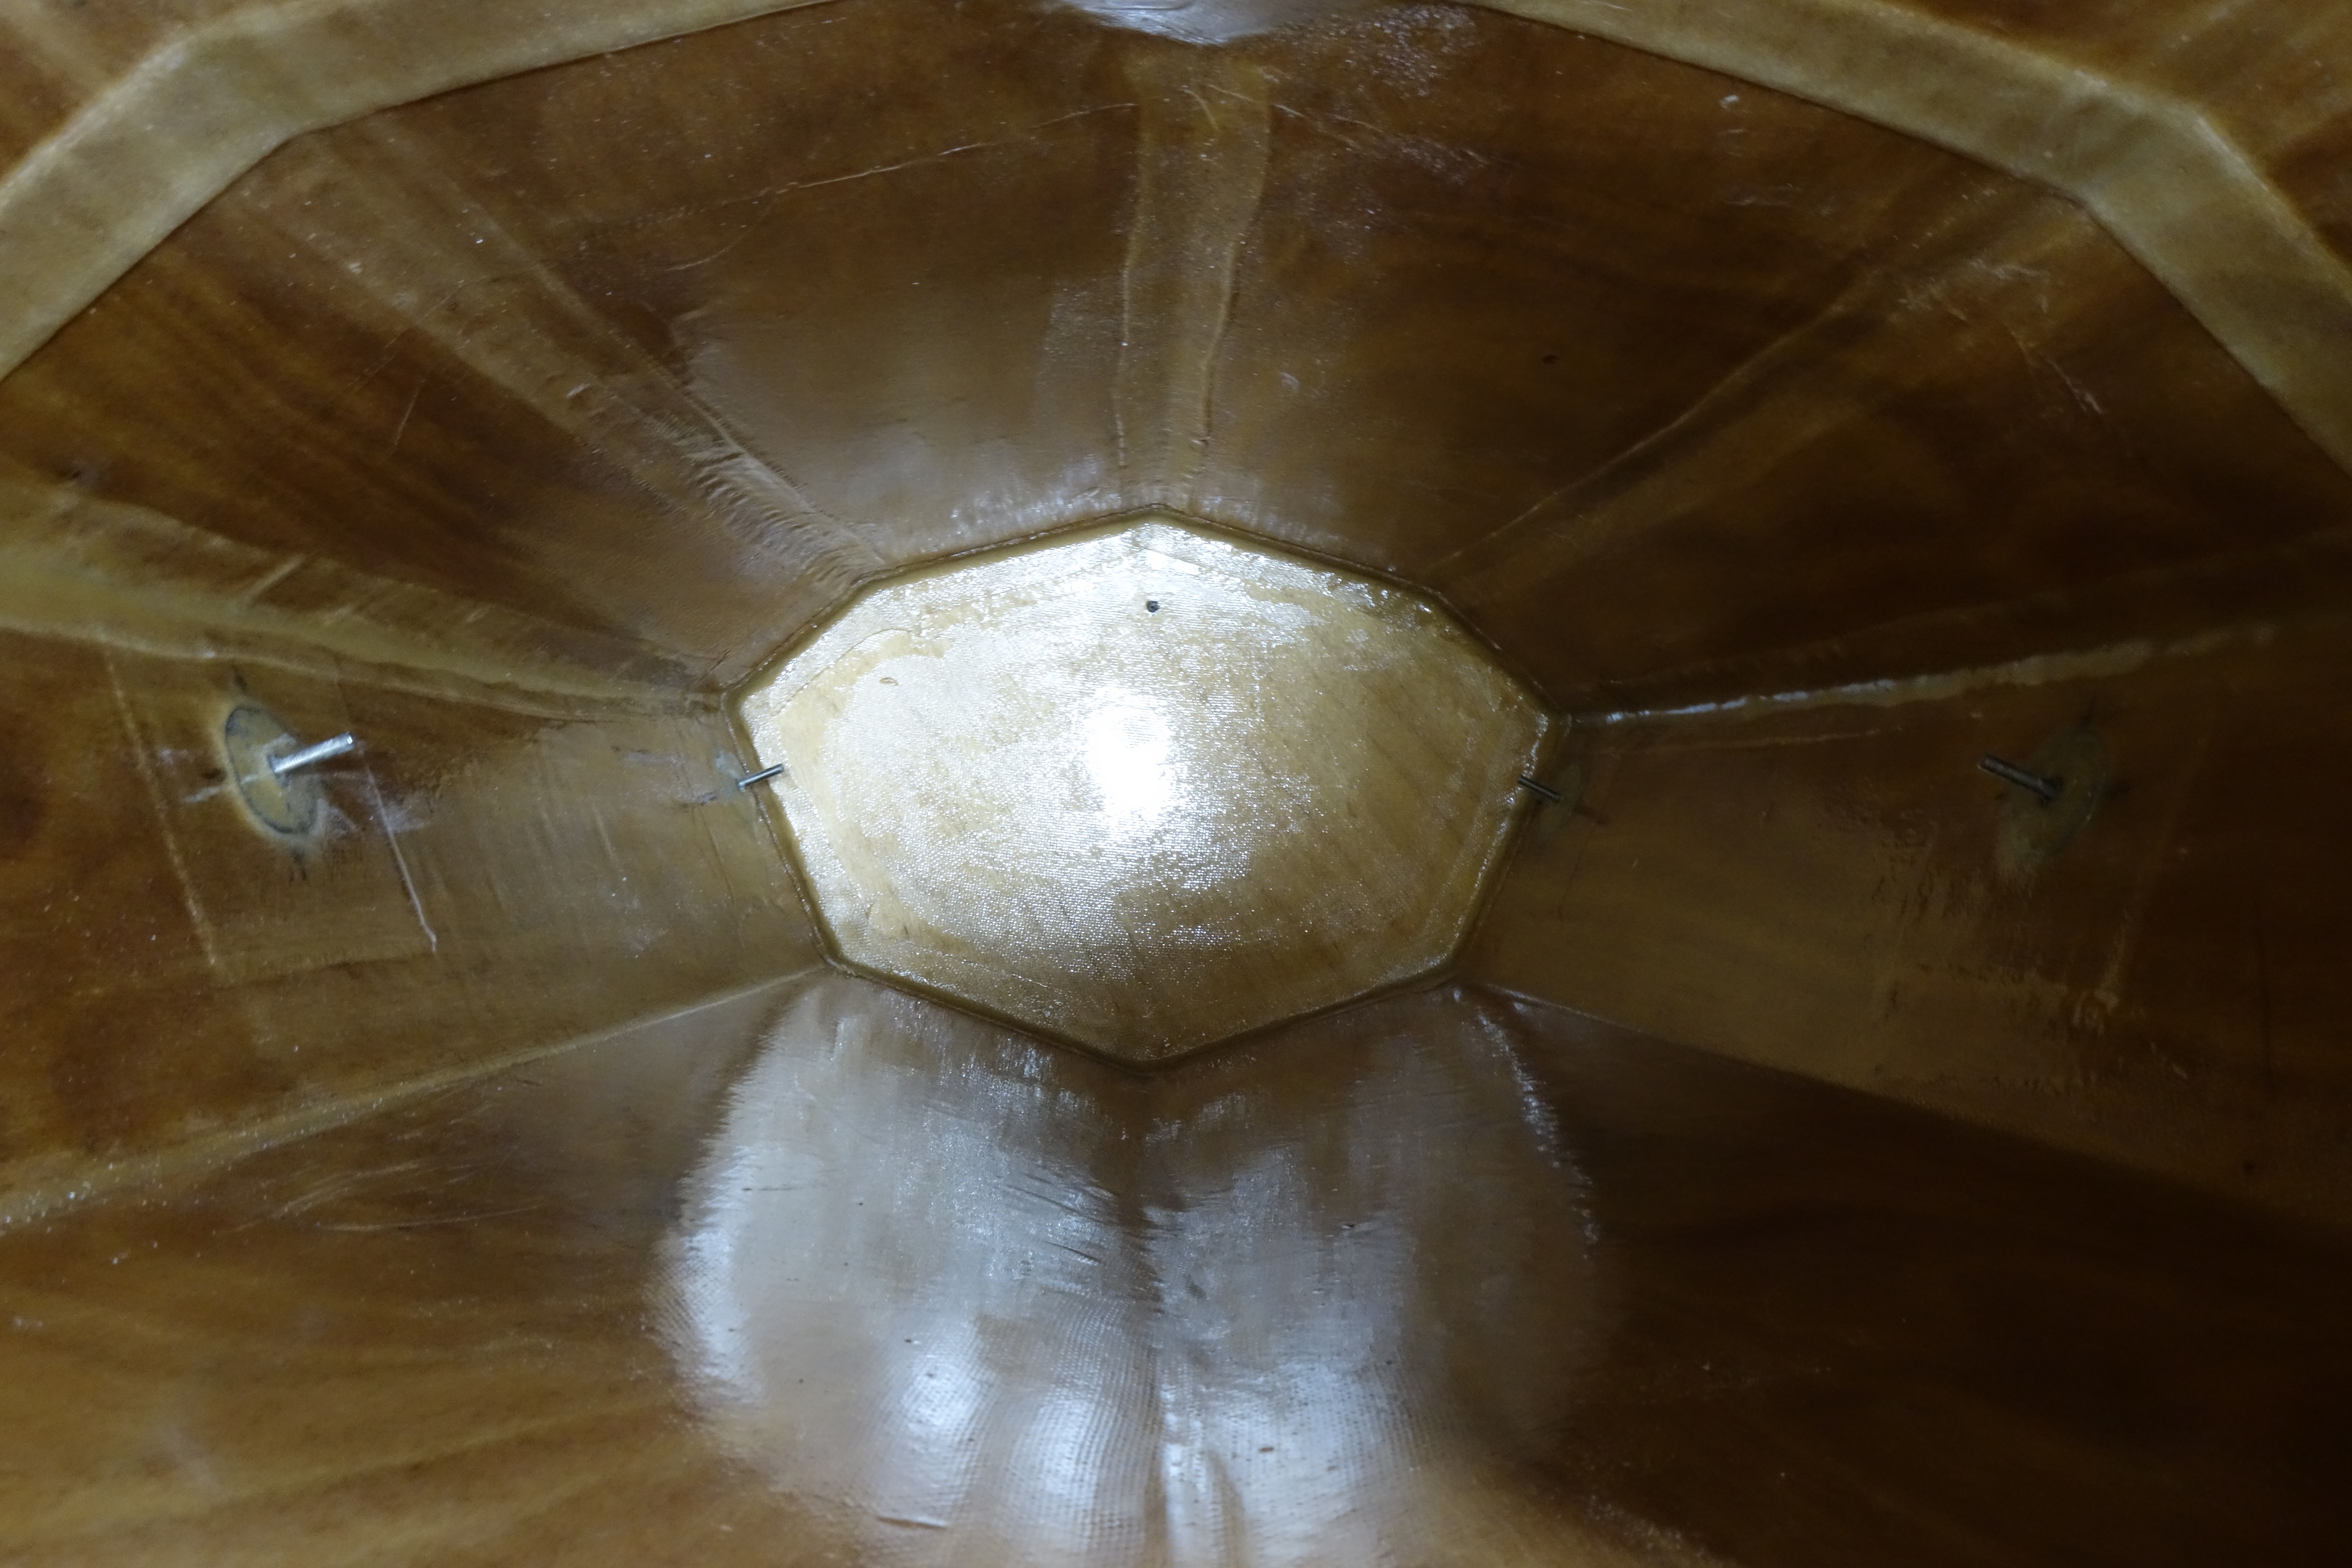
I actually did a less messy job on cargo hold side of the bulkhead (above) than I did on the cockpit side (below), which is irritating since nobody will ever see it and everybody will see the cockpit side. I’m not sure how this happened as the cargo hold side was much more difficult to see and reach than the cockpit side. The camera makes this area look HUGE but there is not much room in there. I could barely get my arm and my head in the hatch at the same time and then could only move my arm in a very limited way. I even thought about cutting the handle off of the bristle brush I was using to apply the epoxy so that I would have a tiny bit more room to work. Very tight!If you zoom into this photo (above) you can see that my thickened epoxy is kind-of all over the place under the tape. The epoxy started out as a fairly uniform bead in the 90 degree joints, but as I smooshed the tape into it to bed the tape, the thicker areas of epoxy squished out here and there and once the tape was down, there is no way (that I know of) to clean it up, or smooth it out under the tape. At least the tape is nice and straight, and bedded in well. I suppose that the seat cushion and back band will obscure this so that it won’t be so obvious, but I have to admit that I am disappointed with it. Not so disappointed that I was willing to peel it up and start over though.
This evening after work I was able to get the fillets and fiberglass tape finished on the forward bulkhead. It took me about 90 minutes start to finish (cutting the tape to size for both sides of the bulkhead, mixing and thickening the epoxy, piping the thickened epoxy into a dental syringe, making the fillets, applying and bedding the tape, and finally, mixing 1.5 oz. of new epoxy to wet out the tape, and then wetting out the tape). The tape fought me fiercely, which has been my experience with all of the fiberglass tape I have applied to this kayak going all the way back to the sacrificial keel tape, but I prevailed! *sigh* One down, one to go. My plan is to do the aft bulkhead tomorrow. Then, after the epoxy cures fully on both of the bulkheads I will sand the edges off of the tape as I did on the inside seams, and give them a light coat of epoxy to make them smooth and pretty.
Cockpit side of the forward bulkhead. Sorry about the terrible photos. Auto-focus doesn’t like the dark.Bow side of the forward bulkhead. This will be sanded and made pretty after it cures. Right now it looks like hell.
Because I worked hard to make sure that both bulkheads would land exactly where I want them, I decided that it would be a good idea to glue them in place with lightly thickened epoxy before I make the very thick epoxy fillets and then apply fiberglass tape. This is not in the Pygmy hatch and bulkhead instructions, but I don’t want there to be any chance that I might accidentally push them out of position when I am applying the fillets or bedding in the tape. Also, since the only way that I can reach far enough into the cockpit and hatches to reach all areas of the bulkheads is to turn the kayak on its side, I worried about bulkheads flexing out of position as I turned and strapped the kayak. I can now put that worry behind me. This will add several hours (perhaps a day) to the process while I wait for the epoxy to cure enough that I can go back and start on the fillets, etc., but I think it is a reasonable precaution.
EDIT: I have decided to wait until tomorrow to resume working on the bulkheads. I want the epoxy that I applied today to be fully cured before I start doing the fillets, etc. It won’t hurt anything to wait, and it is cheap insurance, as the saying goes.
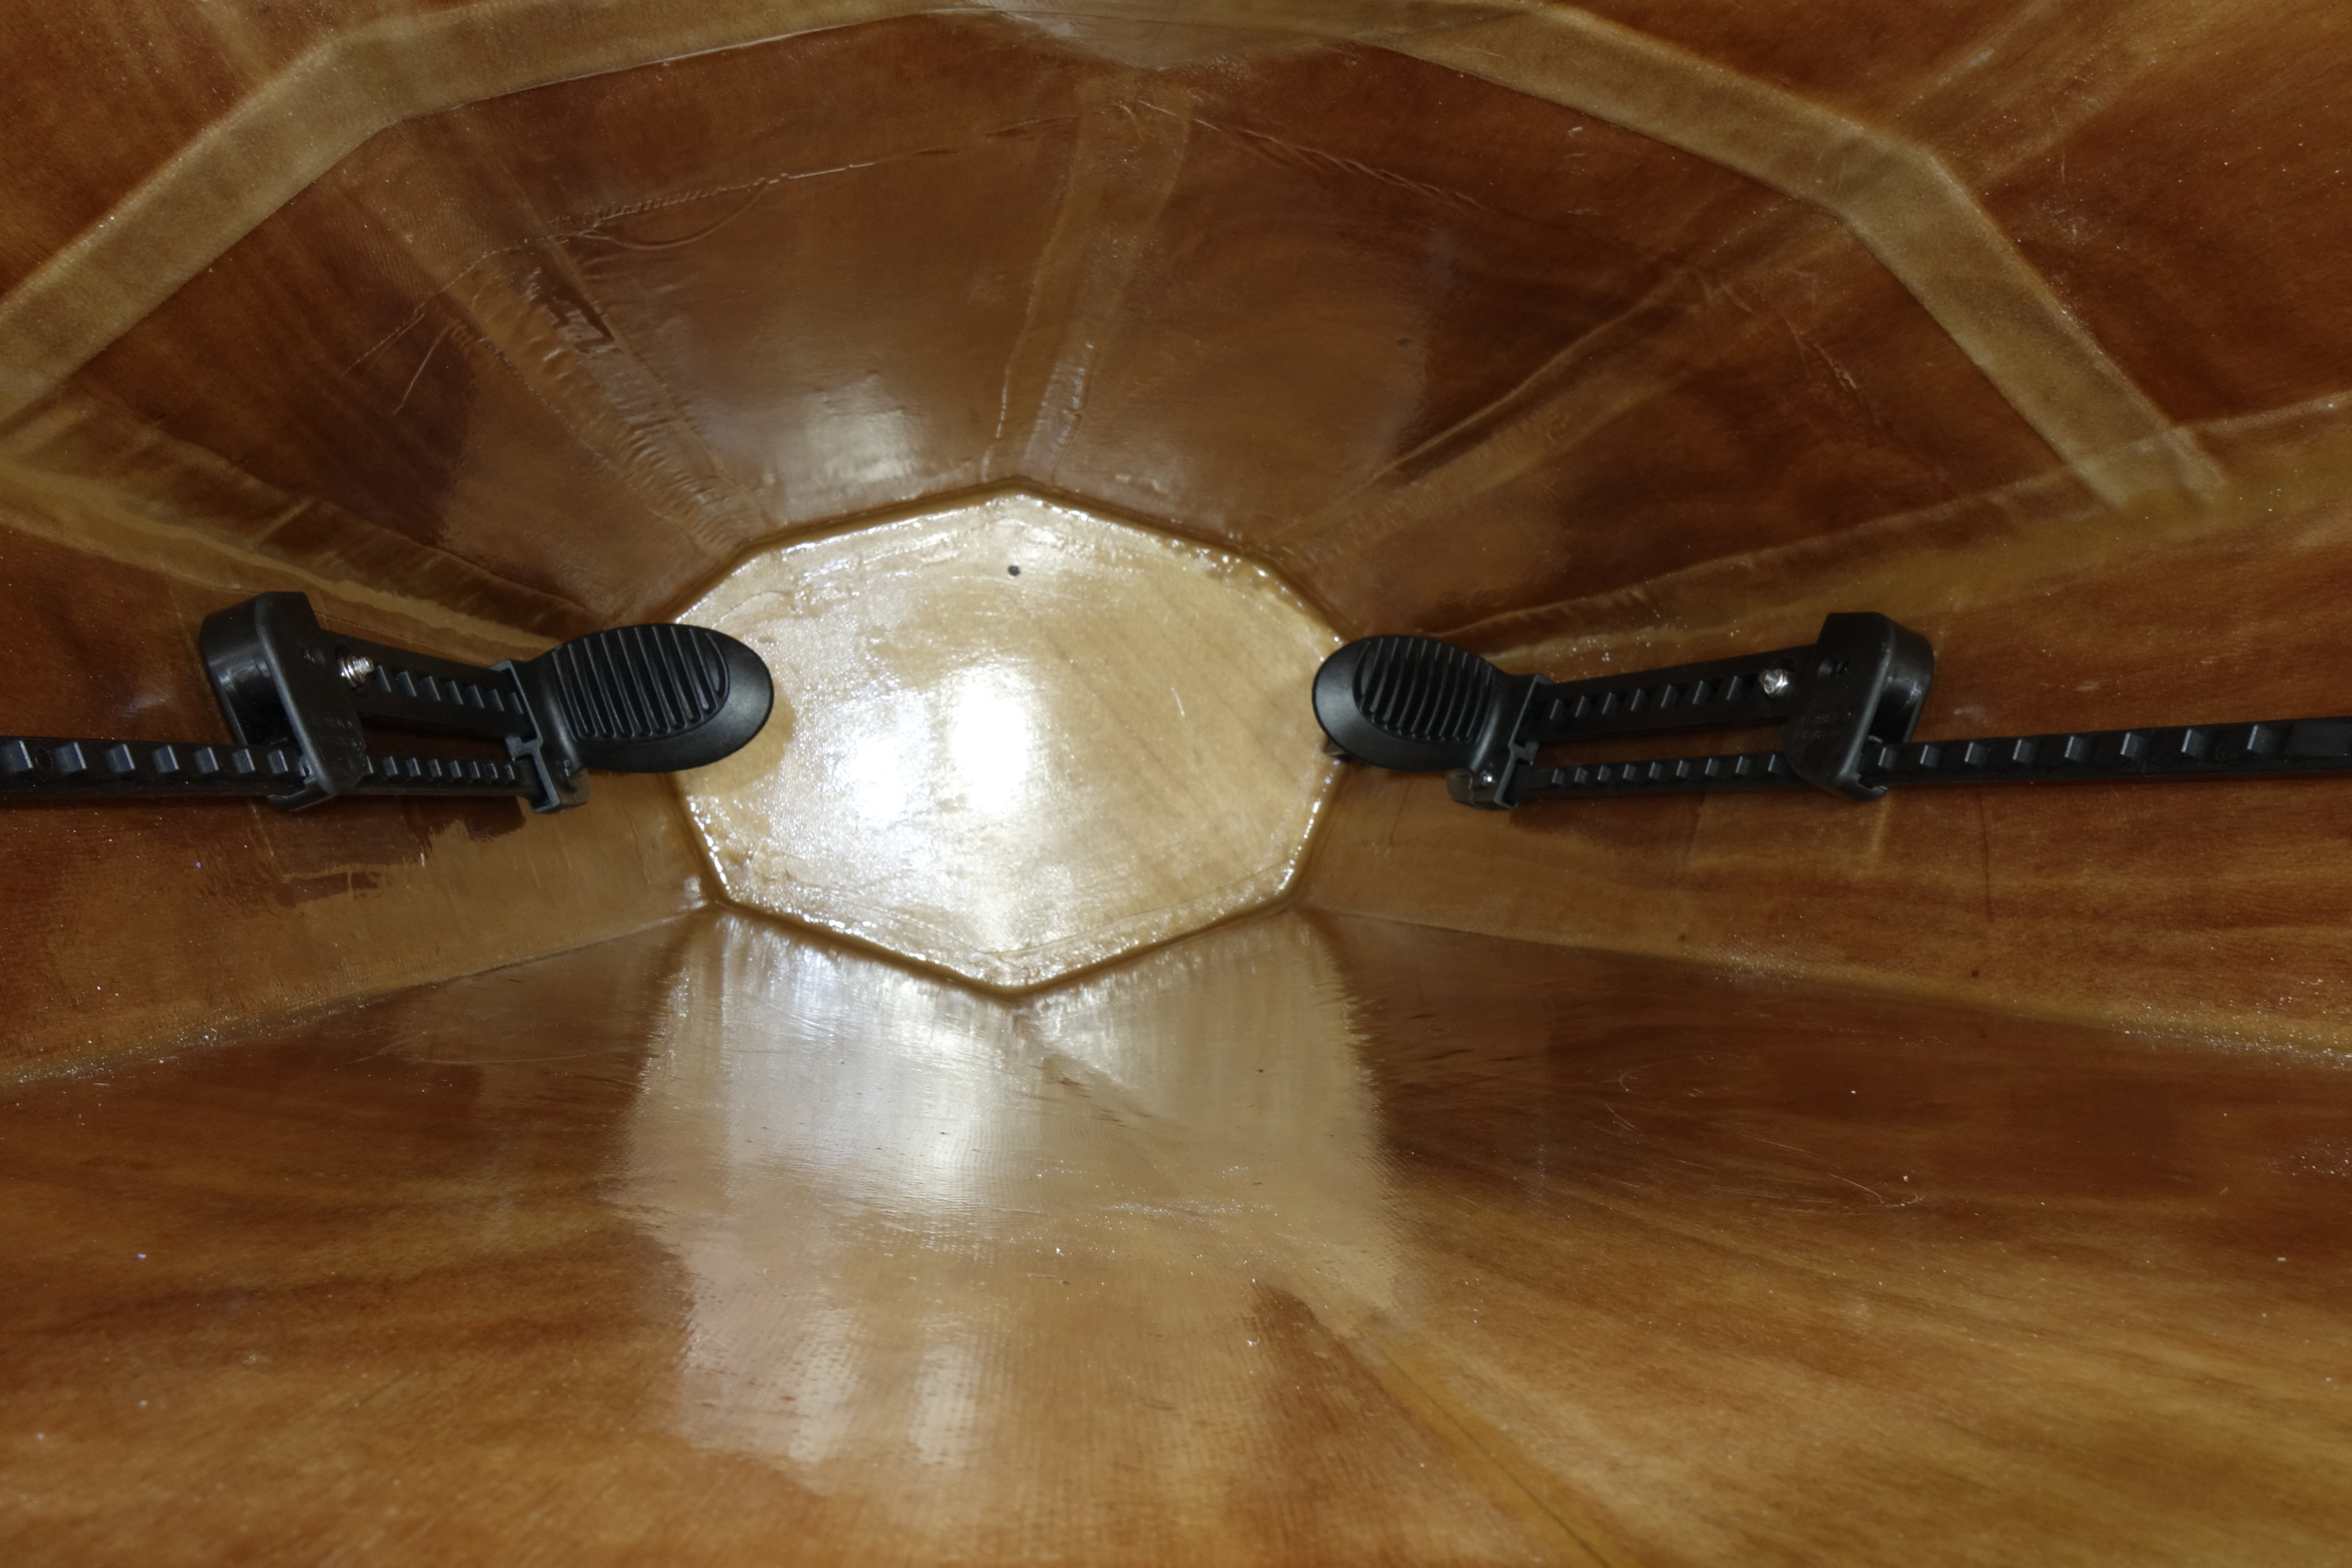
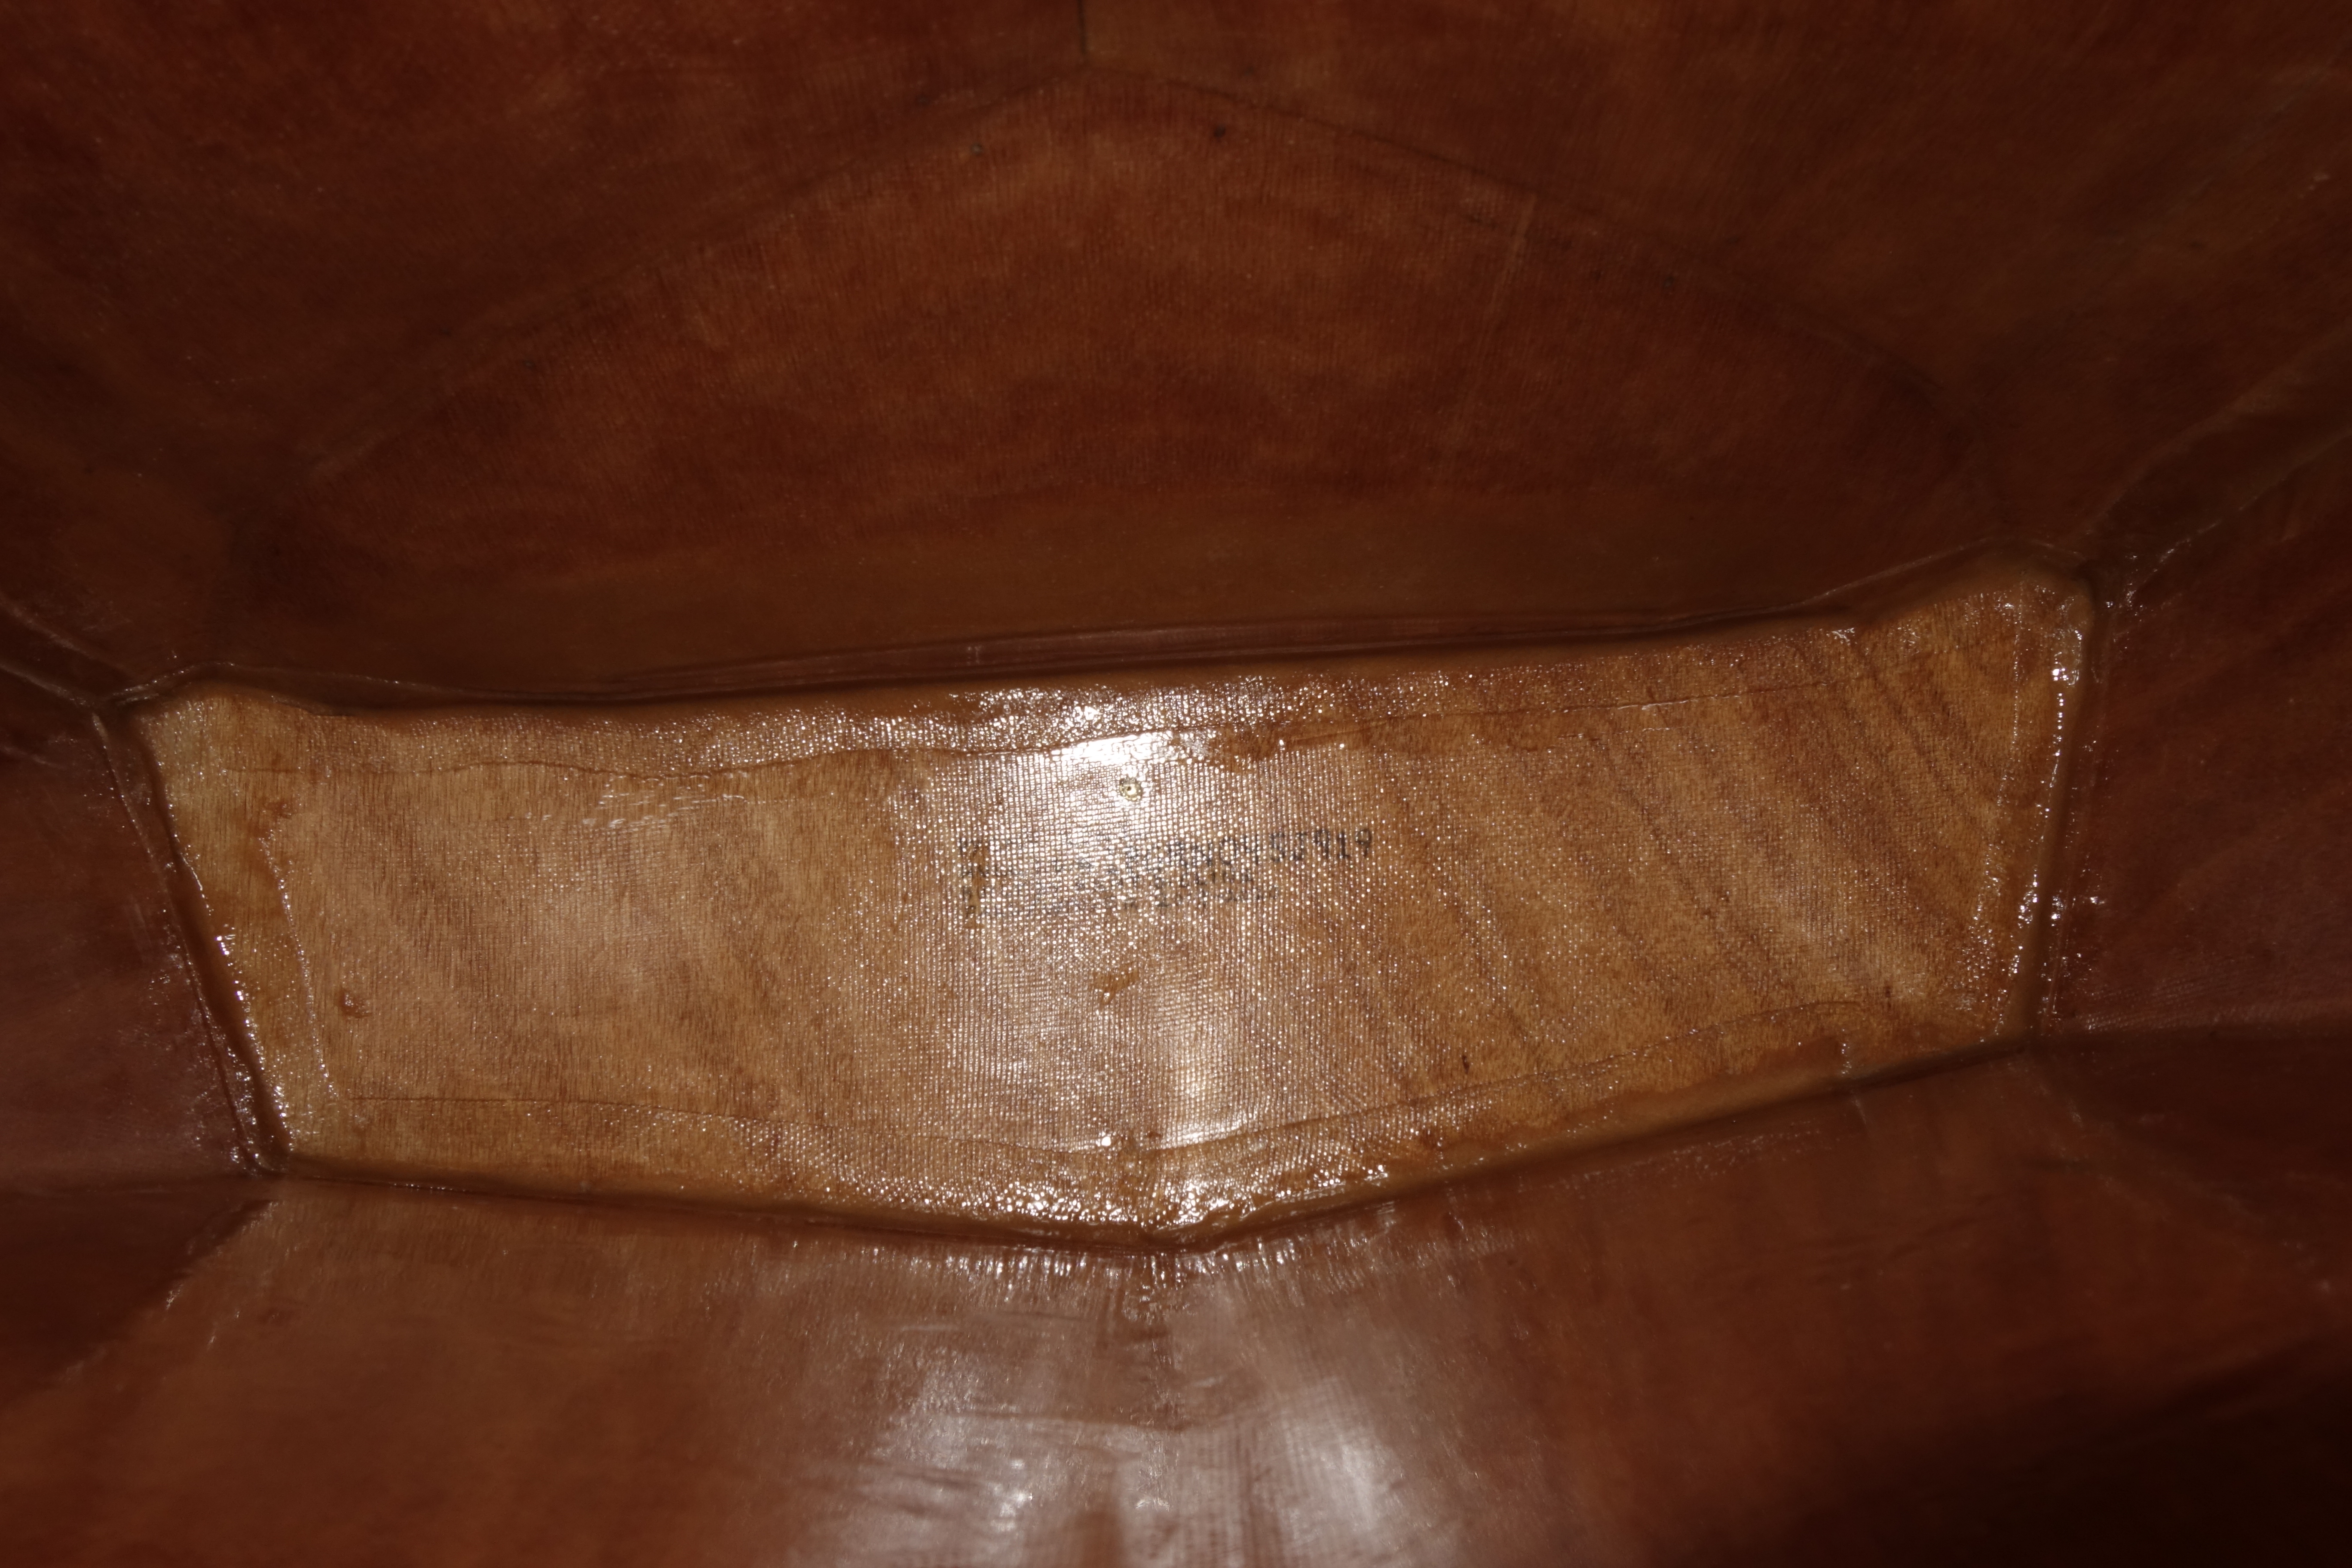
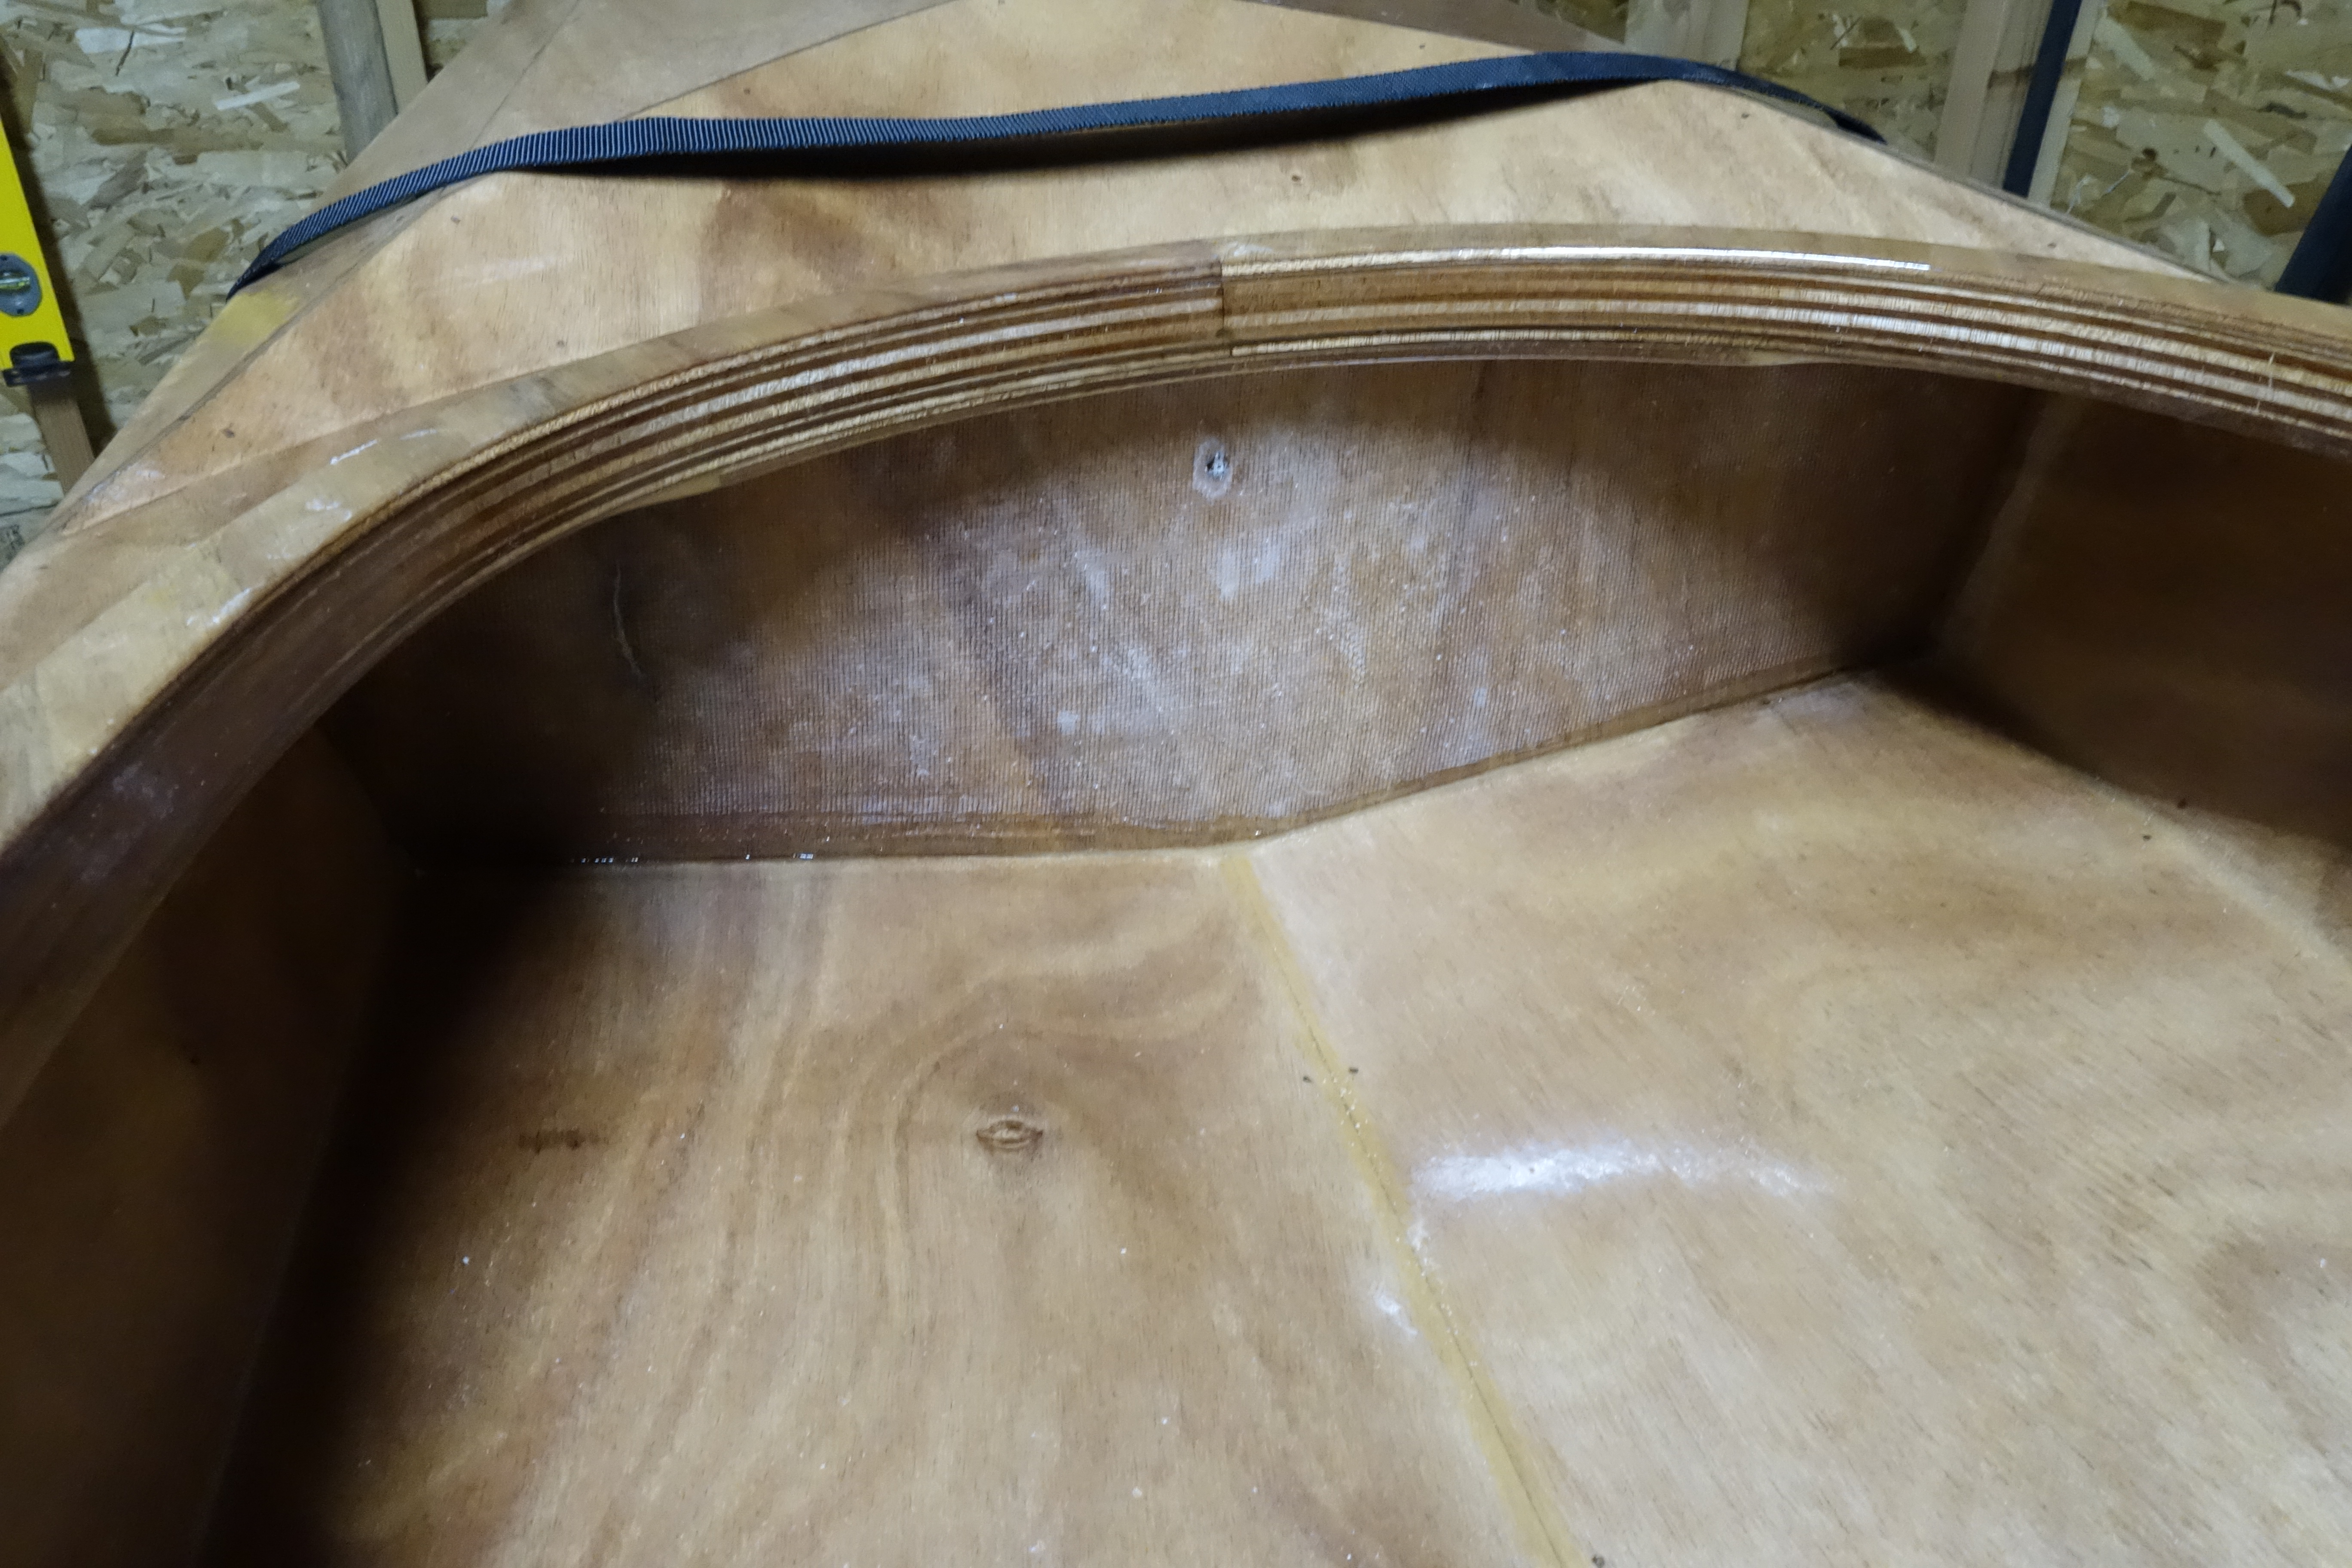
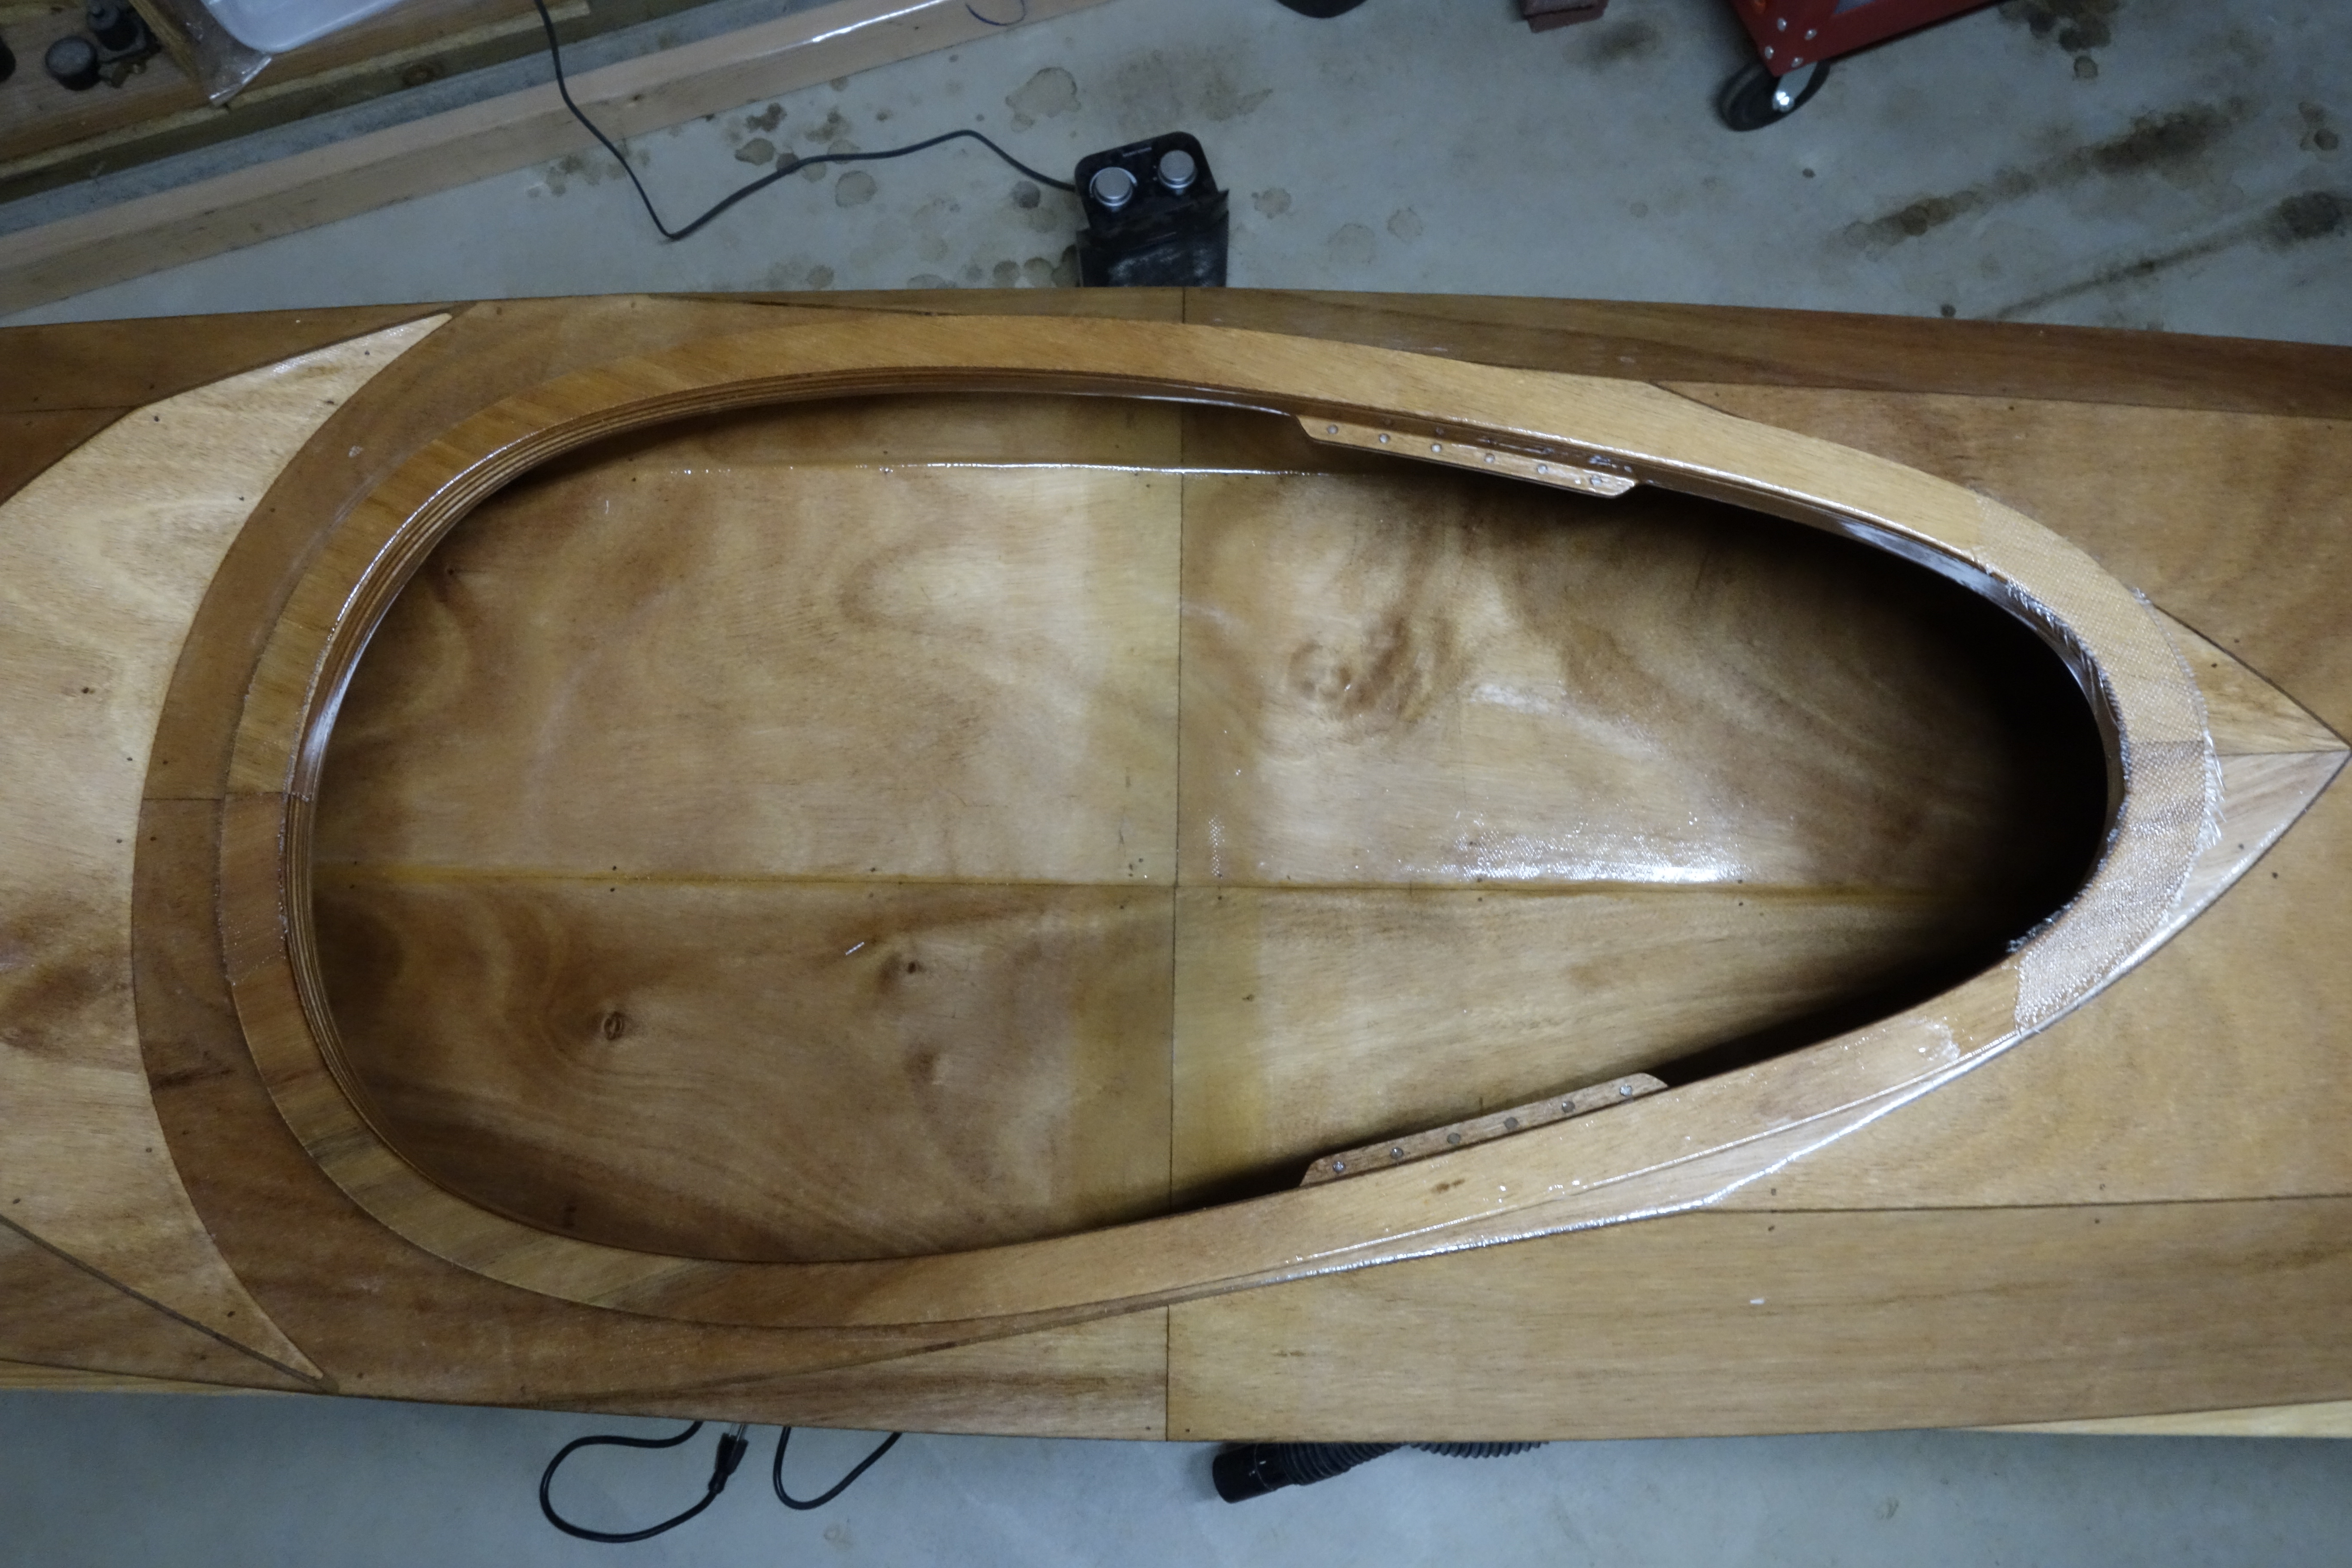
Aft hatch. It turns out that after all of my careful measuring (and bragging about it), I put the top of the rear bulkhead (above) 3/16″ closer to the cockpit opening than I intended. The instructions say to put it 1″ behind the cockpit opening and mine is only a little over 3/4″ behind the opening. Oh well. There will be room for the fillet and tape, and the back band/seat back shouldn’t hit it. So I’m not going to worry about it. I have bigger fish to fry. Although I do feel compelled to note that this is the second time that my construction around the cockpit has been off by exactly 3/16″ (see upper cockpit coaming post). Close-up of the lightly thickened epoxy on the aft bulkhead.Above is a wide shot of the aft bulkhead.Above is the bow-end side of the forward bulkhead.Aft bulkhead. If you have been following along, you may remember that when I fiberglassed the aft bulkhead I put the hull I.D. #, etc., under the fiberglass cloth. At that time I hadn’t decided if I wanted that information visible from the cockpit, or if I would have it hidden inside the rear cargo hold. From the photos of the aft bulkhead here, you can see that I opted for the latter.Above is the cockpit side of the forward bulkhead. Don’t worry, I left the foot braces in the kayak until after I glued the bulkhead in place, as well as measuring the position of the bulkhead relative to the butt seam in the center of the kayak, so I am 100% certain that everything will fit properly. :^)Above is the bow-end side of the forward bulkhead.
I finished using my templates to get the shapes of the bulkheads just right. I have transferred those shapes to the actual bulkheads, which as I have mentioned before, have been fiberglassed on both sides with fiberglass cloth. Now they’re ready to go. Because it has been more than 72 hours since I fiberglassed both the bulkheads and the inside of the kayak, I have sanded where I will epoxy and glass tape tomorrow, and have sanded the bulkheads all over so that they will take the epoxy, and so that I can brush a thin coat of epoxy on both sides after I am done gluing/taping them in, so they will be pretty.
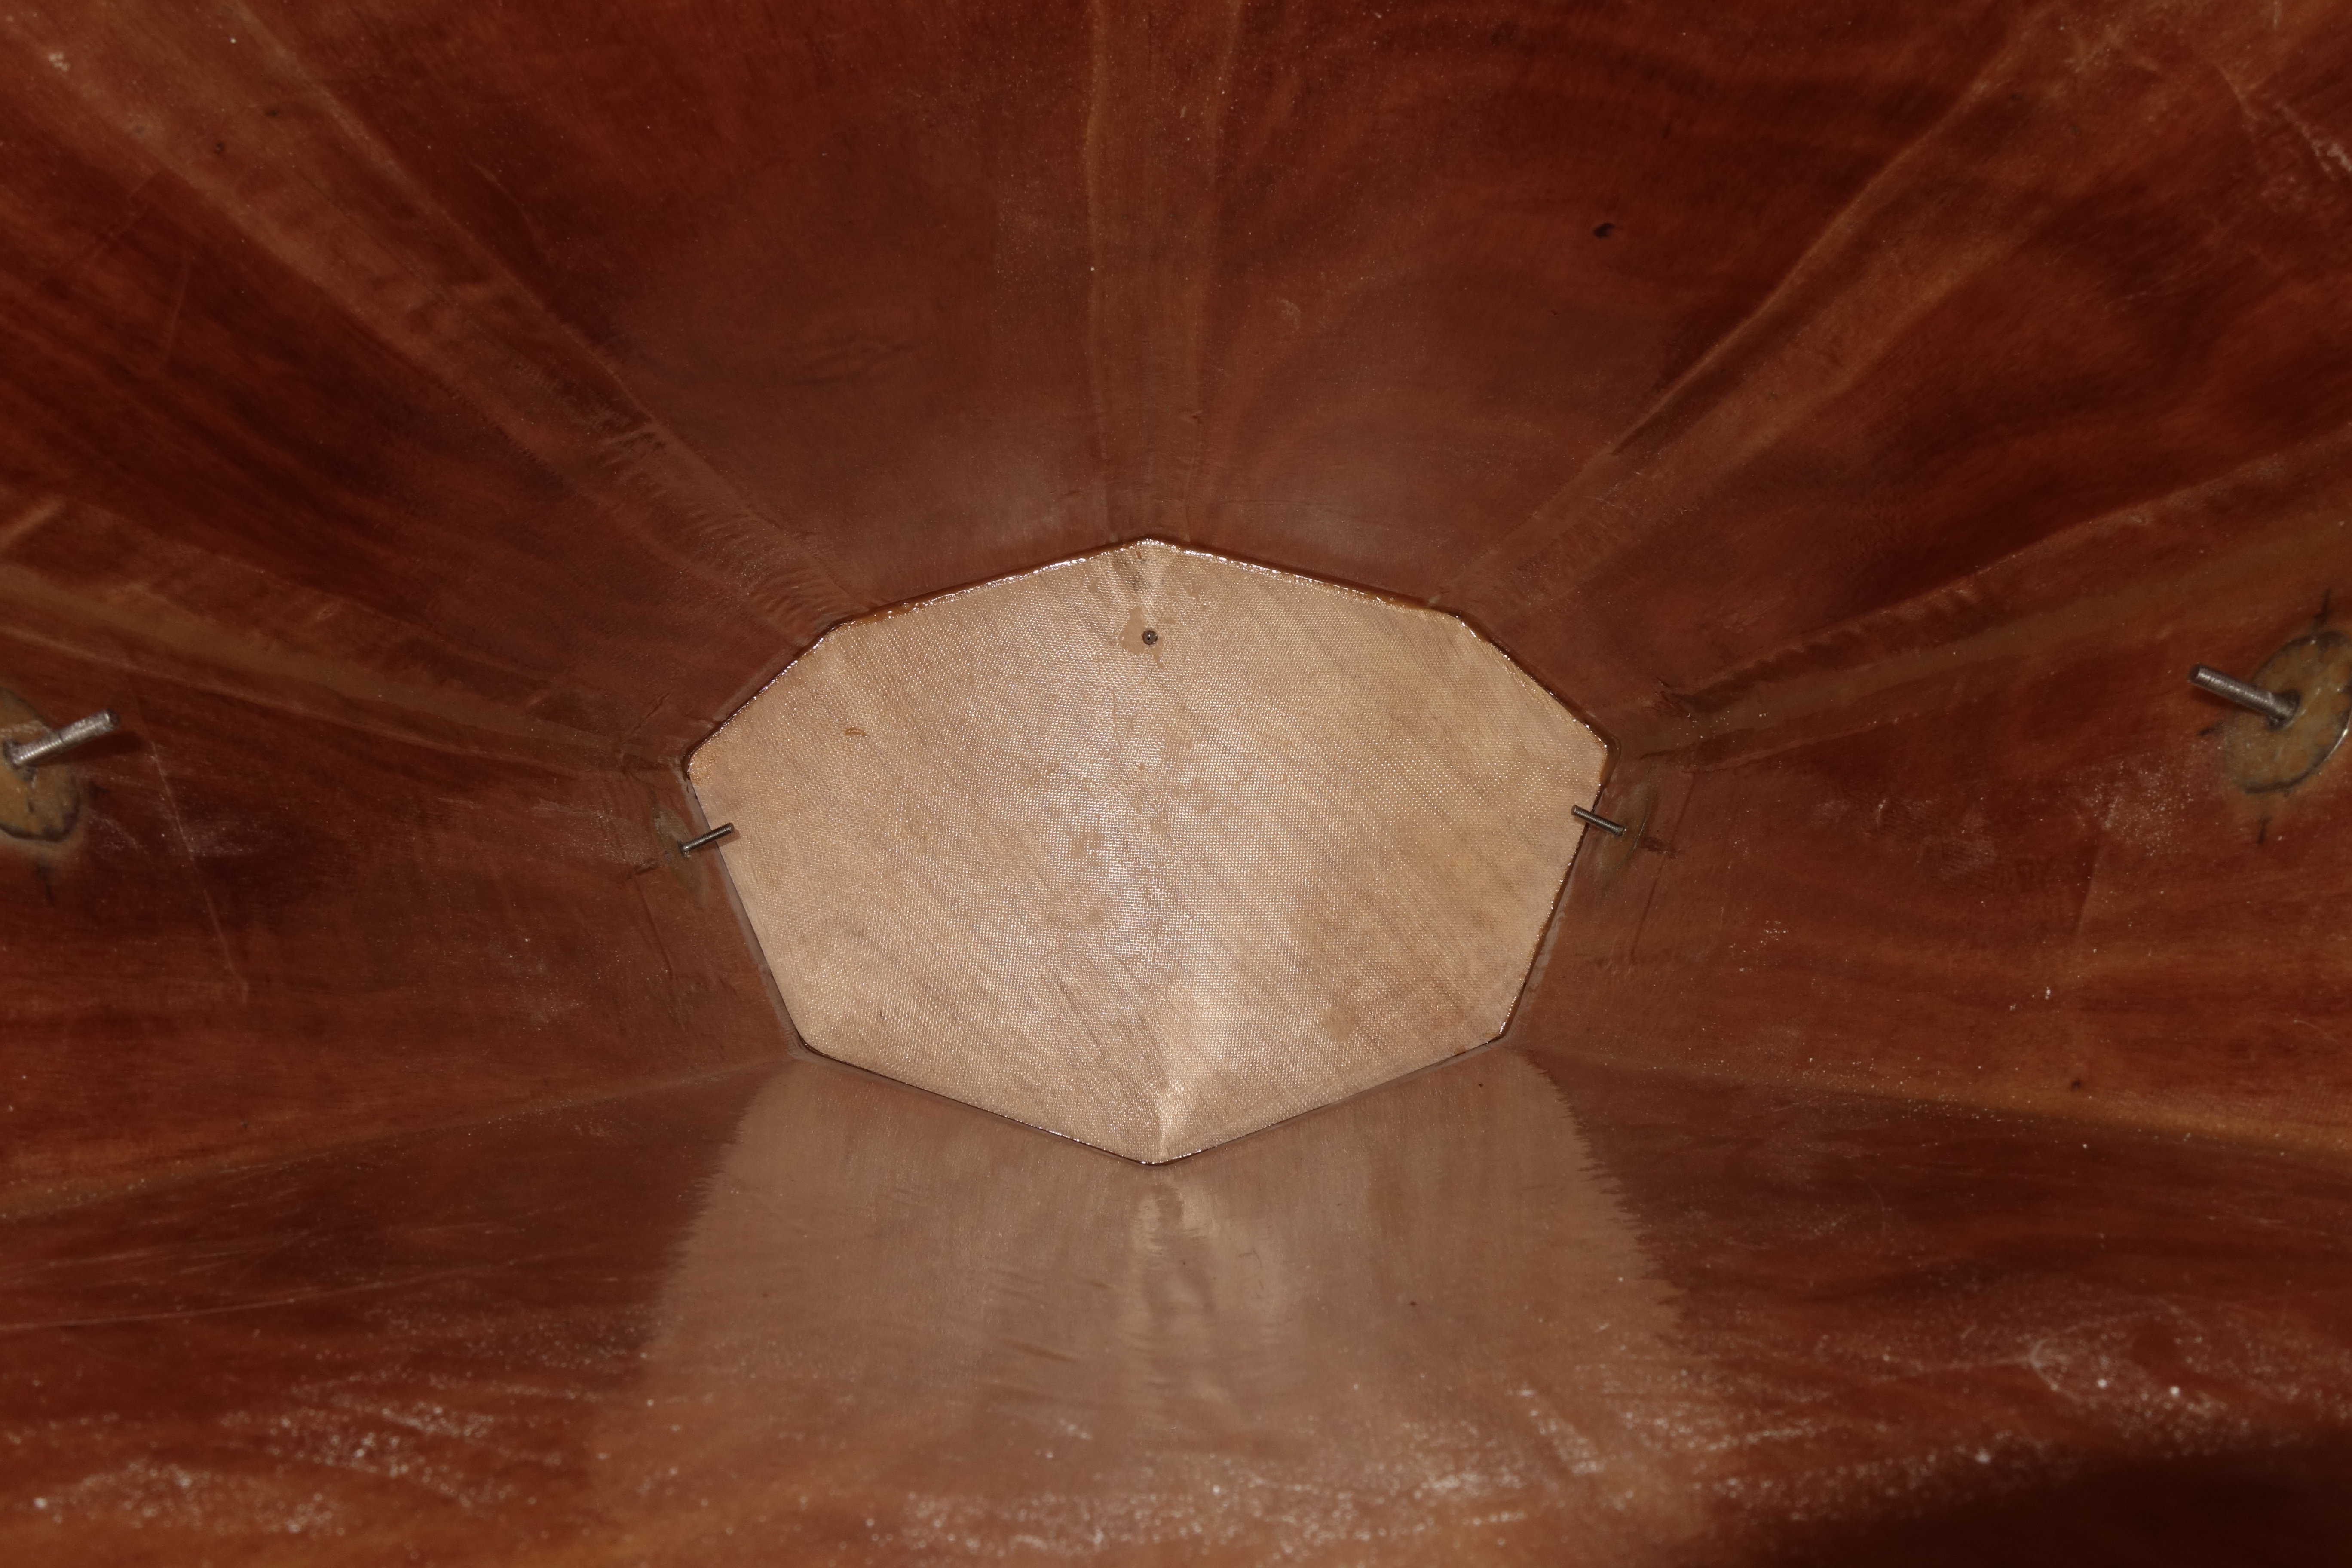
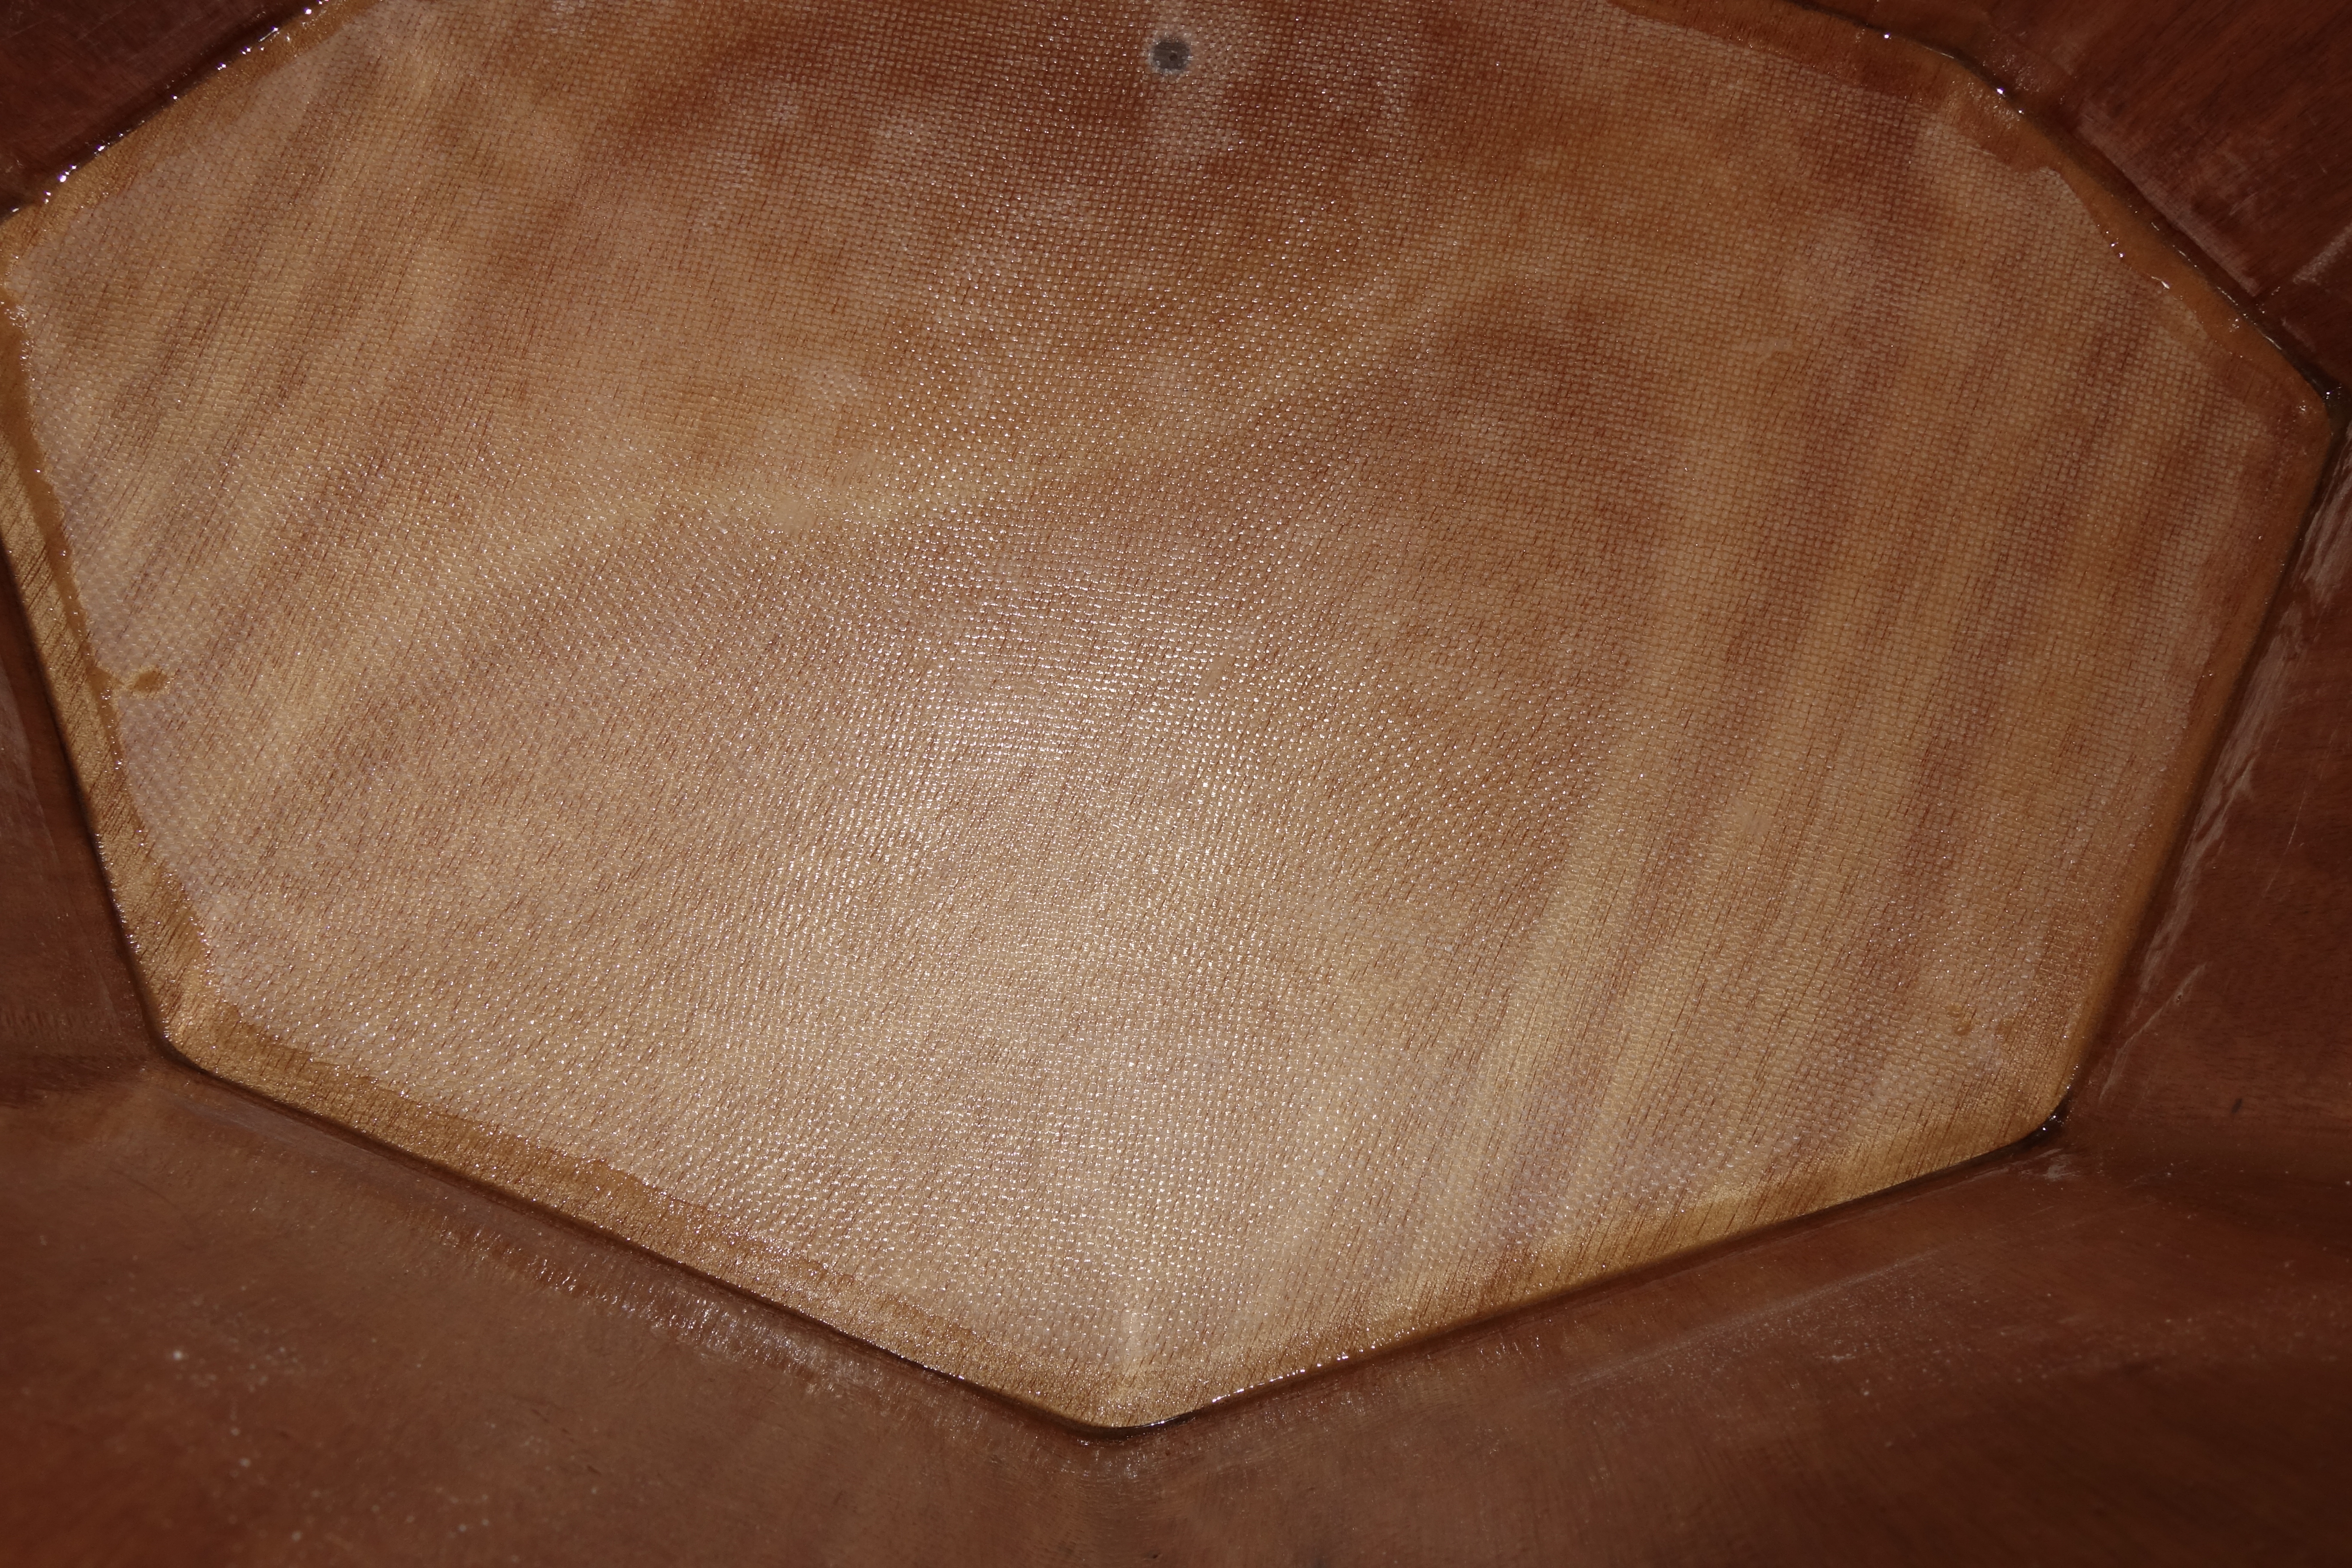
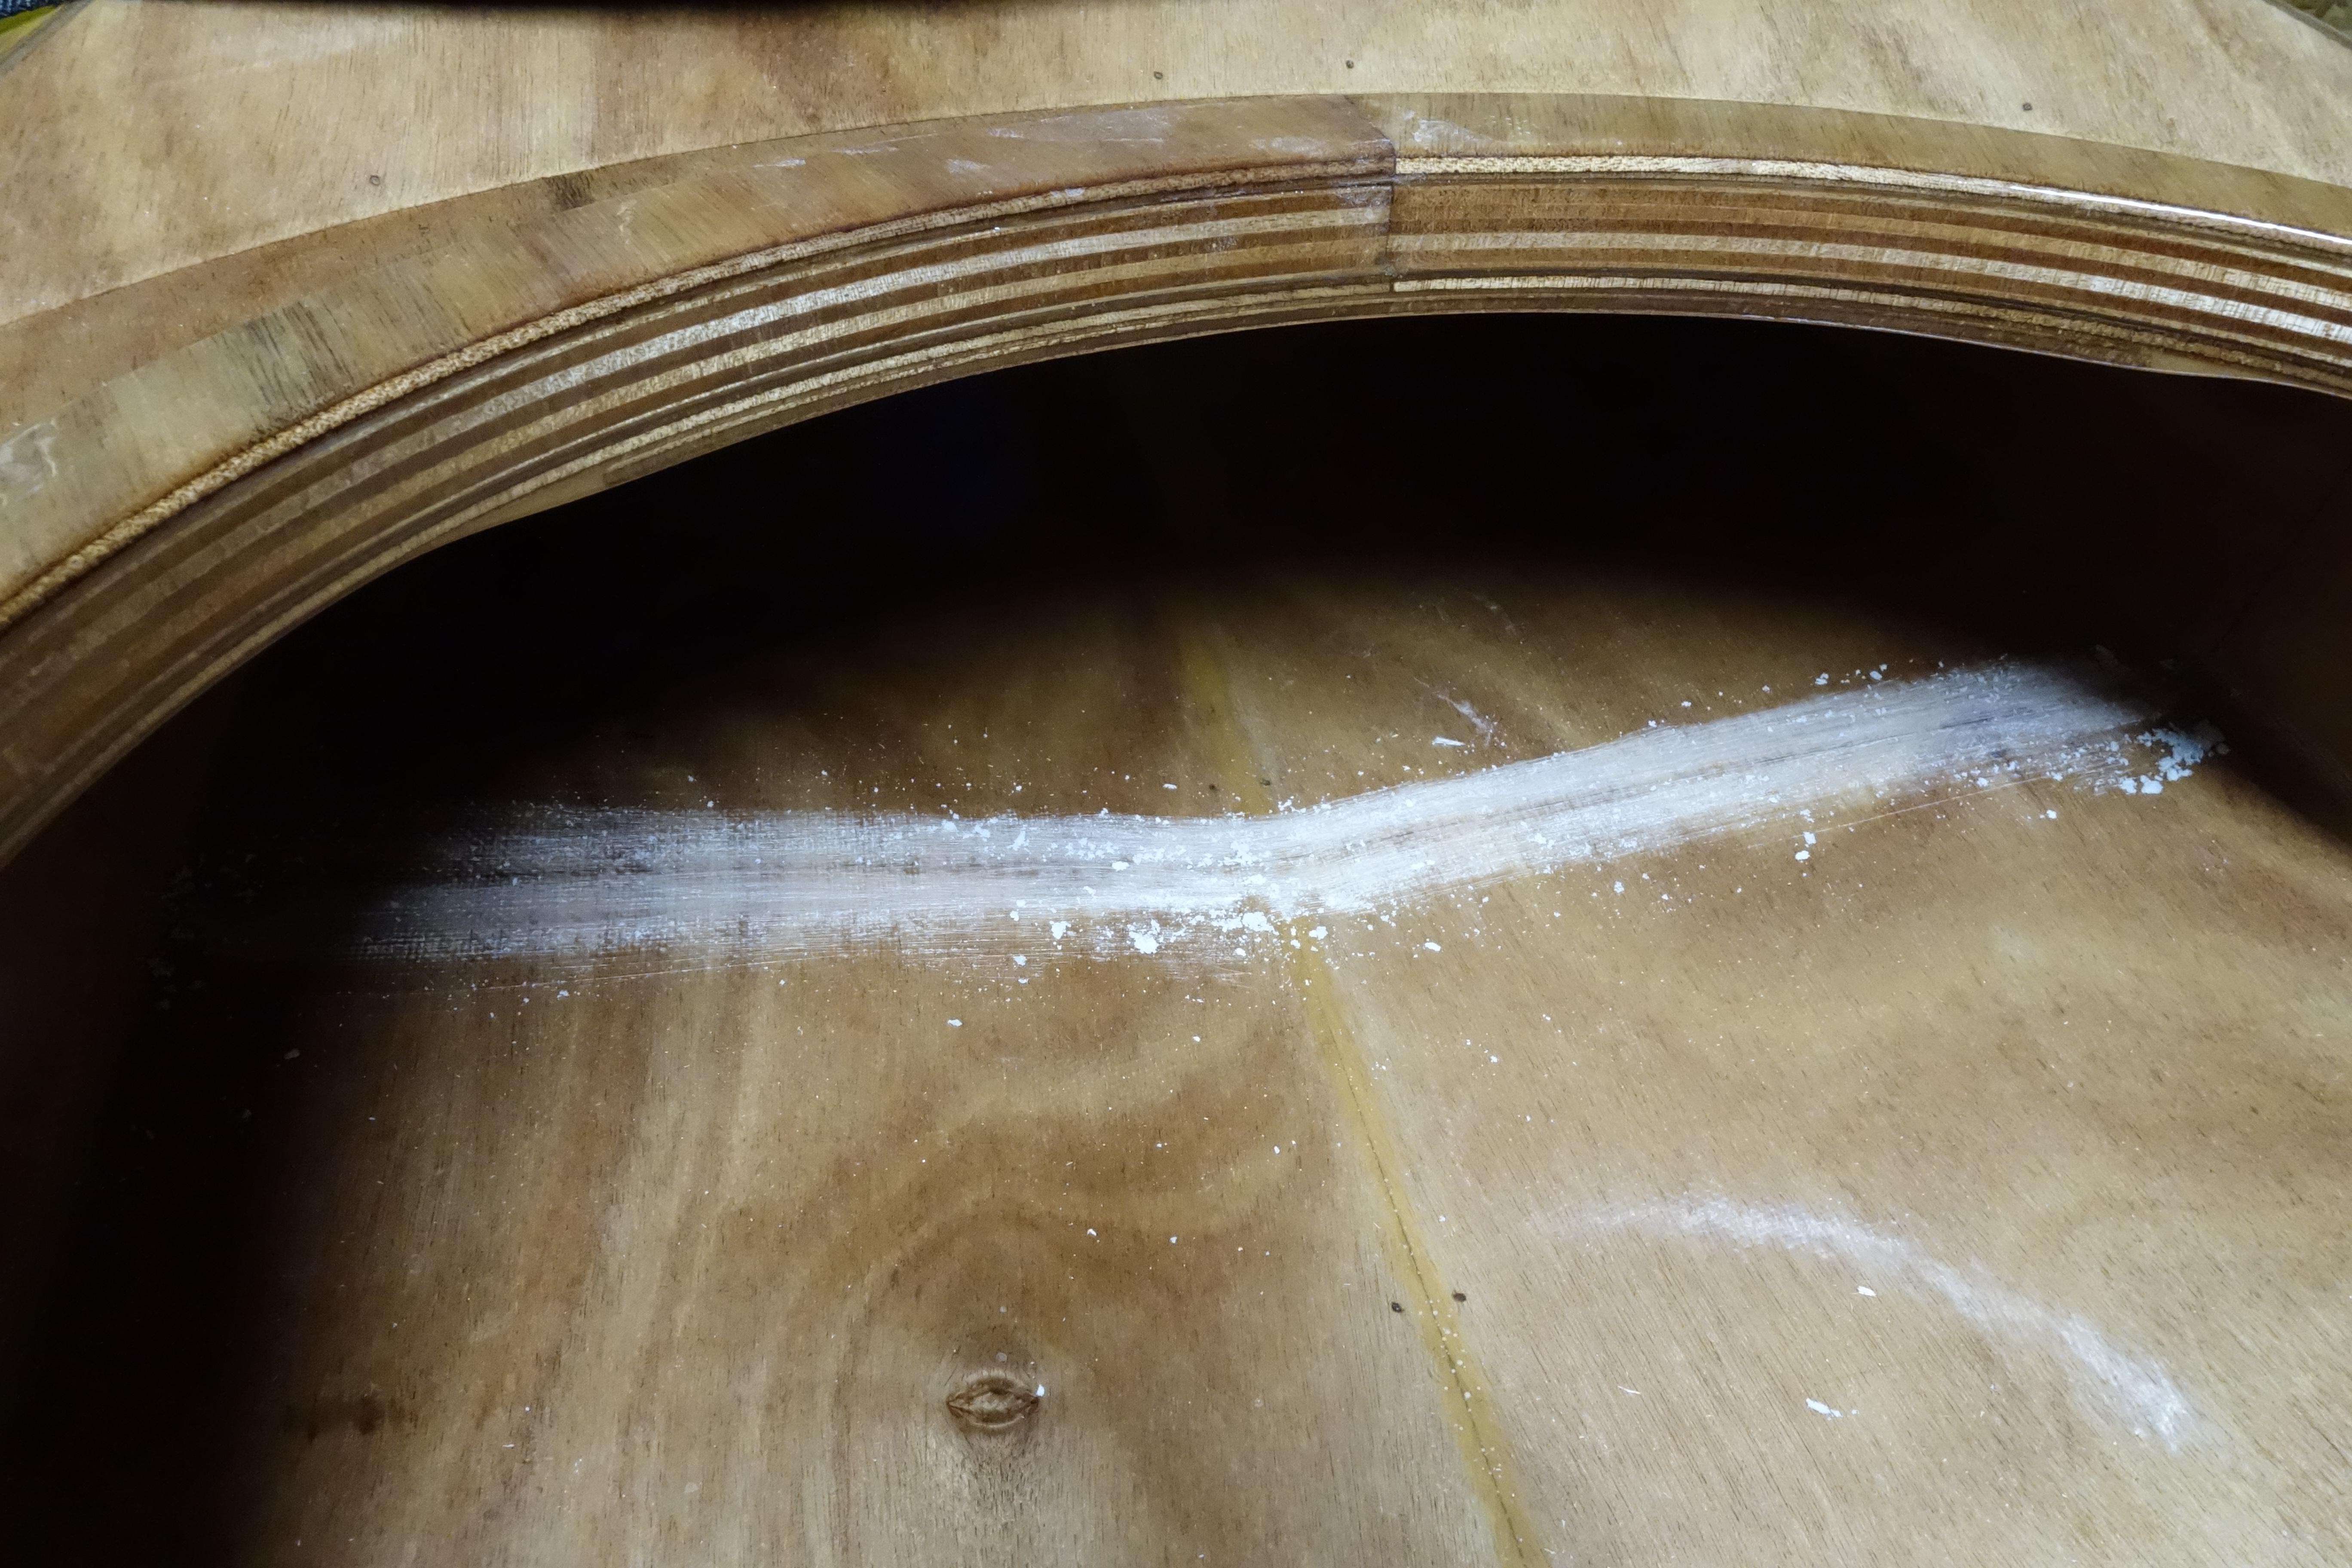
Sanding where the aft bulkhead will live.I had not yet sanded the bulkhead when I made this photo. This was just the final fitting. You can see my vent hole at the top of the bulkhead that will allow the pressure in the cargo hold to equalize with the cockpit side.
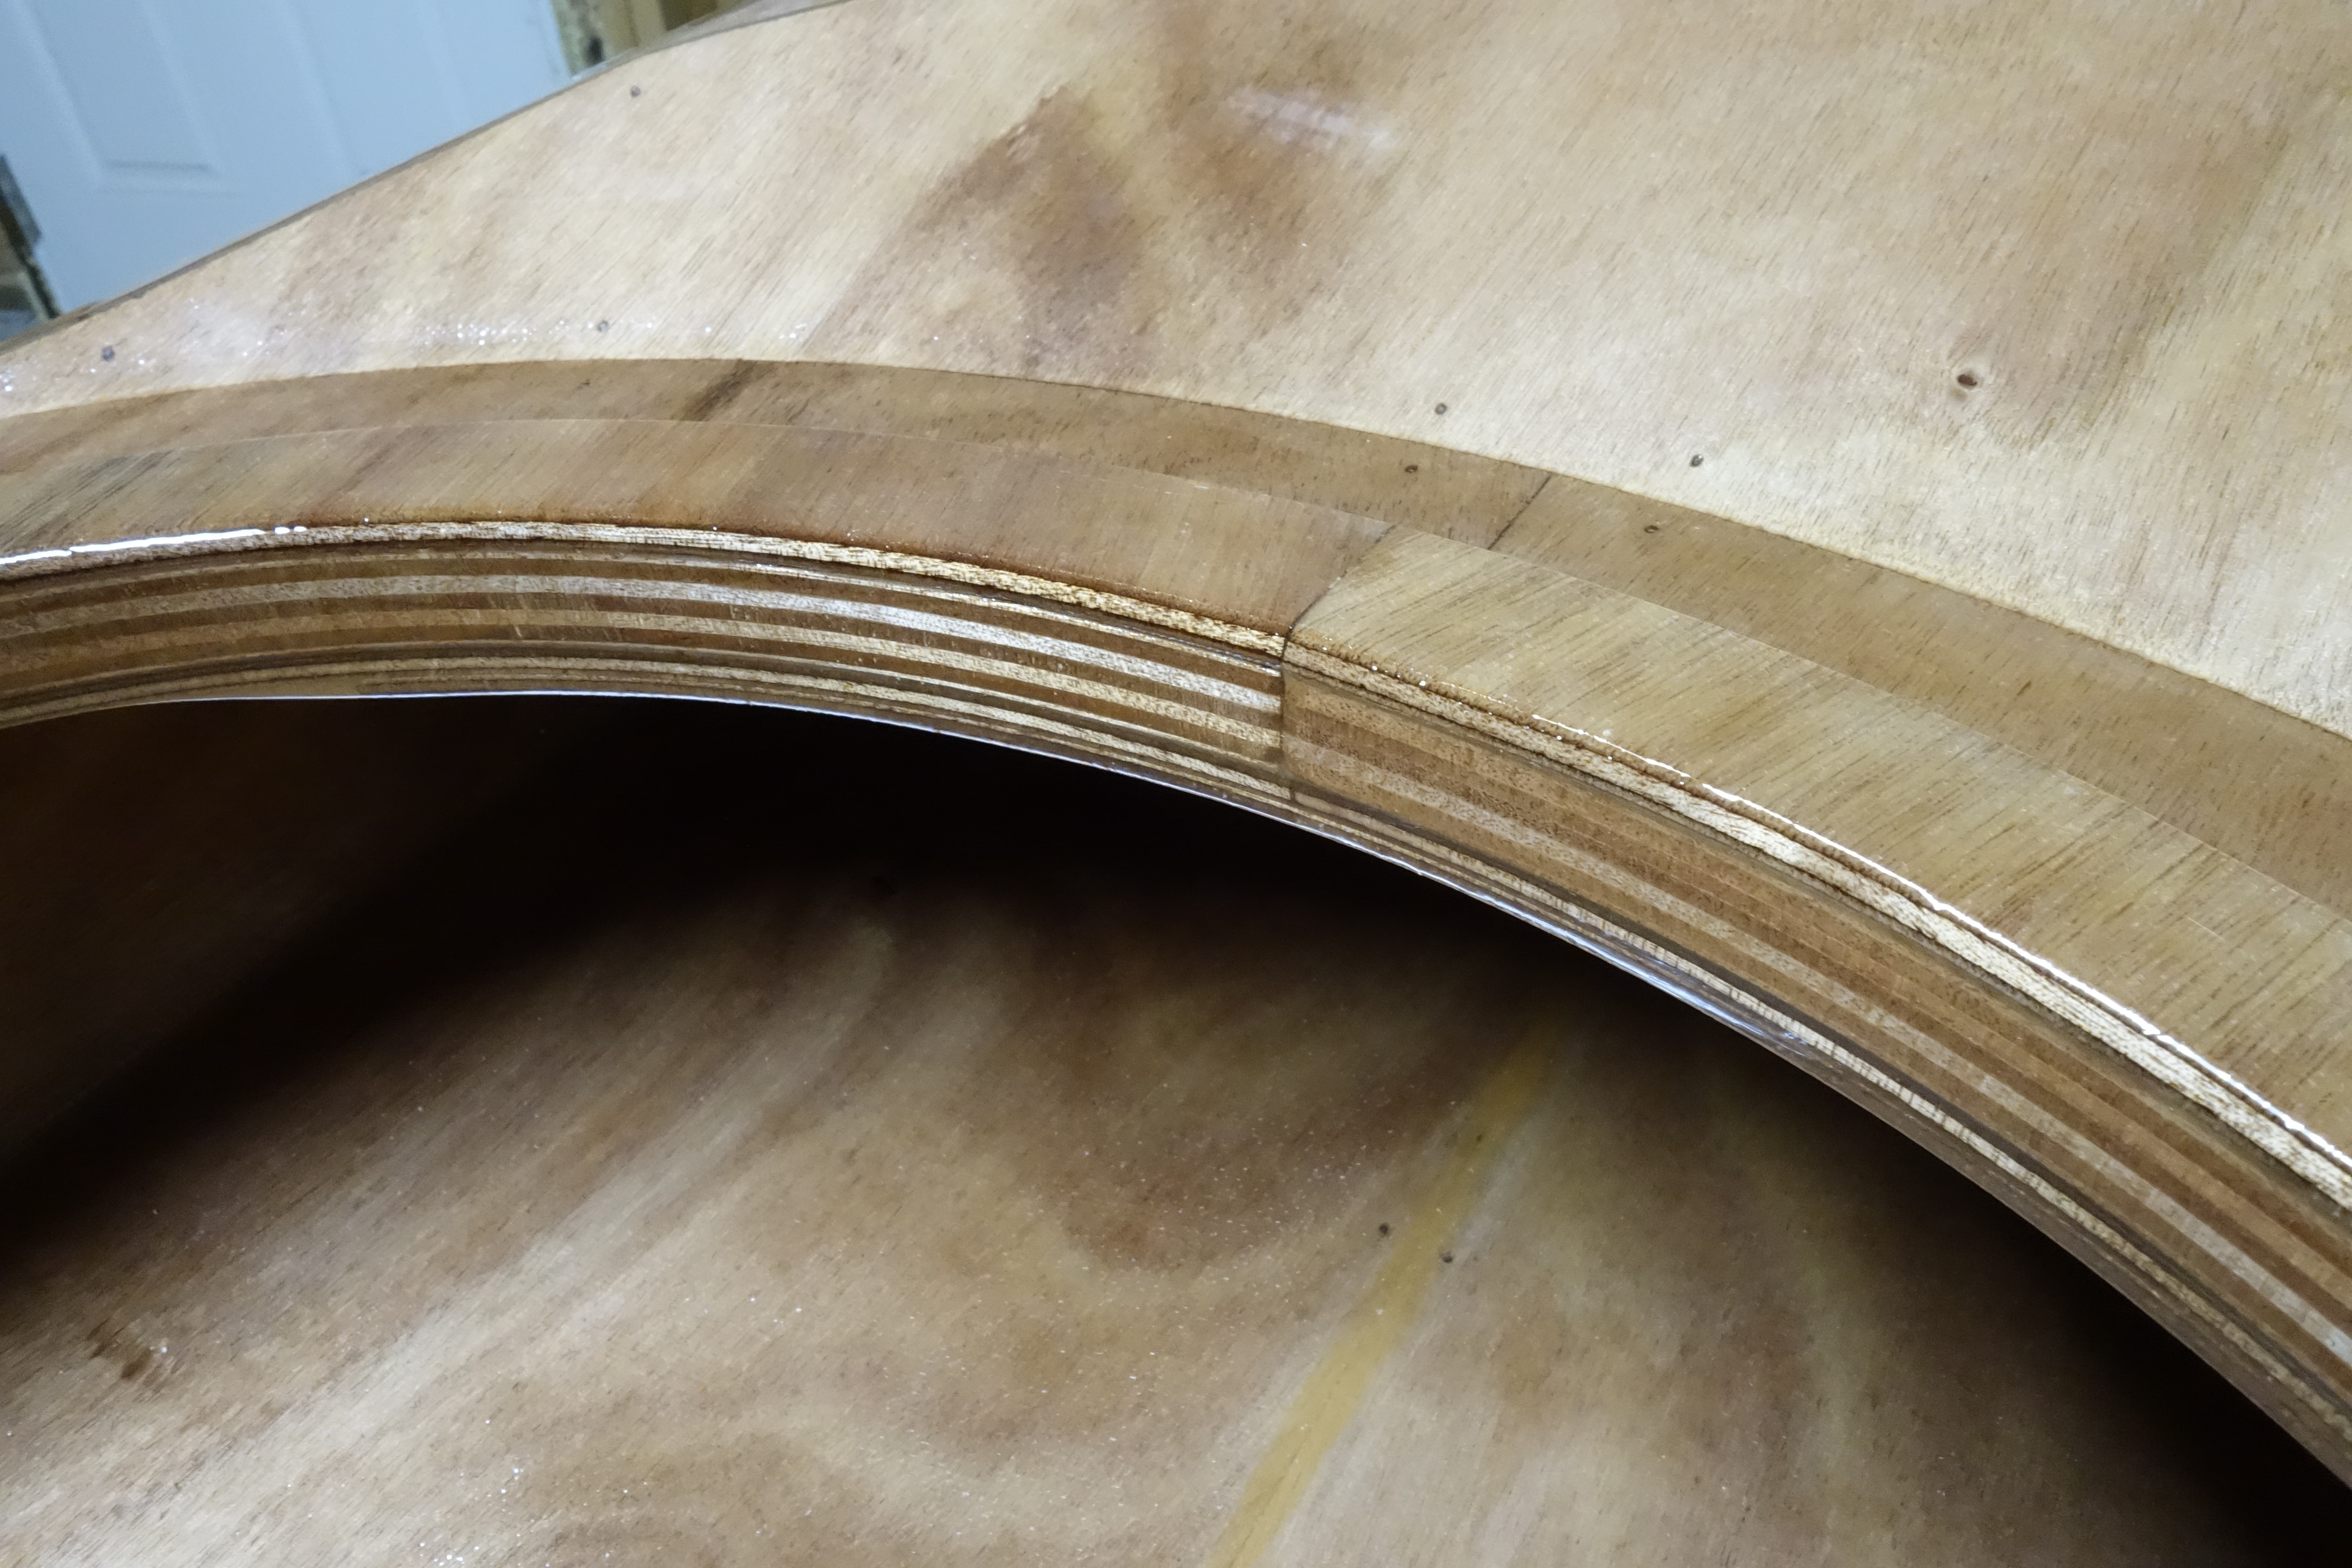
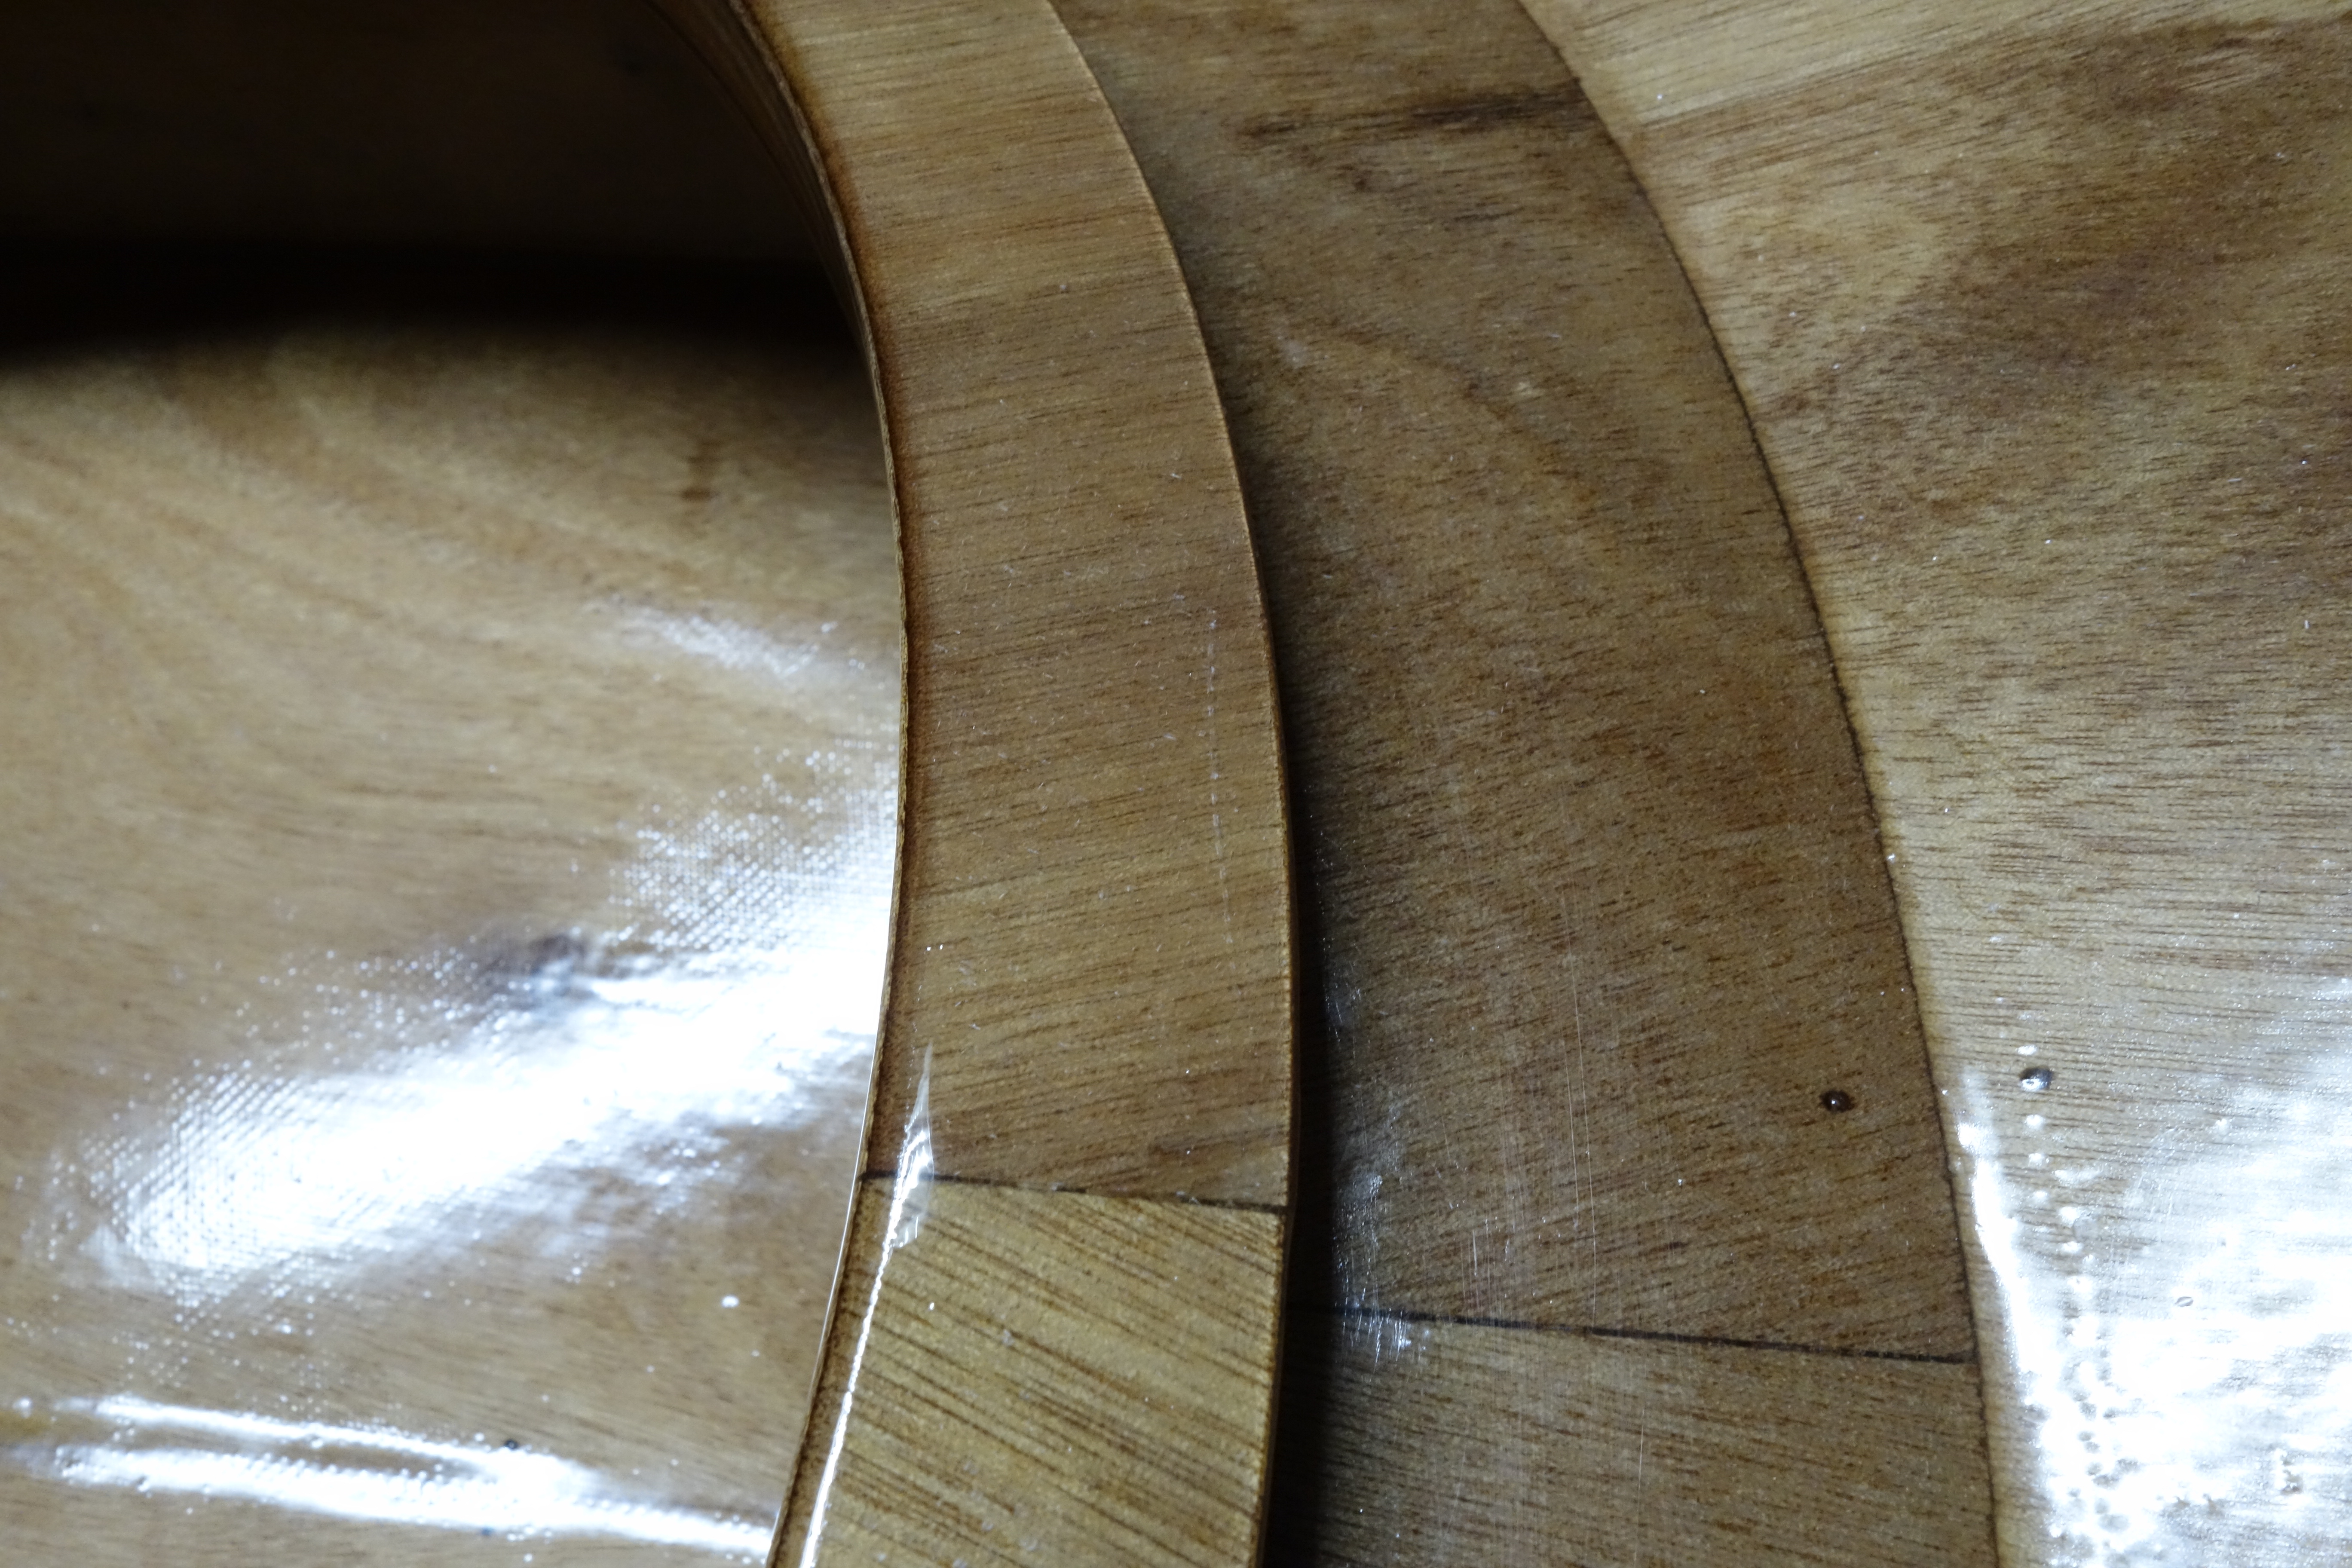
When I was trimming the fiberglass at the back of the cockpit coaming my utility knife slipped and I made a cut about 2″ long in the fiberglass cloth on top of the coaming. I didn’t sand it out at the time because I thought that the epoxy coat that would follow would soak into it and make it invisible. That didn’t work out like I thought it would. So I let that coat of epoxy cure figuring that I still needed to sand the high spots out of the tape anyway, and at that time I would sand far enough into the tape to get the cut out. I did that, and that didn’t work out like I thought it would either. As you can see in the photos below the scratch is still visible. Now I have to decide if I want to try again to sand it out, or leave it the way that it is and call it good enough. I’m not sure what to do. I’ll sleep on it and decide tomorrow.
Being a perfectionist is not always compatible with being a first time kayak builder.
EDIT: I have decided to leave it as is.
The back of the coming (above) with the scratch.The front of the coaming (above).The back of the coaming from an angle from which you cannot see the scratch. :^)The scratch is very visible in this image (just about dead center) down in the fiberglass.
I had time after work to fiberglass the second side of the hatch lips (I did the first side yesterday), and the fiberglass cloth over the seams on the top of the cockpit coaming. It will be good to have this done before I start on the bulkheads. The instruction manual has the hip braces and seat installation before the bulkheads and hatches, but I think that I will have more room to work on the rear bulkhead if I wait to do the hip braces until after I have the bulkheads in.
Front of the cockpit. The edges of this fiberglass cloth will get feathered in, and then fill coats of epoxy until it disappears. This will strengthen the coaming seams.Back of the cockpit.Hatch lips getting fiberglass cloth.
I finished the starboard inside shear seam in the same way that I did the port side (see earlier post). The next step on the kayak will be the bulkheads. They are ready to put in the boat, I just need to let the shear seams cure completely before I try to put them in. I’ll try to get one or both of them in after work this coming week. But they may wind up waiting until next weekend.